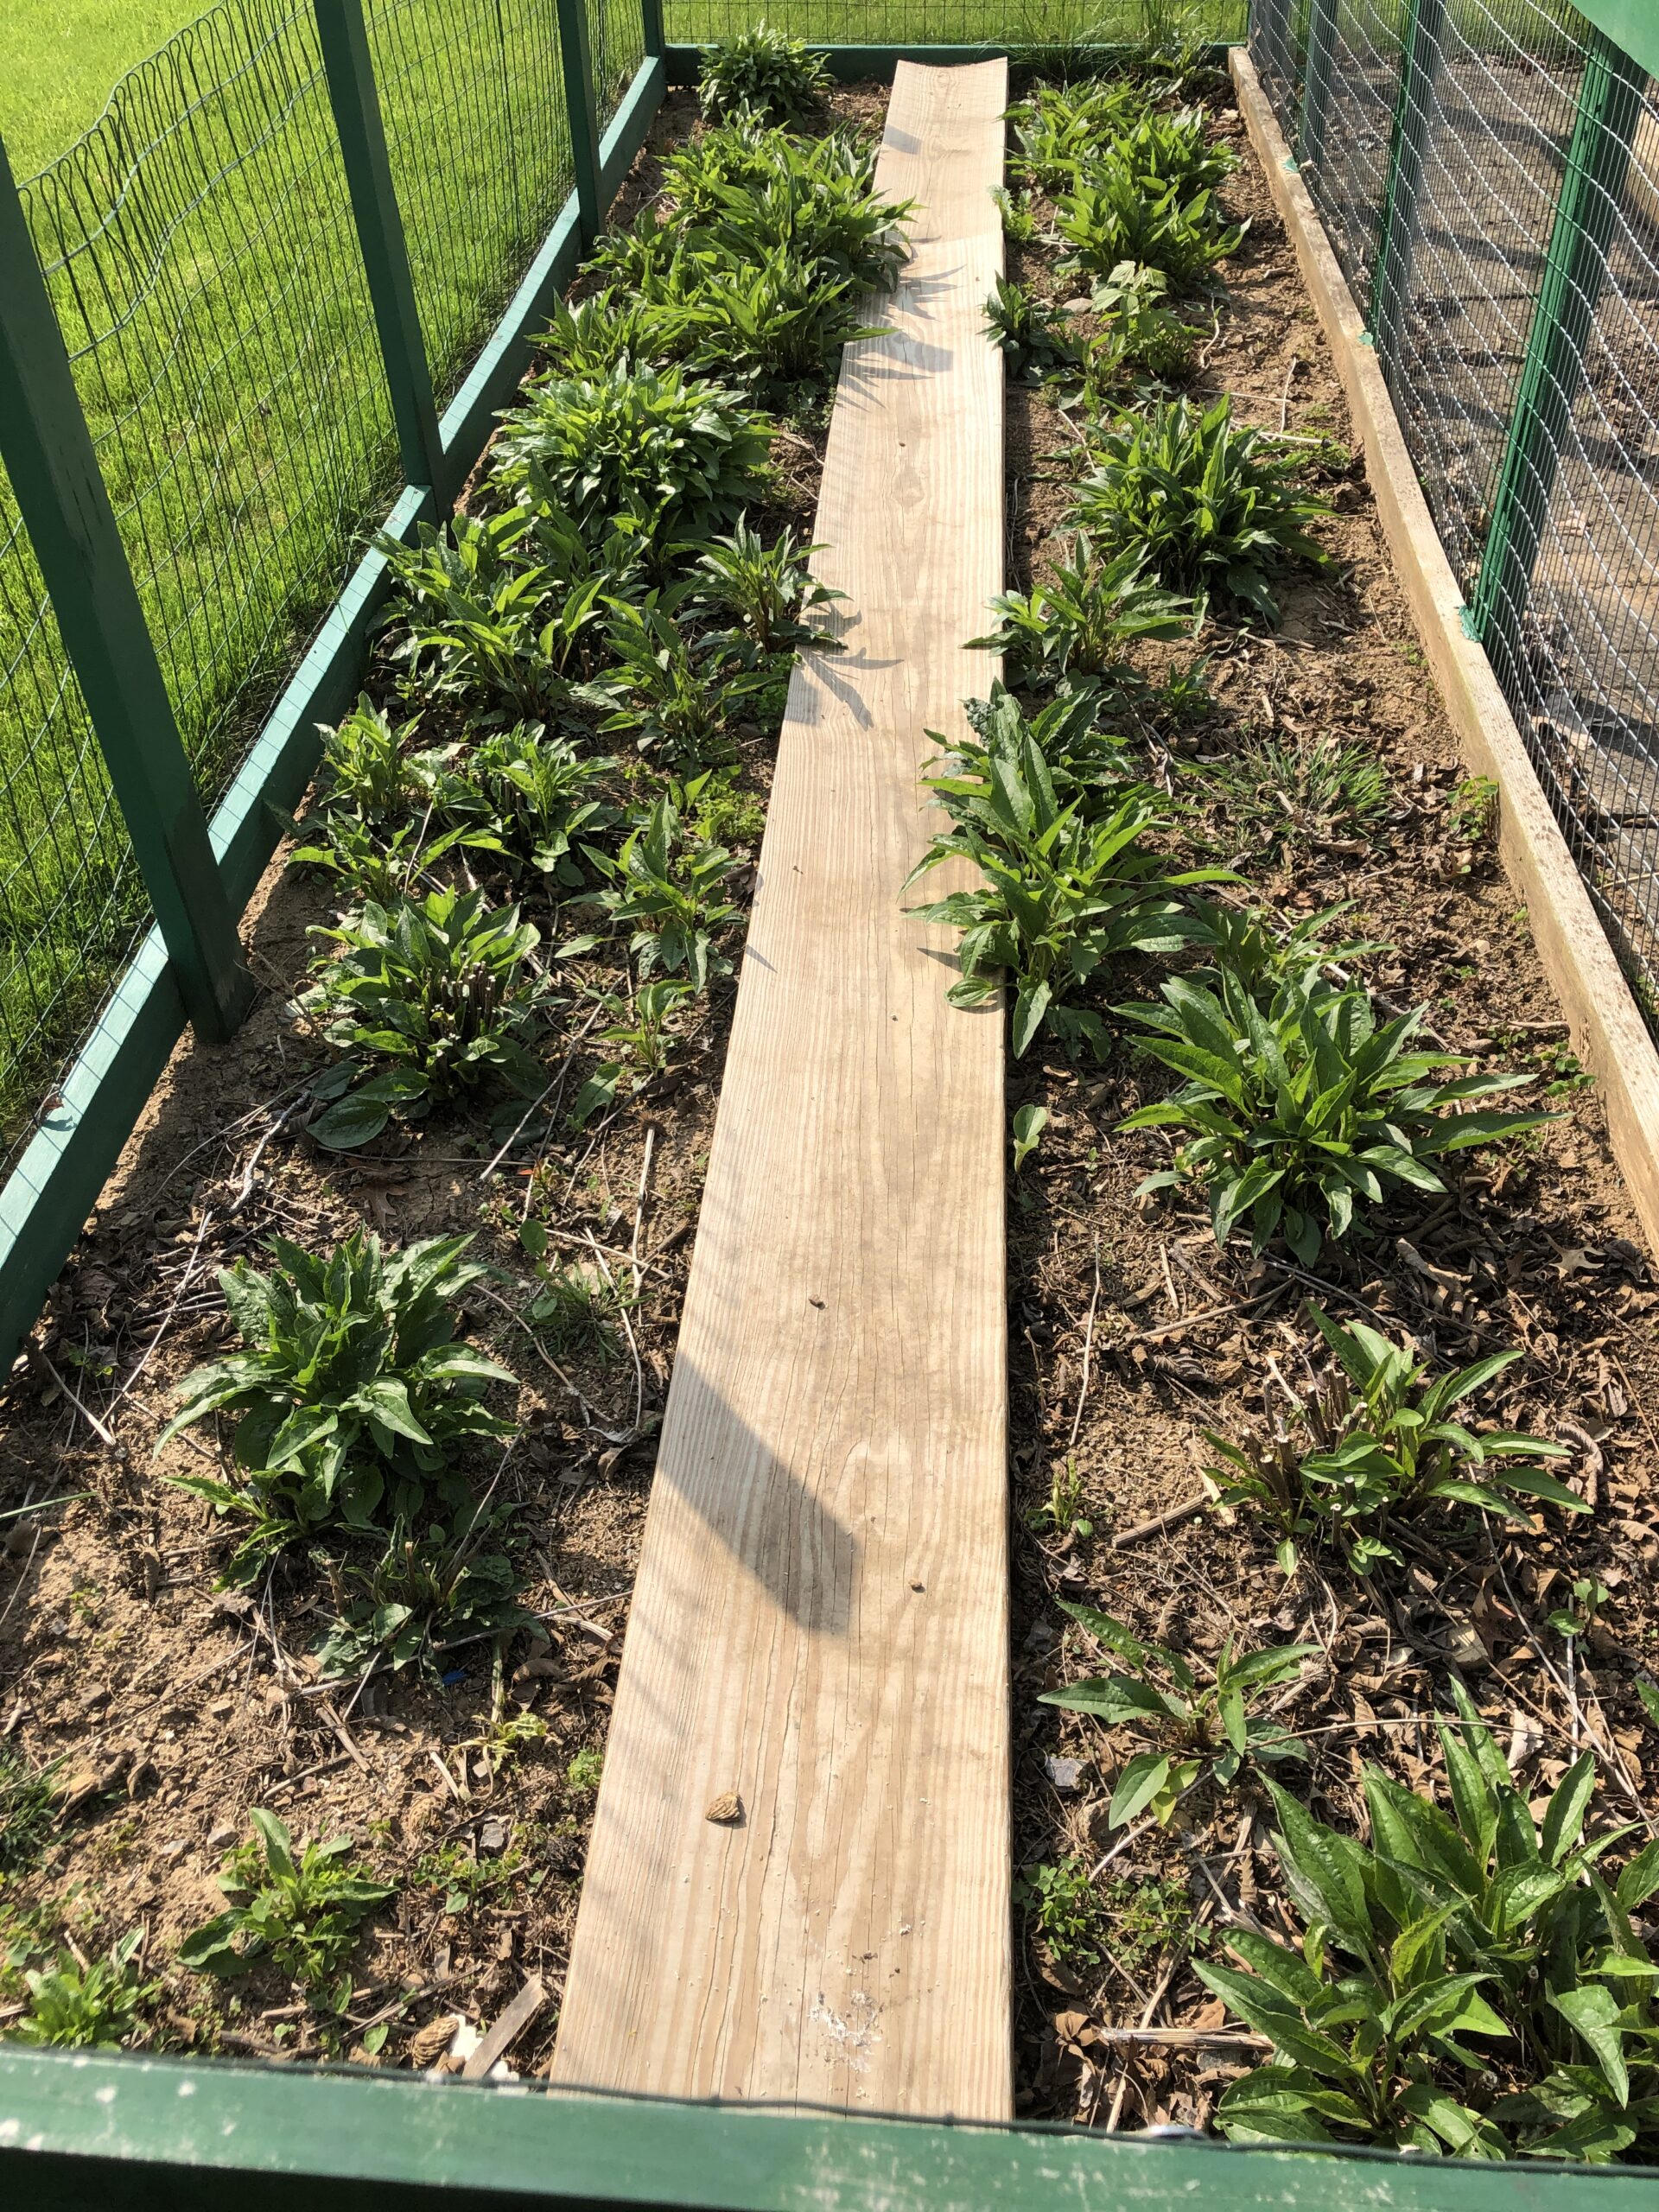
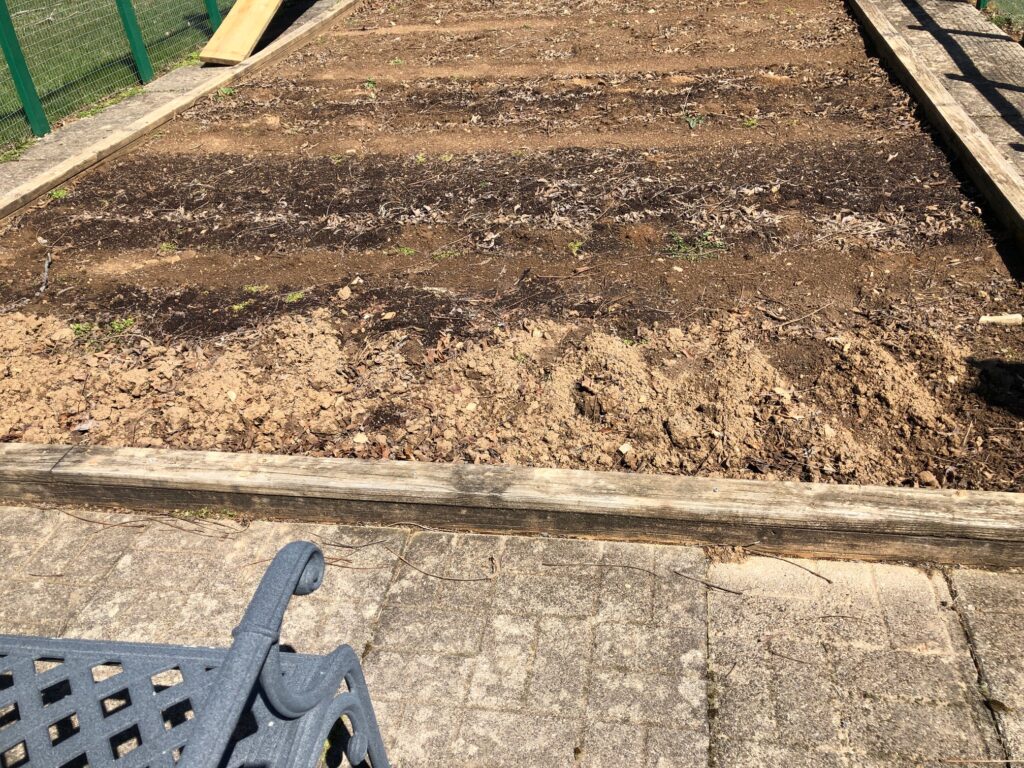
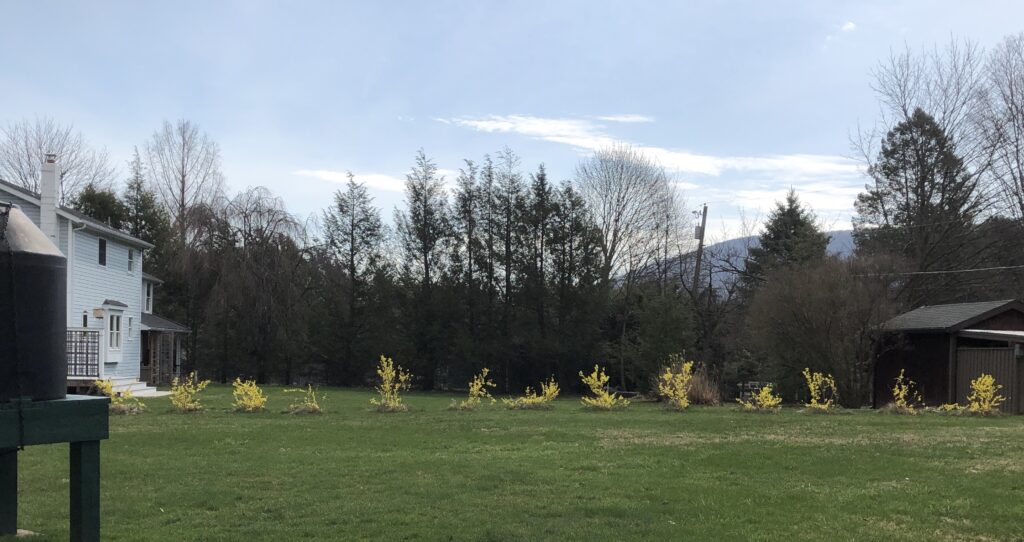
After struggling over a month with no rain, finally we are seeing abundant rainfall! The grass is slowly greening up and the garden doesn’t seem so parched. More cloudy days and rain really help. Time to show you some pictures!
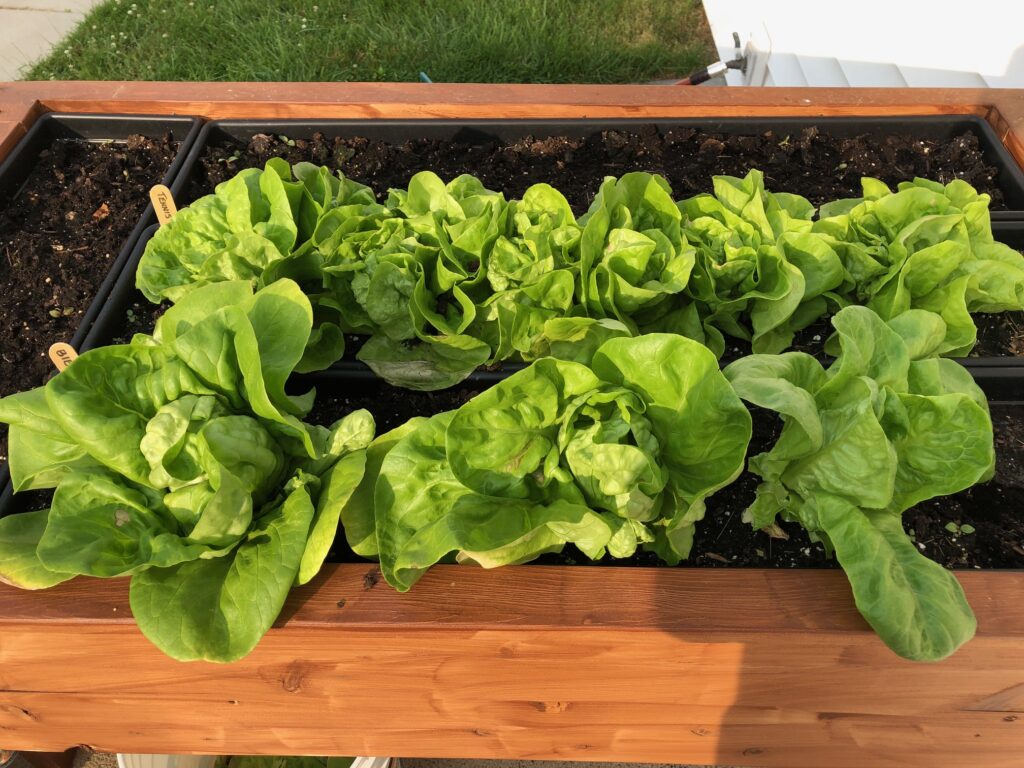
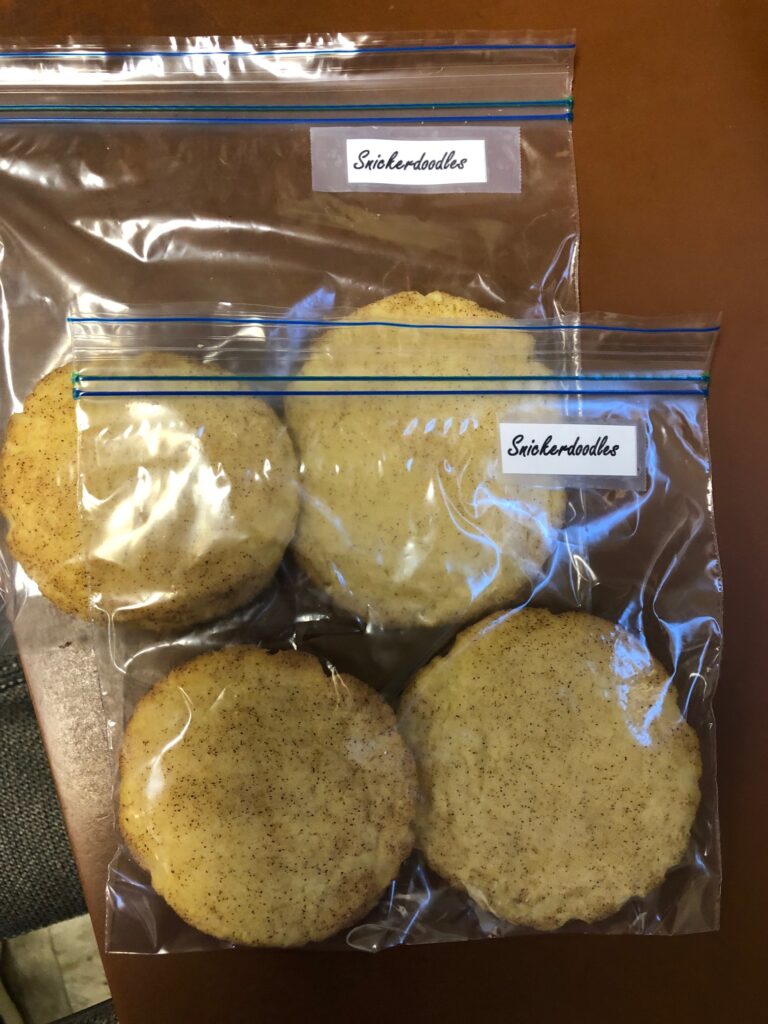
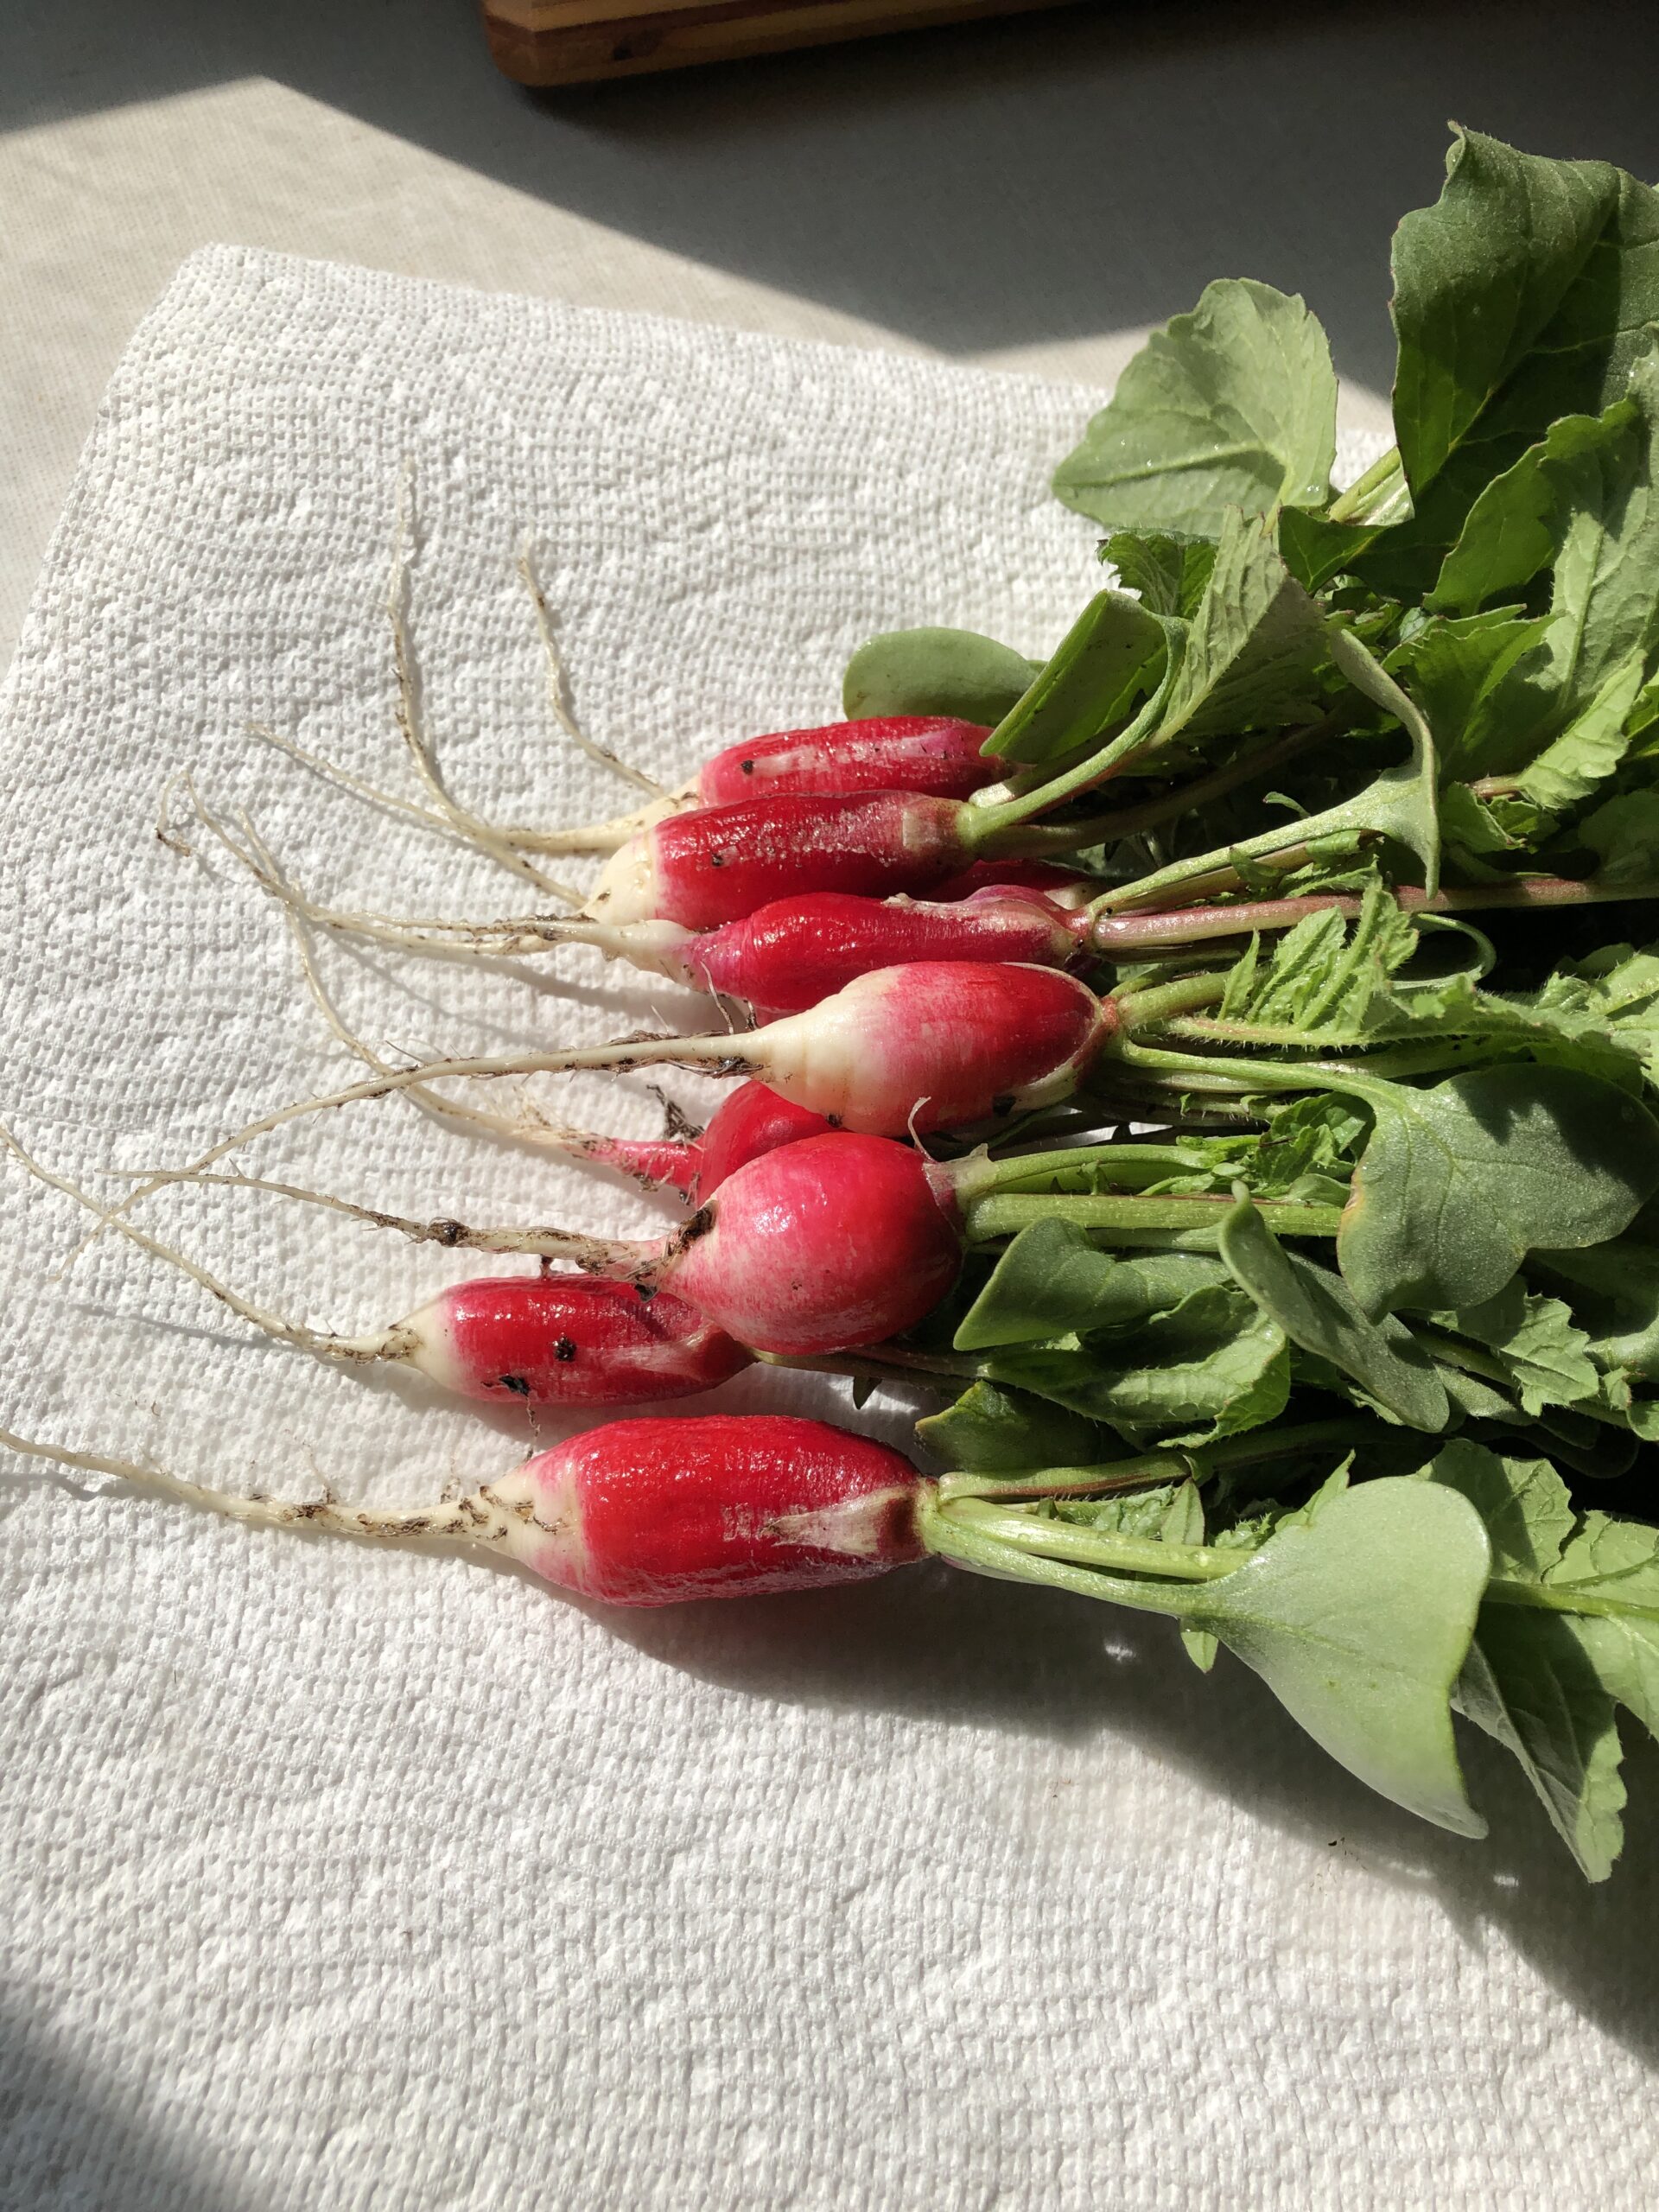
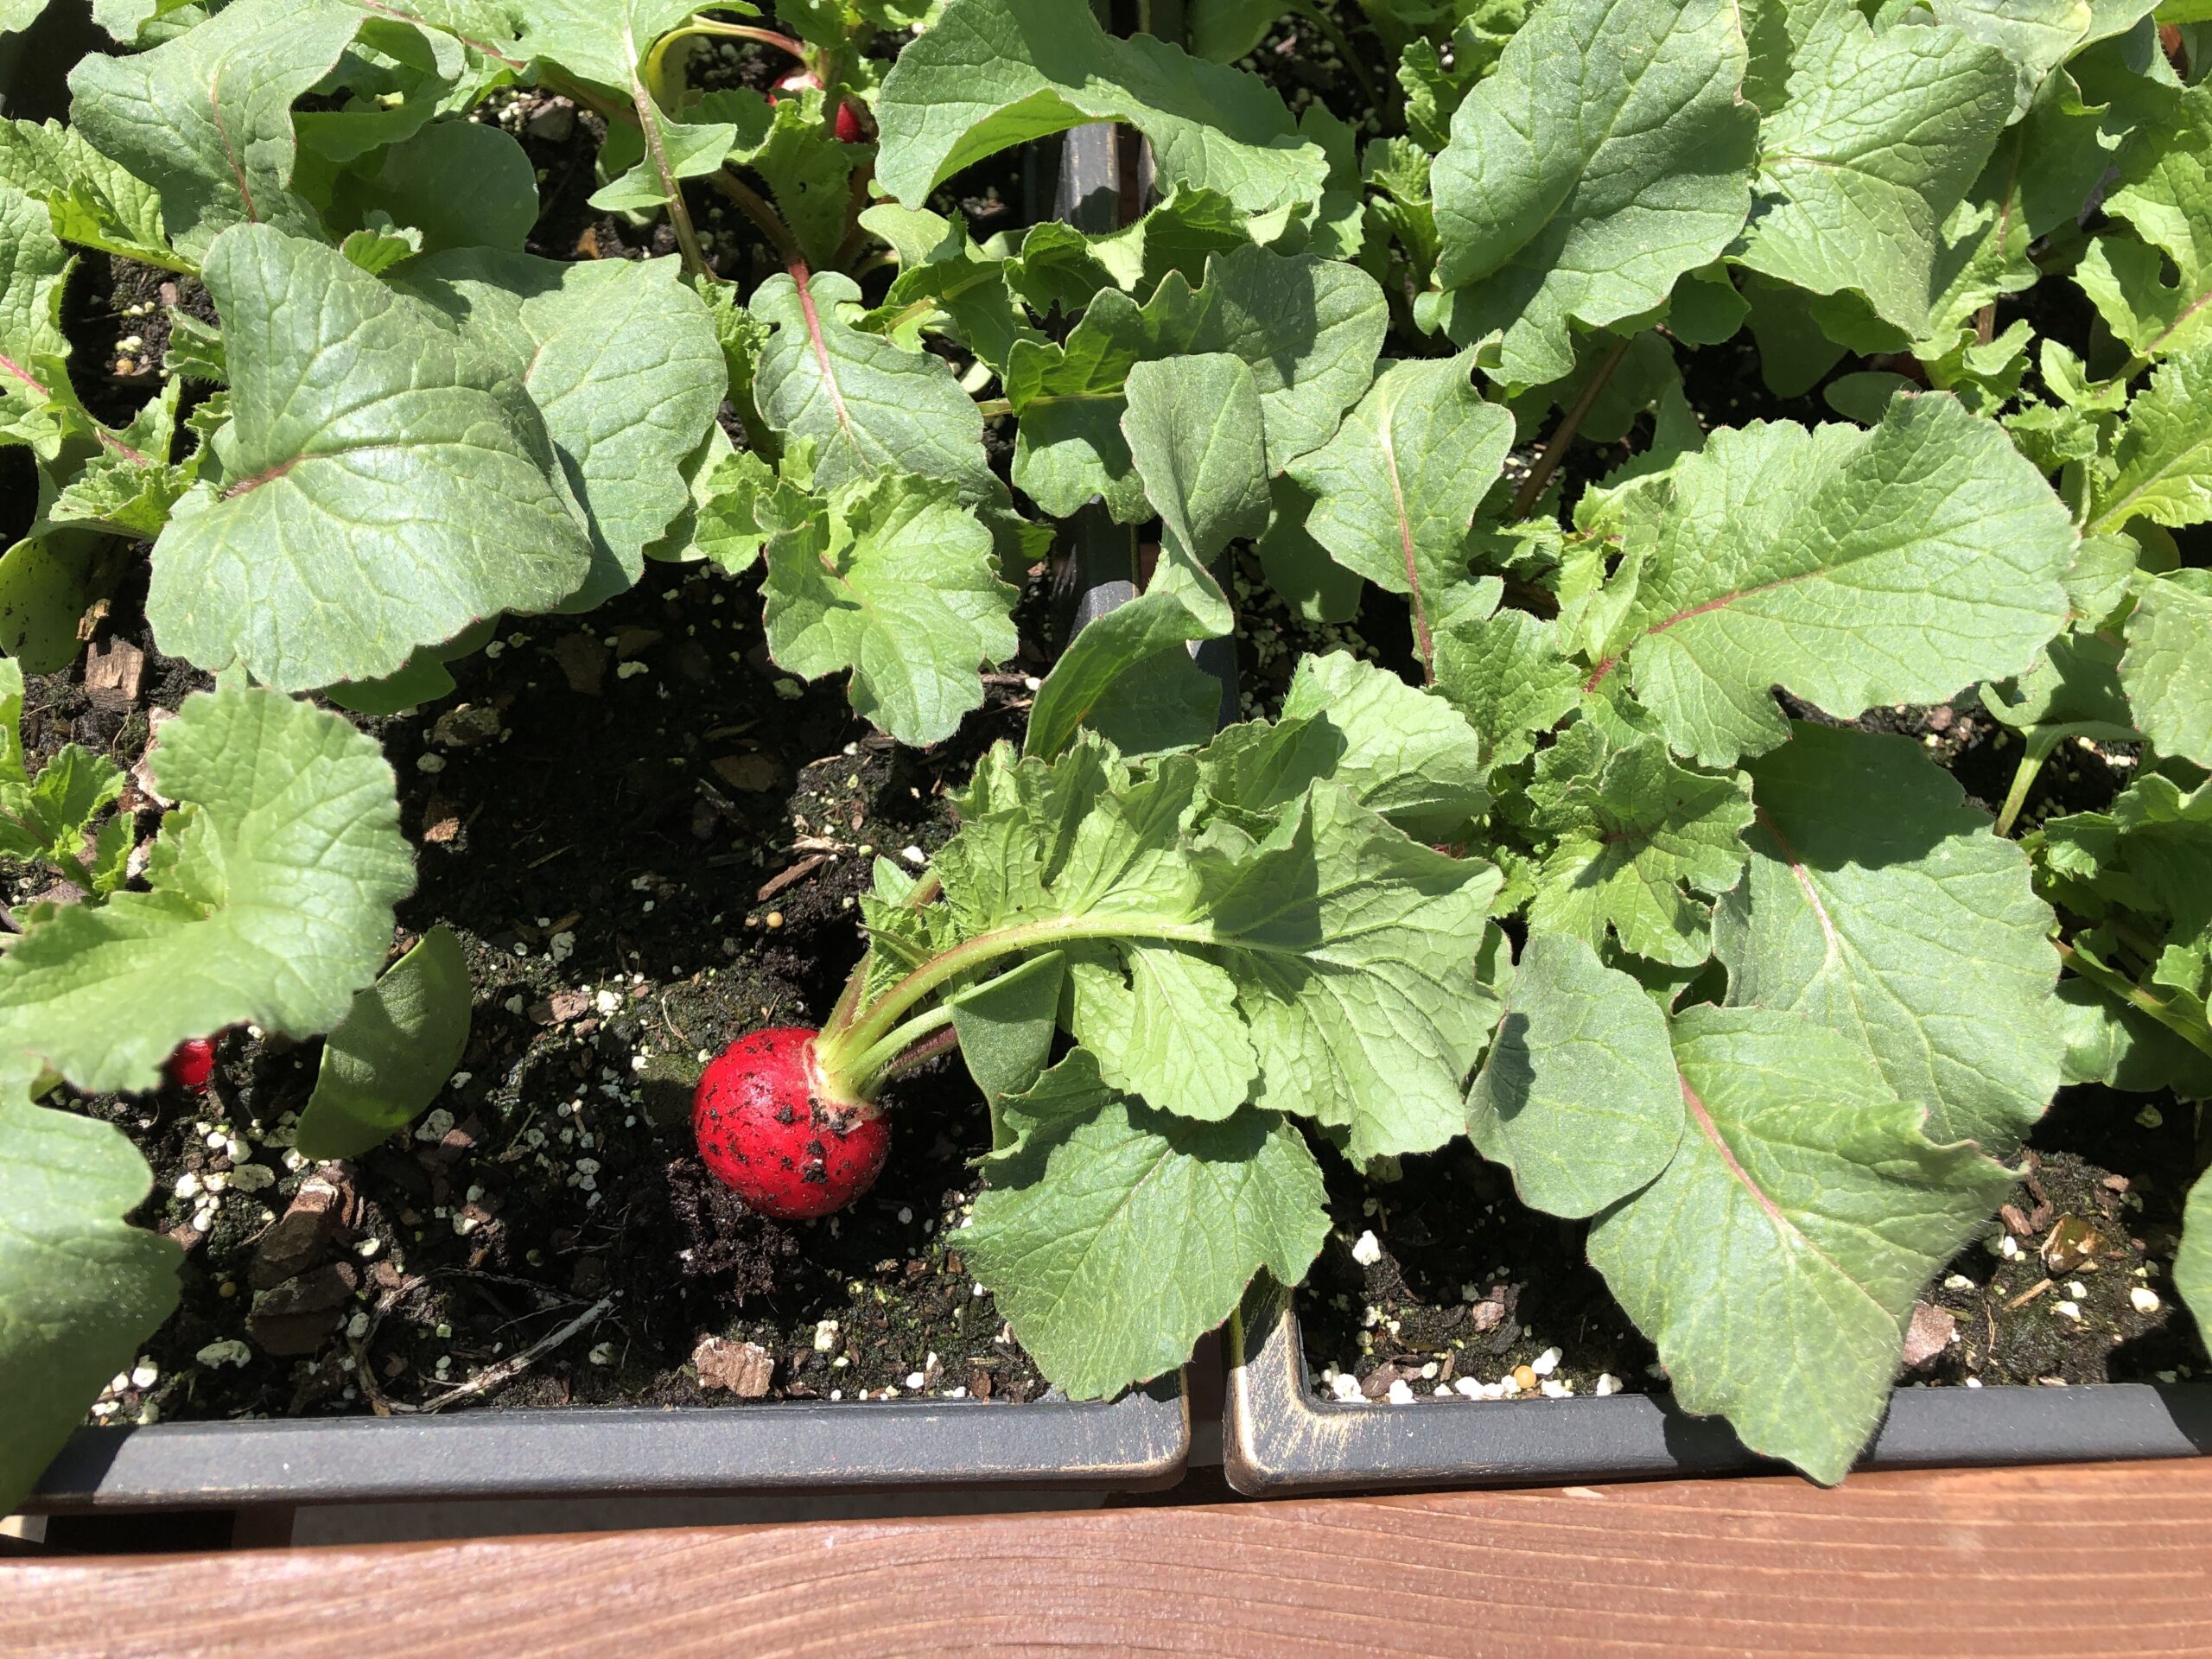
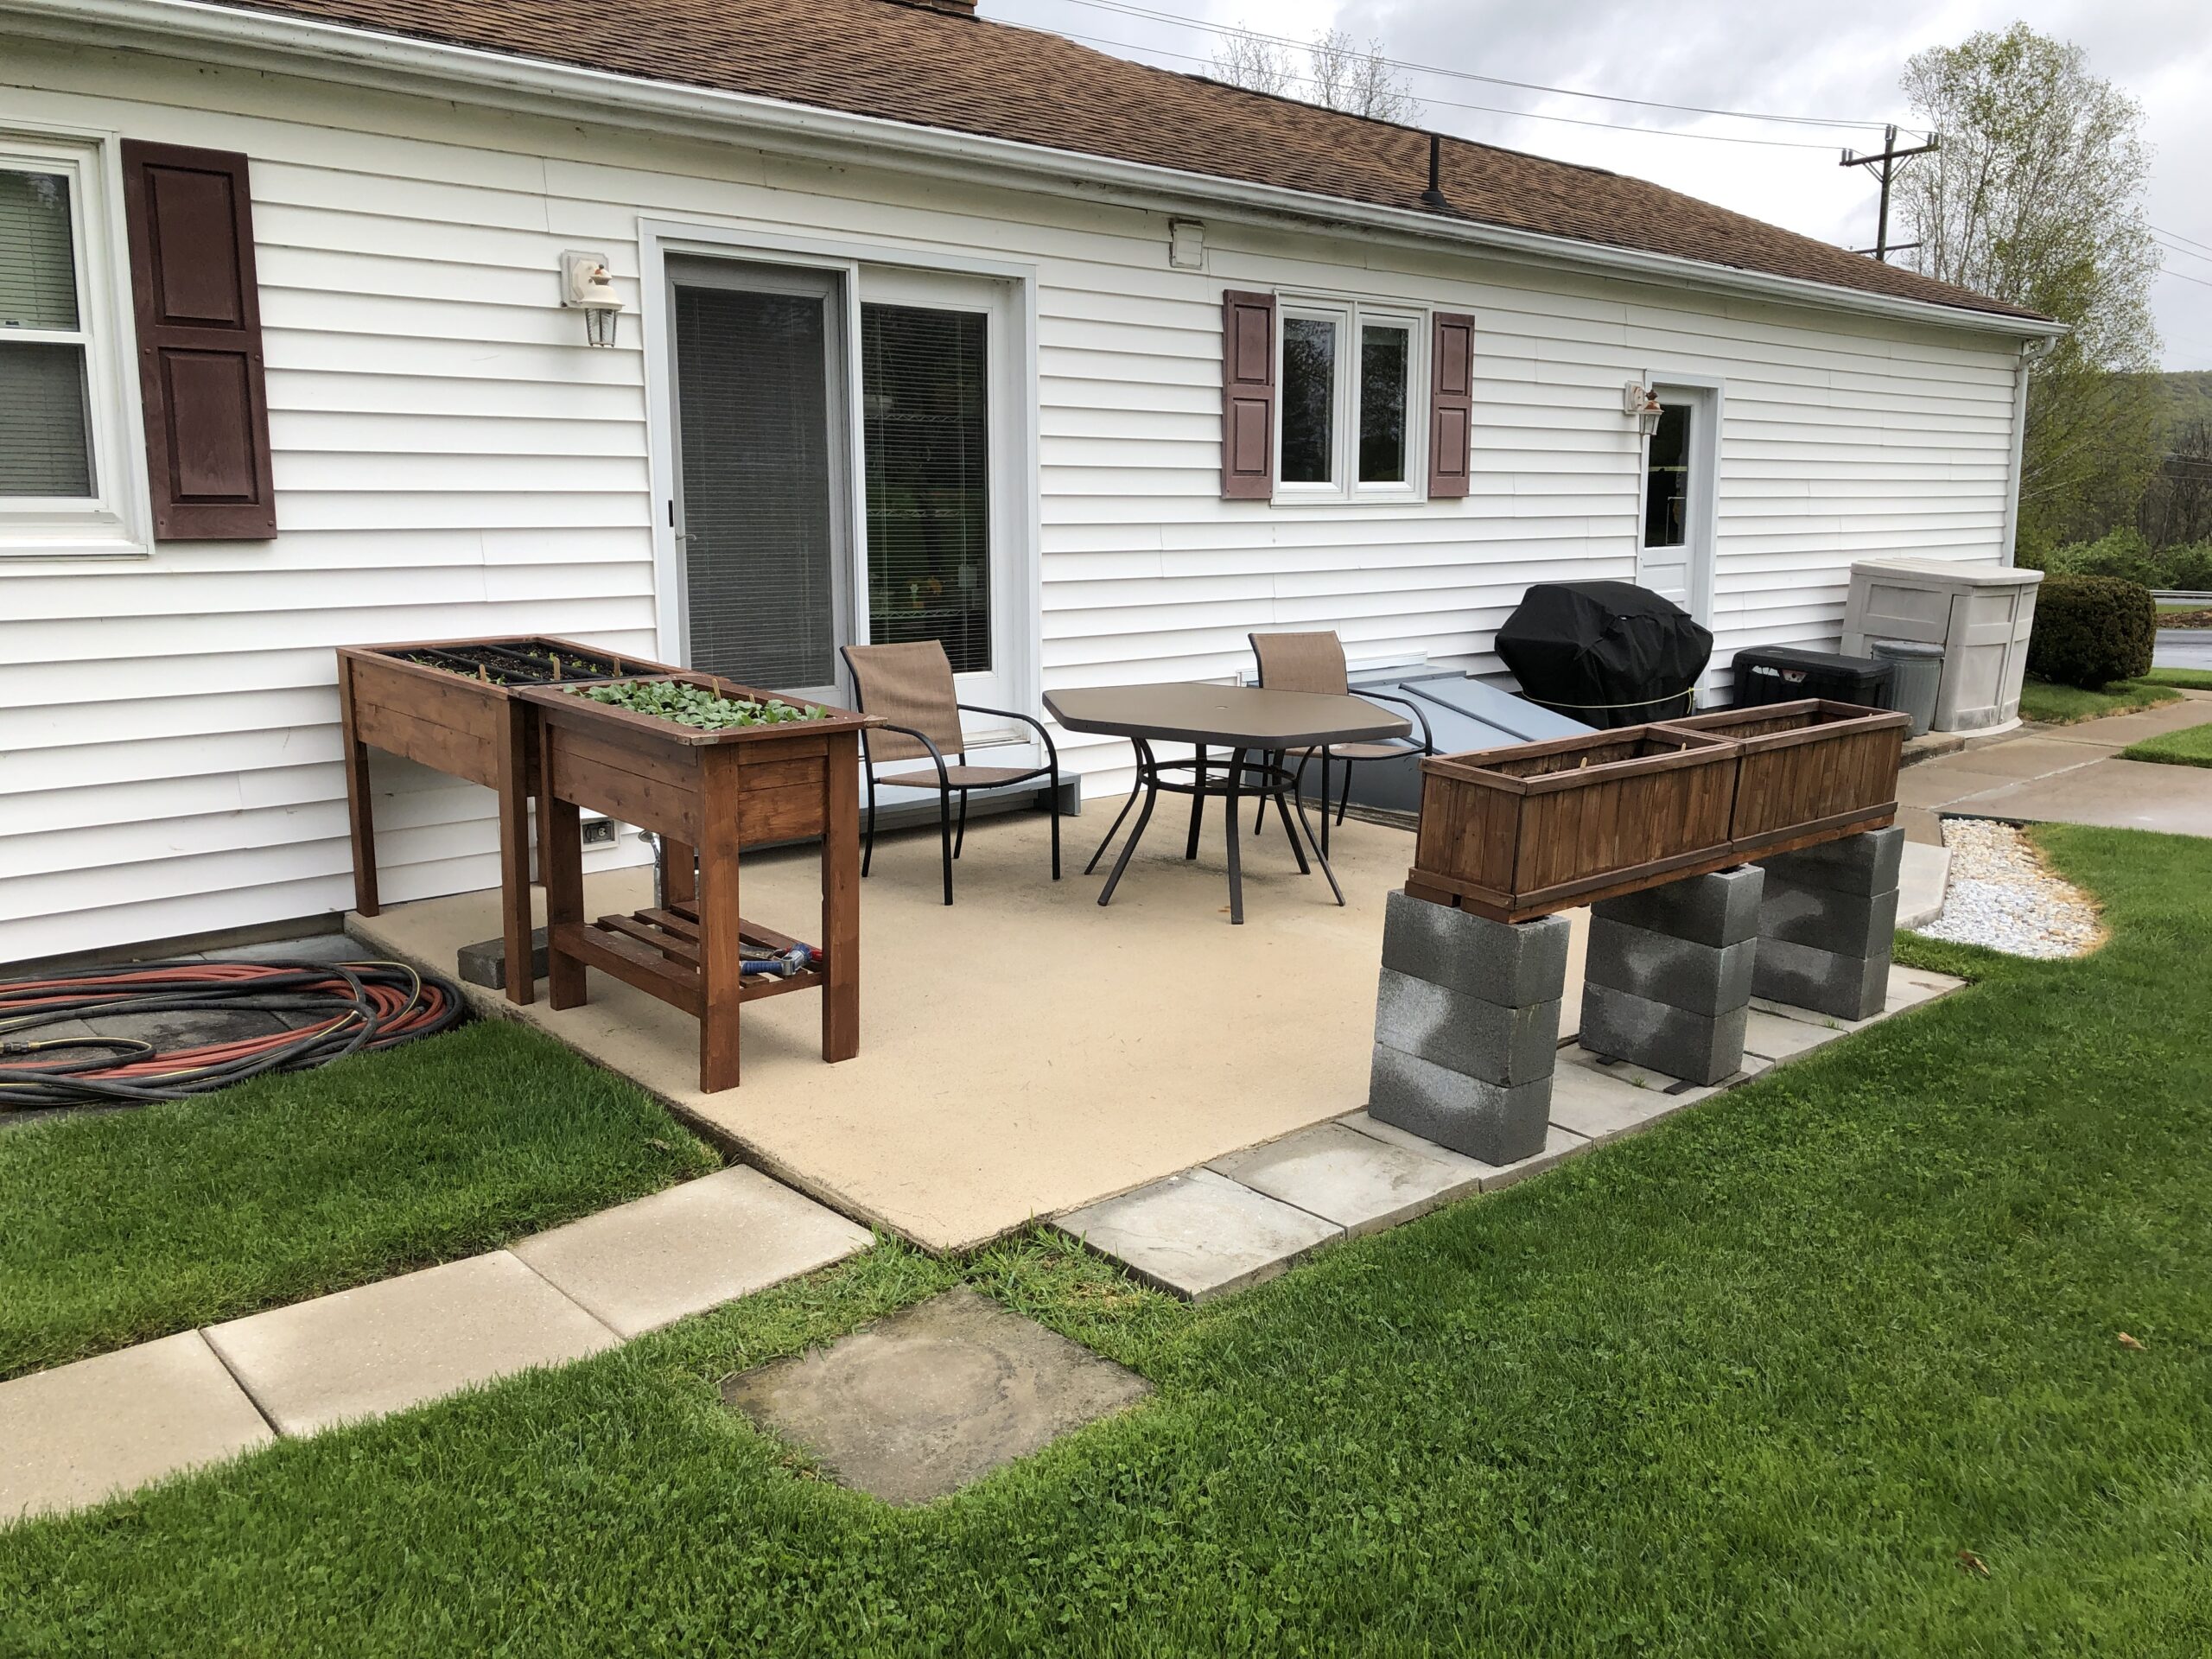
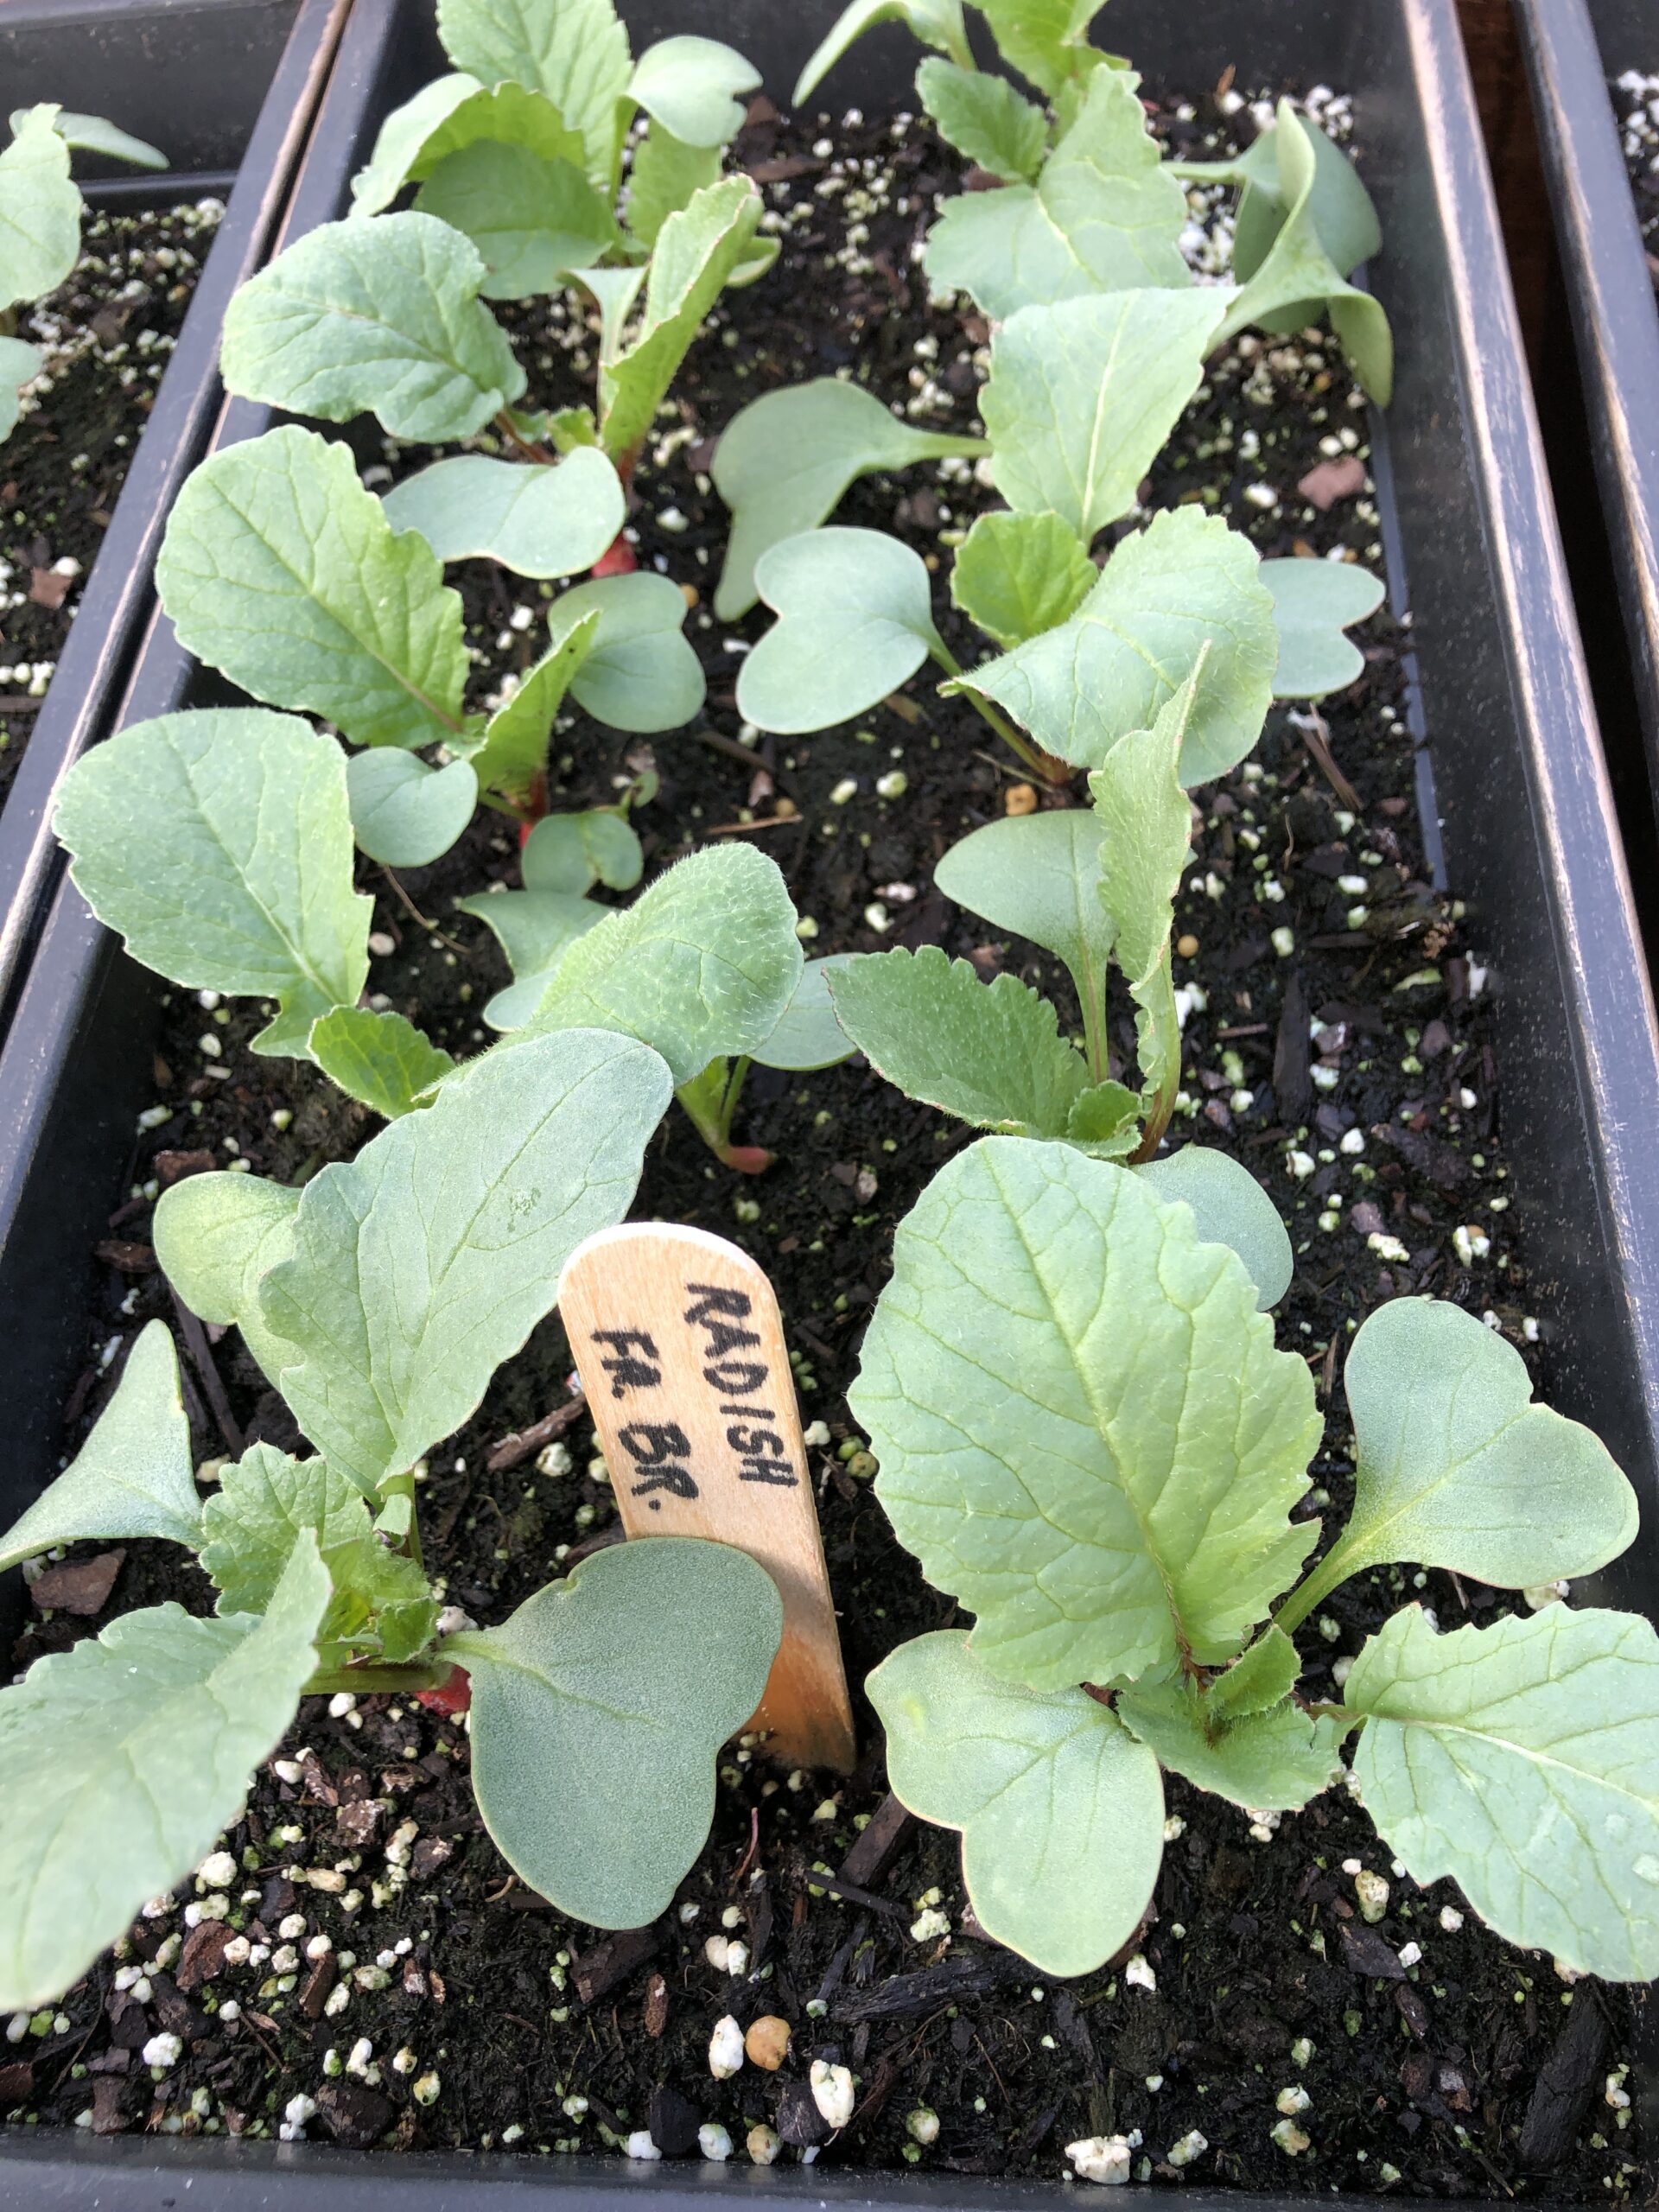
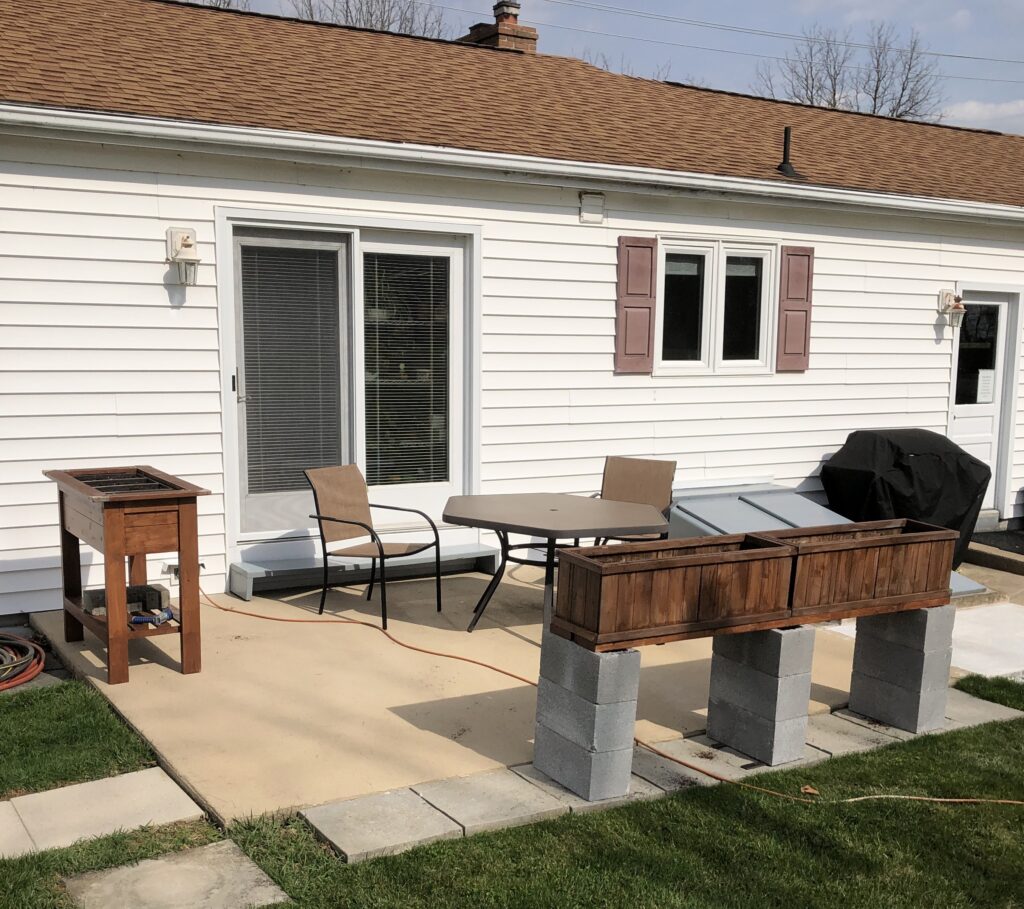
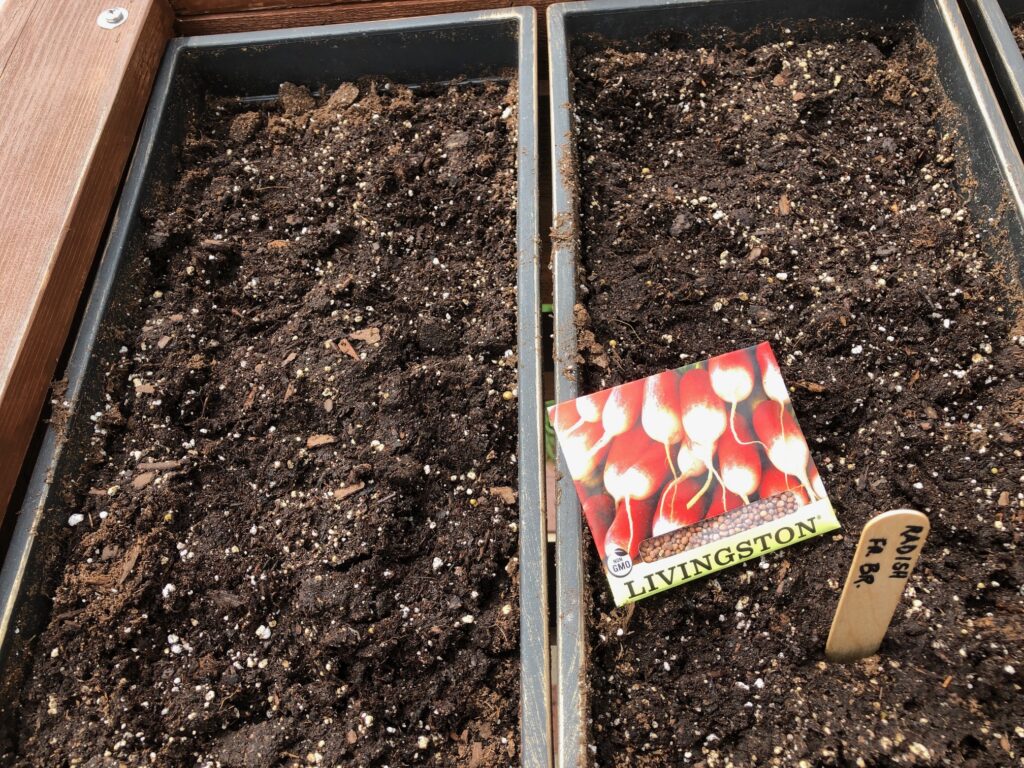
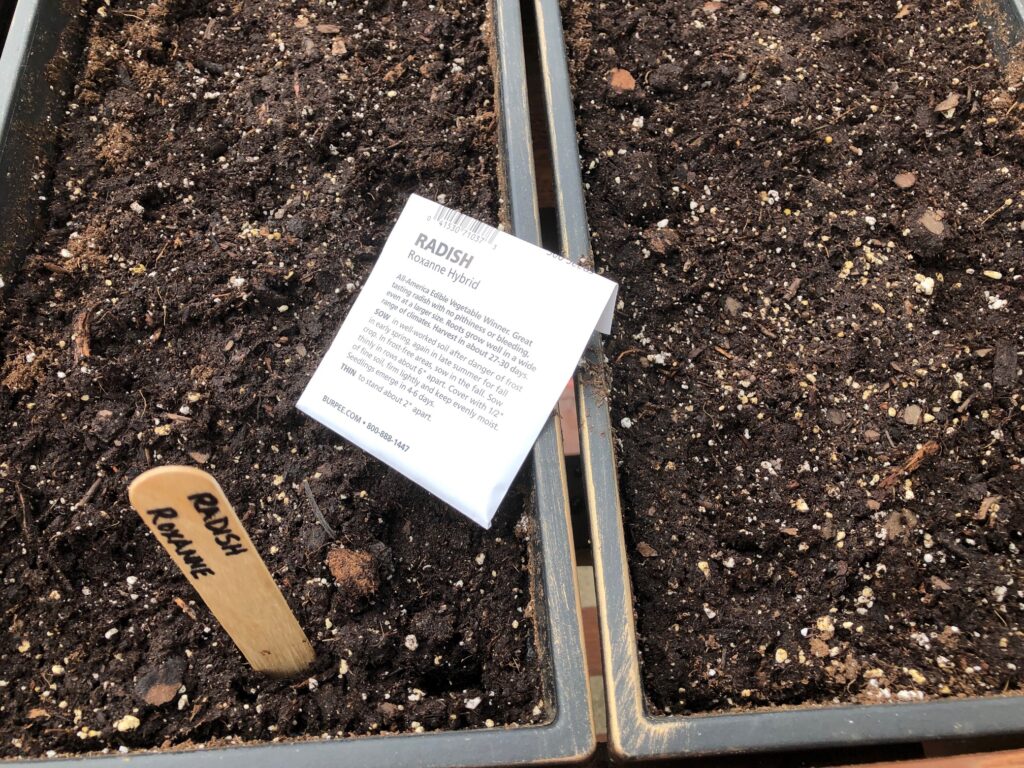
In the patio planters, I’ve harvested radishes three times so far. The newest crop is pretty tiny but I have several bags in the refrigerator.
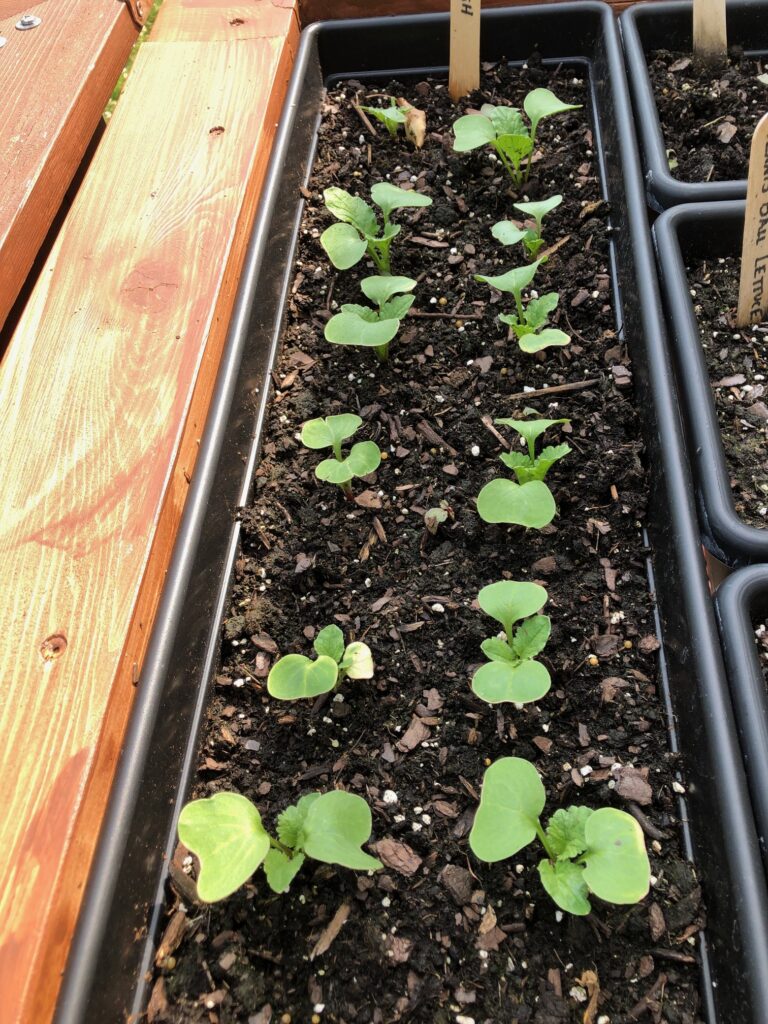
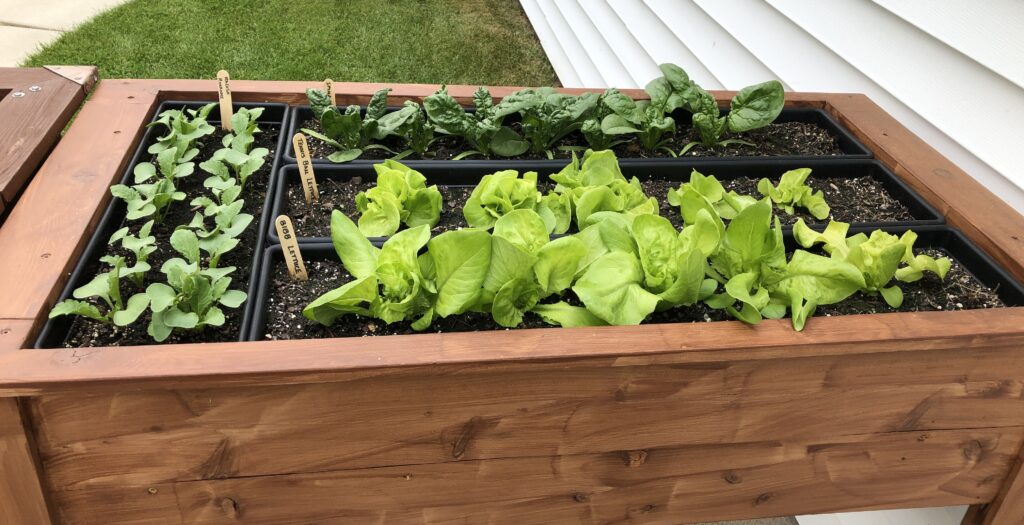
Another section has radishes a little smaller, but the lettuce in front has been donated to some bunny friends (or should I say…a friend with bunnies)!
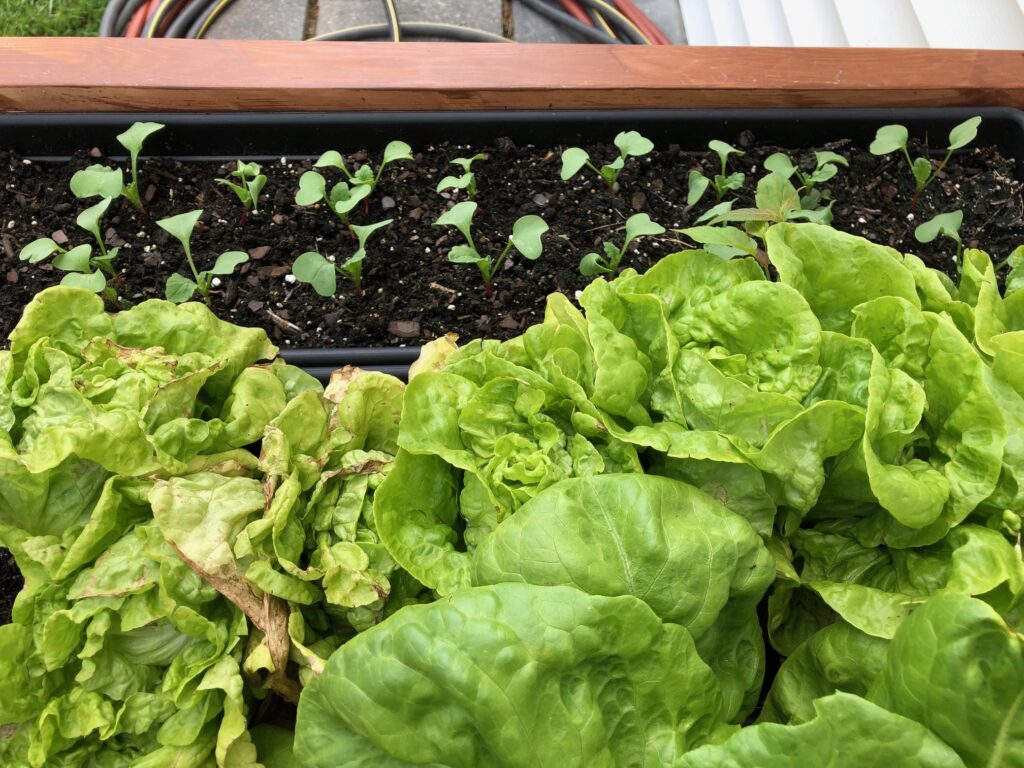
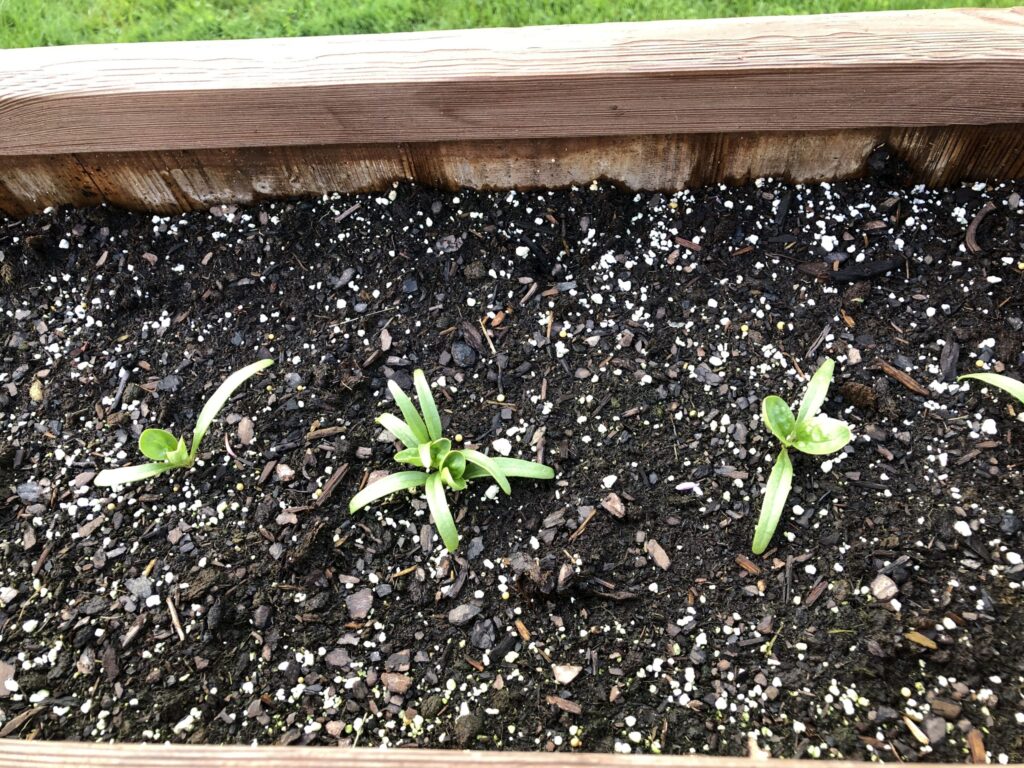
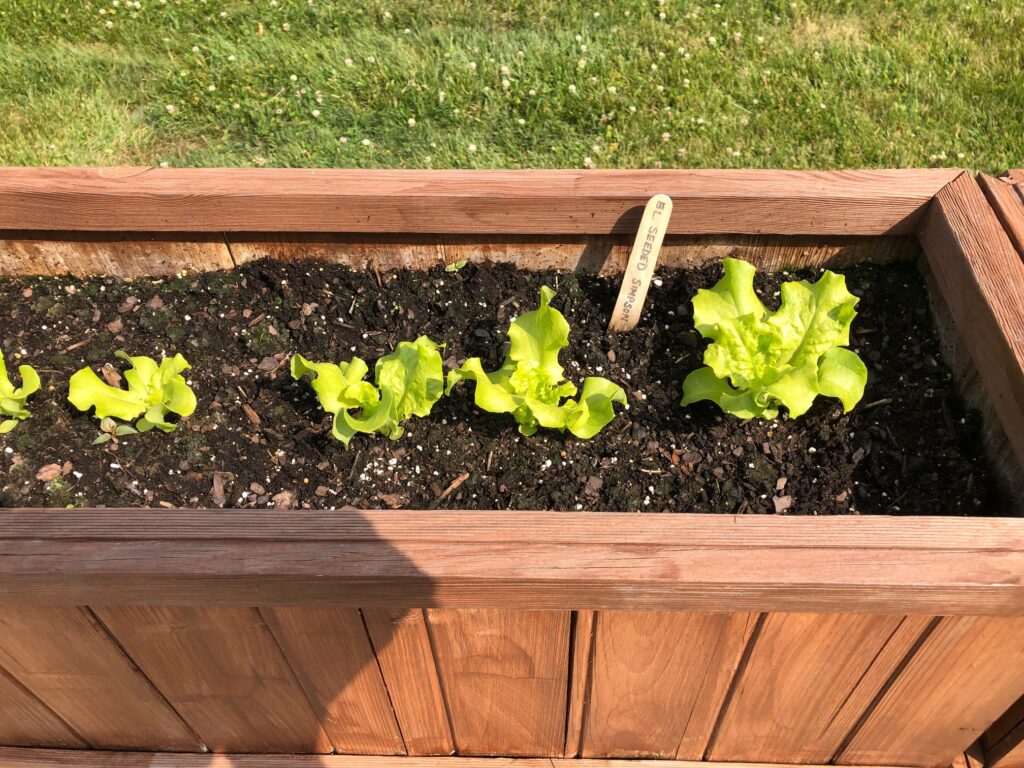
The lettuce we have the most success with is Black Seeded Simpson, so I’ll fill in empty spaces with more of that.
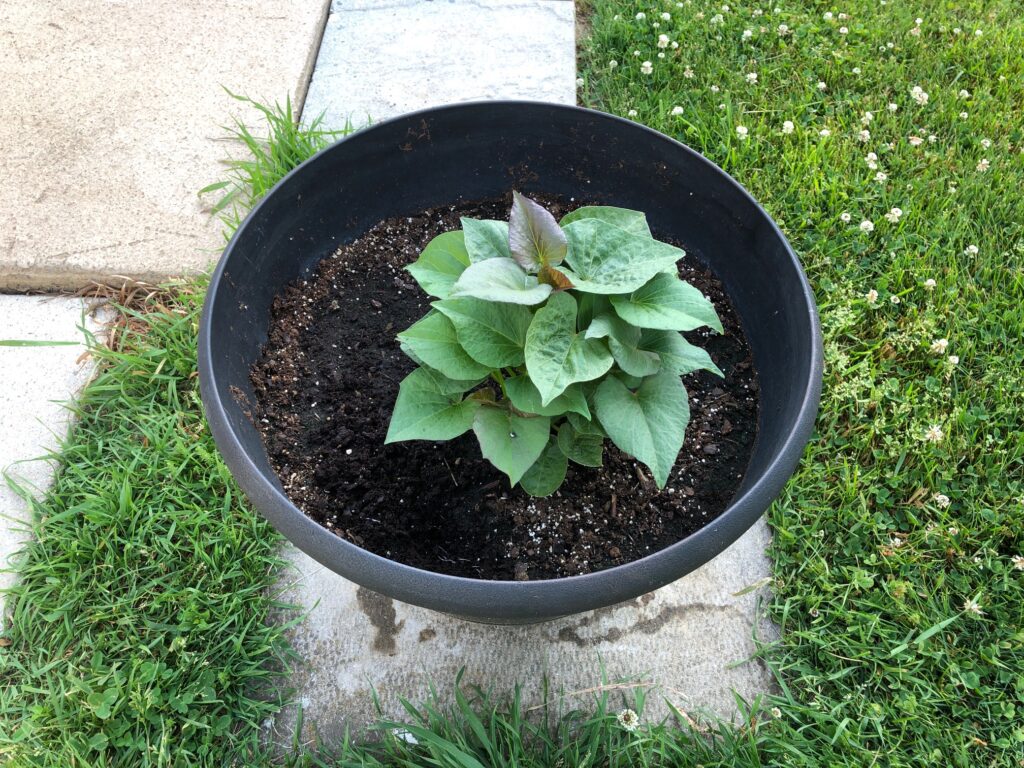
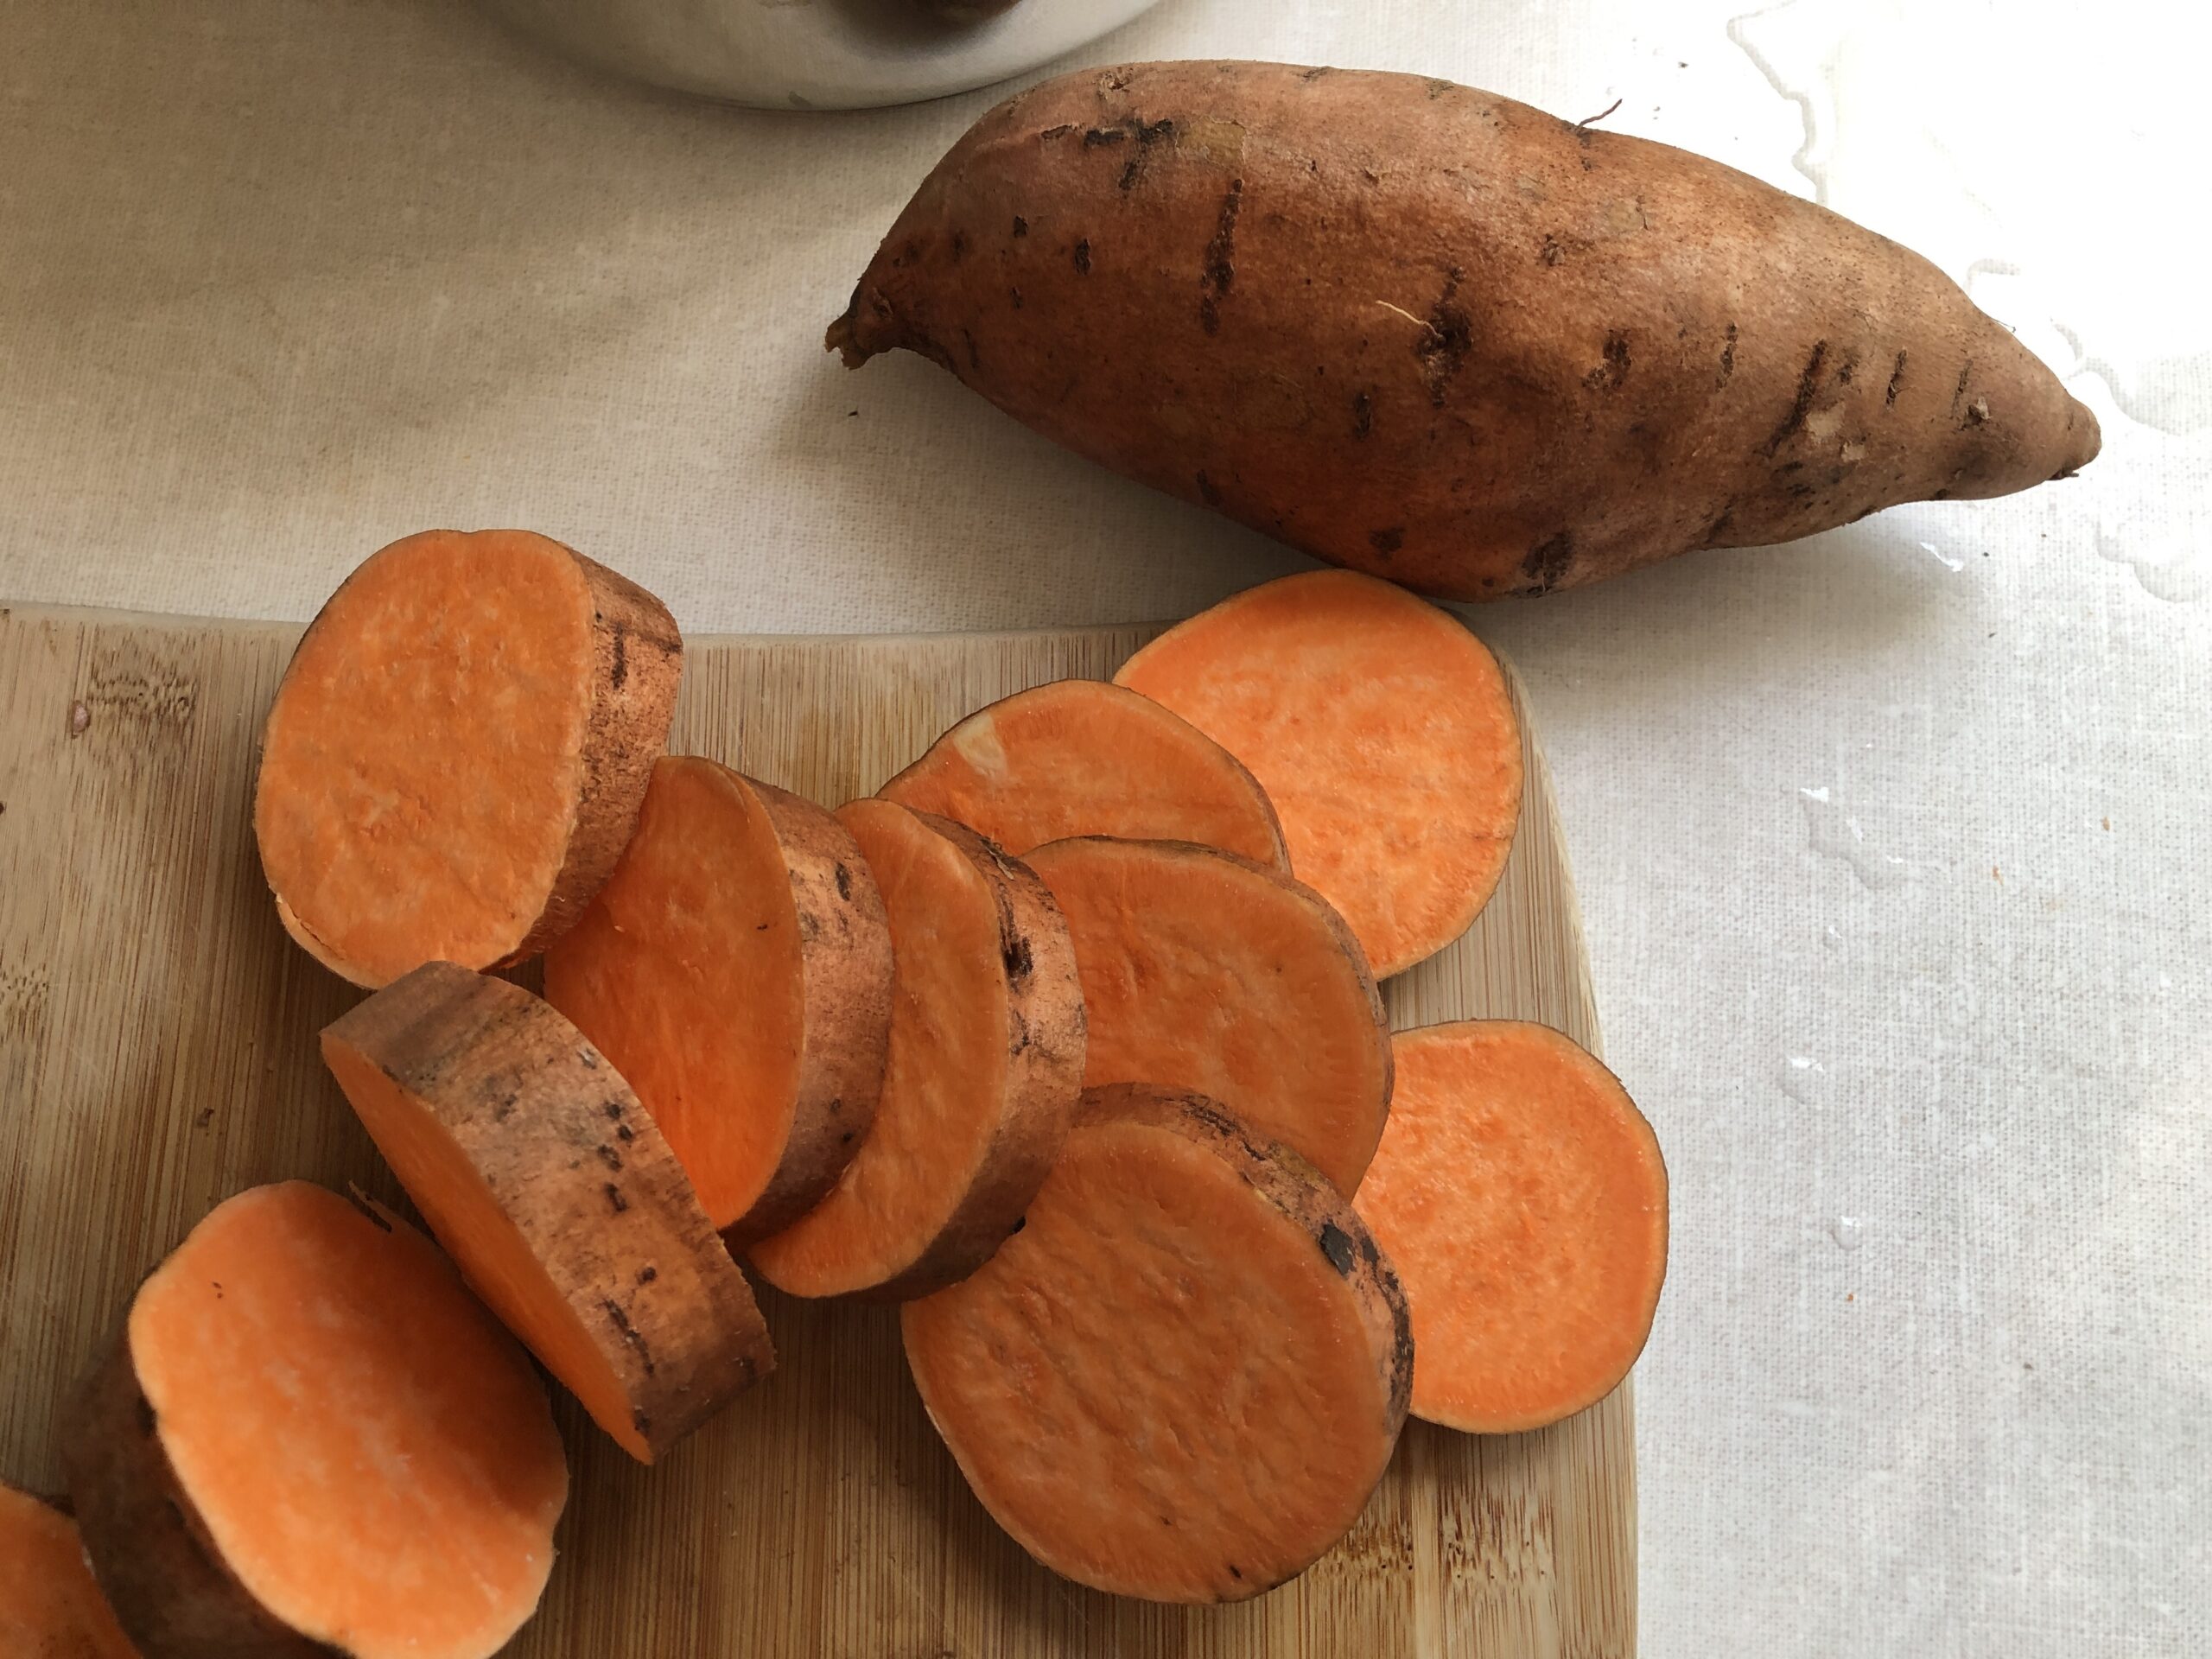
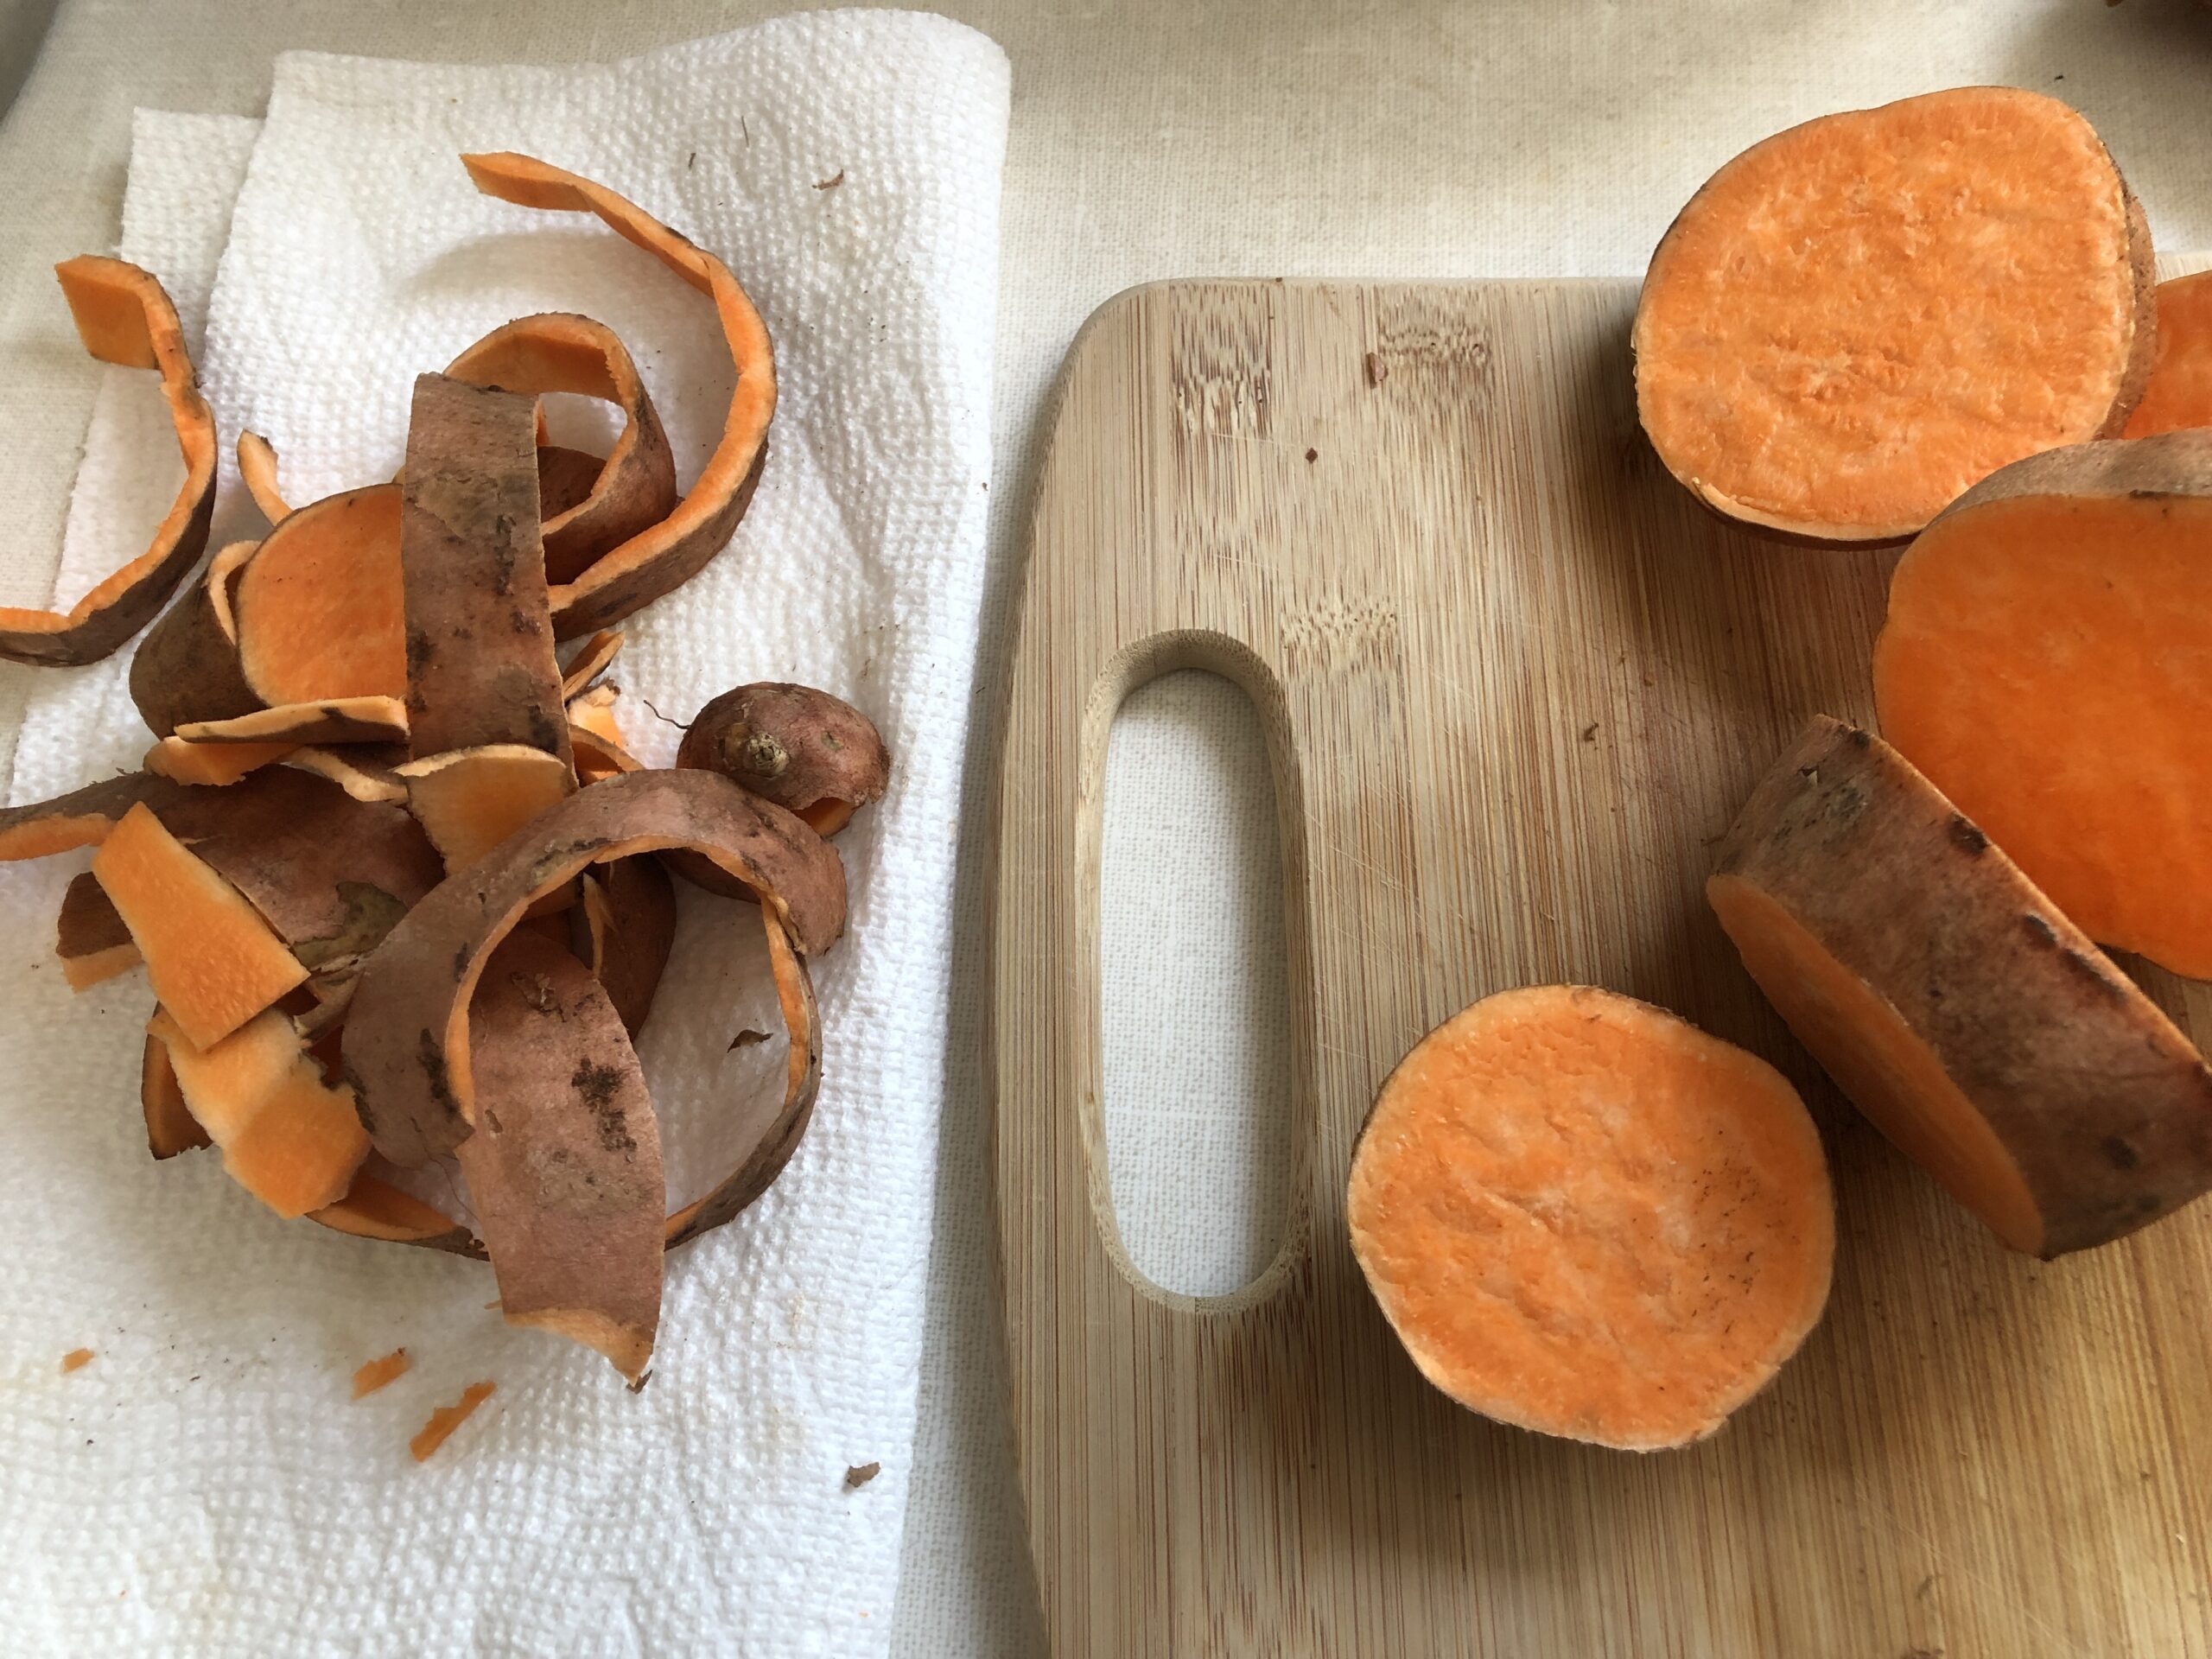
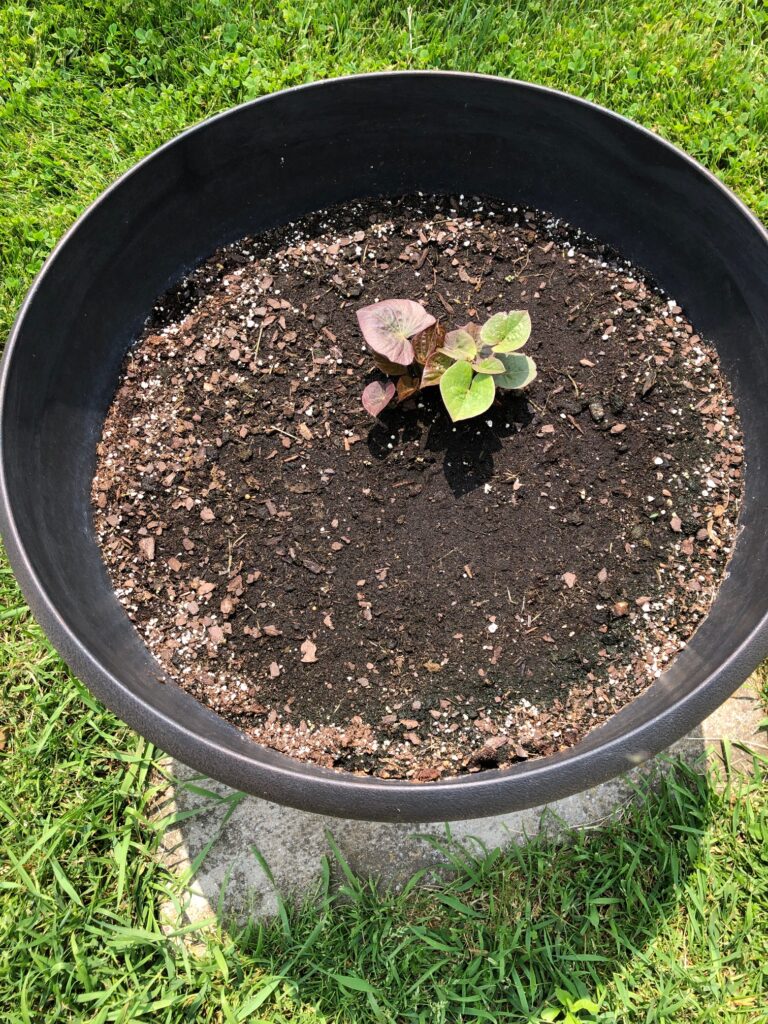
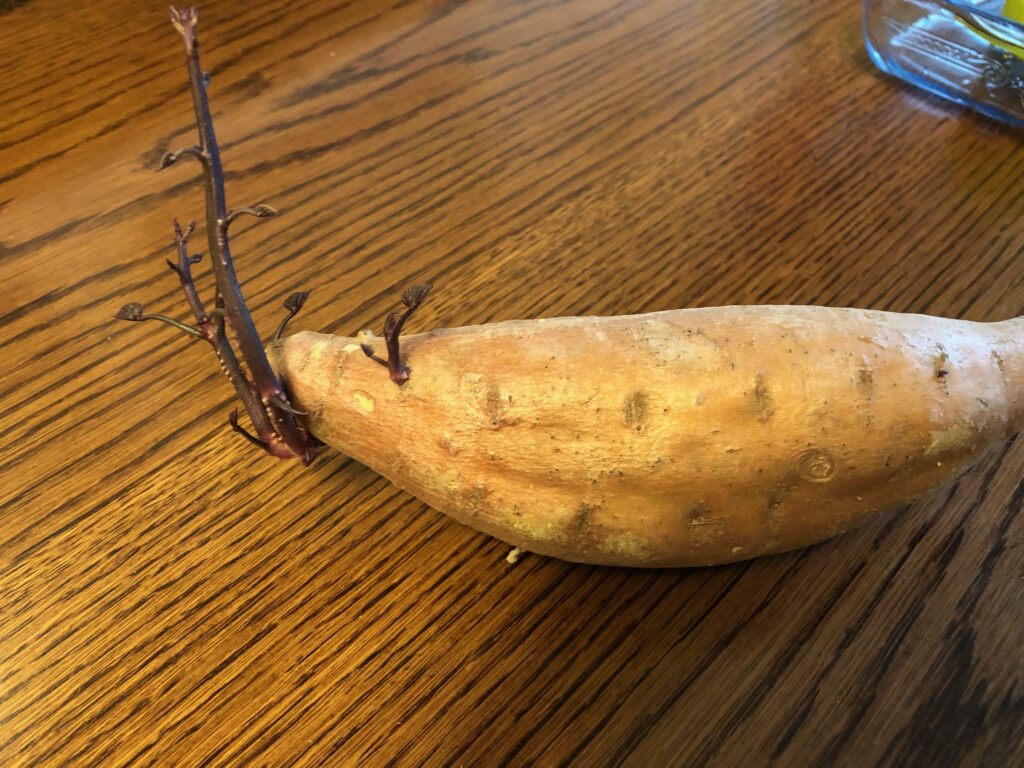
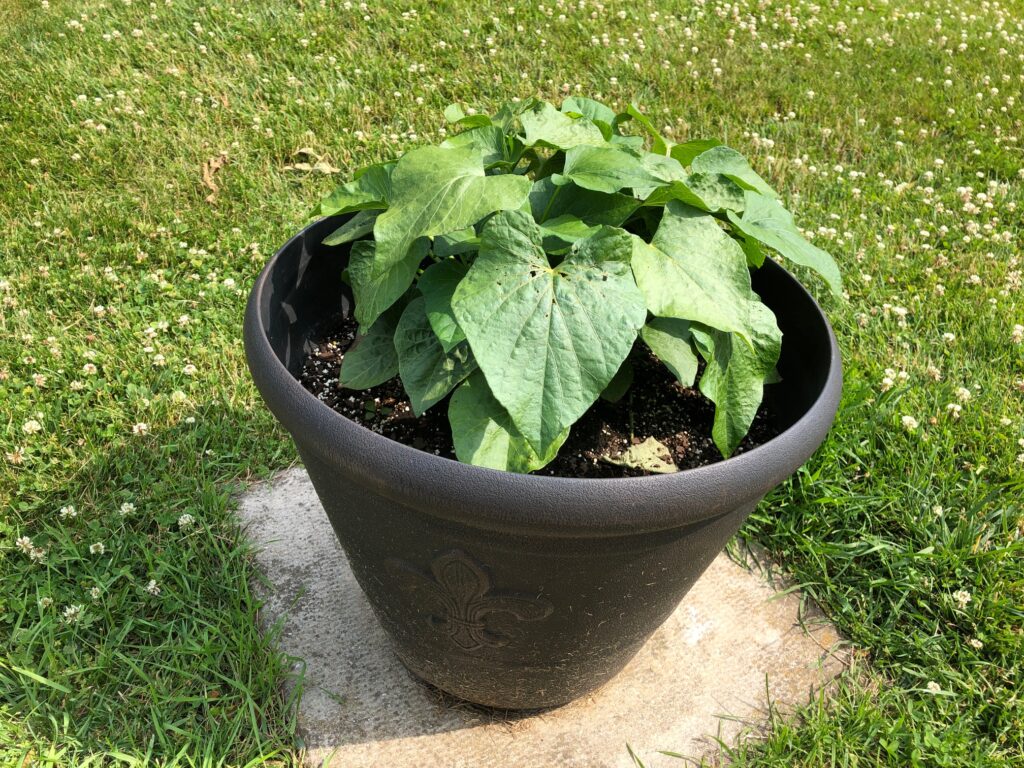
Remember that single sweet potato that was growing on my kitchen counter? It is going to make a great plant. Not sure if we’ll actually get any sweet potatoes out of it!
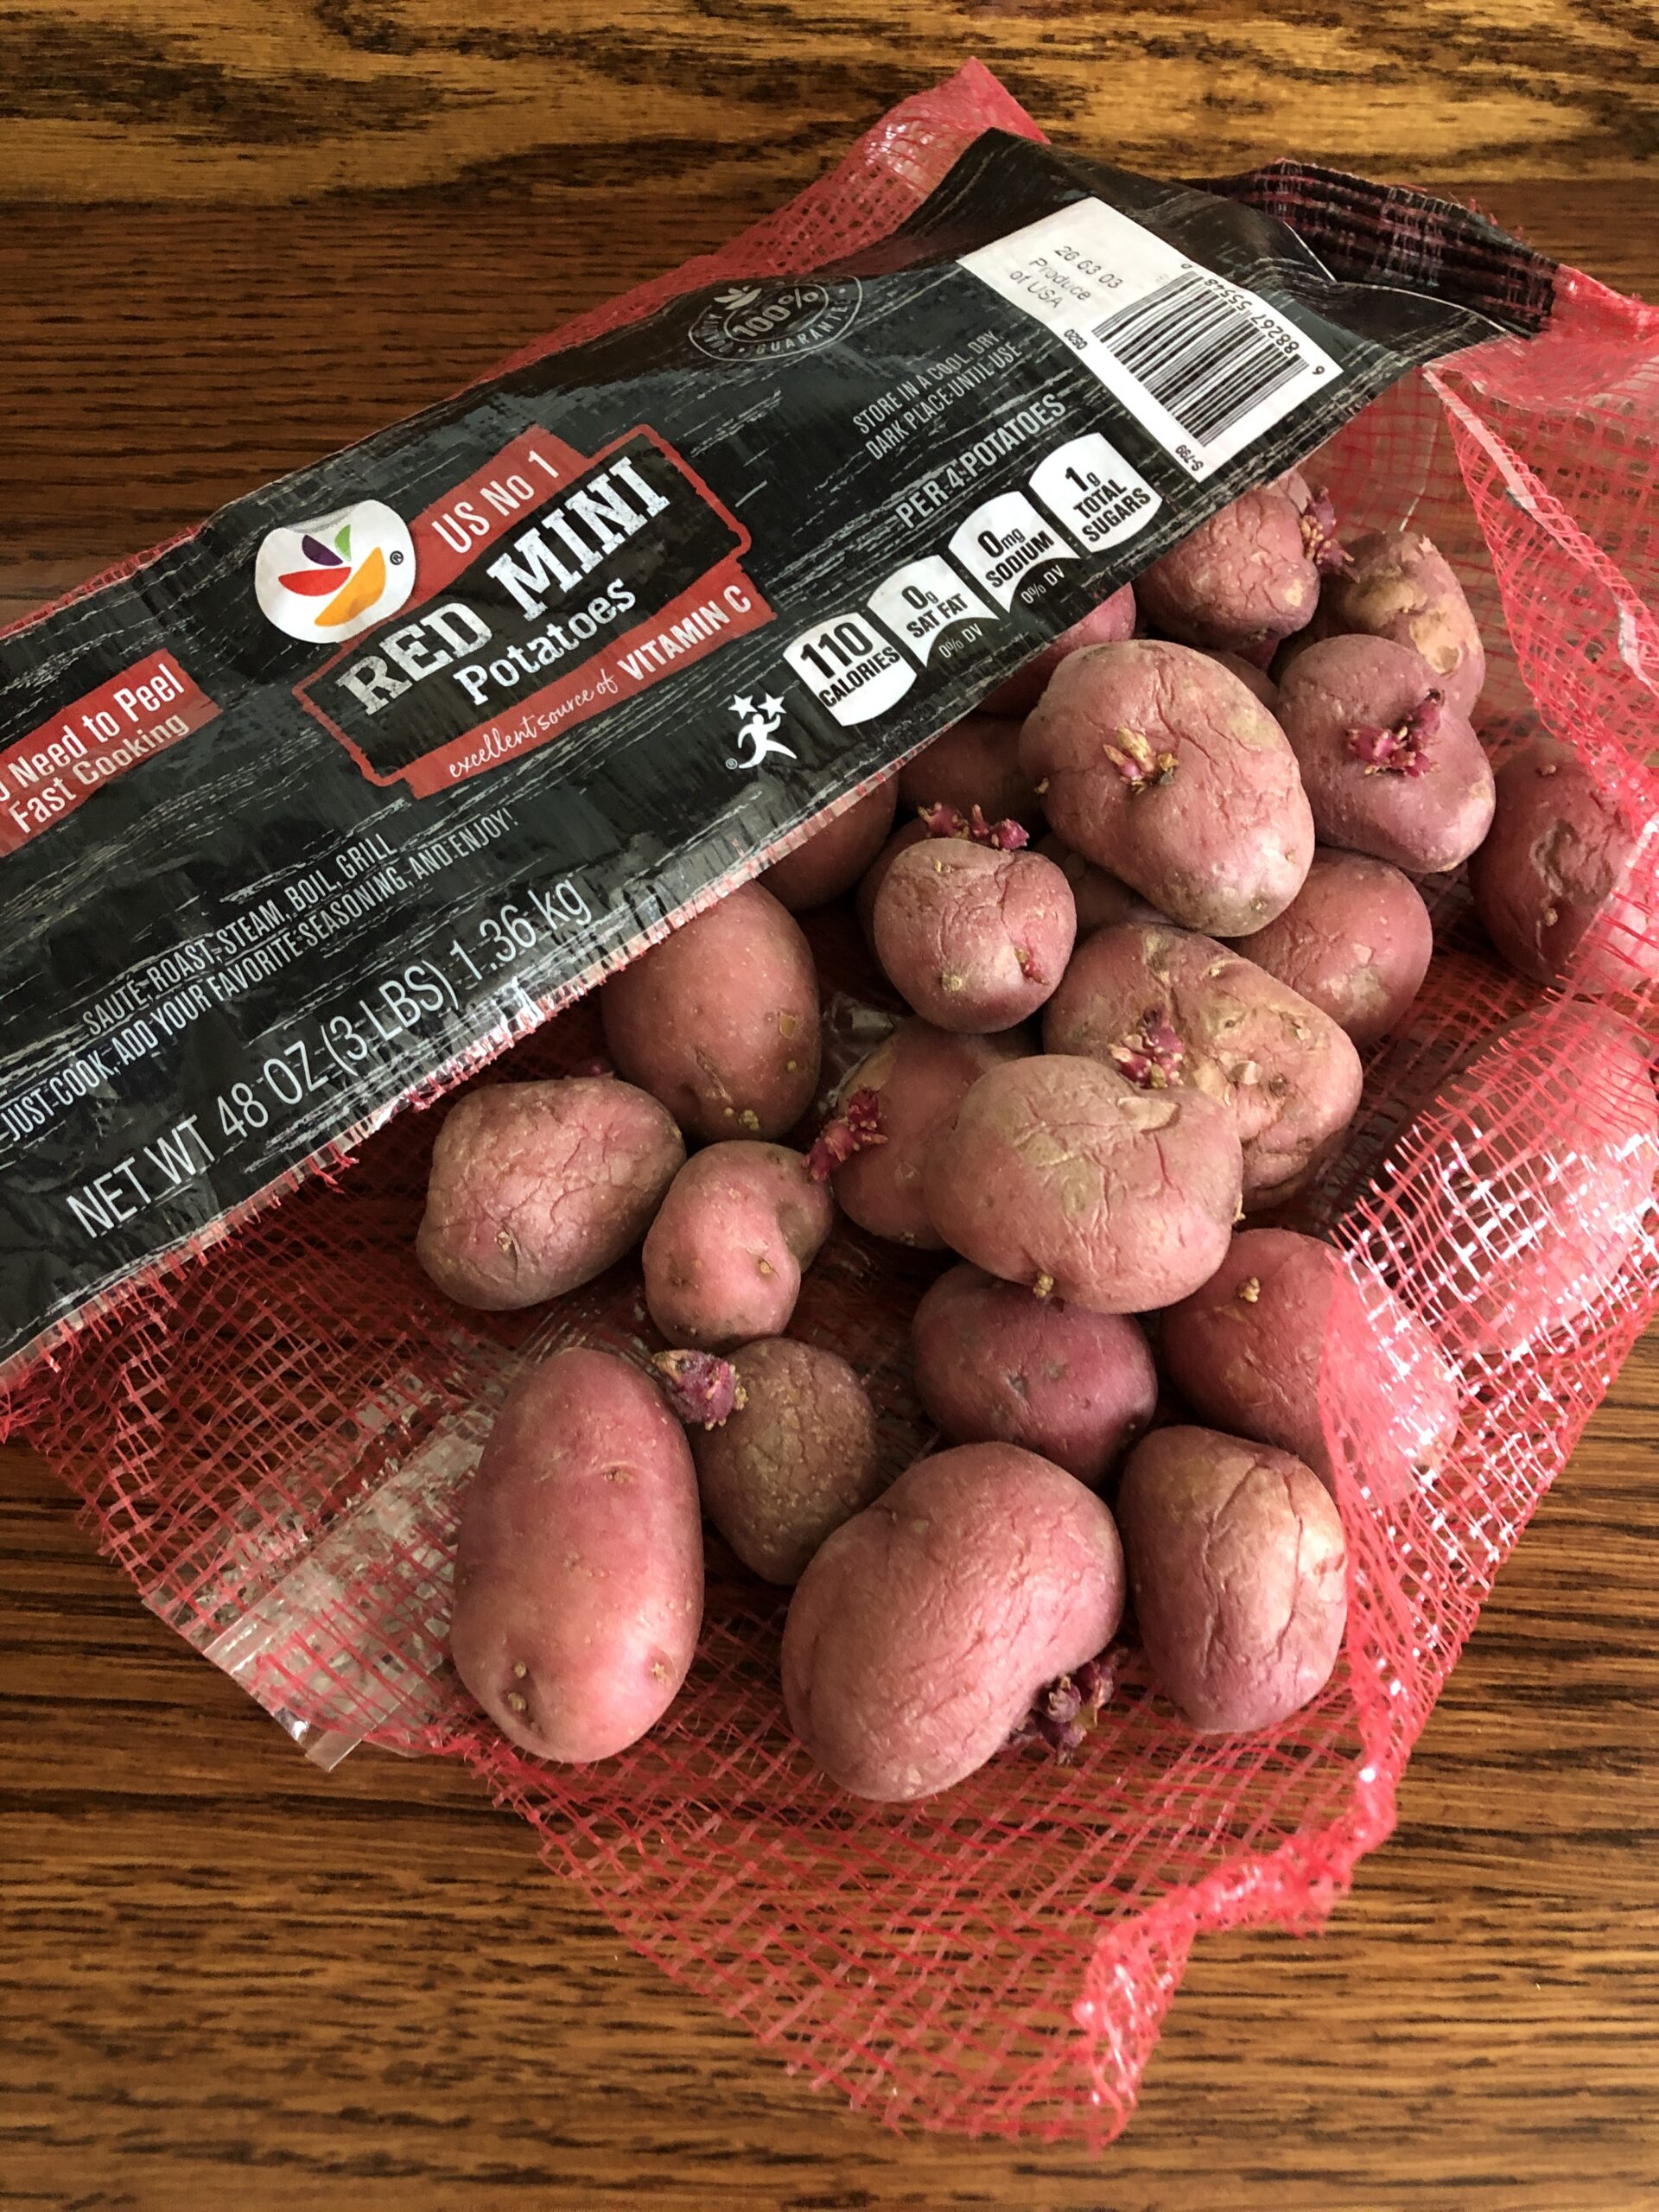
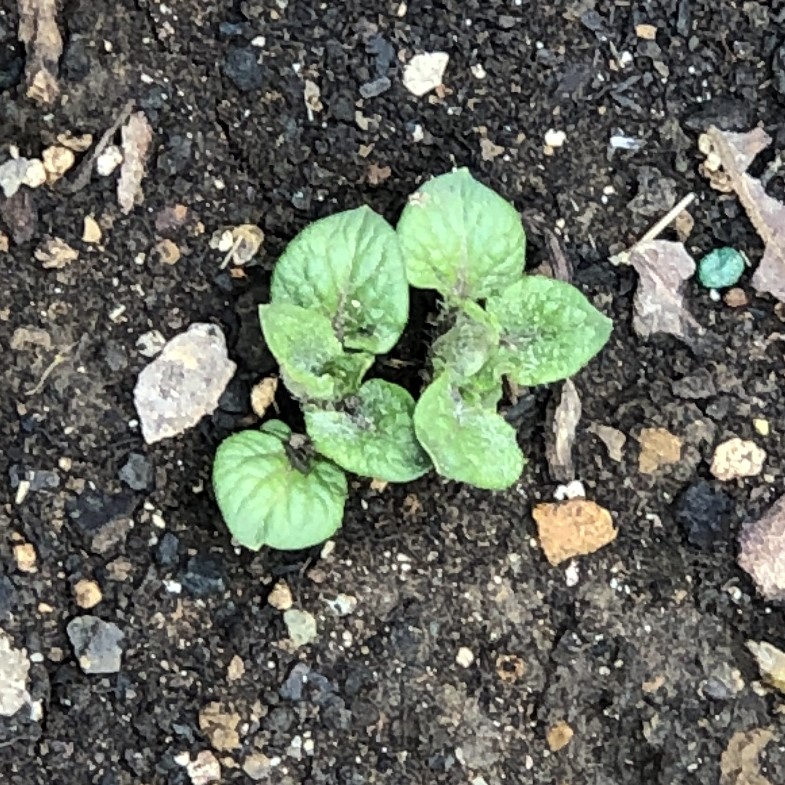
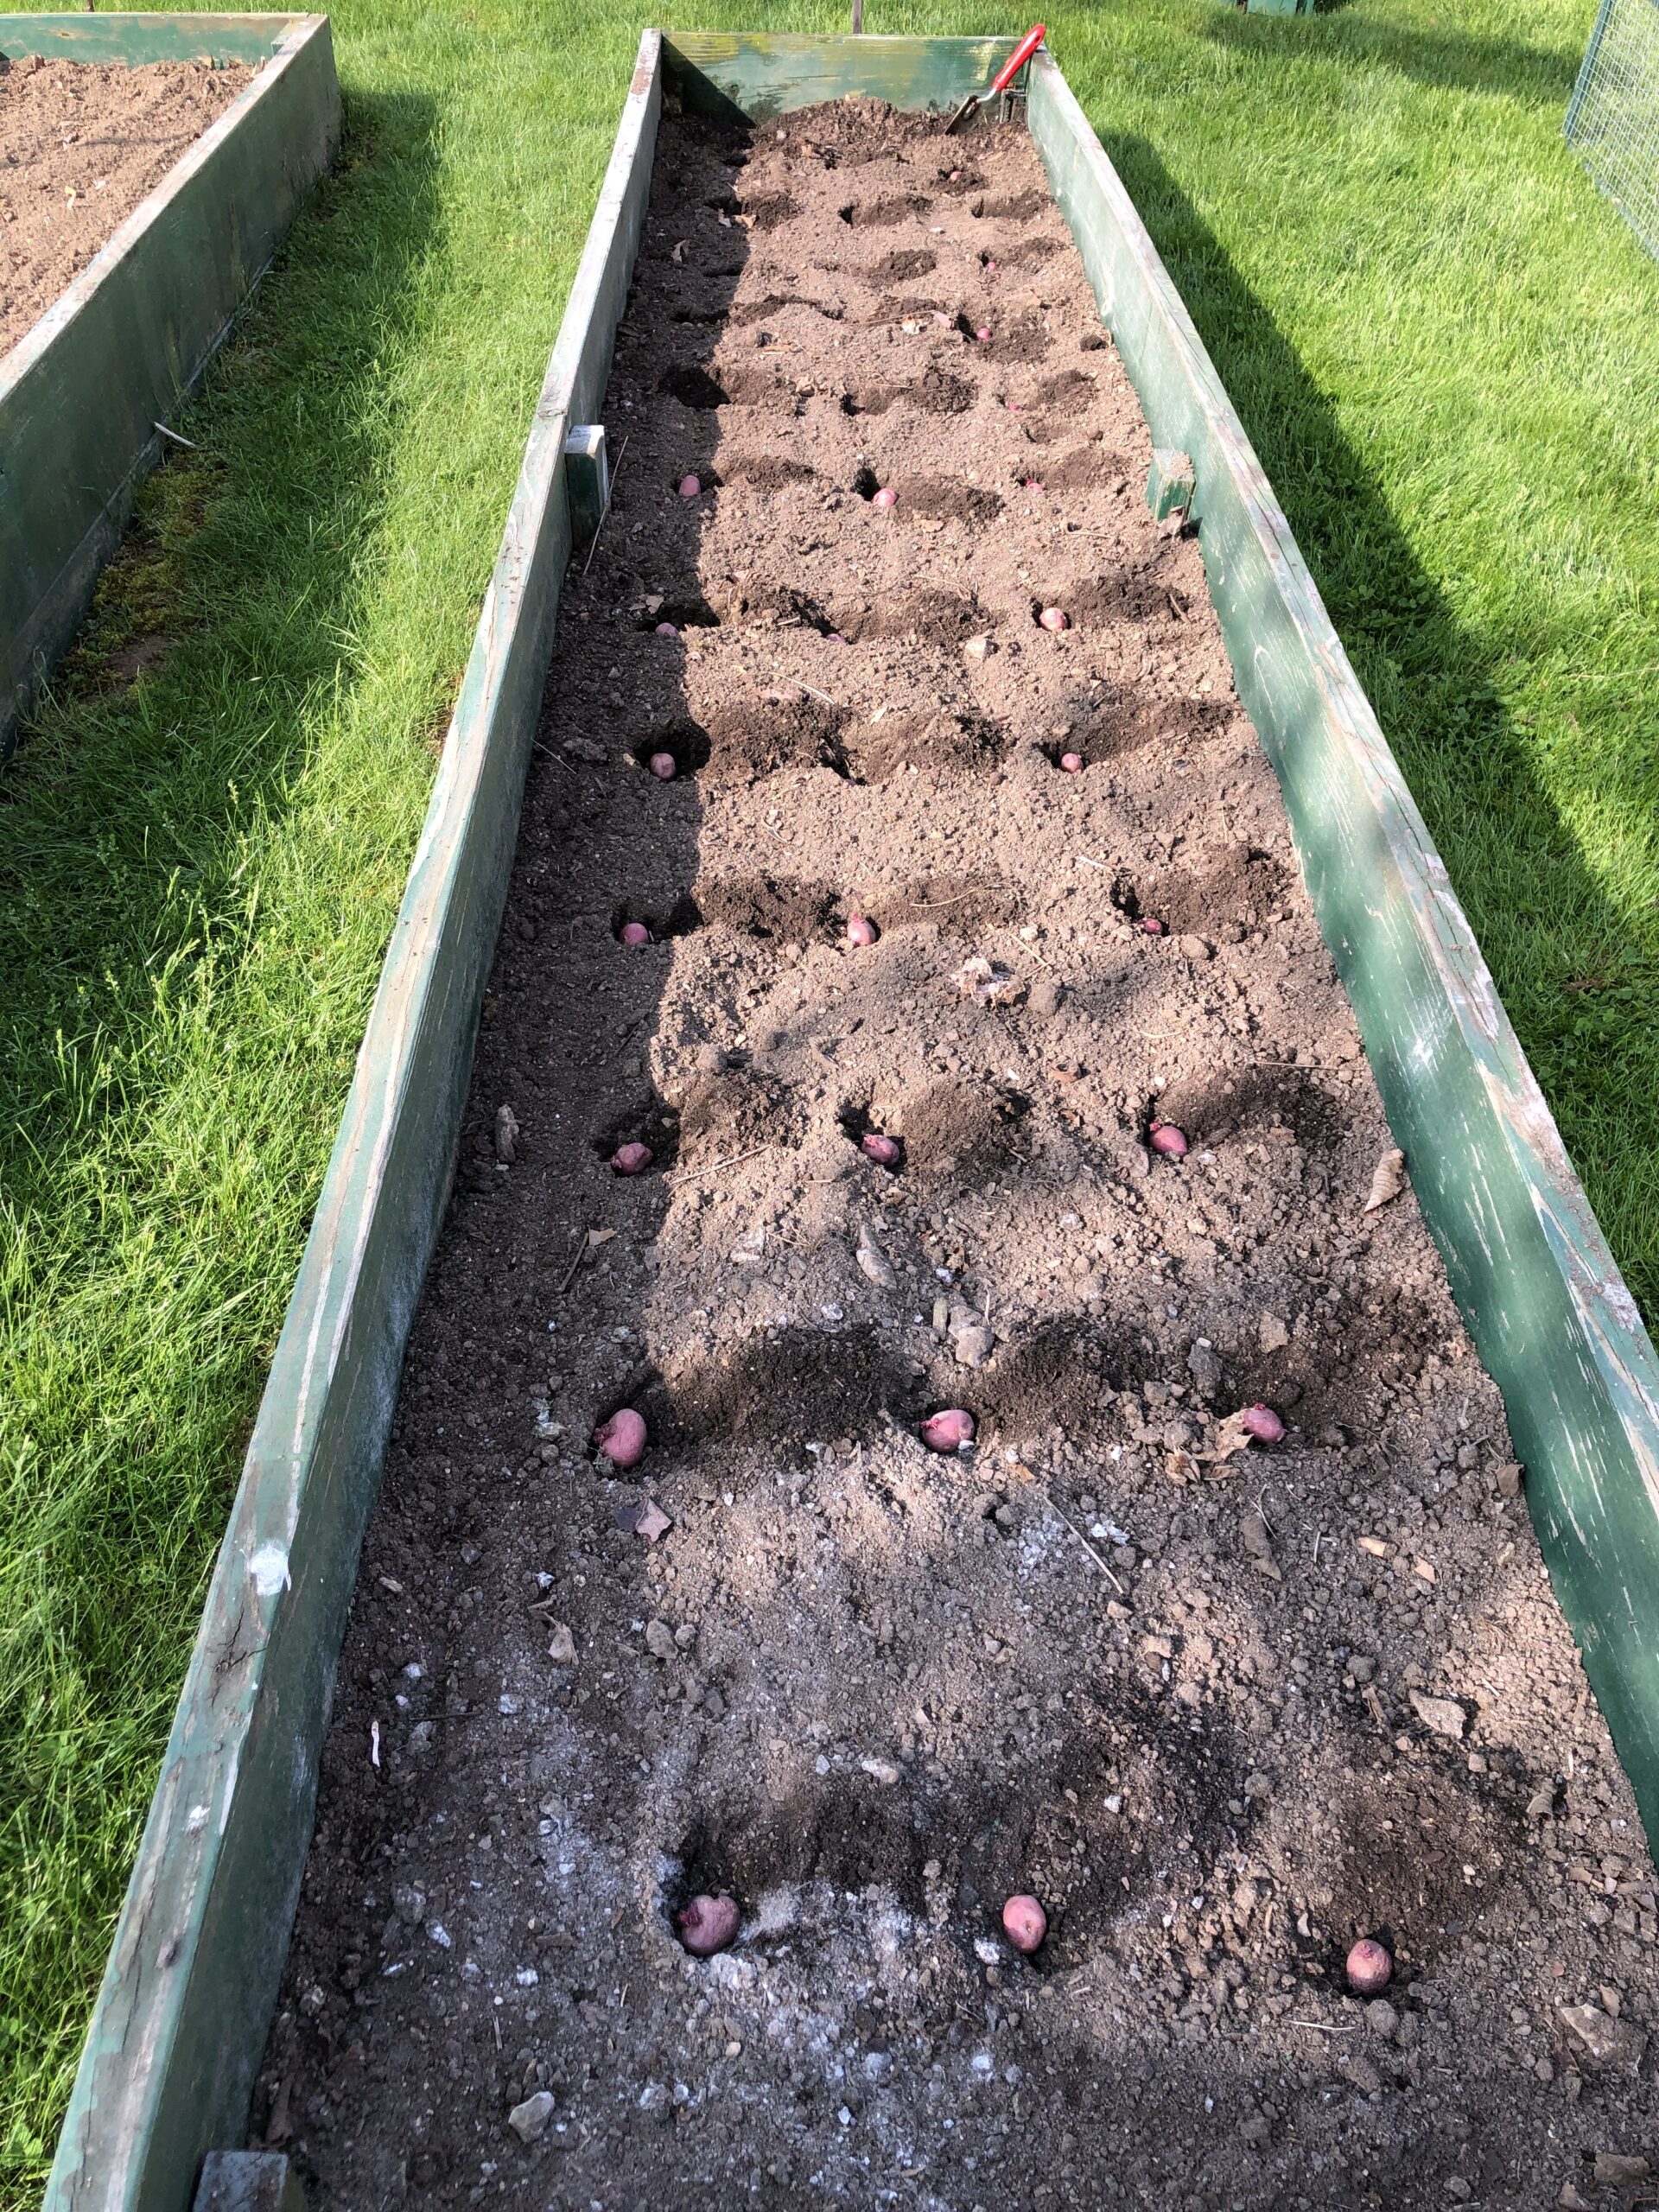
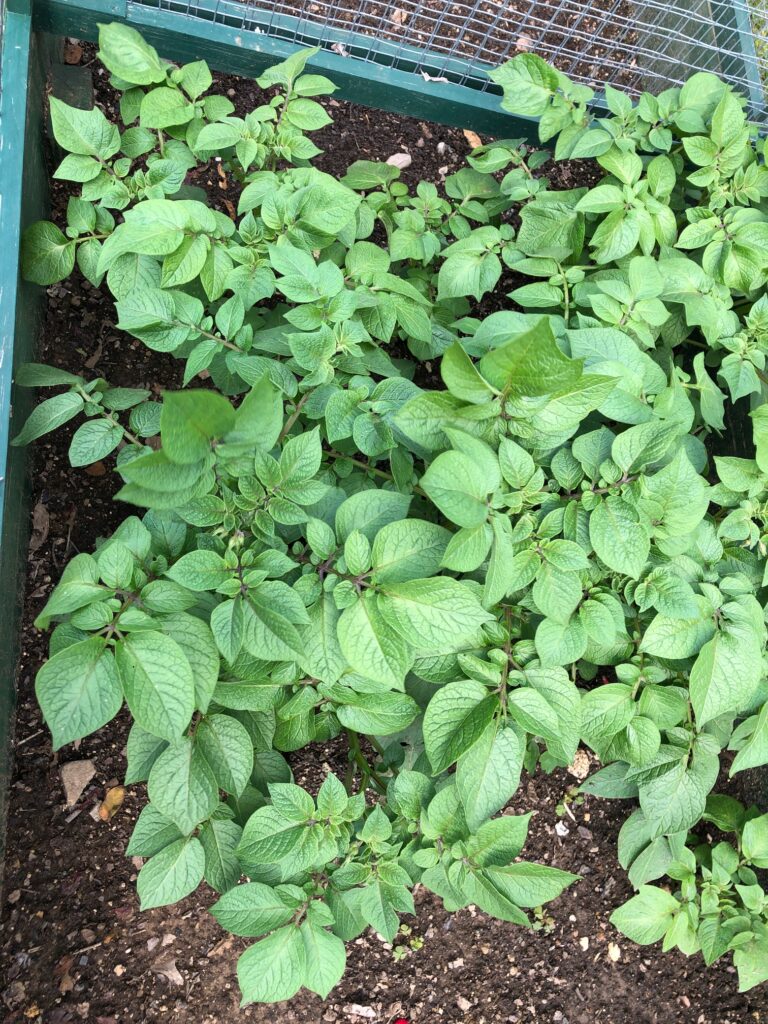
The small potatoes that were sprouting in the kitchen are also doing well in the ground!
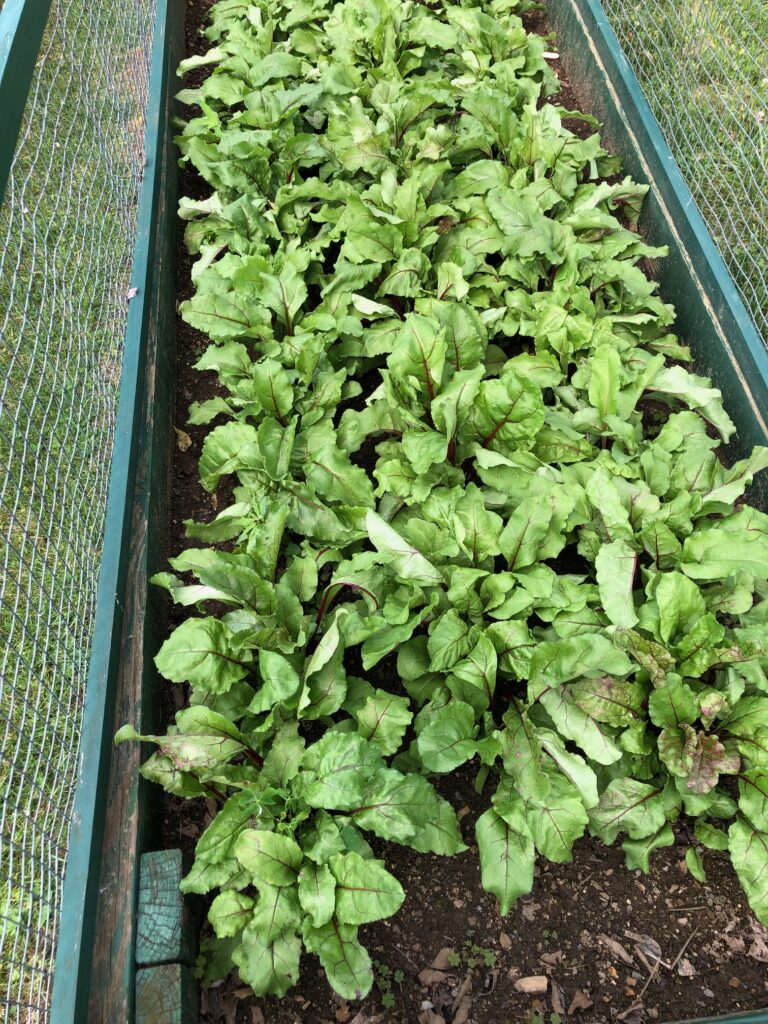
The beets are lush enough so the weeds don’t have a chance. I’ll thin them when they get bigger.
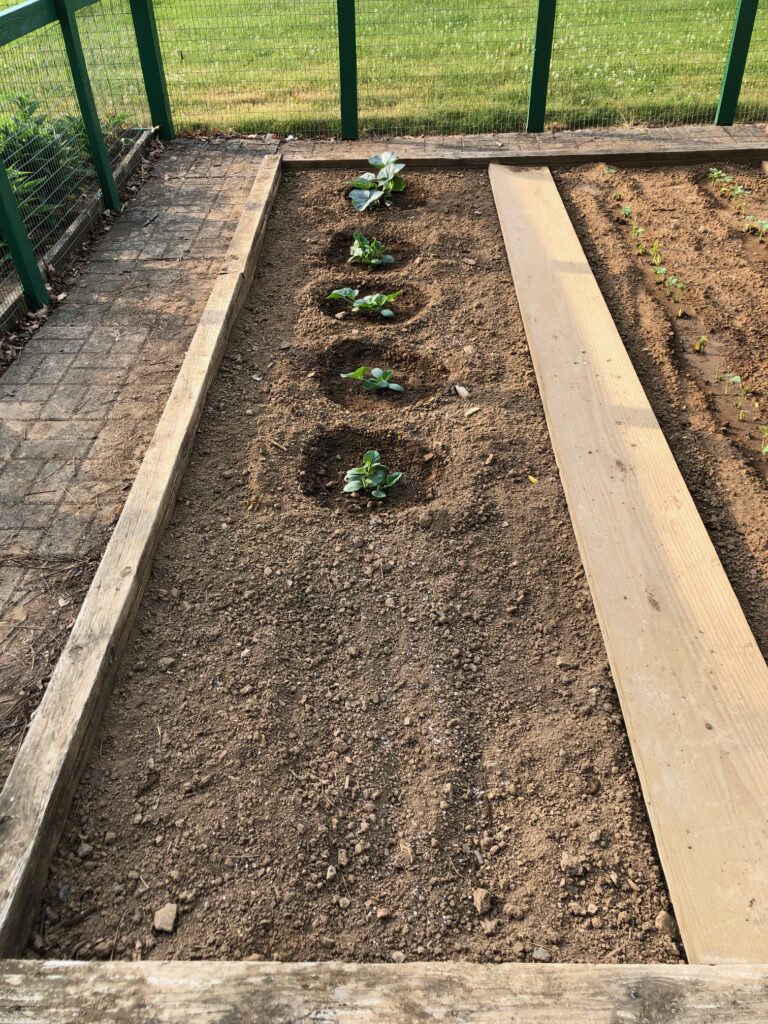
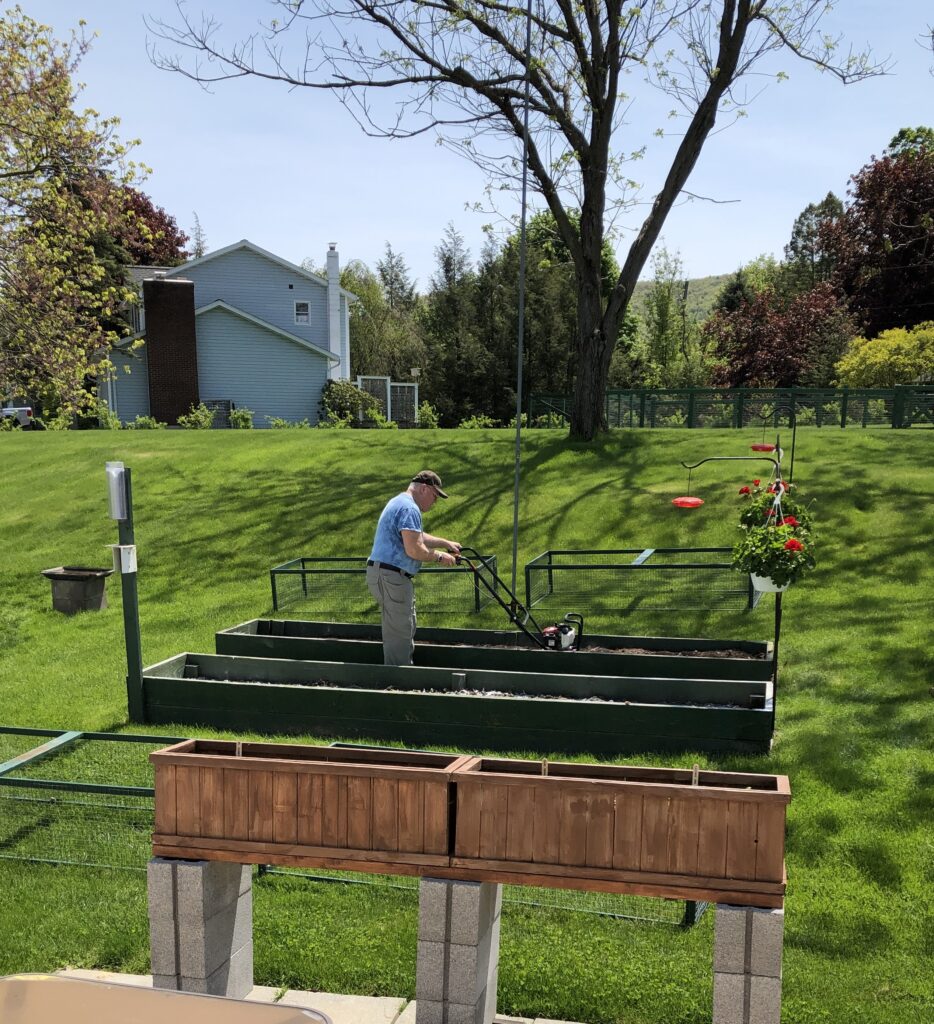
The last section of the raised beds was going to be several herbs…however, the seeds must have been too old…nothing came up! So, we put in the last few Delicata squash plants we had. A good choice since it’s quite handy to the bird feeder and the visiting deer won’t eat them. We’ll see!

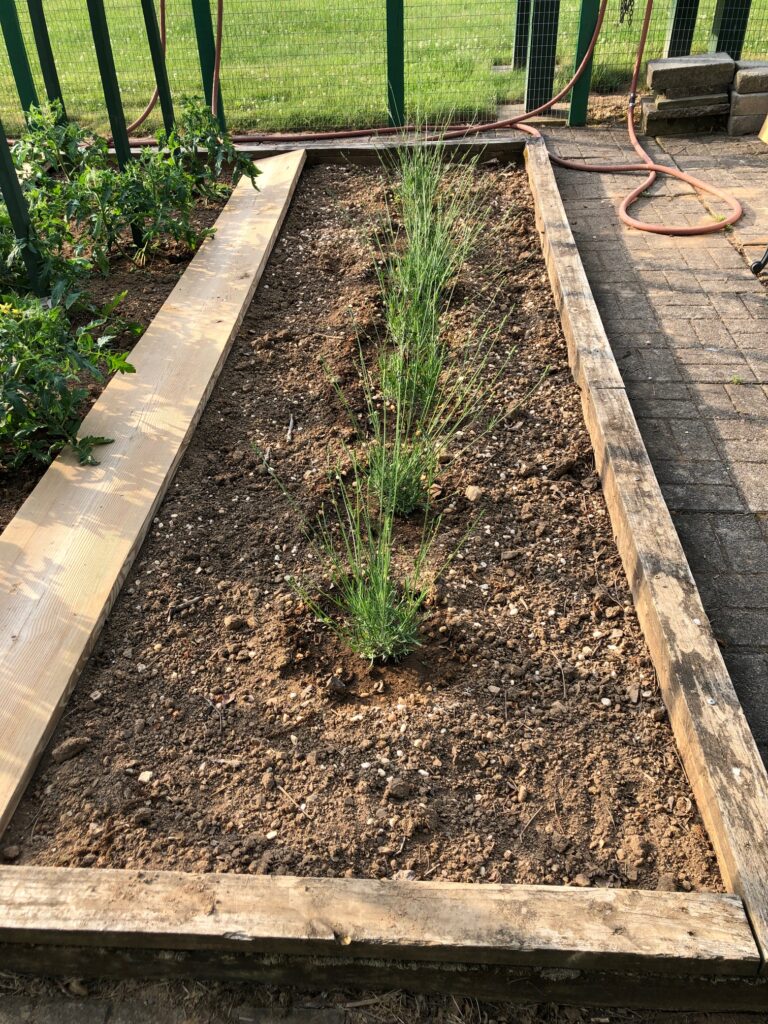
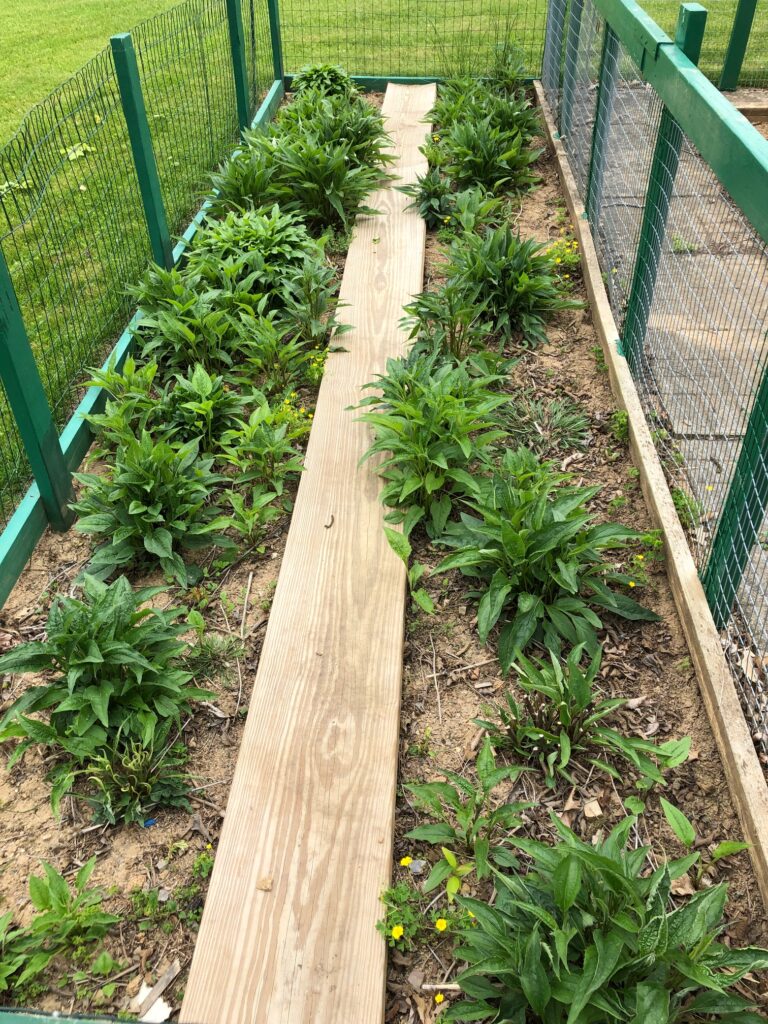
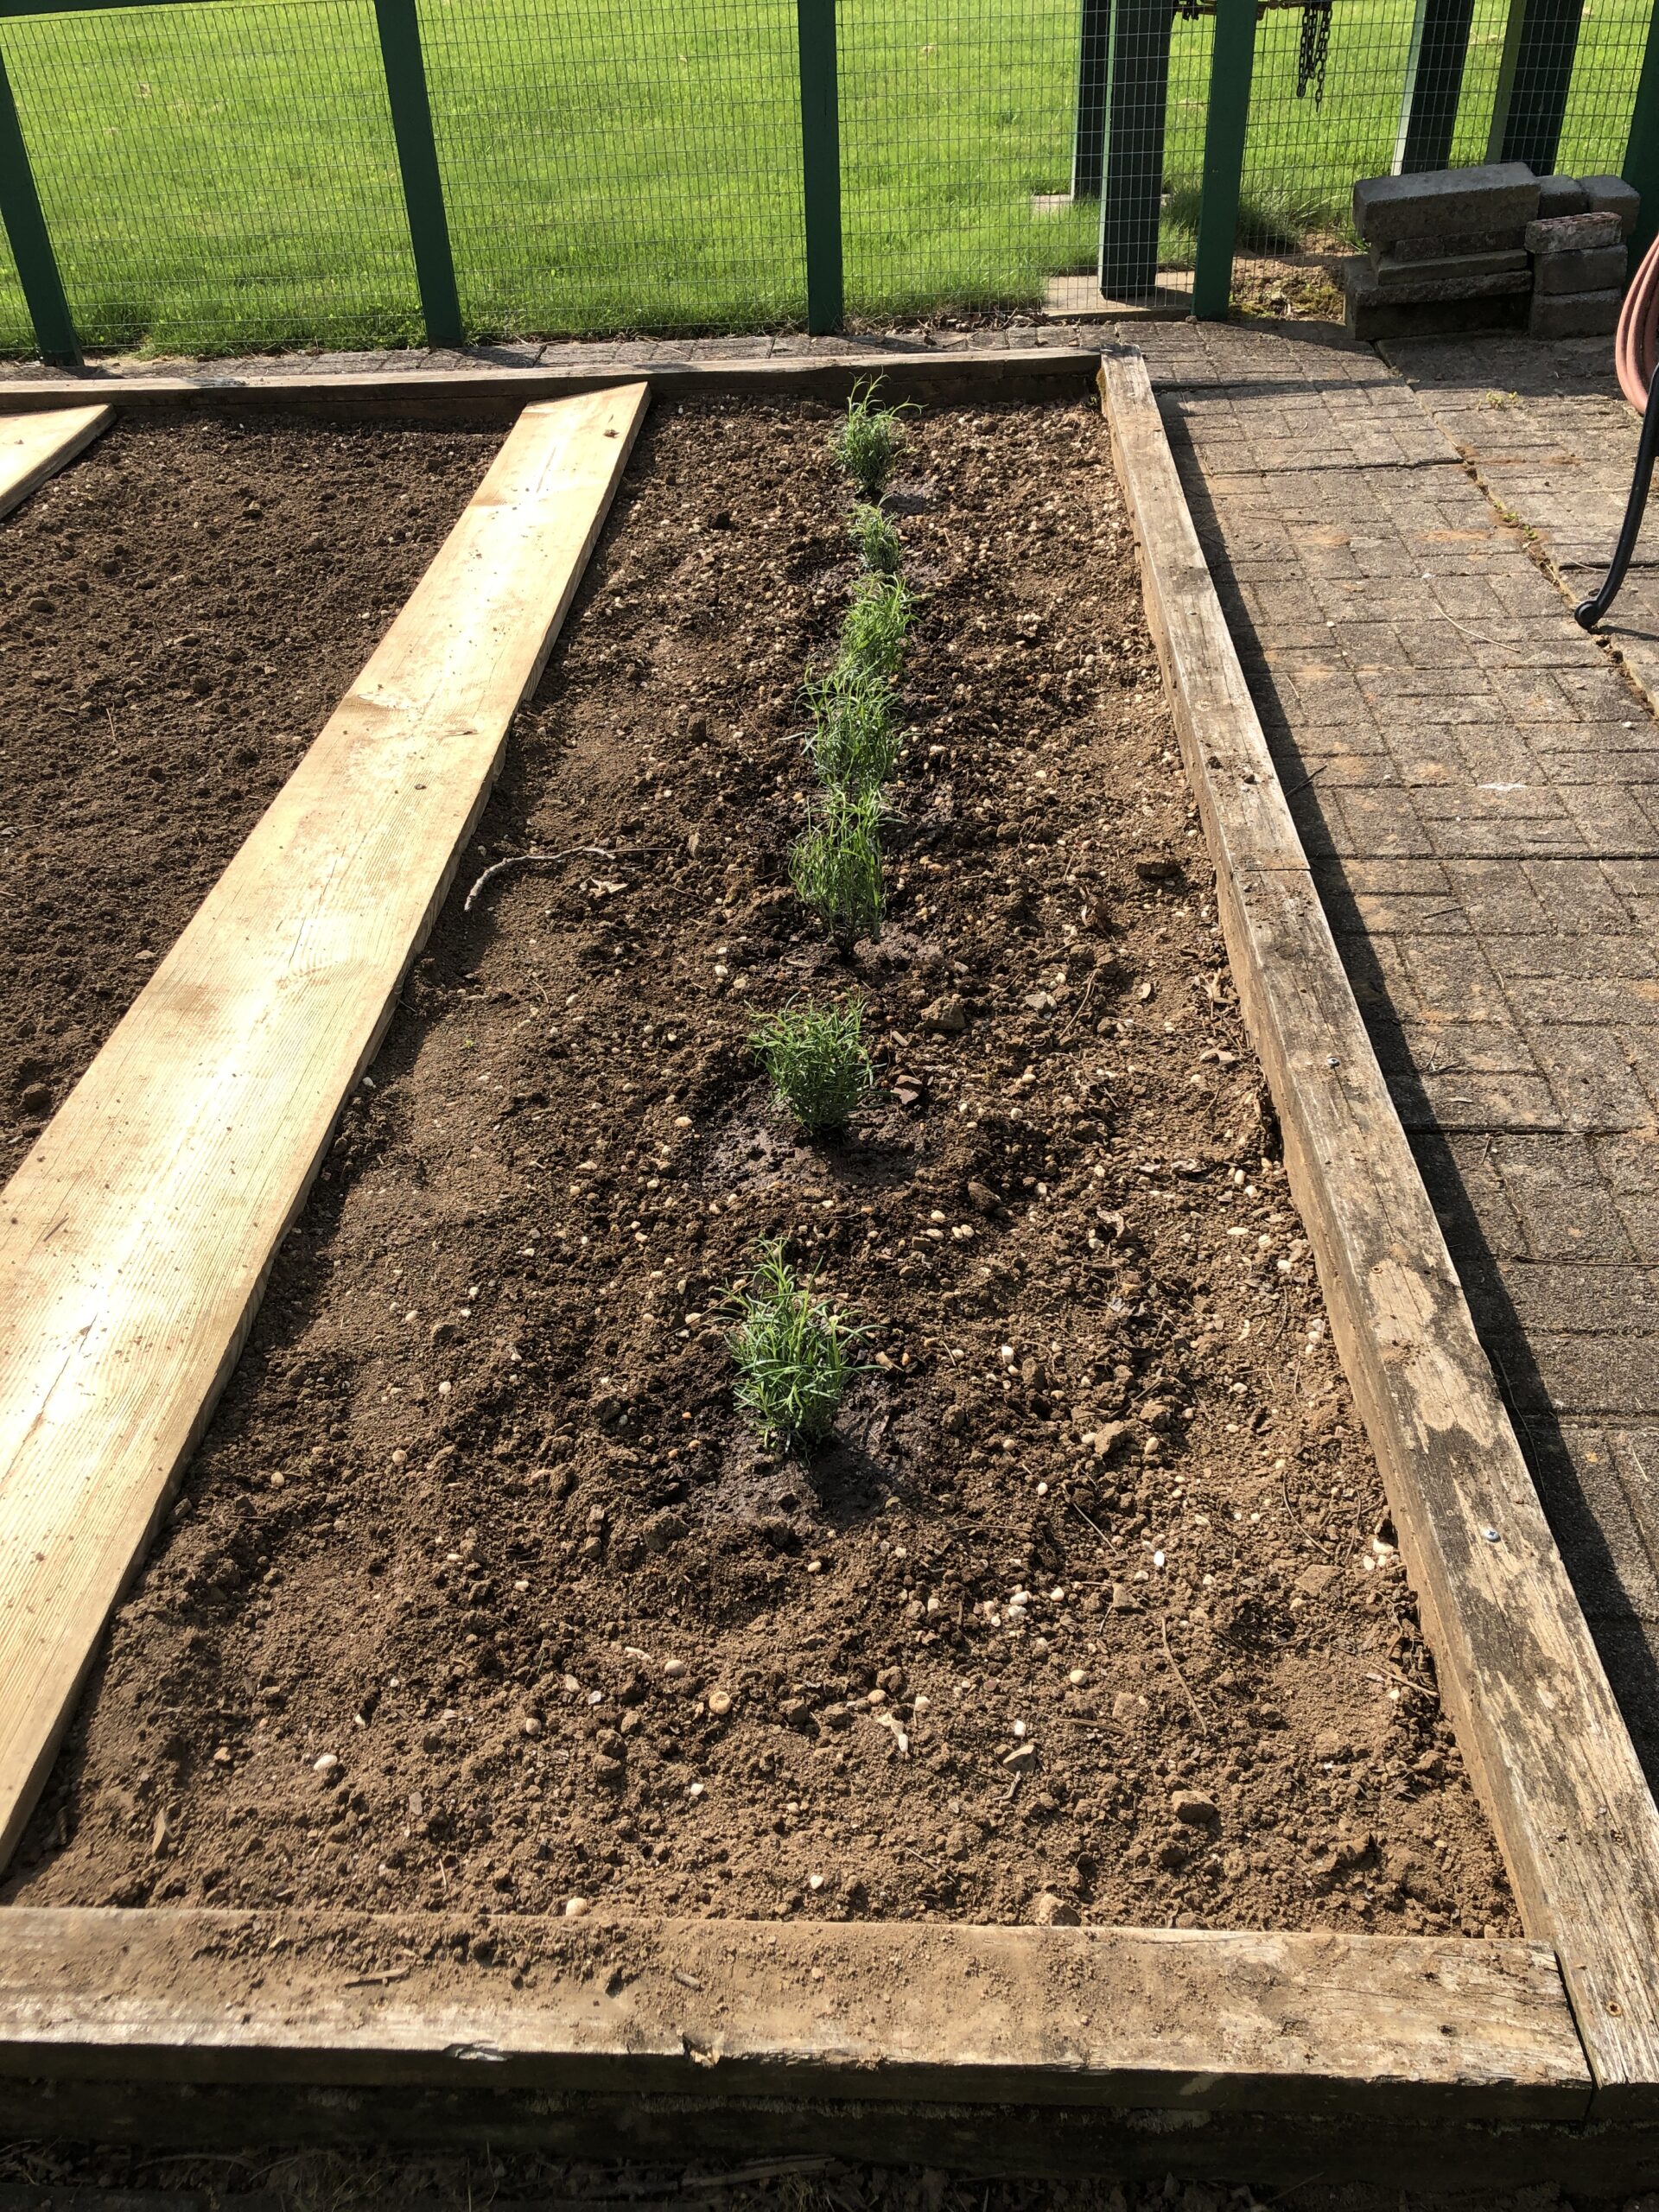
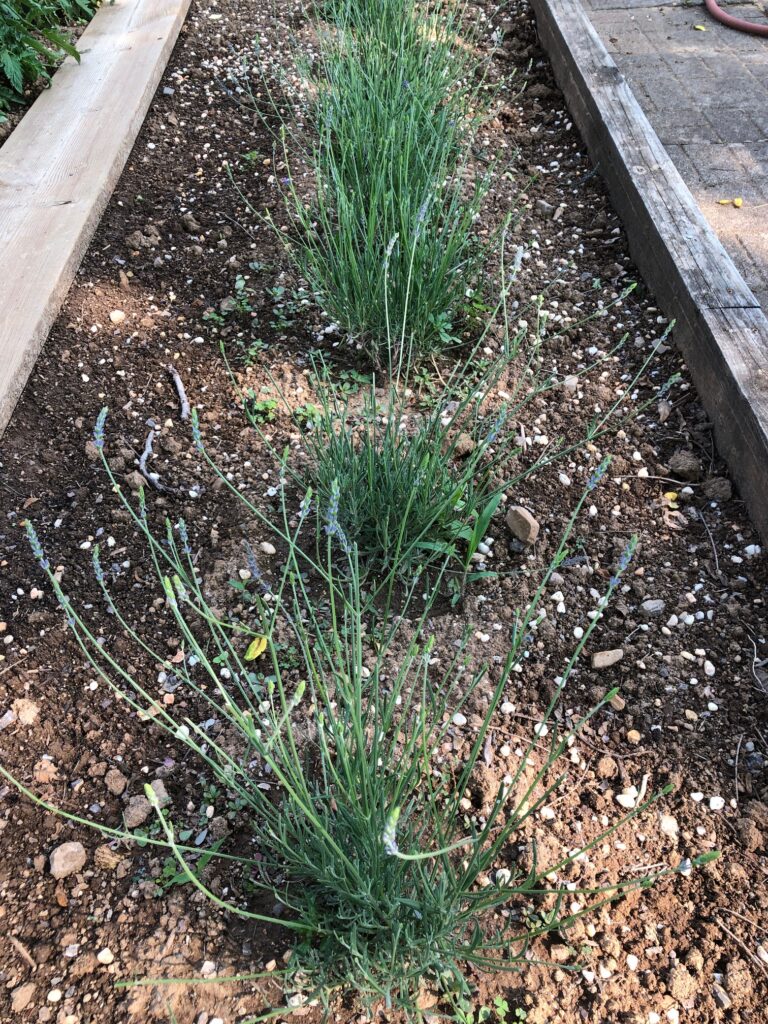
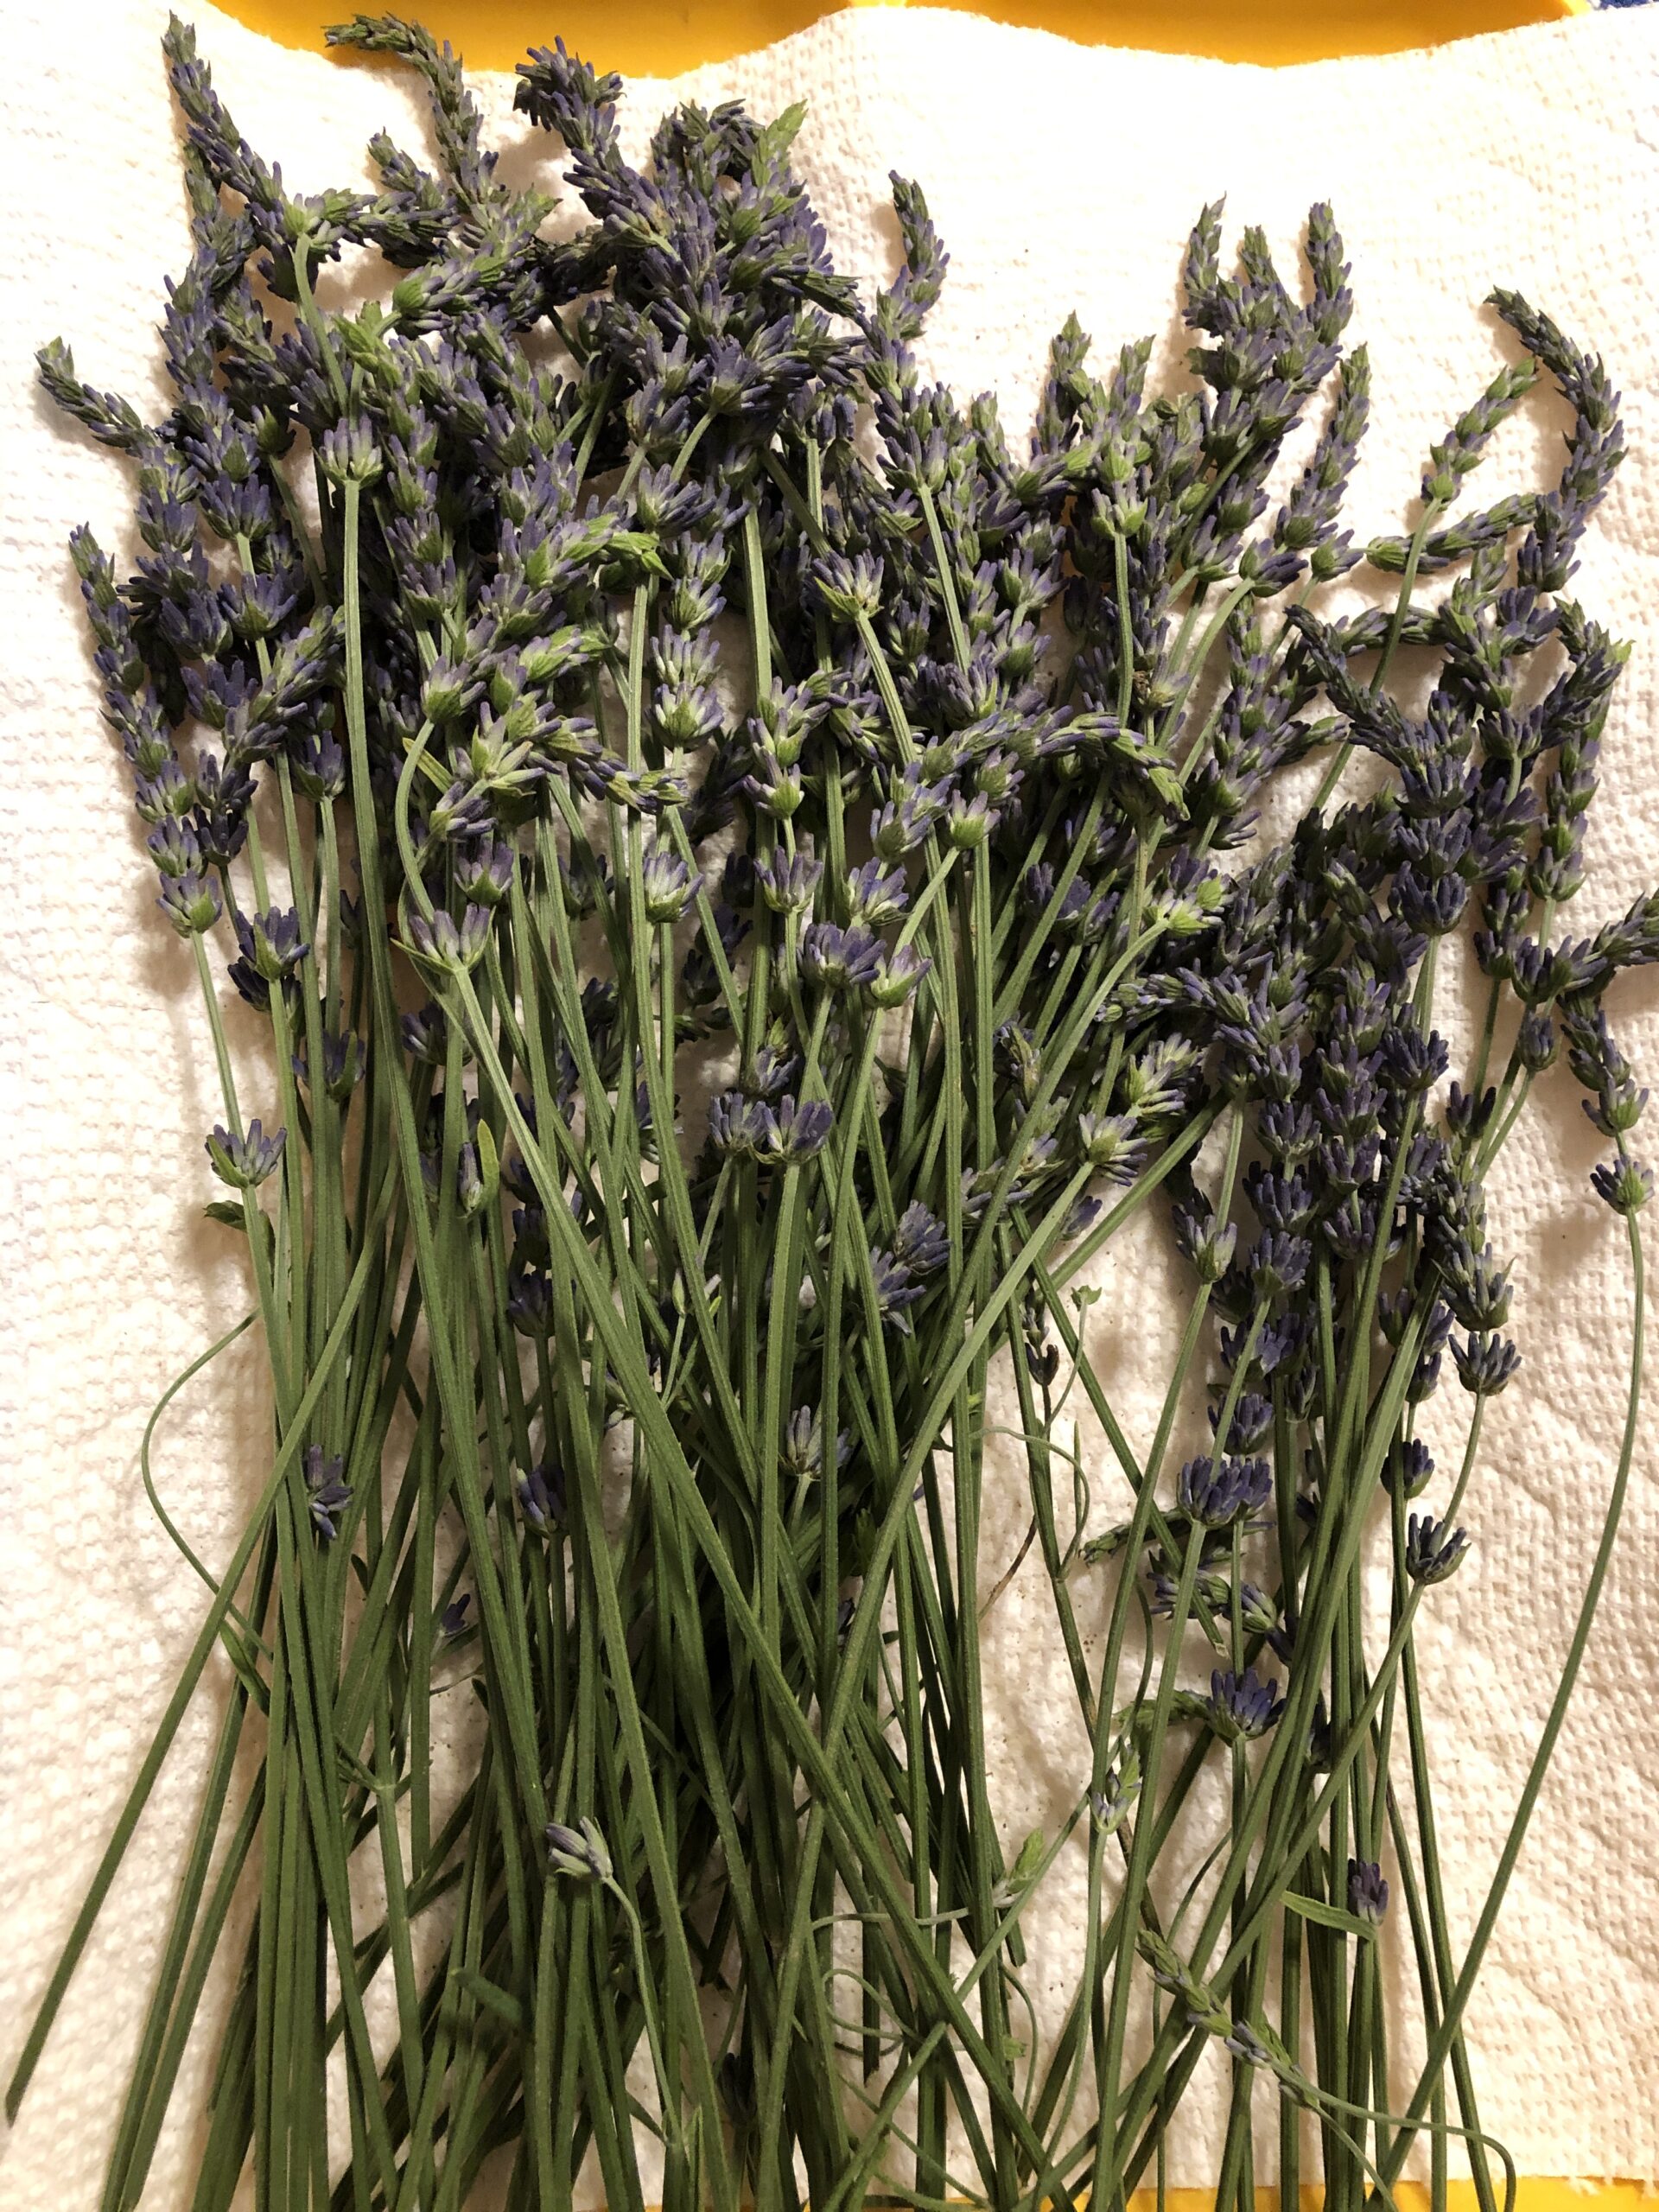
Up in the garden on the hill, the lavender is doing well. I’ve cut the first flowers to encourage the plant to send up more.
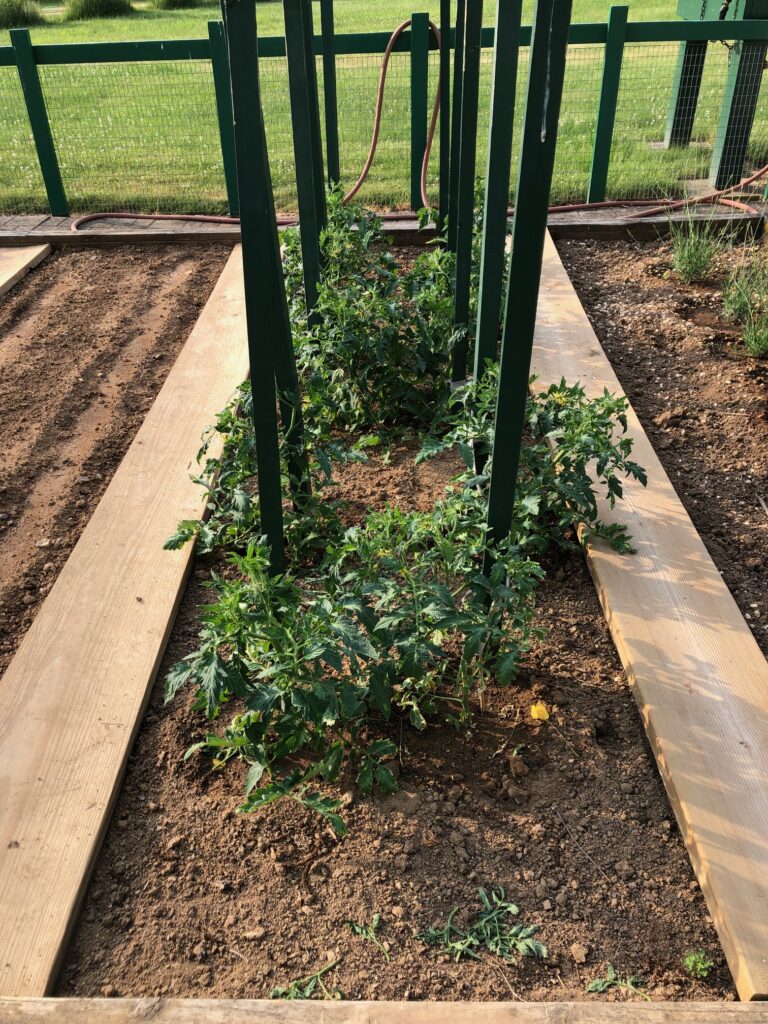
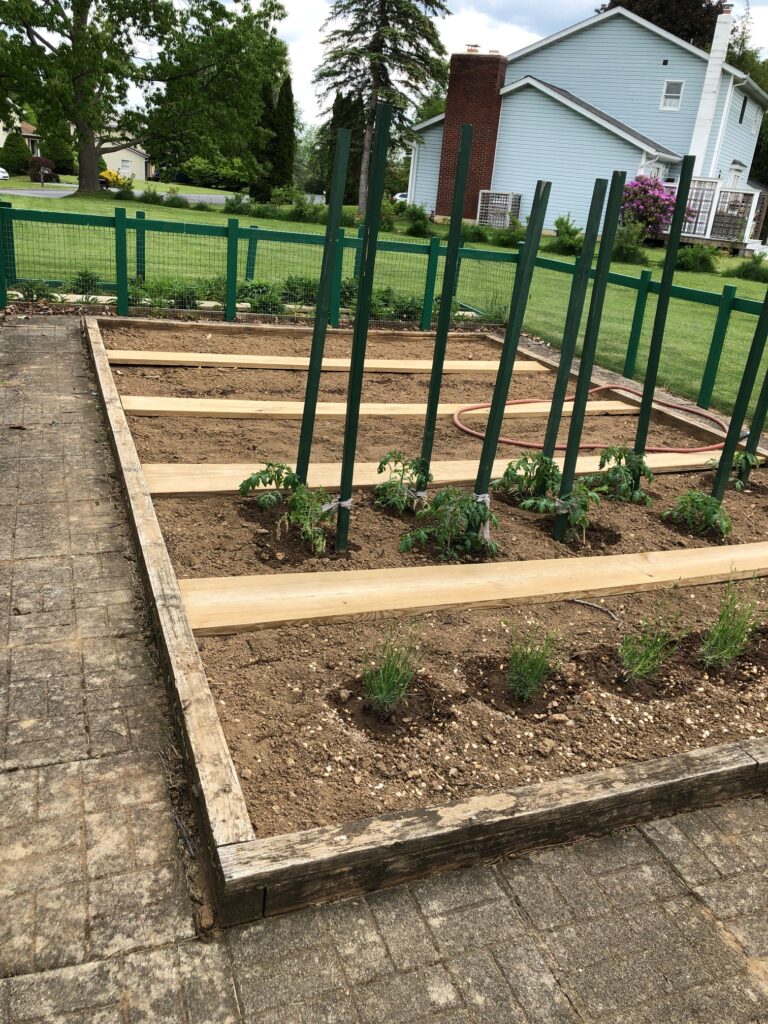
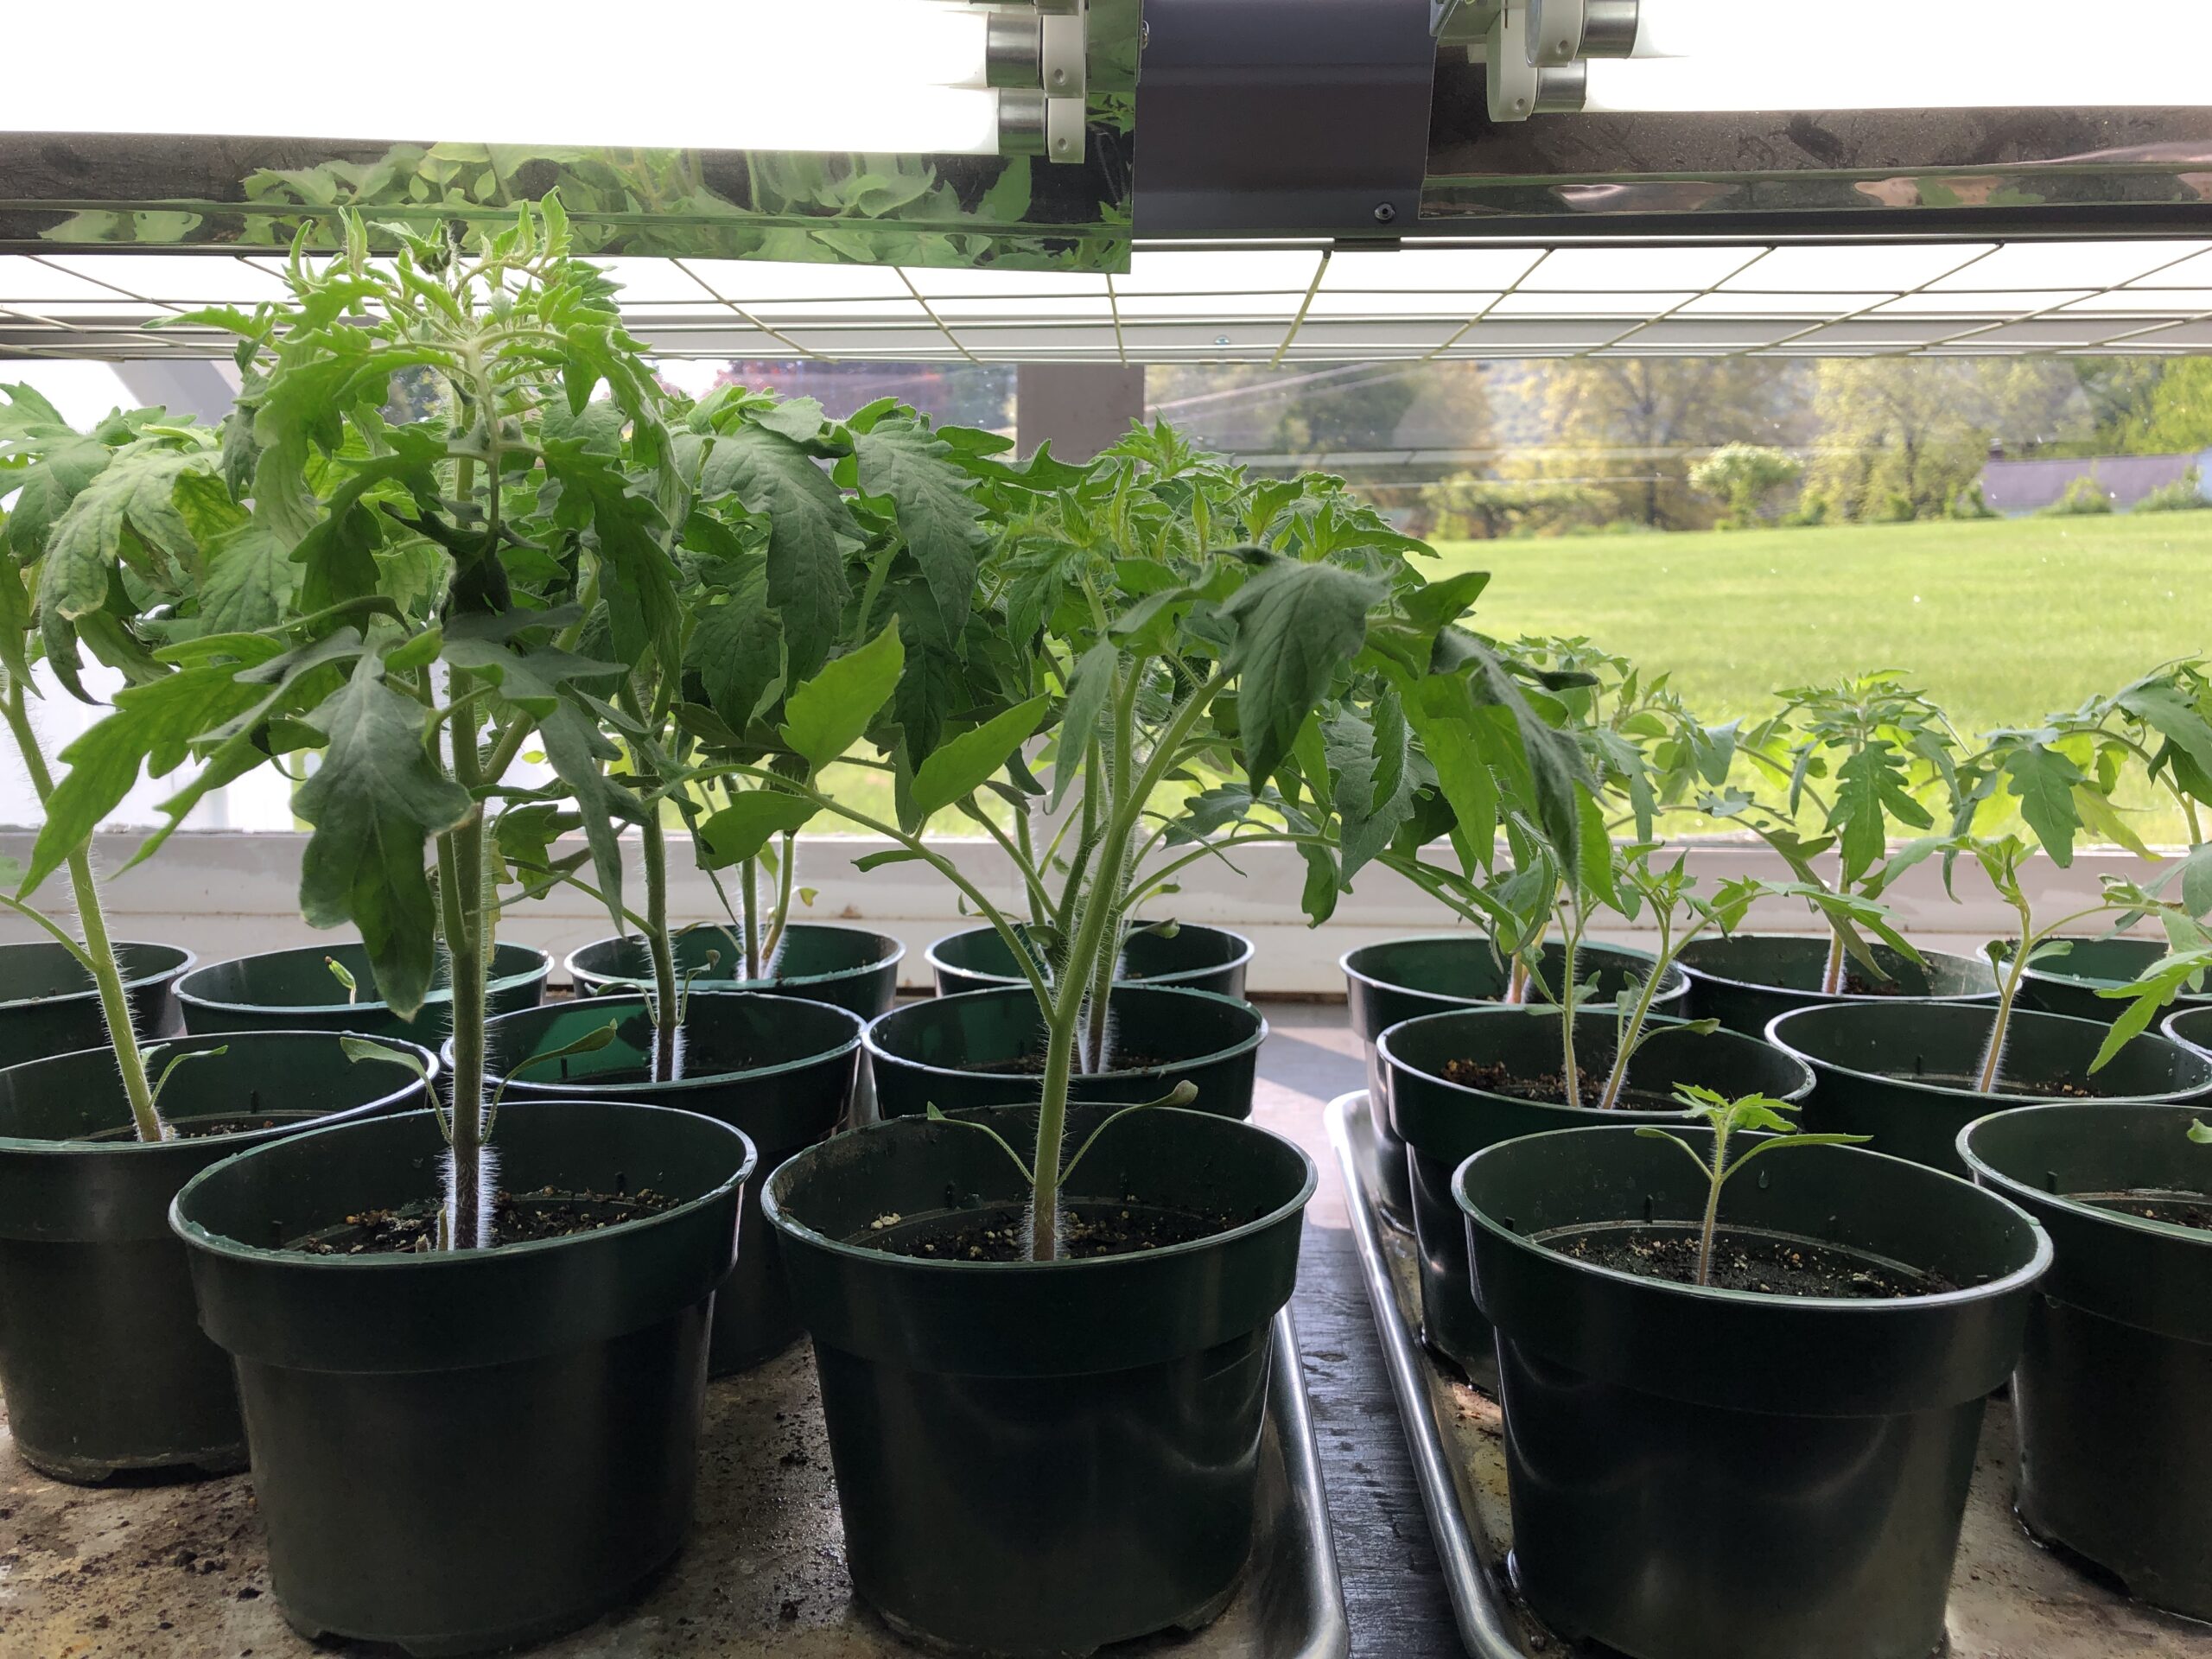
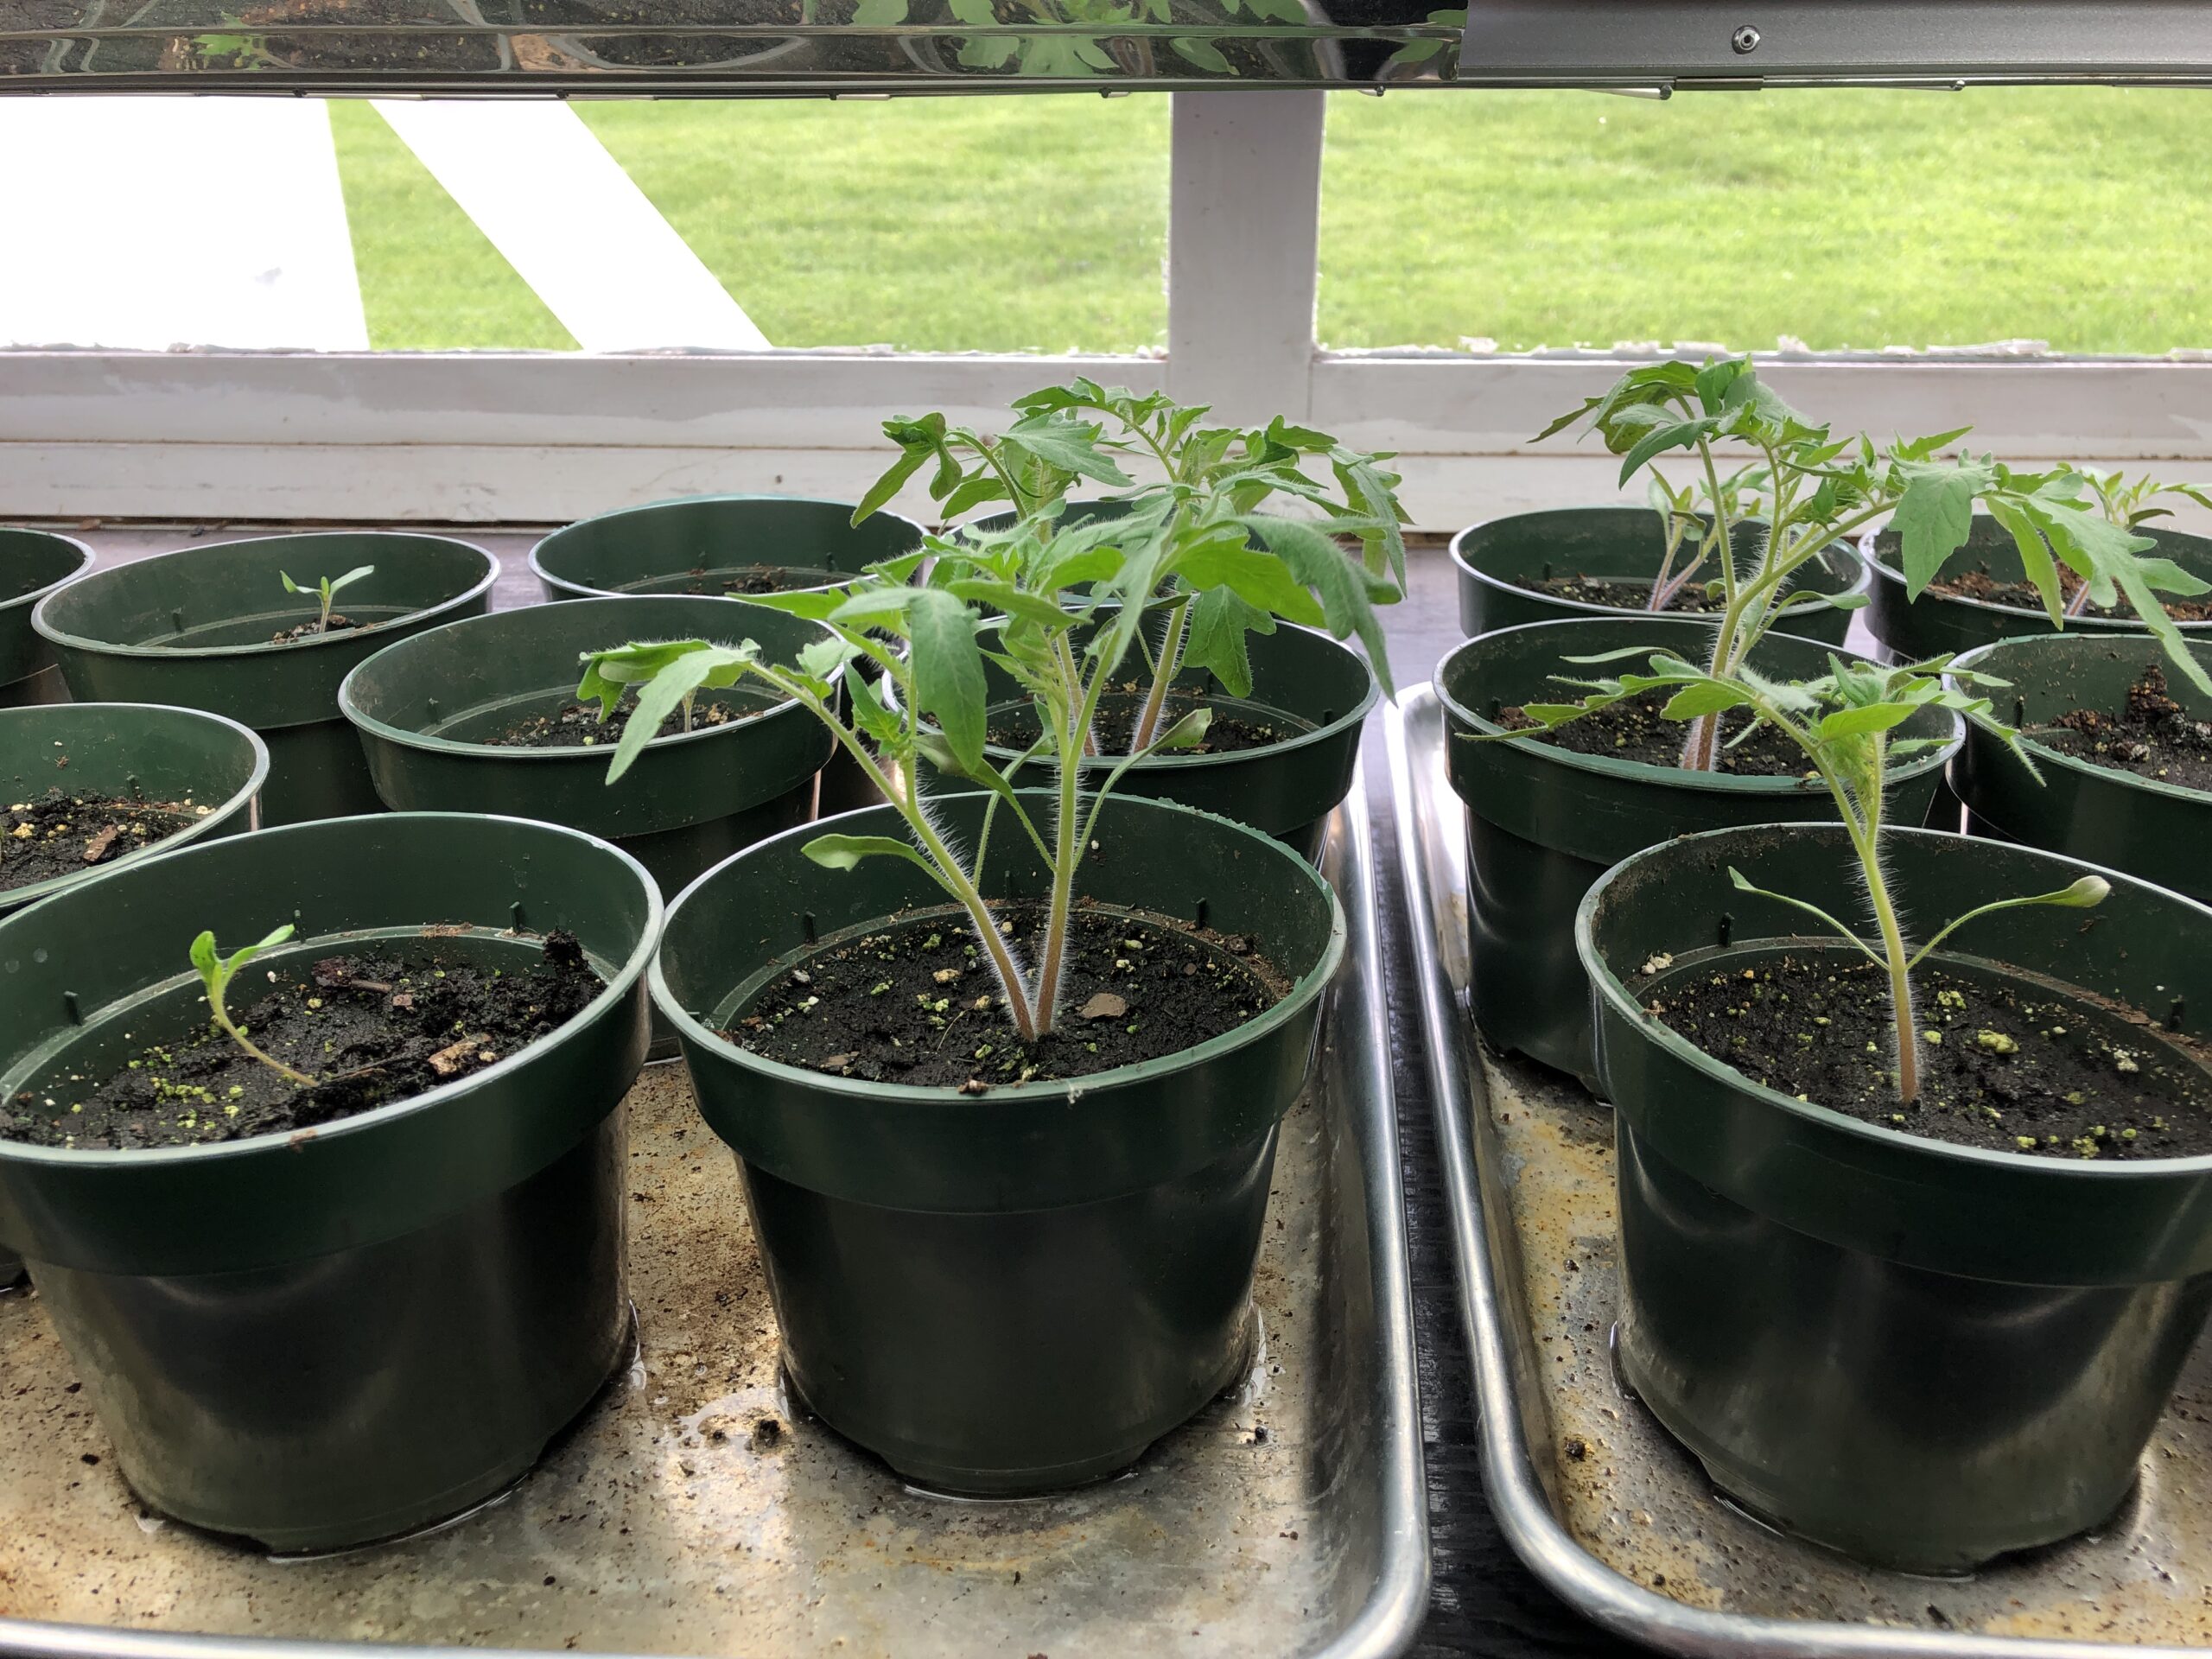
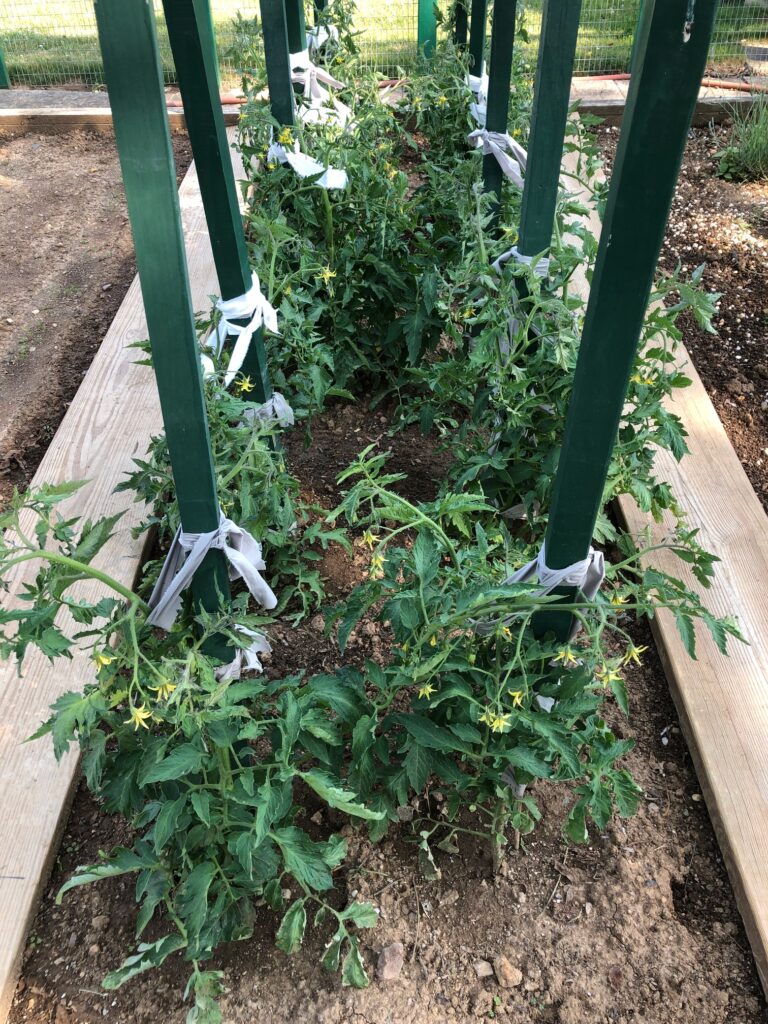
The tomato plants have lots of blossoms so I’m encouraged that we’ll have lots of tomatoes this year!
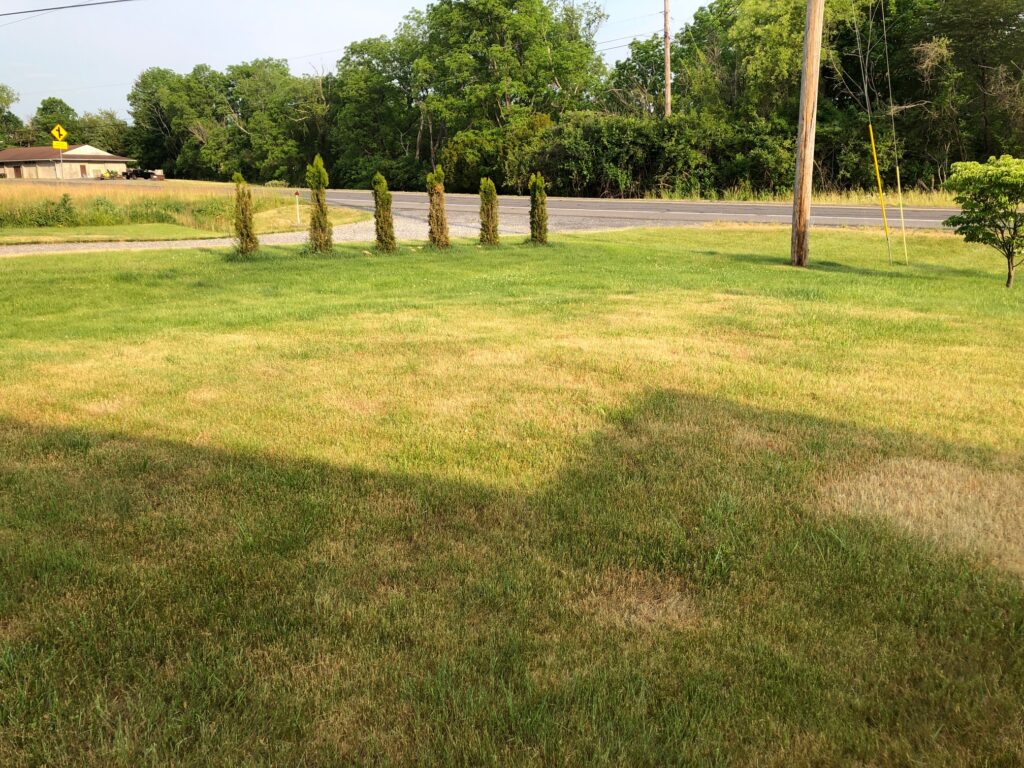
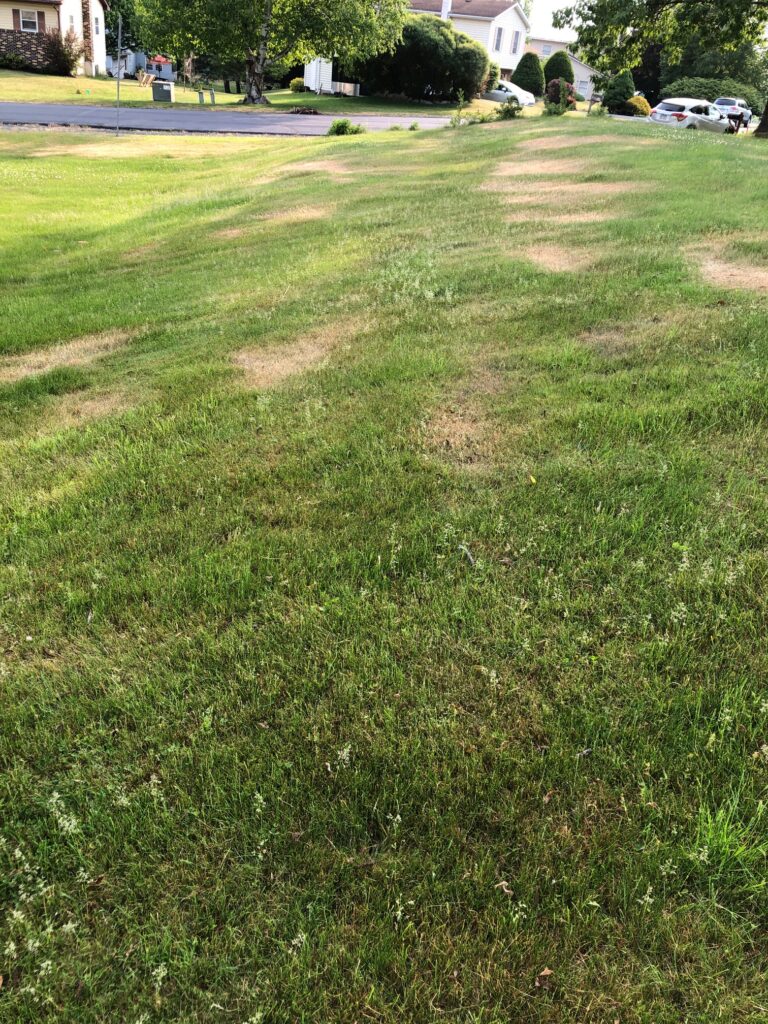
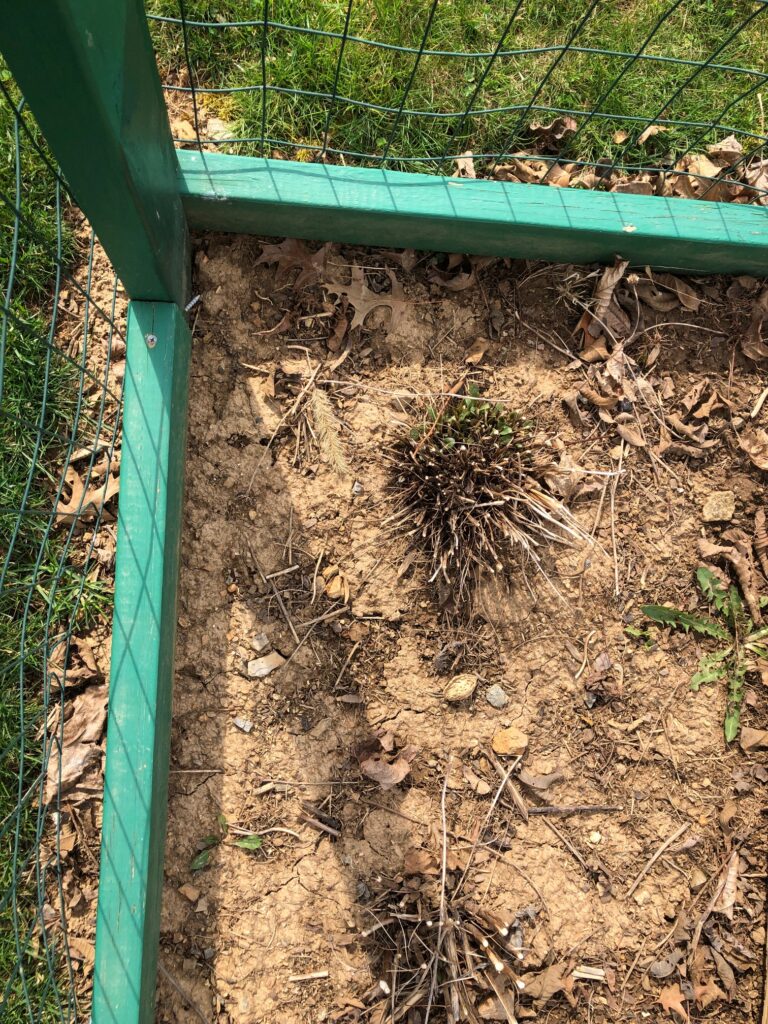
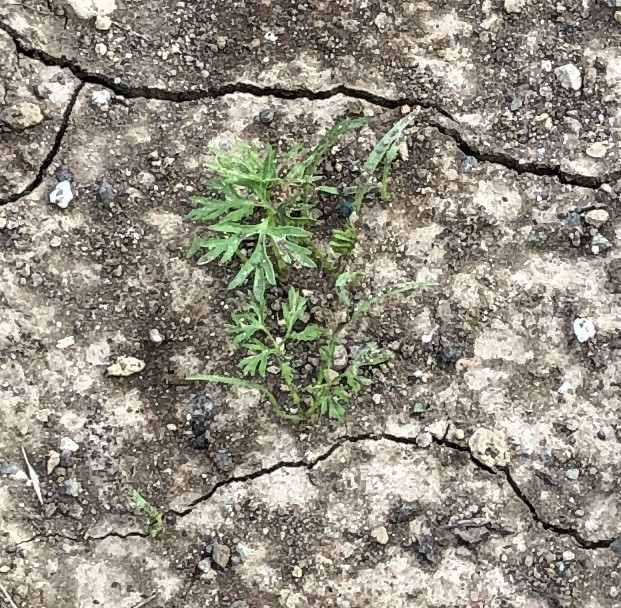
Boo hoo! The poor carrots are having a hard time. I think the very dry hot weather was tough on them. You can hardly see them!
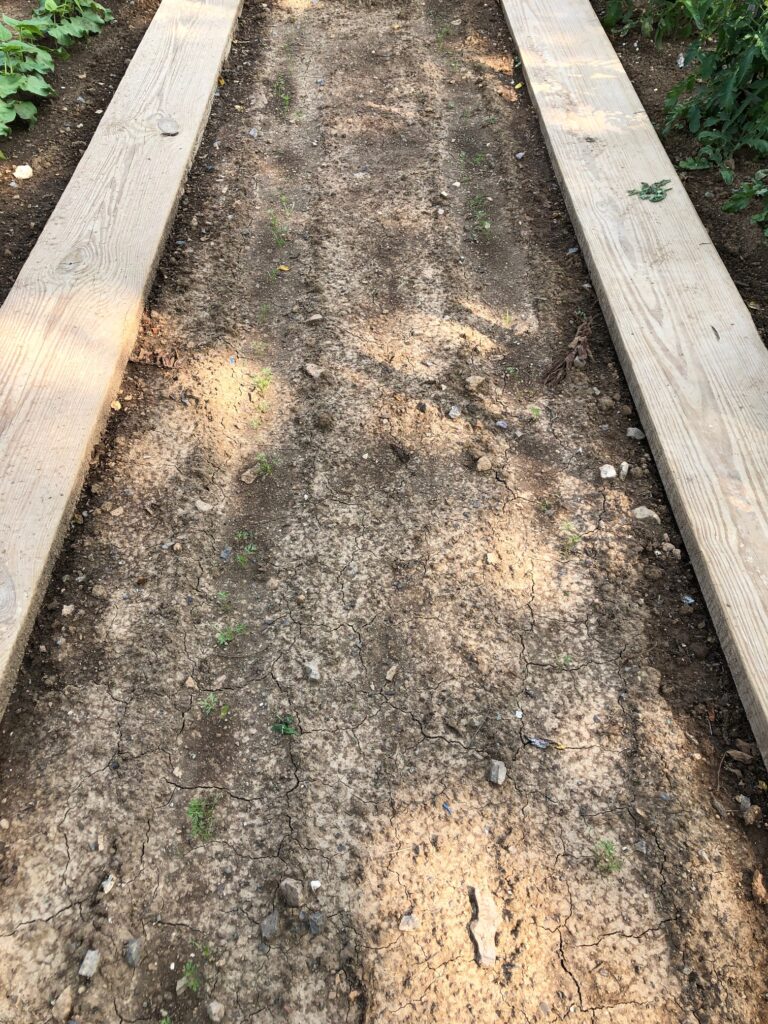
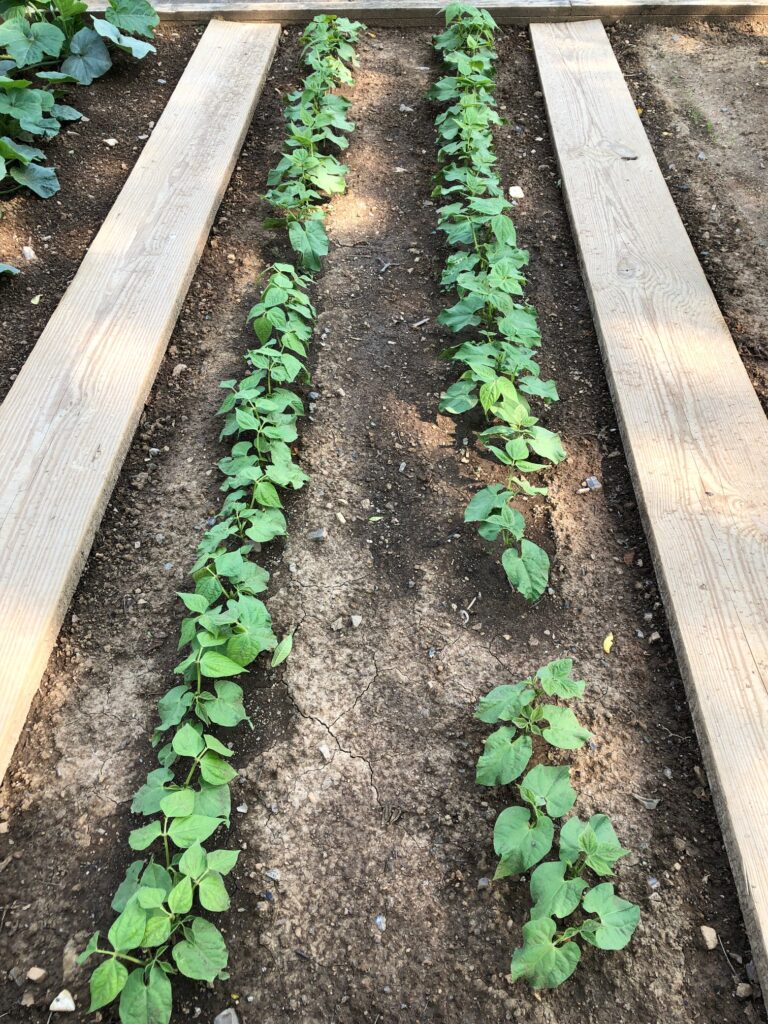
You can see how dry and cracked the ground is even though Bert watered every day!
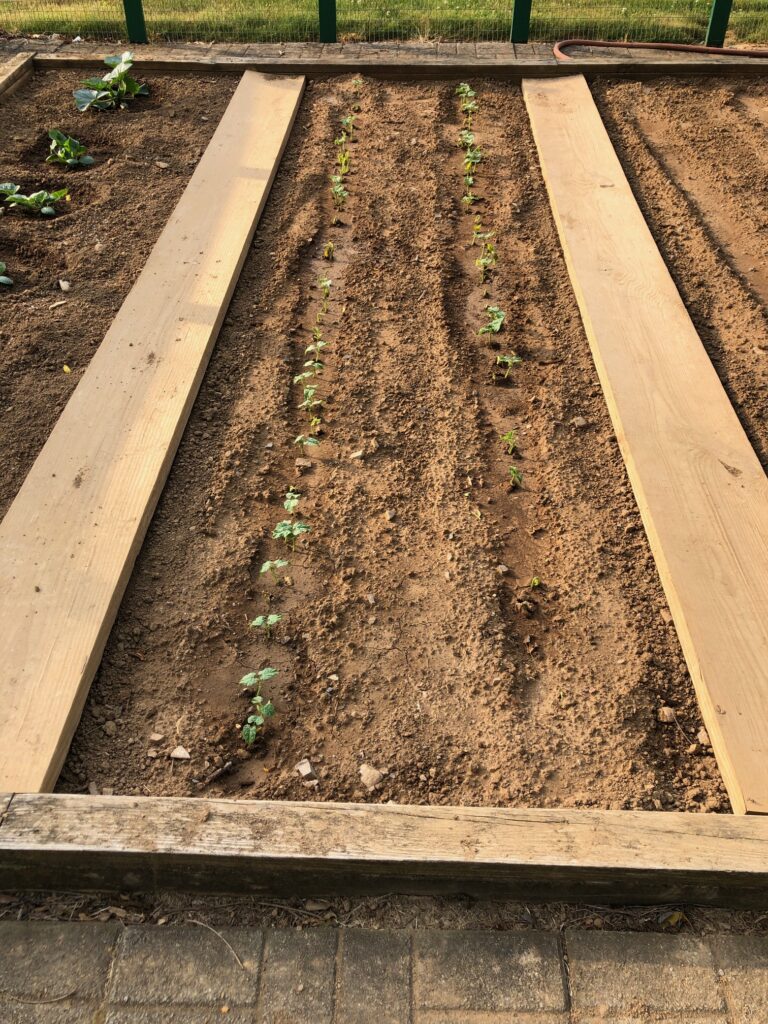
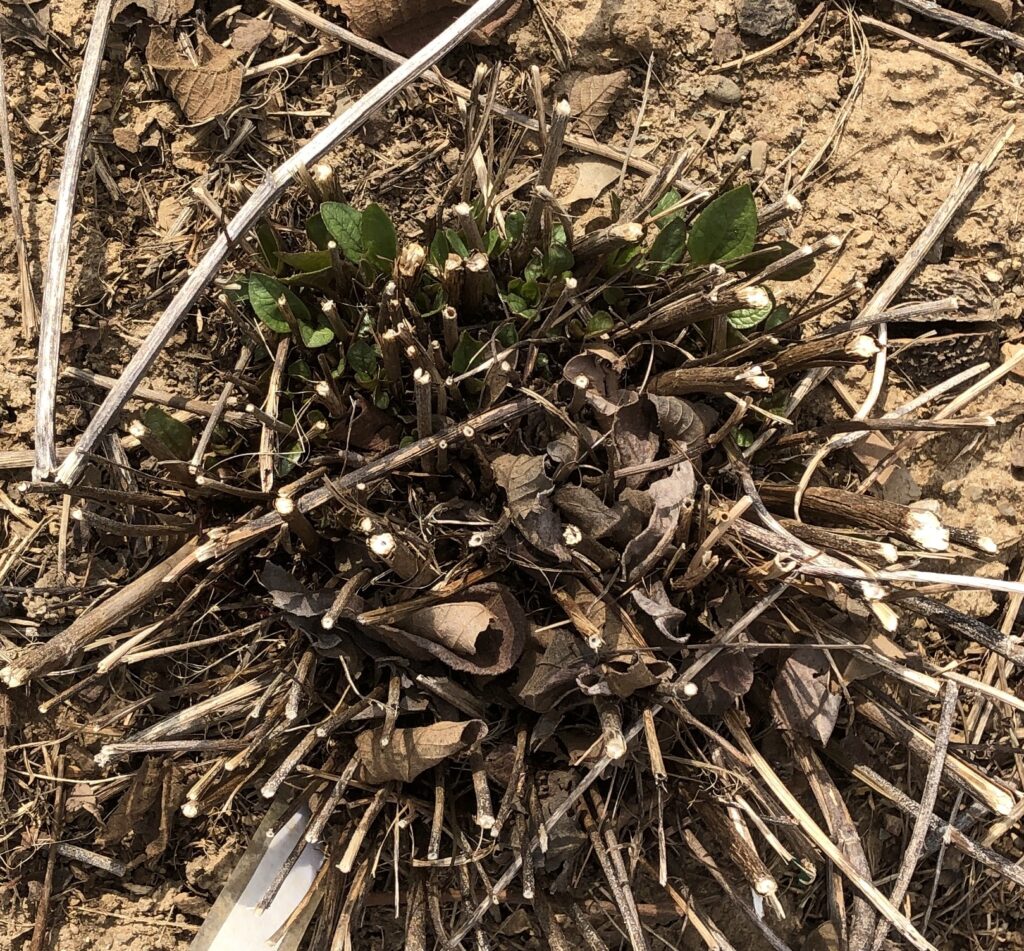
The beans seemed to respond to watering over the last month so they look pretty healthy.
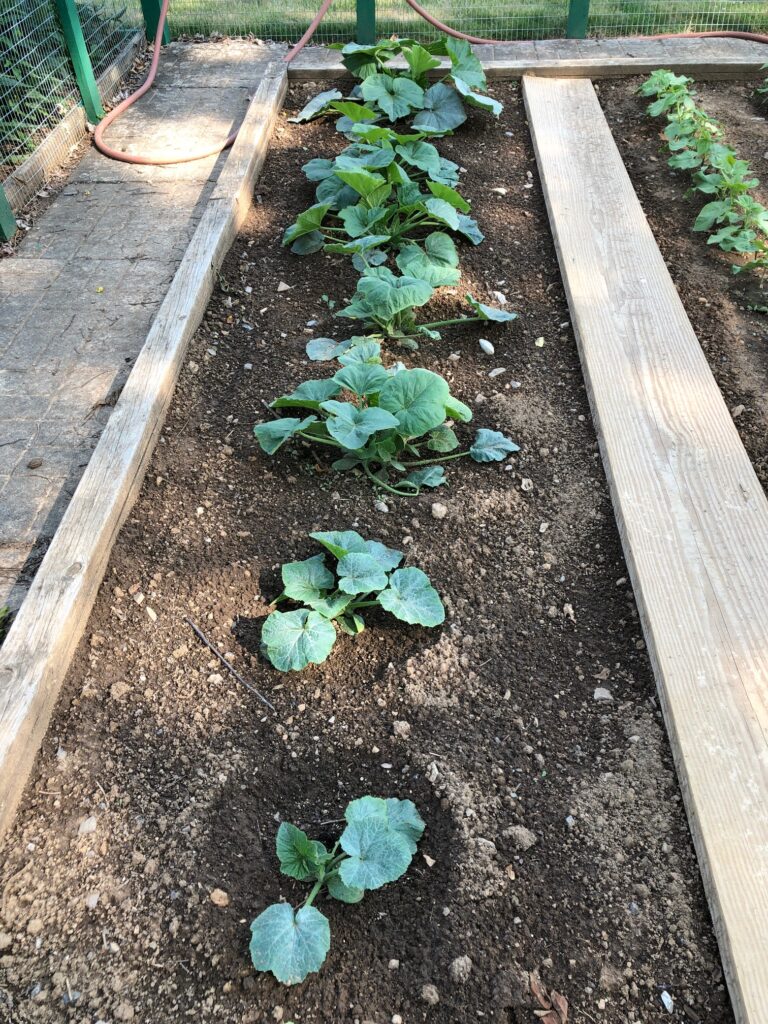
The Delicata squash plants finally look good. Bert had to replant them several times. Not sure why they didn’t sprout. They are a vining plant, so we’re not sure if we’ll have to add a climbing trellis.
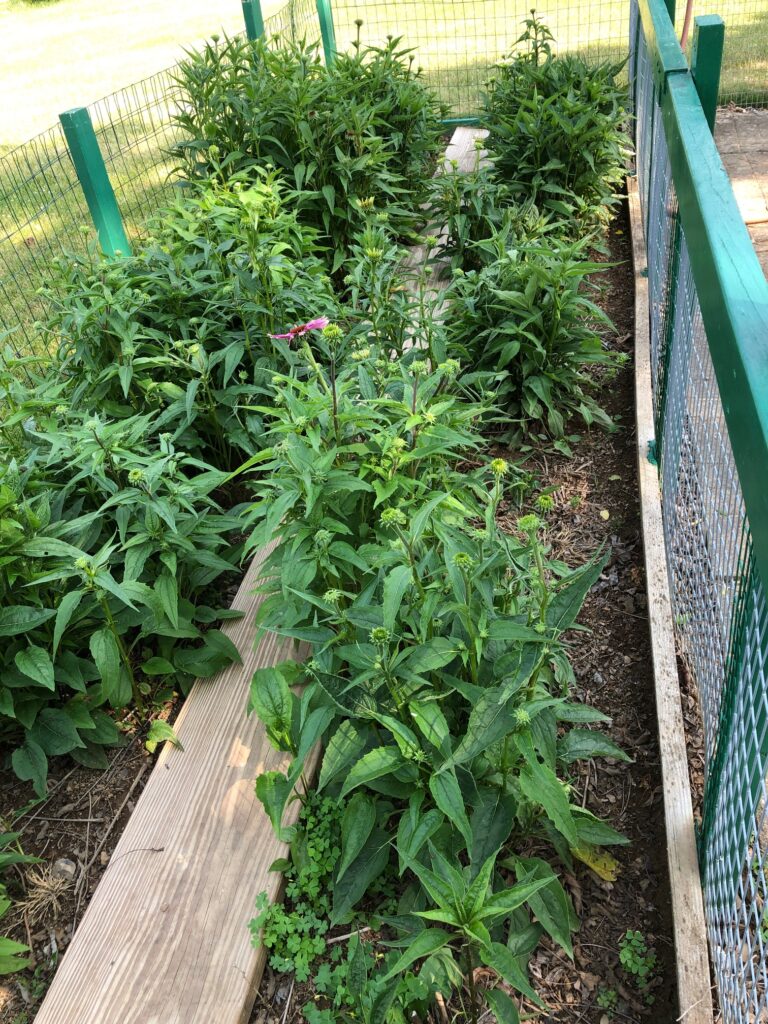
And finally…the Echinacea!! I’m anticipating some beautiful flowers pretty soon!

This is about the time I’m glad that lots of people around here have gardens and sell produce at the Farmer’s Markets. We certainly couldn’t grow everything we need in our small garden, but it sure is rewarding when we eat our first home-grown tomato!