I’ve heard “necessity is the mother of invention” all my life and wondered where it came from. Turns out it can be traced back to the year 380 B.C. from the work Republic, written by the Greek philosopher, Plato. The idea behind it is that having a problem supplies additional creativity to come up with innovation solutions. There are several other explanations mentioned, but they all seem to refer to stories about folks that had a problem of some kind and found interesting and creative ways to solve it.
Solving a Problem: Giving Stories a Focus
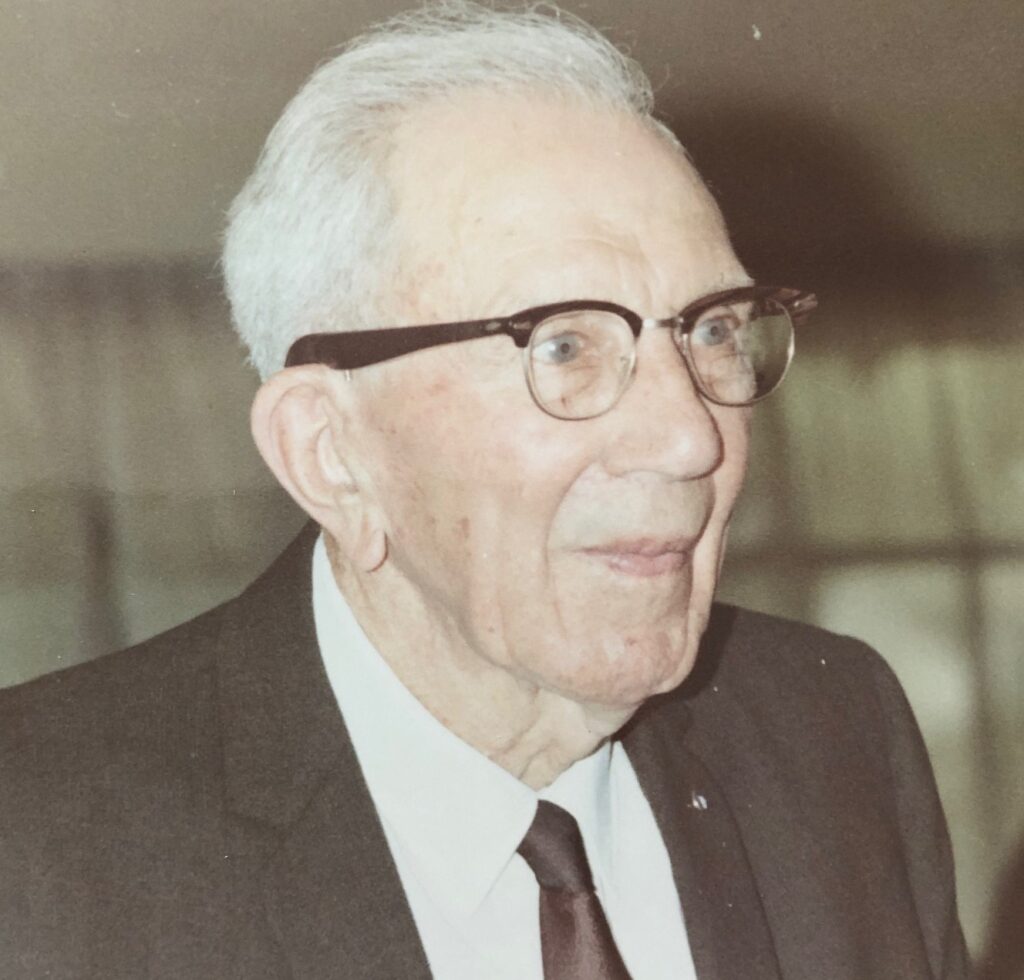
In the early 1970’s my grandfather was living with my parents in State College. He was approaching 90 years of age and was still able to take care of himself. However, my parents needed to be out of town for several days and thought I could stop by to visit just to check on him and maybe entertain him for a few hours each day.
I was teaching elementary school and was happy to help. Grandpa always had entertaining stories ready to share. I got him talking about what it was like in 1913 when my dad was born. The more he shared, the more I realized I needed to give him a focus to tie his stories together.
I had seen an Advent Calendar project in a craft magazine and decided I’d try to create one with his help. The 25 days leading up to Christmas are celebrated in many ways, from parts of the Christmas story to tiny bits of chocolate. I wanted something that could be changed from year to year.
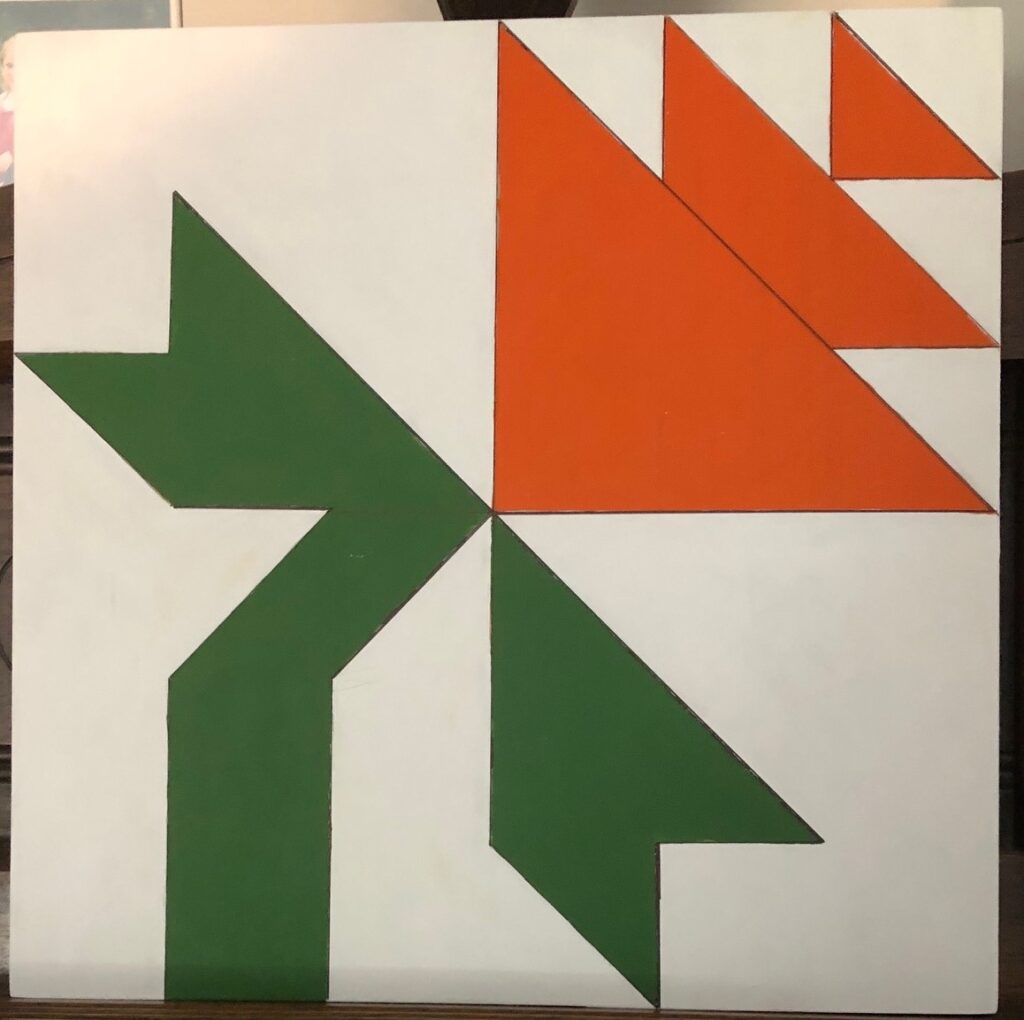
The next day, I came prepared with art supplies, starting with a piece of Masonite (24″ x 30″) covered with flannel, and a pile of extra felt, fabric and glue.
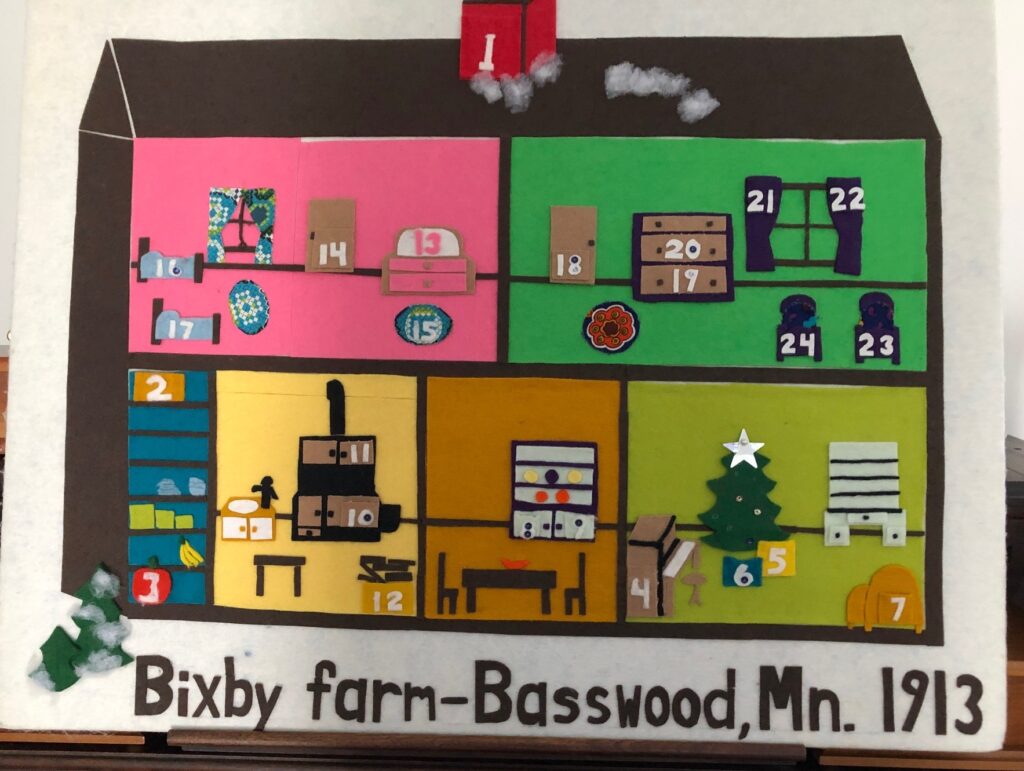
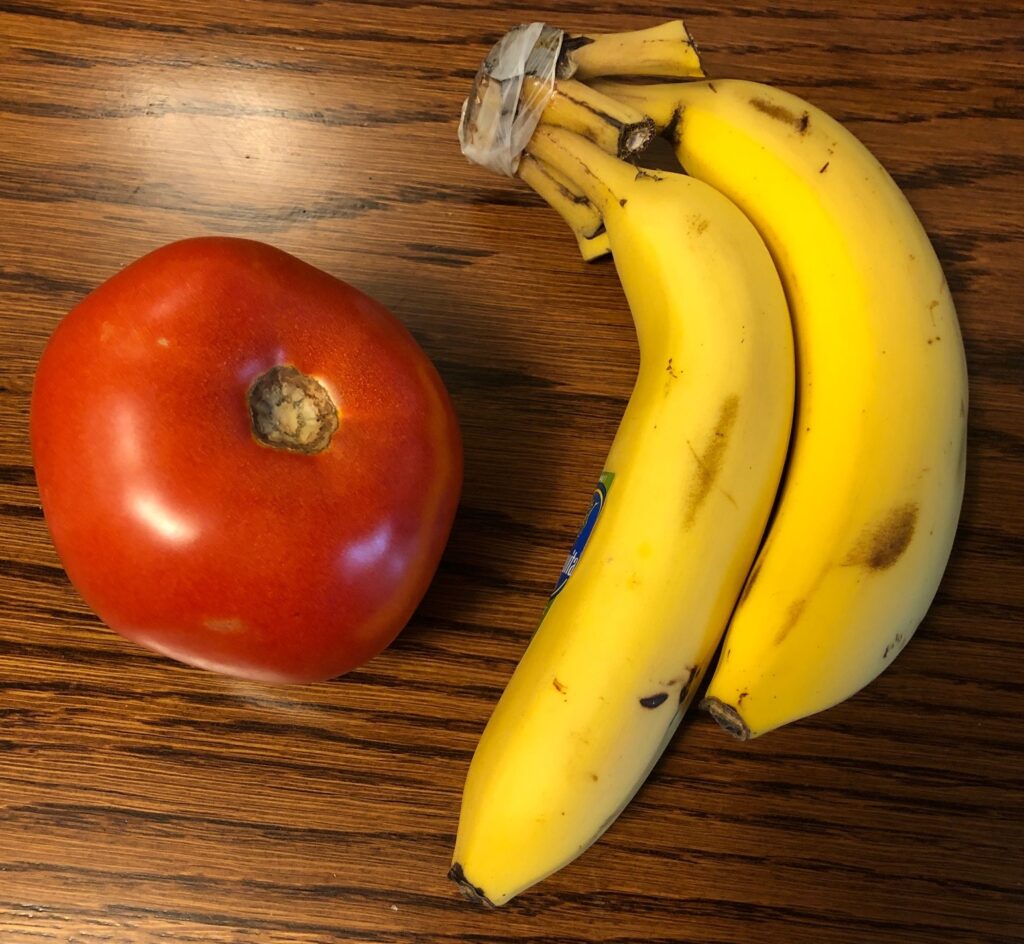
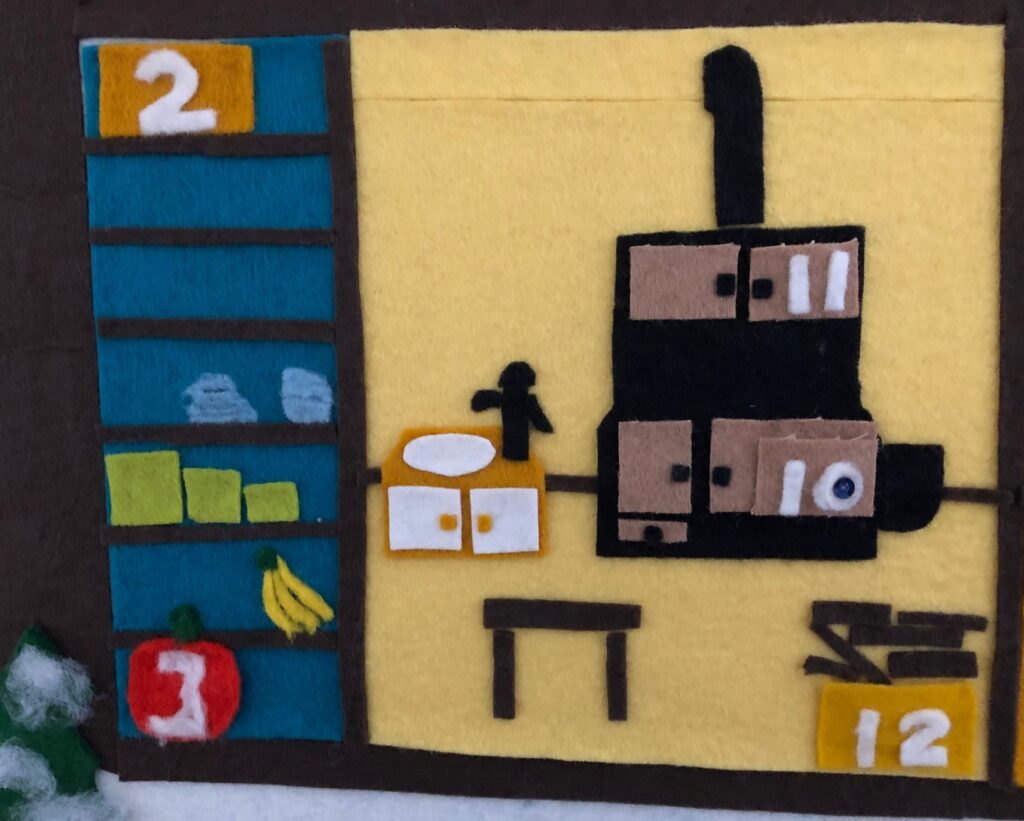
Then I had him tell me about his house in 1913 when my dad was born. As he talked, I laid out the rooms. Each room provided tidbits of information. For example, when I was asking about what I would find in the pantry, he mentioned vegetables like the pumpkin. Then I added bananas, mostly because they were an obvious shape I could cut out. He had to tell me about the first time he ever saw a banana…he was 8 years old! He was born in 1884 in Minnesota, and bananas came from far away so weather conditions had to be just right to make the trip on the train. In other words, in 1913 in Minnesota there were probably no bananas in his pantry! Oh well. I had already glued them down, so they stayed in the picture.
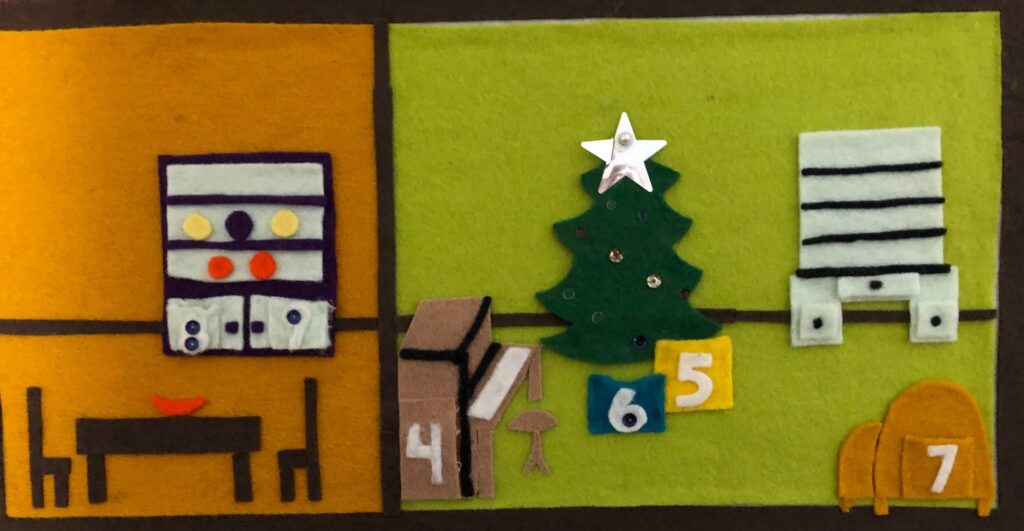
Over several days we managed to flesh out each room in the house. It was definitely fast free form cutting and gluing but the project served the purposes of keeping him entertained and giving me a project to do.
Solving a Problem: Giving the Right Kind of Attention to my Kids
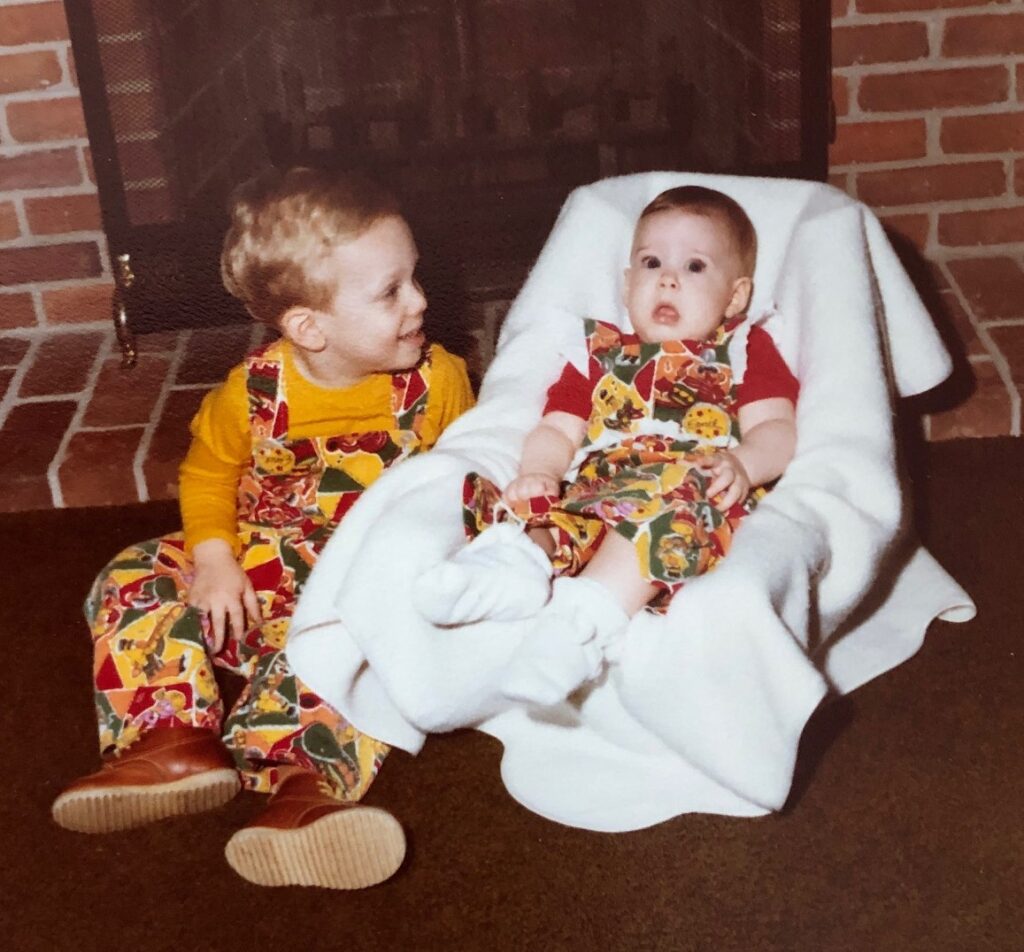
For a few years, the calendar was just a decoration at Christmas time. During the late fall of 1977, when Kathy was just 2 months old and Ted was just 1 1/2, I had a problem. Kathy needed my attention and Ted wanted my attention!
The Advent Calendar became a teaching tool! Little slips of paper were put into each pocket showing a drawing of a present or a candy cane. He had to find the right number and “read” the drawing. Each year, the slips of paper had words for him to read. Ted became an enthusiastic learner so that made it fun for me too. As Kathy got older, Ted was teaching her too and so the tradition began.
Of course, over time, the items for each day added up to a pile that probably could have fit into their Christmas stocking…but it was worth it to me to have that distraction every day for a month!
They were a little surprised when they hit preschool during the month of December and asked their friends, “What did you get for the Advent Calendar?” and the other kids had no idea what they were talking about. Explanations were necessary, but I really couldn’t say…our Advent Calendar is just about helping me through a tough month! Oh well, it was worth it!
Now my grandkids are hunting every December morning for “The Elf on the Shelf” and opening little drawers in a wooden Calendar for prizes. I understand completely!

They will surely outgrow the need for these gimmicks, but look out…they may remember the tradition when they have children of their own! Enjoy!
Please comment or email me directly at marykisner@comcast.net.