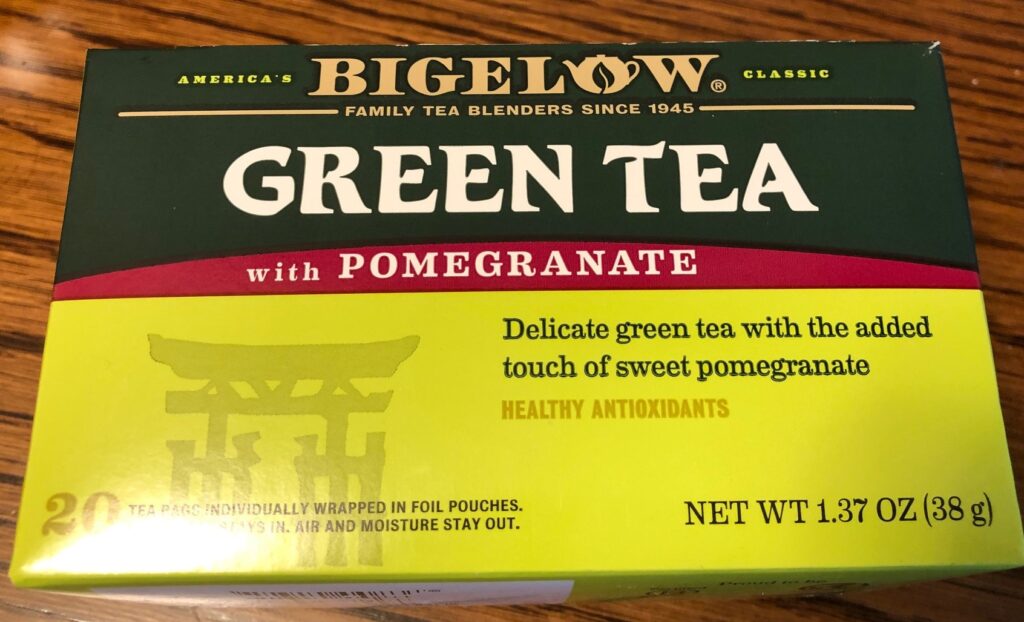
This first Saturday of fall the sun is shining, but we woke up to 42 degrees! The forecast was for sunny with a high of just 65 degrees. I wanted to try sun tea, even if it took all day. I really don’t care for hot beverages but I needed the boost of green tea. So I found some at the grocery store that had added pomegranate to it for flavor. I’m sure there are many brands and flavors, but this is what I bought:
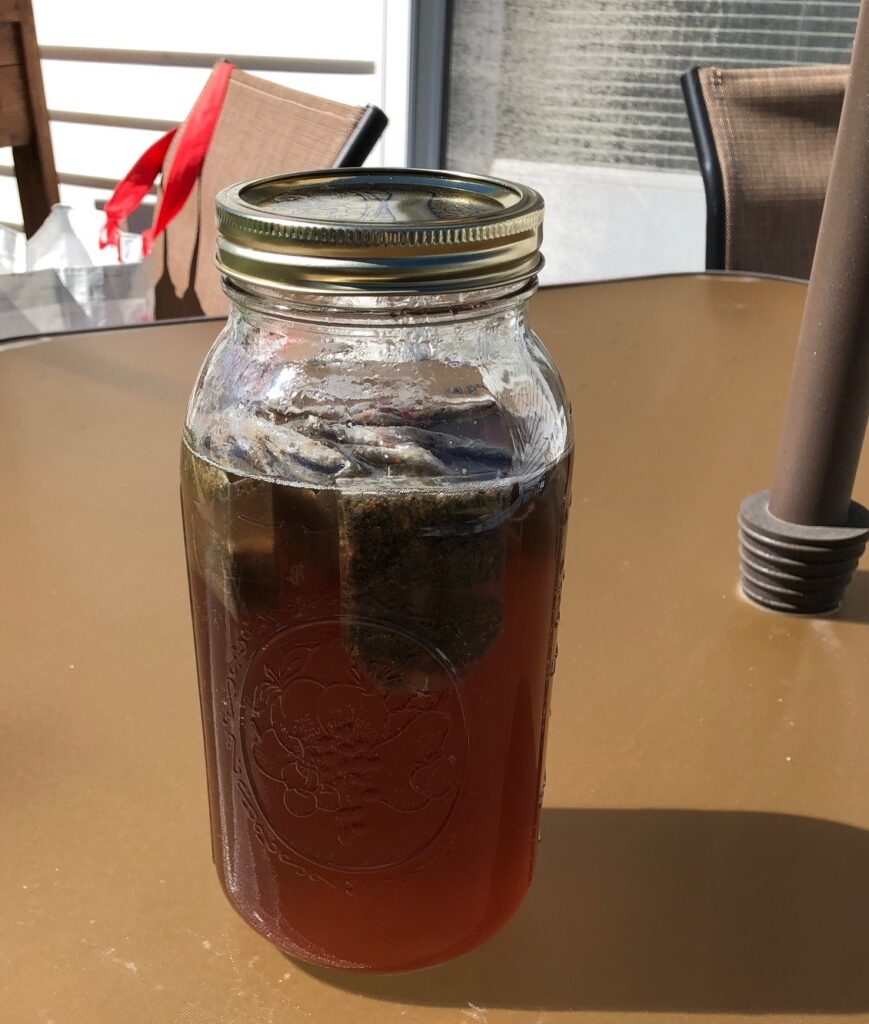
I had a 2-quart jar and filled it with cold filtered water. I pulled out 7 teabags and cut off the strings.
I put the jar on our patio table in the sun and crossed my fingers. By late this afternoon, I had green tea ready to be chilled and poured over ice!
I probably should have used a 1-quart jar!
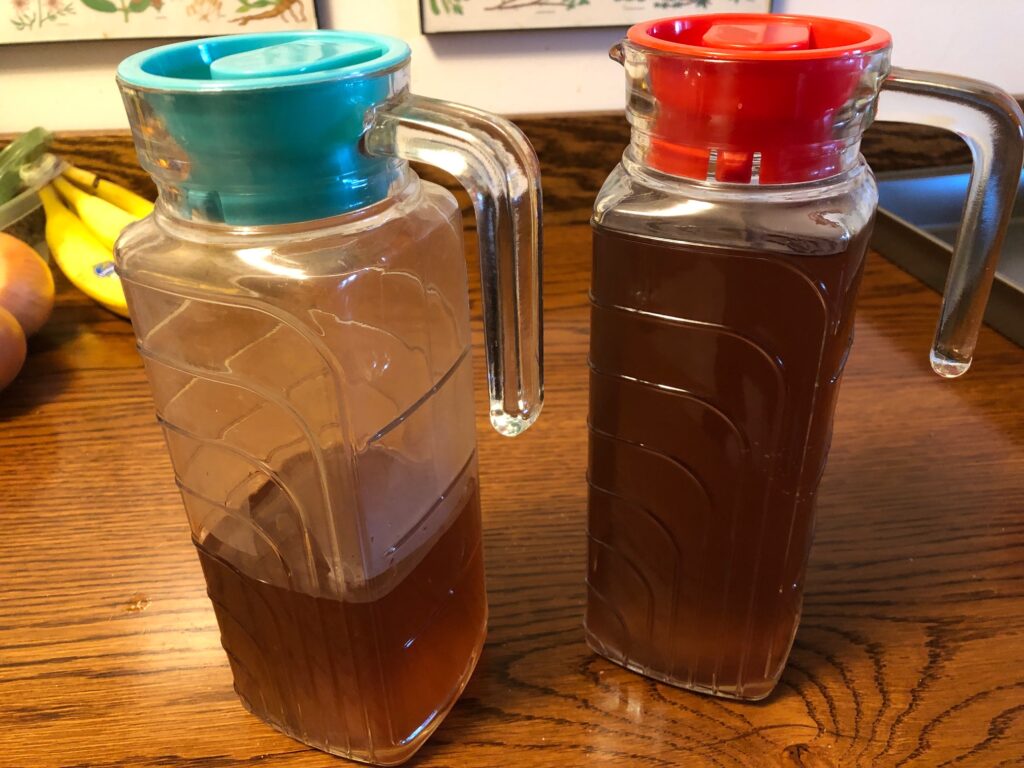
Seemed to work just fine! I’ve done this before for Bert’s favorite tea, but never in cool weather. It seems like a good hot summer weather thing to do, but this way works too! Enjoy!
My Aunt Janice is 92 this year and she’s the only one of my dad’s four sisters that are still with us. My dad was the oldest and she was the youngest so I guess I can say she’s the last of that generation of Bixby’s.
Mary and Janice in 2016
She still lives in Minnesota and it’s been too long since I’ve seen her in person. Since my dad passed in 2012 it’s been difficult for her to come to Pennsylvania. We drove out to visit in 2016.
Amazingly, after my mother passed in 1988 Janice would call me on my mother’s birthday to tell me she had been thinking about her. We would have a brief visit on the phone. I thought she and my mother were close and that’s why she remembered her. Haha…it was because it was her birthday also! Of course!
I was thinking of her a few weeks on my mother’s birthday, but we didn’t manage to connect on the phone. I know it is difficult for us to connect with our busy schedules and the internet/email is not a natural way for her to communicate. So, I decided to surprise her with a handwritten letter!
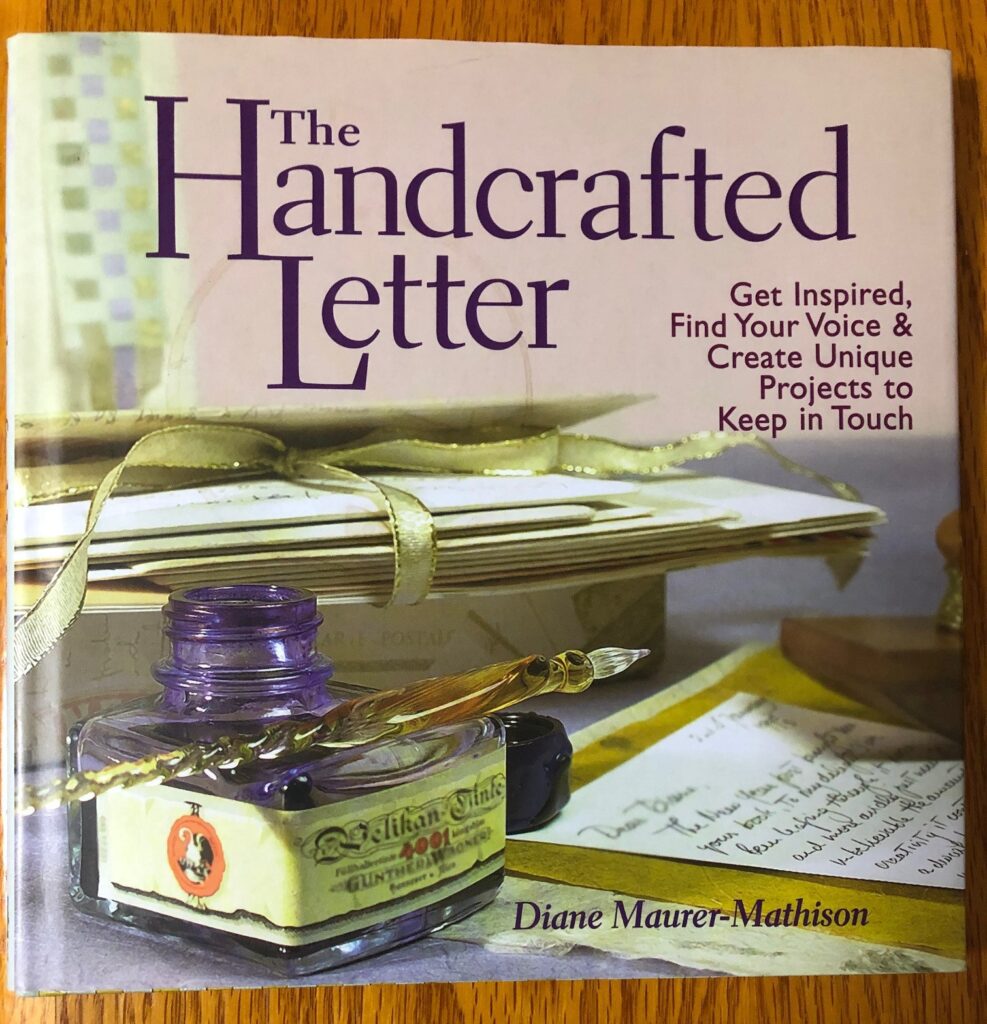
It has been so long since I hand wrote a long letter to anyone. I pulled this book off my shelf that I’ve had for years to get some inspiration.
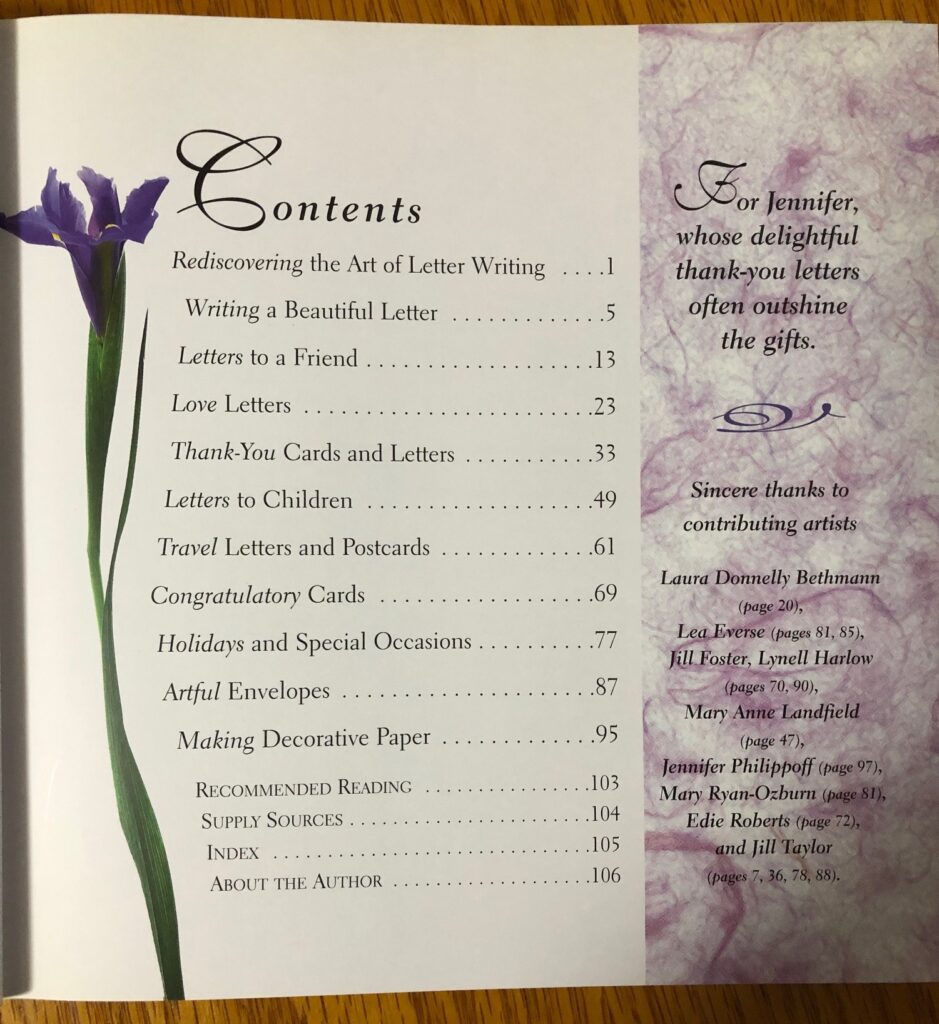
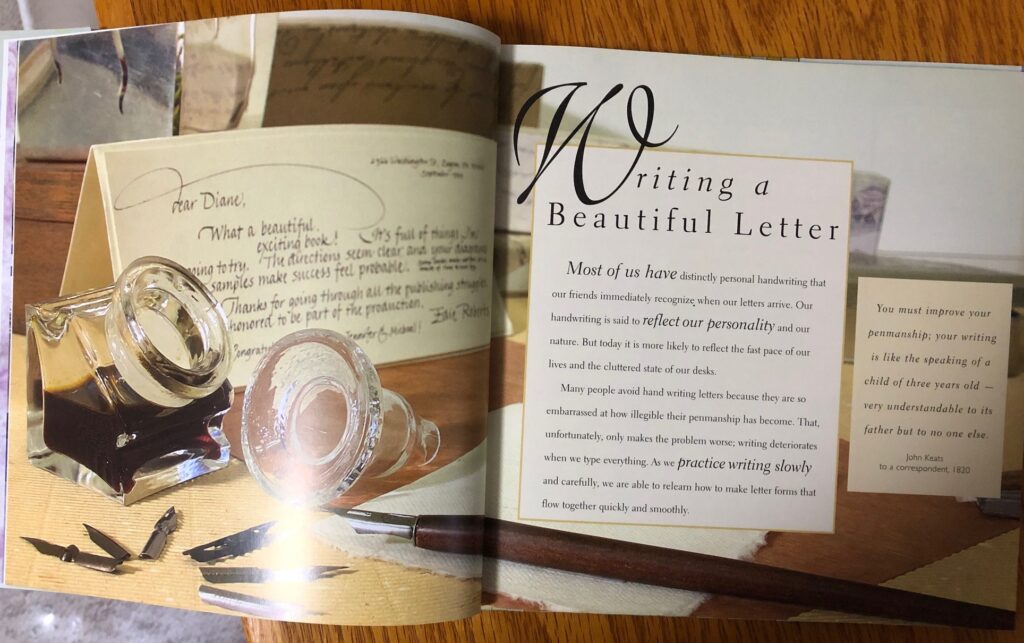
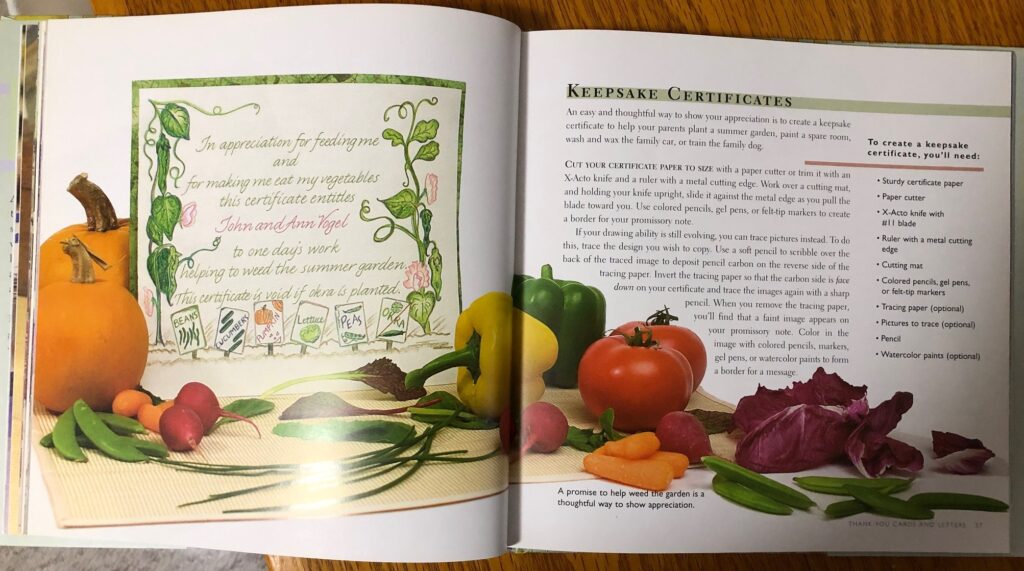
This book, The Handcrafted Letter by Diane Maurer-Mathison (2001) is a beautiful book. It is still in print and I reach for it often. It covers all kinds of written material, from letters to thank you cards and special holidays. It is full of illustrations about special papers and unique additions to gift cards. Here is the Table of Contents to show you the many topics covered.
The author is a native of Central Pennsylvania. I first saw her work using handmade paper items at local art shows. She’s a truly inspirational artist!
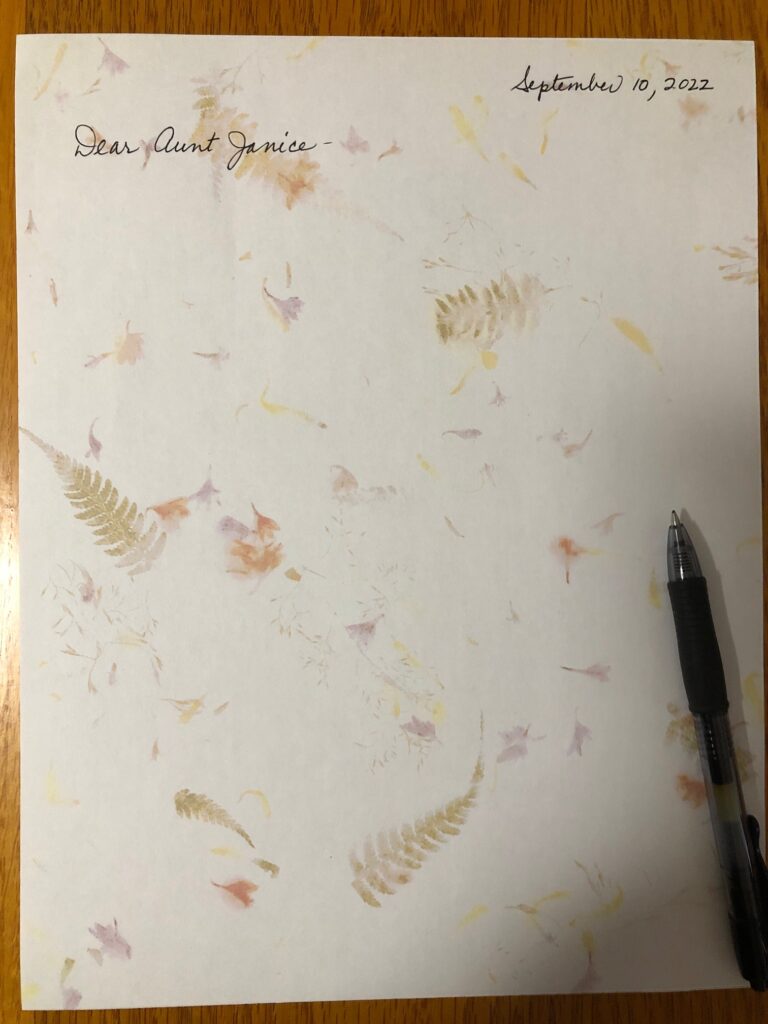
I really just wanted to write a letter, but I haven’t invested in “stationery” for a very long time. I did not have time or expertise to make my own paper! I decided to use a few sheets of paper that I had bought years ago that could so through my printer. It had pictures of embedded dried flowers that looked sort of handmade.
At this point, I could have typed the letter and printed it on this paper…but where’s the challenge in that! At least she will be able to read the cursive writing. I have to be careful when writing notes to my youngest grandchild because she isn’t comfortable reading or writing in cursive yet.
Luckily the flowers were subtle so I didn’t feel like I had to write around the pictures.
So began my letter writing exercise! It has been a VERY long time since I wrote four pages in cursive. I had forgotten how comfortable I’ve become typing and editing right on the computer…not a pencil in sight! Thirty years ago I wrote my whole Thesis out with a pencil and then typed it into the computer. I could only think and organize my thoughts with pencil and paper. Look how far I’ve come!
By the third page, I had to slow my thinking down so I could avoid skipping words and making spelling mistakes. I can’t write as fast as I can think! I kept wishing for a “backspace” button to fix the mistakes. My hand certainly had a few cramps after this marathon writing exercise! At least I know she will be able to re-read the letter as needed and I feel better about staying touch.
Do you have a special friend or relative who would love to receive a hand written note or letter from you? Break out those old skills, just for practice! You might make someone’s day! Enjoy!
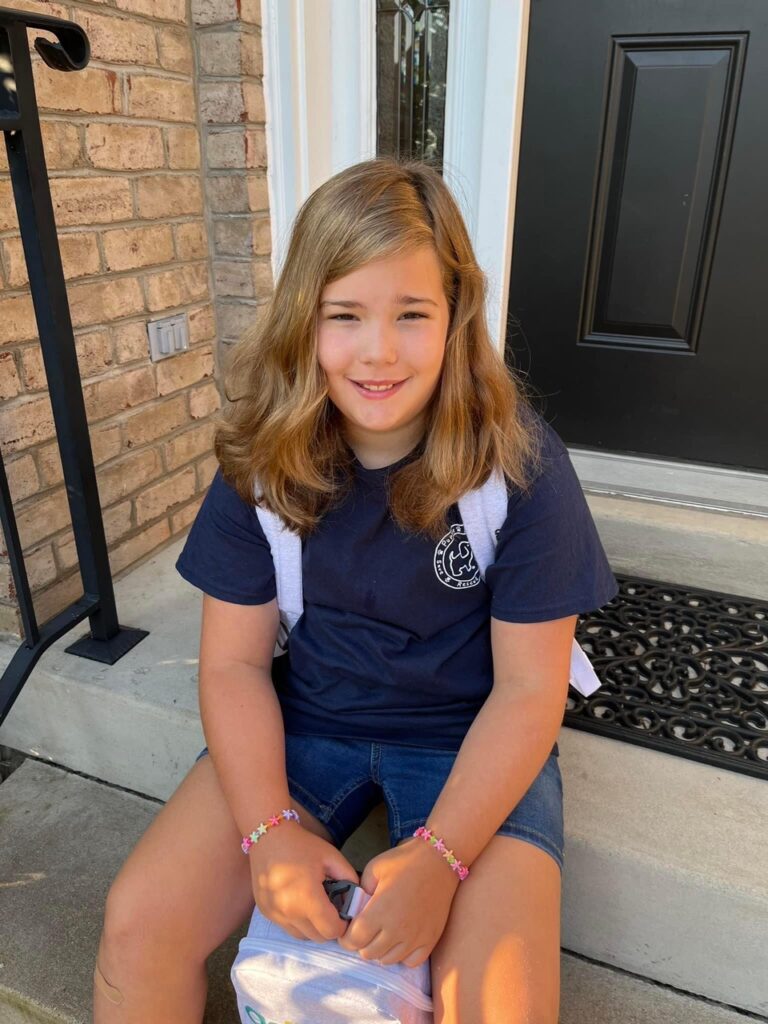
In a few days we will be headed out of town to our Granddaughter’s 10th birthday party! I can’t believe it’s been 10 years since she was born…and even at three she was a cutie! By now, at age 10, she’s turning out to be quite a lovely young lady!
Anna at three!Ready for the first day of 4th grade!
Of course, we can’t go visit the family without something special for our Grandpuppy…Daisy!
Daisy resting after a busy Christmas Day!Ben and Daisy.
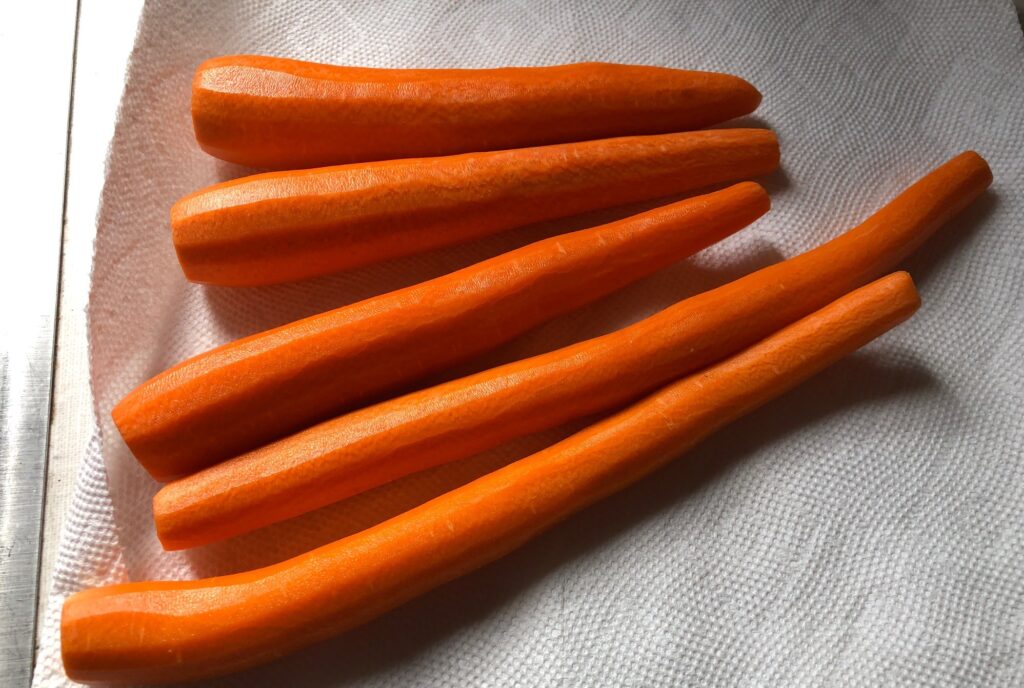
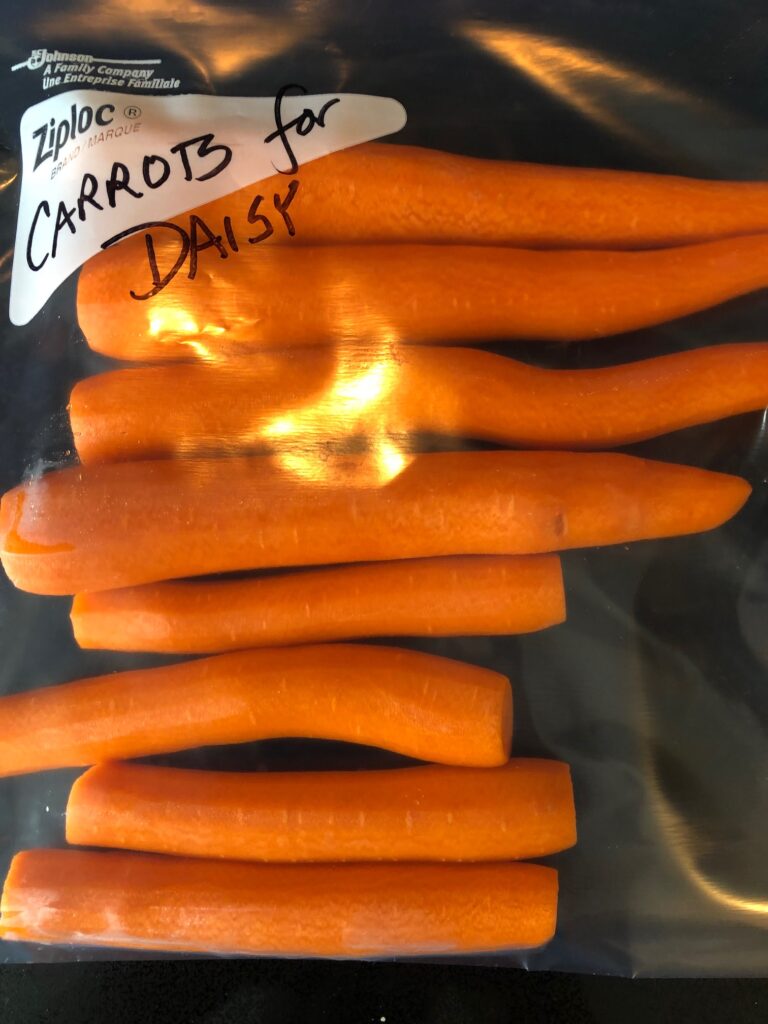
We used to bring assorted toys and chew bones for her to play with, but we’ve been asked to substitute healthy snacks…which turn out to be raw vegetables! Who knew! At Christmas time, I brought a few huge carrots just to see what she would do with them. She loved them!! They were better than a giant rawhide bone! So today, I got a bag of carrots cleaned up and ready for her.
These should keep Daisy busy for a while. She should be set with fun snacks for several days! Maybe she’ll think it’s her birthday too!
Thanks to the dry August, I think autumn has decided it’s time to make an appearance! In the last three days we finally had a storm track right over us and we ended up with almost 2″ of rain! The grass will be happy. We’ve been able to keep the few plants left in the garden watered, but I think most of the plants were just ready to get on with fall weather.
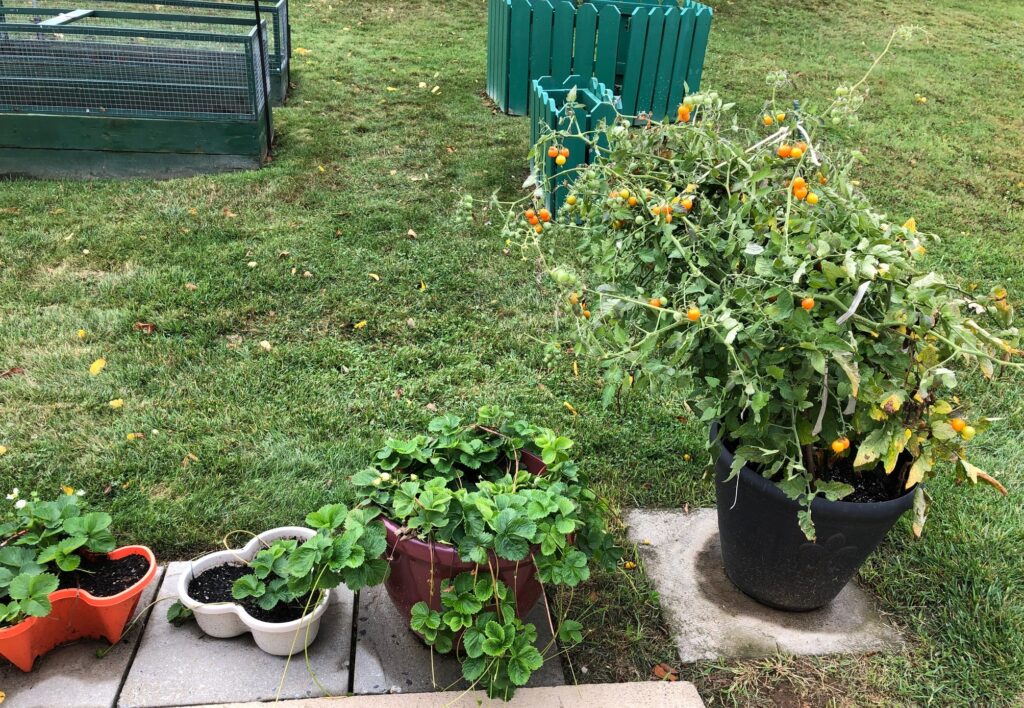
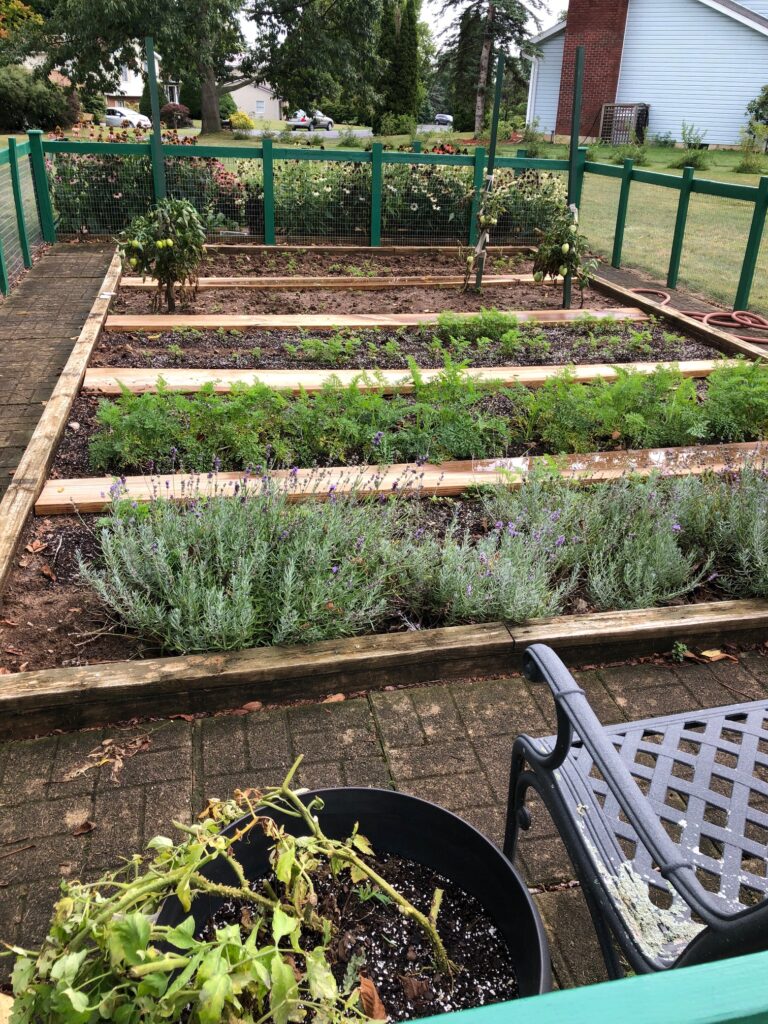
Here’s where we stand in the garden today:
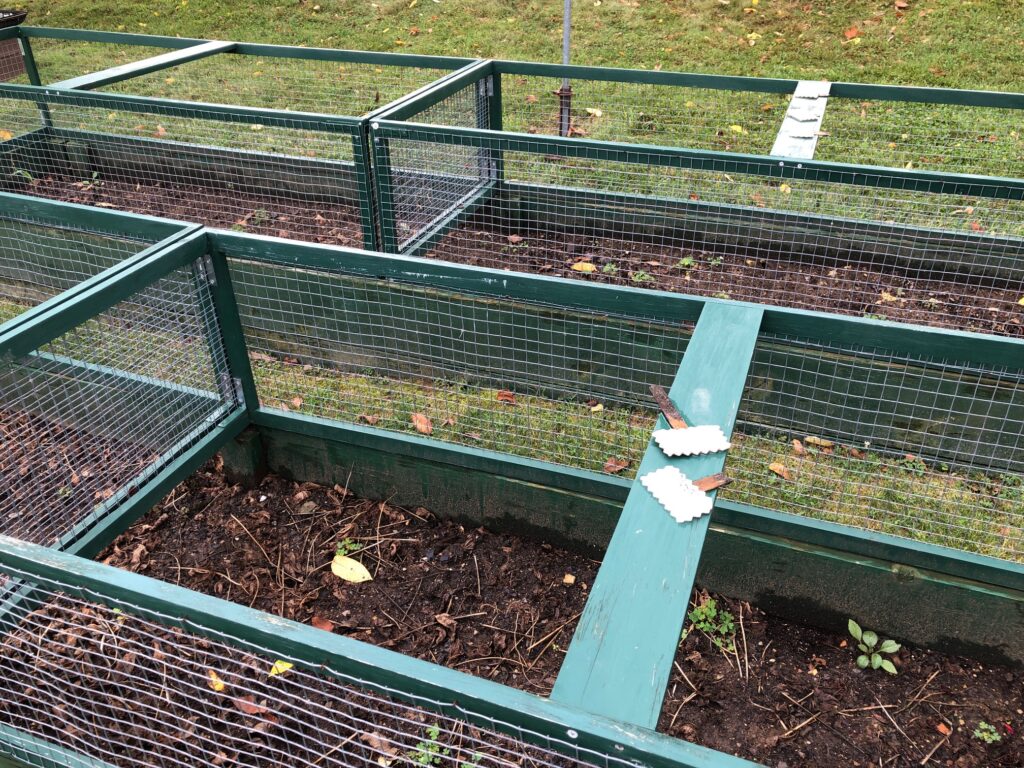
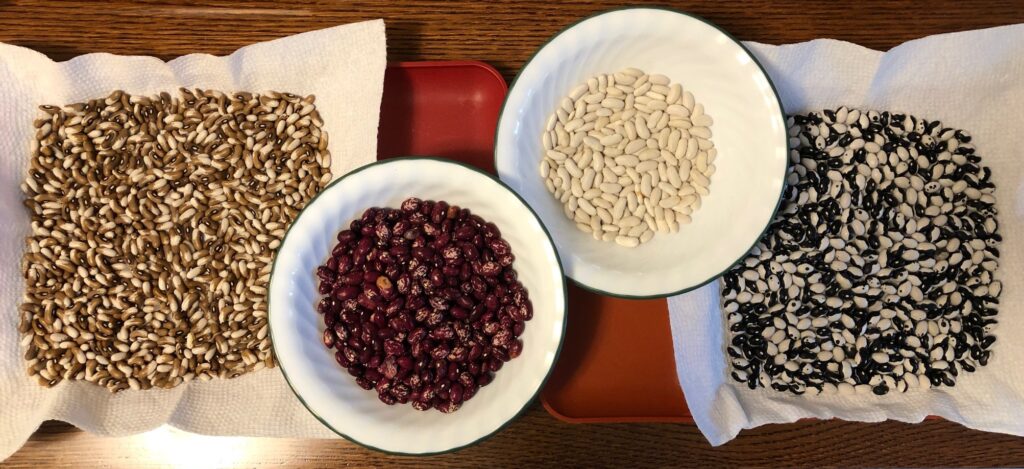
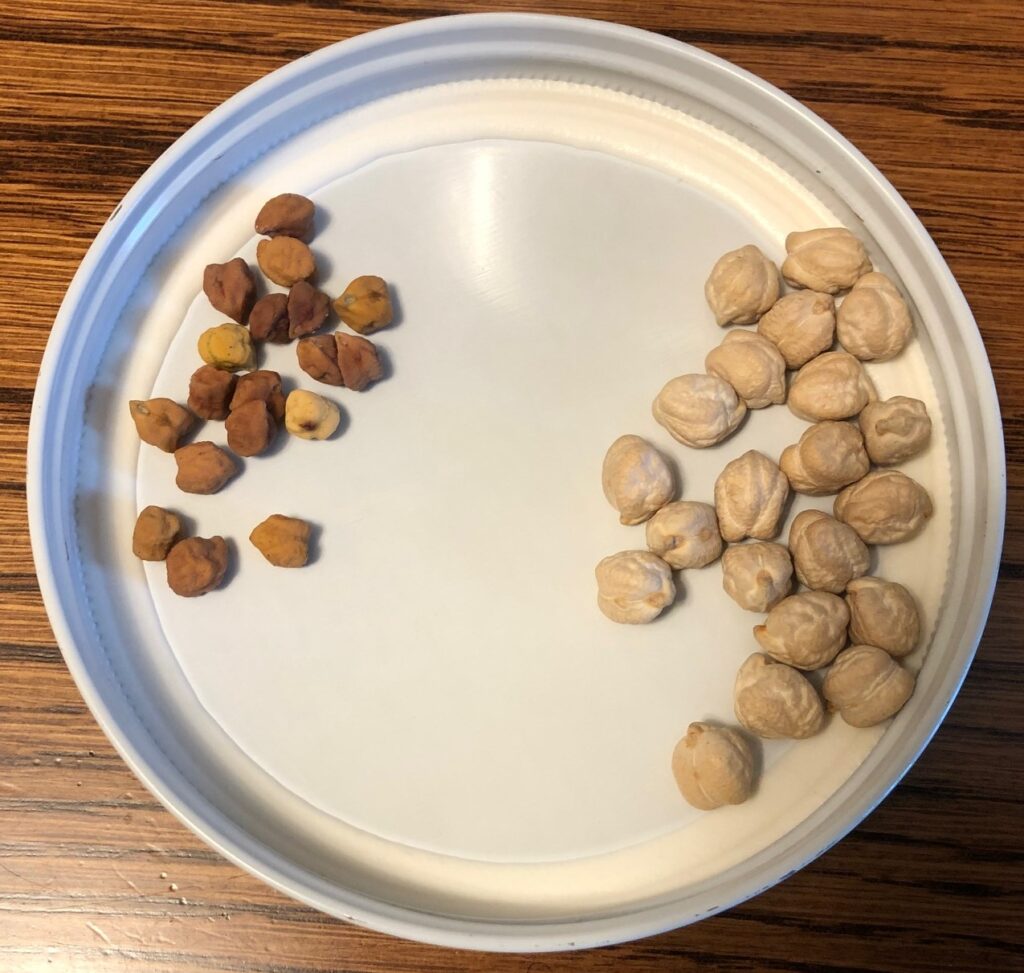
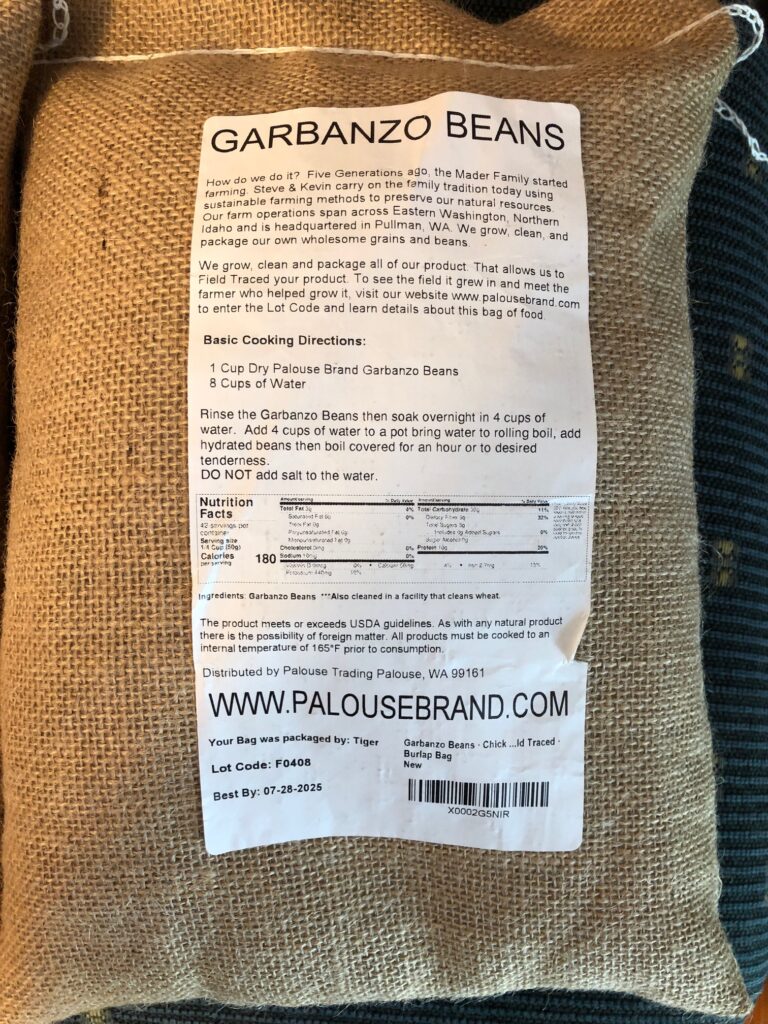
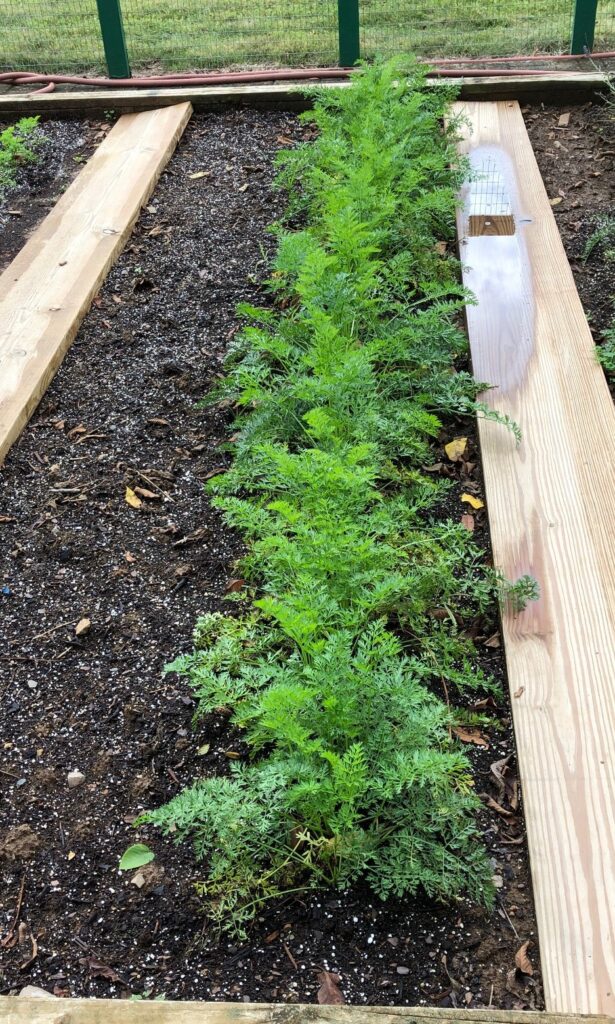
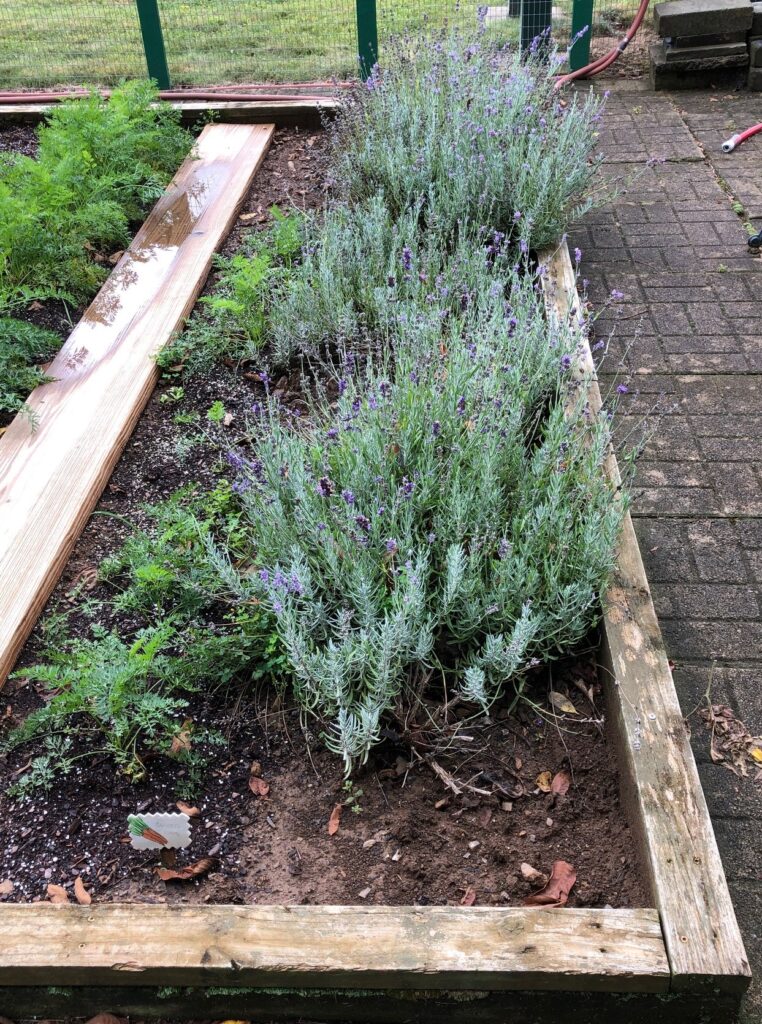
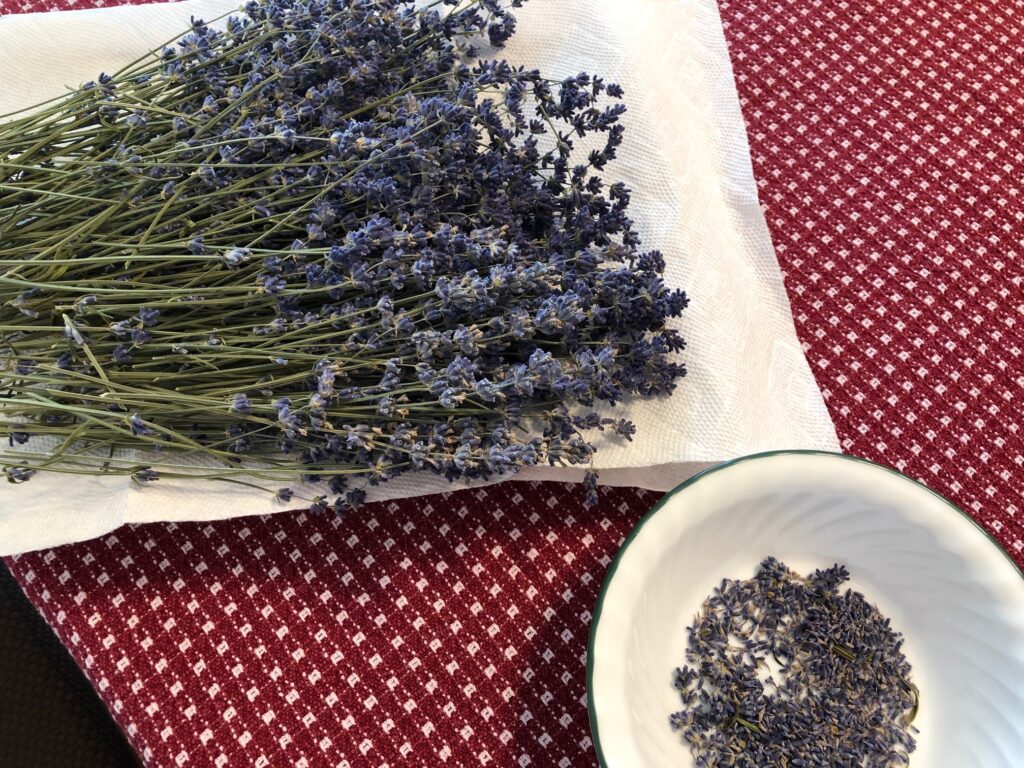
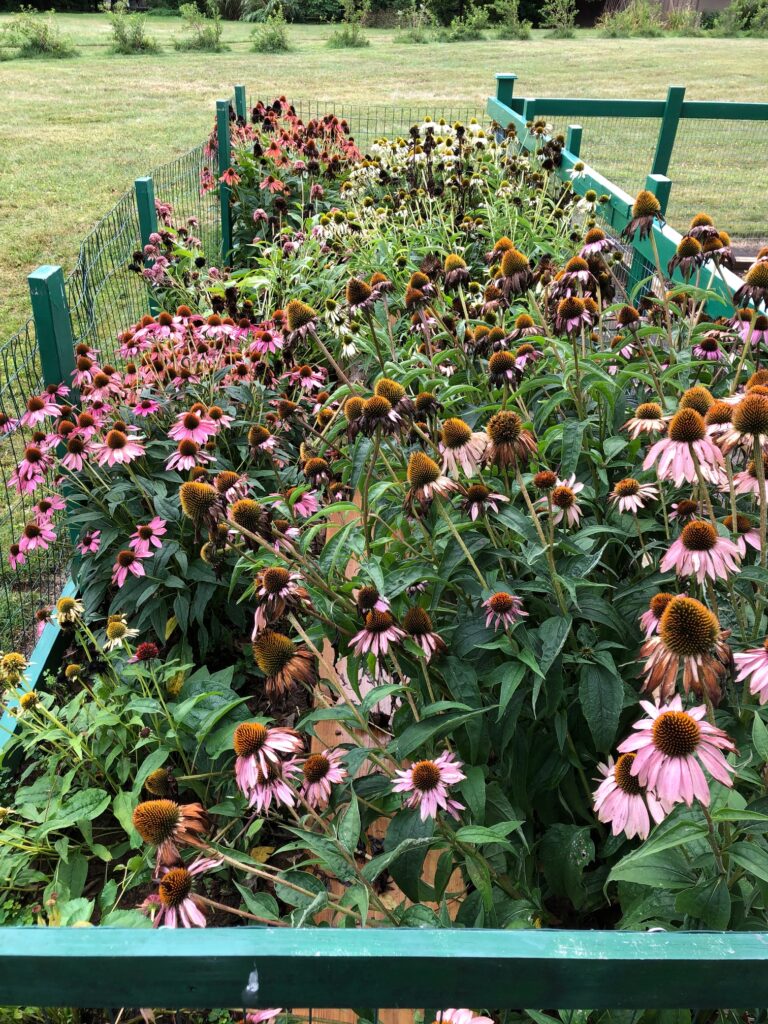
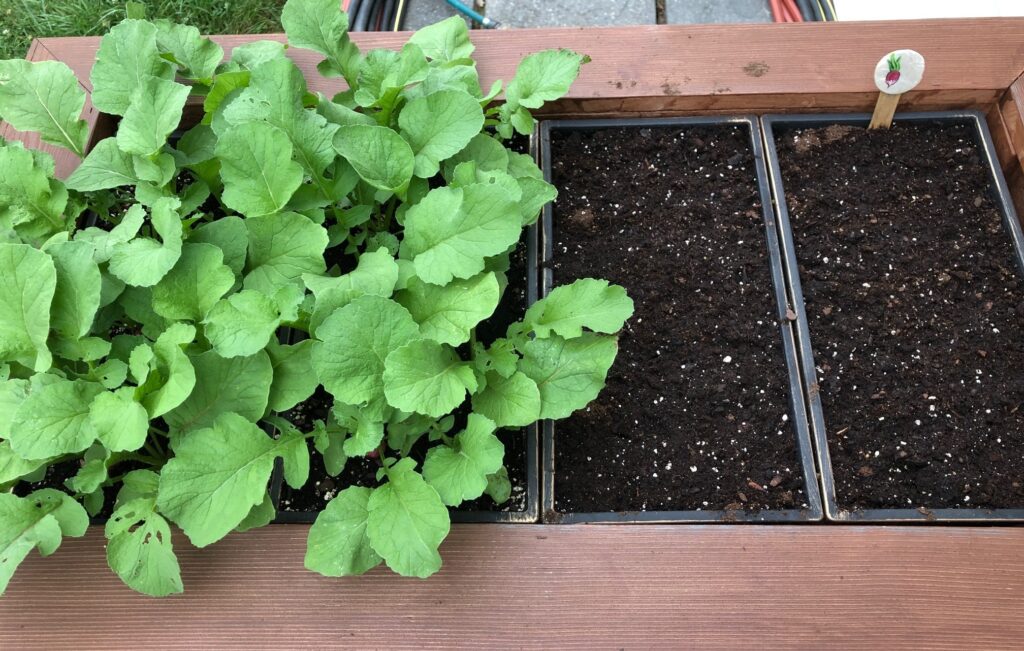
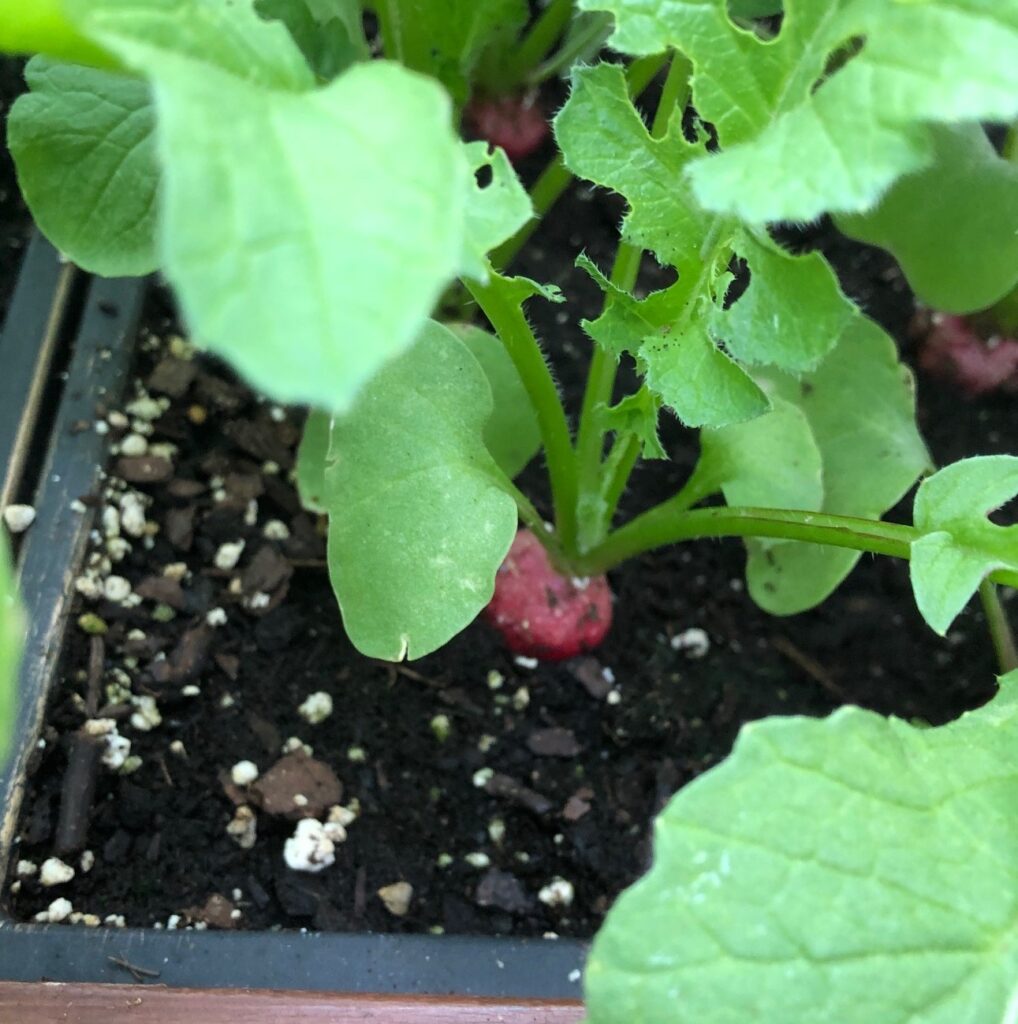
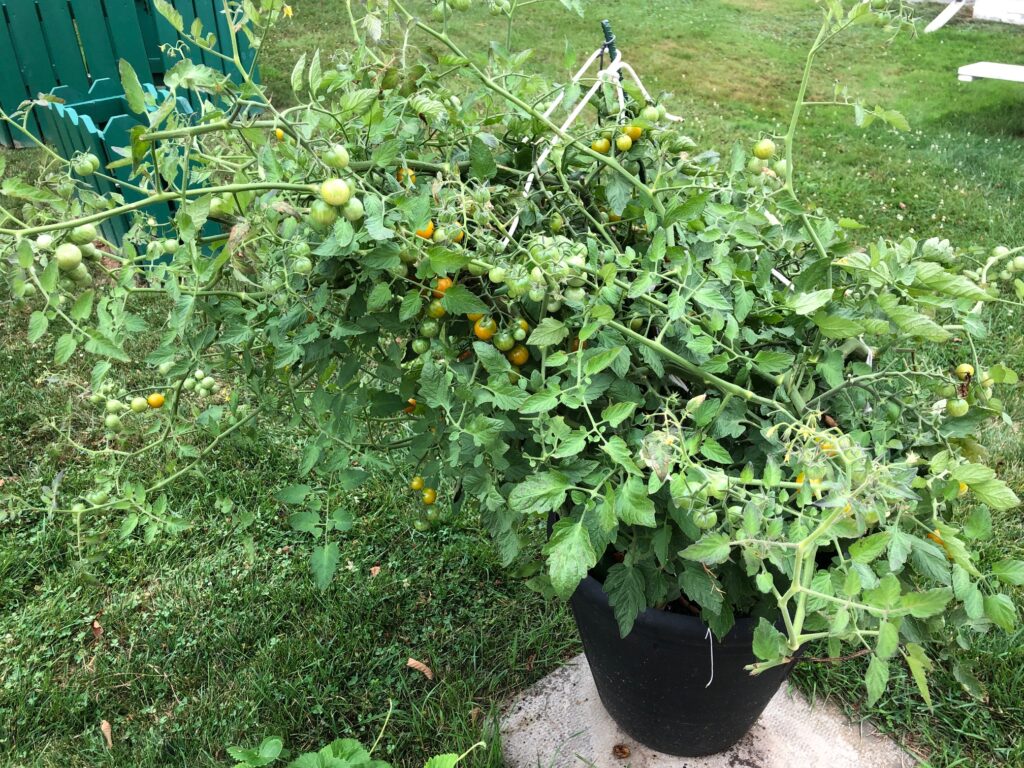
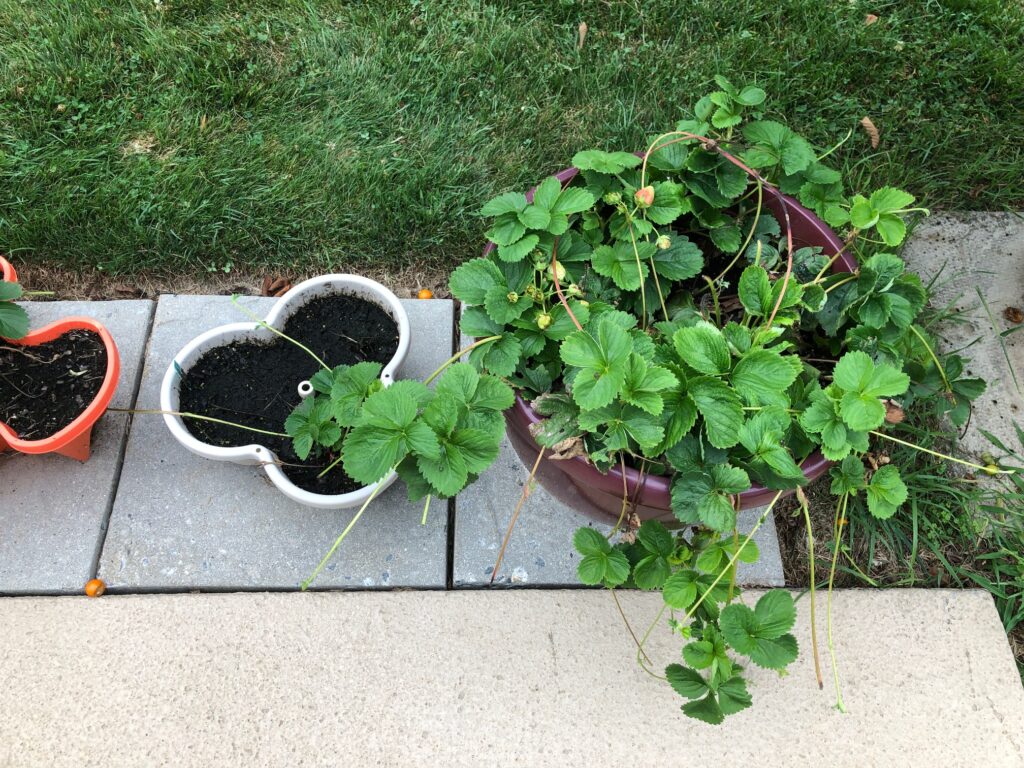
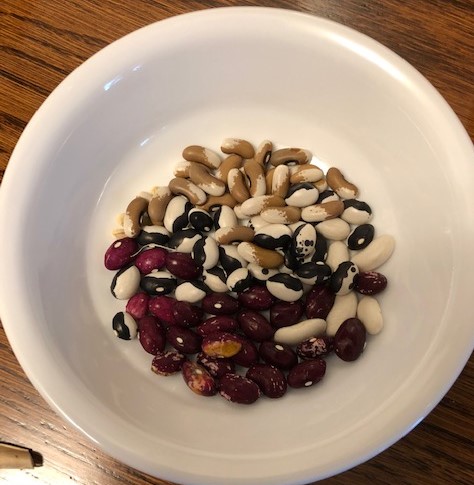
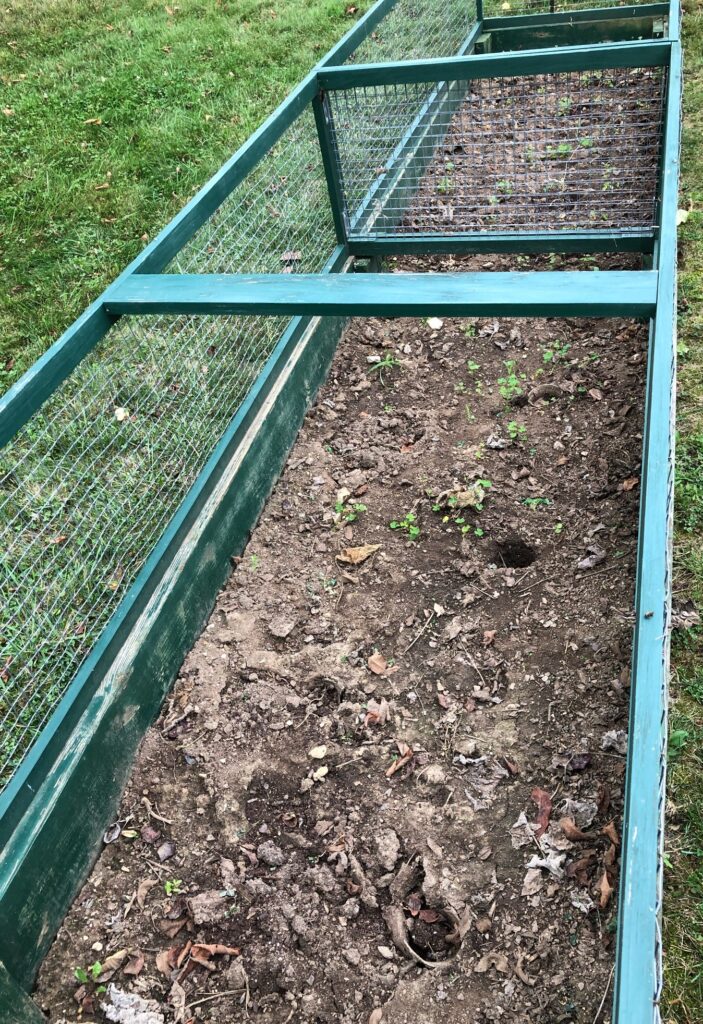
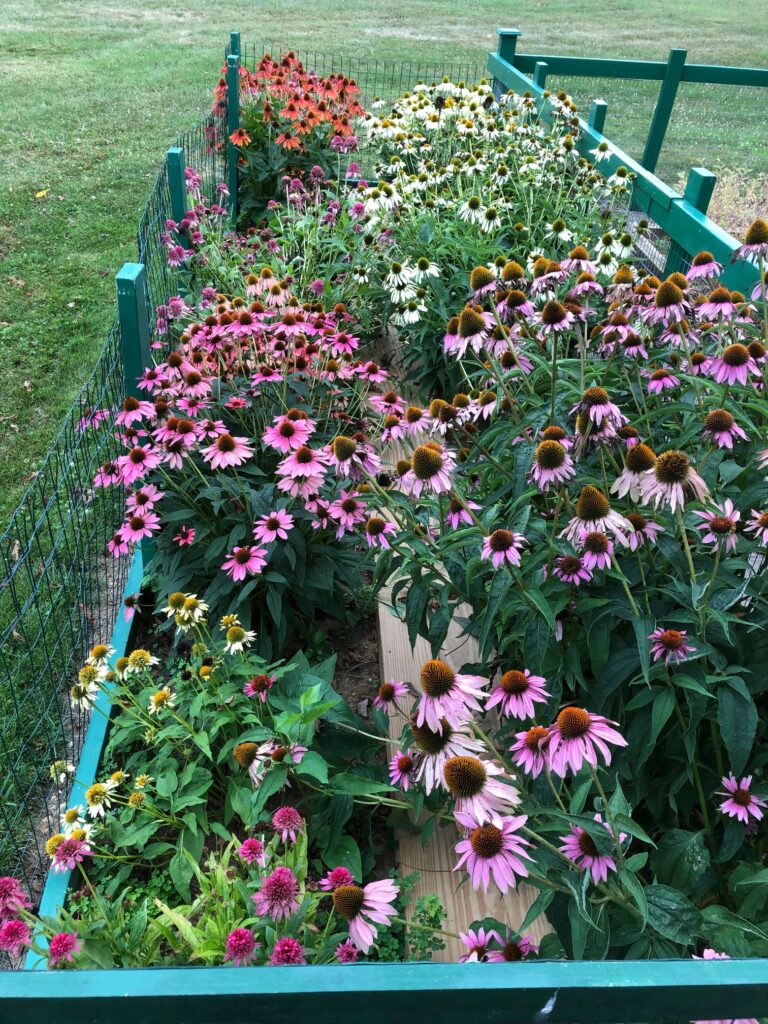
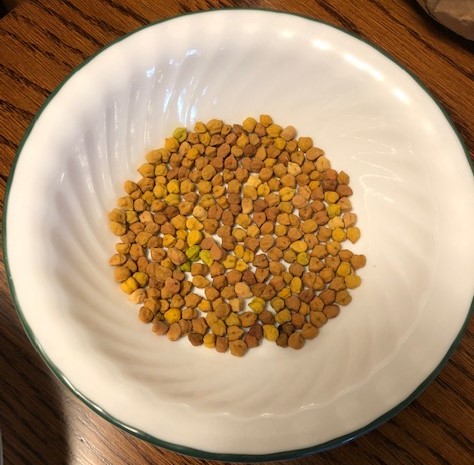
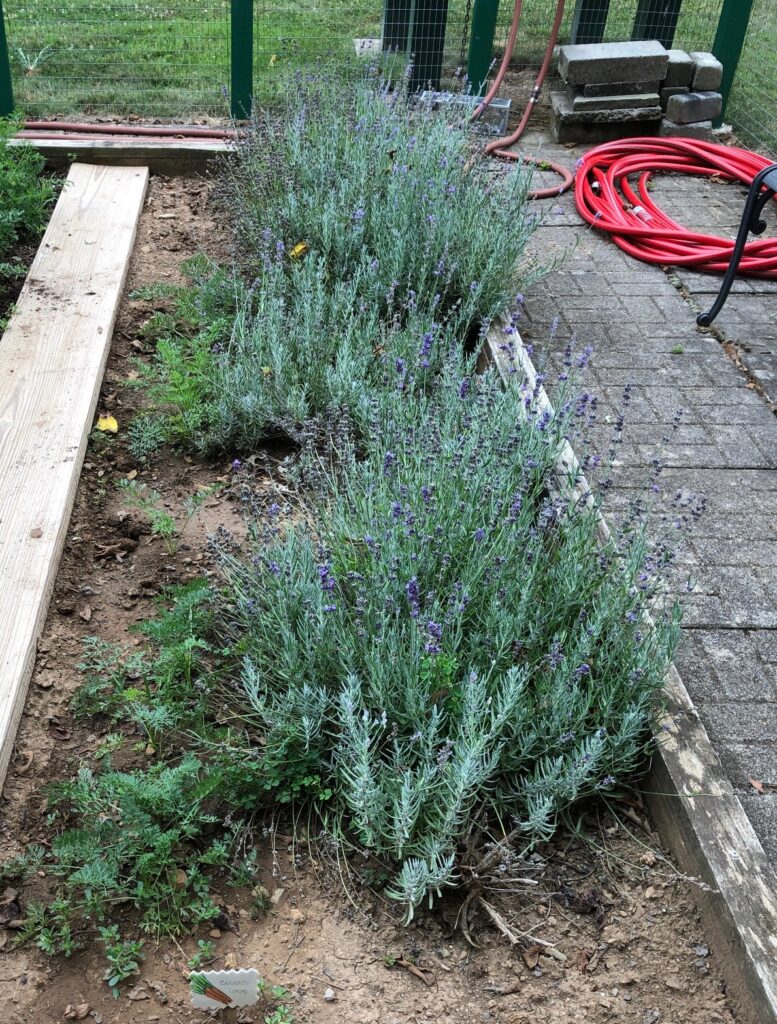
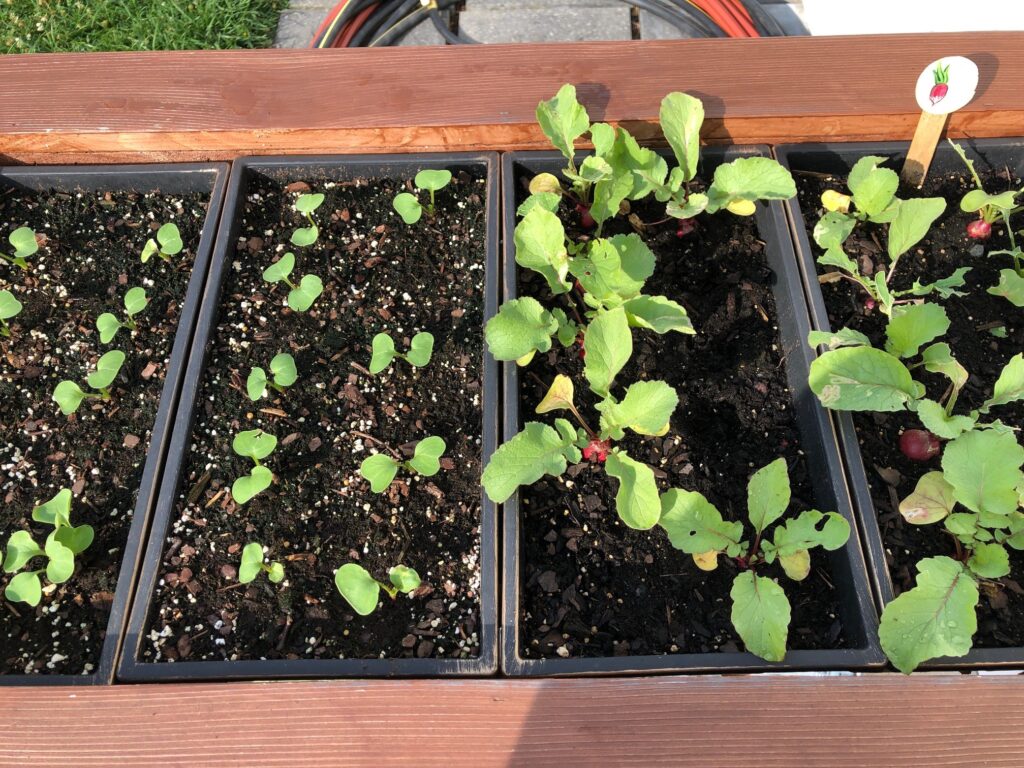
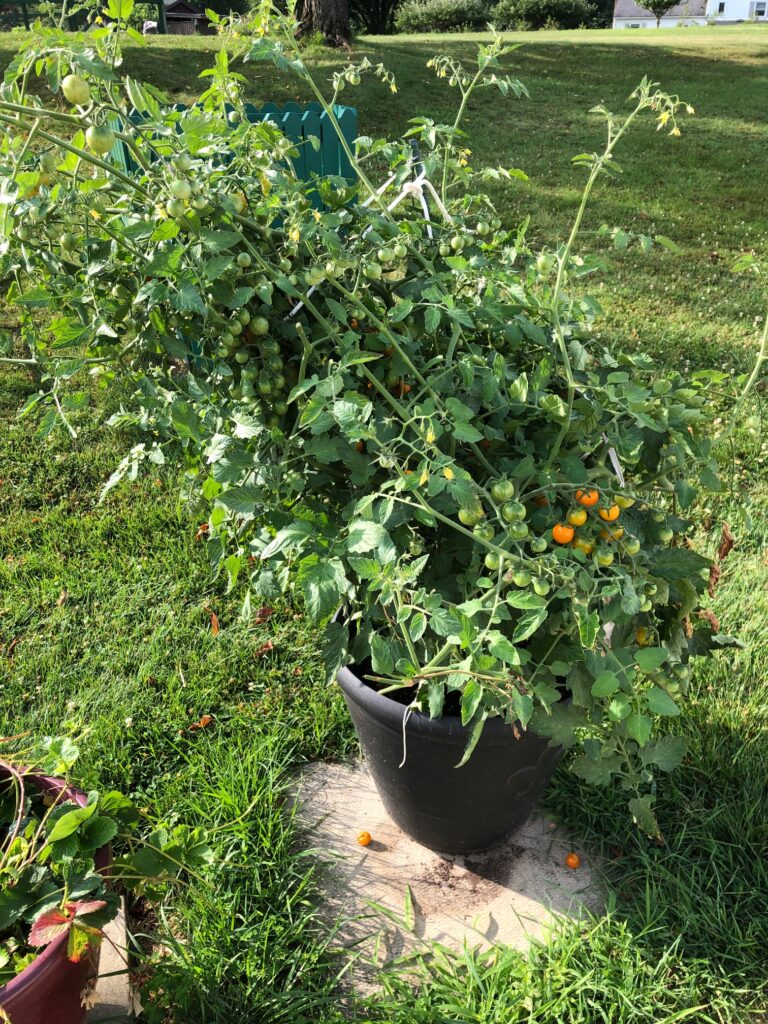
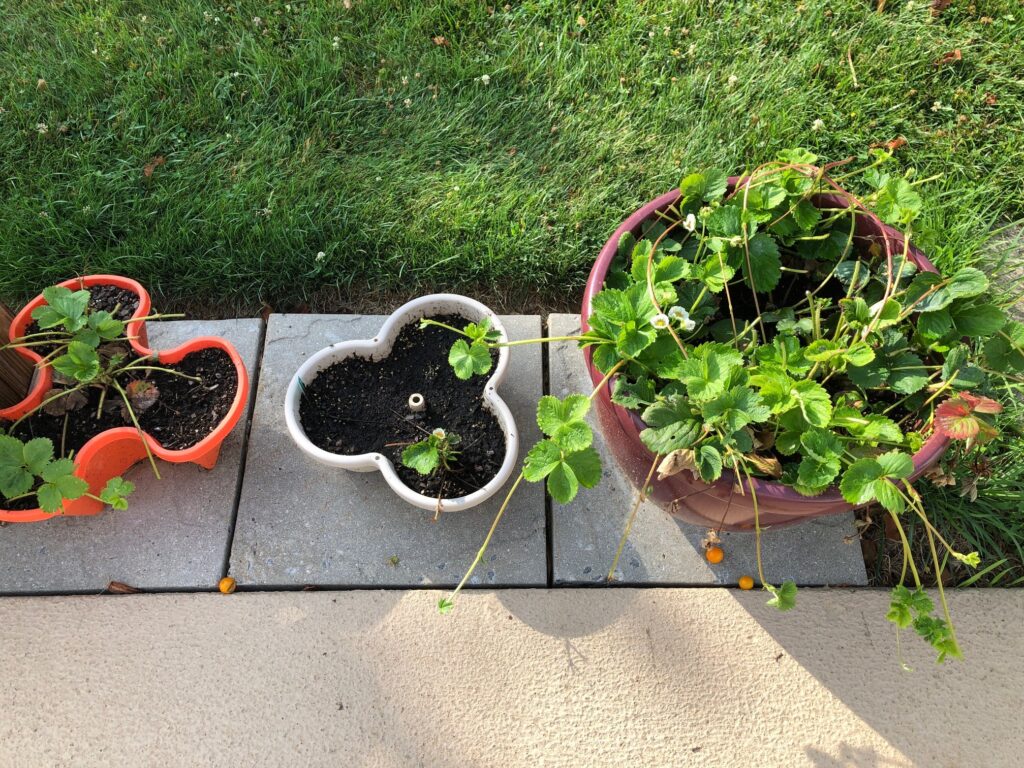
The last planting of radishes. This is the raised planter, but somehow some munching insect took bites out of the radish leaves. I probably have two dozen radishes in the refrigerator so I’m set for a while.The strawberry plants keep trying, but really no actual strawberries made it. the yellow/orange cherry tomatoes have finally reached their limit…so did I! Most of the tomatoes have split and rotted, so that plant will be dispatched shortly. I still have 2-3 dozen in the refrigerator so I’m good for now.These are the planters that had the shell beans, the cucumbers and Delicata squash. Everything was removed and cleaned up two weeks ago.The shelled beans, from left to right: Painted Pony beans, Cranberry beans, a baking bean and Calypso beans.The chick peas were cute and tiny and a complete pain in the neck to shell! I ended up with several cups of tiny peas. Not sure if they’ll cook up into anything worth eating. Very disappointing. Who knew there were two varieties of chickpeas. The ones on the right are the ones I’m familiar with.I finally solved my dilemma of wanting chickpeas by ordering some online from the Palouse Co. in Washington. I’m determined to try making hummus sometime.The main garden is pretty empty now, with just carrots to harvest. We’ll dig them up as we need them. Last year we dug up the last of the carrots for Christmas dinner!Carrots are looking good!The lavender looks pretty good and will probably be fine for any wandering bees until the first frost.I had already picked the lavender that I wanted to dry and put it in a paper bag. I pulled it out to see how it was doing. It needs a little more time so I laid the bunch out on a tray and will let it continue to dry.The Echinacea flowers are letting me know that fall is coming…they are already looking pretty sad!
As you can see, Bert tidies up the garden as things finish so the final clean up doesn’t take too long. I’m ready to put all the canning supplies away for now. All I have to do is look at my shelf of canned foods to see how the summer went…pizza sauce, 4-bean salad and pickle relish. The memories of meals with fresh green beans, tomatoes, salads with fresh lettuce and radishes are there too! So that was our garden for 2022! Thanks for sharing the journey!
Thanks to the ongoing heat and lack of rain, the plants in the garden are maturing faster than I expected. I know it’s been only 11 days since my last update on the garden, but things change that quickly. While we’ve been able to keep the actual plants watered, for some reason they have just decided it’s time to wind down. Mother Nature seems to have her own timeline.
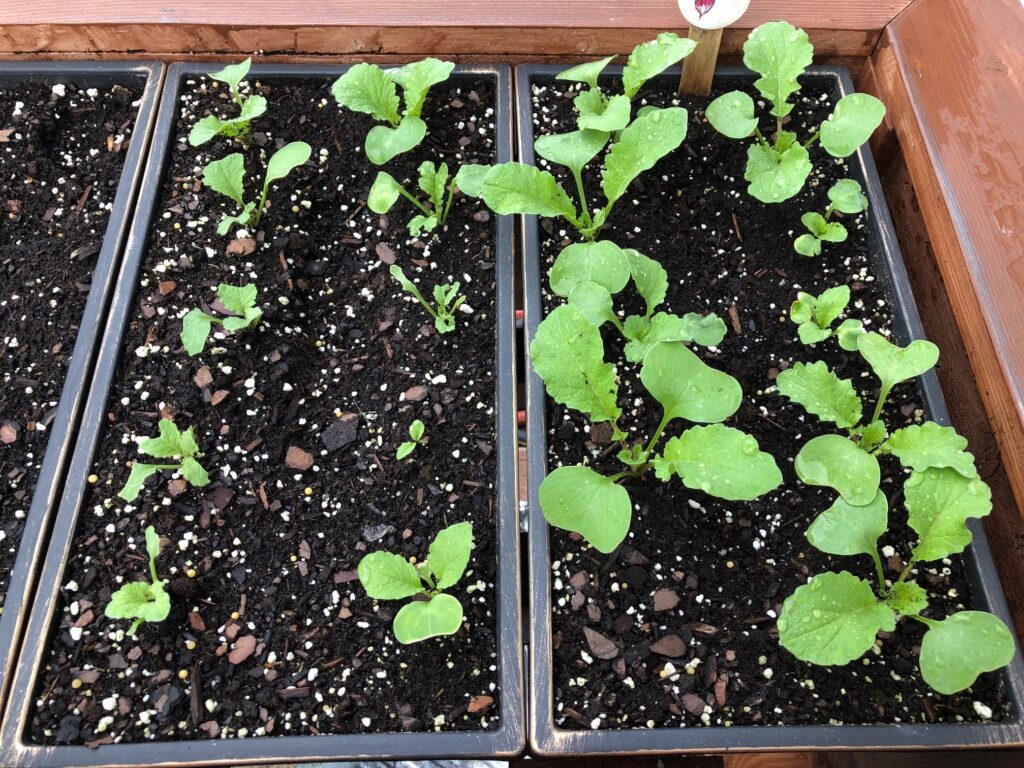
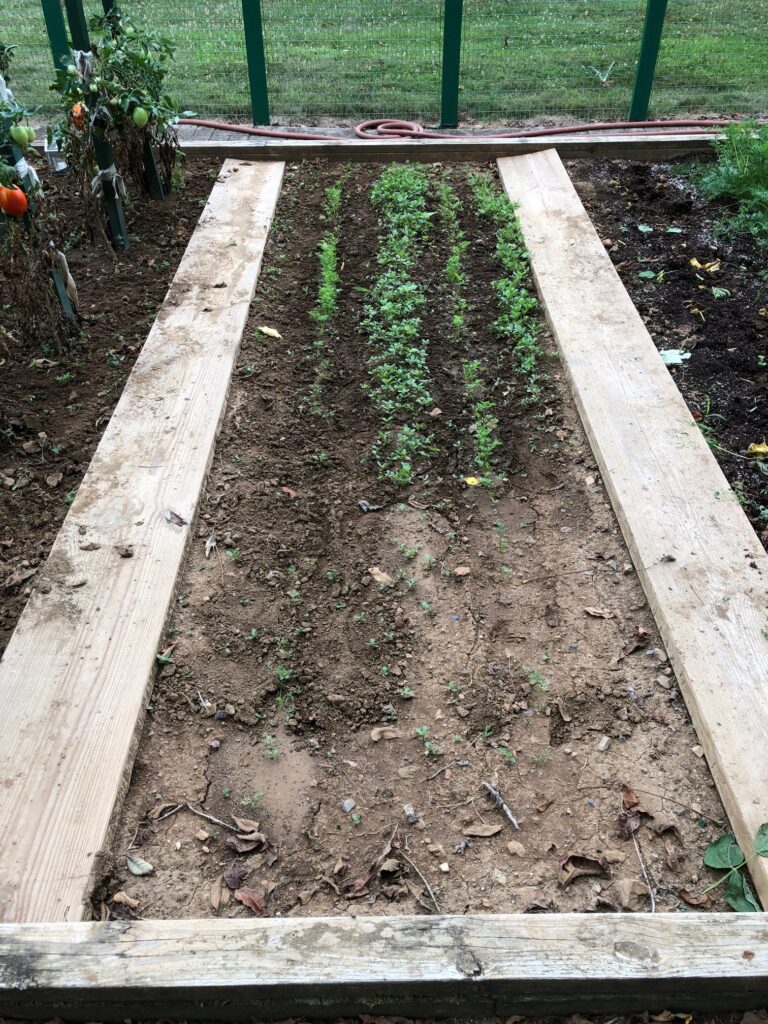
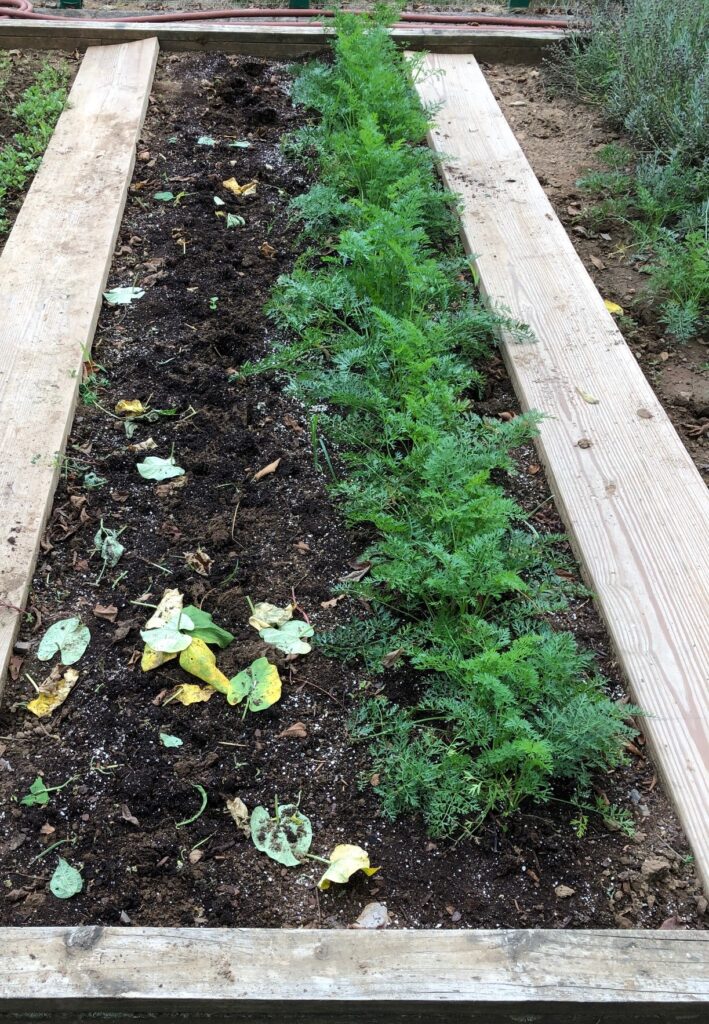
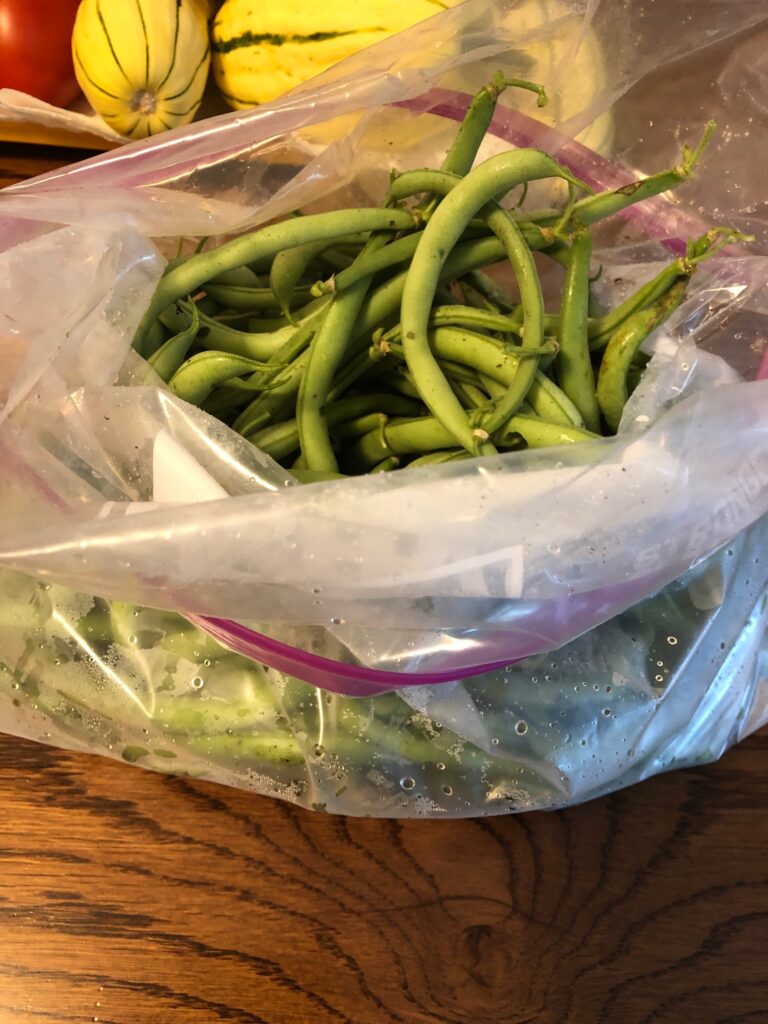
I’d say the radishes were my most successful crop! I’ve just replanted the sections on the right with 10 more seeds in each.The ones on the left are almost ready!We continue to eat yellow cherry tomatoes even though the plant looks like it will fall over at any time!The strawberry plants are still trying…we may get a few of these to eat!The 4 kinds of shell beans have drooped. Most of the pods are getting brown. The only green plants are weeds!They don’t look like much but……they really are looking great inside!These empty beds had the Delicata squash and cucumbers.The squash now have tough skin so they’ll keep for a while. Only a few misshapen cucumbers were left (sorry, no pictures of the cucumbers).The garden up on the hill is looking sparse.The Echinacea are still looking pretty good. The bees are happy!The chick pea pods are brown and crunchy. Had to get this picture before Bert cut them off.Bert collected the chick pea pods and will leave them out today in the sun to dry some more. He’ll store them in the shop so they can keep drying while I start shelling them.I’ve been collecting the pods over the last few weeks and now they pop open very easily. I was concerned they were beginning to look moldy so they were picked today.My collection of chick peas so far!Every day we pick a few tomatoes. (See the earlier picture of the tomatoes on my kitchen table.)This second planting of carrots are struggling with the heat…but the weeds are happy!The row on the left had the last planting of green beans. I pulled the plants yesterday. The row on the right is the first planting of carrots. We’ll leave them in the ground and eat them all fall. They are about 4-5″ long.This is the last picking of green beans.The lavender is still attracting the bees. There are a few carrots on the left trying to grow. I think the lavender plants don’t like them nearby!This plant has survived the deer munching on the top, but it keeps trying!
So, that’s the tour the second week of August, 2022. Mother Nature has ruled the garden this year. I wonder what kind of winter we will have…maybe less snow? We can only hope! Enjoy!
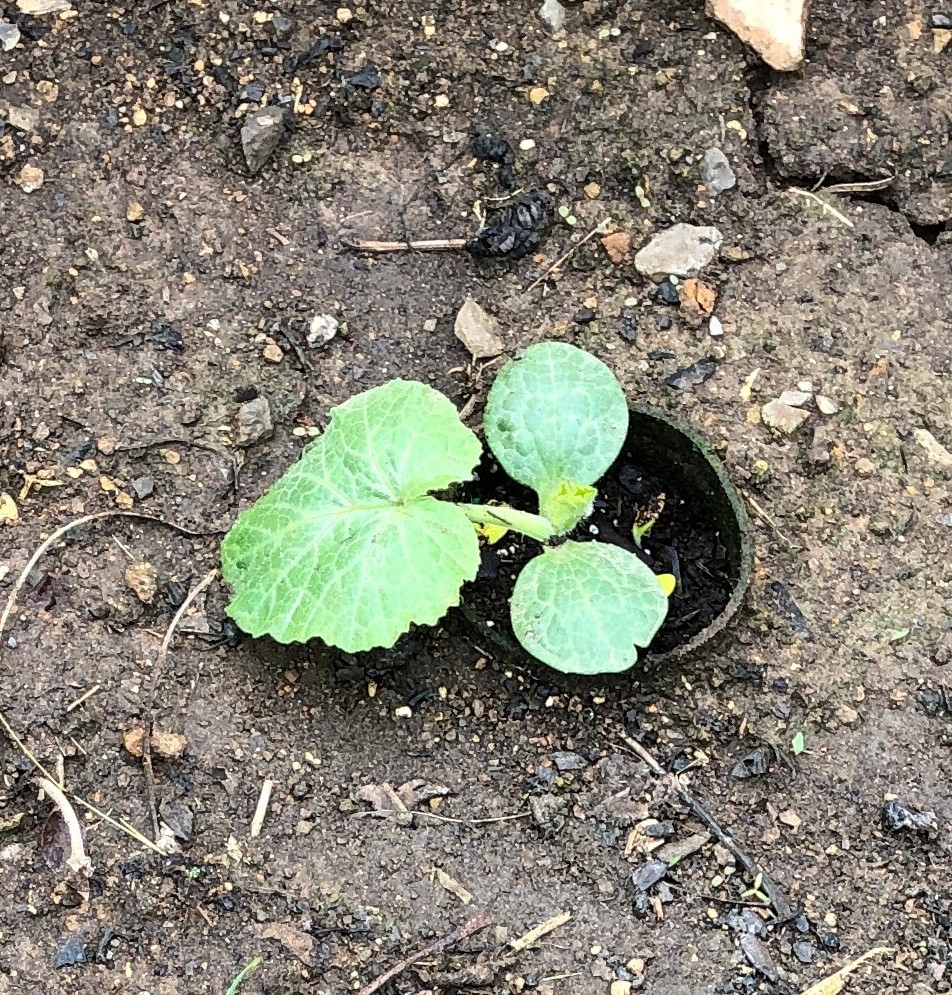
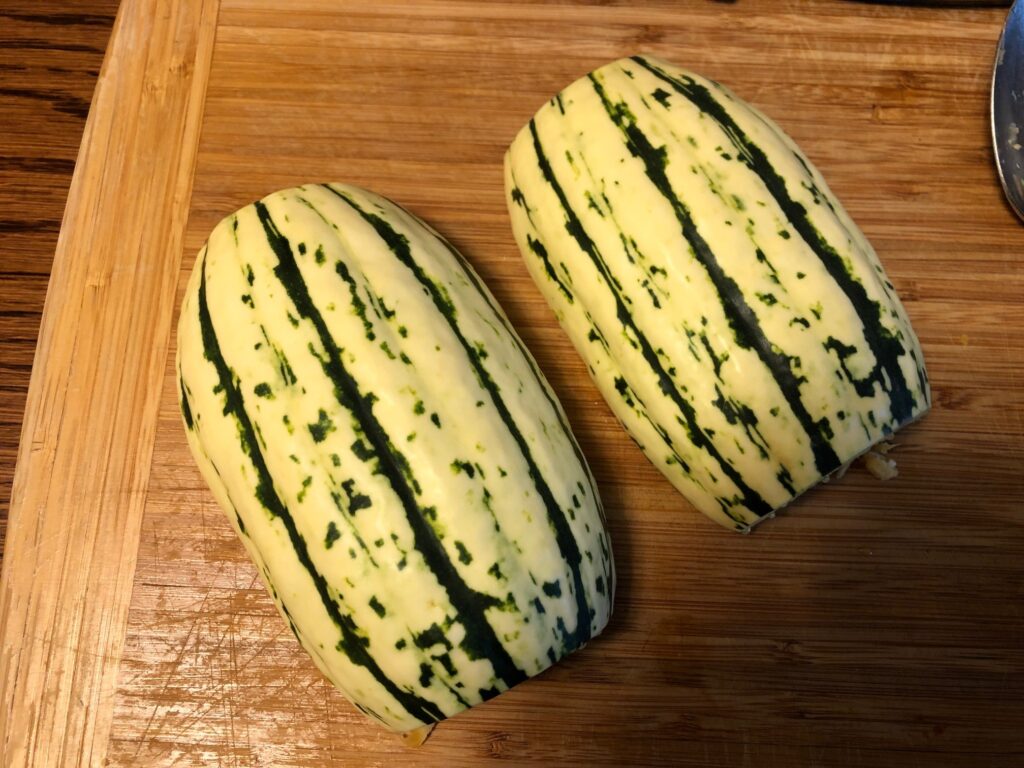
We have been watching the progress of our first attempt to grow Delicata Squash. Bert planted seeds under grow lights back in the spring and carefully transplanted them into the garden in late May. We did not really know anything about growing or cooking the squash so this was an experiment for the season.
We planted only 6 seeds. We had no idea how big they would get, but from the size of the first few leaves, I knew they would be BIG!
We watered frequently and held our breath!
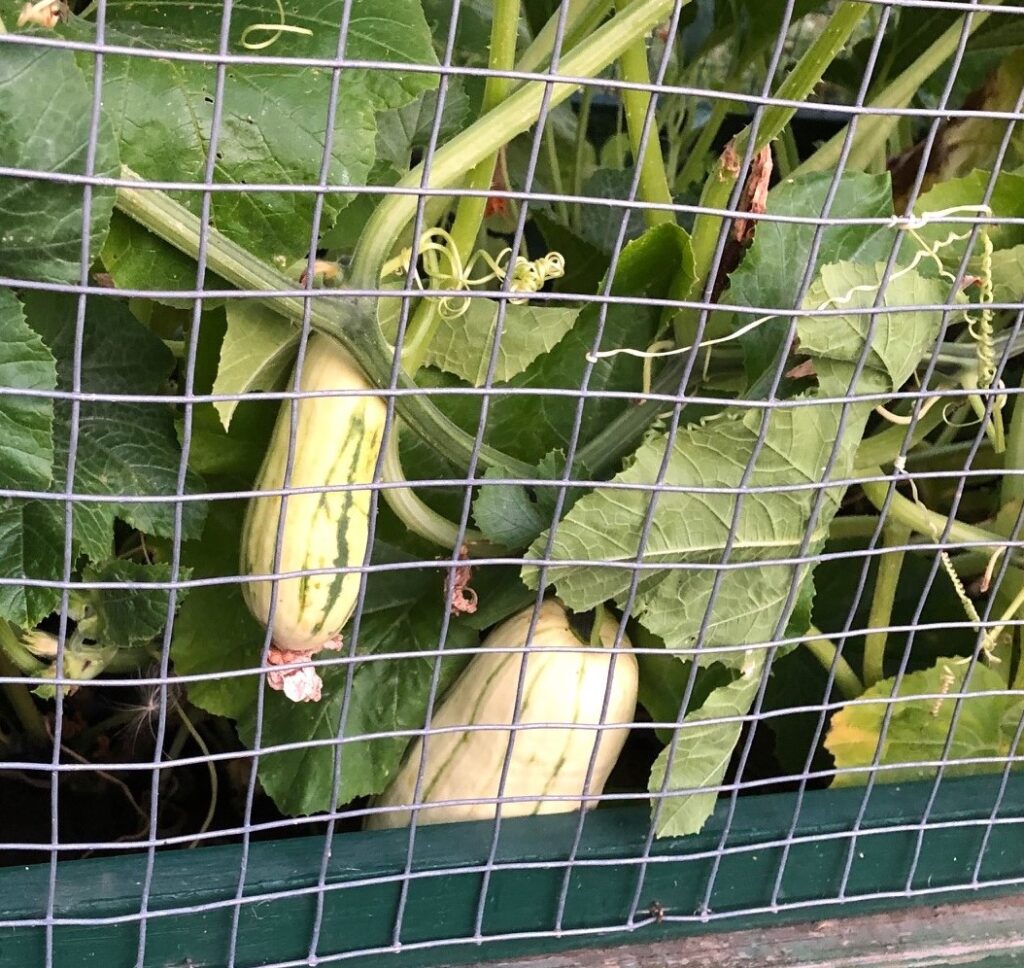
We had to keep directing the vines back into the fenced area while the squash grew. It was fun to watch.
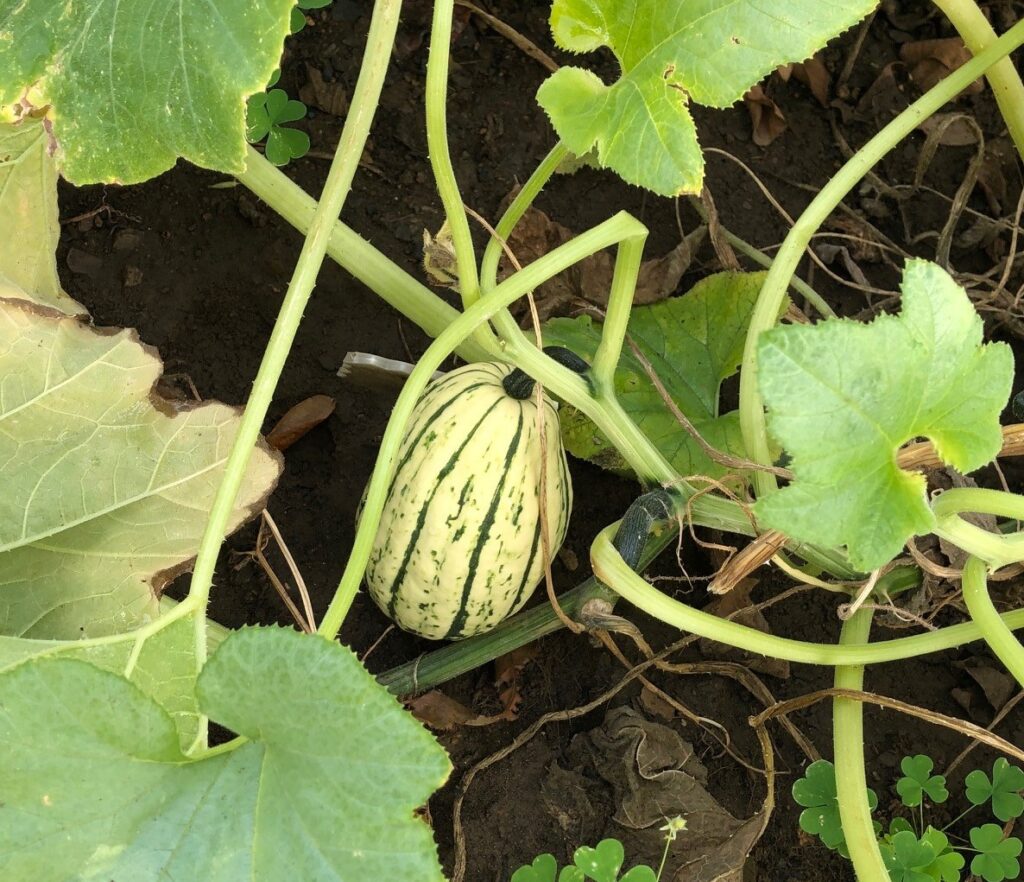
While we waited, I did some research about when to pick them and how to cook them. Eventually the skins turned the right color and hardened. They were about 8-9″ long. They almost fell off the vines last week, so it must be time!
Recipe #1: Roasting Slices
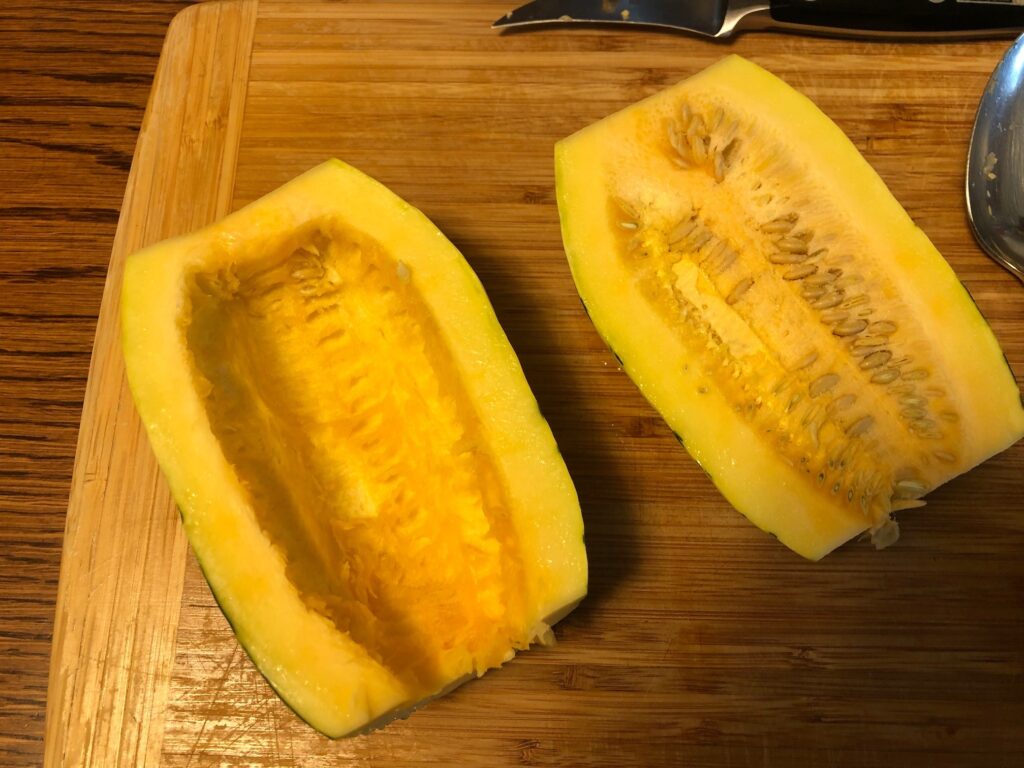
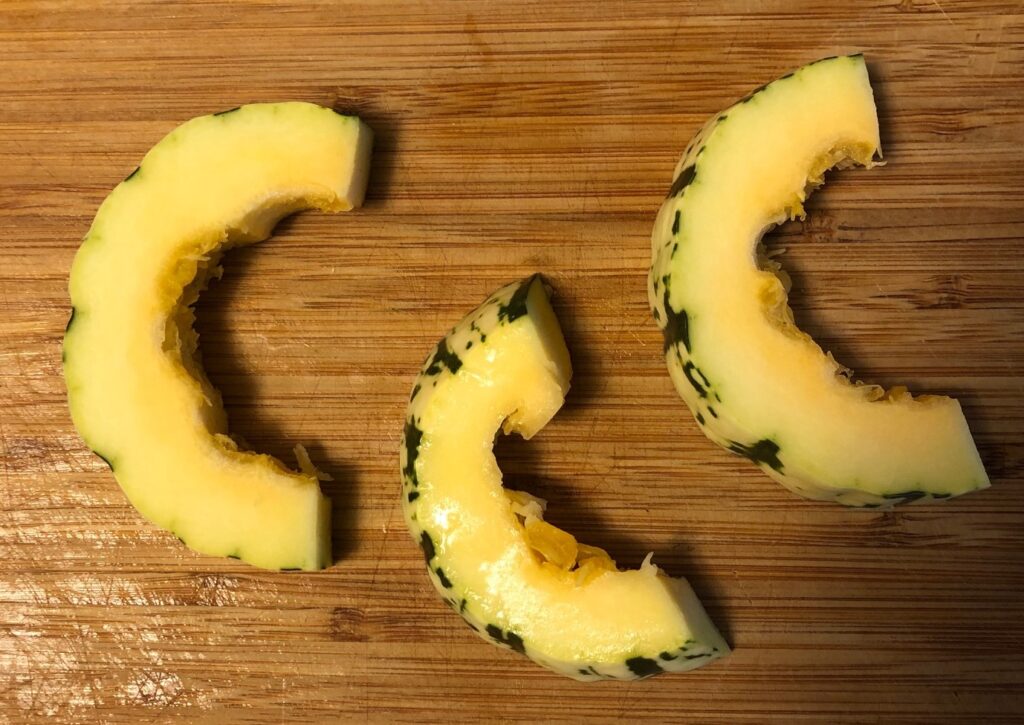
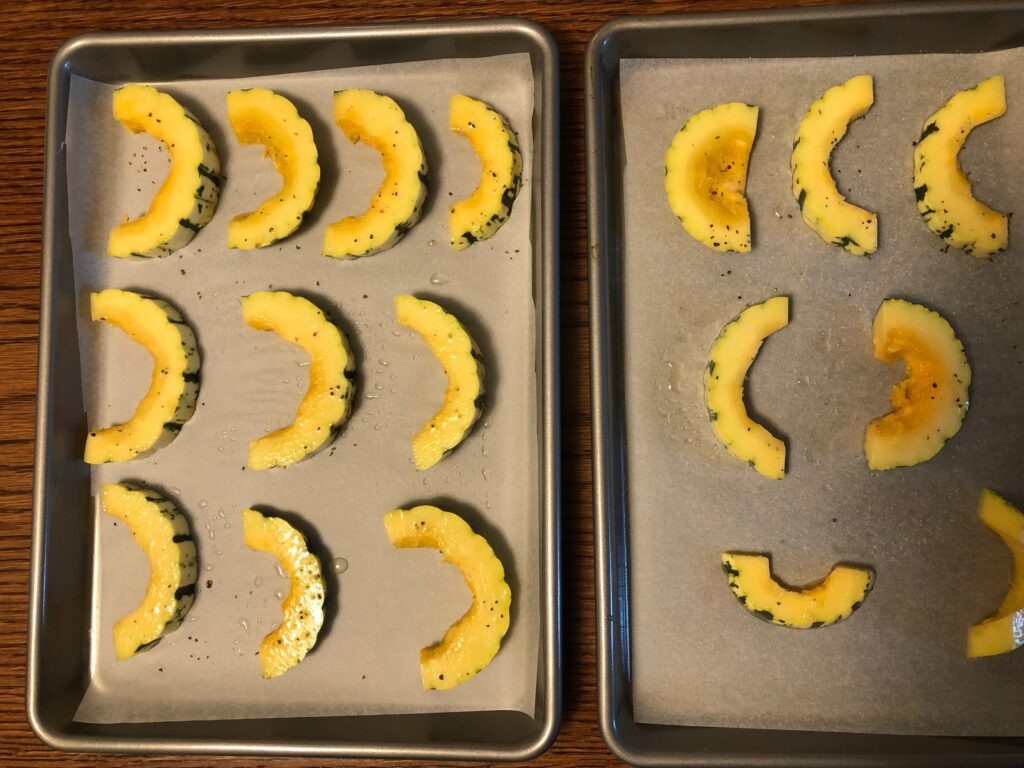
The first recipe I found was a simple roasting of slices. The directions said to cut the squash in half, scoop out the seeds and slice them in 1/4 to 1/2″ slices.
The flesh was about 3/4″ thick and the skin could not be peeled off when raw.
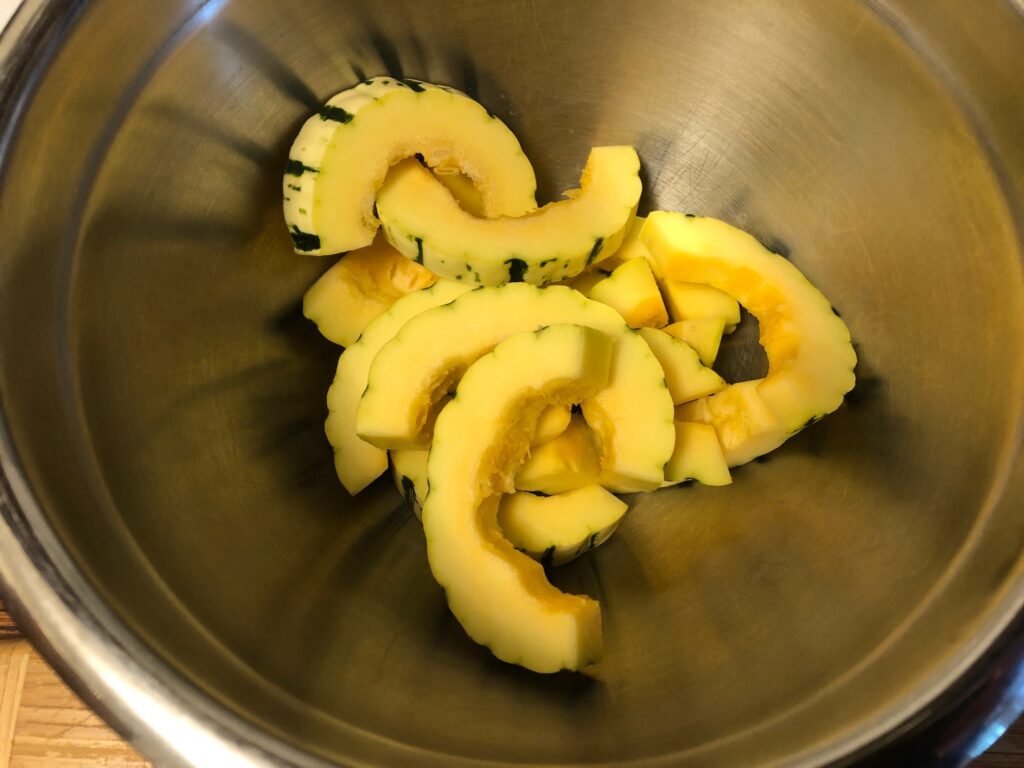
I put the slices in a bowl and drizzled oil on them, then added salt and arranged them on a cookie sheet.
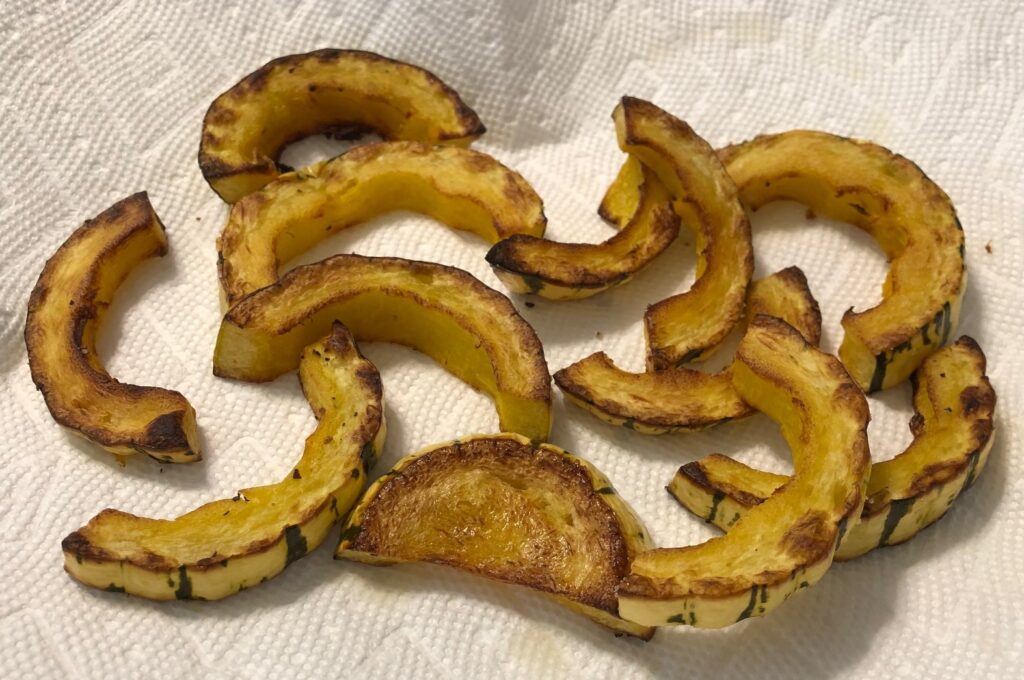
I roasted them at 425 degrees for 20 minutes; then turned them over and roasted for another 15 minutes. They were supposed to be crispy on the outside and tender on the inside.
They tasted good but were a little hard to eat. The rind was still tough so we had to sort of nibble on the inside. They were hardly thick enough to cut off with a knife. So…moving on to another recipe!
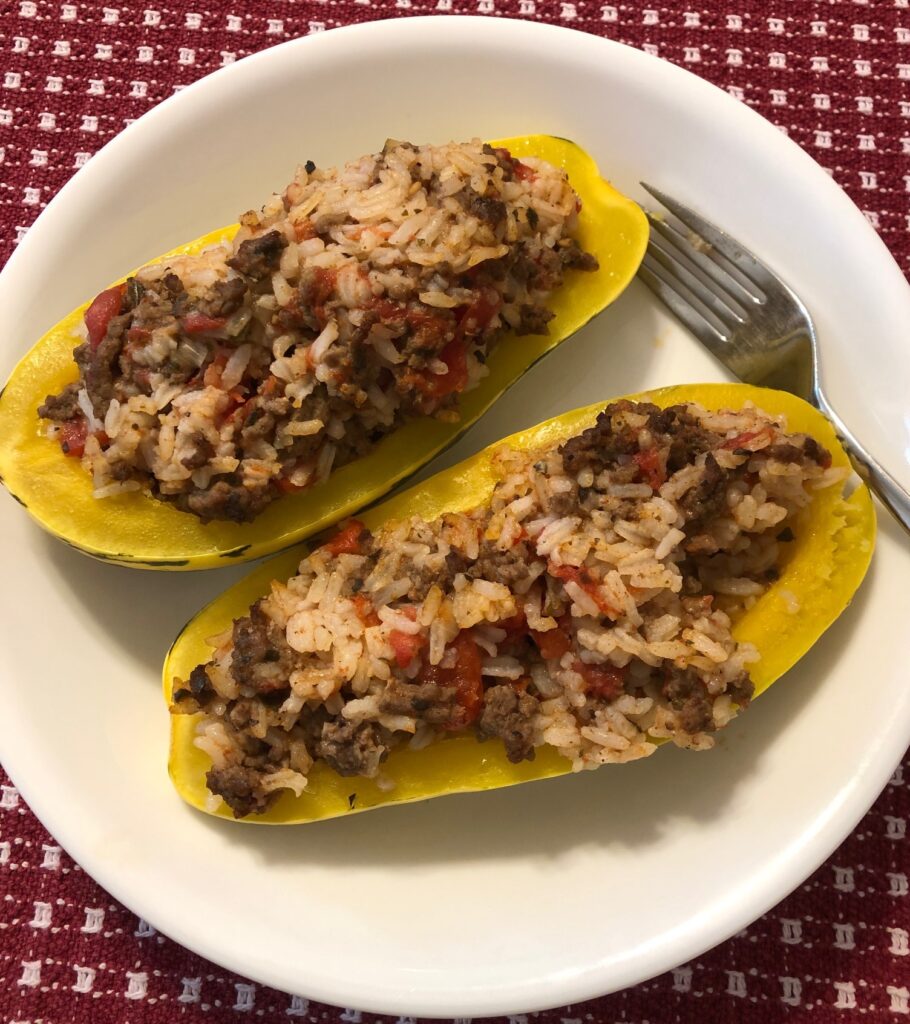
Recipe #2: Stuffed and Baked
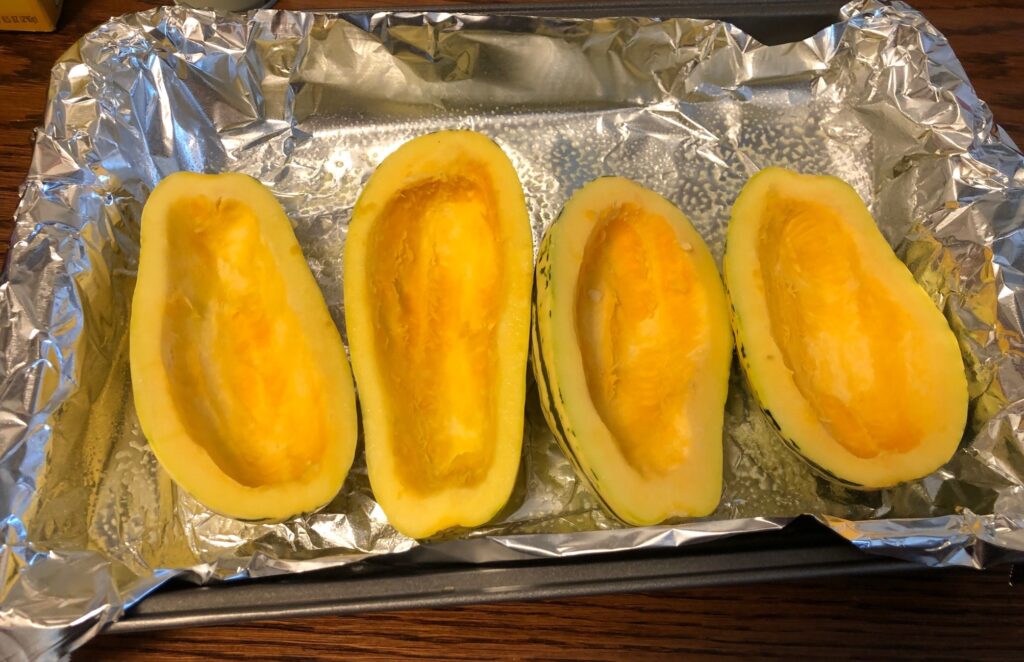
Bert suggested we use them like we would a sweet pepper, stuffing them with a hamburger/rice mixture and baking them in the oven.
We prepped the squash like before…cut in half and scooped out the seeds.
Then we assembled the stuffing:
1 1/2 lb. of hamburger, cooked with onion, garlic, salt and pepper
1-2 cups of cooked rice
1-2 cups of cooked tomatoes (or canned)
Italian seasoning
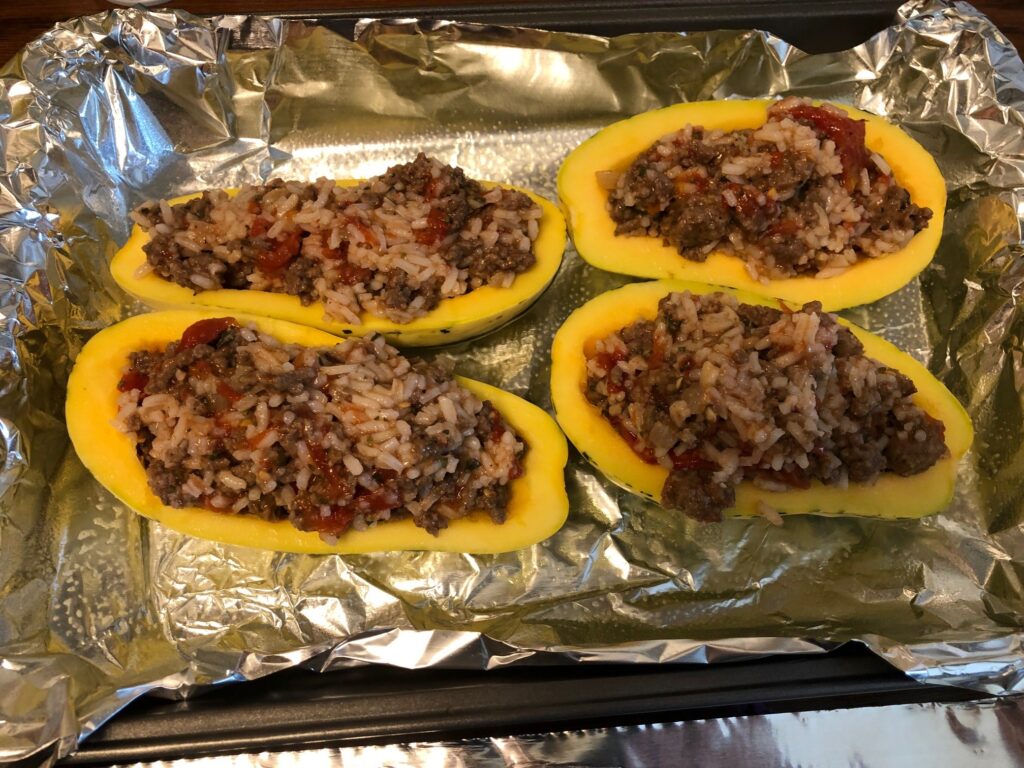
We mixed this all up and stuffed the squash shells:
I covered the pan with foil and baked it at 350 degrees for an hour. This made a very tasty meal! The squash was soft enough to scoop out of the shell while we ate the stuffing. I will consider this recipe a success!
Delicata squash is not as sweet as Acorn squash, but it made a pretty dinner. It would have been good with a sprinkle of Parmesan cheese on top, before or after baking (if you can have it). Enjoy!
This is the time in our growing season we start to notice what worked and what didn’t. Dry spells and very hot days really stresses the lawn, but Bert has been able to keep the garden plants watered. The first planting of green and yellow beans have been preserved as part of a 4-Bean Salad mixture (see https://marykisner.com/canning-four-bean-salad/).
Radishes have flourished in our raised planter on the patio, so they are part of my daily salad mix. I’ve been able to keep up with planting new seeds after I remove the ones that are ready to eat. I will deem the raised planter with radishes a rousing success this year!
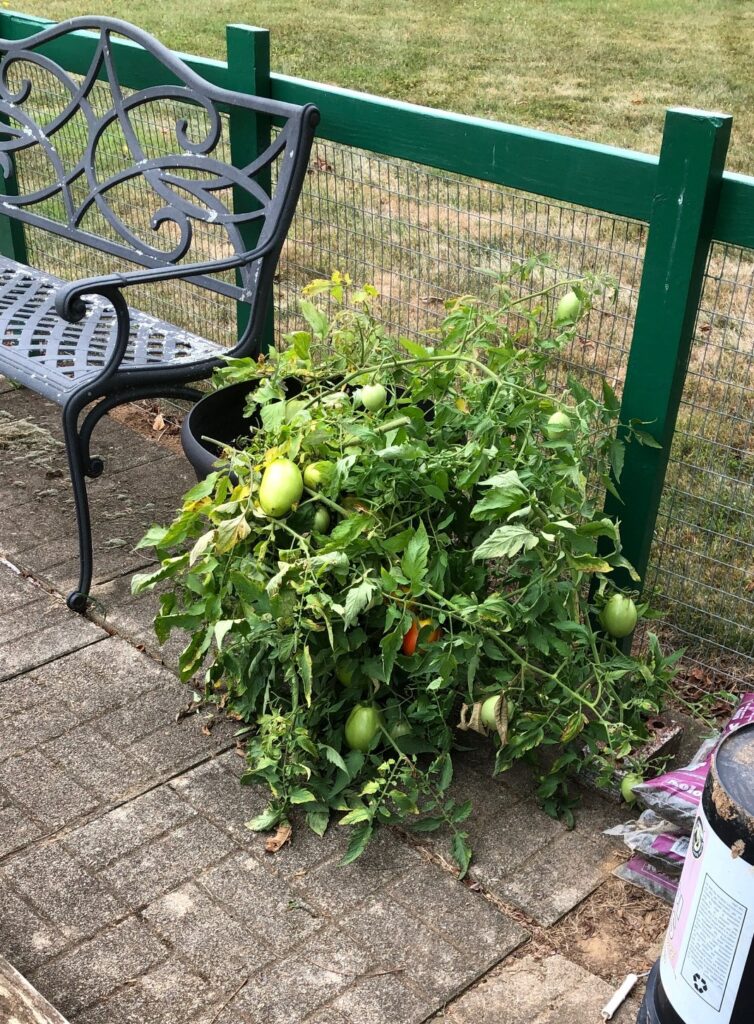
The cherry tomato plant in a large pot on the patio seemed like a good idea in the spring, but I don’t think we’ll do tomatoes in a pot next year! Even with just one plant (the tag said good for a pot) it was just too big and top heavy. It has fallen over multiple times. That was tolerable, the tomatoes themselves, while they tasted good the skins were so tough I felt like I had to discard a piece of plastic when I was done chewing. I have been collecting them and will include them when I make pizza sauce in a few days. Hopefully after they are cooked the skins will easily chop in the food processor. I’ll probably not grow cherry tomatoes again.
The strawberry plants were down low and vulnerable to the wandering bunnies and chipmunks. I’ve eaten 3-4 strawberries as soon as they ripened but hardly worth the trouble.
The Black Seeded Simpson lettuce did very well. It has now bolted and is waiting for Bert to dump out the pot. He is using the leaves now for bait in groundhog traps!
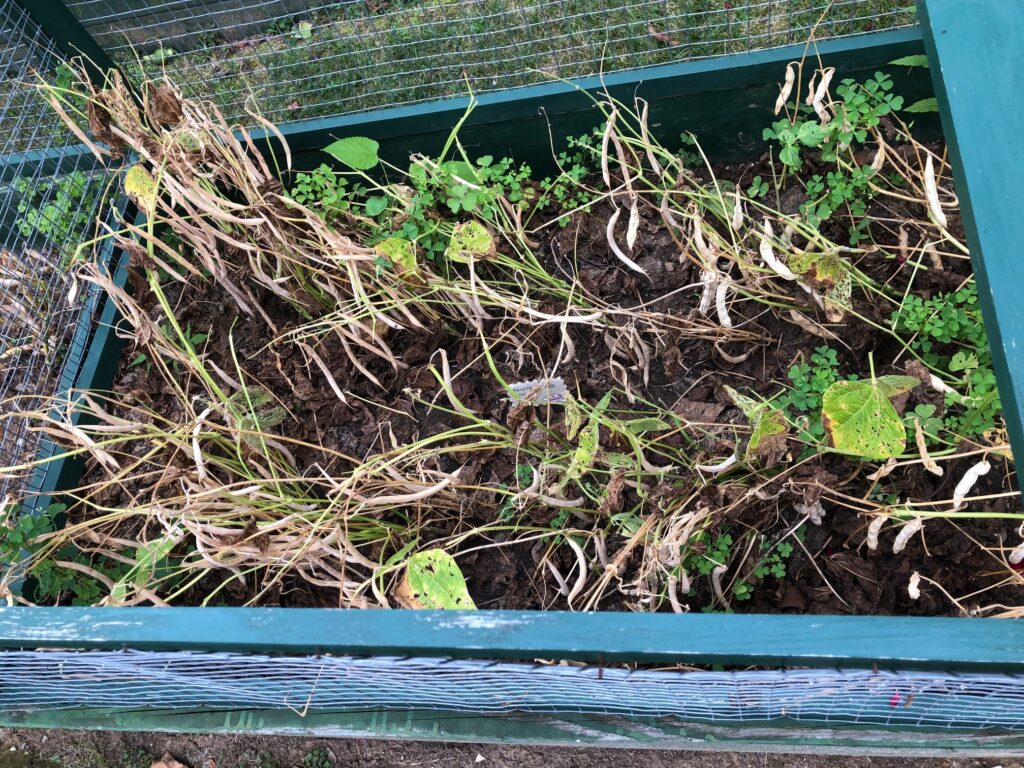
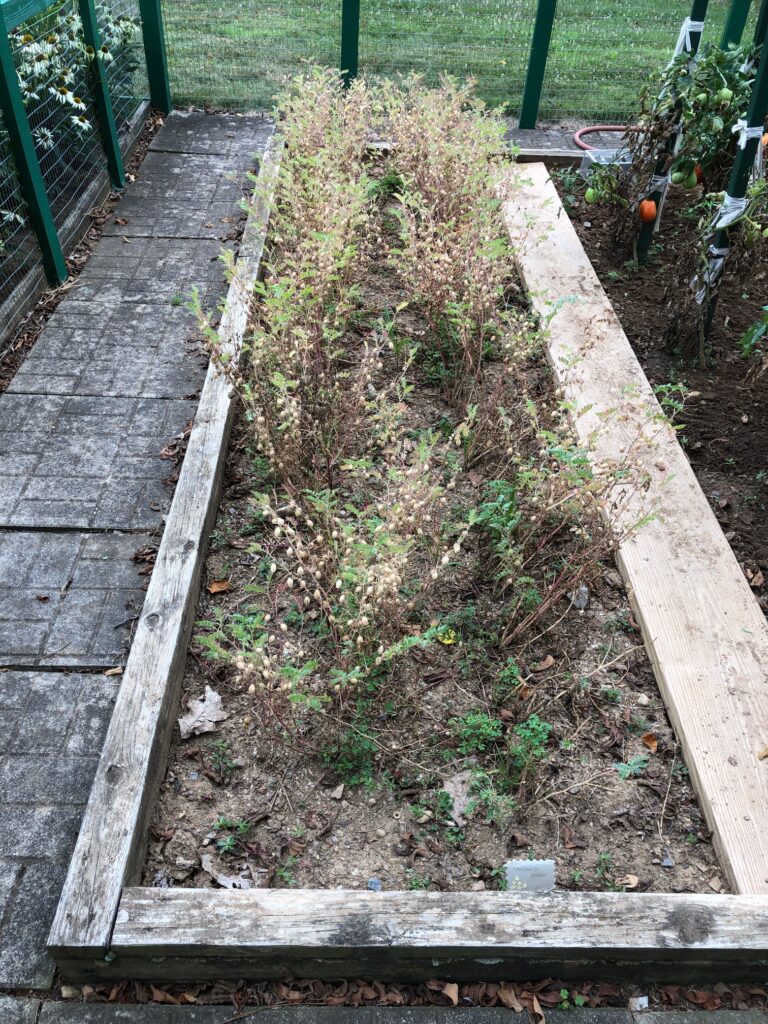
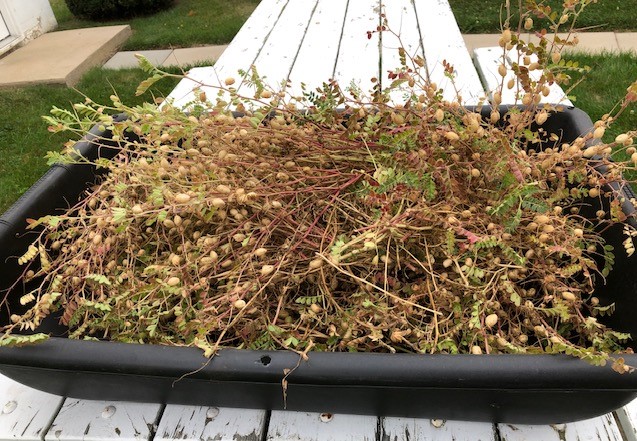
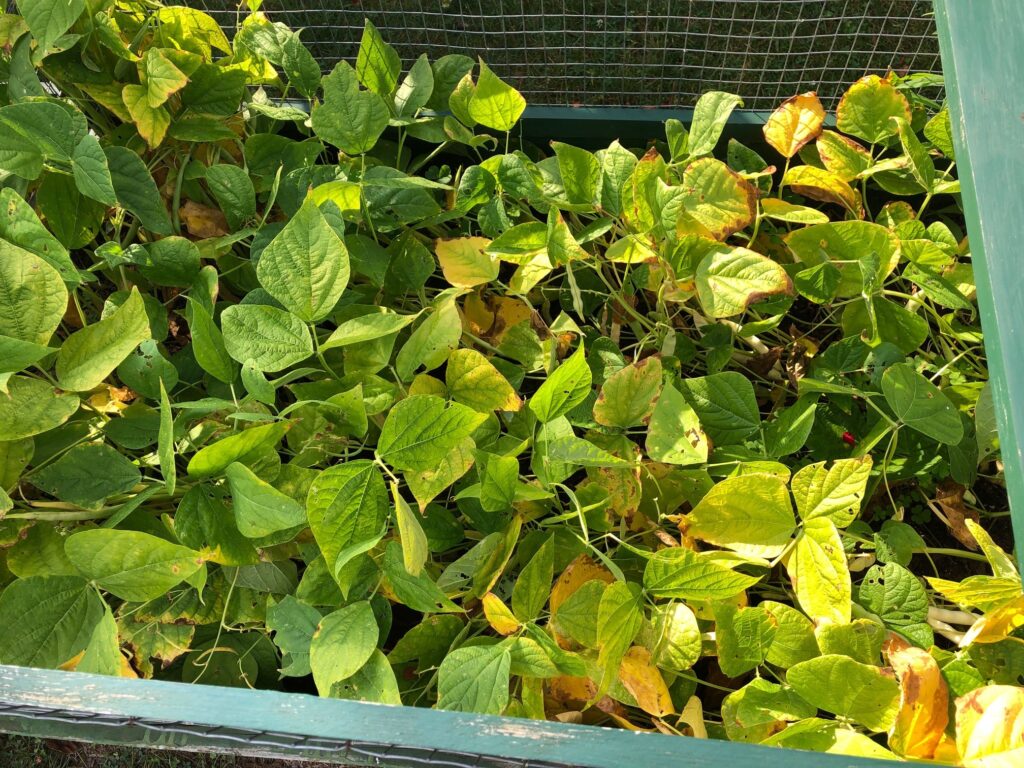
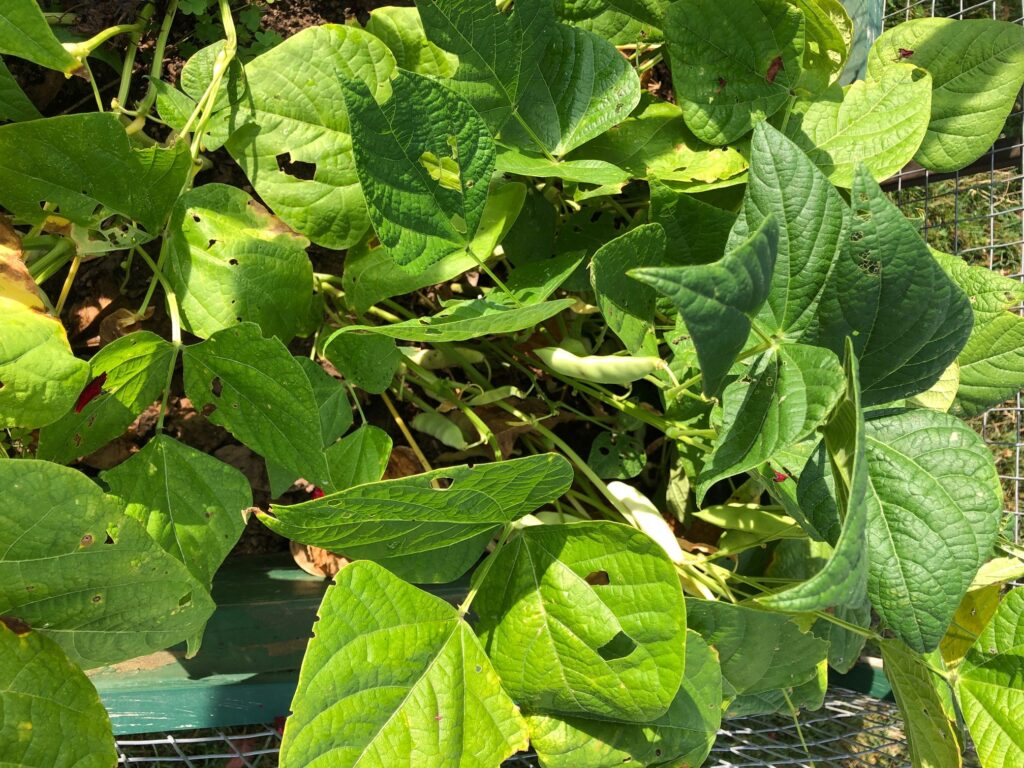
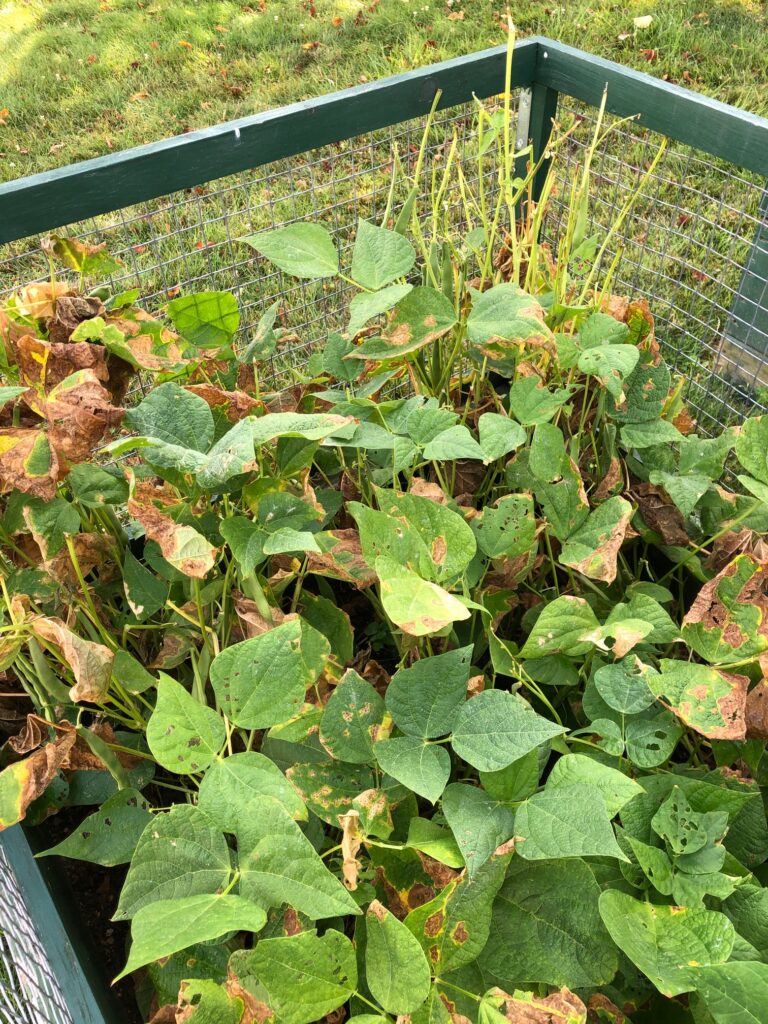
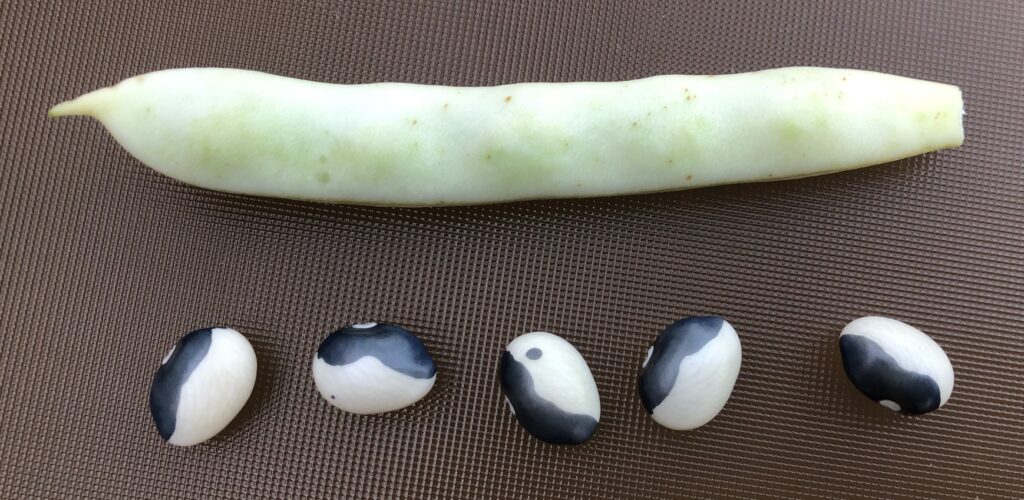
On to the shell beans. If you recall, I’m growing five different beans that we will leave in the garden until fall. The labels for them are hiding under the plants right now so I’m not sure which is which. First, here are what the plants look like now:
Can you see what’s left of this plant at the top of the picture…chomped right off! We have a group of deer that visit the bird feeder every night and this poor plant was tall and tasty. It didn’t have a chance!
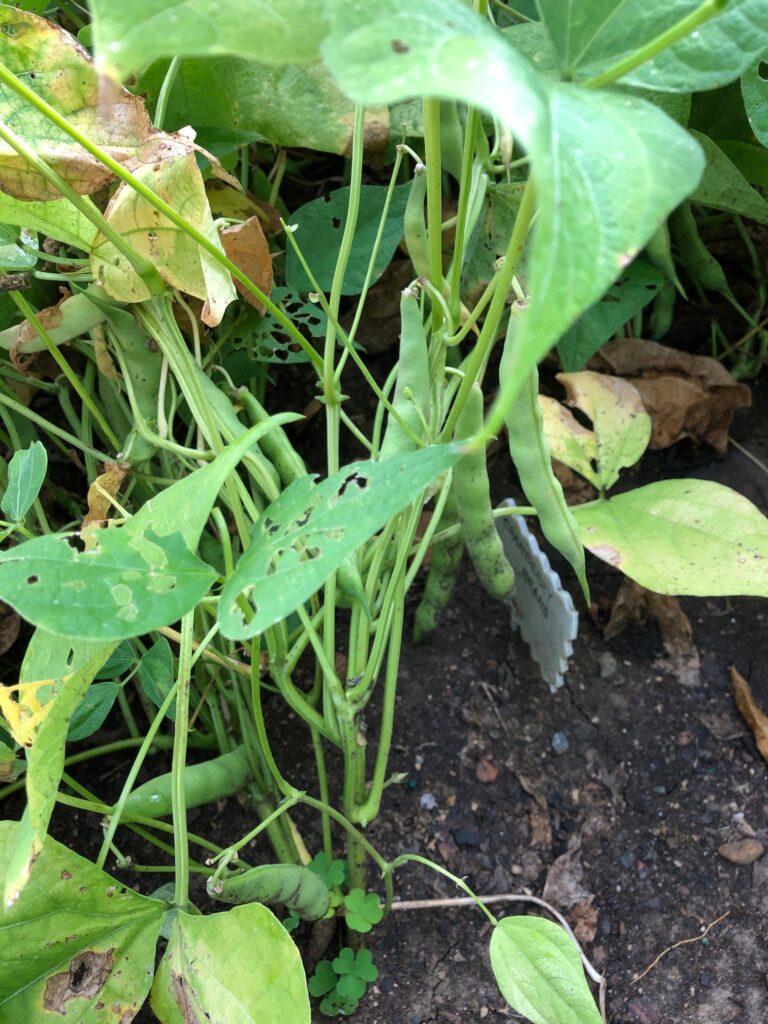
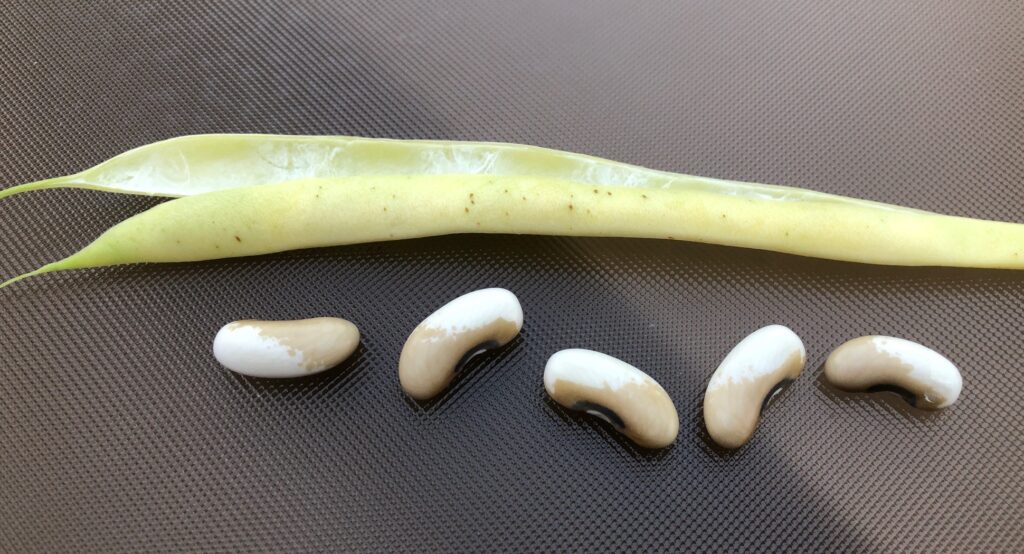
I was able to pick a few bean pods to see what was happening inside:
The Calypso Beans are finally turning black and white!The Painted Pony beans have noticeable color.
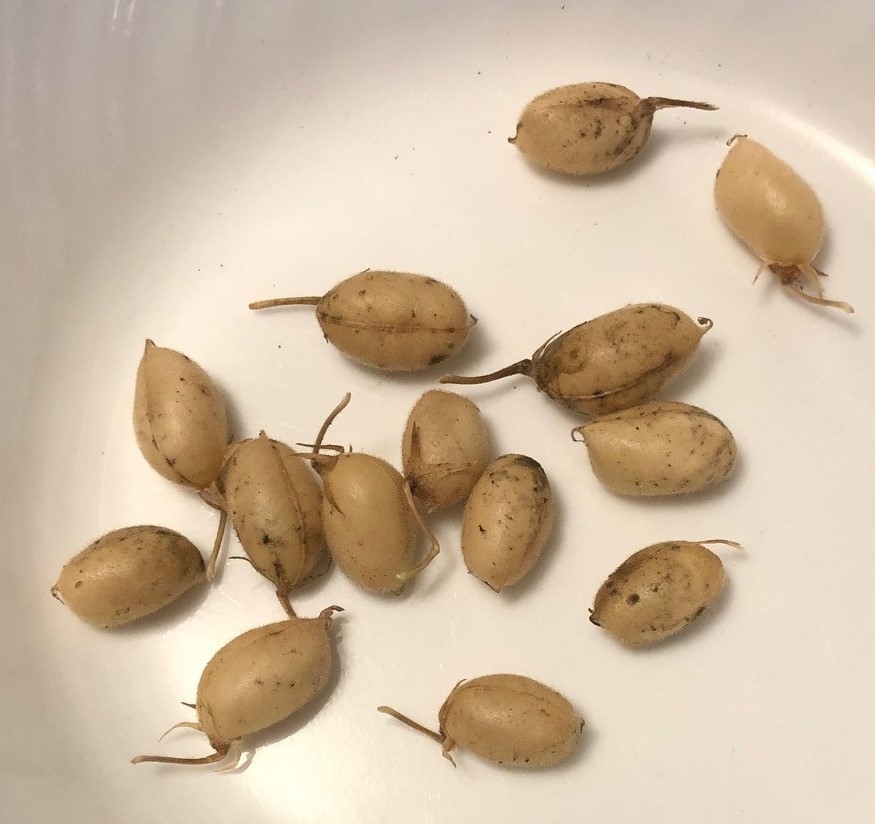
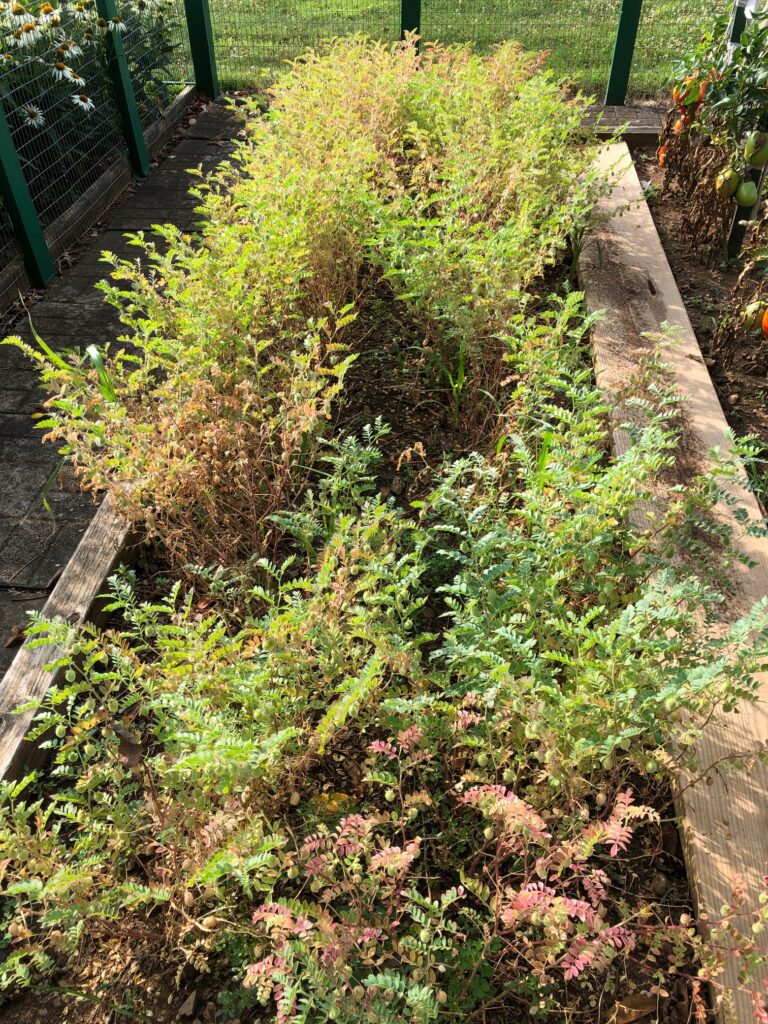
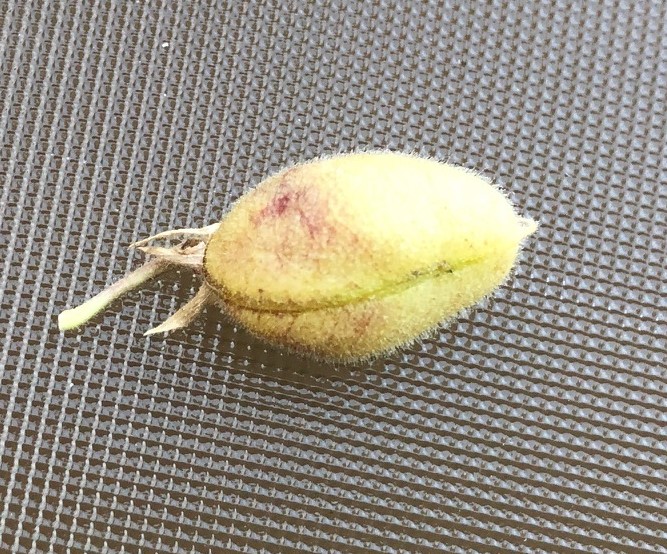
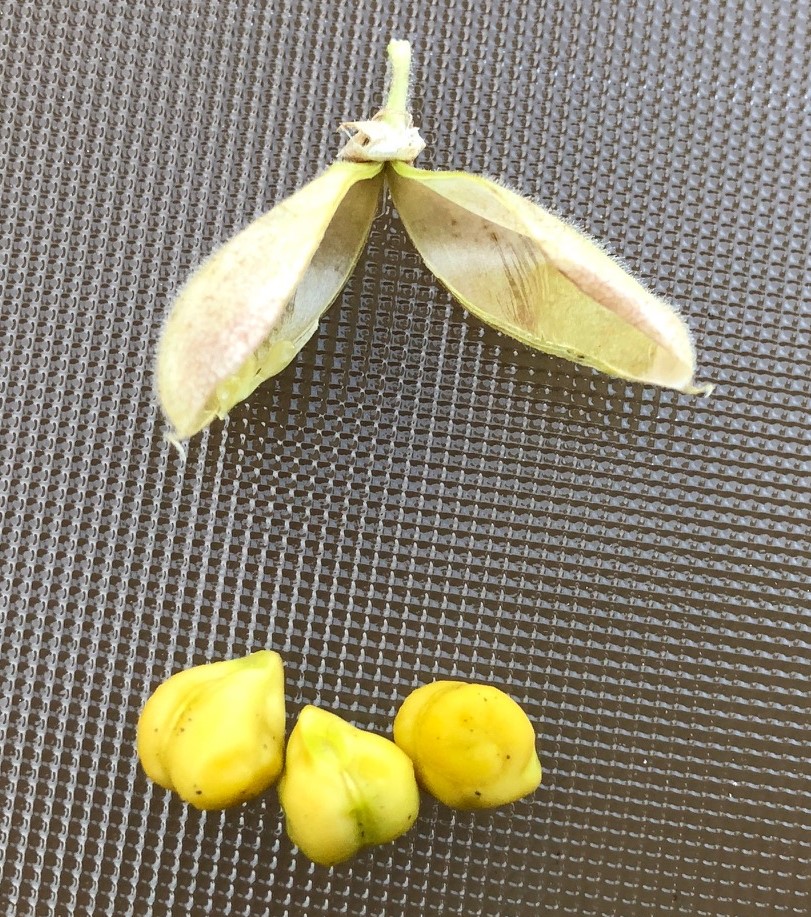
The most fun are the Garbanzo beans (Chickpeas) up in the garden:
Chickpea pod.They are tiny, but they look like familiar chickpeas!
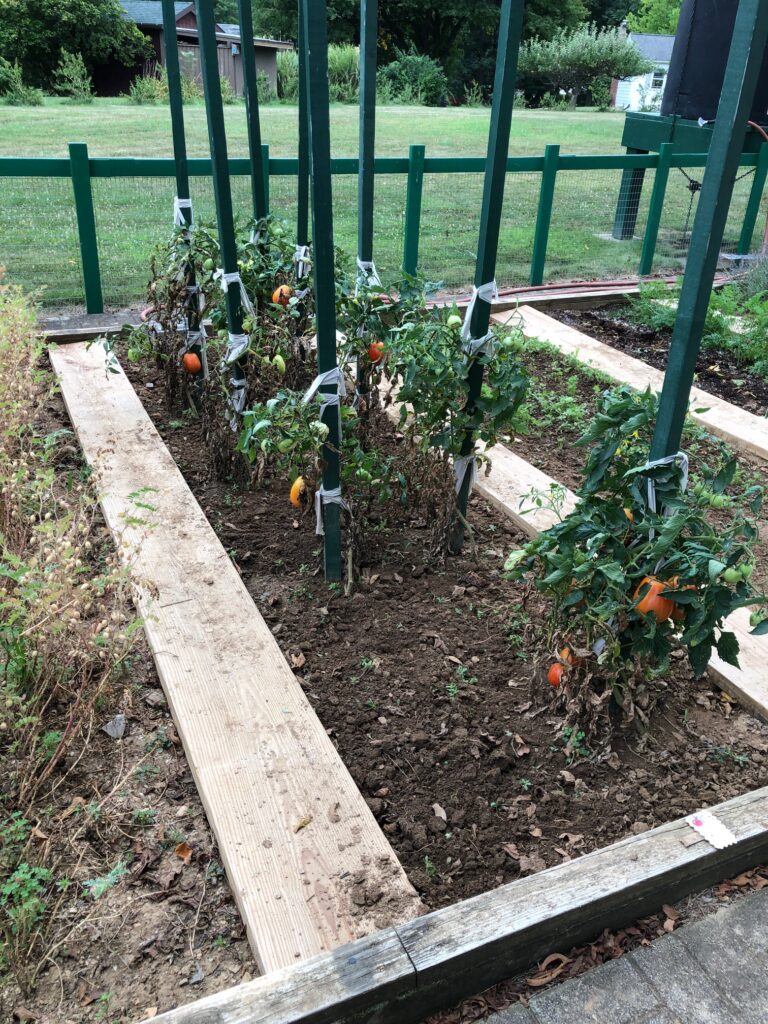
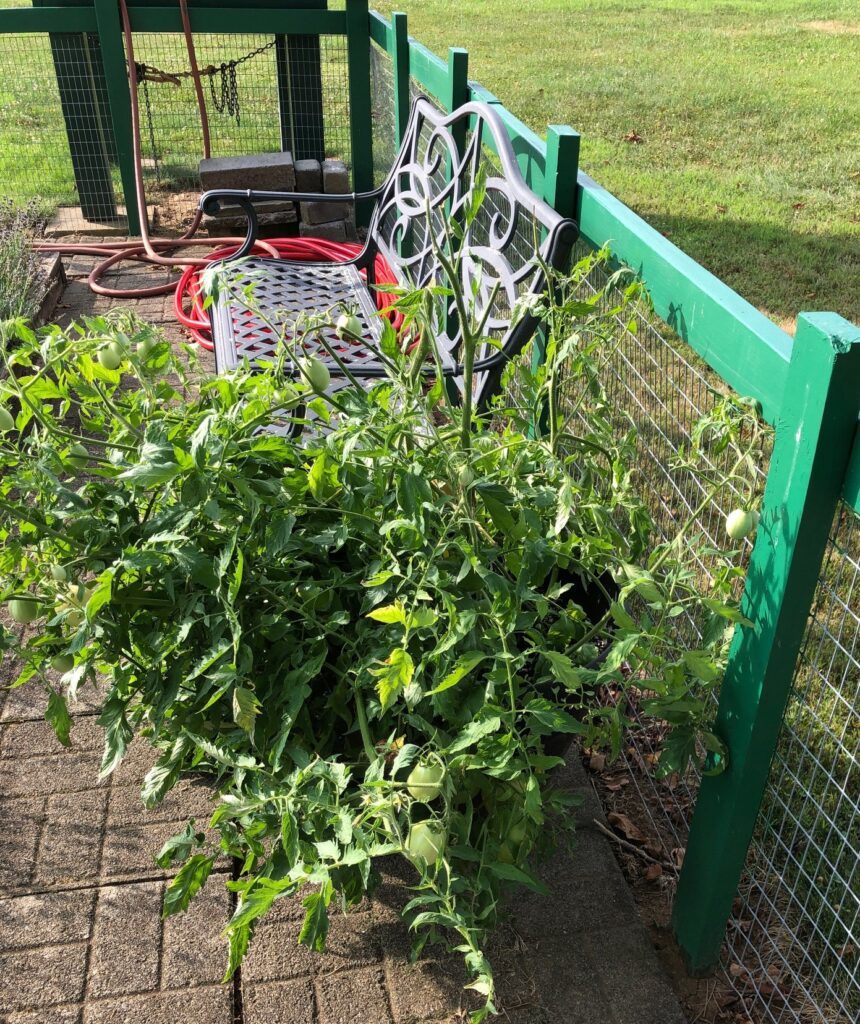
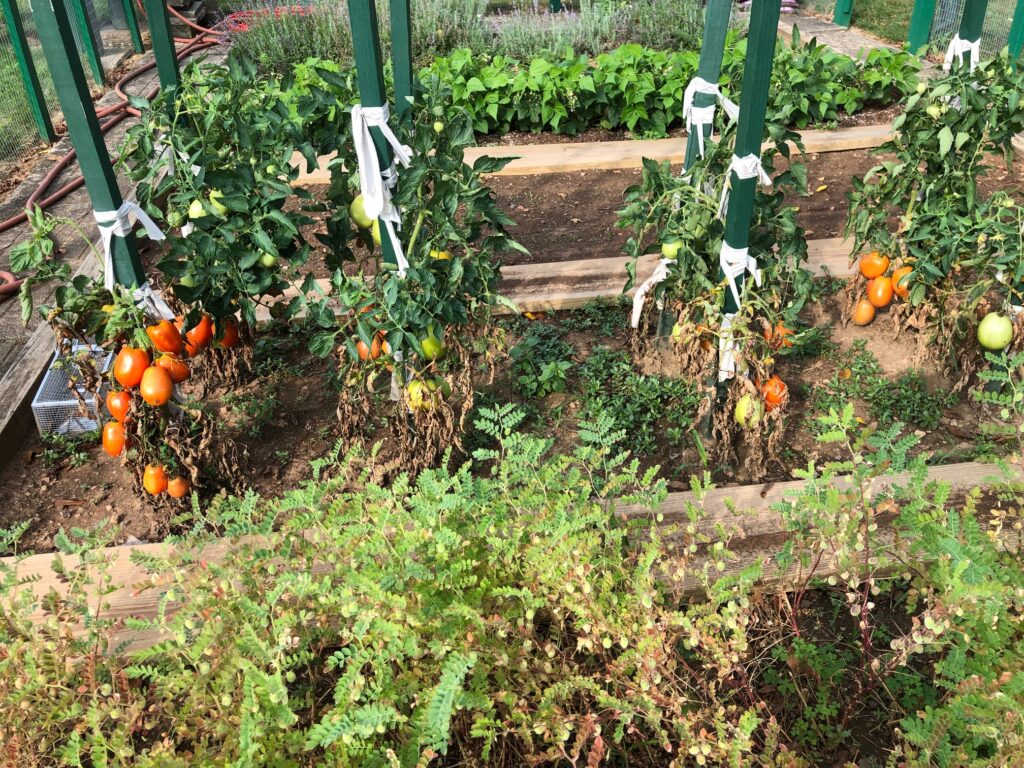
Up in the garden, we put a few tomato plants in a pot rather than throwing them away in the spring. They were tucked next to the fence and we kind of ignored them. The visiting deer seemed to find the tops that were close to the fence pretty tasty!
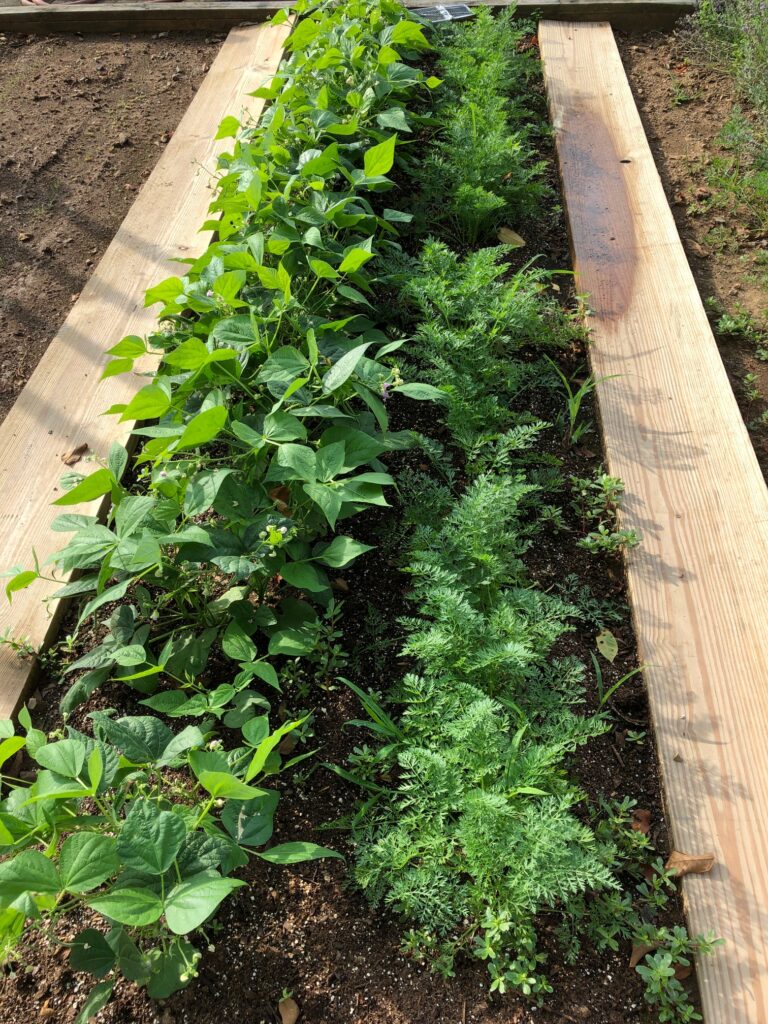
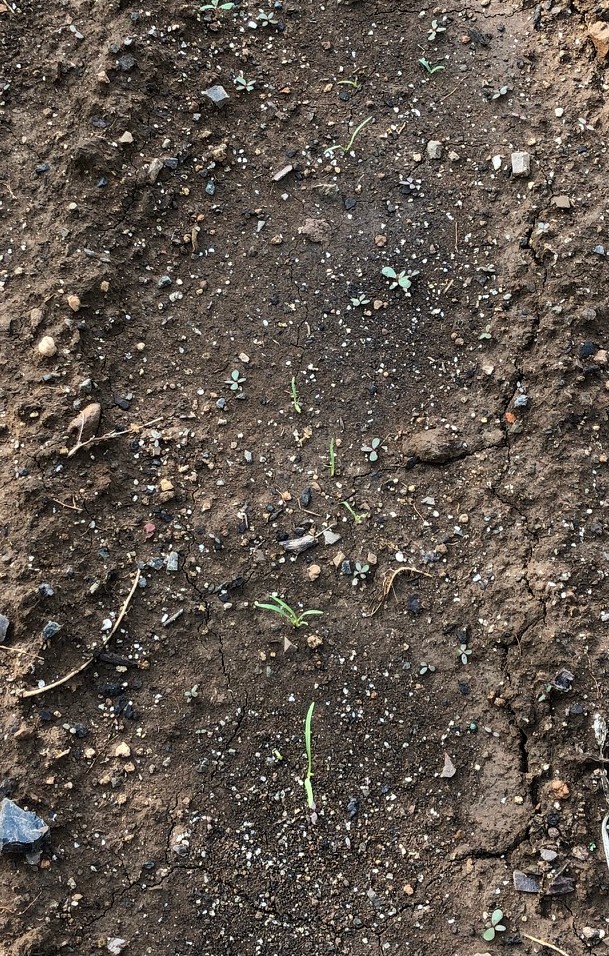
The single row of green beans and carrots are finally perking up:
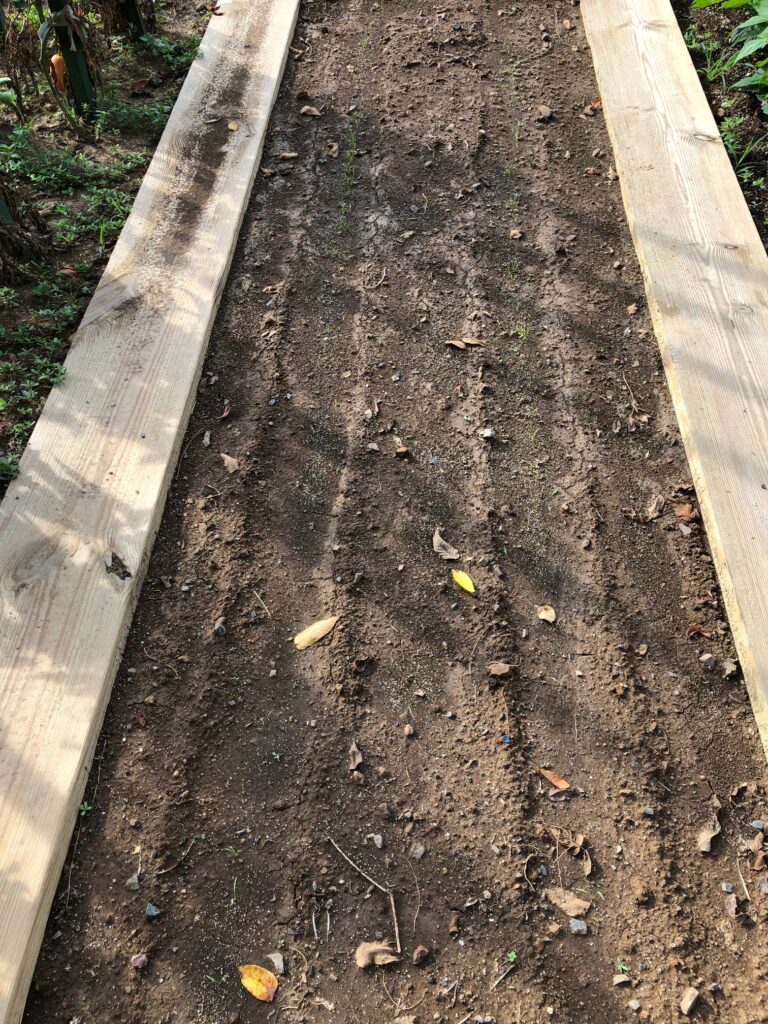
The row where the green and yellow beans were, got a second planting of carrots. Not sure if they’ll have time to make carrots, but we’ll see.
Can you see the tiny carrot sprouts up the middle of the row?
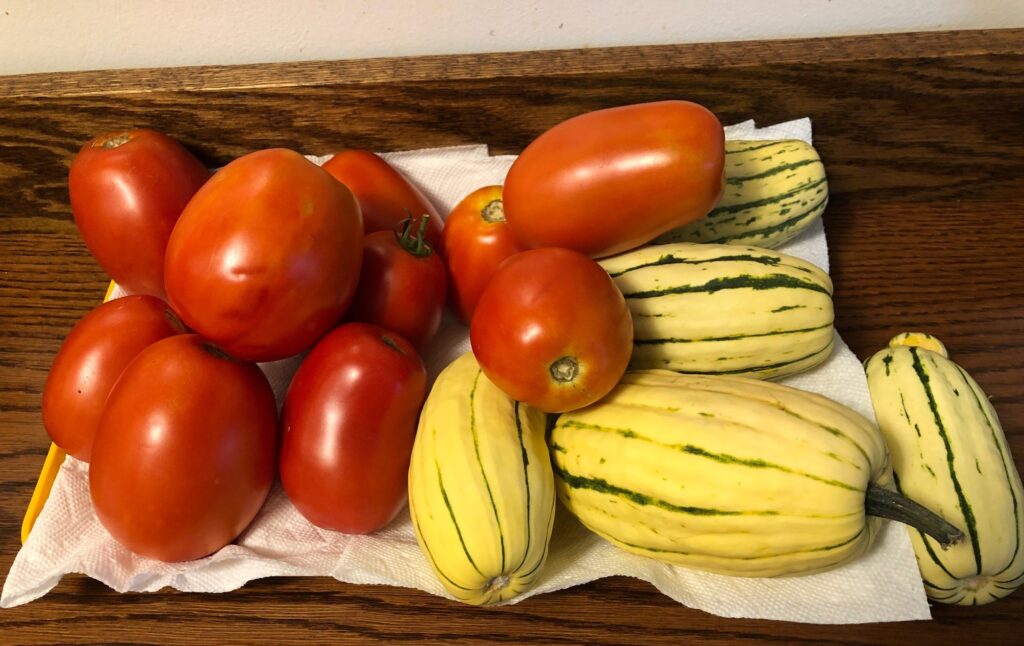
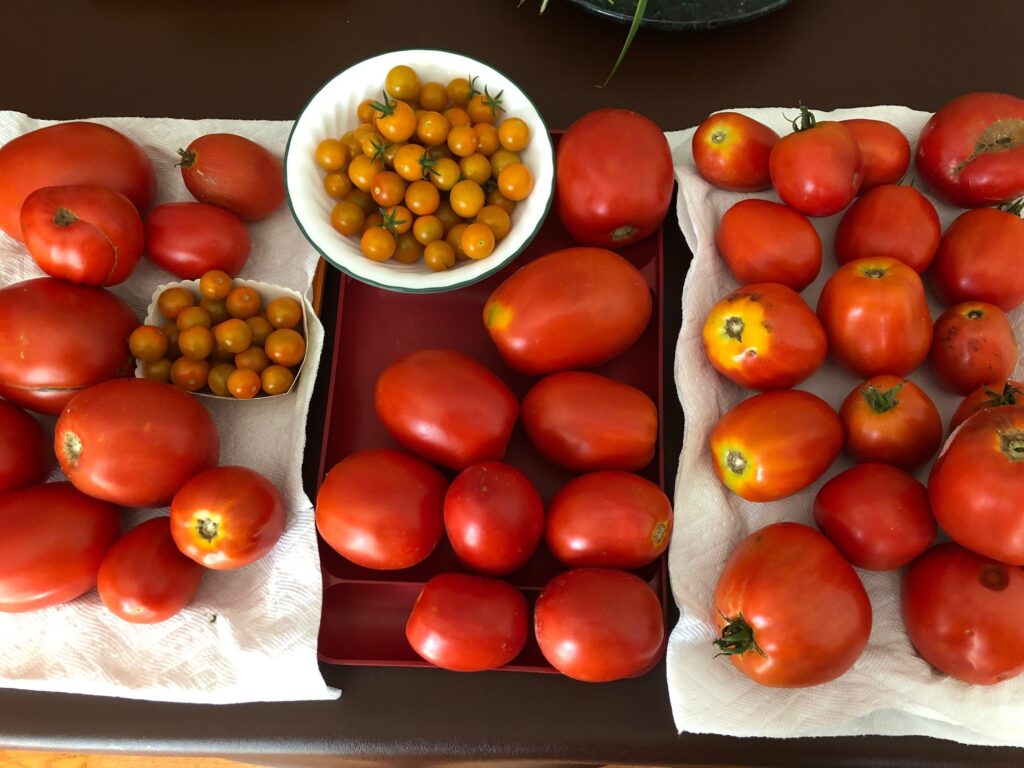
The Super Sauce tomatoes are ripening fast so we’re picking every day.
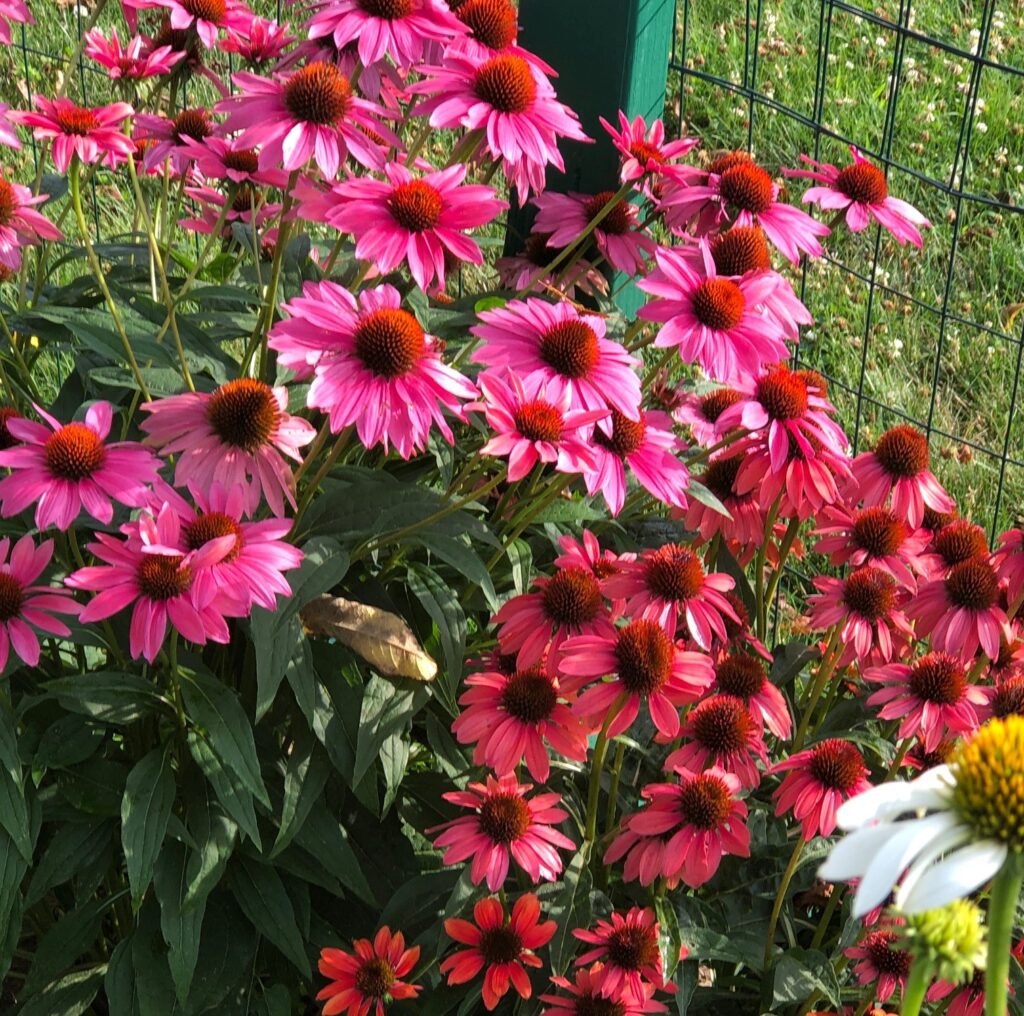
This batch of tomatoes will be pizza sauce in a few days!Of course, the Echinacea plants always make me smile!
So, that’s the tour! Looking at the shell beans and chickpea plants, it feels like fall is on its way. Of course, today is 95 degrees with little rain in the forecast. Fall weather sounds delightful! Enjoy!
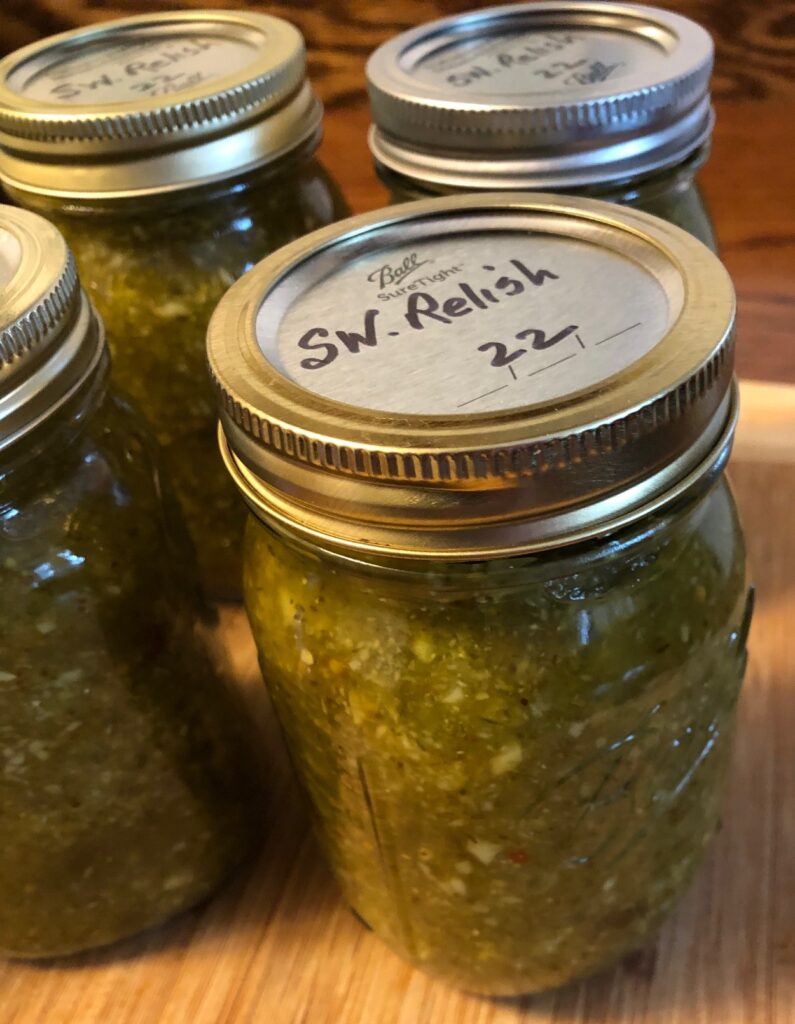
Canning sweet pickle relish is my next big project this week! I know…why not buy it? Well…I use pickle relish mixed with my vegan mayo to make my own salad dressing, which I also use as tartar sauce for fish and dips for raw vegetables. I seldom use plain vegan mayo by itself. And yes…I can buy it easily, but I have yet to find a brand that doesn’t have high fructose corn syrup in it, or have bits of tough cucumber skins. When I make my own, I can regulate the amount of sugar and make sure to process the cucumber chunks into smaller pieces. I also enjoy the satisfaction of having a year’s worth on the shelf.
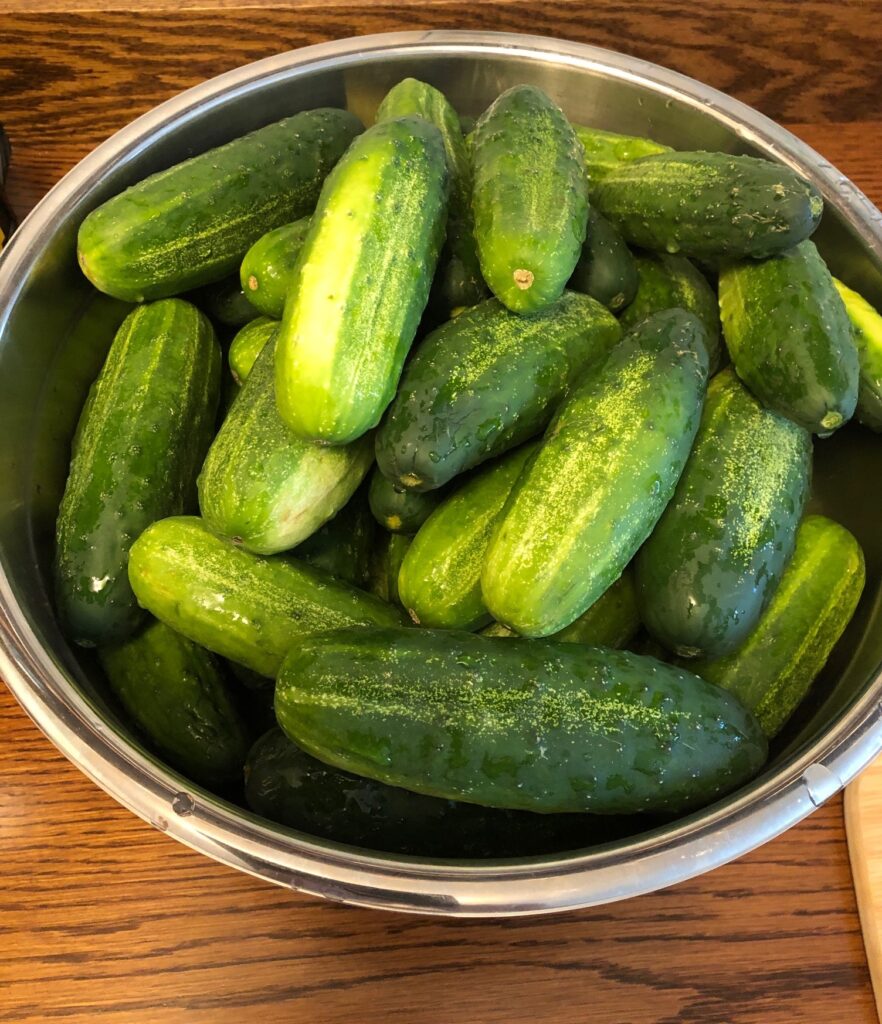
Last week I picked up a box of small to medium size cucumbers at the Amish Farmer’s Market for $18.
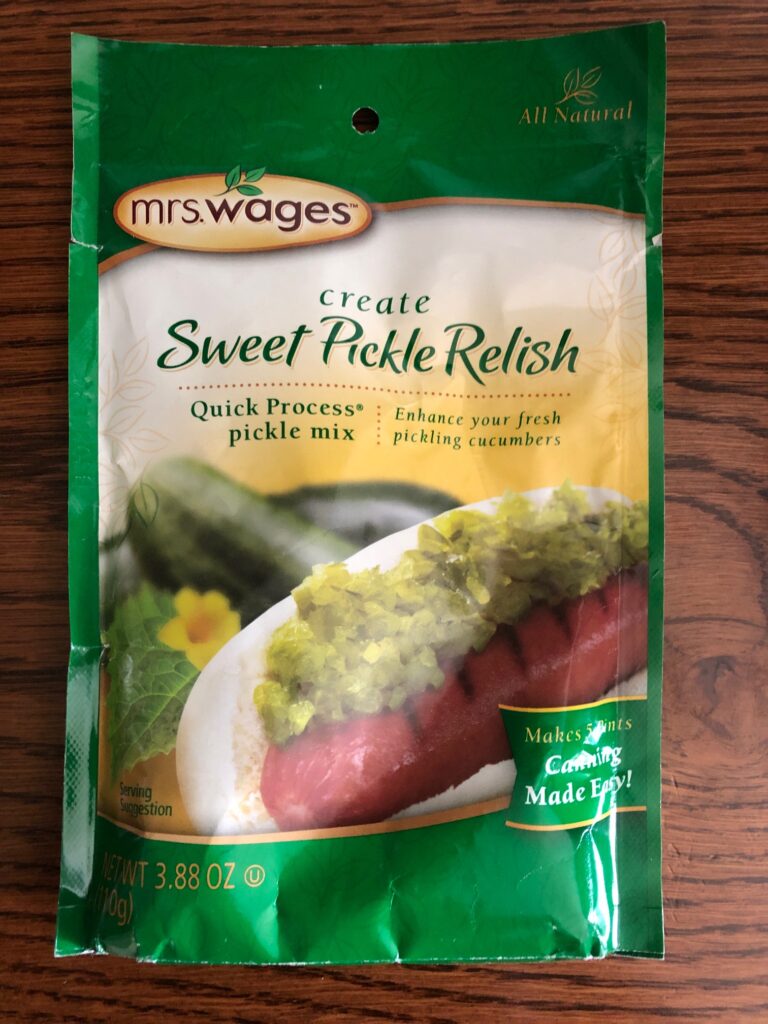
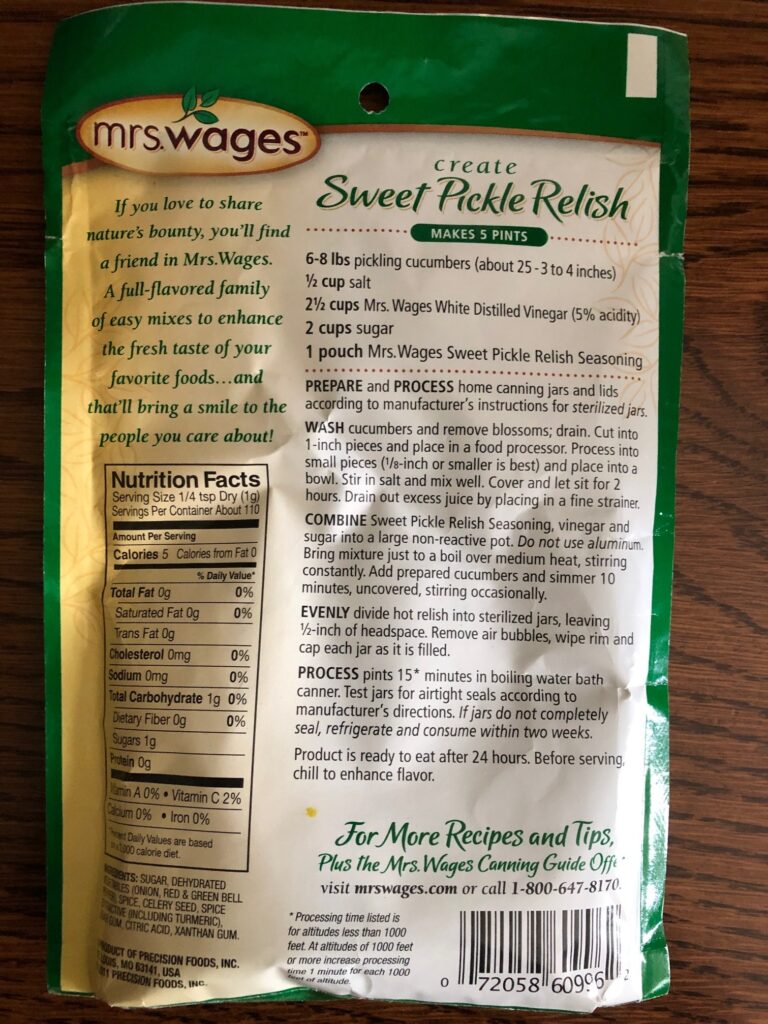
As I washed them, I counted 75 in total. I use a packet of relish seasoning that makes the process easier.
For each packet, I needed about 25 cucumbers, which will make 5 pints. I had three packets for my 75 cucumbers.
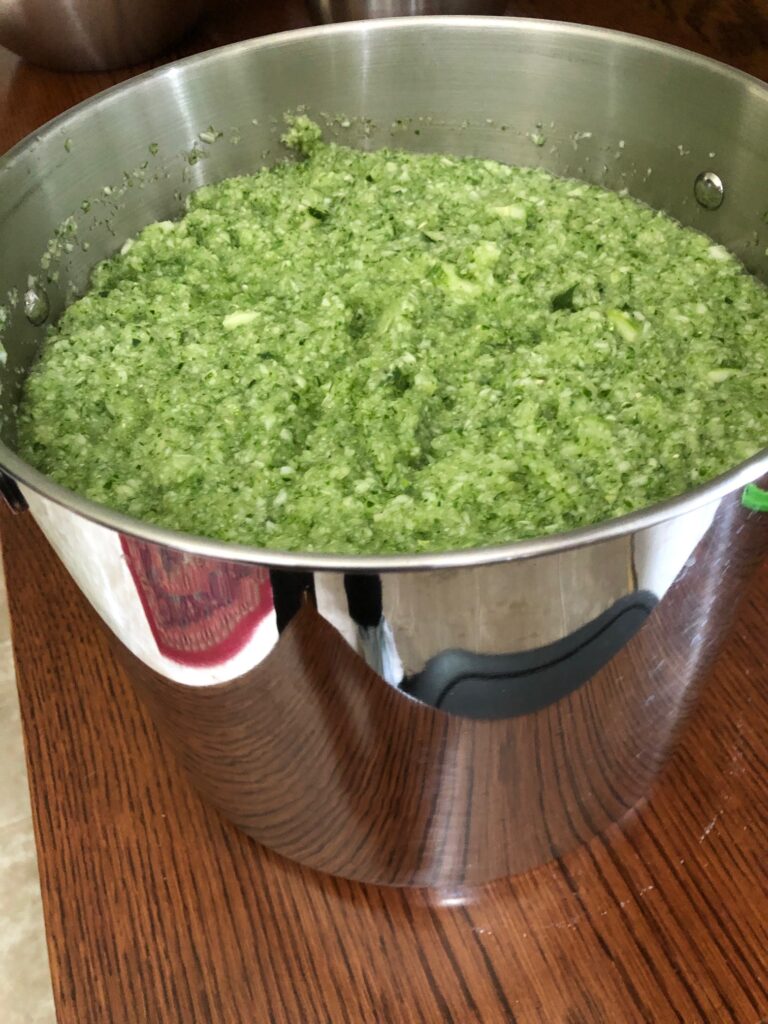
First I started cutting the cucumbers into chunks…the chunks filled my largest bowl…13 quarts!
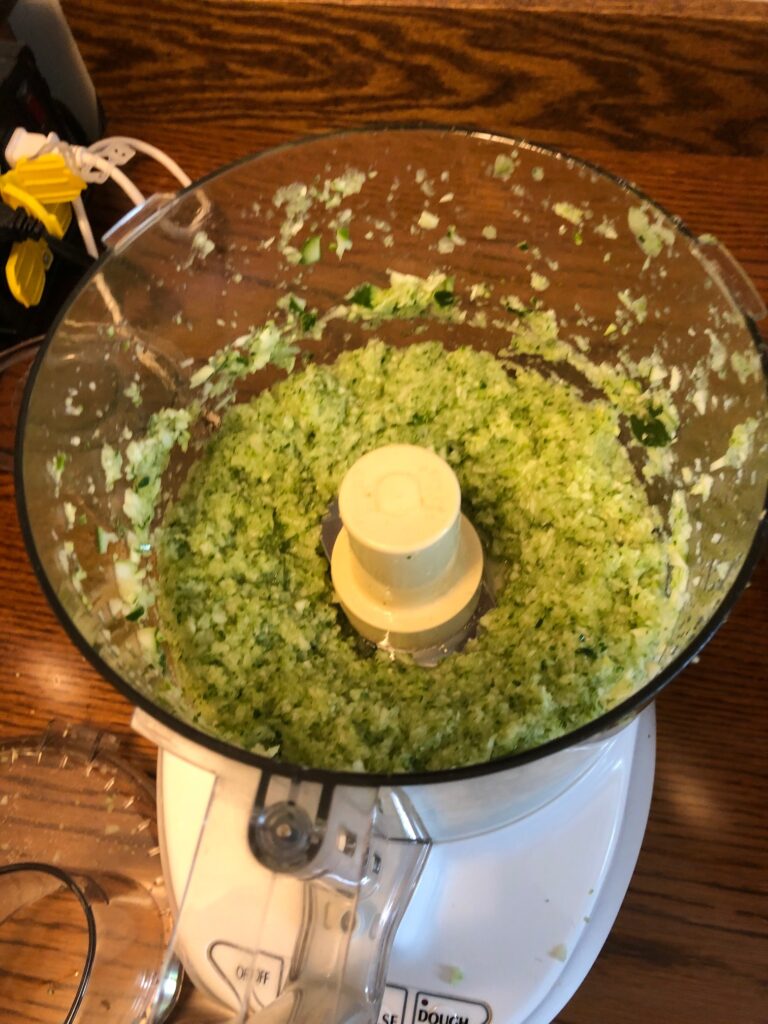
Next, in small batches, I put them in the food processor to grind them up.
By the time I was done, I had about 10 quarts of ground cucumbers.
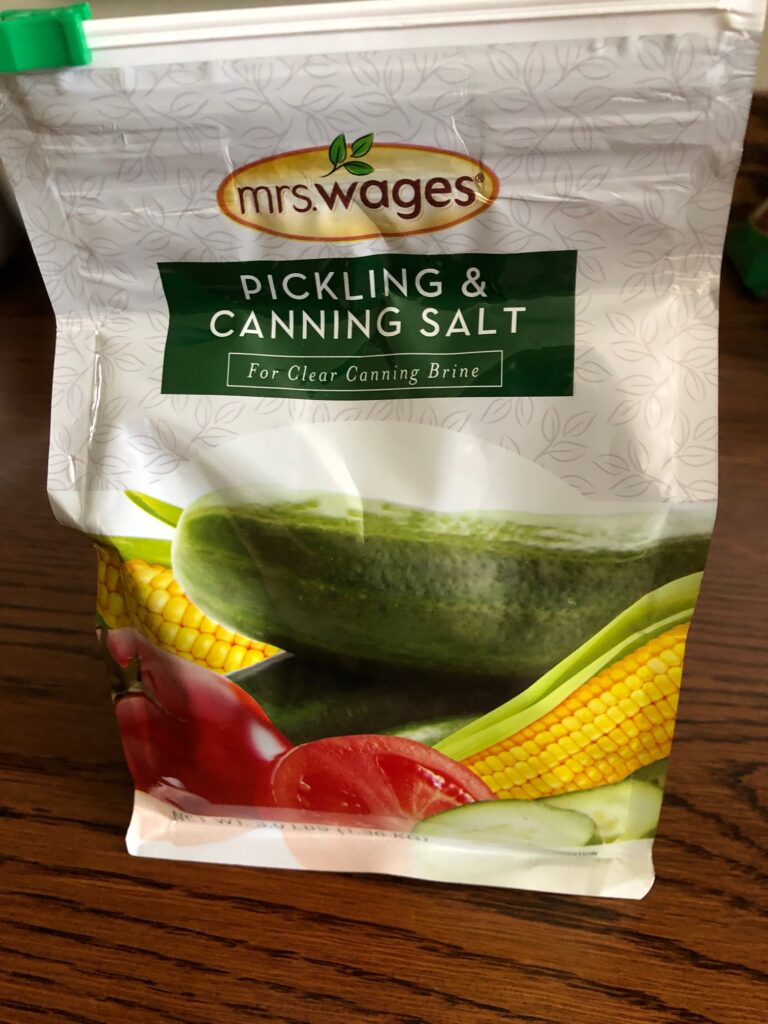
Next, I stirred in pickling salt and let the kettle sit on the counter for several hours.
Pickling salt does not have the additives that keep it from caking. Apparently, regular salt with those additives will discolor the finished product.
When the 2 hours were up, Bert helped me strain the cucumber pulp through cheesecloth to get rid of much of the extra salty water. That reduced the volume almost in half.
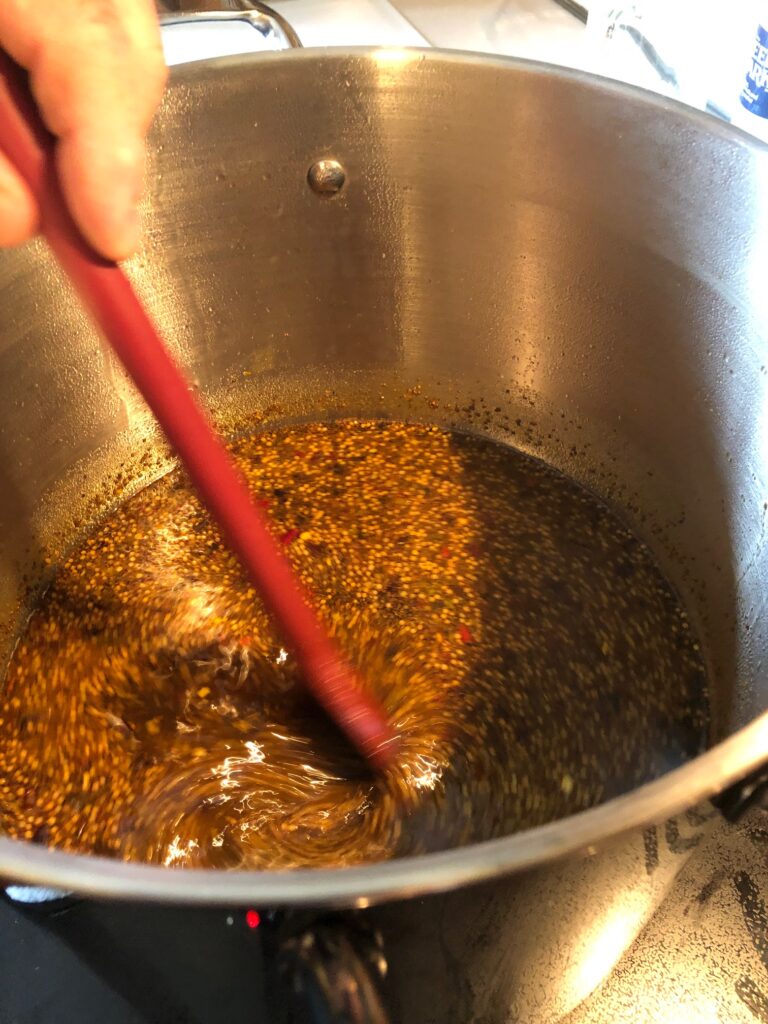
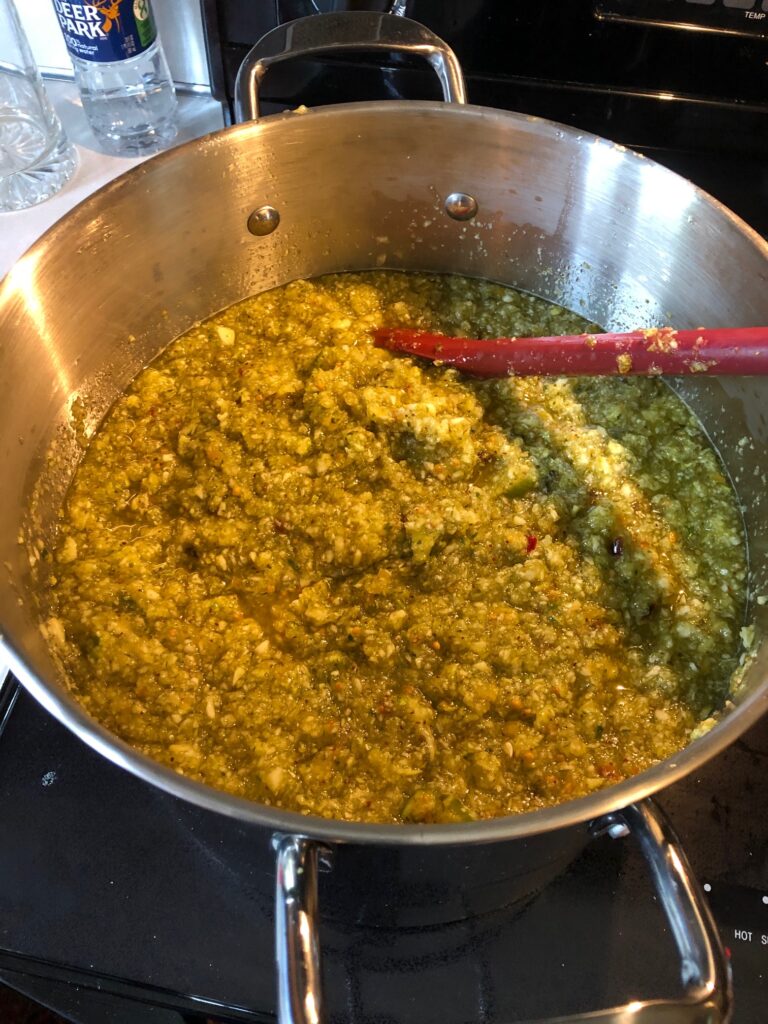
Then, I added white vinegar, sugar and the seasoning packets to my 12 qt. pot.
Then the cucumber pulp was added and brought to a boil.
I was able to fill 16 pint jars. They processed for 15 minutes in a water bath. Of course, I didn’t get any pictures while I filled the jars! Sorry. However, those jars will look great on my shelf all winter!
My final canning project for this summer will be tomatoes into pizza sauce (here’s the link to canning pizza sauce from last year: https://marykisner.com/time-to-make-pizza-sauce/). Small batches of just cooked tomatoes to freeze will be my end of year project. Enjoy!
The middle of July may seem like an odd time to be canning applesauce, but actually, it’s the perfect time! This is the time of year when all my canning equipment is unpacked and ready for the tomatoes and cucumbers to ripen. While I’m waiting for other vegetables, it’s also the perfect time to work with apples. They usually have been stored commercially in climate-controlled areas since last fall and by July they are much easier to peel and are usually less expensive.
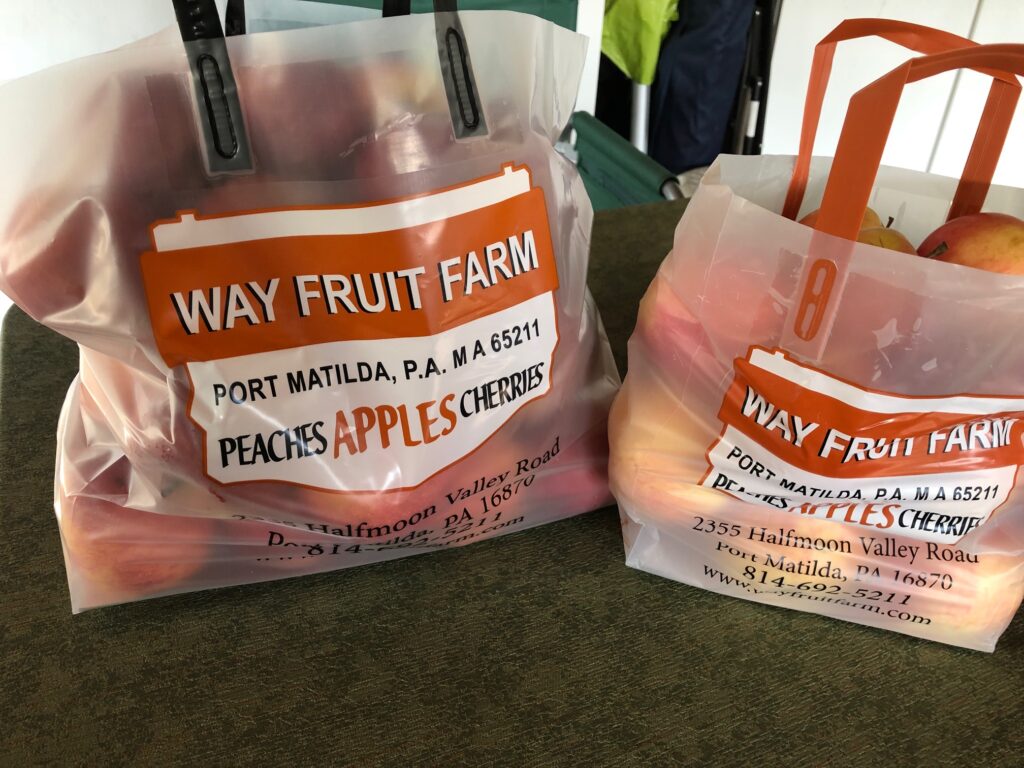
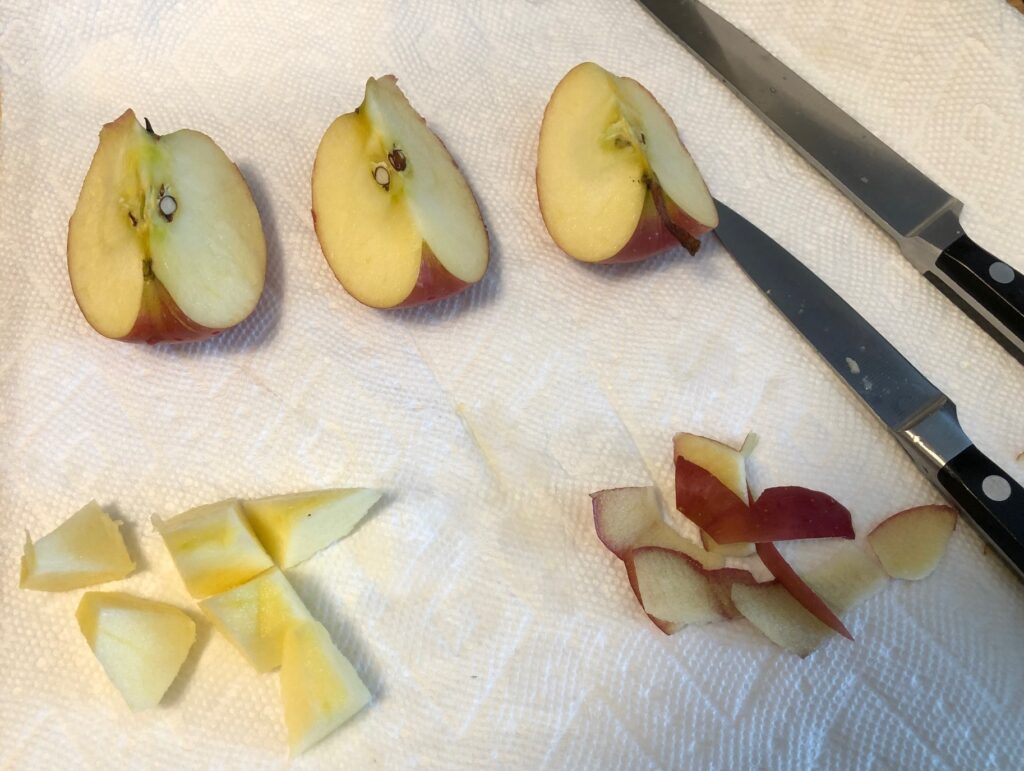
On Monday I made a drive out to the local fruit farm and picked up about 3/4 of a bushel of apples. I first picked out 1/2 bushel of the nicest Fuji apples I could find. Then I collected a peck of Ida Reds. Fuji apples are “sweet & mildly sweet” and the Ida Reds are “crisp, tangy & sharp.” As I cut them up, I chose some of each to get the benefits of both flavors.
How Much Exactly is a Bushel?
I looked up the definitions of bushel and peck, because it’s been a long time since I bought that many apples by that measure. A “bushel” is first a measure of volume. In the U.S. a bushel is equal to 8 gallons, 12 quarts, 64 pints or 4 pecks. (The Imperial Bushel, used in the U.K. is similar, but it can be used to measure dry or liquid products.)
A bushel can also be used as a measure of weight…and the government has established standard weights for each type of fruit, vegetable, nut and grain. A bushel of tomatoes, for example is supposed to weigh 56 pounds, as is a bushel of shelled corn. But if the corn is still in ears, a bushel is supposed to weigh 70 pounds. Leaves and greens take up more space with less weight.
A better way to clarify for the ordinary person like me, is to describe what you can do with a bushel of apples. For example, a bushel of apples typically holds about 125 medium apples. That’s enough to make about 15 quarts of applesauce or around 15 apple pies. That information is so much more helpful for me.
So, this week, I bought 1/2 bushel of Fuji apples and a peck of Ida Reds (shown above). For future reference, that many apples made 28 half-pints of applesauce (equal to 7 quarts) and two apple crisps with about 12 apples left over. Not sure what I’ll make now, but my hands are pooped out and I’ll have to make a decision soon. Once the apples come out of storage they don’t keep well.
A Fond Memory While Cutting Apples
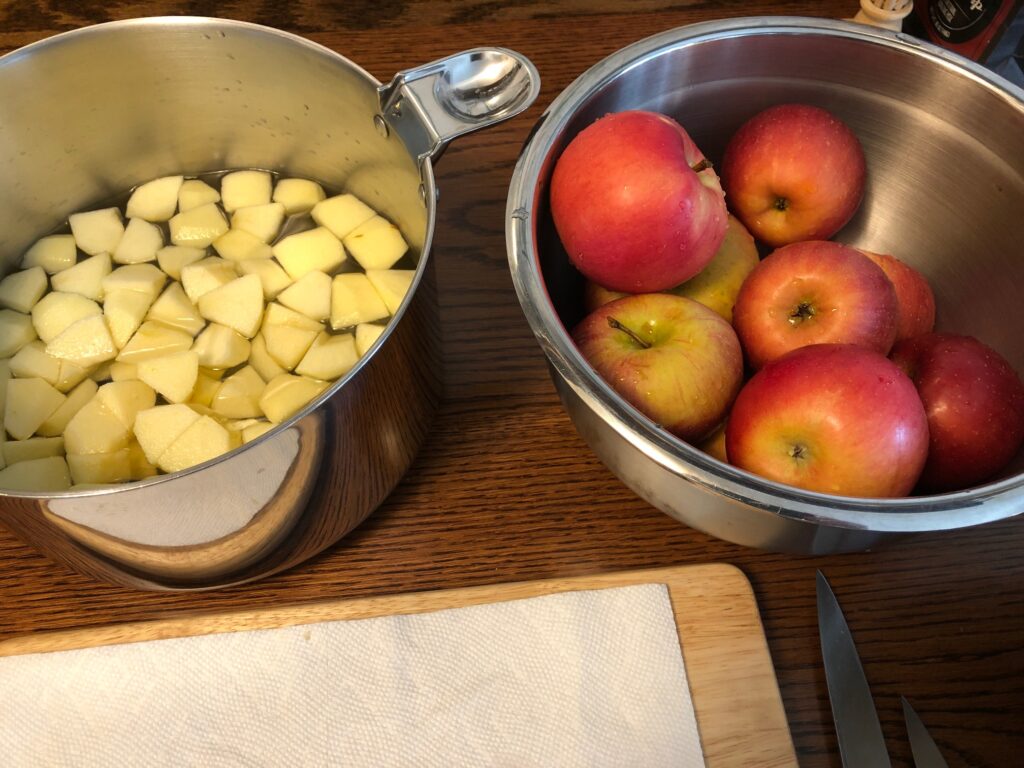
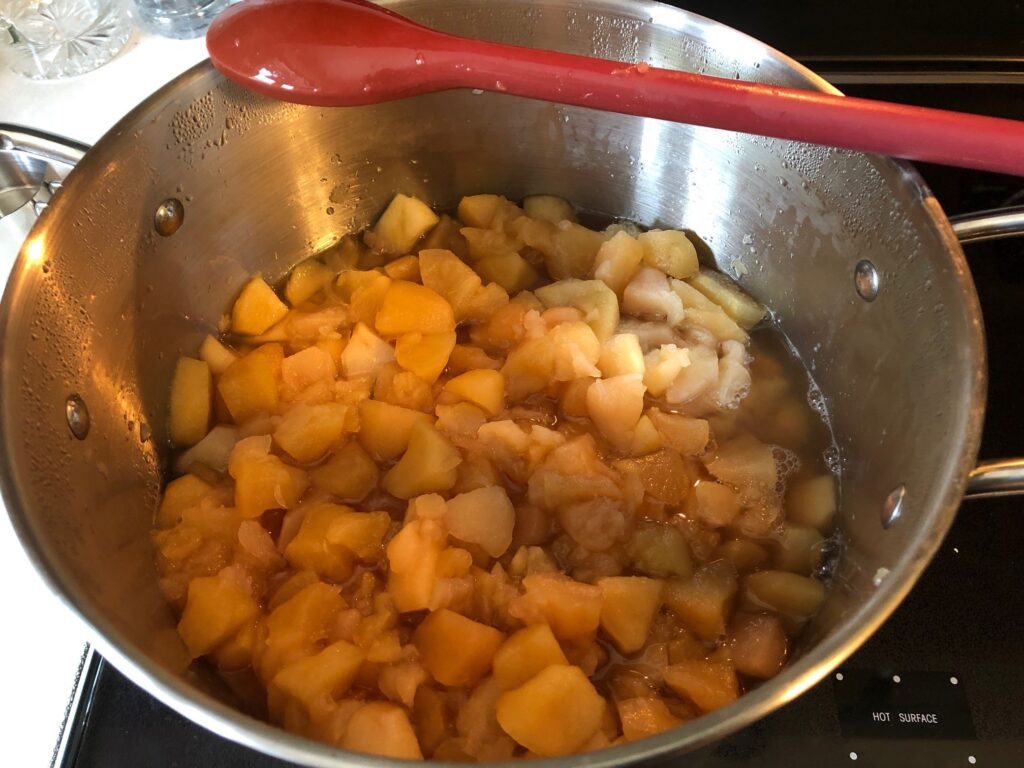
I cut apples up for 3 1/2 hours on Tuesday and filled my 12 qt. pot to the brim with cut apples.
Cutting up apples is a pretty solitary job and I found myself thinking about all the times I watched and helped my mother cut apples for pies (my dad’s favorite). When I was very young, I fondly remember her singing a silly song called, “A Bushel and a Peck.” I finally took a minute to look up the lyrics and sure enough, I found them! It is really silly, but what a fond memory!
Continuing With the Canning Process
By the time the apples had cooked down, the full 12 qt. pot was filled only halfway.
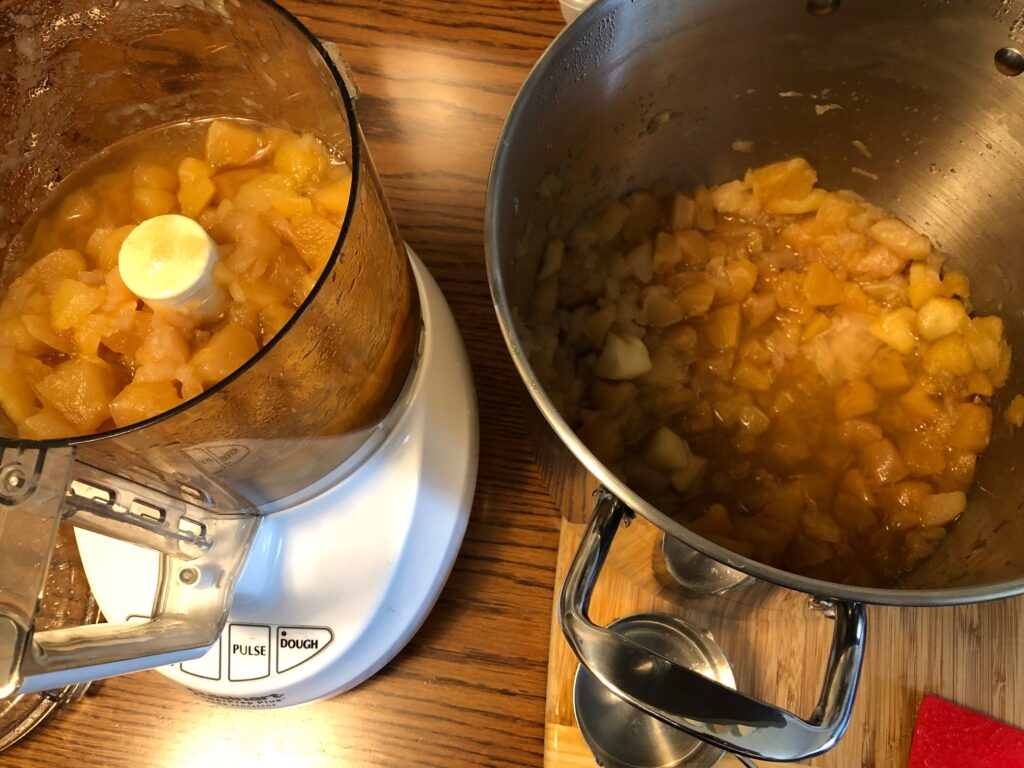
Then I scooped the soft apples into the food processor and gave them a quick zap. I don’t mind the sauce being a little lumpy.
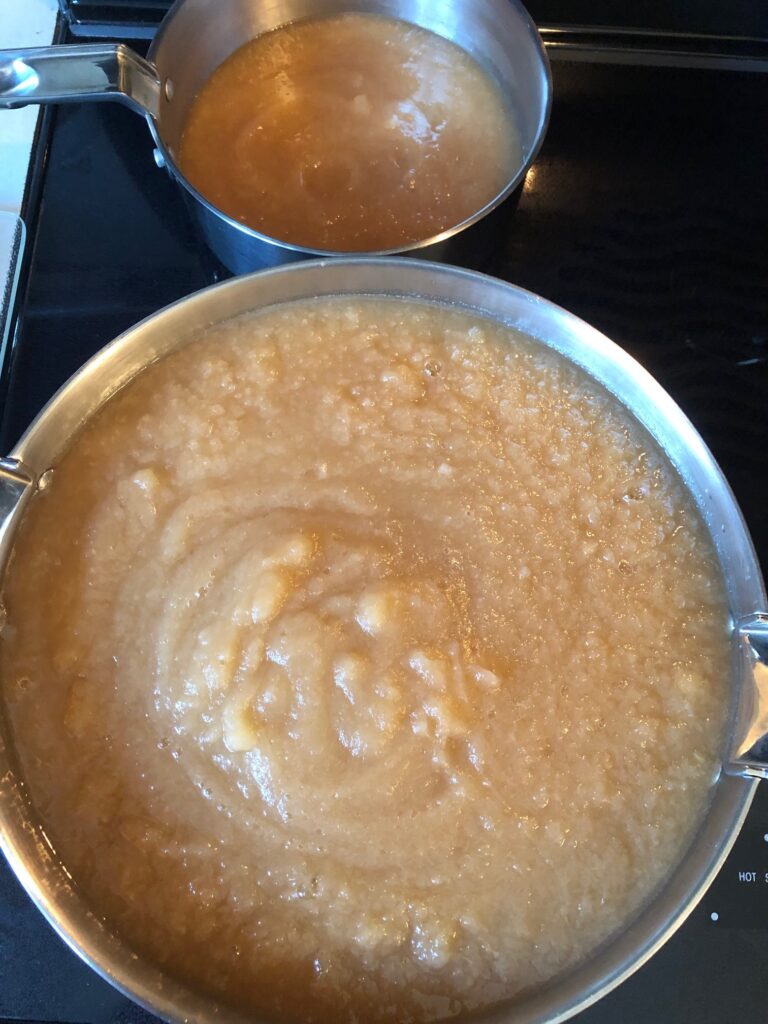
Then I put the sauce back into my smaller 6 qt. pot to simmer. I had to add a sauce pan for the overflow. At this point we tasted it and decided it needed a little sugar, so I added about 1 1/2 cups.
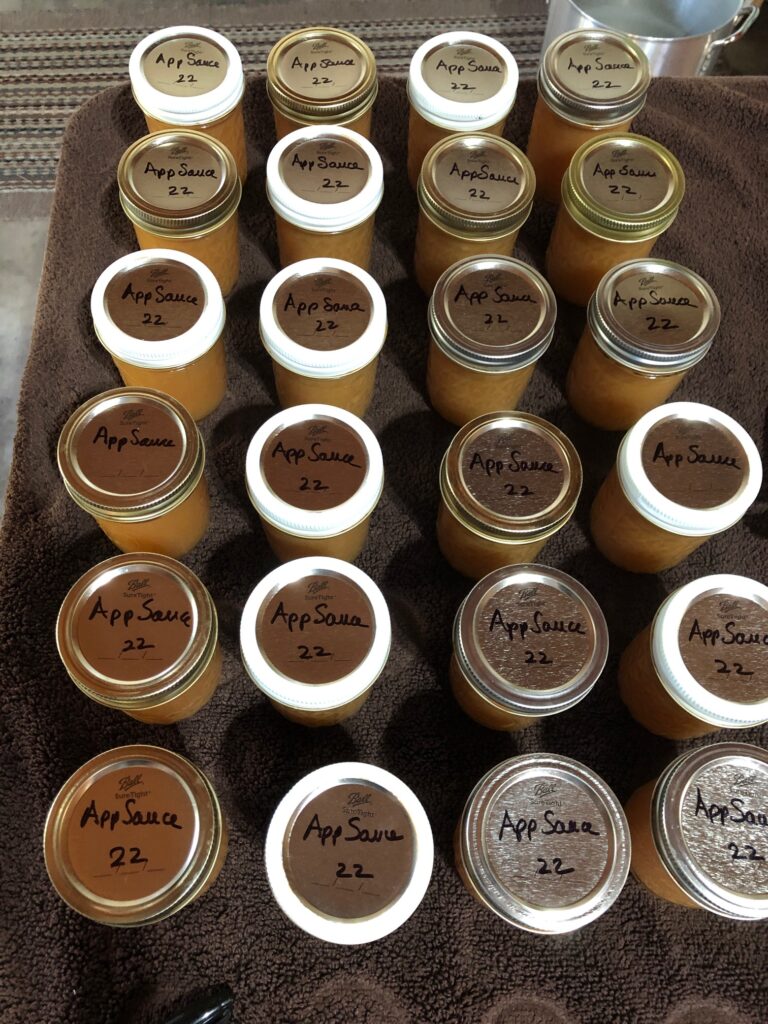
When divided up, the sauce filled 24 half-pint jars, plus 4 plastic containers that went into the freezer. The 24 jars went into the canner and were water-bath processed for 20 minutes. Now these lovely jars are ready for winter!
You might ask…do we really eat that much applesauce! While it’s great as a side dish for pork, I do use applesauce as an ingredient in some vegan baking, as a substitute for eggs.
Do you have any treasured memories that come up when you’re doing something your parents taught you to do? Enjoy!
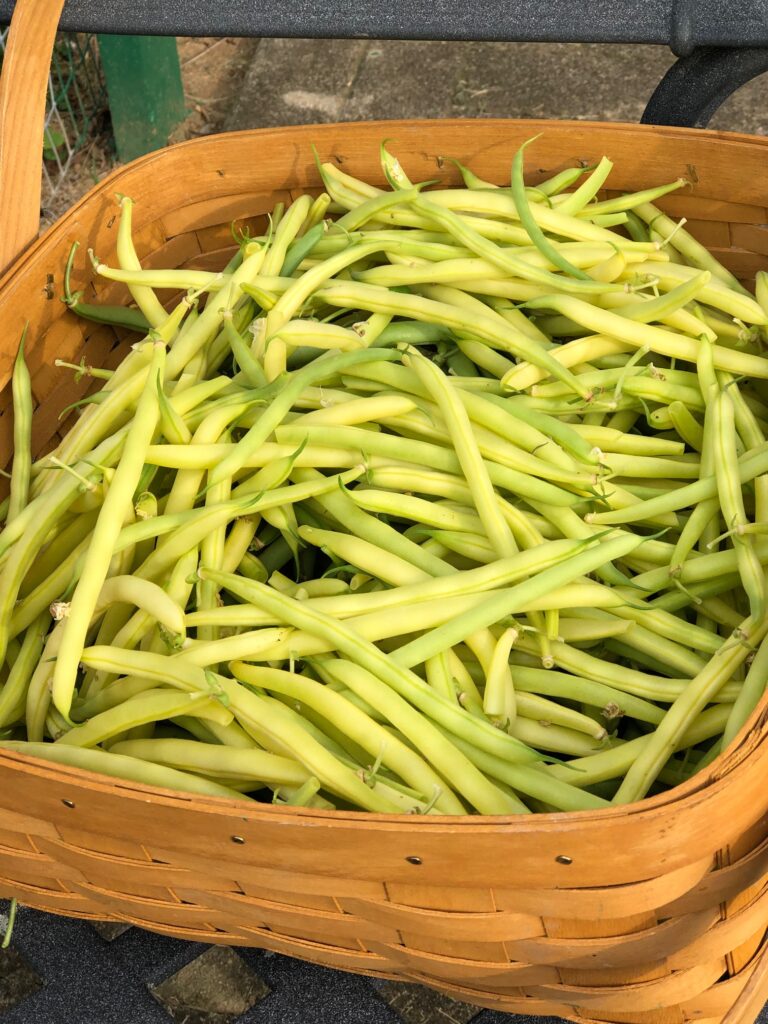
Remember that six pounds of green and yellow beans I picked a few days ago? (https://marykisner.com/garden-update-july-15-2022/) Over the weekend we managed to turn them into 18 pints of beautiful Four-Bean Salad!
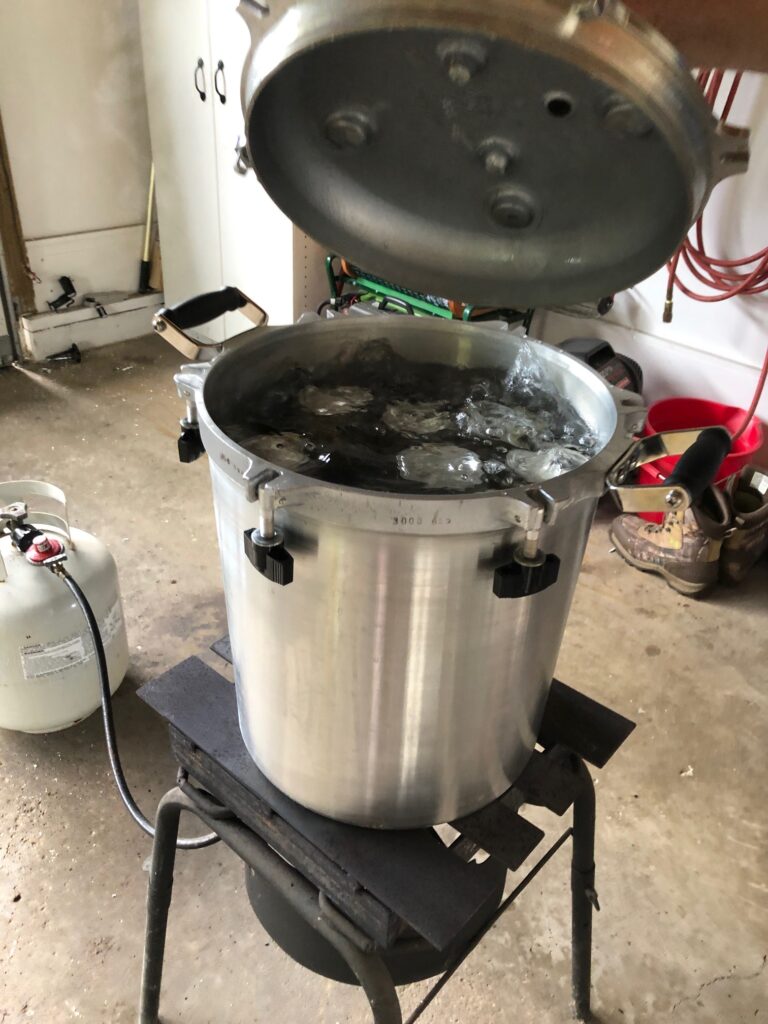
I wanted to show you how we did it! I will tell you, canning in the Kisner household is definitely a team activity. I could not do it without Bert’s strong muscles to handle the canner. He was always willing to help, but years ago we invested in a canner that is hard for me to lift even empty…and it couldn’t be put on our glass-top stove burners. We now have a pretty slick set up…as long as Bert is willing to manage the actual canning process.
Since we can’t use the stove burners, he uses his propane burner that he set up to melt lead for reloading. It gets almost too hot so he’s had to put extra shields on top of the burner to help regulate the temperature.
Of course, that also means we do the actual canning in the garage. I’m grateful he knows how to do all this stuff!
My job is in the kitchen getting the jars sterilized and the food prepped. Since this recipe is basically making “pickled” vegetables, which includes mostly vinegar and sugar, the canning can be done with a water bath process. However, we use the same canner, he just doesn’t seal the lid and fills it with water.
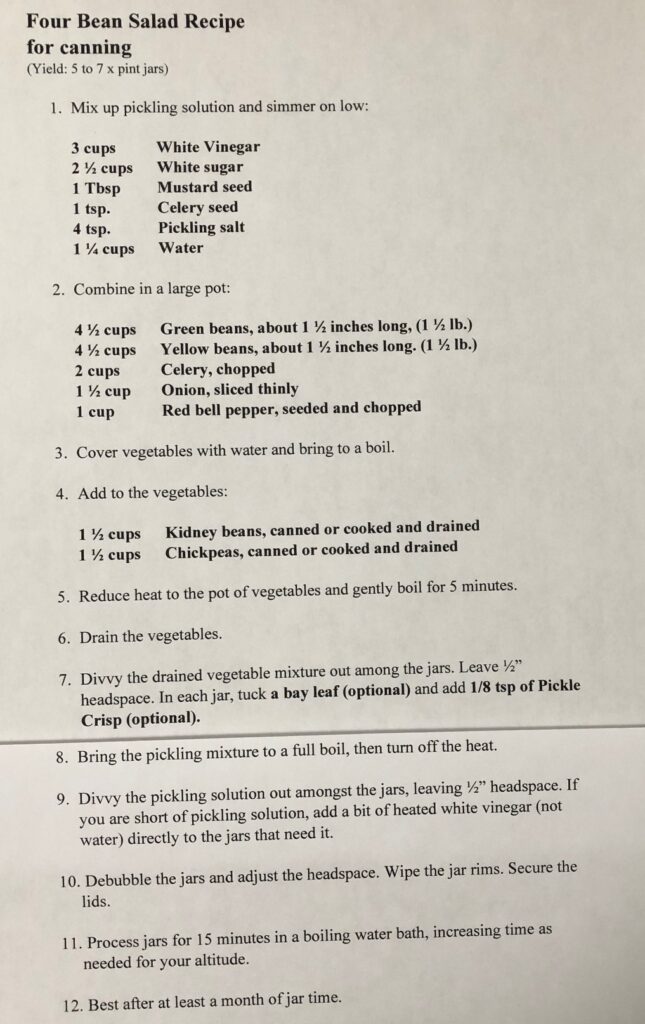
When I can, I try to make a batch that will fill the canner…no point in going to all that work for 5 pints. So, I doubled the recipe…using 6 pounds of green and yellow beans, 4 cups of chopped celery, etc. Here is the recipe I’m using:
While Bert was getting the garage set up, I ran the dishwasher with the jars to sterilize them.
First, I mixed up the pickling solution and set it on a back burner to simmer.
Next, I prepped the vegetables. I had the beans all snapped and ready to go.
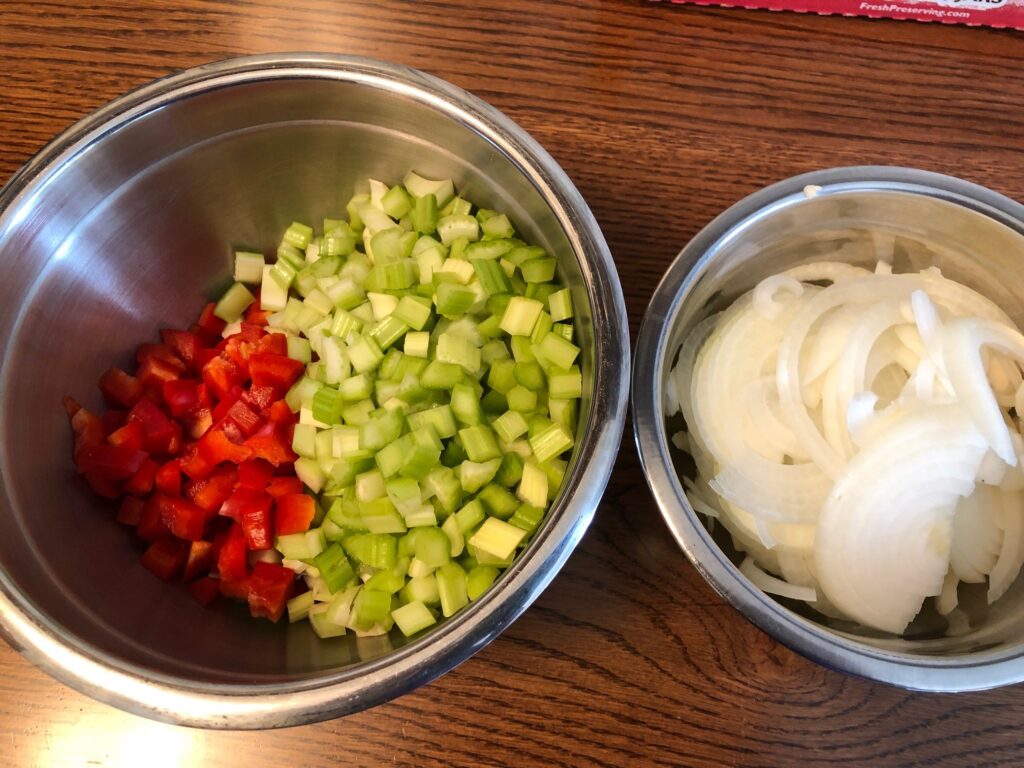
Then I had to chop the celery, onion and red pepper.
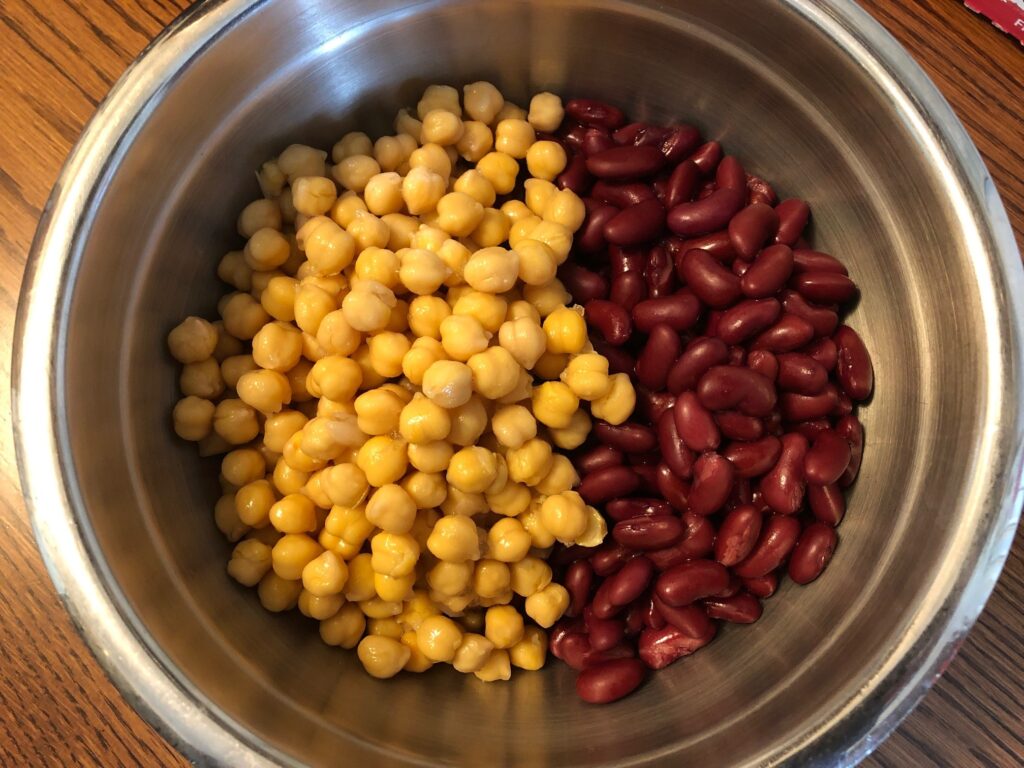
I measured out the kidney beans and chickpeas and rinsed them well.
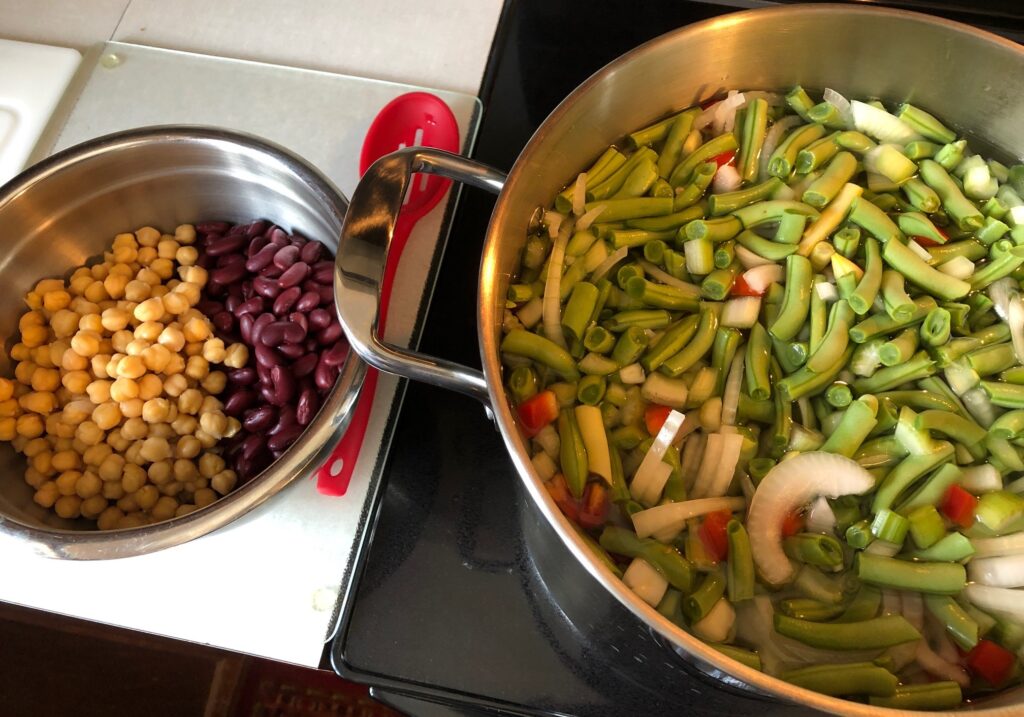
I was using my largest pot that was full to the brim, before I added the beans! There was no room to add water to boil AND I didn’t have a long enough spoon to stir the pile.
Plan B kicked in! Bert went to the attic and found his HUGE stockpot that he uses to store cookie dough at Christmas. We dumped everything into the big pot (which of course, would not fit on the stove), moved it to the propane burner in the garage, and then added enough water to blanch the vegetables. I found Bert’s GIANT wooden spoon that he used to use to mix up cookie dough and we were able to finish blanching the vegetables out there.
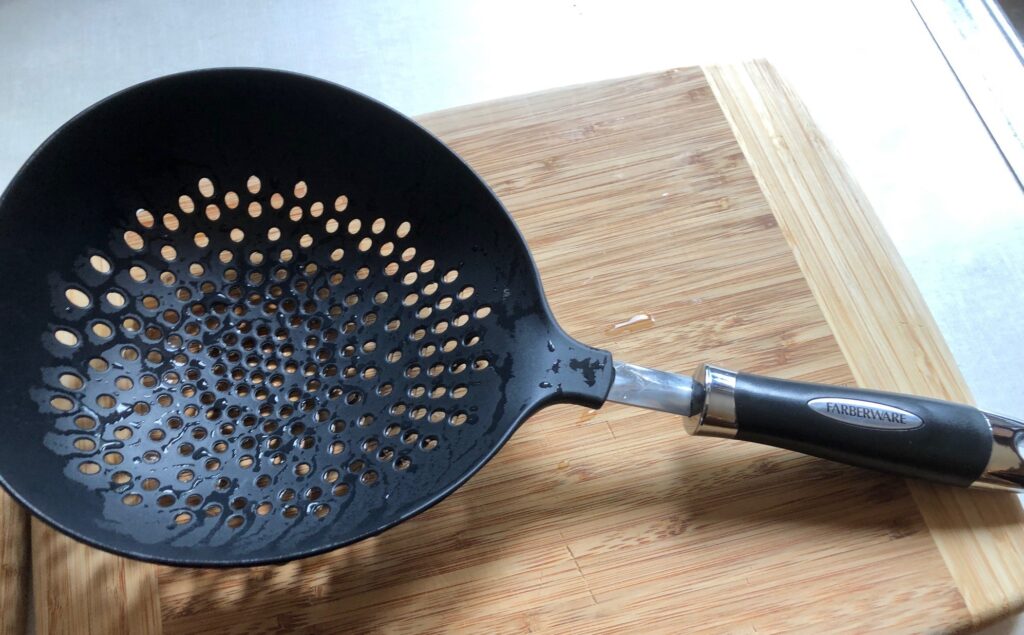
The next dilemma was to drain the vegetables and move them back to the kitchen so I could pack the jars. I pulled out my HUGE colander strainer to scoop the vegetables into the original pot that did fit on my stove. By then, the vegetables had softened and fit back into the pot. Whew!
While I filled the jars, Bert emptied the hot water out of the big pot, set it aside, and put the canner on the burner to begin warming the water for canning.
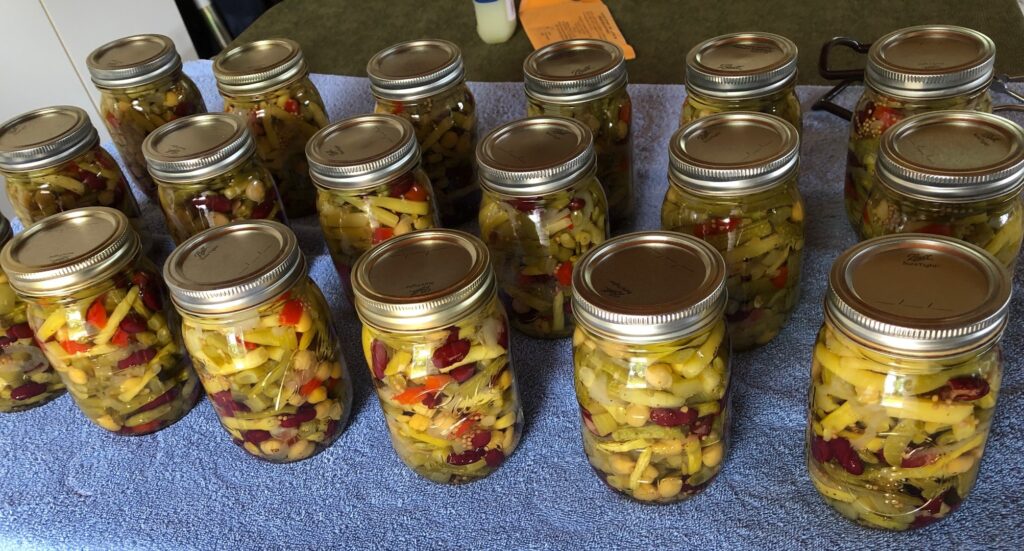
When all divvied up, the vegetables filled 18 jars! The canner holds 19 jars. Perfect! So, the recipe, when doubled makes many more than 10 jars!
I used the pickling solution to fill the jars and had to add about 2 cups of vinegar to top them off. Once I got them filled, Bert took over, capped them and got them out to the canner. He handled the timing and watched the burner while I cleaned up the kitchen.
I now have 18 beautiful jars of pickled vegetables that will look and taste great all year! Of course, the recipe says to wait a month before opening, so along about Labor Day, I’ll check them out.
If you want to try this recipe, check your instructions that came with your canner to get the time correct for your altitude. Be mindful when you double a recipe…it might make more than you expect!