This may be the year we will want to focus on handmade gifts for the holidays. Of course, the latest gadget, tool or toy is always fun to receive, but with supply chains disrupted or delayed you may be forced to consider other kinds of gifts.
Giving a gift you created yourself is sometimes the most meaningful. Many of the posts I’ve written about over the last two years have been inspired by friends and family who have expressed an interest or need for something I can make. Now I can see that others might enjoy receiving handmade items also.

In this post, I’d like to remind you of some of the projects that you or your children or grandchildren could make that would be a special gift for someone. Think about what those folks might need…or appreciate…from a hot or cold neck wrap, novelty soaps for the guest bathroom or a unique gift bag or box to hold a special gift. Most of the projects I’ve chosen here are simple enough for a young person to make (or help make). It helps to make the season special to focus on the recipient of the gift and what they might like to receive.
So why am I talking about this in October? Handmade gifts take time…time to round up the materials and time to gather kids or grandkids around to create together. In this post I will focus on just three mediums: paper, soap and fabric. I’ll save clay projects, skin care items and baked goods for another post.
As a reminder, you can always see and download the whole list of posts I’ve written over the last two years by going to the Welcome page and clicking the link at the bottom of the page. You can download the list to your computer and explore it at your leisure. The most recent 10 posts are always listed on the Welcome page.
Paper Gift Bags
Small gift bags made from recycled calendar pages is a handy way to use some of those extra calendars that come in the mail.
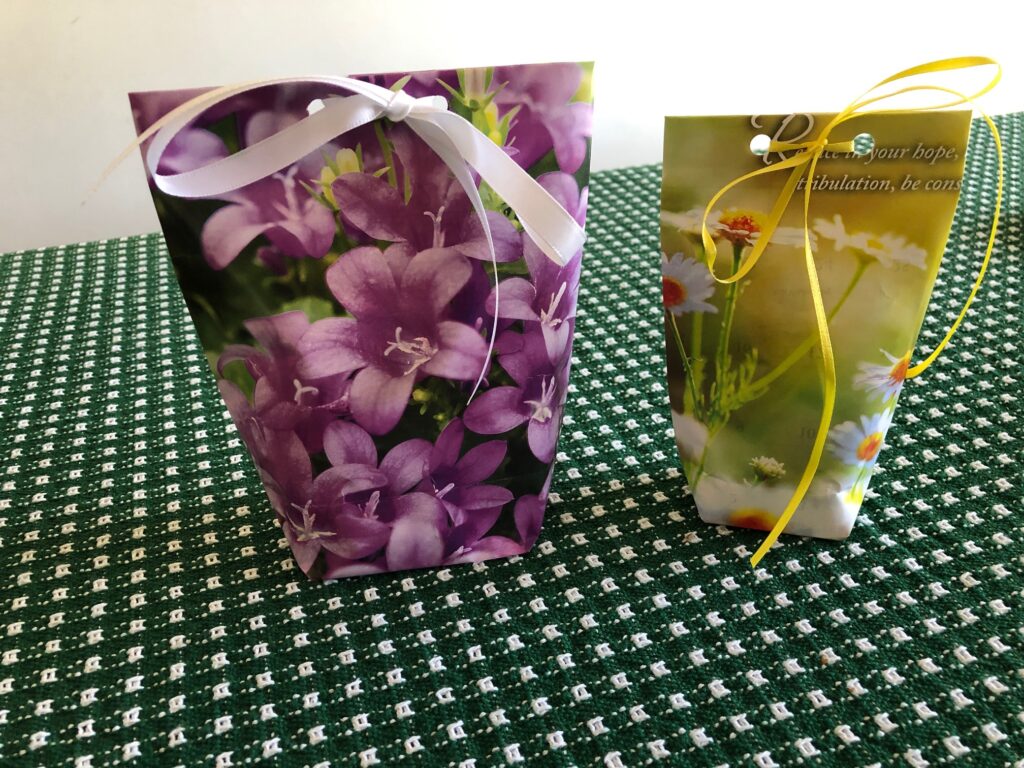
By December I can usually count on 5 to 8 calendars arriving for the next year…often with lovely photographs of scenery, animals and inspirational messages.
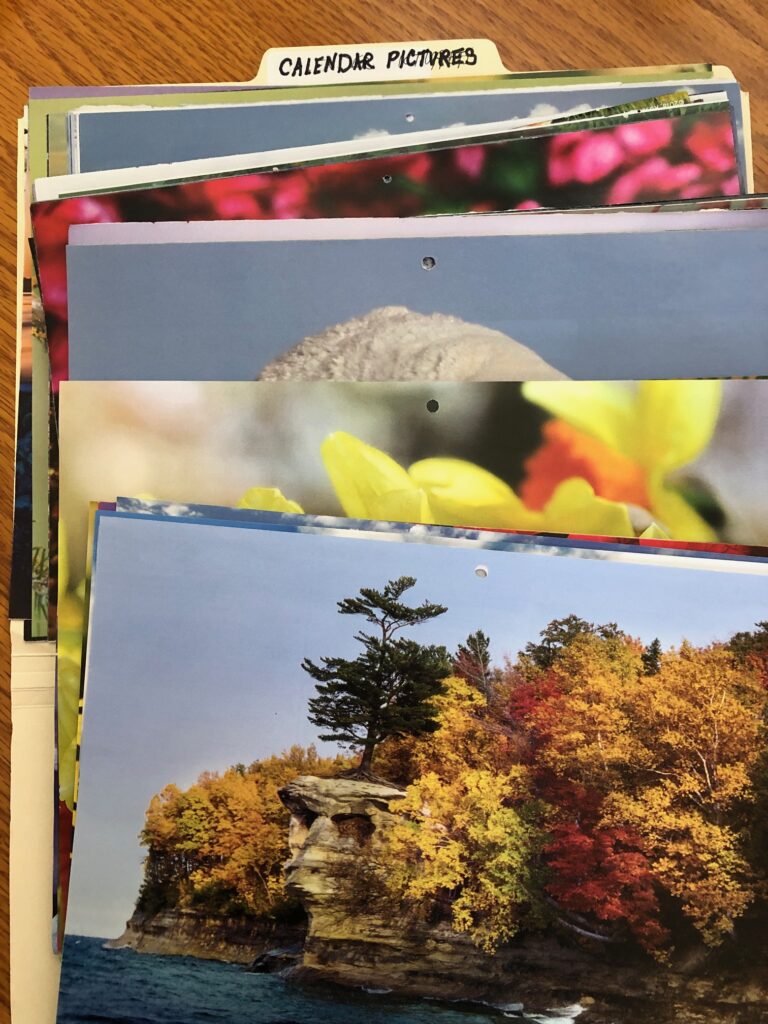
Once I’ve decided which calendars I will display on my refrigerator and use on my desk, I take the rest and choose the pictures I like. I cut the calendar apart and discard the front and back. The pictures fit in a file folder so can make a gift bag when I need one.
Paper Boxes
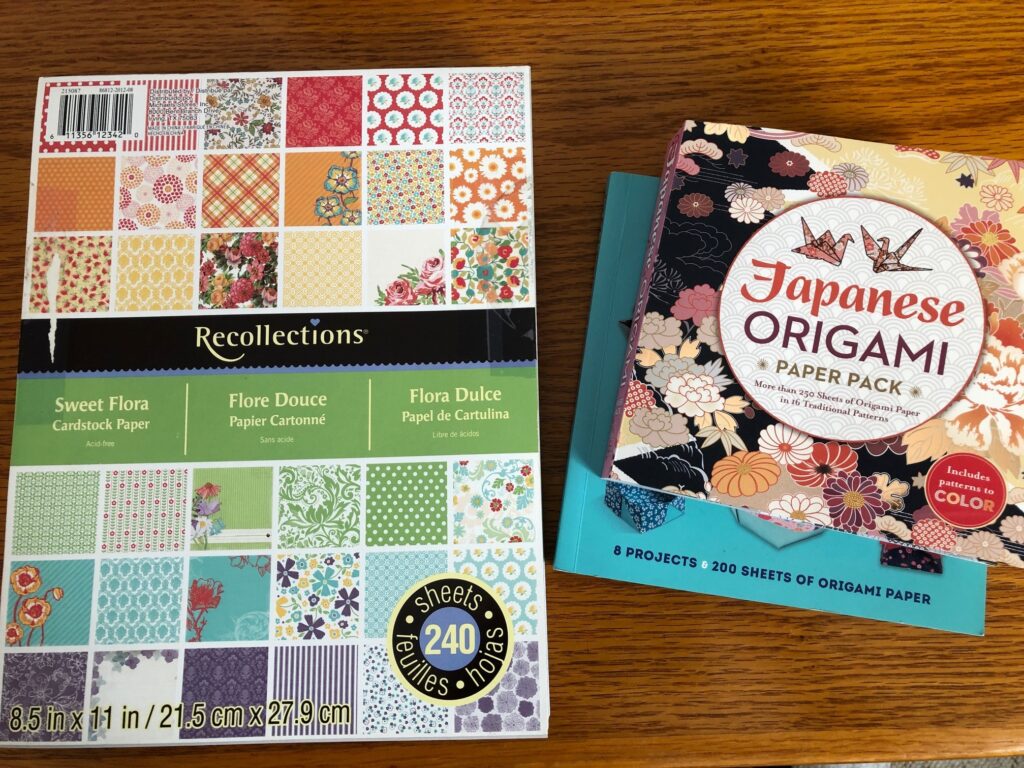
Another project using paper starts with heavier paper or card stock.
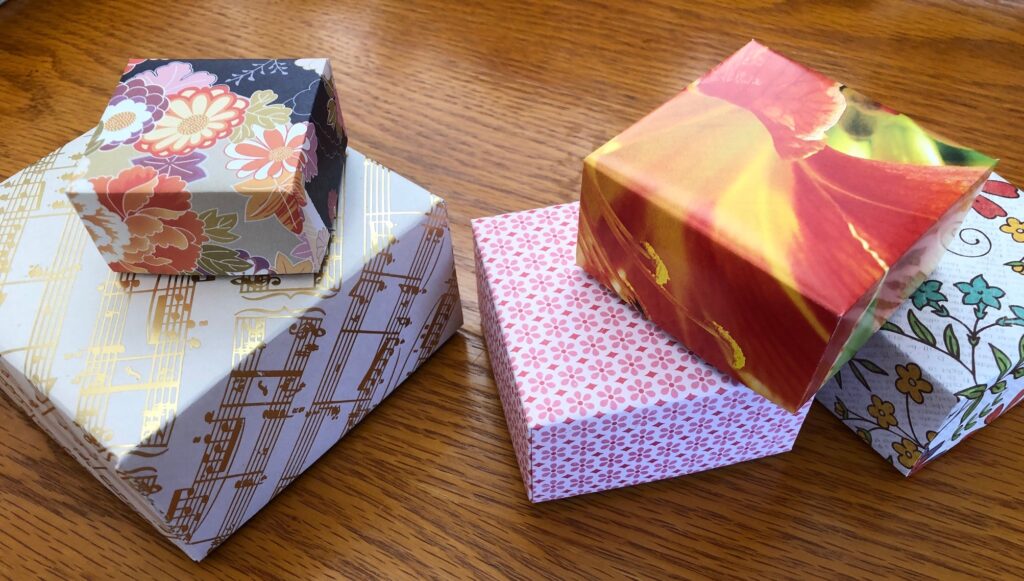
The very tiny boxes could also have a string or thread attached at one corner and be a unique tree ornament. They can be made from Origami paper, sold at art and craft stores.
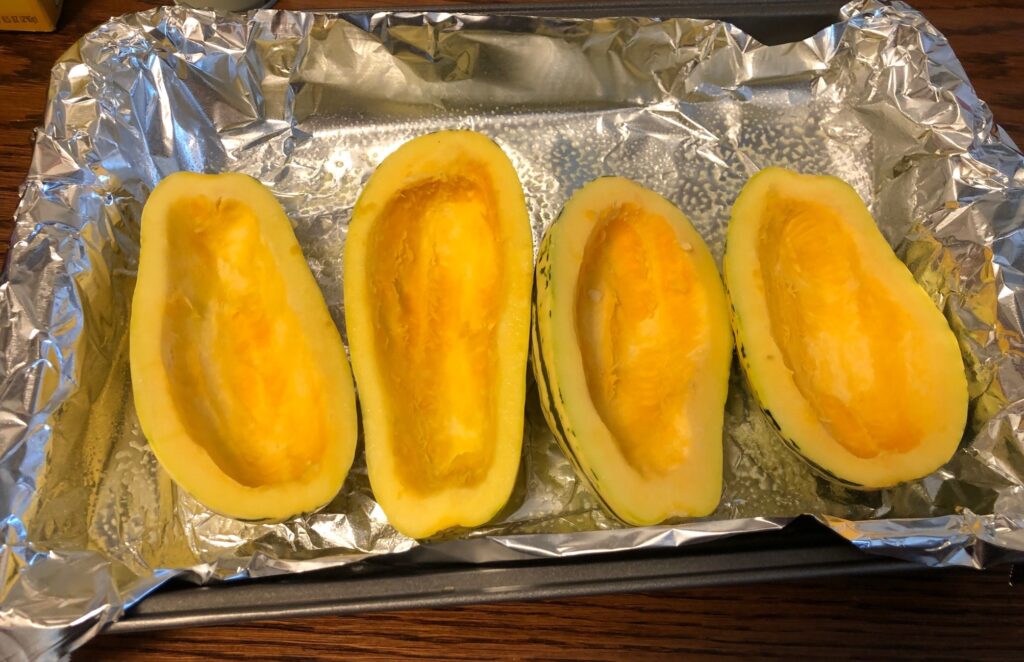
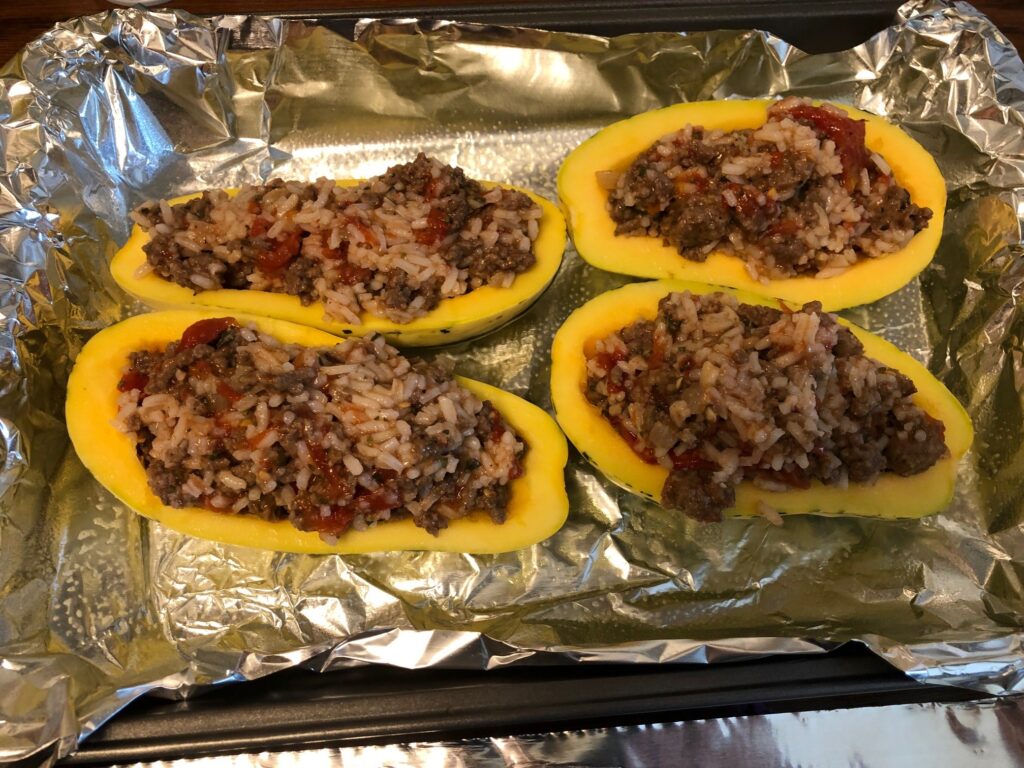
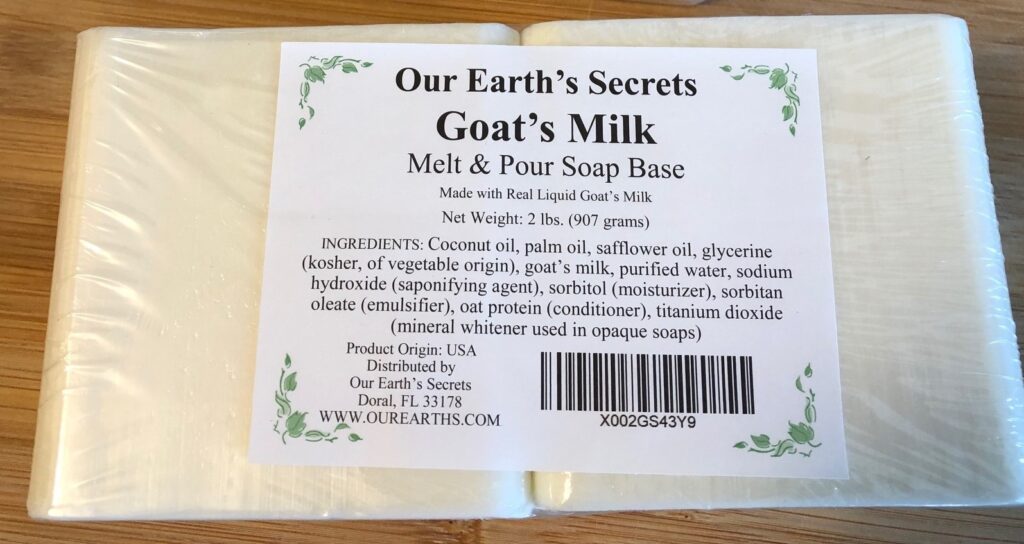
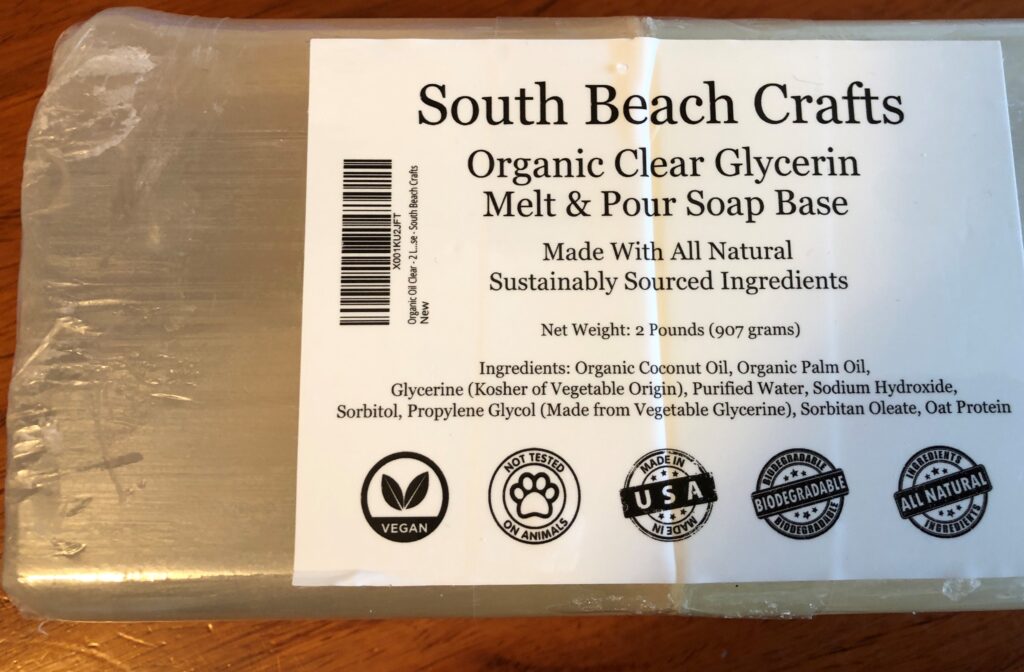
Guest Soaps
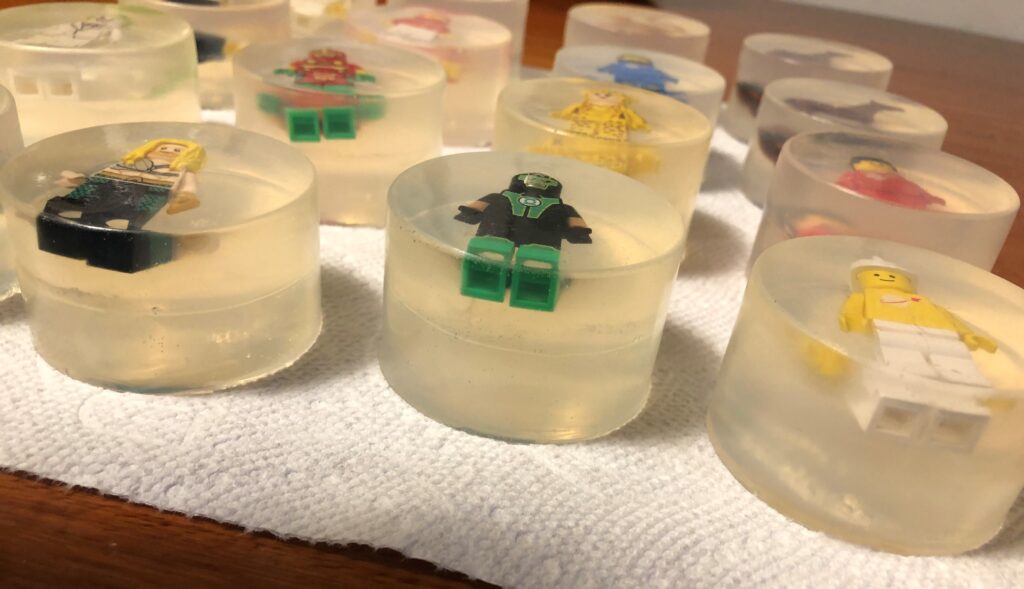
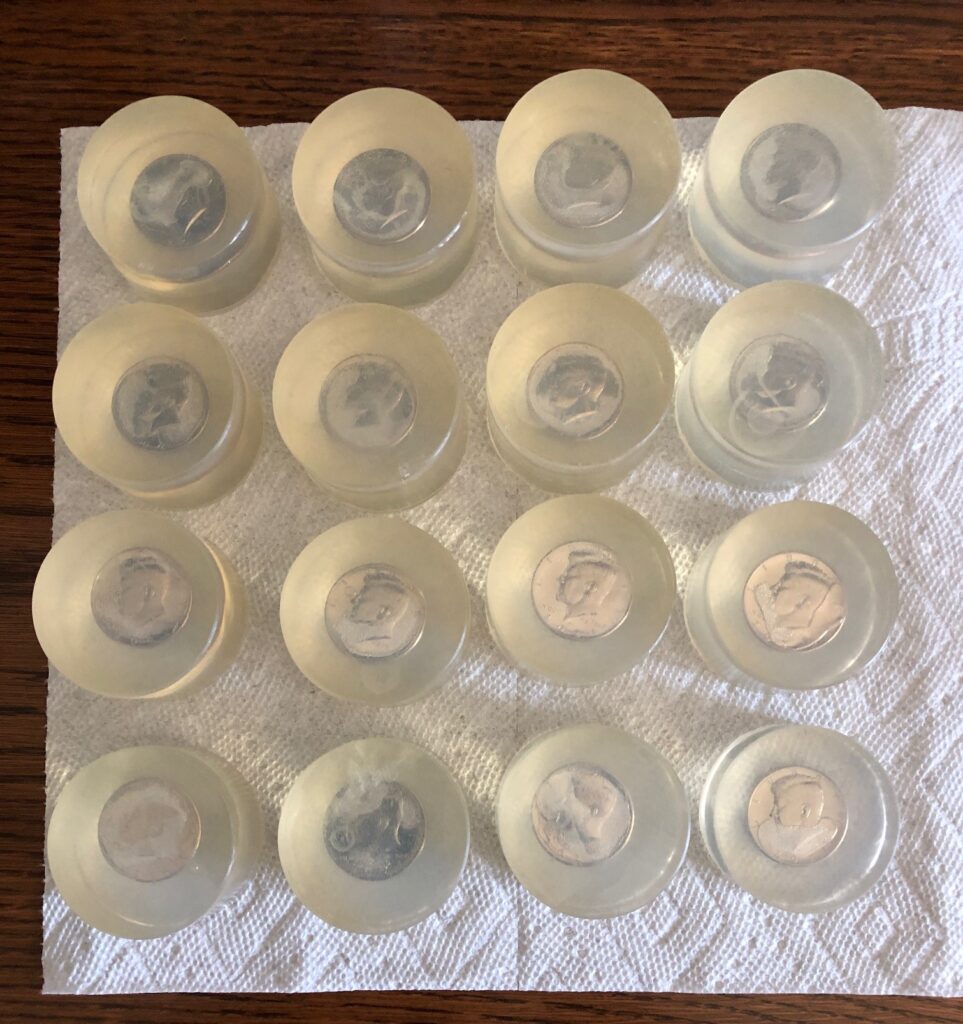
Everyone seems to be interested in washing their hands frequently and tiny handmade soaps can be a unique addition to any guest bathroom.
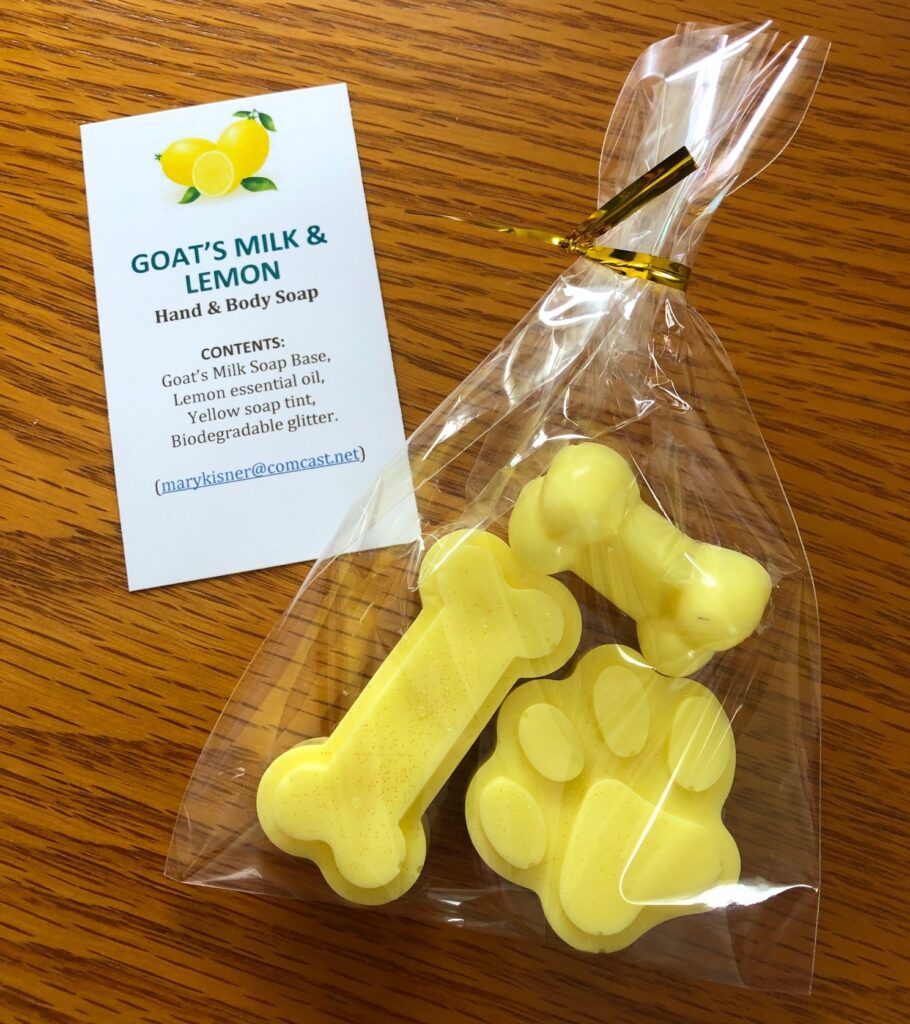
Choosing Melt & Pour Soap bases makes these gift soaps very easy…you literally melt chunks of soap and pour it into molds. When cool, they can be popped out and used! There are so many silicon molds available on Amazon and at arts and crafts stores. A basic shape like hearts can be used for many occasions…but the dog bones are fun too!
Fabric Crafts
Most of the projects I make with fabric begin with scraps I already have. If you like to sew, these projects are pretty simple and might really provide comfort to folks on your gift list.
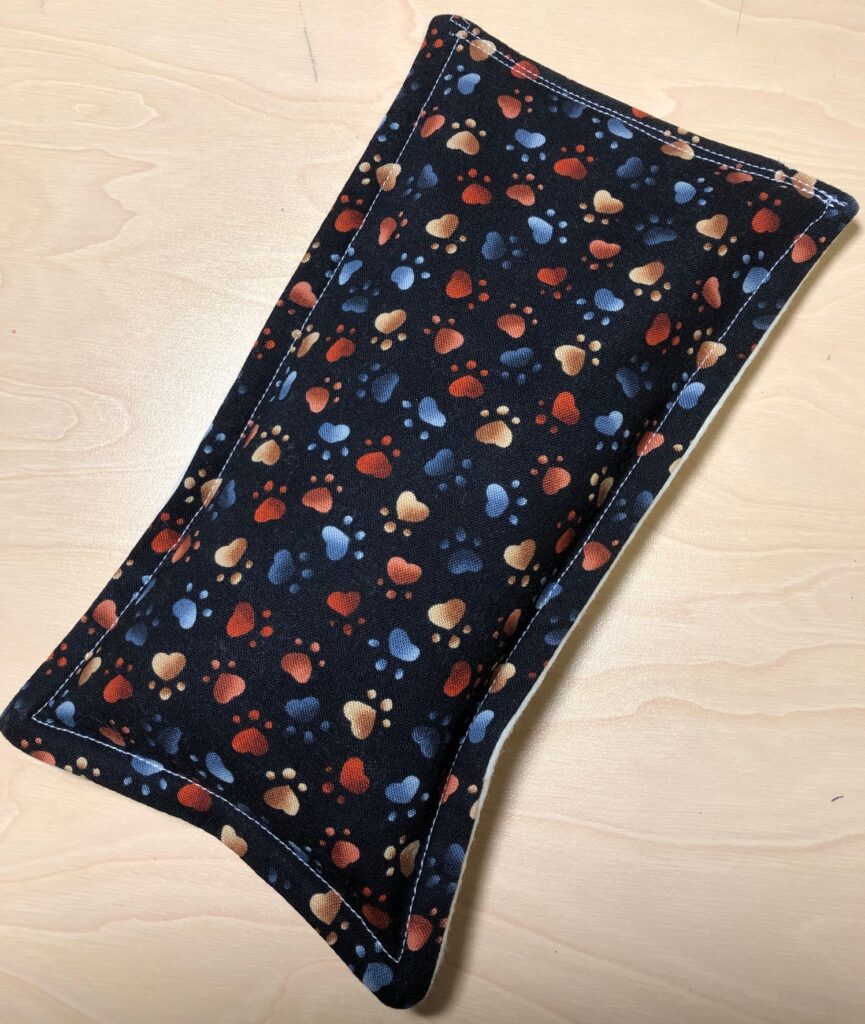
Hot or Cold Pillows or Wraps
How often have you quickly needed a cold compress and have struggled to get ice cubes to stay secure in a washcloth…or pulled a bag of frozen peas out of the freezer to apply to a bruise?
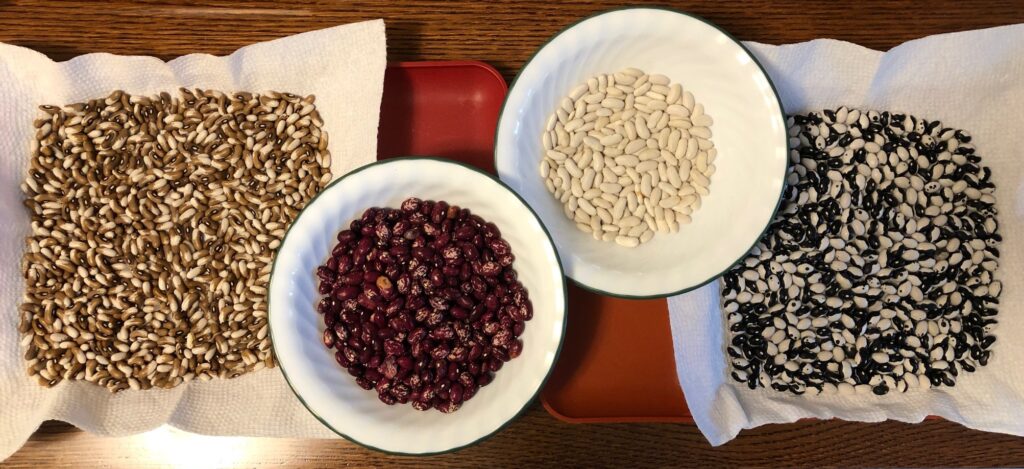
Making a pillow for a headache or a neck wrap that could be used hot or cold requires an appropriate stuffing that can handle being microwaved or frozen. I’ve found whole flax seeds to be the perfect stuffing.
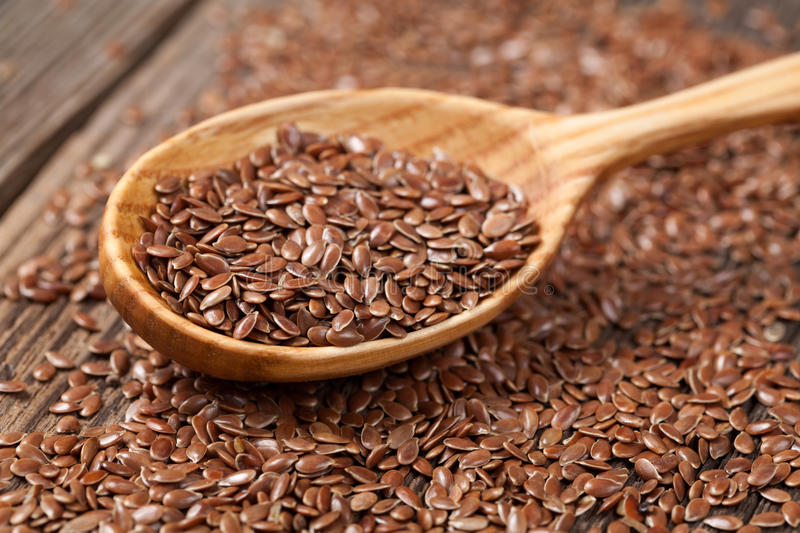
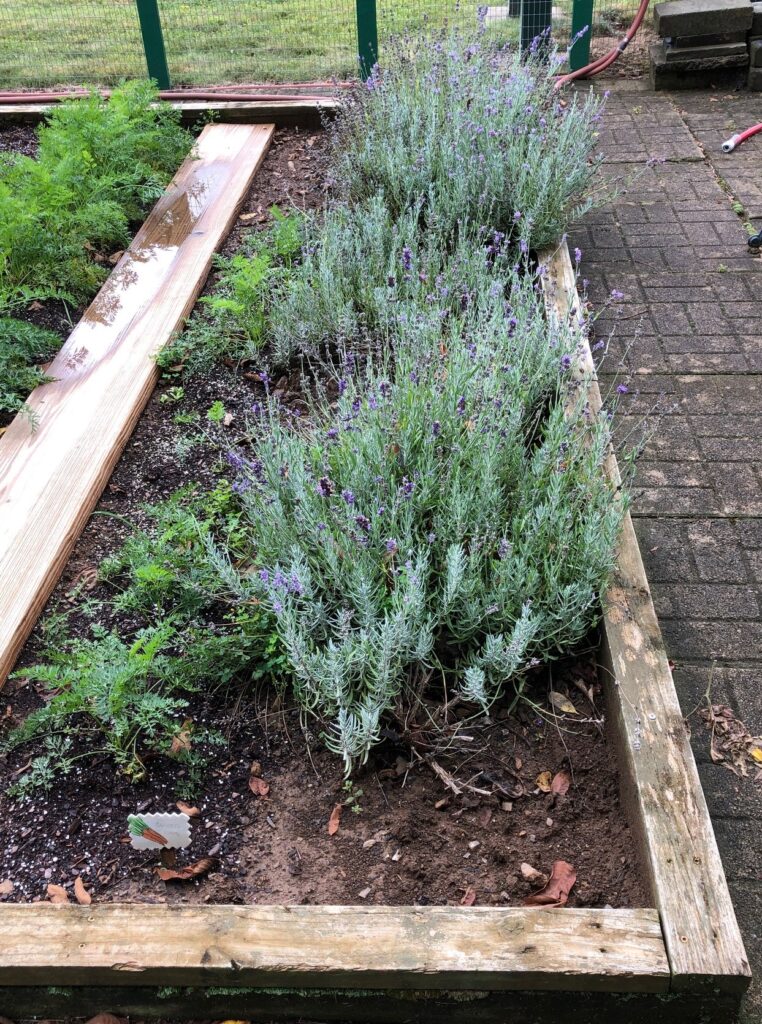
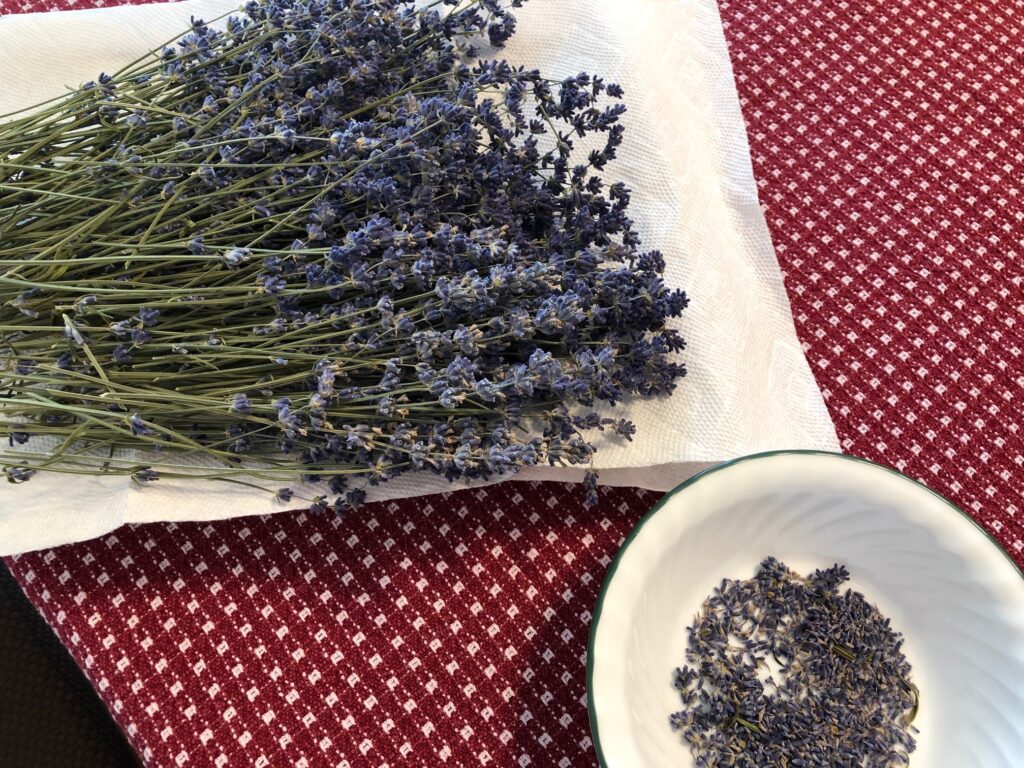
If you really love certain scents, dried flower buds like lavender can be added, but for frequent use, I’d recommend a drop or two of lavender essential oil instead.
Here are some projects that can be used hot or cold.
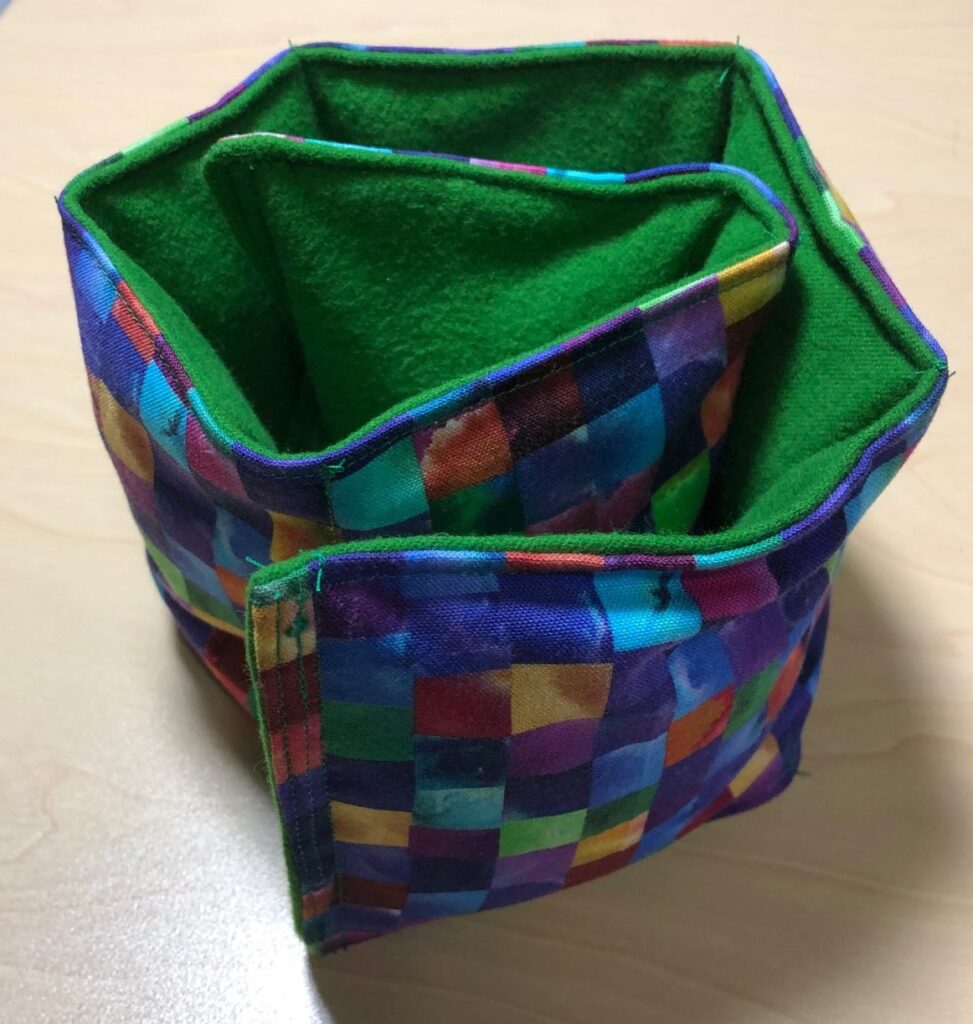

Bowl Cozy
Here is one additional project that might be a useful gift…a bowl cozy (or hot pad) for a bowl of soup or ice cream:

As you can see, any of these projects can be customized to be appropriate for the season…winter pictures on gift bags, clever mold shapes for soaps, or holiday fabrics for the season. With a few extra supplies around you can make a special gift for any occasion! Enjoy!
Please comment or email me directly at marykisner@comcast.net.