Evolution of My Healing Salve Recipe

The recipe for my healing salve started as an experimental product for my greyhound friends…almost 3 years ago! I was asked to try to make a salve to soothe the greyhound paws…their feet were very sensitive to walking on gravel, ice and salted sidewalks. They also were prone to developing corns on their paws.

There were quite a few salves on the market, from the simplest DIY recipe from the American Kennel Club to very expensive salves with Hemp oil in them and everything in between. I’d like to think we would have choices to find the one that works for our dogs and is affordable.

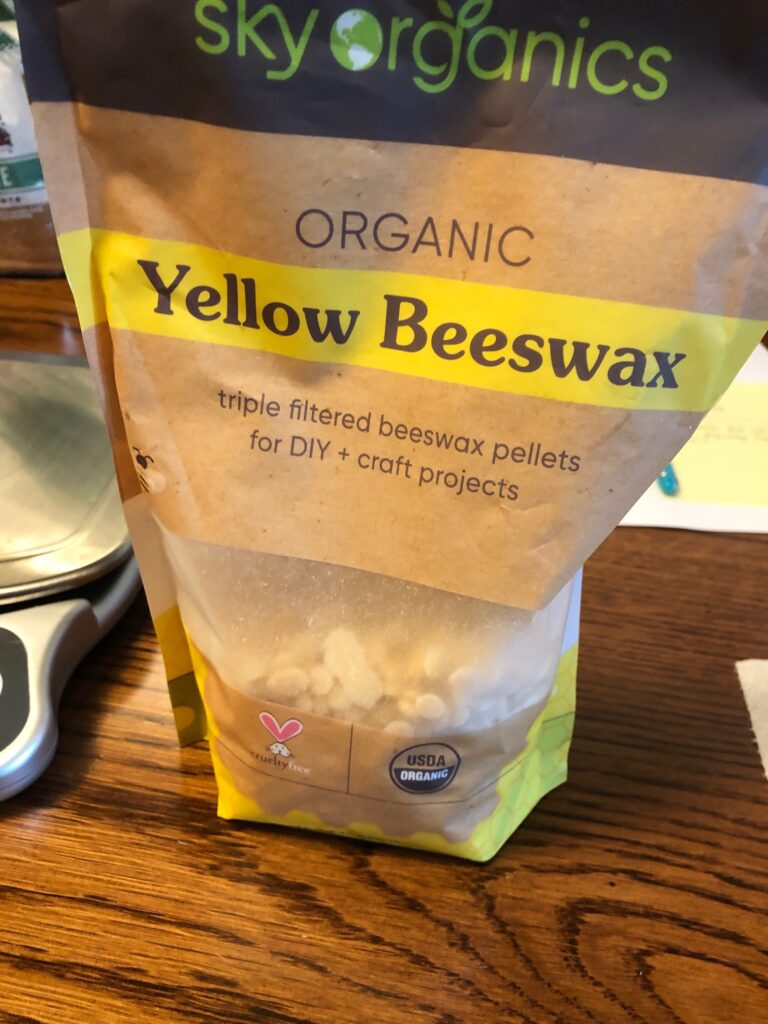
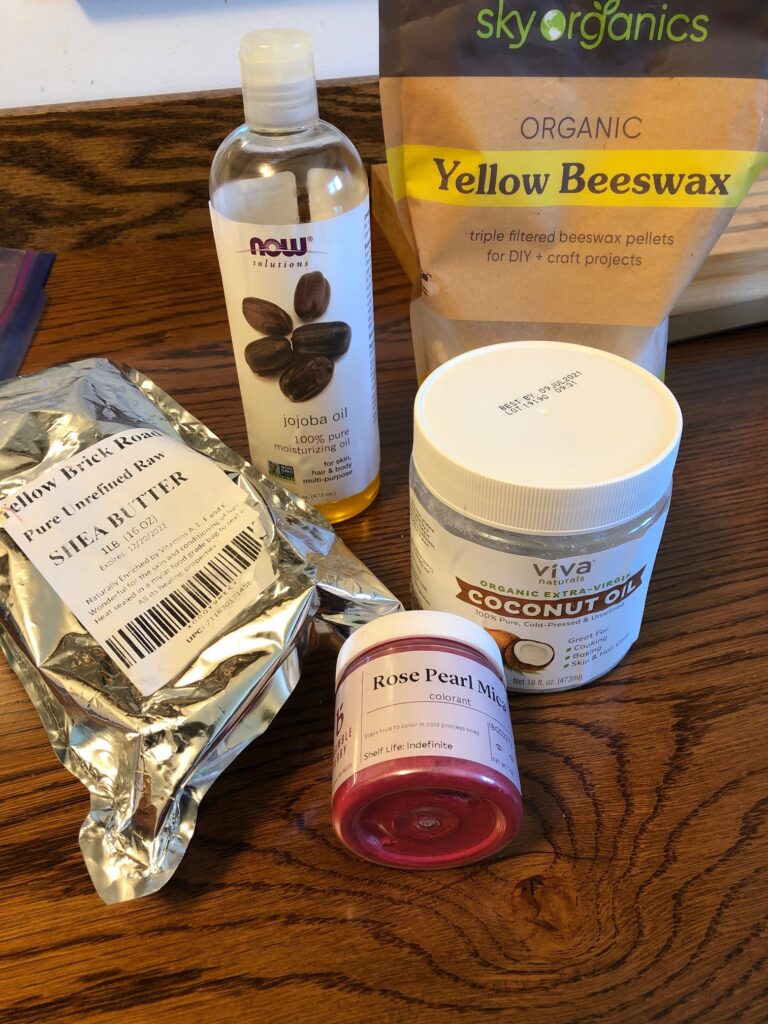
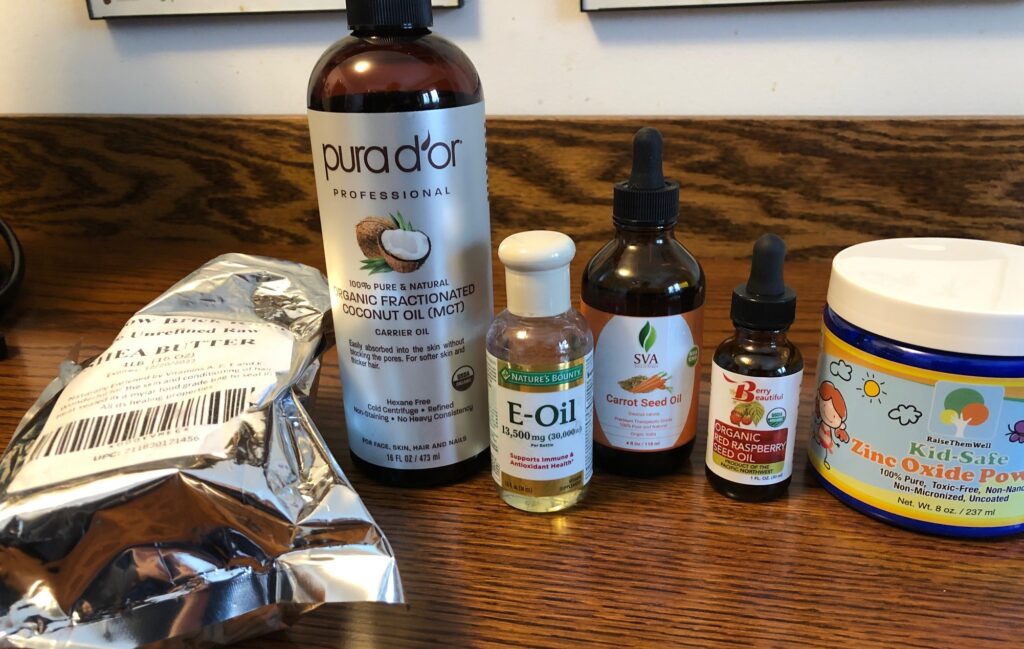
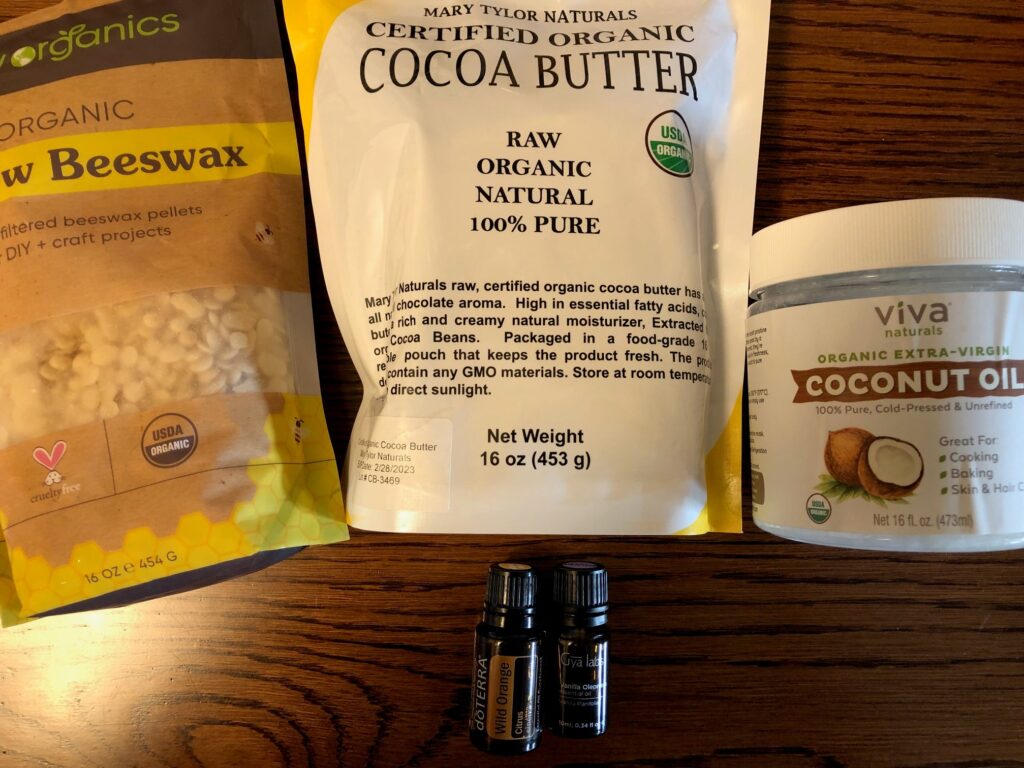
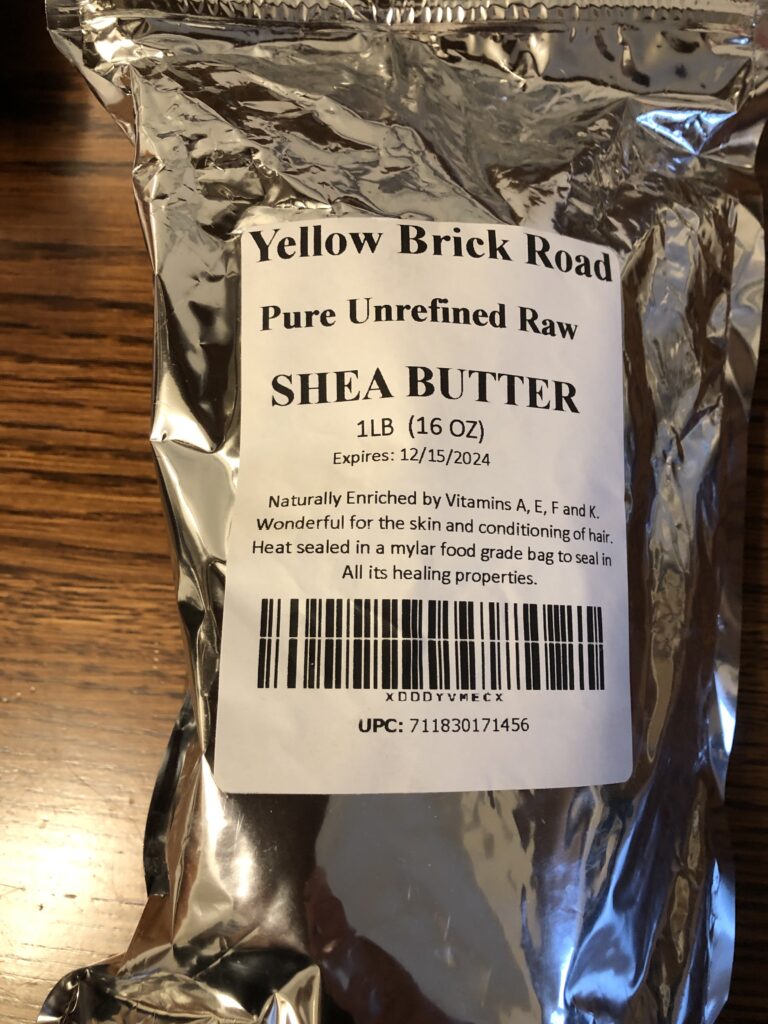
In general, ingredients in these salves include Oils (like olive oil, coconut oil and almond oil), Shea Butter, and Waxes (like beeswax, carnauba wax and paraffin wax). In addition, Vitamin E oil helps healing and serves as a preservative for the mixture. Essential oils like Lavender or Rosemary can also help with healing. I’m not sure the dogs care about the smell one way or the other but it can’t hurt.

My first recipe was similar to the American Kennel Club one. You can read more about it at https://marykisner.com/make-your-own-dog-balm-and-protection-wax/.

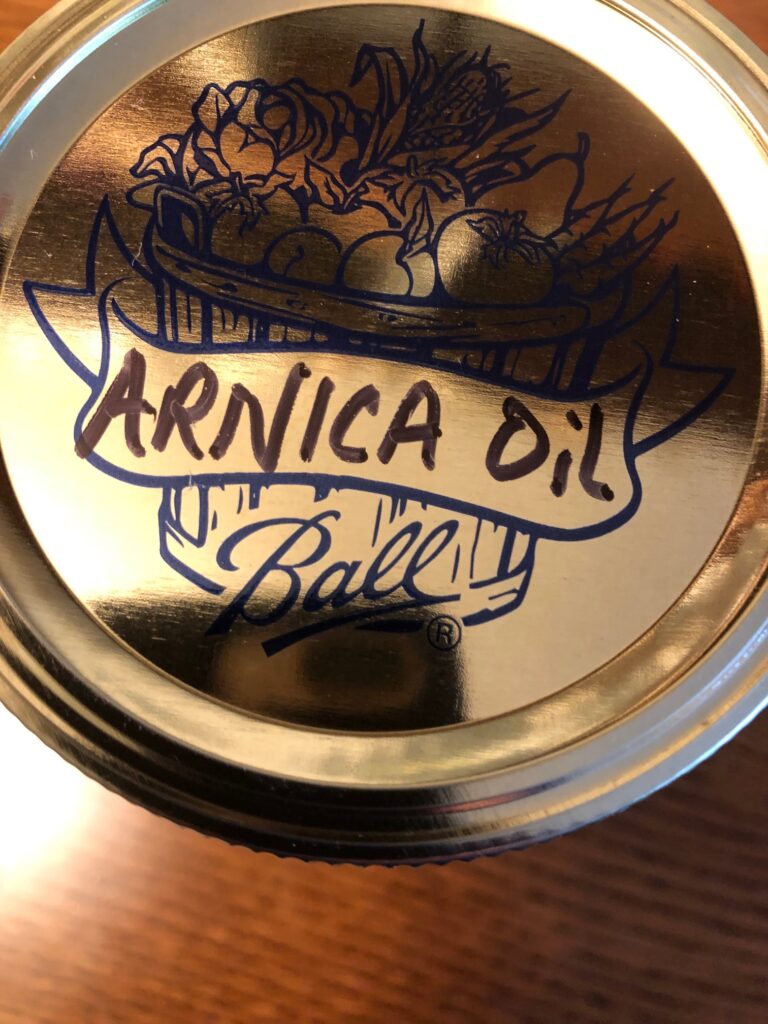
About the same time, I was experimenting with Calendula-infused oil as a base for some salves, so naturally the dog paw salve started with that. If you’d like to learn more about making calendula-infused oil for topical salves, check out https://marykisner.com/making-calendula-infused-oil-for-topical-salves/ and about making calendula salve at https://marykisner.com/calendula-salve-for-summer-itches/.

Testing the Dog Paw Balm and Protection Wax

Samples of the first batch of Dog Paw Salve were sent out to some folks in the greyhound community to give it a try. We had positive feedback that the salve seemed to help the paws that were cracked and made corns softer and easier to remove. It even helped a few sore noses!

Enriching the Salve

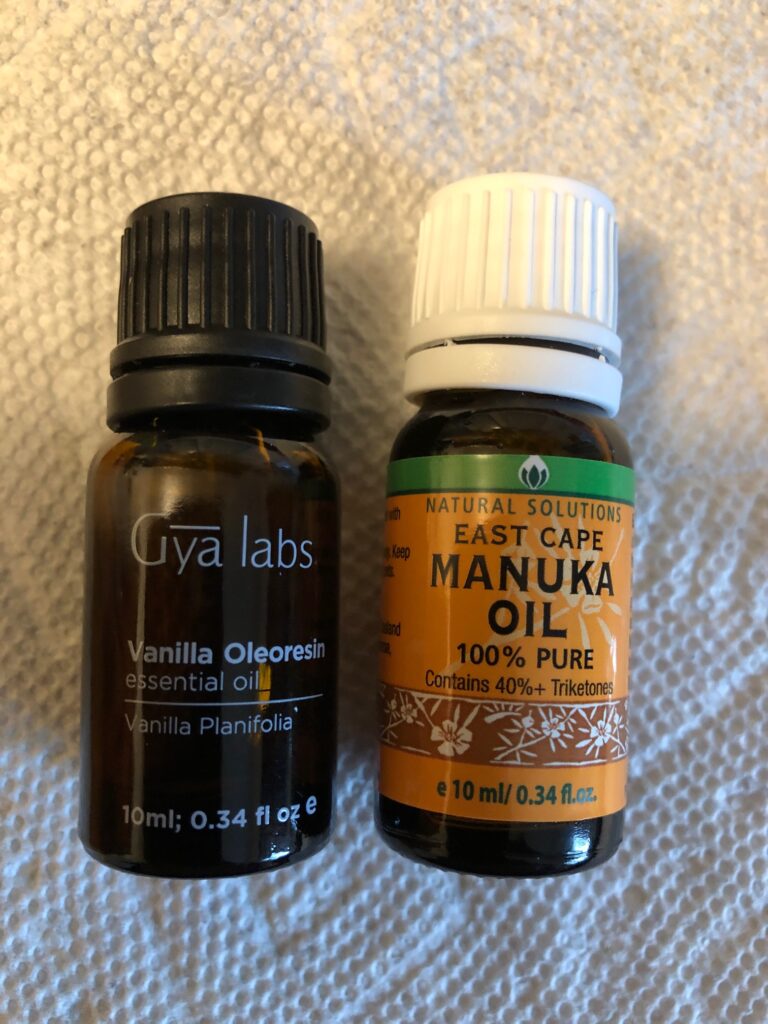
To enrich the ingredients in the salve, I explored adding some essential oils that could help in healing the skin. While Tea Tree Essential Oil is often suggested for its anti-bacterial and anti-fungal properties, I had just been researching using Manuka Honey as a topical salve. That led me to learn more about Manuka Essential Oil. This essential oil has been shown to be more effective than Tea Tree Essential Oil and is easier on the skin.

You can read more about Manuka Essential Oil at https://marykisner.com/manuka-essential-oil-fact-sheet/.

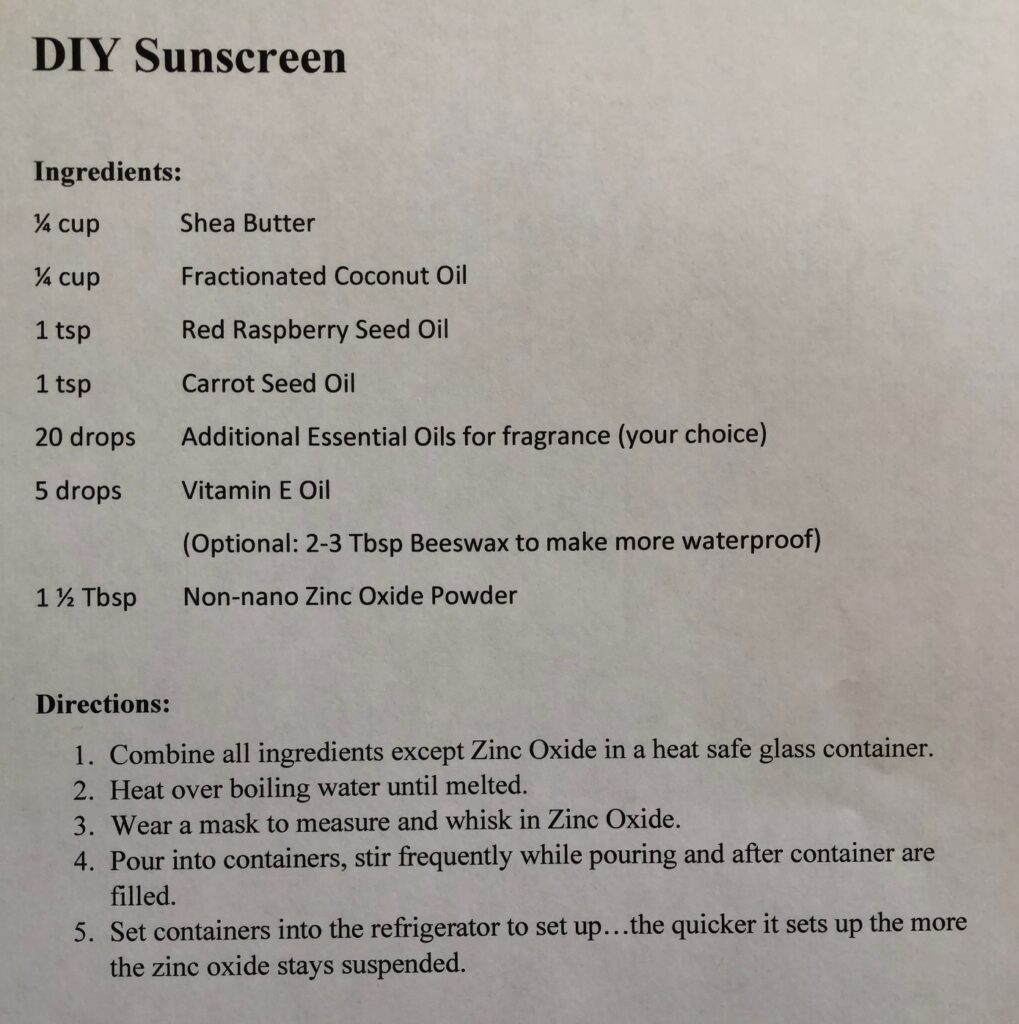
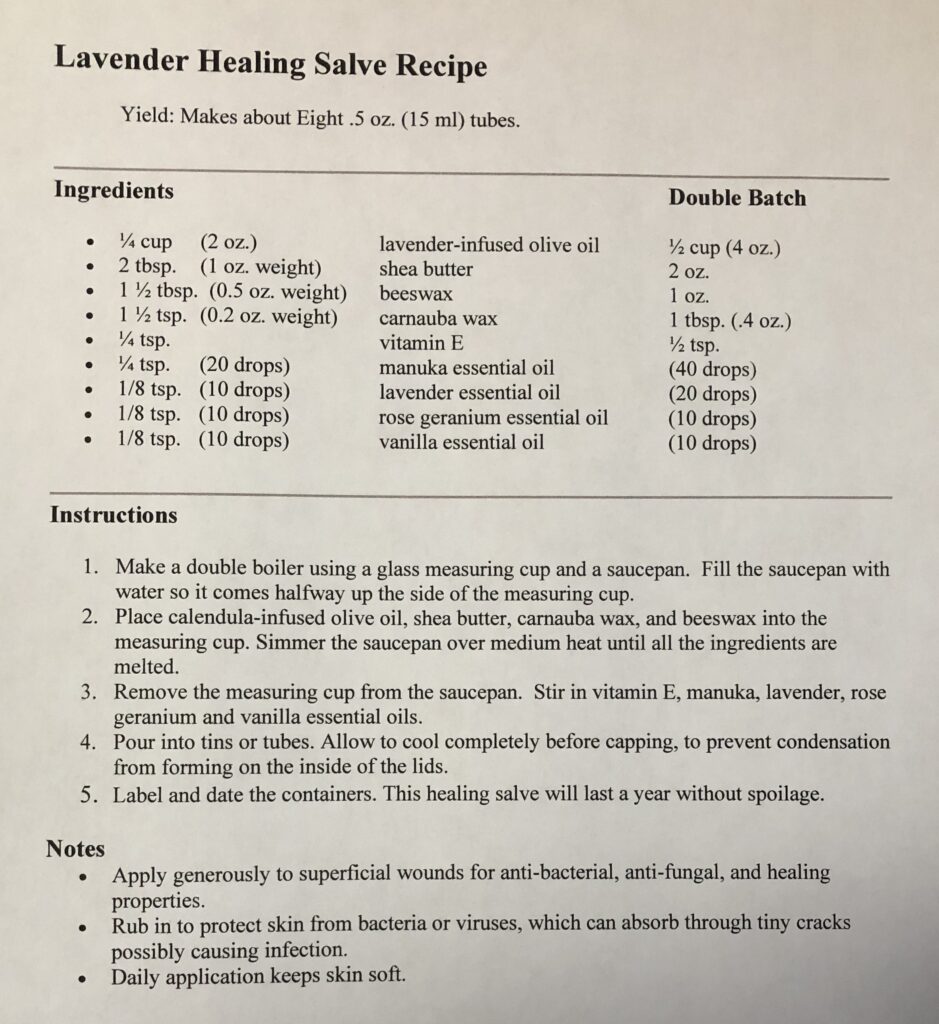
For the last year or two the recipe for my Calendula Healing Salve (also called the Dog Paw Balm and Protection Wax) has started with Calendula-infused oil and included Manuka and Lavender Essential Oils. The salve continues to help the paws of the greyhounds. Here is the recipe:

Necessary Changes Over Time

Of course, the side effect of folks rubbing the salve on their dog’s paws has been requests for the salve for their hands! I’ve also had requests to replace the calendula base with something else (a few folks are allergic to calendula and can’t use the products based on them) and some additional essential oils for a better scent.

Making the Lavender Healing Salve

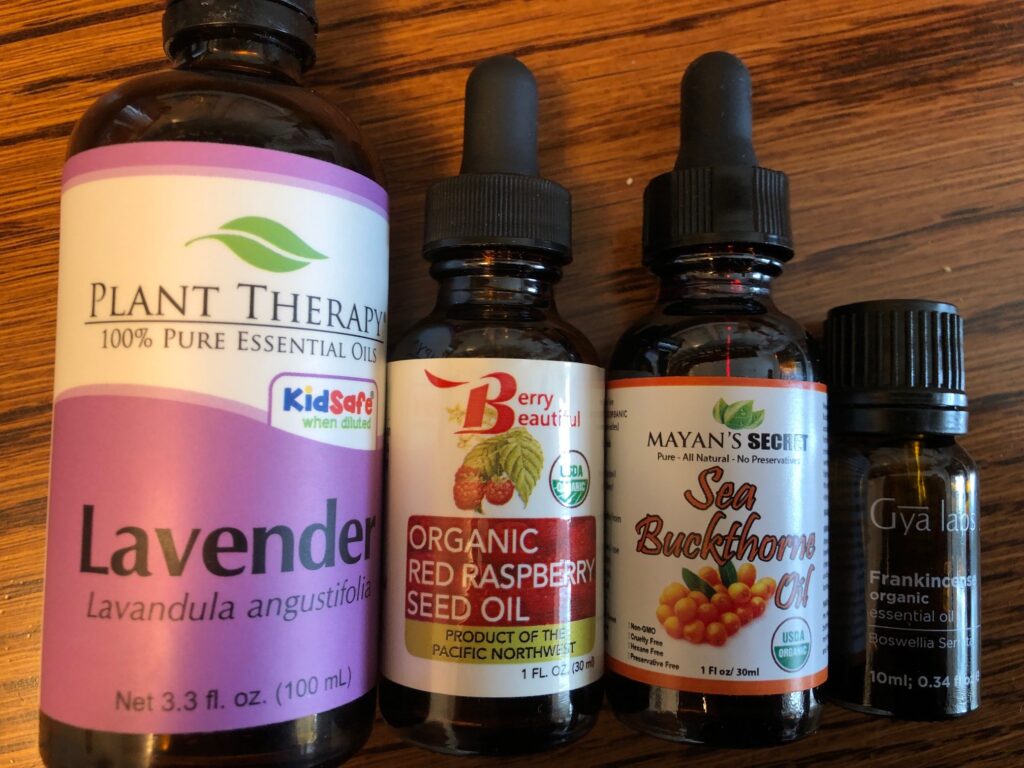
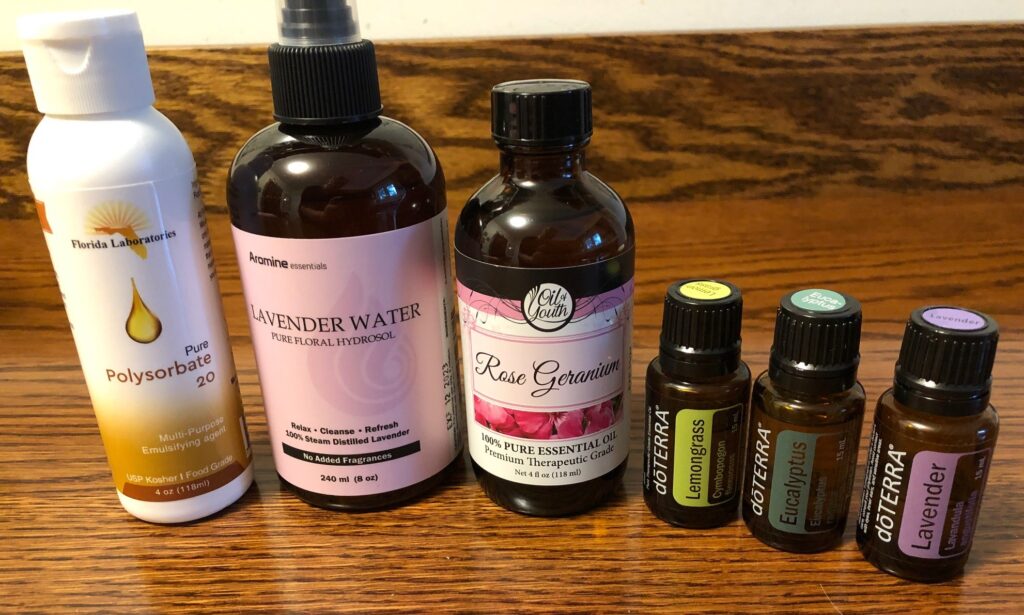
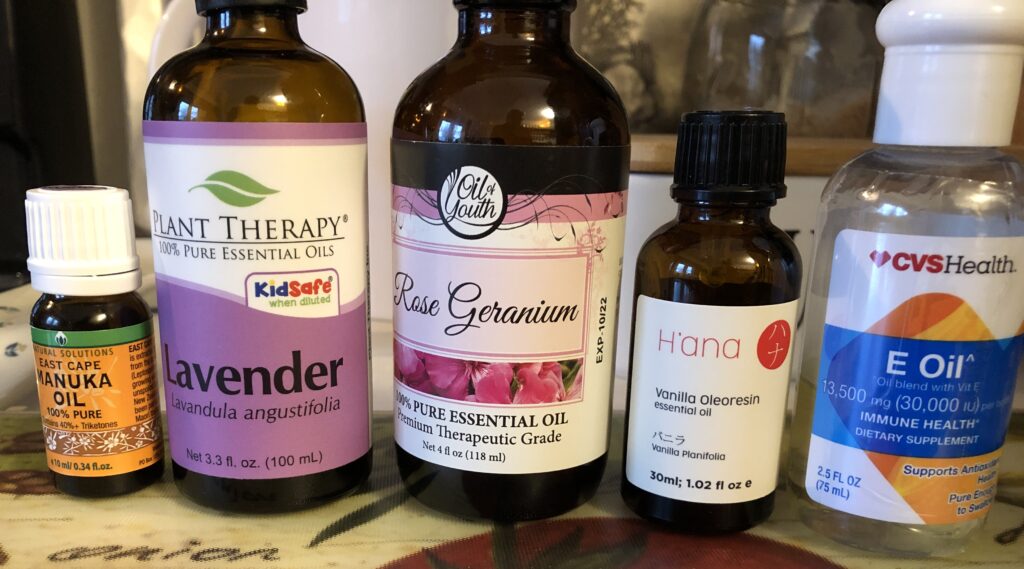
First, I made a big batch of the salve based on Calendula-infused oil to replenish my stash. Then I started over to make a batch of Lavender-infused oil. The rest of the ingredients will be the same as the recipe above. At the end, I added the essential oils of Rose Geranium and Vanilla to enhance the scent. This made a more pleasant salve for the rest of us! Here’s the new recipe:

Step 1: Make Lavender-infused Oil

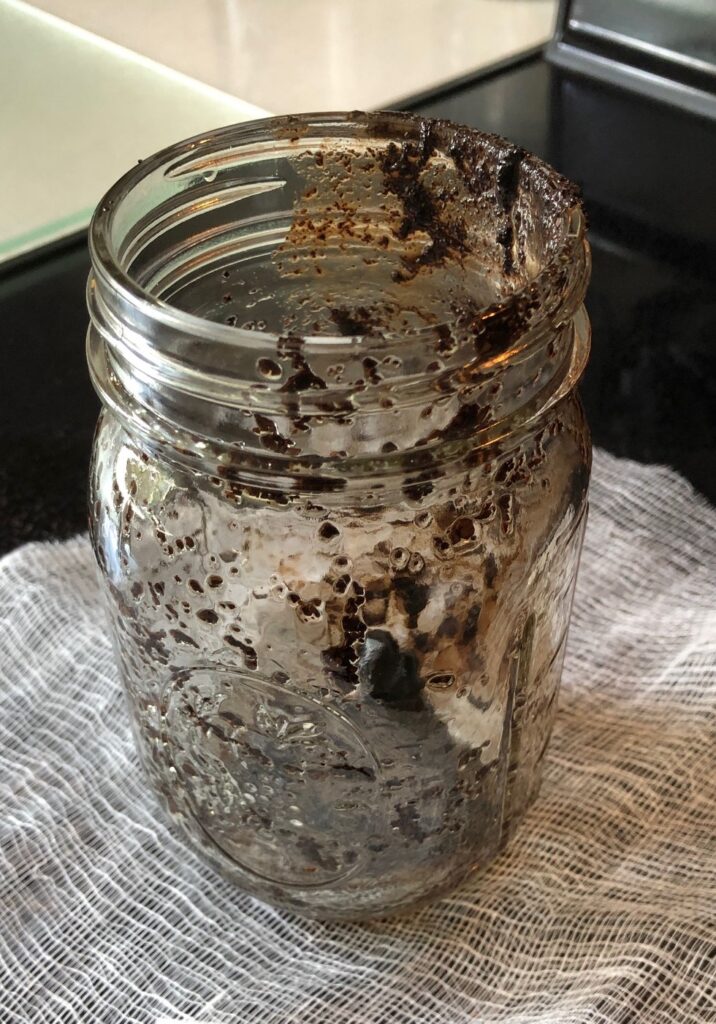
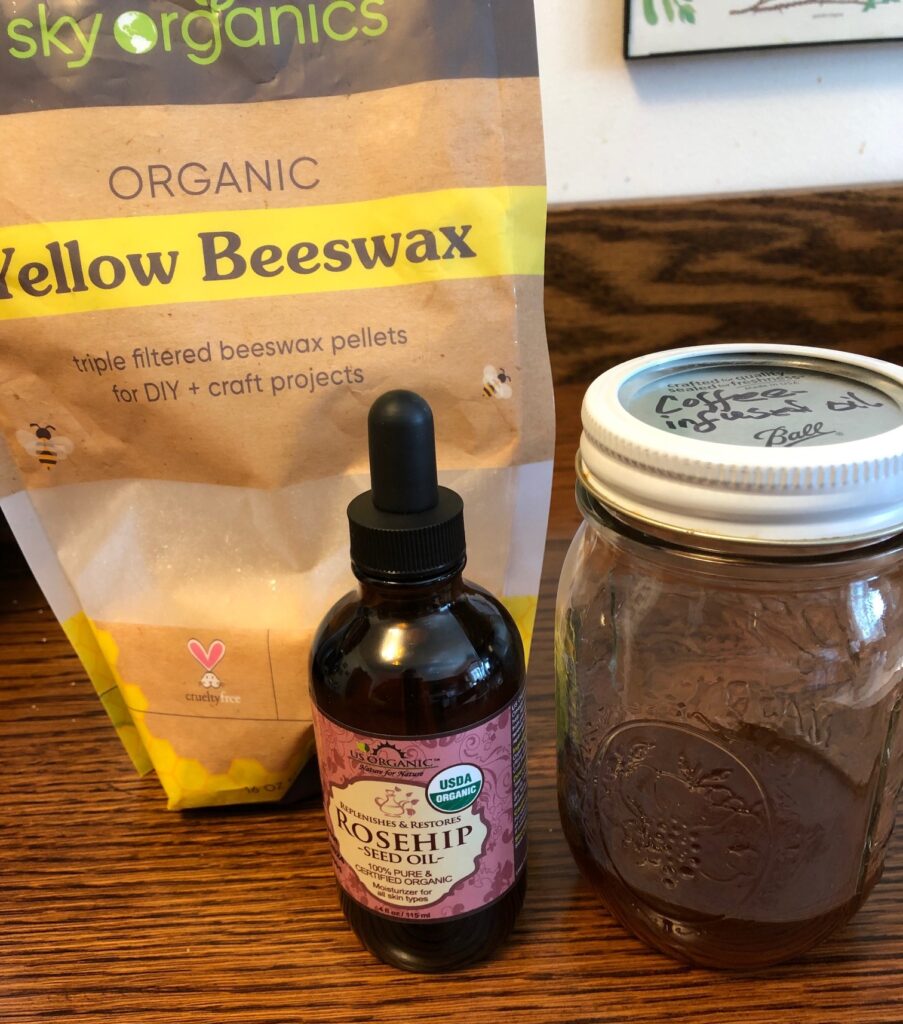
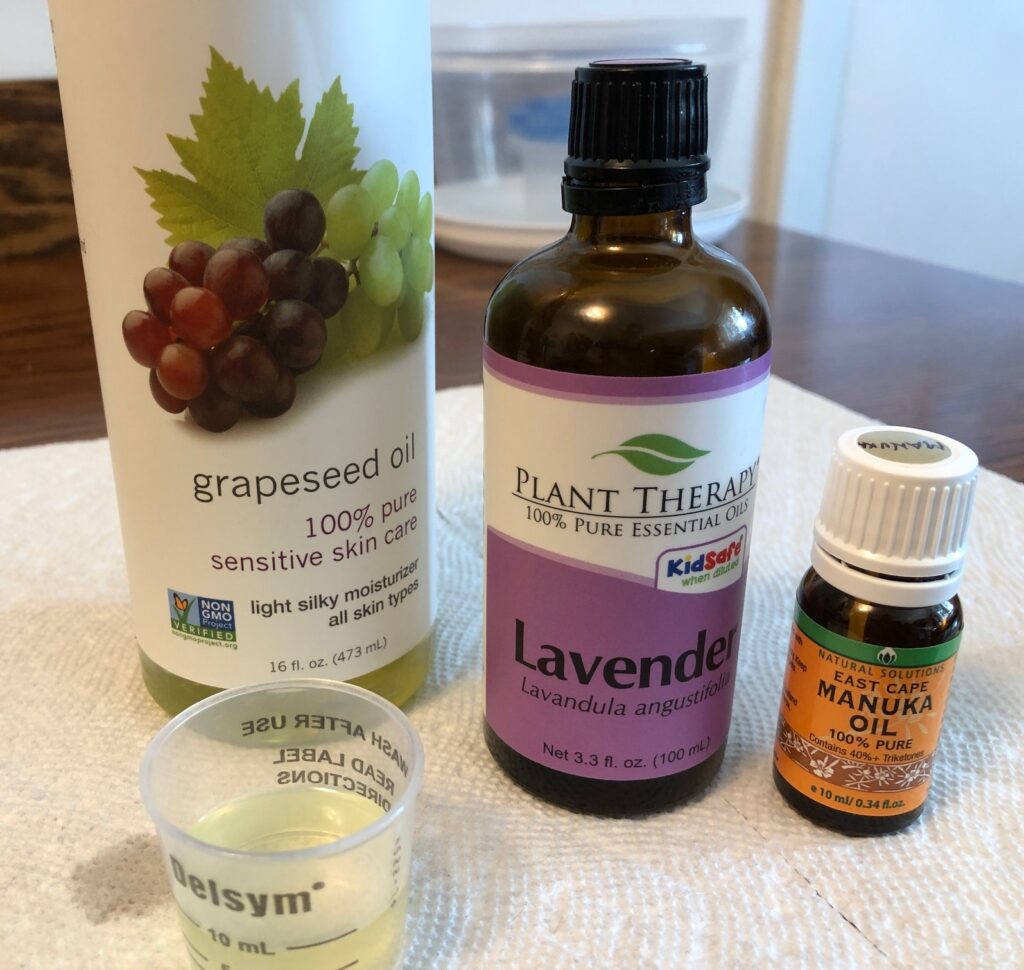
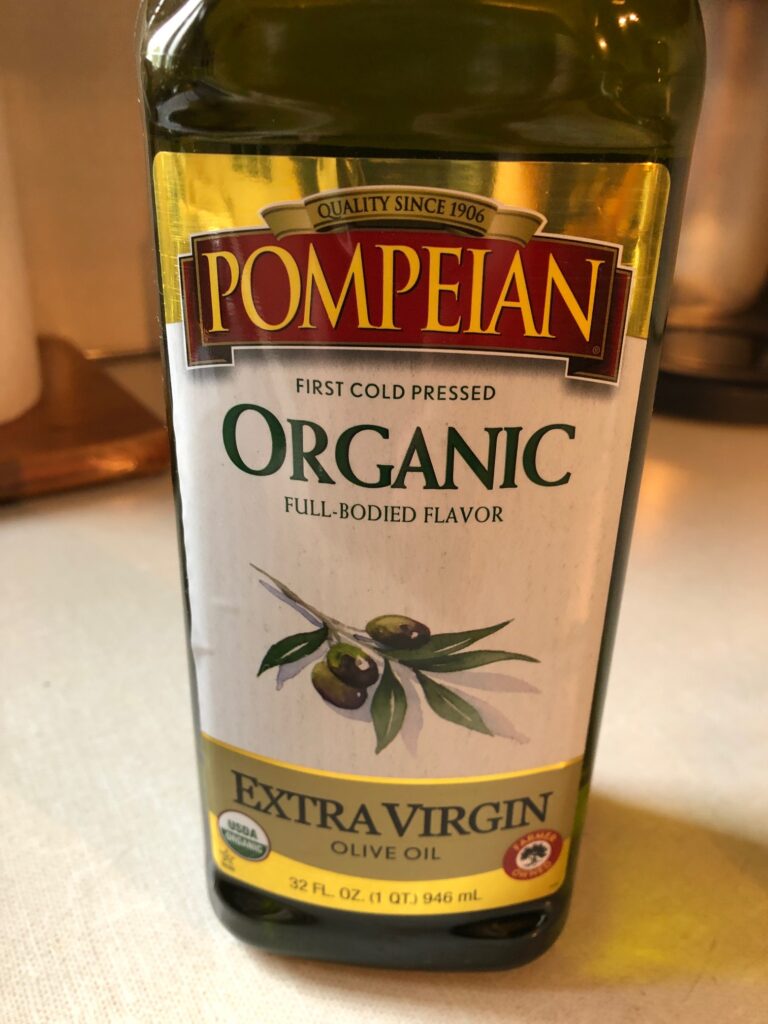
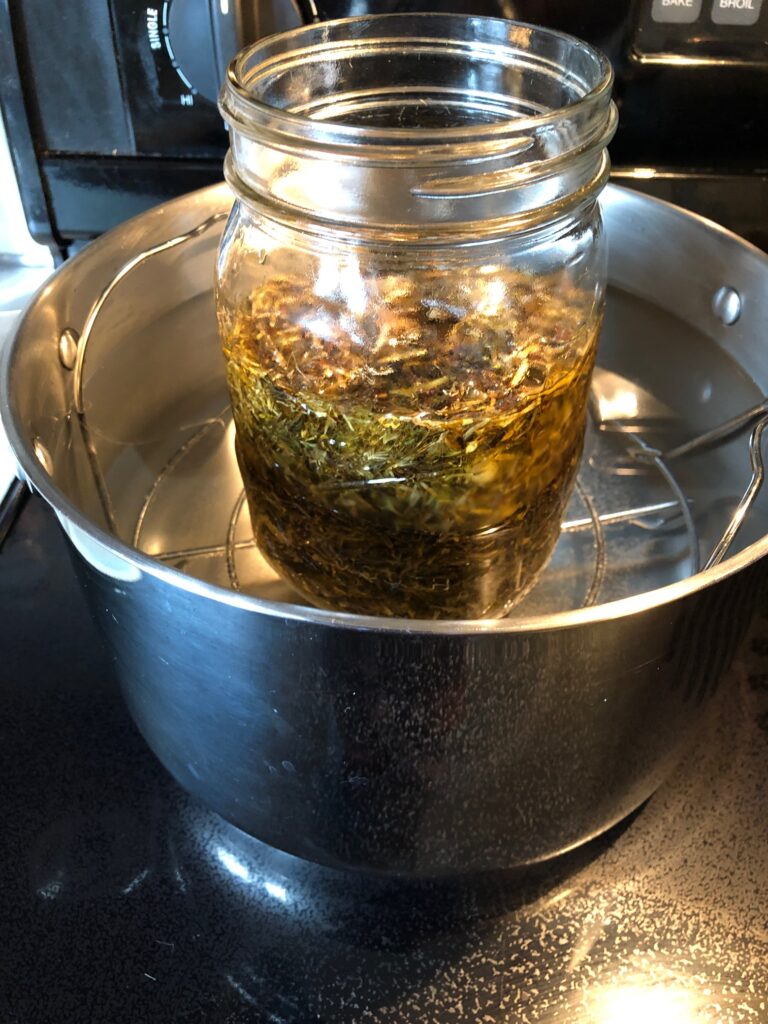
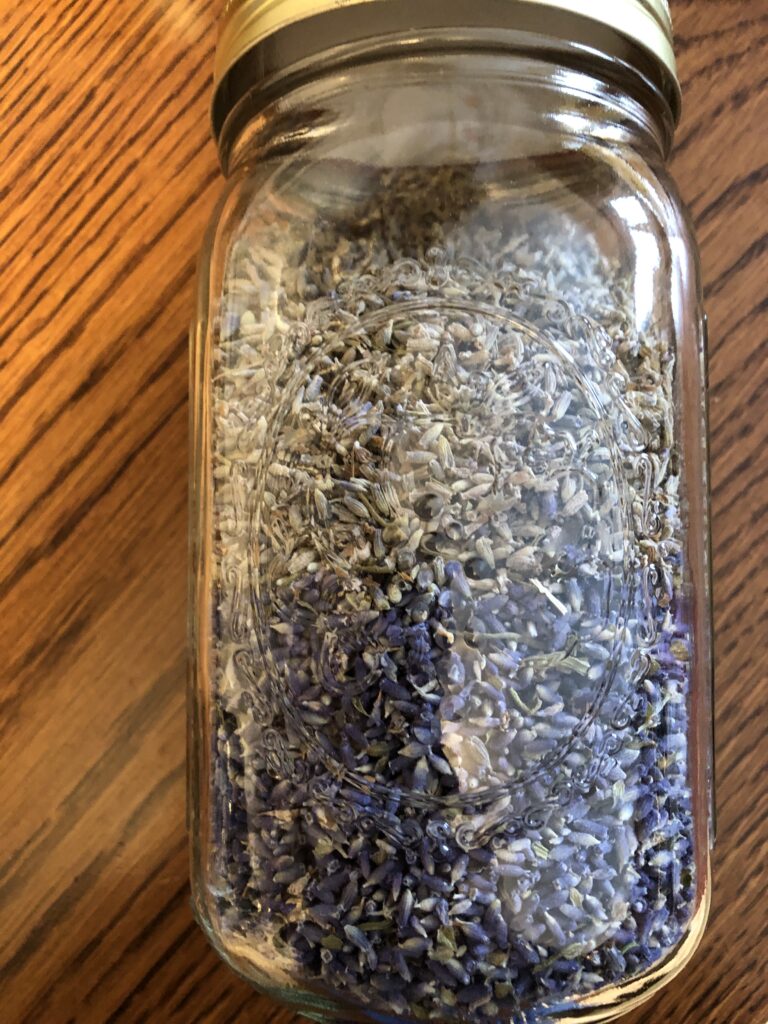
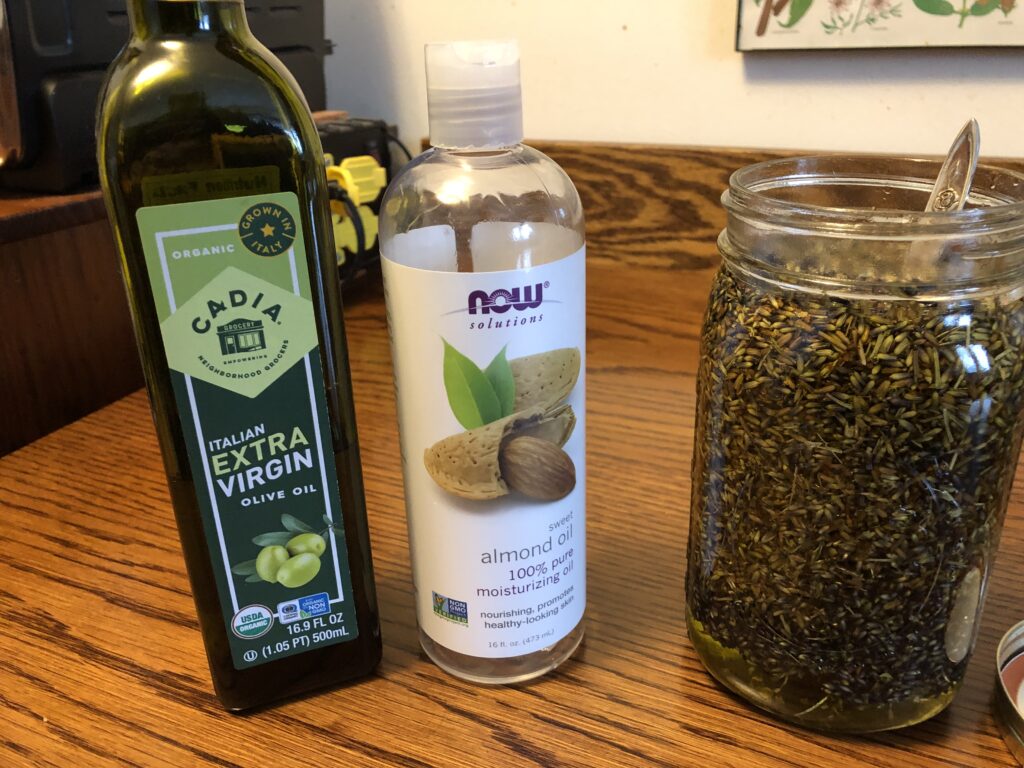
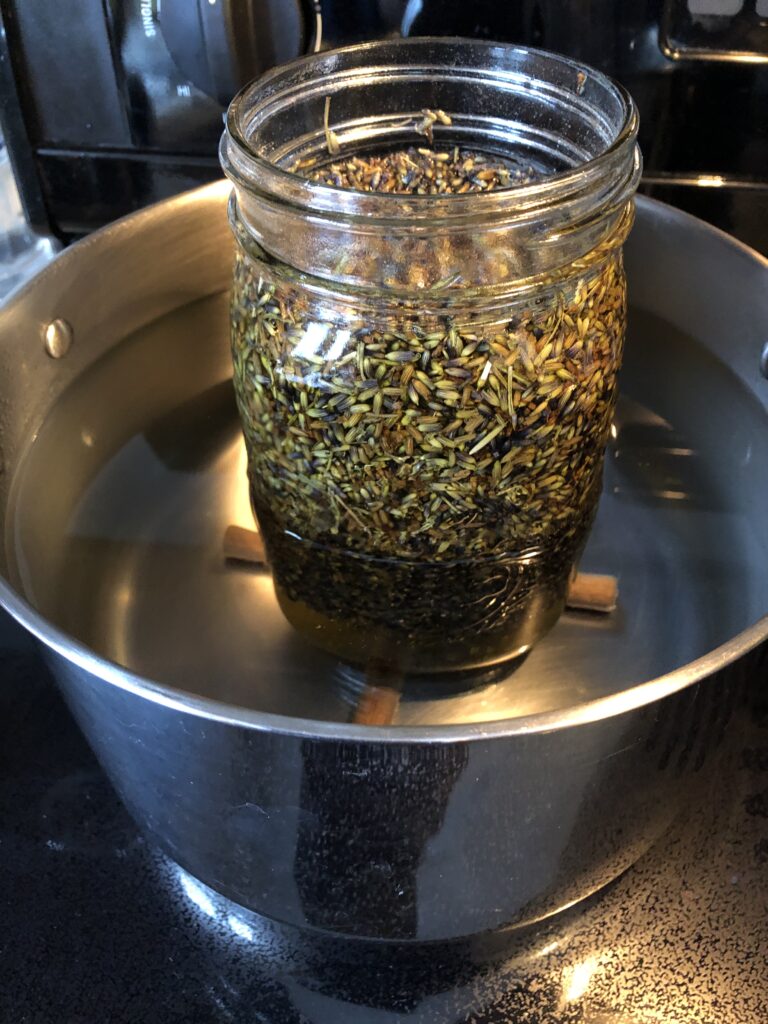
I had a jar of dried lavender buds…some came from my garden last summer. I poured olive oil and almond oil into the jar until the buds were covered. I set the jar in a pot of hot water on the stove. I brought the water up to not quite boiling and let it simmer for about 6 hours. I did have to add water to the pot several times, but all I had to do was stir it every now and then.

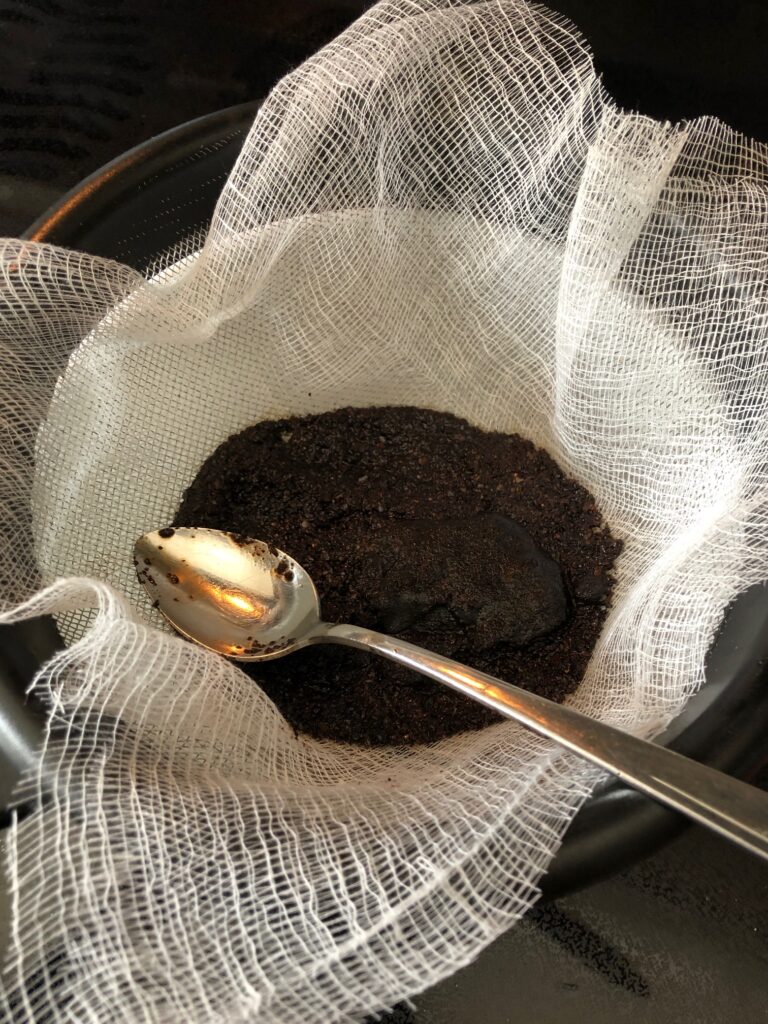
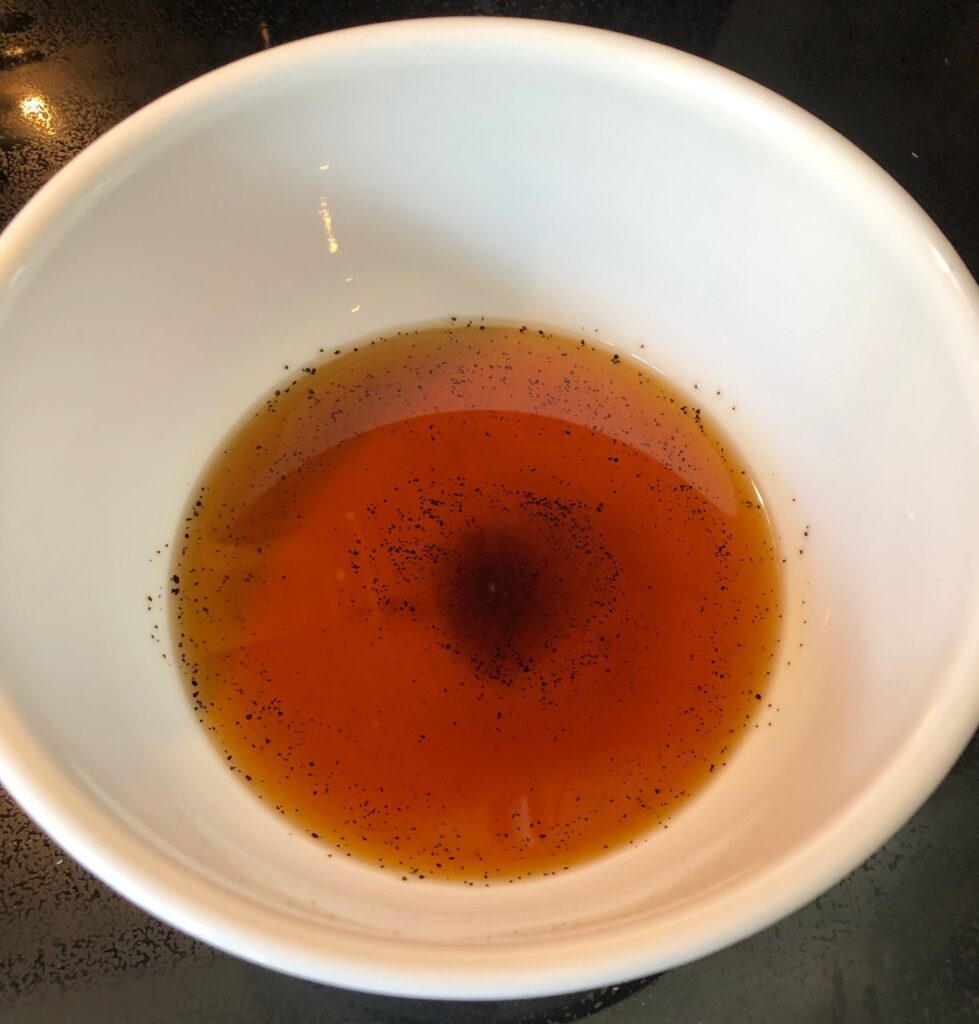
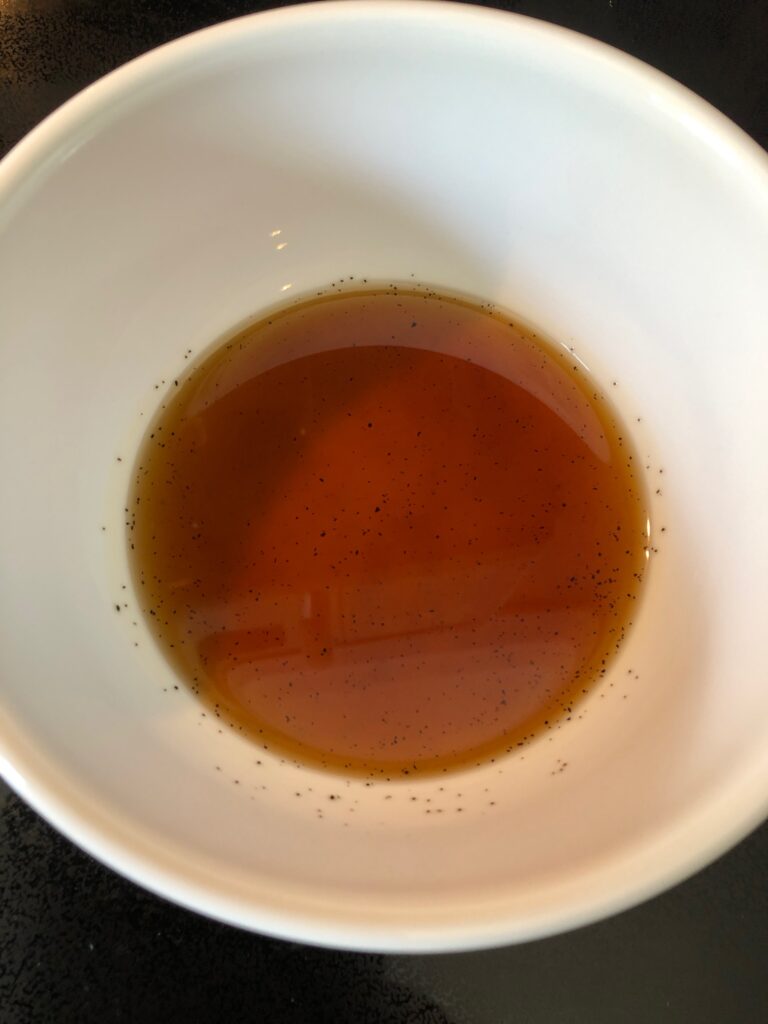
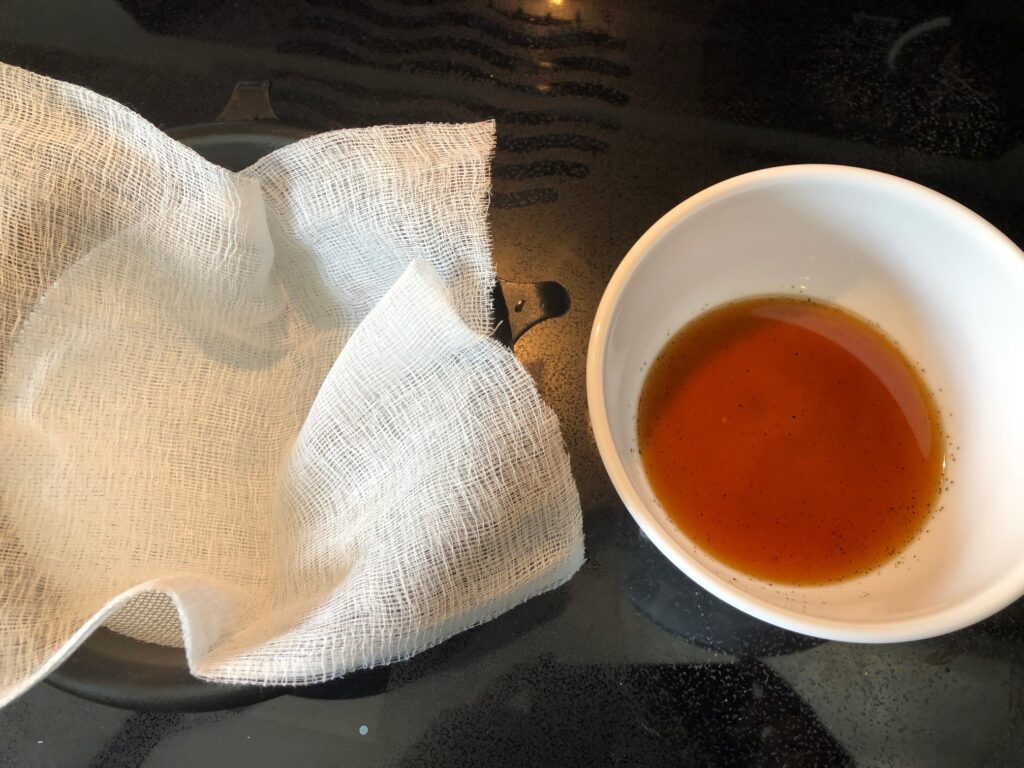
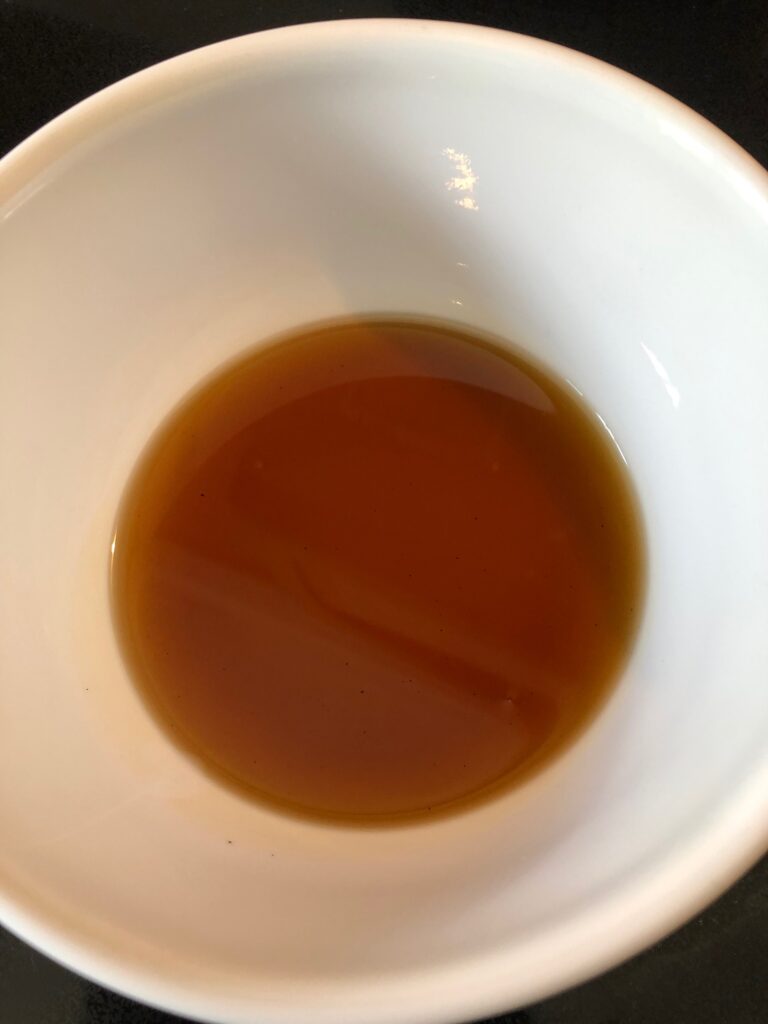
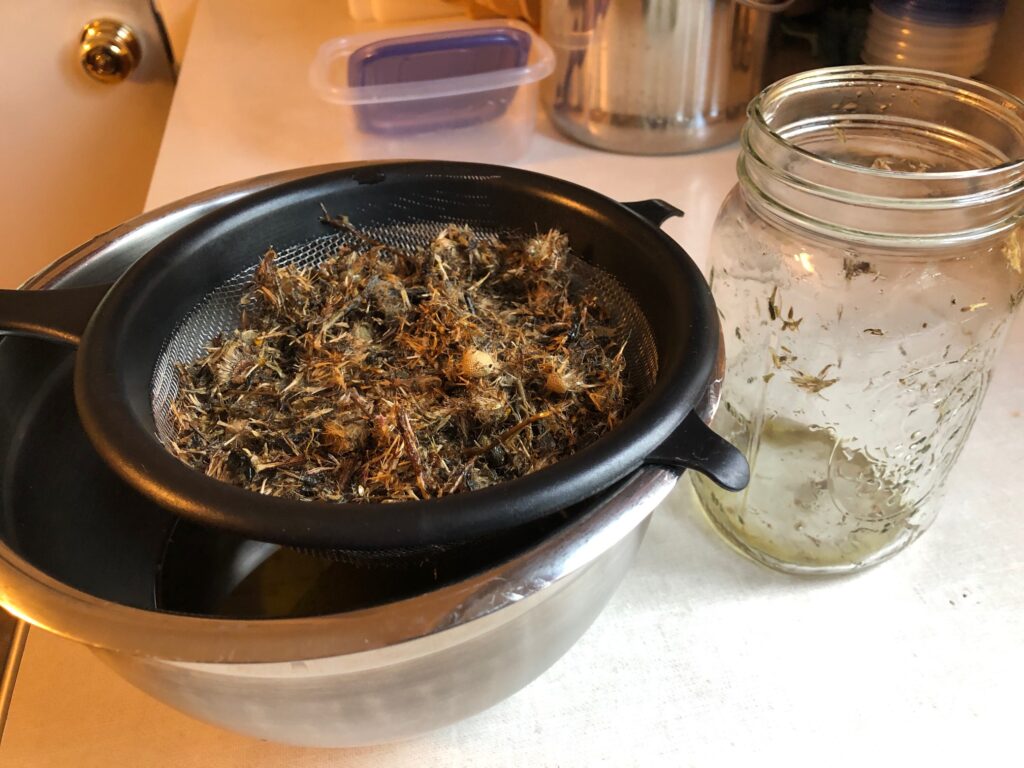
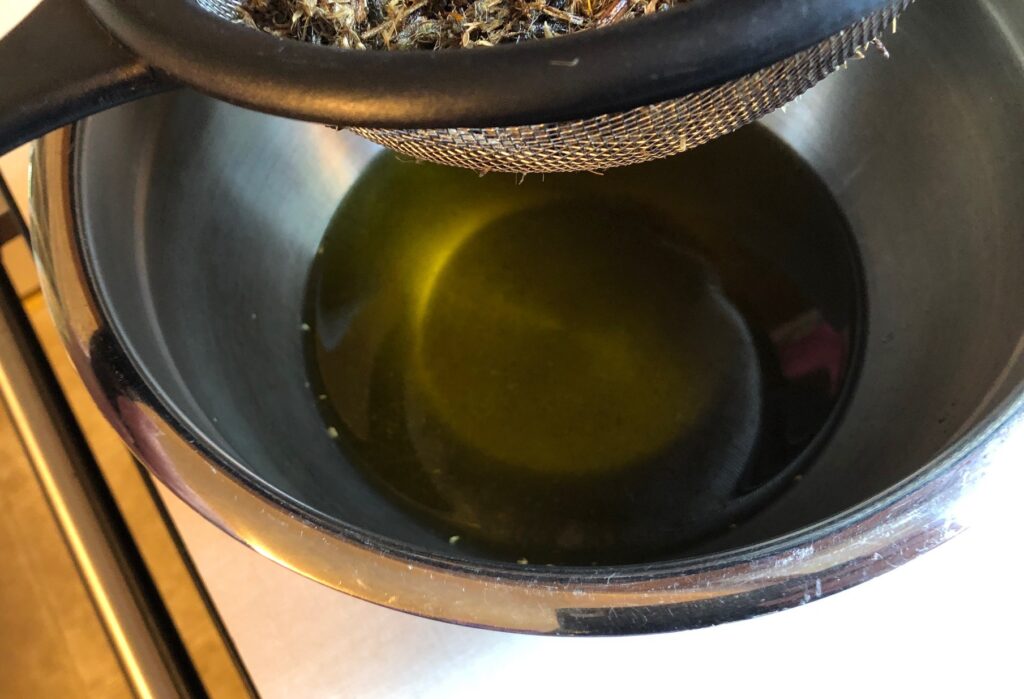
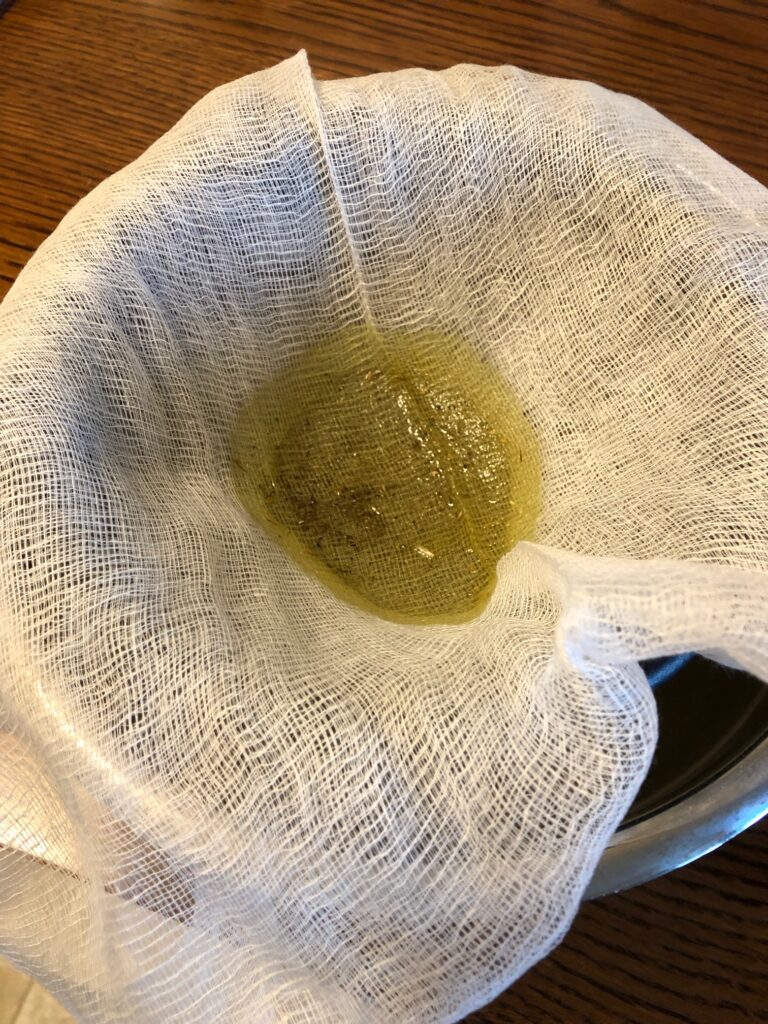
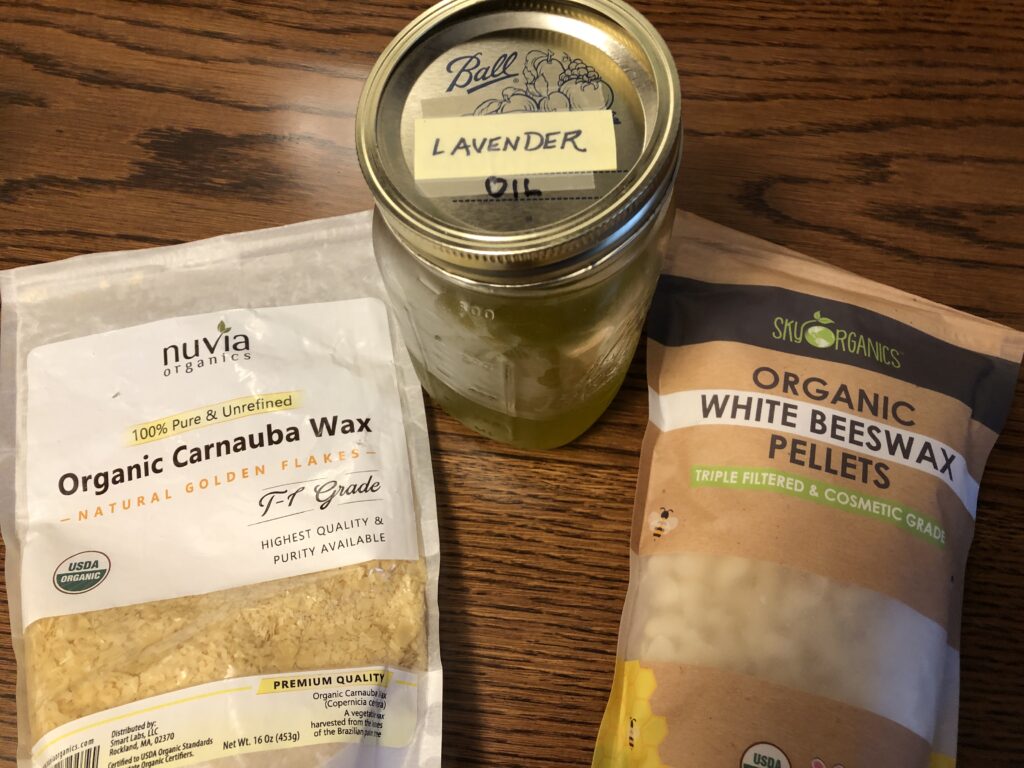
Step 2: The oil/lavender mixture had to be strained several times through cheesecloth. I was left with over 1 cup of lovely lavender-infused oil. I stored the jar in the refrigerator until I was ready to make this new salve.

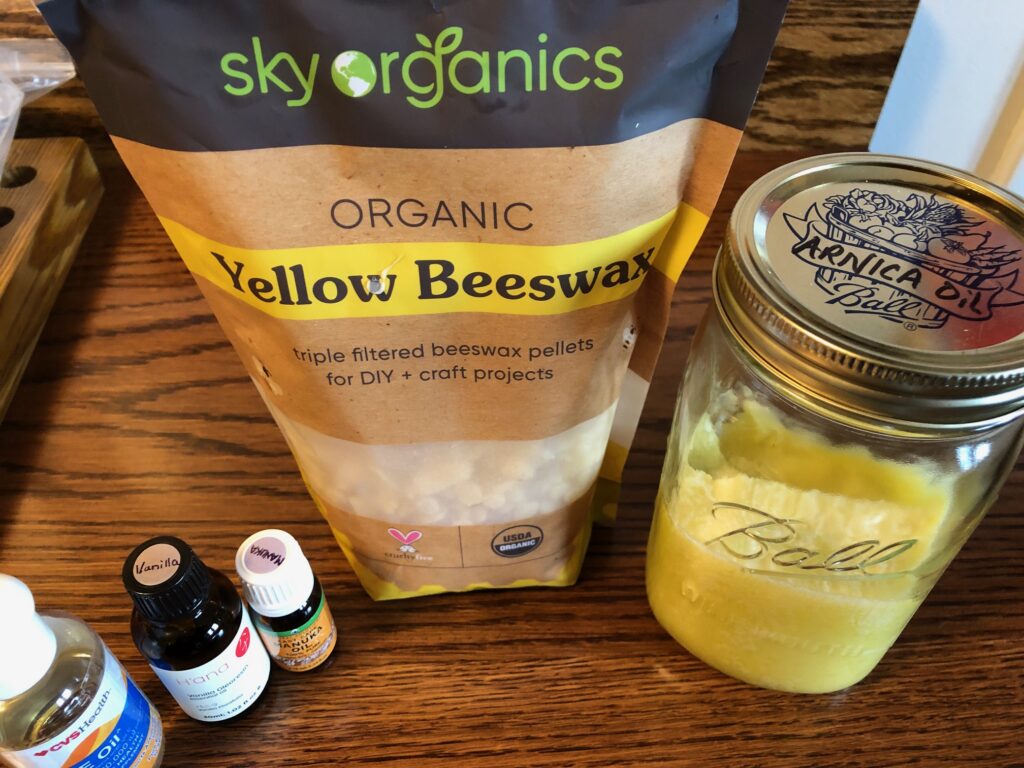
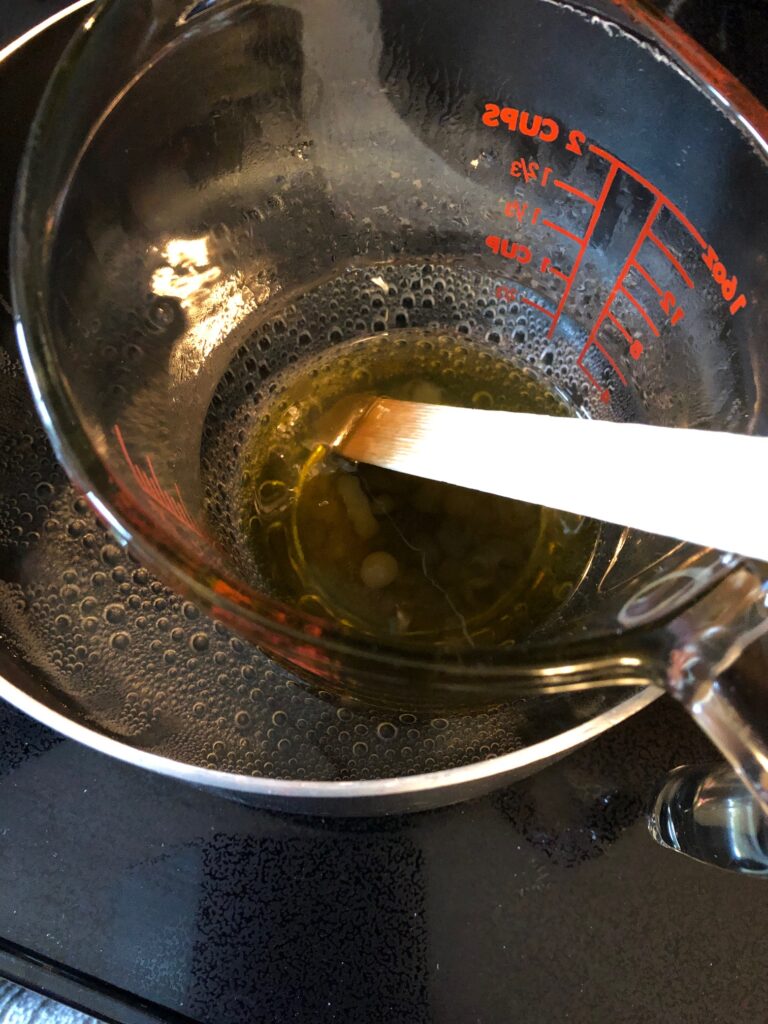
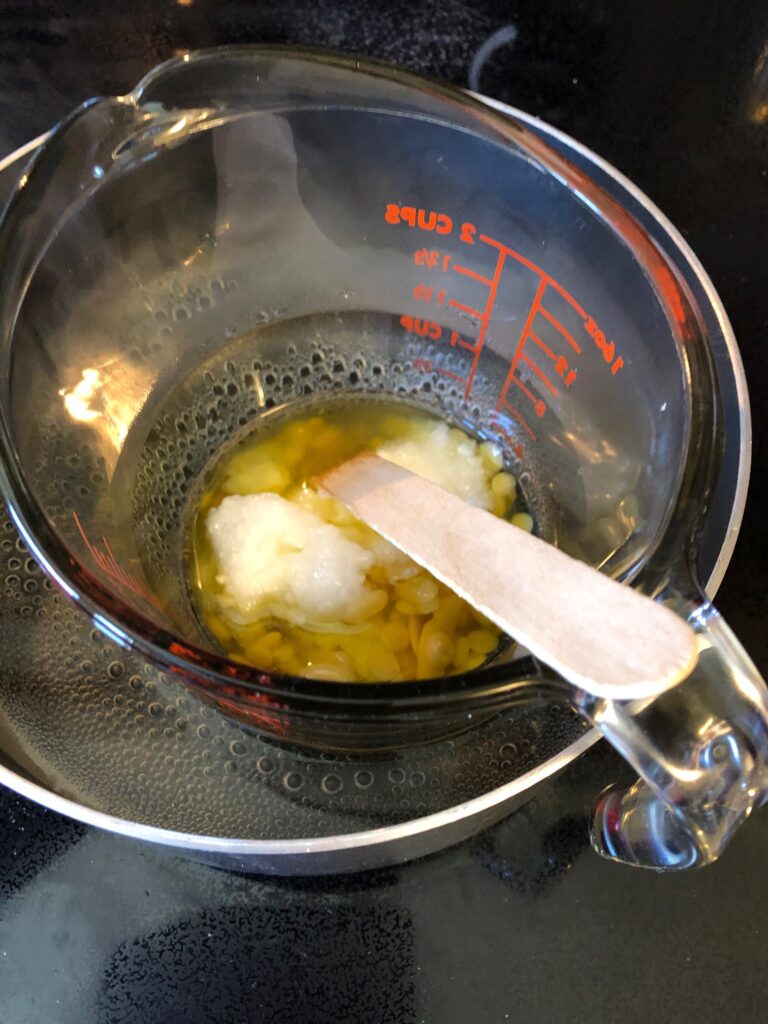
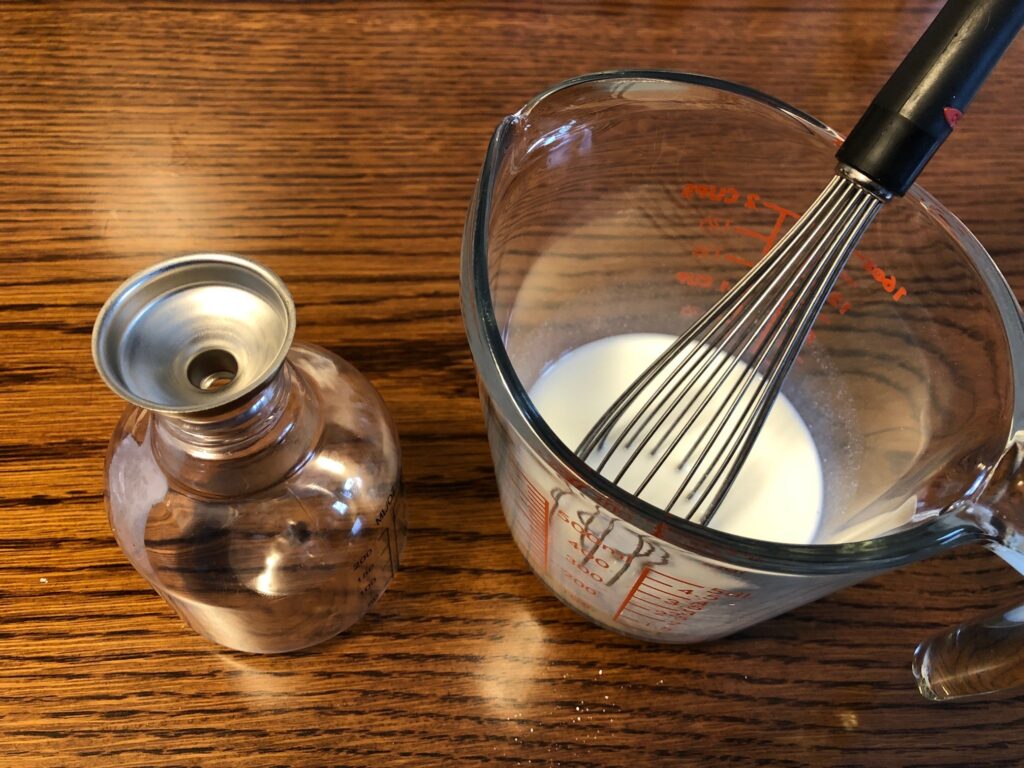
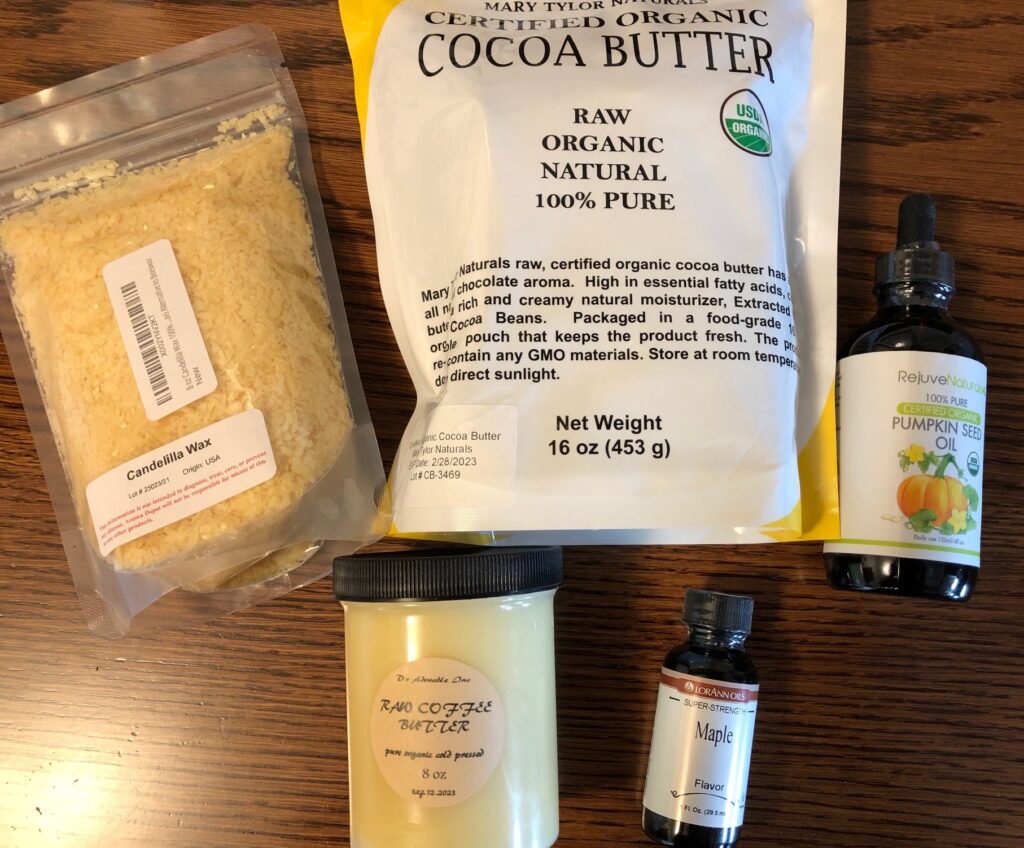
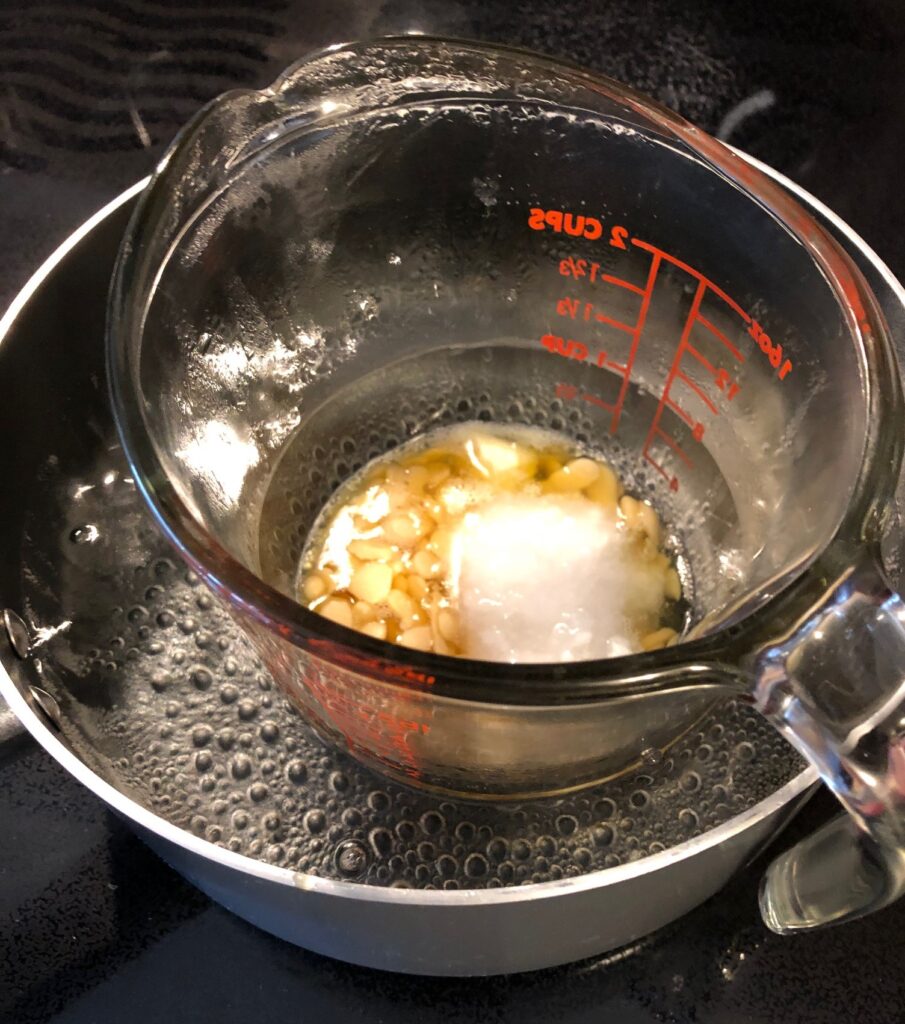
Step 3: To make the salve, collect the ingredients, a two-cup glass measuring cup and your scales. Measure everything into the measuring cup.

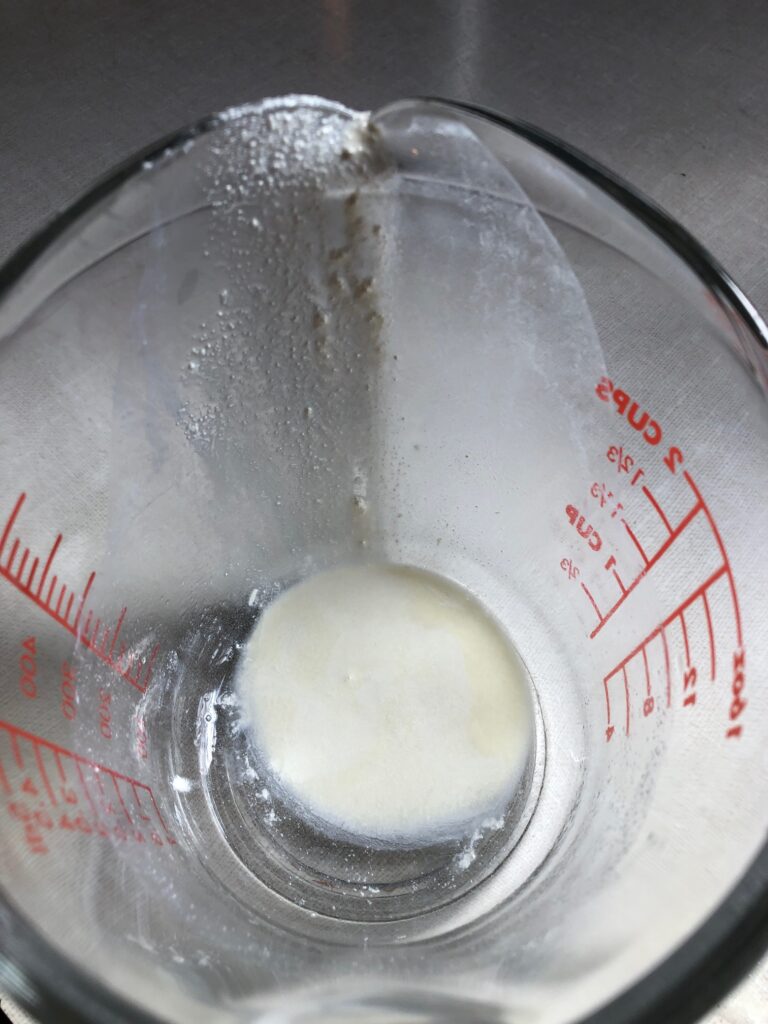
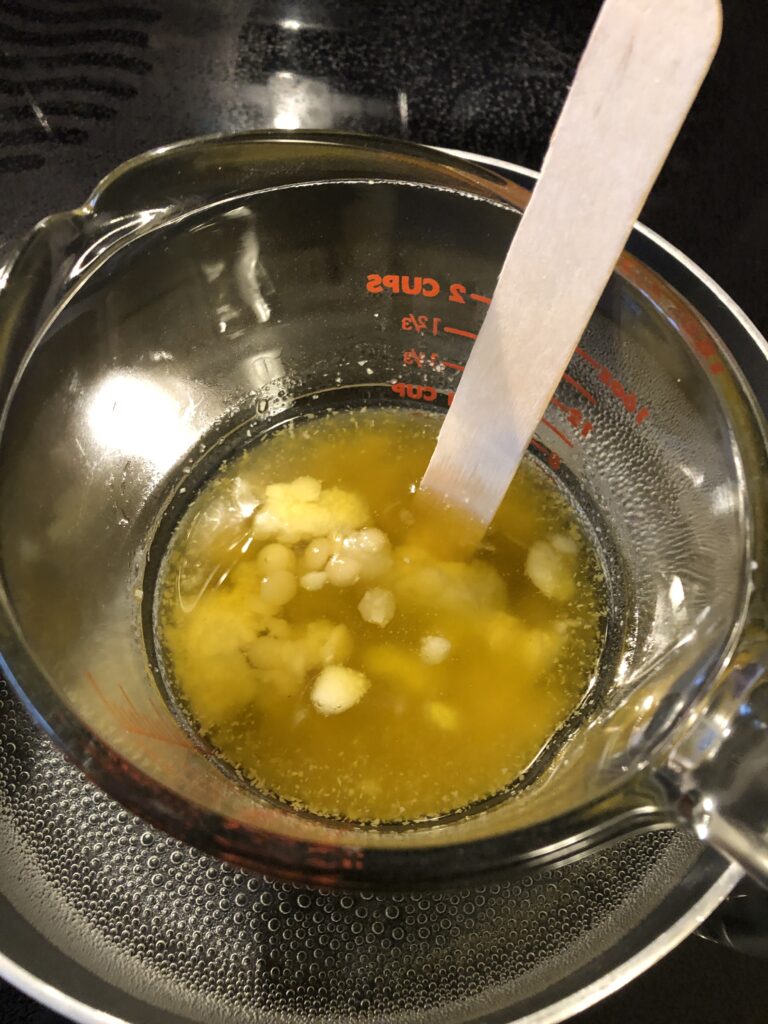
Step 4: Set the measuring cup into a saucepan with water on the stove. Bring the water just to boiling and let it simmer. The waxes, shea butter, and oil will gradually melt to a liquid.

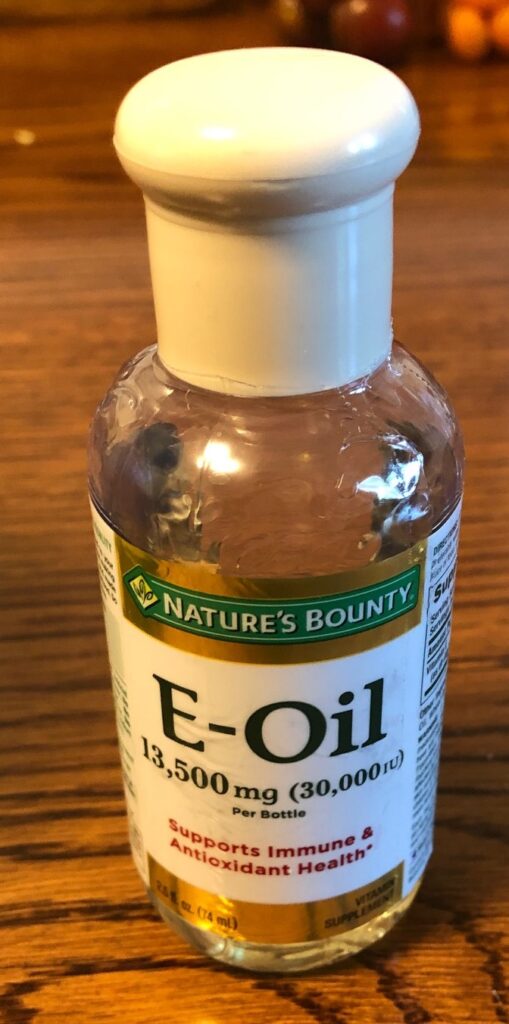
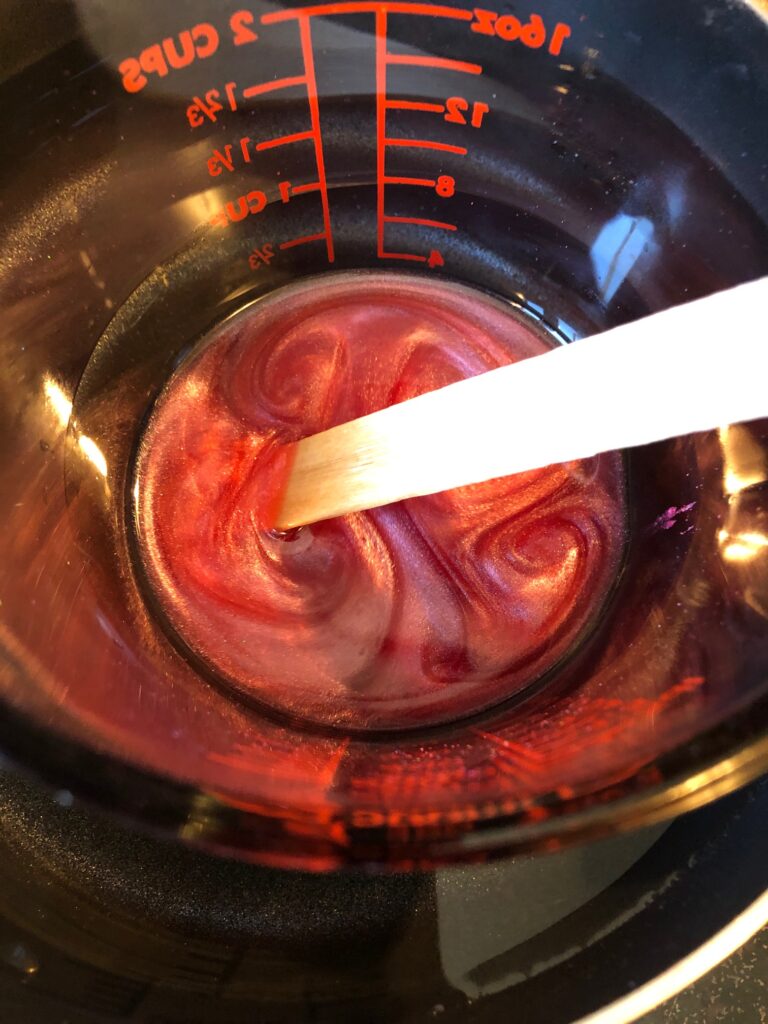
Step 5: When all ingredients are melted, remove measuring cup from the pan. Add the liquid Vitamin E and Essential oils, stirring after each addition.

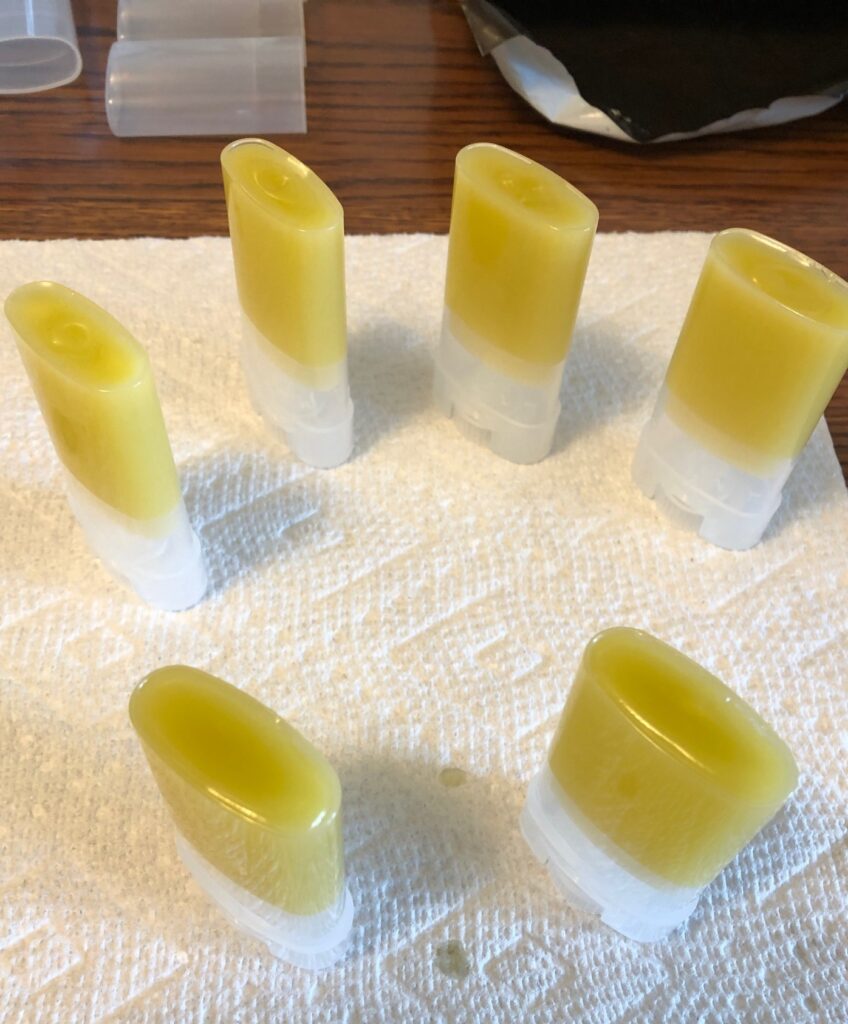
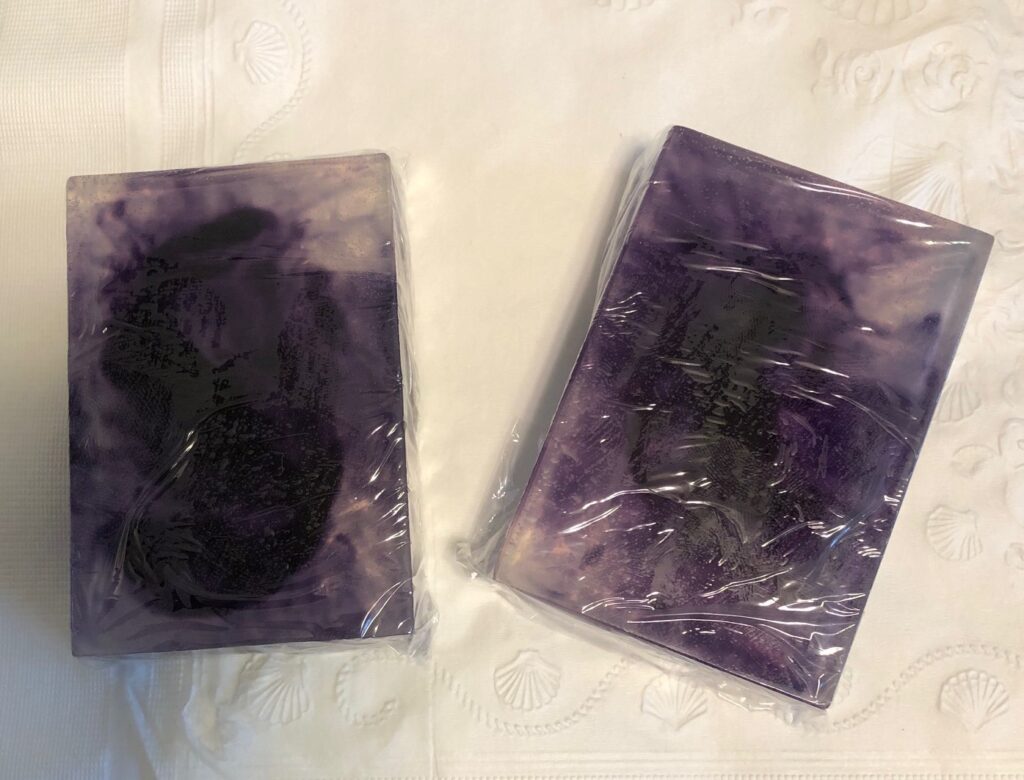
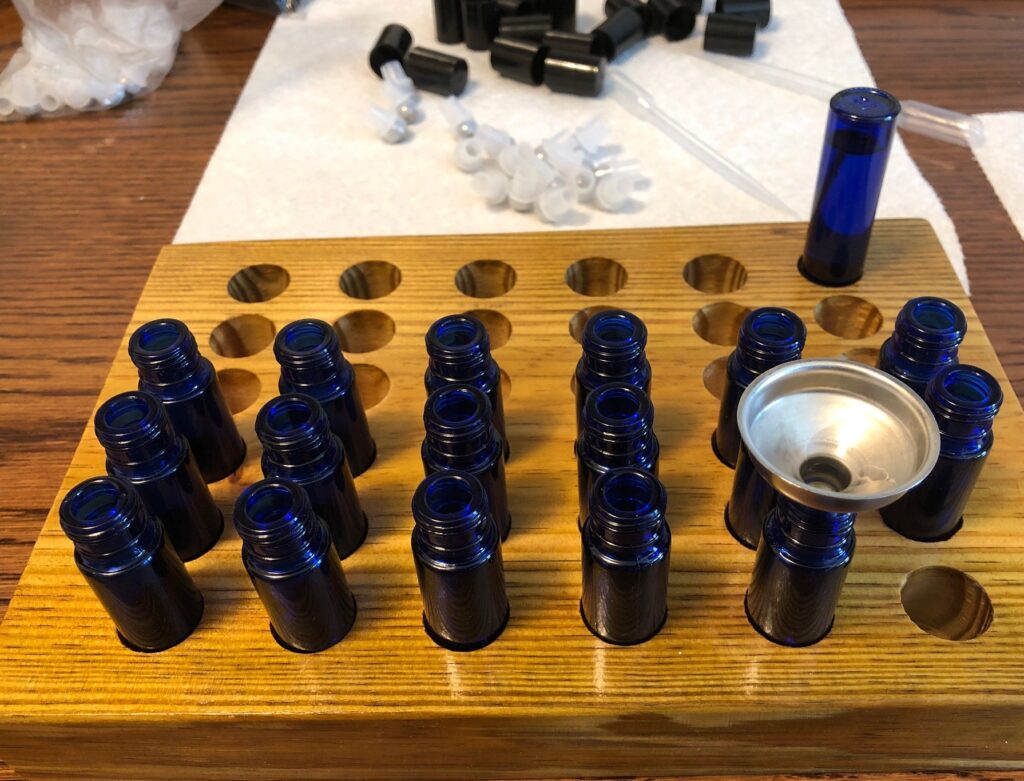
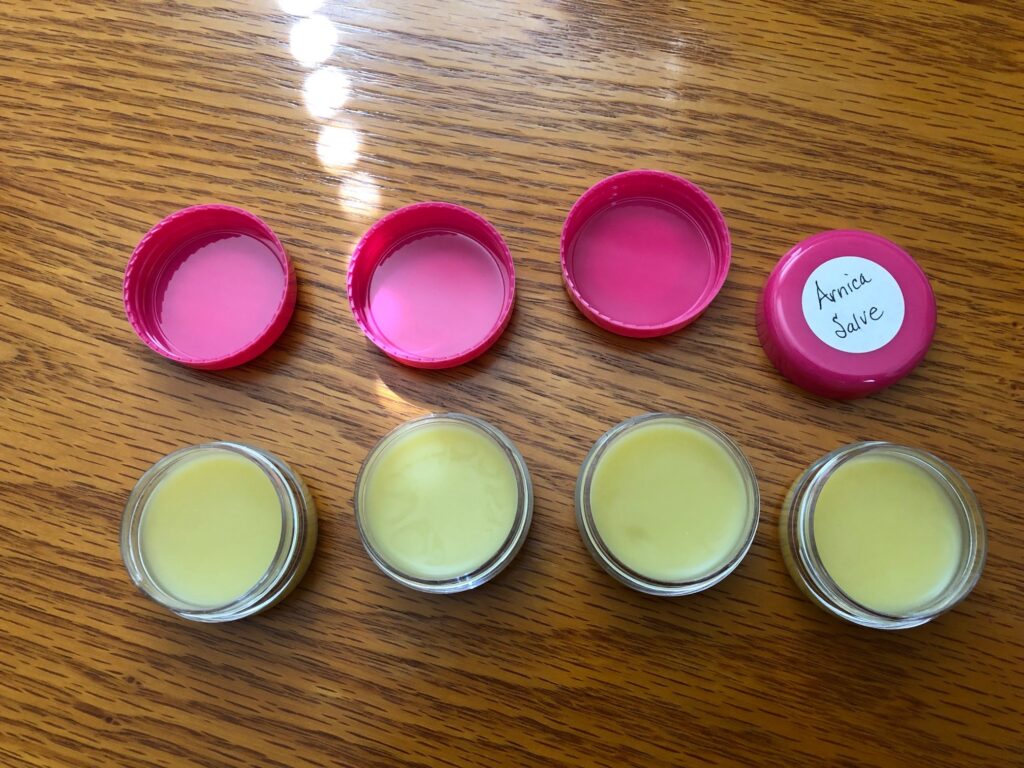
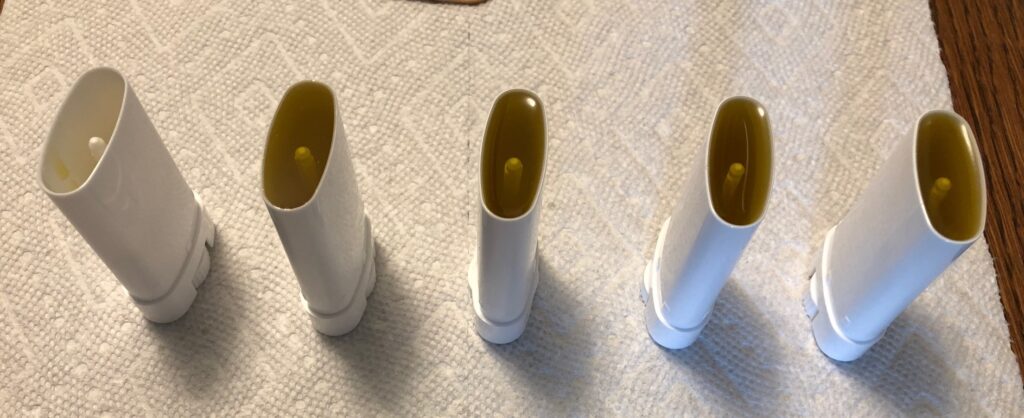
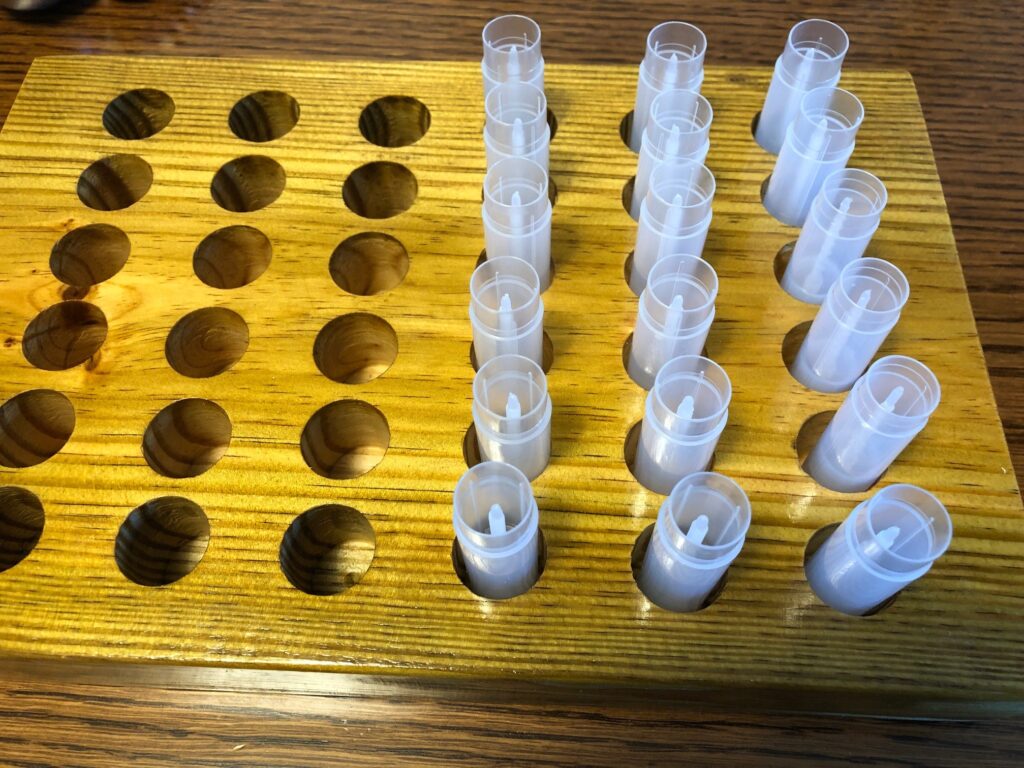
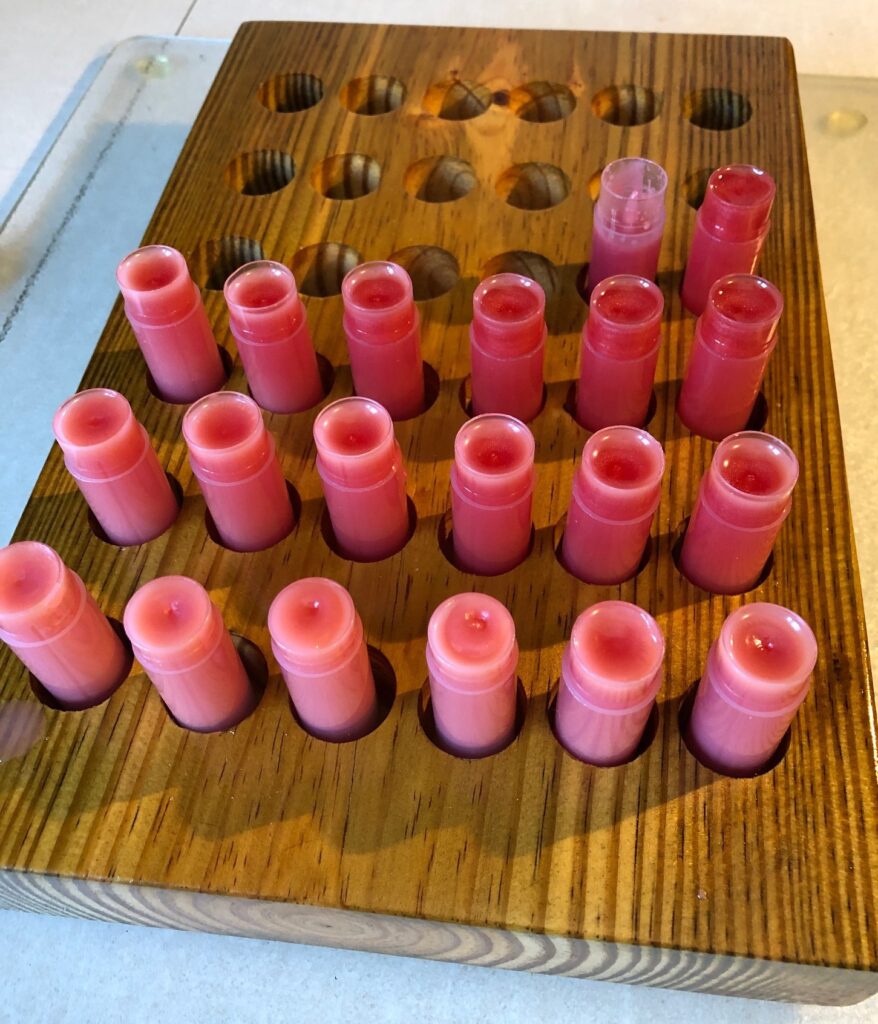
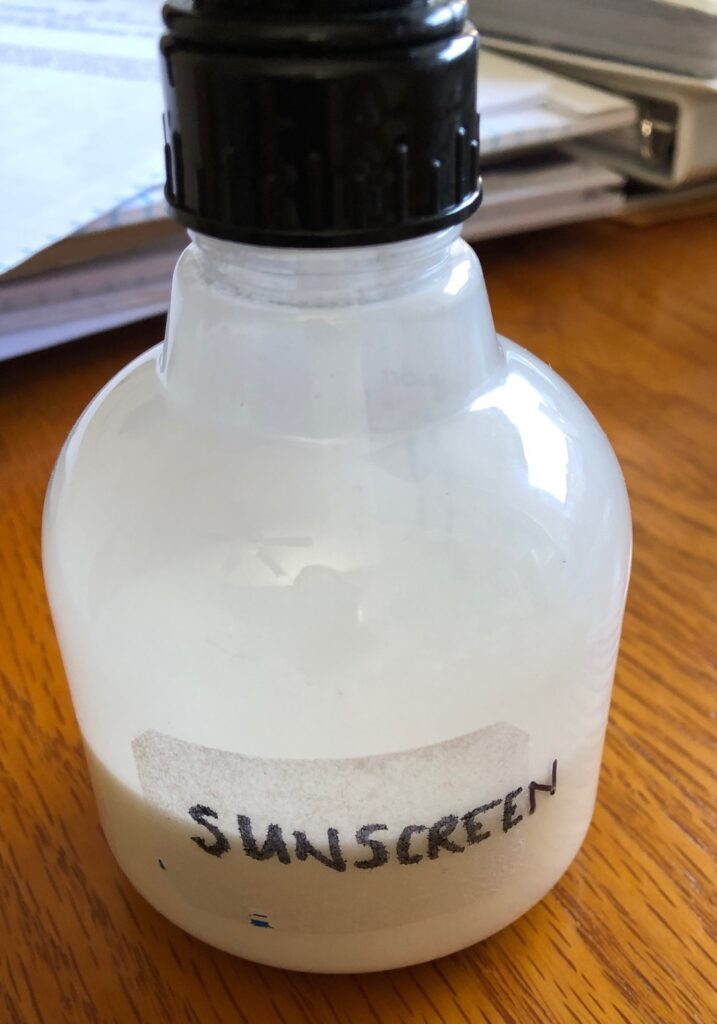
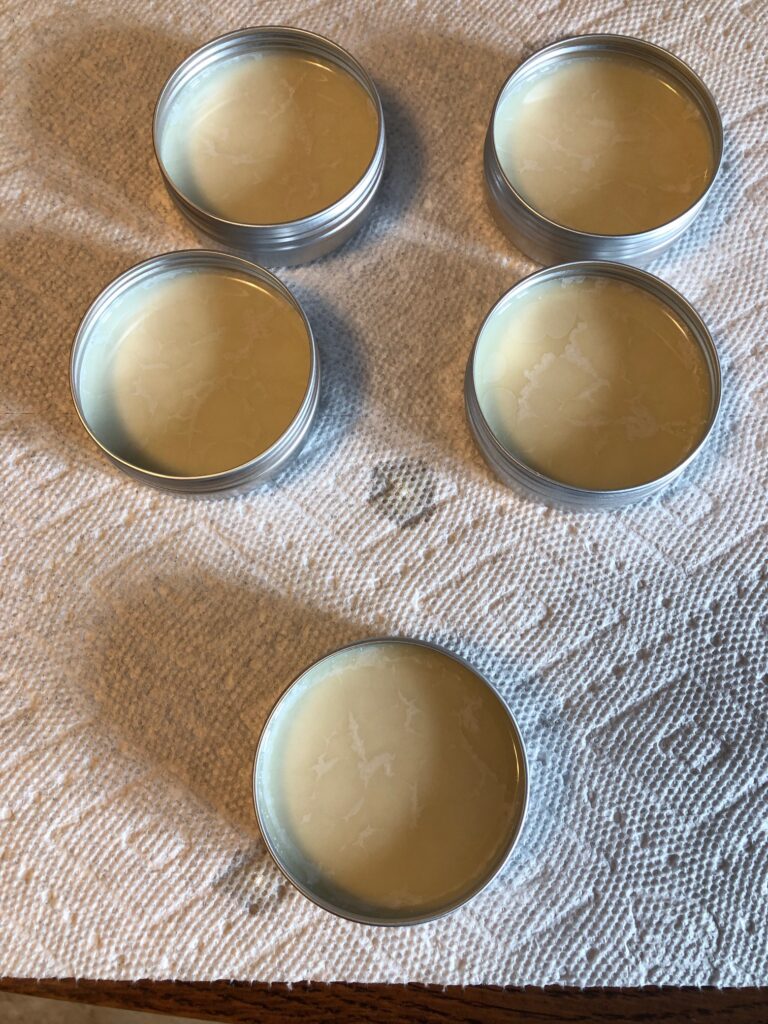
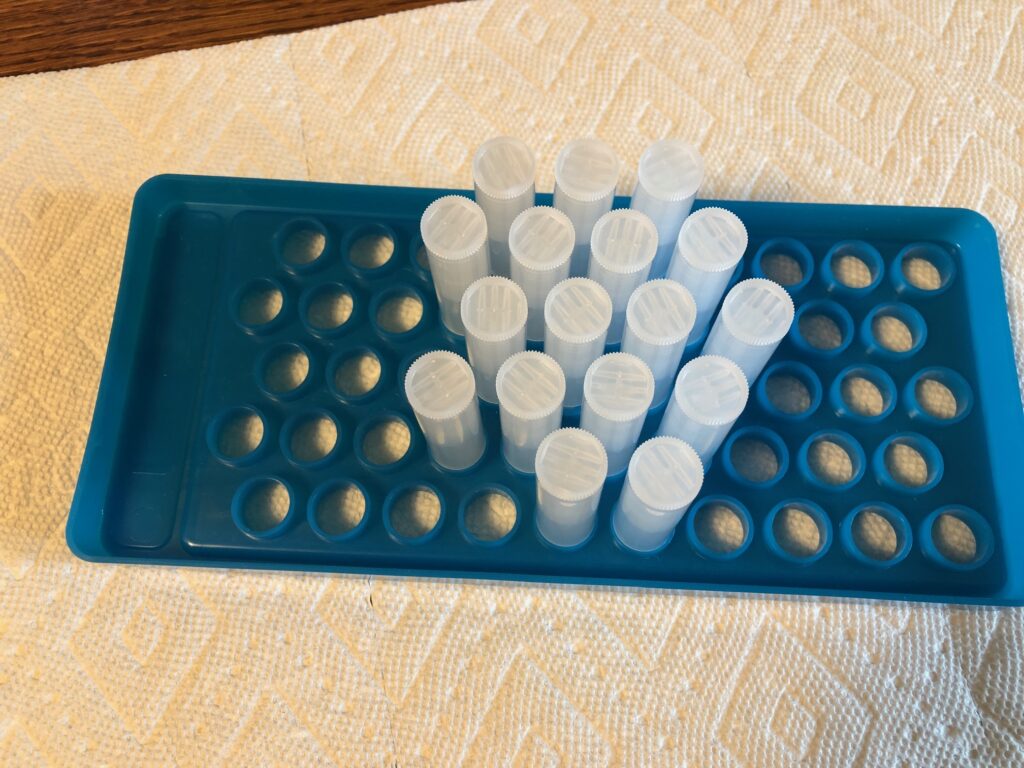
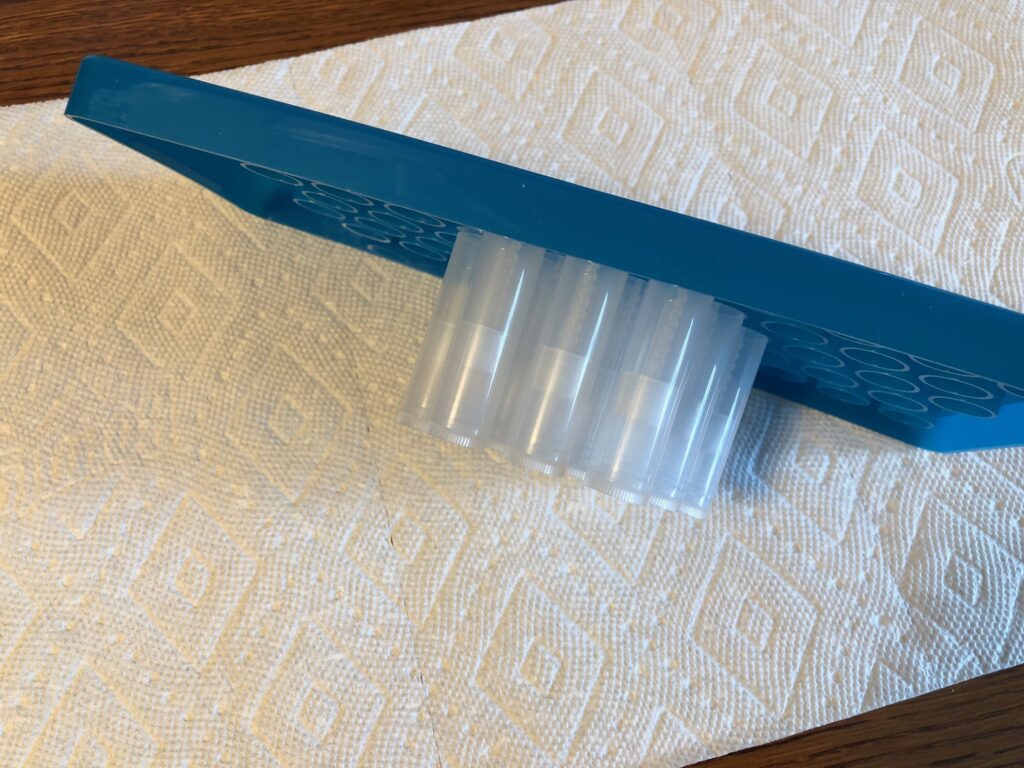
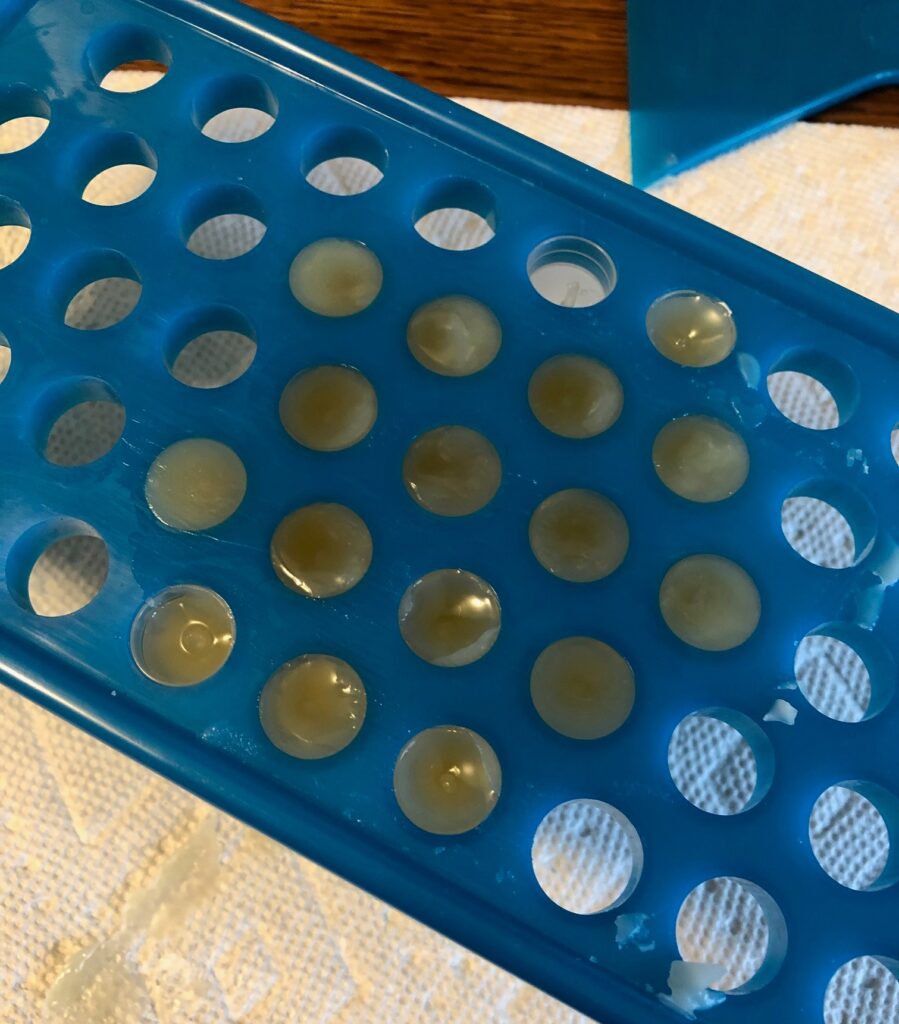
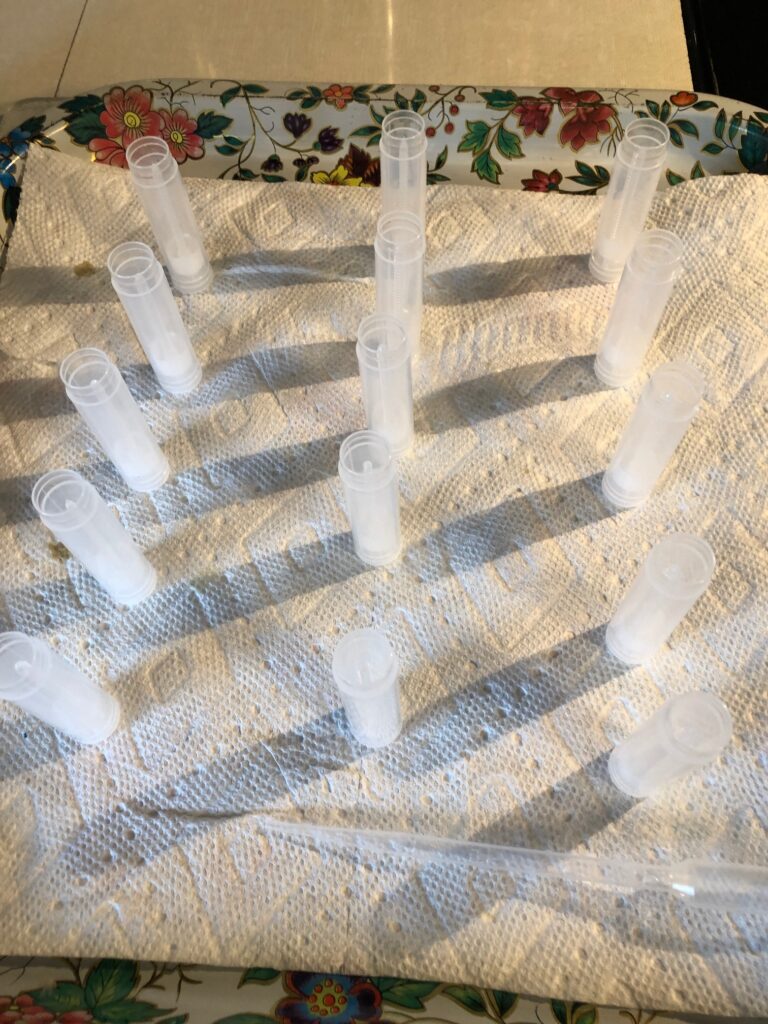
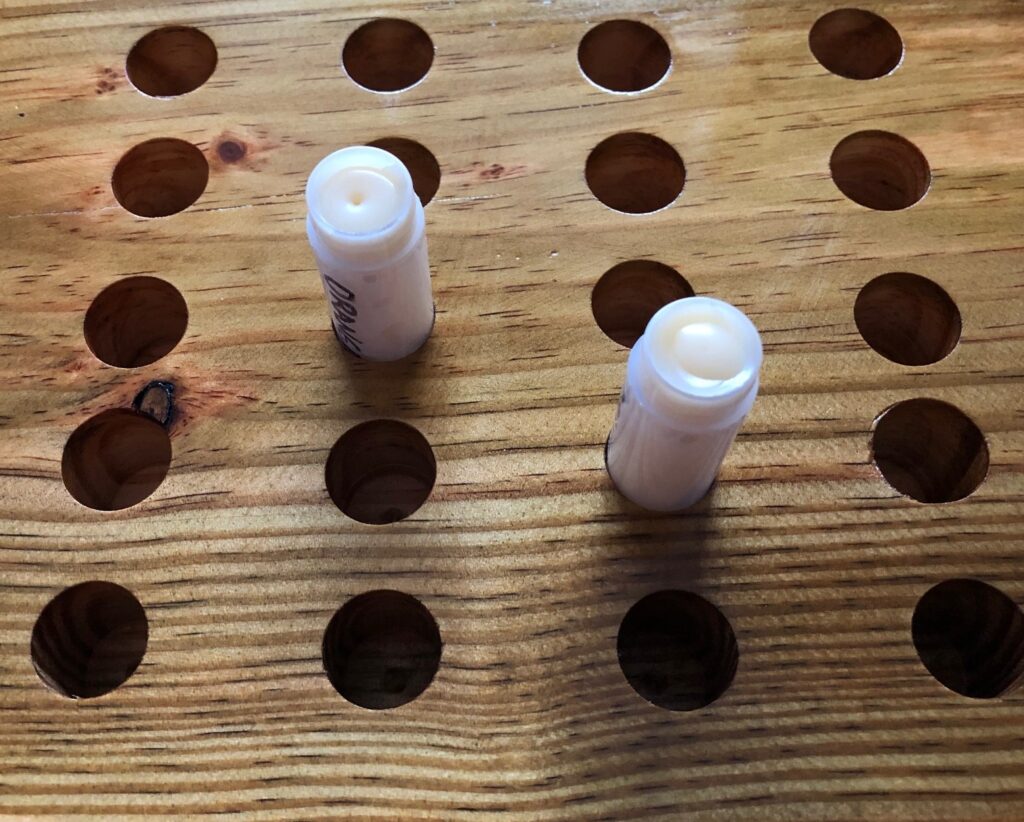
Step 6: Fill the containers by either pouring or using a disposable pipette. Let cool until firm.

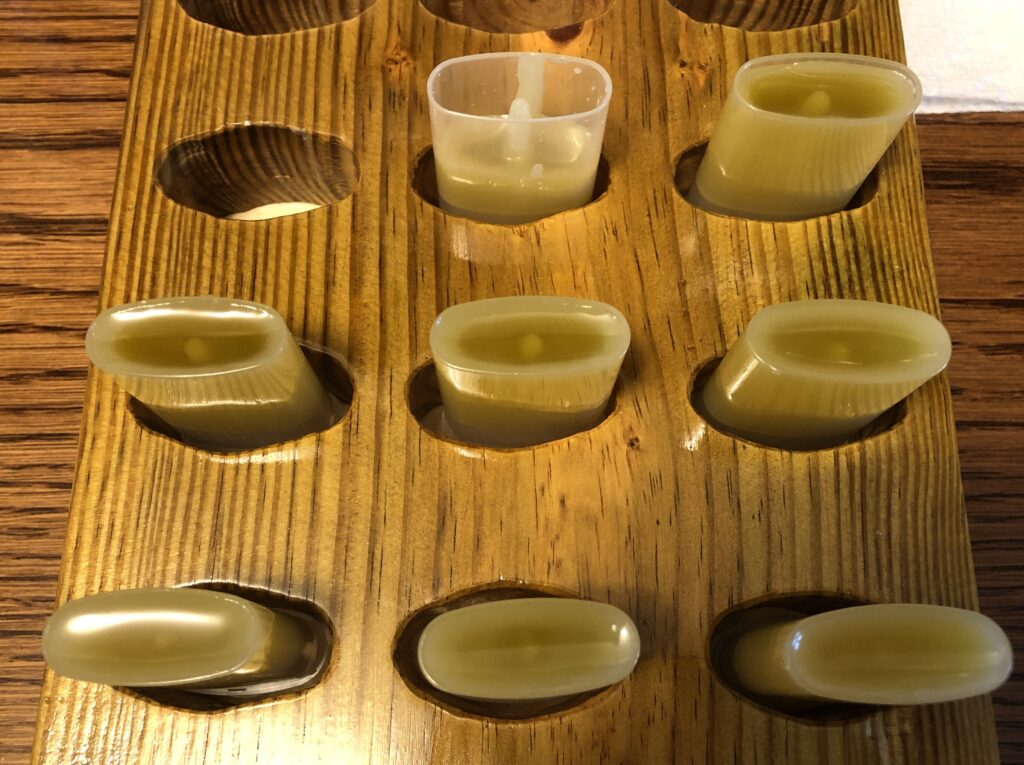
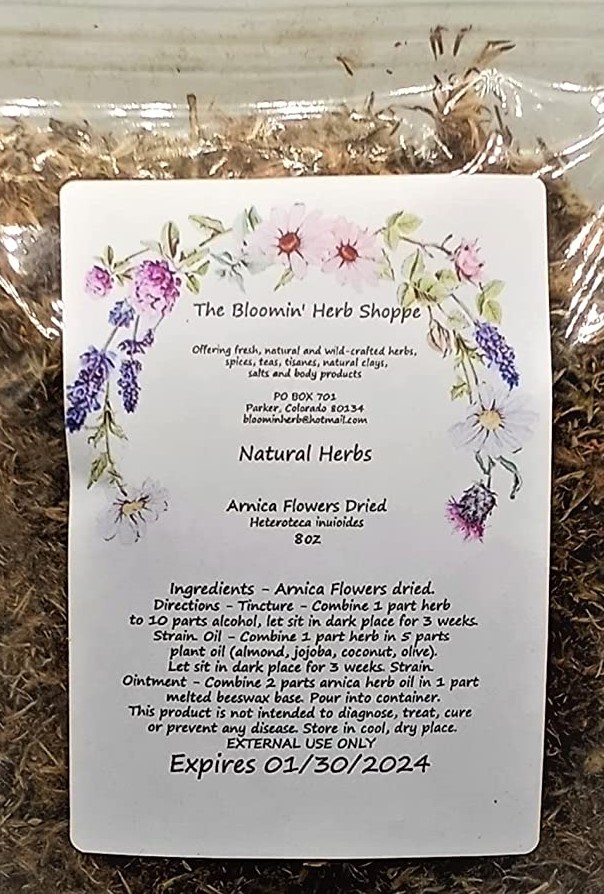
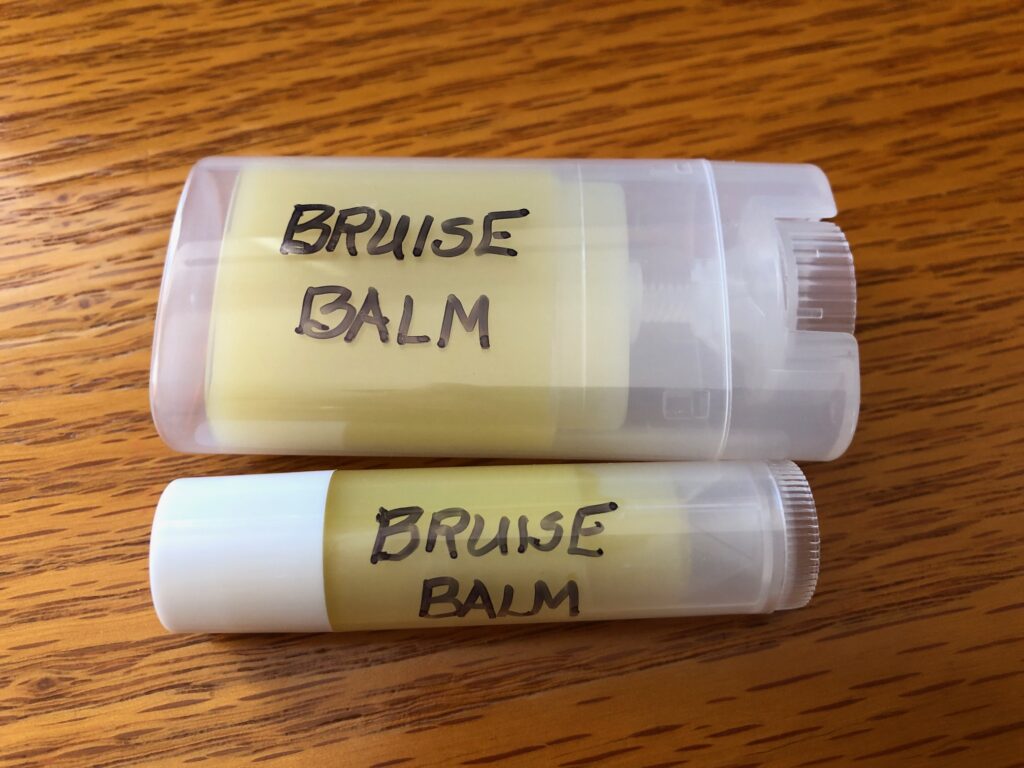
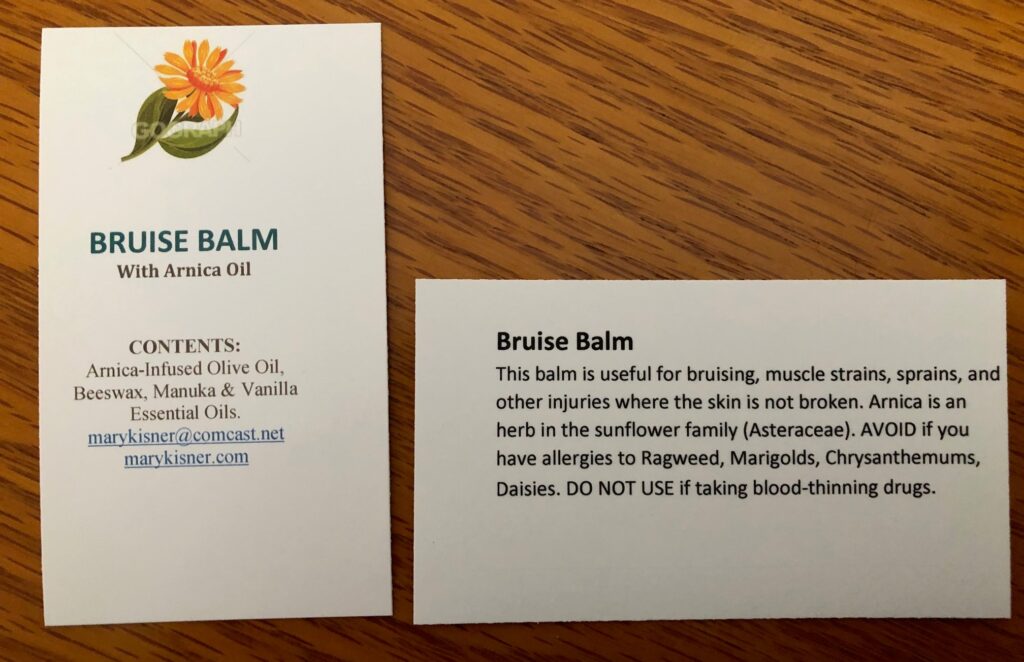
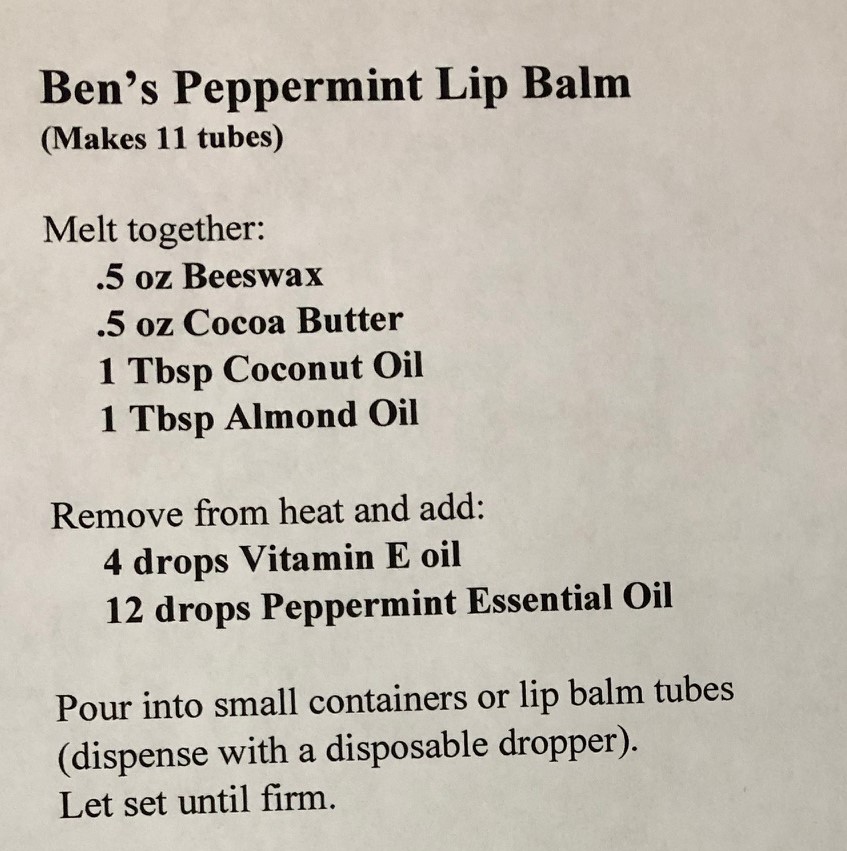
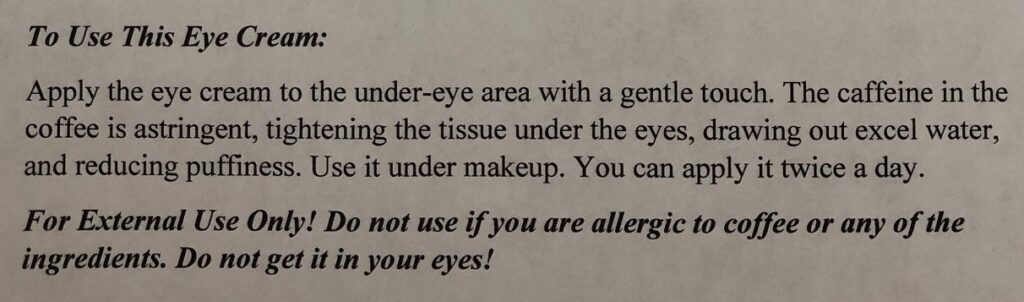
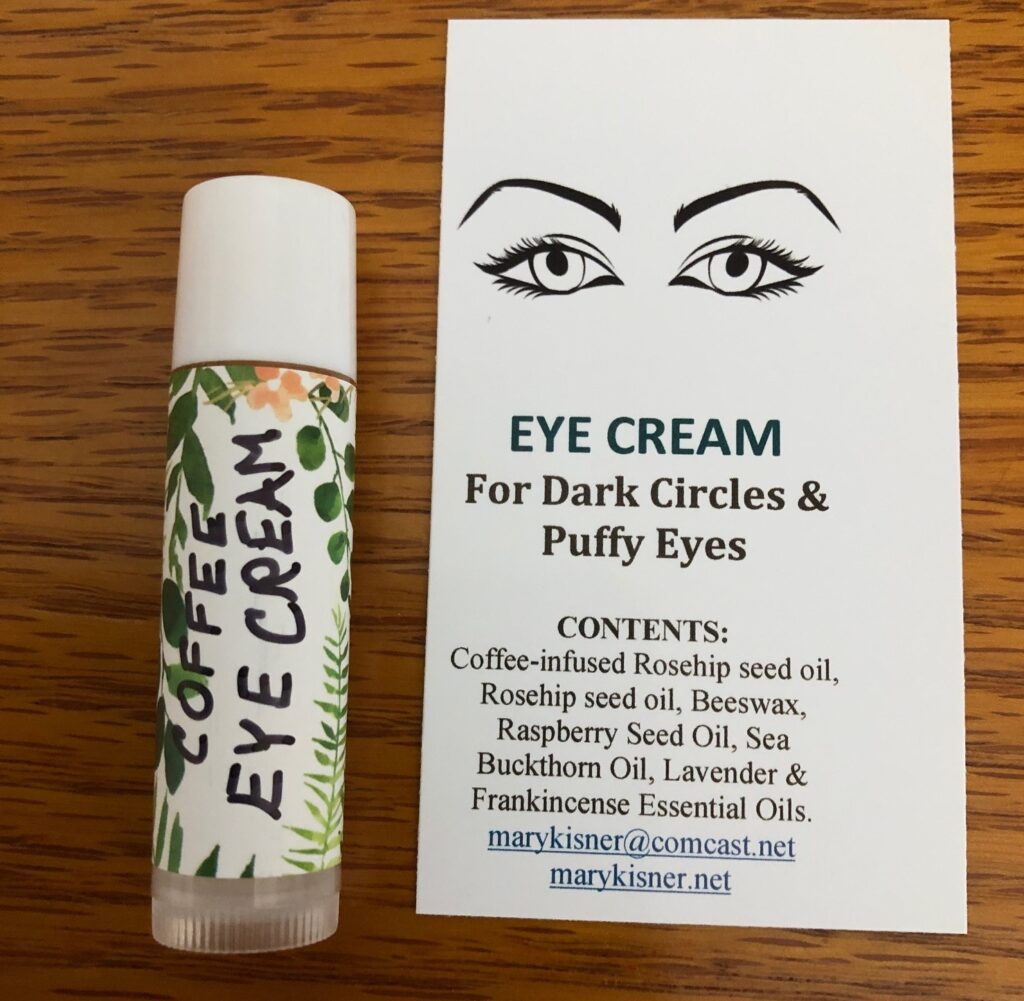
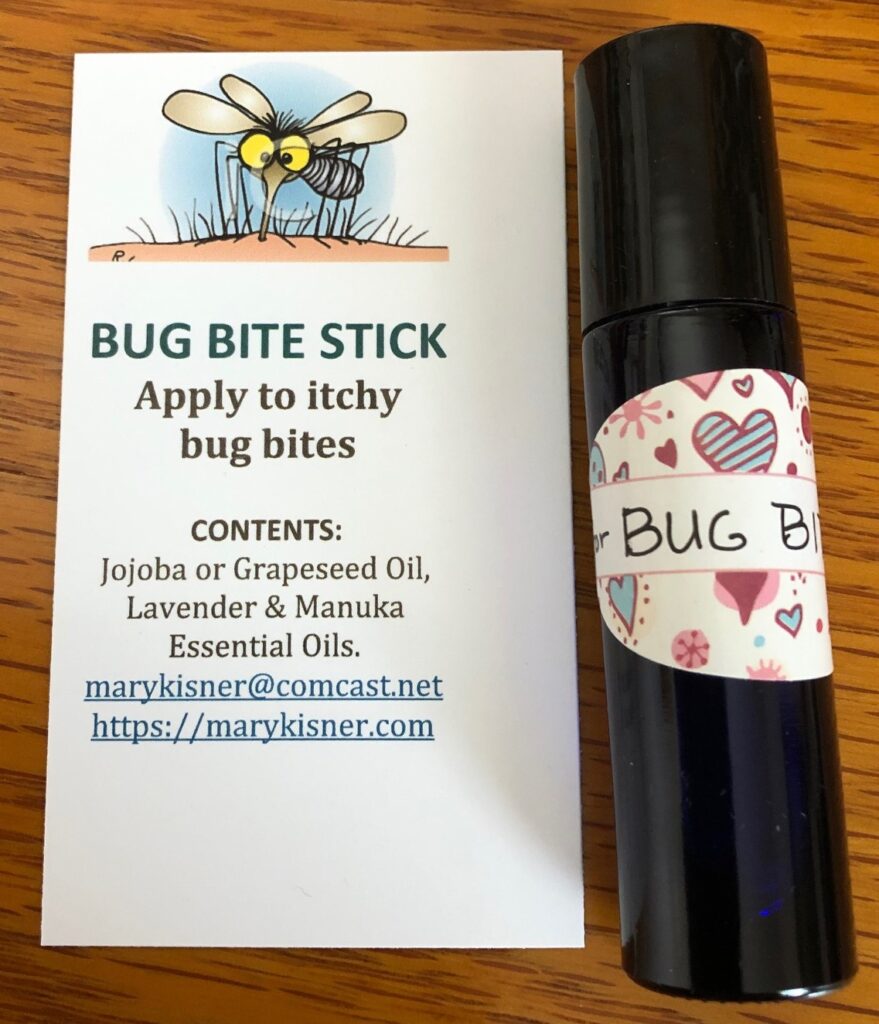
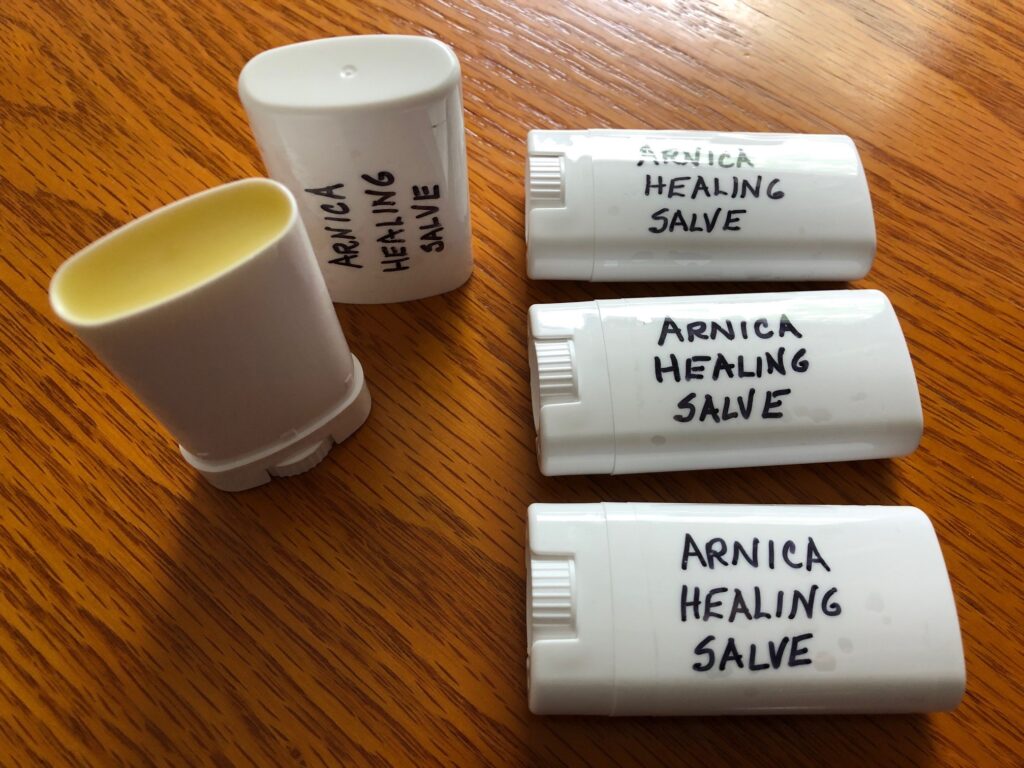
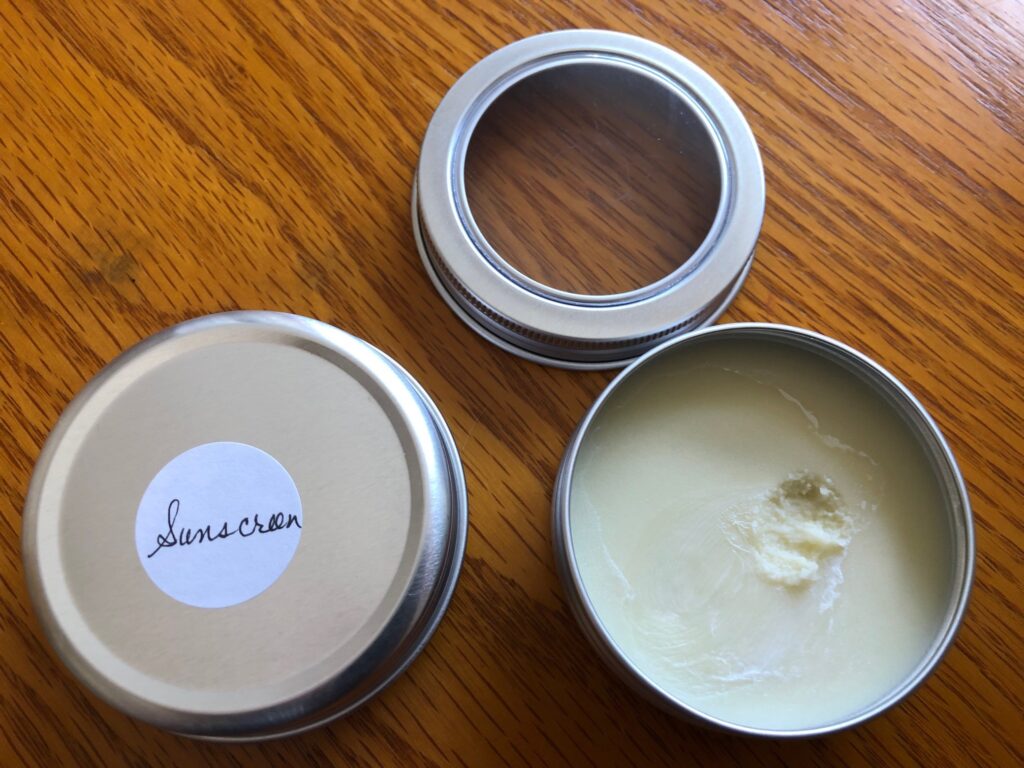
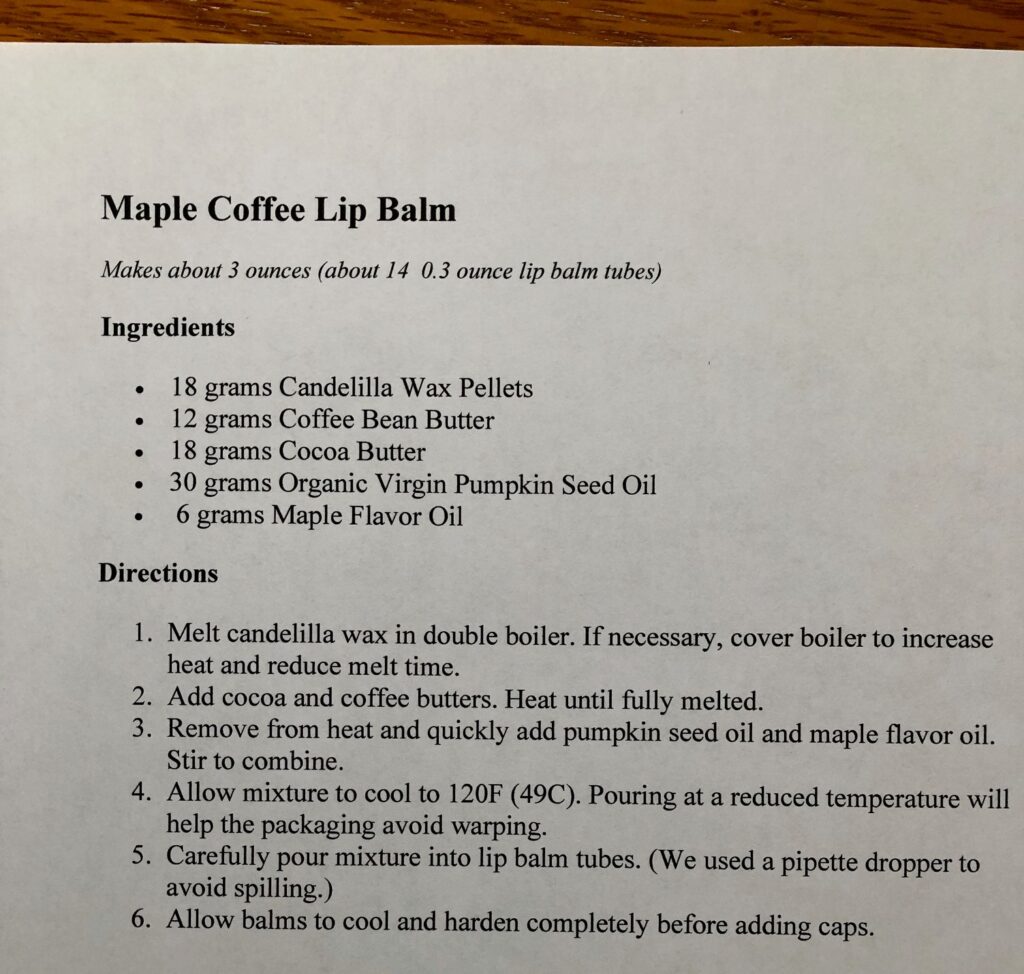
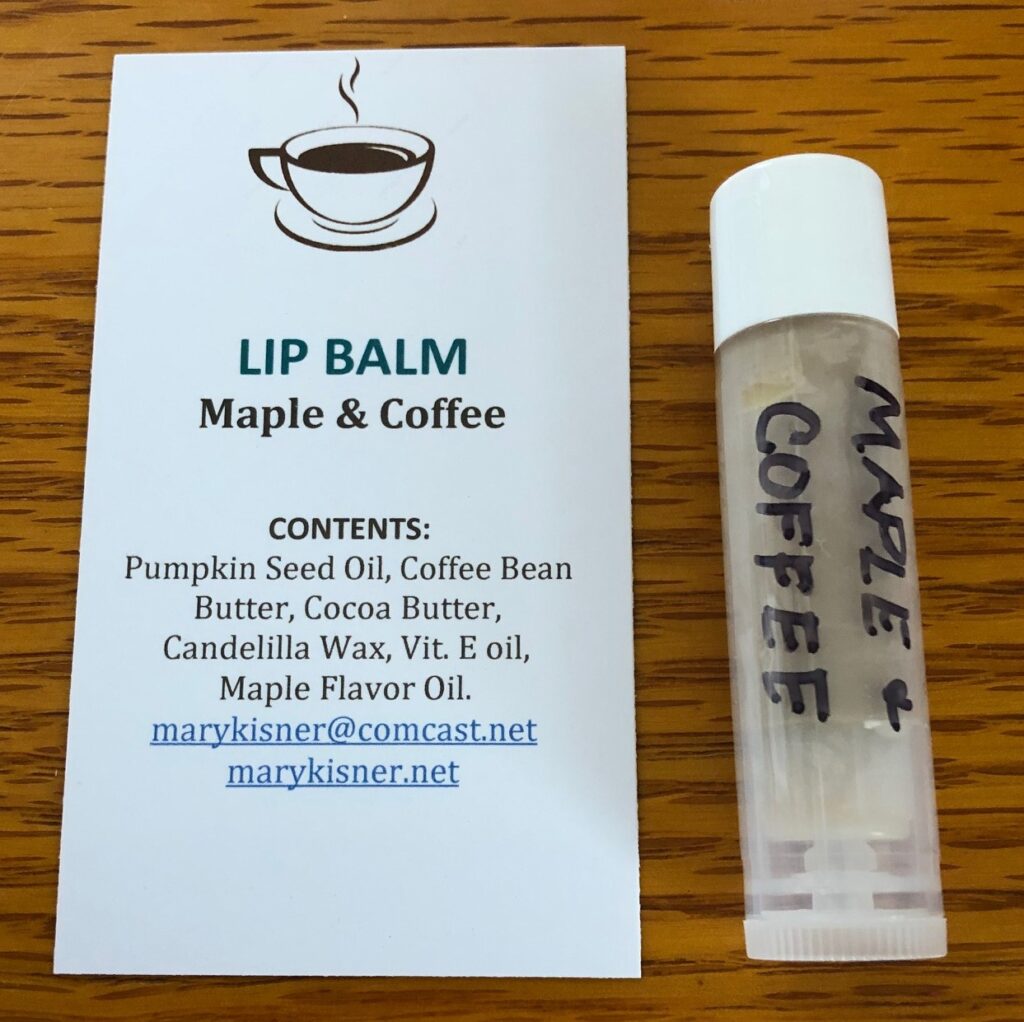
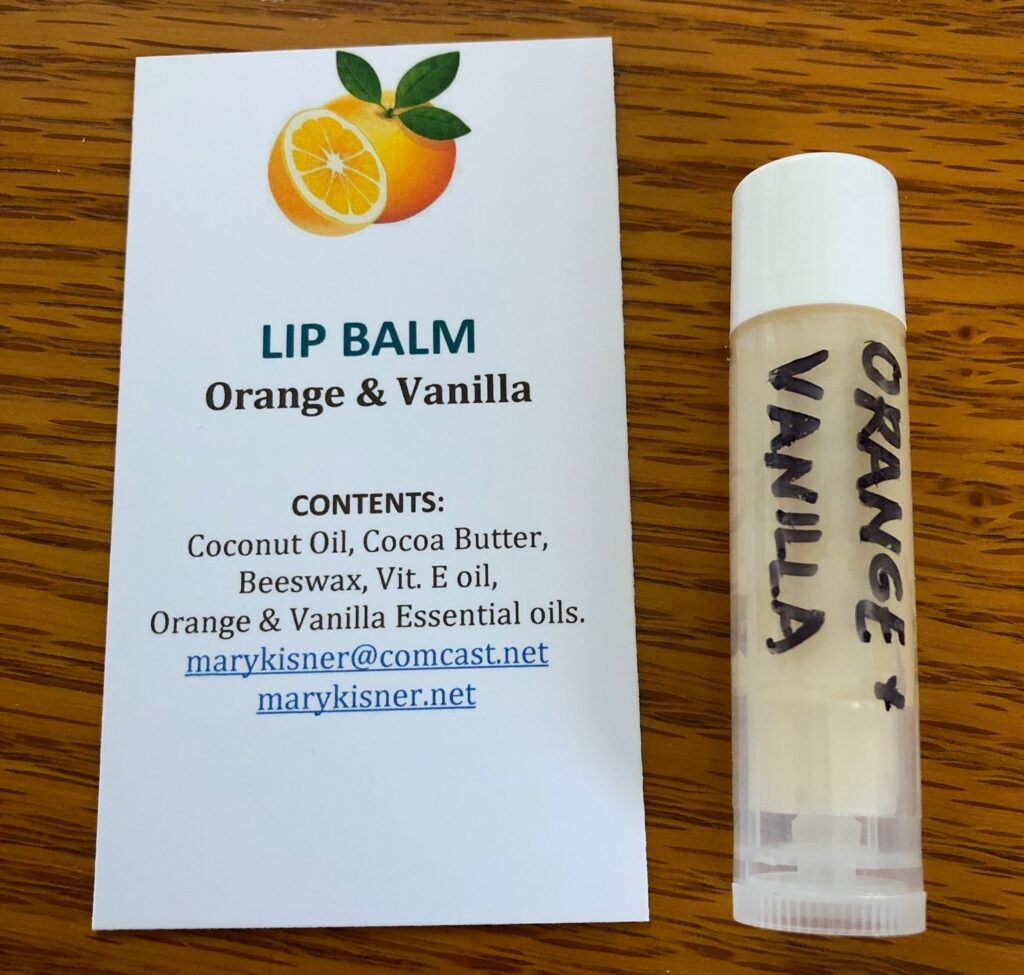
Step 7: When cool and firm, label each container. I make a point to make a card with ingredients and instructions so folks know what is in the product.

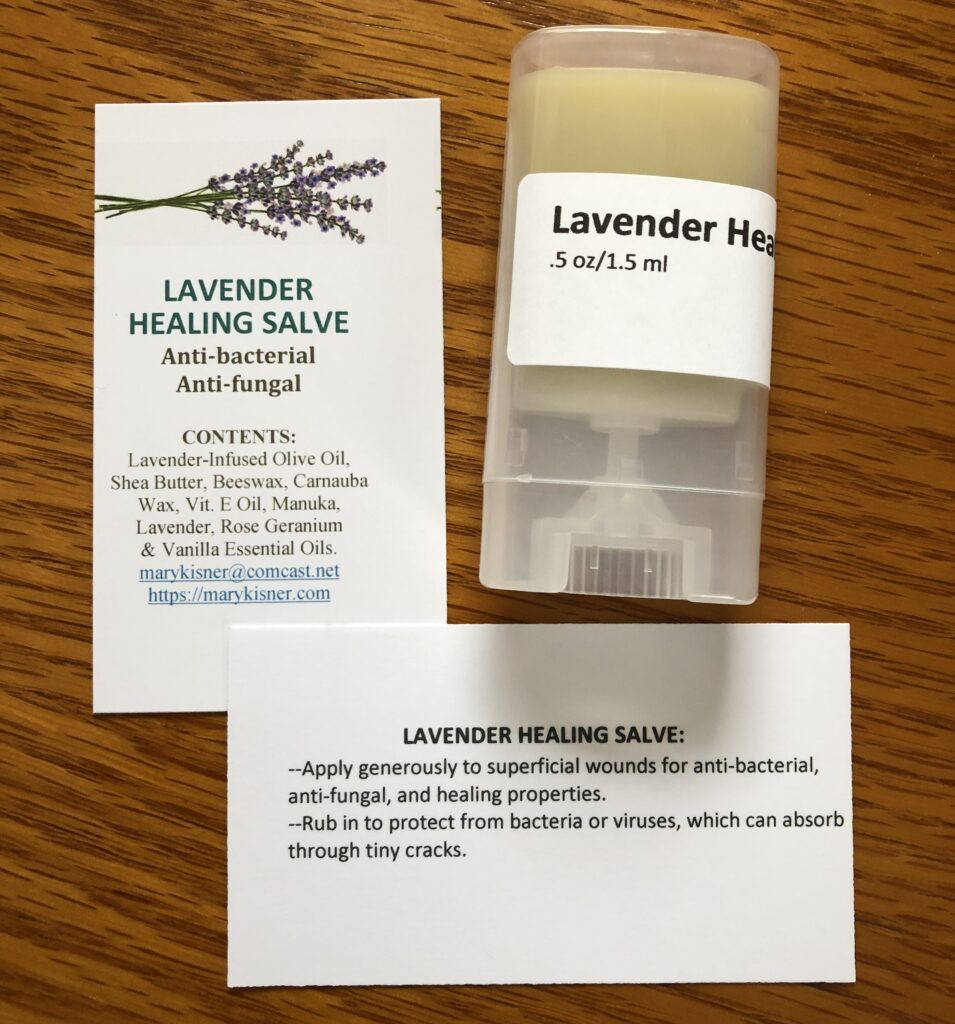
You can see my Dog Paw Balm and Protection Wax has evolved into my Calendula Healing Salve for dogs and people; while the Lavender Healing Salve is safe for dogs and people who have allergies to Calendula…it also smells pretty good! Try it yourself!

Making Bruise Balm to Share

Last year I made a salve with arnica-infused olive oil. Arnica is an ingredient that is added to salves to help relieve aches and pains, bumps and bruises! Look for it in your over-the-counter salves. You can read about making the oil here: https://marykisner.com/making-arnica-infused-oil-for-tropical-salves/.

I shared the salve with just a few people because I didn’t know how effective it was; I wanted to give it a try first. I’ve used it for the last 6 months with some success in reducing small bruises, if used right after they appear.

About Arnica

Arnica is not as well-known as lavender and calendula and is sometimes included in over-the-counter ointments and creams sold to soothe occasional aching knees, joints and muscles. It is often used in homeopathic remedies, which means the products contain very small amounts of the active ingredients. Making infused oil with dried arnica plant material is a great way to incorporate these ingredients into body care products. I purchased a bag of the dried flowers on Amazon.

The dried flowers aren’t as pretty as the fresh ones!

Arnica comes from the perennial herb Arnica Montana. It is a yellow-orangish flower that grows in the mountains of Europe and Siberia and the mountains of northwestern North America. It is sometimes called the “mountain daisy,” because its color and petals look like the familiar flower. It yields an essential oil that is appreciated for its ability to reduce pain in osteoarthritis joints and reduce bruise discoloration.

NOTE: This plant does have some drawbacks or cautions for people that are allergic to certain plants of the Asteraceae family…like ragweed, marigolds, chrysanthemums and daisies, or are using blood thinning medications.

Please do your own research about any plant material you might work with, but this process of infusing oil with any plant material would be the same.

I still had some infused oil left from my first project; it kept well in the back of the refrigerator.

The ingredients in this Bruise Balm

I scooped out 1 cup of infused oil and weighed out 32 gm of beeswax into my 4-cup heat-safe measuring cup. The cup is placed in a saucepan of water. I brought the water just to a boil and turned the burner down so the water stayed simmering.

When melted and removed from the stove, I stirred in 1/4 tsp of Vitamin E Oil and 20 drops each of Vanilla and Manuka Essential Oil.

Using a disposable pipette, I filled 36 small tubes and 6 larger ones.

I decided to just hand write the label…nothing fancy. I don’t want folks to get them mixed up with lip balm!
I try to label everything I make so the ingredients are clear.

I hope to share these with my high school friends at our monthly luncheon… built in guinea pigs! Try it yourself! Enjoy!

Quiet Birthday Fun for Grandma

I had a wonder birthday surprise this weekend! My daughter and my grandkids decided to come for a short visit to help me celebrate my birthday! Their school activities have kept them close to home this fall, but luckily, many of those activities were finishing up and they had time to come visit us!

I had not had an actual birthday cake for the last several years, since I had to restrict eggs and dairy. But I could have coconut milk ice cream and thanks to frozen cakes from Sara Lee I was able to pick up an assortment to satisfy everyone.

This was my compromise to putting 76 candles on the cake. Best I could do!

My 15 yr old grandson texted me before they came asking if I would help him make some lip balm…apparently he uses a lot of it because he plays trumpet in the high school marching band he really needs it between performances.

In addition, would Grandma help him and is sister make some soap too! Now this was starting to sound like a fun birthday activity!

So last night we had cake and ice cream.

Say cheese!

This morning after breakfast we got busy. Ben chose the recipe for lip balm that had cocoa butter in it. With the addition of Peppermint essential oil, he felt like he was having a peppermint patty candy bar!

Here is the recipe:

When finished, he had 11 tubes of lip balm. He’ll be able to put one in every pocket! I was ready to help him label them and he said to not bother…he usually just peels off labels! So, I guess one good whiff will remind him these are the peppermint lip balms.

The we started in on the soap. Ben wanted clear glycerin soap and swirled in purple soap tint with a stick. Not my cup of tea…but he loved them!

Kind of looked like a science experiment in the making!

My granddaughter wanted a different mold with orange scent and light orange color.

I think I’ll use this mold another time. They turned out very nice.

While they were waiting for the soap to set up. Ben had to play the pump organ and Anna took a break after shopping at Trader Joe’s with her mother.

This pump organ was built in 1900. Bert’s mother got it around 1960 and Bert rebuilt the inside (he was 14). My grandson (age 15) really enjoys playing it.
Anna just got braces (age 10) so her smile was nice and shiny!

They had to be on the road by 3 p.m. today, so I was glad we were able to get all these projects done today. It was a great birthday for Grandma! Quiet, low key and fun! The hugs were the best! Enjoy!

Please comment or email me directly at marykisner@comcast.net.

Making an Eye Cream for Dark Circles and Puffy Eyes

Not enough sleep? Allergies making you look like you didn’t get enough sleep? For a while I’ve wanted to try this recipe for an eye cream. I had seen various brands of specialty eye cream for sale but somehow the cost seemed extreme. when I stumbled upon this recipe on one of my favorite websites, I thought I’d give it a try (https://joybileefarm.com/diy-eye-cream/). This author has many DIY recipes that are easy to follow and she provides good supporting research on the ingredients used. Many of the products I make started with one of her recipes. Check it out.

For this eye cream, the cost of the ingredients made a good case for just ordering something already made. However, where would be the fun in that! I’m always trying to find and use products that have the least amount of chemicals and artificial ingredients. The older I get, the more sensitive I am to various products I use. Plus, if I can make it myself, I’ll be able to make more if I need to. That makes me smile!

This eye cream begins by making a coffee-infused oil, similar to the infused oils I’ve made with calendula and lavender flower buds, except it took longer because I couldn’t simmer it on the stove and be done in one day. This recipe required me to soak coffee grounds in rosehip seed oil for a week, shaking the jar every day.

I put the jar on my desk so I could keep an eye on it and finally today I strained out the grounds. No small task! The grounds had made a thick sludge on the bottom that I could barely scrape out. Next time I’ll use more oil (and possibly substitute Sunflower oil, which is less expensive) so I can keep it loose…maybe even open the jar and stir it up with a long-handled spoon.

After pouring out as much as I could to strain out the oil, I ended up scraping the grounds, filling the jar with soap water and dumping the slurry outside. I didn’t want that oily mess going down the drain.

Pretty disgusting!

I lined my strainer with cheesecloth and poured the oil through it. When it finished draining, I picked up the cheesecloth mess and threw it in the garbage.

Then, I strained it twice more, finally using four layers of cheesecloth to filter out the last of the grounds.

Finally, the grounds are gone!

Now, I was ready to use this coffee-infused oil in the recipe for the Eye Cream. Here is the recipe:

The beeswax, rosehip seed oil and coffee-infused oil melted together first.

It didn’t take long to melt the beeswax. Then, I added these oils and stirred them in:

Using a disposable pipette I filled the lip balm tubes (sorry, forgot to take a picture!)

When they were cool, I labeled them and made the ingredient cards to go with them. I’ll have to figure out how much information to put on the back of the card. I’d like to include the last two paragraphs of the recipe on the card:

Hopefully, I’ll find some willing friends to test the cream with me to see if it actually works!

All the ingredients are available on Amazon…I did pick up the ground coffee at the grocery store. Give it a try! Enjoy!

Please comment or email me directly at marykisner@comcast.net.

Soothe Those Bug Bites

Hot summer days bring to mind how annoying mosquito bites can be. Preventing them is the first line of defense. The bug deterrent I made for dogs (and people) can help (see https://marykisner.com/natural-bug-repellent-for-dogs/); or any bug repellent you are comfortable using. However, the itching from a bite can prolong the agony for days.

I found a simple recipe on a website I read frequently and thought I’d give it a try (https://joybileefarm.com/lavender-tea-tree-roll-on-stick/). My plan is to make a bunch and share it to see if it actually works. Here is my modified recipe:

While I was collecting the supplies I thought about the ingredients. I had grapeseed oil and lavender essential oil on hand. I also have tea tree essential oil available, but after all my research about manuka essential oil, I thought I would try substituting it for the tea tree oil.

What’s the Difference Between Tea Tree and Manuka Essential Oils?

Tea tree oil has been considered the industry standard since World War II for many topical and household applications due to its antifungal and antibacterial properties. It is considered safe and effective to be used as an insect repellent, household cleaner and dandruff shampoo. It has been used to soothe bug bites, sunburns and rashes. However, it has a strong scent and can be irritating to some people, including children.

Manuka essential oil, while new on the market, has also been shown to have powerful antibacterial and antifungal properties. It is great for soothing sore muscles and itching from bug bites and sunburns. Manuka oil also had 20-30 times the antibacterial activity as Tea Tree oil. It is less irritating to sensitive adults, is safe for children AND it smells good!

Therefore, I substituted Manuka essential oil for the Tea Tree oil in this recipe.

Here are the ingredients for this mixture:

I knew that the little cup I saved from when I had kids had the 10 ml mark on the side and would be perfect to measure out the grapeseed oil. I just filled it to below the 10 ml line. It was much easier to dispense than the big bottle of oil.

I discovered after the first few I made that the 2 tsp. of grapeseed oil needed to be little less. The roller ball holds 10 ml (which is 2 tsp.). When I added the full 2 tsp. of grapeseed oil plus the 10 drops of essential oil it was so full I couldn’t get the roller ball snapped in. I ended up adding only 9 ml instead.

I set out 18 roller balls and filled 6 at a time, capped them and set them upside down along the back of the tray to help the oils mix.

I made 18 because I wanted to share them with some friends. I will need their feedback to see if rolling on some of this oil mixture really helps soothe the itch of a bug bite. We’ll see!

Of course, everything I make and give away needs information about what is in the product. I want folks to know before they put anything on their skin. Give this recipe a try yourself! Enjoy!

Please comment or email me directly at marykisner@comcast.net.

Learning About Hydrosols

I’m getting ready to make another batch of natural bug repellent and remembered my recipe calls for Lavender Hydrosol. When I wrote my original article about this recipe last Spring I just followed the recipe. You can see the article here: https://marykisner.com/natural-bug-repellent-for-dogs/.

Here is the final recipe for this repellent:

This recipe is only approved for dogs (and is actually safe for humans too!). Cats are very sensitive to several of the essential oils in this mix and when they lick their fur, they ingest them. Not safe!

I ordered Lavender Hydrosol from Amazon…starting with a small bottle and then went to this quart jug so I could mix up enough for Nittany Greyhounds:

I did a little research that reminded me that this is basically lavender water…that is a byproduct from the distillation process of extracting lavender essential oil…and it is water soluble. Since my recipe called for lavender hydrosol and essential oils they would not stay mixed. I had to add an emulsifier to help them disperse. Polysorbate20 was recommended in the recipe.

Here are the ingredients in this natural bug repellent.
It was packaged in a bottle that worked better for shipping…with an empty spray bottle provided. If I make only one for myself, I mix it directly in the spray bottle.

Learning More About Hydrosols

This year I wanted to know more about Hydrosols. I found this book that was very helpful:

This book, Hydrosols: The Next Aromatherapy by Suzanne Catty, has a wealth of information about how hydrosols are made, how the field of aromatherapy is maturing and how the production of hydrosols is becoming more consistent around the world. The author’s research provides many recipes to use hydrosols, from skin care products to using them in cooking to enhance flavors. While few essential oils are safe for babies (and even cats), hydrosols could be just the right product for many of those products.

Next, I did a search online for sources of hydrosols. Many companies that sell essential oils also offer hydrosols of those same plants. One company had a great article about hydrosols with the following illustration:

(From: https://www.rockymountainoils.com/learn/all-about-hydrosols/)

On another site, www.edenbotanicals.com I was able to order a set of 8 tiny spray bottles that would let me try them. So…these are very tiny samples, but might give me some ideas for future products.

These include Chamomile, Cucumber, Geranium Rose, Lavender, Rose, Tulsi (Holy Basil) and Tumeric Hydrosols.

I can see there is so much more to learn about Hydrosols; I’ve barely scratched the surface! Look for Hydrosols to appear in some of my future products! Enjoy!

Please comment or email me directly at marykisner@comcast.net.

Making Arnica-Infused Oil for Topical Salves

Now that we’re heading into the more active summer season, I wanted to share what I’ve recently learned about the herb Arnica. It is not as well-known as lavender and calendula and it is sometimes included in over-the-counter ointments and creams sold to soothe occasional aching knees, joints and muscles. It is often used in homeopathic remedies, which means the products contain very small amounts of the active ingredients. Making infused oil with dried arnica plant material is a great way to incorporate these ingredients into body care products.

About Arnica

Arnica is a perennial herb Arnica montana. It is a yellow-orangish flower that grows in the mountains of Europe, Siberia and the mountains of northwestern North America. It is sometimes called the “mountain daisy,” because its color and petals look like the familiar flower. It yields an essential oil that is appreciated for its ability to reduce pain in osteoarthritis joints and reduce bruise discoloration.

Note: This plant does have some drawbacks or cautions for people that are allergic to certain plants of the Asteraceae family–like ragweed, marigolds, chrysanthemums and daisies, or are using blood thinning medications. I wanted to have some of this infused oil on hand to make a salve if needed this summer. Because of these cautions, I do not plan to share any salve I make with others, since I have no way to know who might be sensitive to the plant.

Please do your own research about any plant material you might work with, but this process of infusing oil with any plant material would be the same process.

Making Infused Oil in General

I’ve previously shared how to do this with Calendula plant material at https://marykisner.com/making-calendula-nfused-oil-for-topical salves/. Dried lavender works the same way. I usually use olive oil, but you can substitute sweet almond oil, jojoba oil, or even grapeseed oil.

Arnica-Infused Olive Oil

Here are the basic instructions to make this oil:

First, I filled a quart jar with dried Arnica flowers. I ordered this bag of dried flowers from Amazon. This 8 oz. bag will probably last me the rest of my life!

Starting with a quart jar, I filled the jar loosely with dried flowers and poured about 2 1/2 cups of olive oil over them.

This filled the jar about 3/4 full. I used a long-handled spoon to gently poke the flowers to distribute the oil. I put the filled jar in a deep pan of water and brought the water up to a boil and lowered the temperature so it would just simmer for about 6 hours. I did have to add water to the saucepan every hour or so as it evaporated and poked the flowers down now and then just to make sure they stayed submerged.

Then, I poured the oil/flower mixture through the strainer and pressed flowers to squeeze out as much oil as possible.

After straining, there were still some small pieces of plant material in the oil.

After disposing of the plant material, I strained the oil again by lining the strainer with cheesecloth to make sure I didn’t have any crumbs left from the dried flowers.

After straining out all the Arnica plant material, first with a large strainer and again with cheesecloth, I had about 1 3/4 cups of lovely arnica-infused olive oil. Before pouring it back into the washed and dried quart jar, I added about a teaspoon of Vitamin E oil to help as a preservative.

This jar of oil will be stored in the refrigerator until I need it.

Making Arnica Salve

This recipe will make a small batch of salve. Since I don’t plan to share it yet, I’ll keep the batch small.

Combine 3 1/2 Tbsp. of Arnica-Infused oil with 2 tsp. beeswax (about 8 gms).

Place the cup into a pan of water and bring the water to boil. Reduce the heat to a simmer.

Simmer until the beeswax is melted. Remove from heat.

Add 10-20 drops of your preferred essential oil. (I chose Vanilla for the scent and Manuka for its healing properties).

Pour into small containers or lip balm tubes. Cap tightly and label.

My first pour was into these small containers, however it was pretty firm when cool. I could hardly apply it with my finger tip.
So, I scooped the salve out of the round containers, melted it down again and poured the oil into these wide dispensers. Worked much better!

So now I have a simple salve ready for my aches and pains, bumps and bruises! I’ll keep you posted on how it works this summer!

If I find it works really well, I’ll have cards ready to go with the samples.

Look for Arnica in your over-the-counter creams and salves! It might be the magic ingredient. Enjoy!

Please comment or email me directly at marykisner@comcast.net.

Making Tinted Lip Balm

Last weekend I was wishing I had some lipstick or tinted lip balm. Getting dressed up (a little) for a niece’s outdoor wedding reminded me I don’t often wear lipstick but it’s been so long since I dressed up I didn’t even have a lip gloss anymore! When I got home, I started thinking about whether I wanted to go to the drug store to find some, or look up how to make a tinted lip balm myself. Making it myself seemed to be my choice! Pinterest to the rescue!

I found a simple recipe and got to work. For ingredients I needed: Beeswax, Coconut Oil, Jojoba Oil, Shea Butter and Mica Powder (for color).

I got my lip balm holders ready. The recipe makes about 10 lip balms, so I decided to make a double batch so I could share them with my high school friends at our next monthly luncheon.

To see more about this holder, see https://marykisner.com/two-lip-balm-flavors-and-a-cool-new-tool/.

The ingredient list says to measure out 1 Tbsp. each of the Beeswax, Coconut Oil, Jojoba Oil and Shea Butter. Since I was doubling the recipe, I measured out 2 Tbsp. of each ingredient into a glass measuring cup and placed it in a pan of water on the stove. It did not take too long to melt everything together.

When melted, I stirred in 1/4 tsp. of Rose Pearl Mica Powder.

I did not add any scent because it wasn’t necessary and several folks in my high school group prefer unscented products.

Using a disposable pipette I filled 25 1/2 lip balm tubes! (I’ll use the half-filled tube). I guess the original recipe is going to make more than 10 tubes.

I always try to make a card with ingredients for the stuff I make…by our age, we are all allergic to something!

Now I’m ready to get dressed up! Hopefully it won’t be another two years before I need this! Enjoy!

Please comment or email me directly at marykisner@comcast.net.

DIY Sunscreen

With all the body care stuff I’ve made I had never thought about making my own sunscreen. Up until two summers ago I had never needed sunscreen. I can think of only one time in my life where I actually had a sunburn so I just didn’t worry about it. Then two years ago I spent several days with burns on my legs just from wearing shorts…and sitting on a shady porch! I was so surprised! Boy did that hurt! Then last summer I was even more sensitive so I tried an assortment of sunscreen lotions. They all felt sticky when they dried and I wanted to wash them off as soon as I came inside.

I really wanted to spend time in the garden cheering on my green beans!

I found it was just easier to not wear shorts and managed to find a few of those “sun shirts” for my arms. That was really ridiculous heading out to the garden all covered up. Needless to say, I didn’t stay outside for long! I really feel like I missed most of the summer weather because I stayed inside.

I hated not being able to enjoy the flowers on a beautiful summer day.

This year, I decided to see if I could come up with a natural sunscreen lotion that I could stand with the fewest chemicals. I use essential oils in everything else…why not sunscreen?

I started with research. I had questions about whether certain essential oils have natural sun protection. I wondered if zinc oxide had to be used in a product to be protective. What’s the difference between nano- and non-nano zinc oxide? What other chemicals are in sunscreens that could be bothering me?

Other people online have done extensive research into all the necessary and unnecessary chemicals found in commercial sunscreens. Here is one article that I’d like to refer you to that explores many of my questions:

https://modernhippiehw.com/homemade-moisturizing-sunblock-with-zinc-oxide/

Many homemade sunscreens start with a mixture of shea butter, oil, essential oils and non-nano zinc oxide powder. It appears that several essential oils are naturally high in SPF, including raspberry seed oil (SPF 28-50) and carrot seed oil (SPF 38-40). Several carrier oils, including coconut oil, olive oil and avocado oil have an SPF range from 4-1 5. Adding zinc oxide can boost the SPF to 20 or higher depending on how much you use.

About Zinc Oxide Nano-Particles

There has been some concern that nano-particles (very tiny ones) could be absorbed into the skin, although there is little research proving that is a problem. However, just case a non-nano zinc oxide is offered for sale too…meaning the particle size is larger and would not be absorbed by the skin…important for use on children. Since I’m trying to stay as simple as possible, I decided to go with the non-nano zinc oxide. If it leaves a white coating, I may have to get the other kind so it soaks in better.

This can be purchased on Amazon.
Of course, disclaimers about it’s use is important, but the recommendation to use a mask sounded like a good precaution.

I’d like to share two recipes for sunscreen that I have made. First is a sunscreen spray that stays a liquid. It includes fractionated coconut oil, which means the fats have been reduced so it stays a liquid; essential oils; and non-nano zinc oxide. It’s pretty to quick mix up but the zinc oxide tends to separate out and settle on the bottom of the spray bottle. Giving it a good shake before spraying is necessary. I will have to research how to keep the particles in suspension for the next batch.

(Recipe #1) Sunscreen Spray

Ingredients:

The ingredients I used along with a mask ready for when I scoop out the zinc oxide.

Directions:

Step 1: Combine the oils in a small bowl. Mix thoroughly.

Step 2: Whisk in Zinc Oxide powder. (Wear a mask so you don’t breathe in any dust)

Step 3: Pour into a 4 oz. spray bottle.

Step 4: Shake well before each use.

Sediment of zinc oxide left behind after pouring.
Ready to test!

(Recipe #2) Sunscreen

This recipe is a firmer lotion and can be made more waterproof with the addition of a little beeswax. I did not add it for my first try. I will also choose some essential oils for a better fragrance…this did smell just like shea butter!

Ingredients:

Directions:

Step 1: Combine all ingredients except zinc oxide in a heat-safe glass container. Adding the optional beeswax will make it more waterproof.

Step 2: Heat over boiling water until melted.

Step 3: Wear a mask to measure and whisk in zinc oxide.

Step 4: Pour into containers, stir frequently while pouring and again after containers are filled.

Step 5: Set containers into the refrigerator to set up…the quicker it sets up the more the zinc oxide stays suspended.

This recipe filled 5 tins half way. I wanted to be able to share it for testing.
This recipe made a soft lotion that I can scoop out with my finger and apply to my skin.

This sunscreen went on very smoothly. Hopefully by summer I’ll have a solution to my sun sensitivity with a less irritating sunscreen! We’ll see! Enjoy!

Please comment or email me directly at marykisner@comcast.net.

Two Lip Balm Flavors and a Cool New Tool

Yesterday I was ready to try two new lip balm flavors: Maple Coffee and Orange Vanilla. I wanted to do this last weekend, but I had to order the ingredients for the Maple Coffee (of course, from Amazon).

Usually, I insert the empty tubes into this holder and when I stand the holder up, I can pour the hot melted lip balm from the top:

However, the latest batch of holders were from a different company and they fell right out before I could flip the holder over. On to plan B!

I had to change how I filled the tubes. I decided to line the tubes up on a paper towel and fill them with a disposable pipette. I had to be really careful to not bump the tubes as I filled them so they wouldn’t fall over:

It took longer to fill each tube but luckily I didn’t tip any of them over filled with hot stuff.

Now…on to the recipes!

Maple Coffee Lip Balm

First, I made the Maple Coffee Lip Balm. Here is the recipe:

Here are the ingredients:

The Candelilla Wax has a higher melting point than beeswax and is similar to Carnauba Wax. I should be able to use it in other products. I can use the Maple flavoring in soap or cooking. I will have to research how Pumpkin Seed oil and Coffee Bean Butter can be used. Since I don’t care for the smell or taste of coffee, the coffee butter will probably be used only in lip balm for others! I’ll have a few coffee lovers test the lip balm for me!

Following the recipe, I melted down the wax, cocoa butter and coffee butter; then I added the pumpkin seed oil and maple flavoring.

This lip balm turned out darker (like coffee!) but I think it was the Pumpkin Seed oil that did that.

Orange and Vanilla Lip Balm

Here is the recipe:

Here are the ingredients:

Following the same procedure as above, I melted down the wax, cocoa butter and coconut oil, added the orange and vanilla essential oils and carefully filled the tubes with the pipette.

They turned out great!

Bert’s Invention

Bert watched me filling the tubes and said he had an idea. I sent him out to the shop with an empty tube to make me some kind of holder for the next time. This morning he presented me with this great holder!

The tubes just fit and I can do two batches without knocking anything over! I did have to order some more disposable pipettes, but YEA! Next time, I’ll enjoy using Bert’s cool tool to hold the tubes! Enjoy!

Please comment or email me directly at marykisner@comcast.net.