Very soon I will need to get out of the kitchen! This weekend Bert will begin his marathon chocolate chip cookie baking, so I need to be done baking bread and making soap favors for several of the groups I will see next week. When Bert brings in the big mixer, my kitchen-based projects need to be DONE. His cookies will tie up the kitchen for over a week!
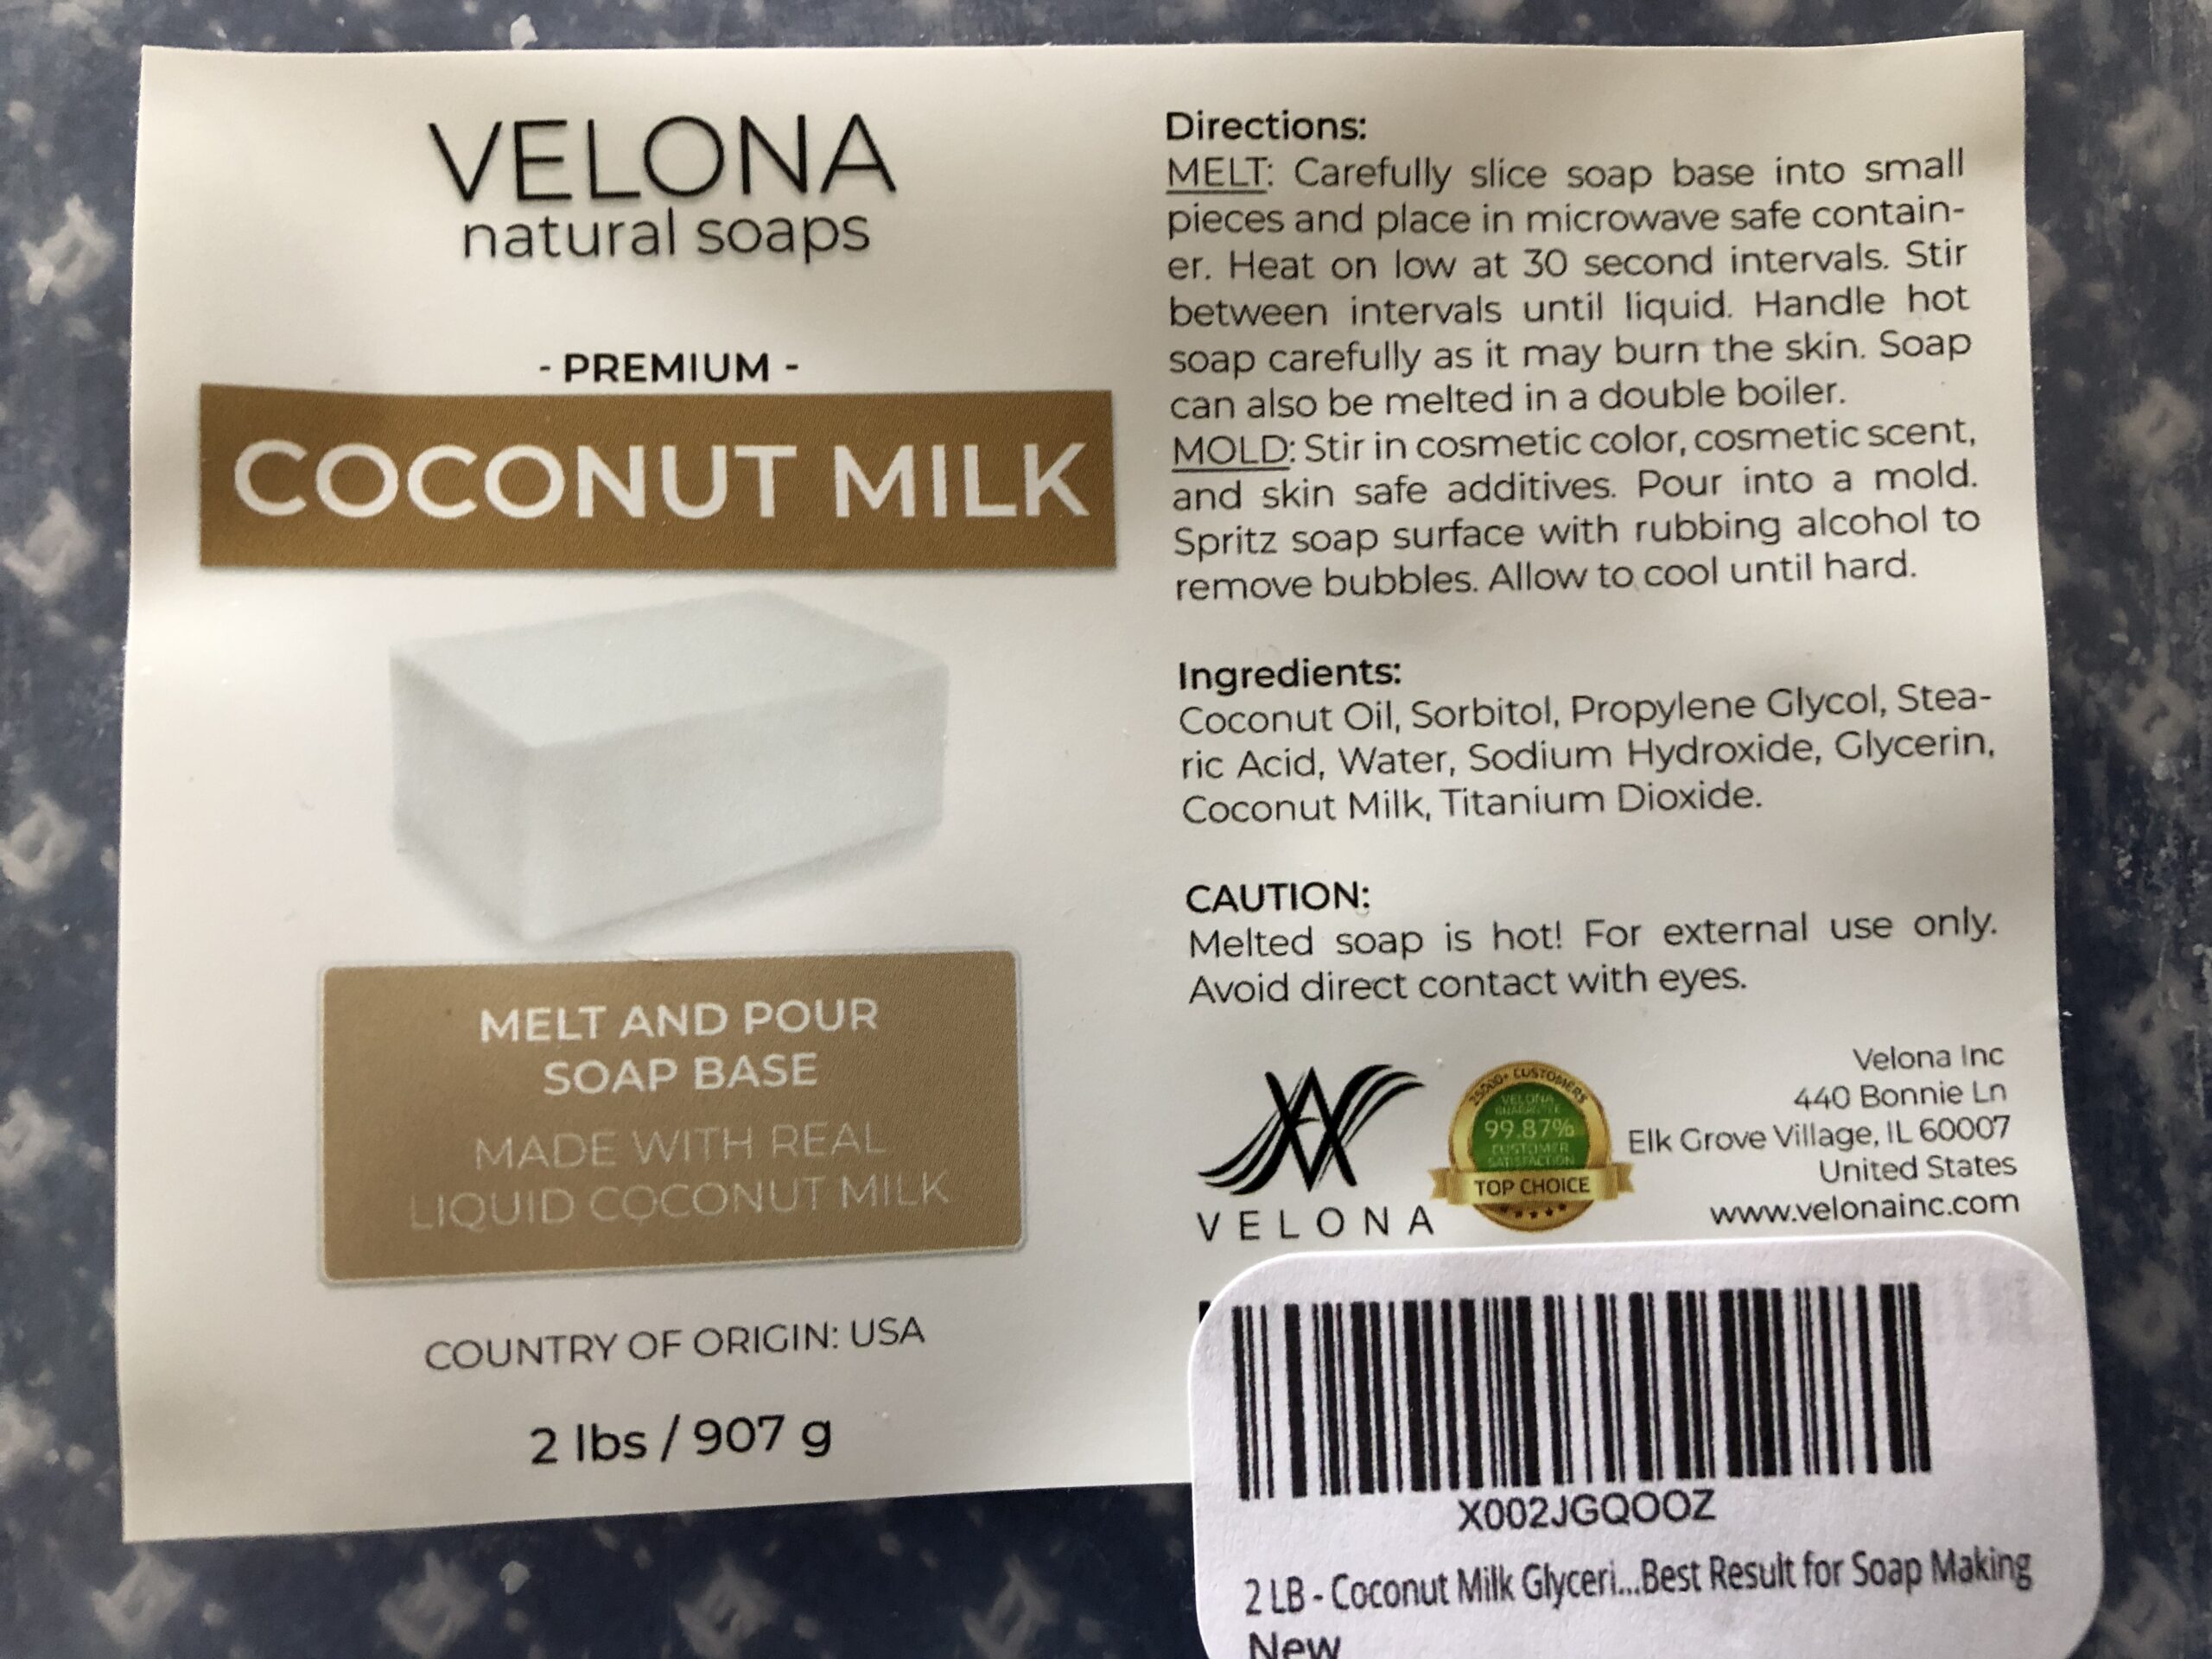
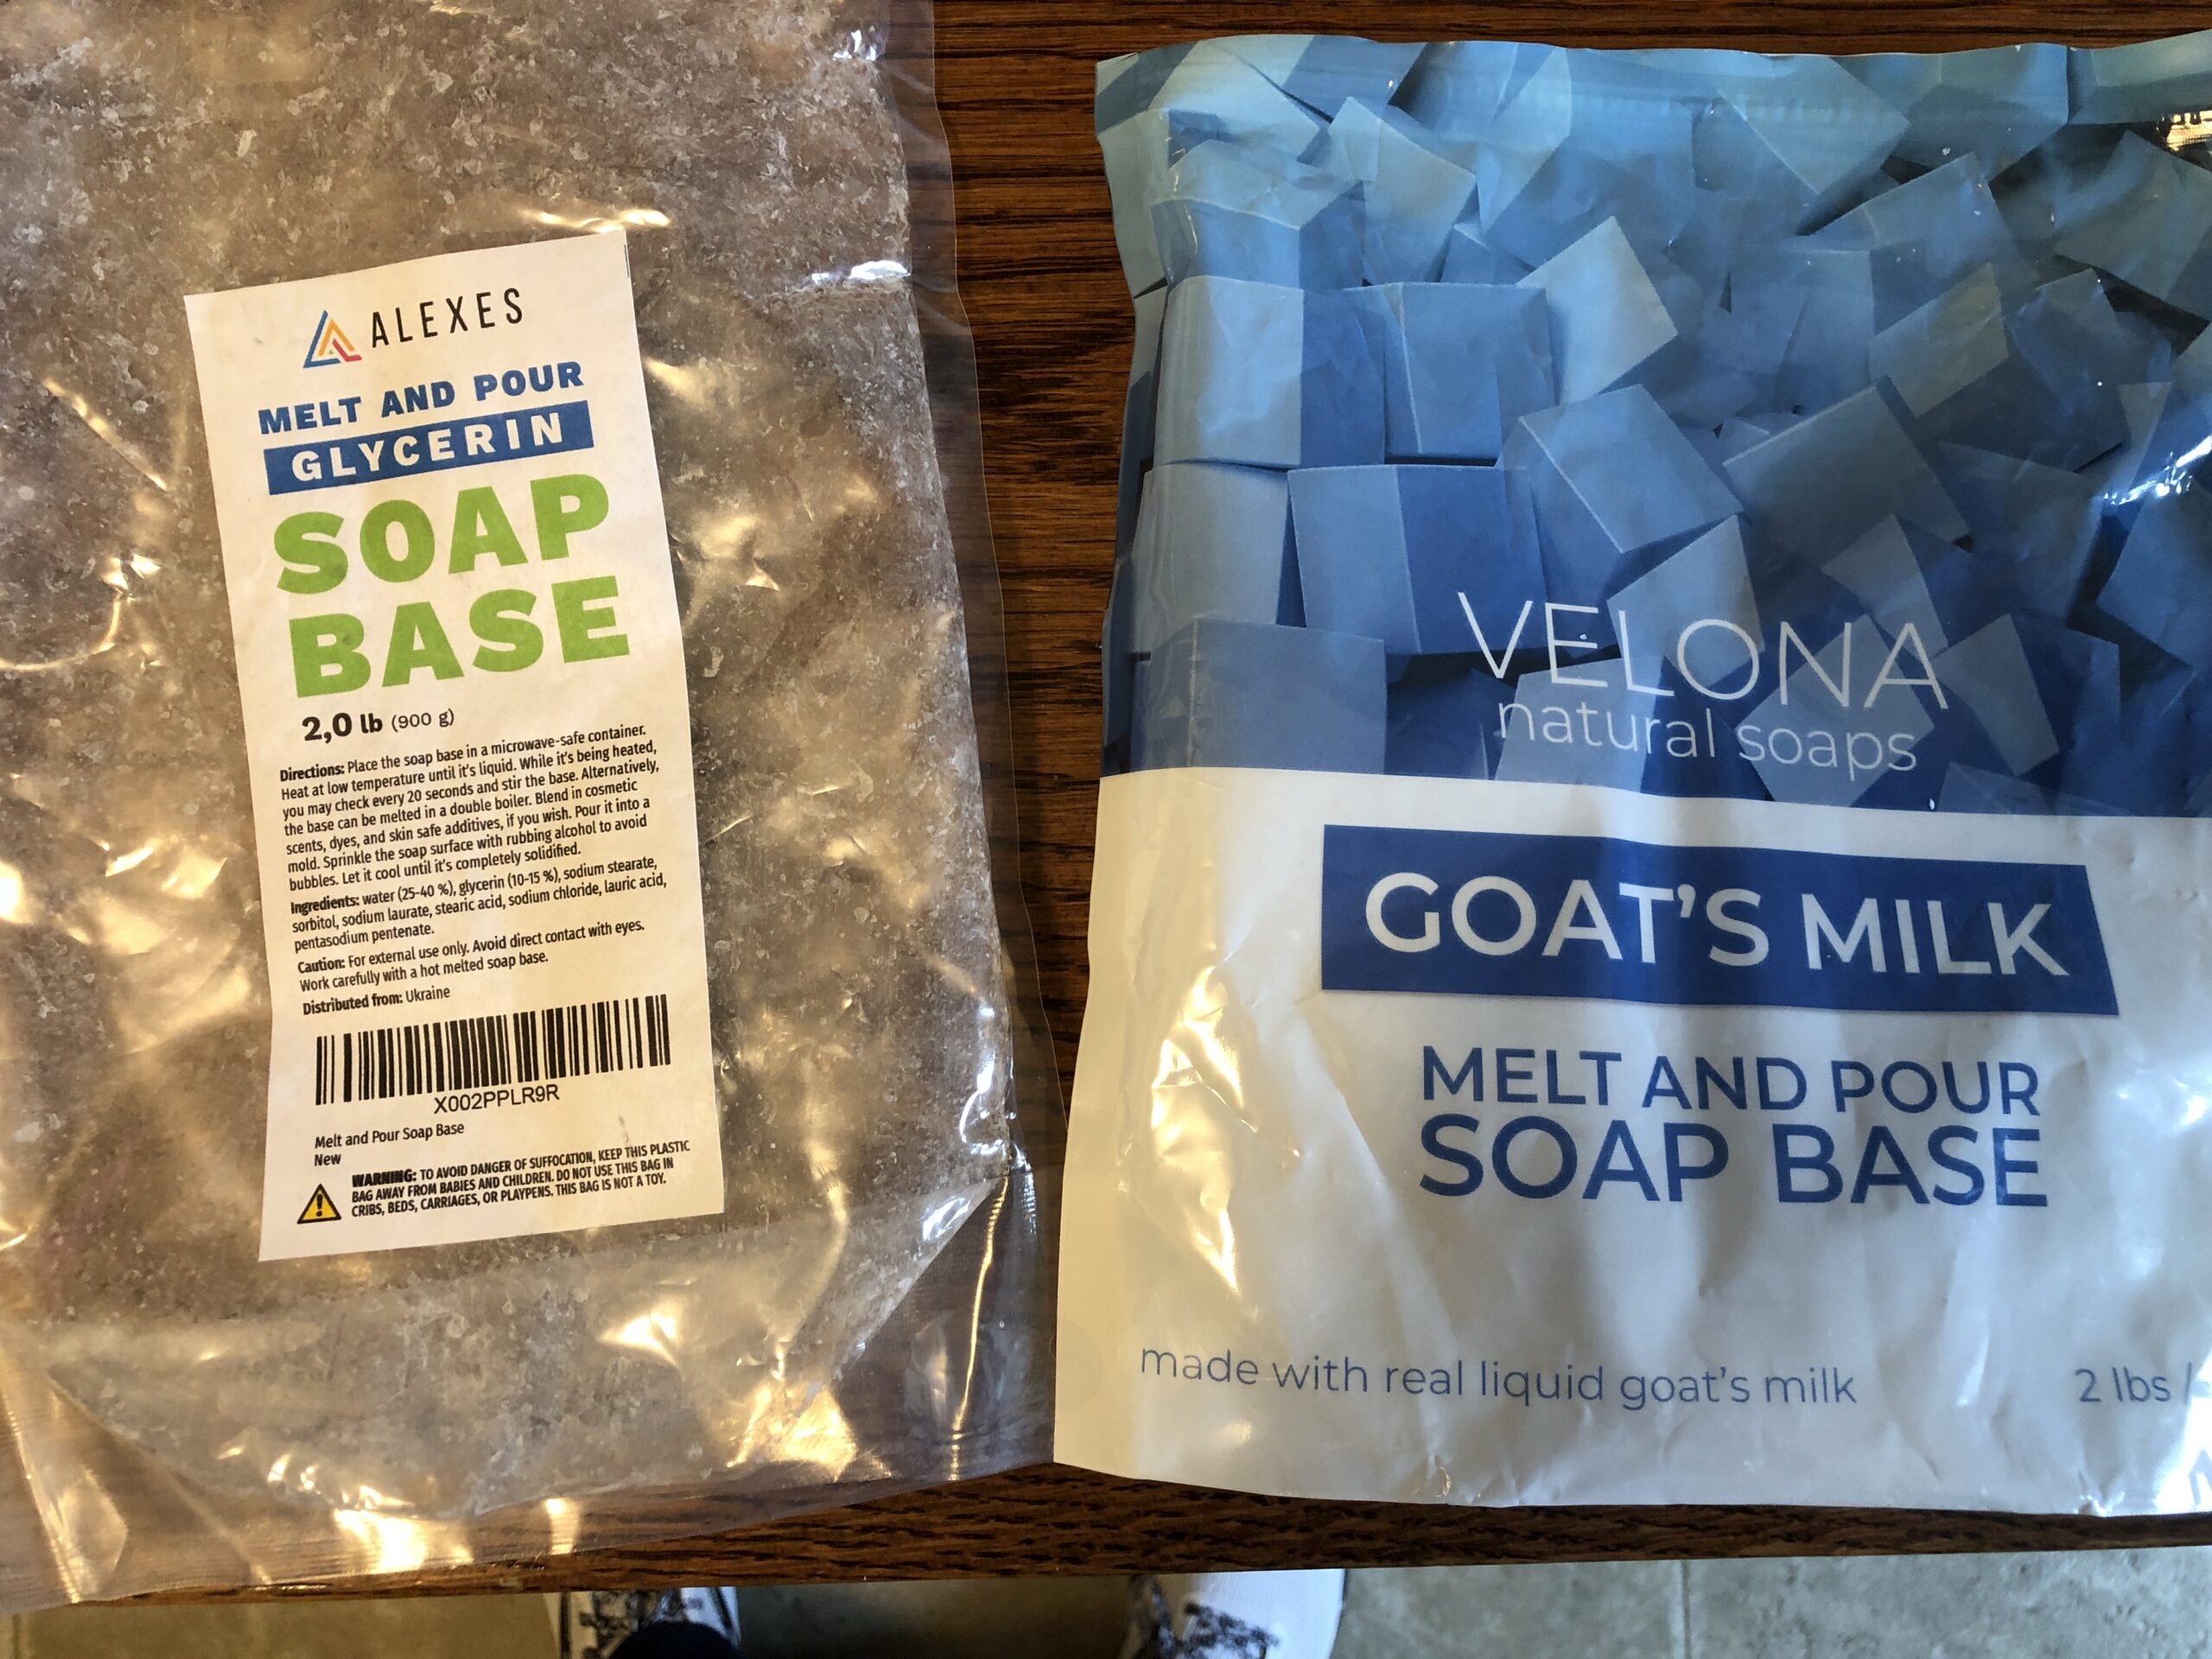
I now have bread in the freezer and yesterday I spent the day melting “melt-and-pour” soap to make enough small soaps so I could share with about 40 people. Three things make the soap useful as a gift soap for others: 1) a gentle soap that feels good after use; 2) a scent that isn’t too strong, but is appropriate for the season; and 3) a color and shape that reflects the season.
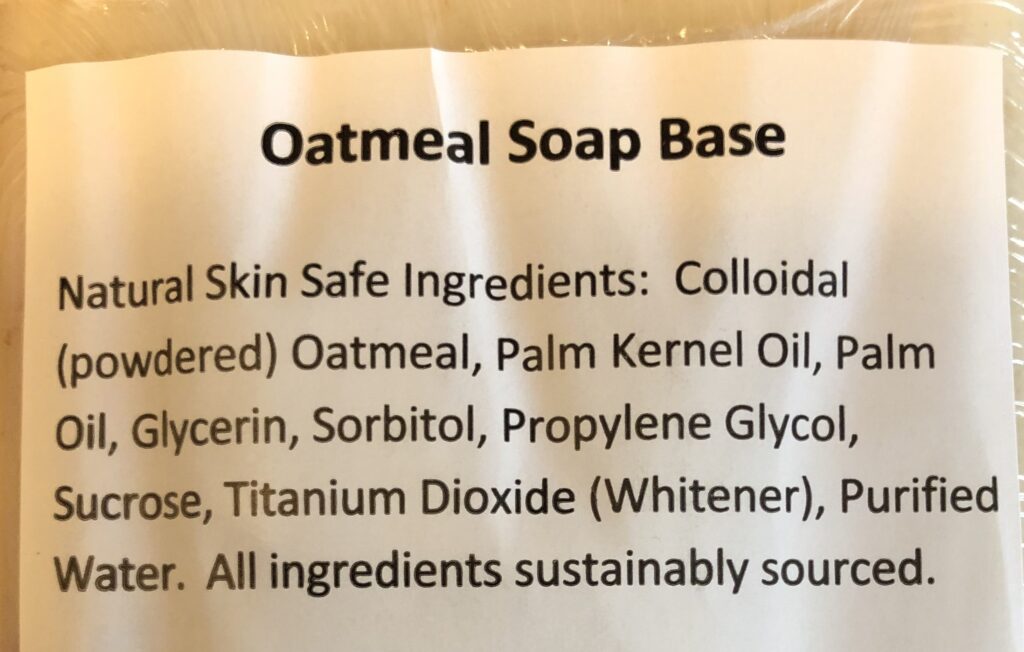
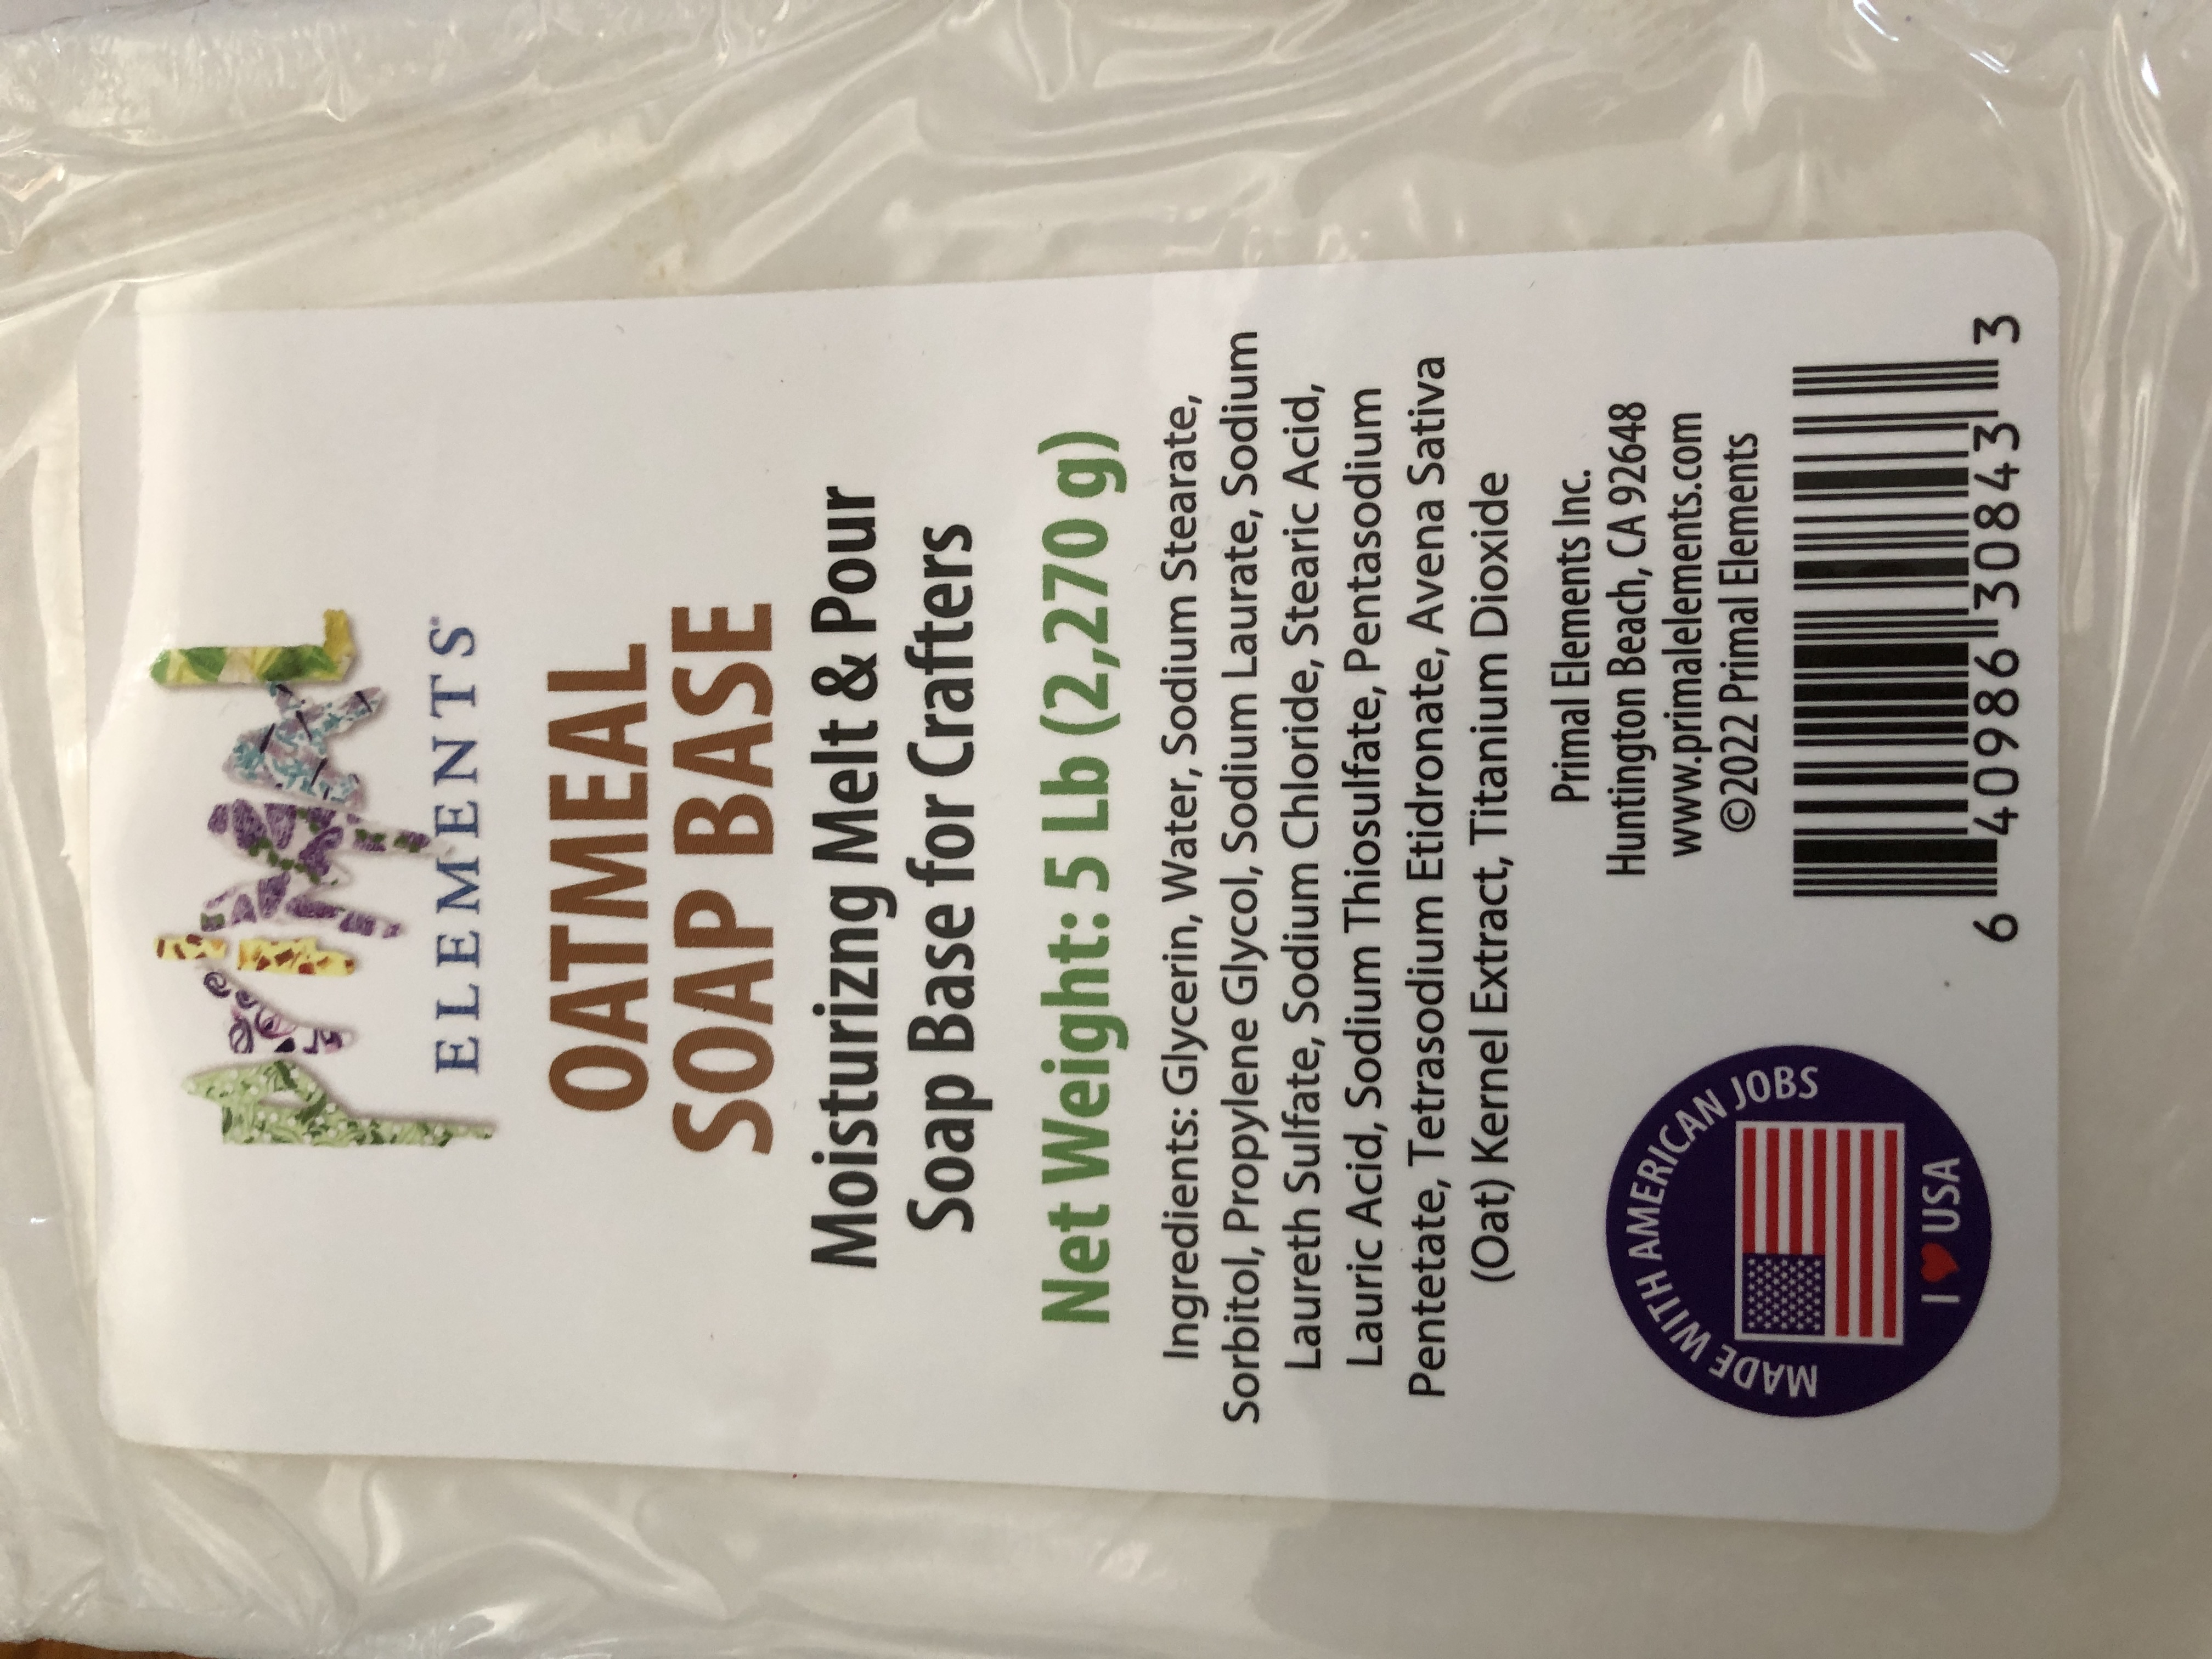
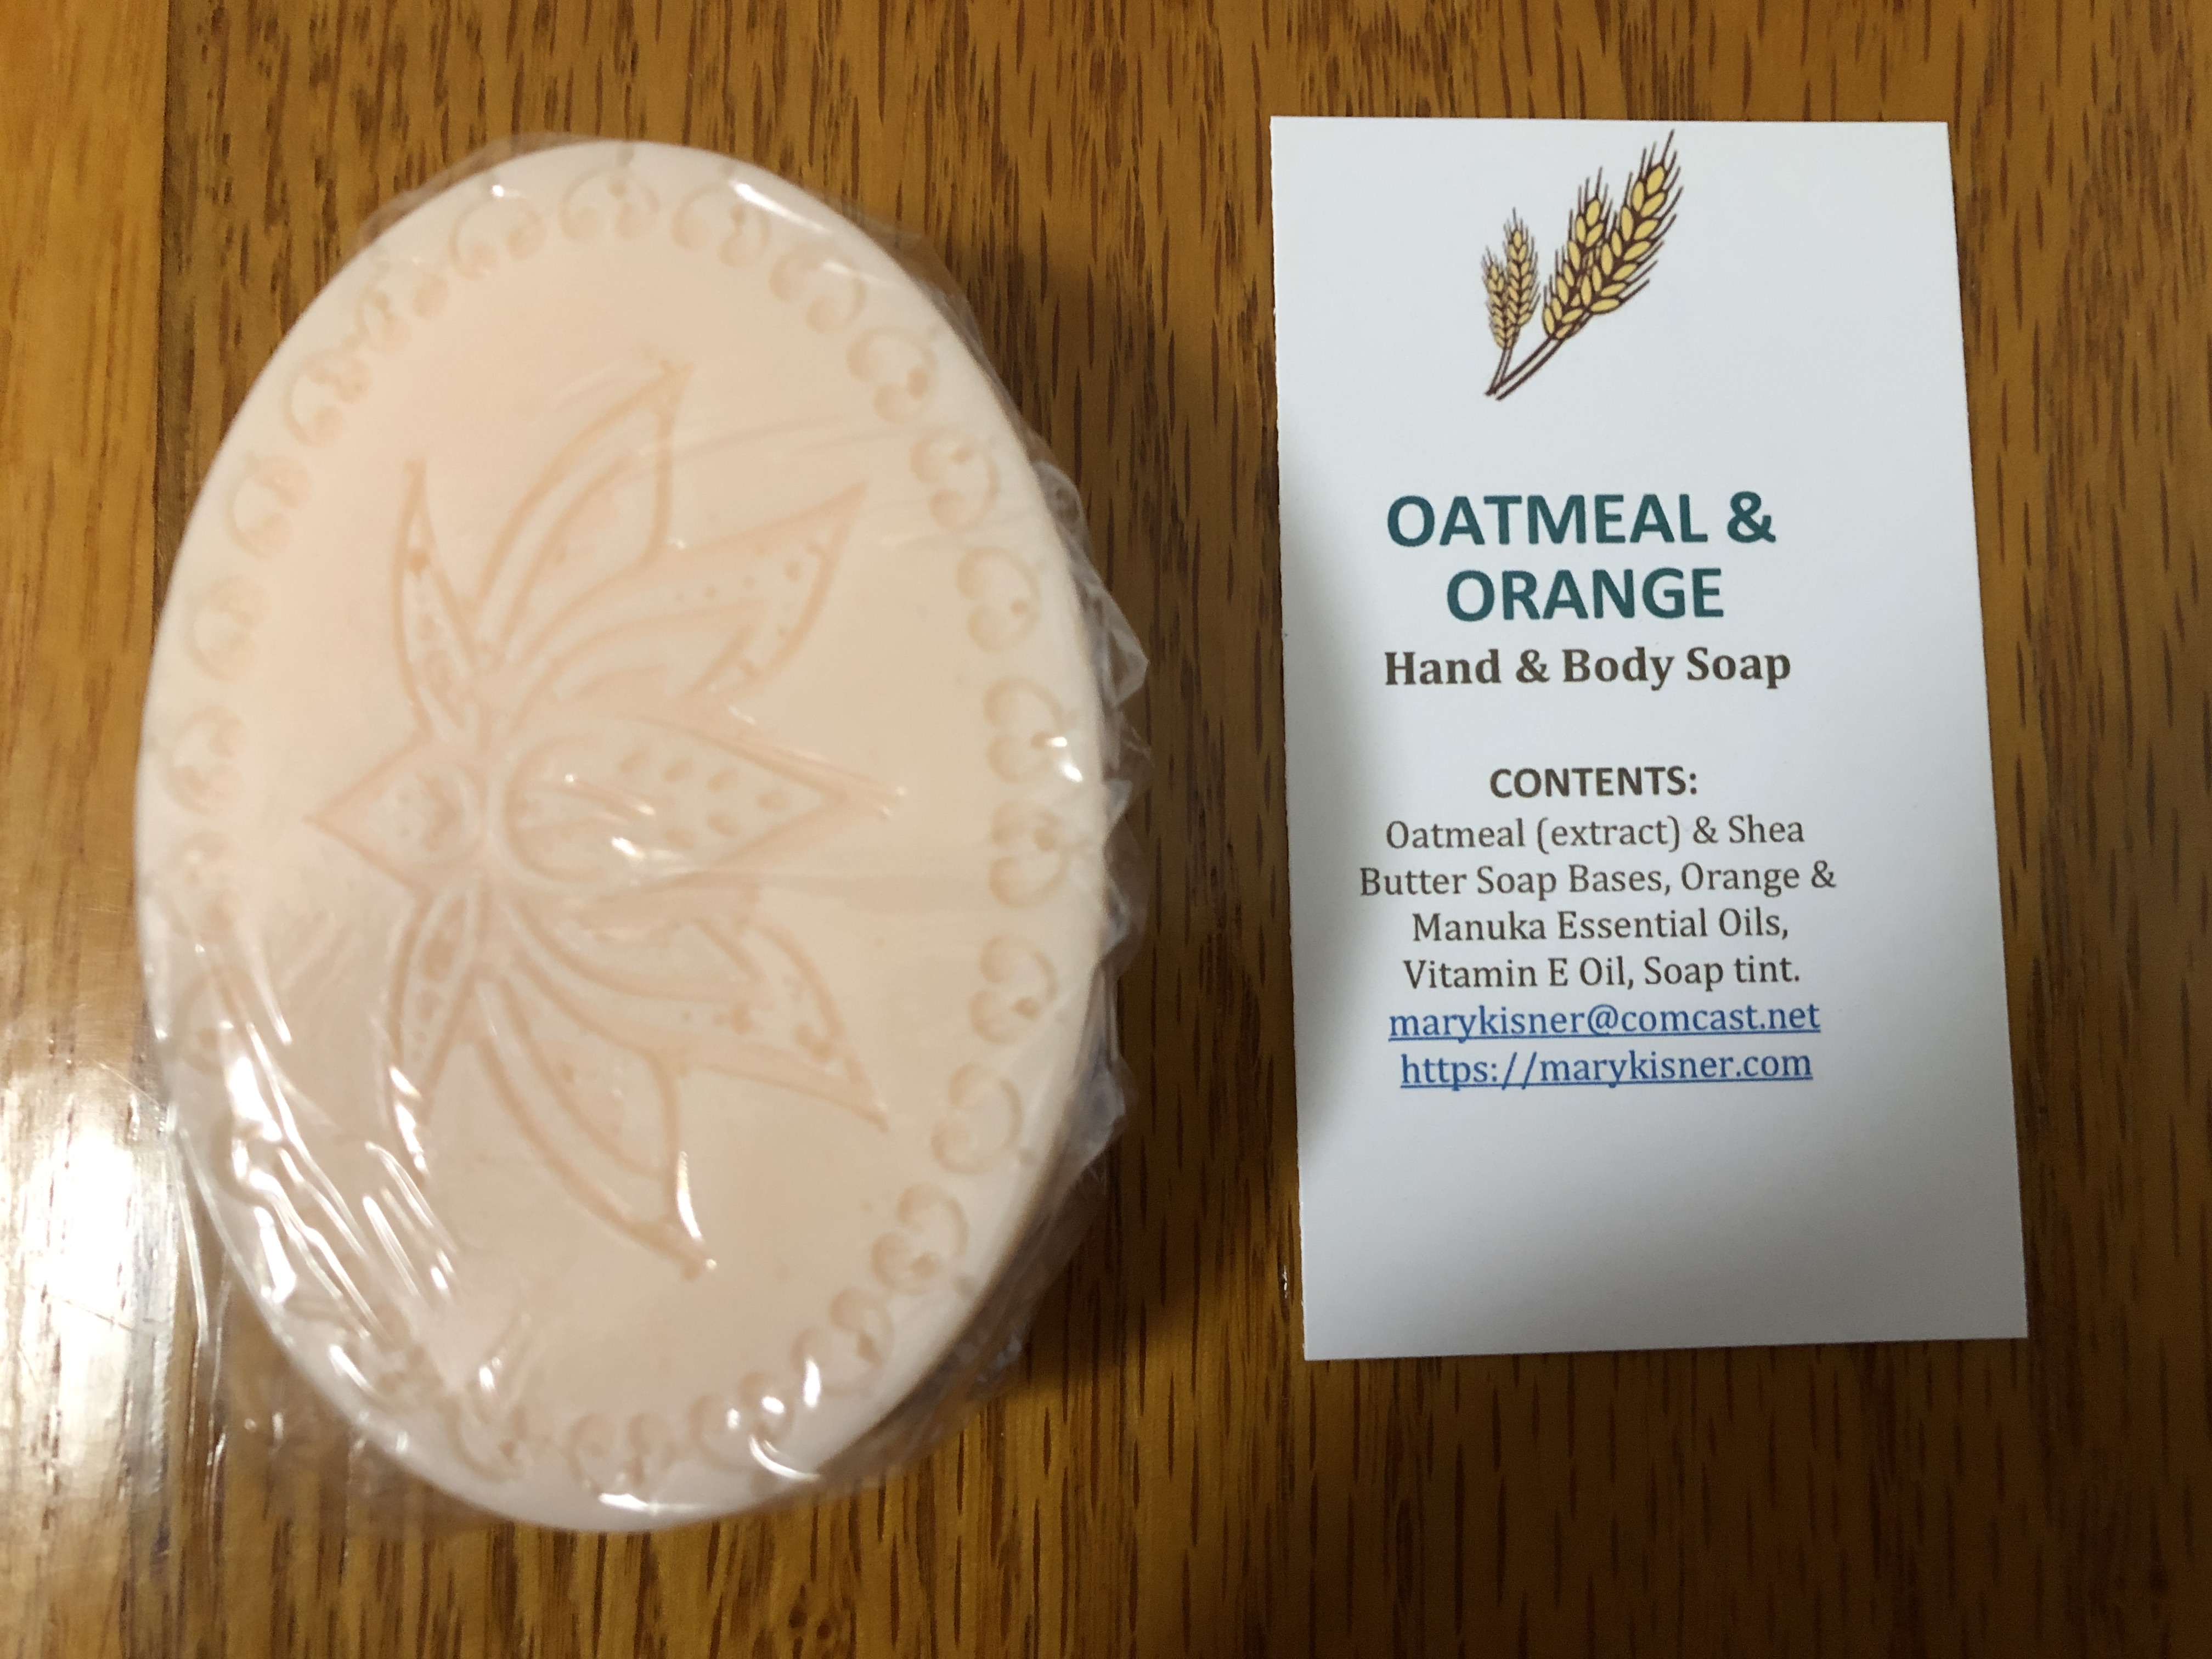
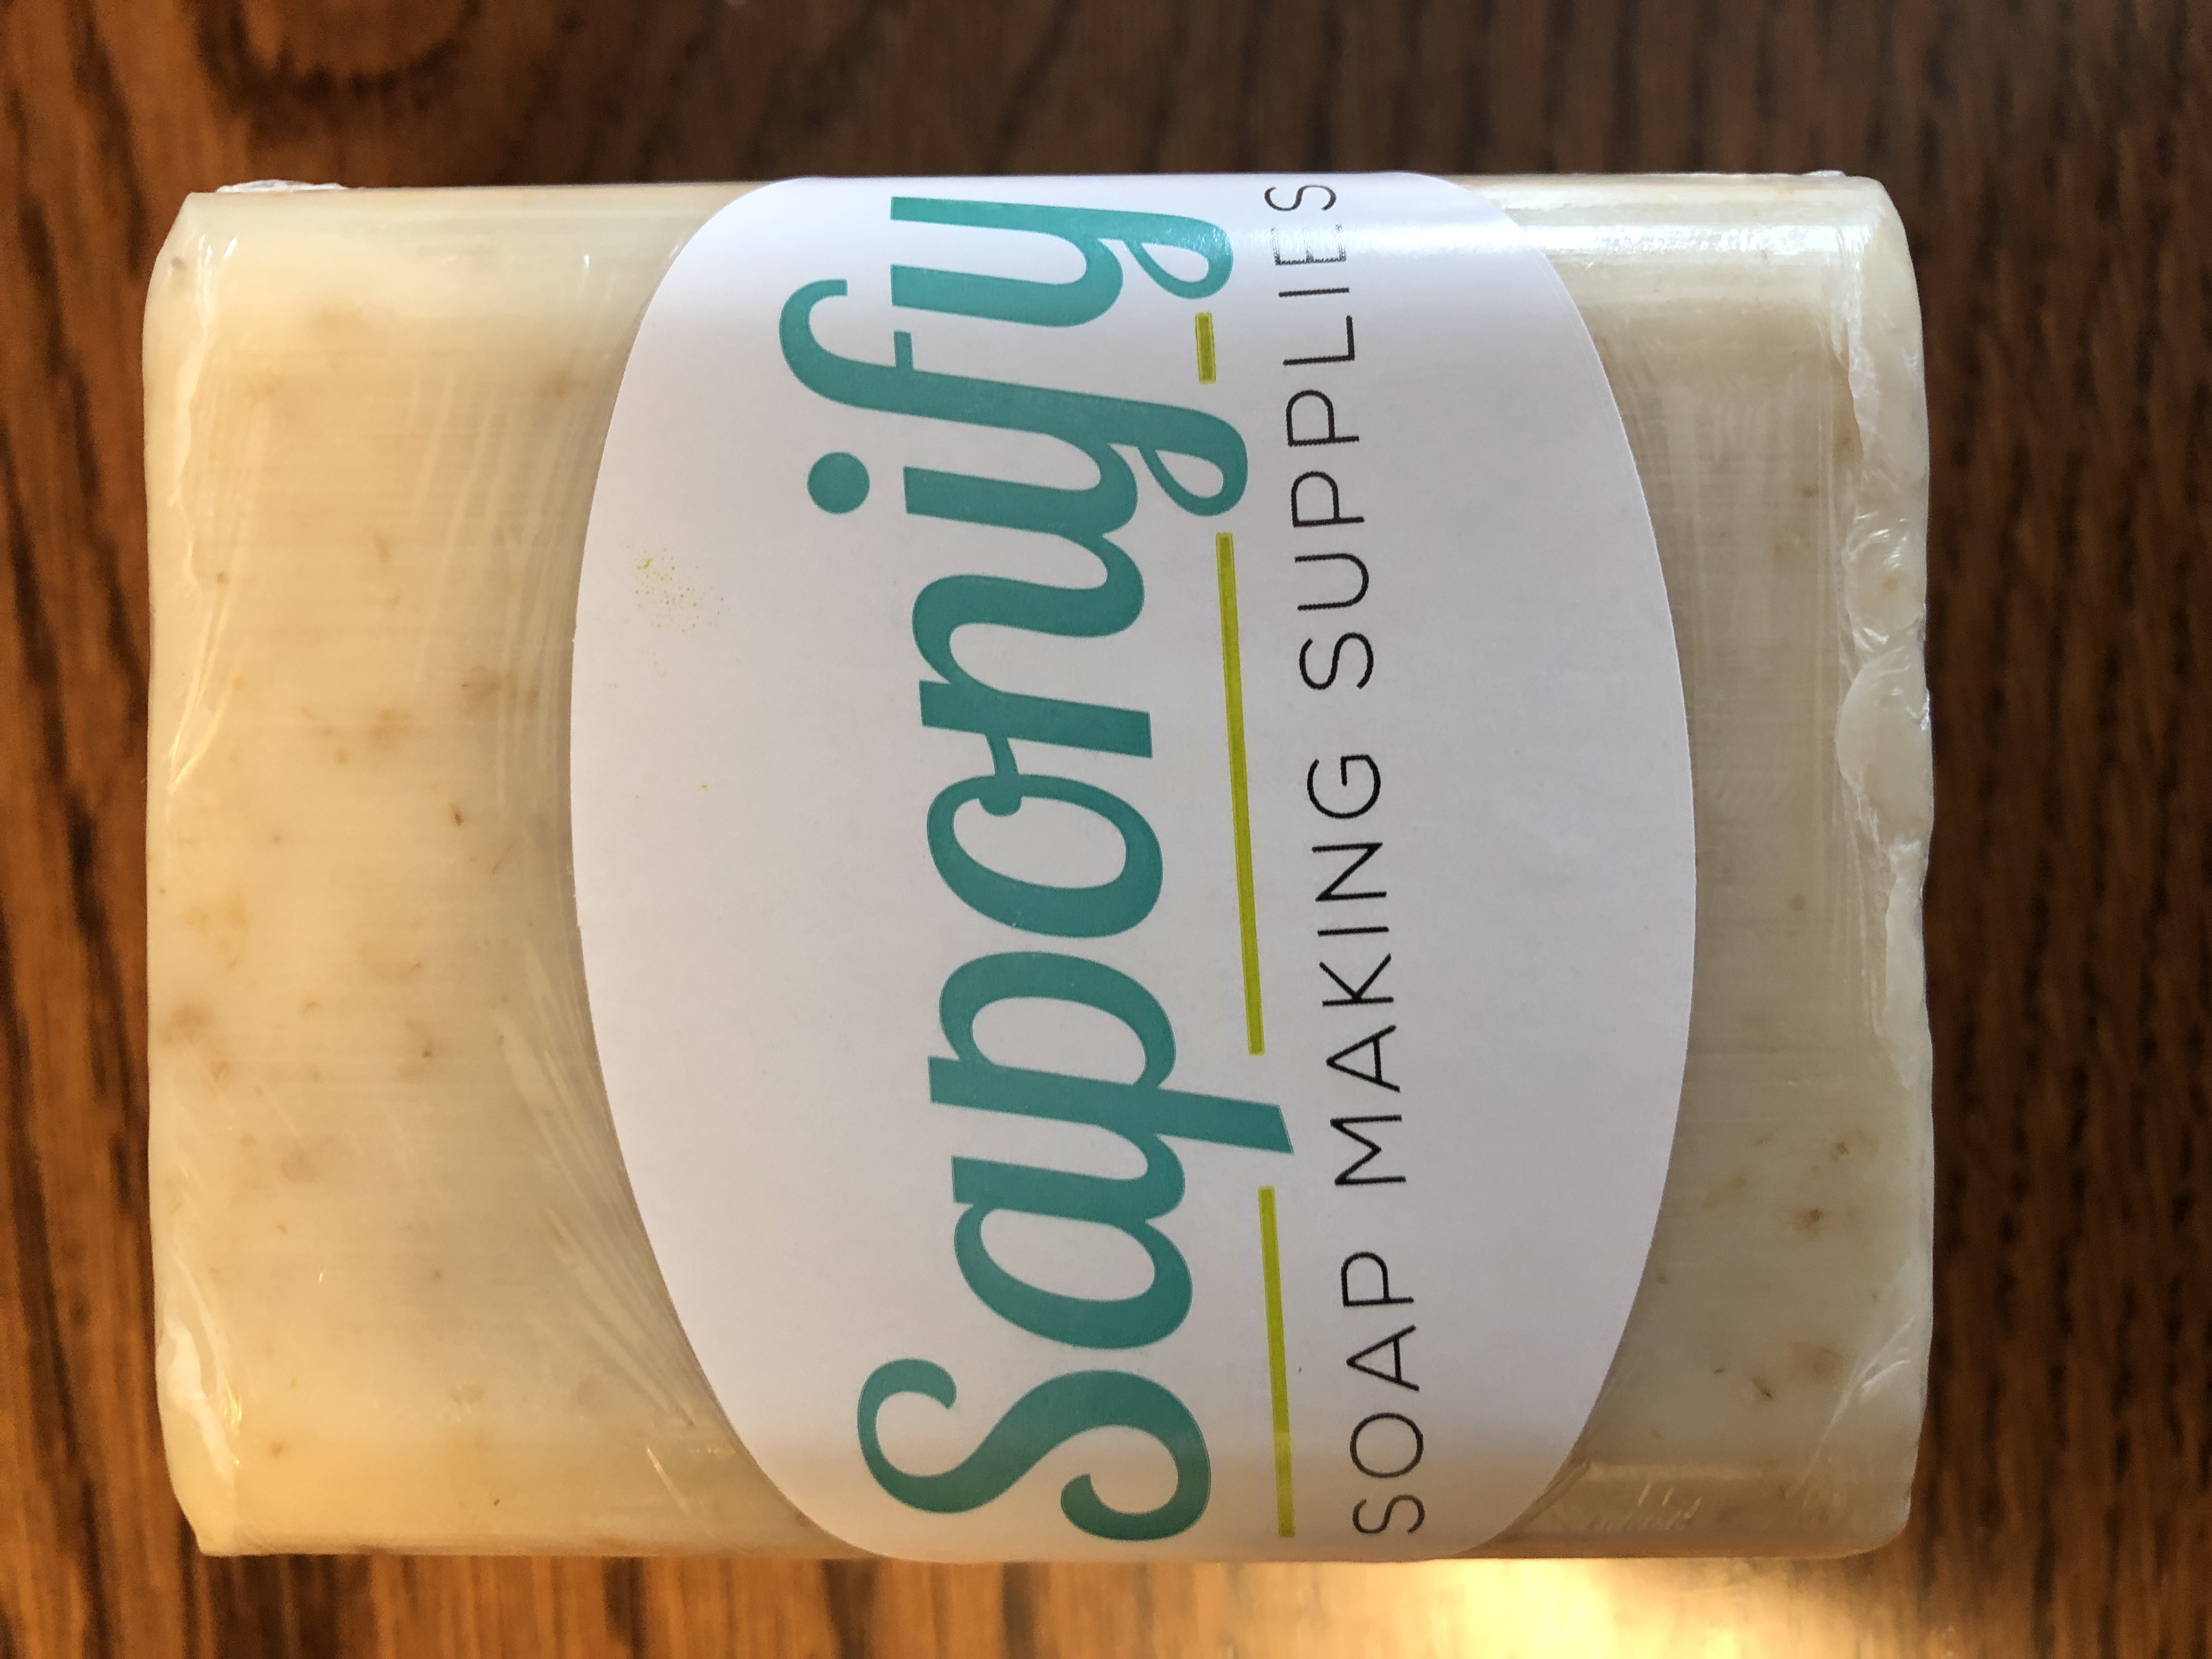
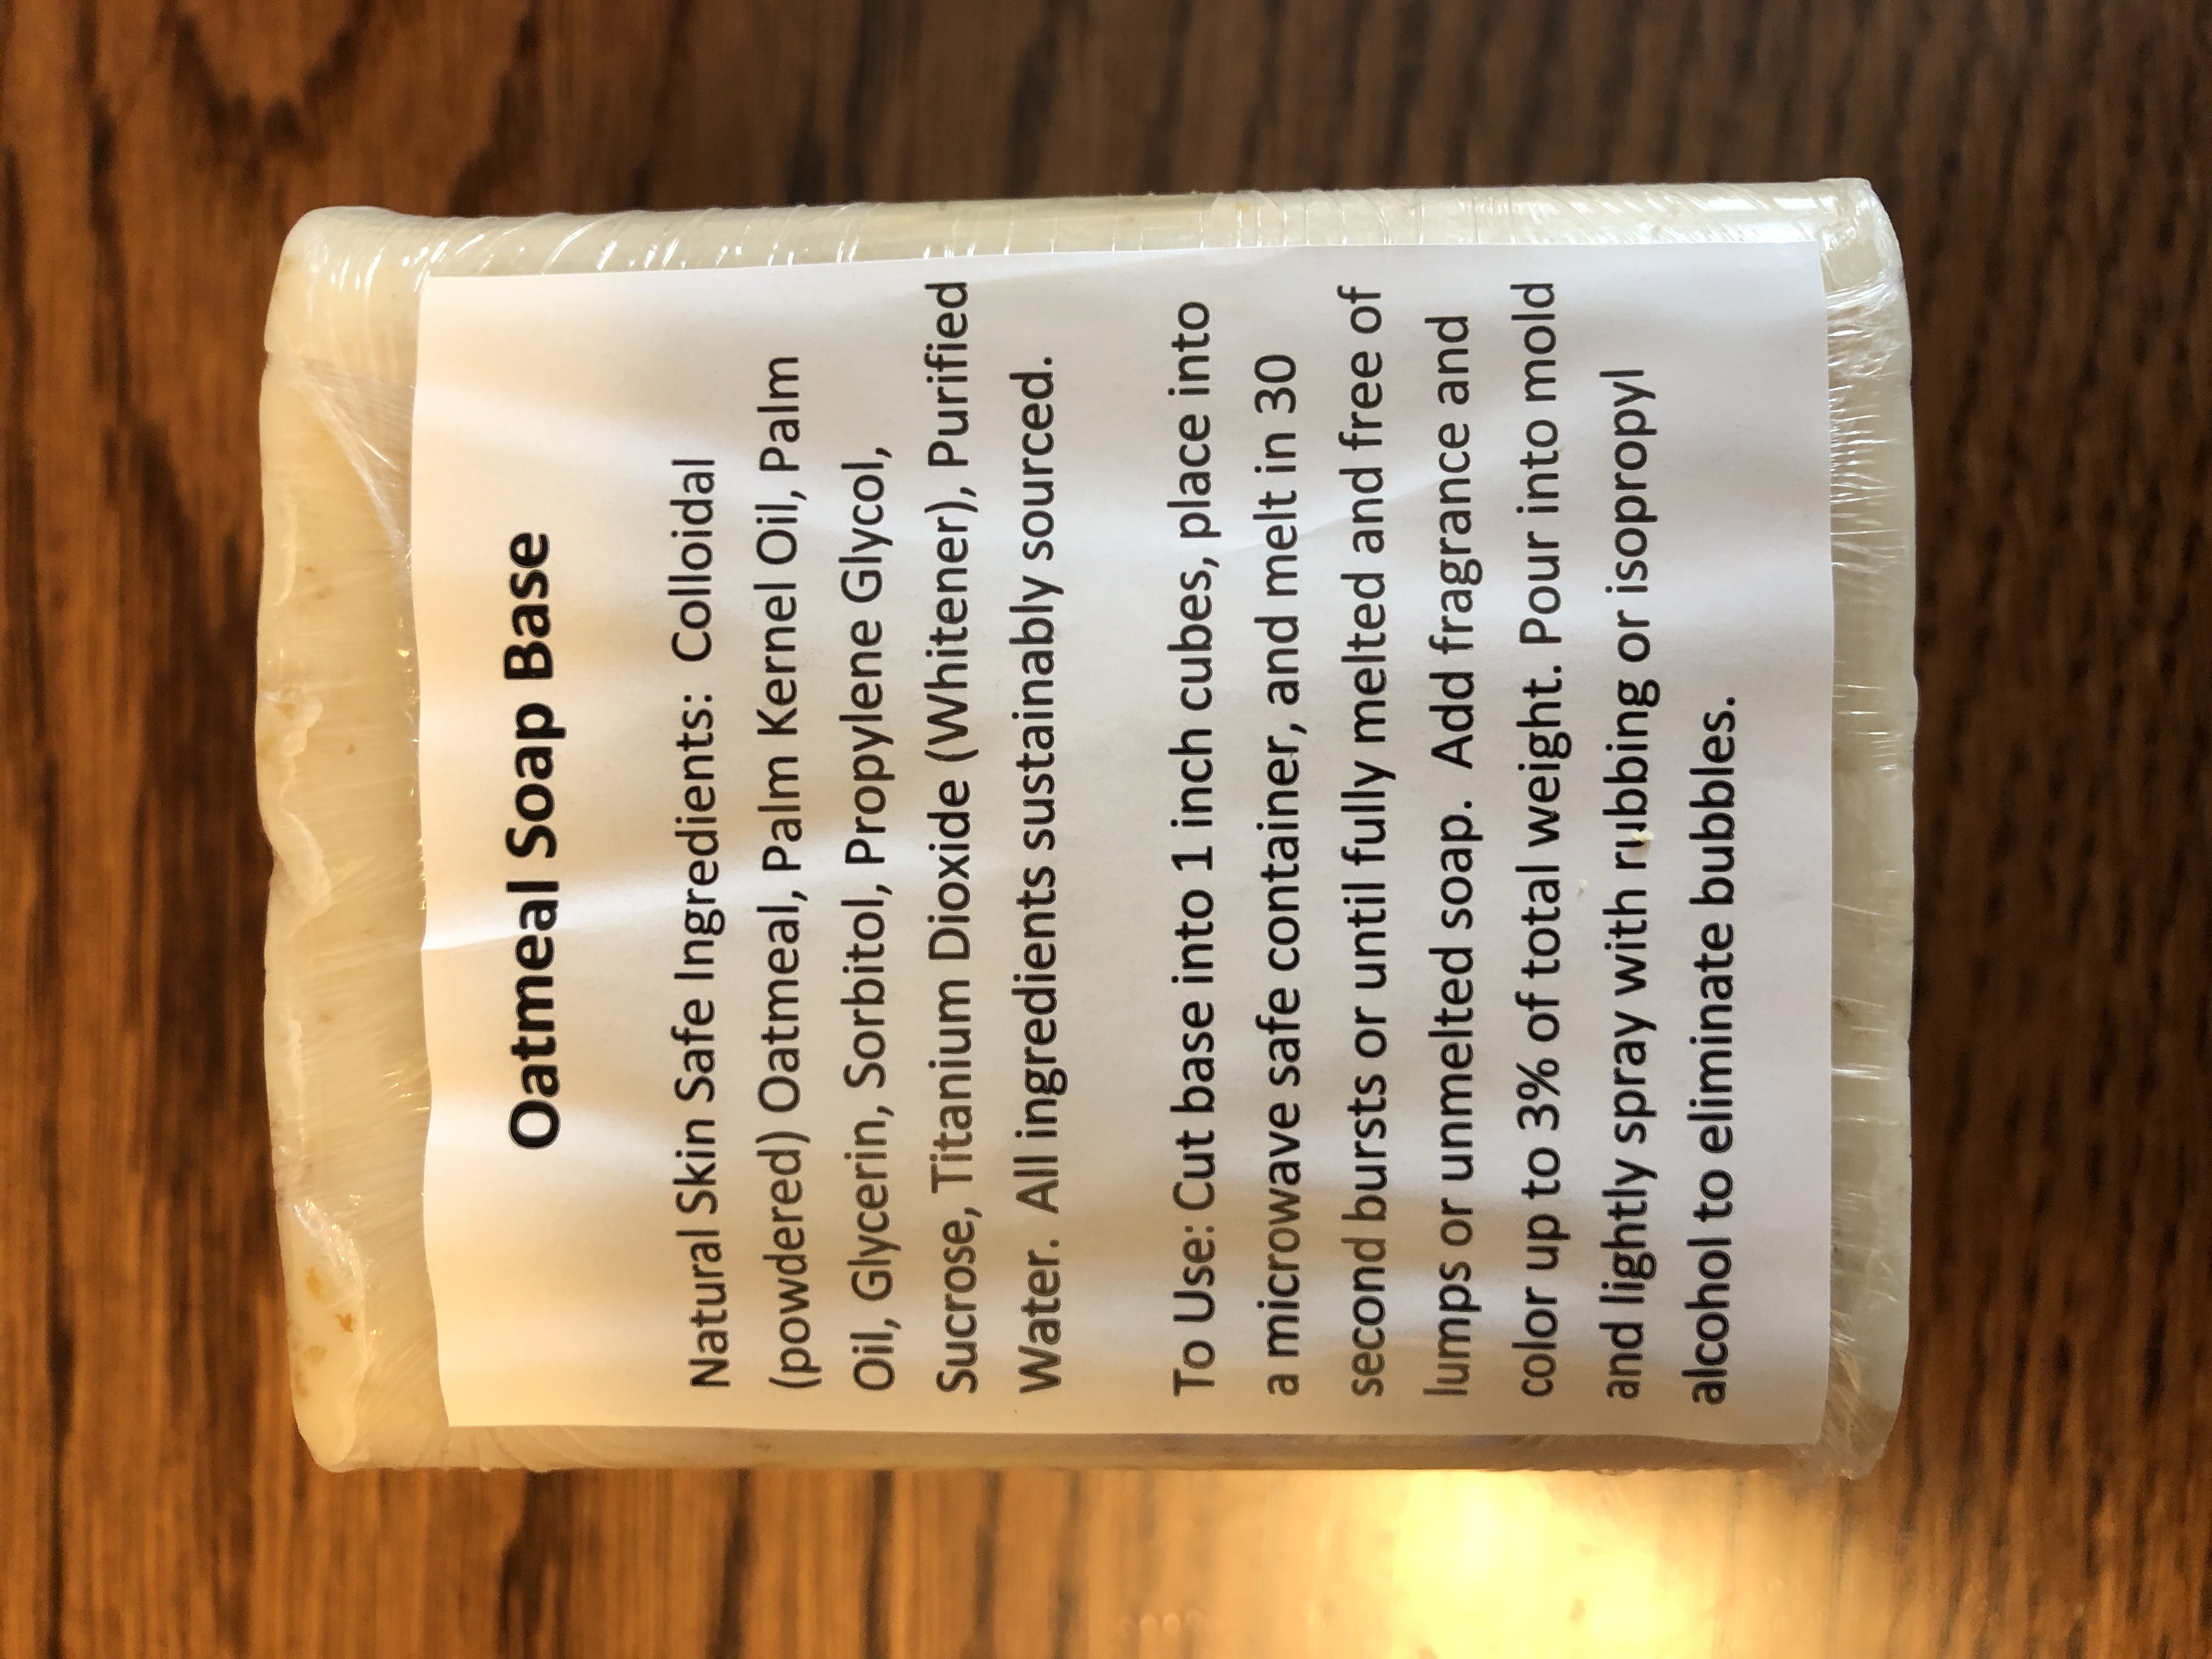
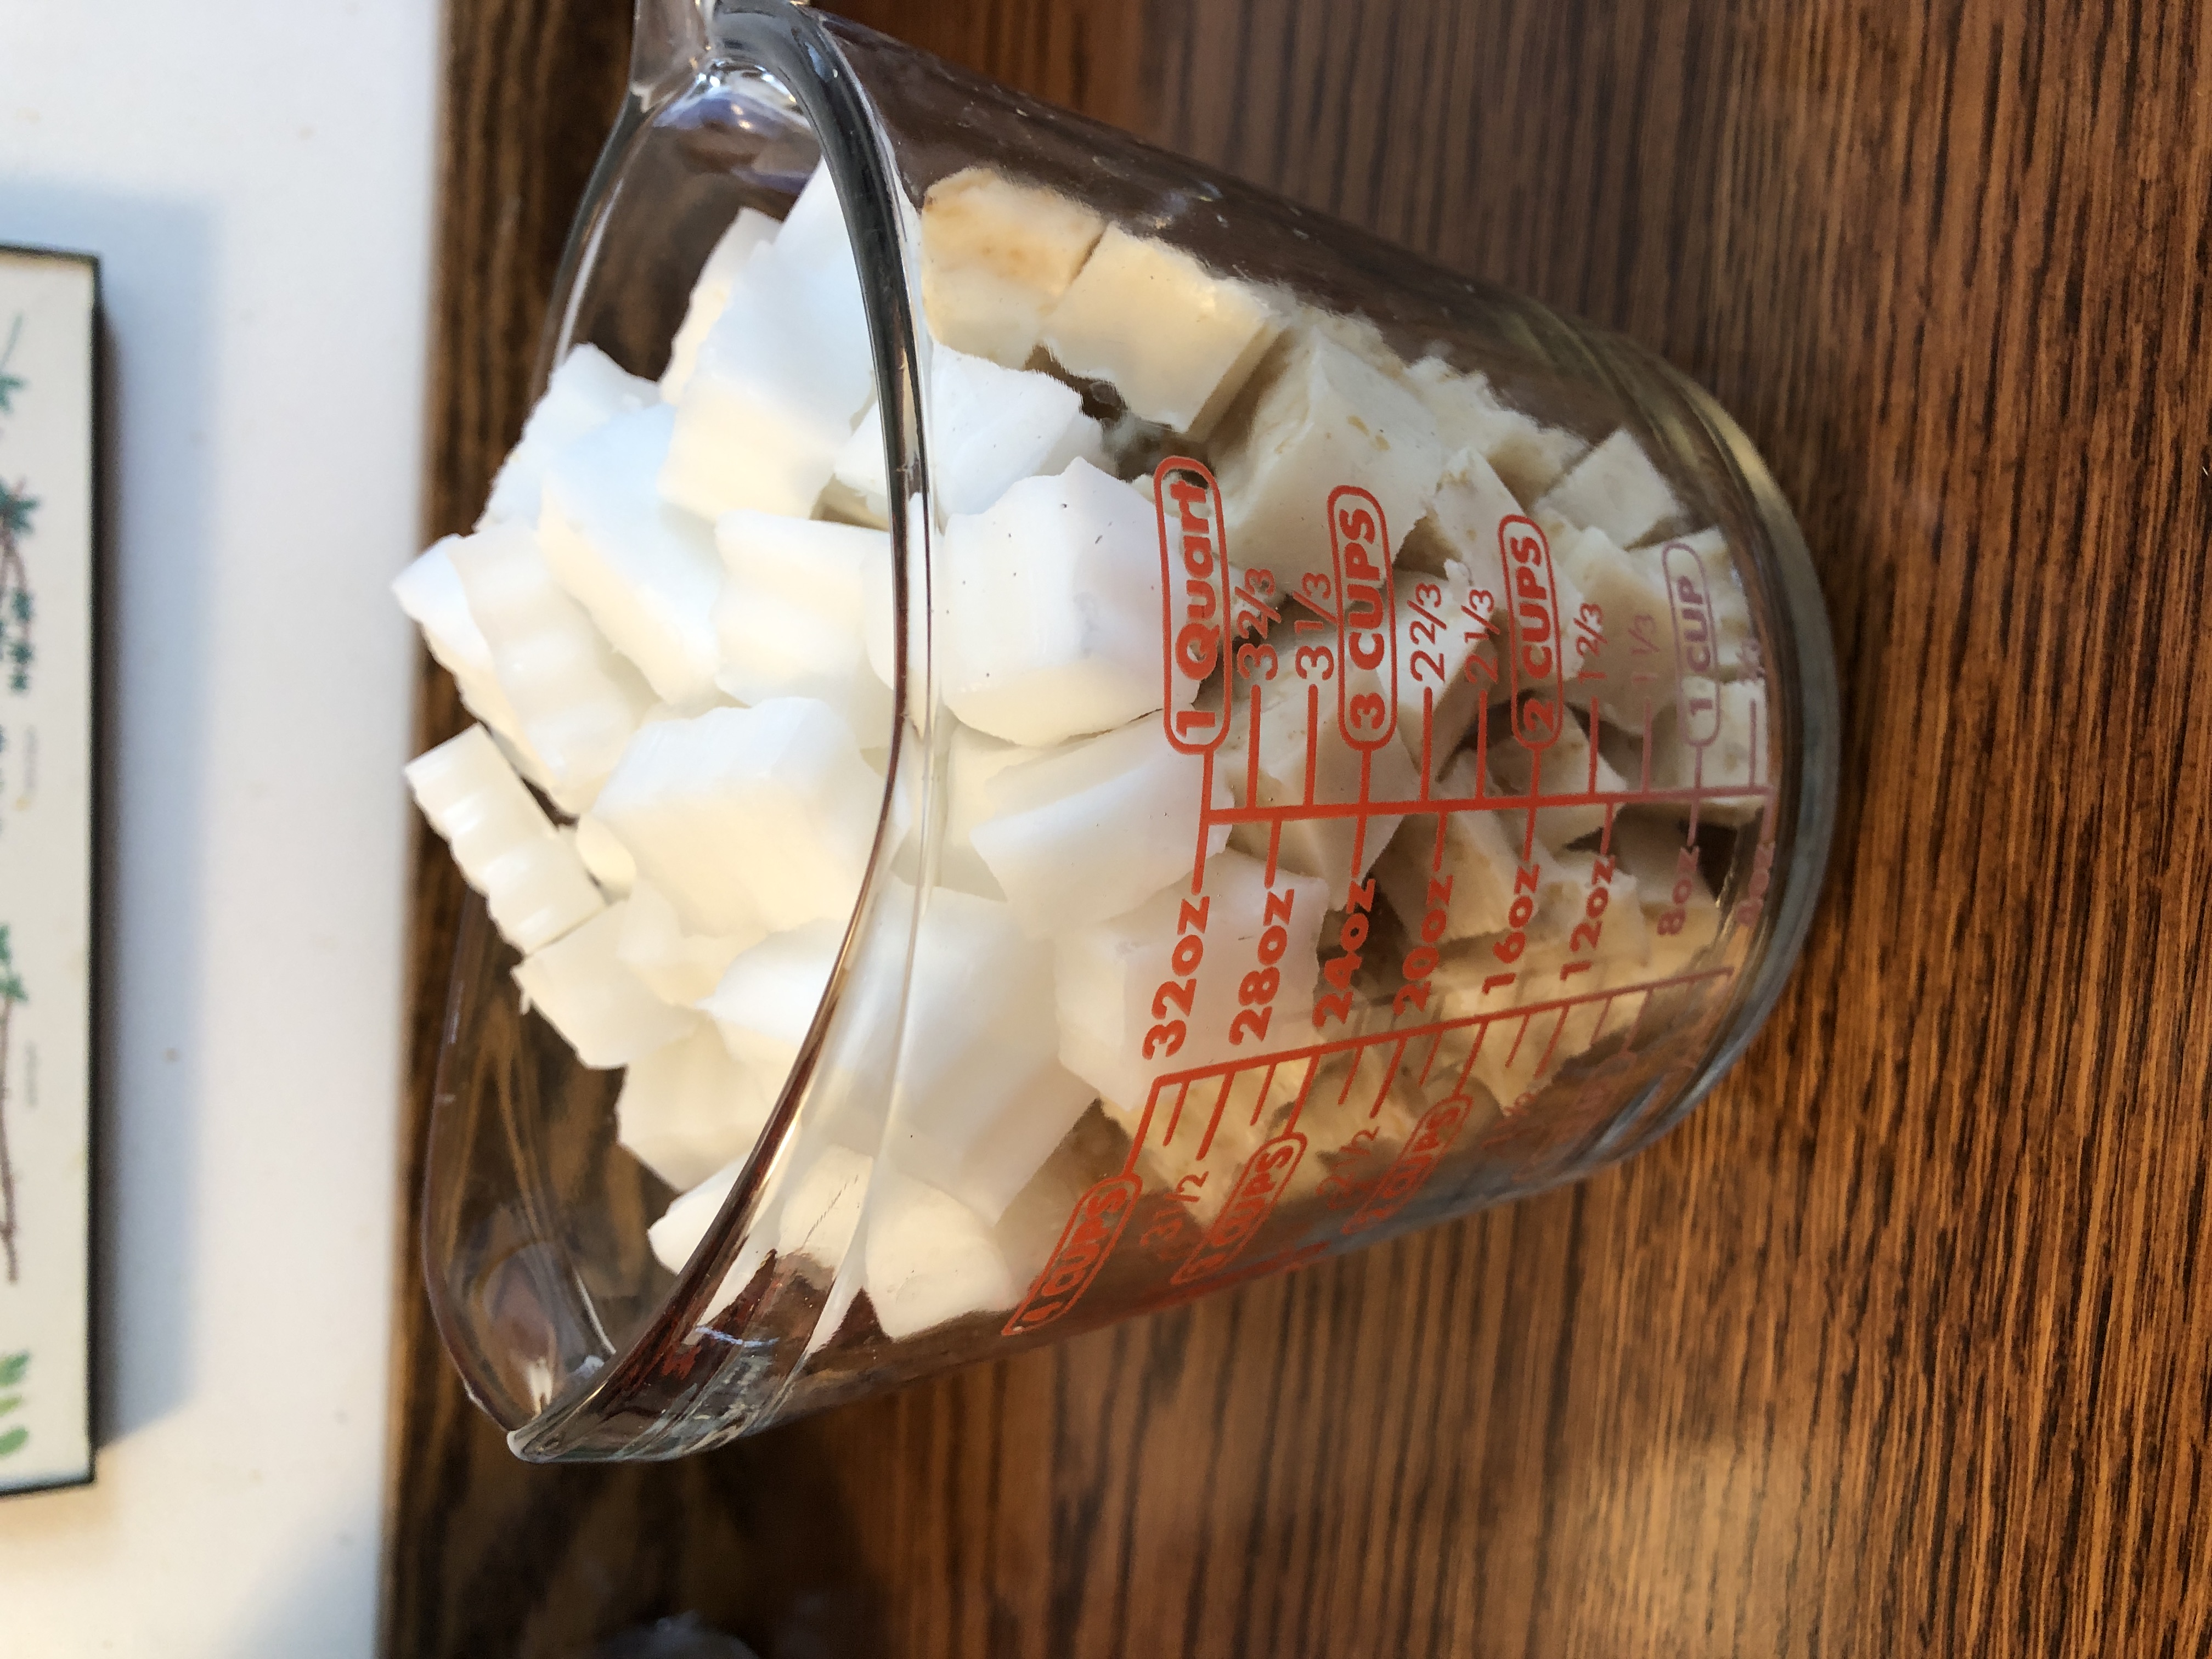
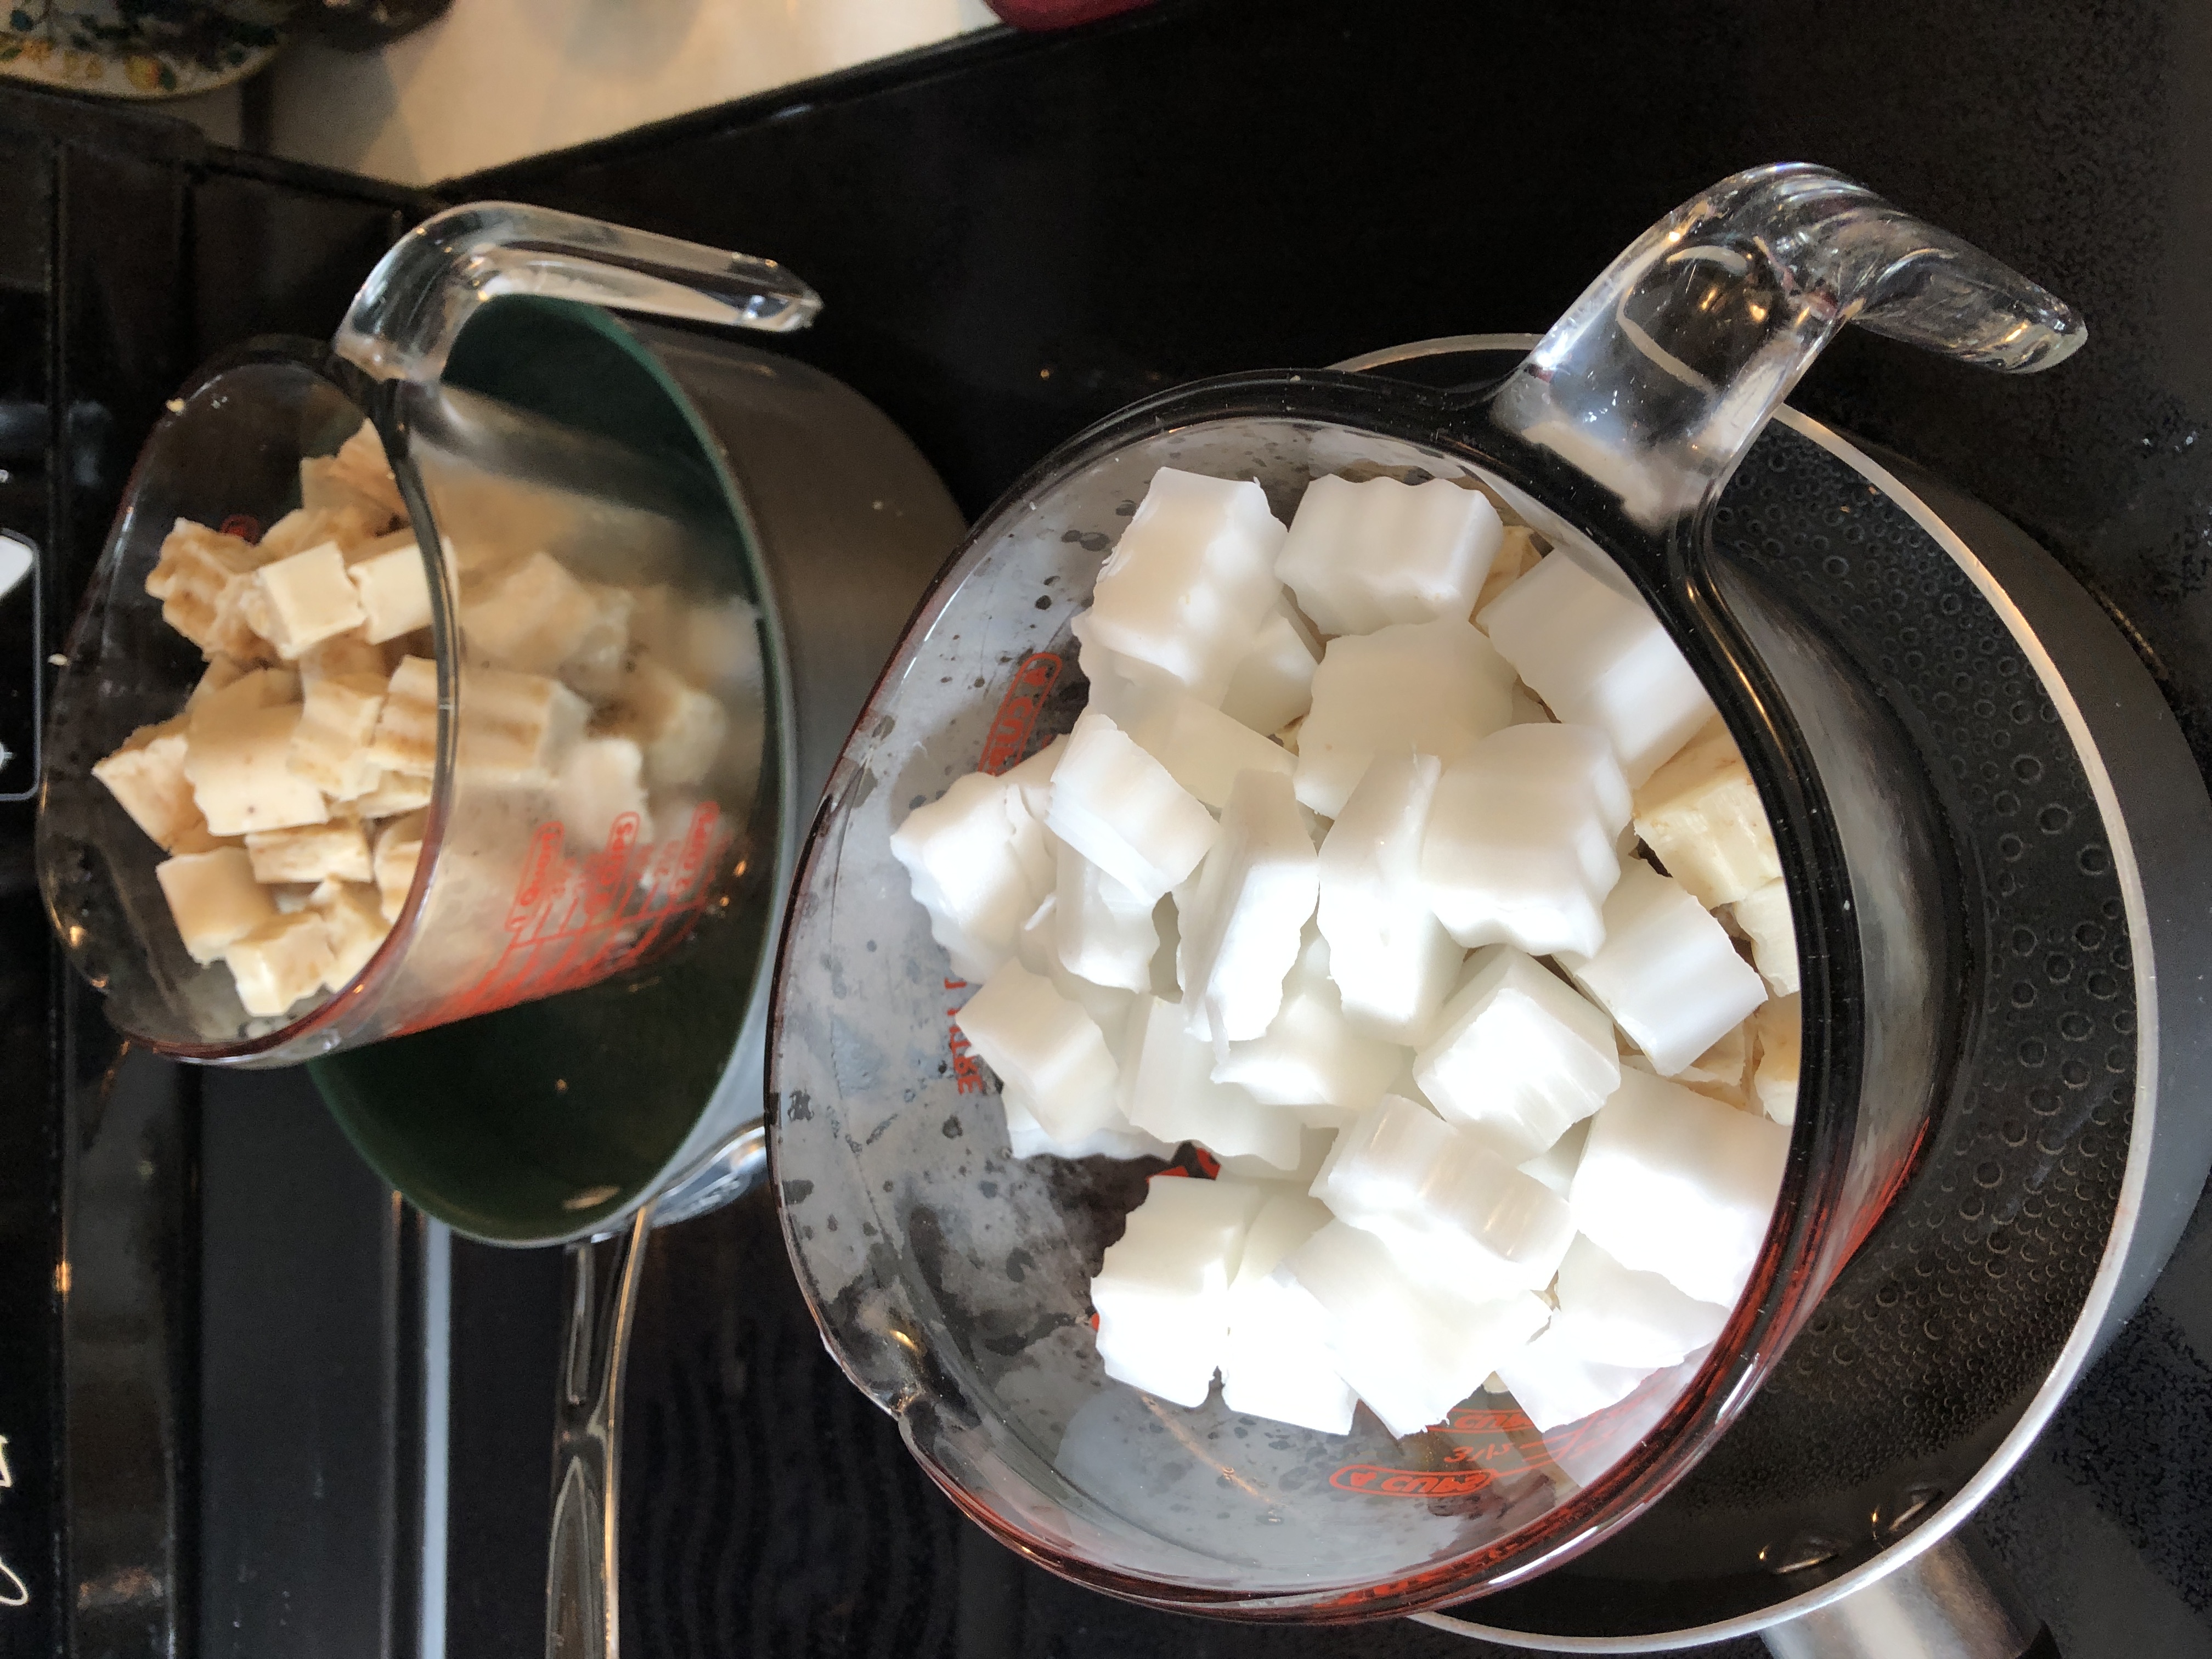
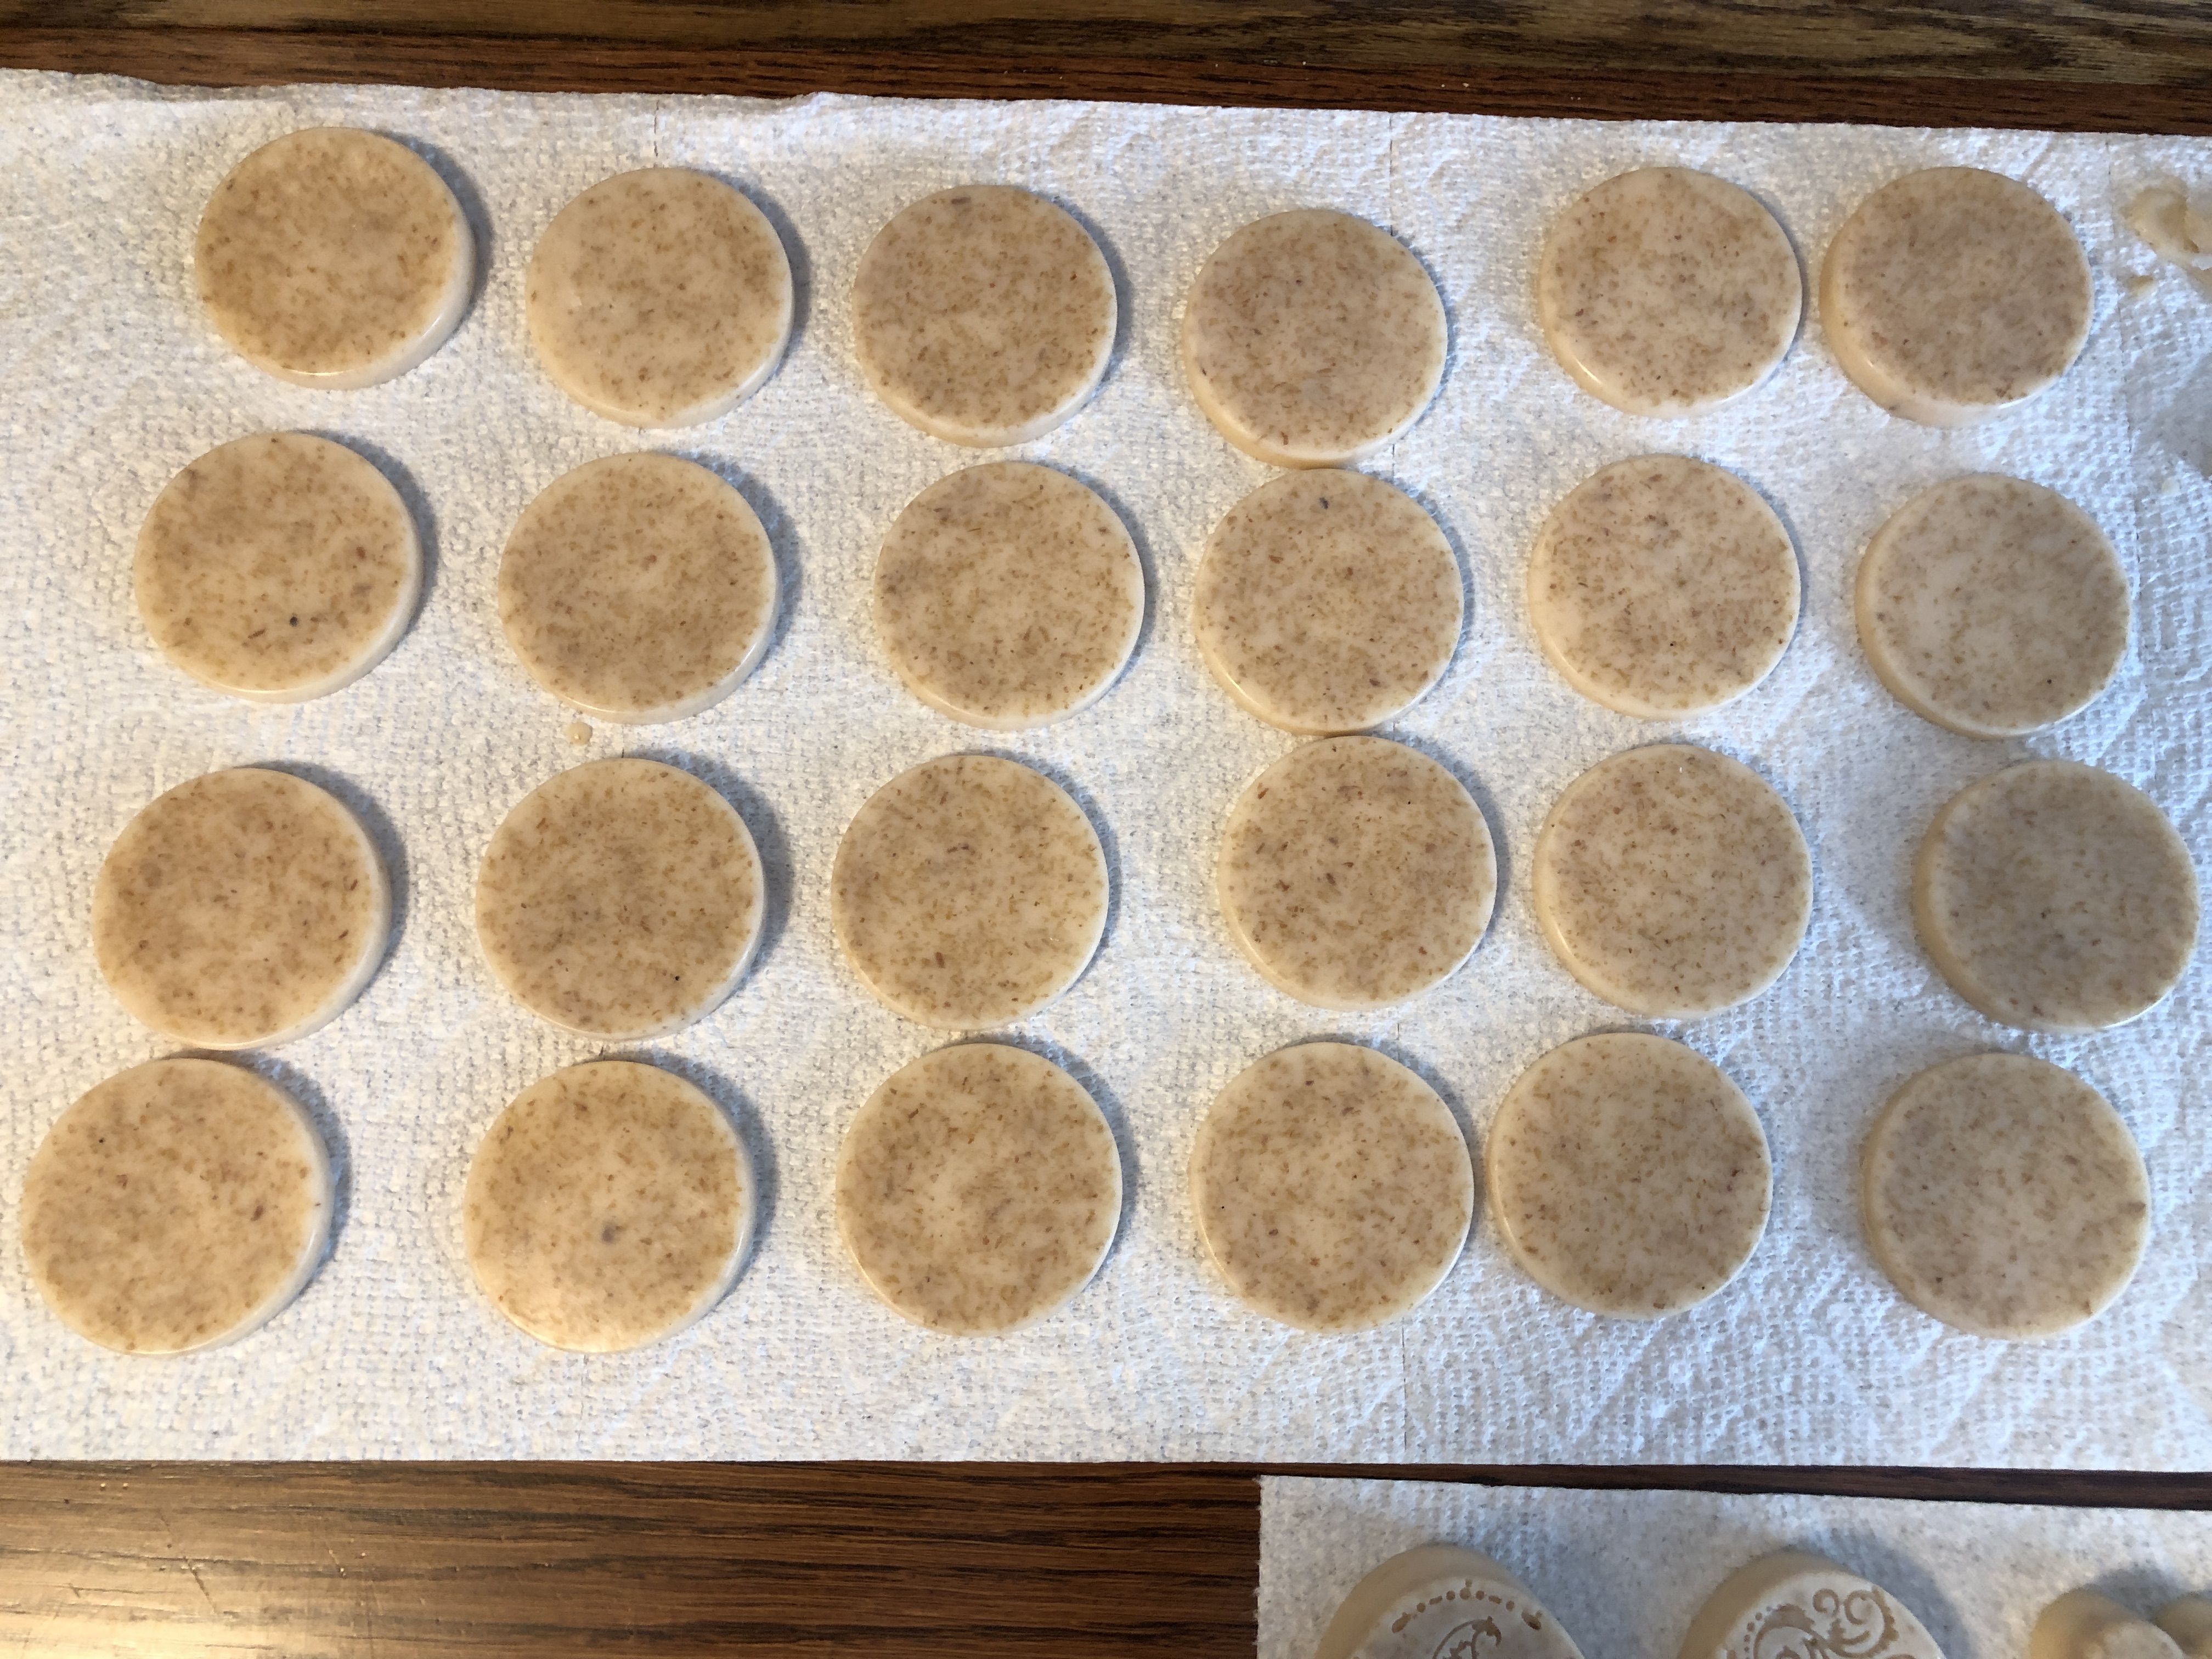
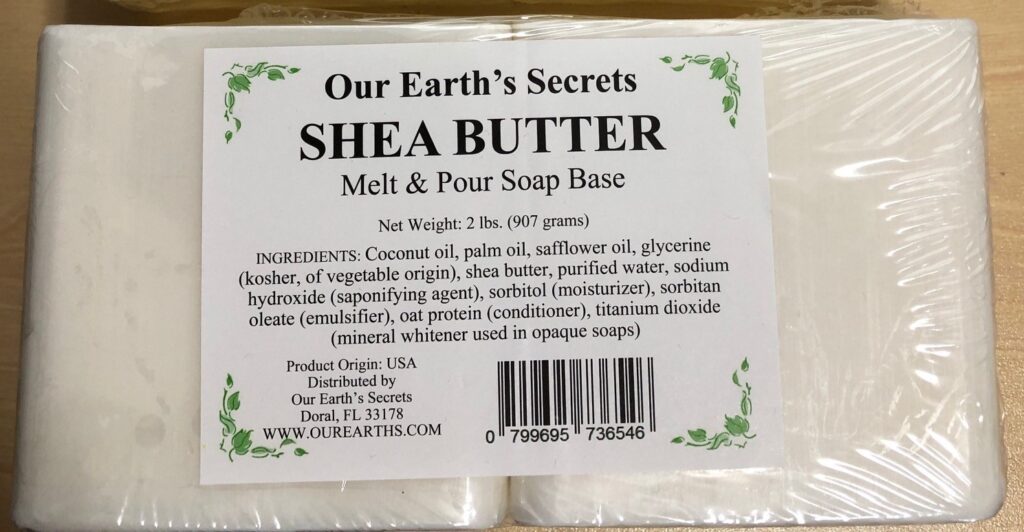
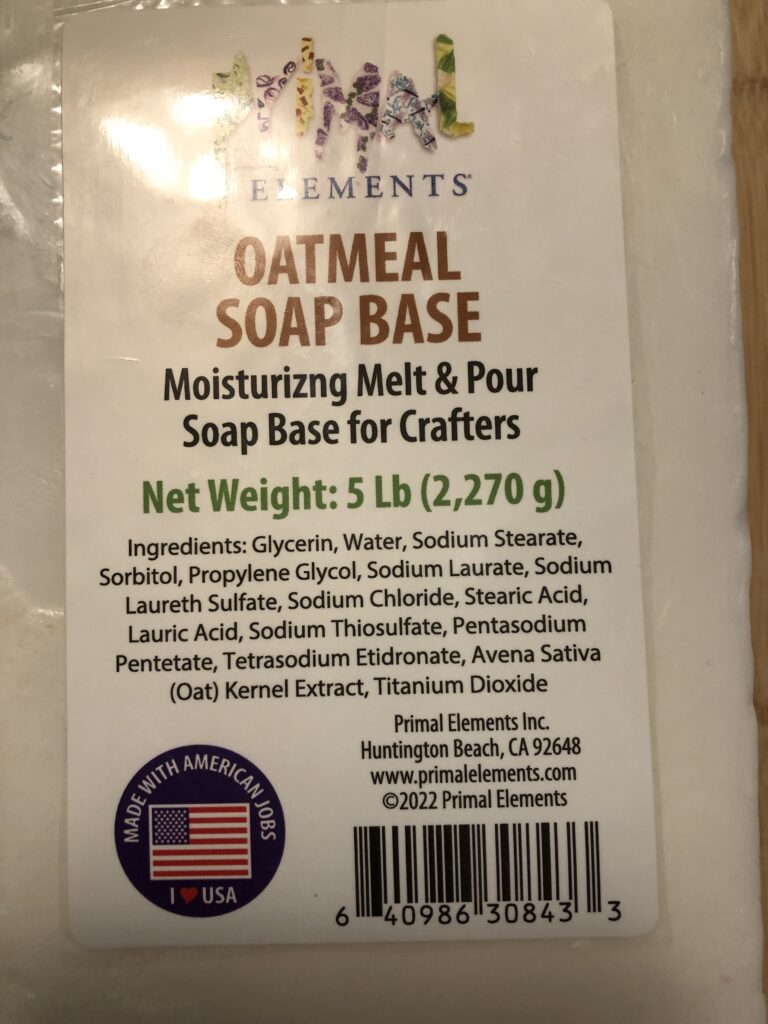
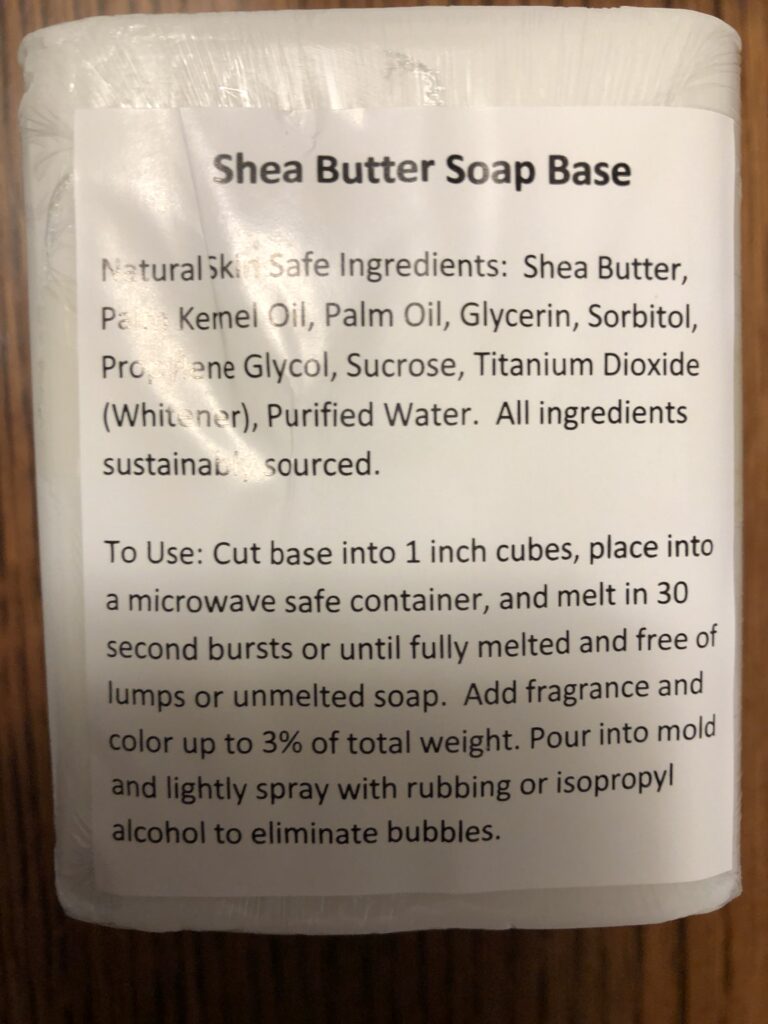
I started with choosing the soap components. I’ve been happy with how the Oatmeal and Shea Butter soap bases work together. It’s almost as soothing as my favorite Aloe Vera soap.
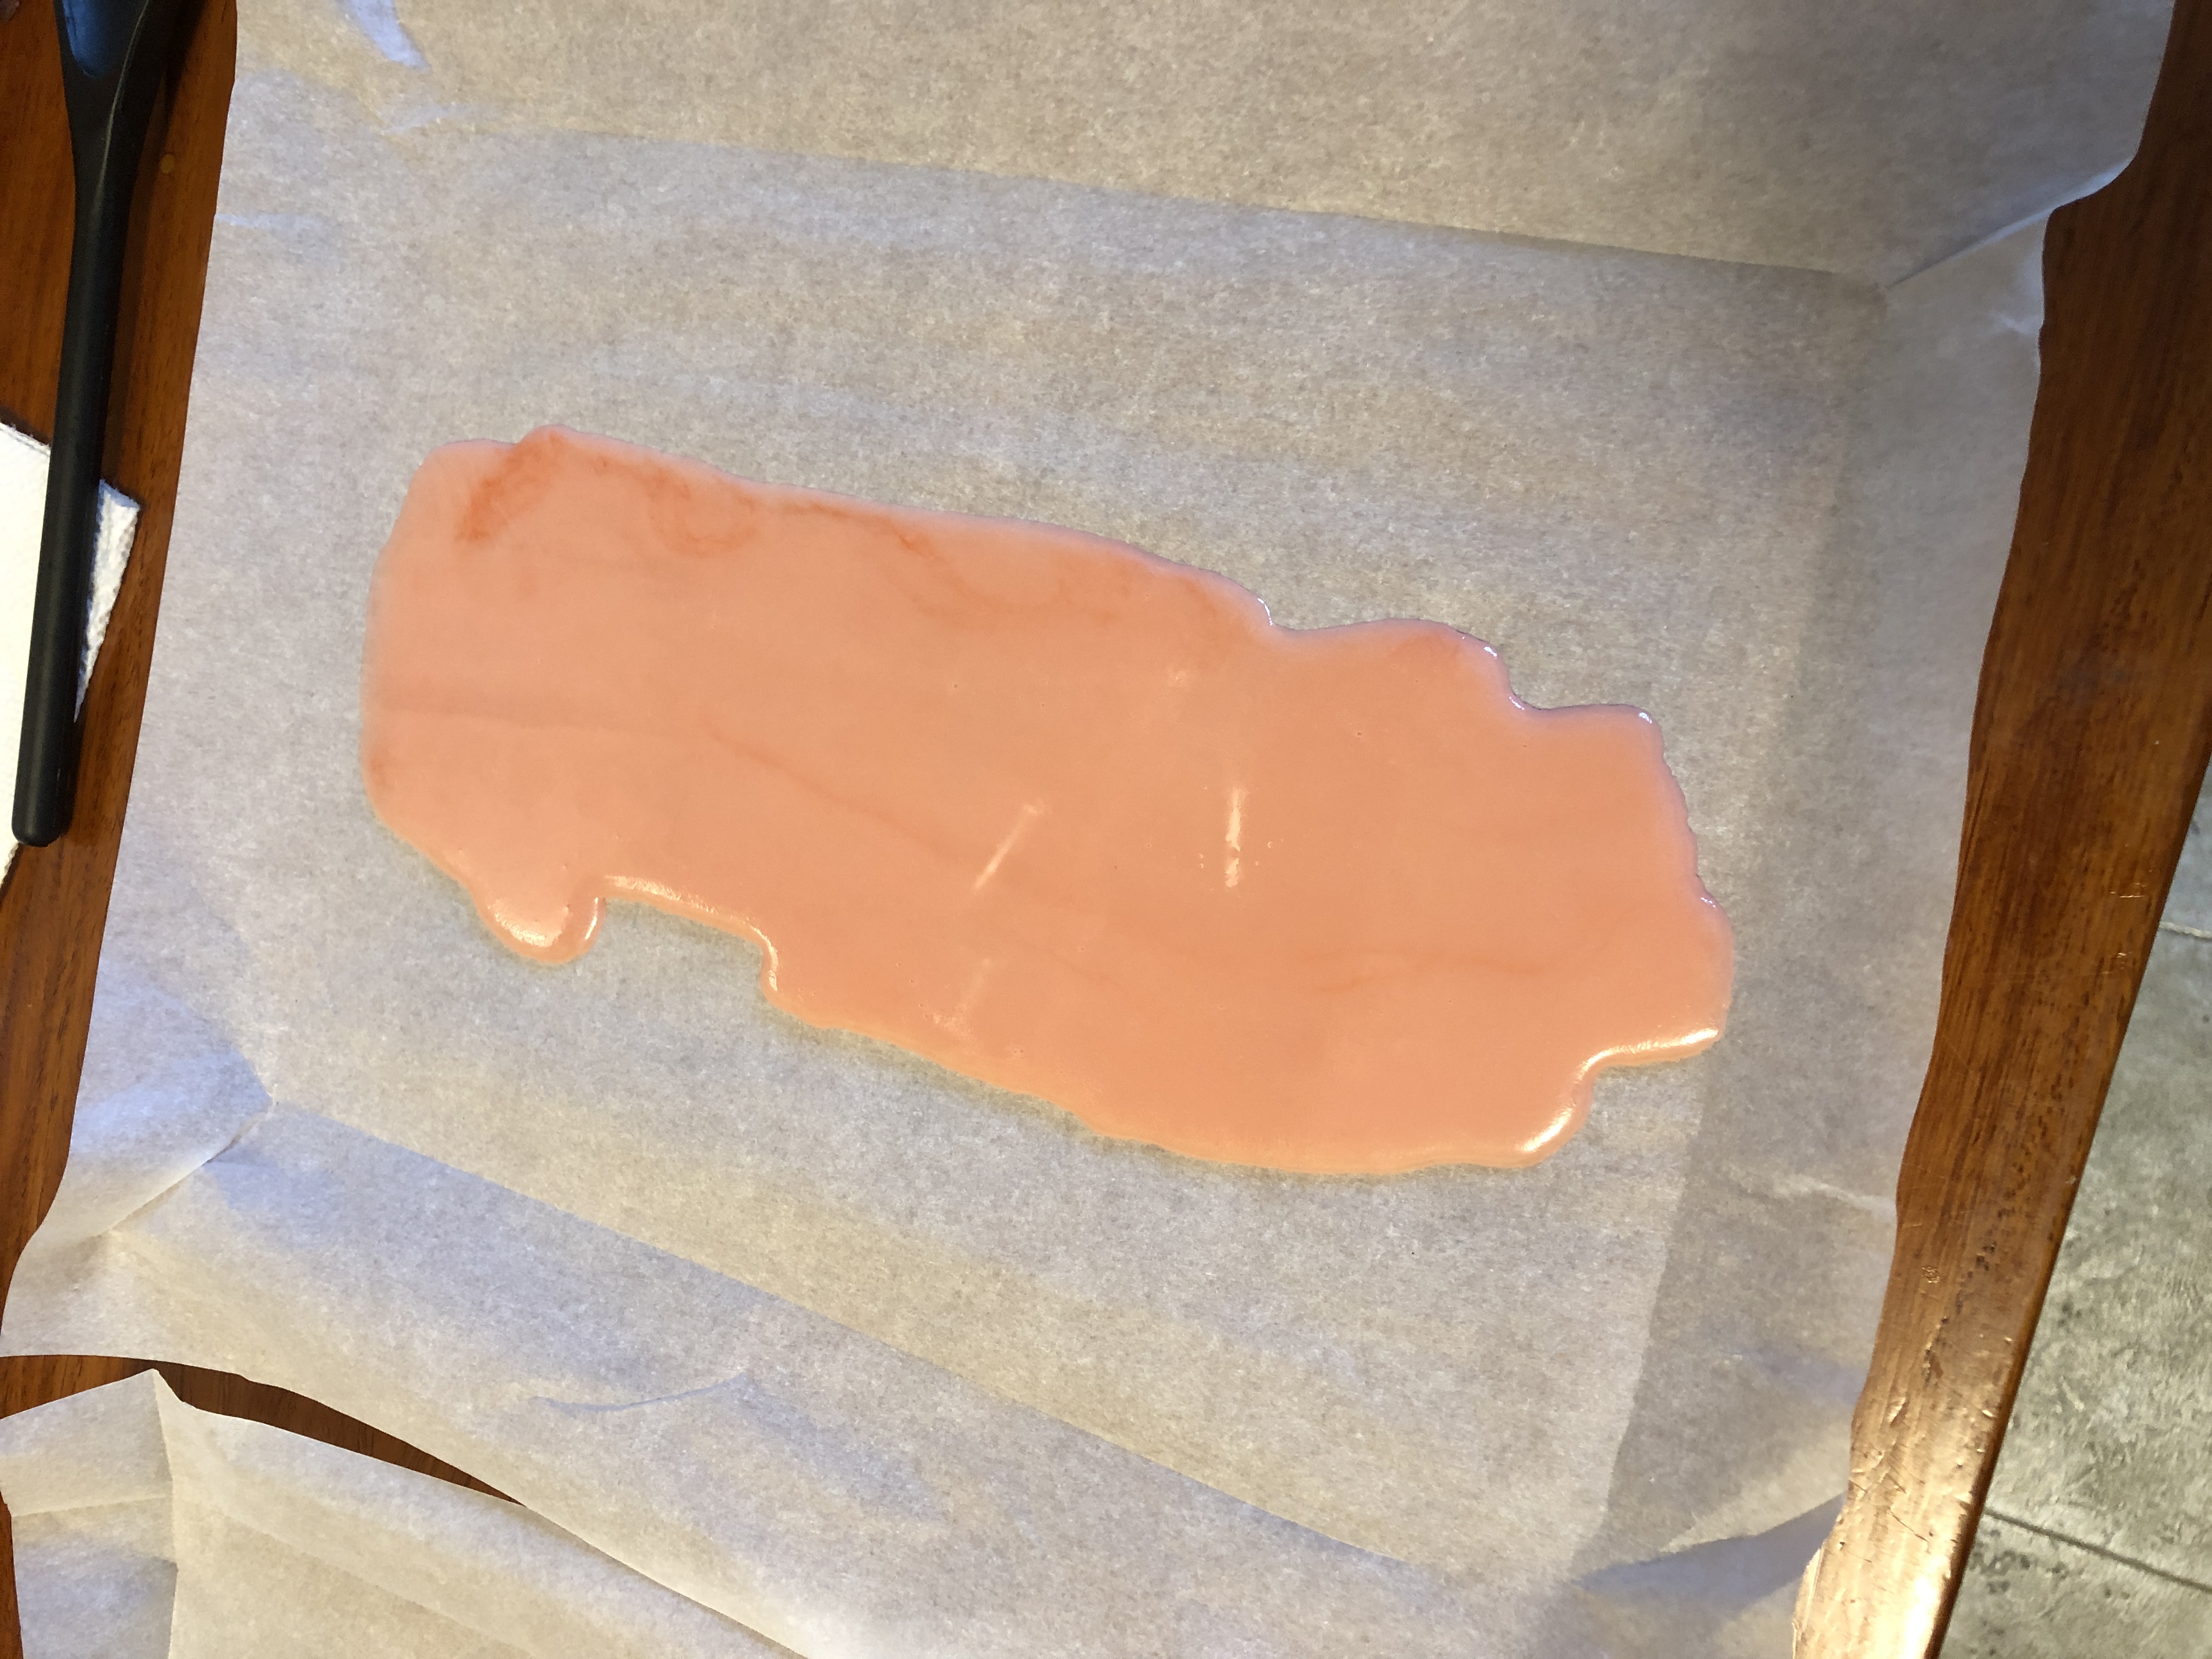
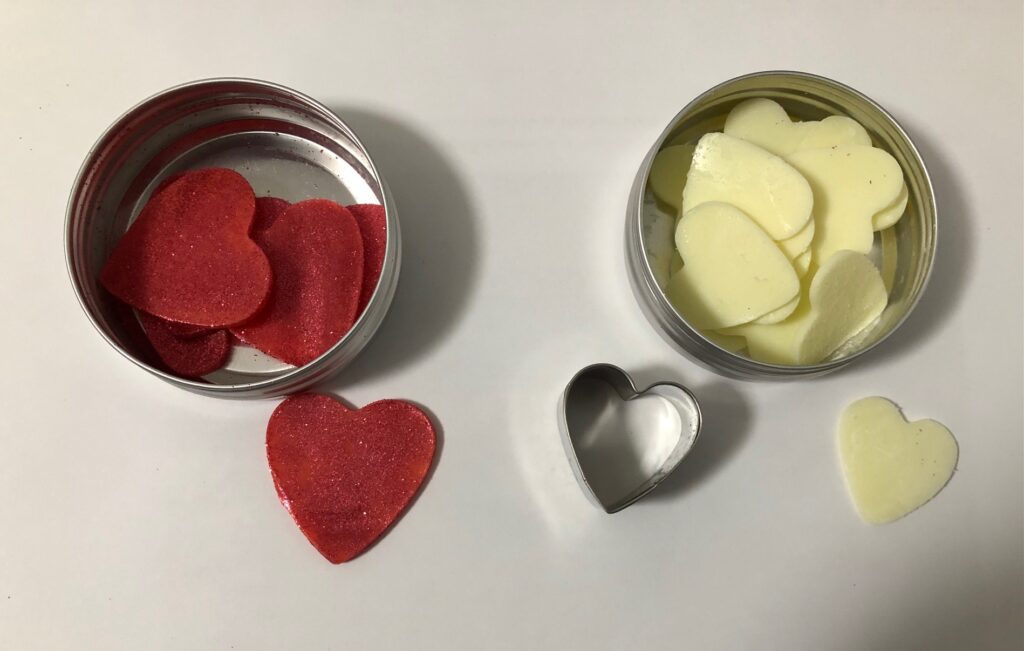
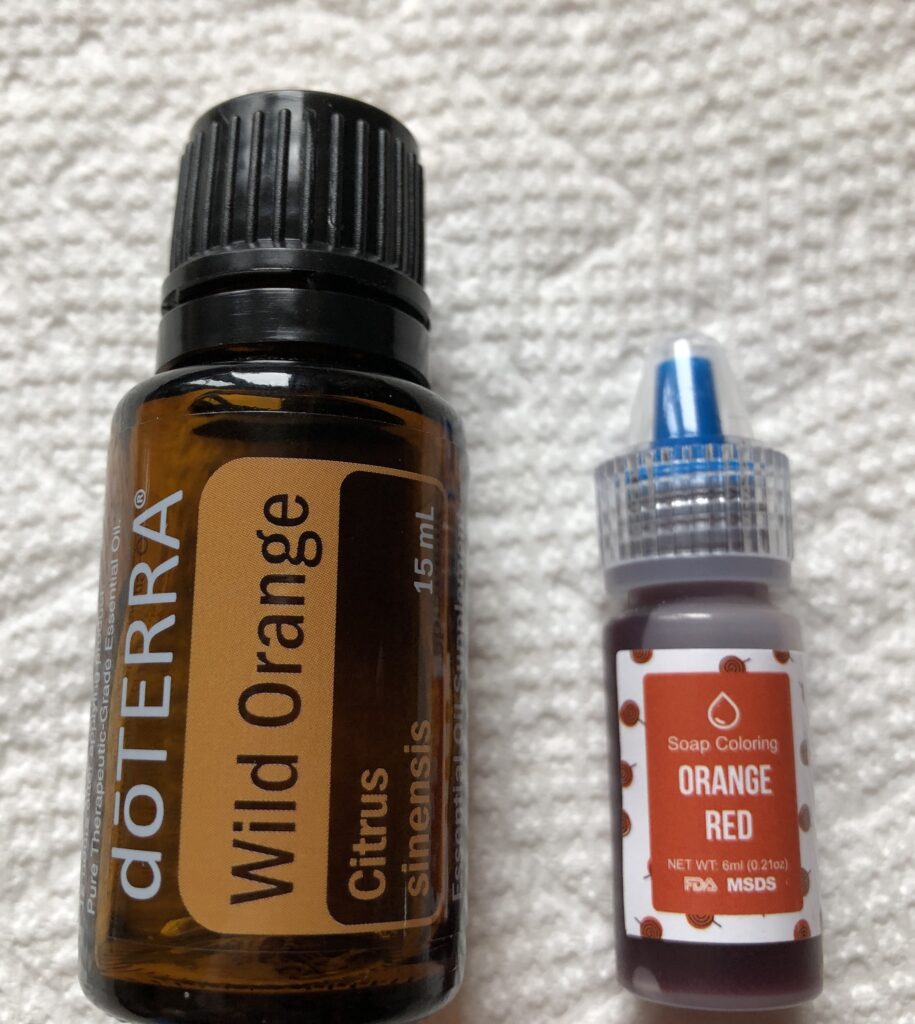
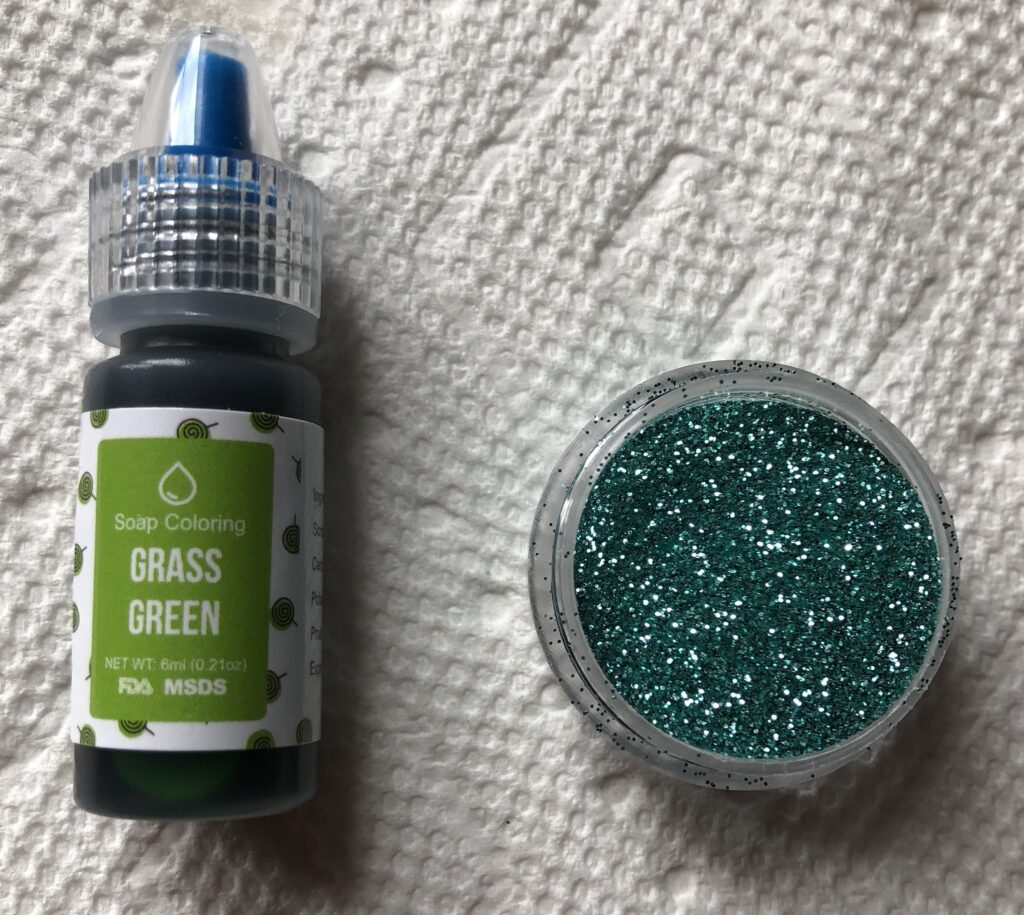
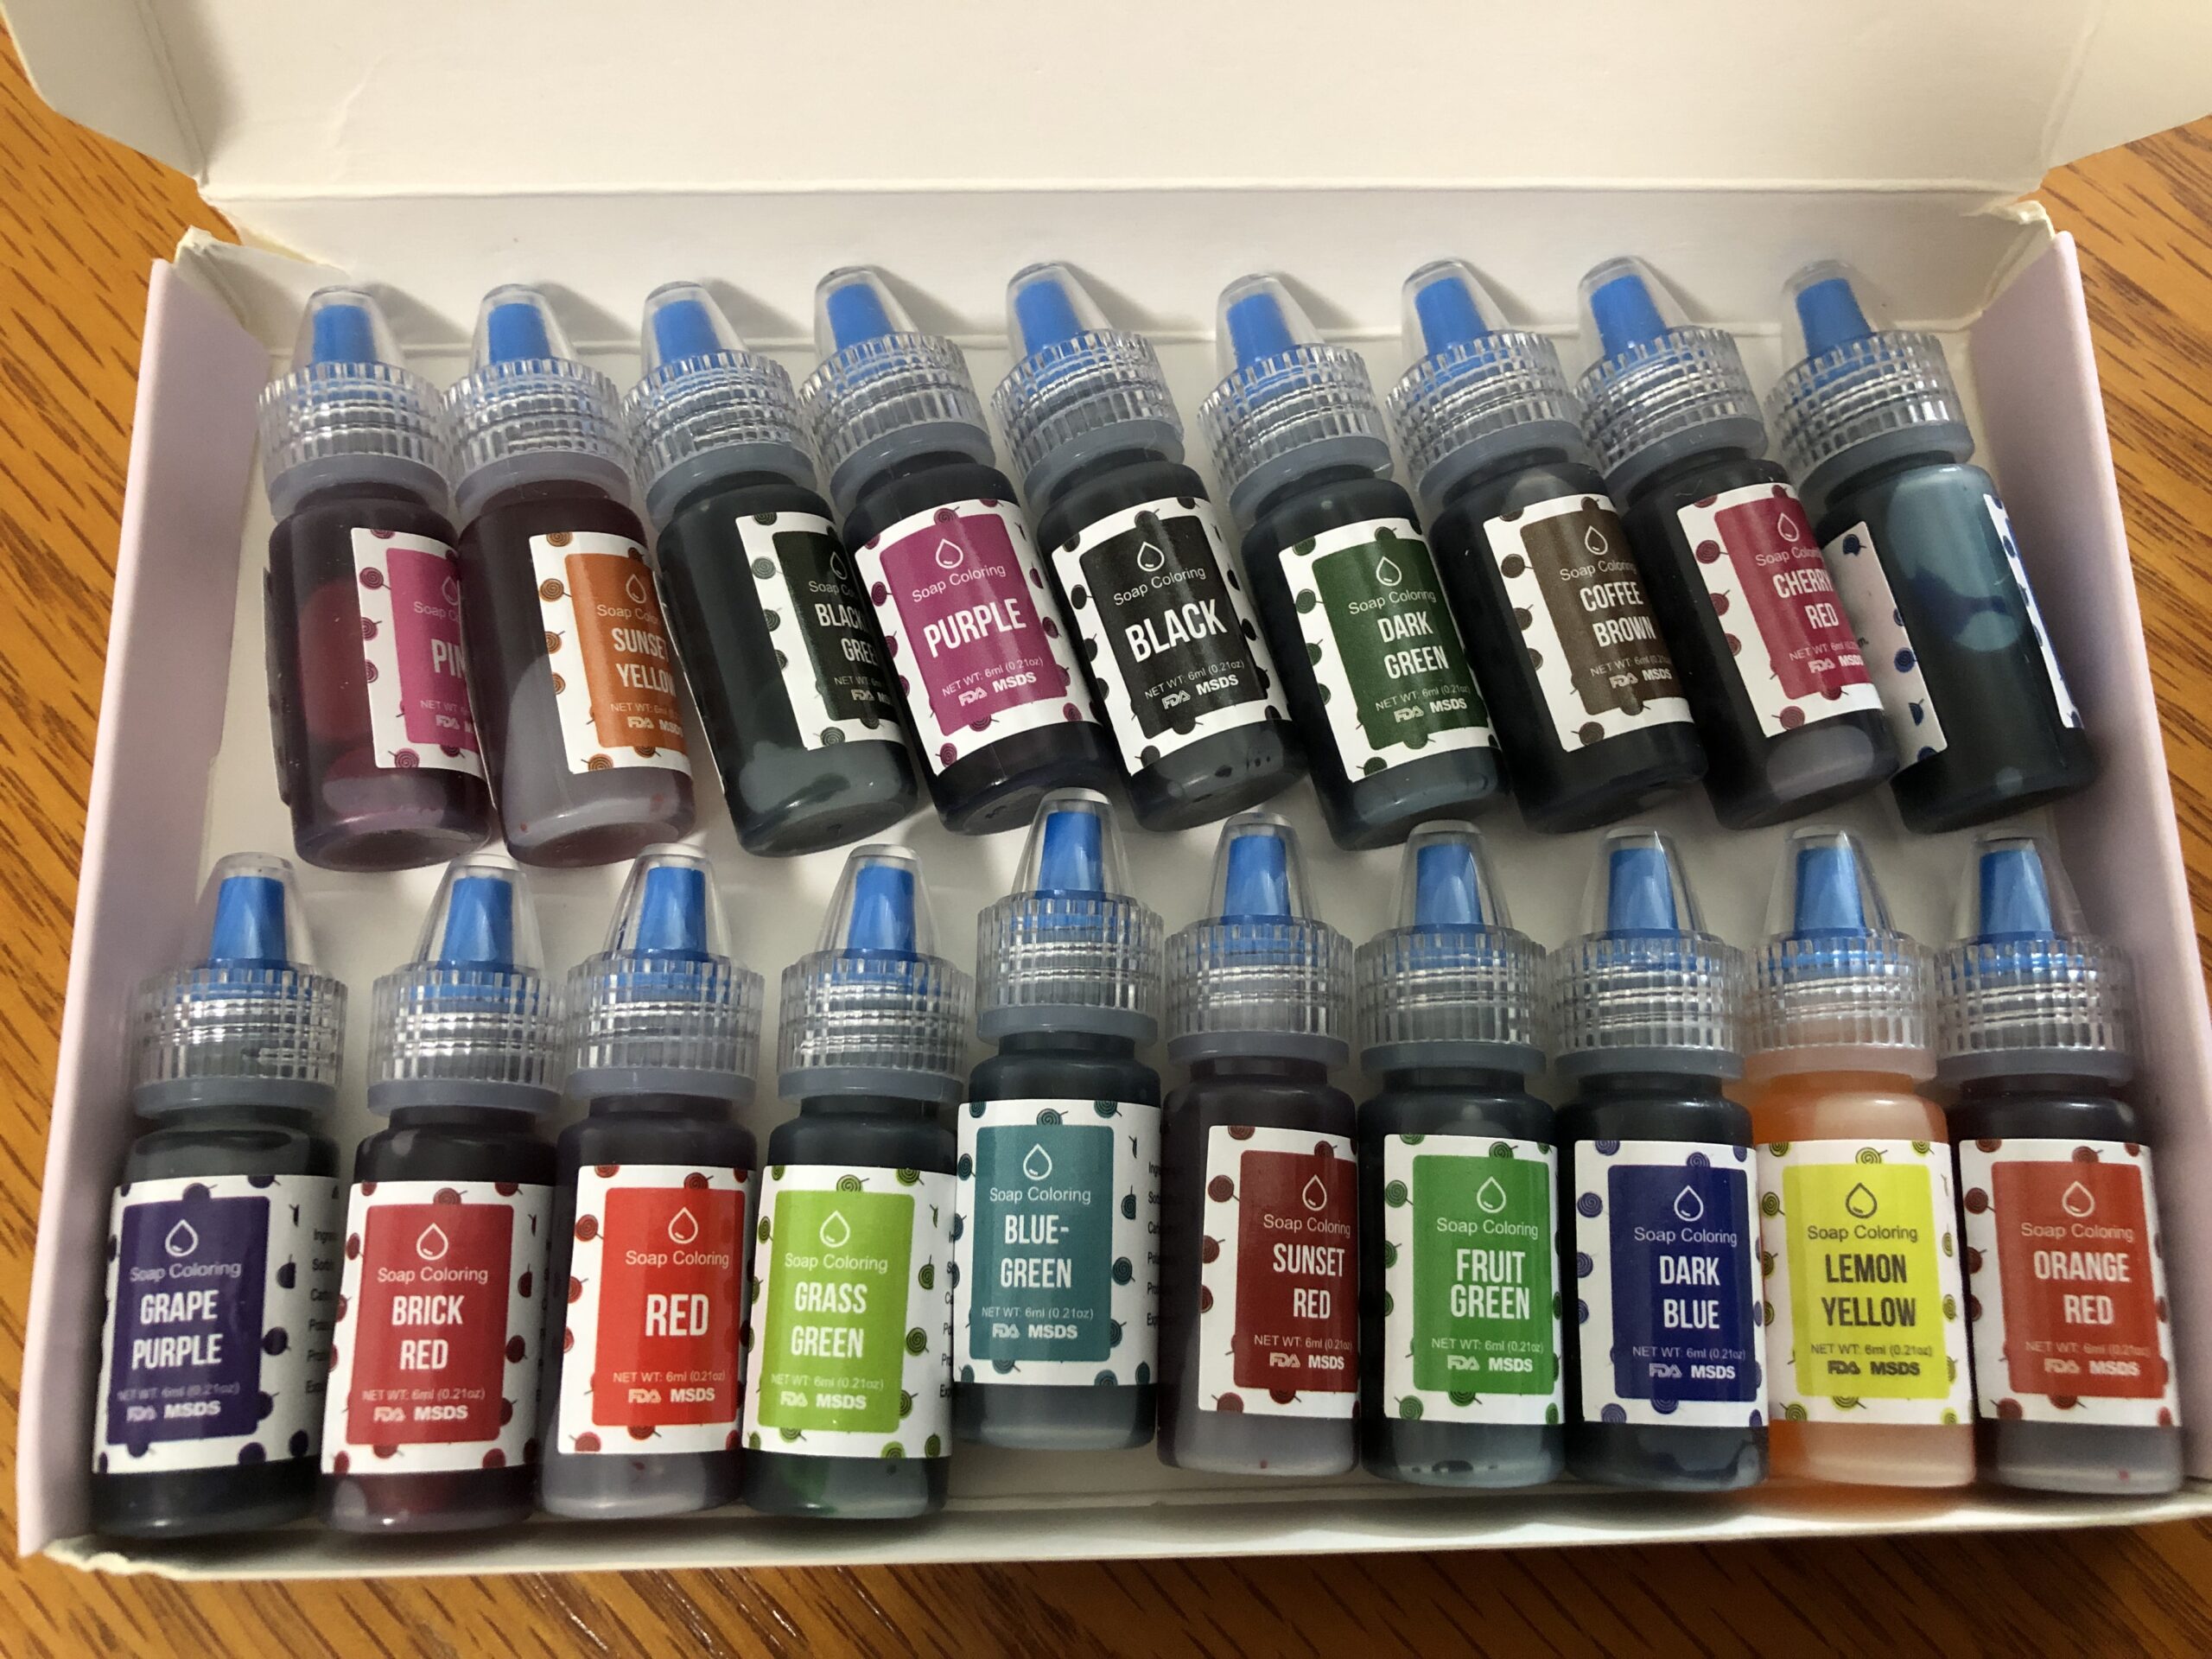
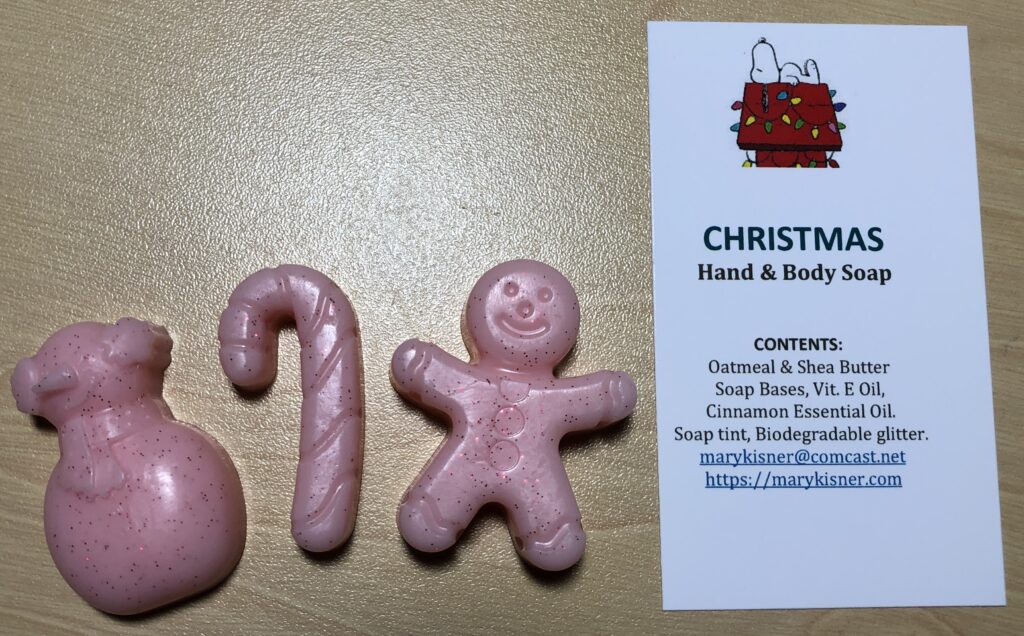
For the Christmas season, I chose the scent of cinnamon. Then I used a soap tint that said, “Red” but it really turned out a solid pink. I added some red sparkly biodegradable glitter that looked really nice.

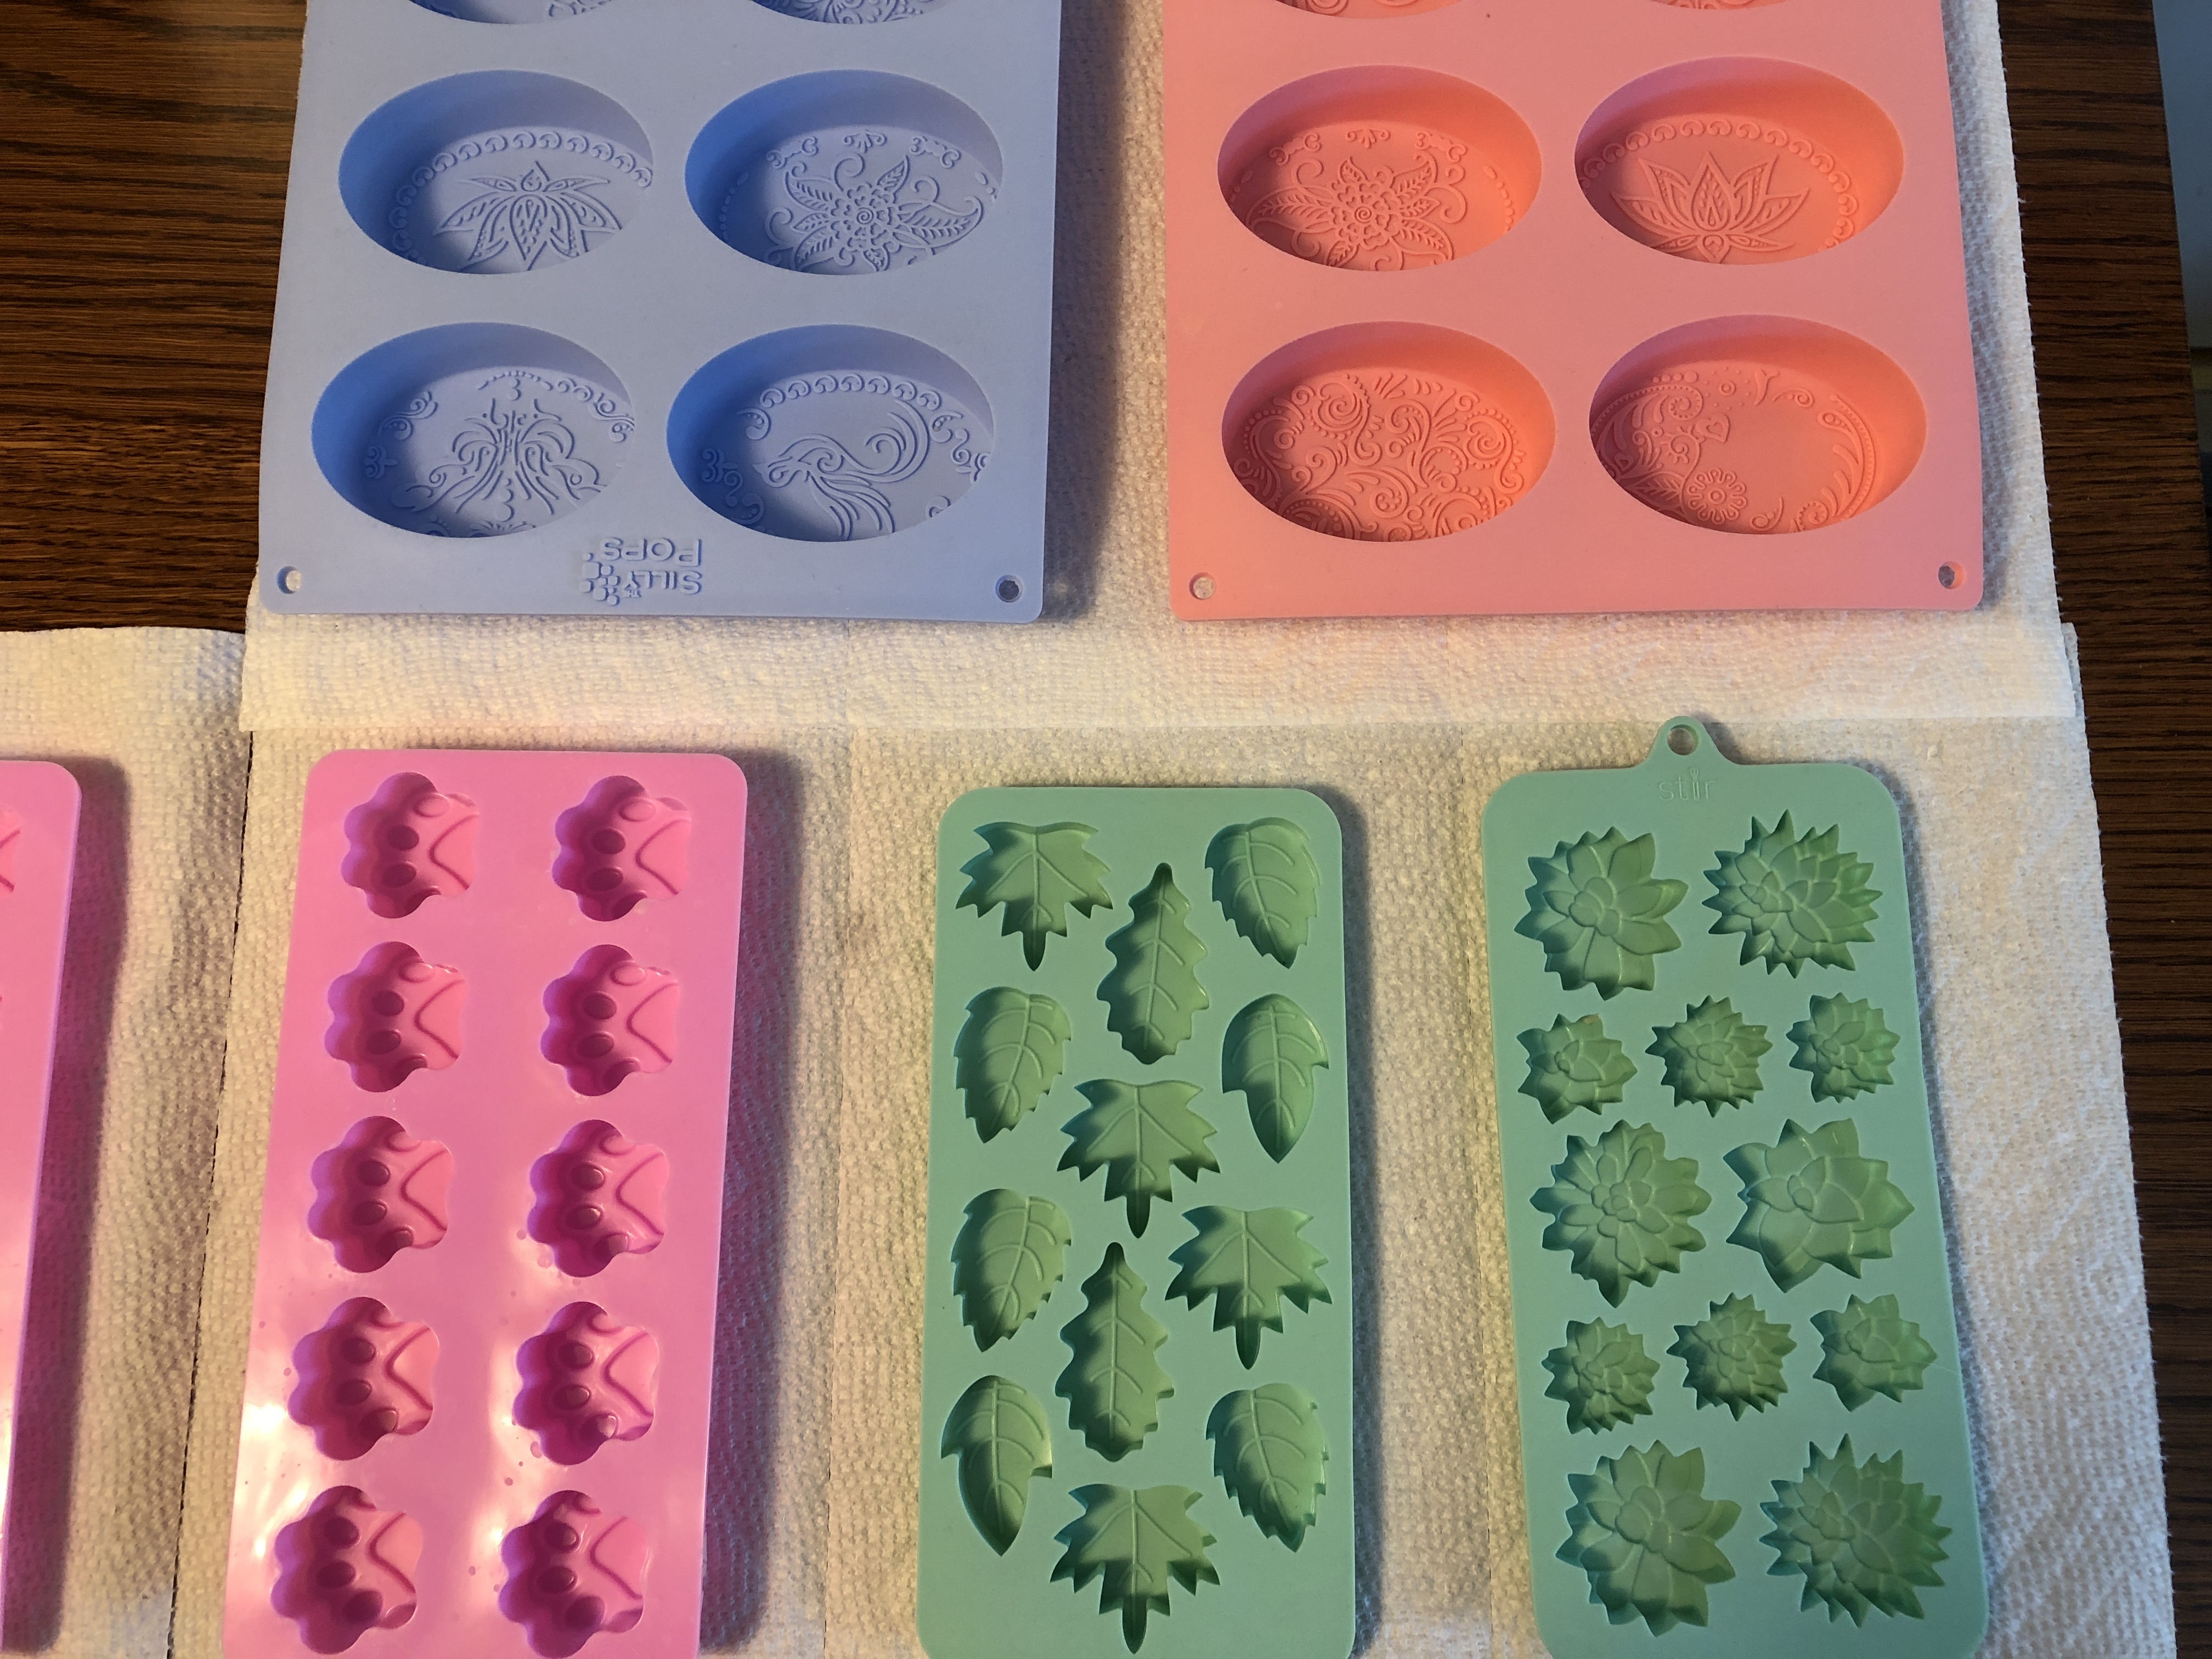
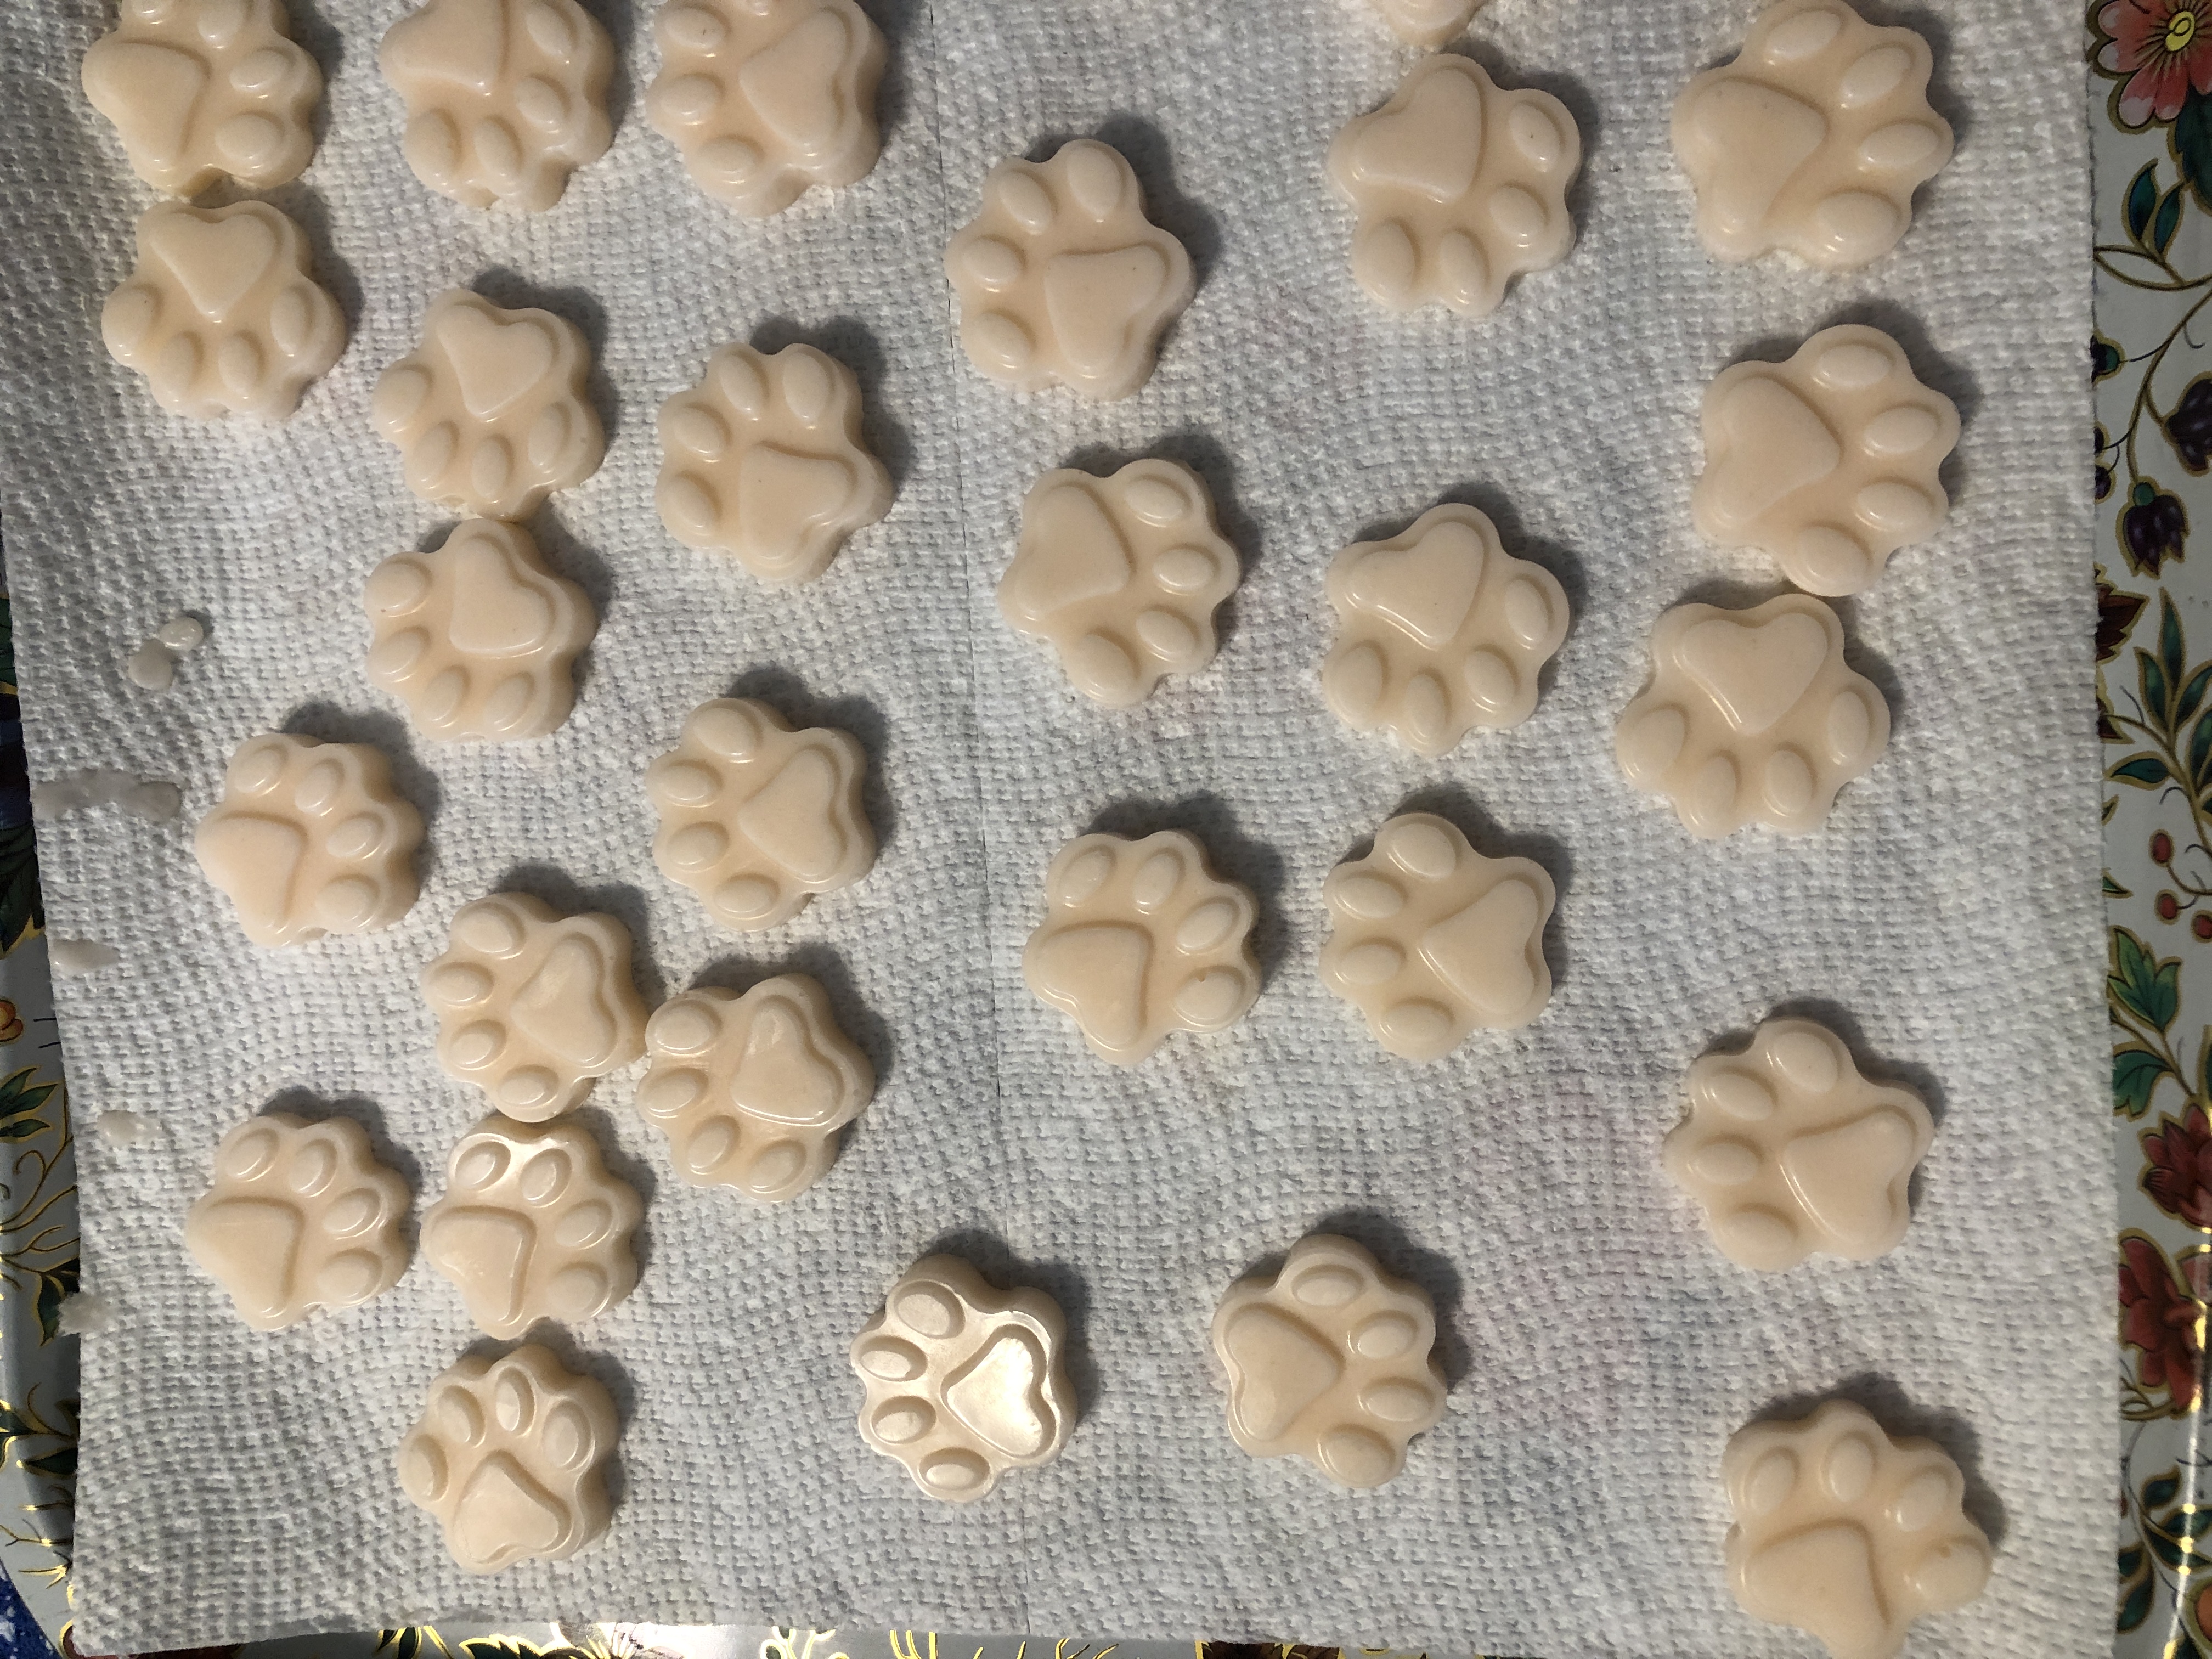
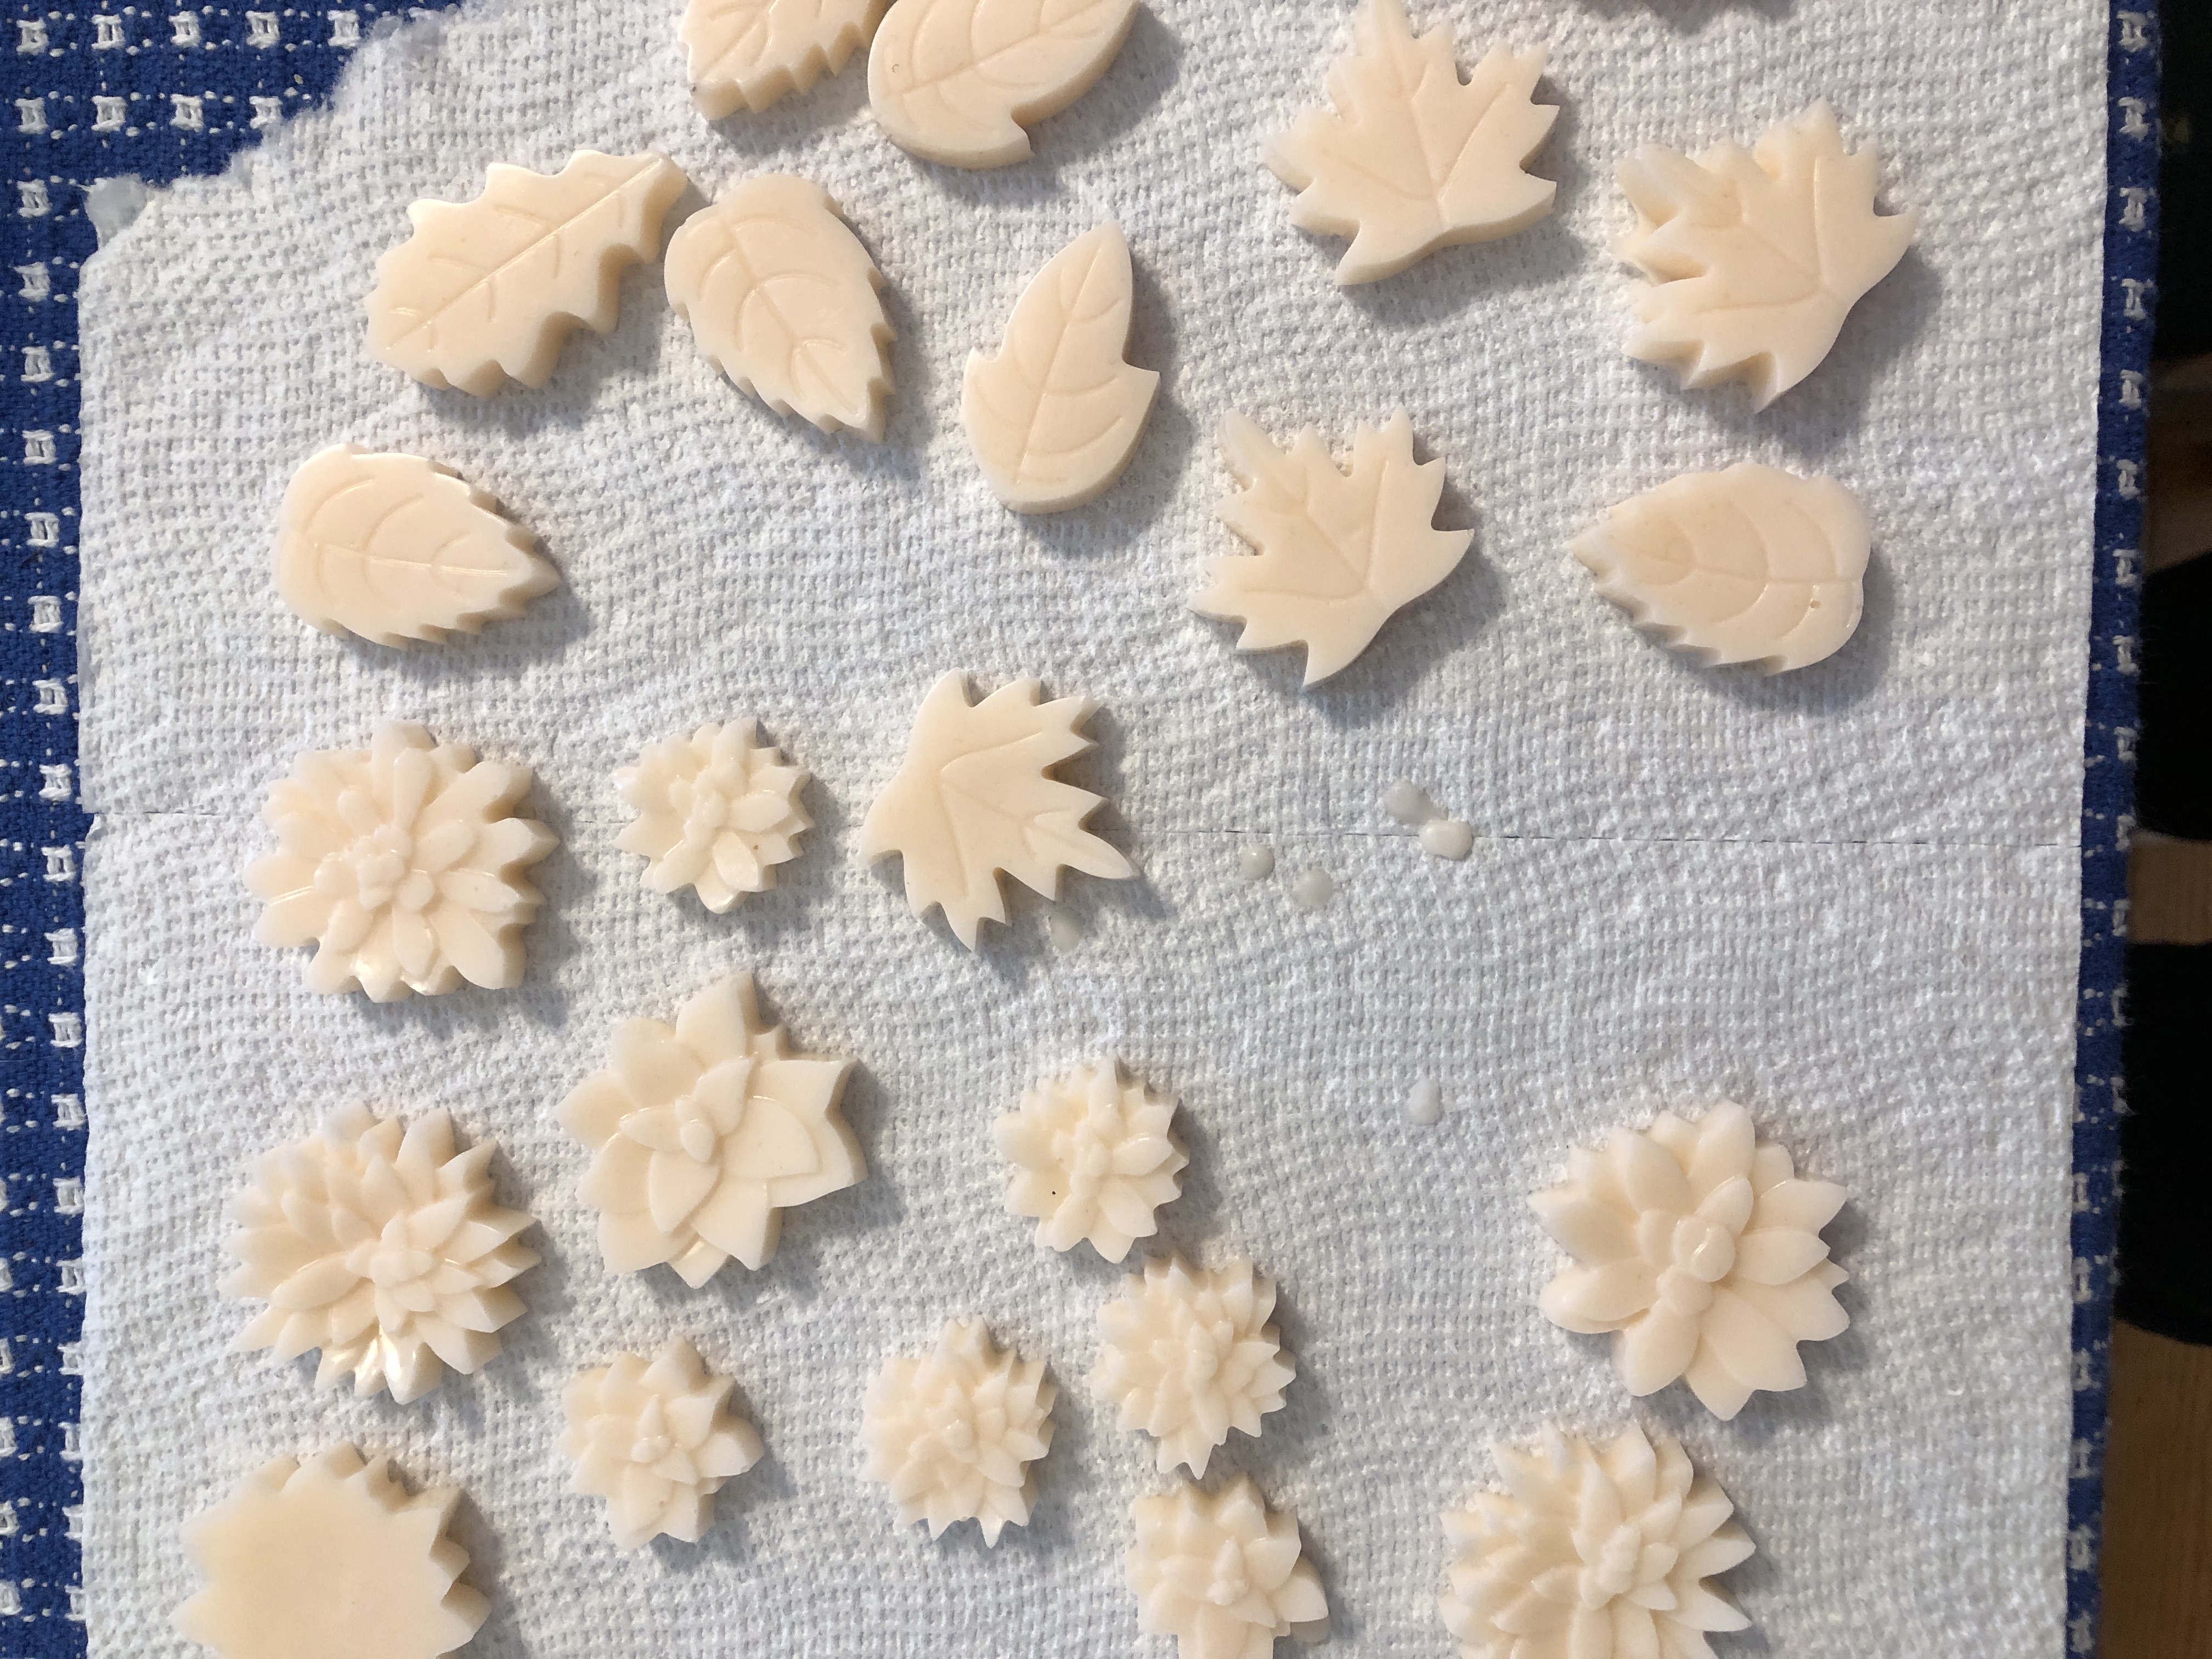
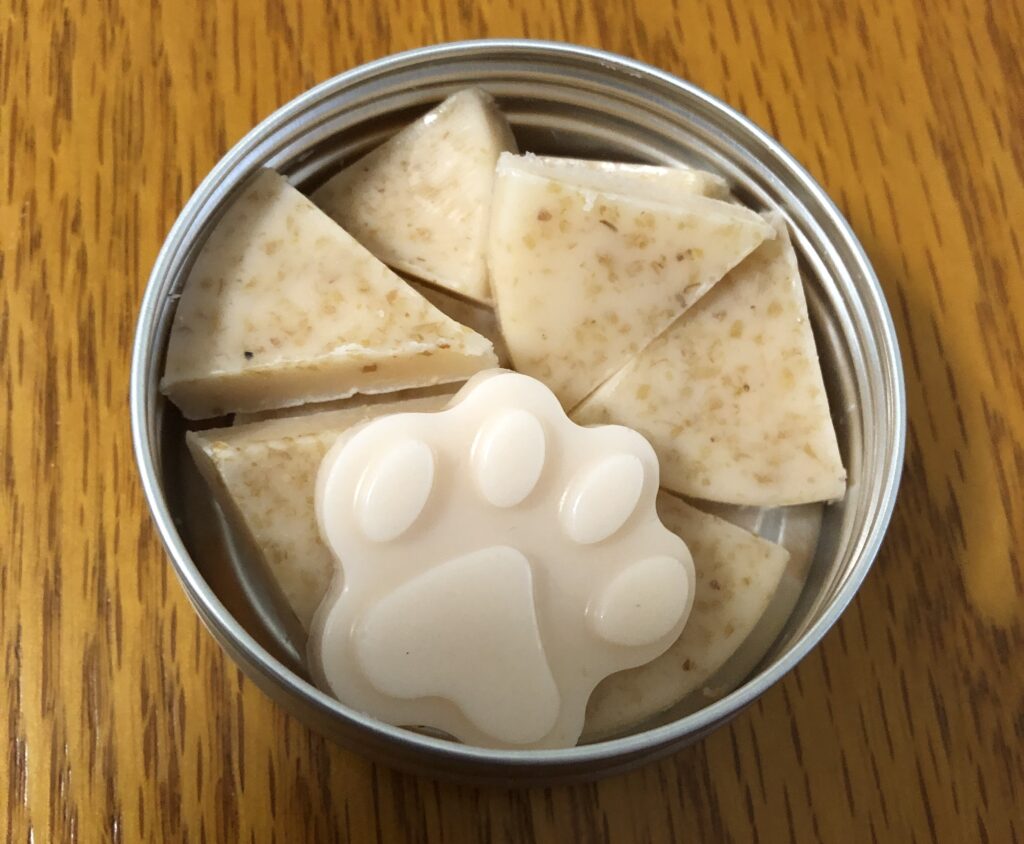
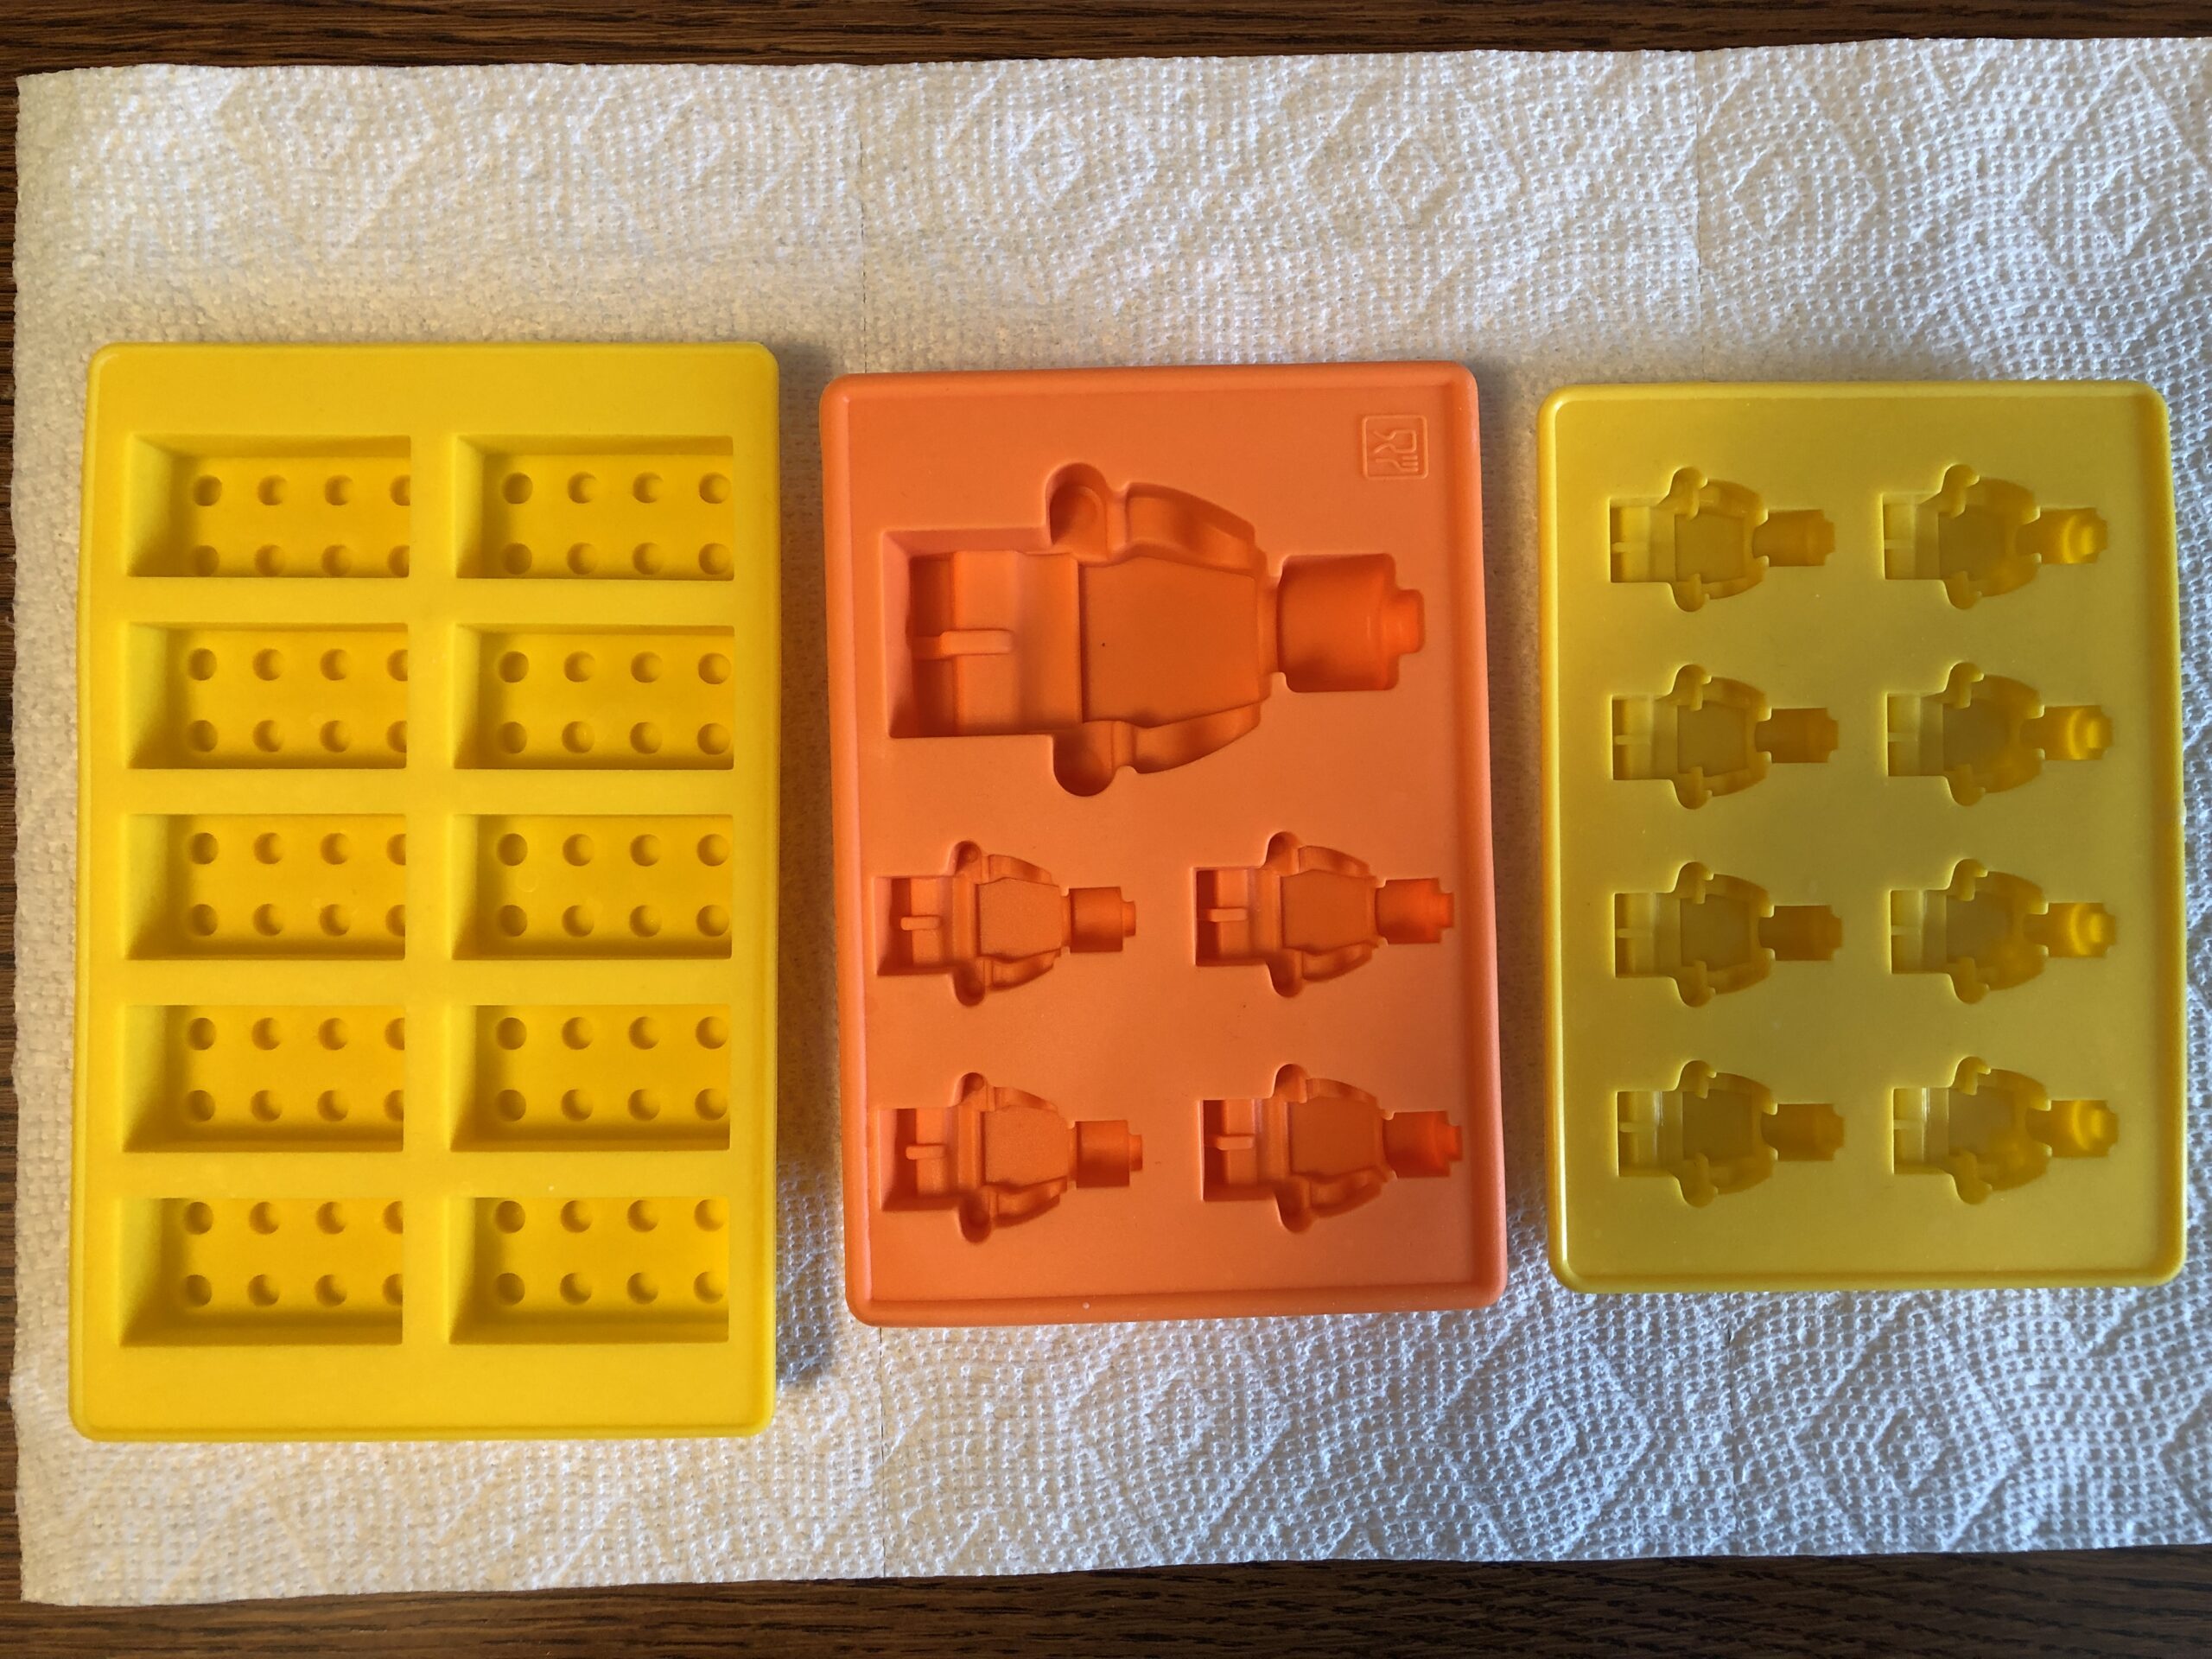
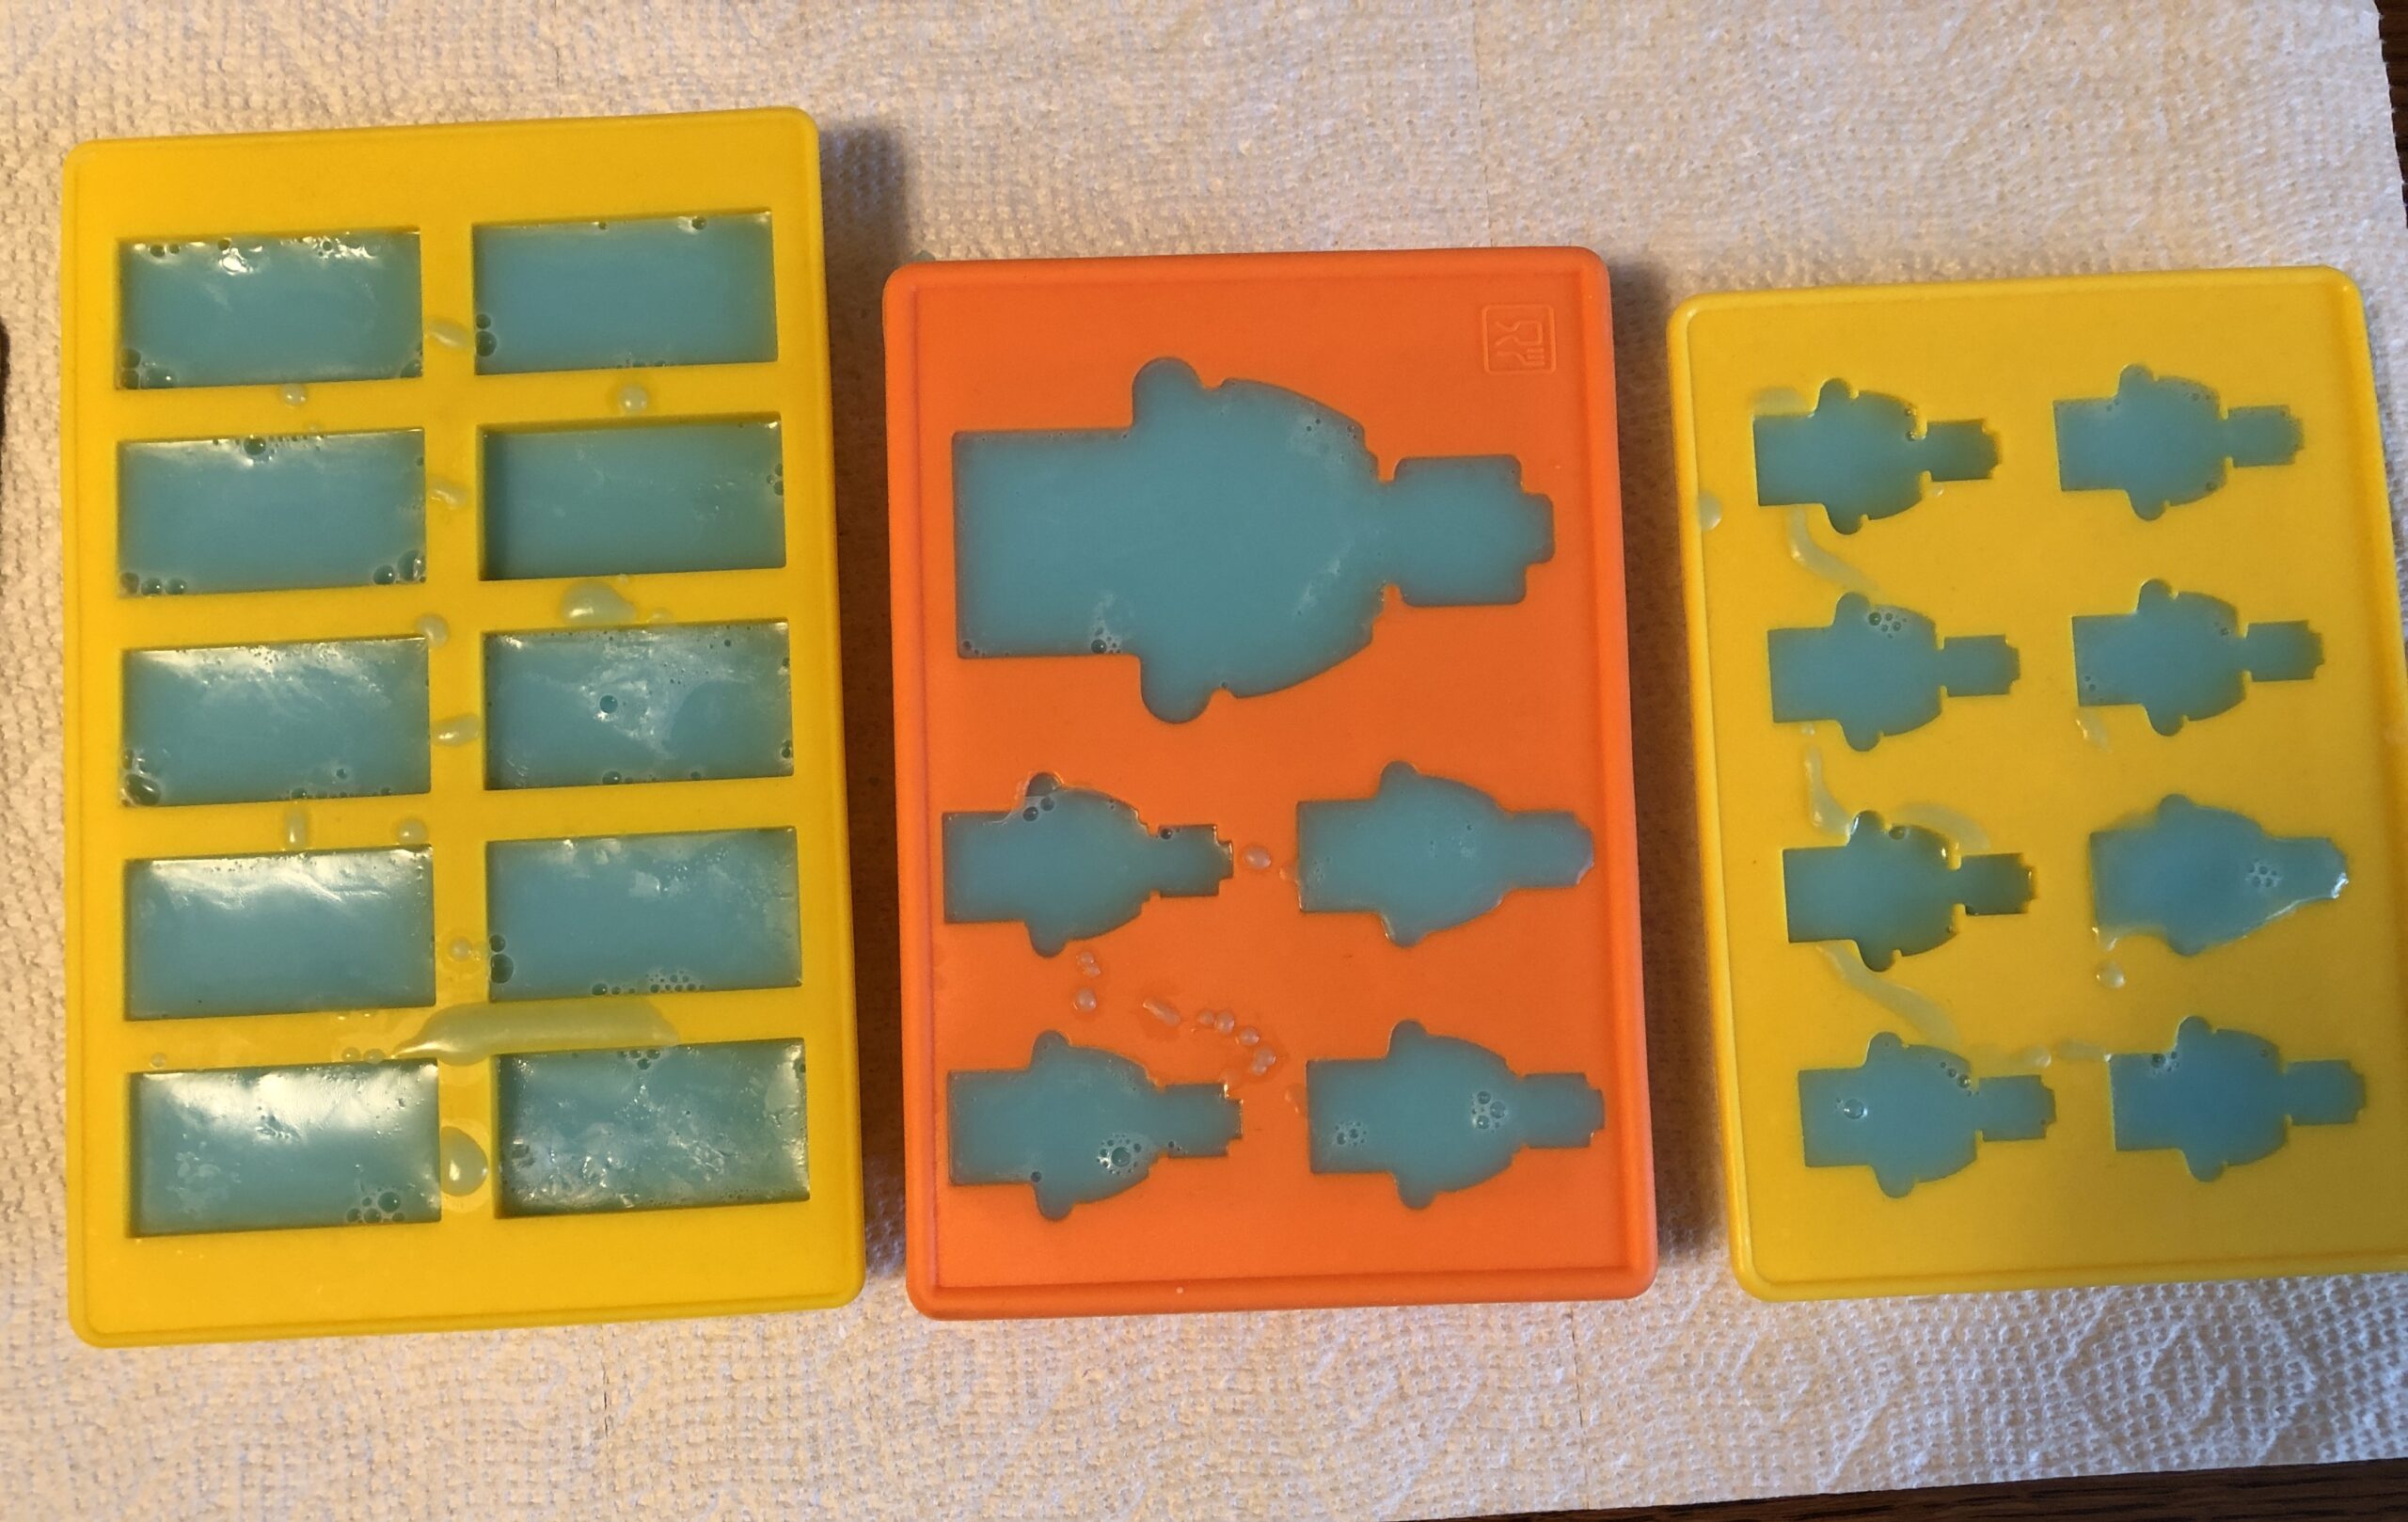
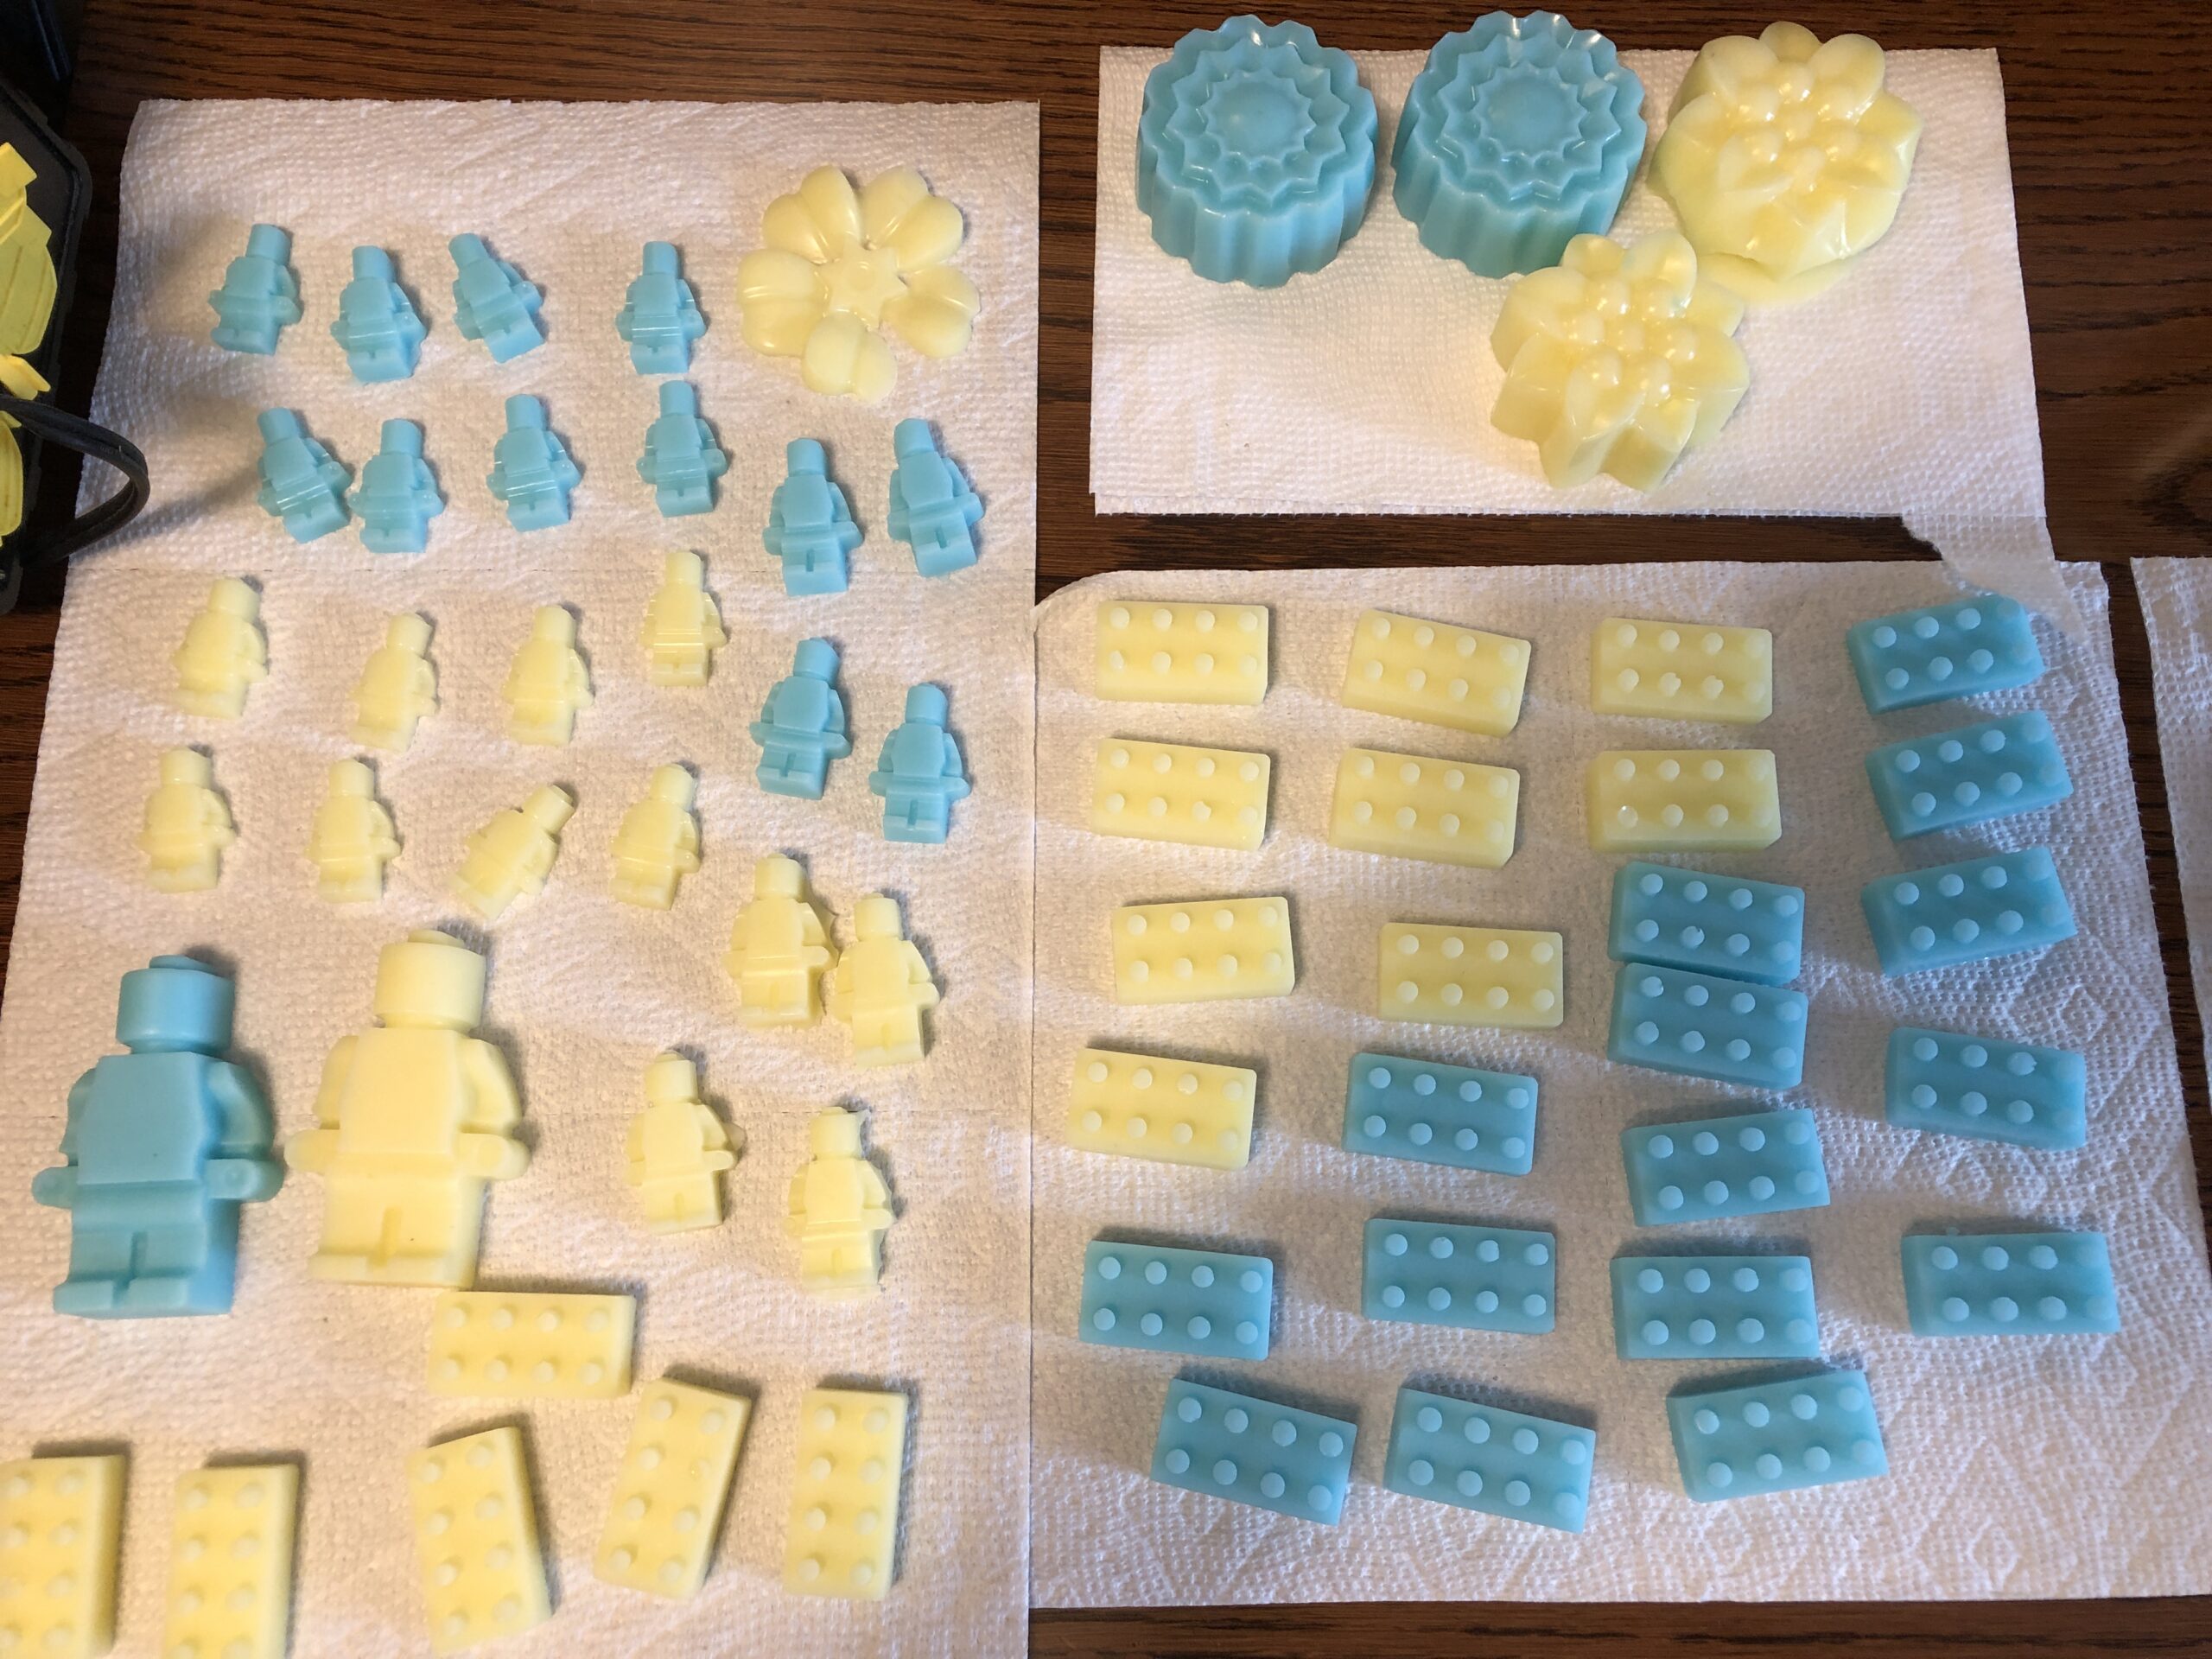
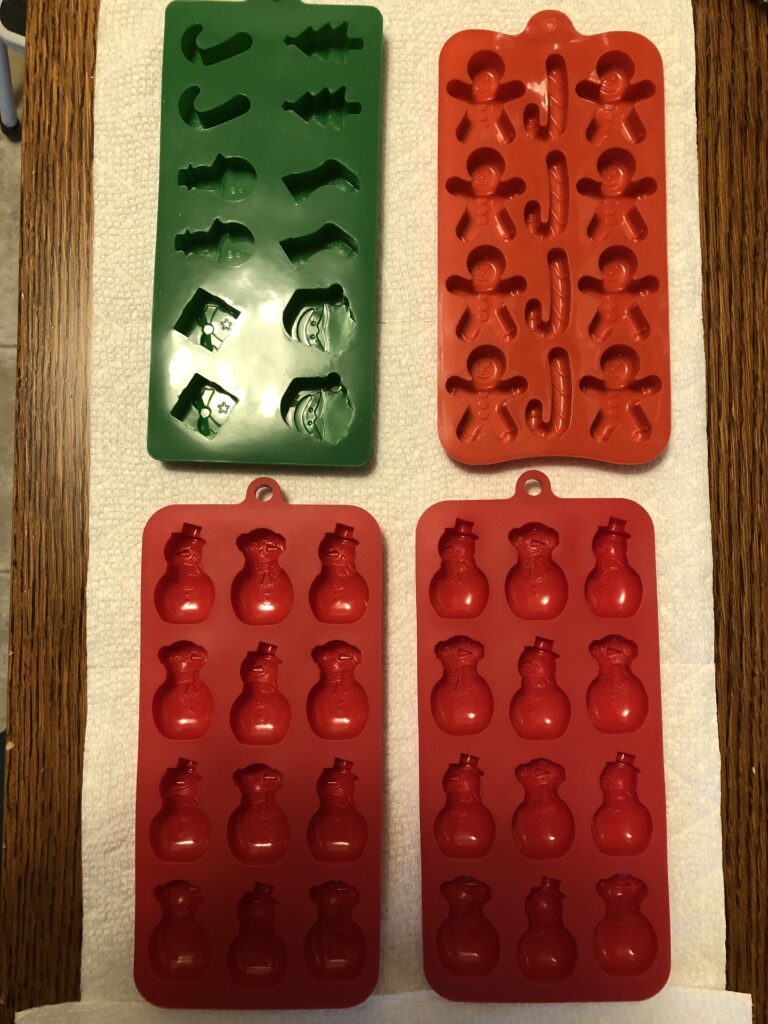
My final decision was shape. I started with the molds of tiny gingerbread men, candy canes and snowmen. Those would be good for guest soaps or children.
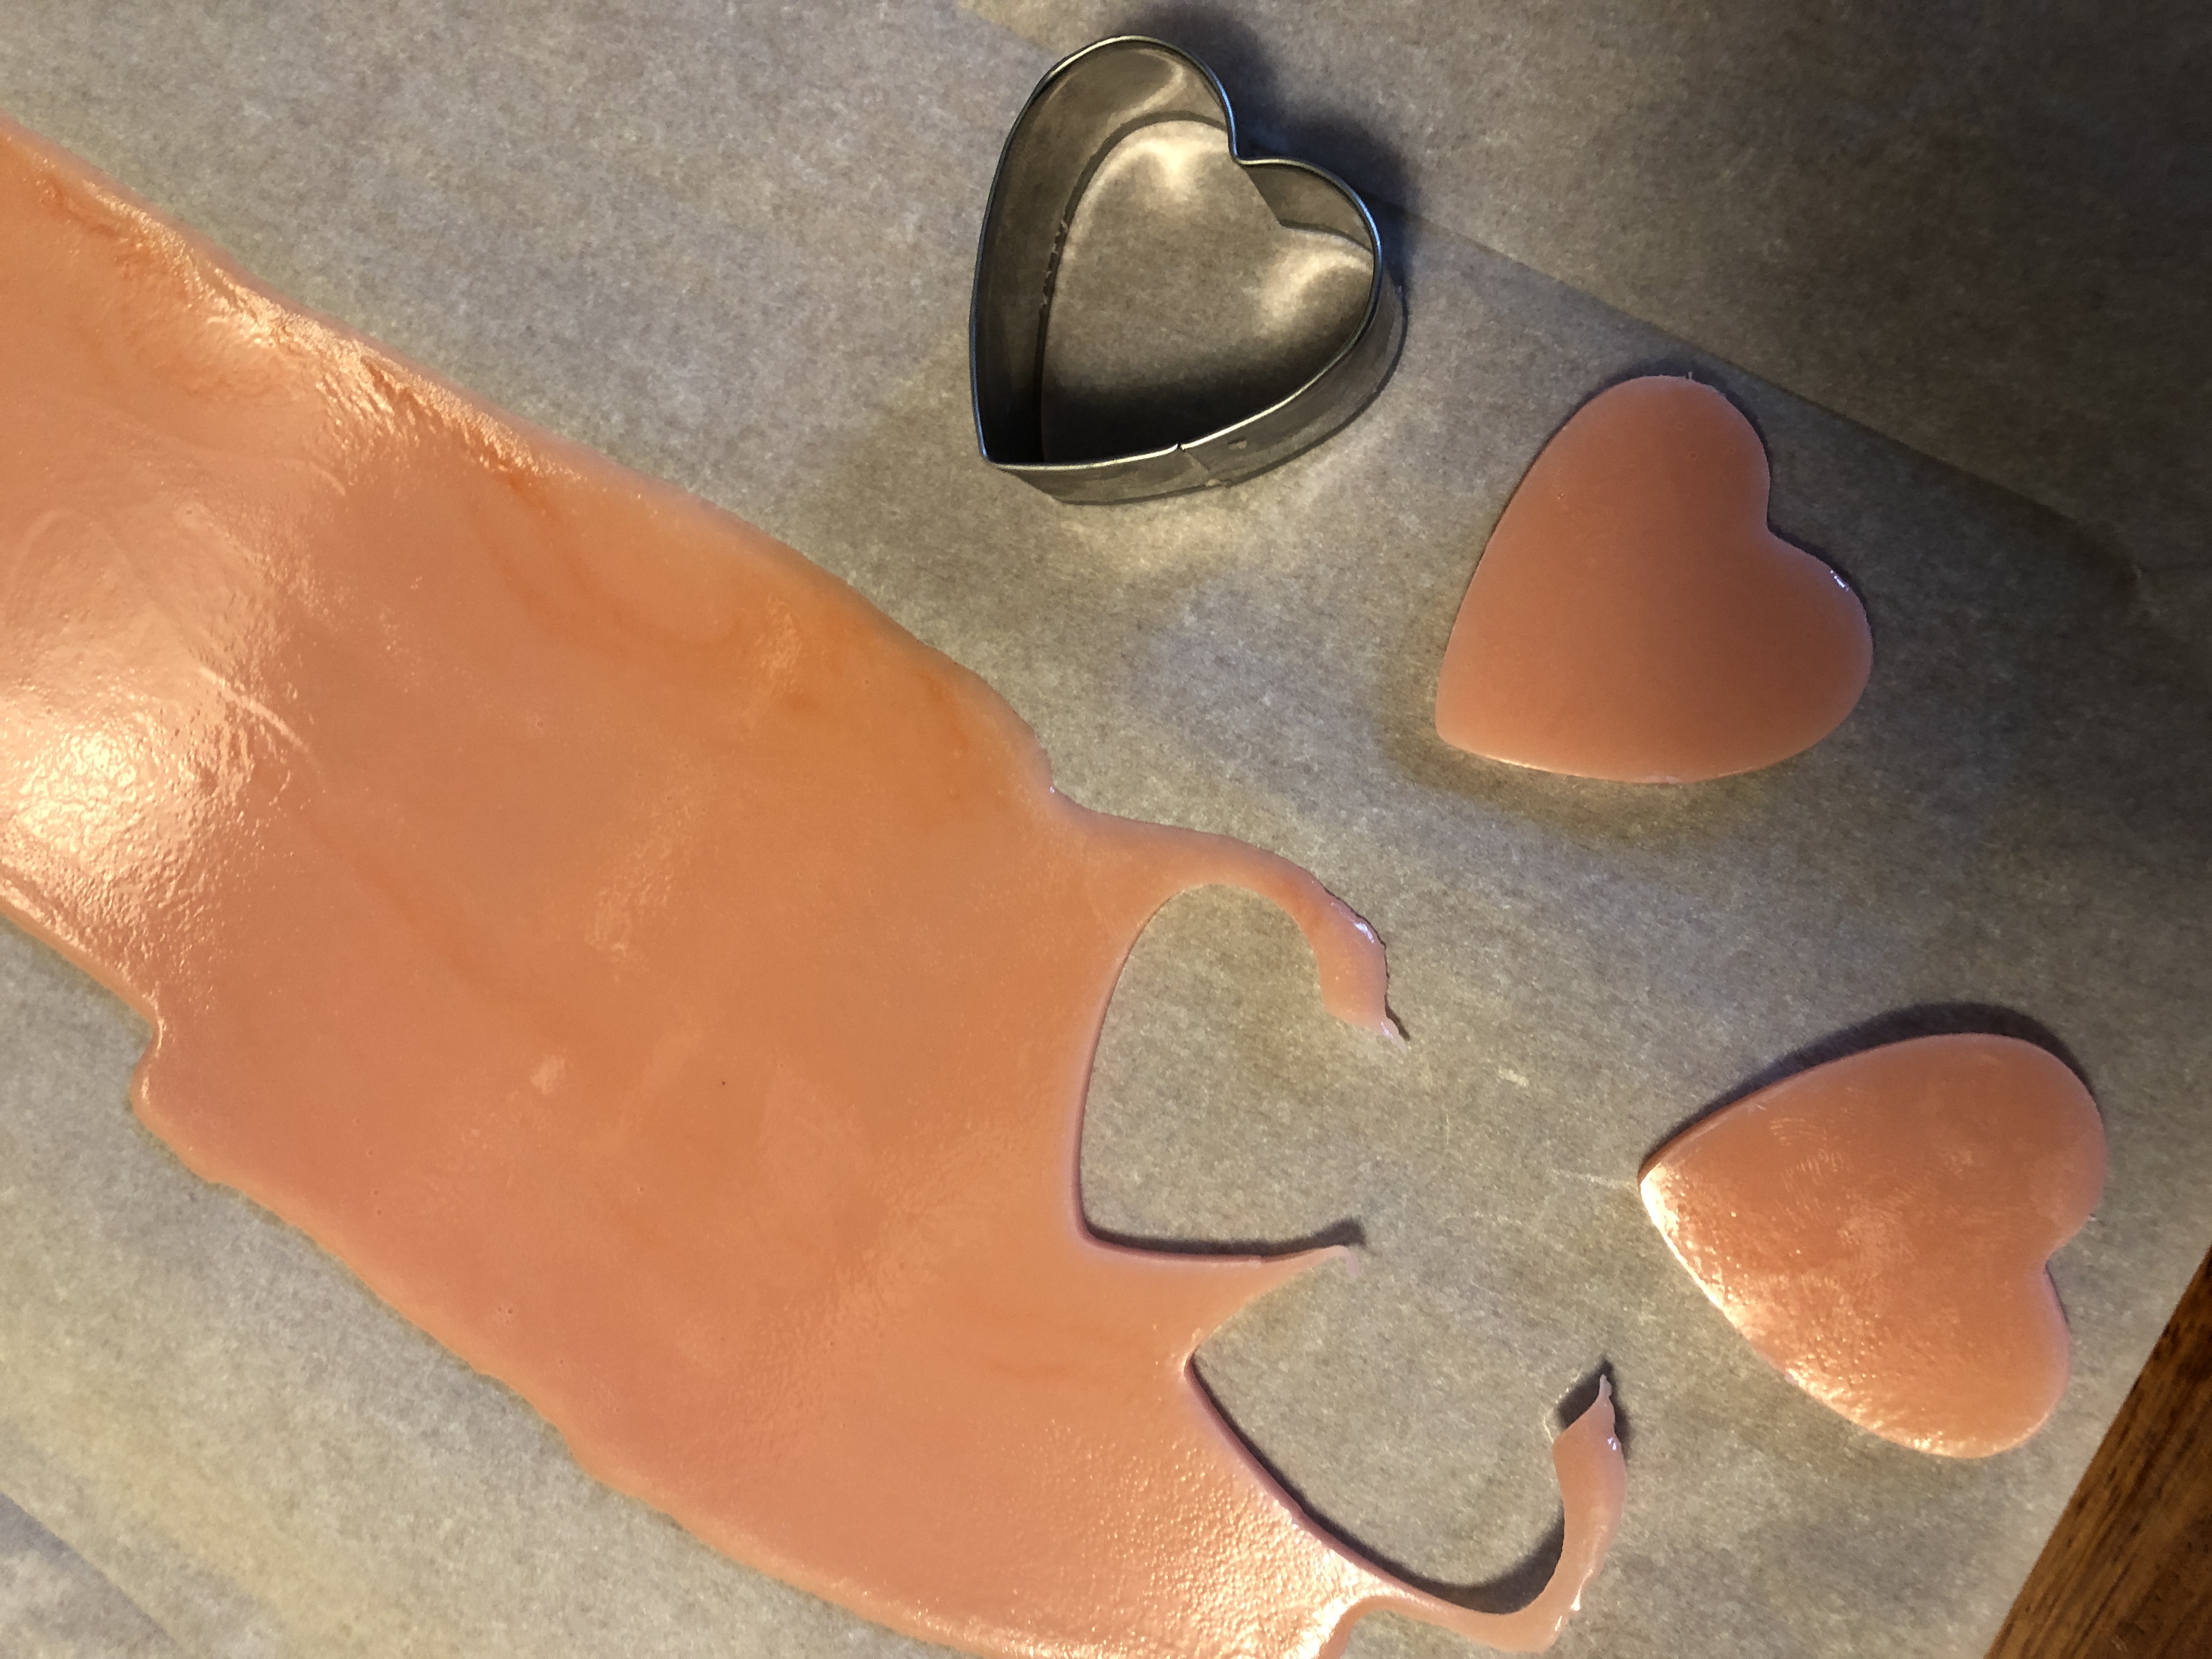
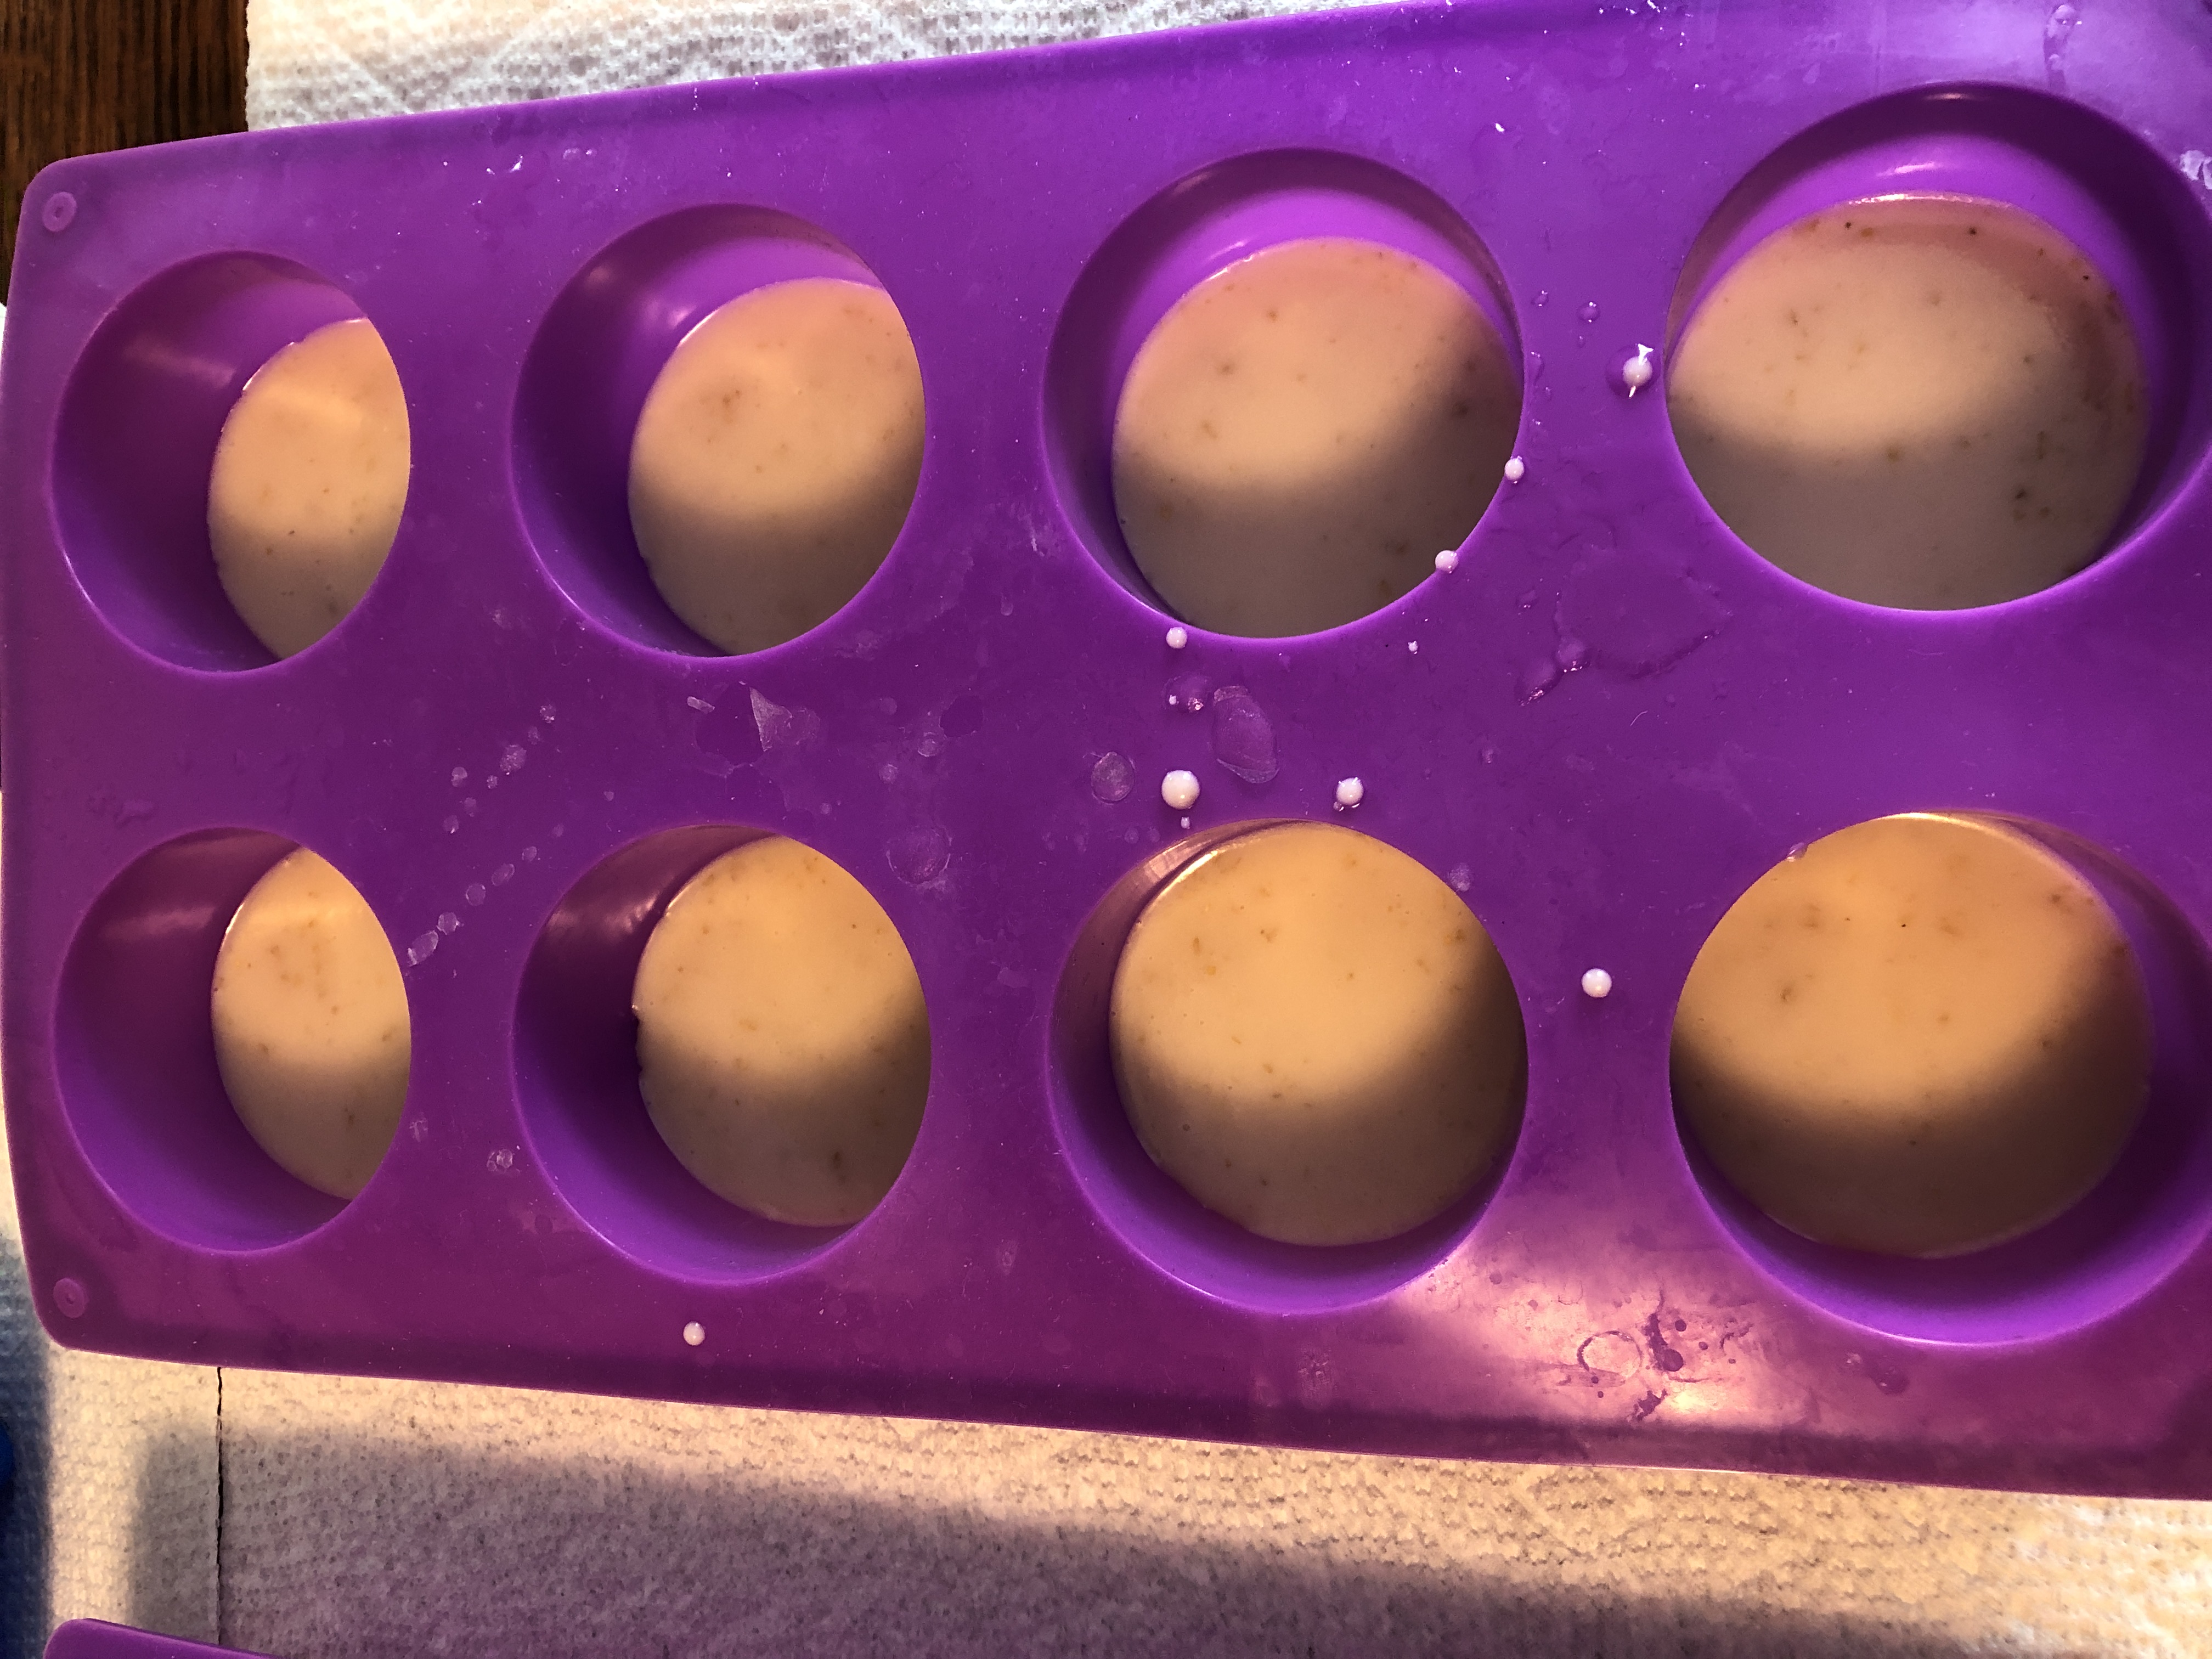
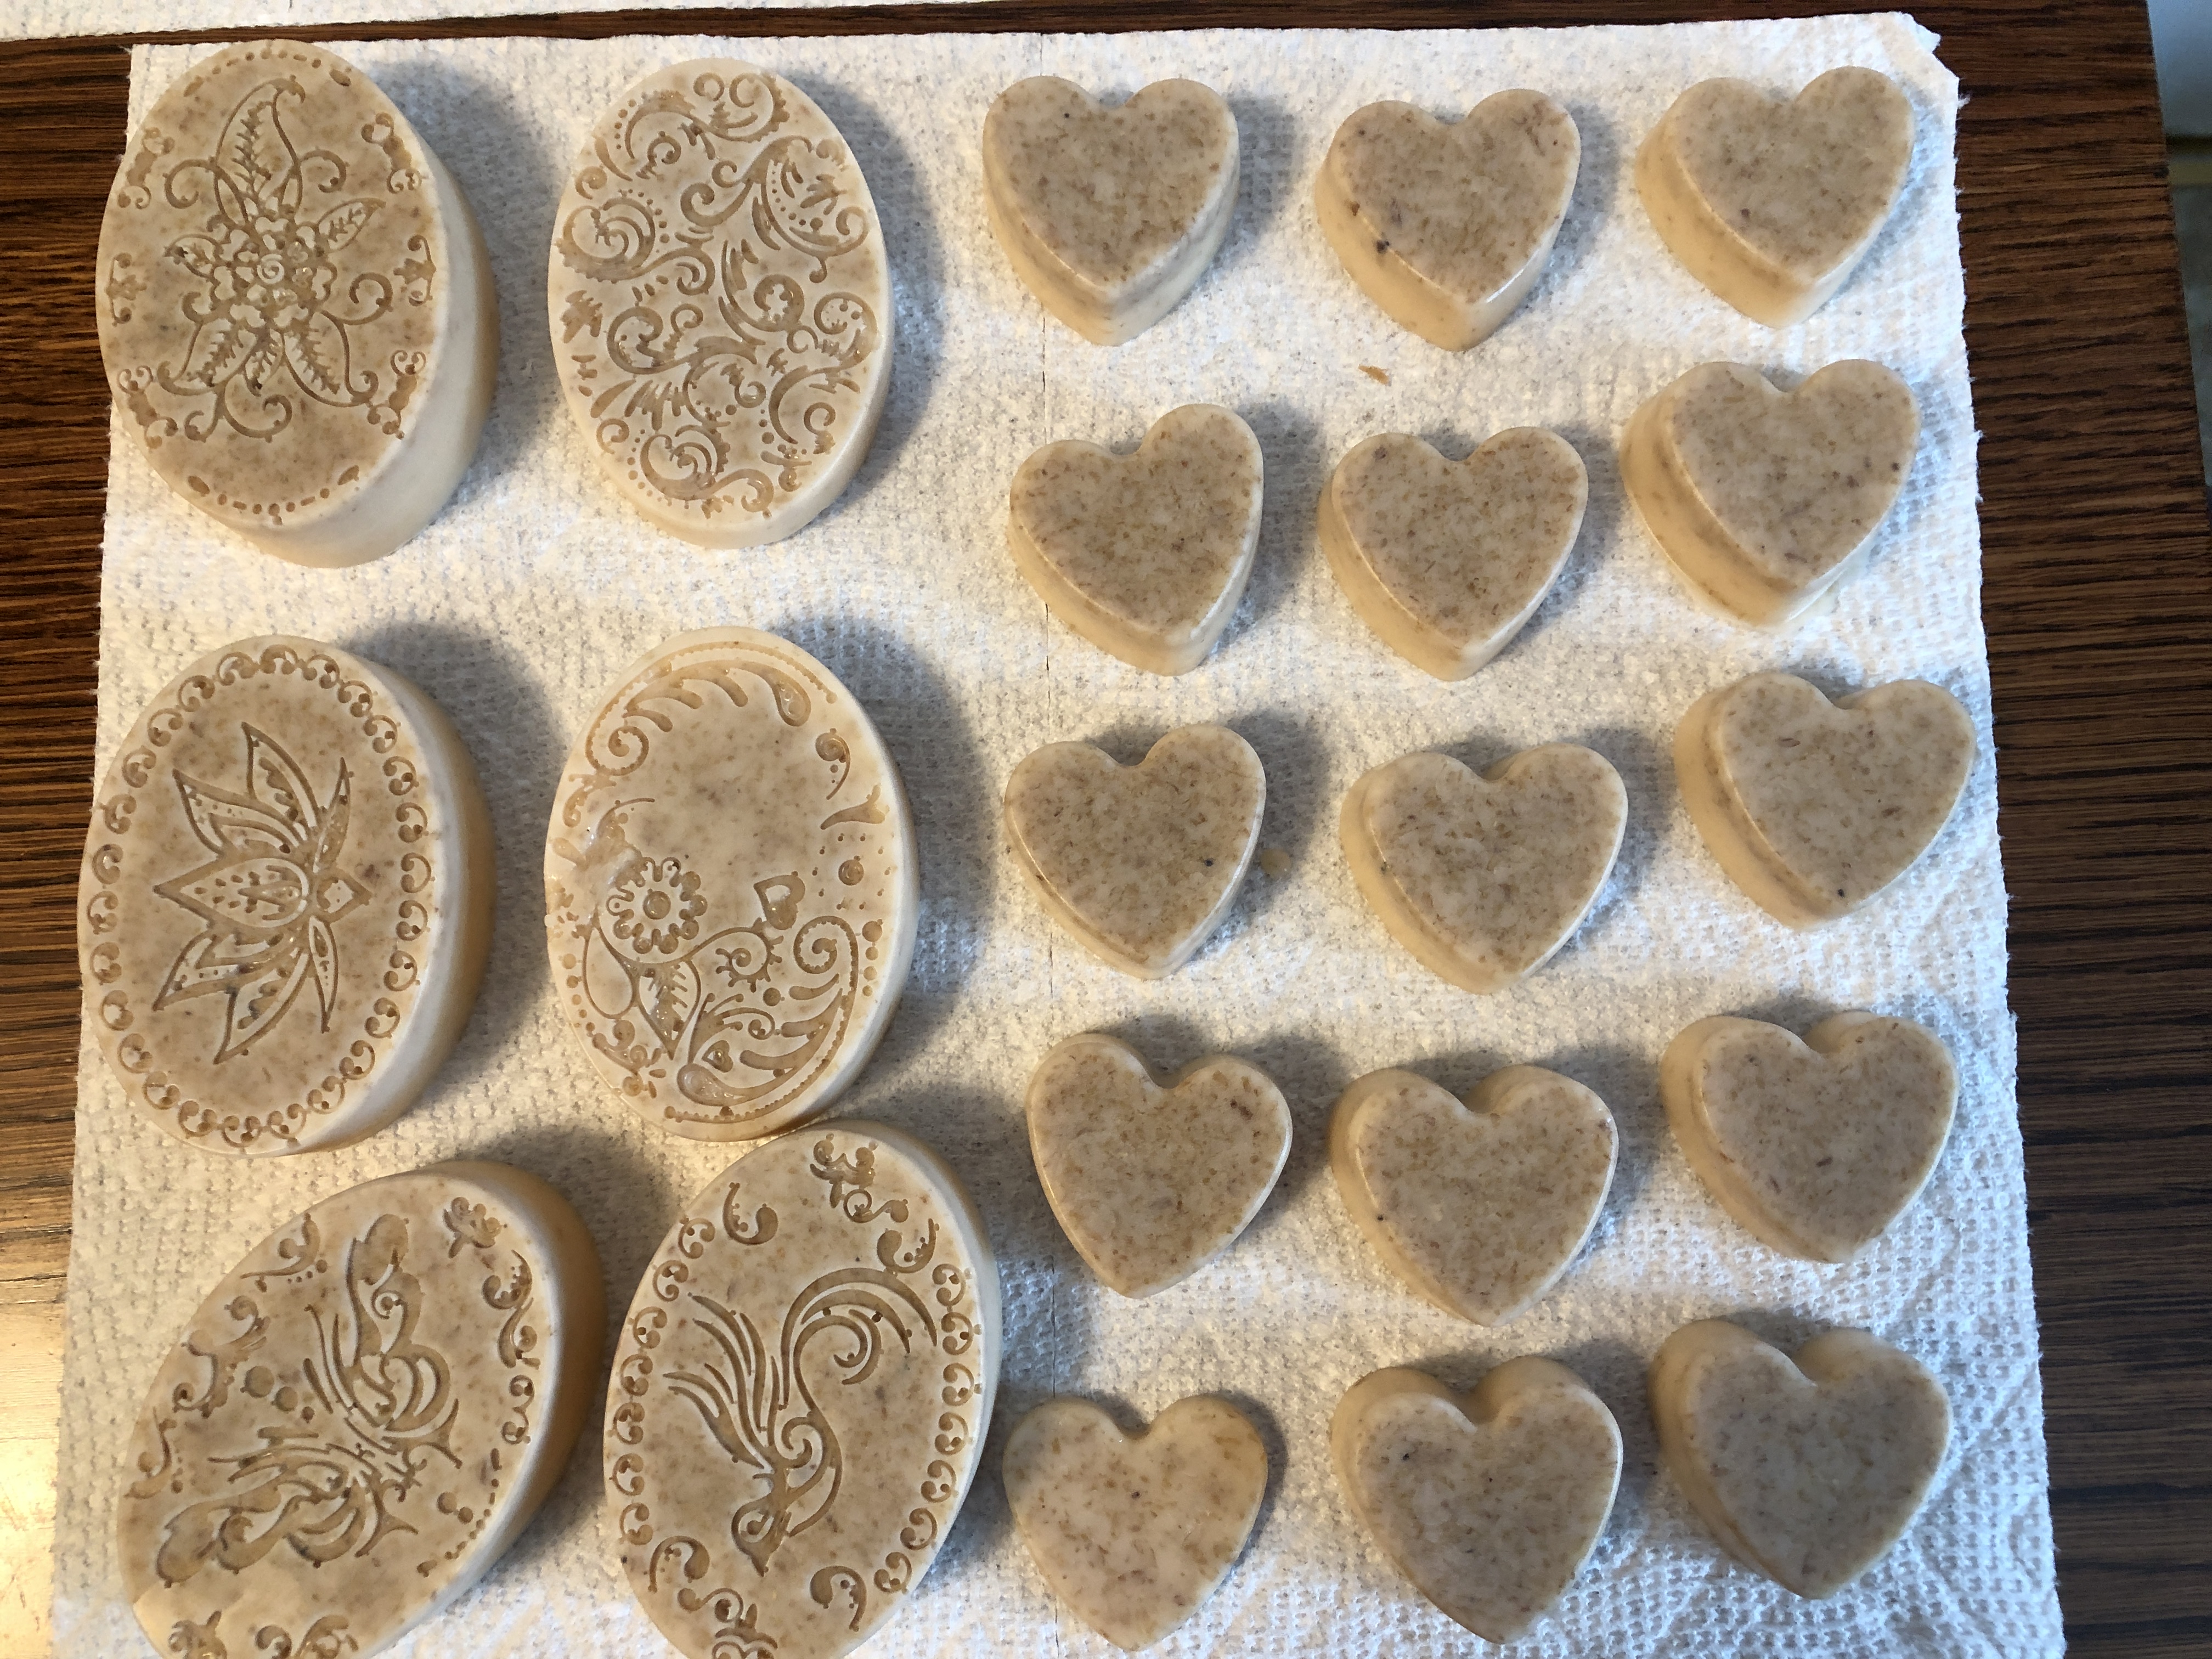
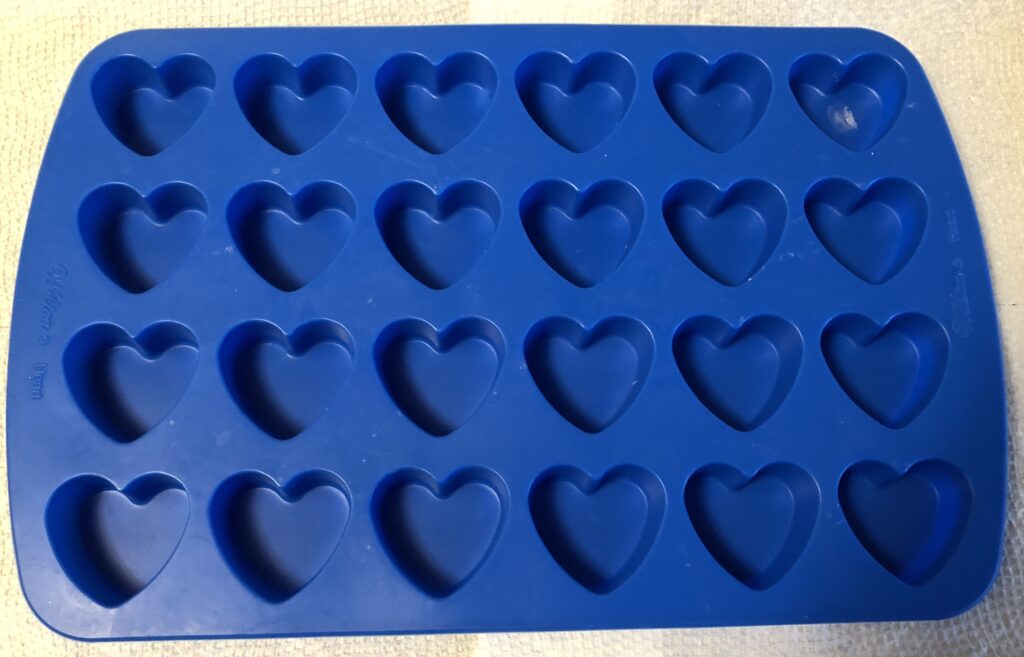
For the majority of my friends, my preferred shape is the heart. It’s just about the right size for a gift and makes about 24 hearts per batch.
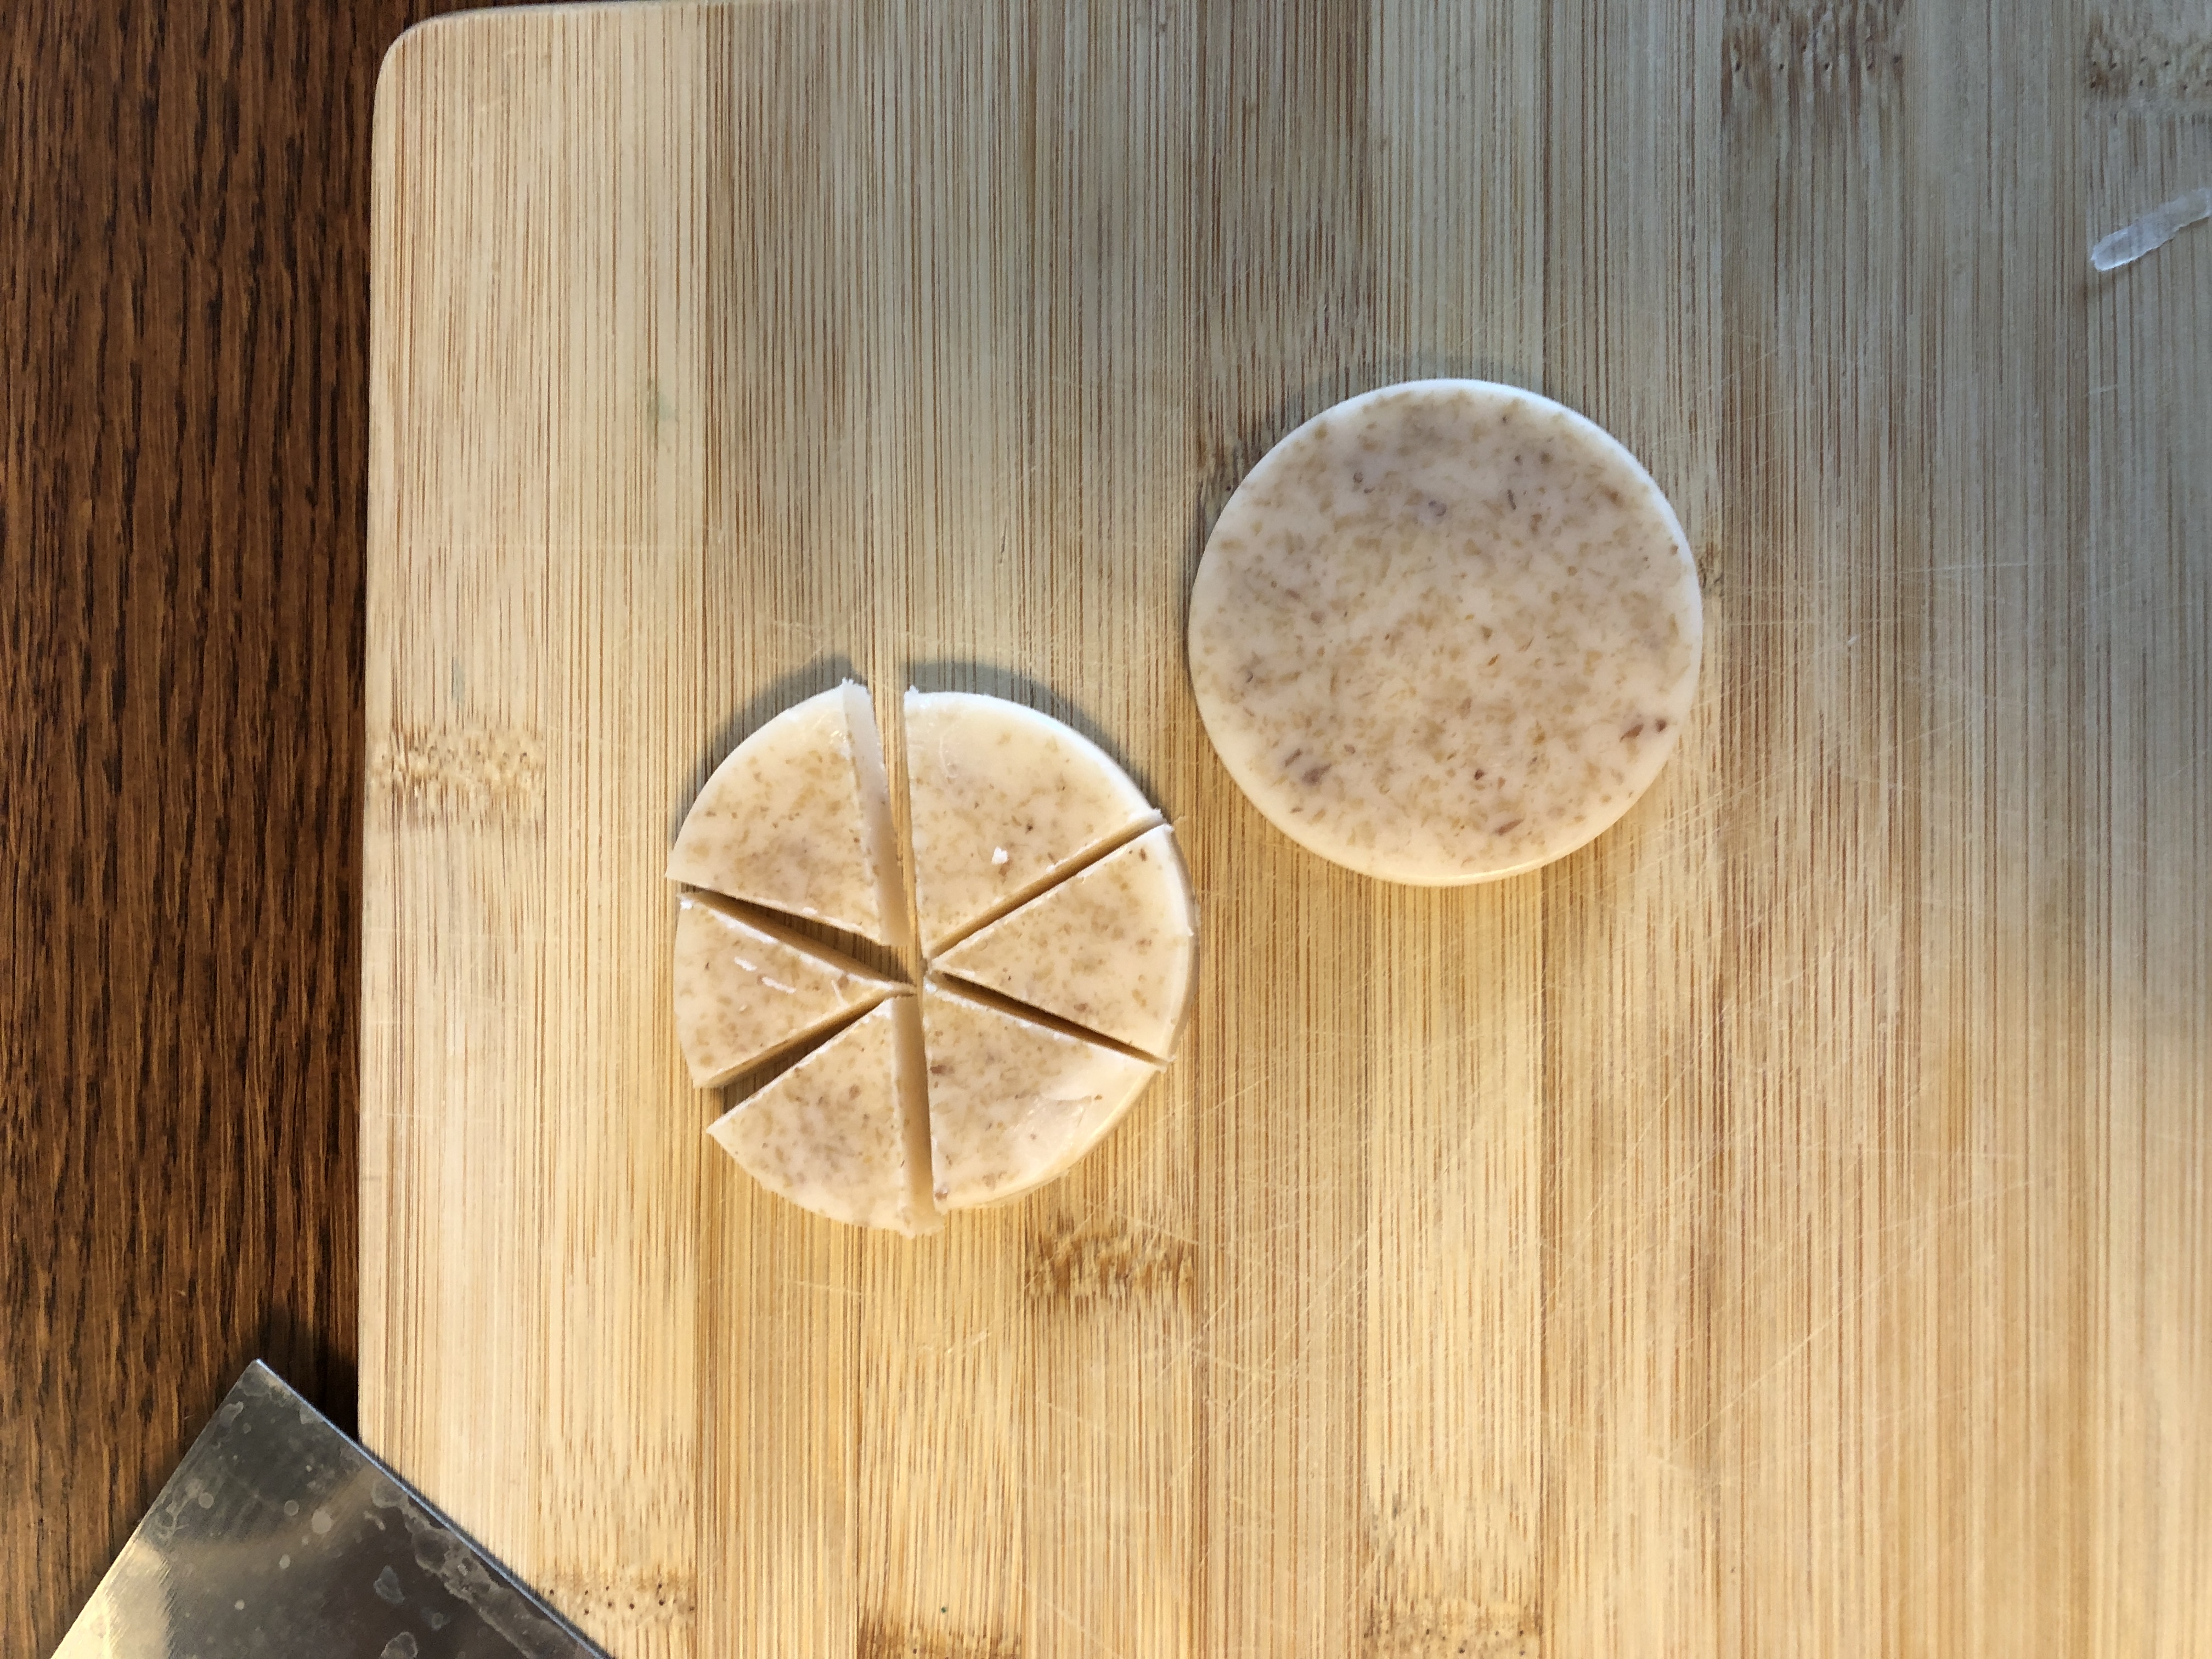
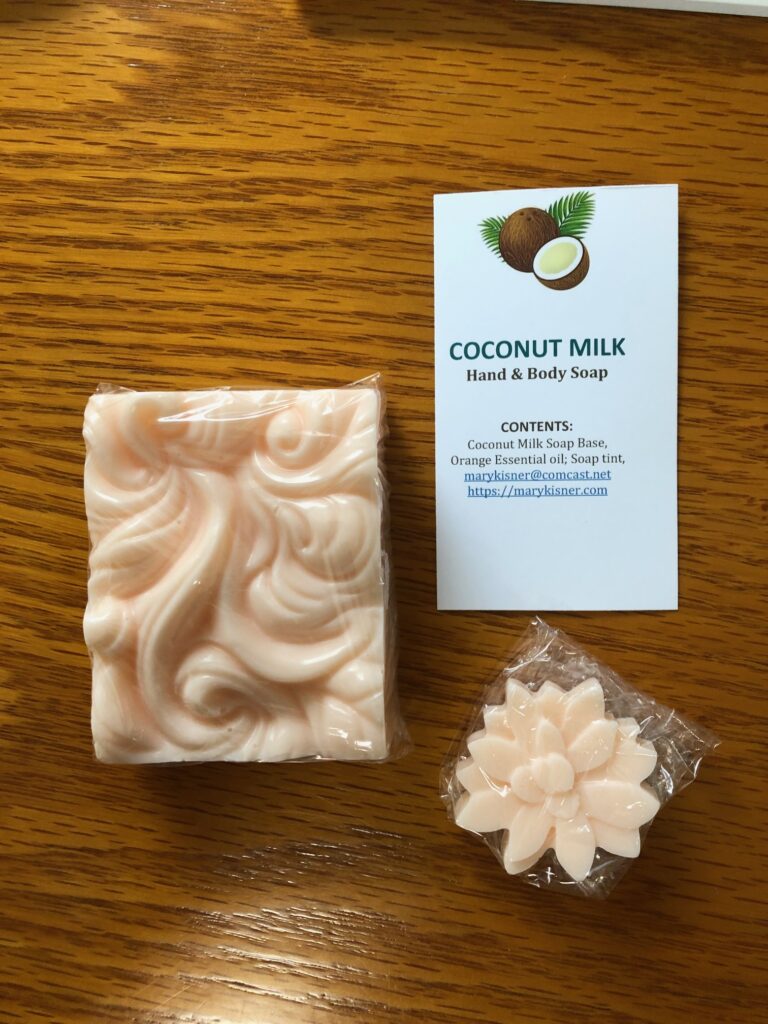
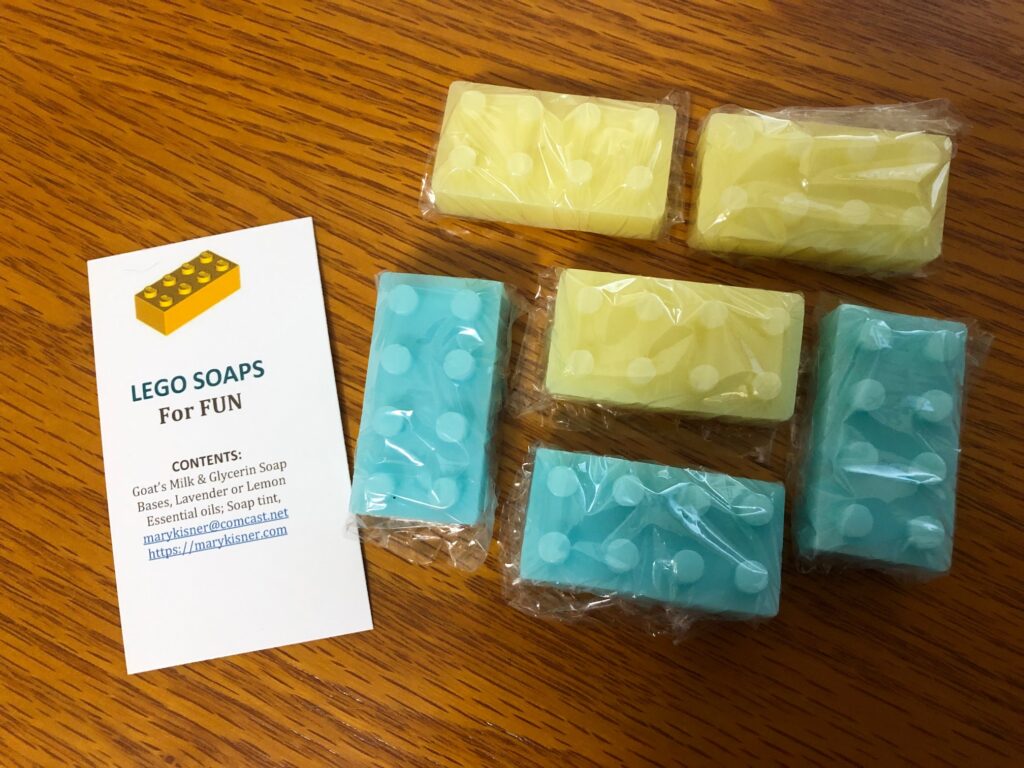
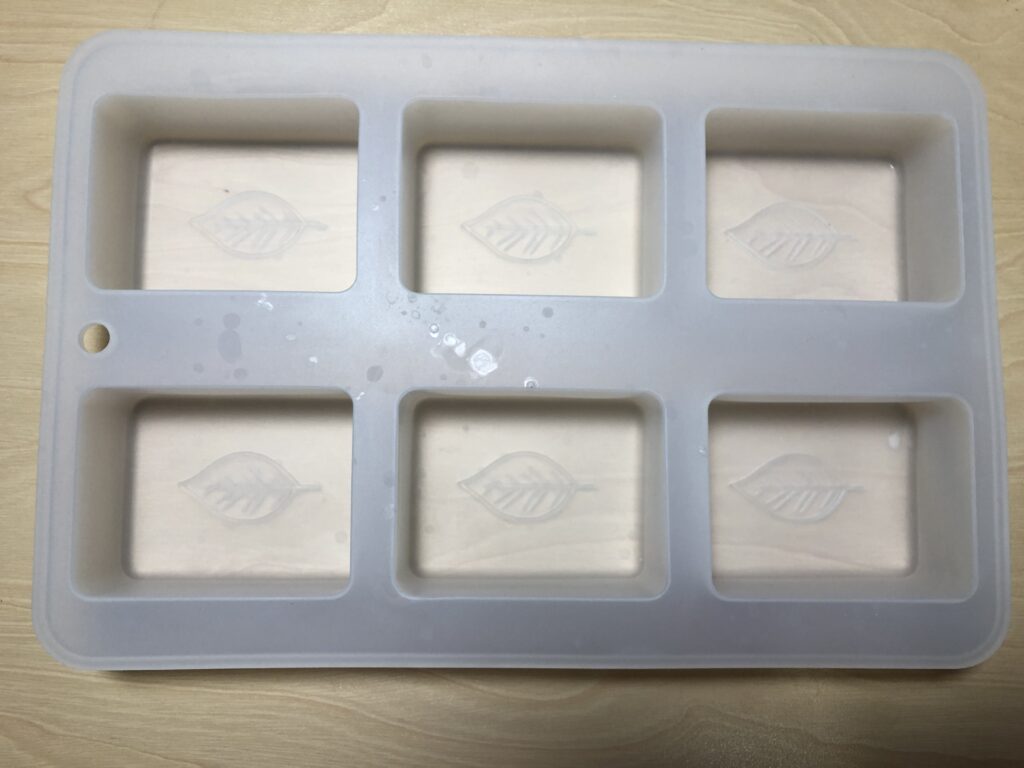
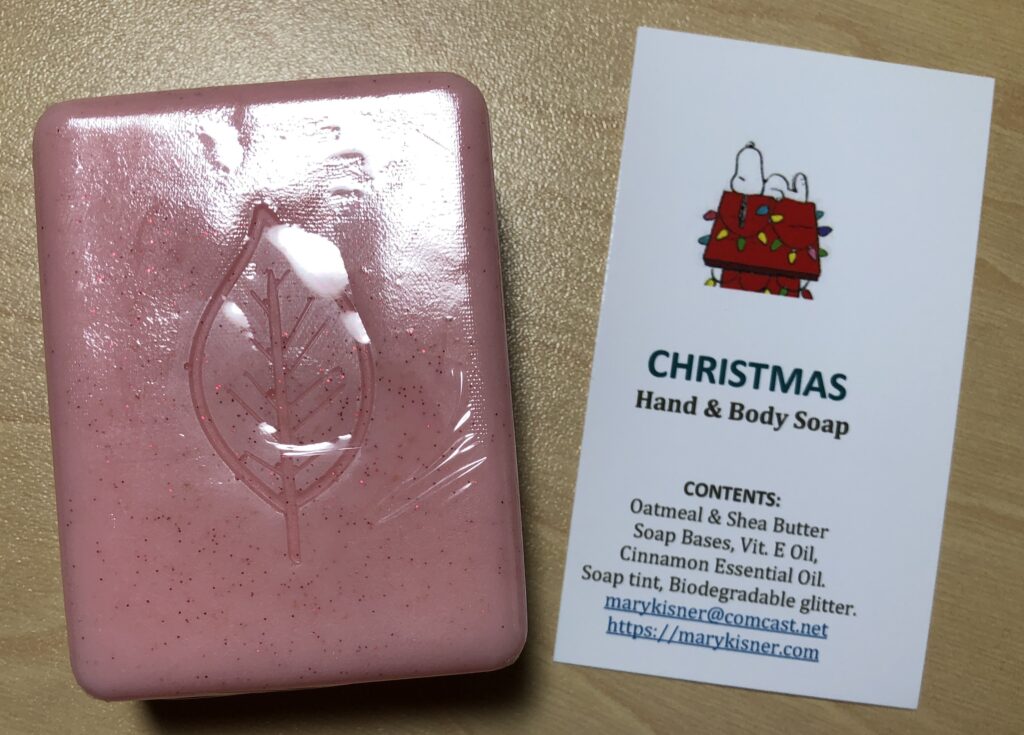
Finally, a larger bar of soap is just right for a few people for Christmas gifts.
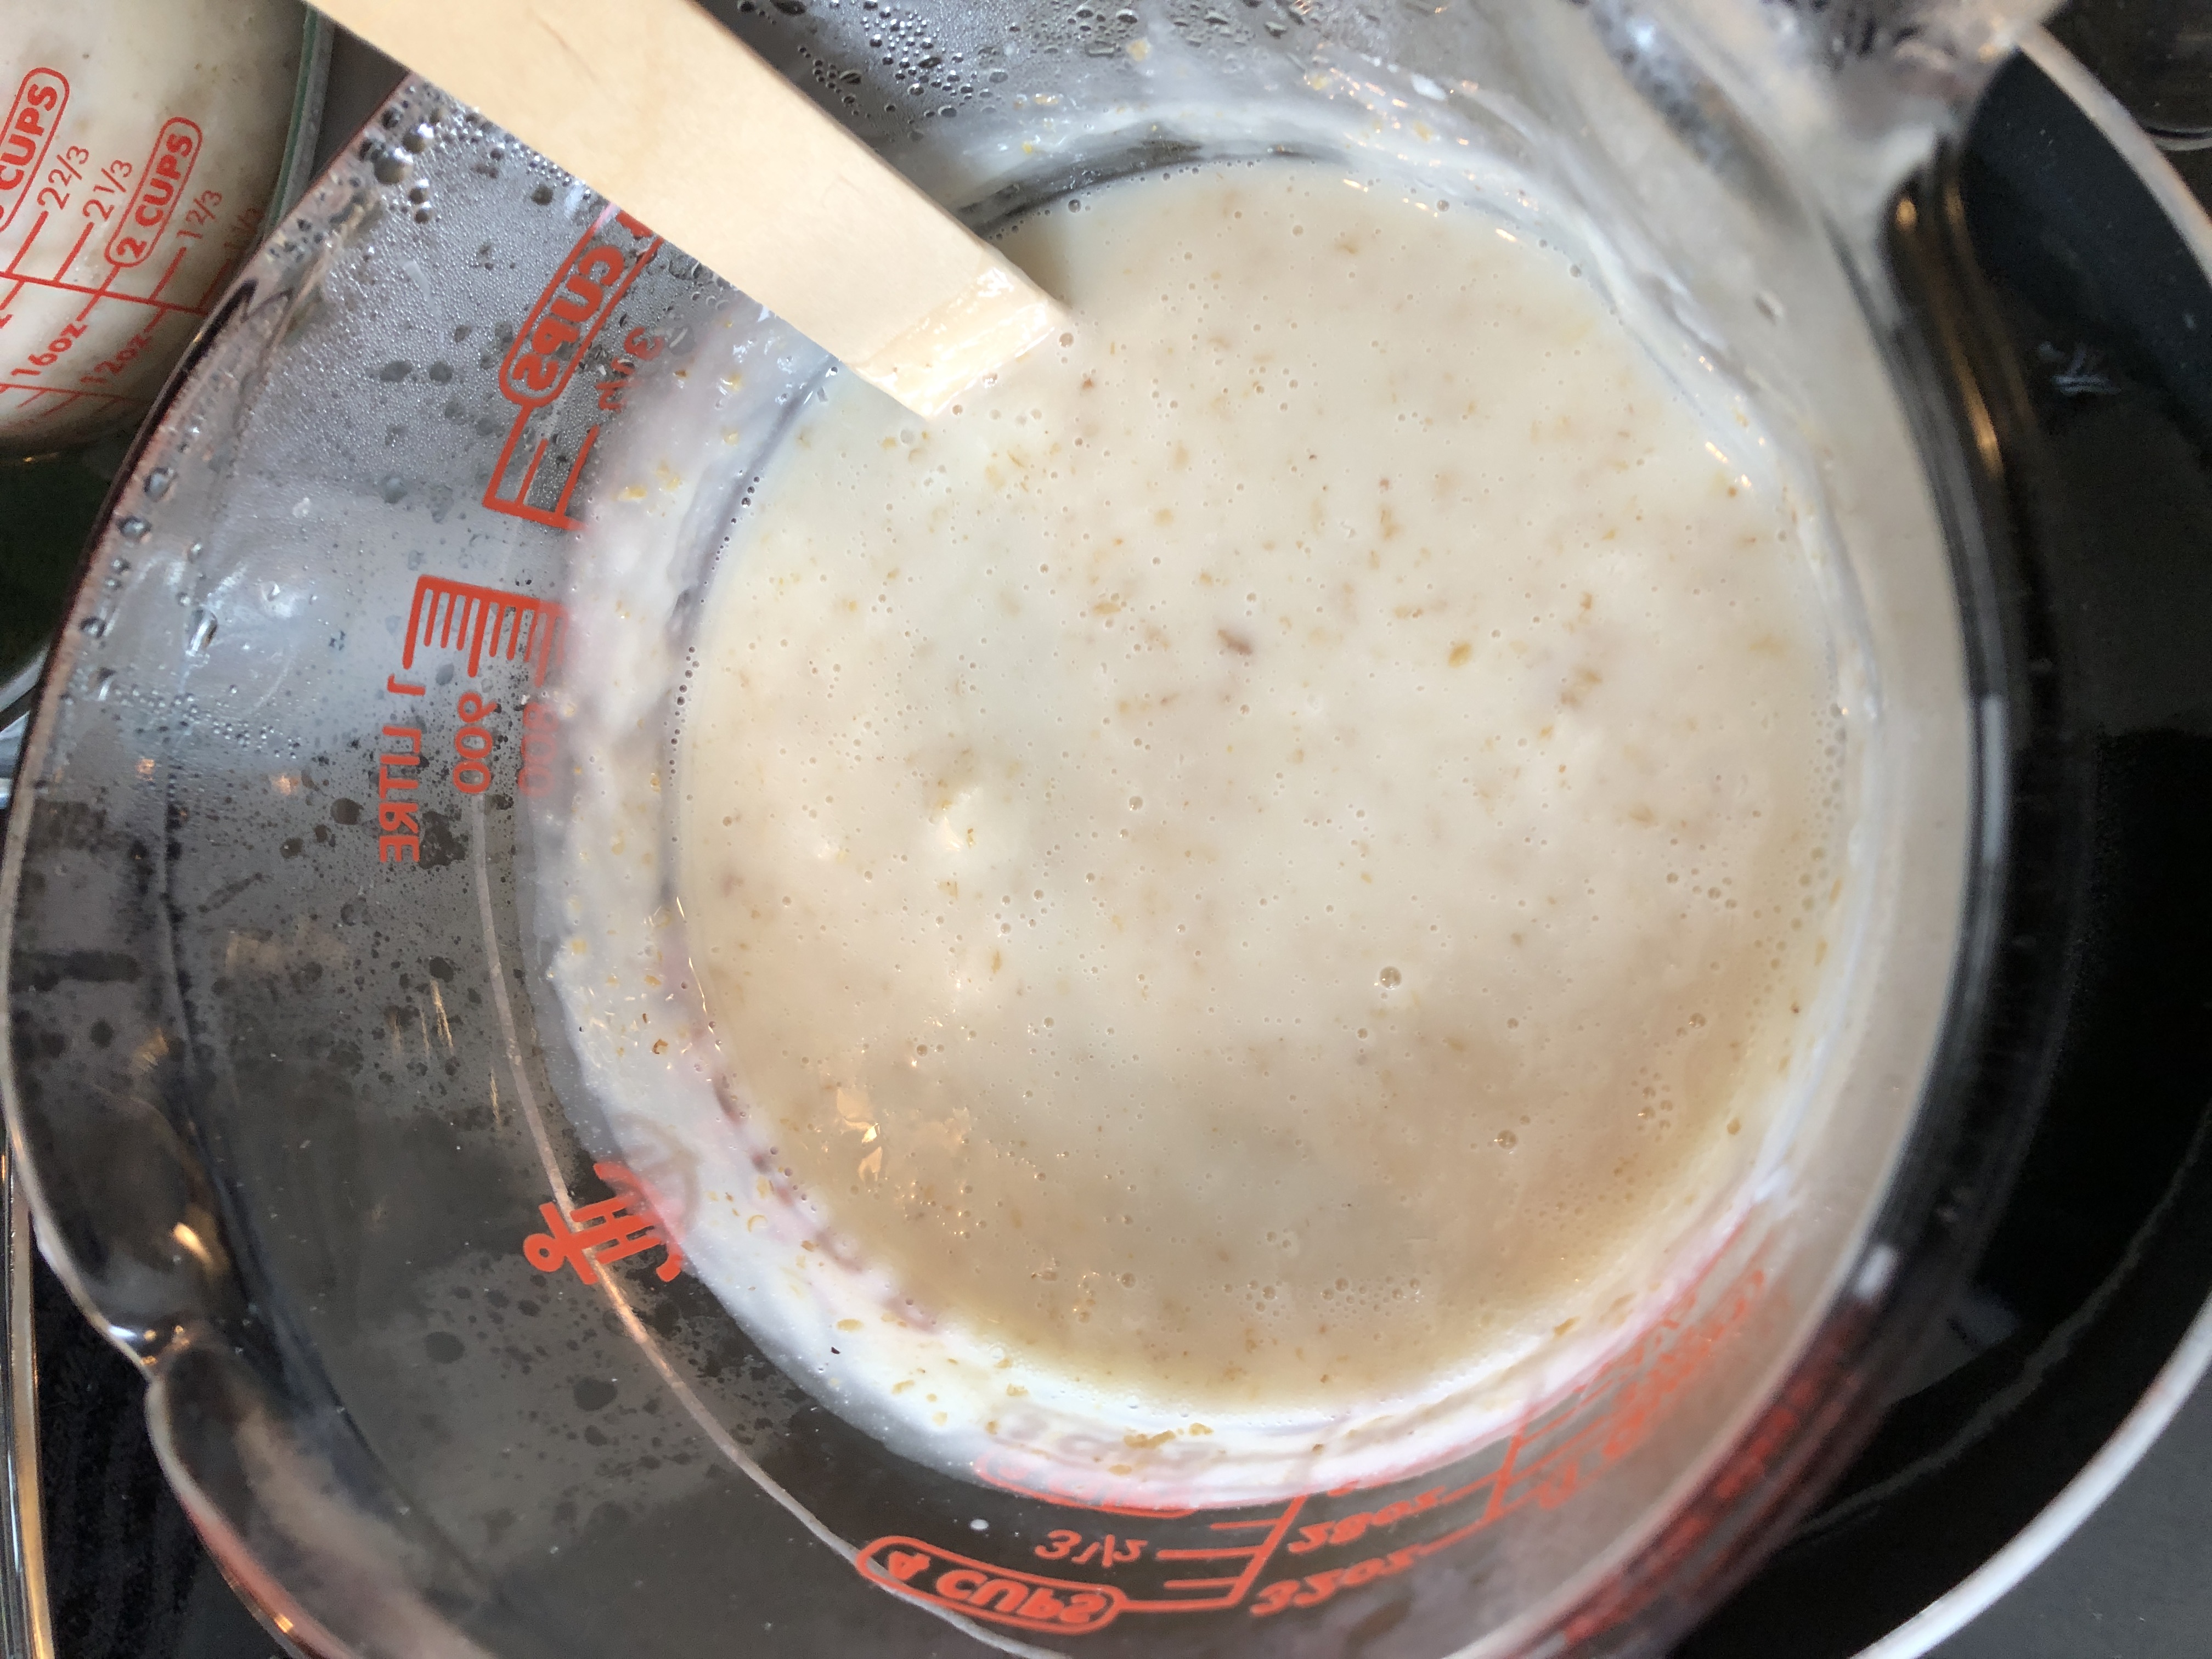
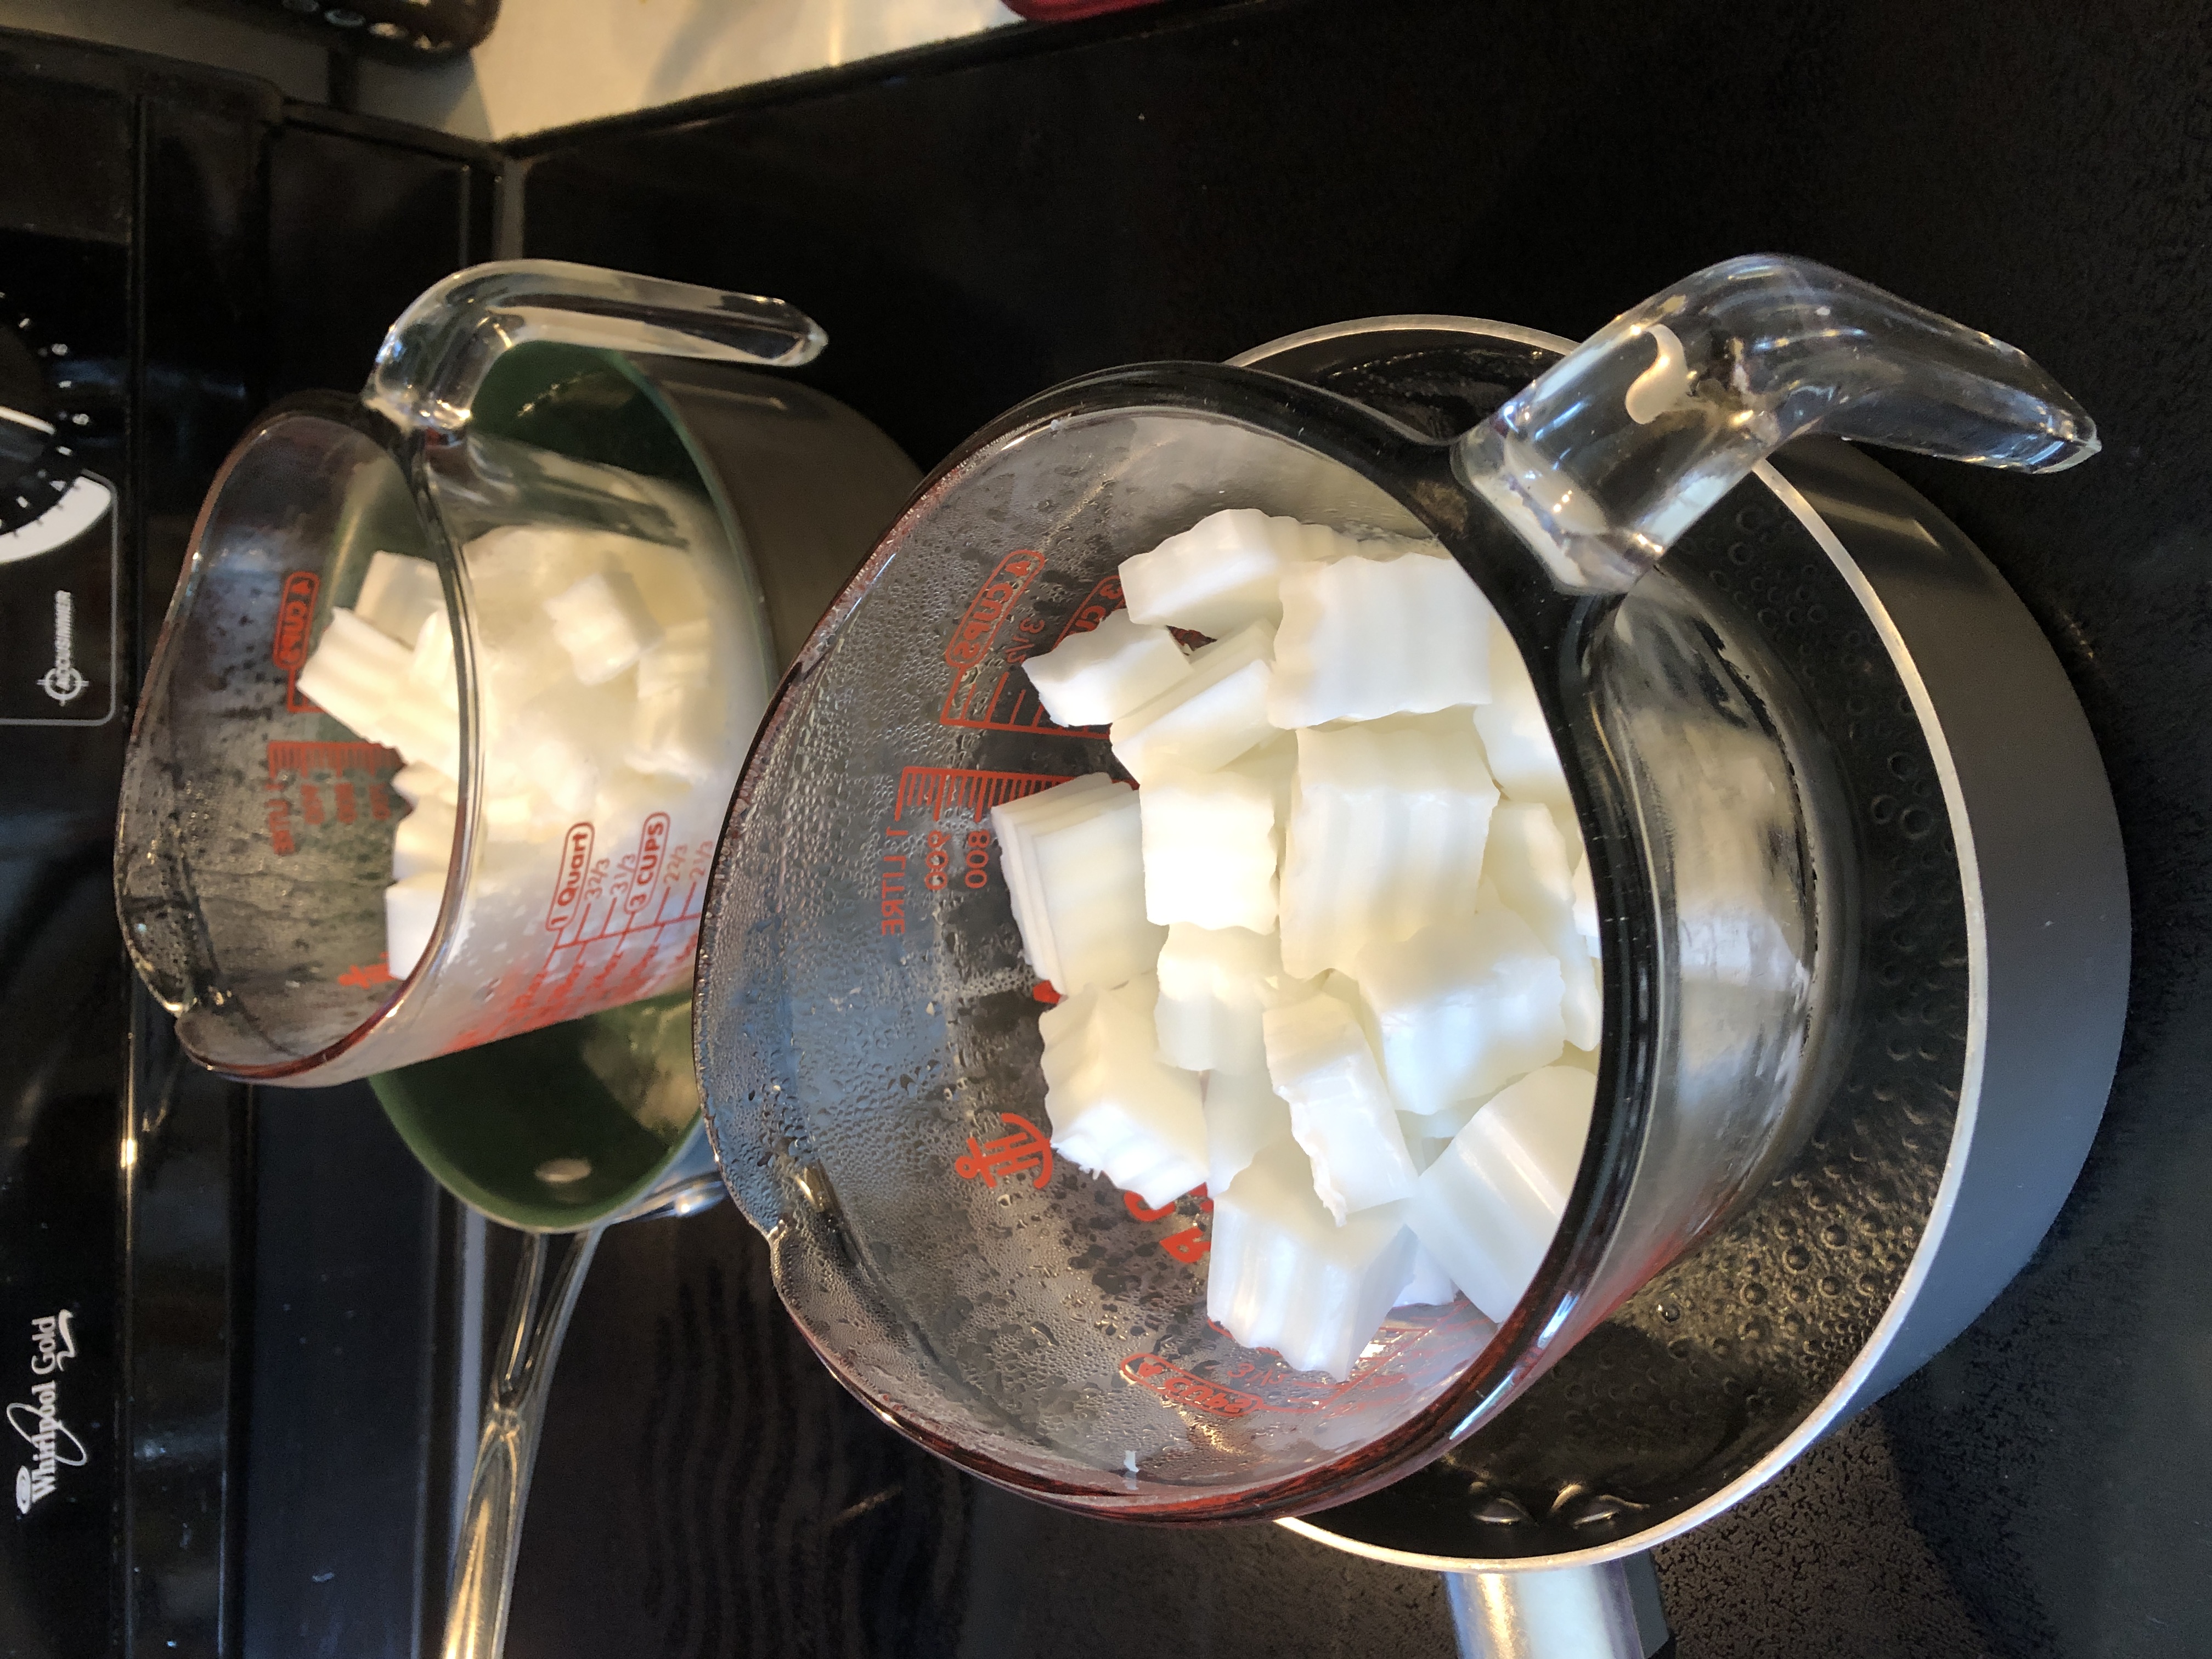
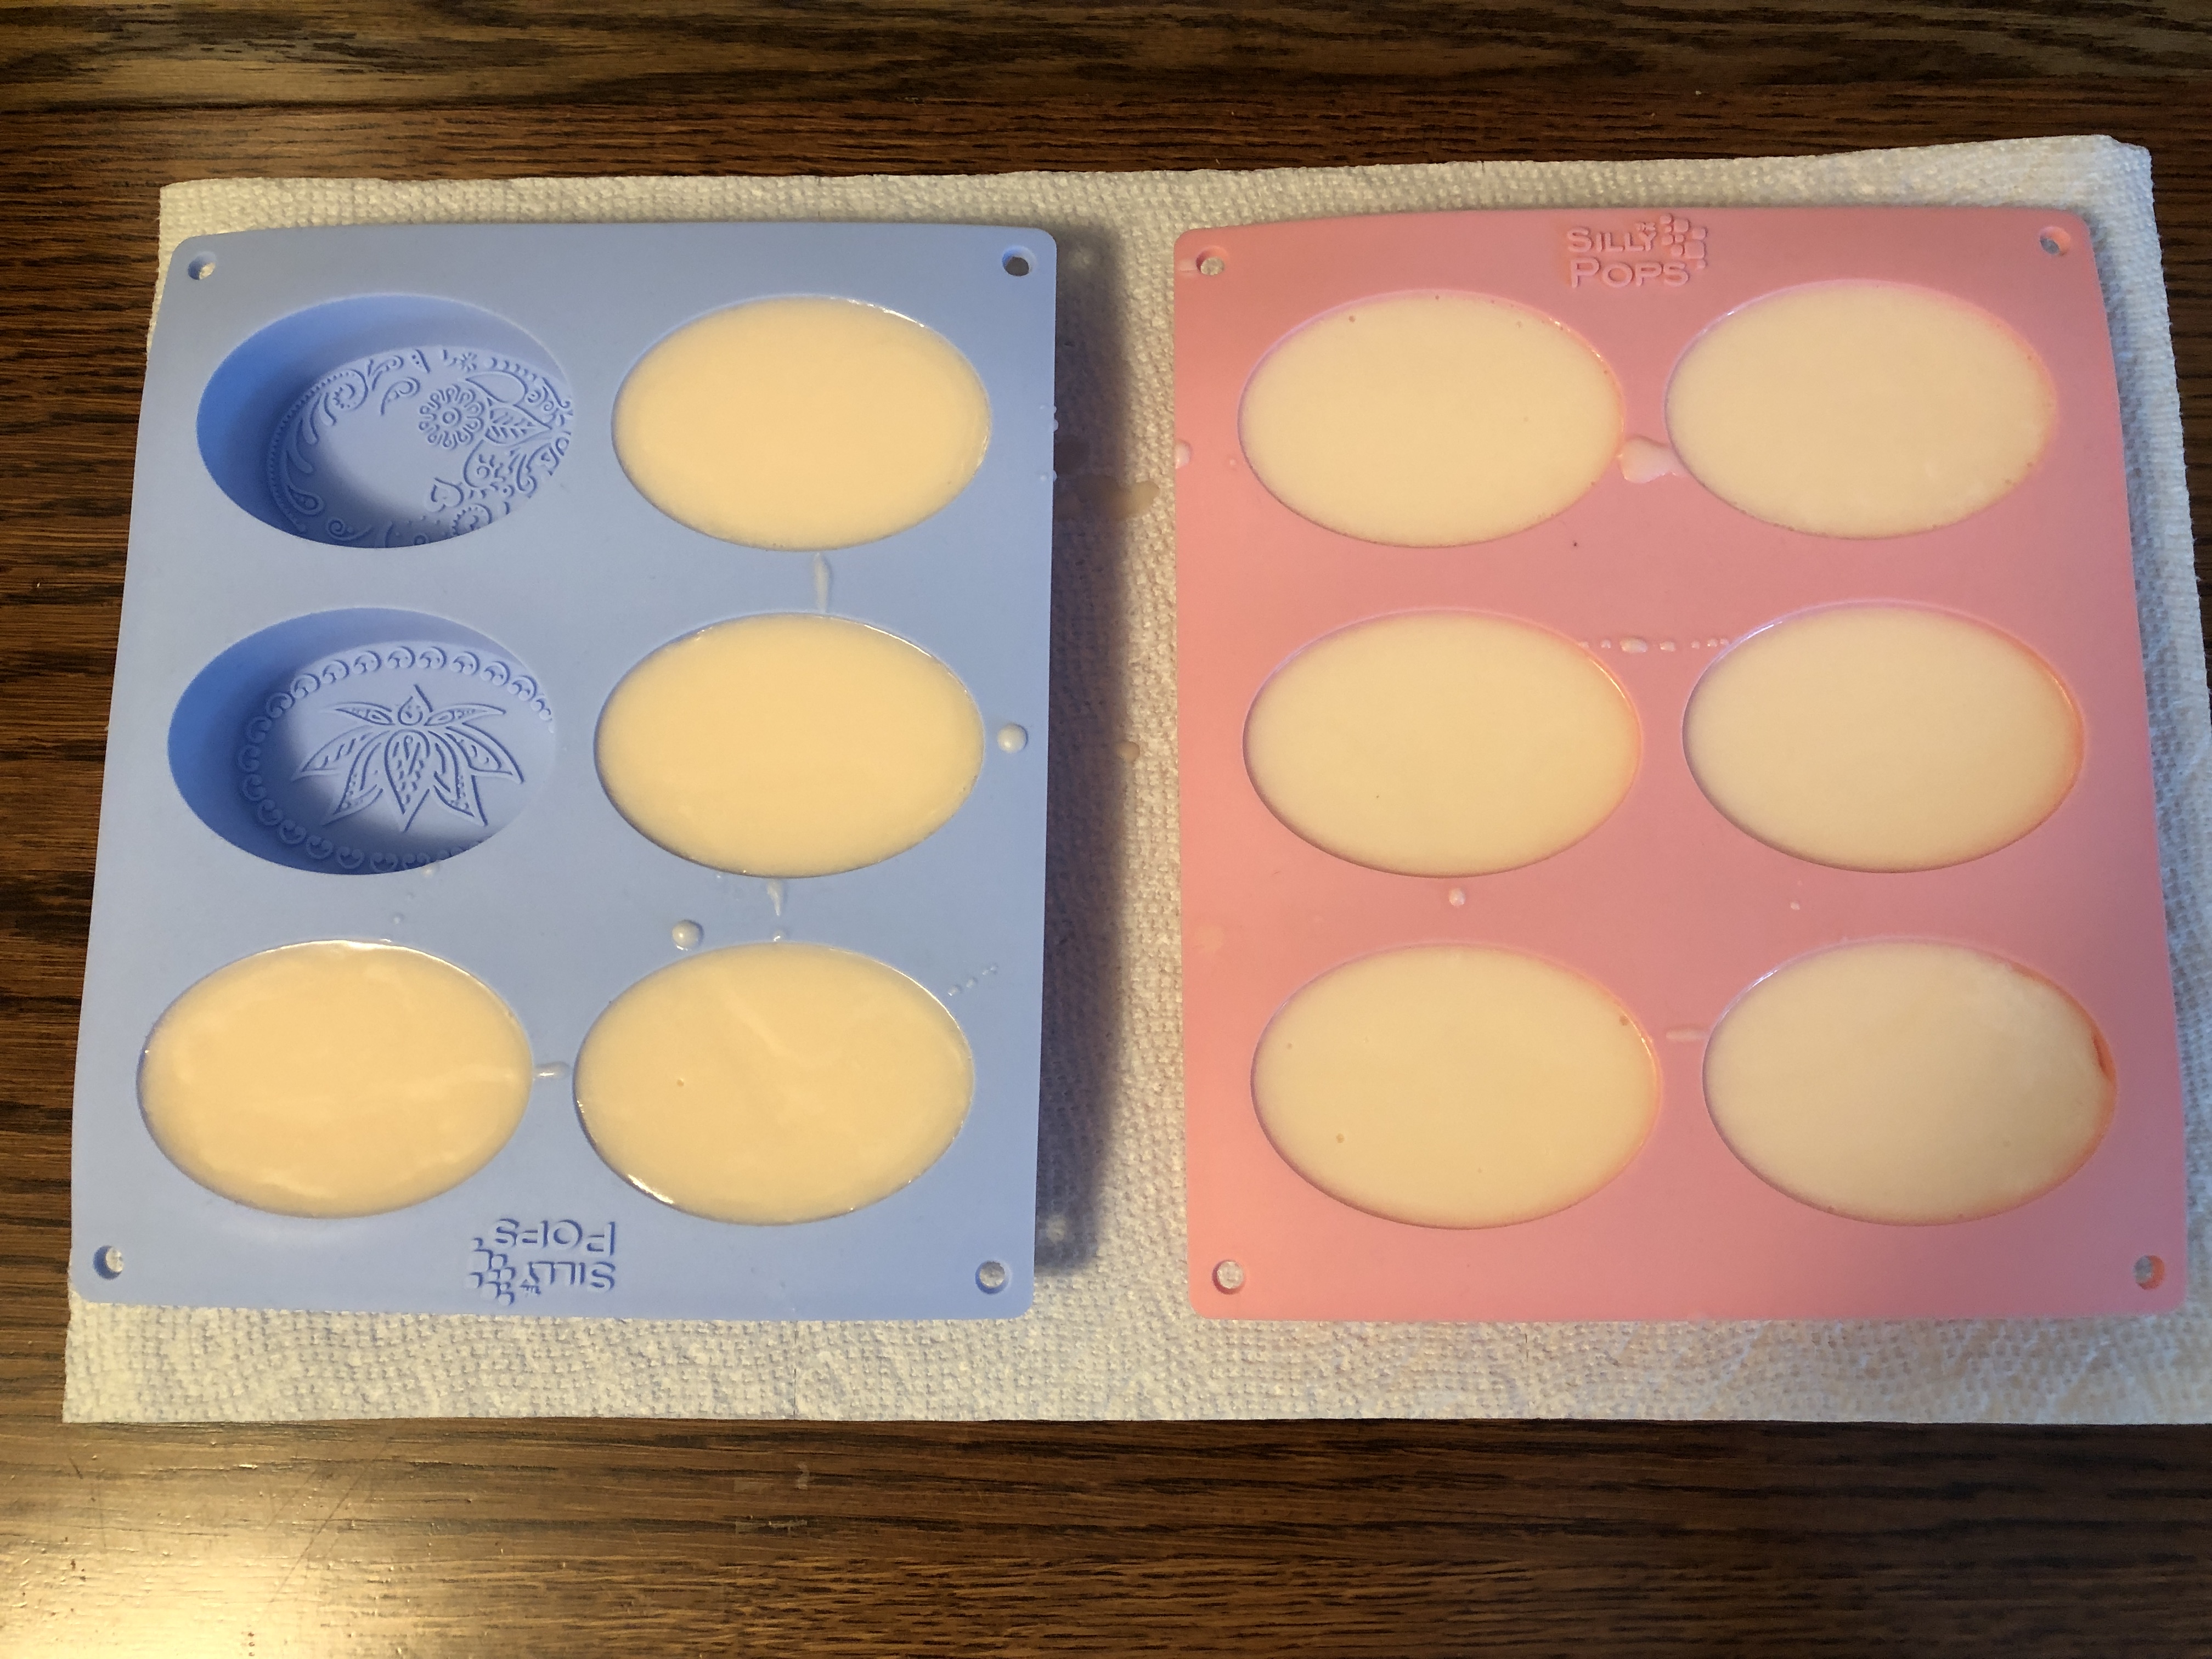
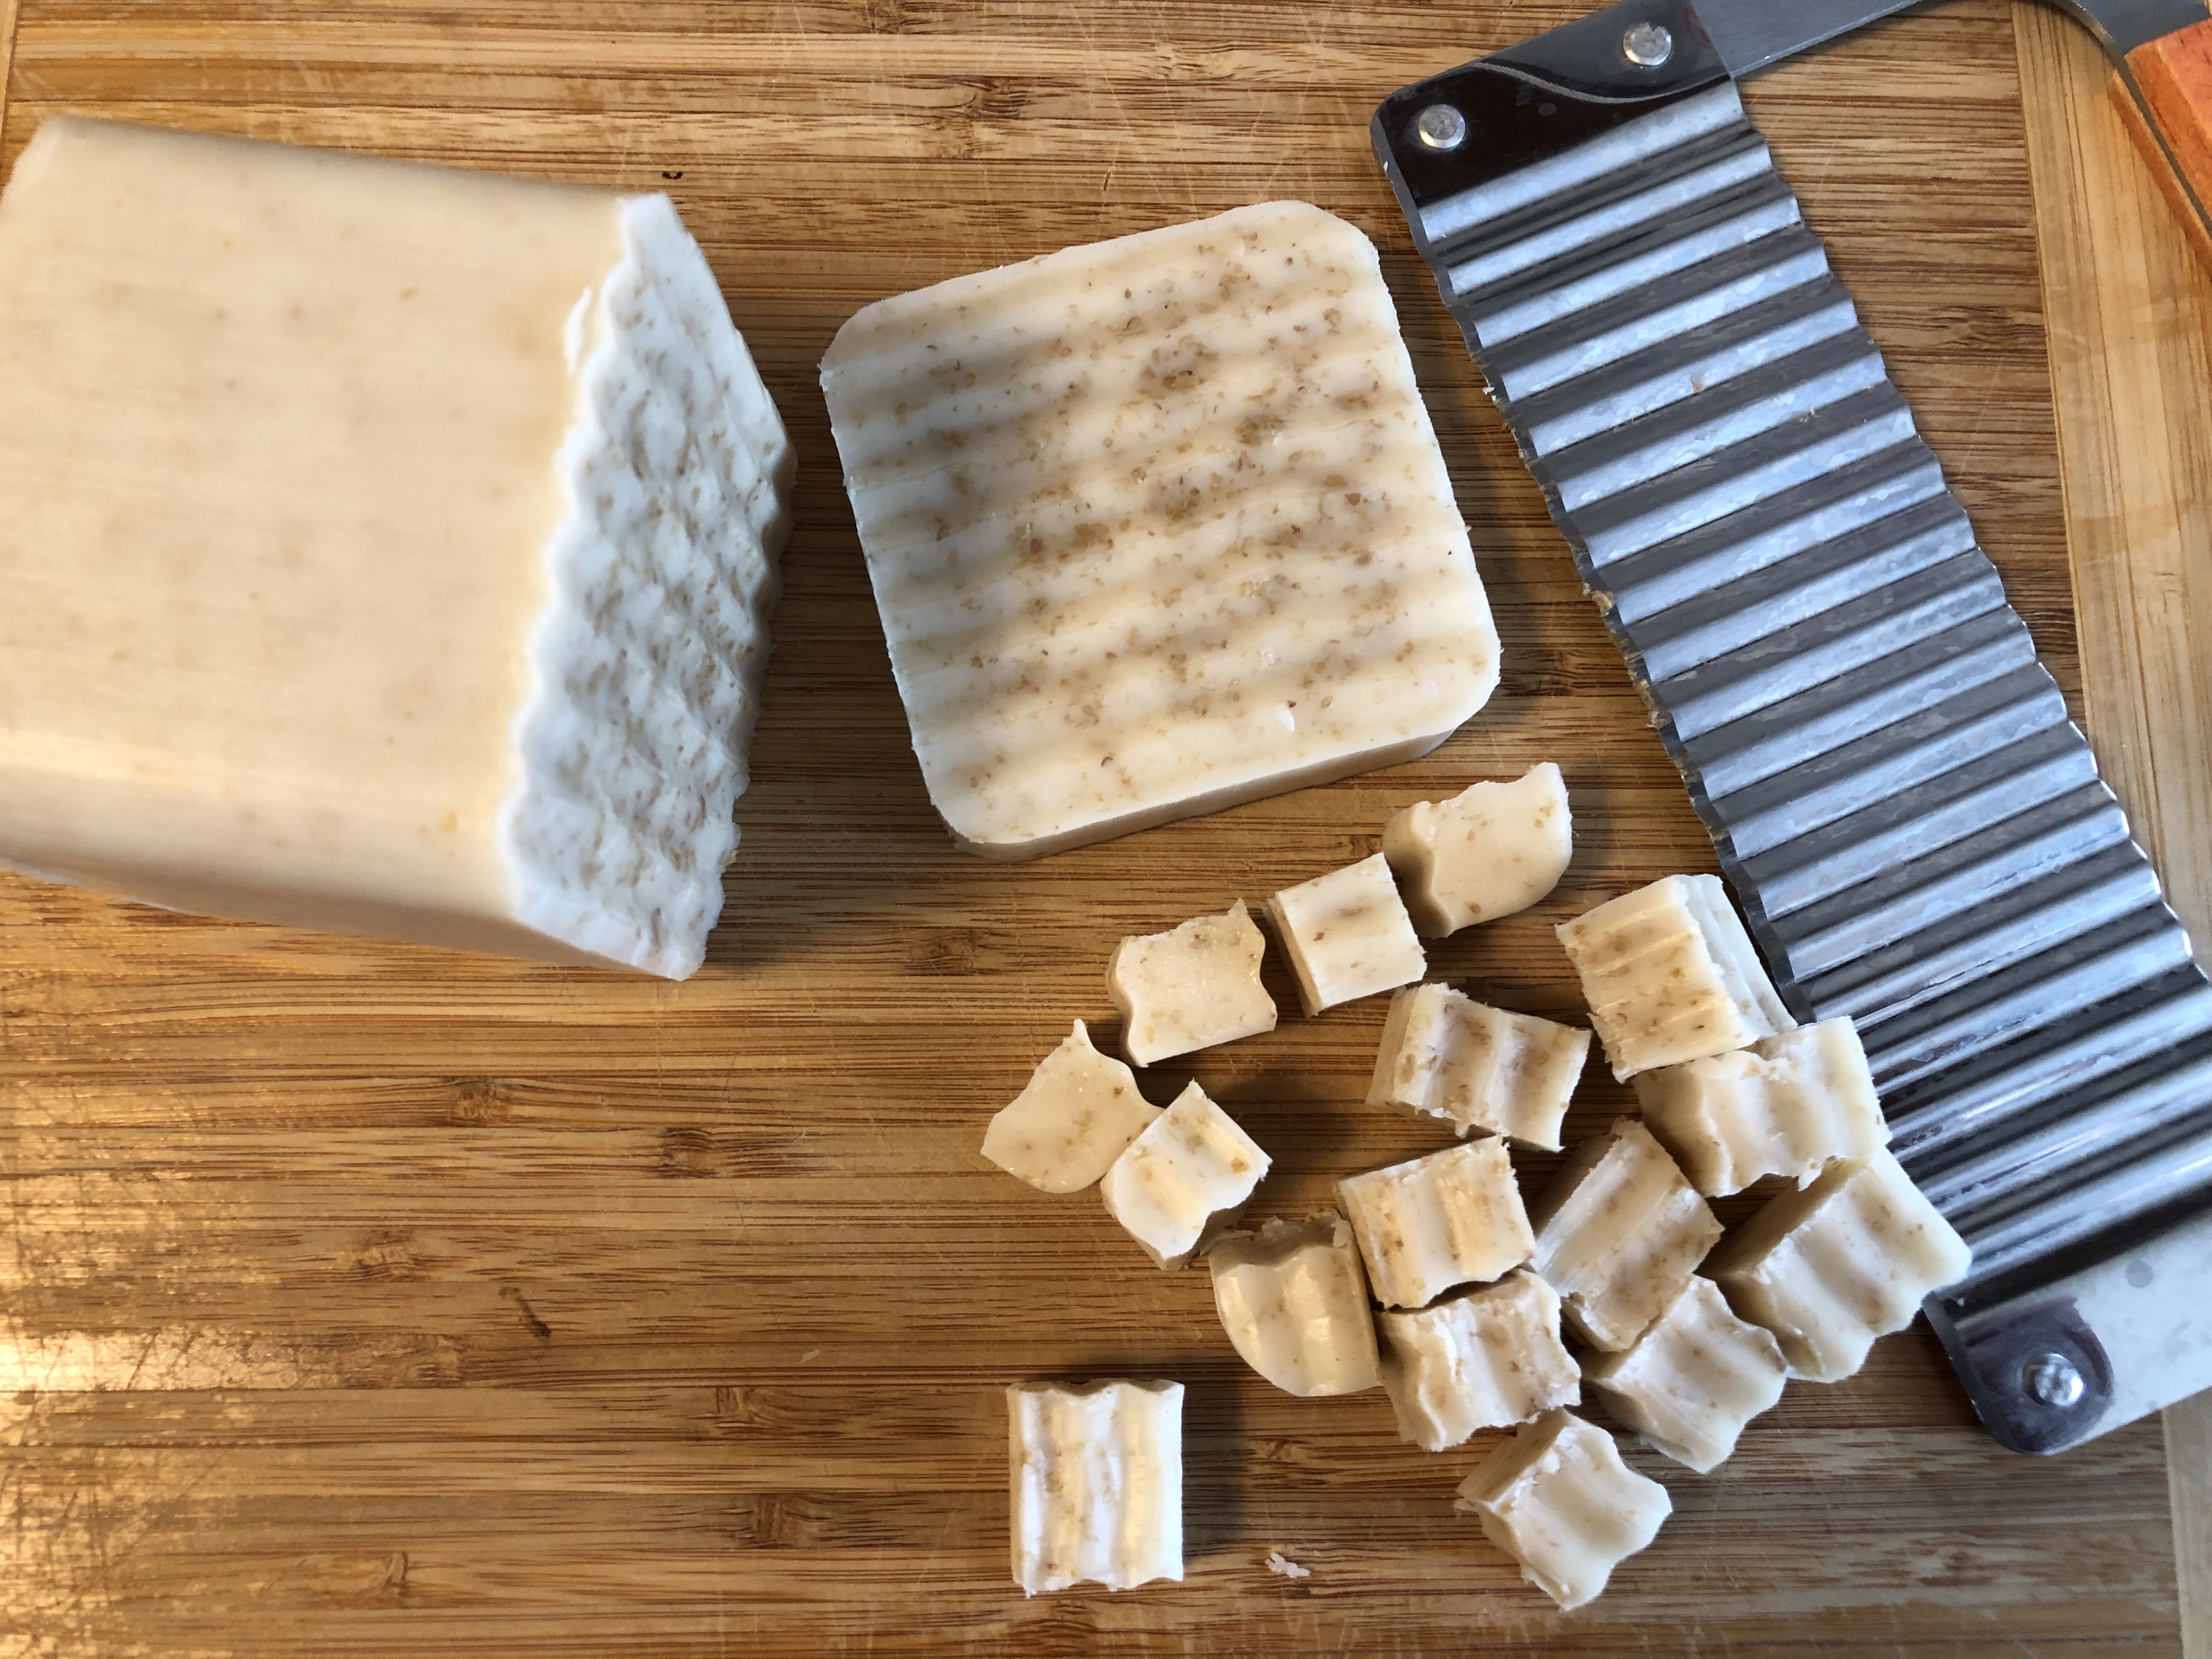
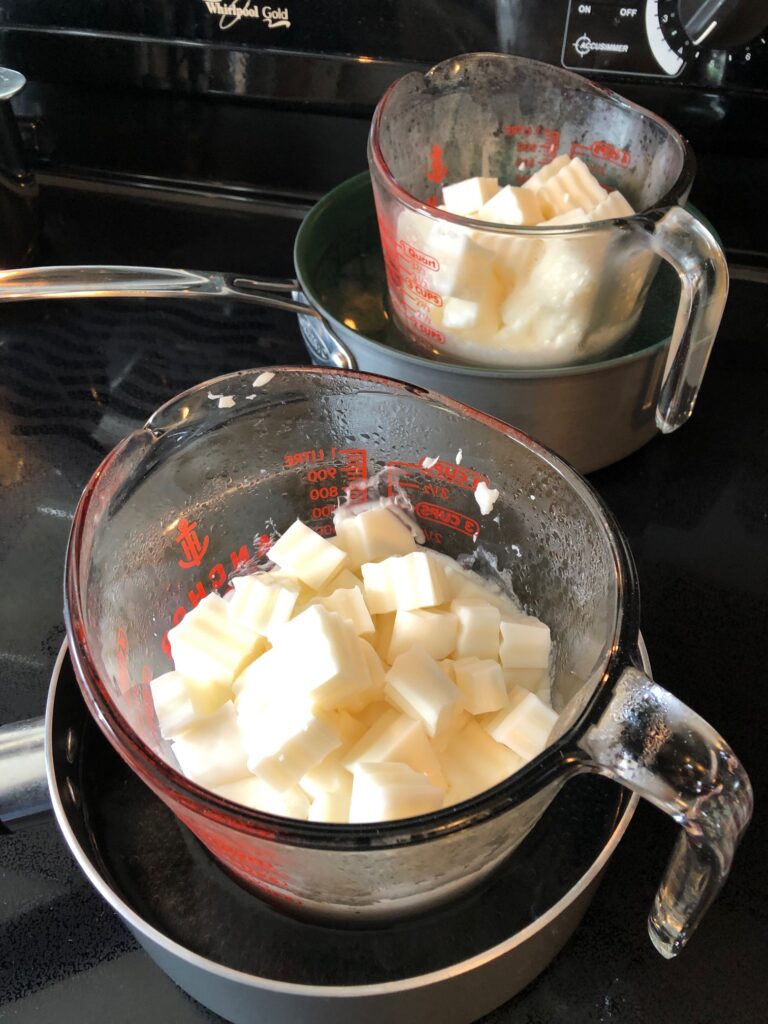
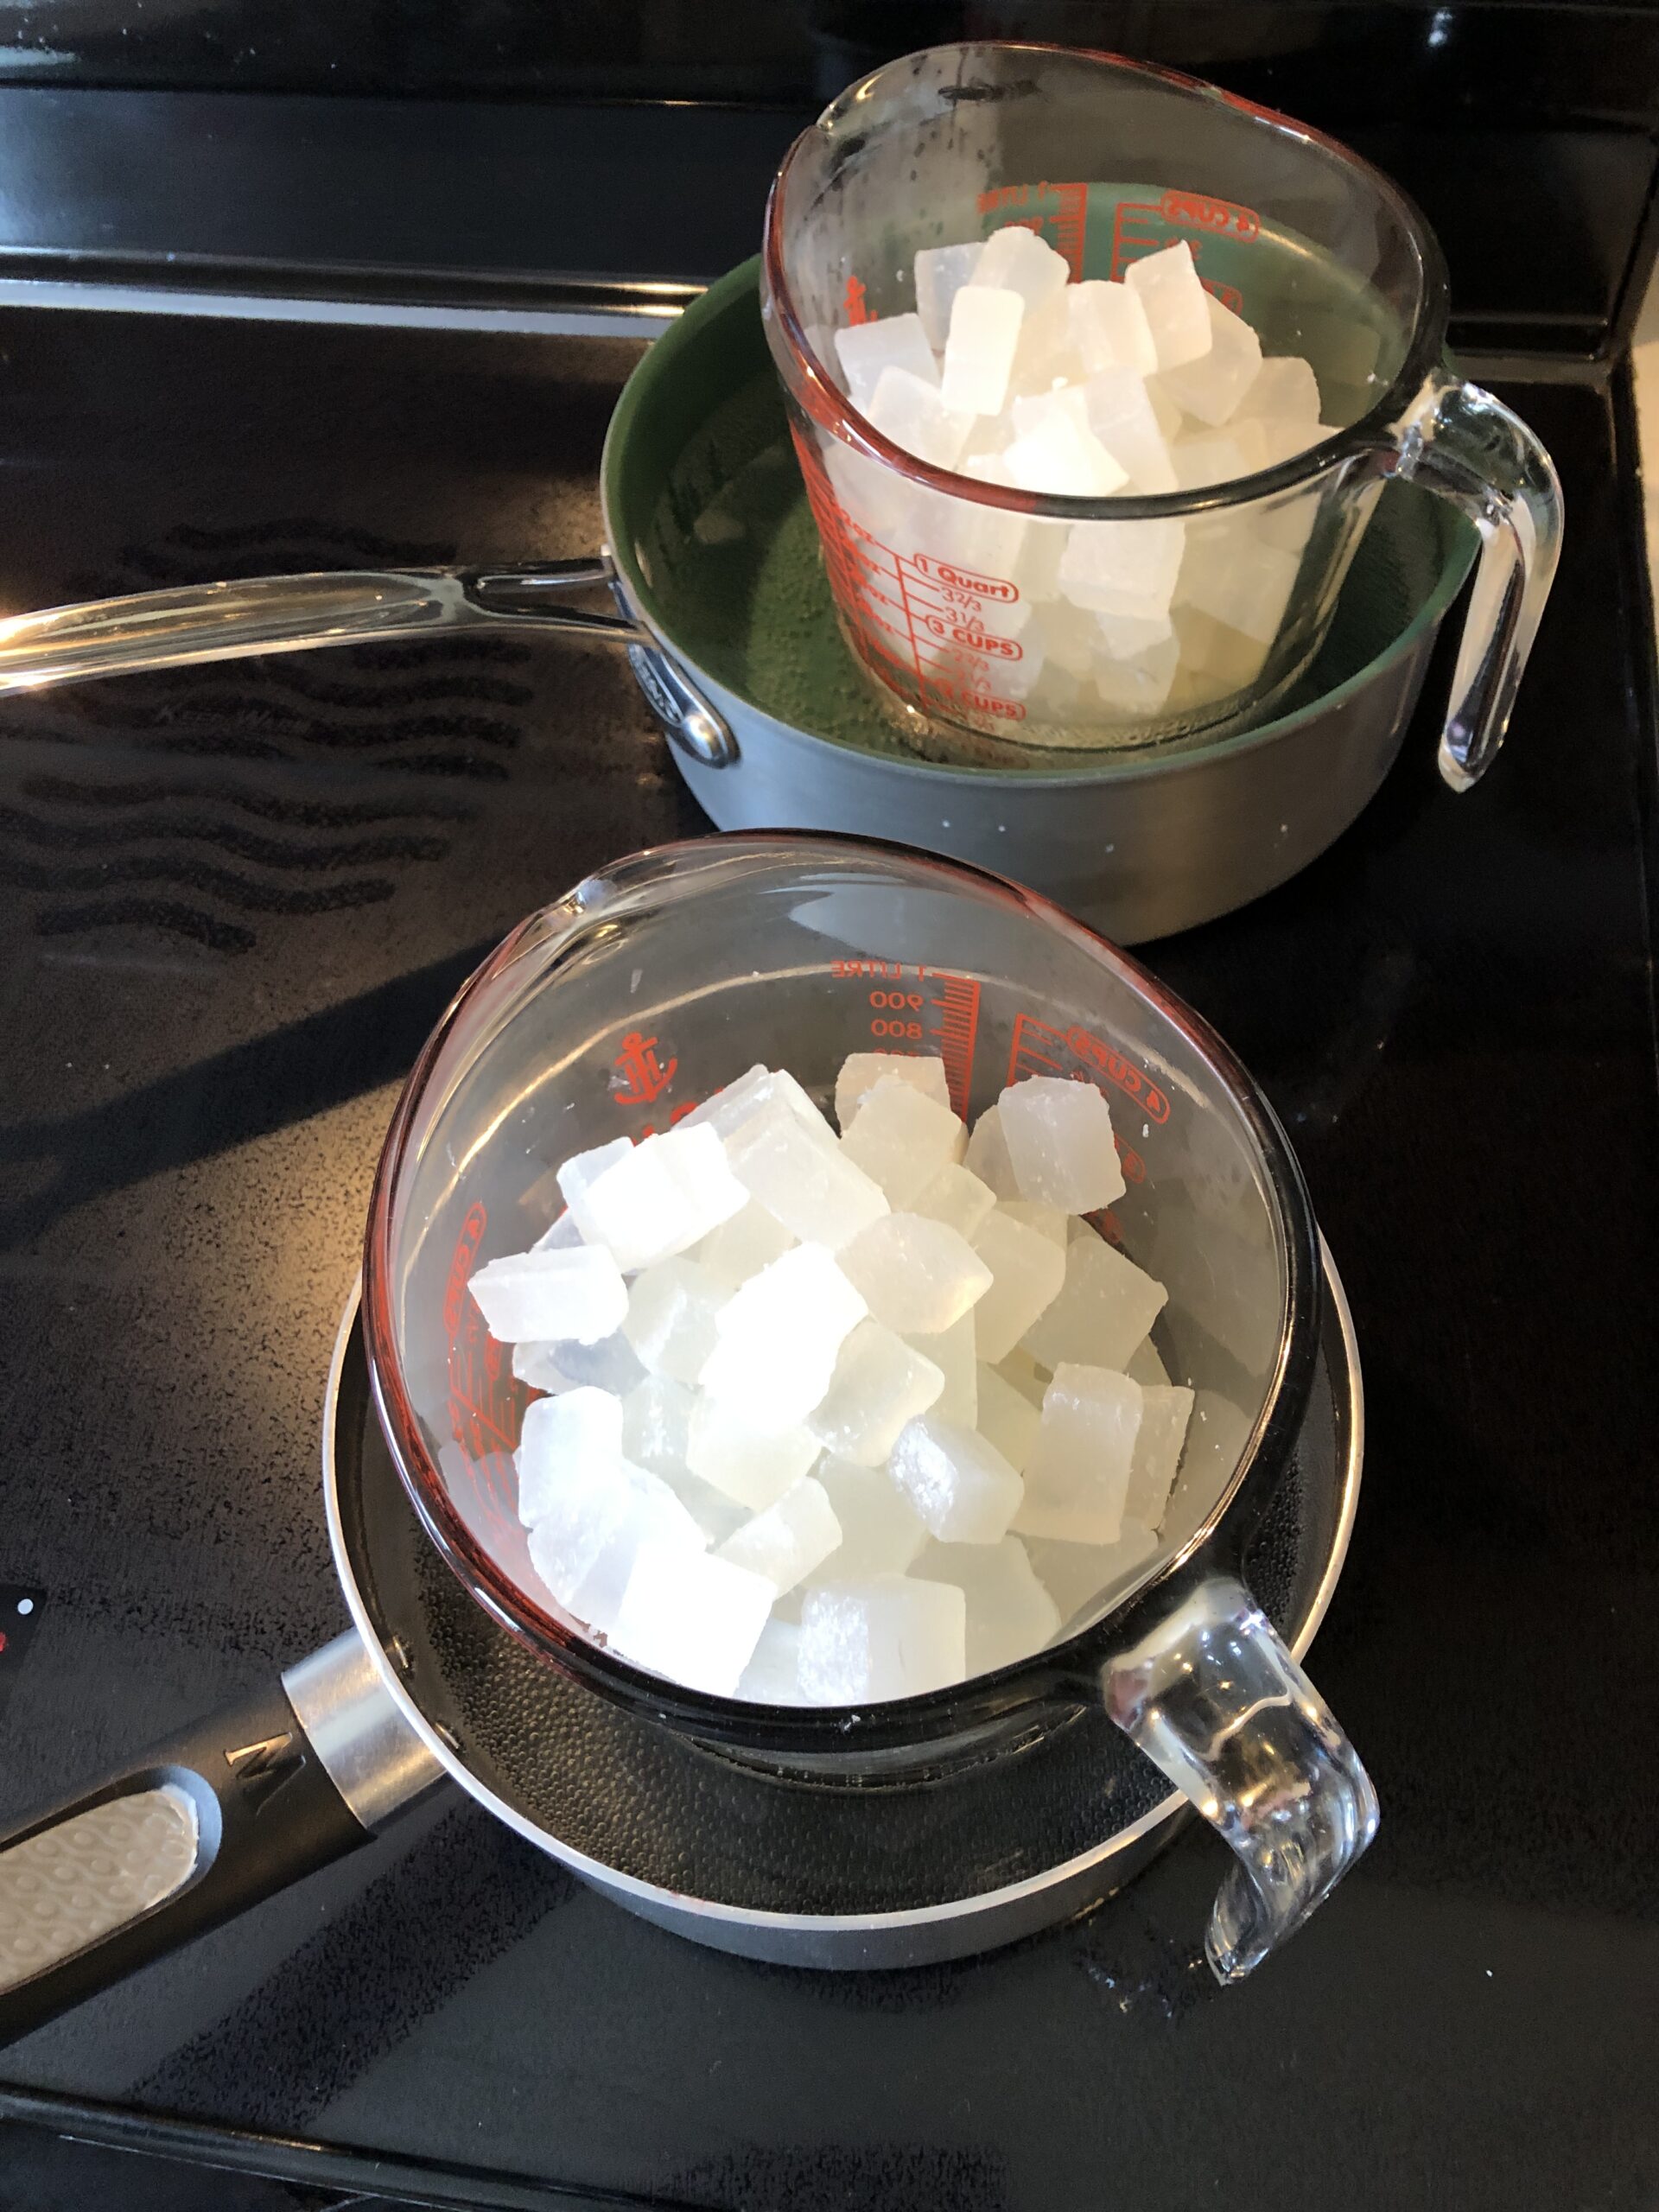
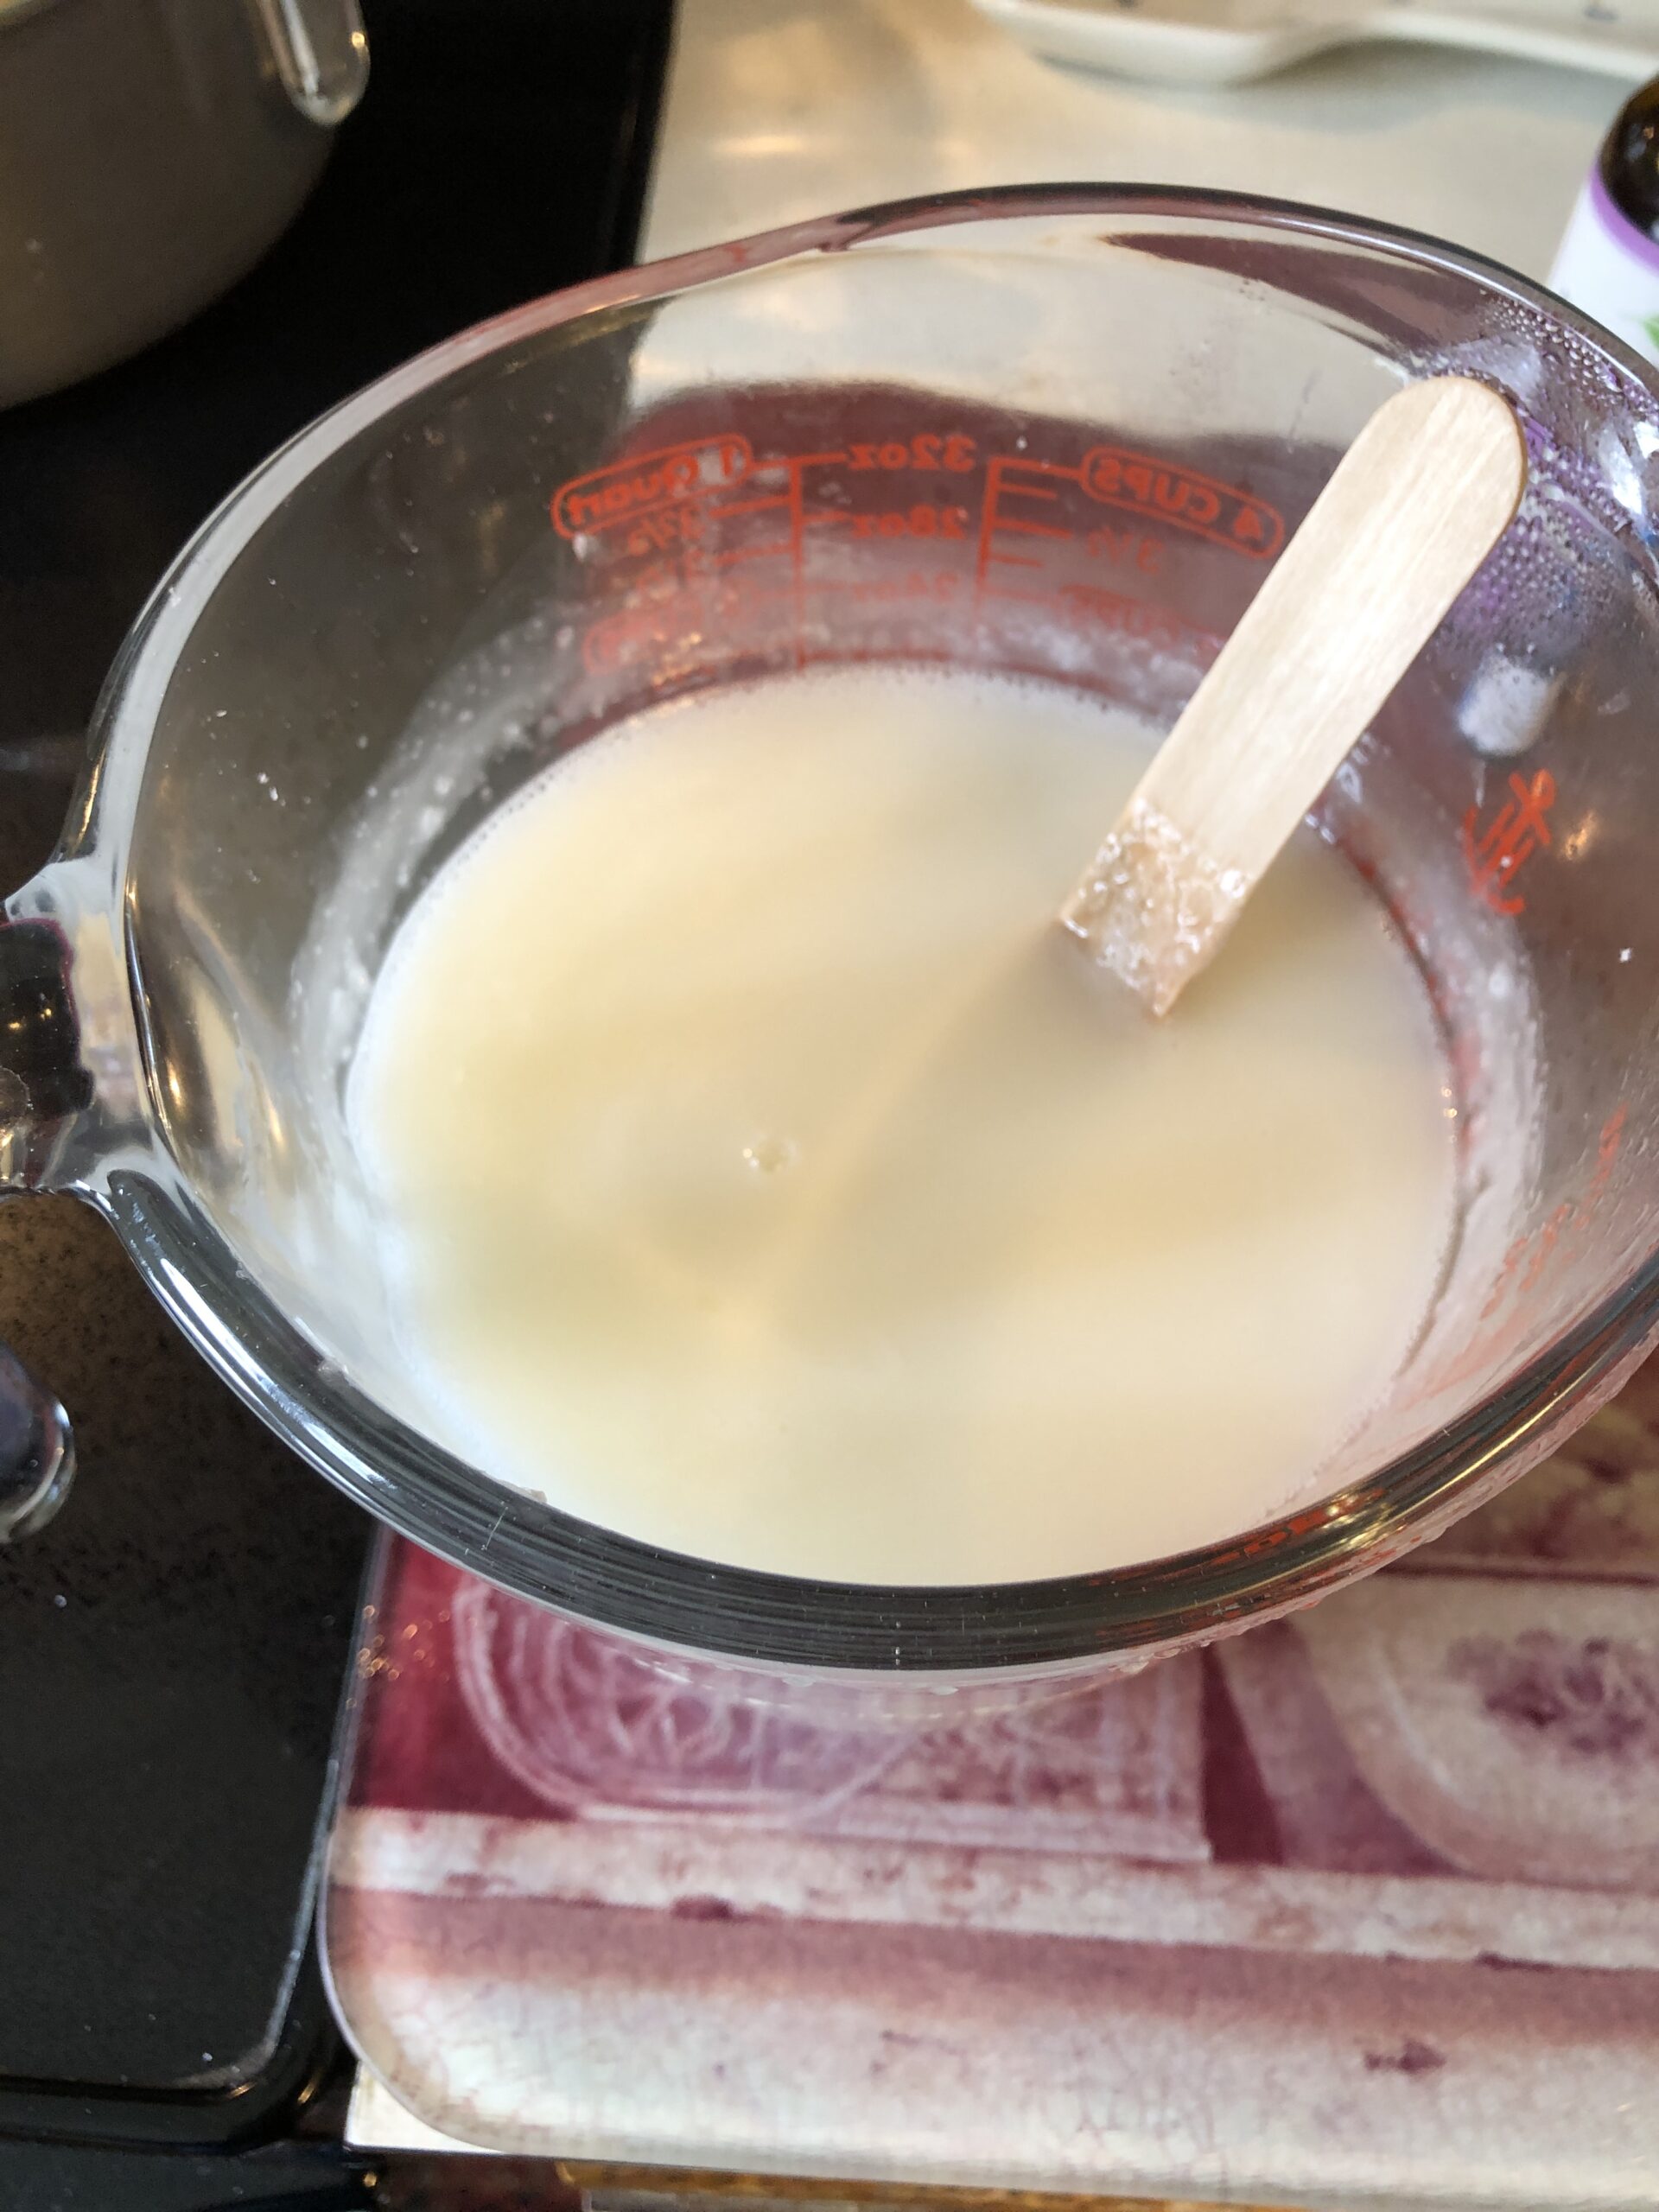
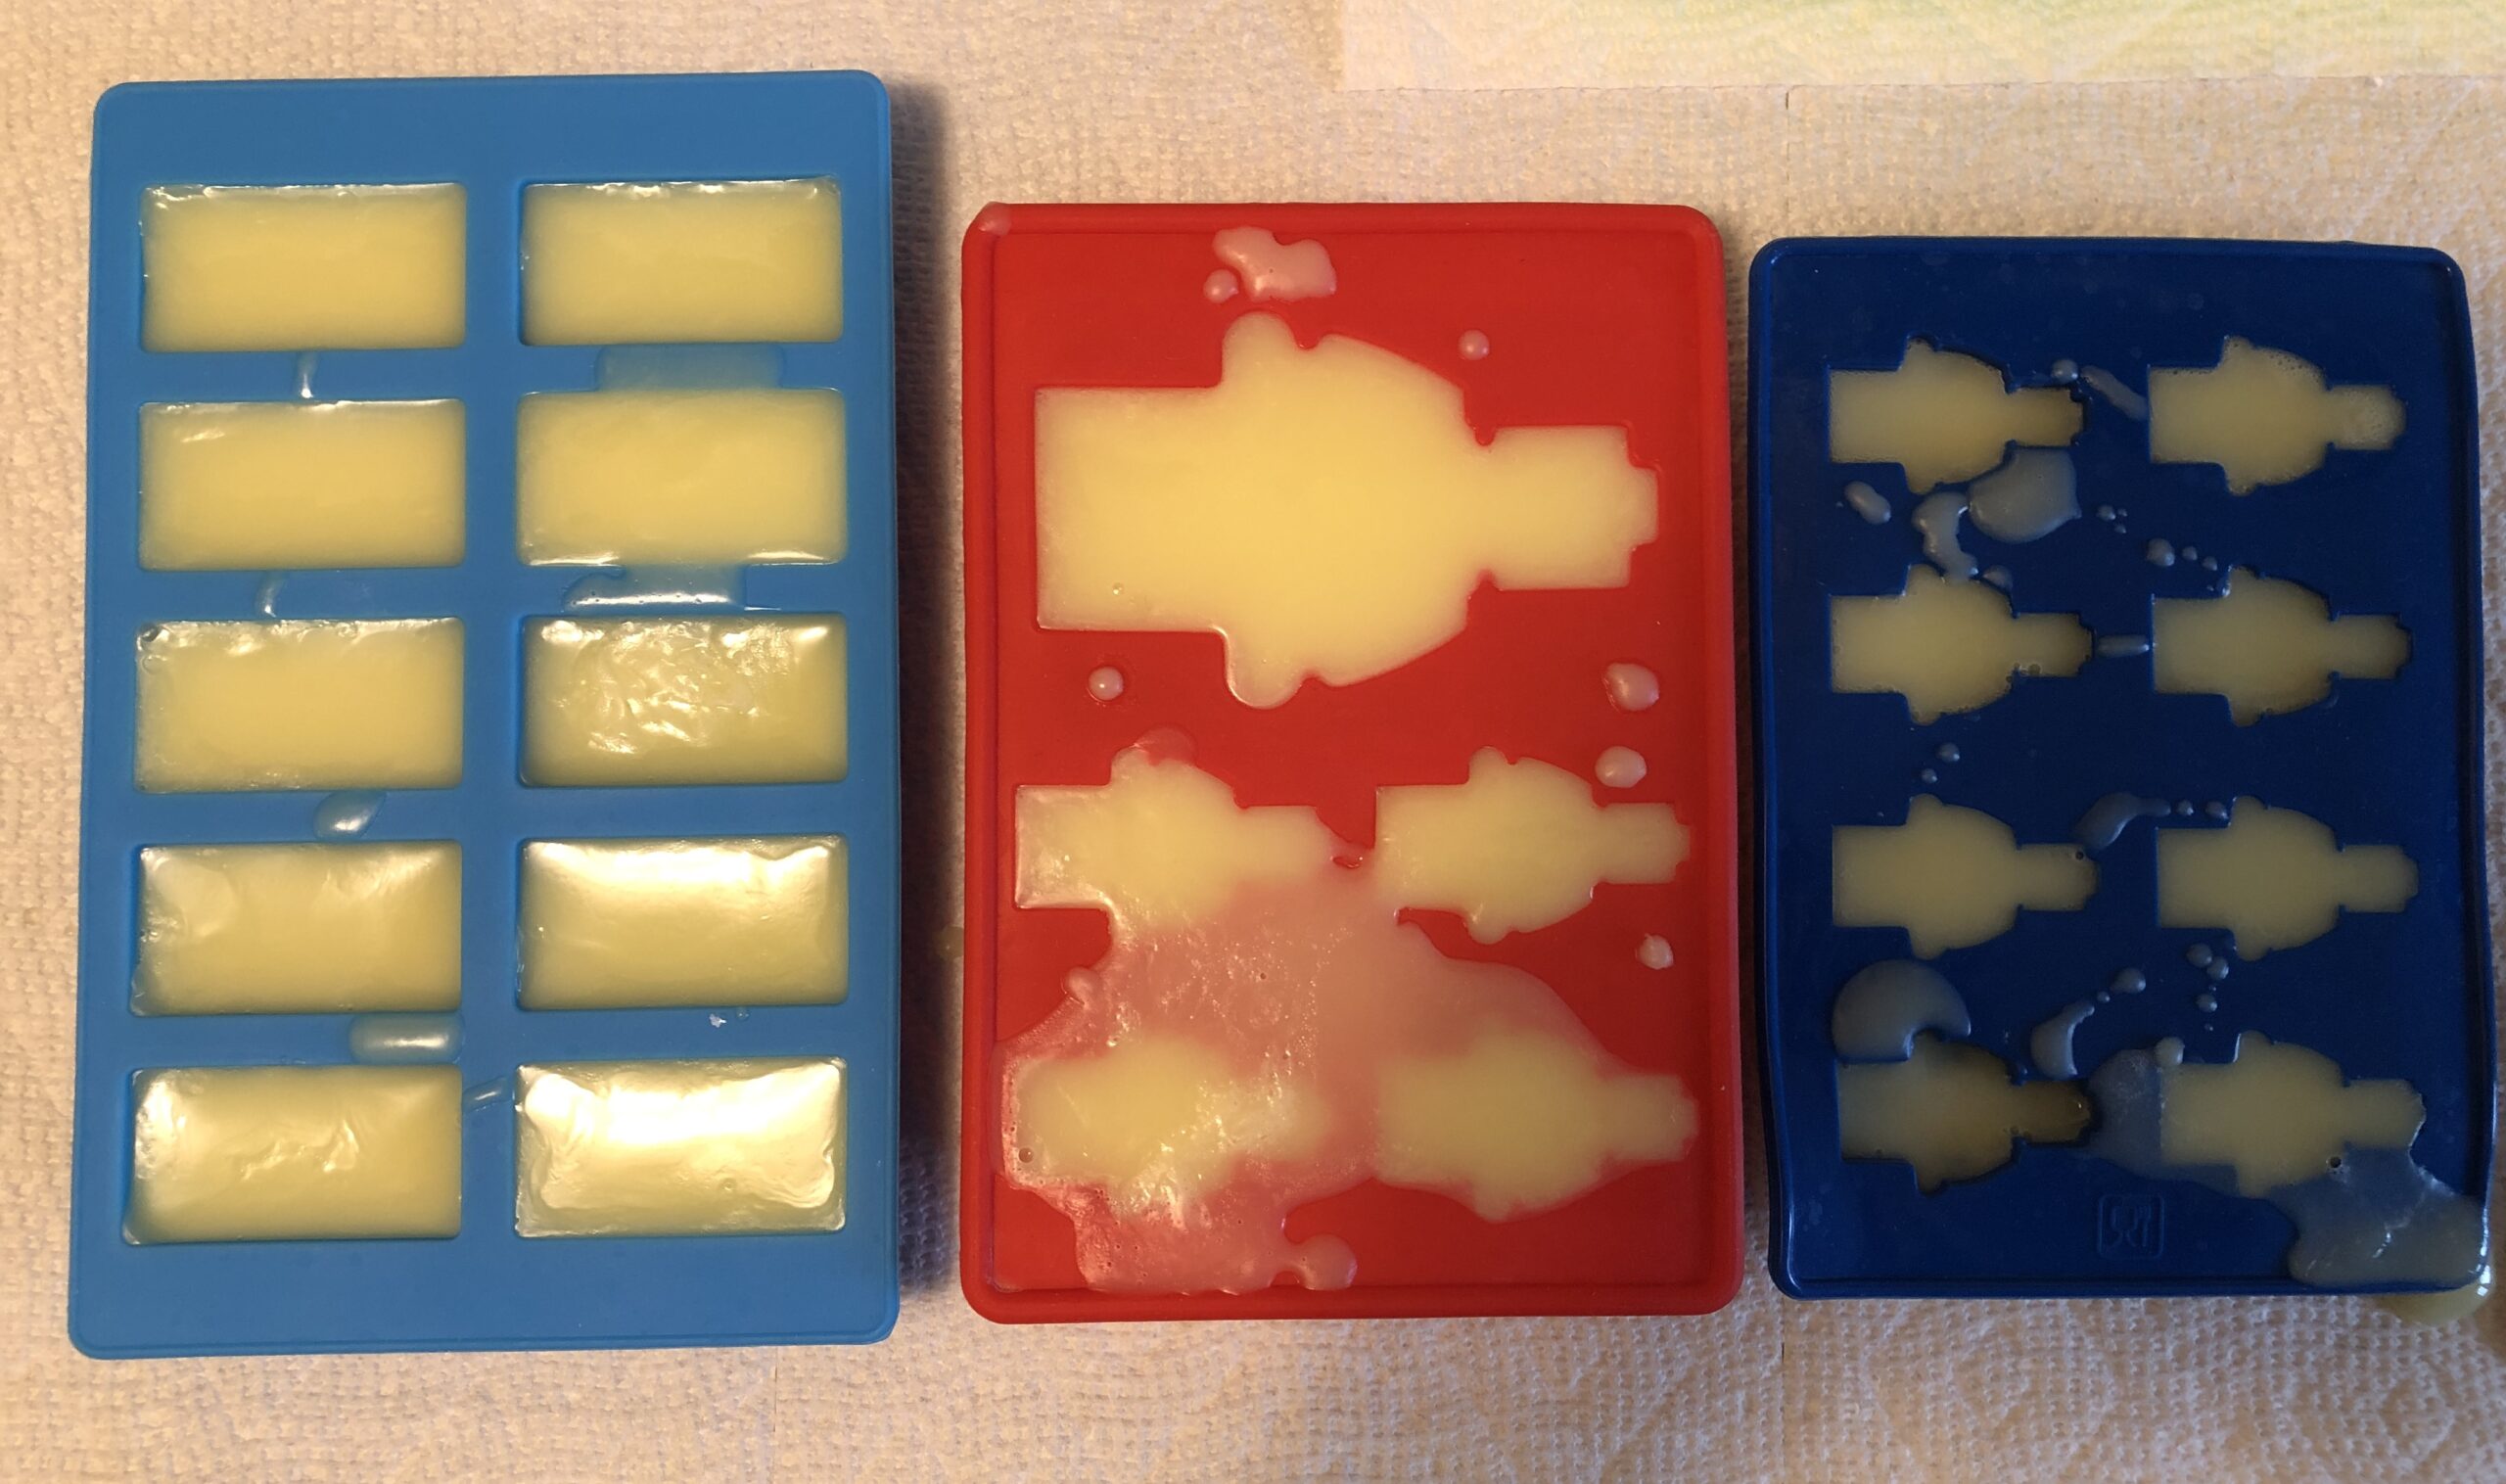
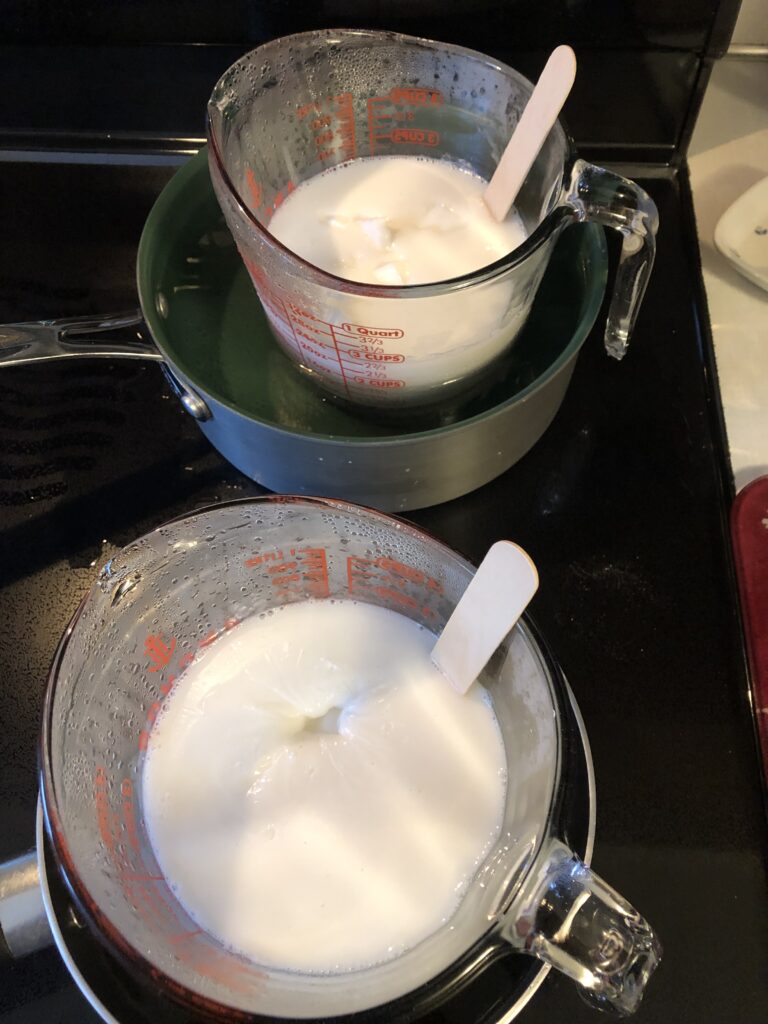
To make this much soap, I spent the day in the kitchen…measuring, melting, pouring, etc. There is a lot of wait time. My phone is handy so I can take pictures and read a novel while I wait!
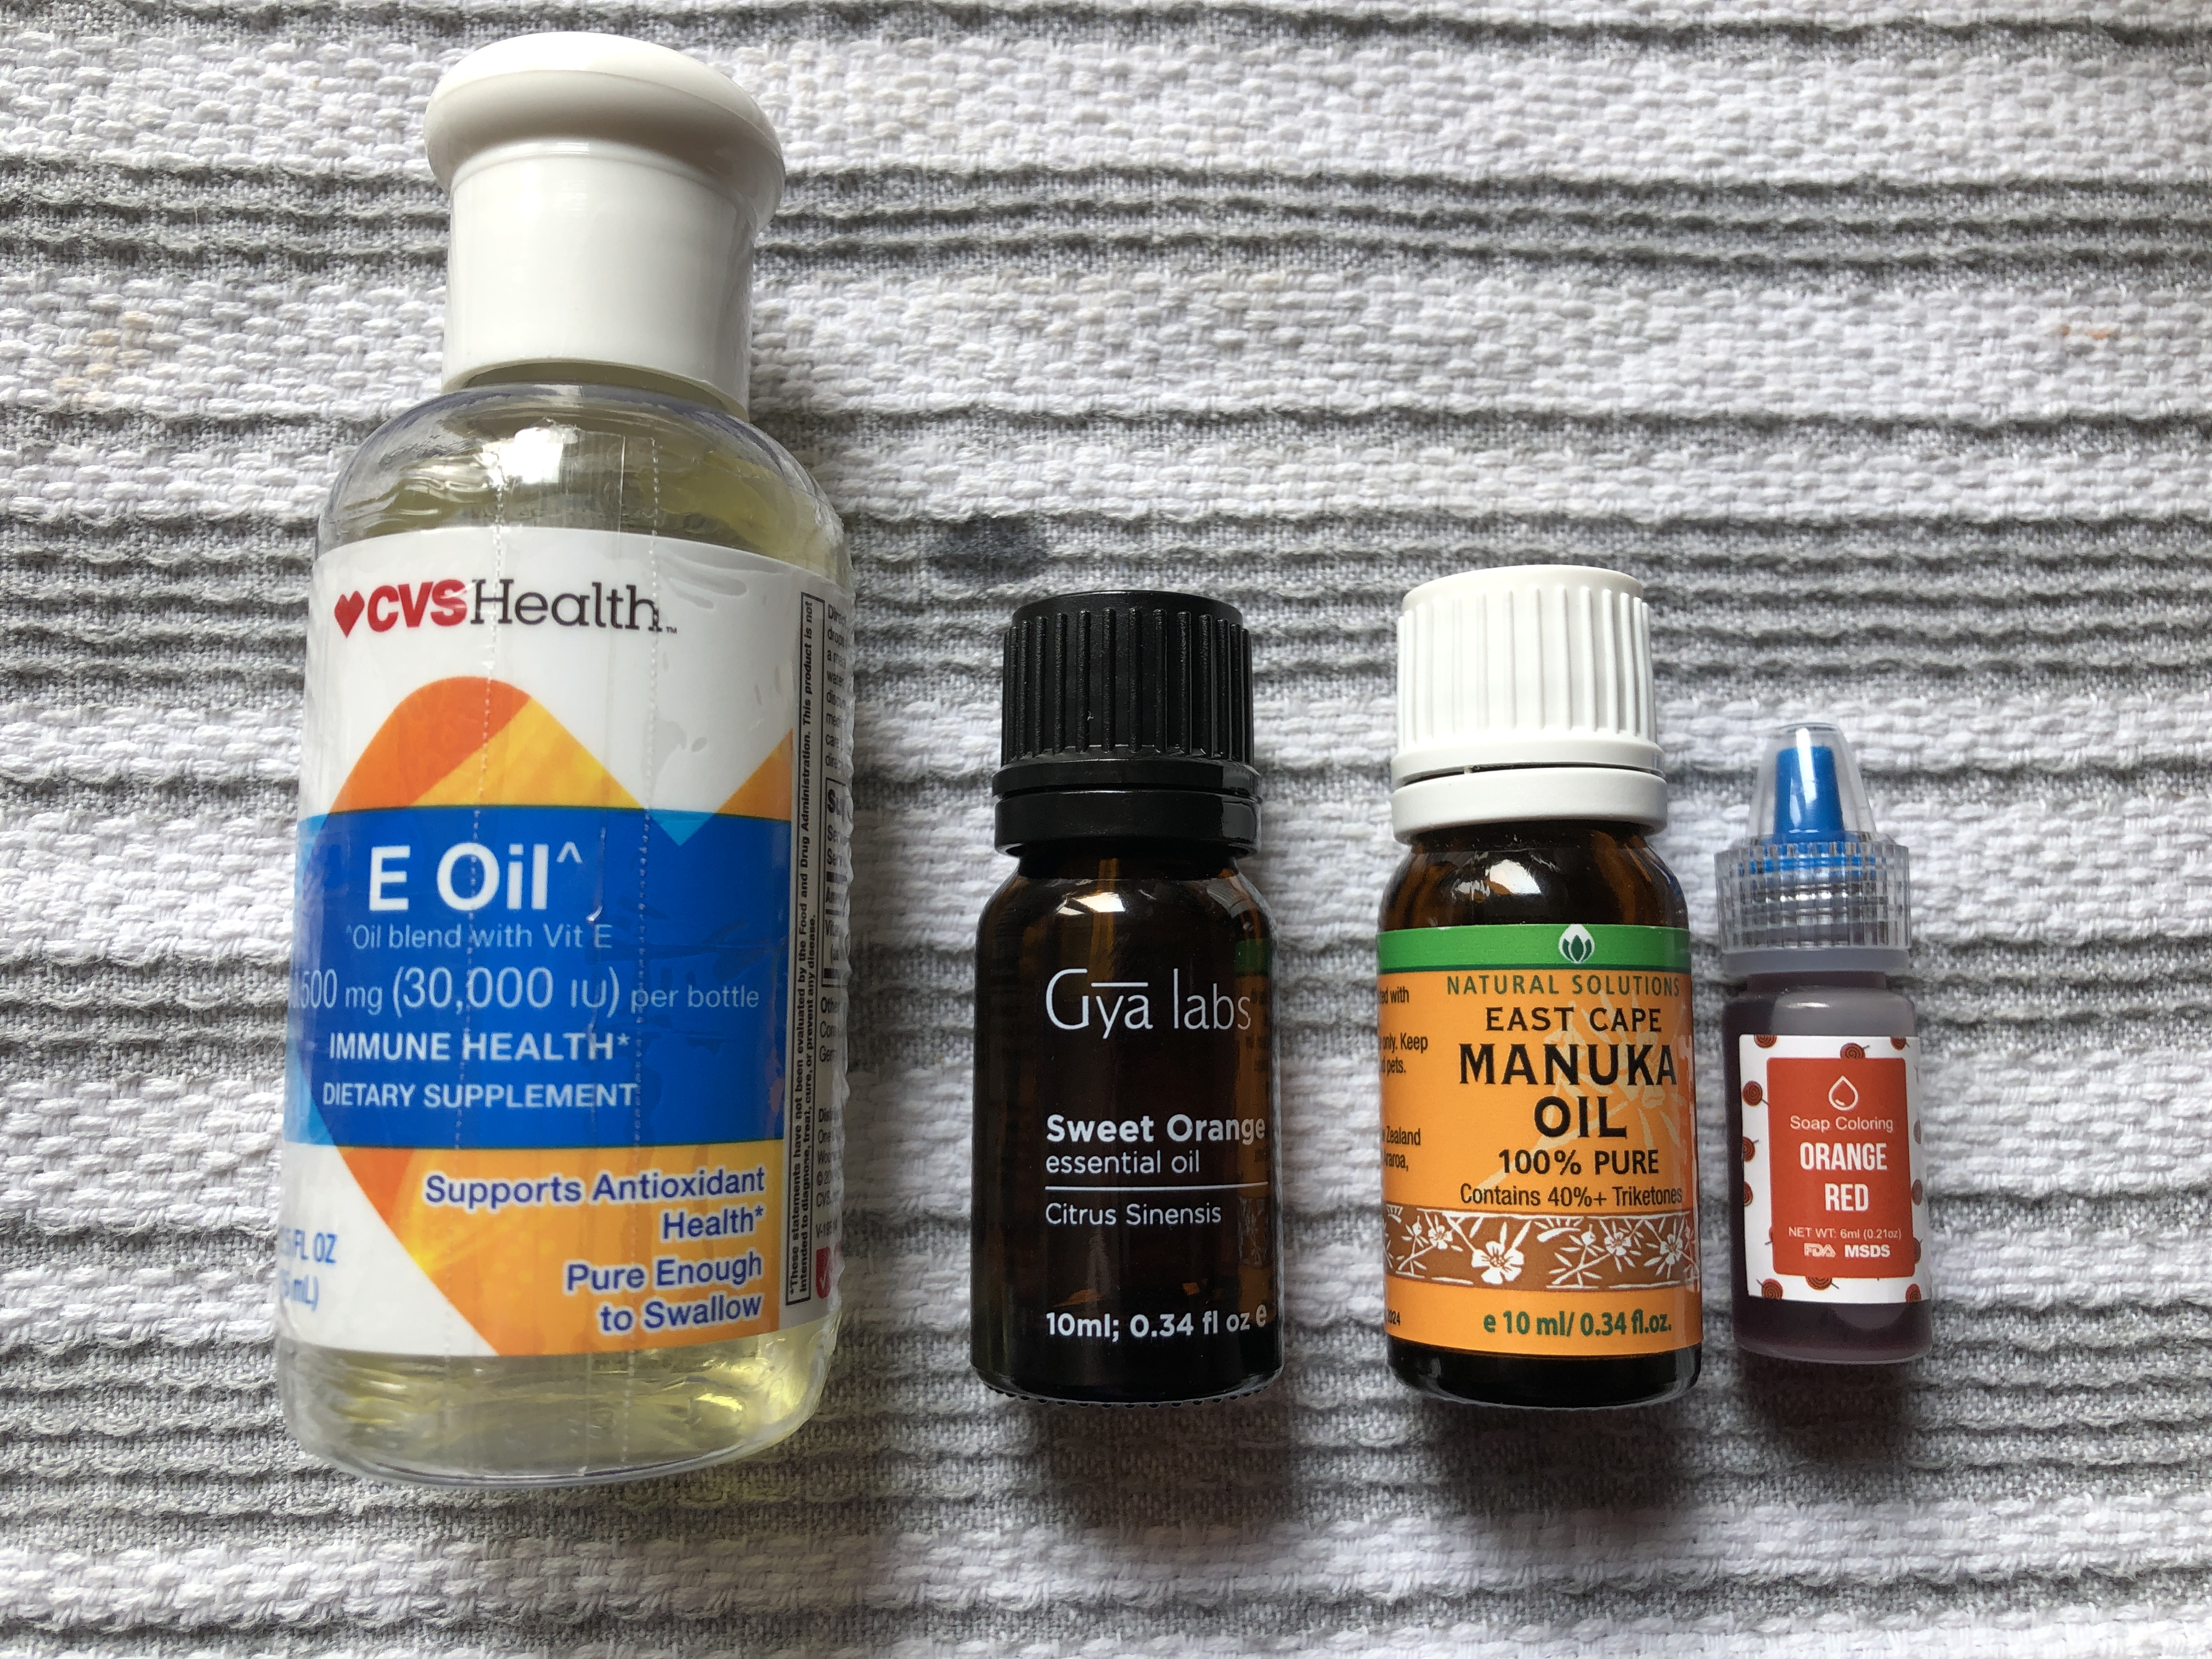
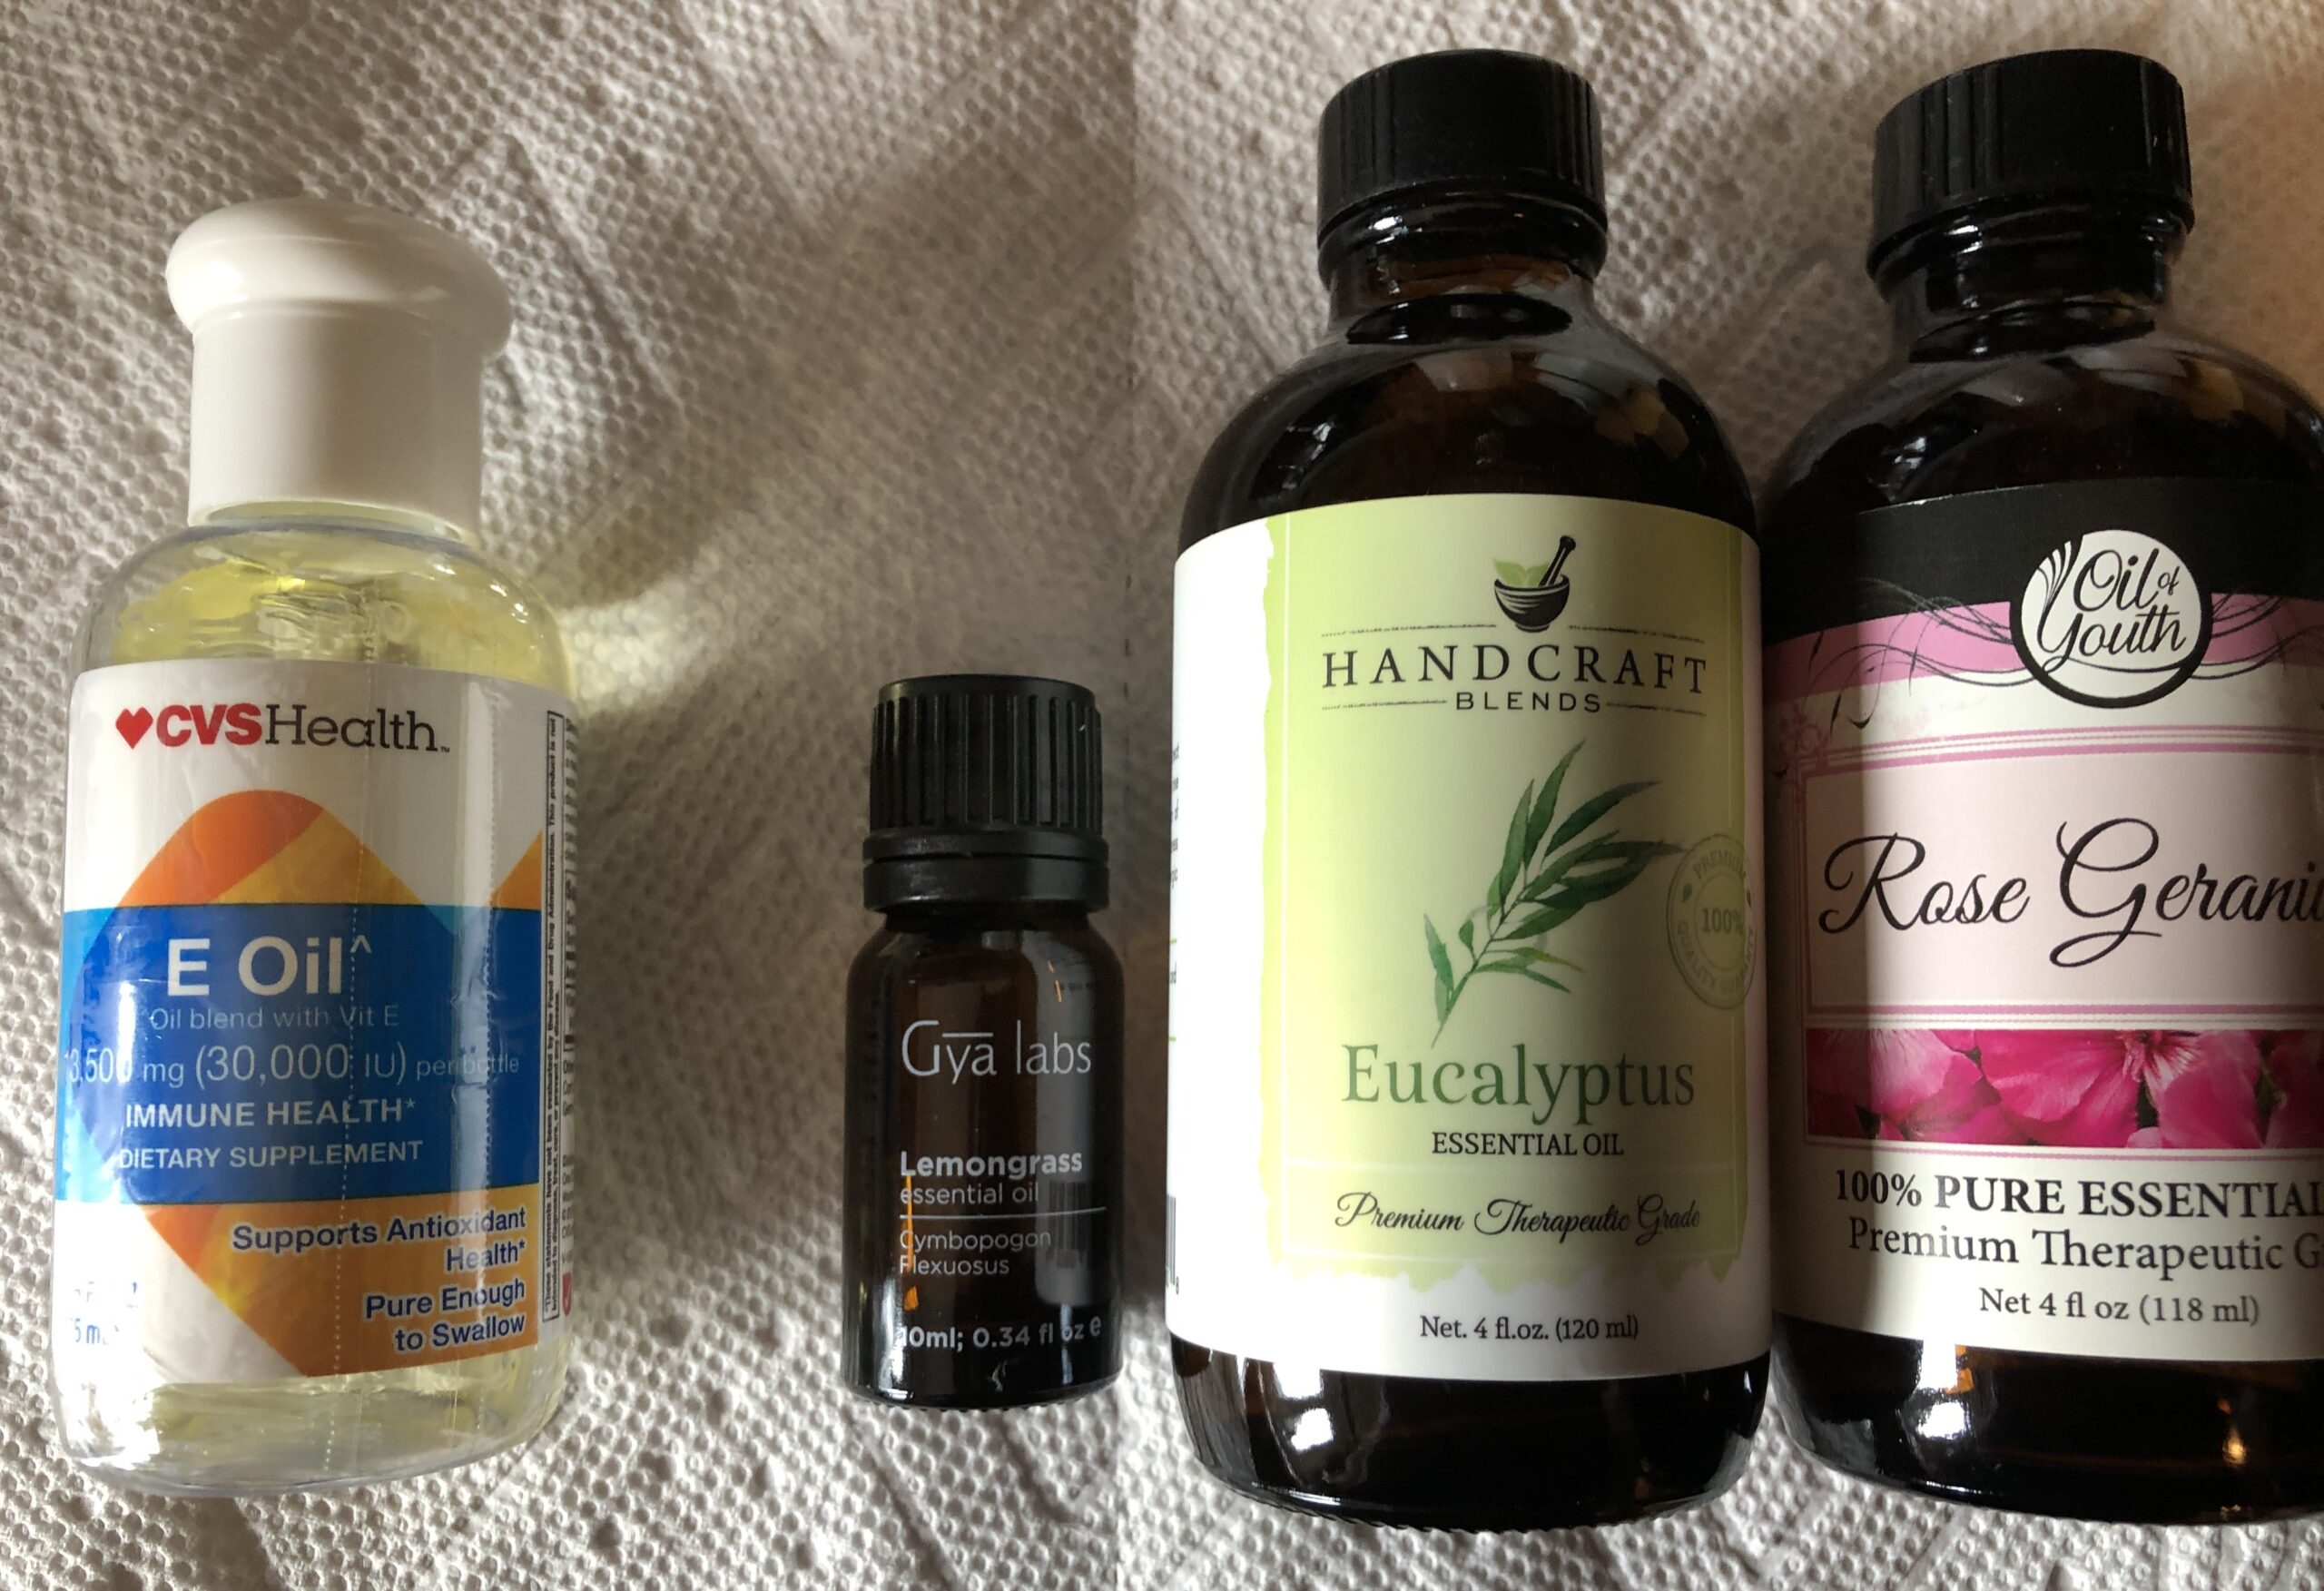
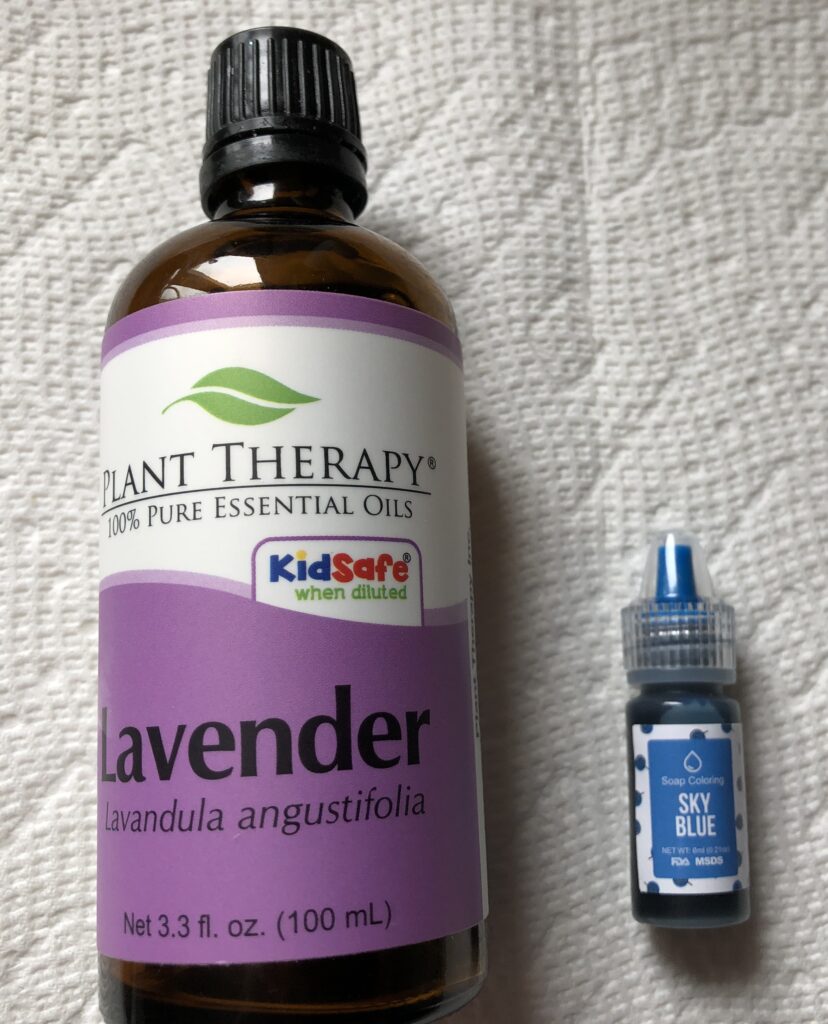
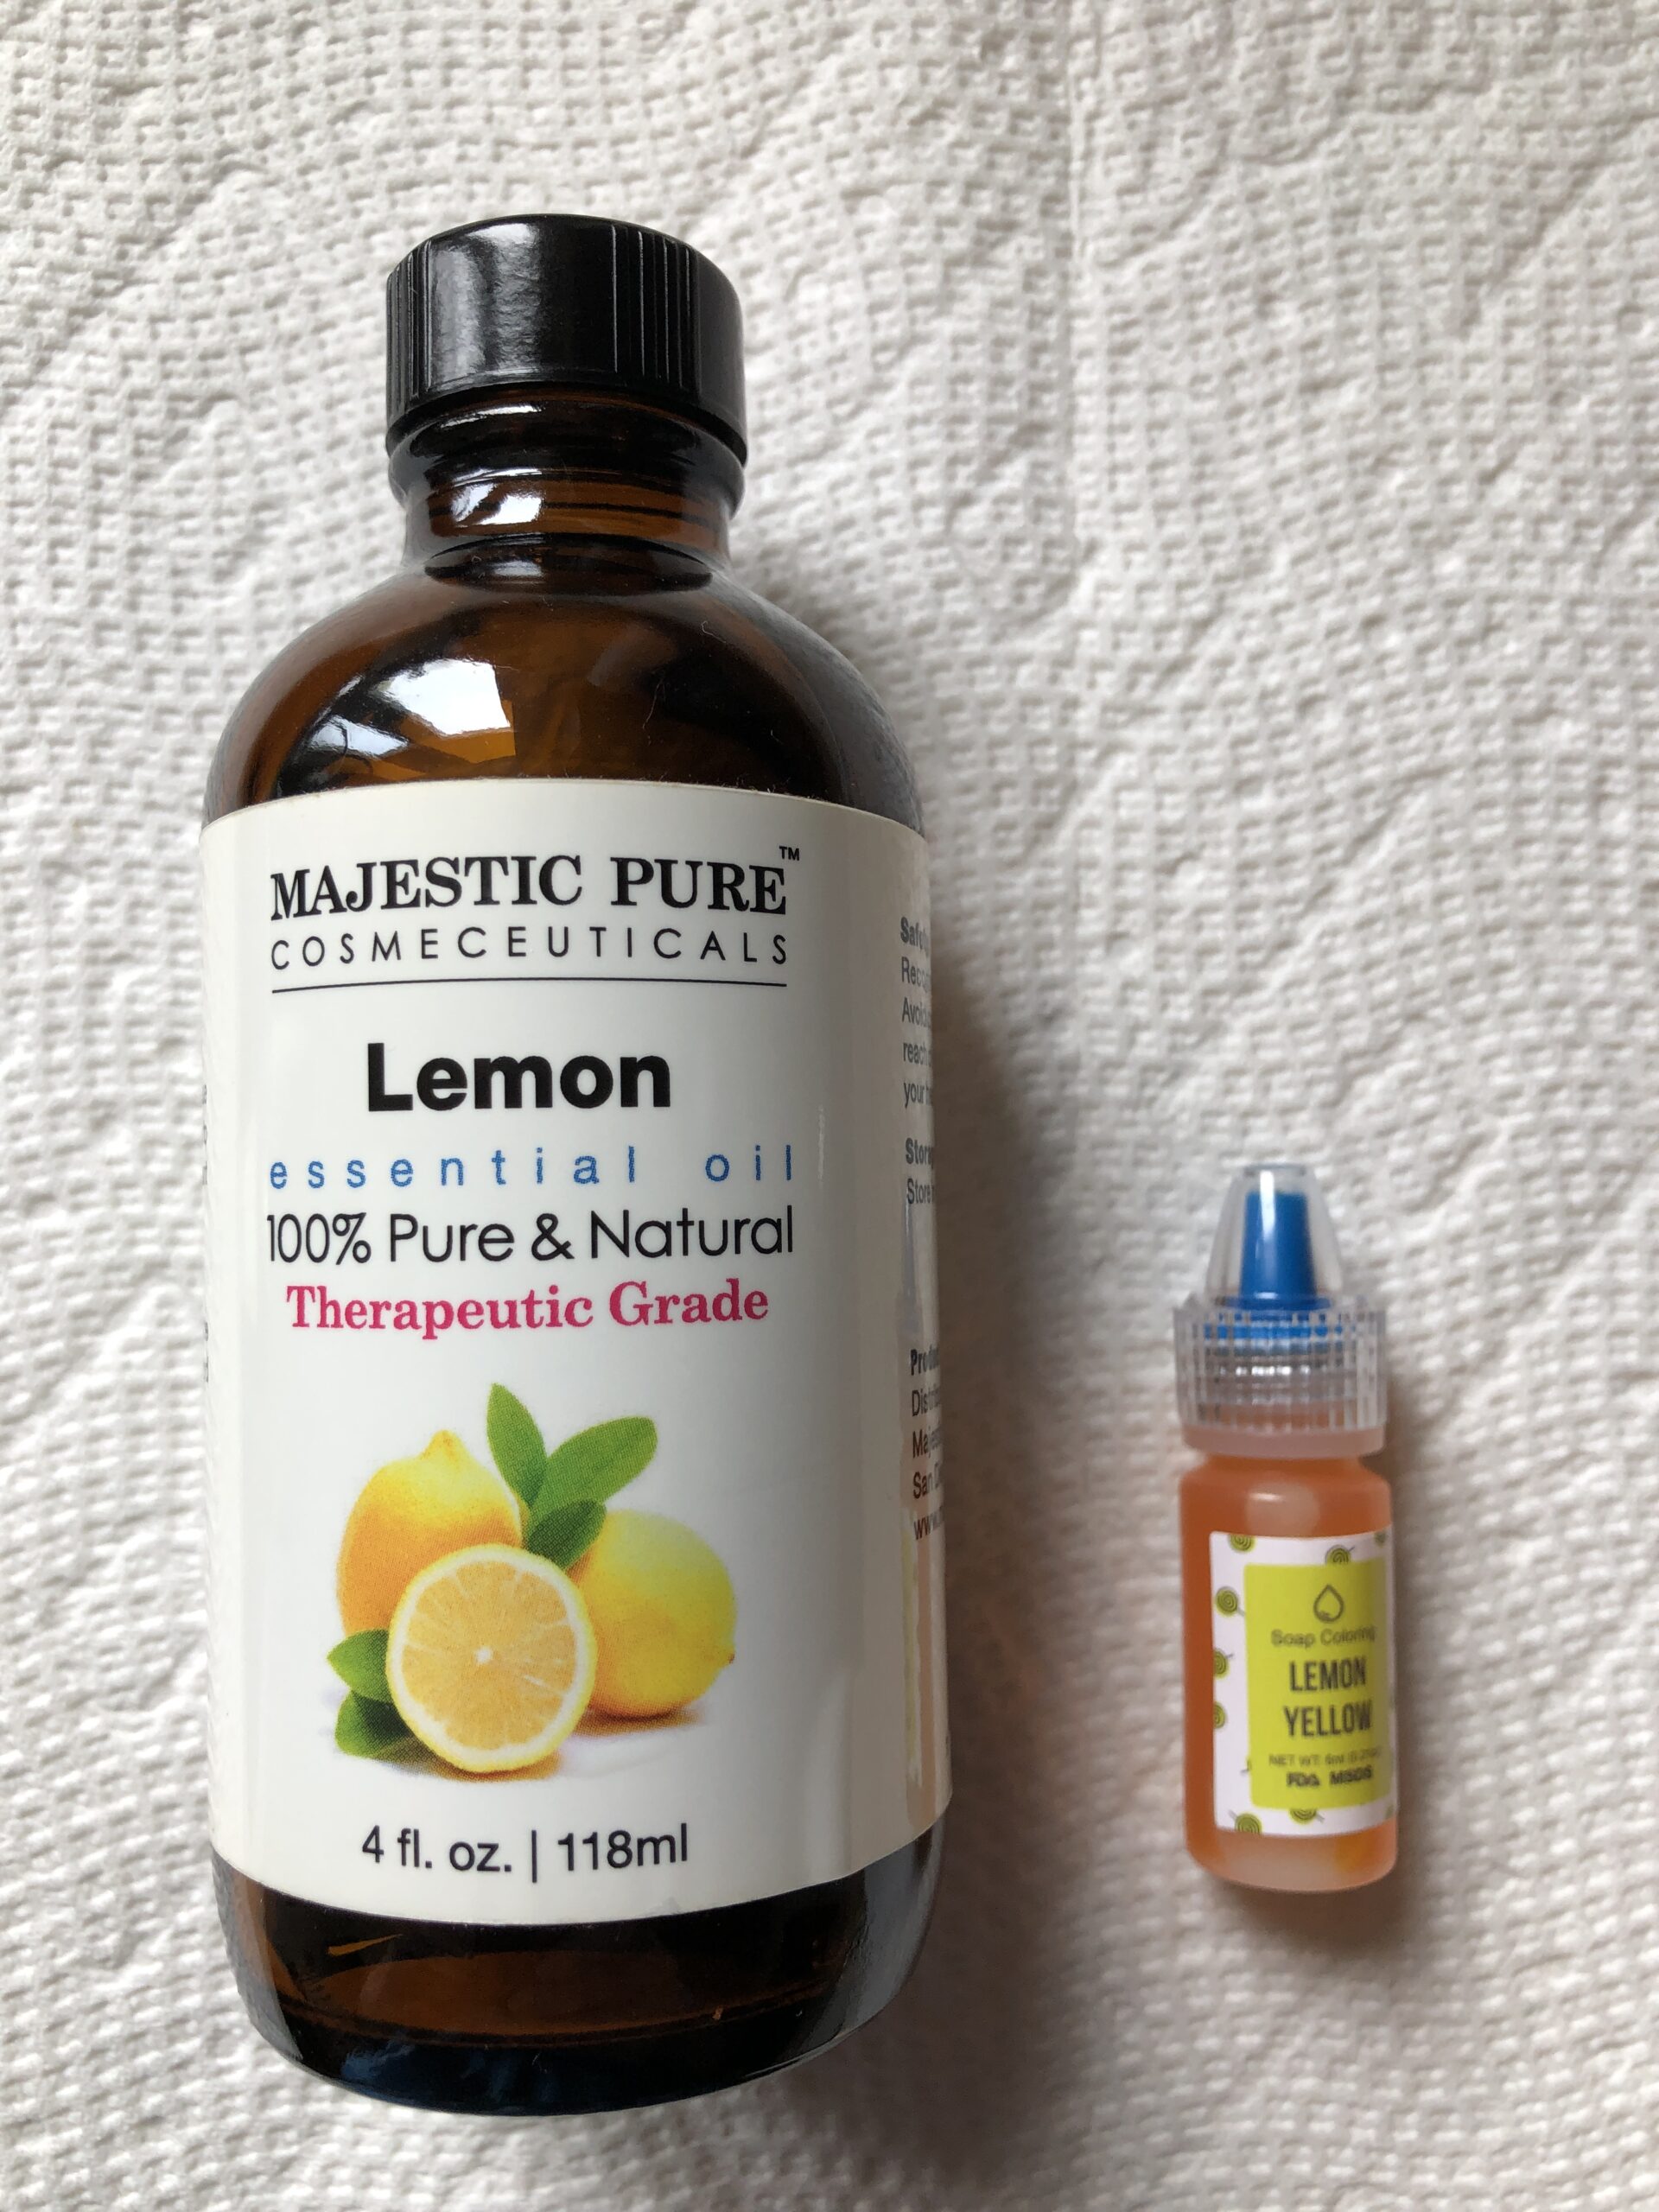
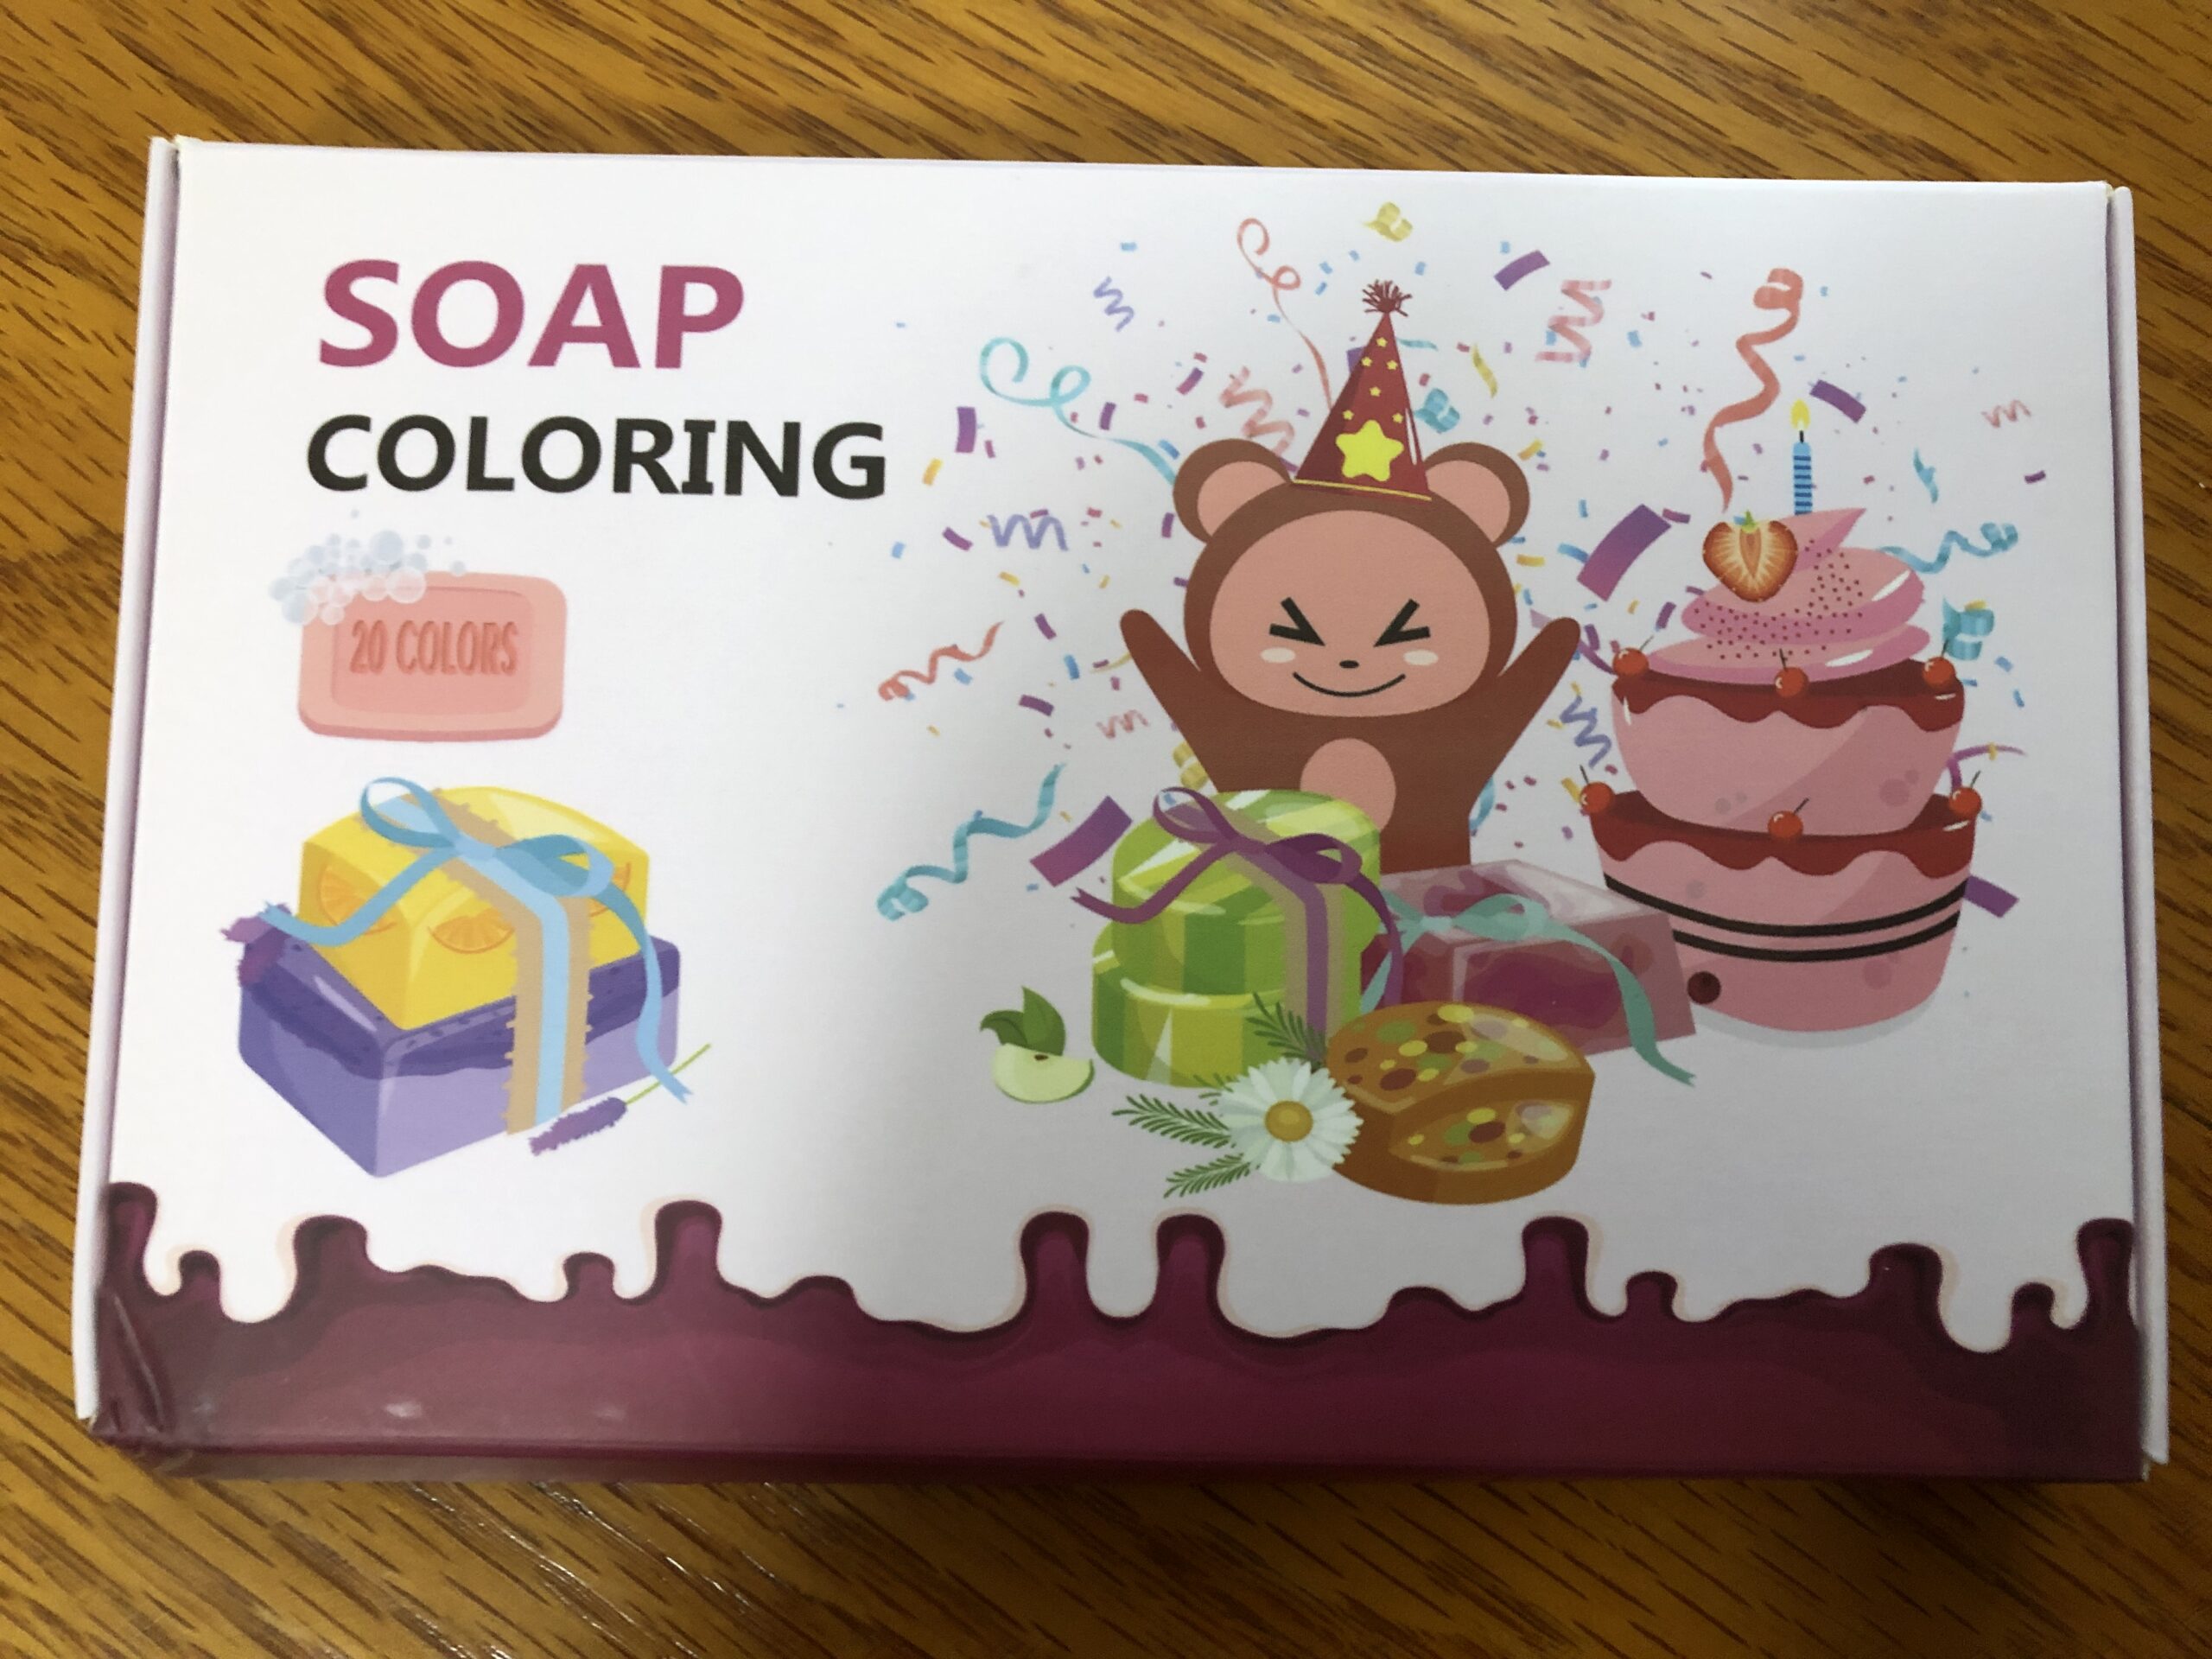
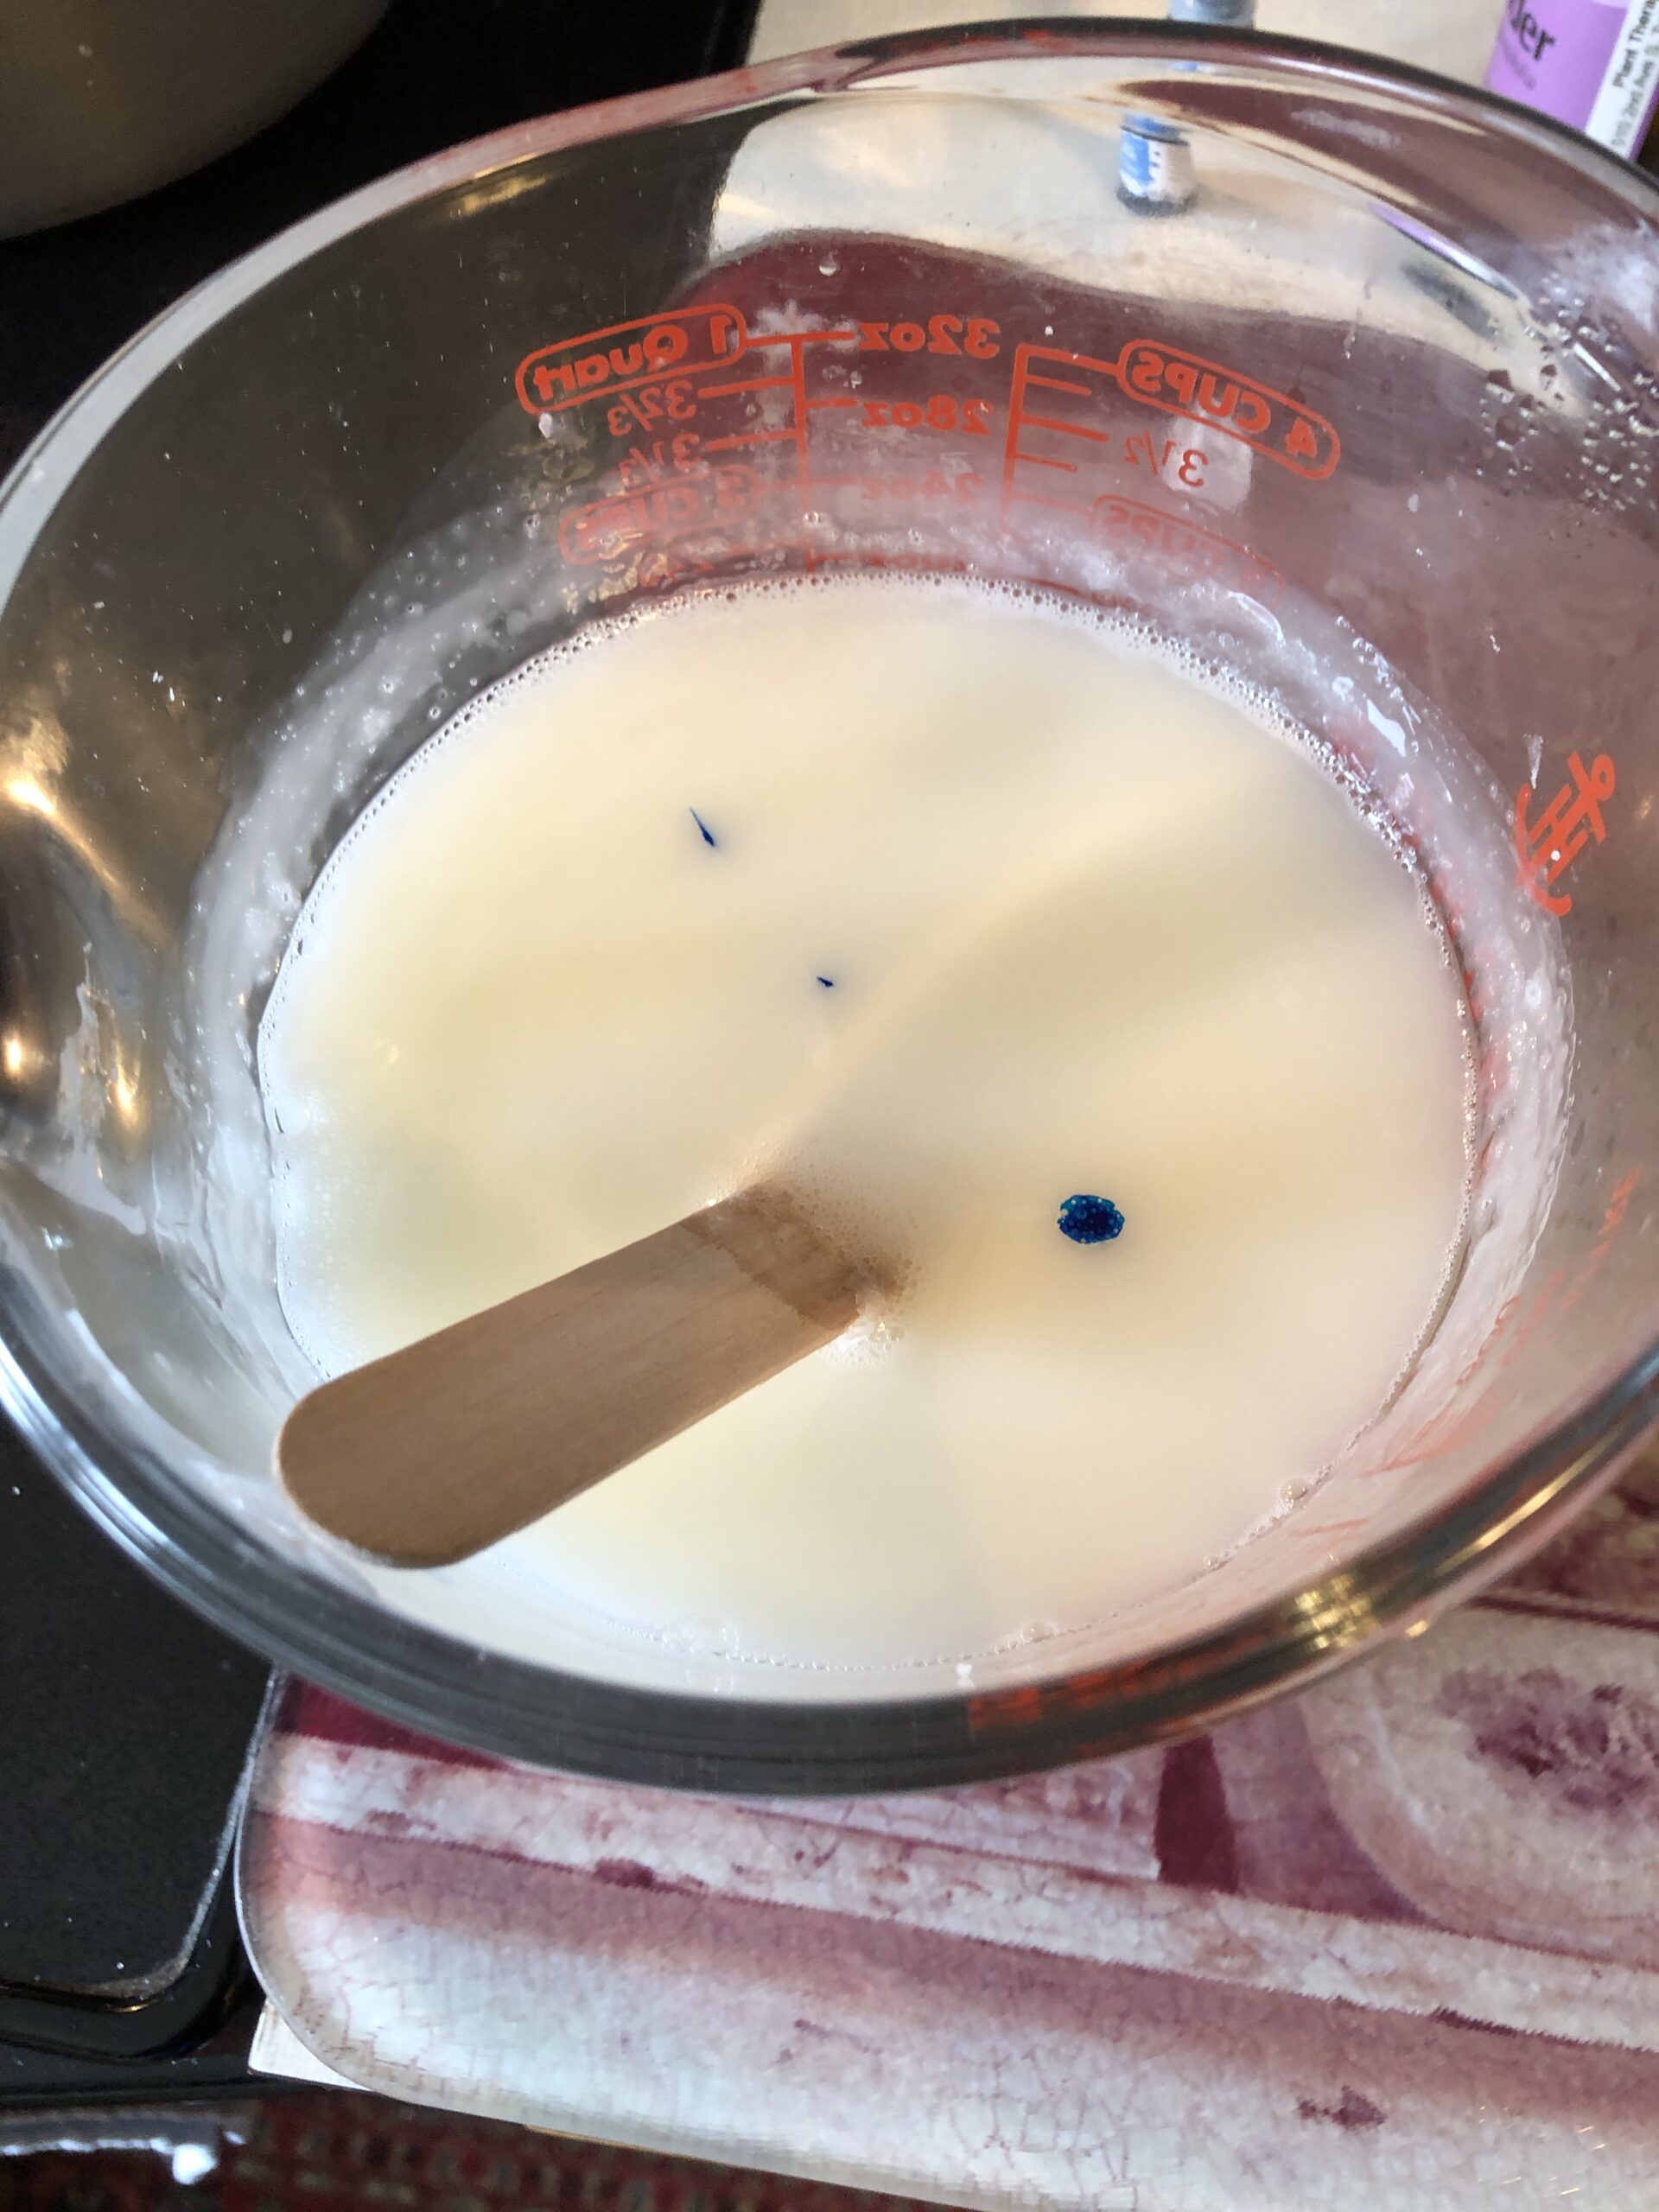
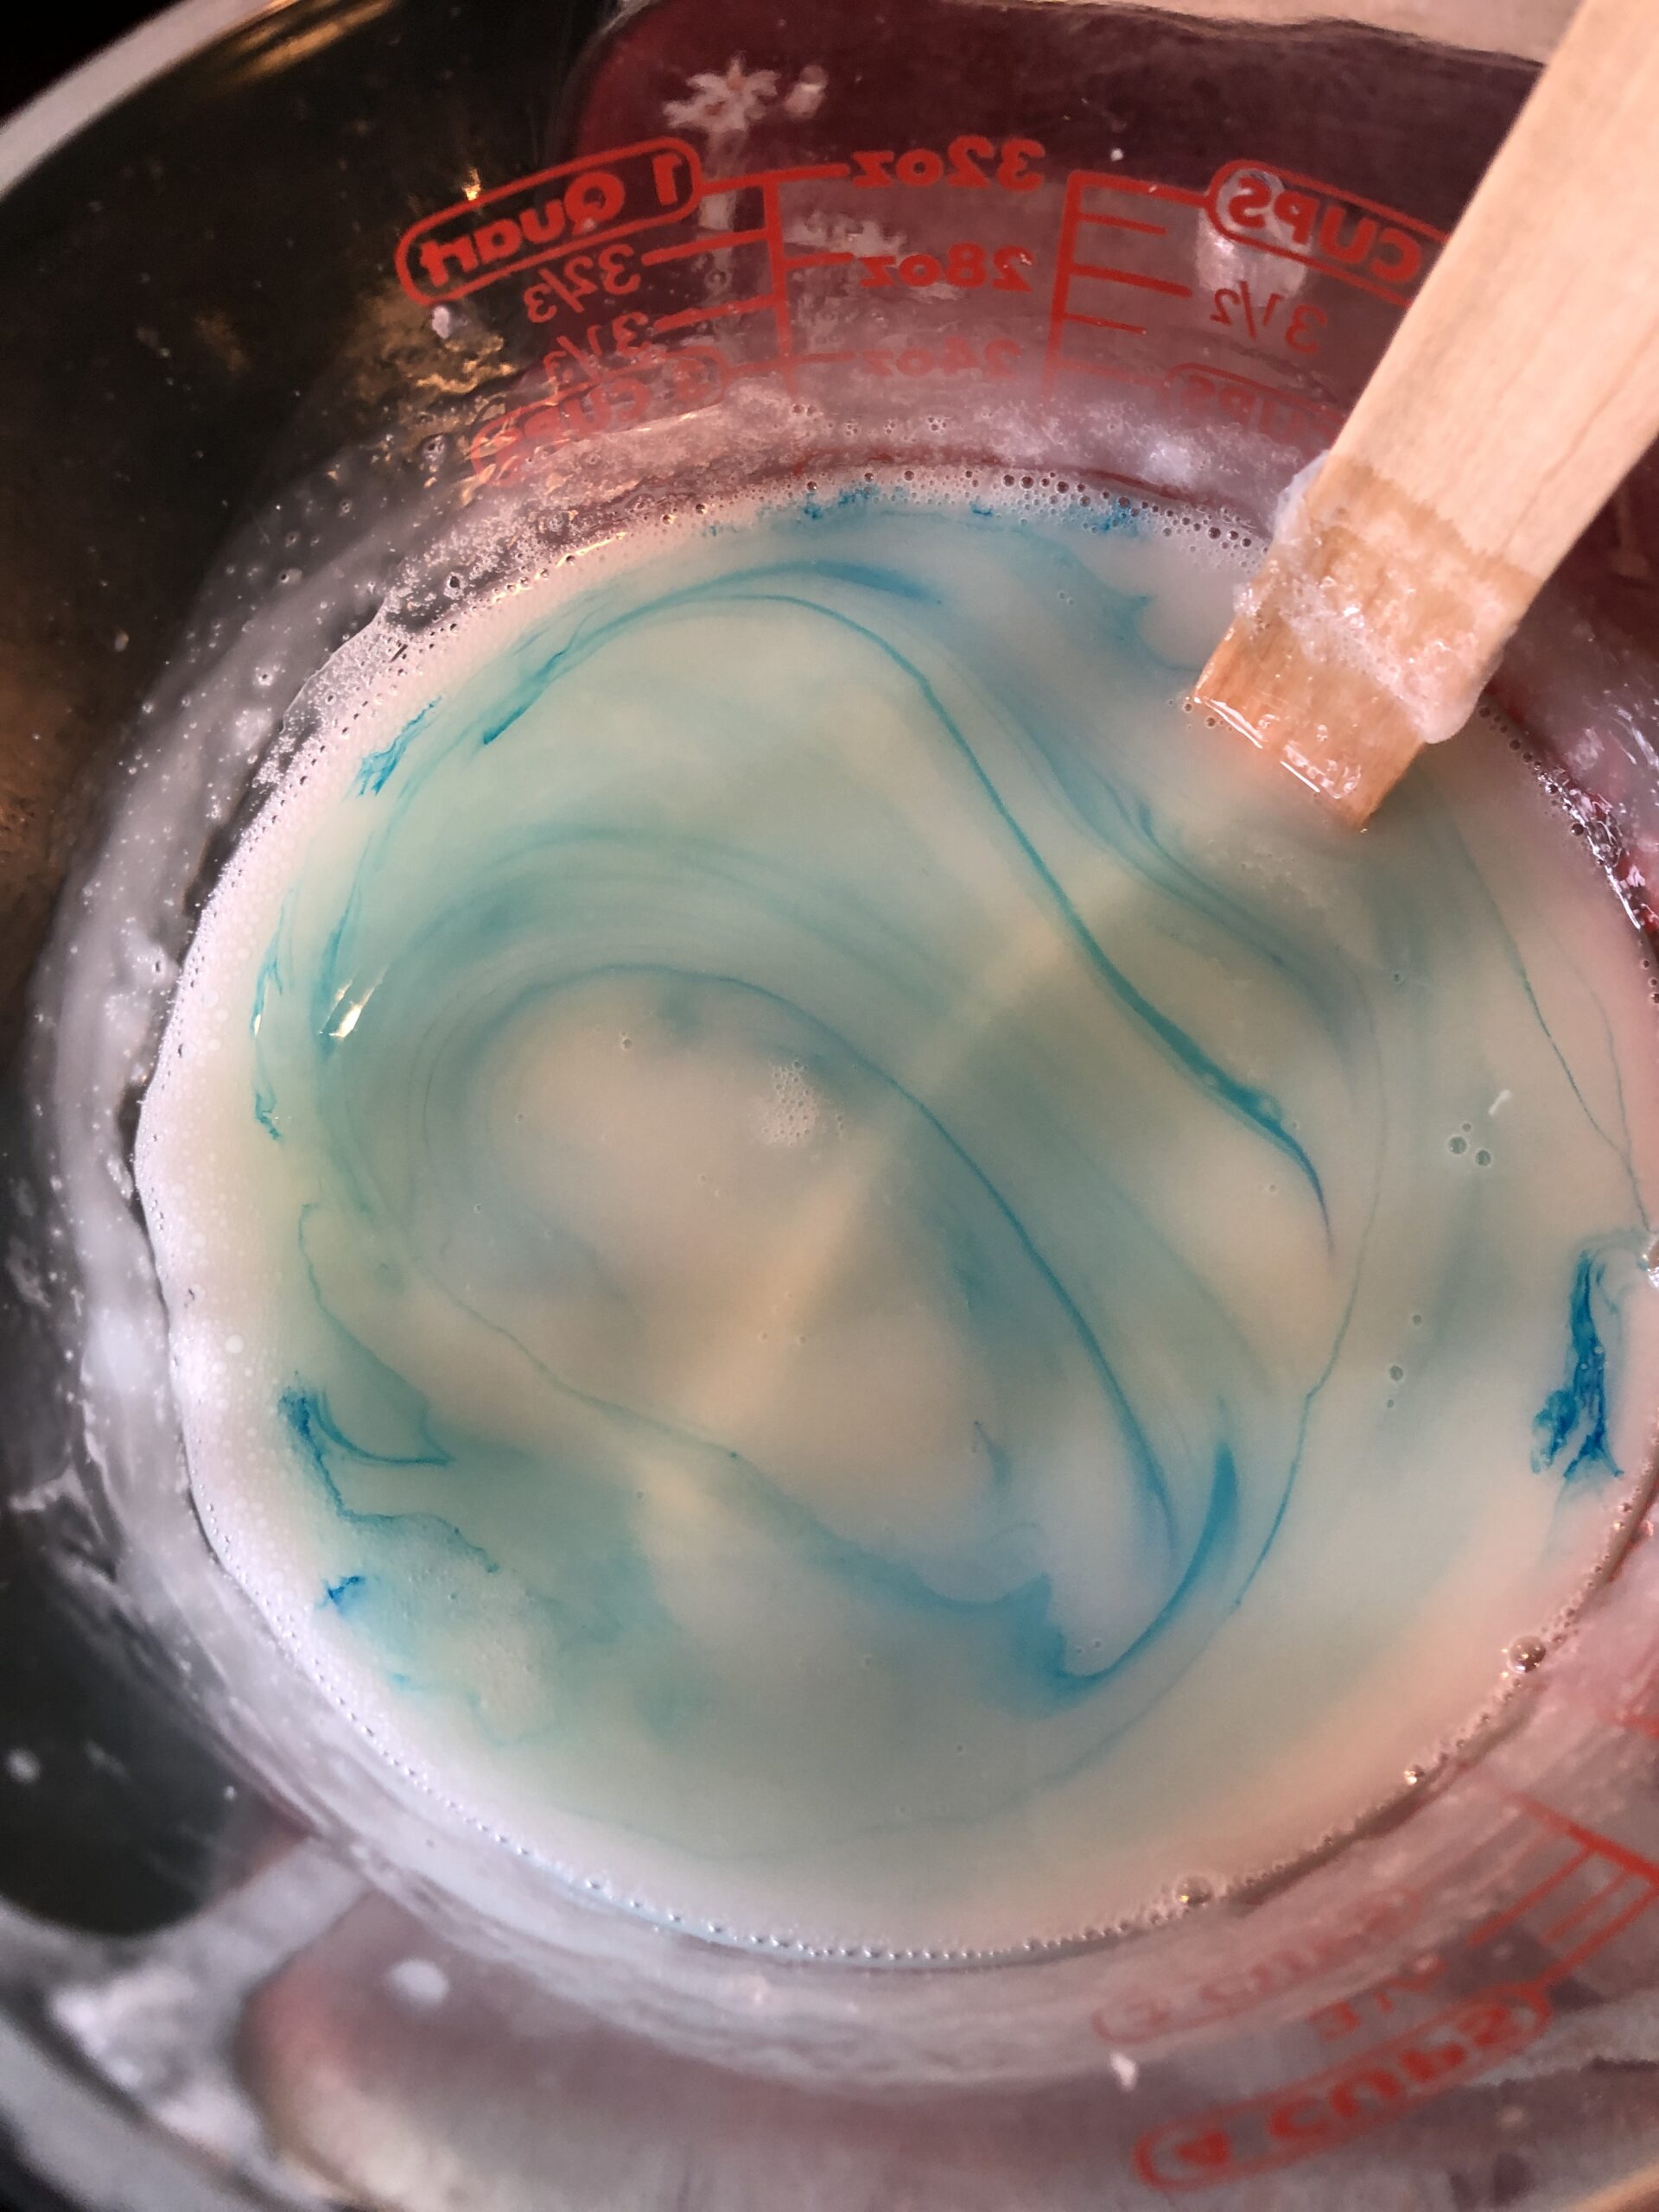
Making this Christmas soap, I followed the same procedure as always. Melt the soap chunks, remove from heat, add Vitamin E oil (as a preservative), add essential oil and soap tint. Finally, stir in biodegradable glitter, if desired. When all mixed, pour into preferred molds. Let sit until hard.
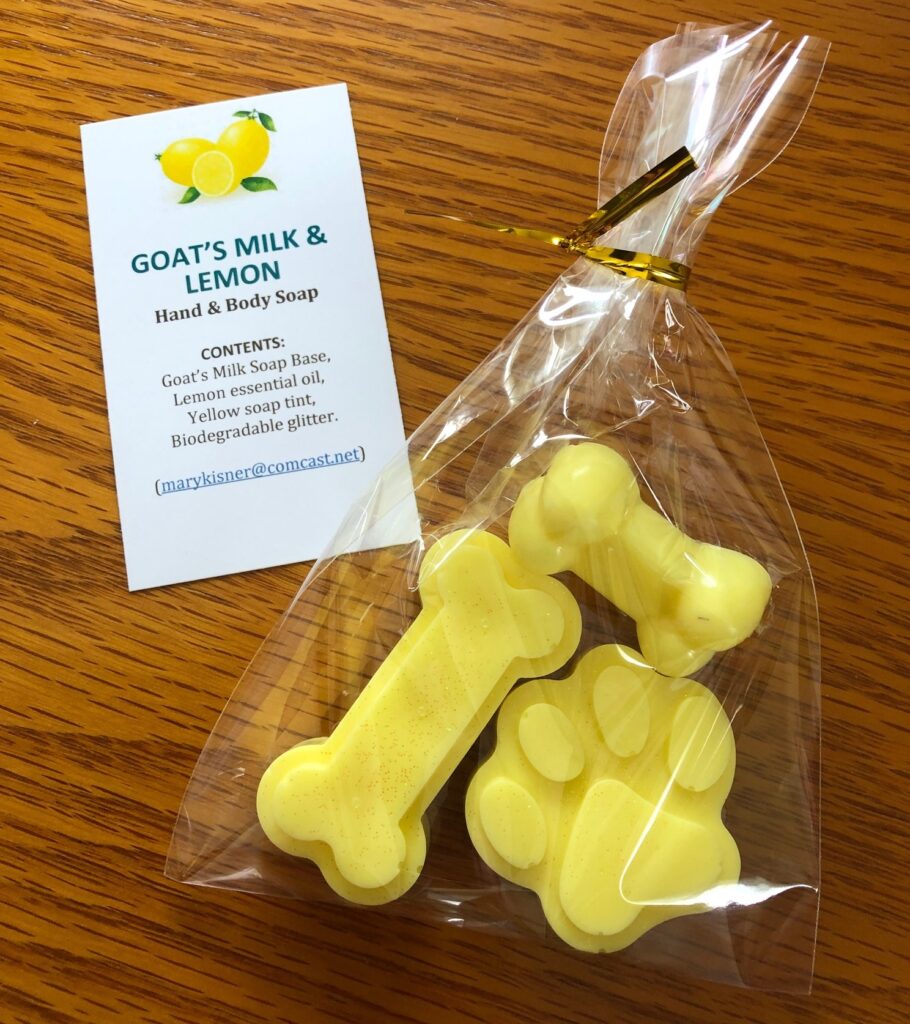
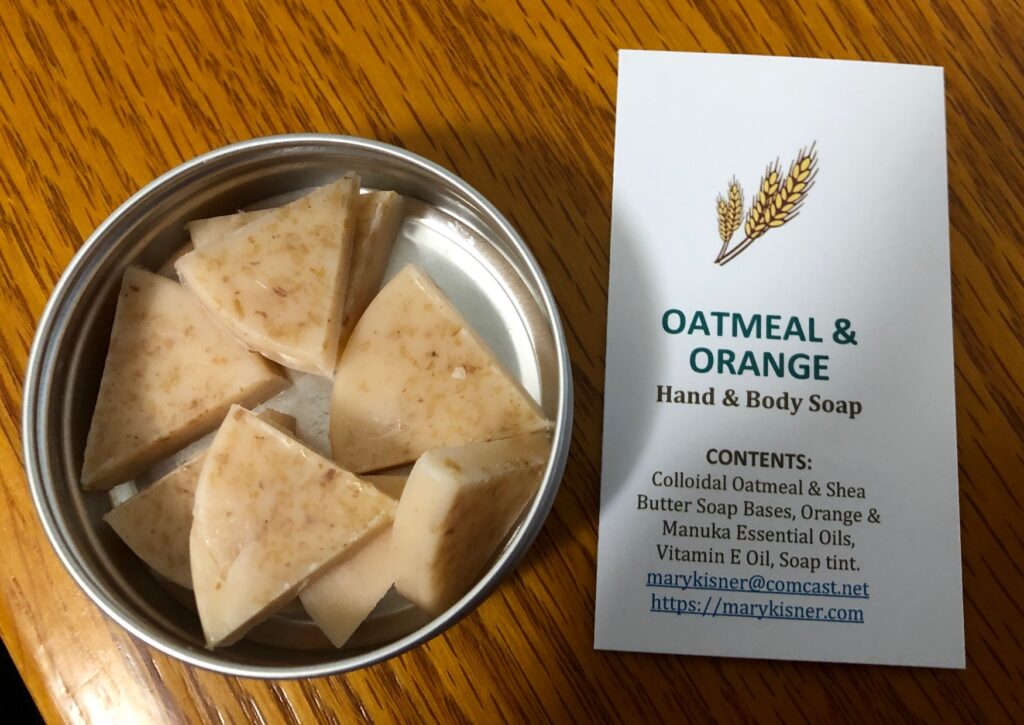
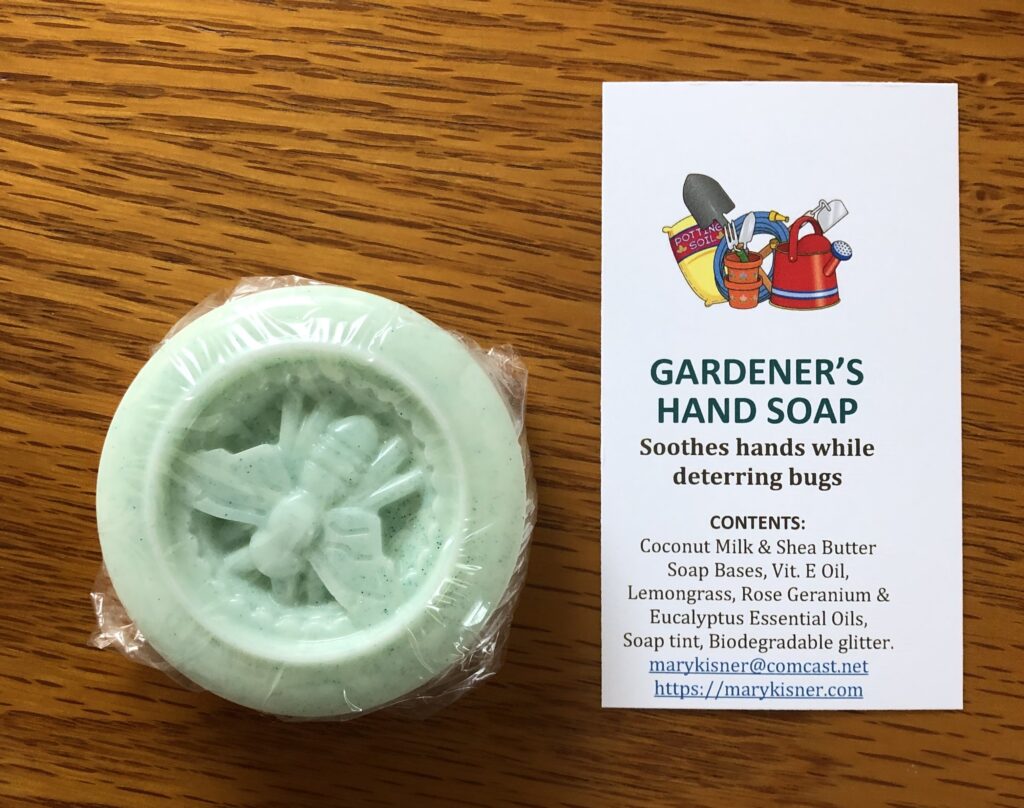
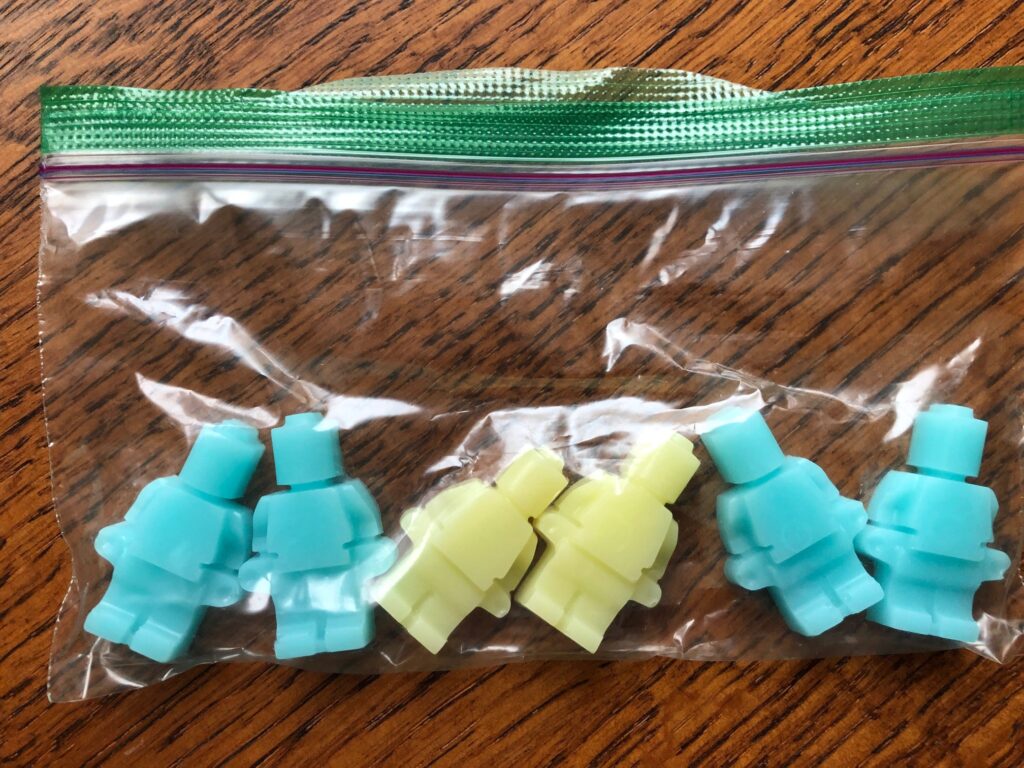
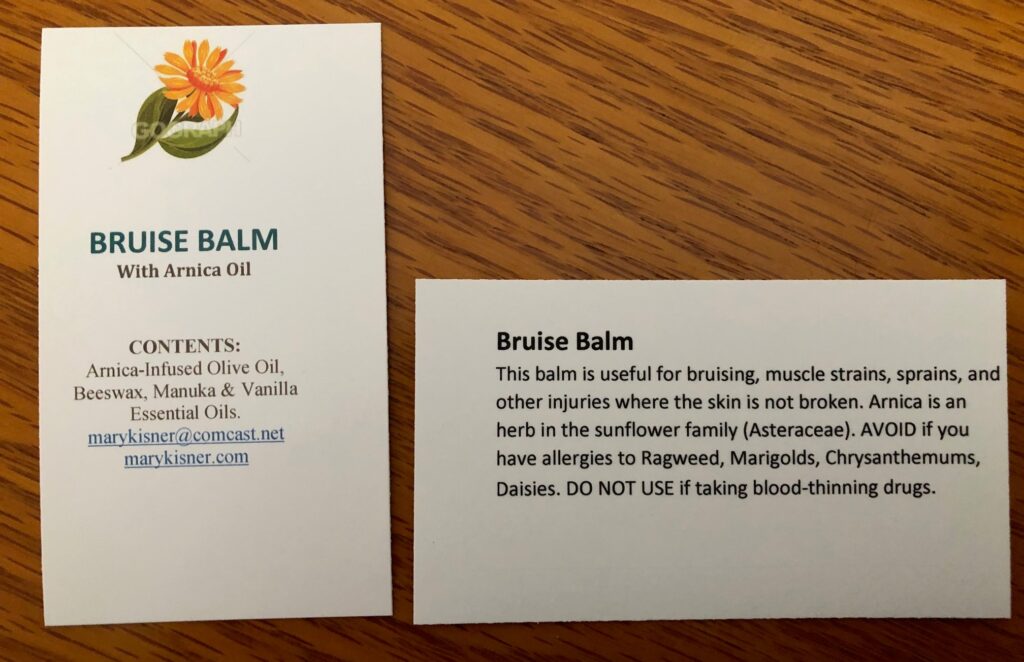
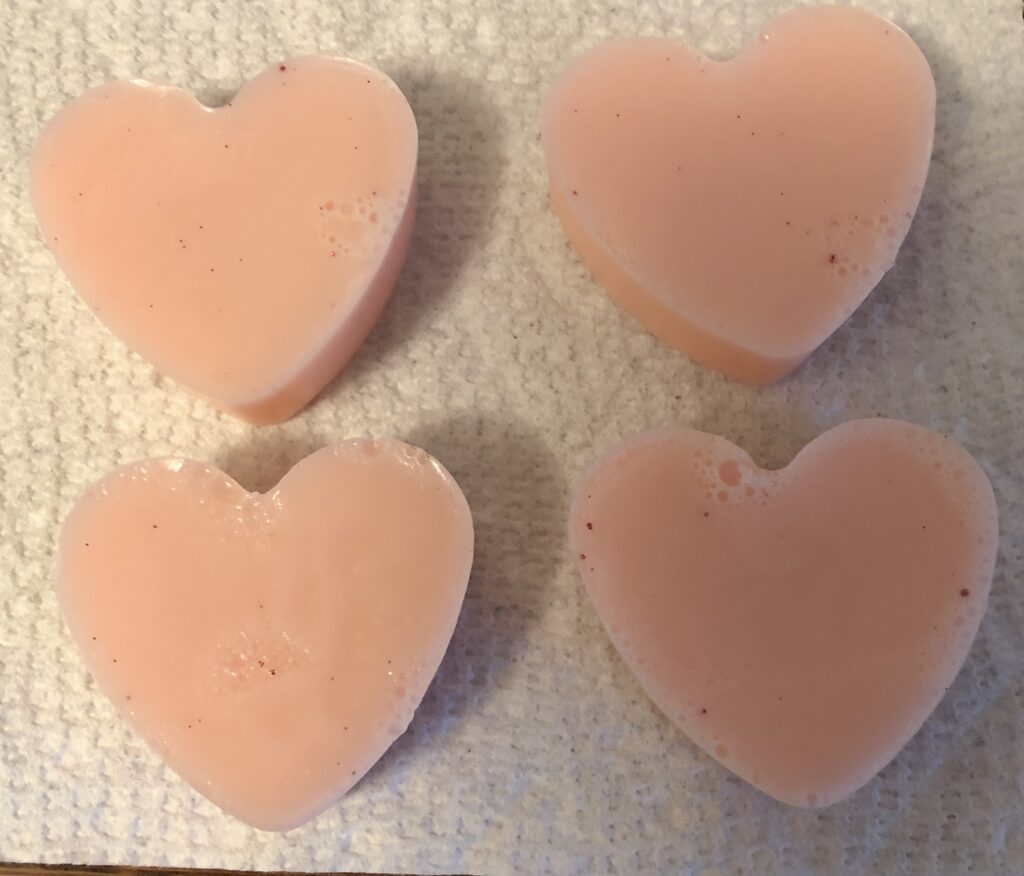
When the soap is firm, I remove them from the molds and wrap each piece in plastic wrap. Finally, I print cards to include with each soap. I want to make sure folks know what is in the soap. (I have even saved out 4 heart shaped ones before I added the scent, knowing one friend prefers things unscented!)
Unscented hearts…only your nose would know the difference!
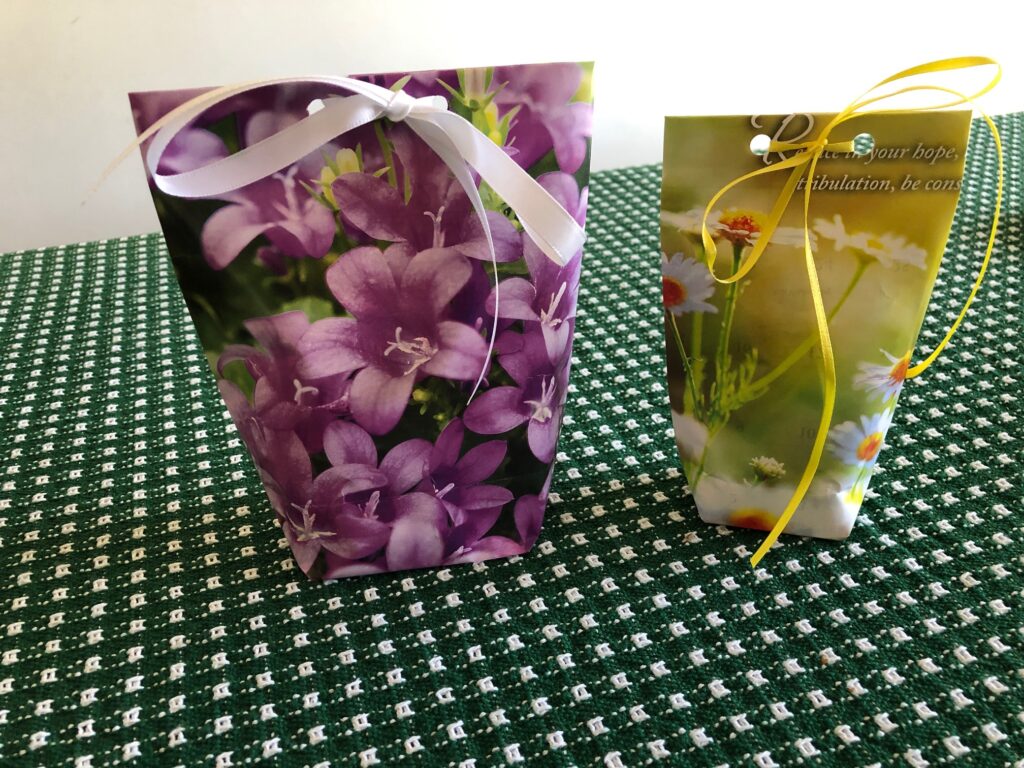
Here are the the final soaps, ready to put in a small gift bag:

I’ve written many posts about using melt-and-pour soap, you can read more at these posts:
https://marykisner.com/simple-guest-soaps-for-gifts/
https://marykisner.com/the-unscented-choice/
https://marykisner.com/aloe-vera-gift-soaps/
https://marykisner.com/making-soap-with-an-embedded-toy/
https://marykisner.com/making-soap-with-an-embedded-coin/
https://marykisner.com/lego-shaped-soaps-for-fun/
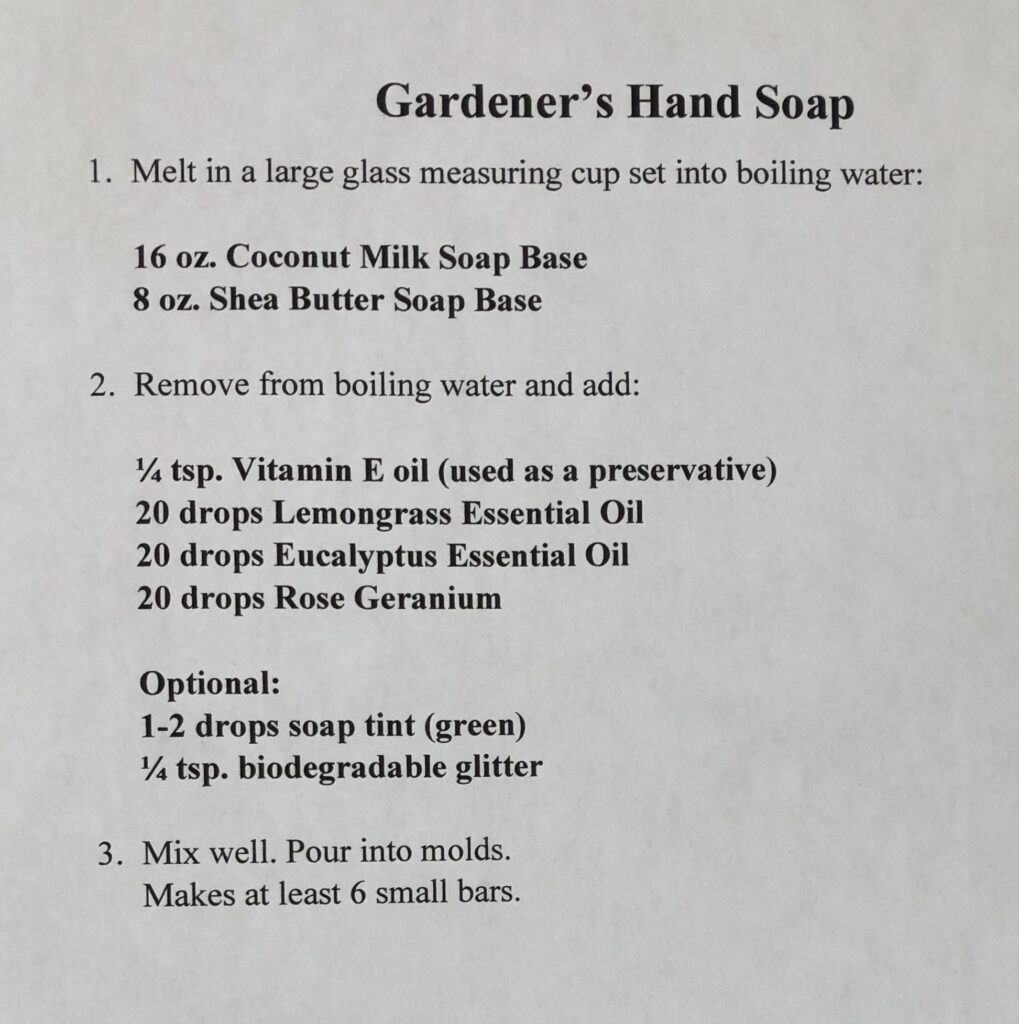
https://marykisner.com/gardeners-hand-soap/
https://marykisner.com/discovering-there-are-two-kinds-of-oatmeal-soap/
Enjoy!