I’ve recently had to switch to using a bar of soap in the shower from a liquid shower soap. I guess there are too many chemicals in the liquid and even ones that say “for sensitive skin” just make me itch all over! Since I’ve had good luck with my Aloe Vera soap for my hands, I thought I could easily just use that in the shower.
However…not so fast! It has been many years since I’ve used a bar of soap in the shower and it kind of depends on the soap’s ability to make a lather on the washcloth. My Aloe Vera soap does not easily make a lather. I know this particular soap does not make me itch, so all I had to do was figure out how to use it in the shower without a washcloth.
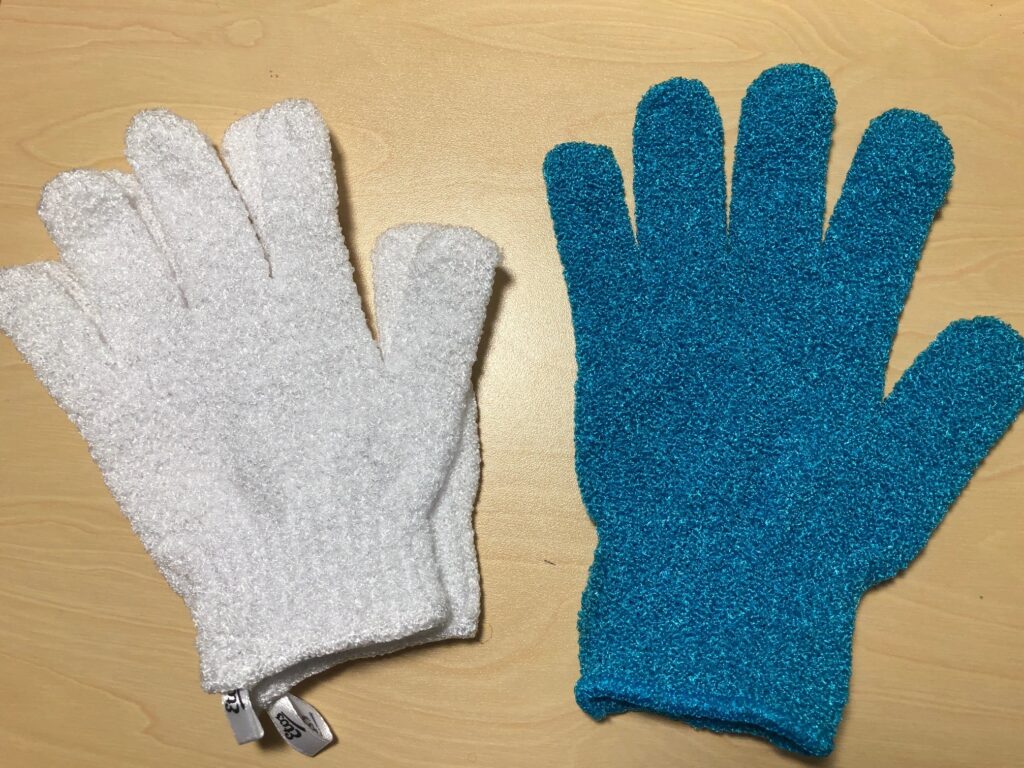
A little research online and asking around provided several choices. I found gloves and pouches made of a loofa-type texture that were supposed to work. I ordered some online, like the ones below:
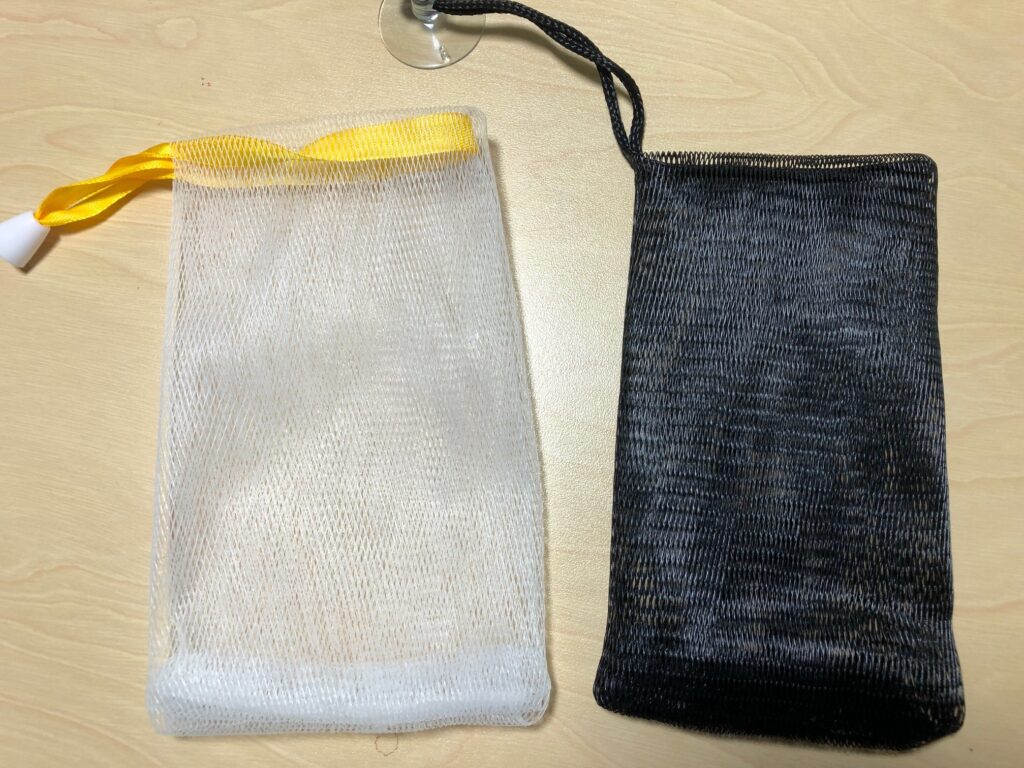
These gloves fit so tightly I wasn’t sure I’d ever get them off! And I felt like I had a sunburn because they were so efficient at exfoliating.This pouch came with a special “natural” body soap. It also felt like a loofa sponge!These pouches were not scratchy but they were stretchy when dry. They were VERY stretchy when wet! The white one on the left did allow the bar to make a lather but it was hard to hold onto in the shower.
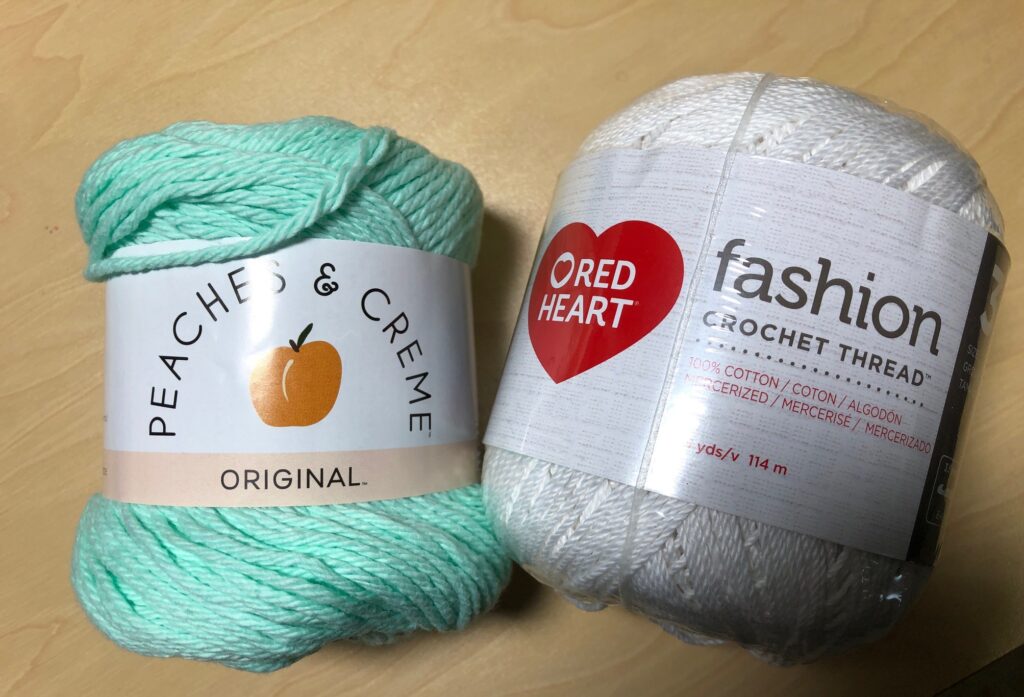
I also found patterns to crochet a pouch, using cotton yarn that is also used for pot holders and doilies. I made a trip to Wal Mart and picked up crochet yarn.
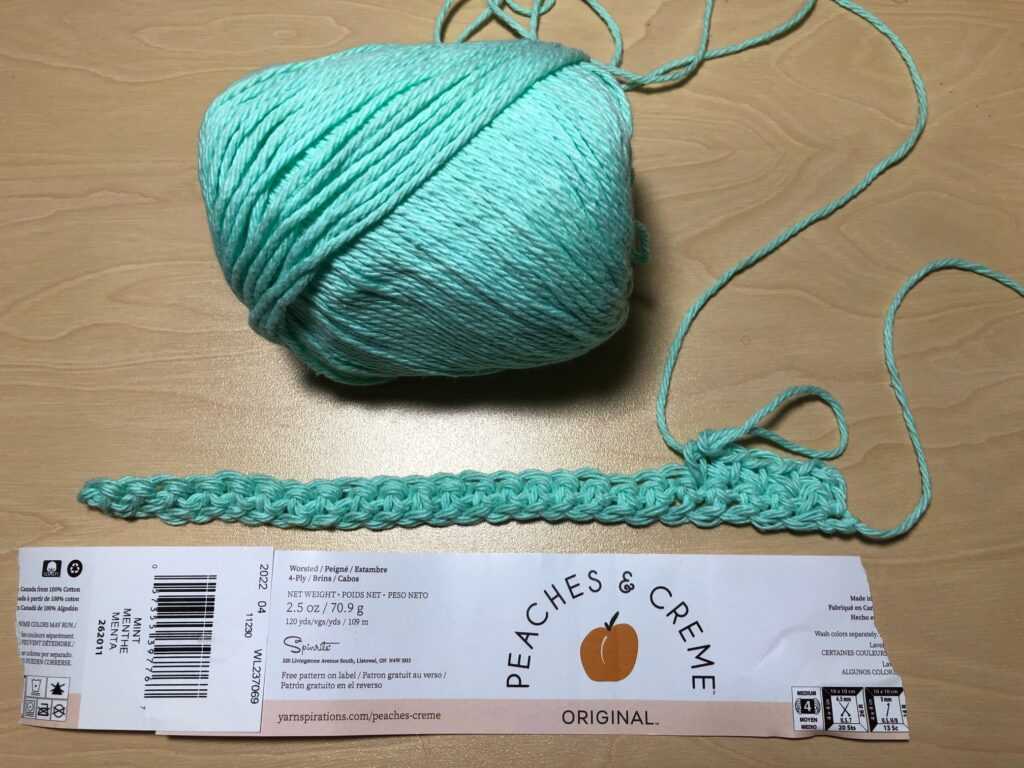
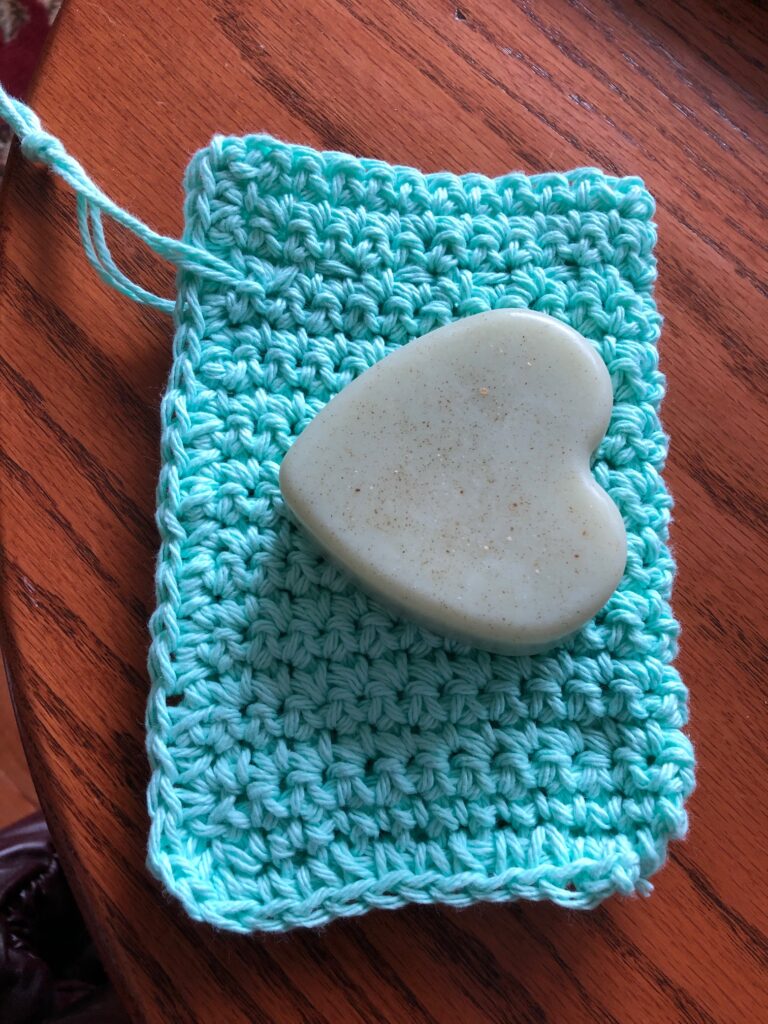
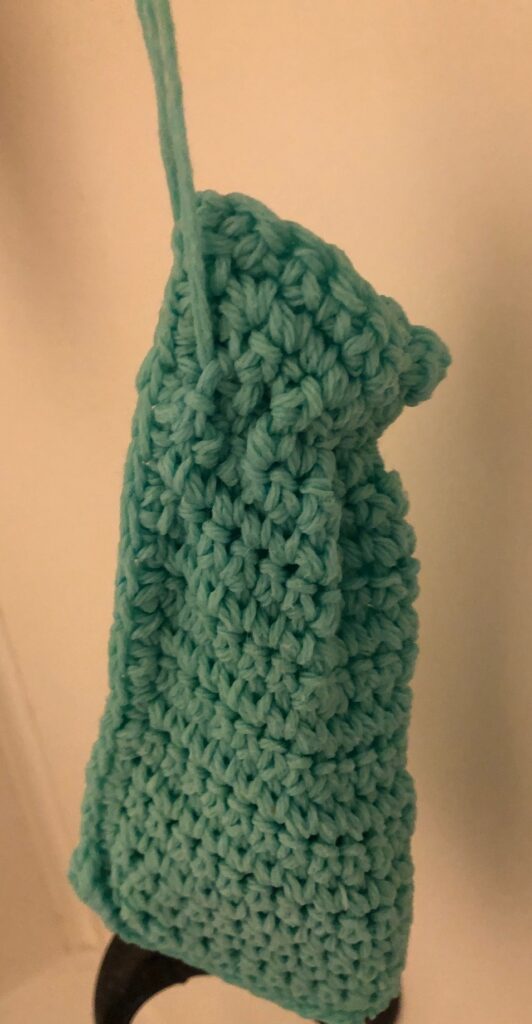
I started with the light green cotton yarn and just used a simple single crochet stitch, using an H hook, starting with 25 stitches. It made a small pouch for one of my small heart-shaped soaps.
It didn’t work in the shower…the suds hardly made it through the bag so I could wash with it. I guess I needed more holes. Plus the bag held the water, so even after 24 hours it had not dried out.
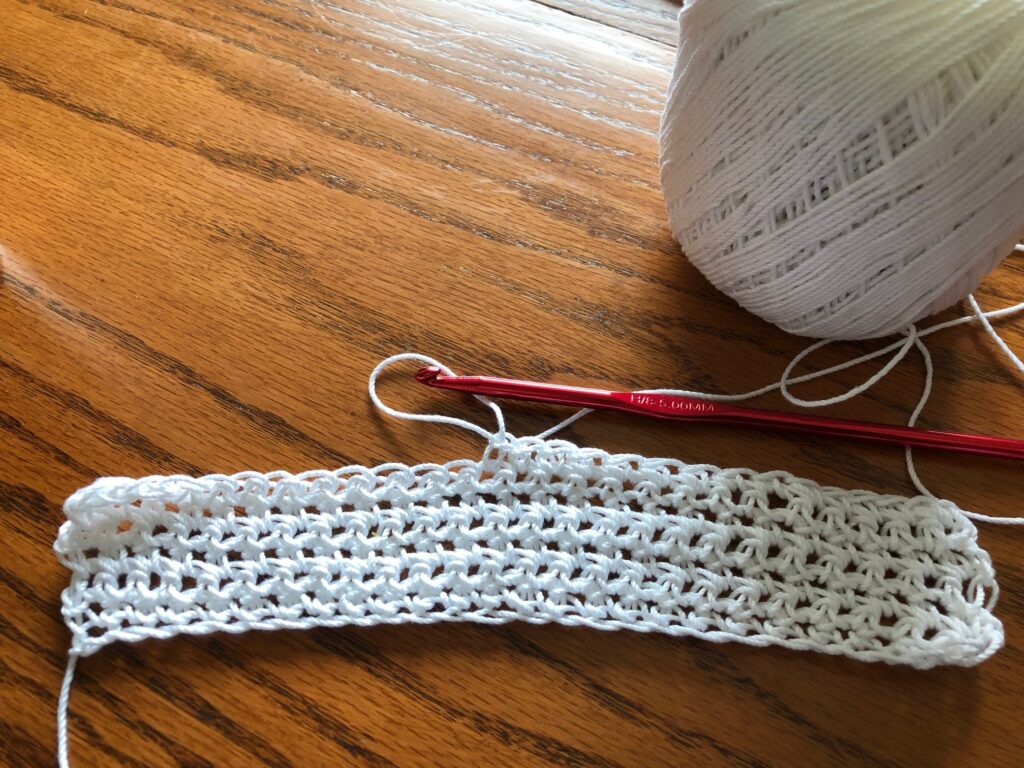
So finally I made the small bag with the white crochet cotton. It has more holes and should not get so heavy when wet.
What a process! If this last one works, I may make some to package with my soaps for Christmas presents! Let me know if you have found a solution to using a bar soap in the shower! Enjoy!
This week I was determined to choose a new quilt block that I could paint on wood. I wanted something different and colorful for Autumn. I enjoyed painting my first two blocks and you can see them below. If you want to read how I made them, click on the link under each picture.
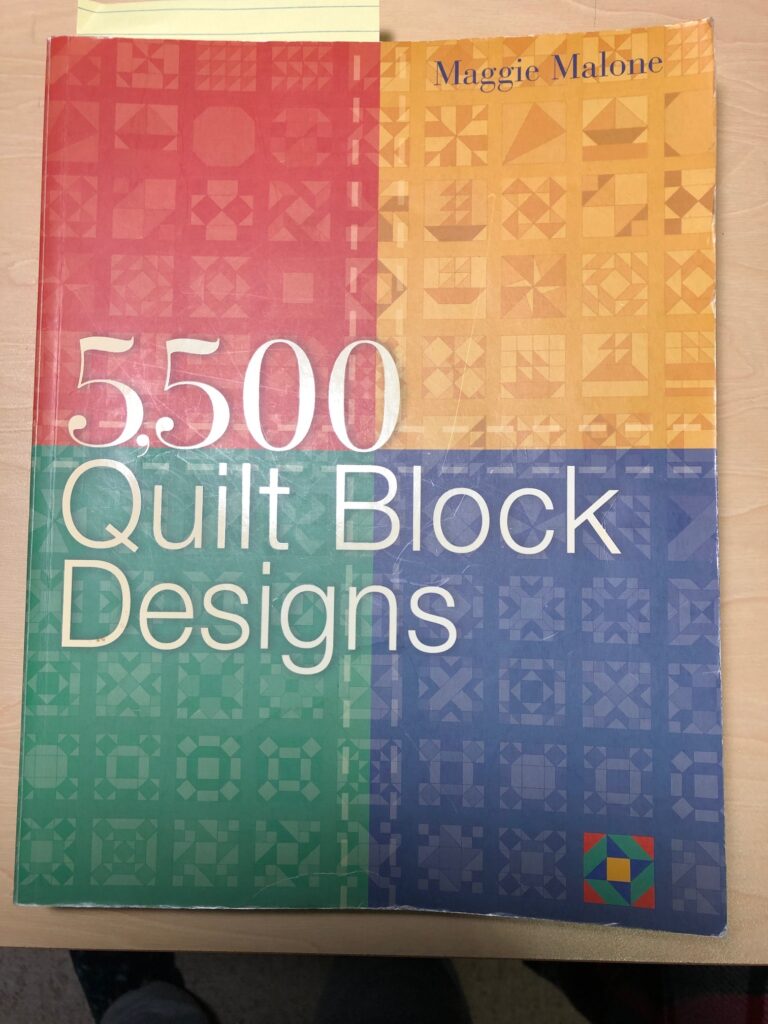
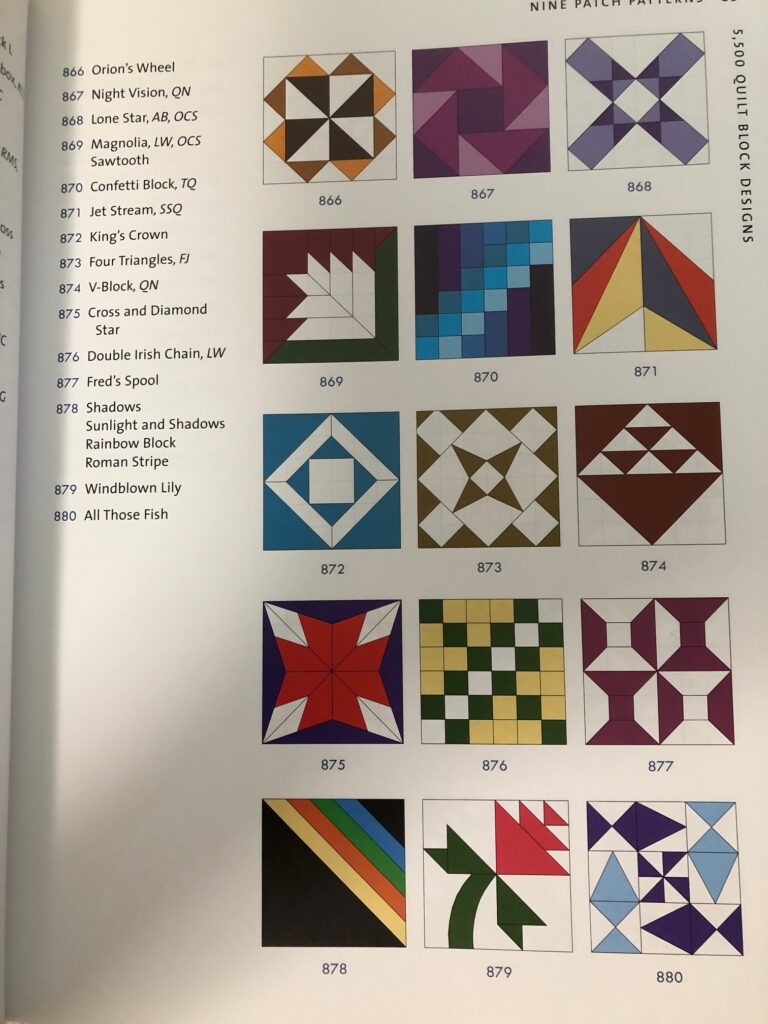
For the Autumn block I wanted something totally different. I pulled out my favorite book for ideas:
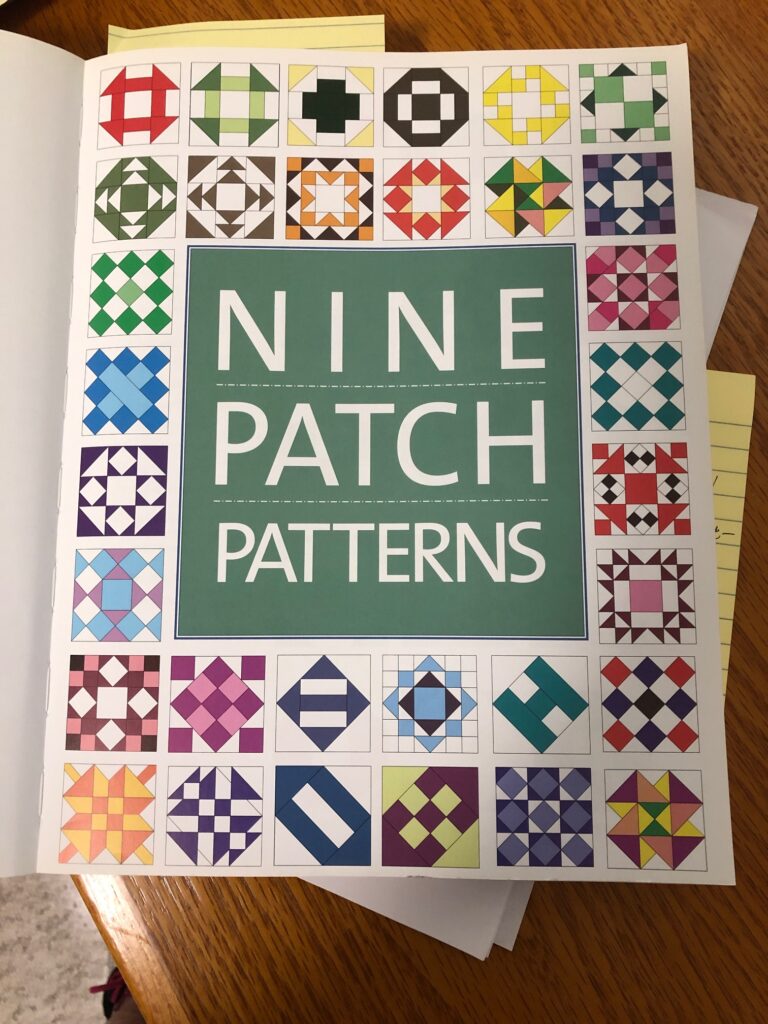
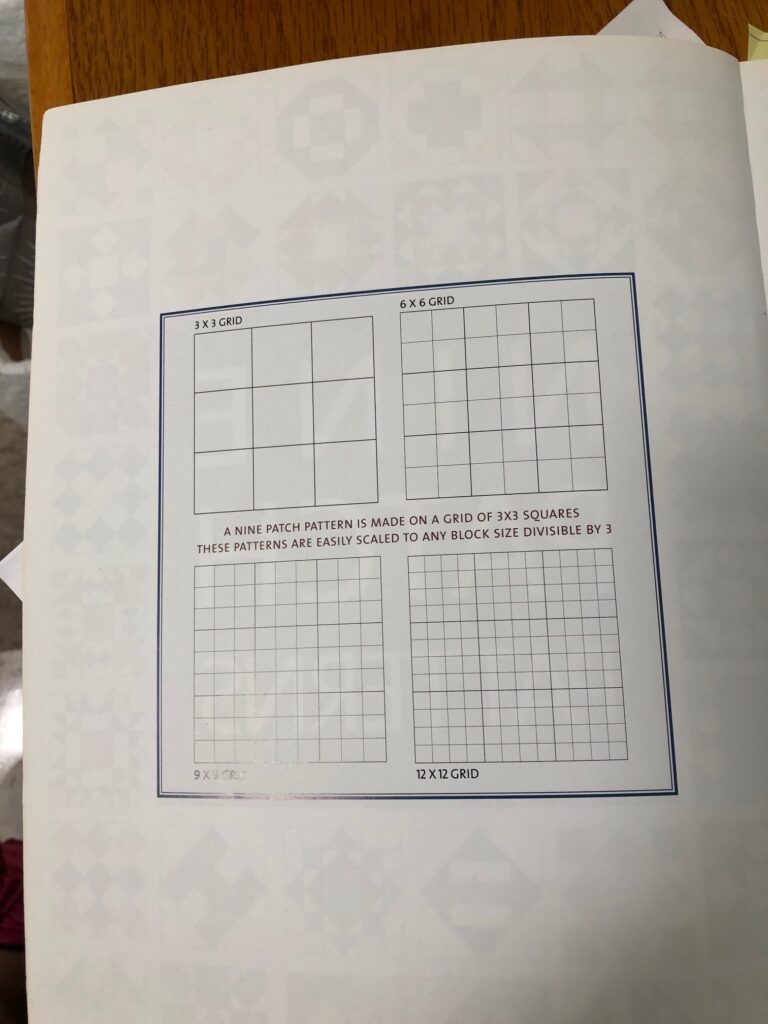
This book organizes quilt block designs by the grid they are based on:
And followed by pages and pages and pages of sample blocks! Thank goodness there is an index, by names, of all the patterns. I usually start by just browsing through the book. So many choices!
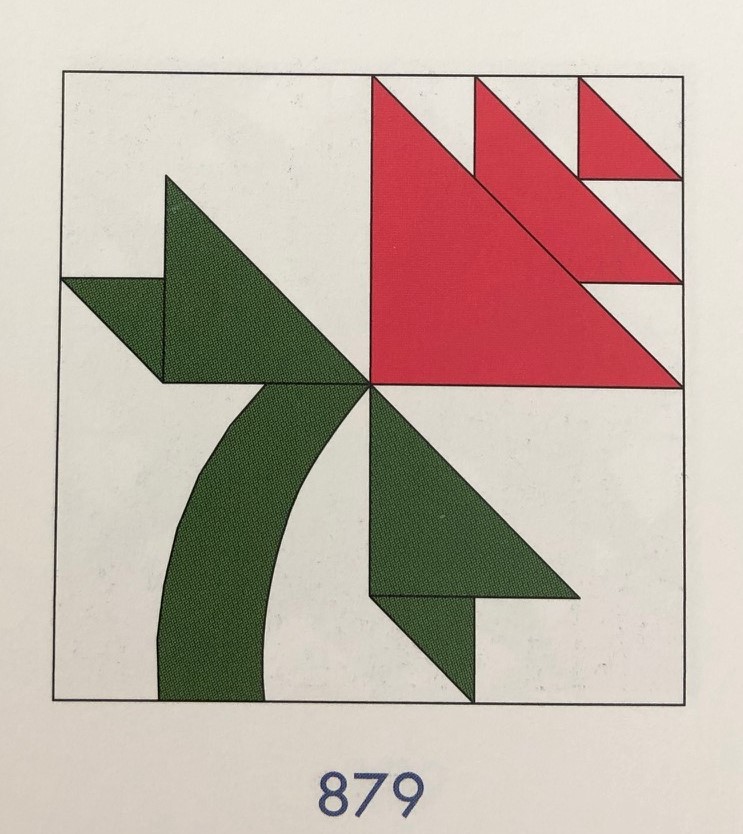
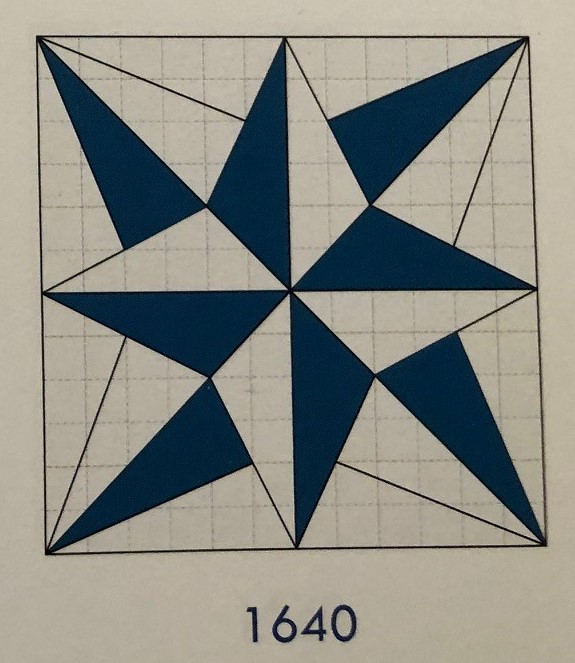
I ended up choosing this block:
This was based on a 4 x 4 grid.
Next to the picture was a number and the name was in the list to the left.
I really liked how different the block was and figured I could make the flower in orange, which would make me think of all the autumn flowers I see right now. I don’t think it matters that it’s called a “Lily”–I can call it anything I want!
Making the Sample Block
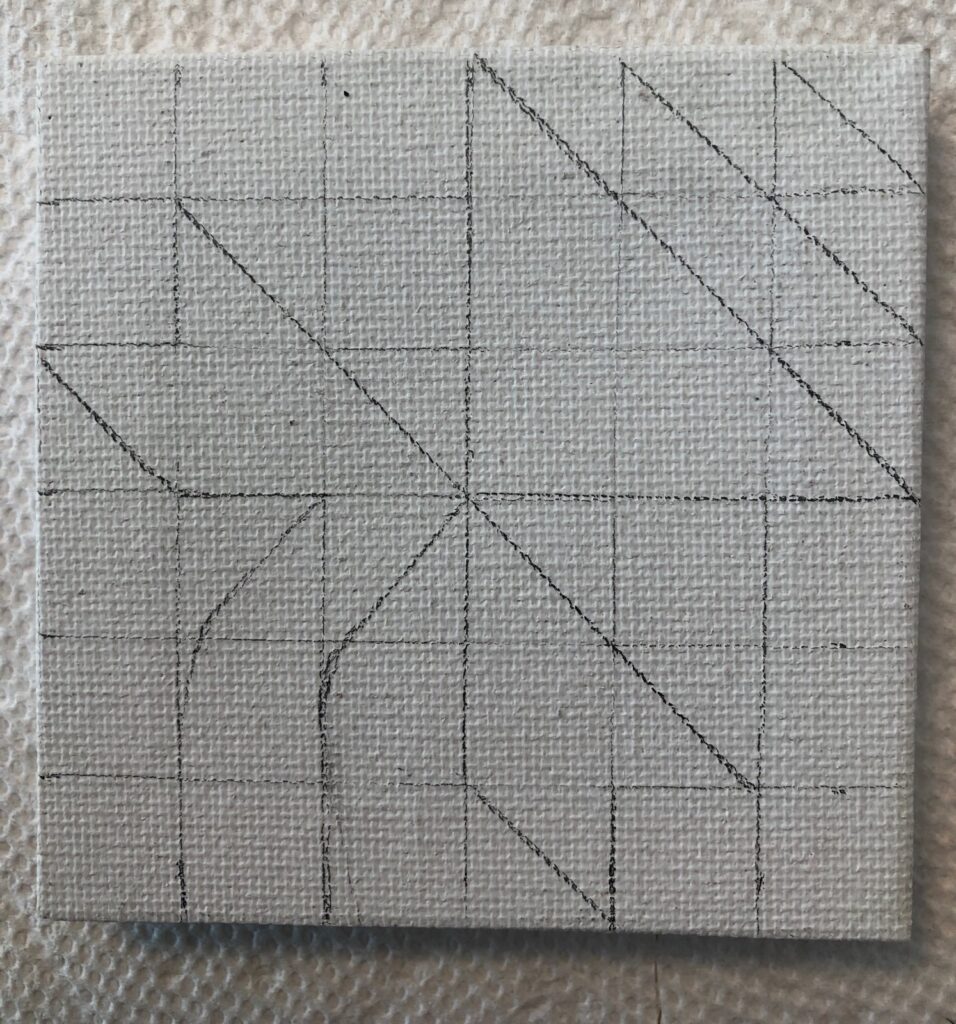
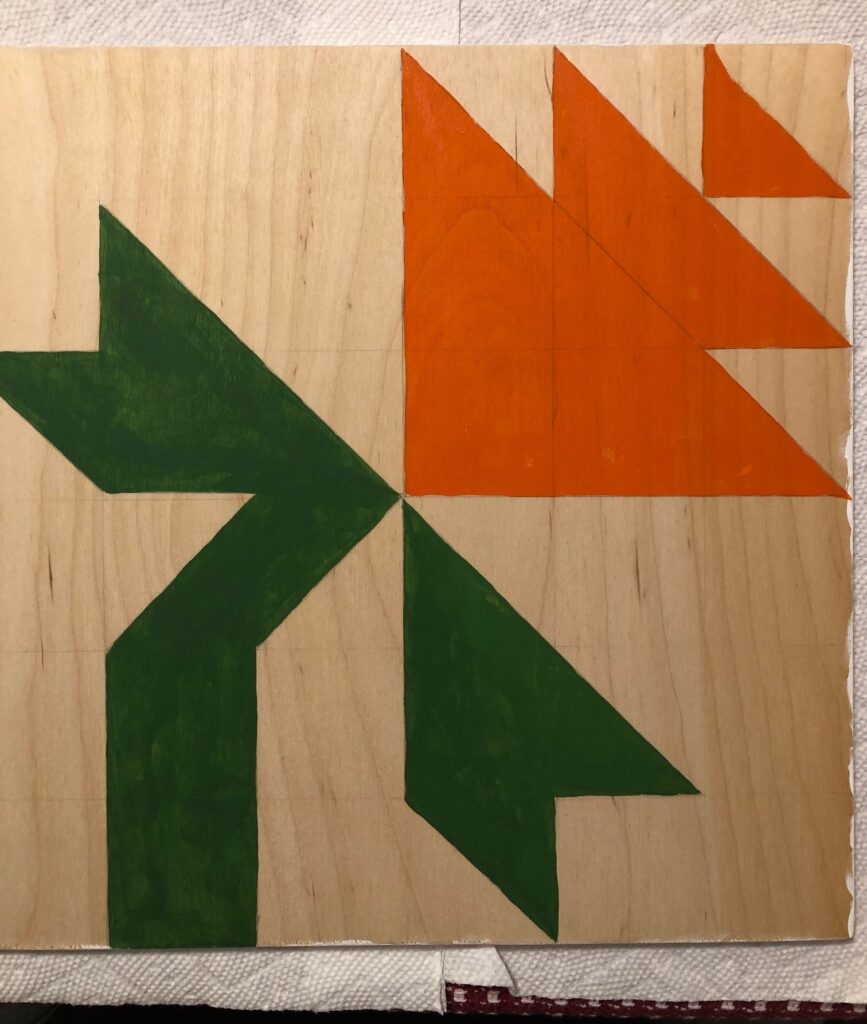
I like to start with a 3″ x 3″ tiny canvas. It helps me visualize the layout on a small scale. I don’t worry about making mistakes or erasing pencil marks. When I make this sample, I can decide if I like the colors I’ve chosen. It’s much easier to throw it away and start over if I need to.
I can see the extra internal lines are not necessary and distract from the pattern. I do like the orange and green.
Making the Full-Size Block
Step 1: I pulled out the 12″ x 12″ piece of 3/8″ plywood that Bert had cut out for me and sketched out the pattern with a pencil.
I did erase the internal lines because they will show through the white and orange paint.
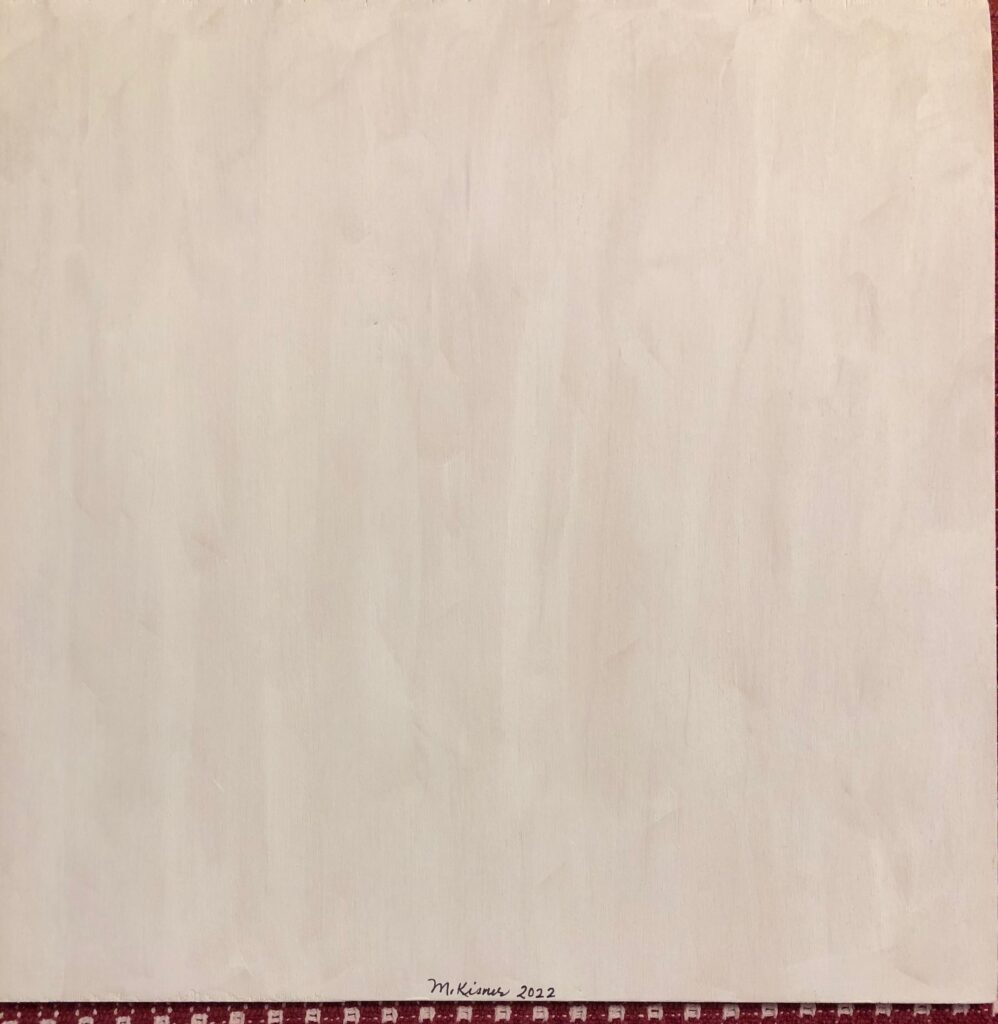
Step 2: I flipped the wood over and painted the back and edges white just to protect the wood from the weather.
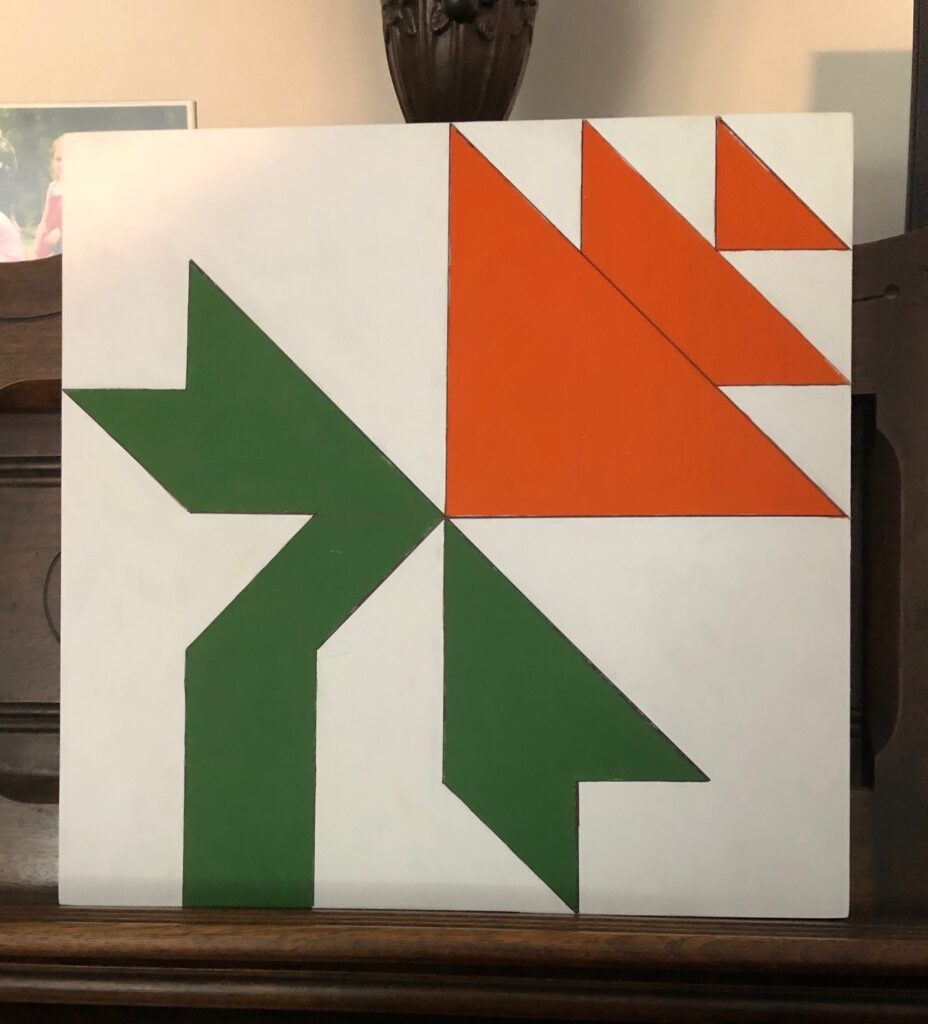
Step 3: I painted the first coat of orange and green. I can still see the internal lines so a second coat is necessary.
I used a fine point marker to outline the basic shapes. I like it!
Final Step: I will spray both sides of the block with a clear acrylic spray so it can handle the weather on the front door. Finally, Bert will attach magnets to the back so it will stick to the front door! Yea!
I think this block will be cheerful this fall and will show through the screen door well. Don’t be afraid to experiment!
Not enough sleep? Allergies making you look like you didn’t get enough sleep? For a while I’ve wanted to try this recipe for an eye cream. I had seen various brands of specialty eye cream for sale but somehow the cost seemed extreme. when I stumbled upon this recipe on one of my favorite websites, I thought I’d give it a try (https://joybileefarm.com/diy-eye-cream/). This author has many DIY recipes that are easy to follow and she provides good supporting research on the ingredients used. Many of the products I make started with one of her recipes. Check it out.
For this eye cream, the cost of the ingredients made a good case for just ordering something already made. However, where would be the fun in that! I’m always trying to find and use products that have the least amount of chemicals and artificial ingredients. The older I get, the more sensitive I am to various products I use. Plus, if I can make it myself, I’ll be able to make more if I need to. That makes me smile!
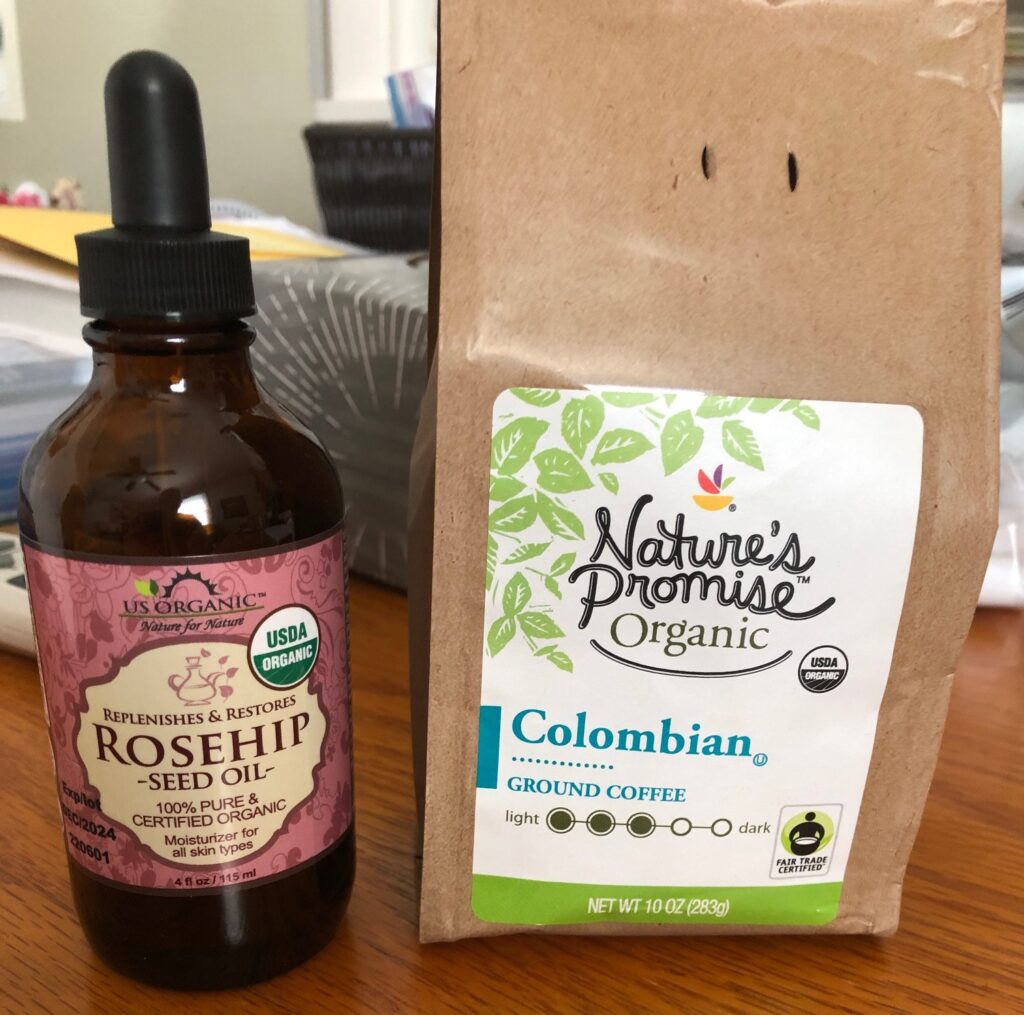
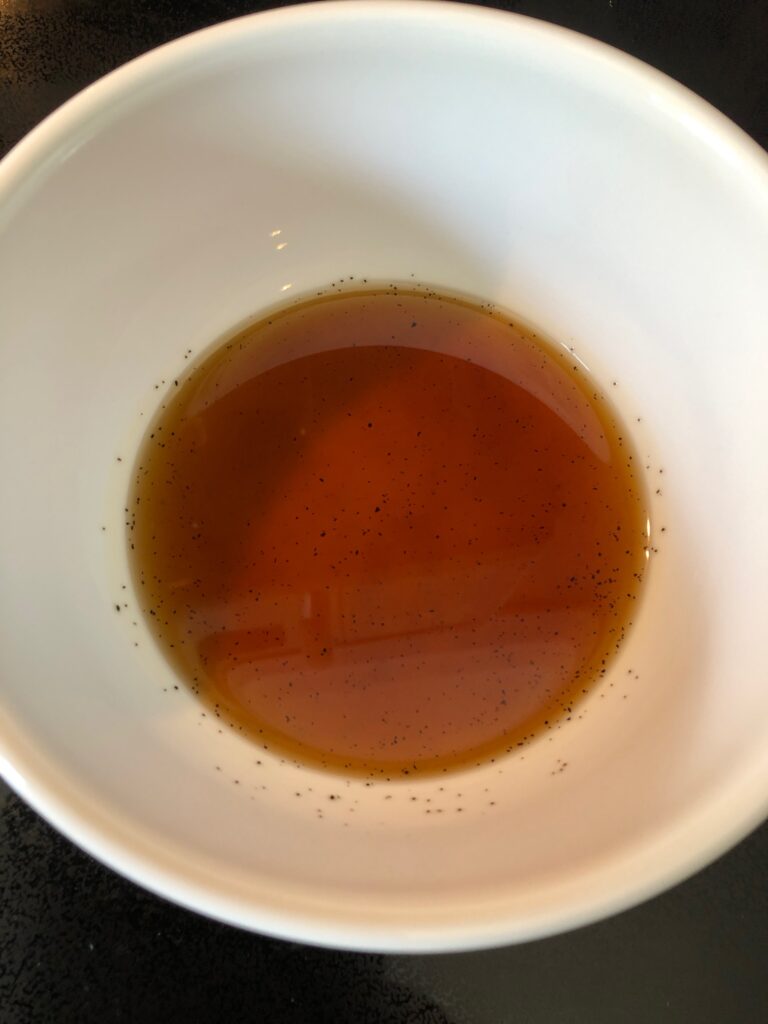
This eye cream begins by making a coffee-infused oil, similar to the infused oils I’ve made with calendula and lavender flower buds, except it took longer because I couldn’t simmer it on the stove and be done in one day. This recipe required me to soak coffee grounds in rosehip seed oil for a week, shaking the jar every day.
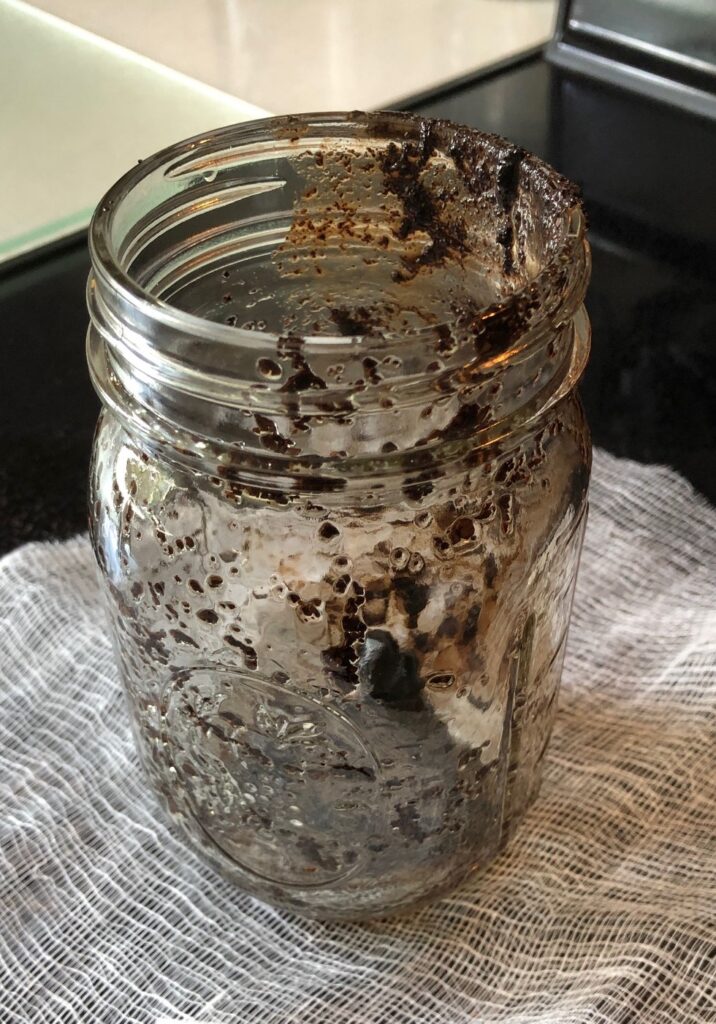
I put the jar on my desk so I could keep an eye on it and finally today I strained out the grounds. No small task! The grounds had made a thick sludge on the bottom that I could barely scrape out. Next time I’ll use more oil (and possibly substitute Sunflower oil, which is less expensive) so I can keep it loose…maybe even open the jar and stir it up with a long-handled spoon.
After pouring out as much as I could to strain out the oil, I ended up scraping the grounds, filling the jar with soap water and dumping the slurry outside. I didn’t want that oily mess going down the drain.
Pretty disgusting!
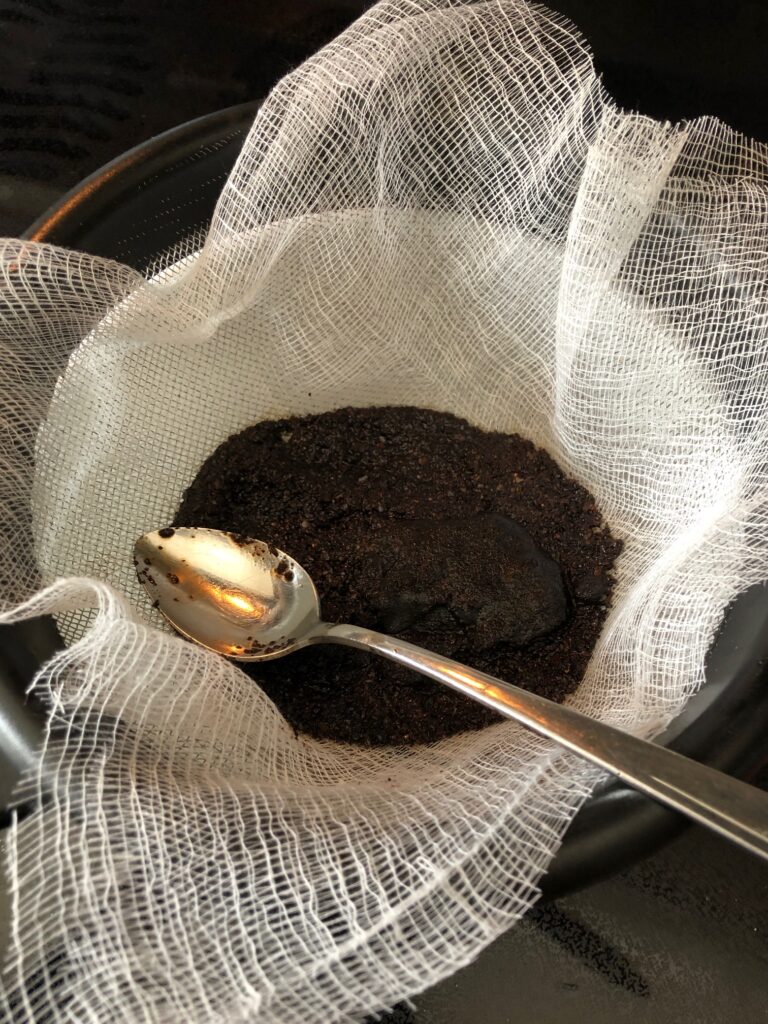
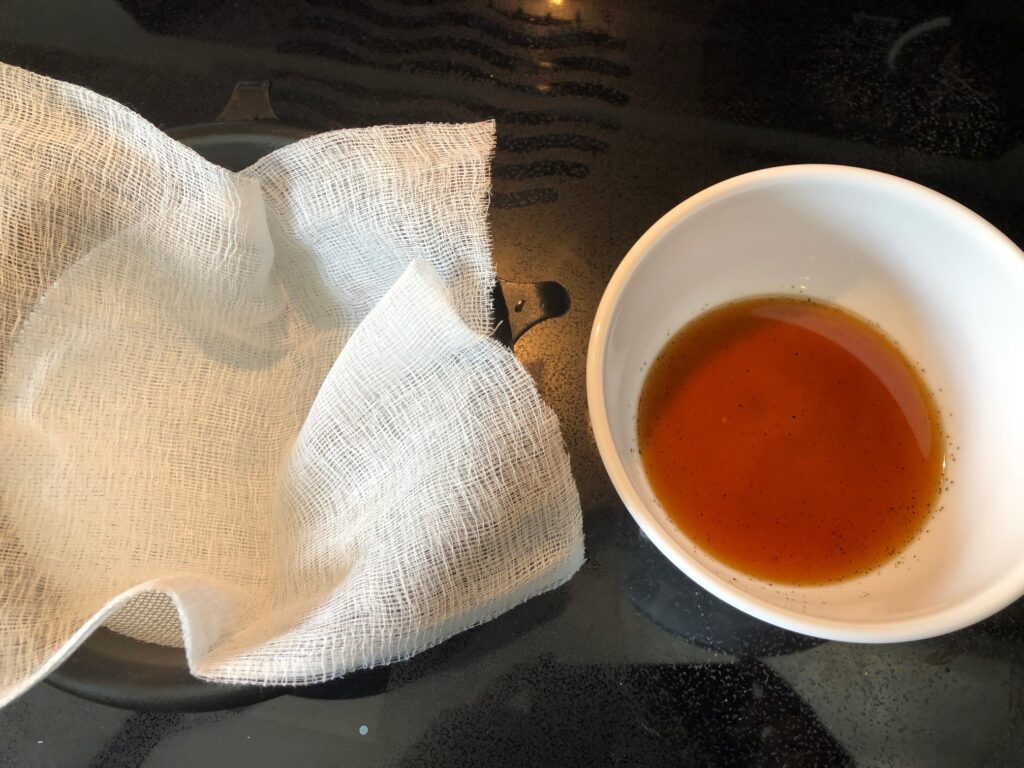
I lined my strainer with cheesecloth and poured the oil through it. When it finished draining, I picked up the cheesecloth mess and threw it in the garbage.
Then, I strained it twice more, finally using four layers of cheesecloth to filter out the last of the grounds.
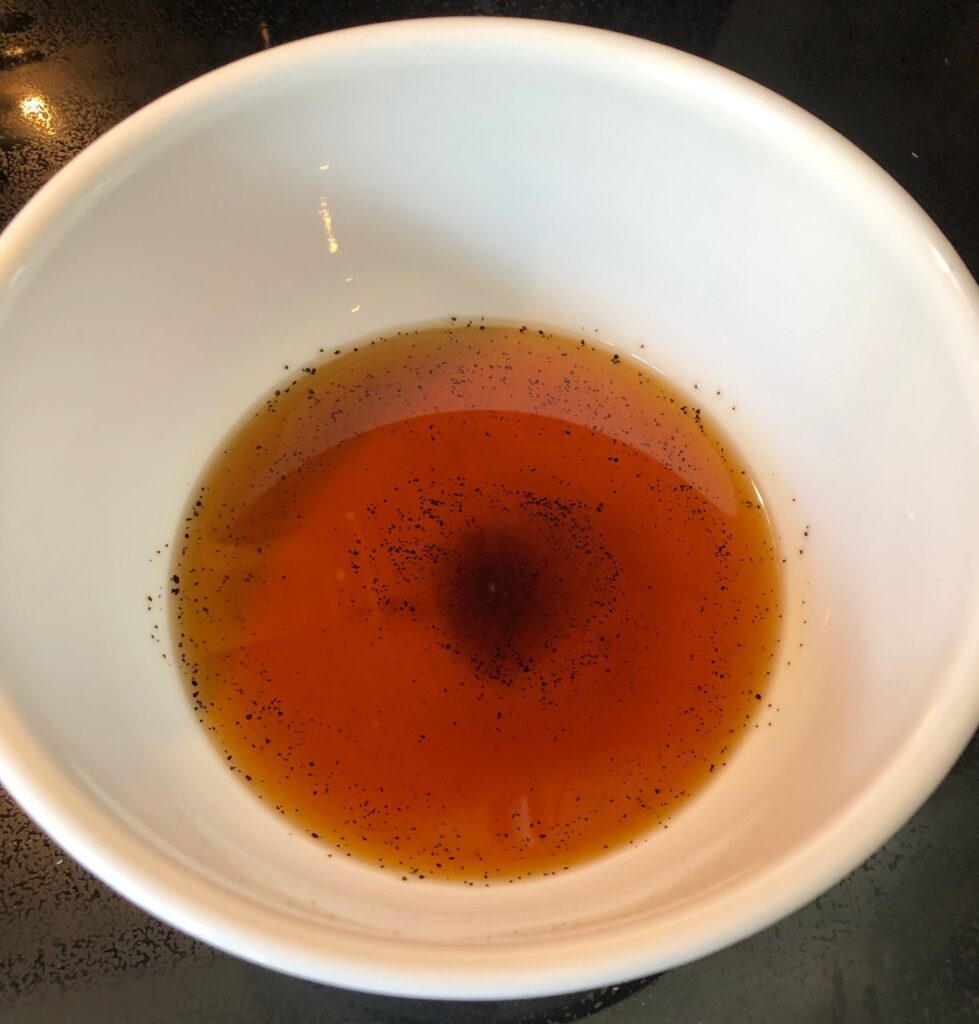
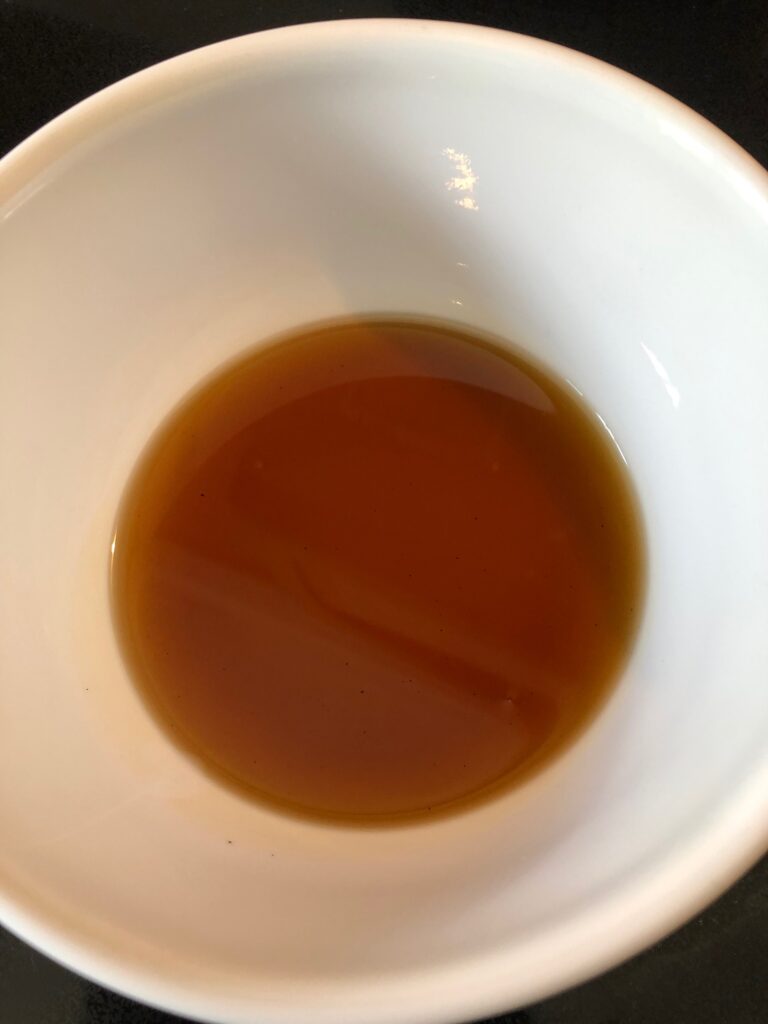
Finally, the grounds are gone!
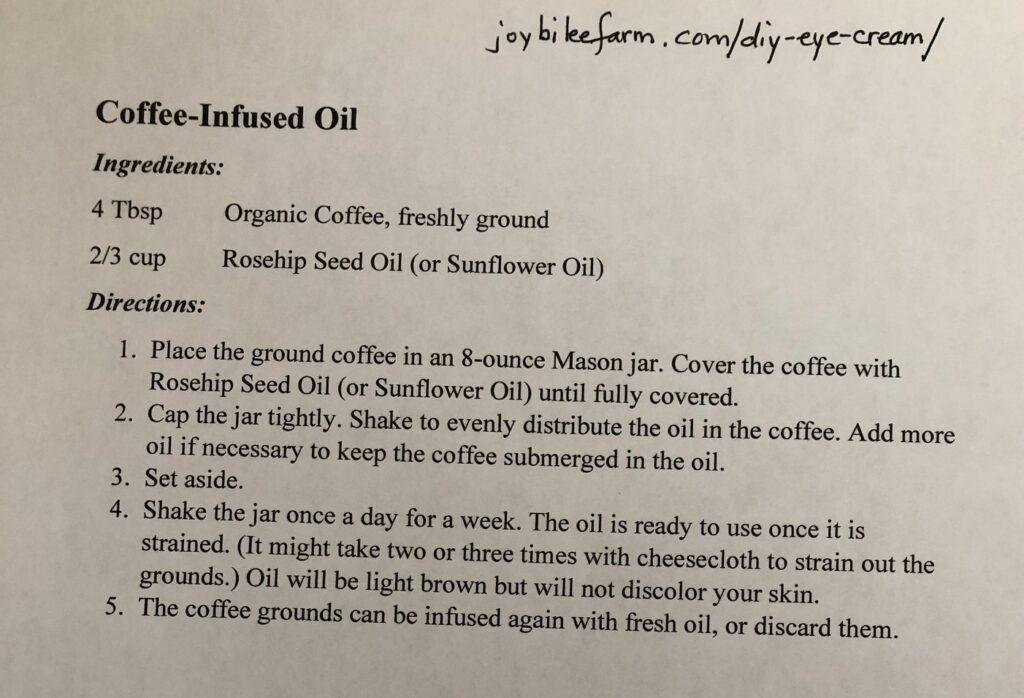
Now, I was ready to use this coffee-infused oil in the recipe for the Eye Cream. Here is the recipe:
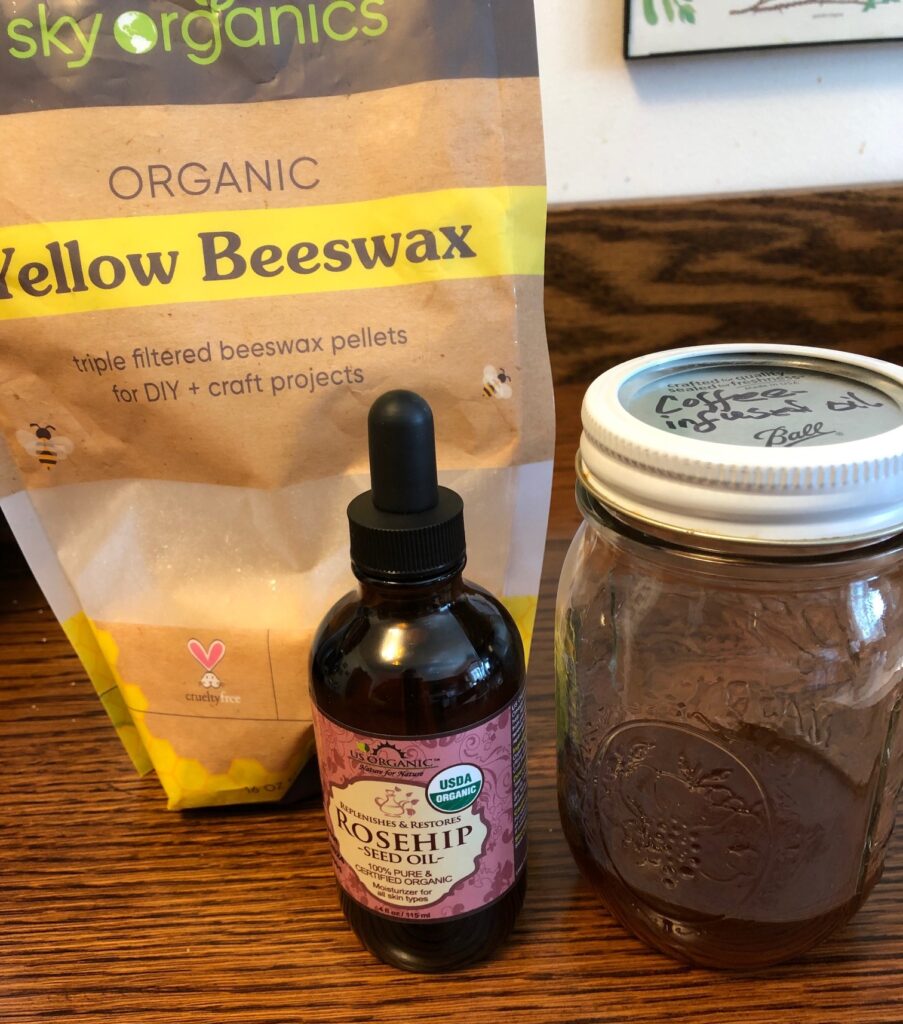
The beeswax, rosehip seed oil and coffee-infused oil melted together first.
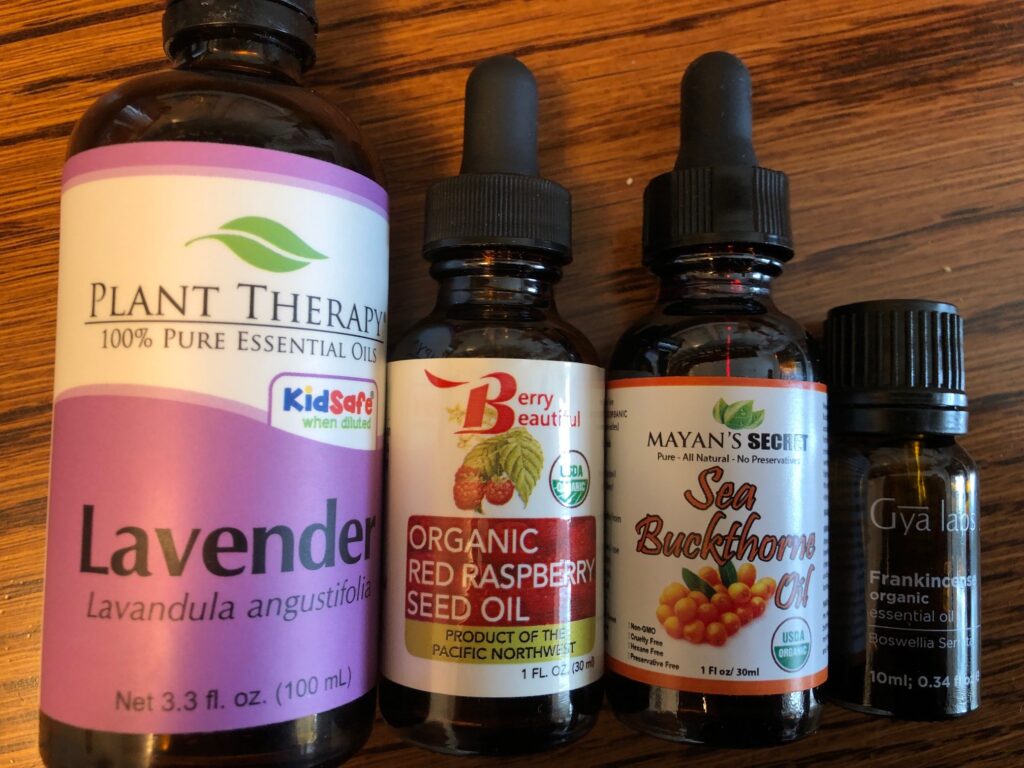
It didn’t take long to melt the beeswax. Then, I added these oils and stirred them in:
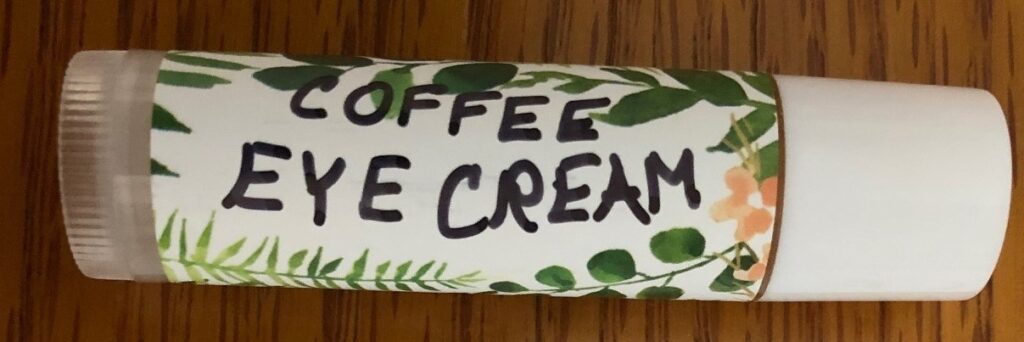
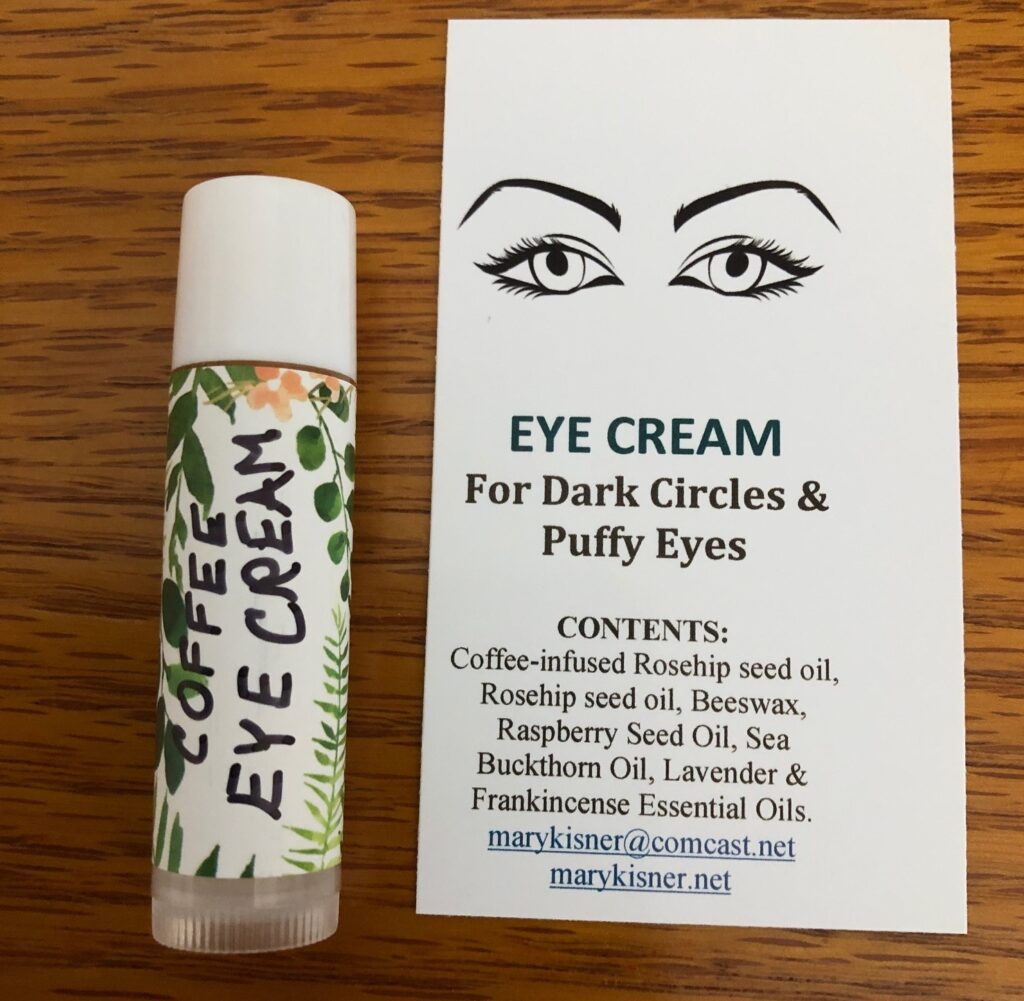
Using a disposable pipette I filled the lip balm tubes (sorry, forgot to take a picture!)
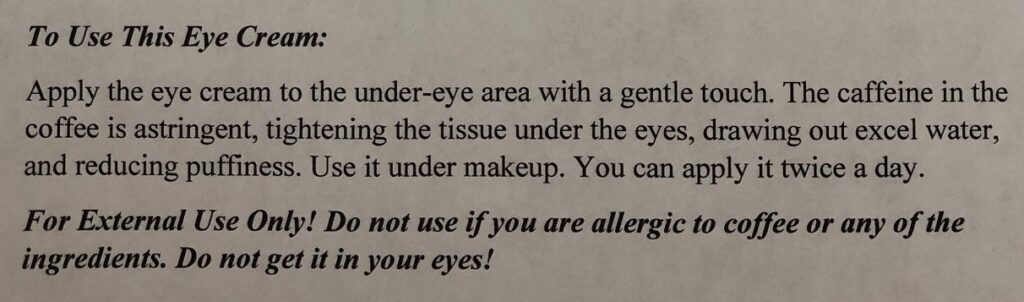
When they were cool, I labeled them and made the ingredient cards to go with them. I’ll have to figure out how much information to put on the back of the card. I’d like to include the last two paragraphs of the recipe on the card:
Hopefully, I’ll find some willing friends to test the cream with me to see if it actually works!
All the ingredients are available on Amazon…I did pick up the ground coffee at the grocery store. Give it a try! Enjoy!
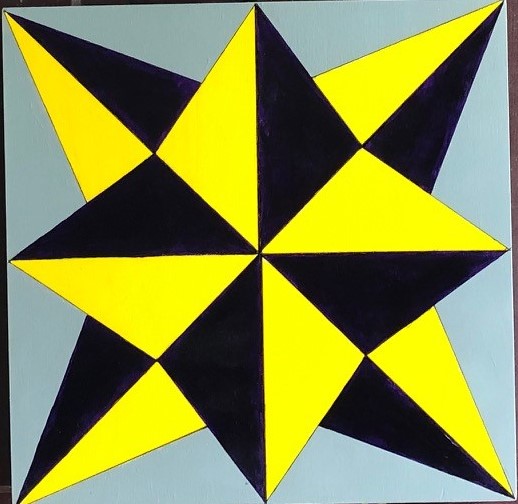
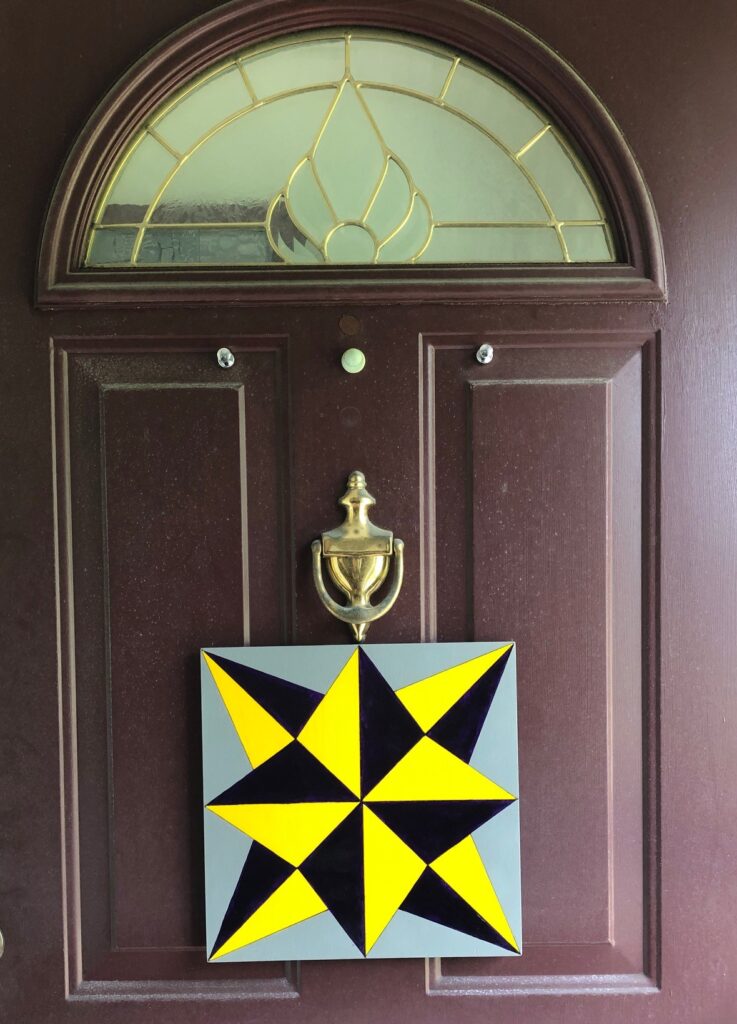
The next one I chose has several names. In one book it’s called Blazing Star, and in another it has had 5 other names!
I guess I’ll go with Blazing Star or Flaming Star. It appealed to me in its simplicity and made me think of all the stars on a summer night!
Since I don’t have an actual pattern, it helped to have it identified as being on a template of a 4-patch quilt block.
Making the Small Sample Block
I have learned to always make a miniature block first so I can figure out the dimensions of the sections. Painting the block also helps me visualize the colors better before I actually start on the 12″ x 12″ block of wood.
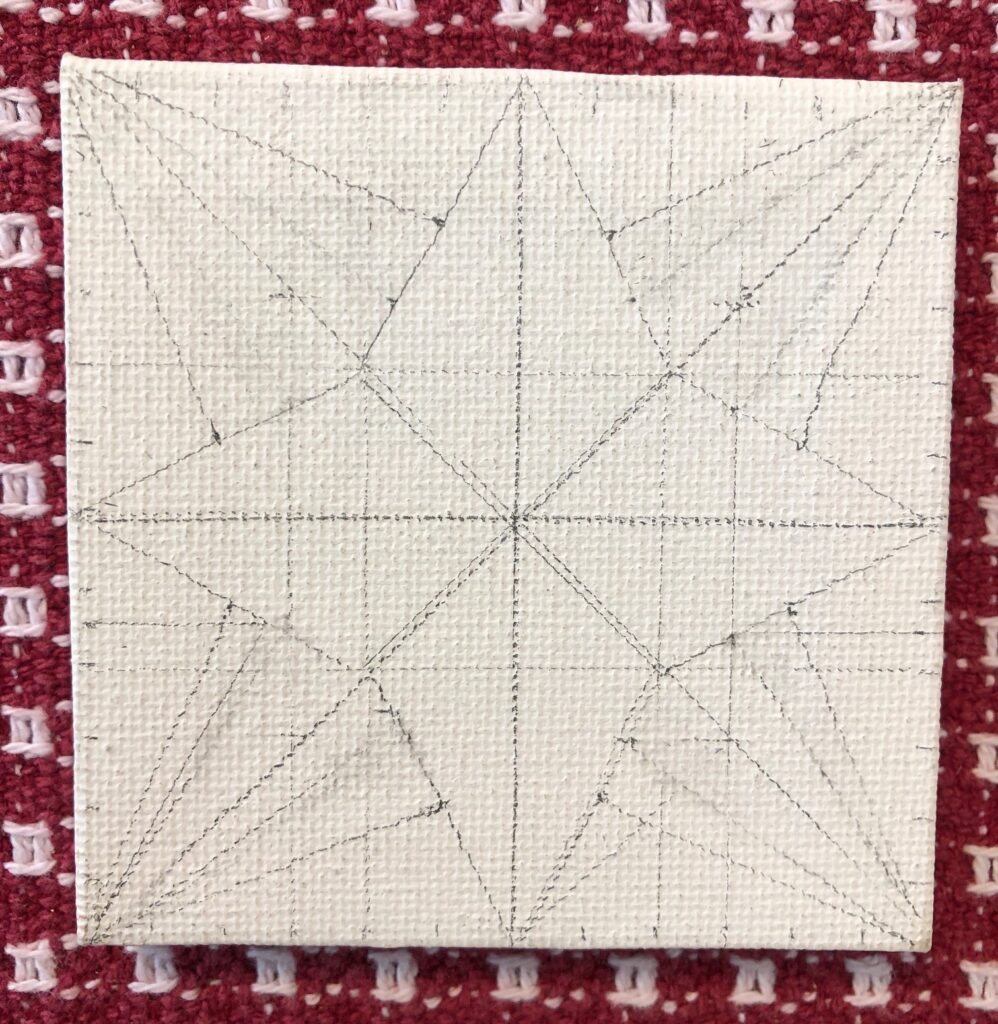
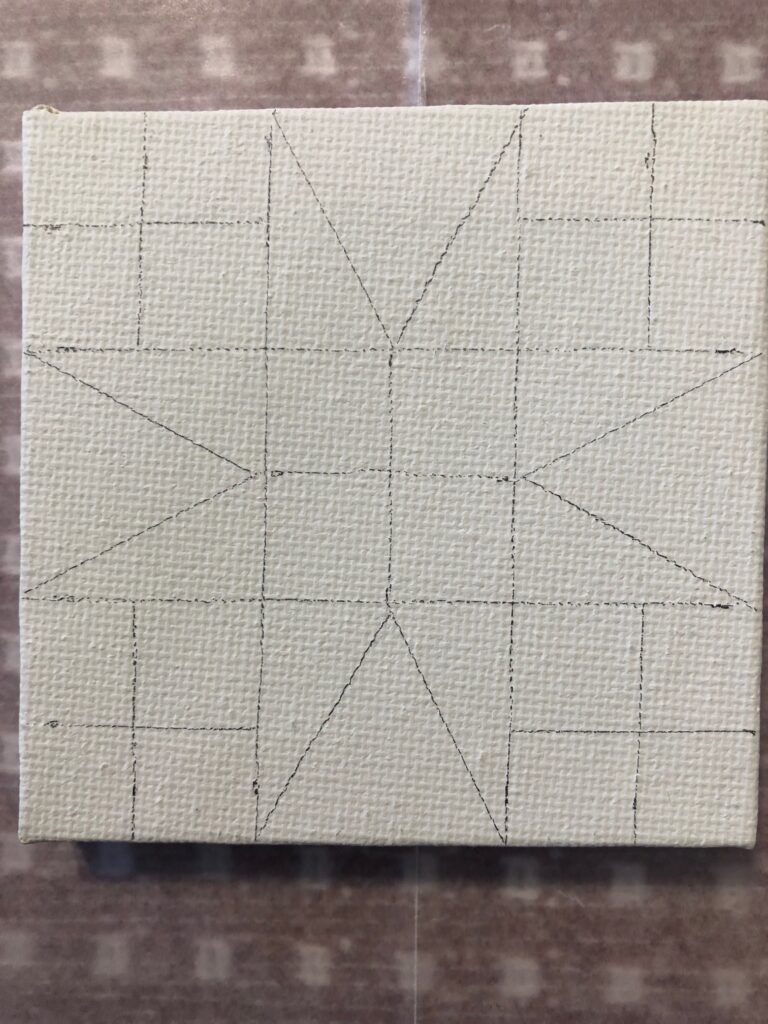
This is a 3″ square miniature canvas. I marked it into smaller squares each 1/4″. On the larger block of wood, each 1/4″ will be equal to 1″.
This took me a little while to figure out the angle for the star points in the background…as shown by all my pencil lines and erasures! That’s why I do this in pencil on a small one first!
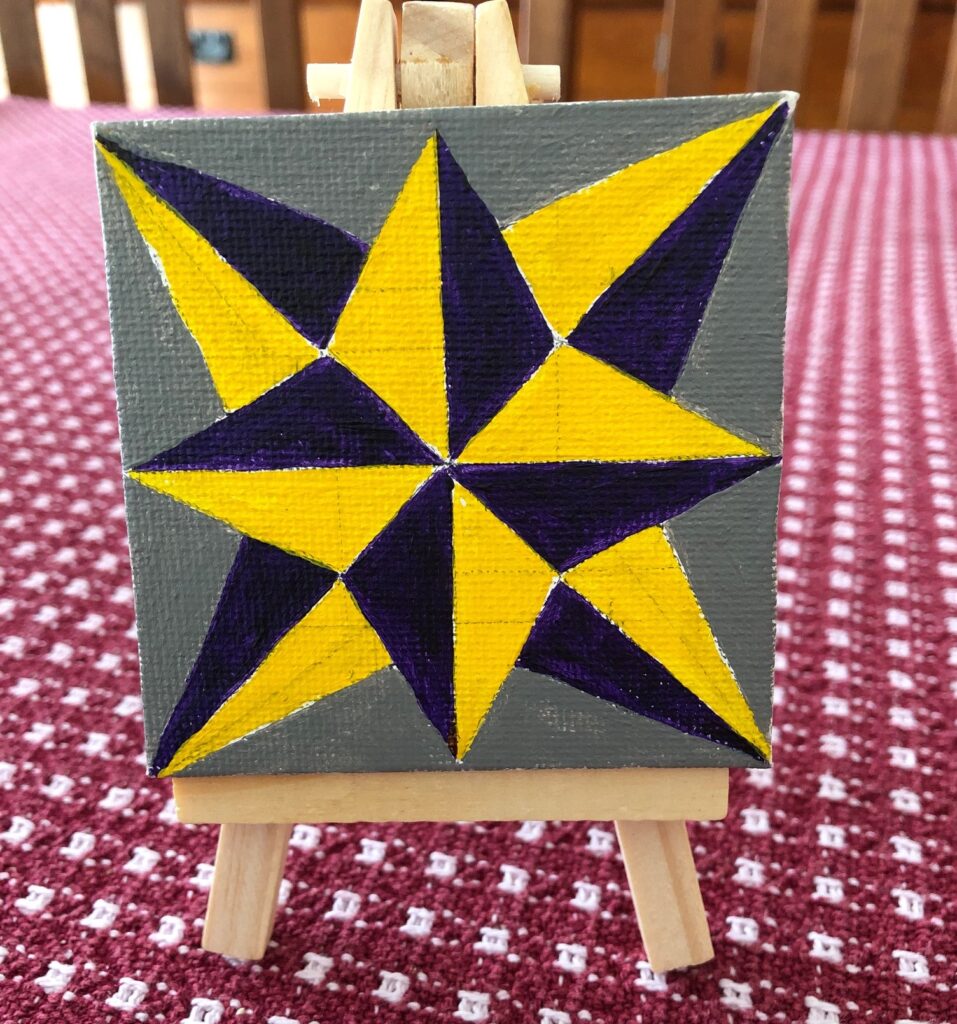
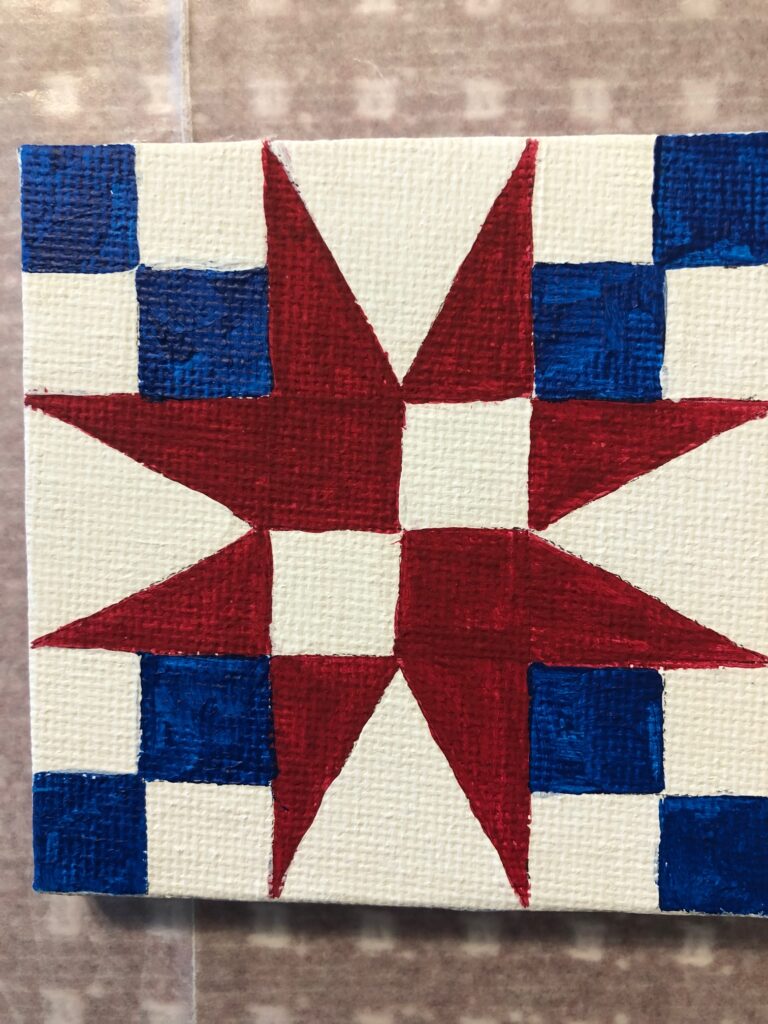
And then I tested my color choices:
I started with the darkest color (that really is purple!), then yellow, and finally the gray background. Not very exciting but it reminded me of a night sky with all the stars out.
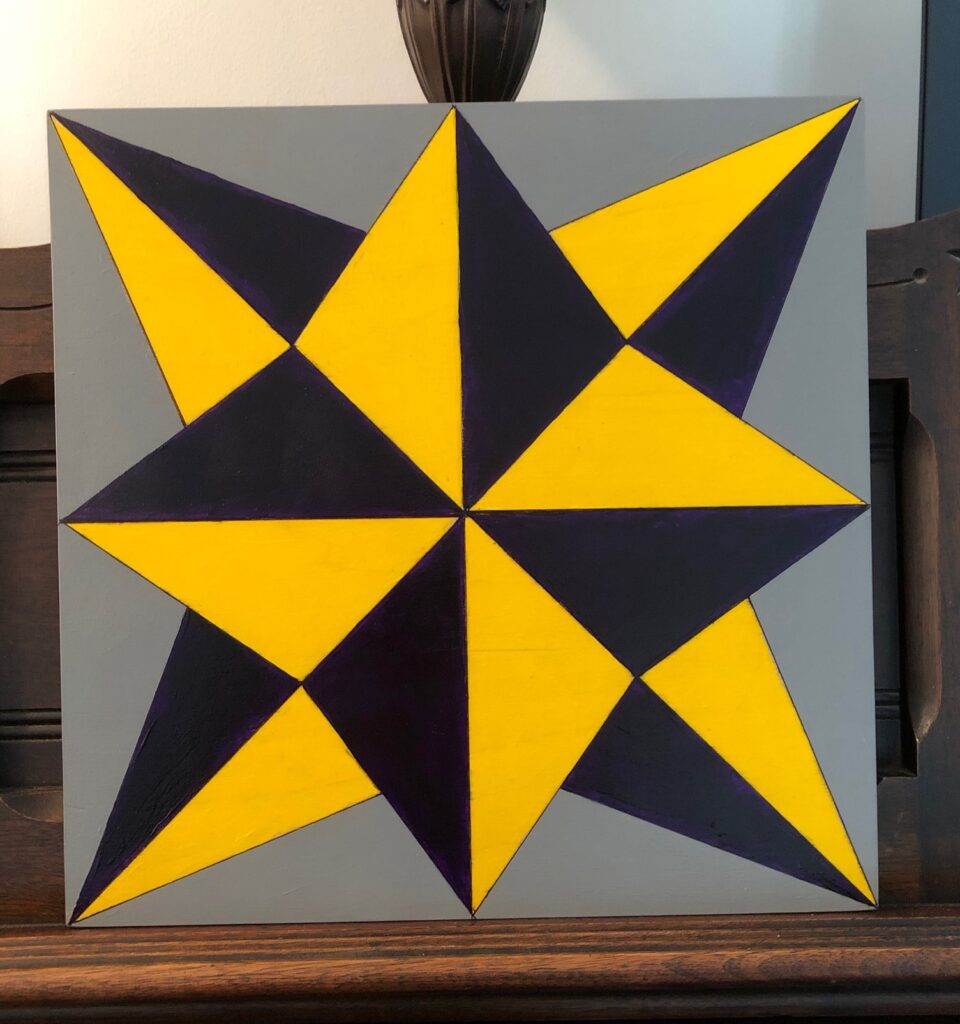
Making the Larger Block
With my shapes determined I shouldn’t have any pencil lines showing through the yellow paint.First two colors.Finished block…waiting for Bert to put the magnets on the back!And of course, the yellow looks totally different in daylight! I like it!
It’s been fun to try this new kind of quilt block. Now I have a month or two to figure out what pattern to do next. I’m probably good until Labor Day now!
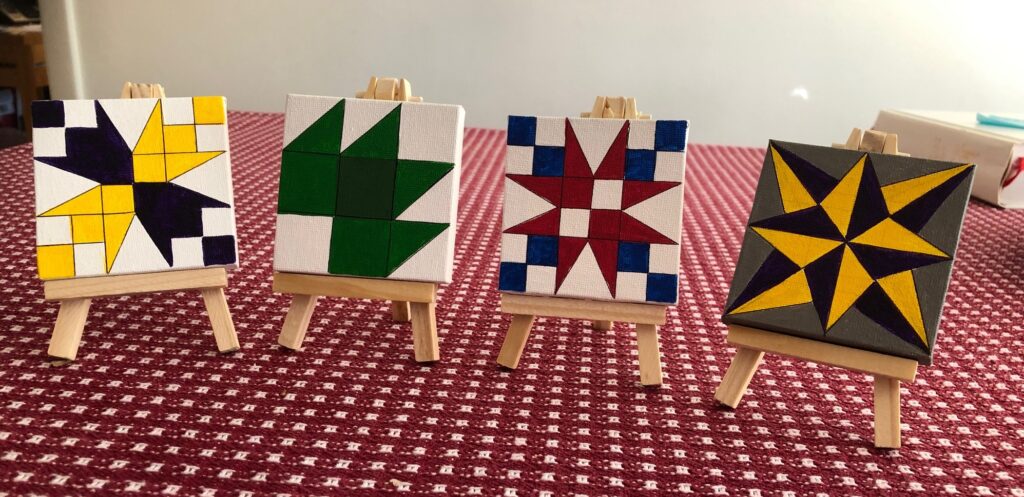
My miniatures are also reminding me what I’ve already done…my own little art gallery! Enjoy!
I may still do the two on the left on larger wood. So many patterns to choose from!
If you have been following my various activities, you know that not all of my projects are successful. Some of the recipes for baking sound yummy on paper, but end up being boring, tasteless, etc. A few of my body care formulations seem easy to follow but I end up with a product that just isn’t something I’d ever use or share. That doesn’t stop me from trying to make something new!
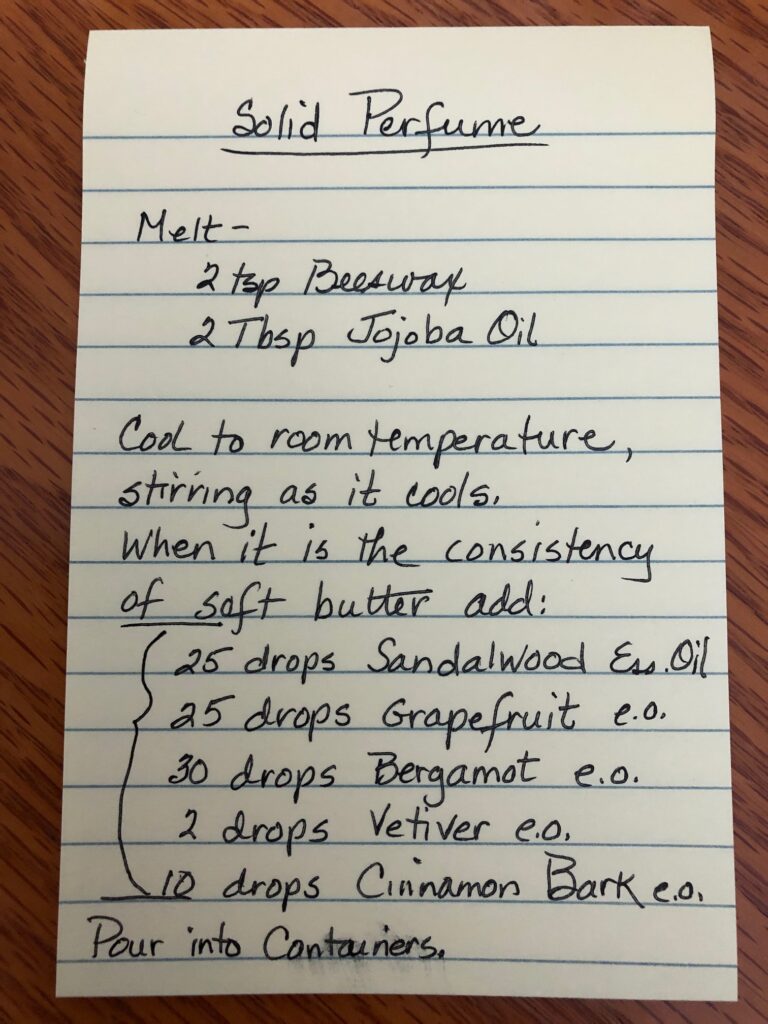
I came across a new recipe for a solid perfume that sounded like it might work. For one thing, it had way more essential oil incorporated into the mix. For another, the procedure was a little different so I thought I’d give it one more try!
Here is the recipe:
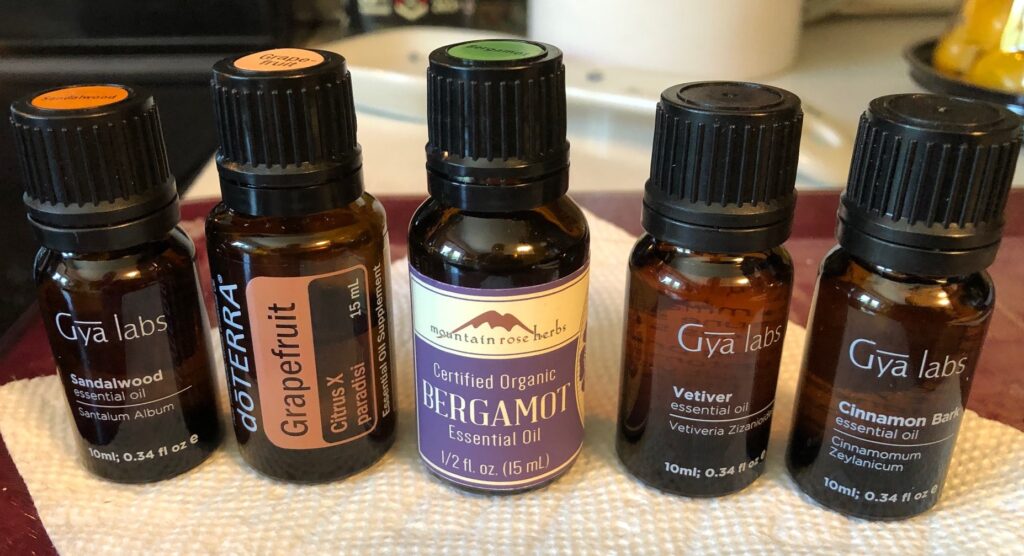
I first needed to order two of the essential oils that are listed but I did not have…Vetiver and Cinnamon Bark essential oils. Since I can’t rely on my nose to tell me what this combination would smell like, I just followed the recipe.
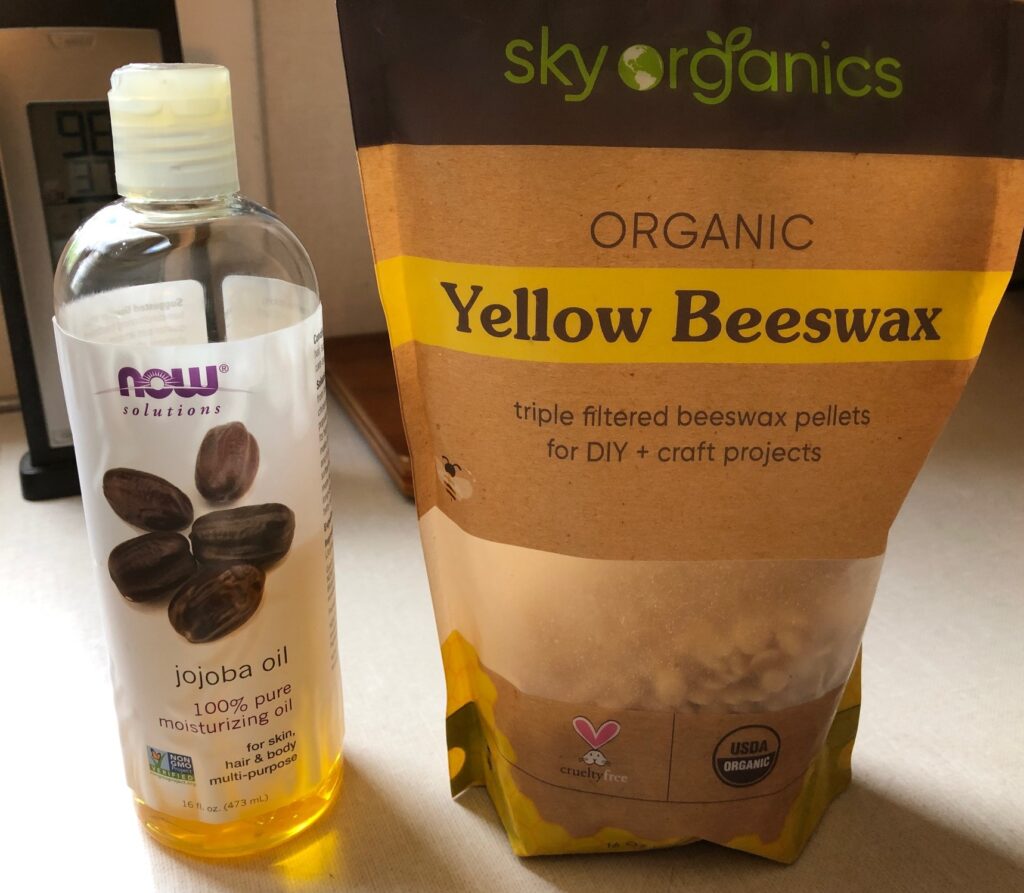
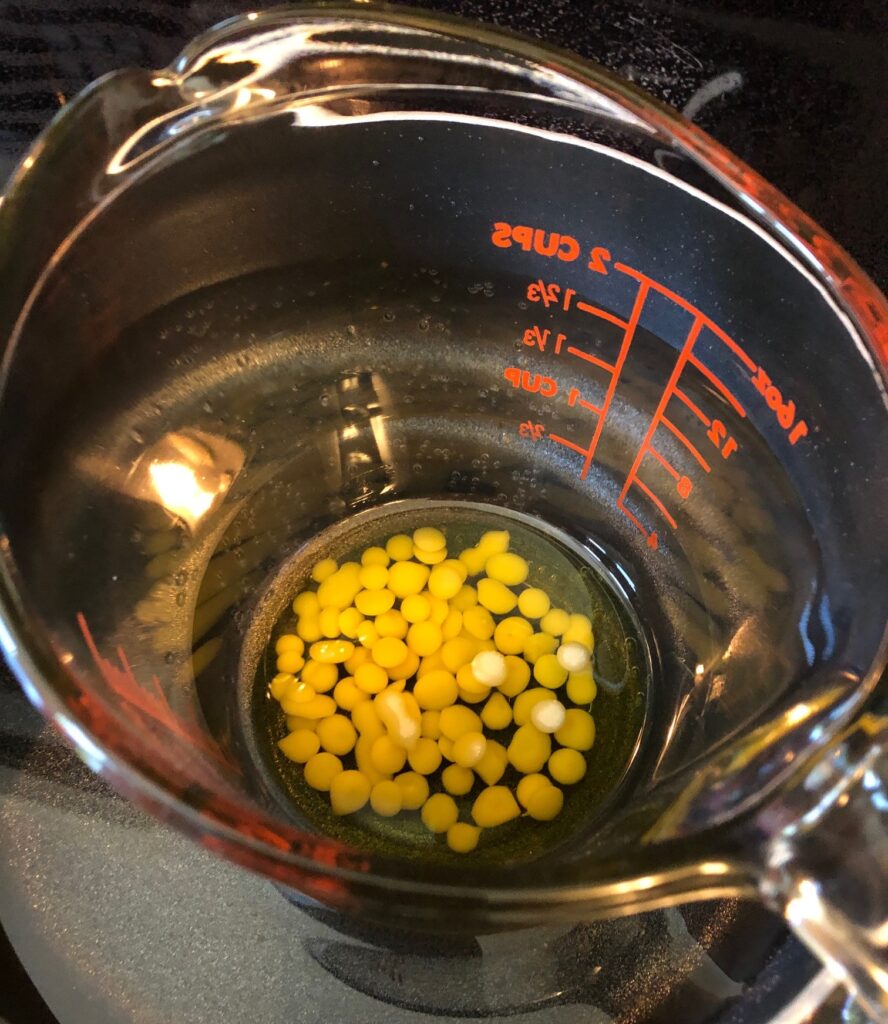
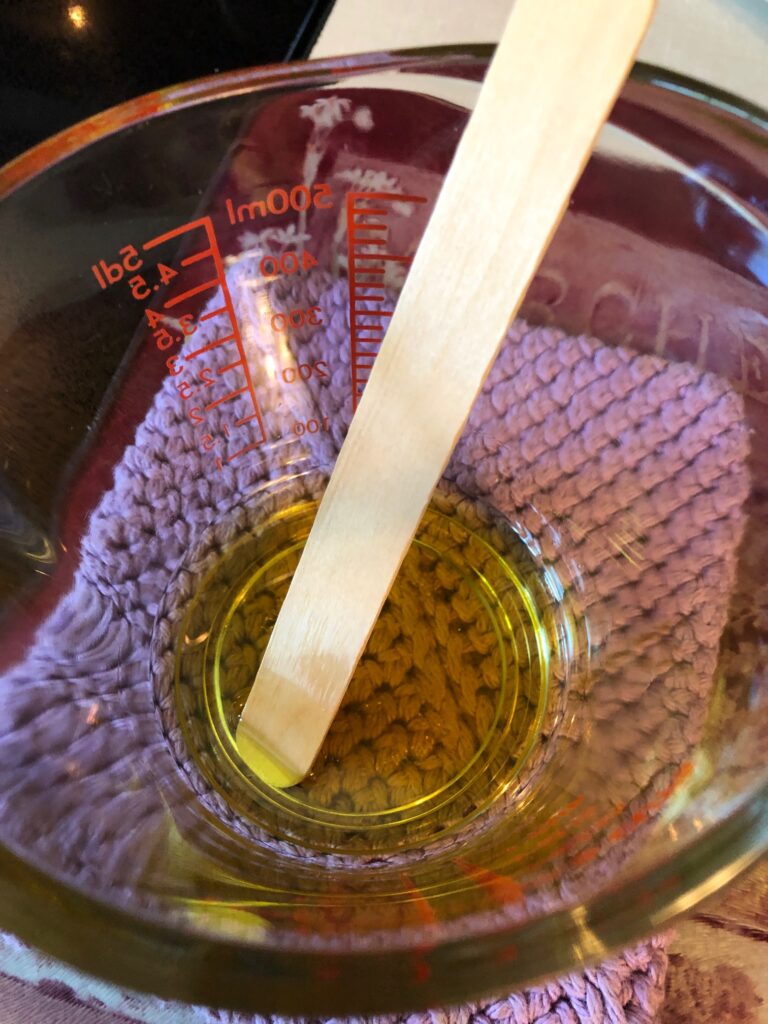
Once I had all the essential oils, I began with the beeswax and Jojoba oil. I measured them into a heat-safe glass cup and set the cup in a pan of water on the stove.
Heating the pan of water on the stove did not take long.
When melted, I removed the cup from the boiling water and started stirring. Let me tell you…I very quickly decided I would be there for a very long time waiting for it to get to room temperature!
I stirred for a while but then decided to just start adding the various oils. I stirred well between each addition. I did not see it turn into a “soft butter” consistency. I was too impatient!
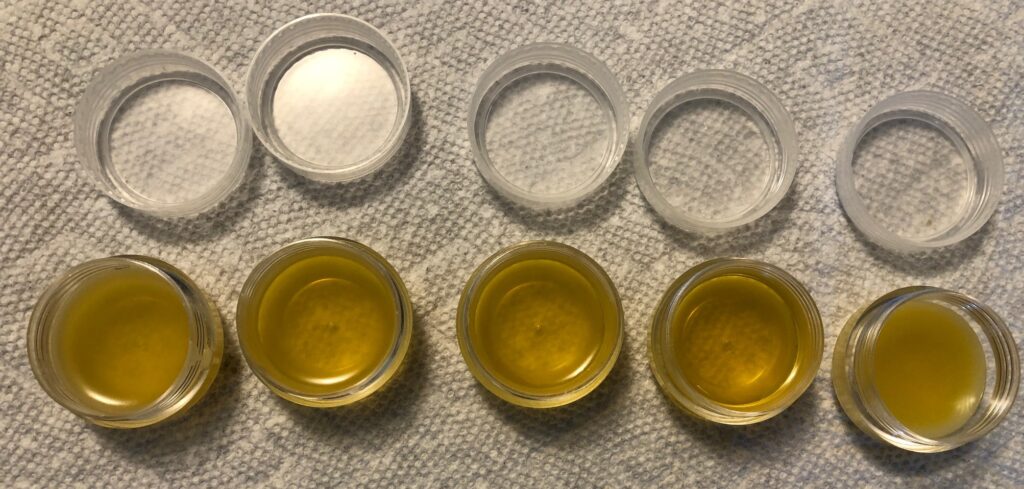
Then I poured the mixture into my tiny containers.
It took less than 30 minutes to cool and set up.
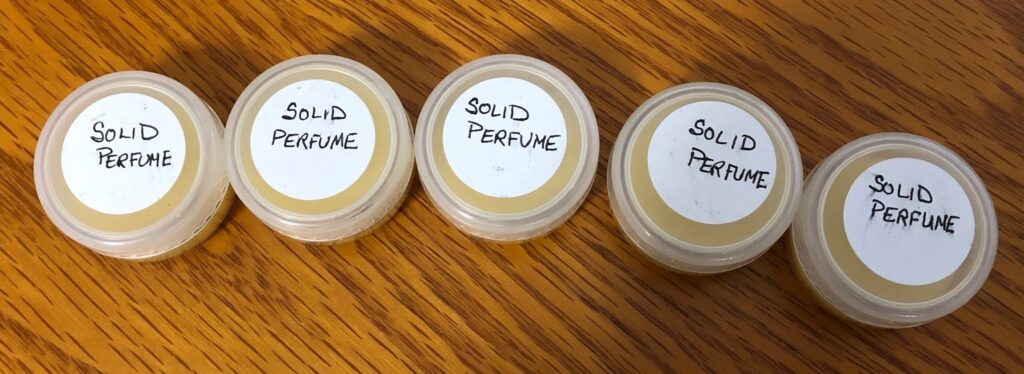
It looks like it was successful! It is not a flowery scent…more subtle and woodsy. I smell the sandalwood first but I suspect over time, the other scents will be noticeable. We’ll see how it is in a few days. This will need to be applied over a larger area, but I think I’ll enjoy it!
So, don’t be afraid to experiment…sometimes you discover something new! Enjoy!
I finally finished my first attempt to make a door quilt on a piece of 12″ x 12″ plywood. I was determined to make this painting on wood that hopefully would maintain it’s bright colors. Fabric quilt blocks were my original solution to needing a door decoration that would fit in the flatter space between the front door and the screen door. Last year I managed to make six quilt blocks that solved the problem, but when I started pulling them out this year the colors had faded and looked pretty sad. (See https://marykisner.com/prepping-for-new-door-quilts/).
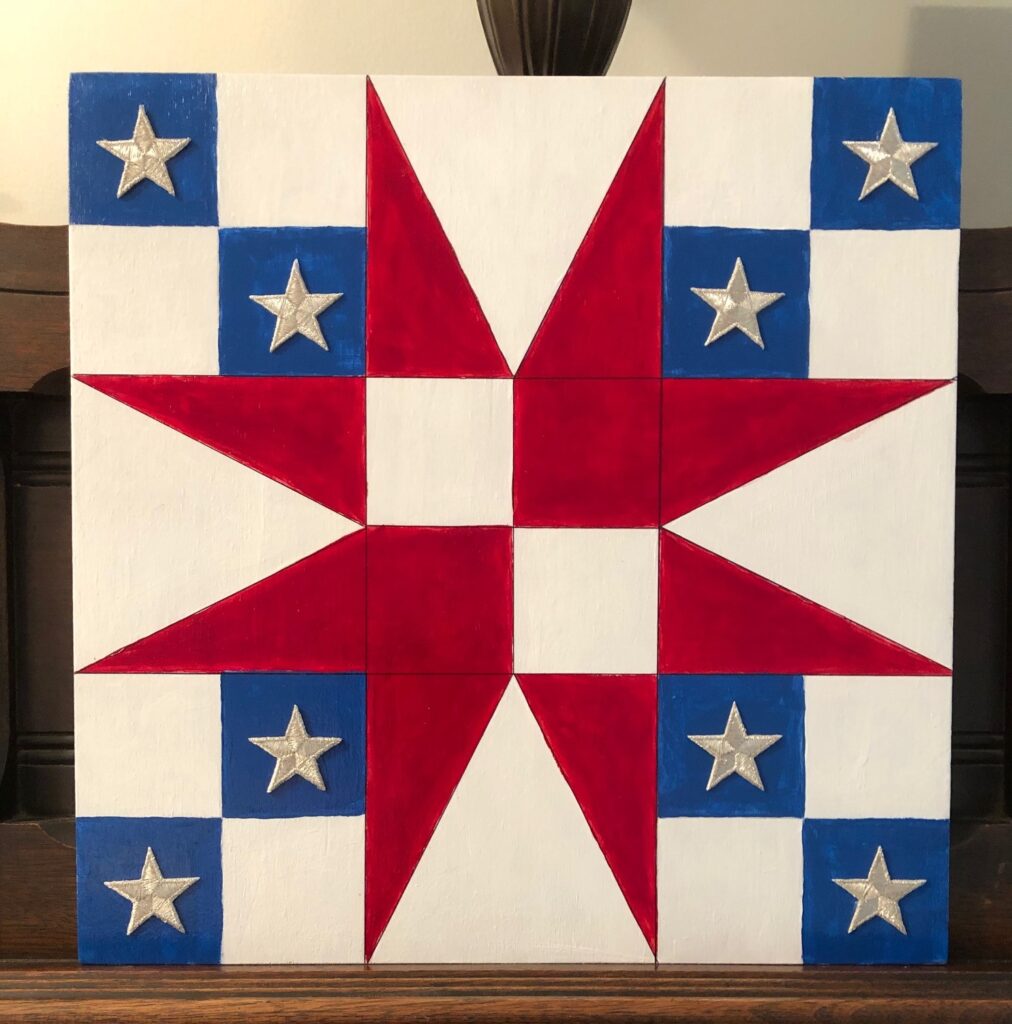
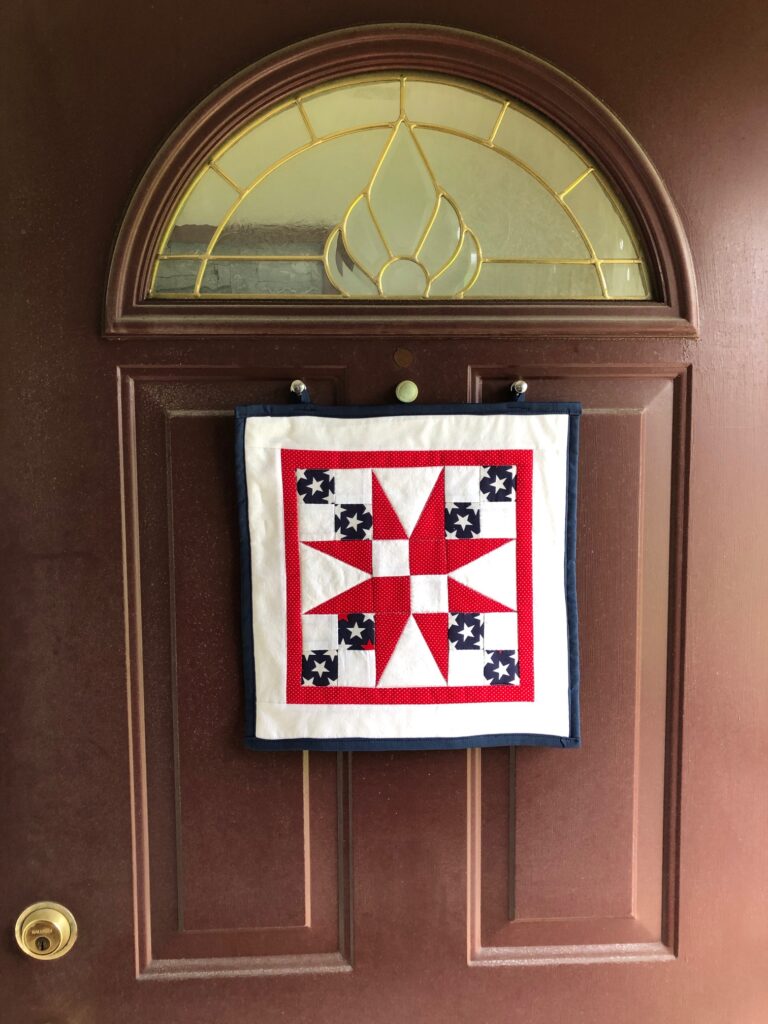
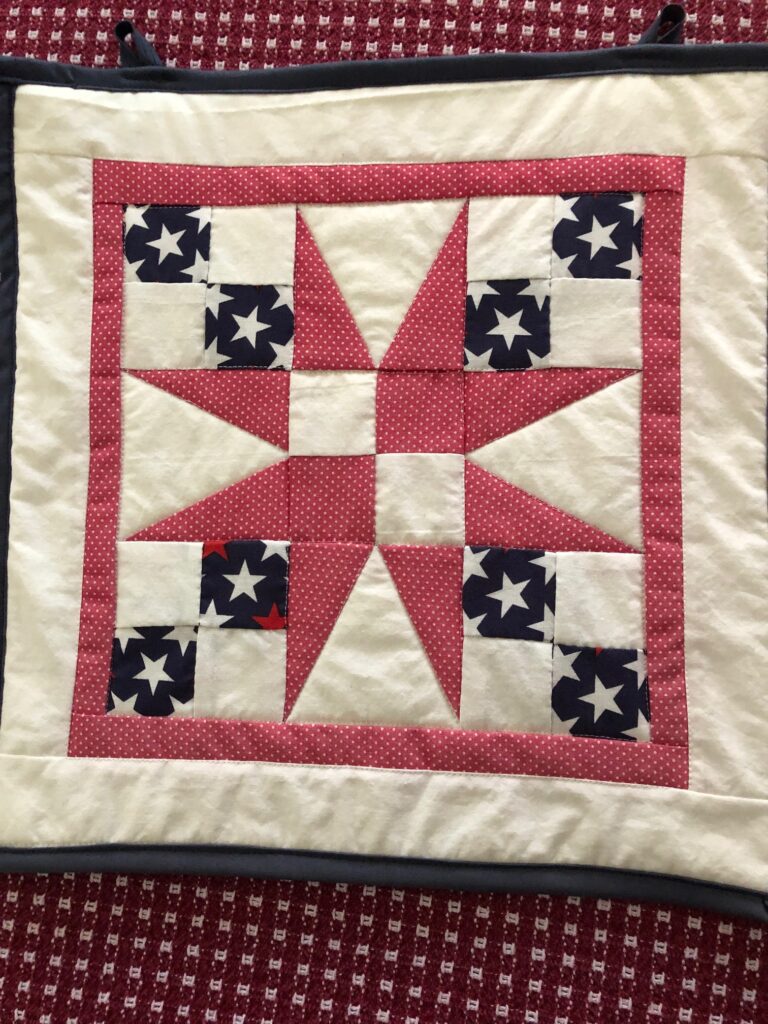
So, I had Bert cut two pieces of 12″ x 12″ plywood for me to play with (just in case it didn’t work, no point in having a bunch cut out!). First, I wanted to replace the fabric patriotic quilt block that was on the door right now:
This picture was taken when I first put it up last year…nice bright colors.
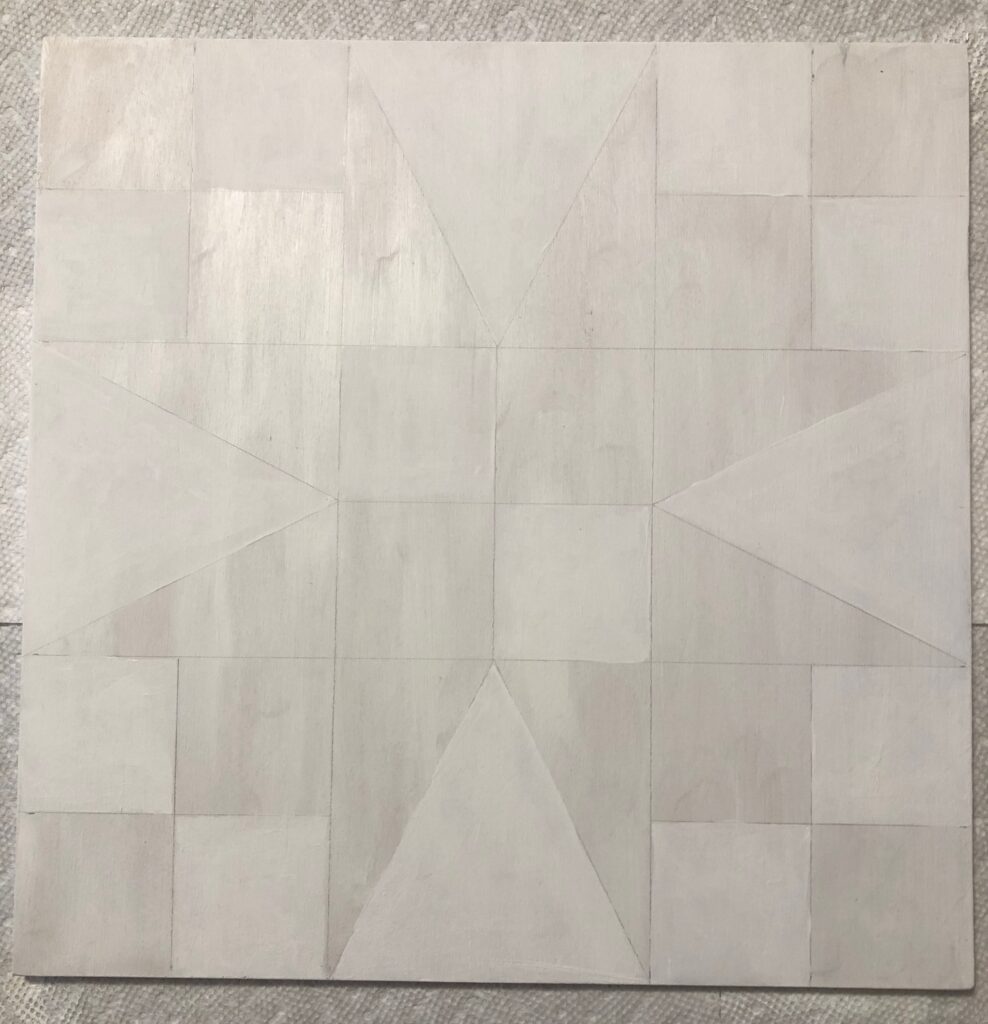
I first painted the block, both sides, with a base coat of white. When dry I sketched out the pattern and put a second coat of white paint on the corresponding white sections:
This looked pretty easy but I was re-learning how to use various brushes. Not as easy as I thought it would be!
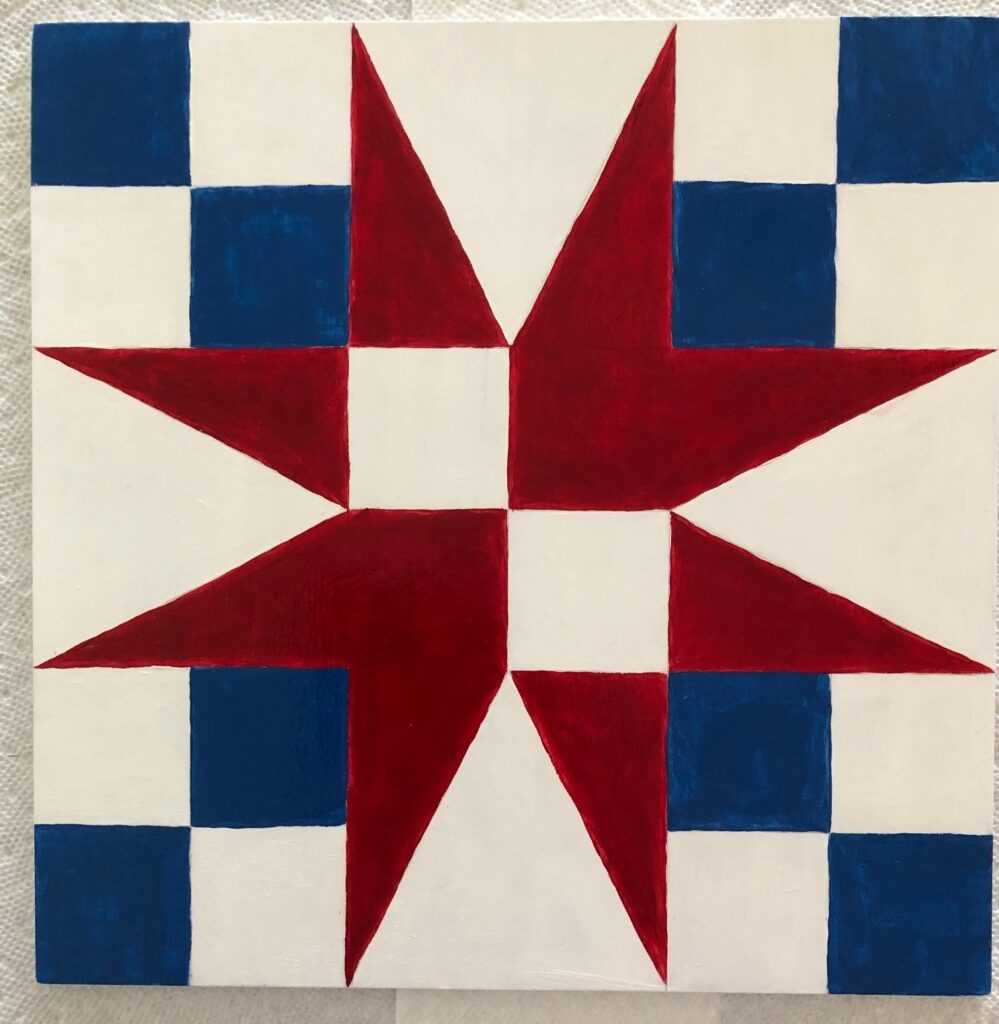
Then I started with the red paint and filled in those sections. It took a second coat to get the solid color.
I’m certainly not as steady as I should be to do those straight lines!
Then I filled in the blue sections:
Now the dilemma…the original pattern had white stars on the blue squares. I did that with some fabric that had stars in the pattern and managed to get at least one white star centered in the block. However, how to do that with paint? After seeing how unsteady I was with a tiny brush, I did a quick run to JoAnn Fabric Store and picked up some embroidered appliques of stars. Perfect!
After finishing the block with a satin finish acrylic spray, I just glued the stars to the blue squares!
Funny how different light made the colors brighter!
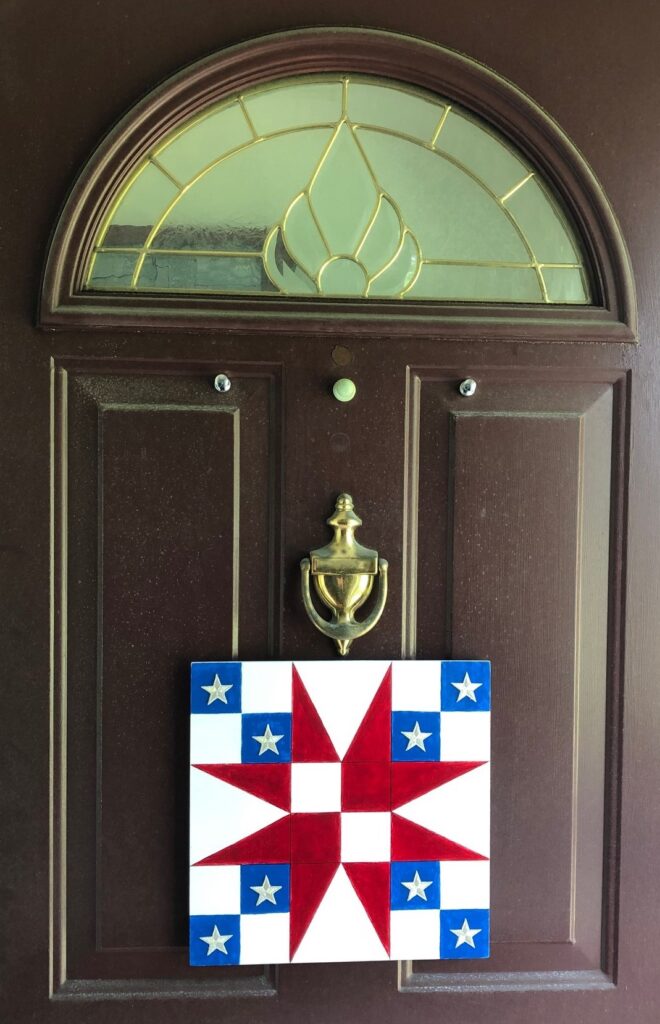
The block sat on my old organ by the front door for a week until Bert had time to figure out how to hang it on the front door. It couldn’t be hung the way the fabric blocks were because we have a door knocker right in the middle. The fabric blocks just draped over that with no problem.
Bert finally had to put magnets on the back (the door is metal under the paint!).
Now the block has to sit below the door knocker.
Oh well…now to see if the paint fades over time. This block should be appropriate through the 4th of July holiday. I’ll have to think about whether it’s worth it to make more in wood. Enjoy!
Hot summer days bring to mind how annoying mosquito bites can be. Preventing them is the first line of defense. The bug deterrent I made for dogs (and people) can help (see https://marykisner.com/natural-bug-repellent-for-dogs/); or any bug repellent you are comfortable using. However, the itching from a bite can prolong the agony for days.
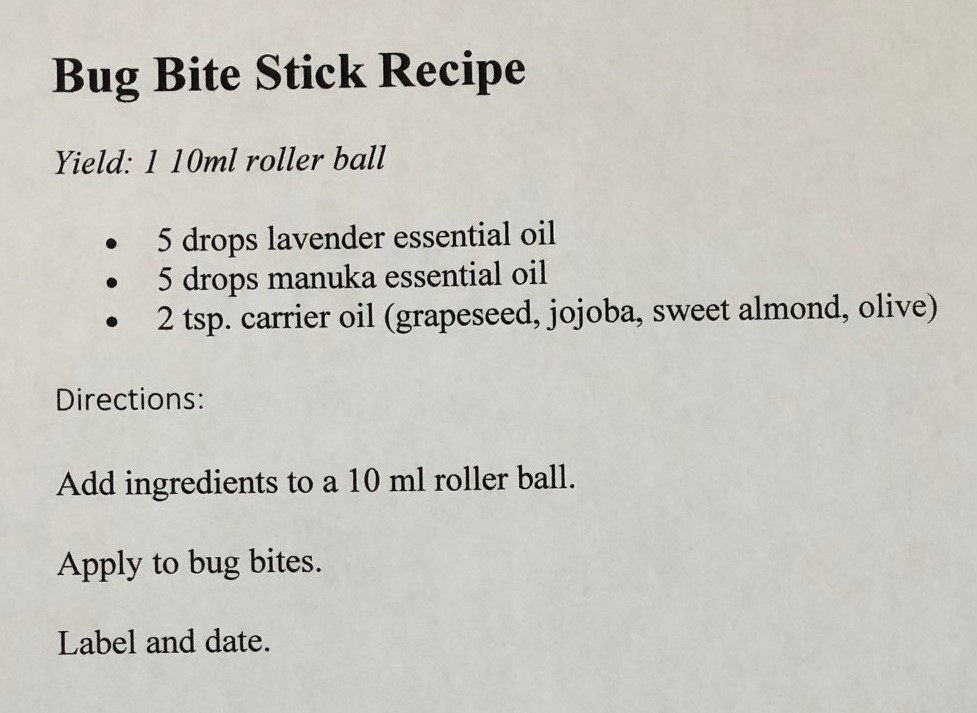
I found a simple recipe on a website I read frequently and thought I’d give it a try (https://joybileefarm.com/lavender-tea-tree-roll-on-stick/). My plan is to make a bunch and share it to see if it actually works. Here is my modified recipe:
While I was collecting the supplies I thought about the ingredients. I had grapeseed oil and lavender essential oil on hand. I also have tea tree essential oil available, but after all my research about manuka essential oil, I thought I would try substituting it for the tea tree oil.
What’s the Difference Between Tea Tree and Manuka Essential Oils?
Tea tree oil has been considered the industry standard since World War II for many topical and household applications due to its antifungal and antibacterial properties. It is considered safe and effective to be used as an insect repellent, household cleaner and dandruff shampoo. It has been used to soothe bug bites, sunburns and rashes. However, it has a strong scent and can be irritating to some people, including children.
Manuka essential oil, while new on the market, has also been shown to have powerful antibacterial and antifungal properties. It is great for soothing sore muscles and itching from bug bites and sunburns. Manuka oil also had 20-30 times the antibacterial activity as Tea Tree oil. It is less irritating to sensitive adults, is safe for children AND it smells good!
Therefore, I substituted Manuka essential oil for the Tea Tree oil in this recipe.
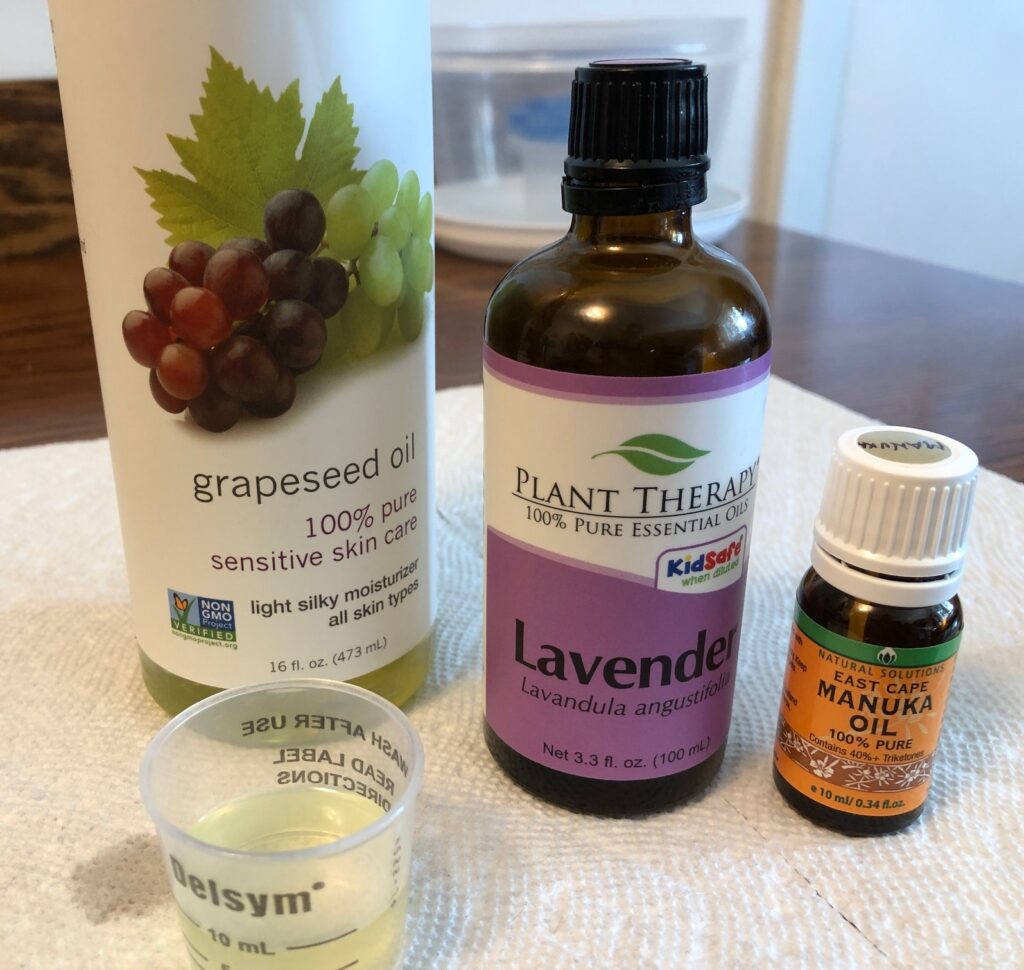
Here are the ingredients for this mixture:
I knew that the little cup I saved from when I had kids had the 10 ml mark on the side and would be perfect to measure out the grapeseed oil. I just filled it to below the 10 ml line. It was much easier to dispense than the big bottle of oil.
I discovered after the first few I made that the 2 tsp. of grapeseed oil needed to be little less. The roller ball holds 10 ml (which is 2 tsp.). When I added the full 2 tsp. of grapeseed oil plus the 10 drops of essential oil it was so full I couldn’t get the roller ball snapped in. I ended up adding only 9 ml instead.
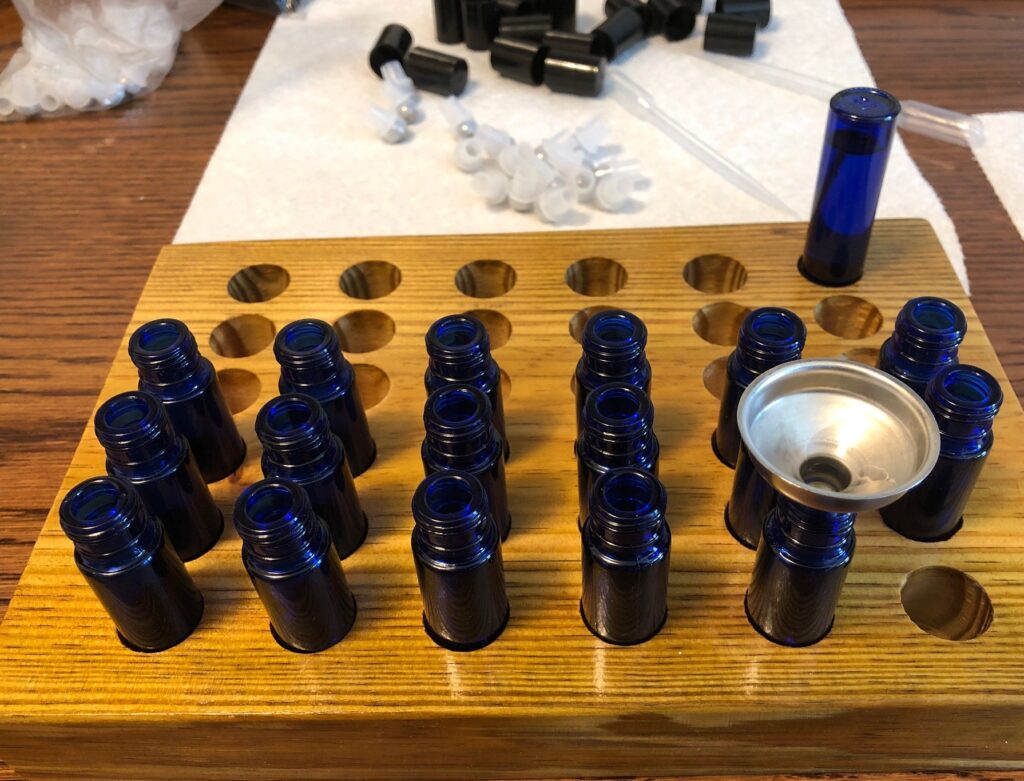
I set out 18 roller balls and filled 6 at a time, capped them and set them upside down along the back of the tray to help the oils mix.
I made 18 because I wanted to share them with some friends. I will need their feedback to see if rolling on some of this oil mixture really helps soothe the itch of a bug bite. We’ll see!
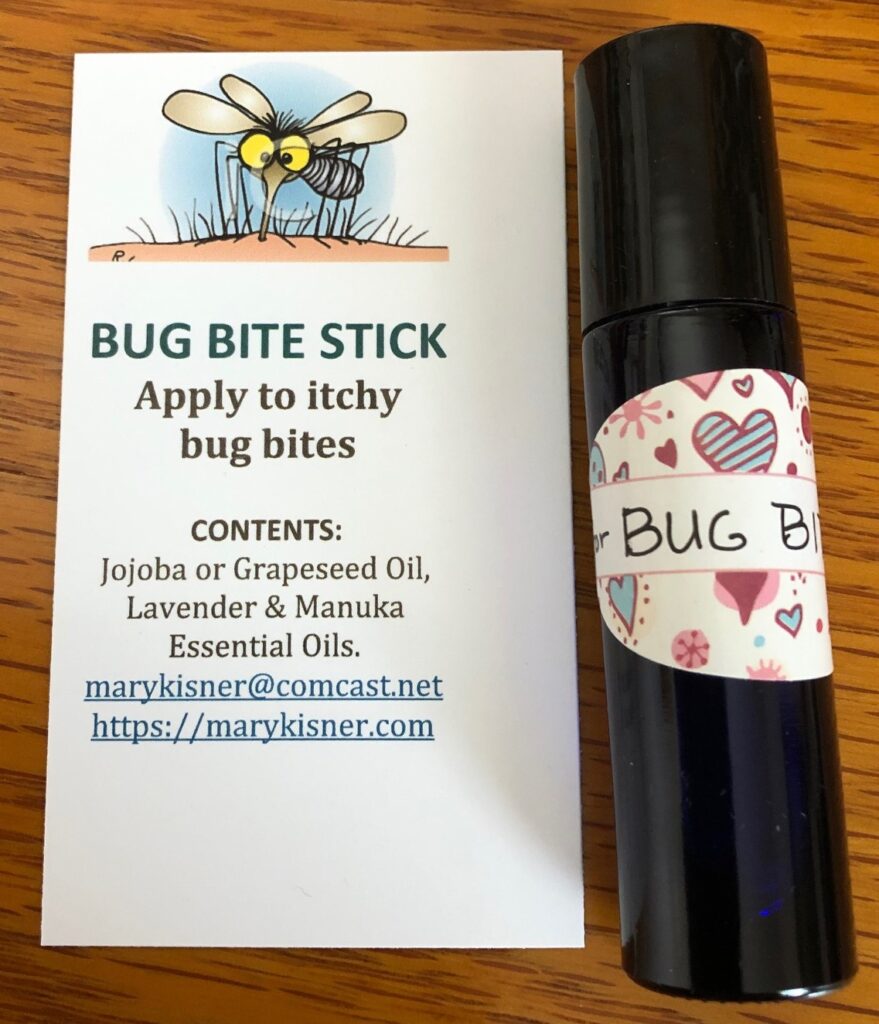
Of course, everything I make and give away needs information about what is in the product. I want folks to know before they put anything on their skin. Give this recipe a try yourself! Enjoy!
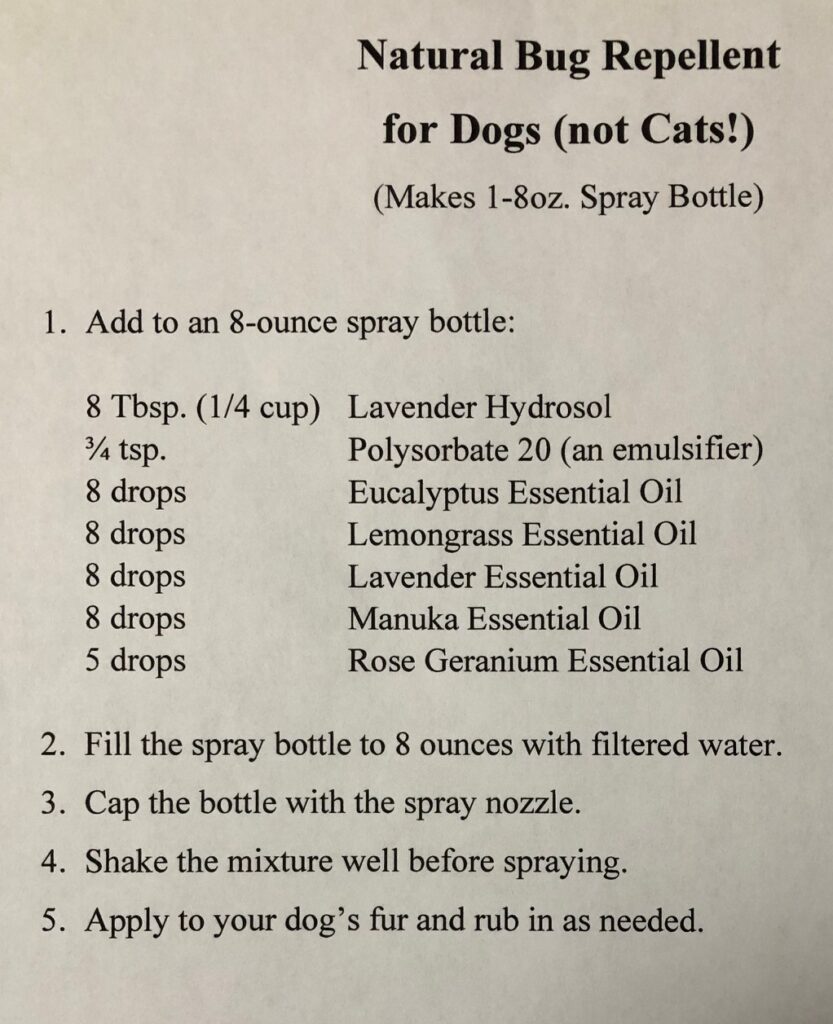
I’m getting ready to make another batch of natural bug repellent and remembered my recipe calls for Lavender Hydrosol. When I wrote my original article about this recipe last Spring I just followed the recipe. You can see the article here: https://marykisner.com/natural-bug-repellent-for-dogs/.
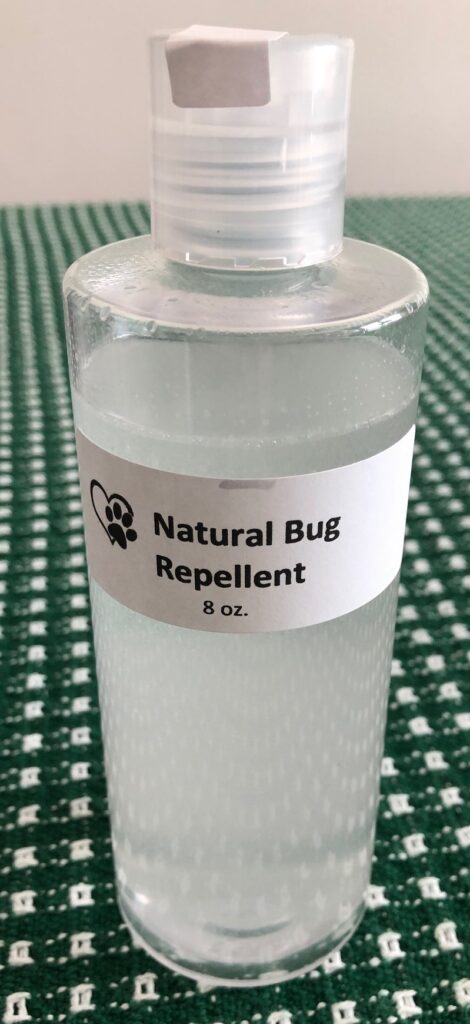
Here is the final recipe for this repellent:
This recipe is only approved for dogs (and is actually safe for humans too!). Cats are very sensitive to several of the essential oils in this mix and when they lick their fur, they ingest them. Not safe!
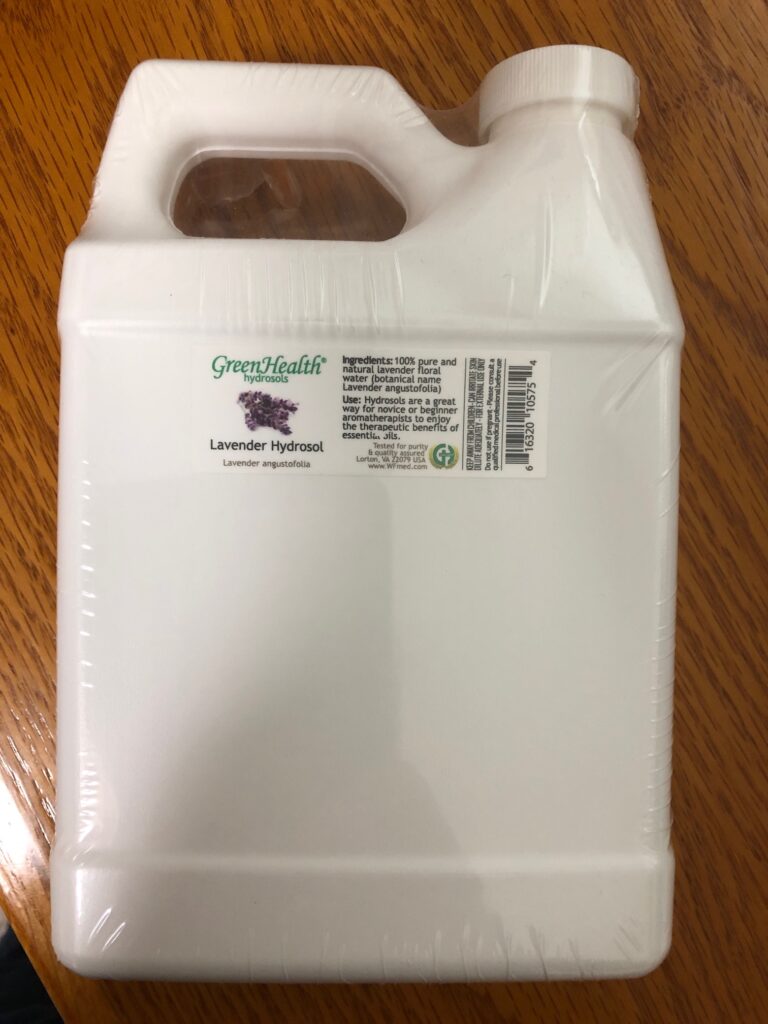
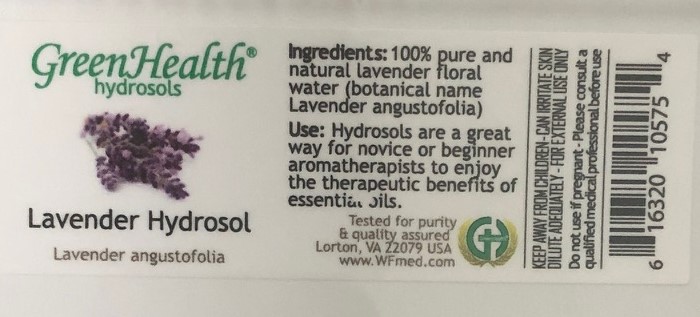
I ordered Lavender Hydrosol from Amazon…starting with a small bottle and then went to this quart jug so I could mix up enough for Nittany Greyhounds:
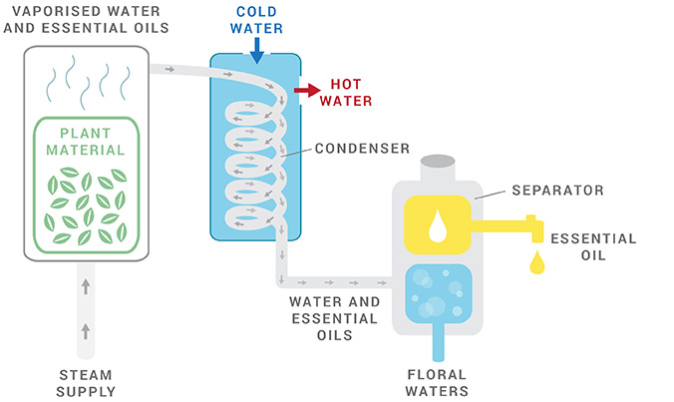
I did a little research that reminded me that this is basically lavender water…that is a byproduct from the distillation process of extracting lavender essential oil…and it is water soluble. Since my recipe called for lavender hydrosol and essential oils they would not stay mixed. I had to add an emulsifier to help them disperse. Polysorbate20 was recommended in the recipe.
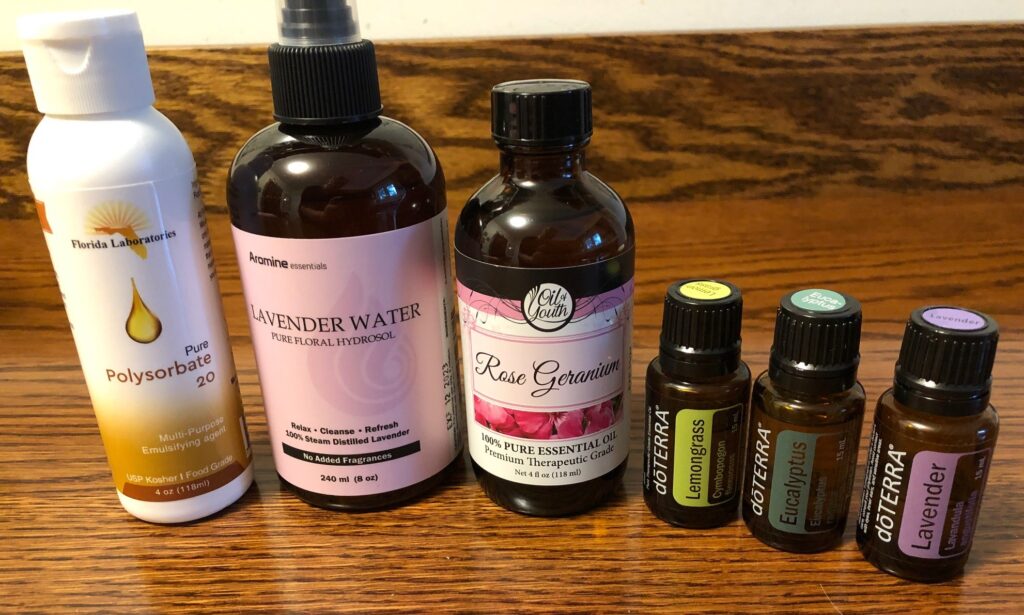
Here are the ingredients in this natural bug repellent.It was packaged in a bottle that worked better for shipping…with an empty spray bottle provided. If I make only one for myself, I mix it directly in the spray bottle.
Learning More About Hydrosols
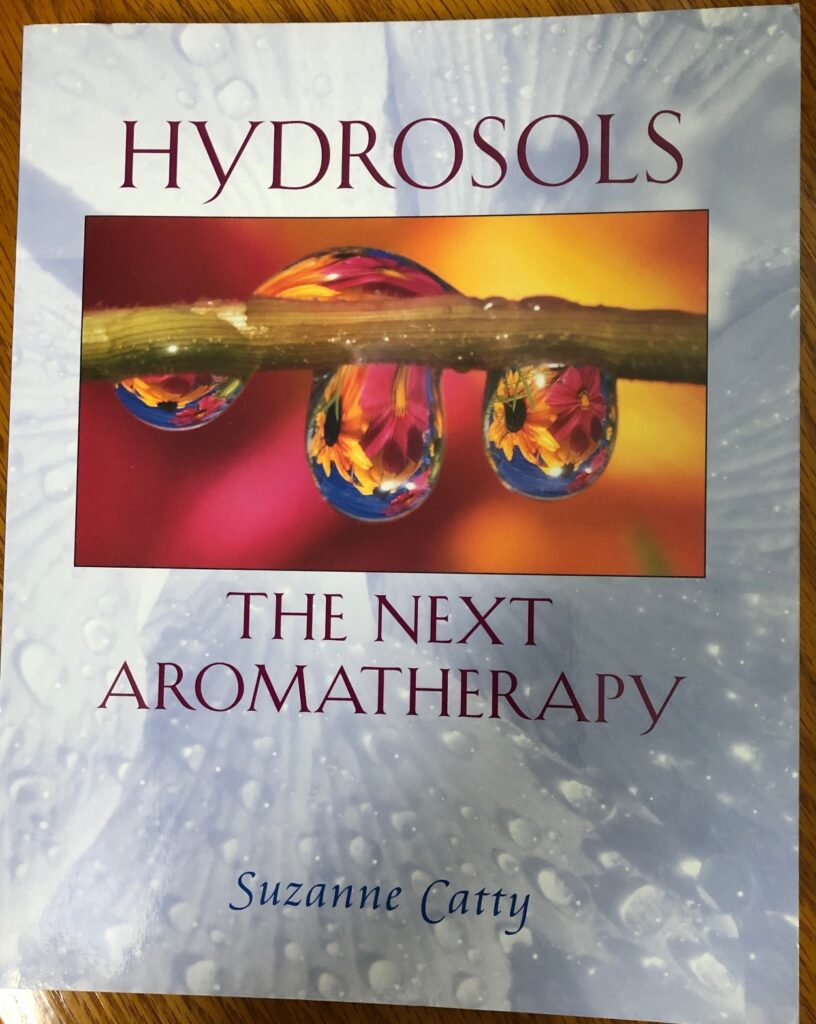
This year I wanted to know more about Hydrosols. I found this book that was very helpful:
This book, Hydrosols: The Next Aromatherapy by Suzanne Catty, has a wealth of information about how hydrosols are made, how the field of aromatherapy is maturing and how the production of hydrosols is becoming more consistent around the world. The author’s research provides many recipes to use hydrosols, from skin care products to using them in cooking to enhance flavors. While few essential oils are safe for babies (and even cats), hydrosols could be just the right product for many of those products.
Next, I did a search online for sources of hydrosols. Many companies that sell essential oils also offer hydrosols of those same plants. One company had a great article about hydrosols with the following illustration:
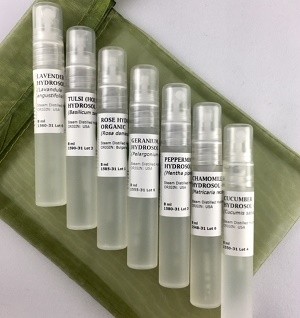
On another site, www.edenbotanicals.com I was able to order a set of 8 tiny spray bottles that would let me try them. So…these are very tiny samples, but might give me some ideas for future products.
These include Chamomile, Cucumber, Geranium Rose, Lavender, Rose, Tulsi (Holy Basil) and Tumeric Hydrosols.
I can see there is so much more to learn about Hydrosols; I’ve barely scratched the surface! Look for Hydrosols to appear in some of my future products! Enjoy!
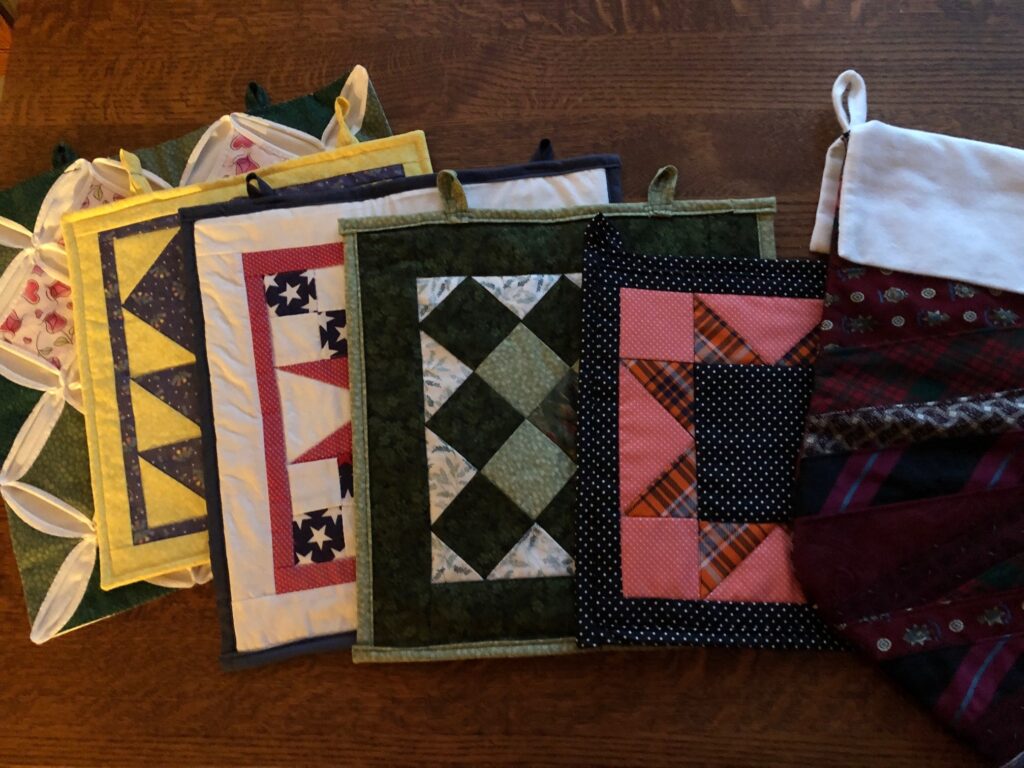
As you may know by now, most of my projects revolve around filling a need and making something practical and useful. If you’ve been following my posts about Door Quilts, you’ll know I have made six nice 12″ stand-alone fabric quilt blocks to hang on my front door. They lie flat and don’t get squished like a wreathe does between the front door and the screen door.
However, when I pulled out the Patriotic Door Quilt last month, I noticed it’s really faded from the sun. Here’s how it looked when new…
…and now it’s really bleached out from the sun:
Rather than make a bunch more fabric quilt blocks, I thought if I painted a quilt block on wood and coated it with an acrylic spray it would last better in the sun (kind of like the huge barn quilts you see across the country).
While I’m waiting for Bert to cut 12″ square boards for me, I thought I’d see if I could make miniature ones to satisfy my need to practice with paints. So, eventually, my fabric door quilts will evolve into wooden quilt blocks that will also hang on the front door and solve my problem just fine!
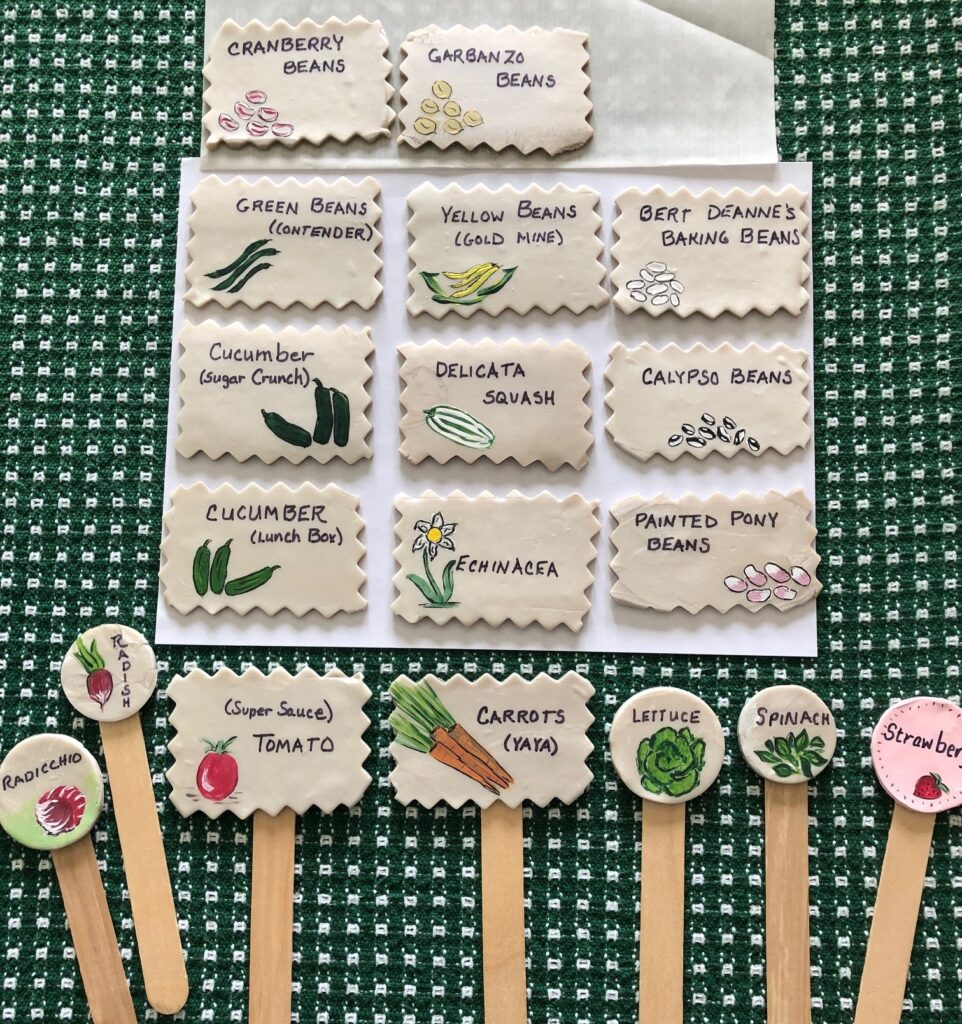
It’s been a long time since I painted anything. I’m not especially creative with paint, put I enjoyed playing with a few paints to make my garden stakes a few weeks ago (https://marykisner.com/final-garden-signs-for-2022/).
It helped that the pictures were tiny and didn’t need to be too detailed!
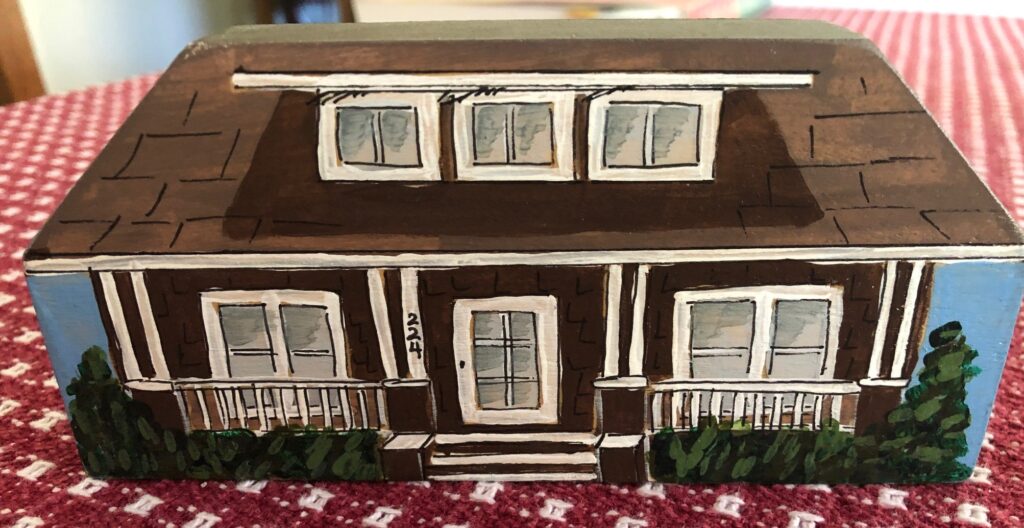
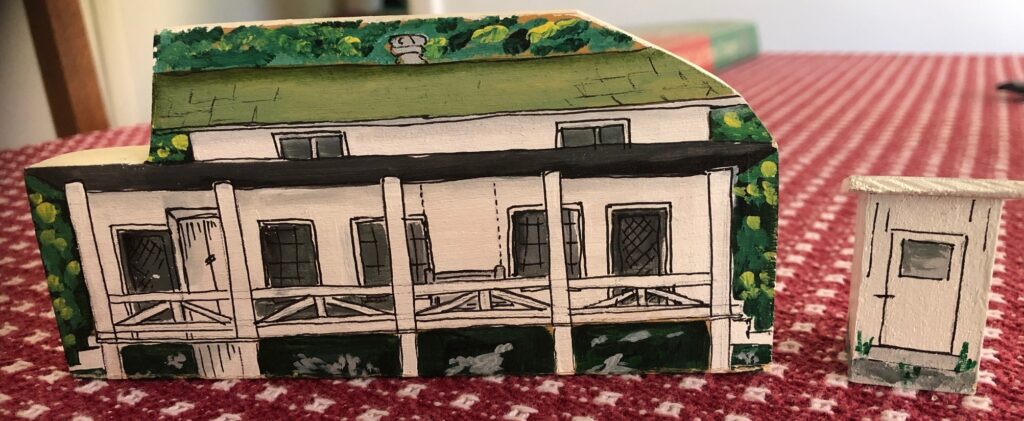
Twenty years ago, I spent hours painting small houses based on photographs. They were also not “creative” but instead were mostly straight lines and the photographs showed me shadows.
This is the house I grew up in, from an old photograph.The camp was fun to paint because I could add the tiny outhouse!
So, after making the garden stakes, I thought I’d try some miniature flowers:
This tiny canvas is 3″ x 4″
Even though I copied the daffodils from a photograph, I had to really struggle to get the petals turned right and getting the color right. Very frustrating. The point of painting was to do something fun, not frustrating! It seemed like I needed to paint something with straight lines. Quilt blocks would be perfect.
First Attempt
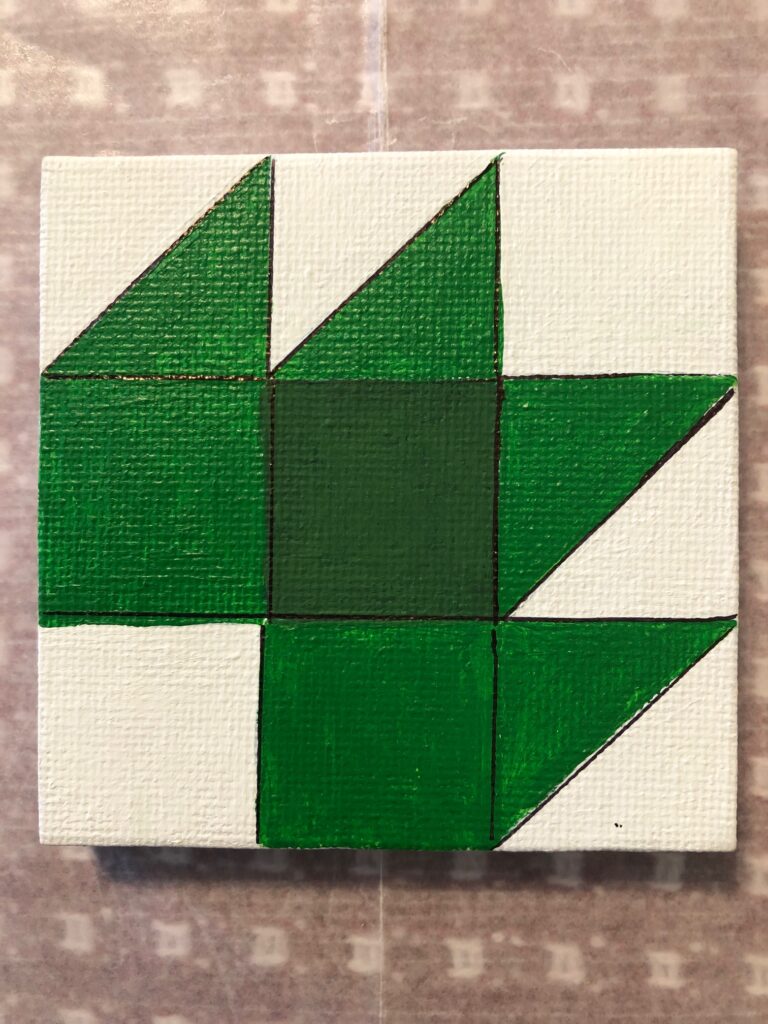
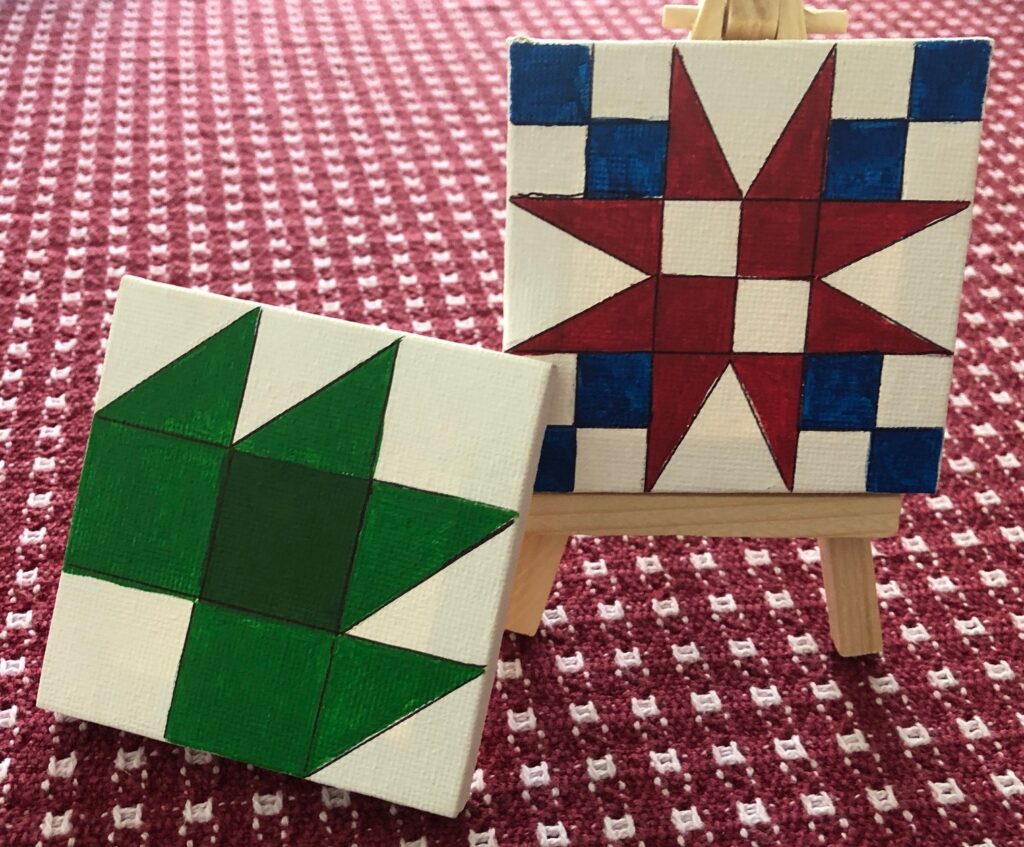
I started with a set of 3″ x 3″ square tiny canvases and some tiny easels to go with them. So cute!
This block is called Vermont Maple Leaf.Adding the lines with a fine black marker seemed to help it look more finished.
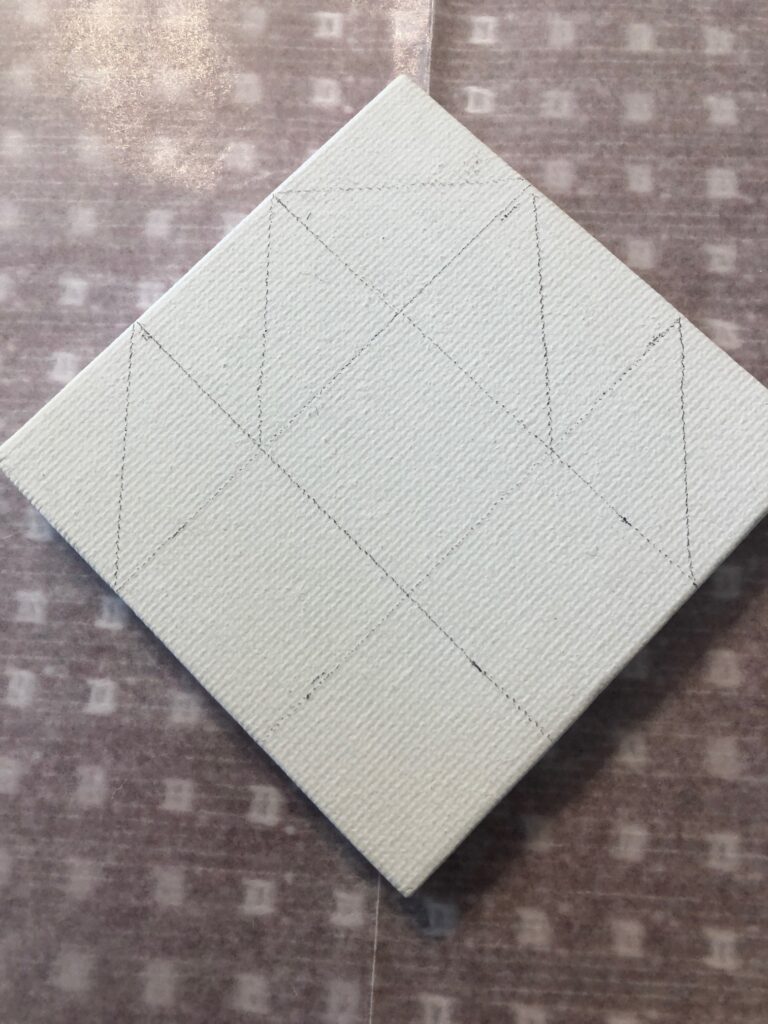
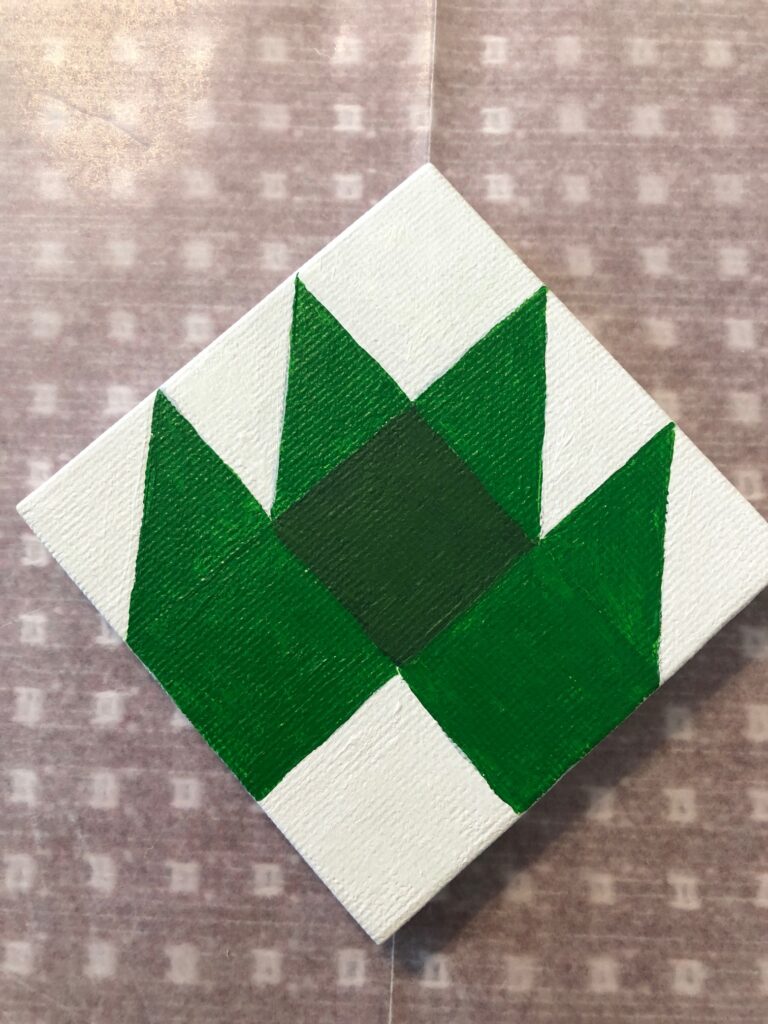
Second Attempt
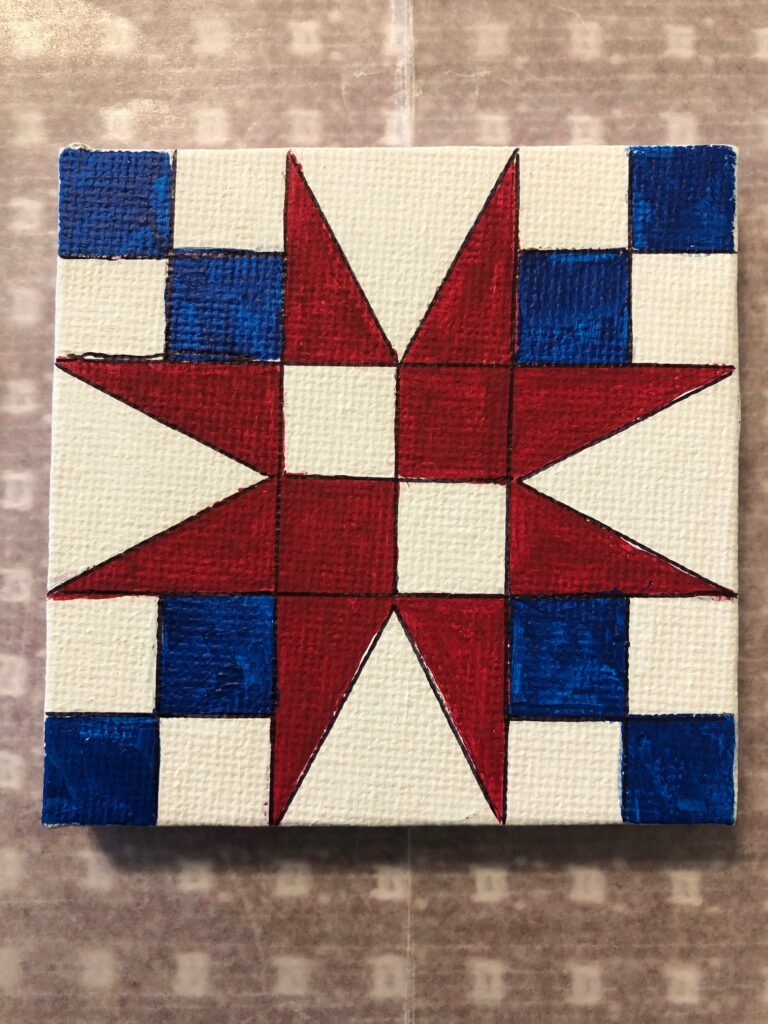
This block is called Fifty-four Forty or Fight. It’s the same block I made in fabric.I must say it’s a challenge to get in those tiny points!The fine black marker helped it feel finished.
While I’m waiting for my 12″ wood squares, I’ll experiment with tiny ones to see which patterns would look good on the front door! I must be nuts! Enjoy!
Now that we’re heading into the more active summer season, I wanted to share what I’ve recently learned about the herb Arnica. It is not as well-known as lavender and calendula and it is sometimes included in over-the-counter ointments and creams sold to soothe occasional aching knees, joints and muscles. It is often used in homeopathic remedies, which means the products contain very small amounts of the active ingredients. Making infused oil with dried arnica plant material is a great way to incorporate these ingredients into body care products.
About Arnica
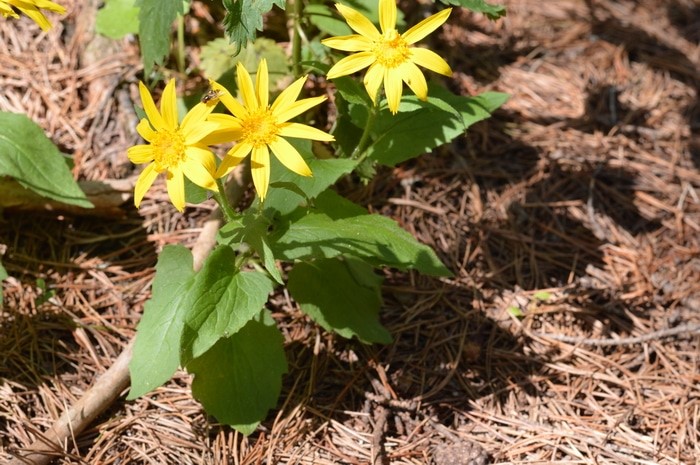
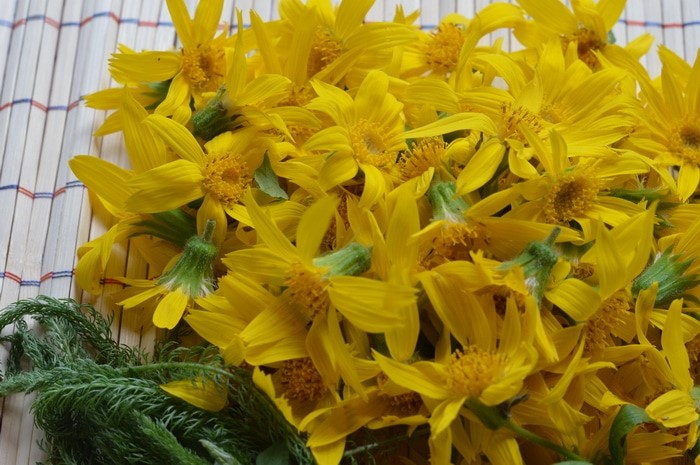
Arnica is a perennial herb Arnica montana. It is a yellow-orangish flower that grows in the mountains of Europe, Siberia and the mountains of northwestern North America. It is sometimes called the “mountain daisy,” because its color and petals look like the familiar flower. It yields an essential oil that is appreciated for its ability to reduce pain in osteoarthritis joints and reduce bruise discoloration.
Note:This plant does have some drawbacks or cautions for people that are allergic to certain plants of the Asteraceae family–like ragweed, marigolds, chrysanthemums and daisies, or are using blood thinning medications. I wanted to have some of this infused oil on hand to make a salve if needed this summer. Because of these cautions, I do not plan to share any salve I make with others, since I have no way to know who might be sensitive to the plant.
Please do your own research about any plant material you might work with, but this process of infusing oil with any plant material would be the same process.
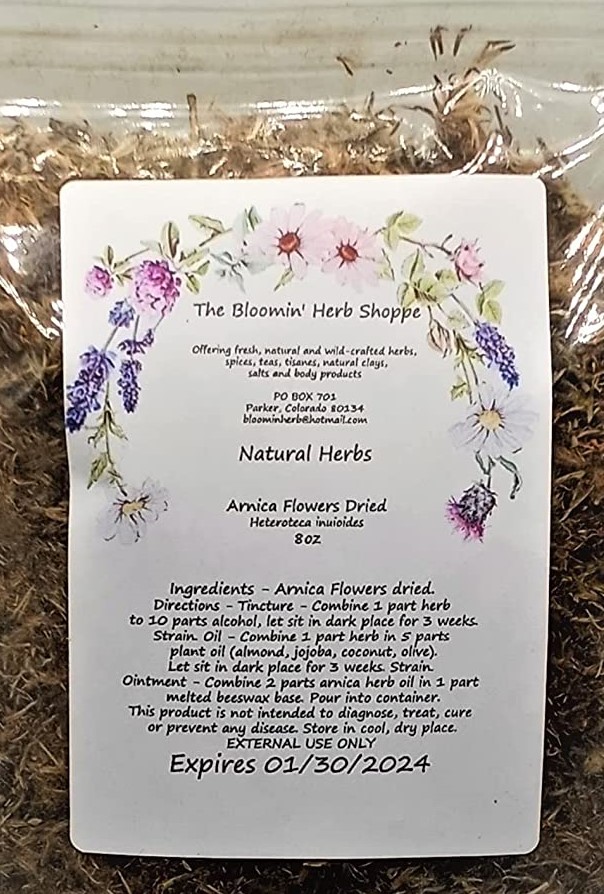
First, I filled a quart jar with dried Arnica flowers. I ordered this bag of dried flowers from Amazon. This 8 oz. bag will probably last me the rest of my life!
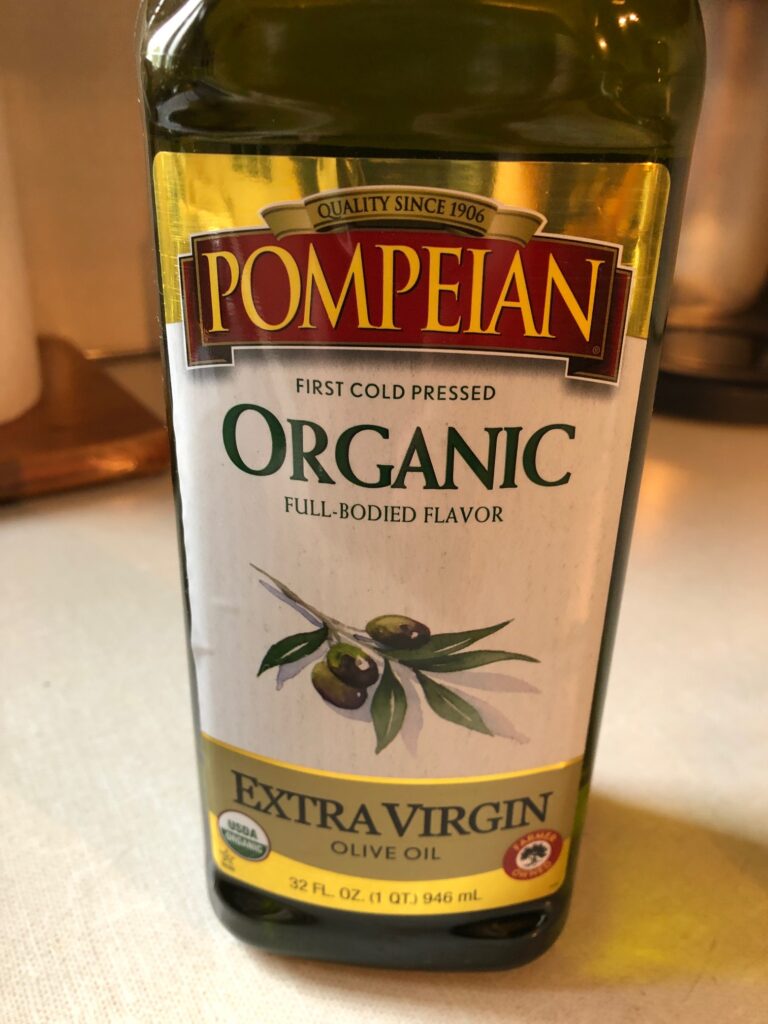
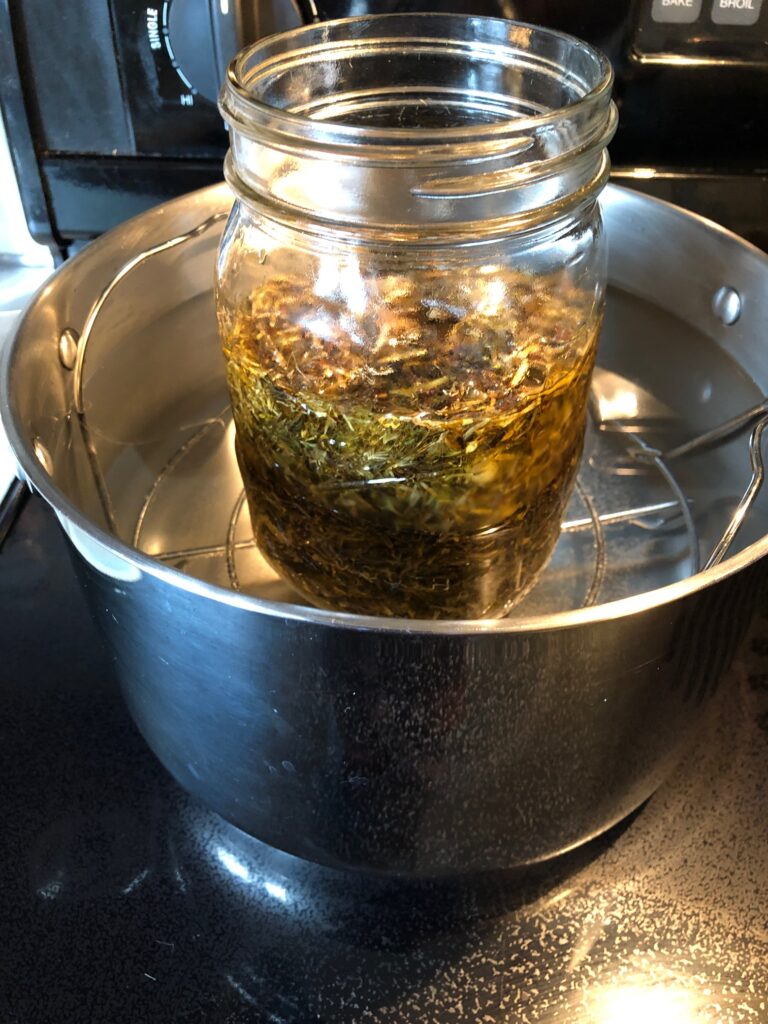
Starting with a quart jar, I filled the jar loosely with dried flowers and poured about 2 1/2 cups of olive oil over them.
This filled the jar about 3/4 full. I used a long-handled spoon to gently poke the flowers to distribute the oil. I put the filled jar in a deep pan of water and brought the water up to a boil and lowered the temperature so it would just simmer for about 6 hours. I did have to add water to the saucepan every hour or so as it evaporated and poked the flowers down now and then just to make sure they stayed submerged.
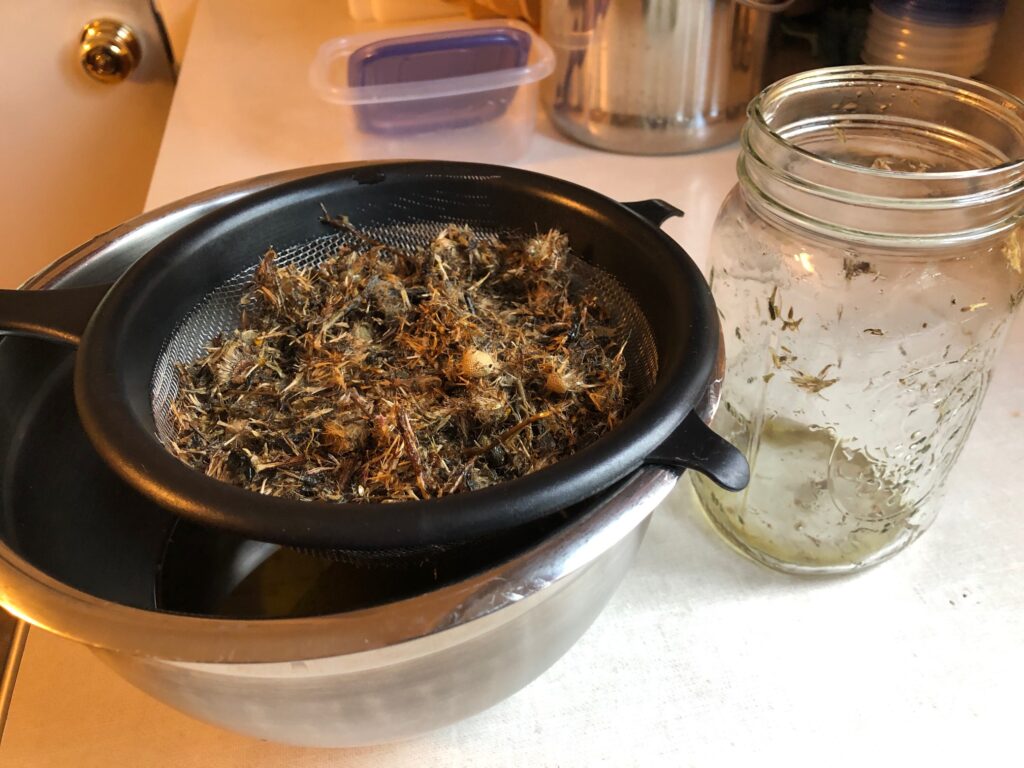
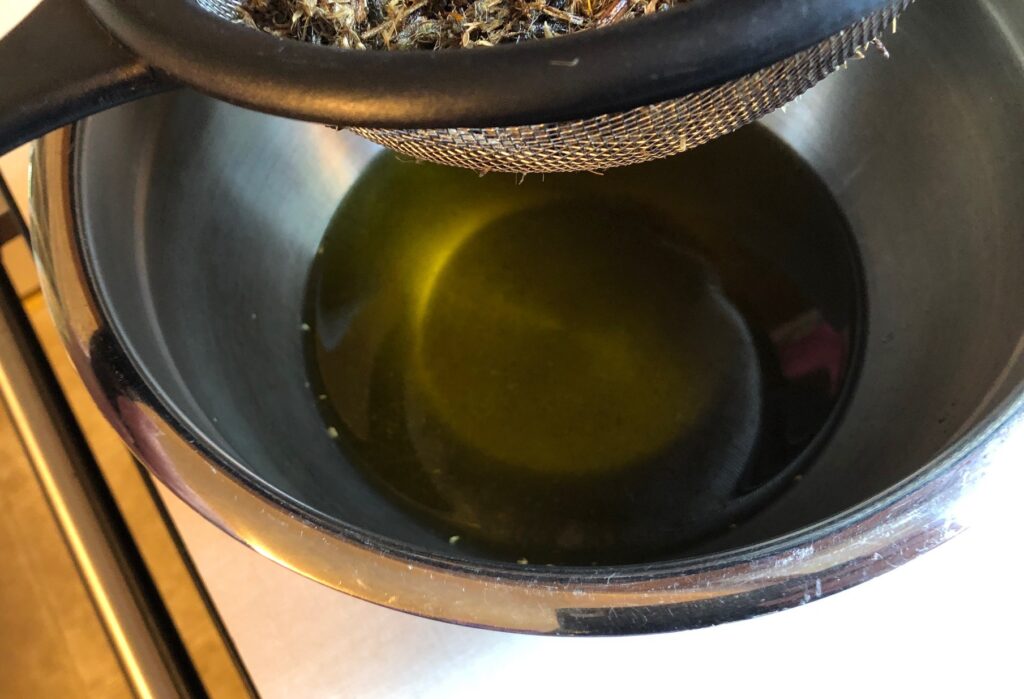
Then, I poured the oil/flower mixture through the strainer and pressed flowers to squeeze out as much oil as possible.
After straining, there were still some small pieces of plant material in the oil.
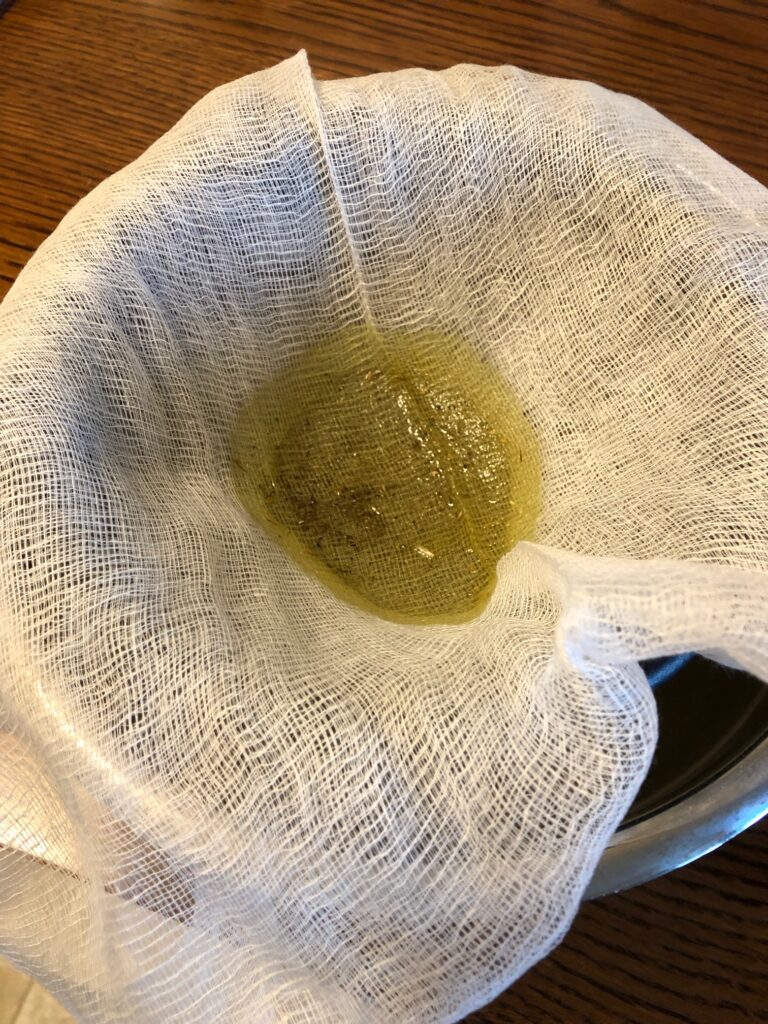
After disposing of the plant material, I strained the oil again by lining the strainer with cheesecloth to make sure I didn’t have any crumbs left from the dried flowers.
After straining out all the Arnica plant material, first with a large strainer and again with cheesecloth, I had about 1 3/4 cups of lovely arnica-infused olive oil. Before pouring it back into the washed and dried quart jar, I added about a teaspoon of Vitamin E oil to help as a preservative.
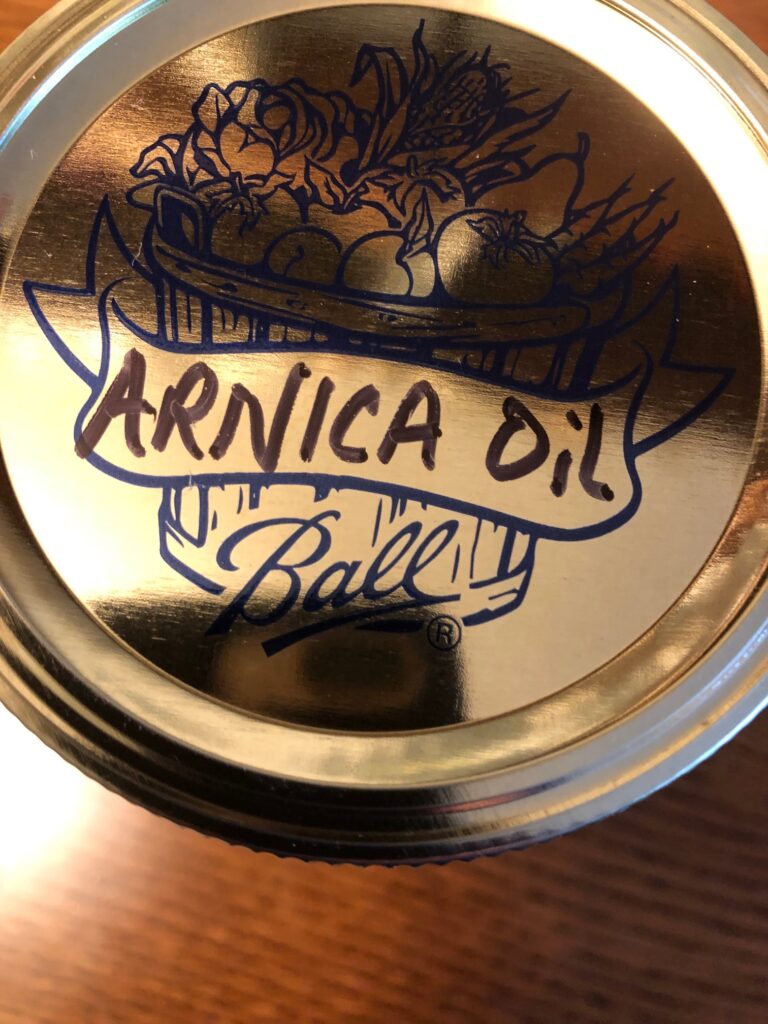
This jar of oil will be stored in the refrigerator until I need it.
Making Arnica Salve
This recipe will make a small batch of salve. Since I don’t plan to share it yet, I’ll keep the batch small.
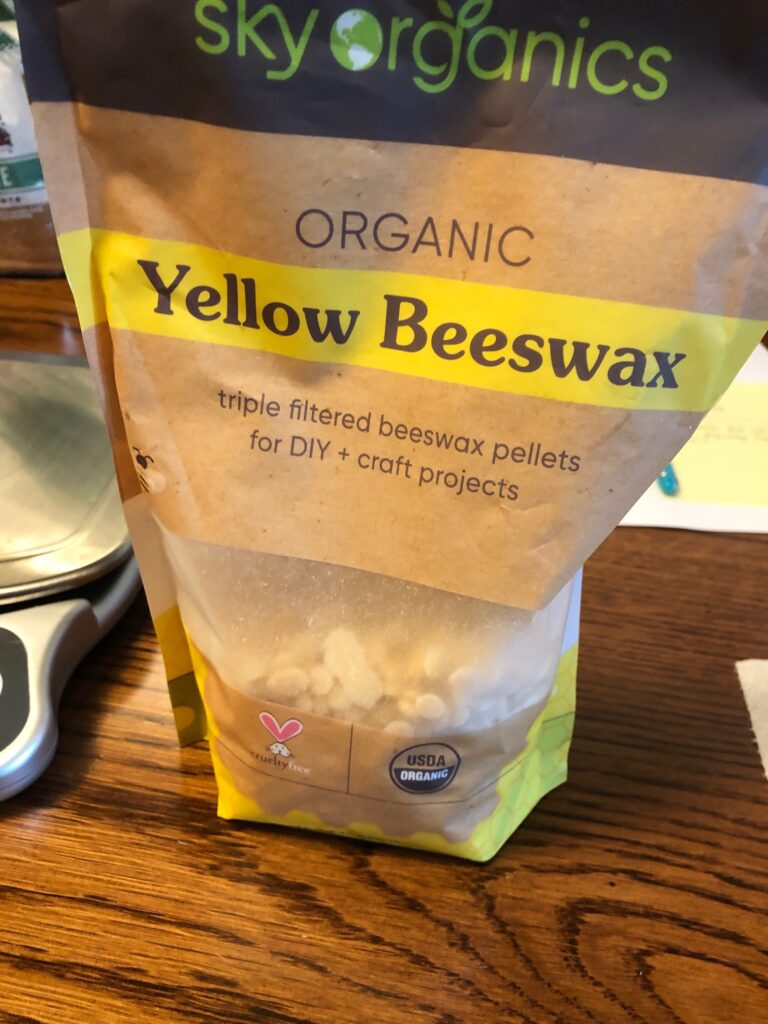
Combine 3 1/2 Tbsp. of Arnica-Infused oil with 2 tsp. beeswax (about 8 gms).
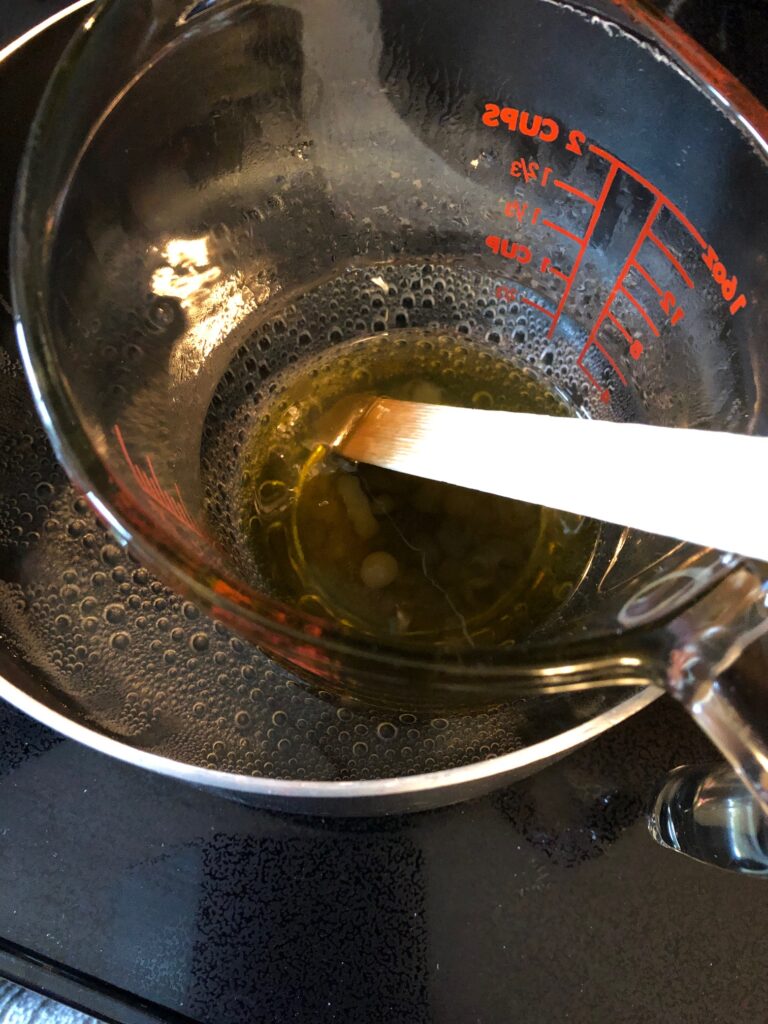
Place the cup into a pan of water and bring the water to boil. Reduce the heat to a simmer.
Simmer until the beeswax is melted. Remove from heat.
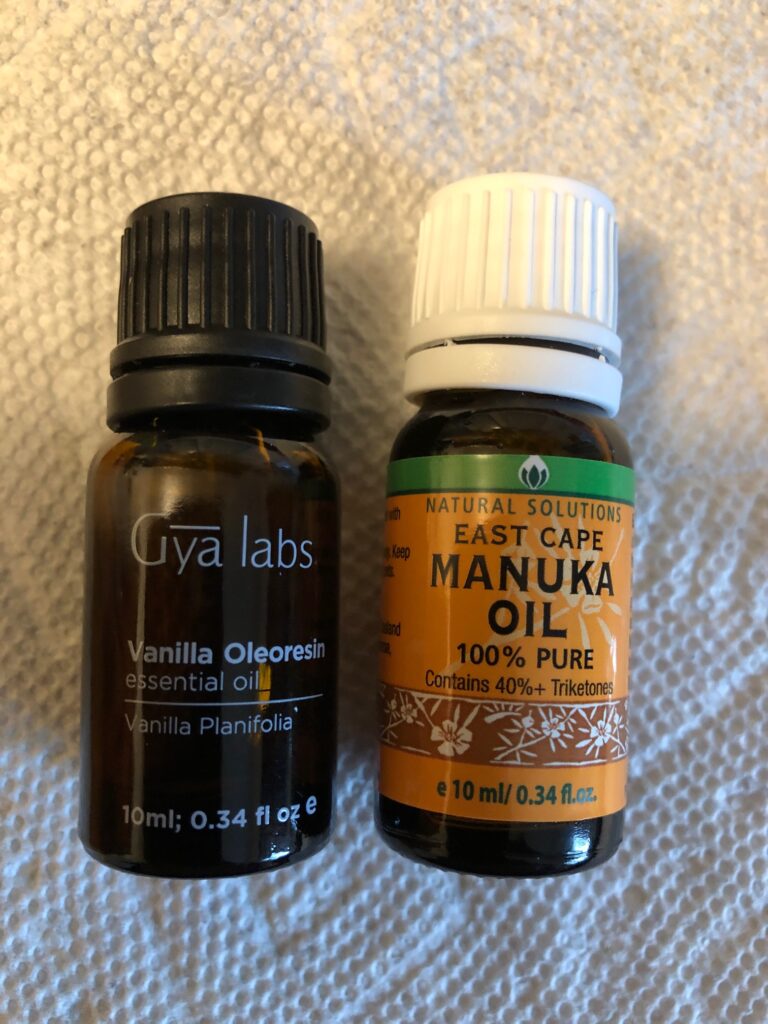
Add 10-20 drops of your preferred essential oil. (I chose Vanilla for the scent and Manuka for its healing properties).
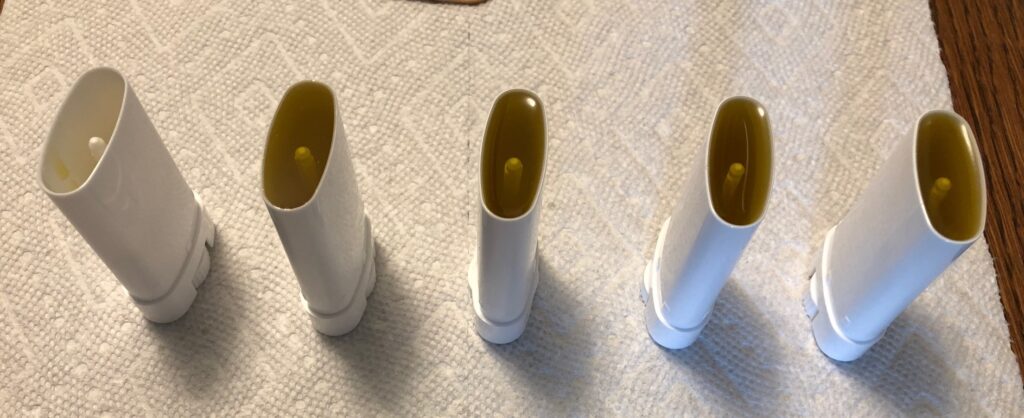
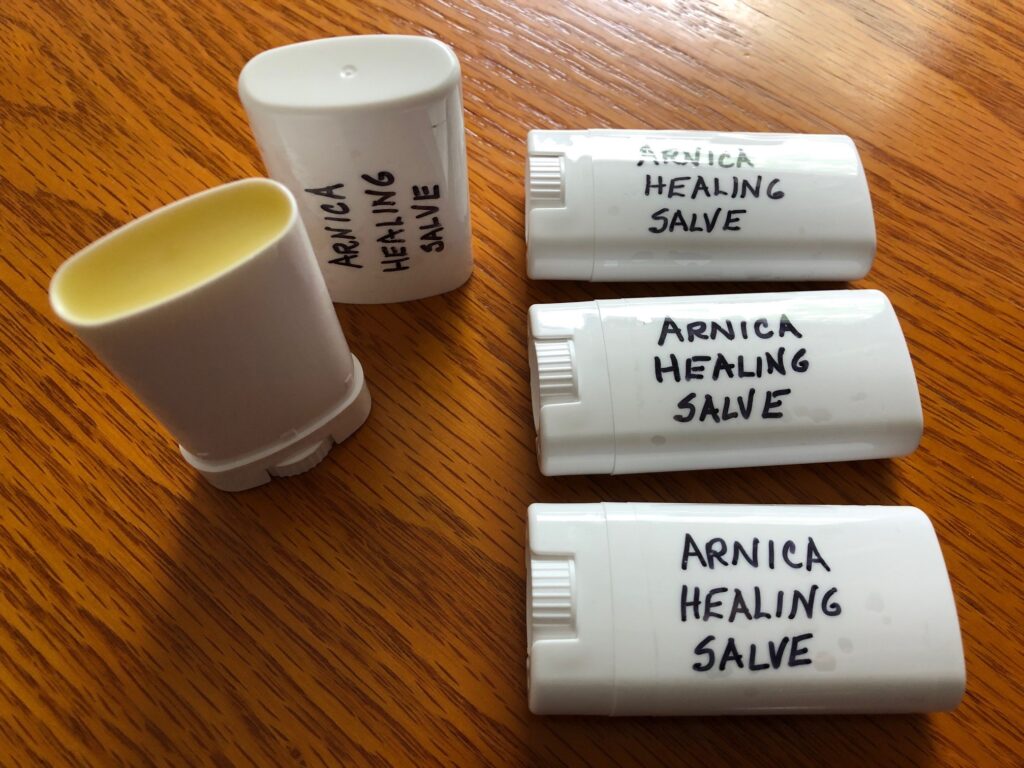
Pour into small containers or lip balm tubes. Cap tightly and label.
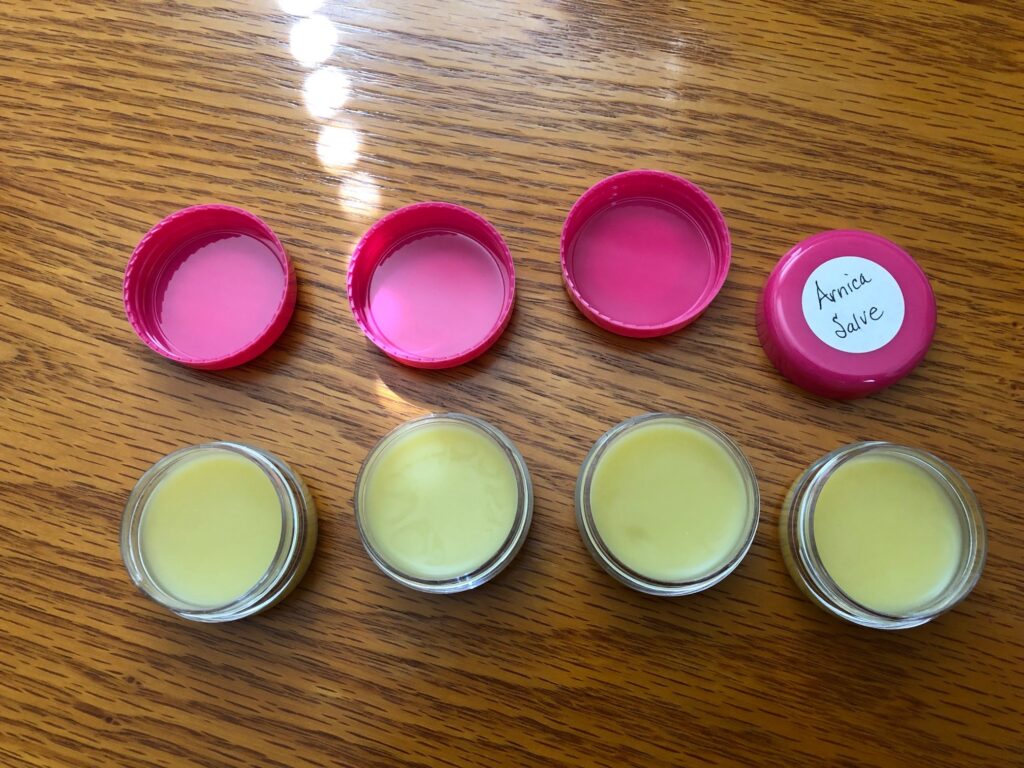
My first pour was into these small containers, however it was pretty firm when cool. I could hardly apply it with my finger tip.So, I scooped the salve out of the round containers, melted it down again and poured the oil into these wide dispensers. Worked much better!
So now I have a simple salve ready for my aches and pains, bumps and bruises! I’ll keep you posted on how it works this summer!
If I find it works really well, I’ll have cards ready to go with the samples.
Look for Arnica in your over-the-counter creams and salves! It might be the magic ingredient. Enjoy!