Cooking Tofu, Second Attempt

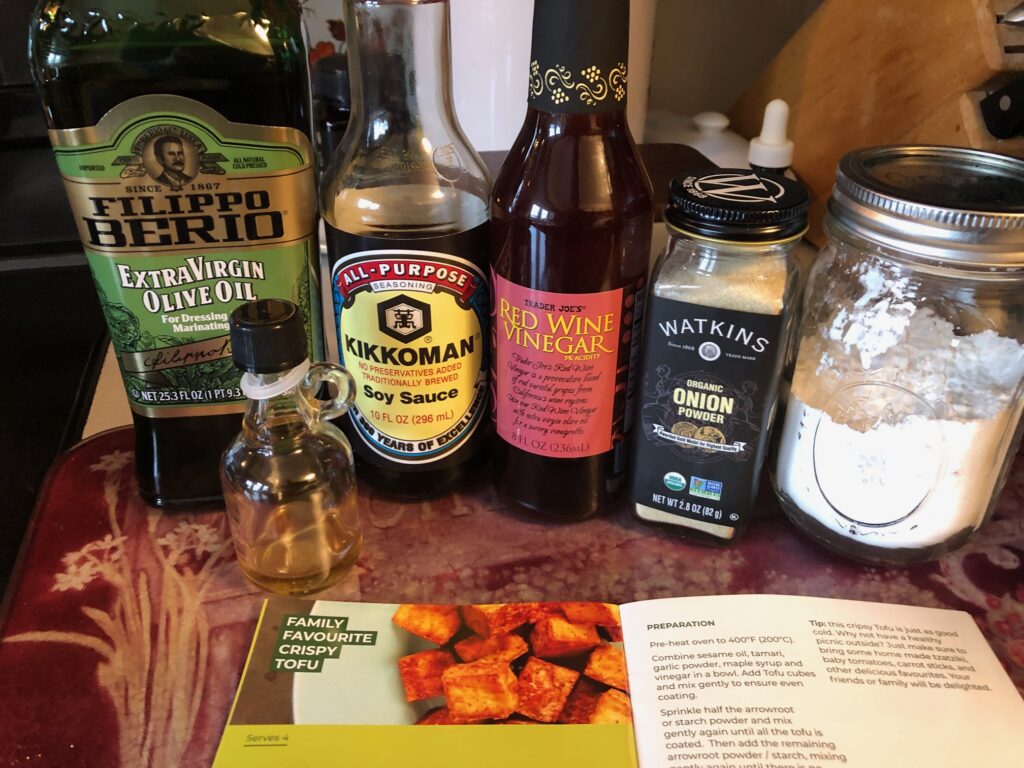
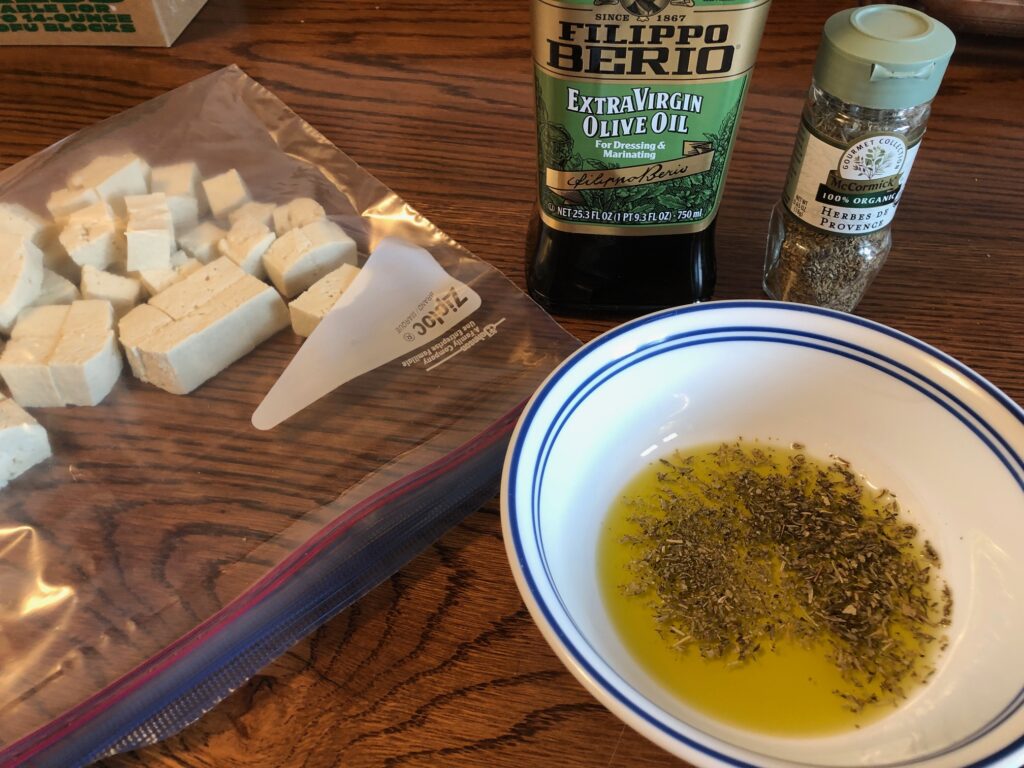
As a follow-up to my first attempt to cook tofu (https://marykisner.com/cooking-tofu-first-attempt/) I’ll try to adjust a few things to try to produce better cubes of tofu. My advice to myself the last time said: cut bigger cubes, add more seasoning and reduce cooking time. I started by doing a search online about recipes to season tofu. While I found and printed out about 10 recipes, I chose a simple recipe of olive oil and Italian herbs so I could use the seasoned cubes in a salad or even put them in soup.

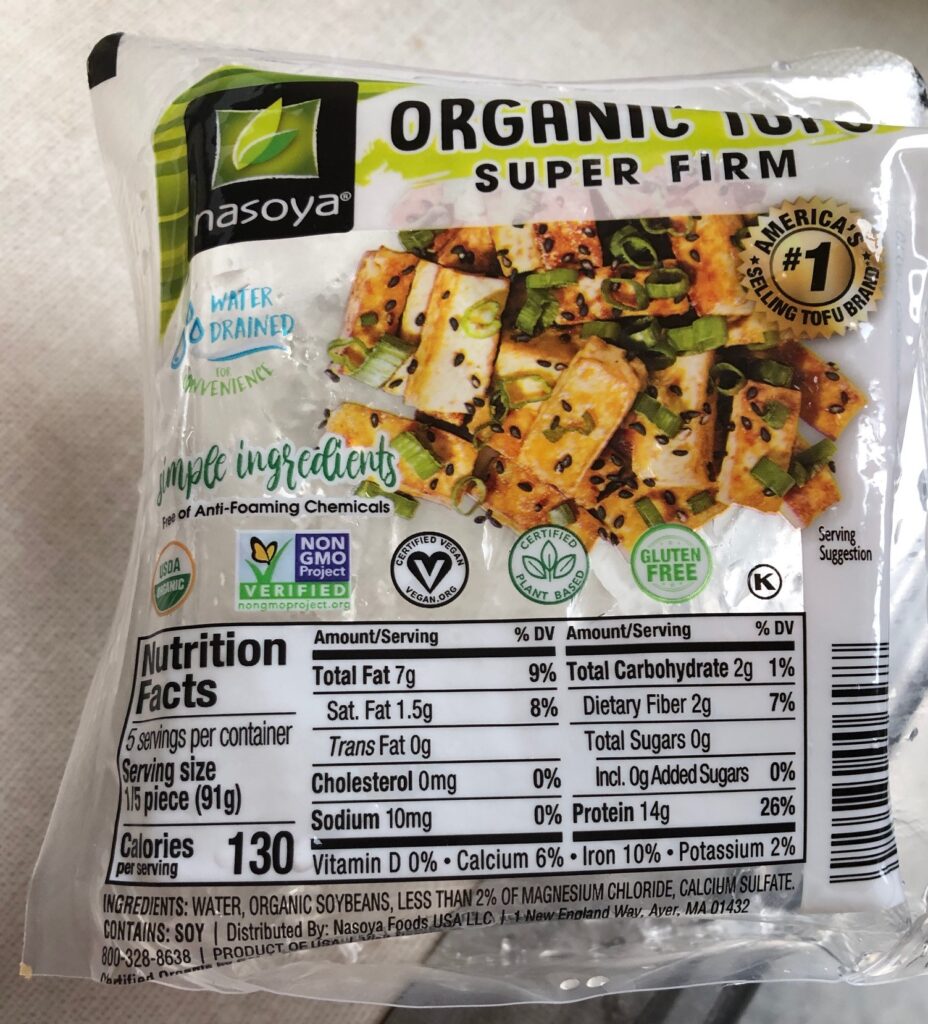
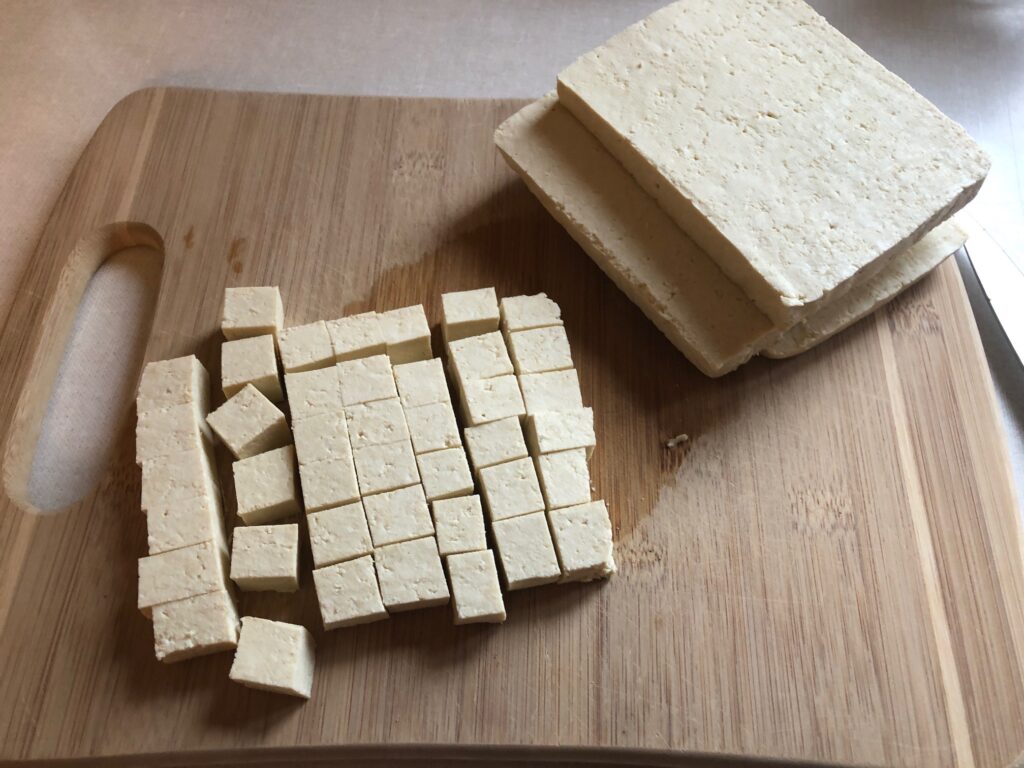
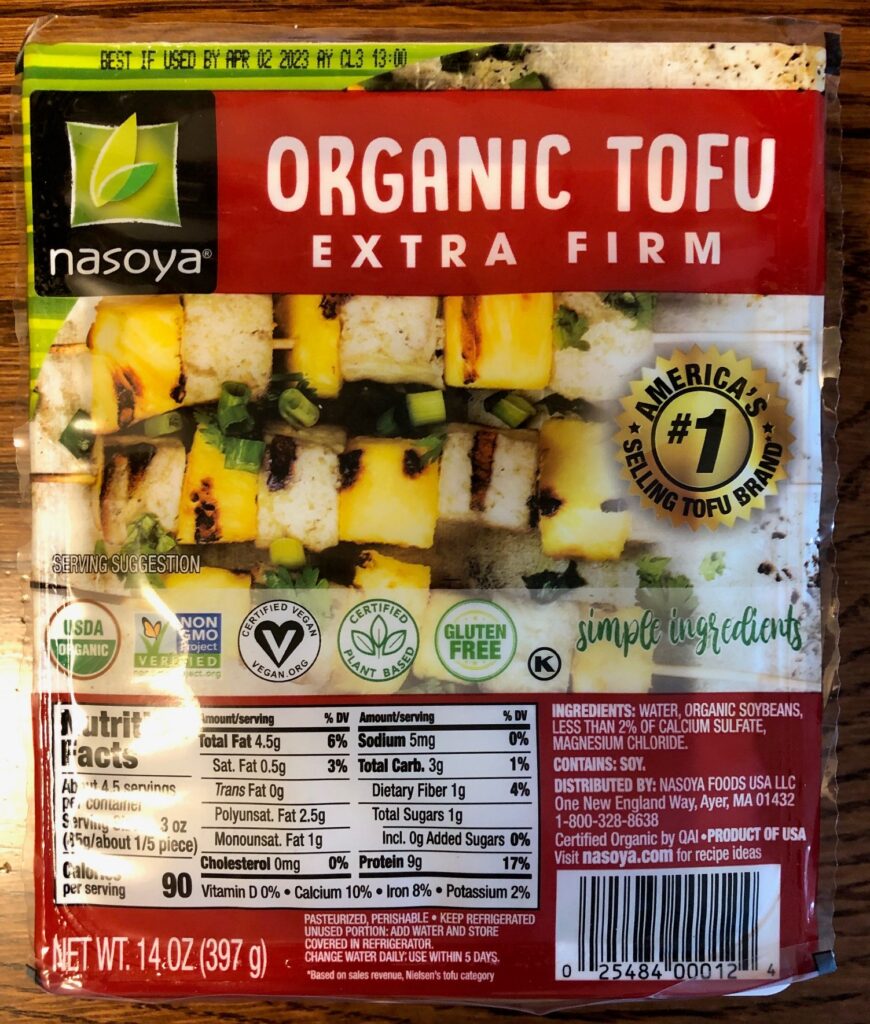
I started with a block of extra firm tofu:

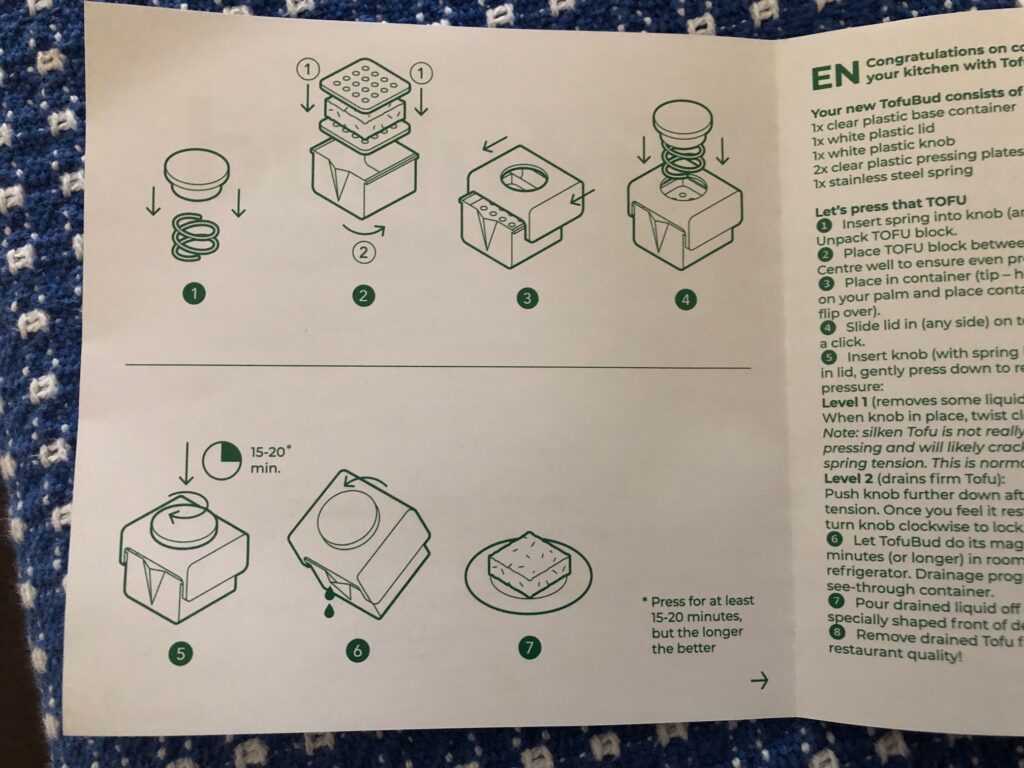
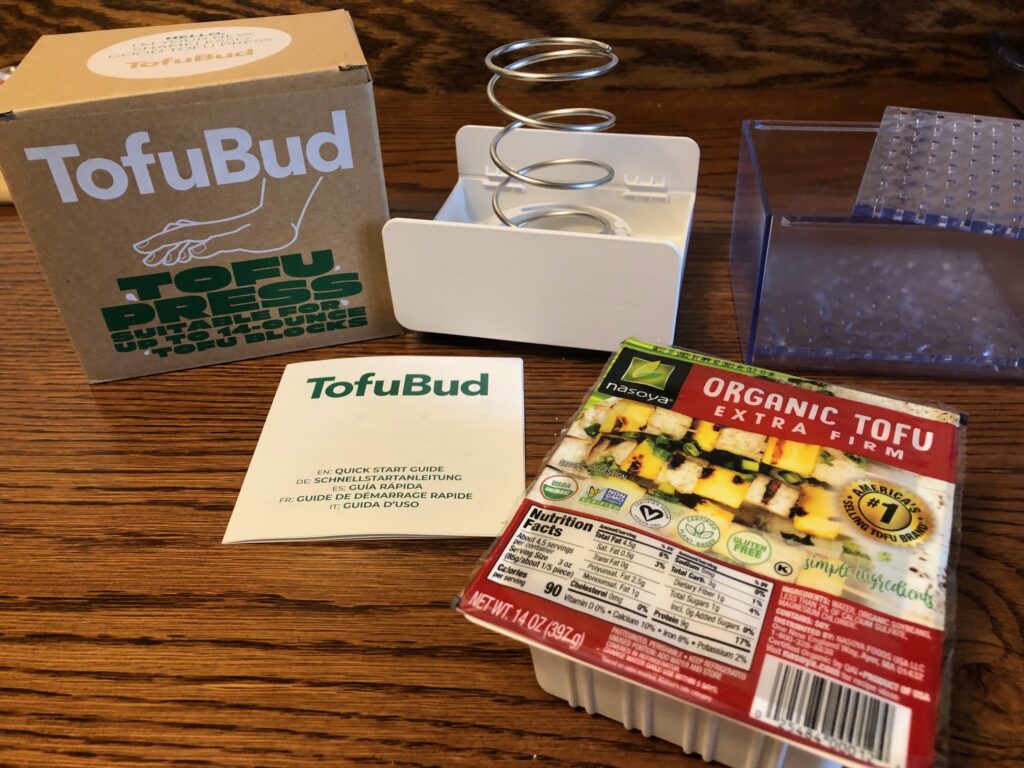
Next, I got out my tofu press and placed the block of tofu in it. This block was not as firm as the first time and felt “fresher.”

The instructions said to place the tofu block between the two flat inserts in my palm, drop the container over my palm…and then turn it right side up. This keeps the tofu from breaking apart.

Pressure being applied.

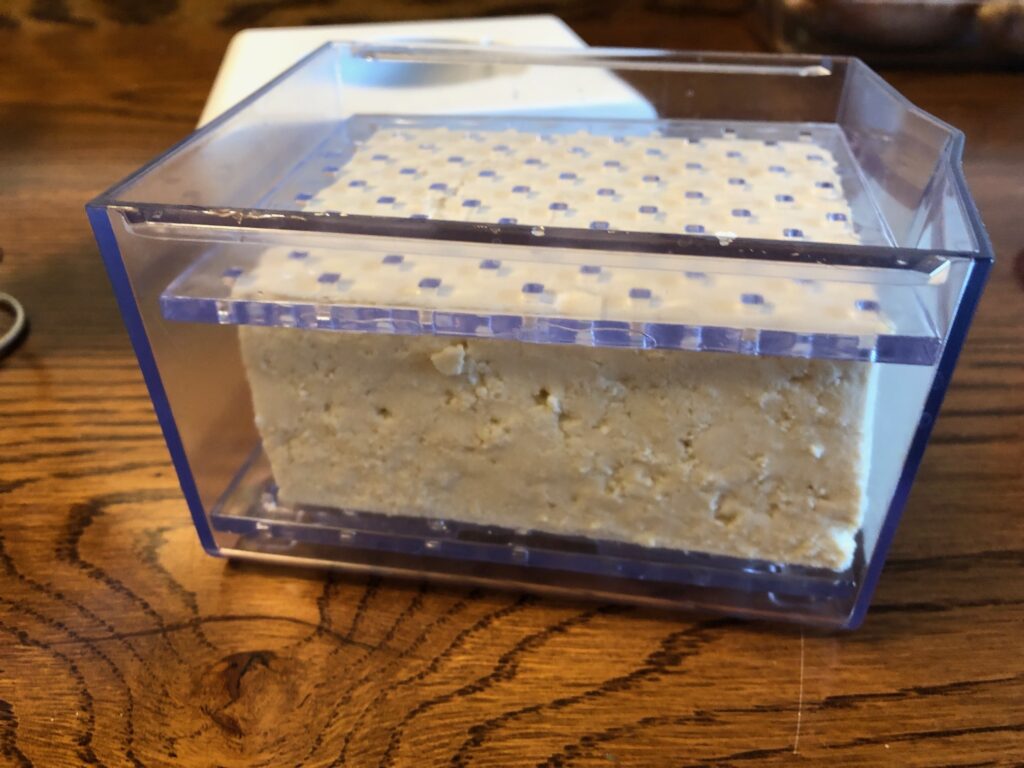
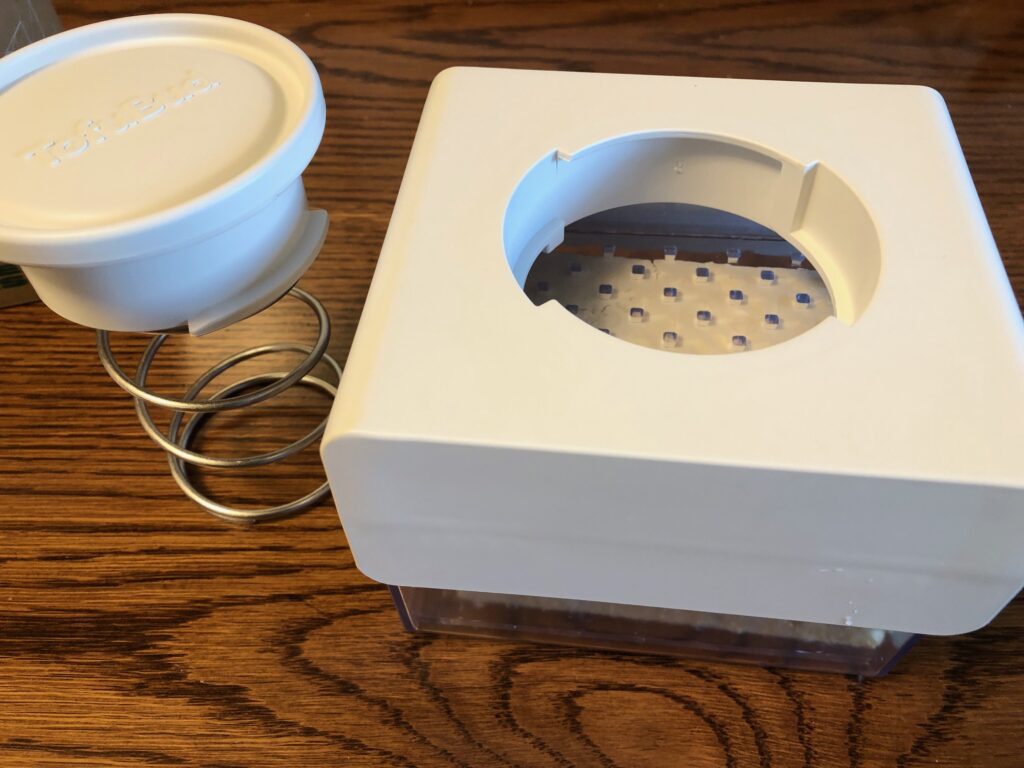
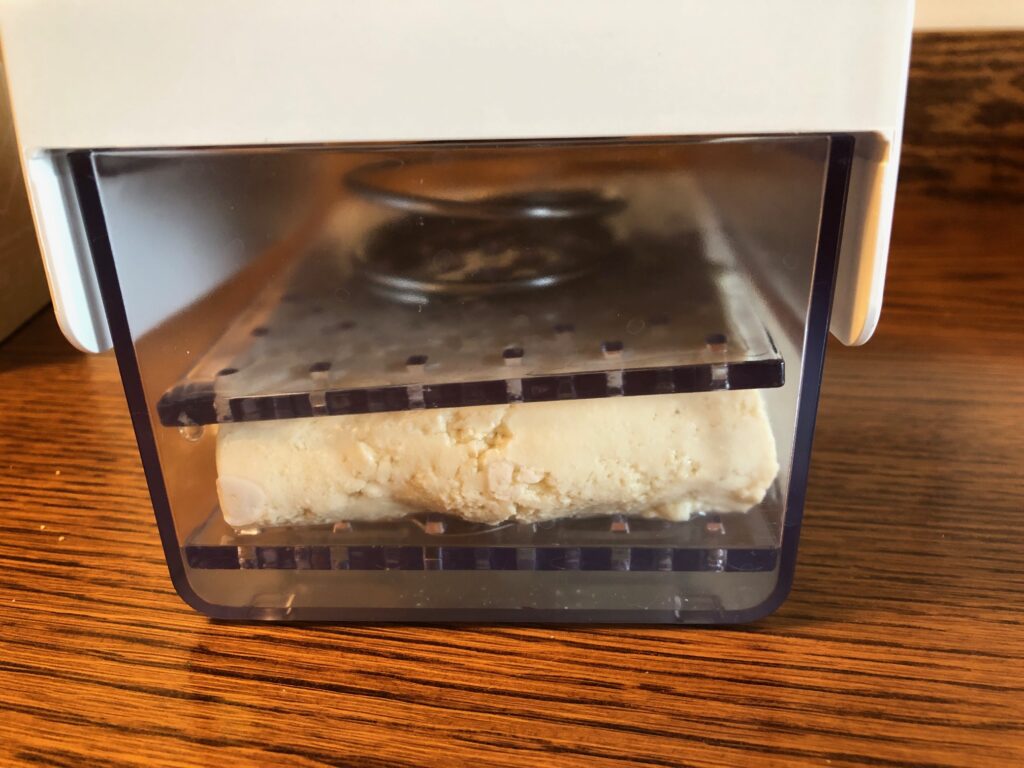
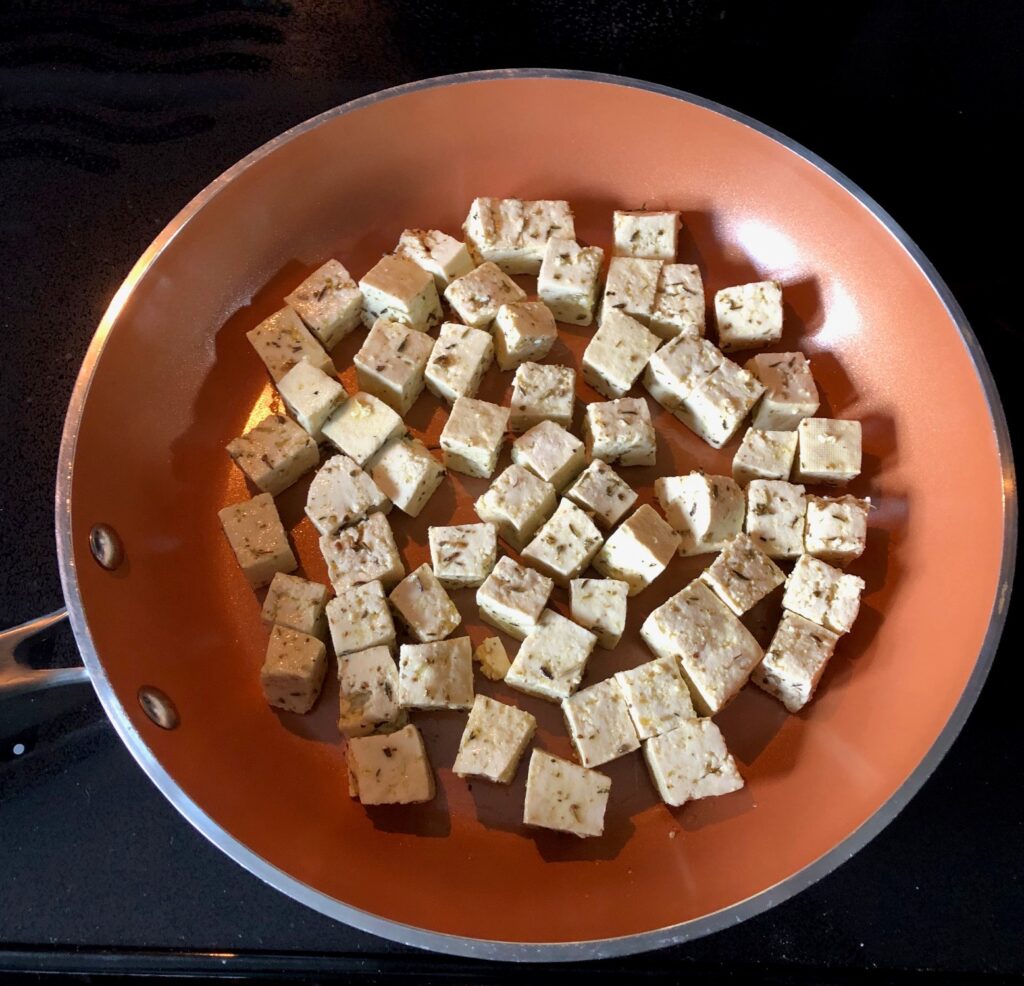
After 20 minutes the whole block was half as thick and submerged in liquid. I poured off the water and opened the press.

This time I cut the block into larger cubes than the first time.
I mixed Italian herbs with olive oil and poured it into the bag of cubes. After gently mixing them up to coat each cube, I put the bag in the refrigerator for 2 hours.
Cubes were now soaked with oil and herbs.
Into the frying pan with a little more oil.
After 10 to 15 minutes on medium heat, the cubes were browned but still soft enough to stab them with a fork.
Drained on a paper towel and sprinkled with salt they tasted pretty good right out of the pan!

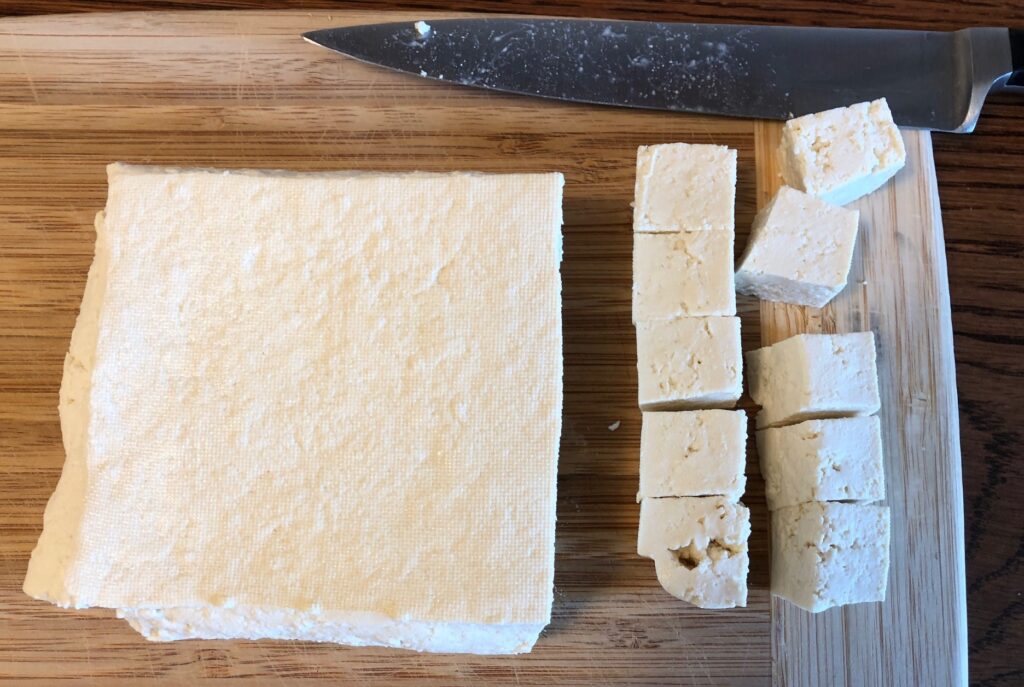
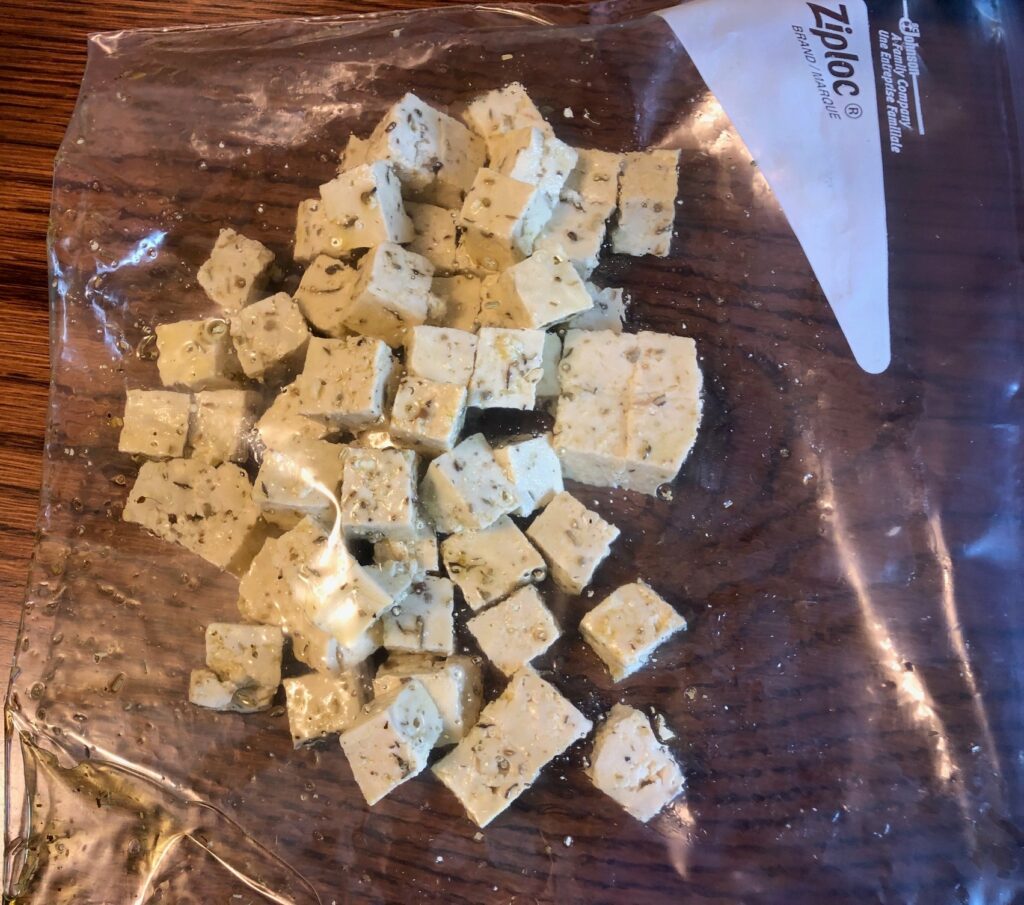
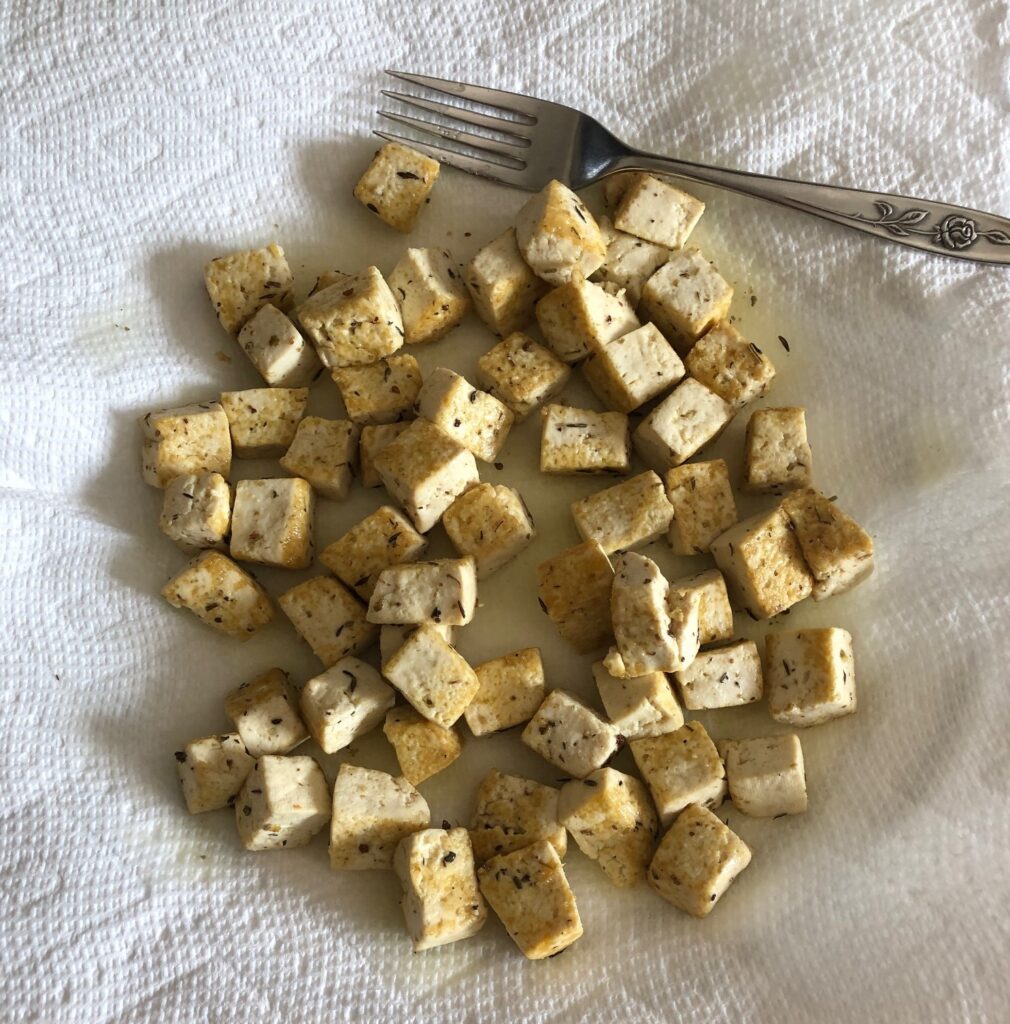
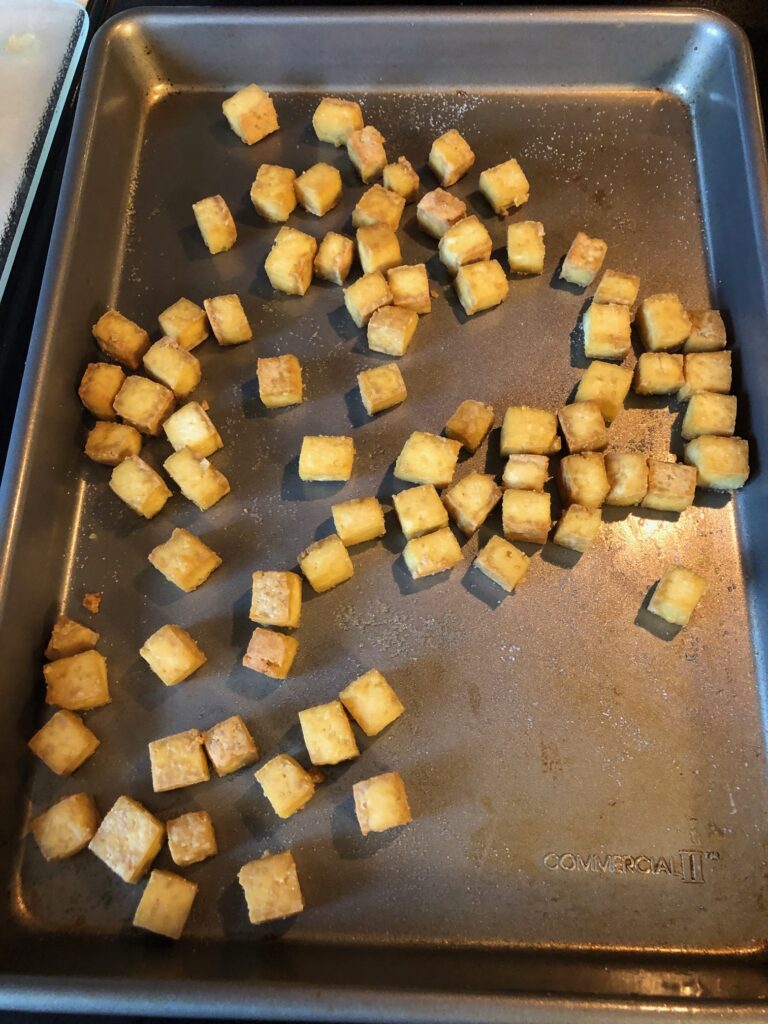
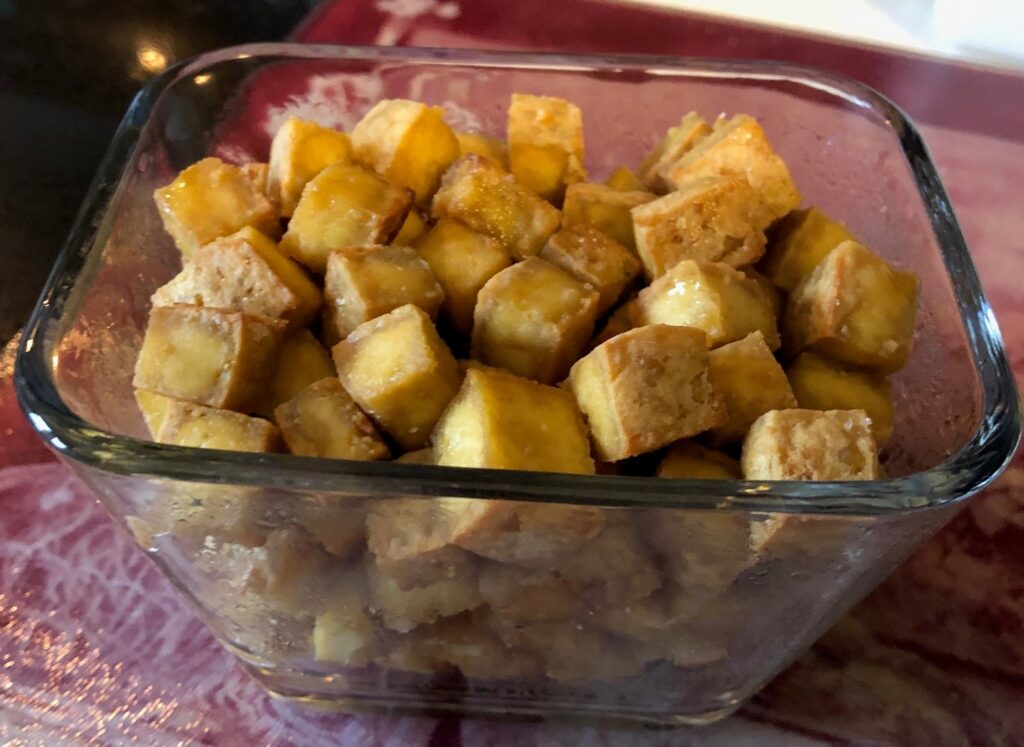
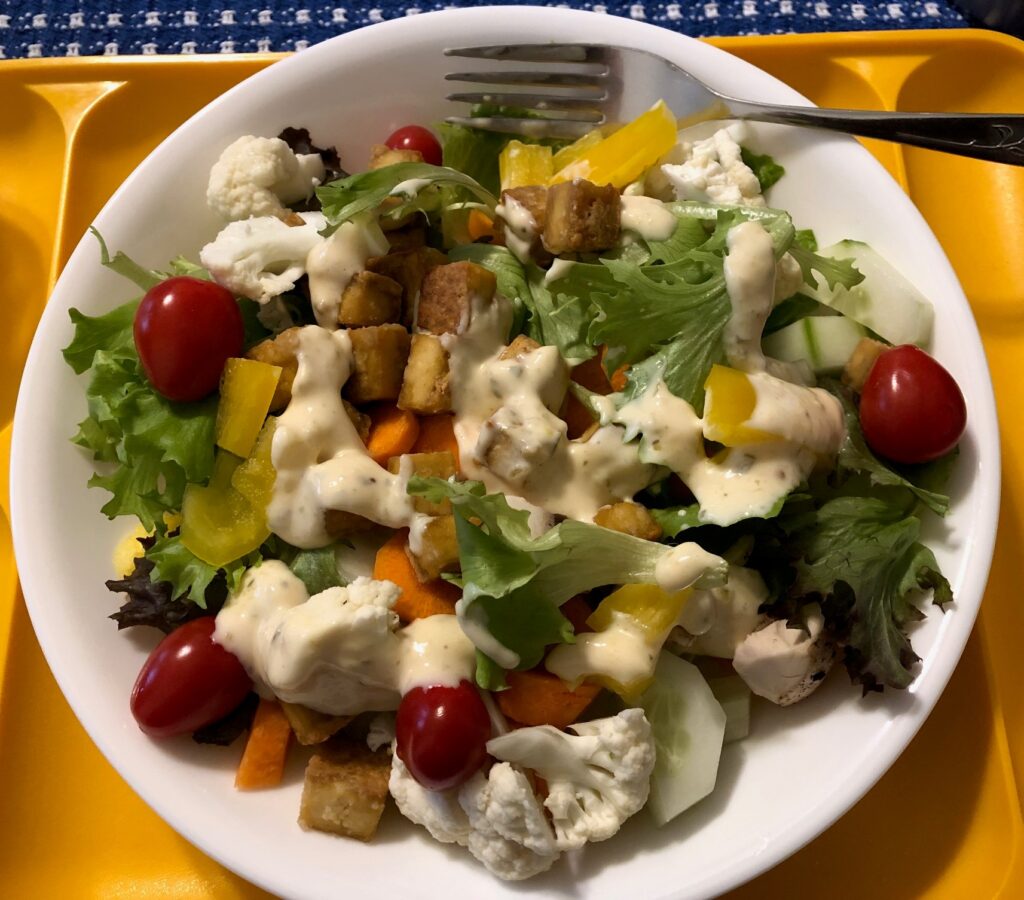
These cubes are still soft enough to put a fork through them. I think this way of cooking allows me to keep from overcooking them. Now they’re ready to put on a salad or add to soup! Give it a try!

Please comment or email me directly at marykisner@comcast.net.

Cooking Tofu, First Attempt

It all seemed so simple! For someone like me, with a not-so-refined palette, the first time I try a new food I depend on the instructions in a recipe to do it right. Adding tofu to my “plant-based” meals seemed like a good idea, even though I’m still including meat and a few eggs in my meals. However, I have no baseline experience about how tofu tastes, how it cooks and even where to buy it in the grocery store! This adventure was a learning experience!

I read a little online about the different kinds of tofu…from silken to extra firm. What I wanted was flavored cubes of tofu that I could put on a salad. It appeared I needed to start with a firm or extra firm block of tofu. Since I really wasn’t interested in figuring out how to press it with a stack of heavy books, I ordered a “tofu press” from Amazon.

Instructions to assemble the press. Looks like Lego instructions!
The press, assembled with a block of tofu.

Next, I went to the local health food store to find tofu. They didn’t have any at that moment and said I should go to the grocery store and look in the produce section. Who knew!!

I found several choices high on the shelf above the lettuce and near the wonton wrappers. I took a guess and brought one home.

The package said it was already drained and it was very firm.

I unwrapped the block and put it in the press…even though it said on the package that it had already been drained. At least I could see how the press worked. After 20 minutes or so, there was about a tablespoon of water in the bottom of the press. I dumped out the water and removed the block.

The press came with a little cookbook with a few recipes. The first recipe was for crispy tofu…sounded exactly like what I wanted.

I substituted onion powder for the garlic powder (because I had it and I don’t care for much garlic flavor).

I thought I bought Rice Wine Vinegar…and it turns out I bought Red Wine Vinegar. Oh well. I did have maple syrup and soy sauce. I used olive oil instead of toasted sesame oil. Probably with all these substitutions the tofu won’t taste right.

These were the ingredients I had to work with. I didn’t realize I had no cornstarch in the kitchen, so I raided my soap-making stash to grab the jar of cornstarch.

With all the substitutions, who knows what I’ll end up with!

I cut up the tofu into cubes and tossed them in the bowl with the seasoning oil mixture.
I spread them out onto parchment paper and put them in the 400-degree oven.
When it was time to flip them over, I realized the parchment paper was useless. It slid right off the pan. I just took it off and finished the baking time.
Out of the oven they had shrunk and were sort of crispy but got really hard as they cooled.
They really had very little flavor and were so firm I couldn’t get a fork in them.
They were sort of like very firm croutons on my salad.

NEXT TIME I will:

  1. Cut bigger cubes
  2. Add more seasoning
  3. Reduce cooking time

I guess I need to read more recipes to figure out the seasoning. Stay tuned for the second attempt to cook tofu!

Please comment or email me directly at marykisner@comcast.net.

Making Dairy-free Egg Custard

One of my fondest memories of my mother’s cooking was her baked egg custard. It hit the spot on a cold winter day! For the last several years I didn’t even want to think about custard since eggs and dairy were off limits to me. I now seem to be able to tolerate an occasional egg in my diet, while dairy products are still a problem. Bert was interested in having some custard around now and then so I thought I’d dig out the recipe.

I wasn’t sure if the recipe would work if I used Almond milk so I made two batches…one with 2% milk and the other with almond milk.

Of course, to make this recipe I needed some baking dishes or custard cups. I can’t seem to find the ones I had that has plastic lids…they really helped because I could stack them in the refrigerator. Luckily, Amazon sells them! I ordered two sets last week and now I can make custard!

The picture from Amazon.

Here is the recipe:

The recipe is pretty simple. The first decision was to color coordinate the cups so I would know which ones used my almond milk. I didn’t want to accidently eat the one made with real milk.

I ended up with the real milk custards in the red/orange/yellow cups and my almond milk custard would be in the aqua/navy/white cups.

Next, I had to make sure the 6 cups fit into a cake pan before I filled them with custard.

I whisked the ingredients for the real milk custard in a bowl, transferred it to a 4-cup measuring cup and filled the 6 cups. I sprinkled a little cinnamon/sugar on top of each cup. Then I added hot water to the pan and put it in the preheated oven.

Next I mixed up the dairy-free custard.:

Ingredients for the dairy-free custard.
Both pans fit side by side in the oven.

When I took the pans out of the oven, I remembered my dilemma from long ago…how to easily lift the hot cups out of the pan filled with water. When I used regular hot pads, I could not get a good grip on the hot cups. I thought I’d try the silicone hot pads that came with out air fryer. They were perfect! Sort of sticky, they gripped the cups and did not get soggy from the hot water.

The almond milk egg custard came out just fine…yea! Now we both have a special dessert this winter. Give it a try!

Please comment or email me directly at marykisner@comcast.net.

Making a Dining Scarf

I’ve had it! There is a reason why I wear dark or black blouses and t-shirts…I will inevitably spill or drip something right in the middle no matter how careful I try to be. I recently bought several lovely blouses in bright blue, purple and white. Of course, the first time I wore one my salad dressing dripped…just one drop…right in the middle of the front of my new blouse! Grrr! I had to spray and wash the blouse twice to get the stain out. I needed a solution or go back to my navy and black tops.

Some of you may remember last September I wrote about making an adult bib for a friend (https://marykisner.com/adult-bibs-are-not-just-for-nursing-homes/). At the time I was surprised to see the many variations of ways to protect your clothing from food spills. Some were standard bibs; others were clever cover-ups. I had never thought of a solution that could protect my clothing and still look nice out in public.

These two pictures (from a Pinterest search for “dining scarves”) caught my attention:

This one looked really dressy and slippery. I think it would need a snap, Velcro or dressy pin to hold it together.
I can imagine all the novelty fabrics that could make something like this!

Time to experiment! I took a fleece scarf and put it around my neck. I pinched it about where it needed to start getting skinnier to wrap more closely around my neck.

Since I was going to use fabric I had available, I knew I would need to seam the scarf at the center back.

I figured this print would hide all kinds of spills!

Using the fleece scarf as a pattern, I folded it in half and cut two pieces of the outer fabric…about 10″ by 27″. I then cut matching flannel for the lining. I’m hoping the flannel back will sort of cling to my shirt underneath so it wouldn’t need a fastener to stay put.

Two pieces of outer and lining fabric, right sides together, ready to stitch together at one end to make one long scarf.
I sewed the scarf pieces end to end and then stitched the seam down.
Here is the seam that will be at the back of the neck when finished.
The scarf and lining, right sides together.

Leave a 5″ opening close to the back center seam for turning right side out.

Turn right side out and finger press the seam all around the scarf.

Top stitch 1/2″ all around the edge of the scarf.
At the center back of the scarf, fold 3 pleats to reduce the bulk at the back of the neck. Top stitch the pleats down.
About 2″ from the center seam on each side, top stitch the pleats down again.
The scarf should lay smoothly over your shoulders. The flannel lining should make any kind of fastener unnecessary. A decorative pin could also hold it in place while dining.

I’ll have to see how this scarf works the next time I eat out at a restaurant…it might be a good solution to avoid stained blouses! Enjoy!

Please comment or email me directly at marykisner@comcast.net.

A Winter Star Quilt Block on Wood

A few weeks ago I was ready for a new quilt block on my front door, but I had to wait until after cataract surgery so I could actually see well enough to paint! The quilt blocks on wood are similar to the door quilt blocks I’ve made from fabric. You can check out those at https://marykisner.com/time-to-bring-out-the-spring-door-quilt.

These blocks lie flat against the front door and do not get squashed between the door and the screen door the way a wreathe might.

Then I started painting a quilt block onto a 12″ x 12″ square of thin plywood. They attach to the front door with magnets (obviously the door under the paint is metal!) Here are the three I’ve already done:

https://marykisner.com/new-patriotic-door-quilt-on-wood/
https://marykisner.com/summer-door-quilt-on-wood/
https://marykisner.com/autumn-door-quilt-on-wood/

Painting a quilt block is certainly a different experience from sewing. I’m working with solid colors in paint. With fabric I can vary the print to make the block more interesting.

This time I wanted to recreate my favorite quilt block. It is called a Double Star in one book and Rising Star in another. I used it in a full-size quilt that I made for my son and his wife a few years back. I’ve called it my Southern Cross Quilt because I chose 5 blocks to represent the stars in the constellation, the Southern Cross. He had recently finished graduate research in Antarctica and I was missing him. Can you see the blocks that represent the stars?

The four major stars in the constellation have white double stars; the smaller star close to the white one on the right has a print center.
Here’s how another quilter represented the Southern Cross in her quilt.

Making the Winter Star Block

I start each painted block by first choosing a pattern. This star block is called Double Star in one book and Rising Star in another. It’s based on a 4 x 4 pattern so it was pretty easy to sketch out.

I use a tiny 3″ x 3″ canvas to practice. It has a little easel so I can look at it while I work on the 12″ x 12″ plywood.

First, I paint the back of the wood to seal it from the weather.
Then I pencil out the pattern I will paint.
I’ve learned to work from the center out and rotate the wood so I don’t smear my hand through the wet paint.
The finished block is ready for a final spray of satin finish acrylic spray. Bert will then glue magnets on the back so it will stick to my front door.

I’ll enjoy this door quilt for a month or more this winter. It won’t get squished and it won’t fade like the fabric blocks do…and the quilt pattern makes me smile! Enjoy!

Please comment or email me directly at marykisner@comcast.net.

Red for February

February is a month for hope…that Spring will come eventually! It stays light until about 5:30 p.m. and right now, in Pennsylvania, it is a cold 16 degrees with flurries in the air. However, the sun is shining! We’ll take it

Around our yard and garden things are pretty brown, so it’s no wonder the red bird feeder is noticeable!

Yesterday, Punxsutawney Phil predicted 6 more weeks of winter (of course). It was 13 degrees outside his burrow and his handlers had to work to get him to even come out! Bert has a stuffed groundhog that appears each year to remind us about the rest of the winter. This guy provides a lot of chuckles when Bert takes him along to have a few beers.

Of course, the American Heart Association reminds us to get our hearts checked out this month!

The stores certainly cooperate by giving us many options to celebrate the month of February!

Cards!
Candy!
Toys!

And around my house, I can add a little red with my Valentine tree:

This year I wanted to give a small gift to my group of High School friends who have been so supportive over the last several months with my health issues. I’ve already shared heart-shaped soaps so I wanted something different.

I came across my collection of fabric-covered button magnets and found I had quite a few that were made with red recycled necktie material. I decided to make a few more so the group had more choices.

Making a Covered Button Refrigerator Magnet

You can get detailed instructions at https://marykisner.com/more-than-just-a-refrigerator-magnet/

I pulled out a red necktie from my stash of neckties to recycle, cut out a few circles, assembled the buttons and glued on a magnet. Now I have enough to share “red” magnets at our next luncheon!

I hope you have some cheerful color around you while you enjoy the last 6 weeks of winter!

Please comment or email me directly at marykisner@comcast.net.