What To Do With 30 Pounds of Blueberries

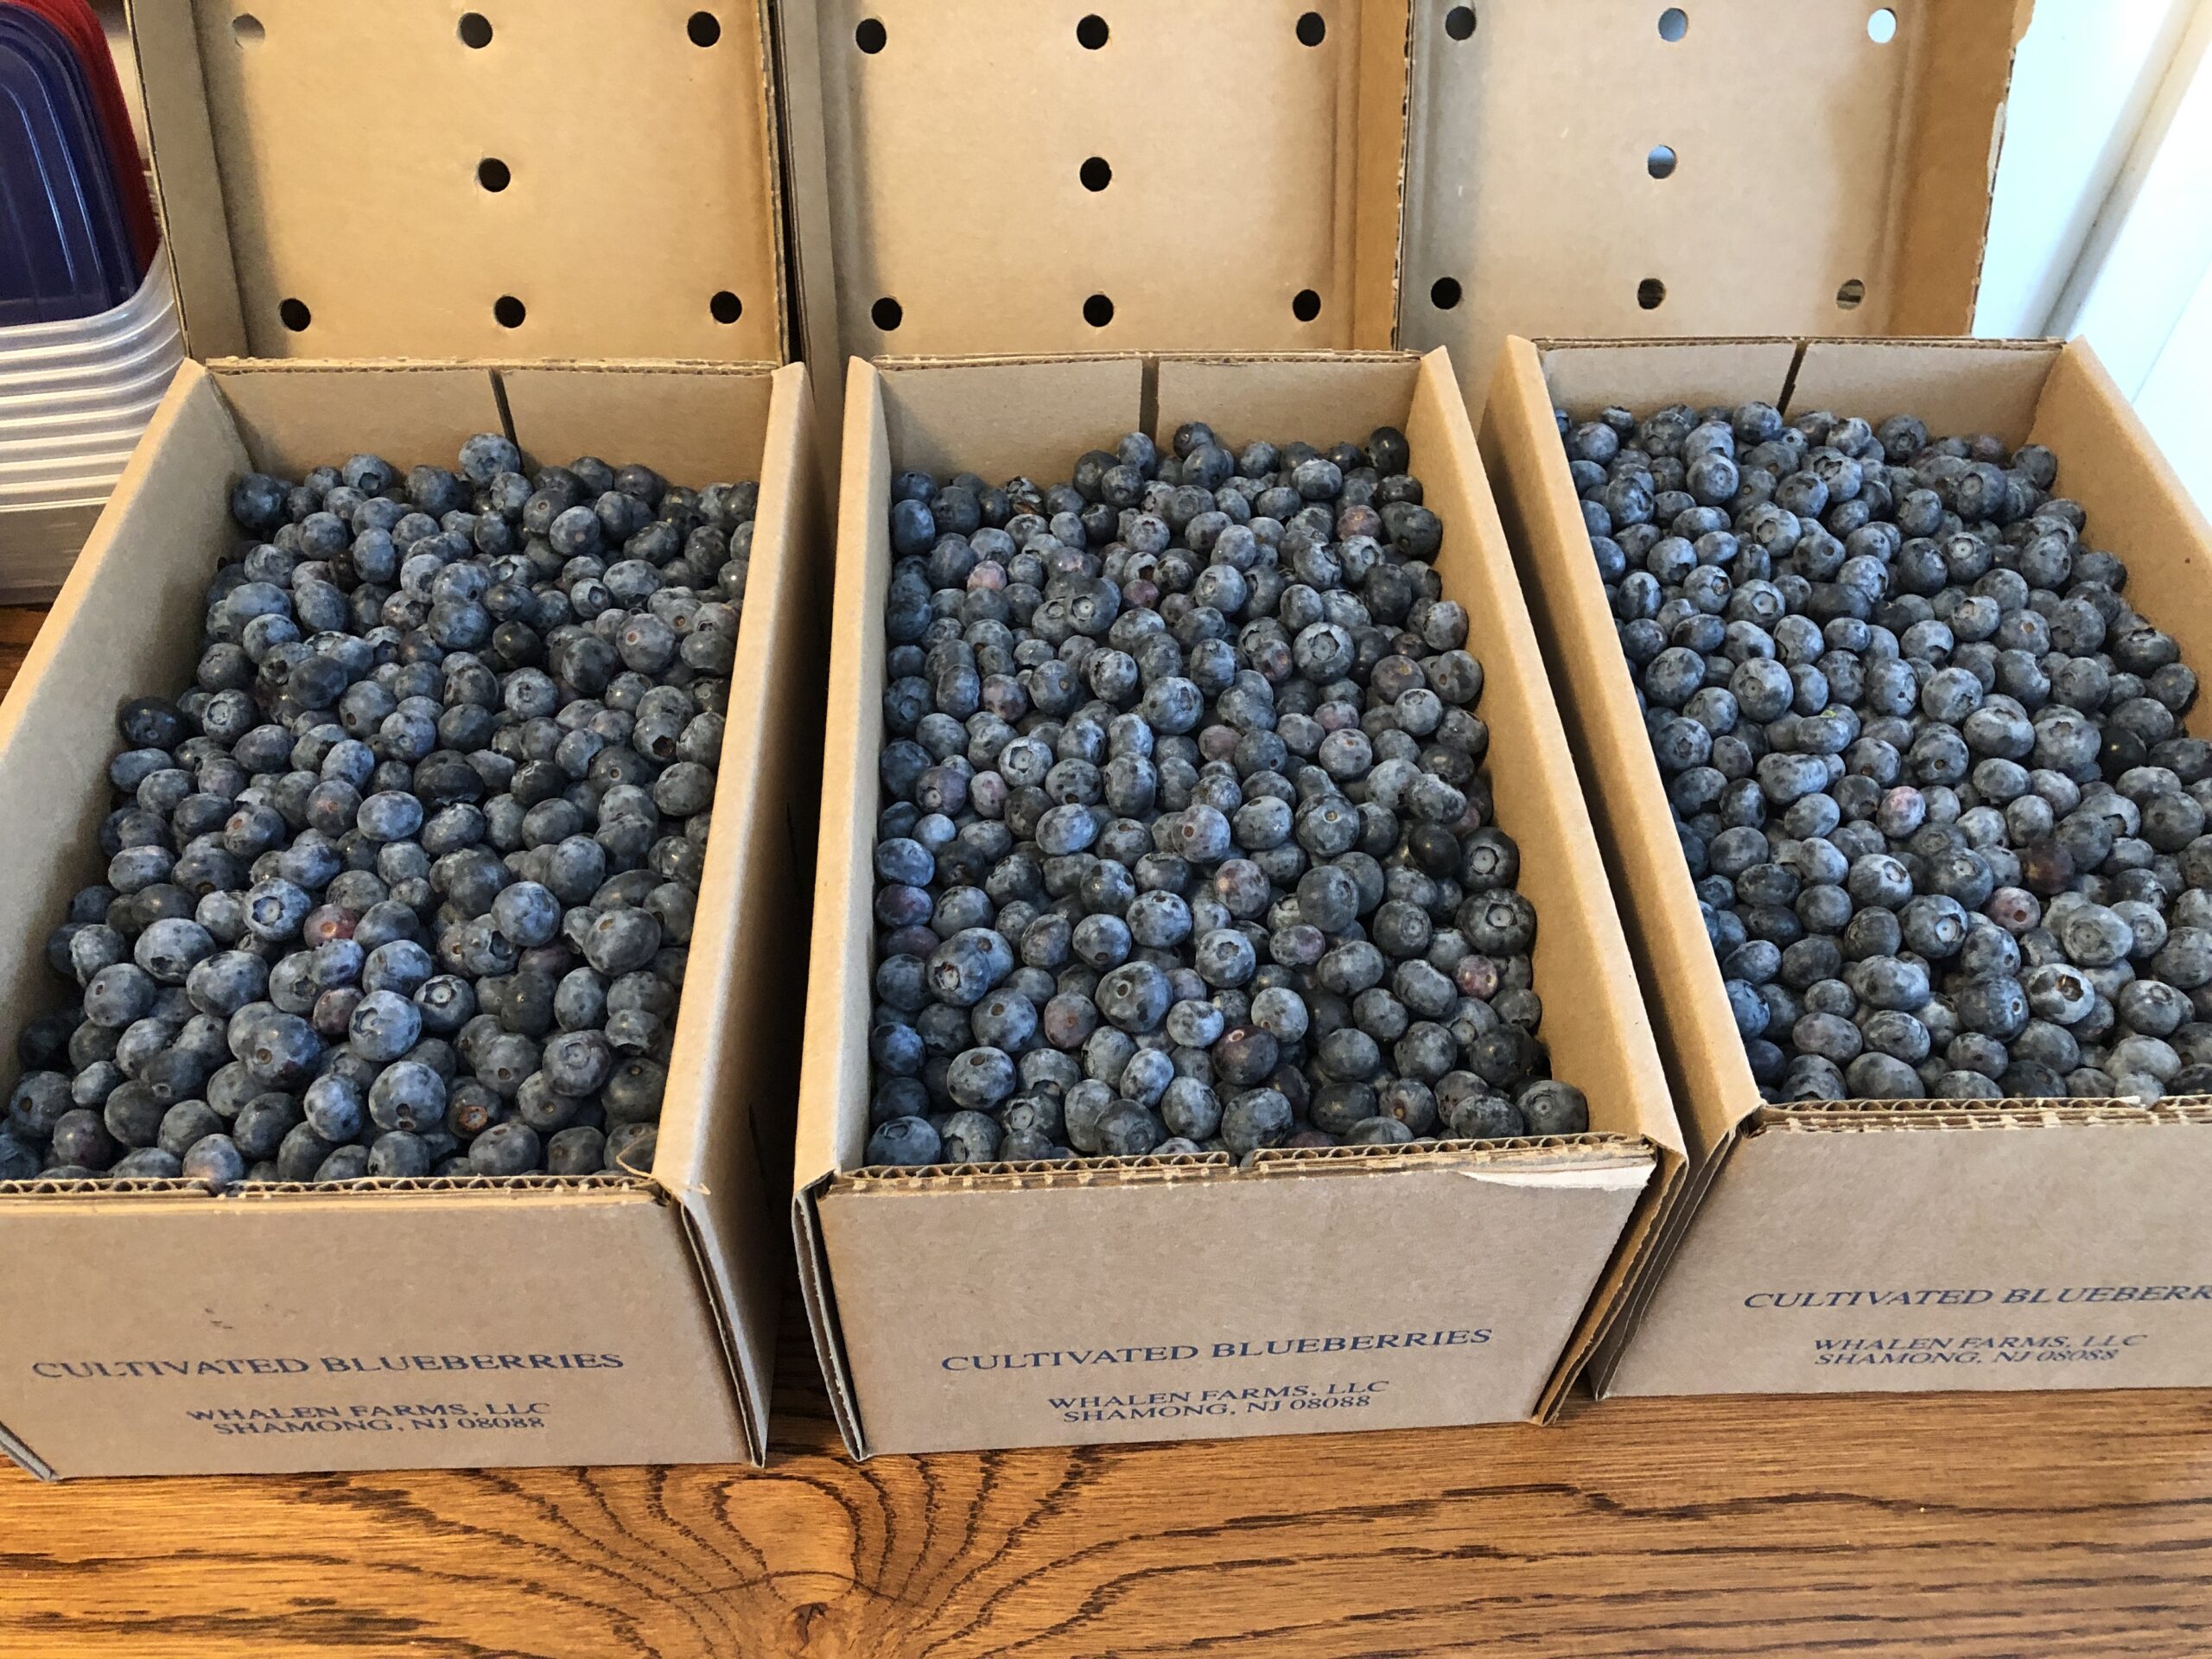
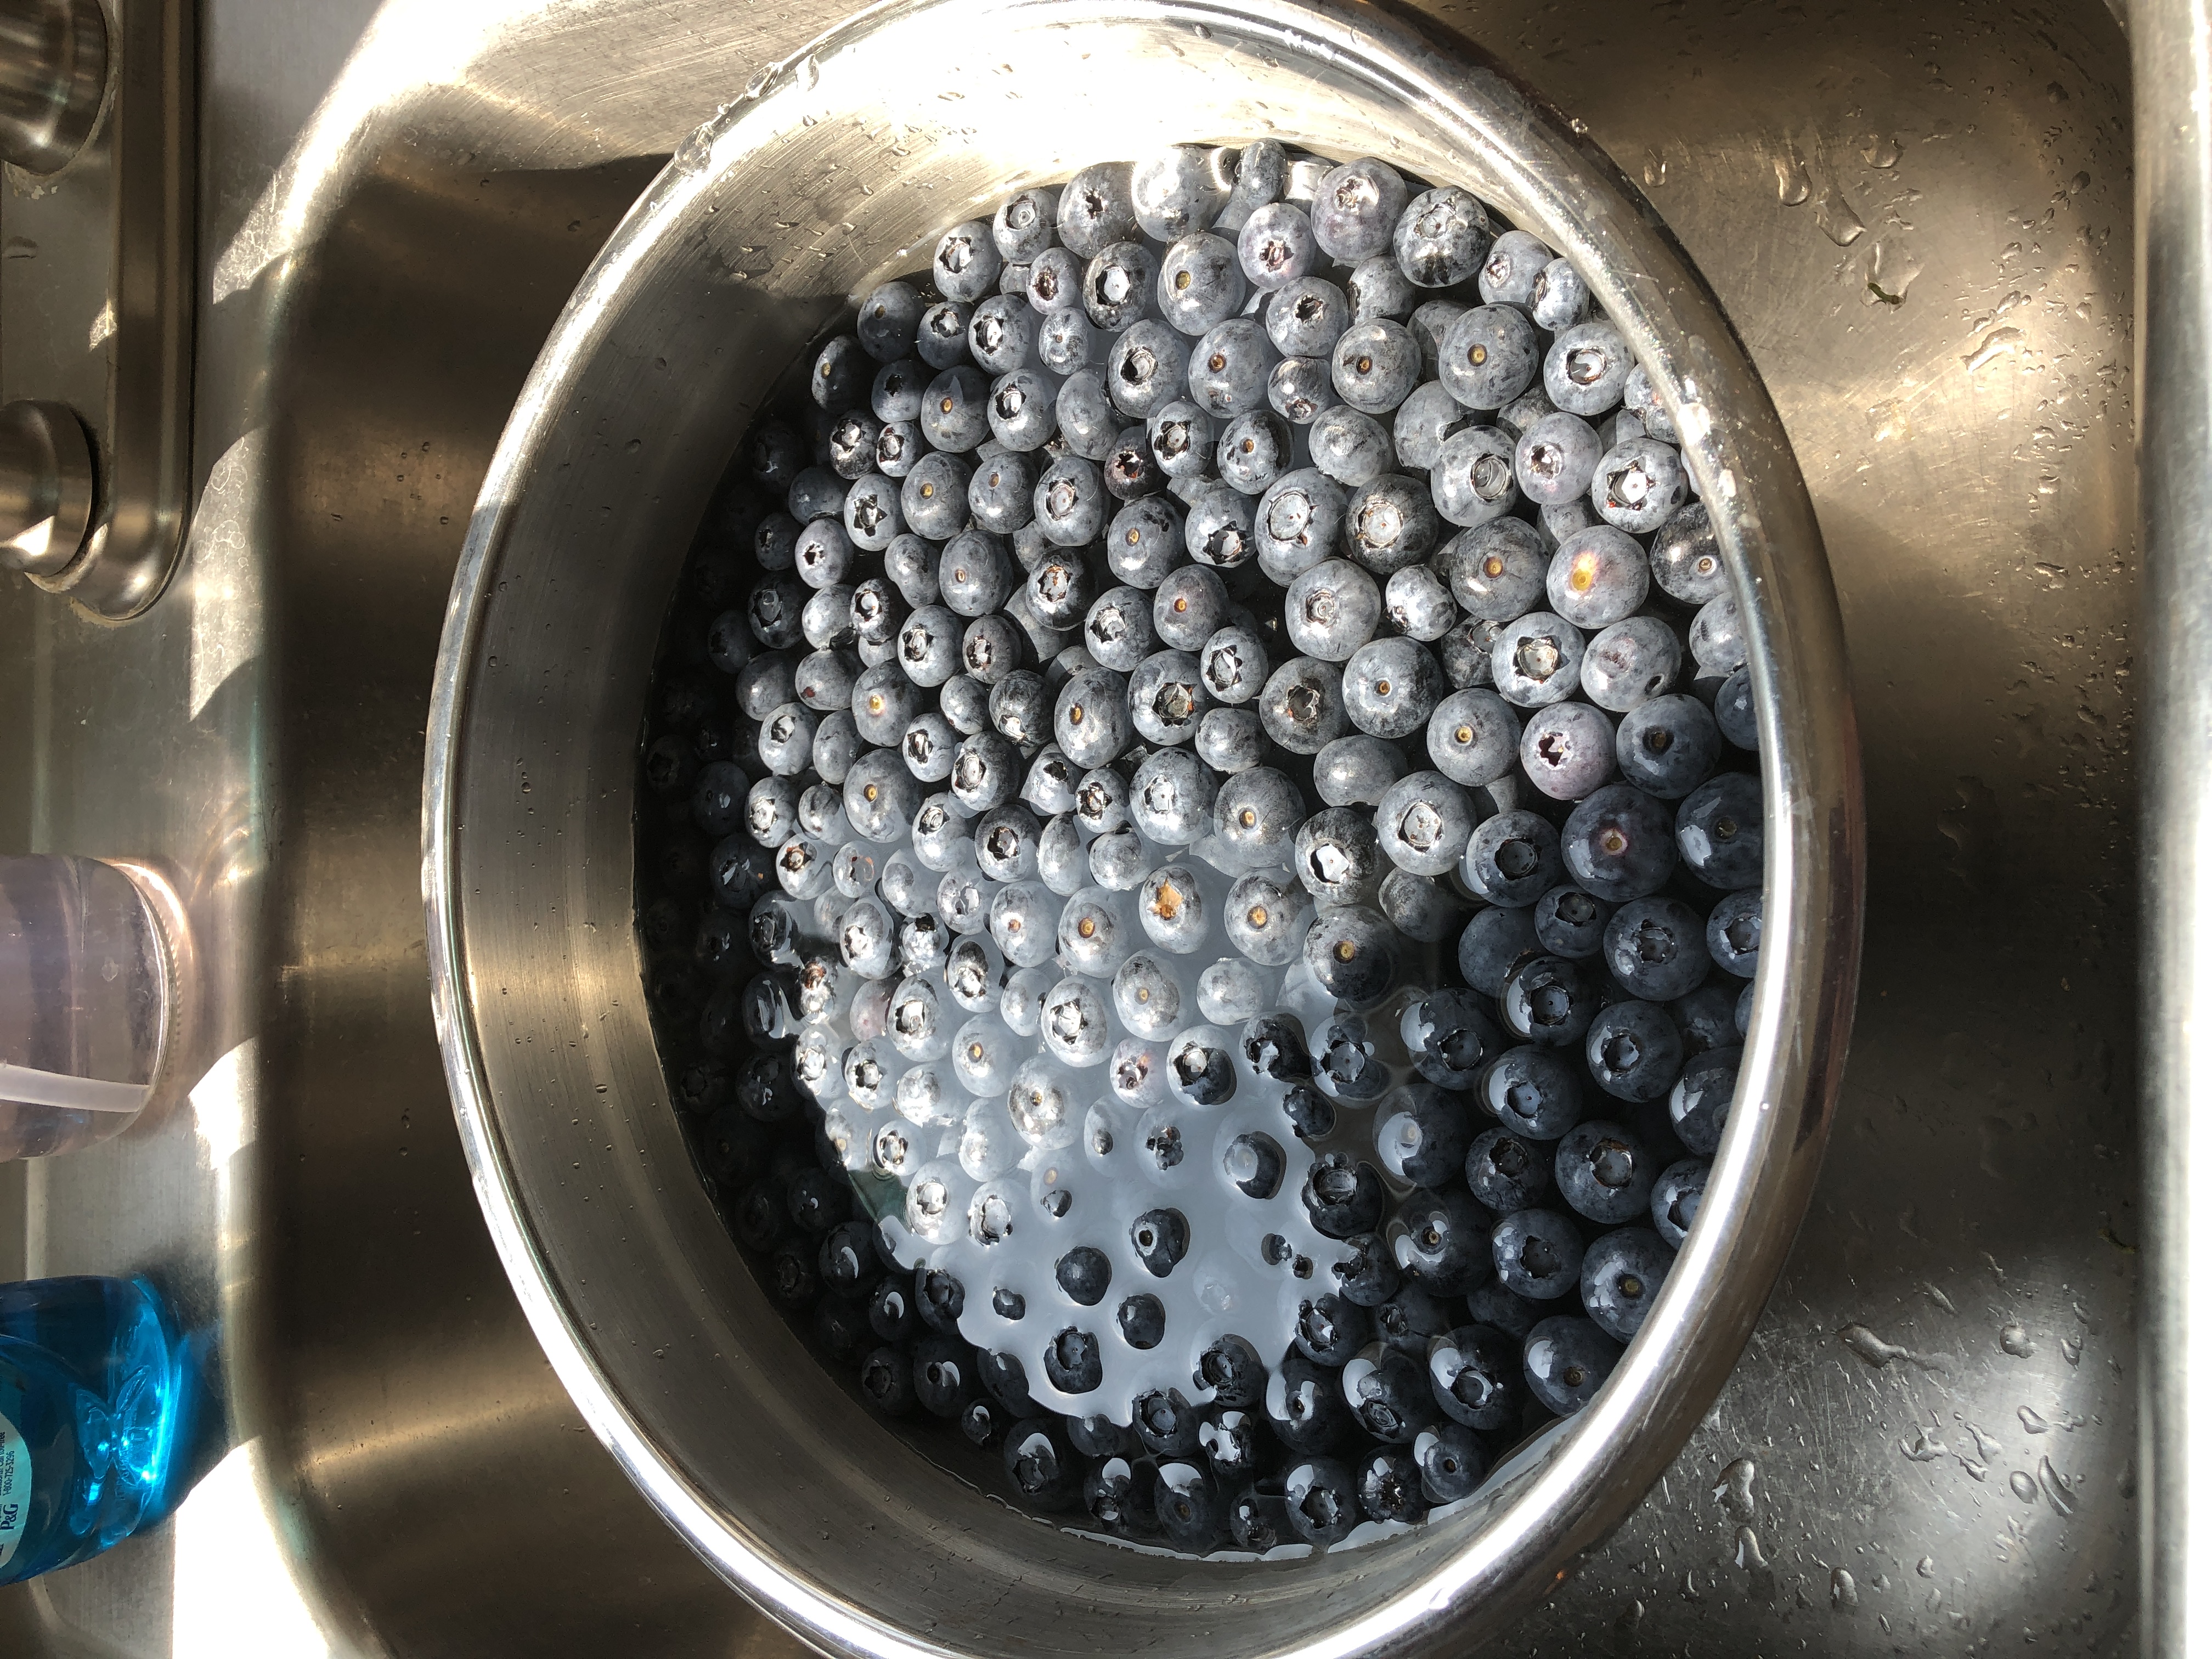
You might never need to deal with 30 pounds of blueberries all at one time…unless you can get them like I did, through the local Kiwanas. Every year they have a fund-raising sale and bring in 10-pound boxes of blueberries, fresh-picked from New Jersey. the berries are beautiful! After washing all 30 pounds, I think I had to discard less than a cup because of blemishes. This year’s crop was delicious!

If you check back on my blog to one year ago exactly, I processed 20 pounds of blueberries. I don’t need to repeat the description but you can read about it here: https://marykisner.com/blueberries-galore/

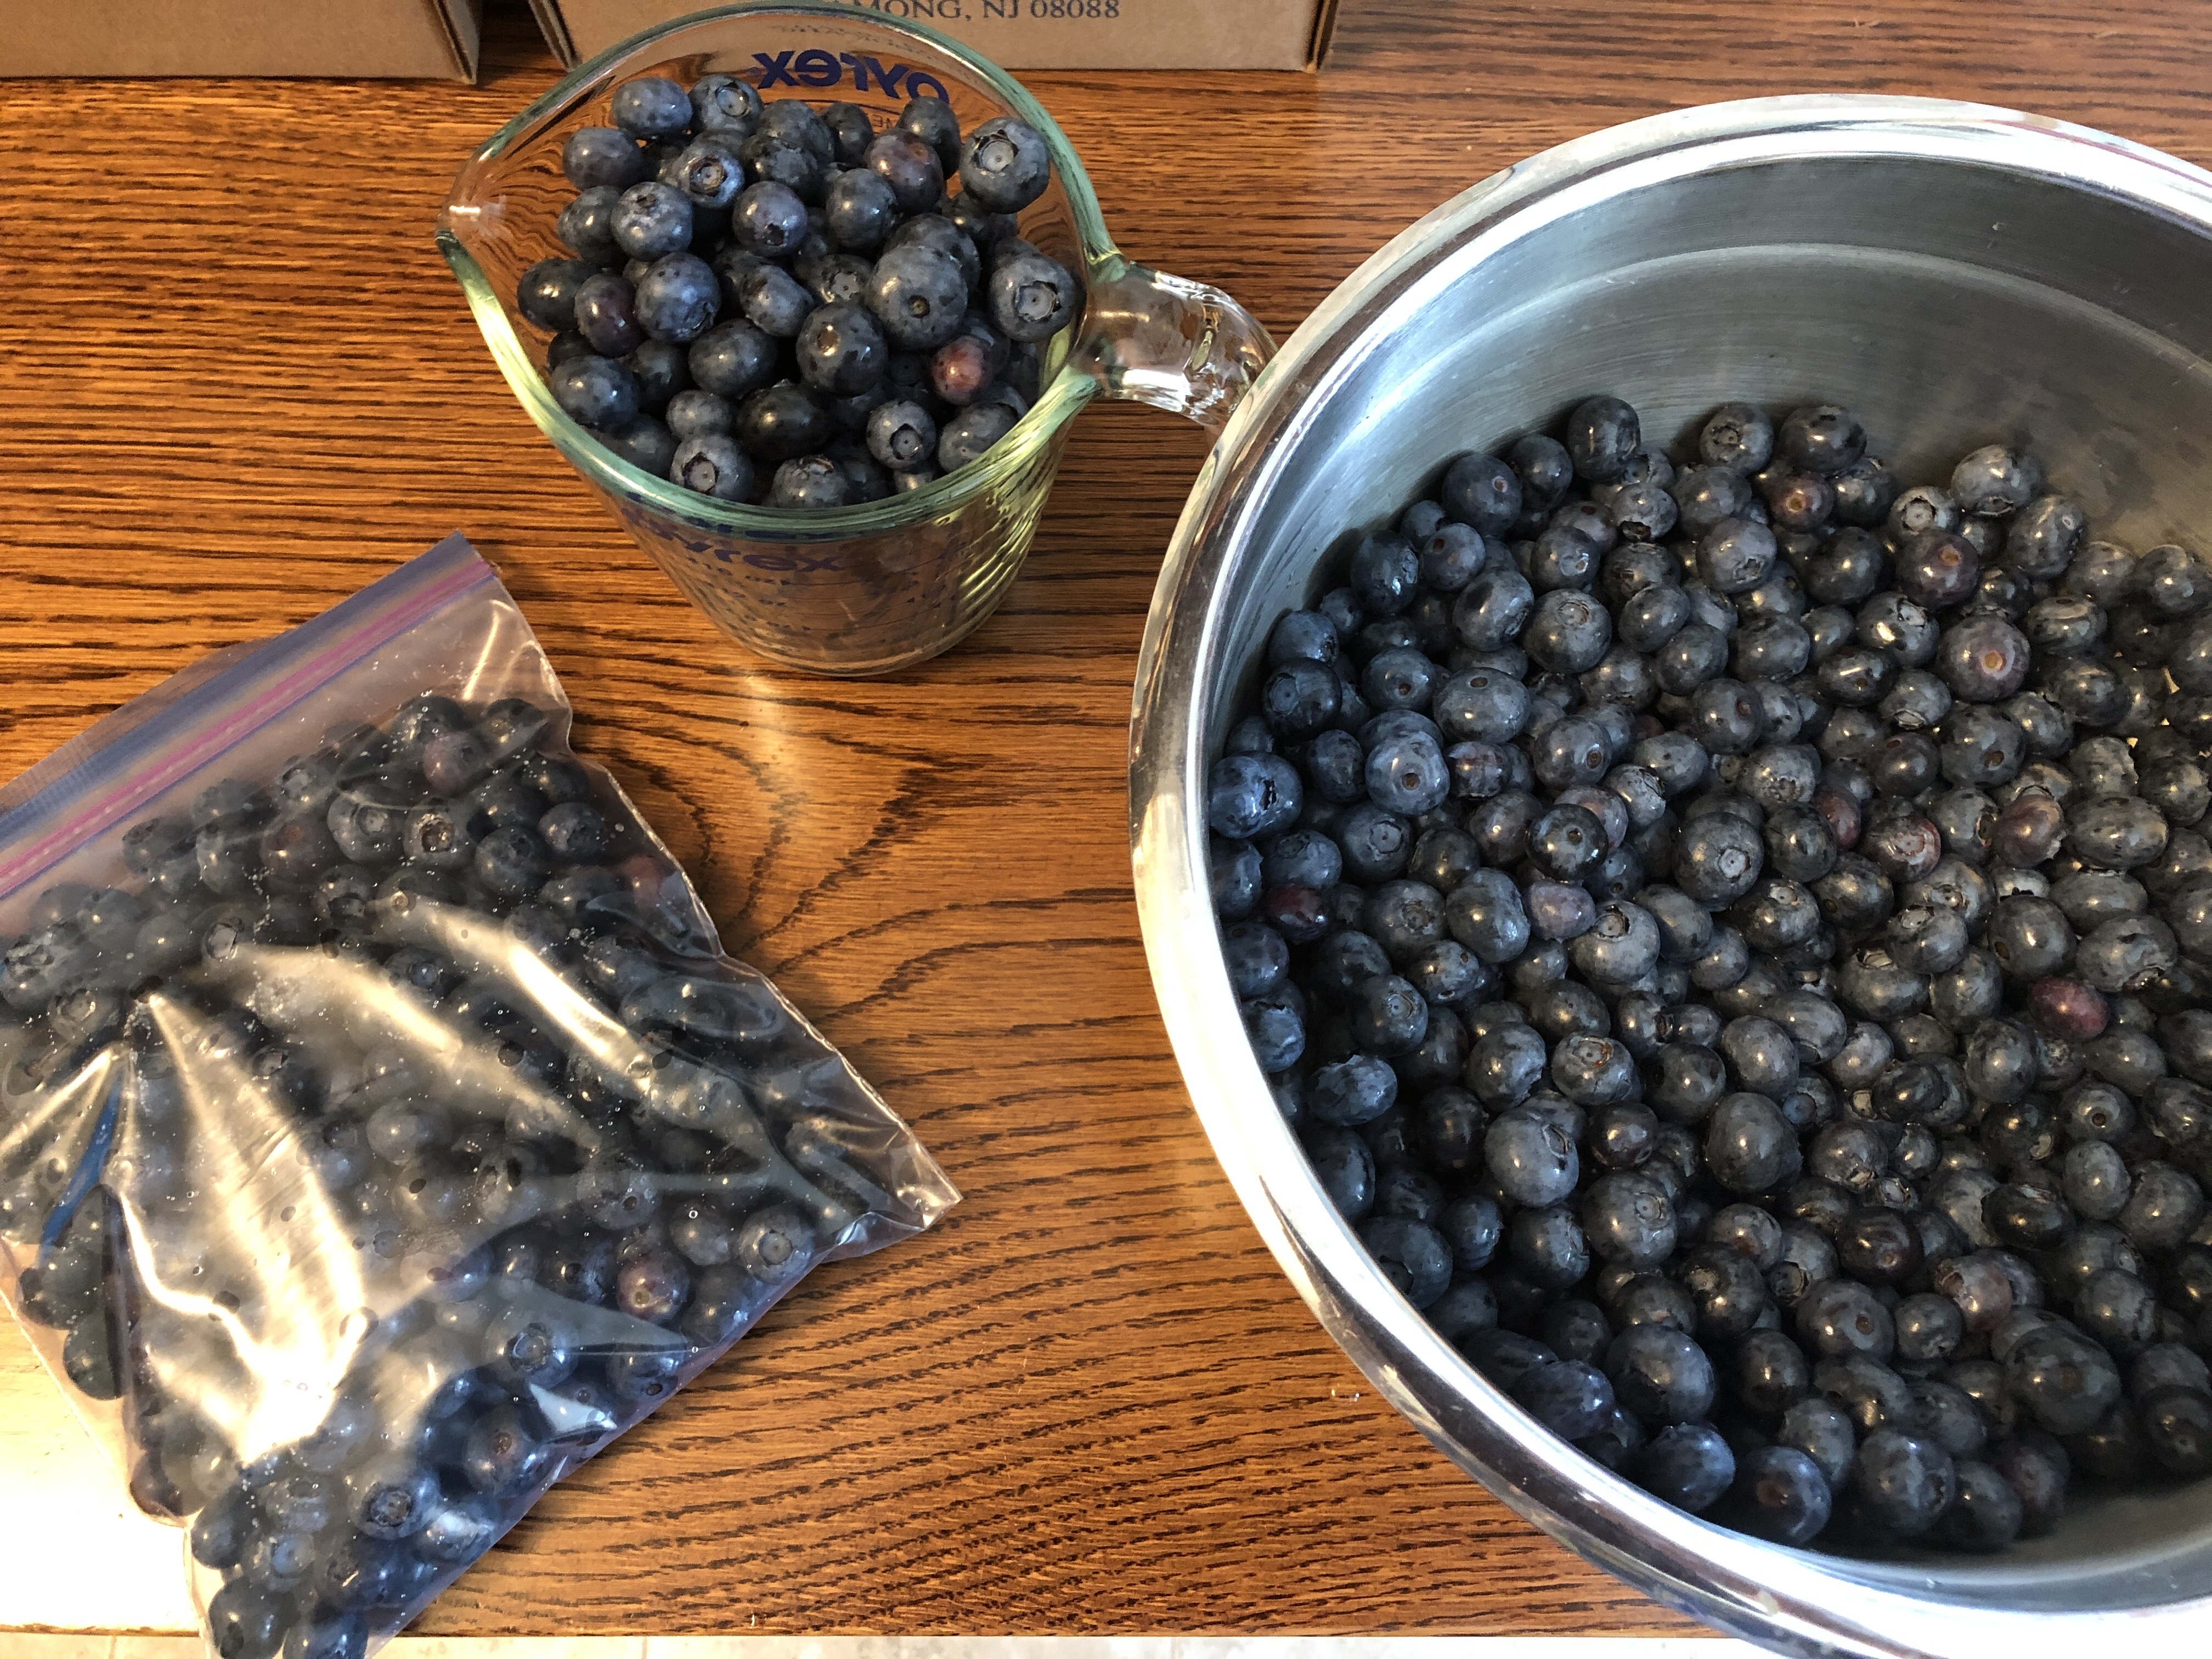
So, the first 20 pounds of berries I washed and packed into zip bags, 2 cups in a bag:

So, what do I do with all these frozen blueberries?

First, they are great on cereal or oatmeal. the frozen berries roll out of the bag like marbles and within a minute or two they are thawed enough to eat!

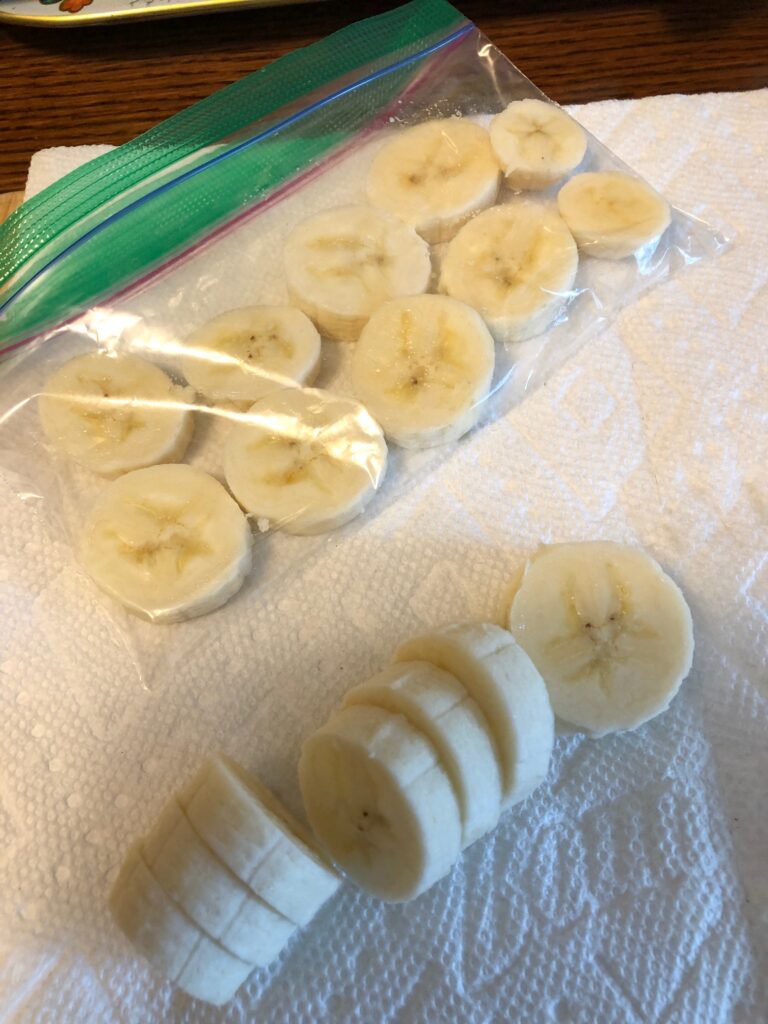
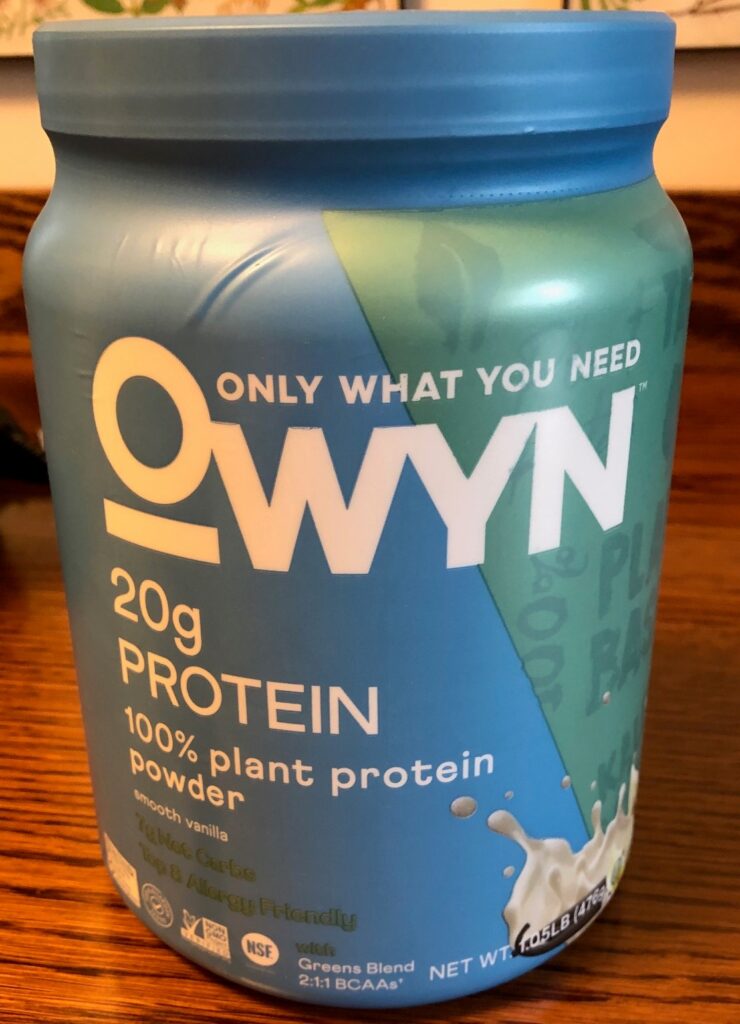
Second, I can toss about 1/2 cup of berries into my breakfast smoothie along with frozen banana slices and two scoops of my vegan protein powder. The frozen berries act like little bits of ice and thicken up the smoothie.

I wrote about freezing bananas here: https://marykisner.com/freezing-bananas/

This is the protein powder that I like, but there are many to choose from.

The third thing I do with these frozen blueberries is make blueberry muffins. You can read about my favorite muffin recipe here: https://marykisner.com/the-best-vegan-muffin/

I make these especially for me because they are vegan and they have bananas and walnuts in them.

I’m now working on another muffin recipe that has only blueberries…no bananas or walnuts. After I give the recipe a try, I’ll post it for you.

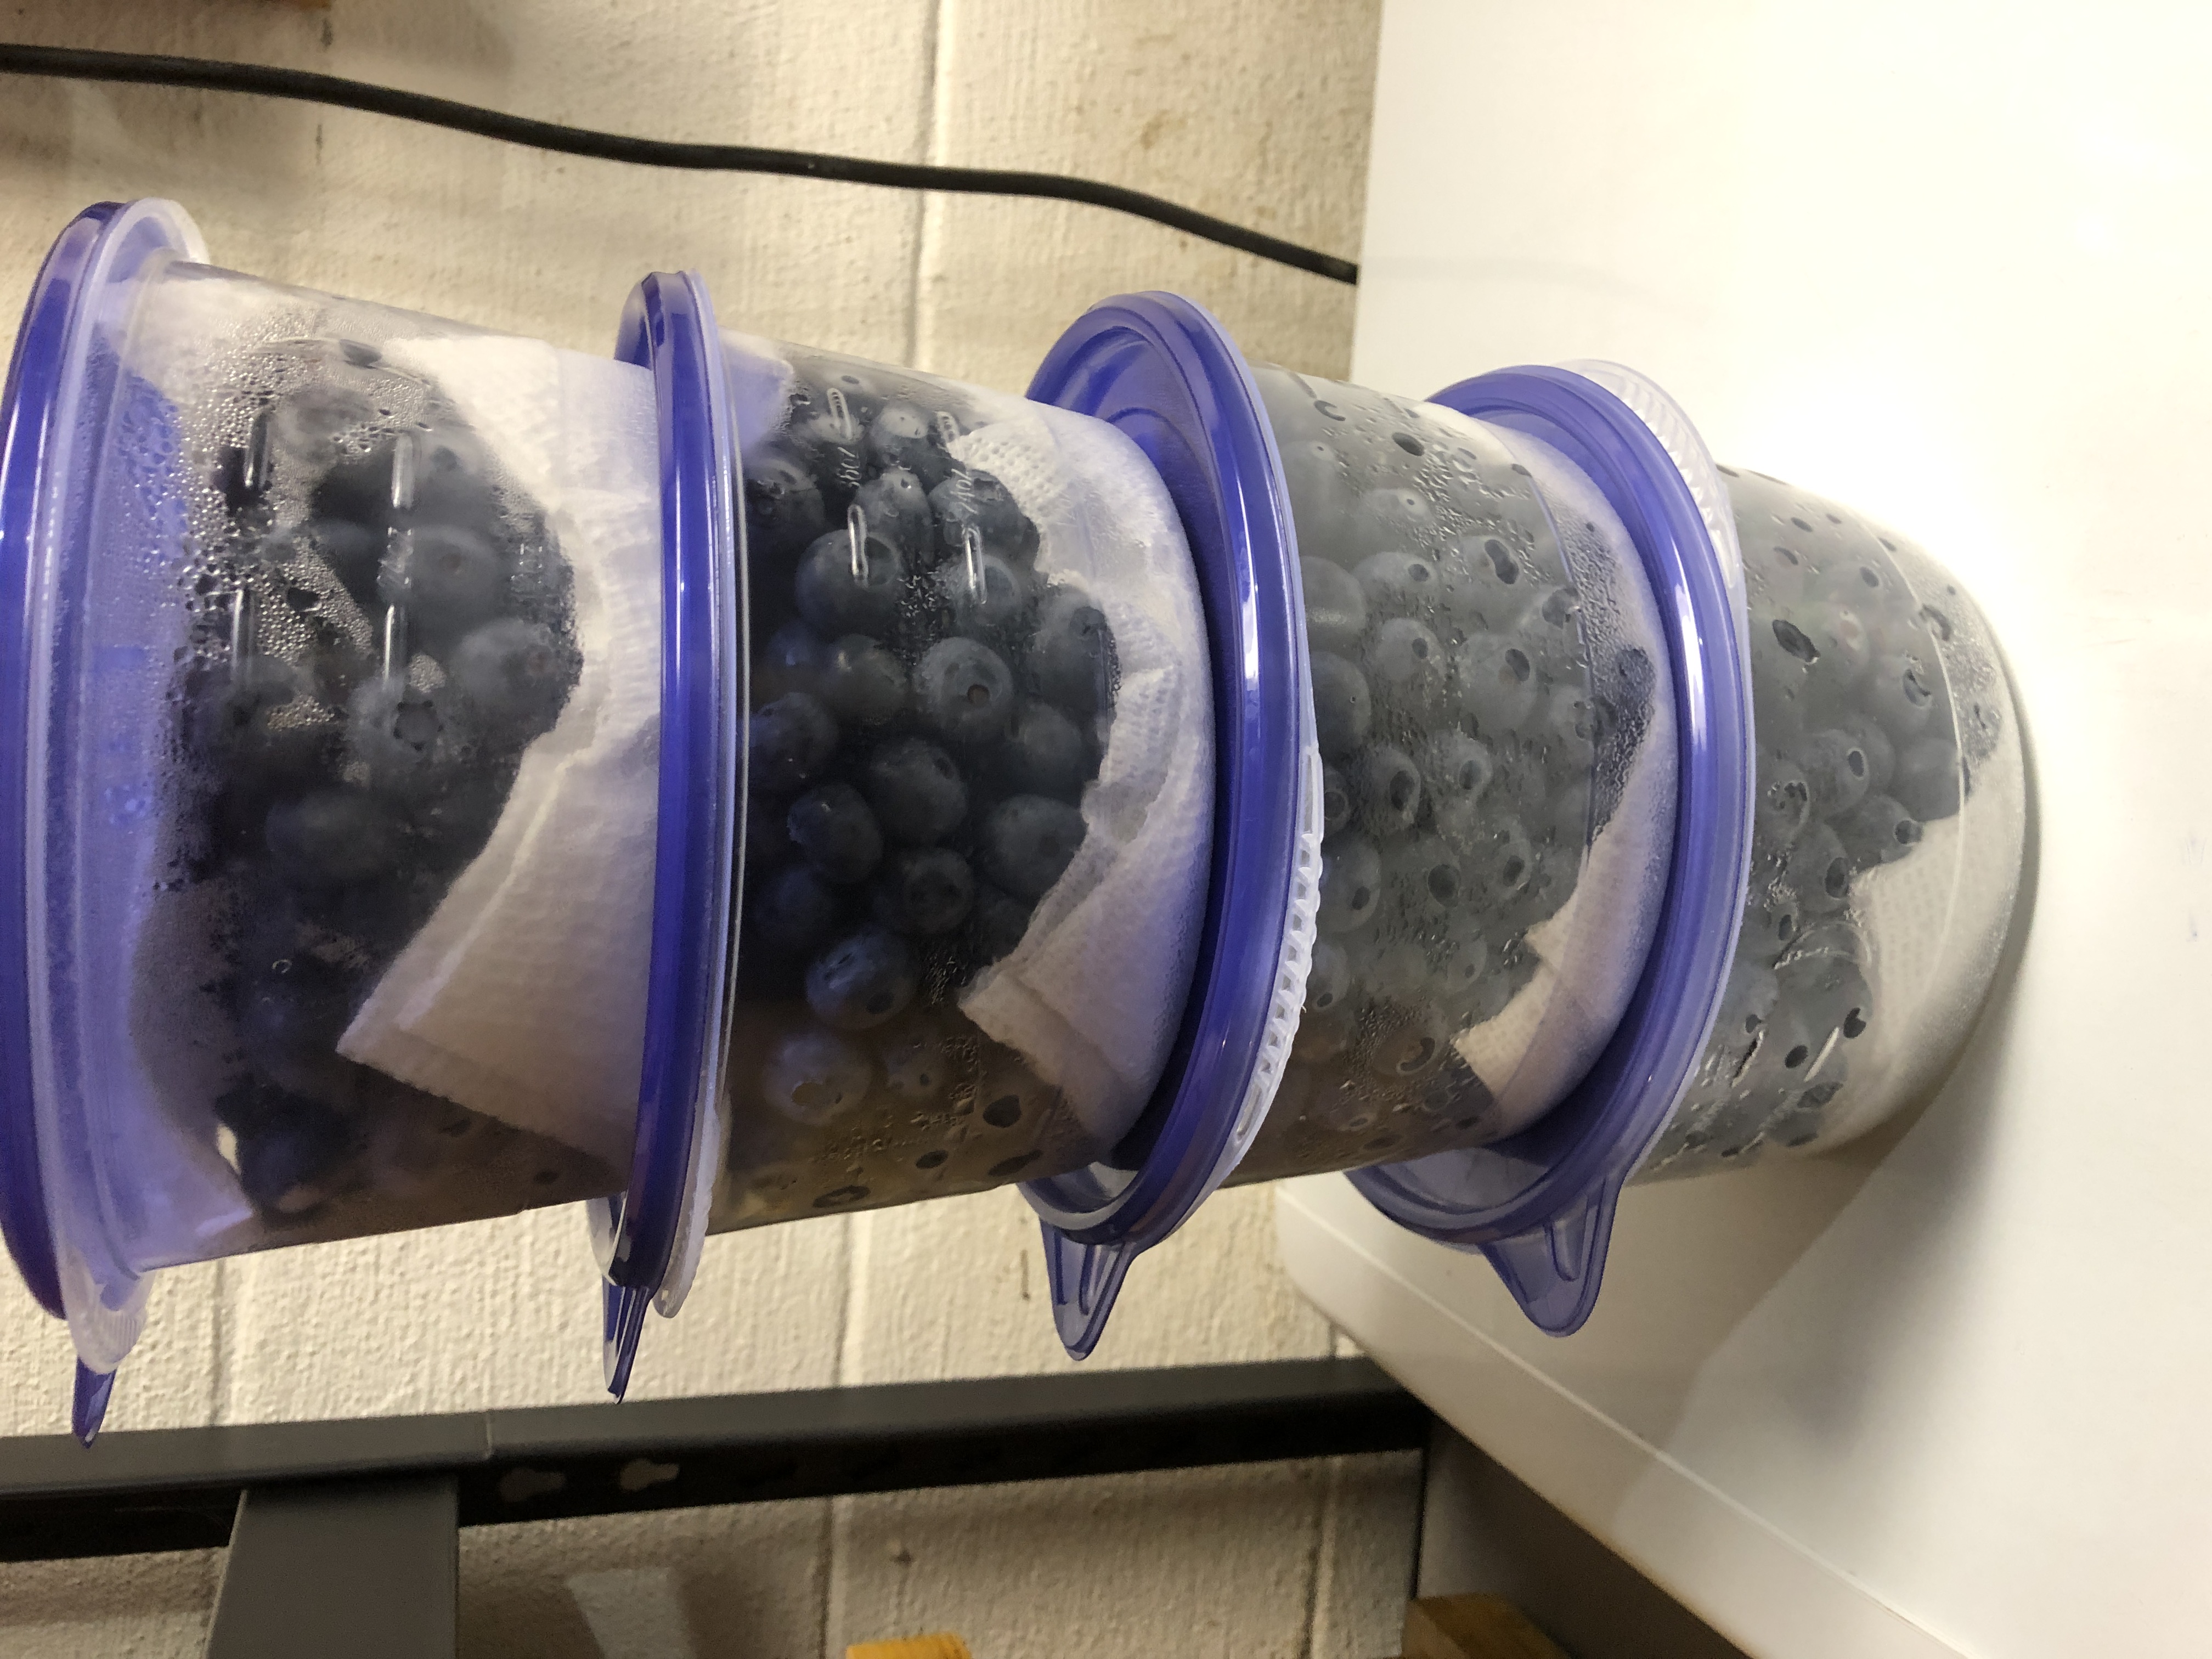
The last 10-pound box of blueberries will be kept fresh just to eat. Ted’s family will be visiting next week and the berries will be good to munch on! Enjoy!

Making Single-Use Soap

Three years ago, at the beginning of the Covid lockdowns, I was focused on making single-use soap that I could carry in my purse in case I needed it. I came up with several options…and then many public places closed and I wasn’t going anywhere anyway. Oh well!

Those first attempts were made by melting Melt & Pour Soap, pouring it onto wax paper, letting it cool and then cutting out hearts with a cookie cutter.

This was a test of patience and I ended up with a few tins of single-use soap that I tucked away just in case.

Recently, I was reading an article about Cheryl Hines. Cheryl is an actress and is married to Robert Kennedy, Jr. She and her daughter, Catherine (Cat) have started a beauty products line that focuses on using less plastic waste. Apparently, plastic waste in the beauty industry is one of the highest contributors to plastic pollution in the world! The company, Hines+Young (see www.shophinesyoung.com) makes high-end products with less plastic waste. Products are packaged in recyclable glass and aluminum tins.

I was interested to read about this company and found one of their products was a tin of single-use soap! How about that!

I can’t seem to post one of their pictures here, but the pieces of soap look like they were poured into a round mold and then cut like a pizza. That made sense! It would be quicker and easier to pour with less waste.

Of course, the website included the ingredients in the soap! They listed:

Oat protein, vitamin-rich sustainable palm oil, hydrating coconut oil and an invigorating blend of clove, sweet orange, and tea tree essential oils.

OK. I could do something similar…

Colloidal Oatmeal and Shea Butter Melt & Pour Soap Bases, Sweet Orange and Manuka Essential Oils, Vitamin E oil, soap tint. (I prefer Manuka Oil to Tea Tree Oil).

I started with a brand I frequently buy:

I chopped up 1 pound of Oatmeal Soap Base and 1/2 pound of Shea Butter Soap Base.

I put the chunks in my 4-cup heat-safe glass measuring cup.

Then the cup is placed in a saucepan with water. Water is brought to a simmer and the soap melts without getting too hot.

Of course, I usually make two at a time:

It made a lumpy mixture because of the oatmeal.

When melted, I added 1/2 tsp. of Vitamin E oil, Sweet Orange and Manuka Essential Oils. One drop of soap tint made the soap a very light orange color.

Pouring into the mold was the hardest part. I wanted a thin circle, however, the oatmeal soap got thicker as it cooled and by the time I was done pouring it made circles about 1/4″ thick.

I made a total of 32 round disks of oatmeal soap, each about 1/4″ thick.

The rest I poured into regular molds and my travel size heart shapes.

Next, I took my soap cutter and cut each circle into 6 pieces:

Each piece seemed about the right size to wash my hands. About 8 pieces fit into one of my 2 oz. tins:

I made 20 tins with about 8 pieces each. Perfect to share with my high school friends at our next luncheon to see if the size of each piece is right to wash hands. I’ll also see if the Oatmeal/Shea Butter is popular. I suspect a thinner piece would work better…I used one piece all day in the kitchen before I wanted to throw away what was left! Enjoy!

Garden Update June 18, 2023

After struggling over a month with no rain, finally we are seeing abundant rainfall! The grass is slowly greening up and the garden doesn’t seem so parched. More cloudy days and rain really help. Time to show you some pictures!

In the patio planters, I’ve harvested radishes three times so far. The newest crop is pretty tiny but I have several bags in the refrigerator.

Another section has radishes a little smaller, but the lettuce in front has been donated to some bunny friends (or should I say…a friend with bunnies)!

The lettuce we have the most success with is Black Seeded Simpson, so I’ll fill in empty spaces with more of that.

Remember that single sweet potato that was growing on my kitchen counter? It is going to make a great plant. Not sure if we’ll actually get any sweet potatoes out of it!

The small potatoes that were sprouting in the kitchen are also doing well in the ground!

The beets are lush enough so the weeds don’t have a chance. I’ll thin them when they get bigger.

The last section of the raised beds was going to be several herbs…however, the seeds must have been too old…nothing came up! So, we put in the last few Delicata squash plants we had. A good choice since it’s quite handy to the bird feeder and the visiting deer won’t eat them. We’ll see!

Up in the garden on the hill, the lavender is doing well. I’ve cut the first flowers to encourage the plant to send up more.

The tomato plants have lots of blossoms so I’m encouraged that we’ll have lots of tomatoes this year!

Boo hoo! The poor carrots are having a hard time. I think the very dry hot weather was tough on them. You can hardly see them!

You can see how dry and cracked the ground is even though Bert watered every day!

The beans seemed to respond to watering over the last month so they look pretty healthy.

The Delicata squash plants finally look good. Bert had to replant them several times. Not sure why they didn’t sprout. They are a vining plant, so we’re not sure if we’ll have to add a climbing trellis.

And finally…the Echinacea!! I’m anticipating some beautiful flowers pretty soon!

This is about the time I’m glad that lots of people around here have gardens and sell produce at the Farmer’s Markets. We certainly couldn’t grow everything we need in our small garden, but it sure is rewarding when we eat our first home-grown tomato!

Crochet a Double Thick Hot Pad

I haven’t thought about hot pads for many years. A dear friend made me crochet hot pads several times over the years and I love them! I really wanted to learn how to make more, but they always looked so complicated. I’m a single crochet kind of gal! She reassured me they were simple to make.

I finally looked up the instructions online. I found this link:

https://www.mielkesfiberarts.com/diagonal-hotpad/ that let me download a PDF of the instructions.

I stopped at JoAnn’s to pick up some yarn. The best yarn for these hot pads was 100% cotton…I didn’t want them to melt in a hot oven! The back of the skein says I should use a size H crochet hook. That worked for me but you could go smaller with the G or larger with the I hook.

The instructions say to make a chain of 26 stitches. That made a pretty small hot pad! I tried 32 stitches and 36 stitches. I now have three sizes of pot holders!

These hot pads look complicated but that first row of stitches is basically across the diagonal of the hot pad. The hardest part of the instructions was to crochet in the back of the stitch…so I took some pictures as I went along.

At first, it looks flat as you crochet around and around. Eventually, the ends curl toward the middle.

Here’s a close up of using the back of the stitch:

Finally, I couldn’t figure out when to stop! My friend explained I should have half as many rows as the number of stitches I started with. Very helpful information! So, by starting with 36 stitches, I should have 18 rows from my starting row:

Almost done!

Ready to sew the diagonal seam together:

After making three different sizes, I think the most useful size for me starts with 36 stitches. Try it yourself! Enjoy!


Exploring the New Location of Apple Hill Antiques

I’ve been watching with interest as Apple Hill Antiques relocated recently. It had been at the top of the hill on Gerald Street, just off Rt. 26 (E. College Ave.). You can see from this map that they didn’t move too far…the star on Rt. 26 is their new location. They are now in the building that was the former Tubbies Mattress Store. It does have a second floor, so the whole shopping experience felt like there was lots more to see.

Here is their new brochure:

Usually, I shop at antique stores for specific items…like I did in 2021 for vintage fabric (see https://marykisner.com/finding-vintage-fabric-at-apple-hill-antiques/). The way many places are organized it’s pretty easy to walk down an aisle and scan the shelves. If I was looking for Red Ruby glassware, it would be visible from the aisle.

This time, I wanted to give you an overview of the many kinds of things they had available. The smaller size of this new facility meant sellers had smaller booths and they were often tucked around corners or placed back to back. Walking through the aisles was a slower process…which meant I saw more cool stuff. It felt like sellers did a great job keeping their stuff less cluttered. I suspect items are rotated more frequently. I’m sure many of these sellers also have booths at other antique co-ops.

I tried to take pictures of most of the displays but as I wandered out the door, I realized I missed a few completely! I’ll just have to go again!!

For example, there wasn’t just one booth with lots of books. Almost every booth had a few books, often relating to the rest of the items…like a few cookbooks stacked near antique cookware displayed on a kitchen cupboard. Since I was thinking about picking up a few old books for my grandson it became a game to find all the books tucked into corners.

Even the offerings of vinyl records were scattered throughout the booths. A collector’s dream!

Here’s an example of what it means to have Fine Antiques and Collectibles in a Gallery Setting:

Even doll house miniatures are in a display doll house!

I didn’t expect to find this bear rug looking at me as I came in the door! (Made me think of all the times Bert went bear hunting and did not get a bear. So glad I didn’t have to figure out where to put a full-size bear rug. This one was backed to be hung on the wall!)

This stuffed baby bear was upstairs, holding the seller’s cards! Clever!

From glassware to antique tools and vintage linens to collectible figures, I saw many beautiful things.

Of course, can’t forget collectible coins!

Vintage wedding dress and baby seat:

Remember Paper Dolls?

How about guitars and an accordian:

And my favorite surprise…a cow cookie jar that made me smile!!

So many wonderful booths to explore. I found many familiar items from my mother’s kitchen and favorite books from my childhood. If only I had saved them! Oh well, come to the new location of Apple Hill Antiques and explore the past through lovely vintage collectibles! Enjoy!

Making Sweet Potato Yeast Bread

Just one more recipe using the mashed sweet potatoes I made the other day…see https://marykisner.com/prepping-sweet-potatoes-for-other-recipes/ I froze the mashed sweet potatoes in 1 cup containers so I can easily make this recipe and the previous one that made buns. The sweet potato buns recipe can be found here: https://marykisner.com/making-vegan-sweet-potato-buns/

Making Sweet Potato Yeast Bread

The recipe I made yesterday made two large loaves of bread that were light and delicious. The recipe did call for butter and one egg, so if you are vegan, use plant-based butter and eliminate the egg. Here is the recipe:

I was very interested that this recipe uses half whole wheat flour. It was still very light and held together after baking. It was also an easy recipe that could be made in just one bowl (I used my stand mixer bowl).

The recipe called for whole wheat flour. I usually grind my own whole wheat flour, using white whole wheat berries, so I was glad to find King Arthur White Whole Wheat Flour at the grocery store. That saved me a step.

Mixing everything in one bowl reduced the clean up time!

This did make a very nice soft dough.

I did not do a very accurate job of dividing the dough into two loaves. I had to cut the biggest one in half to fit in the bag for the freezer. Next time I might make three loaves instead!

Look how beautiful the bread is! Delicious too.

Keep this recipe in mind when you cook sweet potatoes…cook an extra, mash it and freeze it. Makes a special loaf of bread! Enjoy!

Gardening in a Drought

Hot and dry! That’s been our weather the last few weeks. We have had no measurable rain since May 2. It’s tough to see the brown spots in the grass and the cracks in the dirt in the garden. Thought I’d share some pictures. So far, Bert has been able to keep up with watering the garden plants directly but not the shrubs. I guess he won’t have to cut the grass for a while…it’s so brittle it breaks when you walk on it.

The only place the grass looks good is right under the bird feeders, since every day Bert dumps out and refills the birdbath right by the trees.

Targeted watering keeps the radishes and lettuce going.

My sweet potato plant is doing well. I’m hoping I get some pretty flowers from it.

The lavender is doing well.

Some of the tomato plants have blossoms already.

The carrots haven’t been able to push through the dry earth…even with watering every day.

Green beans have popped.

Bert had trouble getting the Delicata squash to even sprout this year. Hopefully the vines will take over this space.

The Echinacea is trying to make flowers already.

Another worry with no rain is how dry the woods are around here. Campers and hikers have to be careful. Maybe it’s time for a rain dance! I’ll get right on that!