Simple Solution to Open Tight Bottles and Jars

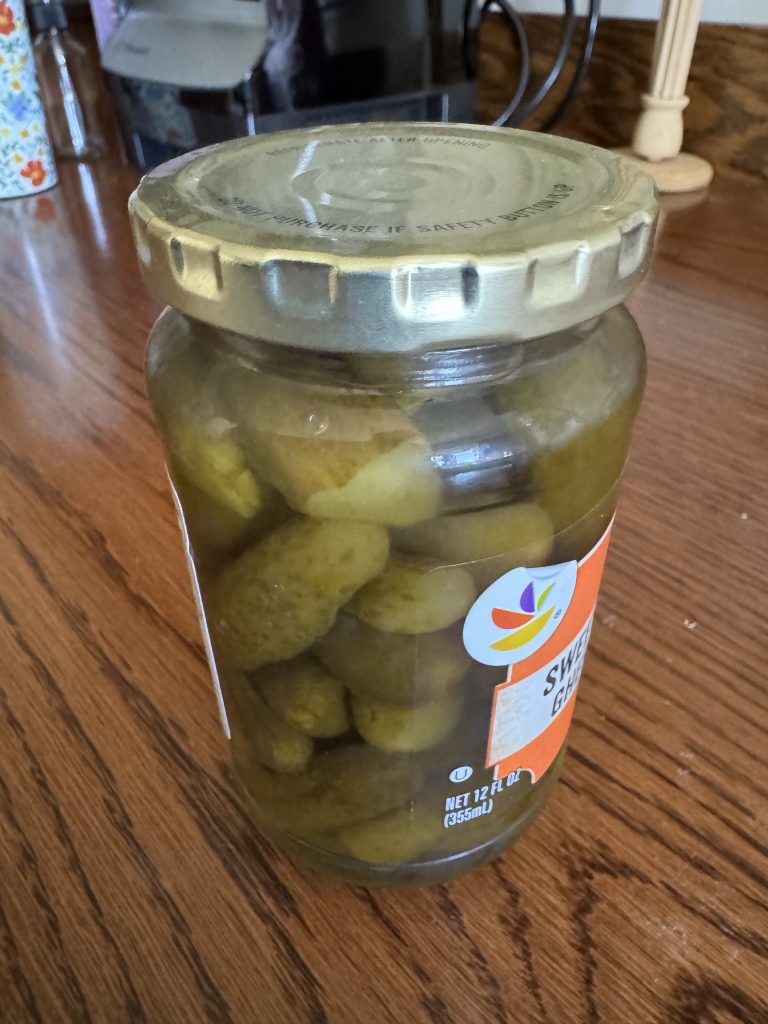
Lately, for me, the lids on bottles and jars have gotten harder and harder to open. My hands just don’t have the grip strength to turn the lids. I often have to hand the bottle or jar to Bert to open things for me. I find that VERY frustrating. Of course, it’s handy to have him open jars, but sometimes he’s not around to help. Or…I’m in the car and have a new bottle of water. By the time I use my shirt tail to help me grab the lid, I’ve soaked my shirt! I’ve even bought a bottle of Vitamin Water at Sheetz on my way to Kathy’s near Pittsburgh and had to ask the clerk to open the bottle before I headed out to my car! That’s just terribly annoying!

When I’m at home in my kitchen, I do have a rubber disk to help open things. I’ve had it for many years and most of the time it works just fine.

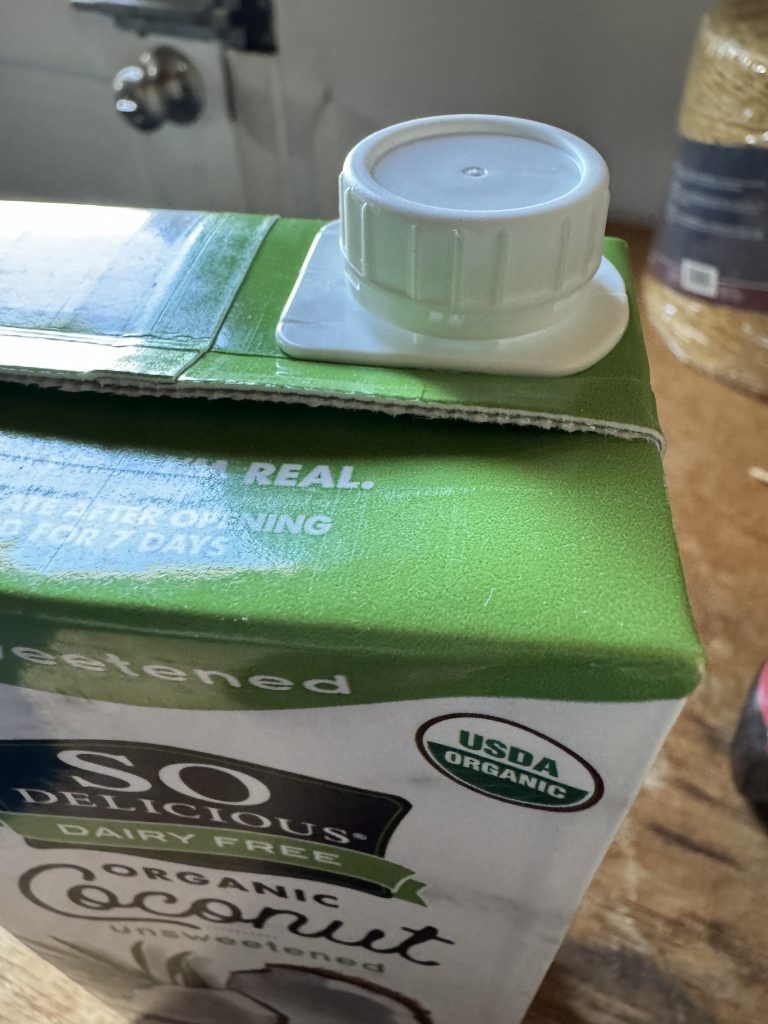
However, it’s thick and not very flexible, so opening the seal on my coconut milk box is difficult. The disk doesn’t bend around the small cap on the box.

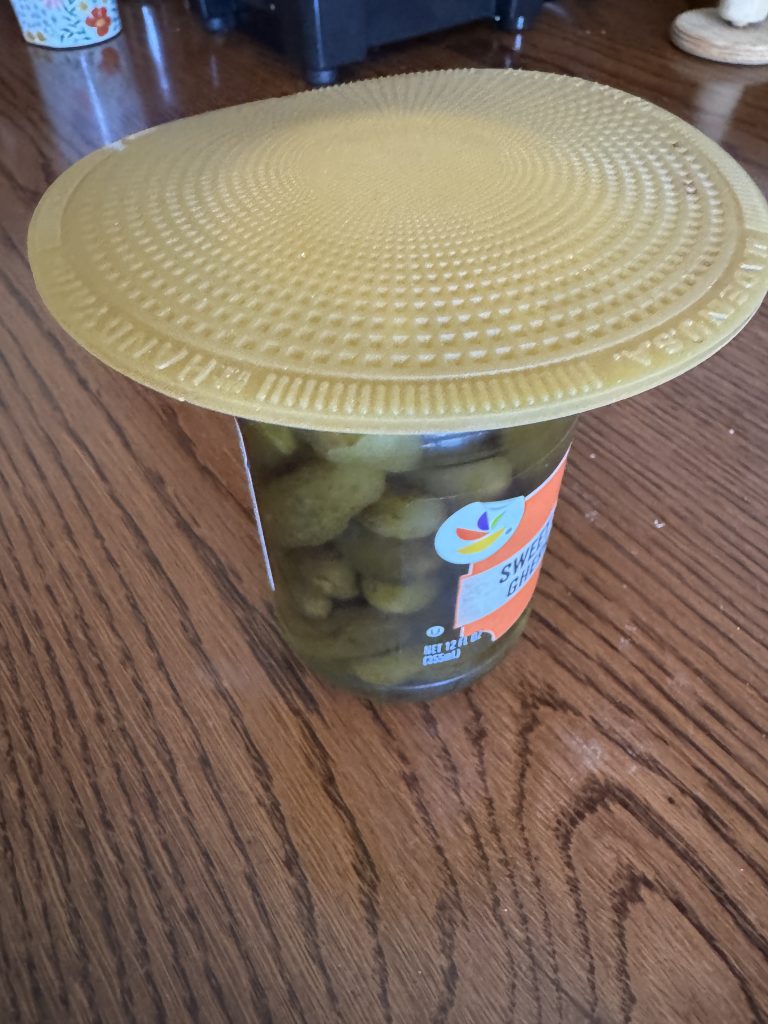
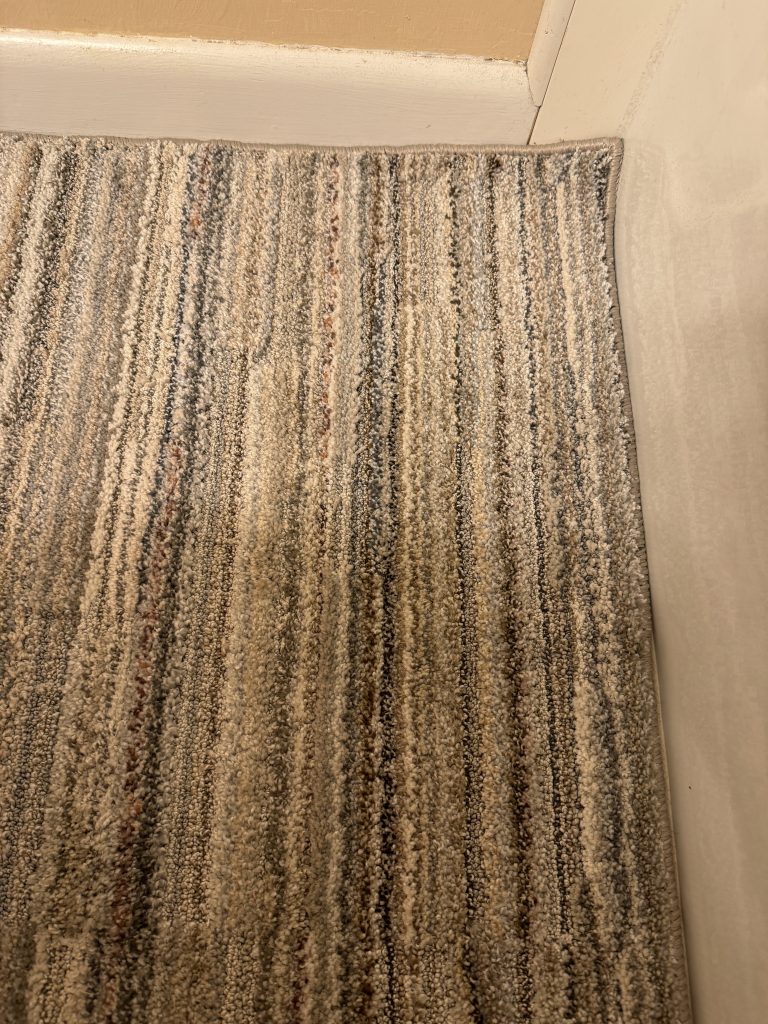
I think I’ve found a solution! A few weeks ago, I bought a new rug for the bathroom. It was very slippery so I picked up a rubberized mesh mat to go under the rug. I could cut it to size and it worked well.

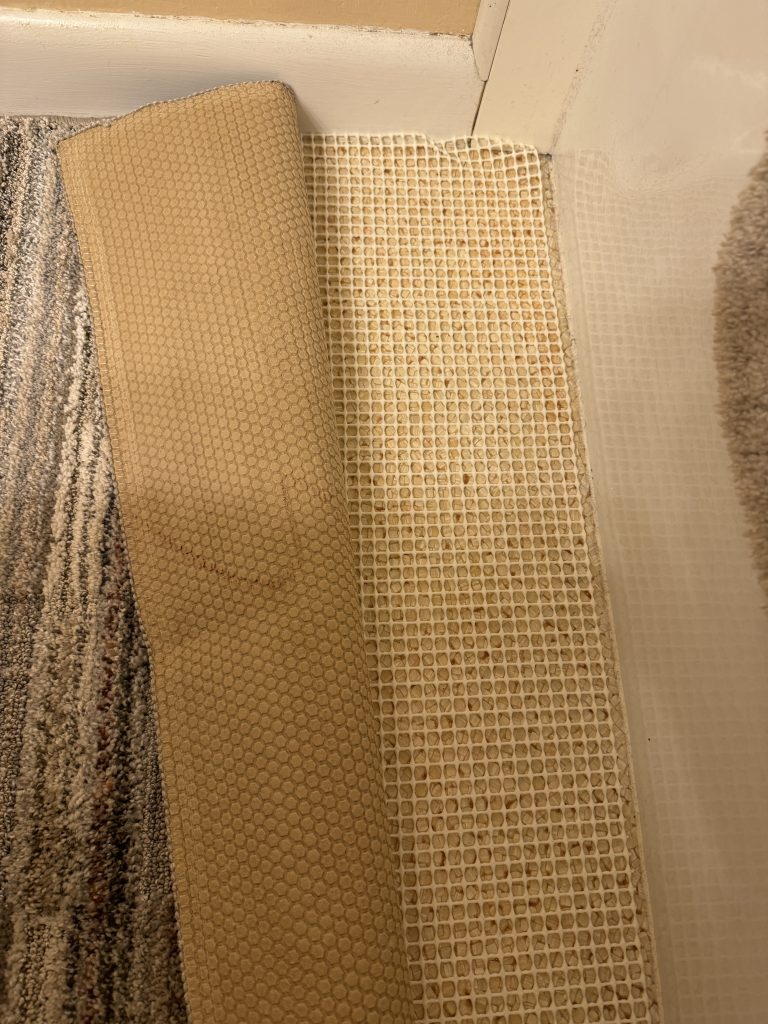
After trimming the rubberized mat to size, I was left with several pieces left over. They sat in a pile near my sewing machine for several weeks until I decided I should put them away someplace.

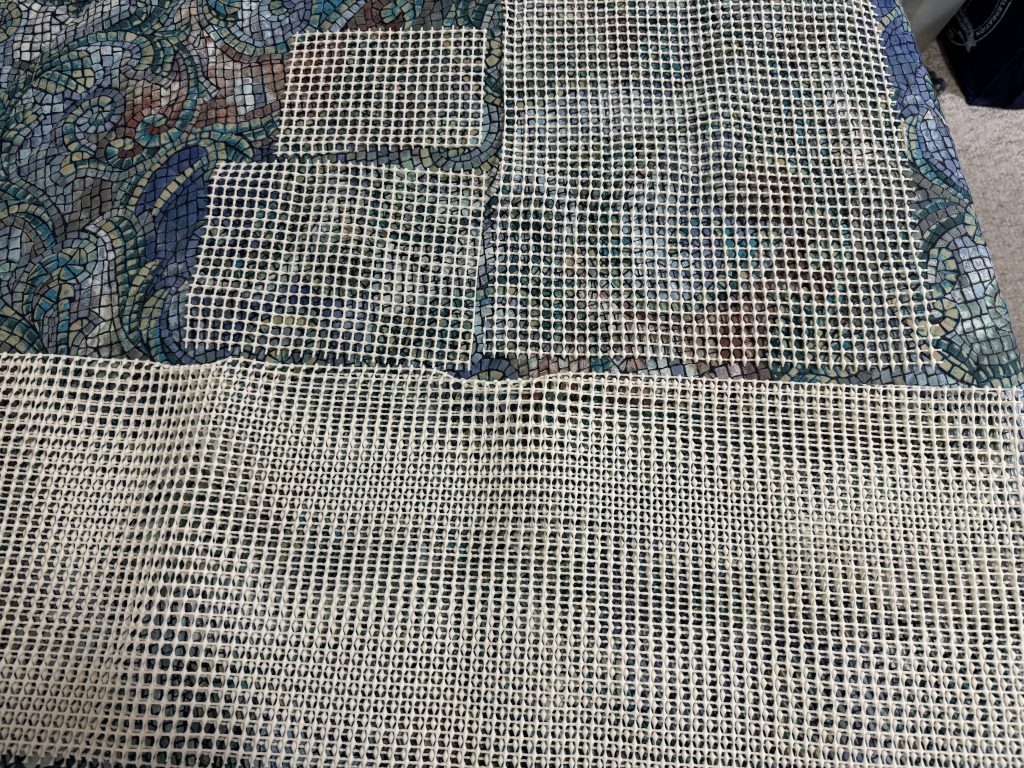
While I was checking to see how much I had, the smallest piece seemed just the right size to help me grip the top of a new water bottle I had by my sewing machine. The new bottle lids are not only very tight, but they are now about half the size as they used to be. They are hard to get my fingers around. The small piece easily molded around the top and worked great!

The water bottle lids are about half the size of a soda bottle lid.

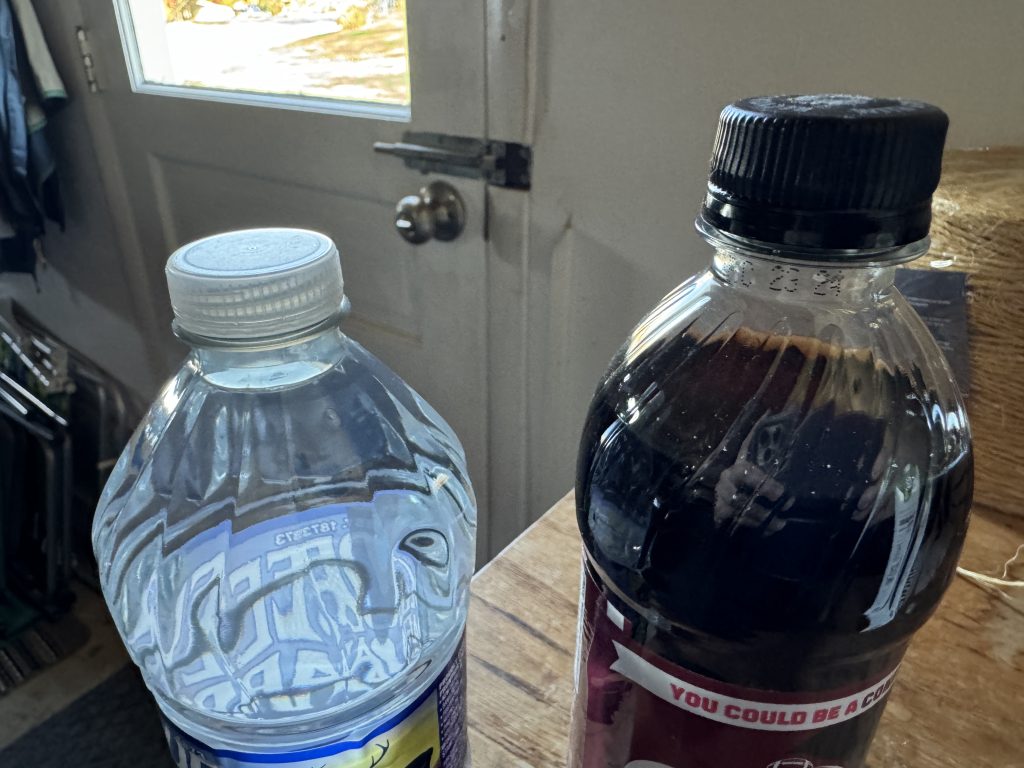
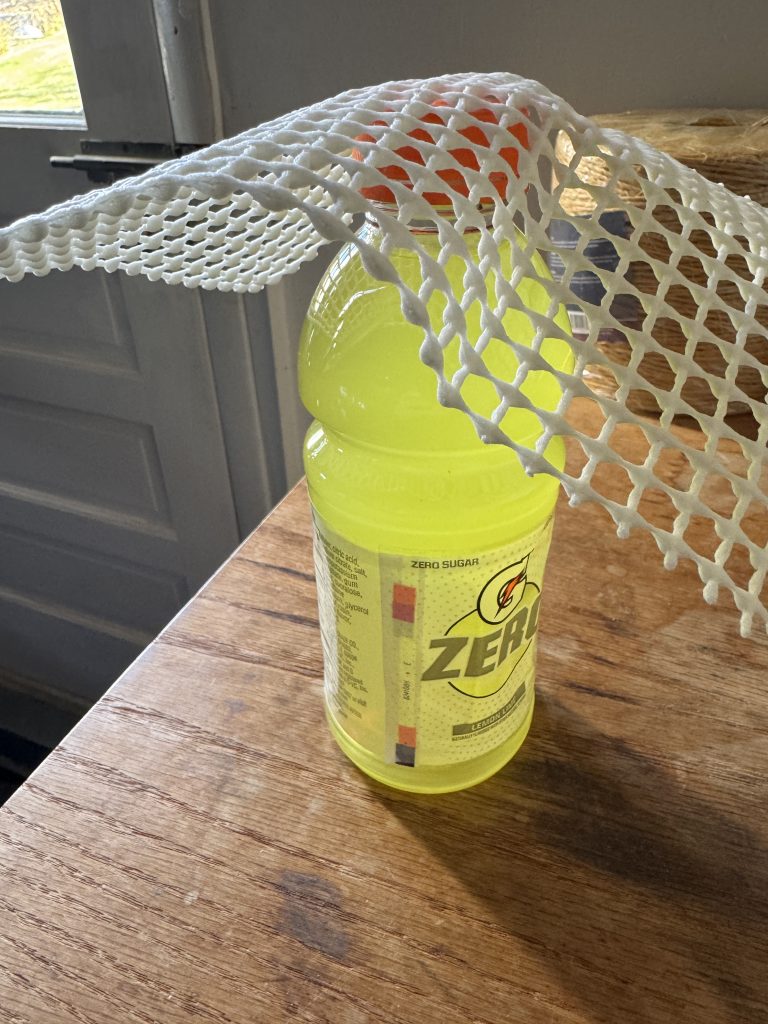
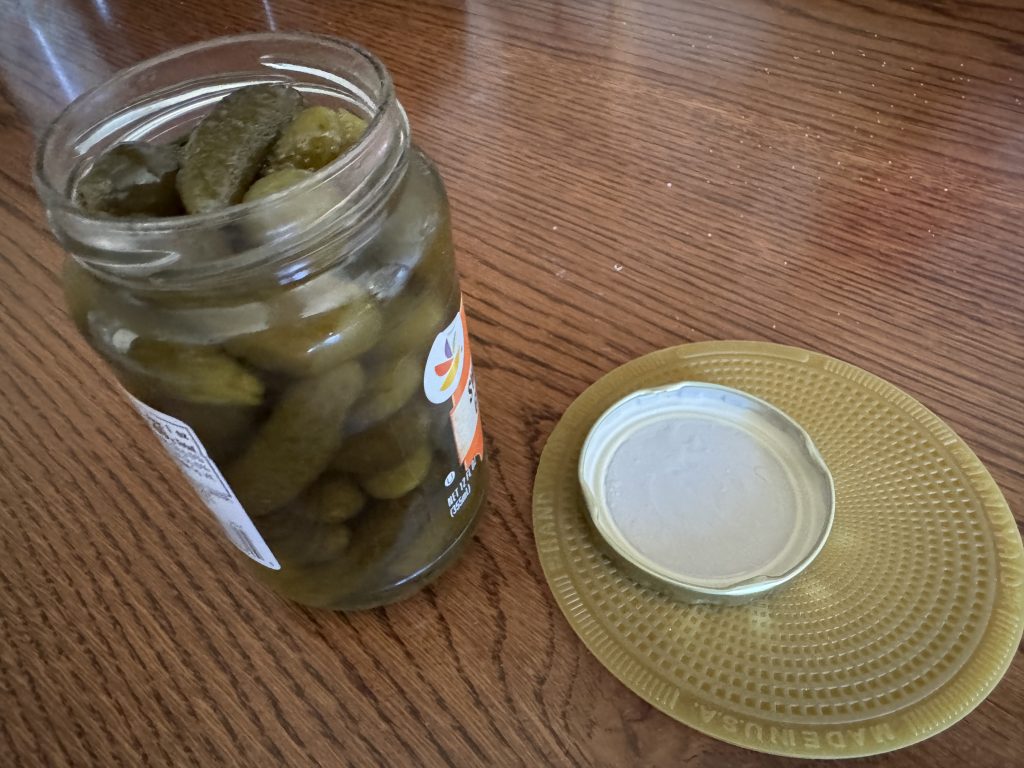
The small piece of rubberized mat was enough to open the water, the soda bottle and even the larger Gatorade bottle. Yea!

I was so impressed that I cut a few pieces (about 5″ x 7″) and put one in my car, one in my purse and one in the kitchen. I may cut more and give them as Christmas gifts! A small roll of rubberized mat is very inexpensive at WalMart…sold near the small rugs in Housewares. Give it a try! Enjoy!

Exploring Gluten-Free Baking

Gluten and gluten-free are words that are familiar to many of us that bake. Gluten is a protein found in wheat (and barley or rye) that is the main ingredient that holds together all that lovely bread. Unfortunately, some folks have an immune reaction to eating gluten and over time this reaction damages the small intestine’s lining. This prevents them from absorbing nutrients from their food. This immune reaction is called celiac disease.

The intestinal damage from eating foods that contain gluten often causes symptoms such as diarrhea, fatigue, weight loss, bloating or anemia. It also can lead to serious complications if it is not managed or treated. Because there’s no definite cure for celiac disease, most people find following a strict gluten-free diet can help manage symptoms and help the intestines heal.

Years ago, when I was trying out recipes to bake with whole grain flour, I encountered a few people who had difficulty digesting wheat products. I found it very difficult to find recipes made with gluten-free flour that actually tasted good. Recently, I found a few friends who were avoiding gluten and even discovered folks at the Auxiliary (to the Boalsburg Fire Company) bake sale asking if any of our products were gluten-free. If I could find some good recipes, that might be something we could offer at the next bake sale.

With a little research online for the best tasting gluten-free recipes, I discovered a basic all-purpose gluten-free flour that could be used almost cup-for-cup as regular all-purpose flour. They also offered a bread mix. I found their packaged flour and bread mixes available on Amazon and ordered some bread mixes to try. The company is https://gfjules.com started by Jules Shepard. See her profile below. Check them out! Besides an all-purpose flour, they offer bread mixes, pancake mixes, etc.

______

About Jules Shepard:

Jules Shepard didn’t set out to lead, inspire and advocate for the gluten-free community. But to anyone who knows her, it’s no surprise she does.

As a celiac diagnosed in 1999, and as an indomitable perfectionist with a penchant for equality and fairness, this former domestic violence attorney was simply unwilling to accept the dry, gritty, vacuous foods that were the norm then. Two years in her kitchen later, Jules had perfected an all-purpose gluten free flour blend that enabled her to continue her passion for baking. 

All of her products are certified gluten free and kosher, and are made in a dedicated gluten free facility. They are also certified Free From the Top 9 Food Allergens (NO: wheat, soy, dairy, egg, peanuts, tree nuts, sesame, fish, or crustaceans), non-GMO and proudly made in the USA.

______

The best thing about this mix is the variety of ingredients. I used to have to stock up on individual ingredients and mix up my own gluten-free flour mix. Someone (Jules Shepard, actually) who must have been very motivated to find a mixture that tastes good, did the work for me!

Making a Loaf of Gluten-free Bread

First, I mixed together the liquid ingredients:

Next, I mixed up the dry ingredients:

I added the dry ingredients to the wet ingredients in the mixer bowl. It was very sticky and didn’t take long. Next time I’ll just mix it with a wooden spoon! The mixer just made too many dirty dishes.

I dumped the wet dough into the prepared pan, covered it with plastic wrap and let it sit for about an hour.

When baked, it was a little bigger, a little browner and smelled great!

It did not rise very much (remember, without gluten it had nothing to “stretch.”) The texture of the bread is more like cake or cornbread, but it tasted great. Of course, I forgot to take a picture of the finished loaf! Since I would be the only one eating it, I sliced it up and froze the slices.

I ended up ordering a 4.5 pound bag of the gluten-free all-purpose flour so I could try a few more recipes. I printed out just a few recipes to try. More about those over the next few weeks!

Here are the details about the all-purpose flour.

Here are the ingredients for the gluten-free all-purpose flour from https://gfjules.com.

Over the next few posts, I’ll share some other recipes using some mixes I found at Trader Joe’s and Wegman’s. There seems to be a lot of interest in gluten-free products. I’m hoping by the next bake sale I’ll have some great recipes to share!

Final Garden Update for 2024

Well…it happened! We finally had a heavy frost/freeze. When the sun hit the flowers yesterday, they gave up. This happens every year in Pennsylvania, we just never know exactly when that first killing frost will occur. Bert will be busy today pulling out all the plants that need to go, or cutting them off at ground level. The only things left in the garden will be the lavender and the carrots. The lavender will be fine over the winter as they are. We will continue to pull the carrots as we need them. I suspect they’ll all be out of the ground by Thanksgiving. Here are the last pictures of our 2024 garden.

The leaves continue to drop but the redbud leaves seem to hang on for a while. The butternut tree behind and to the right is not very healthy, so it’s been dropping leaves for a month.

The marigolds and zinnias were spectacular this year but the frost finally got them. Bert is pulling them out today.

The geranium baskets finally gave up. Time to go!

The lavender will be fine all winter. The carrots might make it until Thanksgiving.

Carrots

One of the biggest jobs is to empty the big water tank. It can’t have any water in it over the winter. Bert put the rain barrels away in the shop last week.

And finally, the echinacea has been dropping seeds and all we have left are the sharp seed pods. Bert will wear heavy gloves and cut them off at the ground with his big clippers.

It always feels kind of sad to clean up the garden beds but right after Christmas the seed catalogs start arriving so we can start thinking about next year! Enjoy!

Making German Apple Cake

I just came across another recipe for an Apple Cake…this time called German Apple Cake. Several years ago, I shared a recipe for a French Apple Cake, so of course I had to try the German one! I’m always interested in ways to use apples without having to roll out pie crust for apple pie or cut butter into tiny pieces to make an apple crisp. The French Apple Cake appealed to Bert because it had rum in it, but I don’t care for the taste of rum so I don’t make it very often. The German Apple Cake recipe I’m sharing here does not have rum, so I was hopeful I would like it.

Here is a picture and a link to the French Apple Cake recipe: https://marykisner.com/making-french-apple-cake/

The German Apple Cake recipe has similar ingredients and the instructions are pretty much the same. Here’s the recipe:

I started the recipe by cutting up the apples. I wasn’t sure how many I would need, so I bought 3 very large “Honeycrisp” apples.

I put the diced apples into a bowl of water to keep them from turning brown.

When I finished cutting up the three apples, I drained them and put them into my 4-cup measuring cup. Oops! I had more like 6 cups of diced apples!

So, I spooned off the extra into a zip bag and put them in the freezer. They will be great added to my morning smoothies.

Continuing with the recipe…I mixed up the wet ingredients and added the dry ingredients. Then I folded in the cut apples.

Finally, I dumped the mixture into the prepared baking pan.

Of course, before I could take a finished picture, we had to have a taste! Delicious!

It looked dark, almost like it had chocolate in it (it did not!). I think the cinnamon made it look dark. Yum! I will cut it up and freeze it in portions…we can’t possibly eat that much in a day or two.

I guess I’m on the lookout for other “apple cake” recipes. I wonder what other countries make with apples? Enjoy!

Time to Make More Belly Bands for Greyhounds

Nittany Greyhounds…a greyhound adoption group here in Centre County…has rehomed many greyhounds over the years. Since I’ve been involved with the group, one of the most useful things I’ve made for them is the Belly Band. It isn’t a fancy thing…made of sturdy denim and a piece of terrycloth, fastened with strong Velcro…but it can make the difference in a successful adoption. I’ve begun putting together a batch of belly bands and thought I’d repost the information from two years ago about WHY I make them. If you want to know the details of HOW to make a belly band, you can find the instructions at https://marykisner.com/belly-bands-for-greyhounds/ Feel free to share that tutorial with a greyhound adoption group near you.

From the original post:

What is a belly band? A new fashion statement for our beloved greyhounds? Haha…no! Picture this…you have just adopted a 2 yr. old male greyhound from your nearby adoption kennel. You are ready to make him comfortable in your home and take him off his leash. He wanders around the living room…the kitchen…your bedroom. You show him his kennel or cozy bed in the corner. You let him explore on his own while you take off your coat and put things away. Very quickly you realize that he is lifting his leg and marking the corners of the furniture and table legs. This is a natural response to a new environment, especially if you had other dogs in the house previously. AHHHH…now what?

Luckily, the adoption group predicted this might happen and had sent you home with a belly band, just in case. You had wondered what it was for. This simple denim band wraps around their abdominal region and gently keeps his private parts from being used until you can get him outside. Over the next few days as he gets more comfortable in your home you can train him that if he’s in the house he should not have to mark his territory. When you take him outside and remove the band THEN is the time to explore and mark his territory. The hope is that he won’t need the belly band for very long, but that depends on the dog.

This band can wrap quickly around the dog’s abdomen and is sturdy enough to stay put. (The one in this picture was 27” long…we ended up making all the belly bands 29”).

(Note: The belly band has also been used with the females after being spayed. It keeps them from bothering their incision and stitches.)

So, a greyhound belly band is not a fashion accessory but an important tool to make an adoption successful! I’ll be making 10-15 belly bands over the next few days. Not exciting but so important to new greyhound owners!

Crocheting Dish Cloths for Christmas

Who thinks about Christmas in October? Those of us who try to make handmade things for gifts find even October is sometimes too late! As soon as Labor Day festivities are over, we start getting anxious about what we want to accomplish by the middle of December. Of course, retail stores help this along by hauling out the decorations to get us in the mood! We tolerate displays of Halloween ghosts and goblins and Thanksgiving turkeys but we’re already looking for fabrics, patterns and craft ideas. As we know, it takes time to produce a quilt, knitted sweater or gift basket of handmade items.

How wonderful that sometimes folks will request a special handmade gift in September so I have time to actually make it! Love it! I had such a request for crocheted dishcloths like I had made several years ago. Actually, at that time I was making random wash cloths to go with my various bars of soap I was making. I ended up making a variety of squares, trying to find the best yarn to make a washcloth that was strong when wet (not just soft when dry). I finally passed the whole pile on to my son’s family. I didn’t know they were using them and now needed more!

Very well-loved dishcloths!

I had to search for my bag of crochet hooks and of course had to make a visit to JoAnn’s to choose some new yarn.

I shouldn’t have to buy any more crochet hooks!

Next, I tried to remember what kind of yarn I used originally. That was hard, because I remember trying all kinds of yarn…from nylon and acrylic to bamboo and cotton. I was pretty sure I used cotton but now the choice was between a 4-ply cotton yarn and a #3 crochet cotton.

Finally, all I could do was START! I basically used a single crochet stitch. Beginning with about 28 stitches, I first used the 4-ply cotton yarn. Geez! My fingers had forgotten how to crochet! The first attempts made a hefty 10-inch square. It was heavy enough to use as a pot holder! Next, I started with only 24 stitches. That was better. I also went to a larger hook so it wasn’t so tightly woven (plus, I finally relaxed my stitches). I’m not sure about this yarn. Would I wash dishes with this cloth? It was pretty heavy.

Next, I tried the #3 crochet yarn. These turned out thinner and more flexible.

My first cloths with the #3 crochet cotton started with about 24 and then I crocheted around the whole cloth several times. This made a very flexible cloth…but I think it should be larger, so I’ll increase my starting row of stitches.

At this point, I’ll just keep crocheting and around the beginning of December, I’ll put them in the mail to California! What fun for me and hopefully useful to them!

While I was looking for any other posts I’ve written about crocheting…I could find only one! In June 2023 I tried to make my favorite hot pads. They are my favorite and were gifts from a dear friend (Thank you Helen!). I figured I’d better learn how to make them myself. Luckily, Pinterest had several tutorials available. Here’s a picture of the ones she made for me. They wash beautifully and have double protection.

These hot pads were a wonderful gift!

My hot pads were thick enough, but not exactly as pretty!

Read about how to make them here: https://marykisner.com/crochet-a-double-thick-hot-pad/

So for now, you’ll know what I’m doing while I’m watching Hallmark Movies or Penn State football! What Christmas gifts are you going to try to make this year? Enjoy!