Thanks for your patience! I spent the week trying to figure out what was happening with my website. Many components didn’t work. I couldn’t place pictures or update various things. I was faced with making a decision about how to get tech support…without buying a plan for about $100/year…kind of like Best Buy’s Geek Squad.
Luckily, I have a very patient computer literate son in California who was able to walk me through what to look for and was even able to “share” my computer screen so he could explore things. Turns out I had run out of memory storage and for only an extra $50 or so I could increase the storage…and magically, I can now place more pictures! Yea!!
So, I will continue on with the various articles I had all ready to go to press. Let me know if there are topics you’d like to know more about and I’ll see what I can do! You can email me at marykisner@comcast.net.
I am stymied by issues with WordPress, the program that is the base of my website. I can’t seem to insert pictures and other features of the site just don’t work well. Very frustrating! I will need to communicate with WordPress for technical advice.
Until I can get things back up and running, know that I’m still doing stuff! Sweet potatoes are out of the pot and a retro apron for my granddaughter is finished. Bert heads off for his second cataract surgery tomorrow so I’ll be away from my desk a while. Hopefully, I can get things figured out quickly.
Please let me know if there’s anything I’m doing that you’d like to know more about. I’ll either reply with an email or make a whole post about it…as soon as I figure out these glitches.
Once a month, our group of ladies from the State College High School class of 1964 get together for lunch. We usually rotate around to the local restaurants that can accommodate our group of 10 to 15 folks.
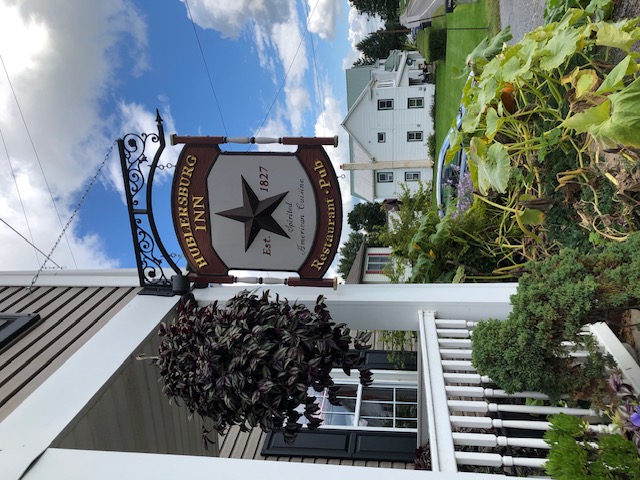
This month, we decided to travel down Rts. 26 and 64 to the Hublersburg Inn, in Hublersburg, Pennsylvania. We car pooled so we could visit along the way. The historic Inn is located at 449 Hublersburg Rd., Hublersburg, PA. We anticipated a 30-minute drive, but on a lovely Wednesday morning we made the trek in just 20 minutes! No…I did not drive too fast…there was just no delay for construction, garbage trucks, mail trucks, etc.
I’d say it’s a well-preserved historic Inn. According to the sign, it dates from 1827!
Inside is a delightful restaurant area that was just perfect for our group of nine. (We did make reservations!)
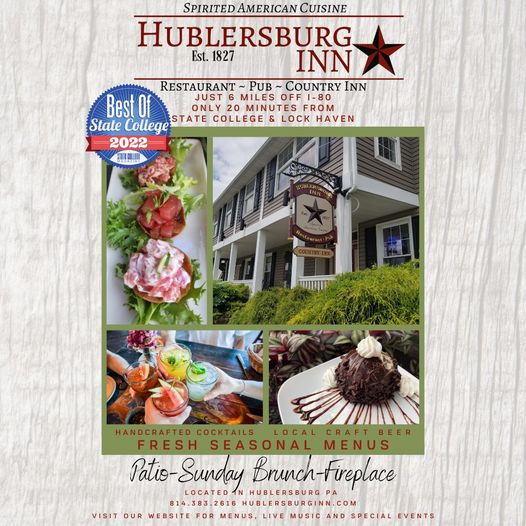
If you are in the area, check out this great place for lunch or dinner. They are on Facebook and are pleased to offer special dinners with Farm-to-Table menus that look delicious!
So, if you want to try a different dining experience, check out the Hublersburg Inn!
We have spent the summer being reminded that we seem to have a neighborhood herd of deer that wander around the backyards, eating fallen birdseed and munching on garden plants. They seem to have little fear of people and cars driving by and don’t even wait until dark to check out the feeders. We do bring them inside at dark. Unfortunately, a few wander too close or try to cross the street in front of our house. We frequently see mangled deer on the side of the road near our front yard. As lovely as they are, we’ve all struggled to find ways to keep them out of our gardens.
Our neighbors have hung shiny pie plates around that wave in the wind. We’ve tried spraying the plants with odd mixtures…which need to be reapplied daily! So far, we’ve been lucky that our garden fence on the hill has kept the plants a little out of reach. We really don’t mind sharing a little bird seed, but they don’t seem to read signs to stay out of the garden! When we saw deer prints inside our garden fence we knew it was time to do something!
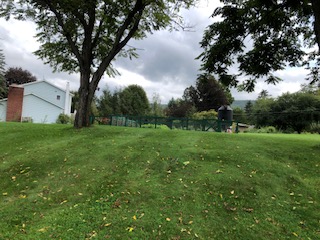
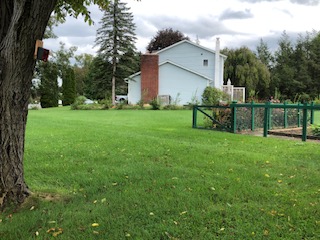
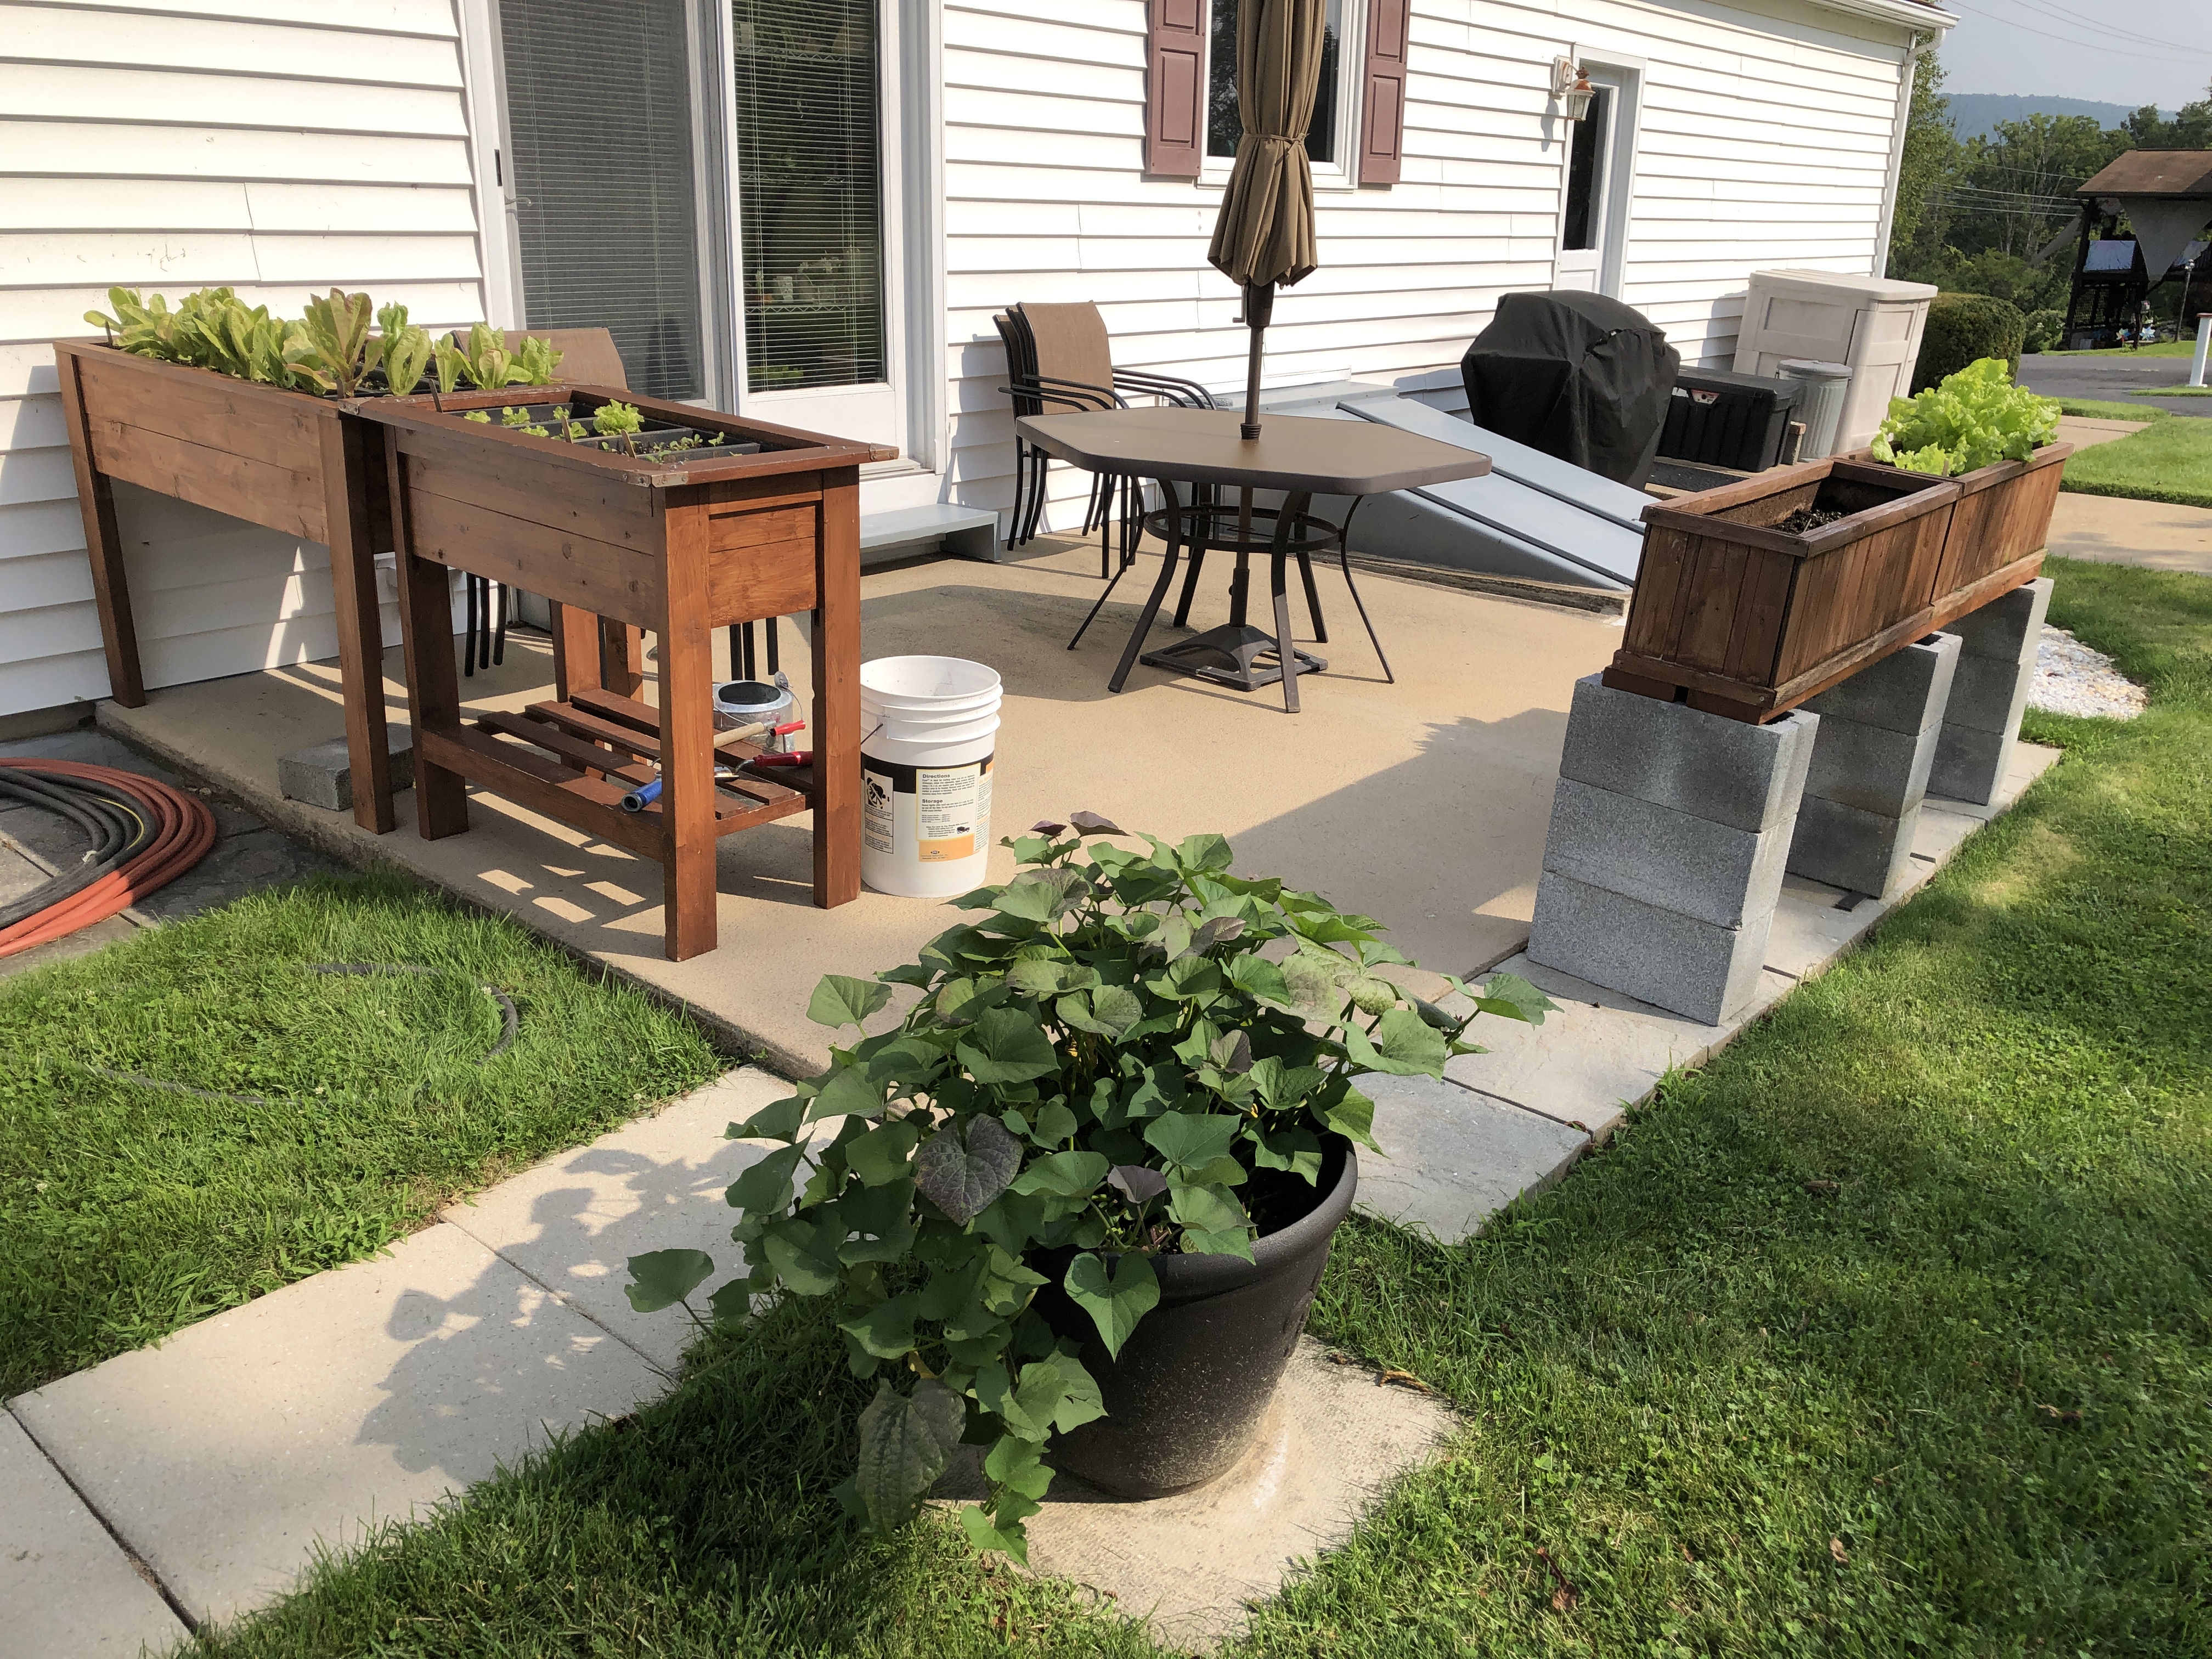
Here is a view of our backyards looking from our back patio. The deer move from the upper right by the white shed and amble towards our bird feeders.
They often stand around on the hill by the garden…we can tell by what they leave behind.
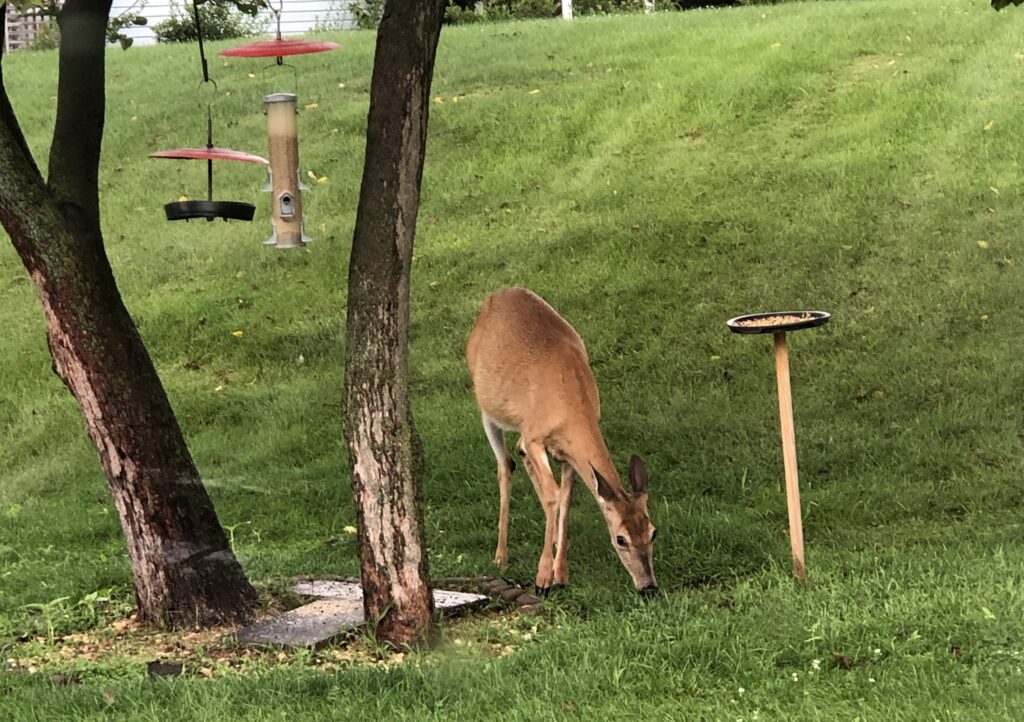
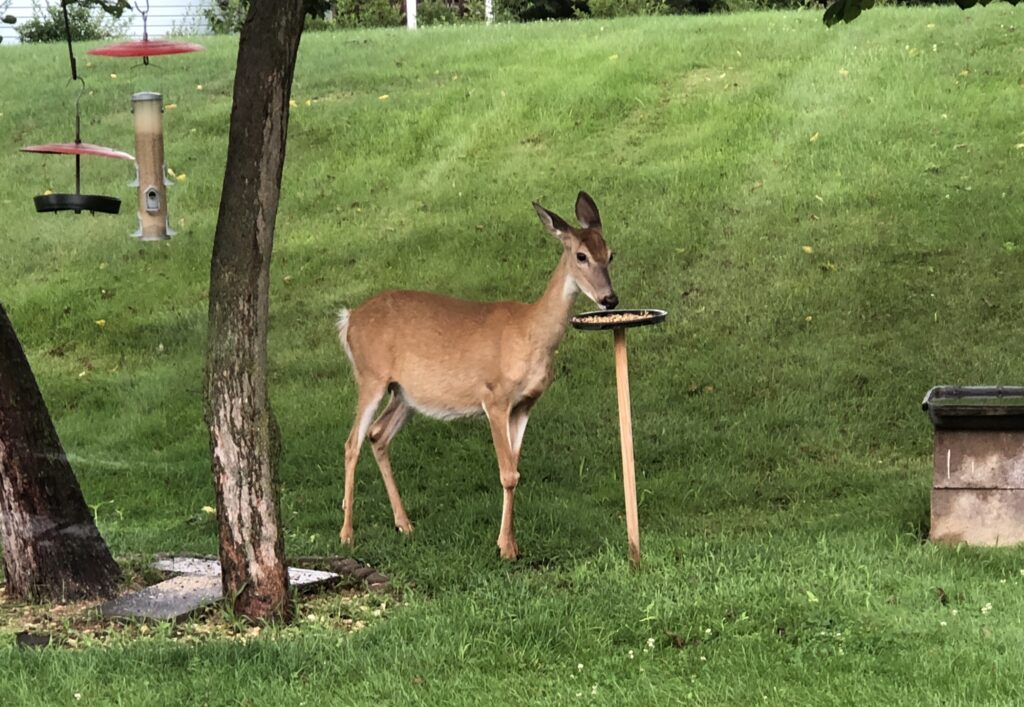
Then they amble down the hill to the bird feeders. They clean up any fallen bird seed and drink from the bird bath. In the winter, they leave quite a trail in the snow so we know their path.
We’ve tried to scare them away by yelling or just walking out the back door, but they don’t run far. All they have to do is wait a few hours and we’re asleep. Entertainment value aside, I’m always worried we’re attracting the deer with the feeders and they they are vulnerable to traffic on the road out front.
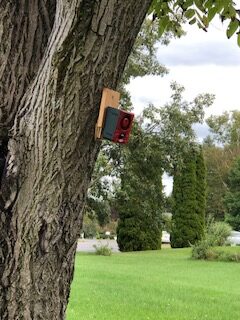
Bert has been exploring solutions online. He finally ordered a motion-sensitive product that has a recording of a barking dog called, “A Barking Dog!” He attached it to the tree right by the garden and in their pathway. It isn’t really very loud, just has the startle effect. the neighbors could sort of hear it so we explained what we were trying to do. They were fine with it.
At first, we discovered the motion sensor picked up all the tree limbs that were waving in the breeze…continuous barking! Haha! So, Bert set it to be activated only at dark. That helped. We know it works because a neighbor boy walked across our yard after dark and walked by the tree. He was really startled and stood there to try to figure out what was going on. I notice he now skirts our property instead of cutting right through the yard! Guess it works!
Since the box was installed, we have not seen any deer at the feeder in the middle of the night and there is no evidence the deer even tried to get to the feeder…no worn paths in the wet morning dew. I’m not sure if we will leave the box on the tree all winter, but for now it seems to have helped to change their behavior. Hopefully, fewer dead deer on the road too.
While it’s nice to clean up the garden each fall, it’s also kind of sad. It forces us to think about what we chose to grow this year and contemplate changes for next year.
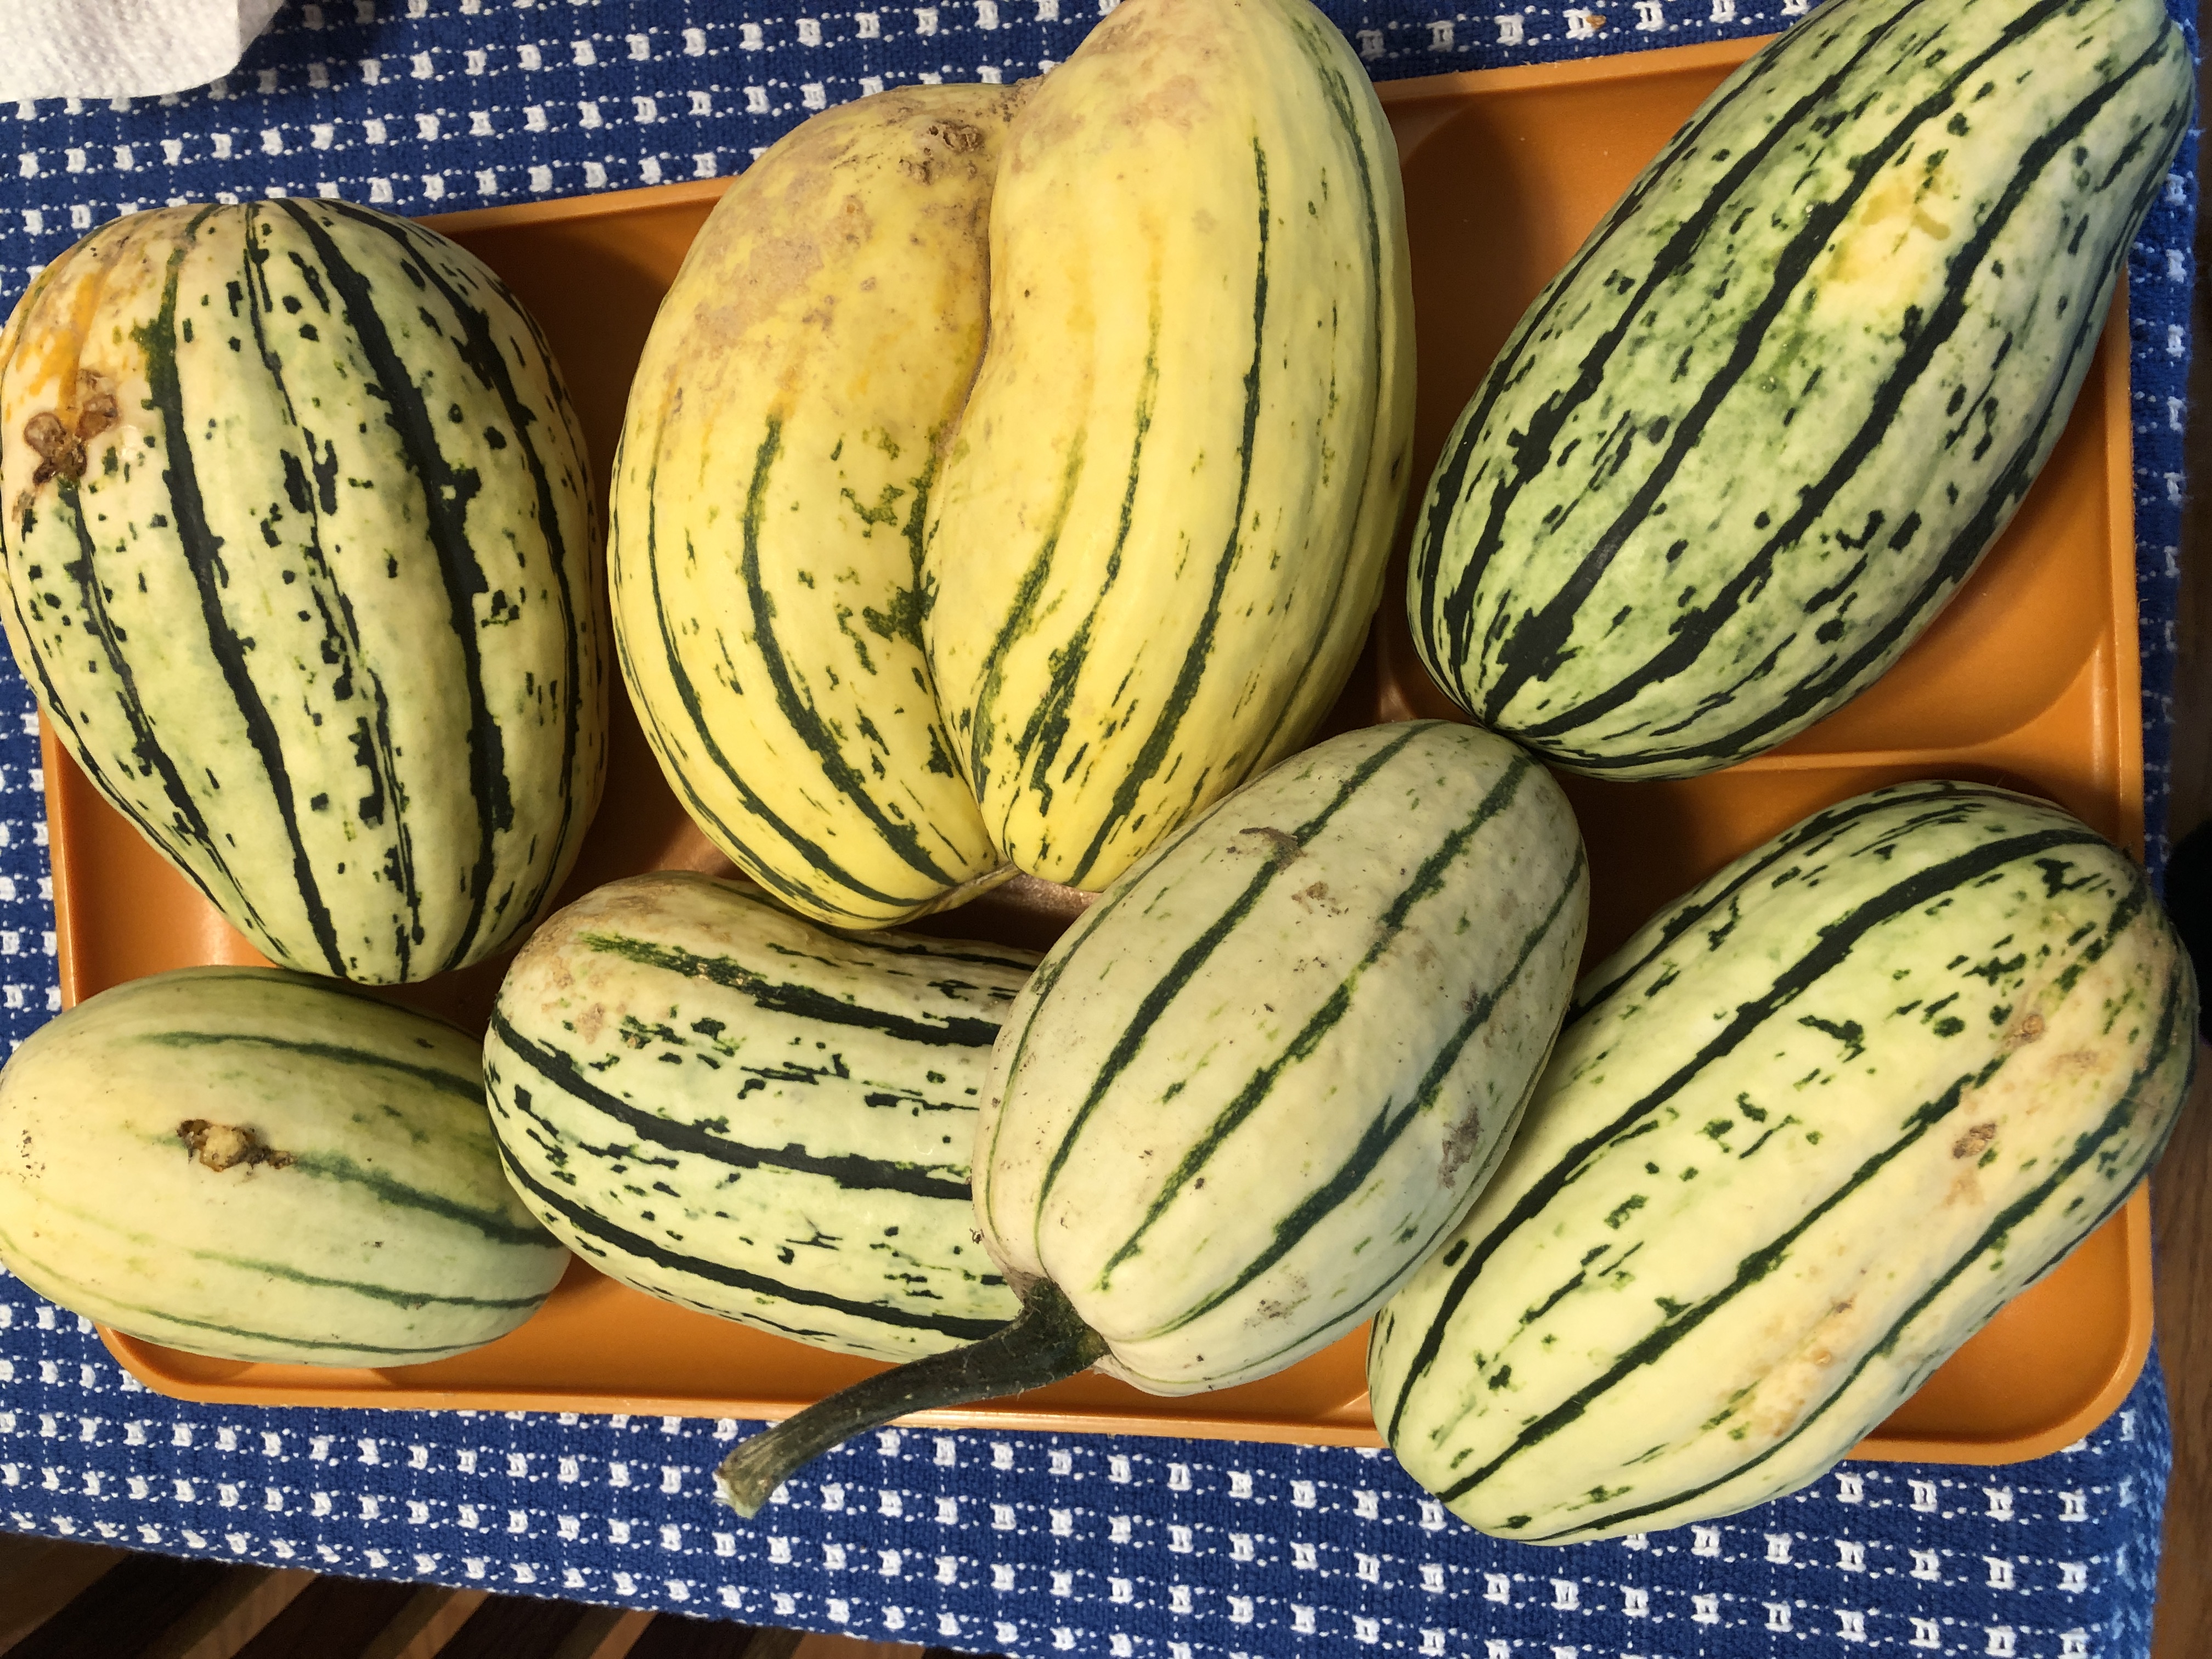
The Delicata squash plants are out. Bert discovered the ground under the plants was covered with bugs, munching on the roots and plant stems. Considering we ended up with two small squashes to eat, I suspect we won’t bother growing them again. The others rotted before we could eat them! I looked for them at the Boalsburg Farmer’s Market and several growers said they don’t do well. I was able to buy 2, but that grower only had 4 for sale.
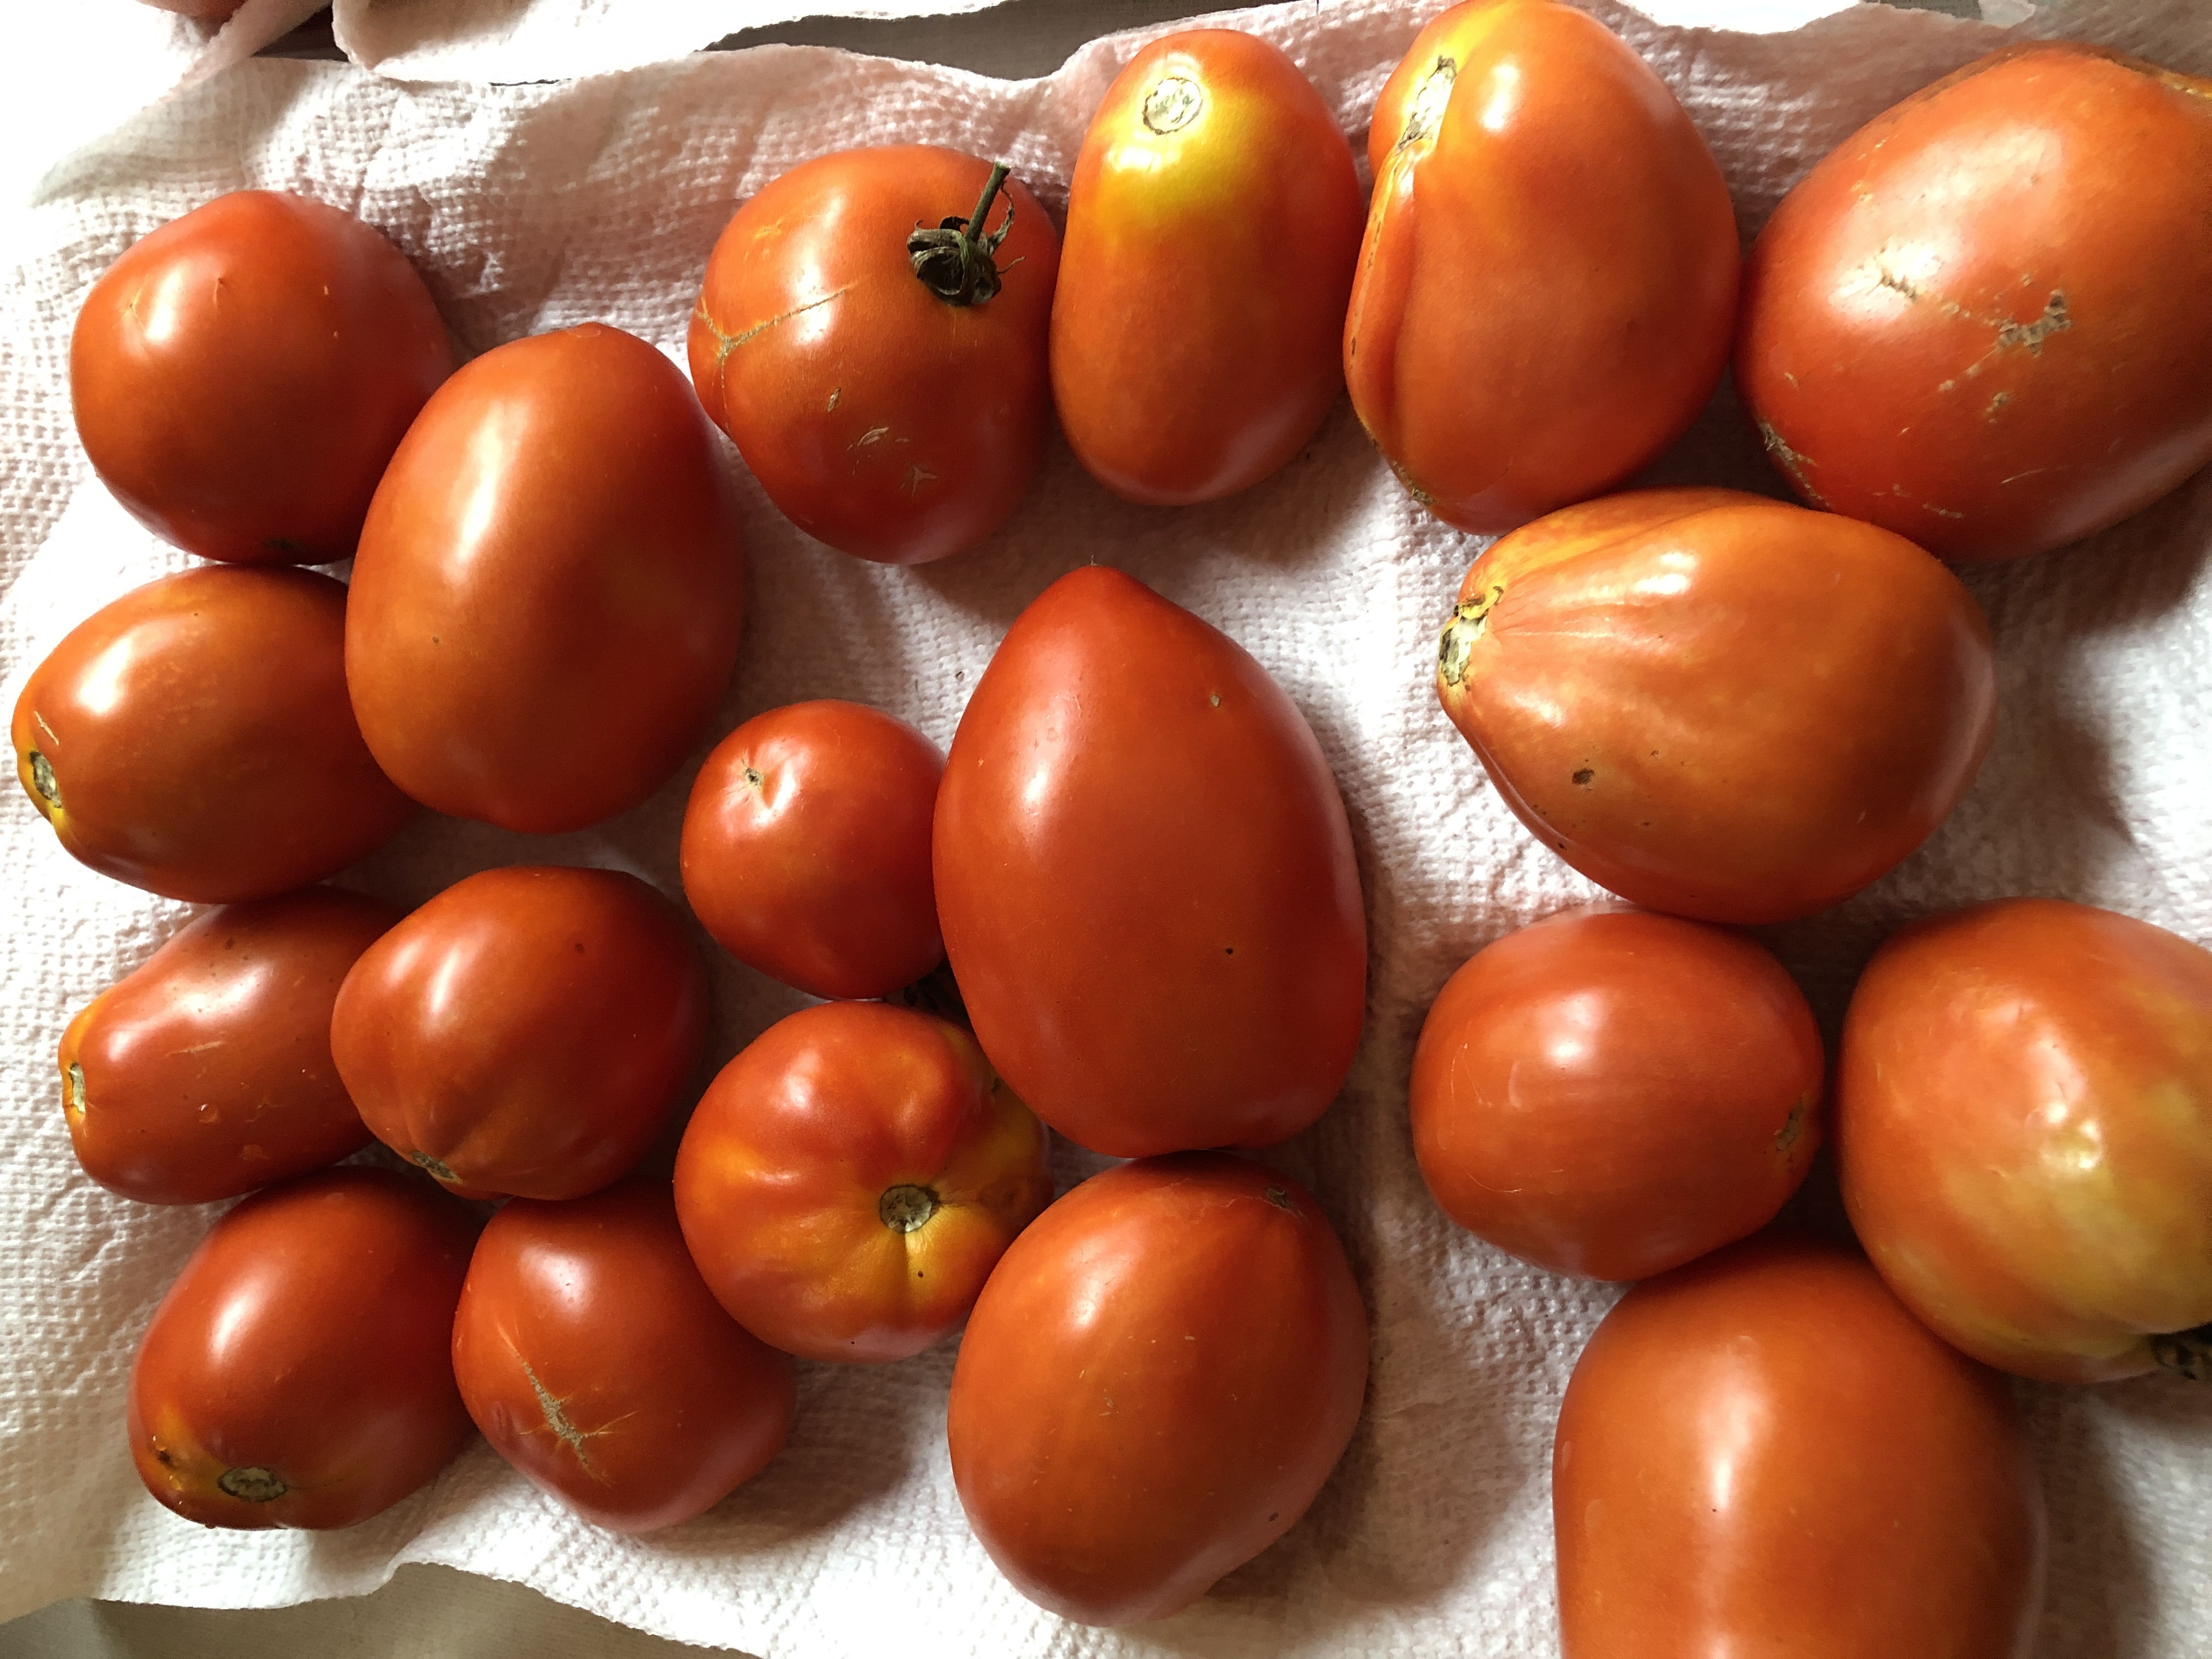
The tomatoes are finished and Bert cleaned them out. We had a tray of not quite ripe tomatoes on the counter for a week or so. They finally ripened (and some just rotted!) so I cooked them up yesterday. By cooking batches of tomatoes as they ripened, I was able to freeze them; I then had enough to make my pizza sauce. That felt productive!
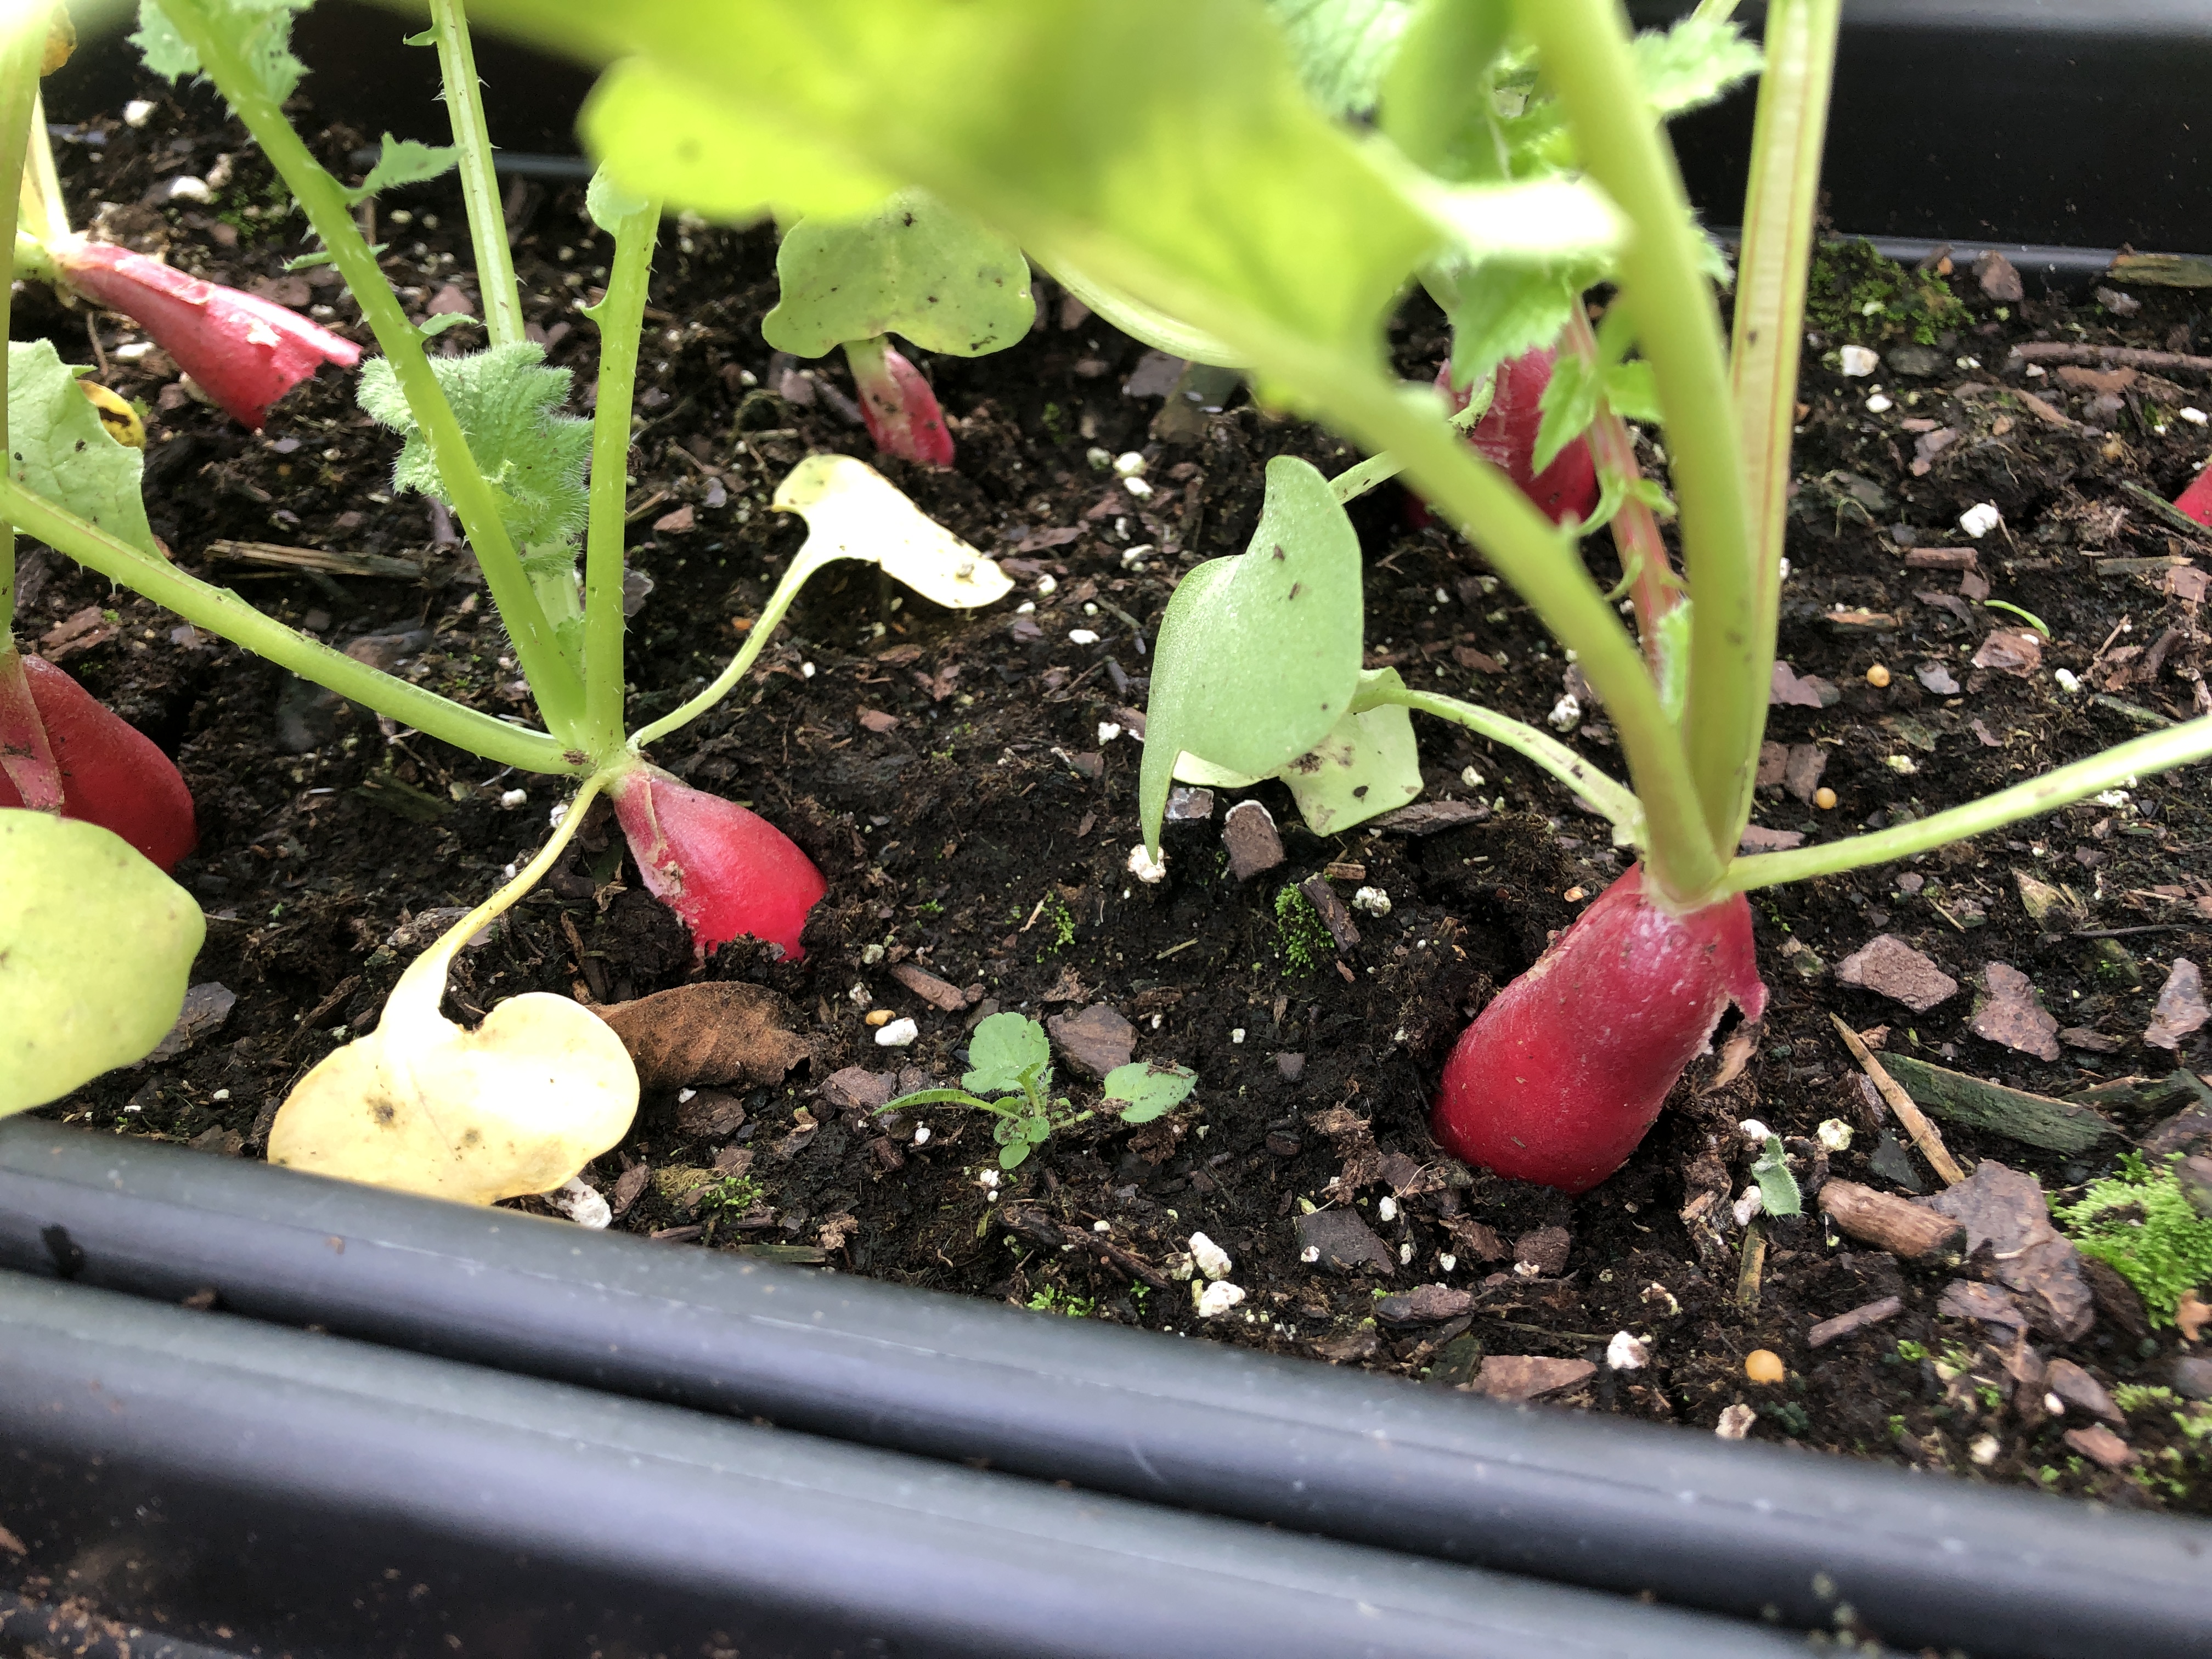
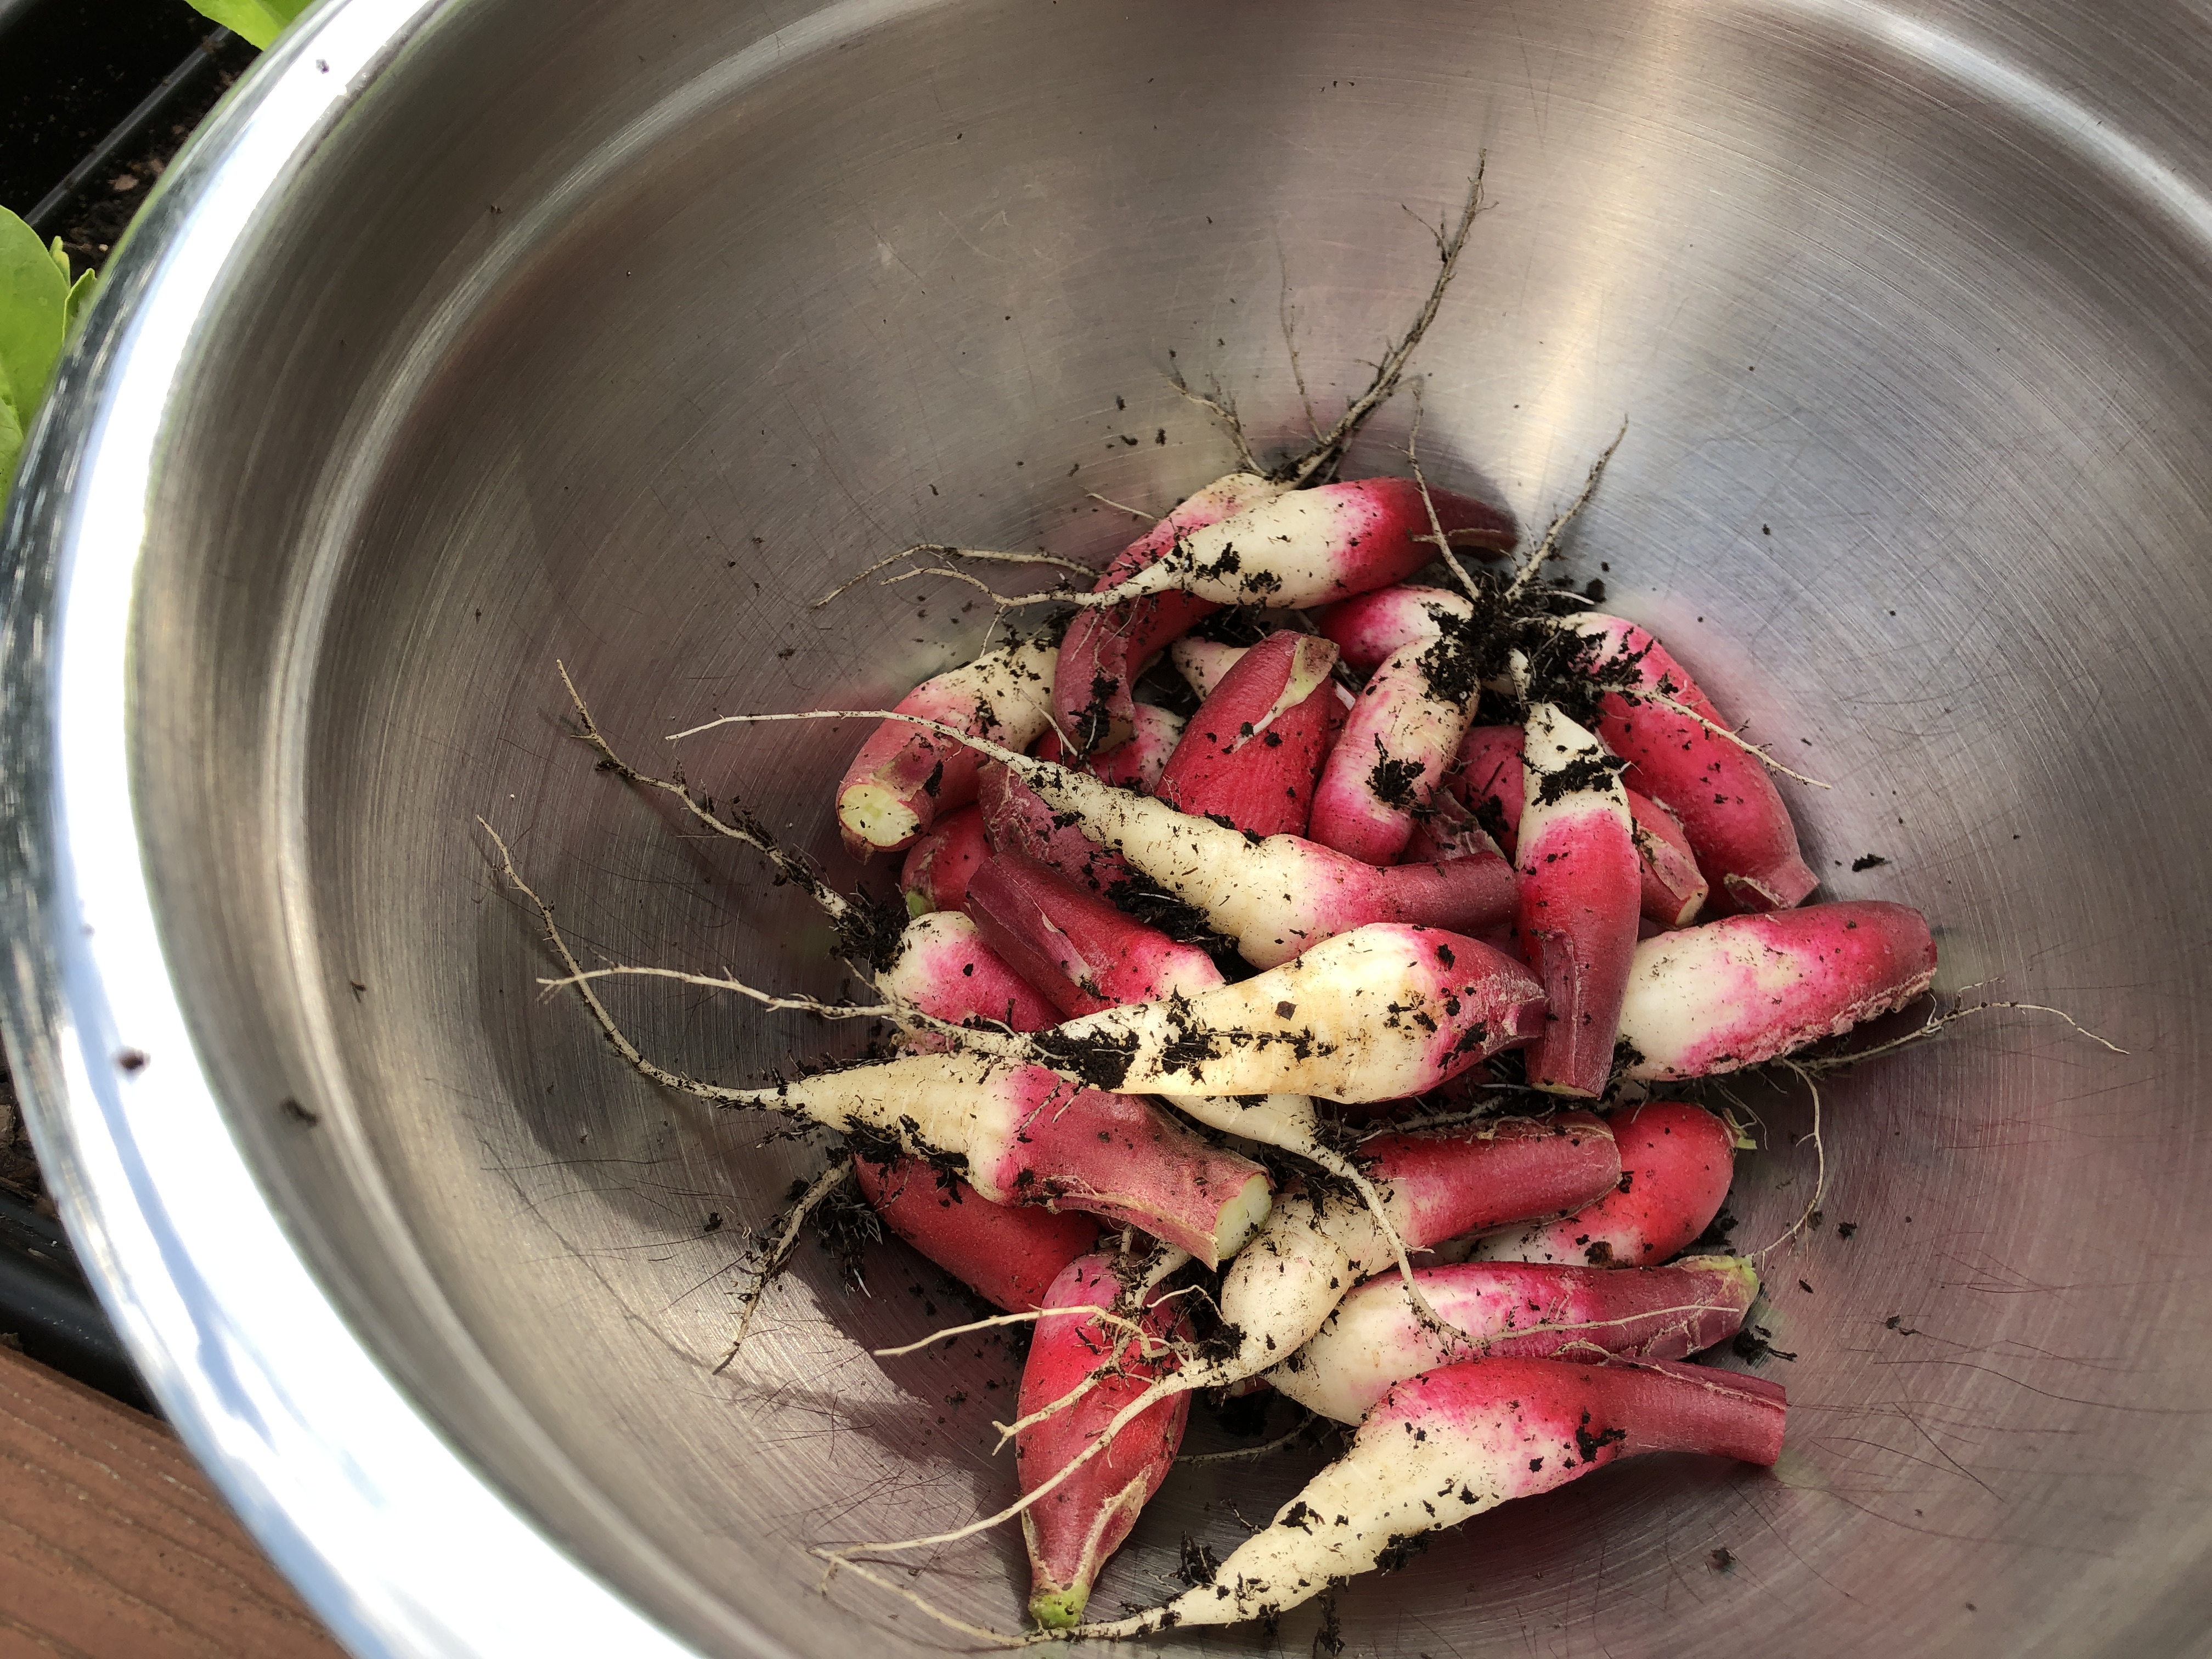
I finally pulled all the radishes. They will keep well in the fridge and add zing to my salads for a week or two.
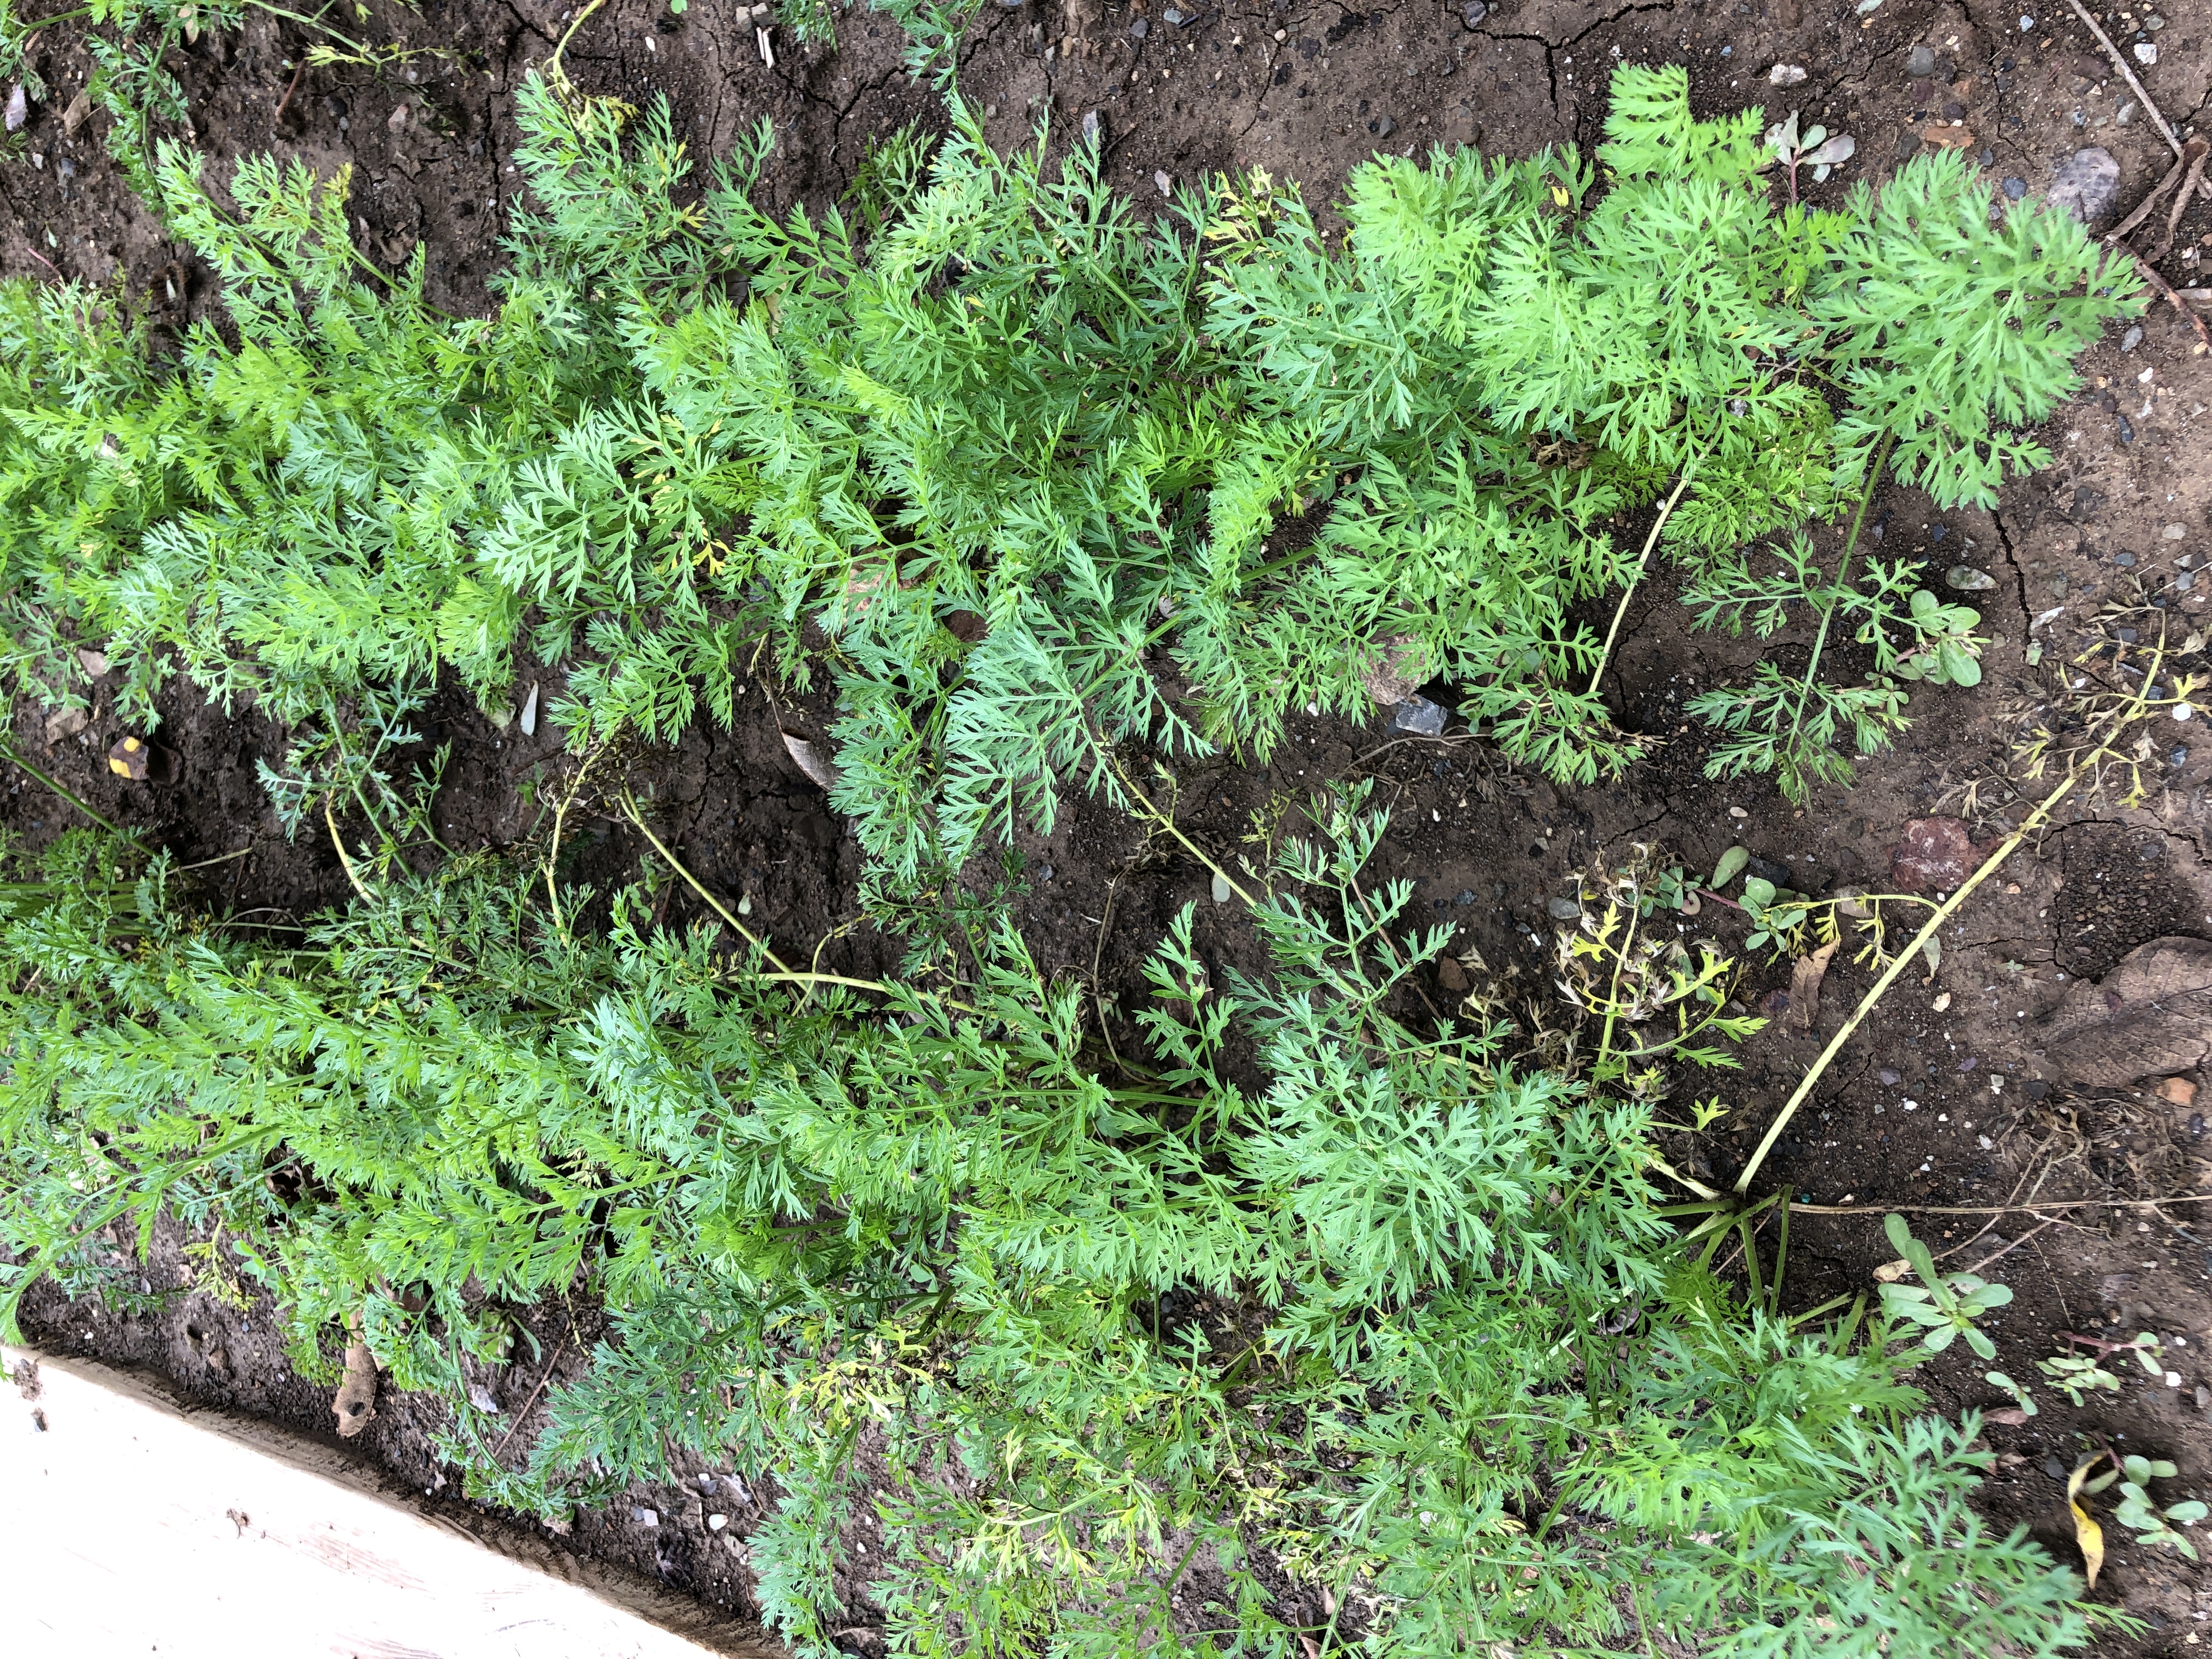
The carrots still look good! We’ll leave them in the garden and dig them up as needed. I did pull one bunch just to see how they look and taste. The largest was about 6″ long. Delicious!!
The second planting of green beans are doing very well…lots of flowers and beans quite visible. I should have beans to eat in about a week!
The sweet potato plant in the pot finally has a few flowers. The leaves are starting to wilt. Soon we’ll dump out the pot to see if we actually got more sweet potatoes! (I can’t seem to import the photo…sorry!)
My last project of the gardening season is to make pickle relish. Luckily, I can buy a box of cucumbers at the Amish market. I need to do that soon!
The lovely birthday party for my granddaughter went off without a hitch! Kathy made a delicious cake of a giant chocolate chip cookie and homemade icing. I tasted a tiny sliver, but I knew I’d better stop there…sugar rush! They even had banana split ice cream! Never heard of it, but it was enjoyed by the extended family who came!
Looked like “someone” had fun with the leftover icing and added a few extra touches!
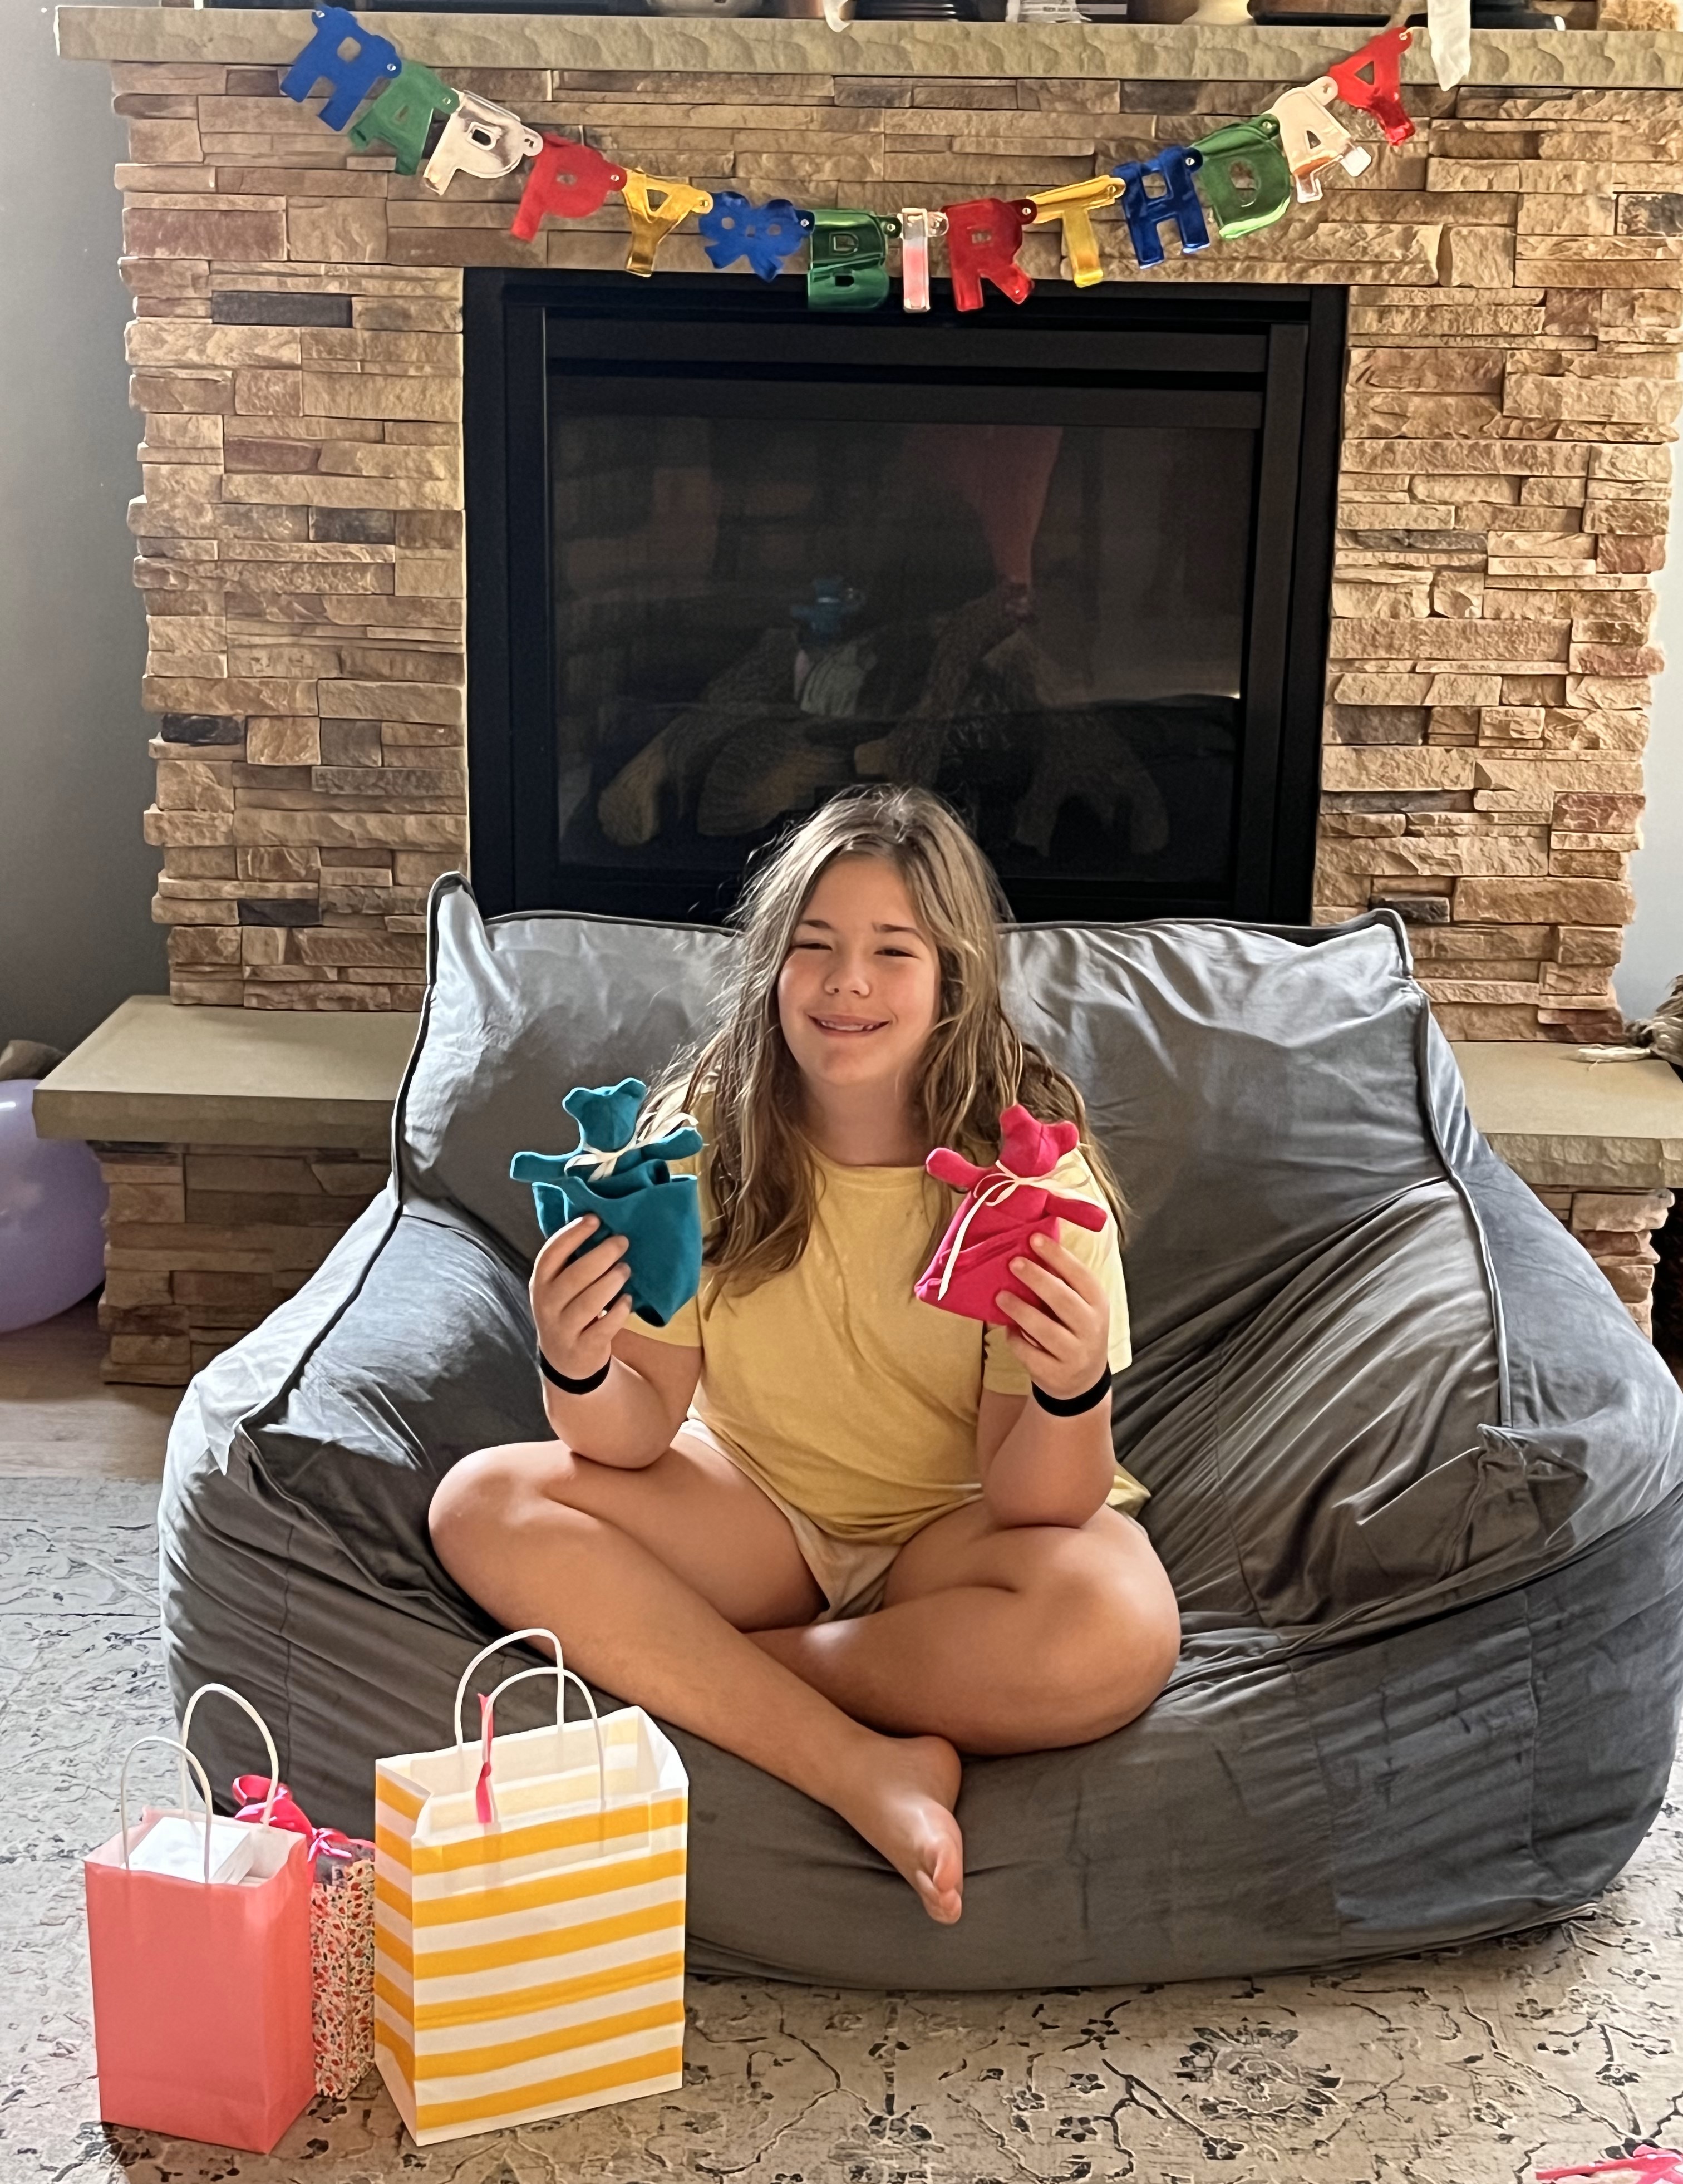
The tiny bears I made were a hit. She can have a hug from us anytime…and they won’t take up too much space! The beanbag chair she’s sitting in will be part of her room makeover. At 11 years old…that’s not too far from the teen years!
After the party, we drove to Monroeville to a used book store called, “Half Price Books.” I was so overwhelmed I forgot to take pictures so I took a picture of the bag they had for sale…99 cents! I needed to buy 3 to lug all the books I bought.
I didn’t realize this was a chain…wish State College had one.
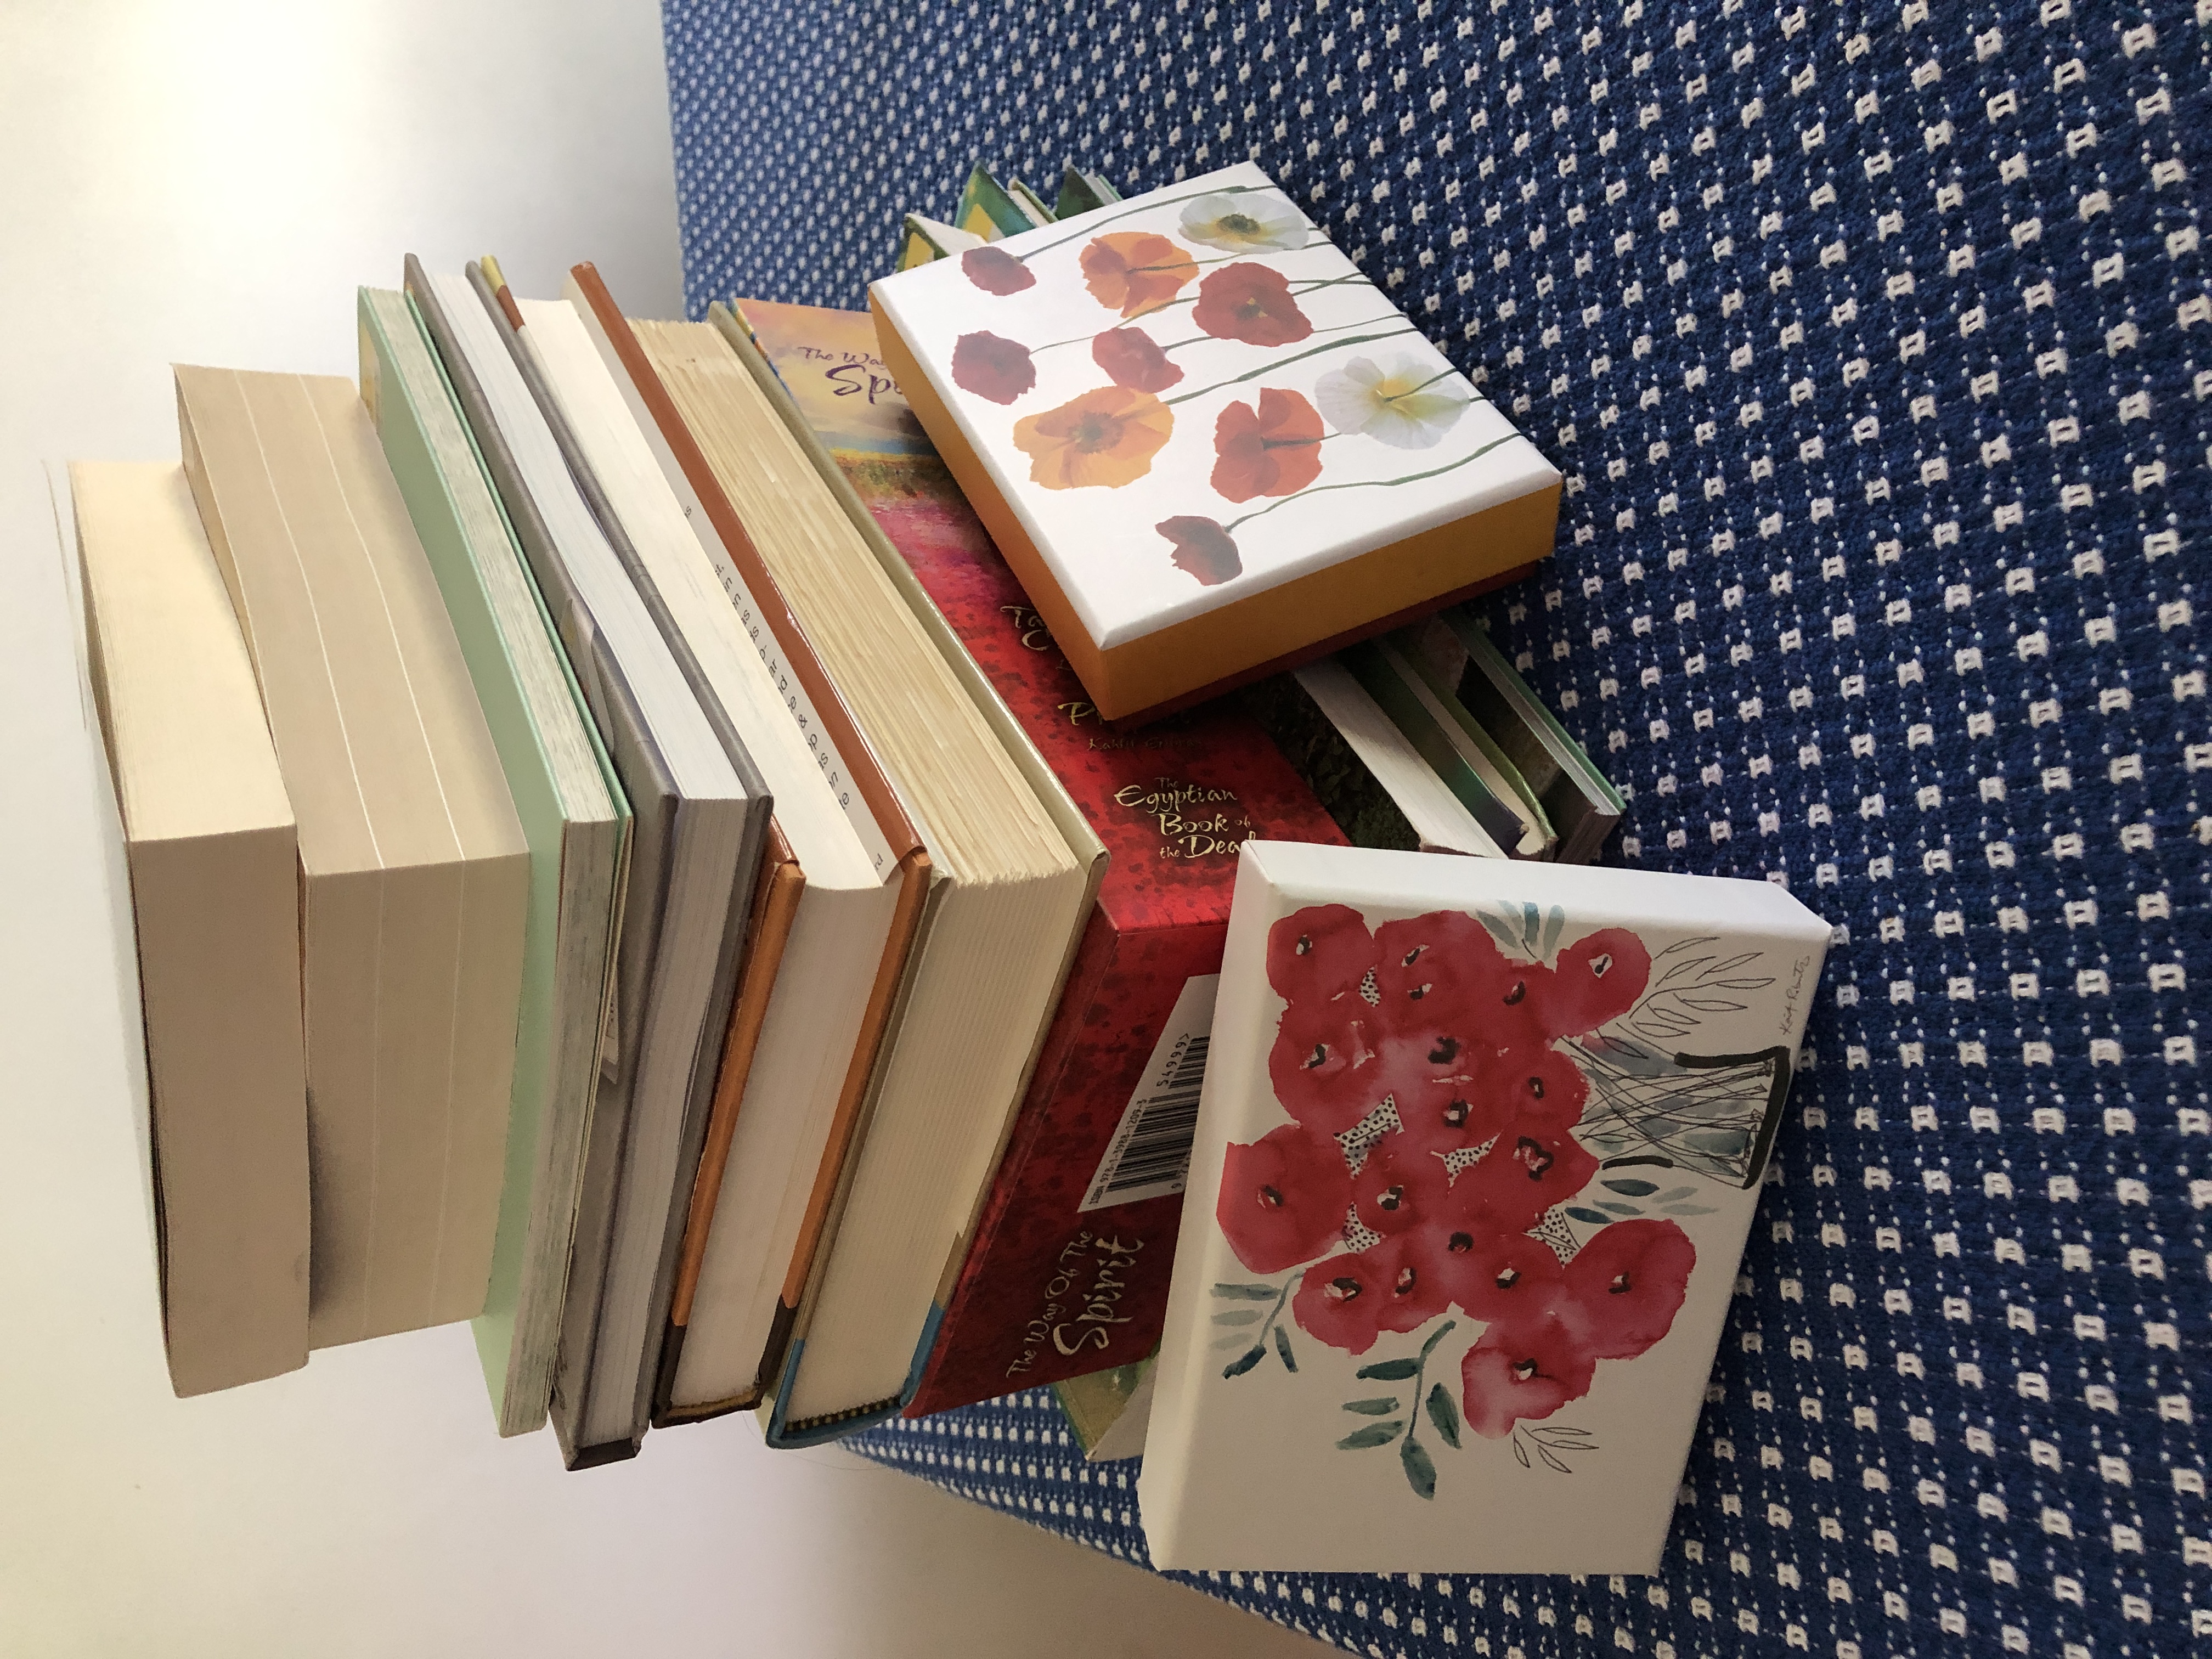
I went to buy a few books about herb gardening for my niece, and a few others jumped into my cart! HaHa! They had some new books, old books, gift items like coffee cups, notecards and puzzles. Amazing how much fun we had in 45 minutes!
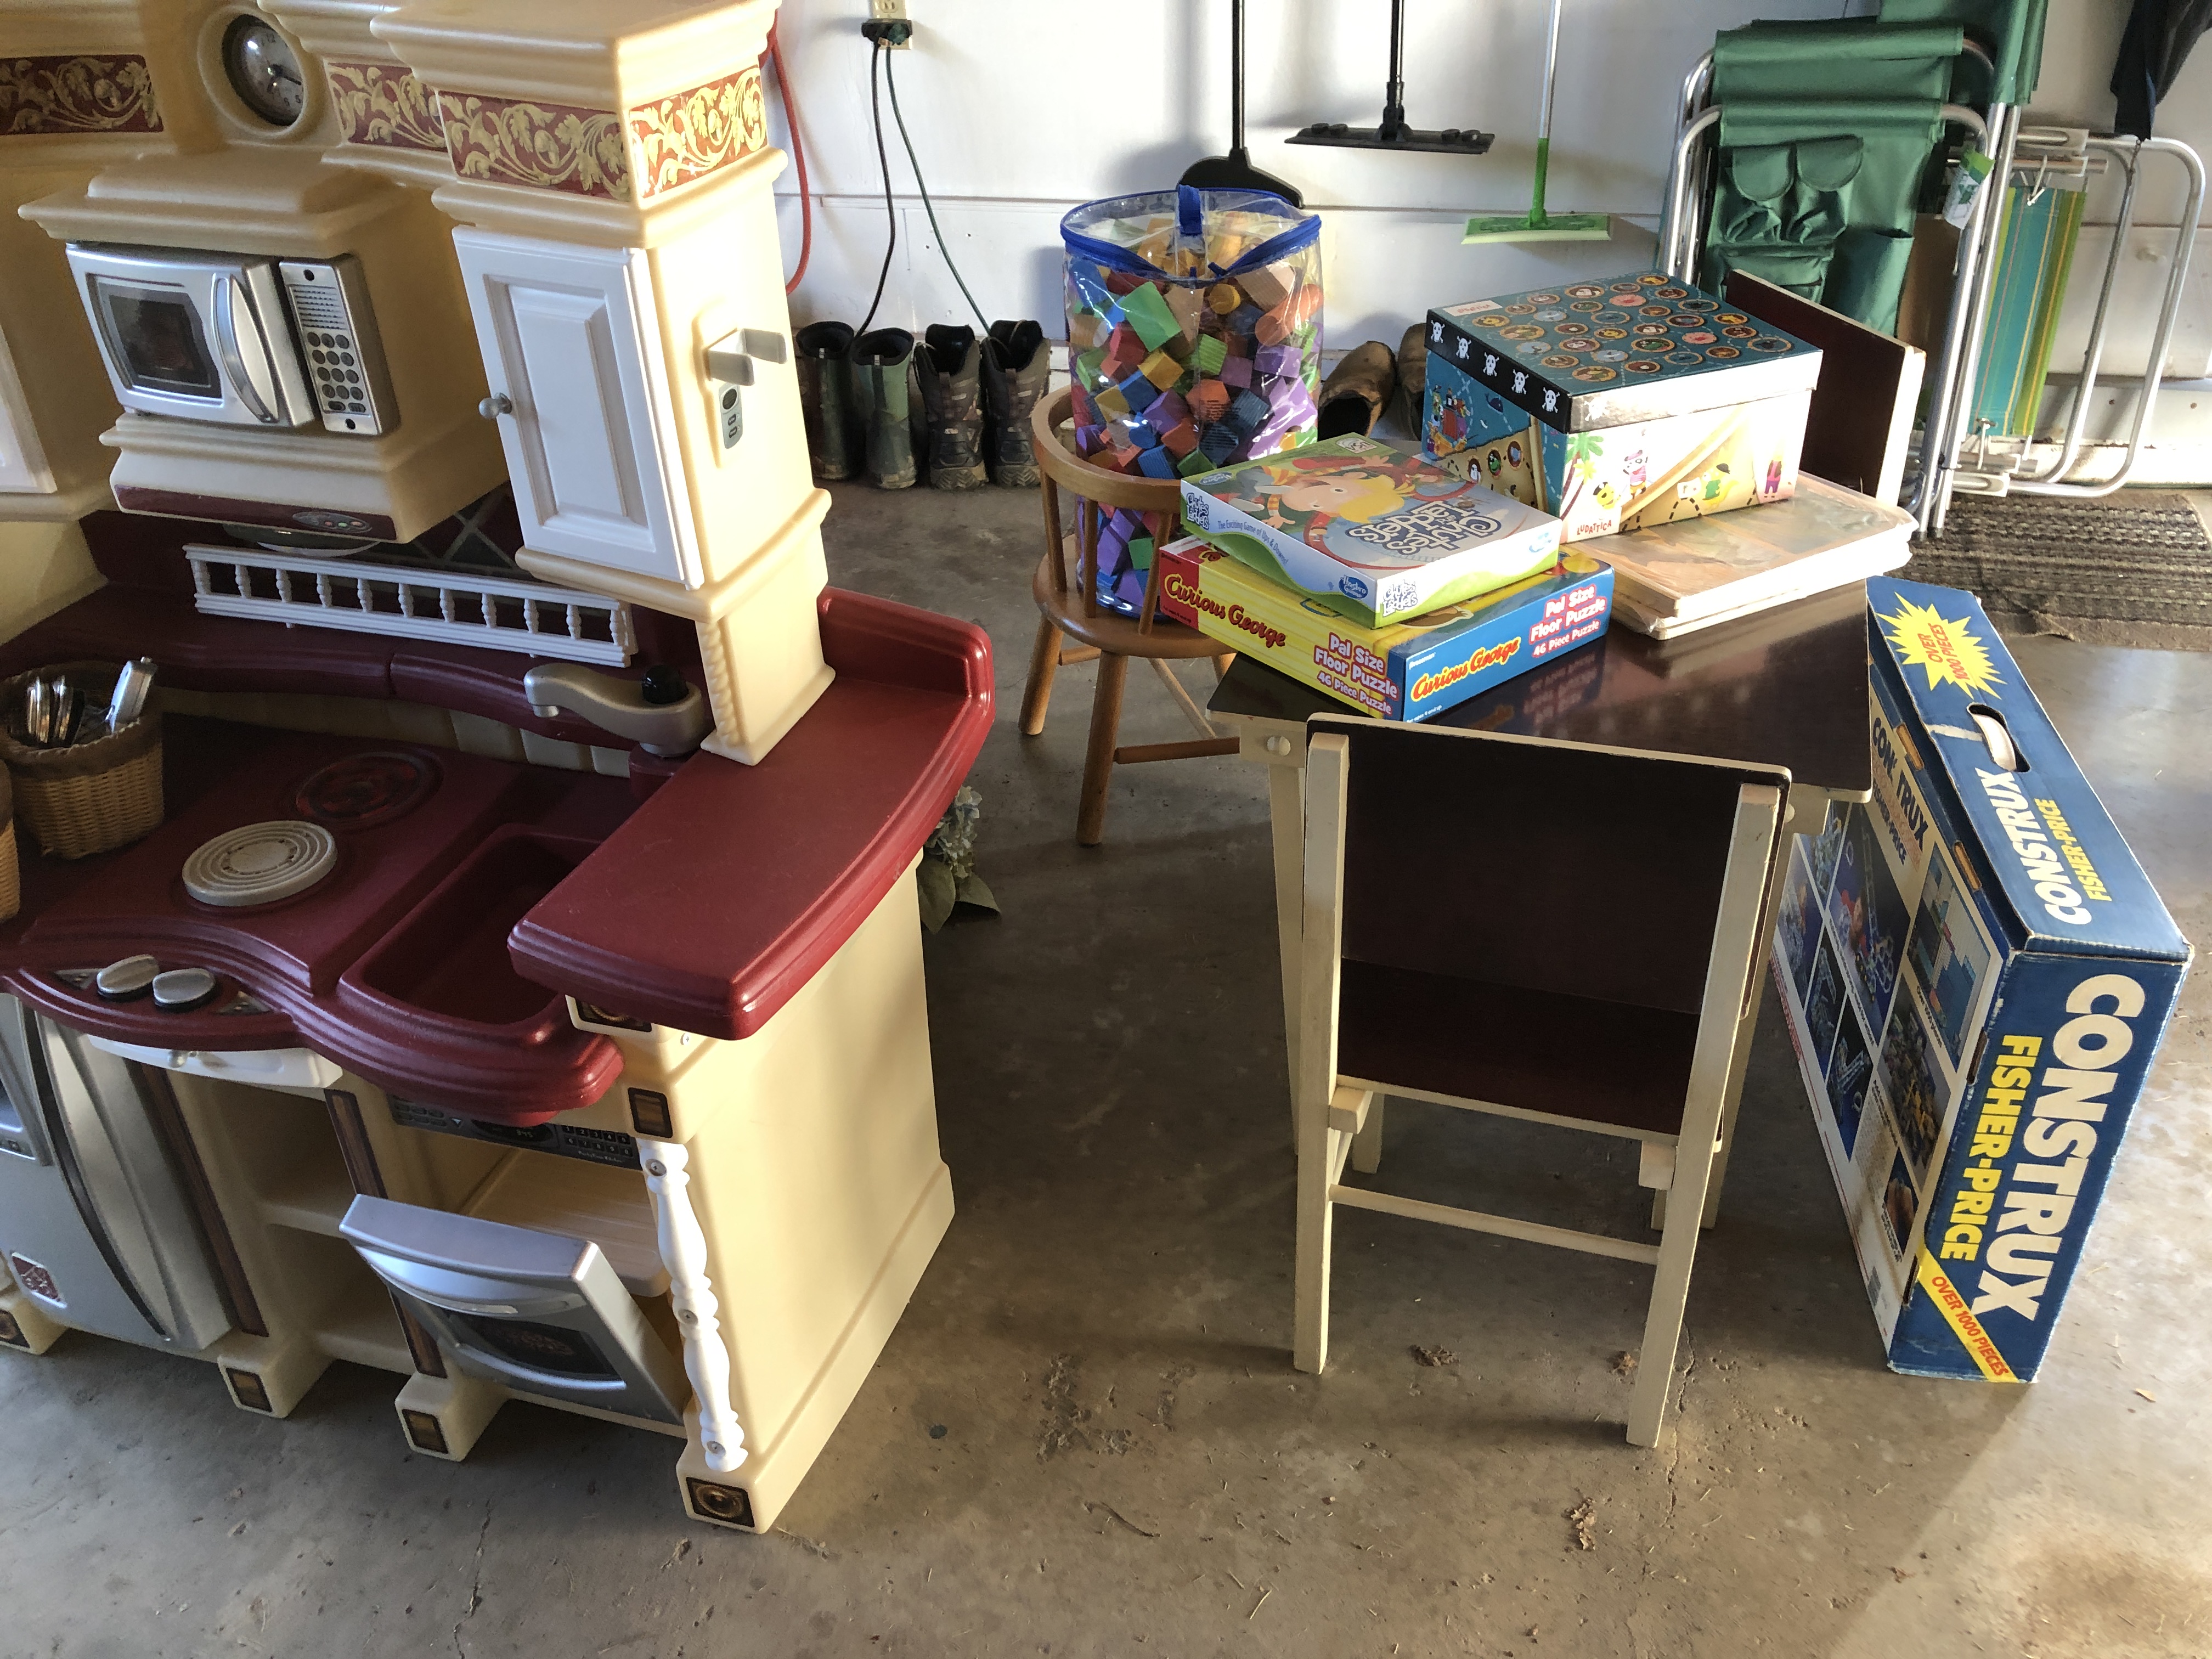
The next day Kathy and I drove over to Karen’s house (her mother-in-law) and picked up some things she donated to the Fire Co. Auxiliary yard sale that will be held October 6 & 7. Things rattled all the way home, but nothing broke!
Bert had to help me figure out where to store all this stuff for the next month!
Now that Labor Day weekend is over, we’re back to cleaning up the garden and other chores. Tomorrow Bert starts his cataract surgery adventure. Such fun! At least he’s really good at doing the eye drops…something I never really got the hang of. Have a good day!
As September rolls around I’m reminded that my dear granddaughter Anna has a birthday! I can’t believe she’ll blow out 11 candles this weekend! She started out so tiny, under 4 lbs. and didn’t come home from the hospital until October that year. She was a fighter and to this day, she’s an independent delightful young lady. Even big brother Ben was learning how to take care of her.
Of course, now she tests the limits of Ben’s patience with hugging! Makes us laugh!
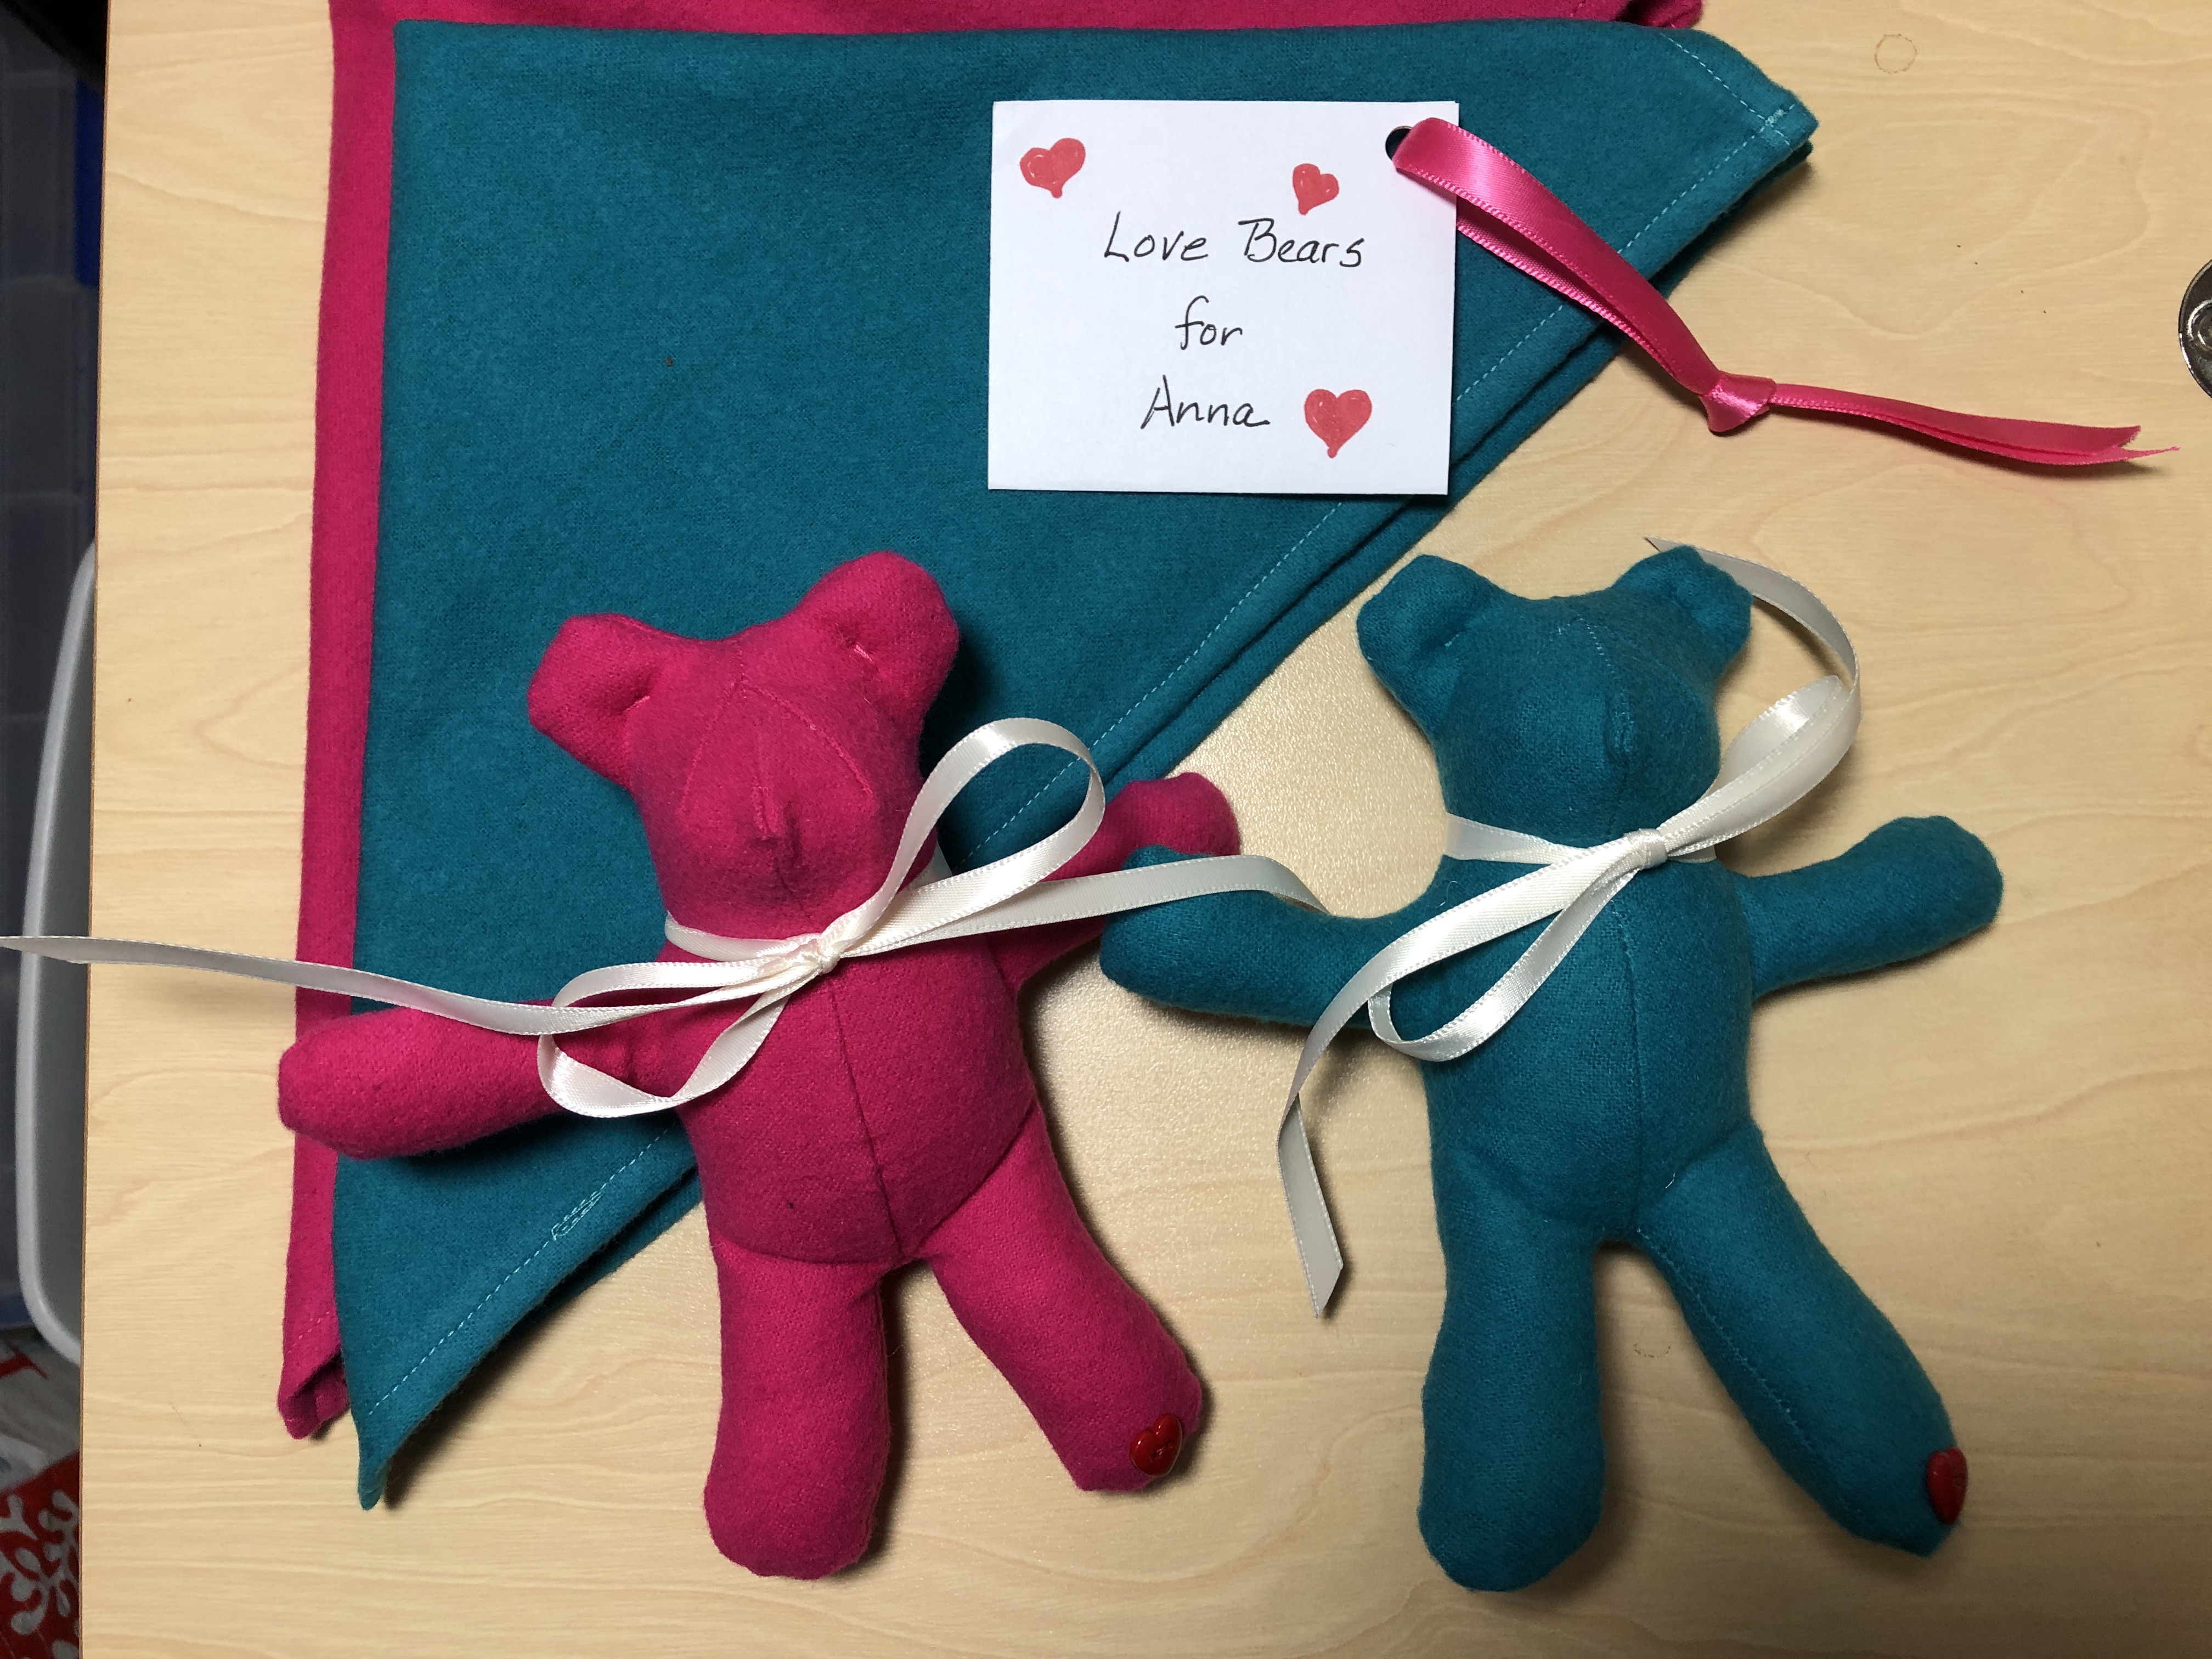
When I traveled with Anna and Kathy to Minnesota recently for a family reunion, I was sharing with extended family about the memory bears I make out of a loved one’s clothing…including tiny bears that could be used as Christmas ornaments or just to hug. Anna piped up… “Gee, I’d like a tiny bear!”
I could not imagine I hadn’t made her some bears already! I certainly can’t compete with all the lovely assortment of stuffed animals she already has. However, who knows, maybe a tiny one or two from Grandma would be good for a hug now and then.
Here are two tiny bears made from men’s flannel shirts. They are about 6″ long. I add a tiny heart button to the toe, unless it will be a gift for a baby.
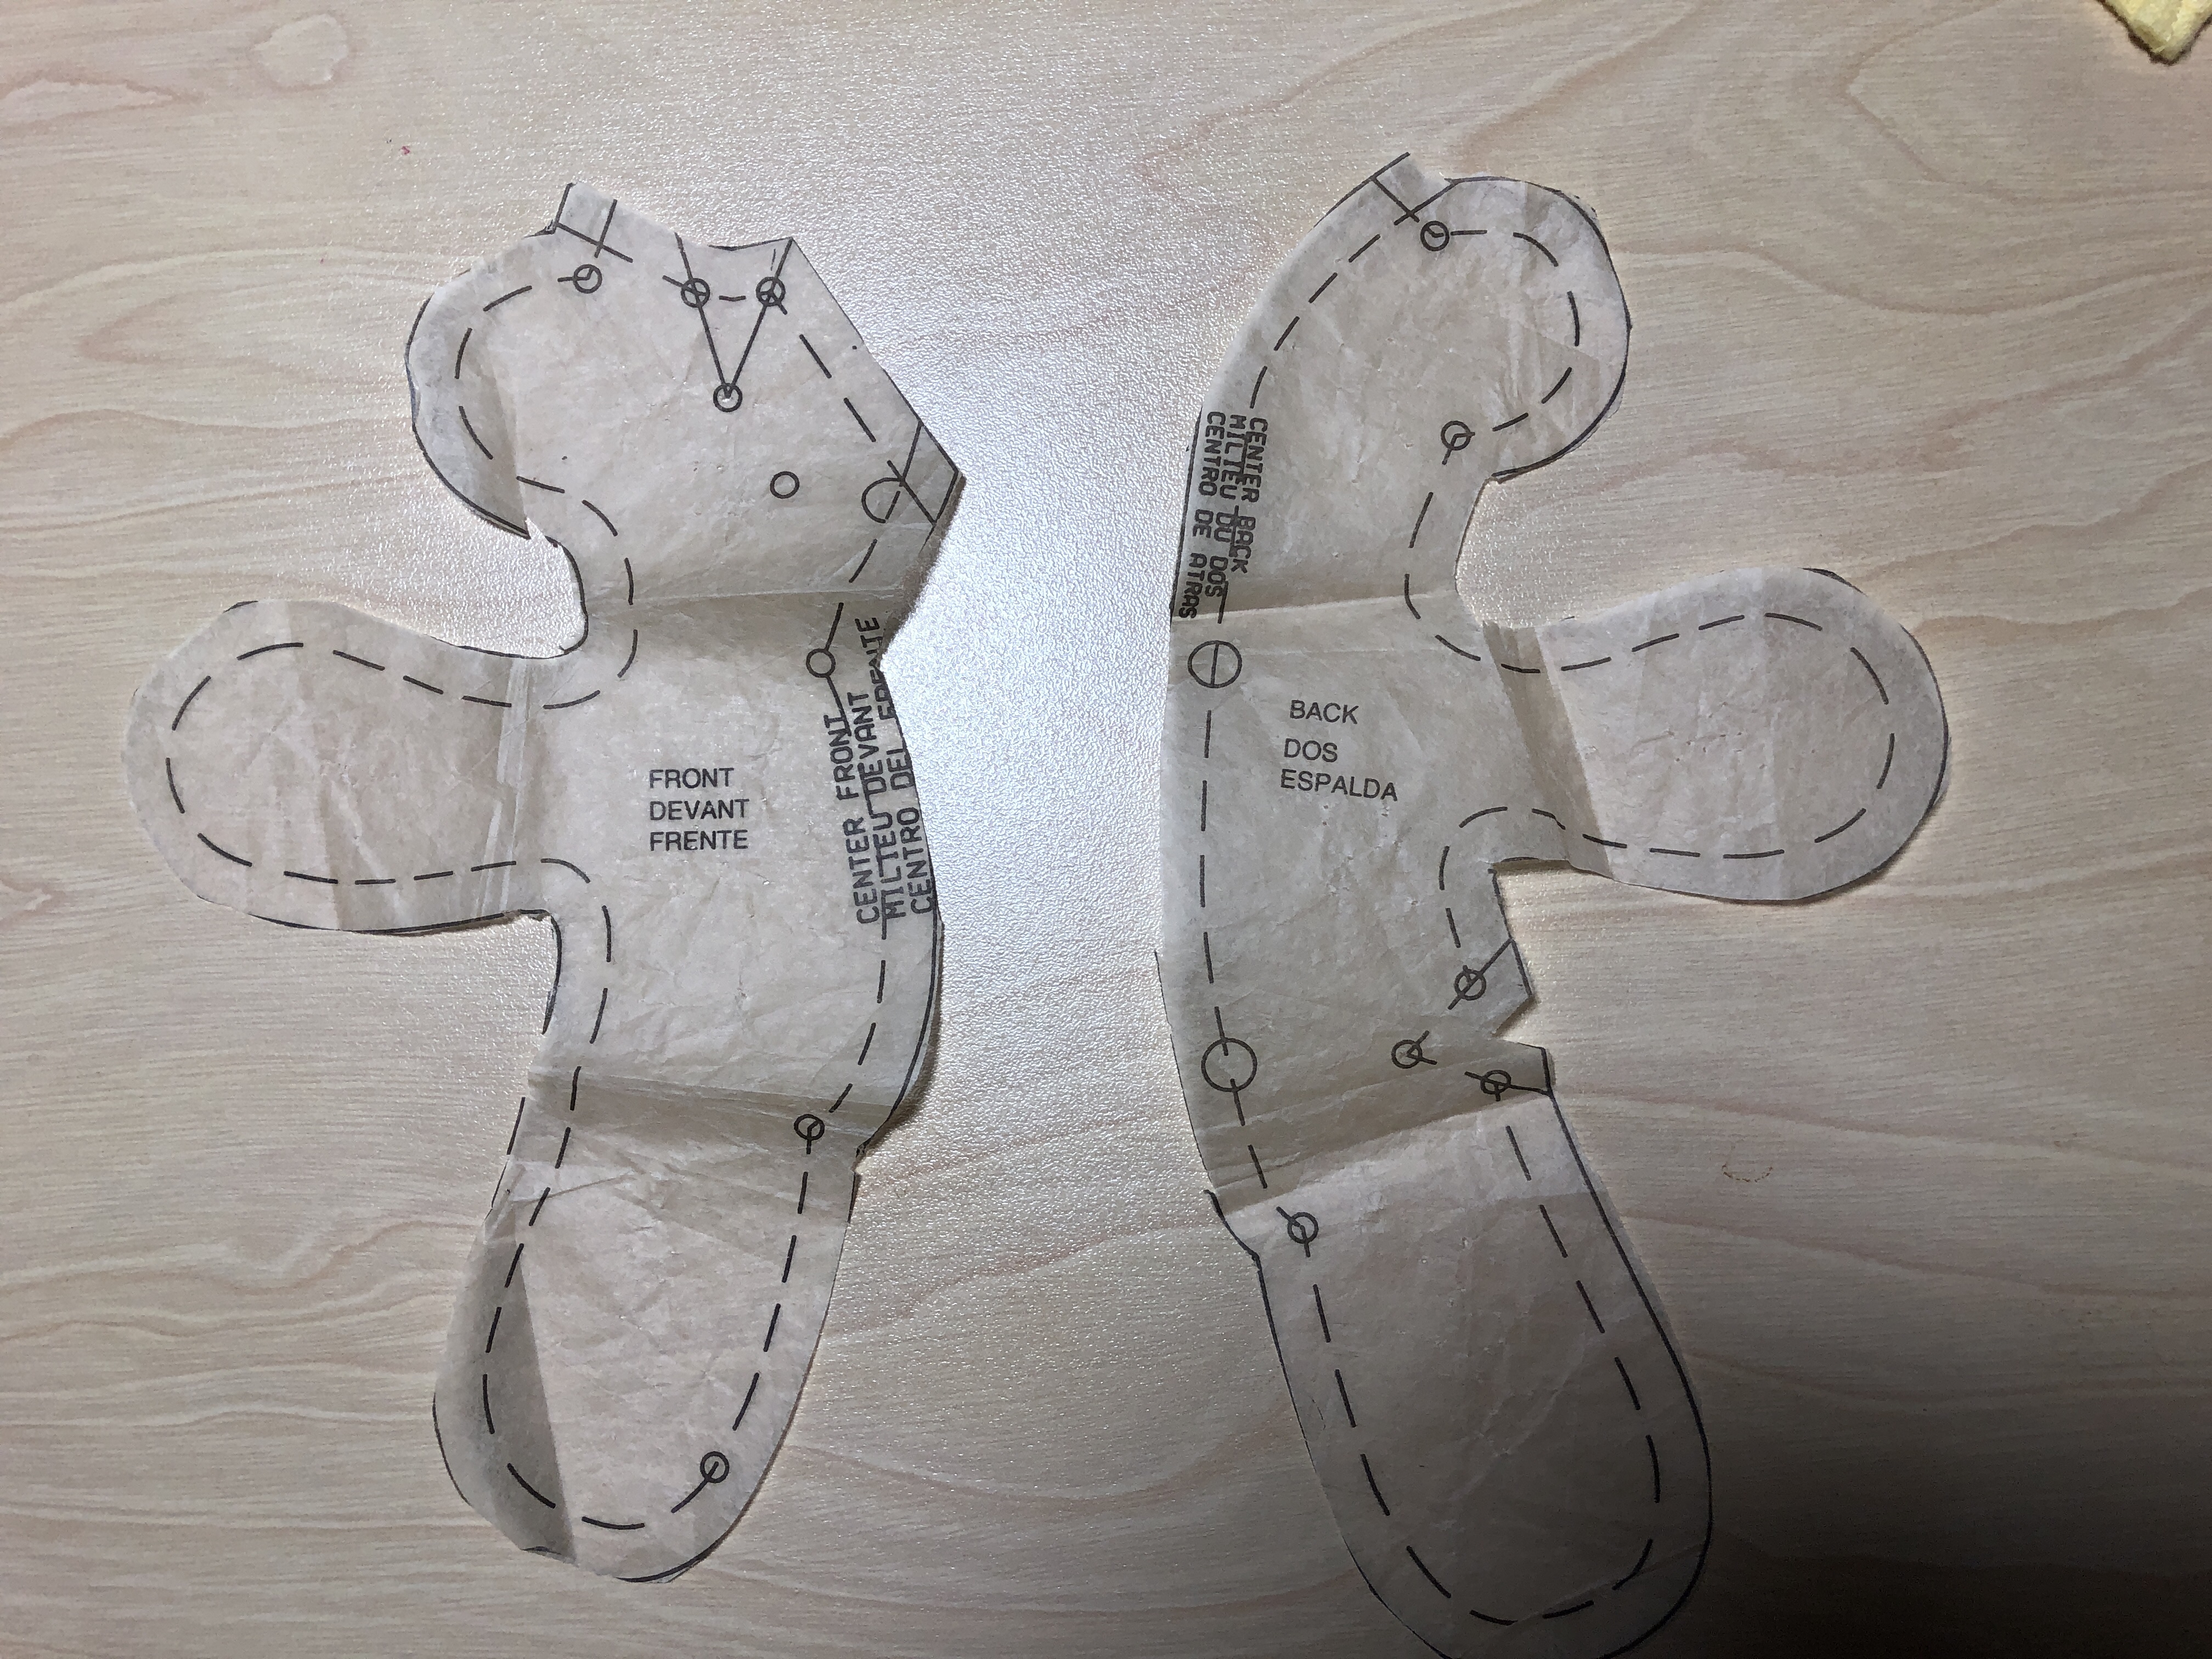
So, I pulled out the pattern and some leftover flannel and got busy.
Because the bears are so little, I baste the darts by hand first.
The rest goes pretty quickly, so now when I go to the birthday party this weekend, I’ll bring along some love bears!
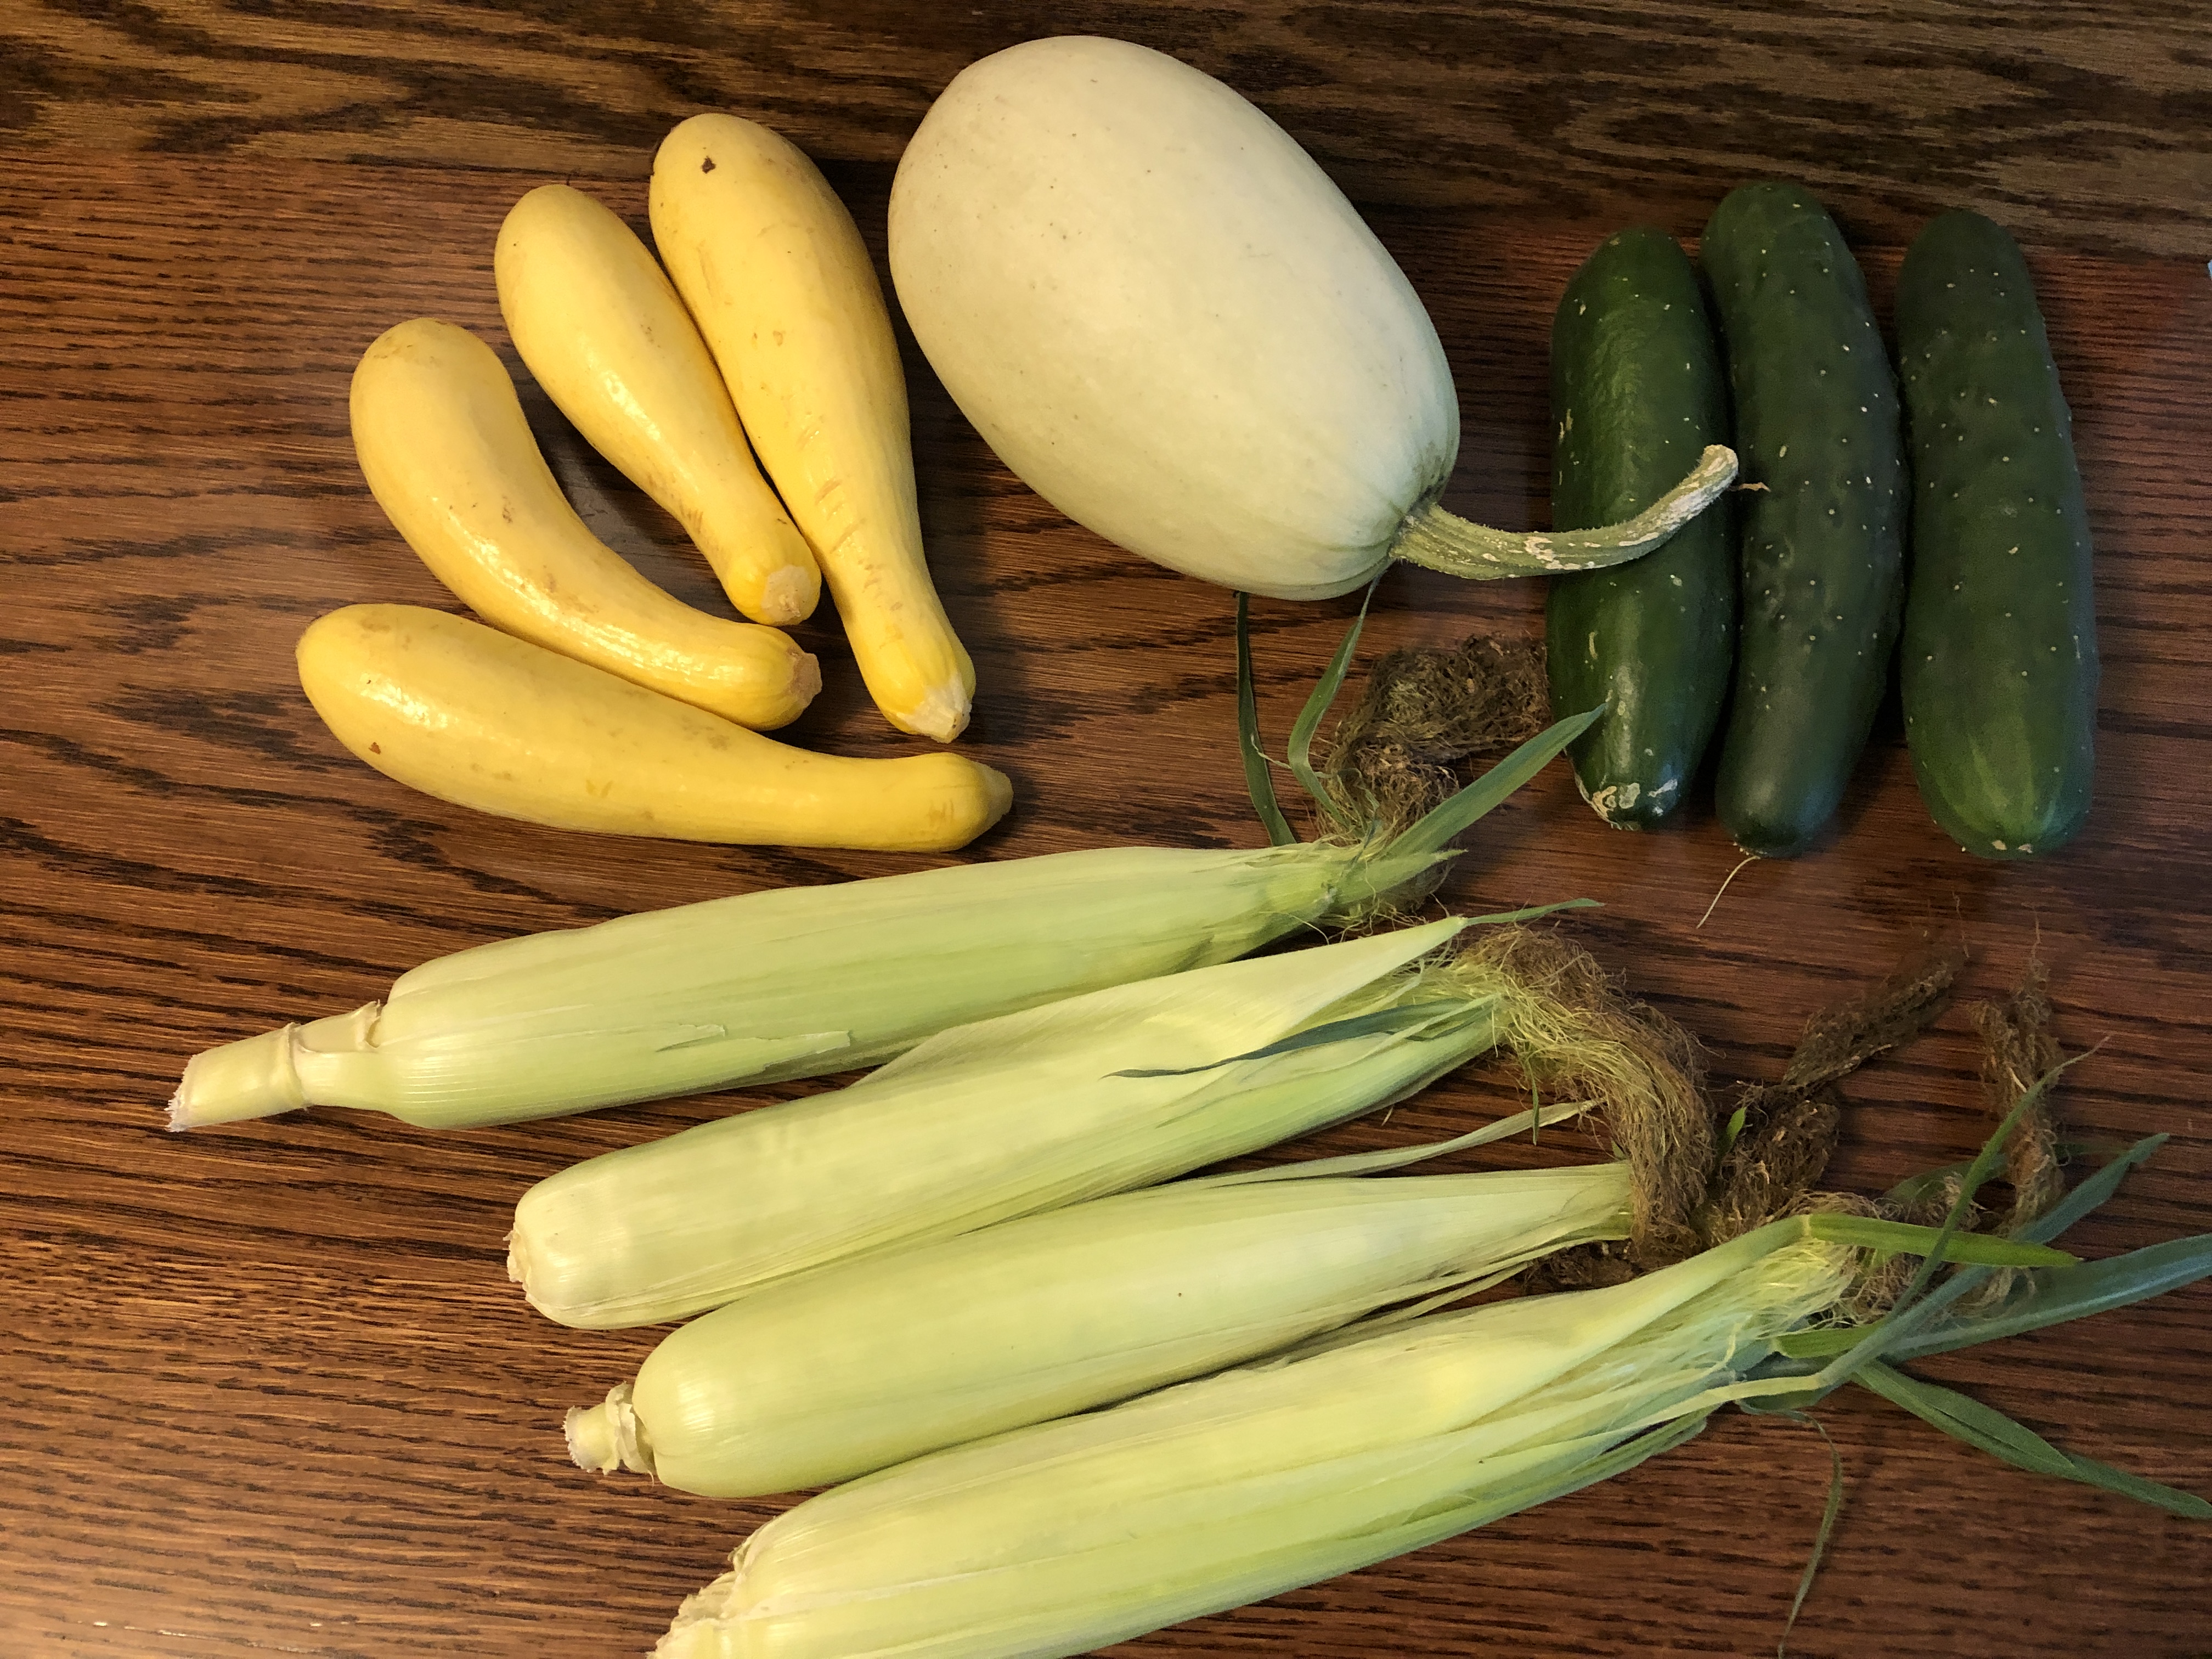
A few days ago, I went to the local Amish farmer’s market to get some sweet corn. I noticed they still had quite a pile of green and yellow beans available. I usually don’t bother to can or freeze plain beans…I prefer them fresh or dehydrated. Dehydrated beans are great in the winter when I’m making vegetable soup. I can add just a handful of dried green beans…they rehydrate in the broth as the soup is cooking.
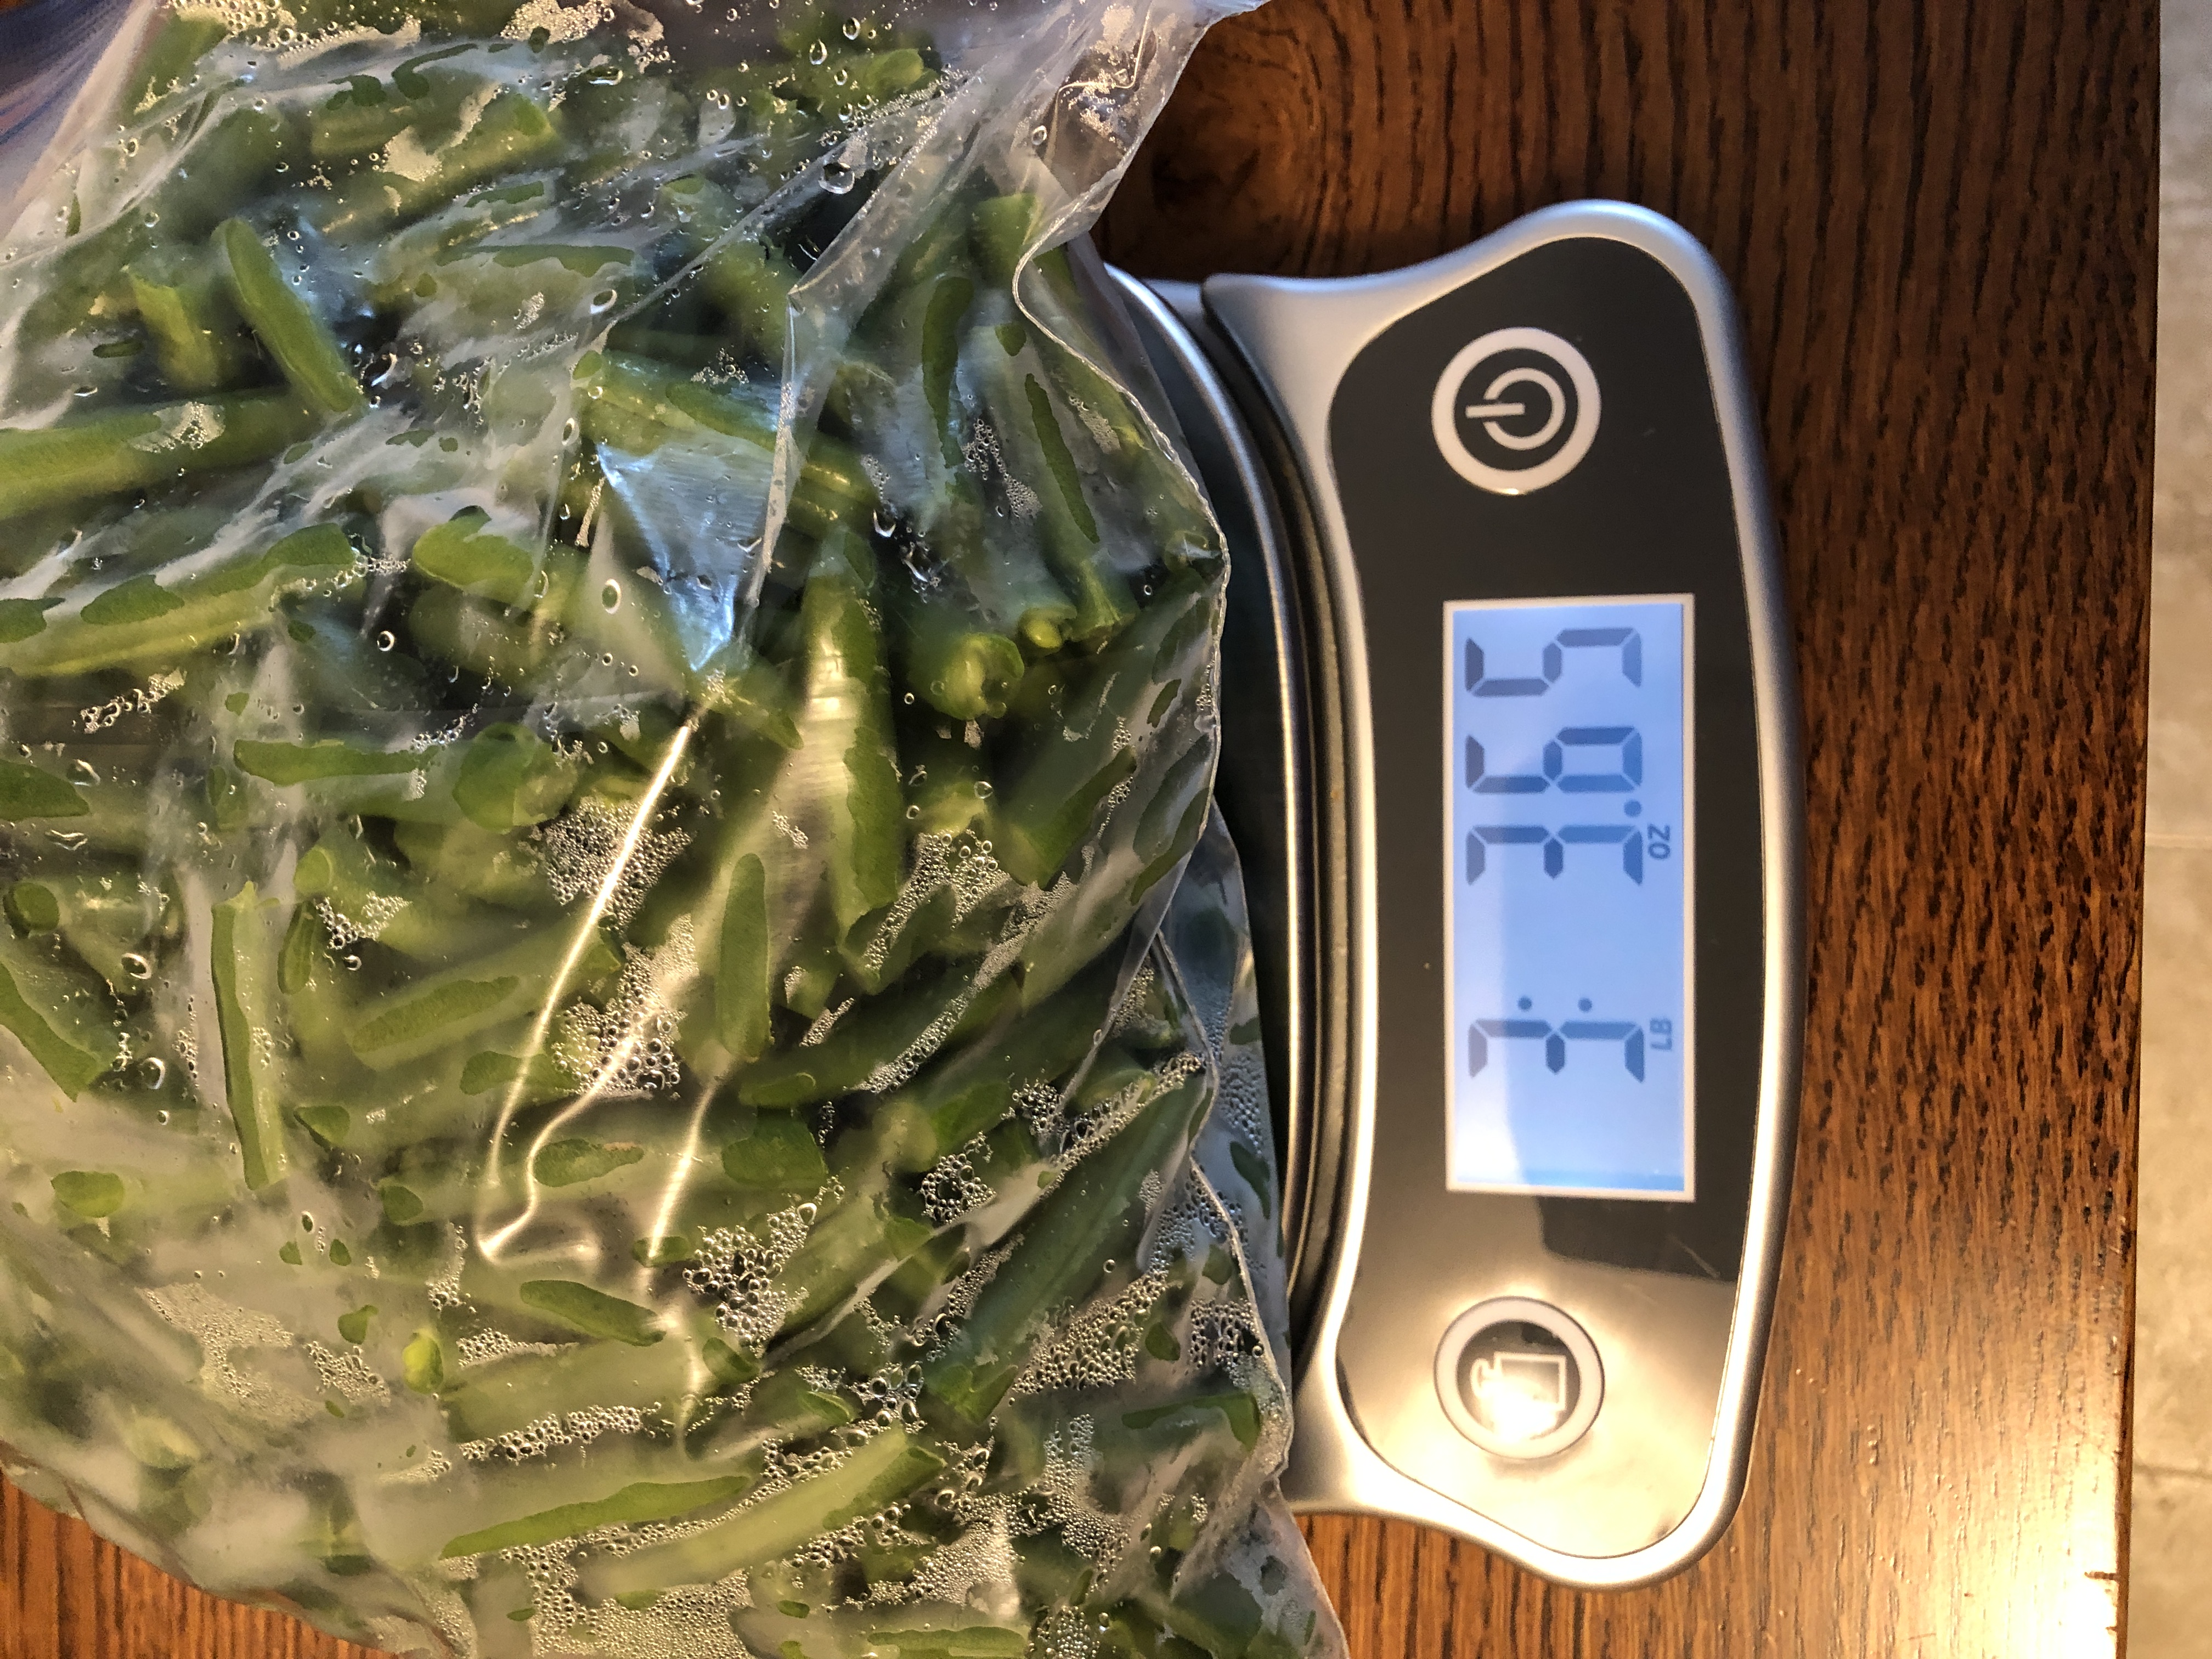
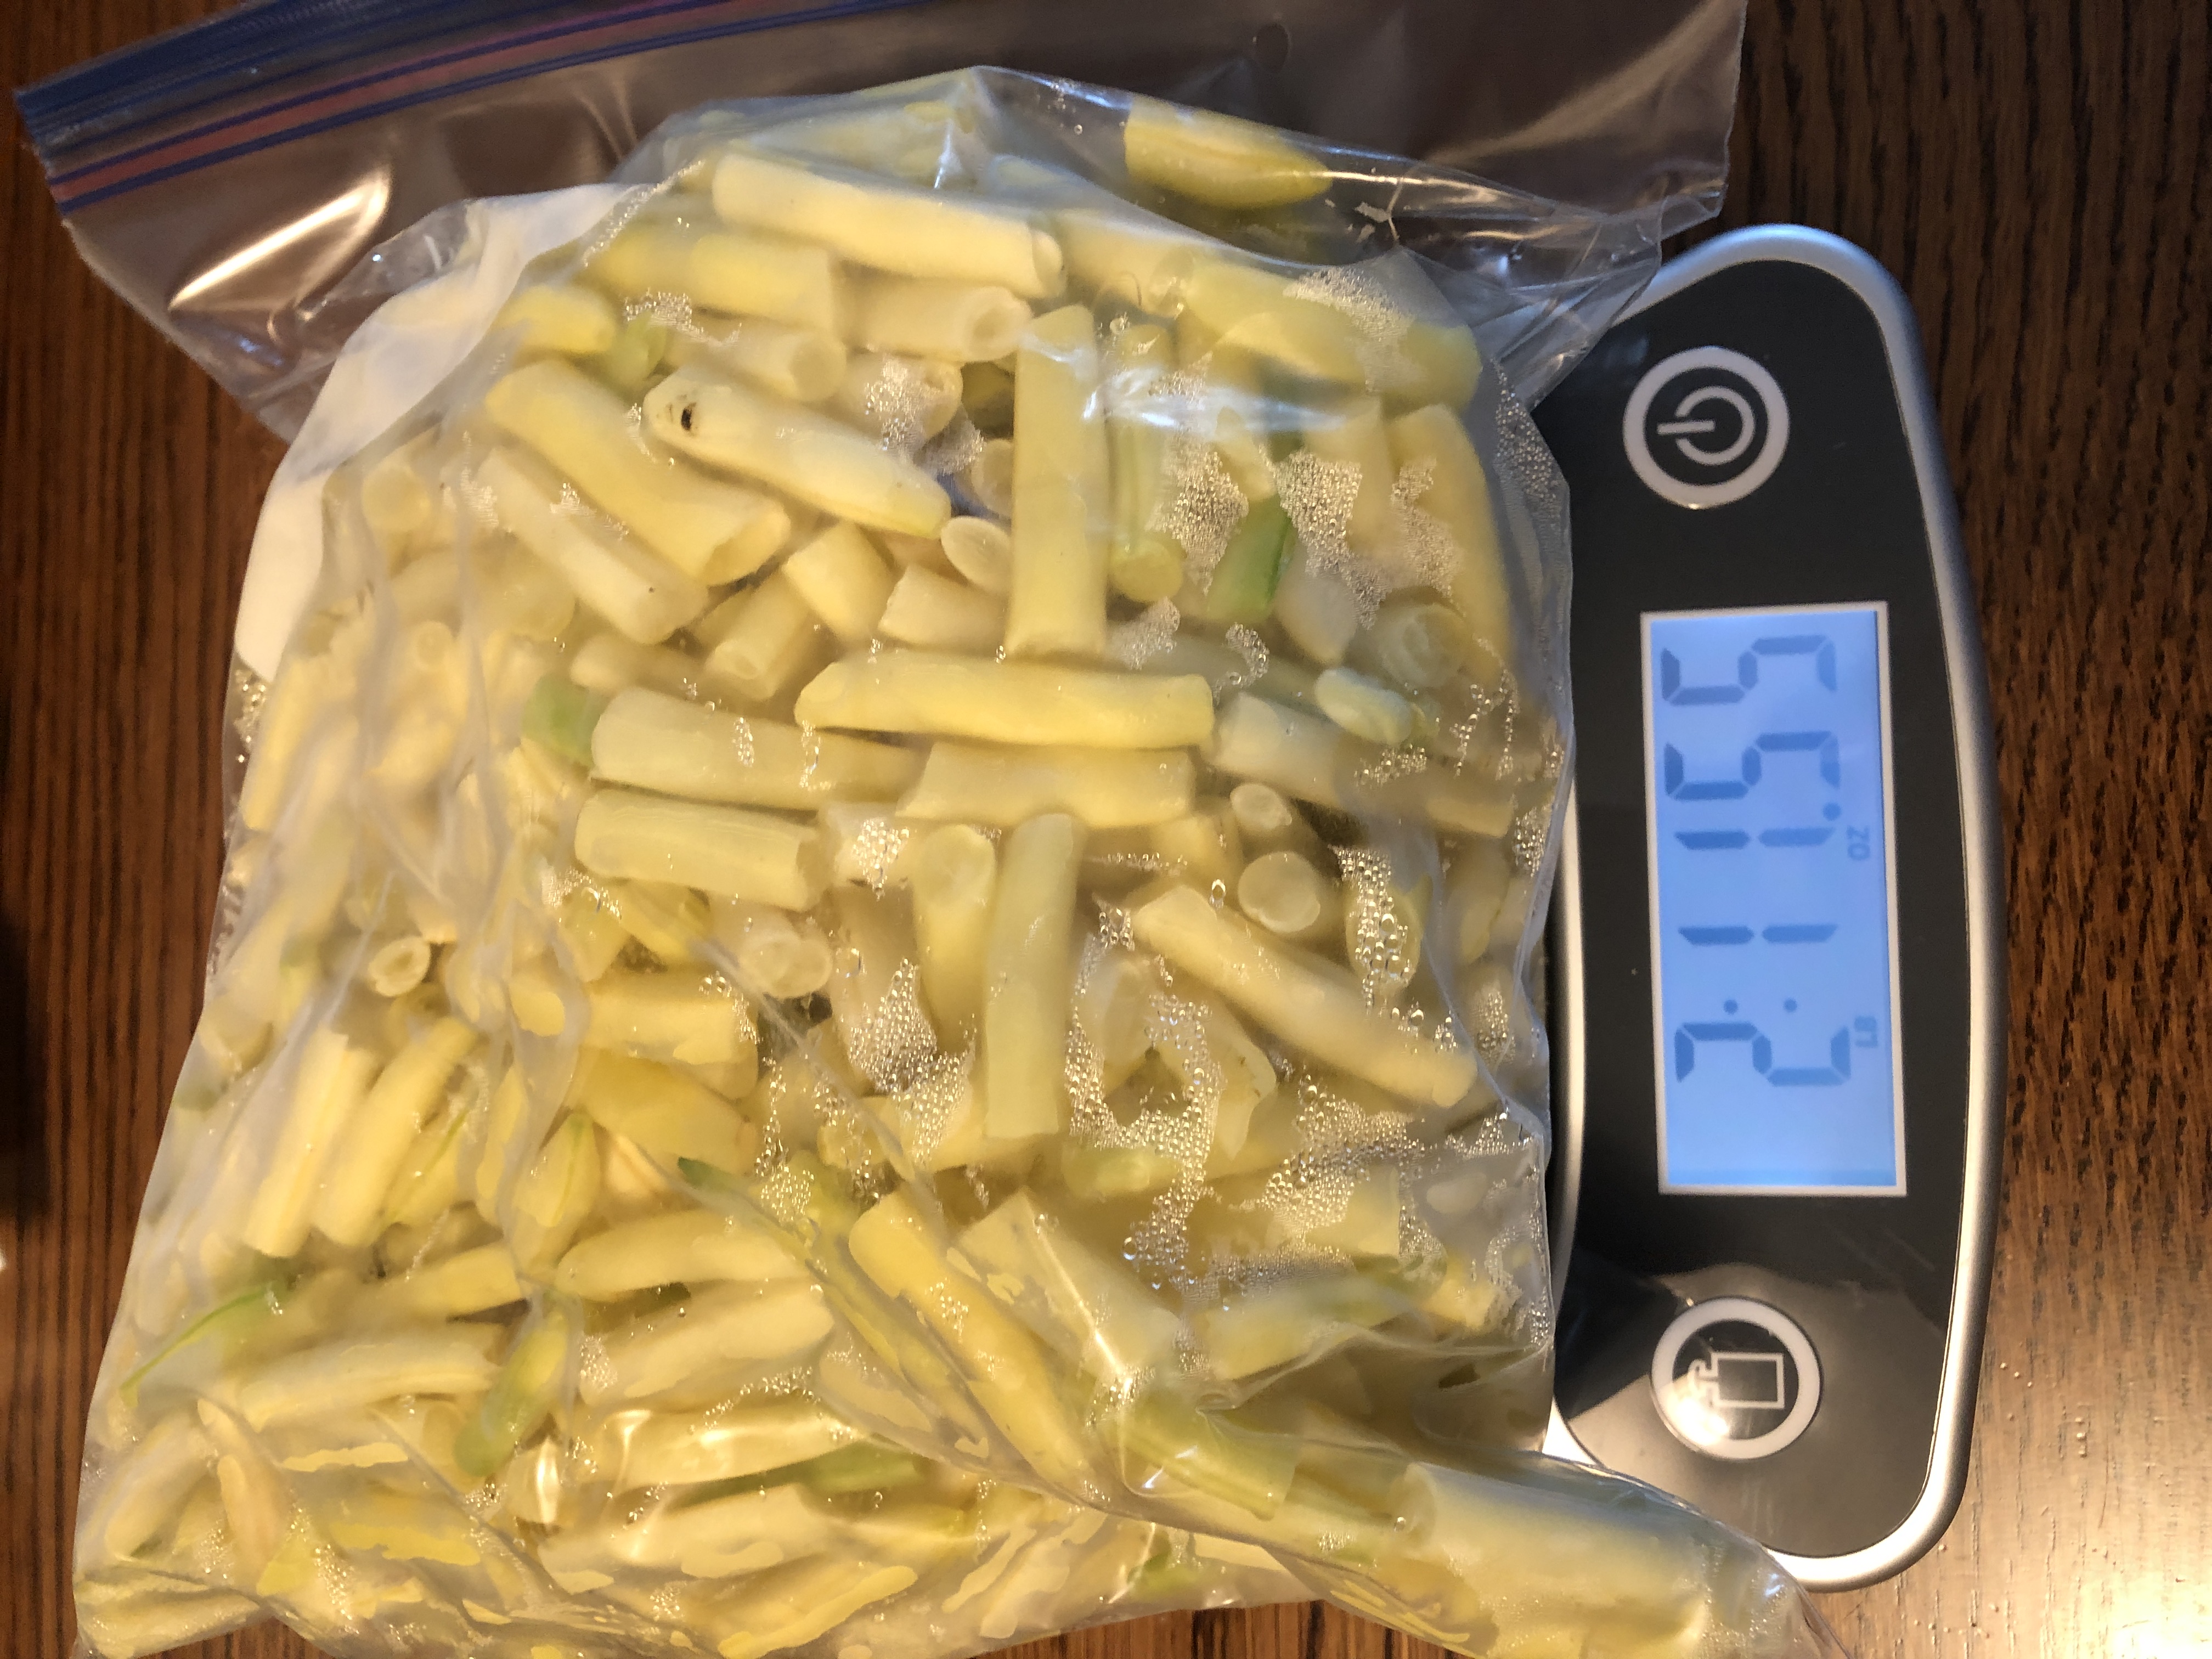
I thought I’d like to show you how much space (and weight) I save by dehydrating this batch of beans. I filled two sacks of green and yellow beans and brought them home. I snapped them and put them in the fridge while I got the dehydrator ready. The next day, I put each bag on the scales to see the weight I was starting with. The green beans weighed about 3 lbs. 4 oz. The yellow beans weighed about 2 1lb 12 oz…a total of about 6 lbs.
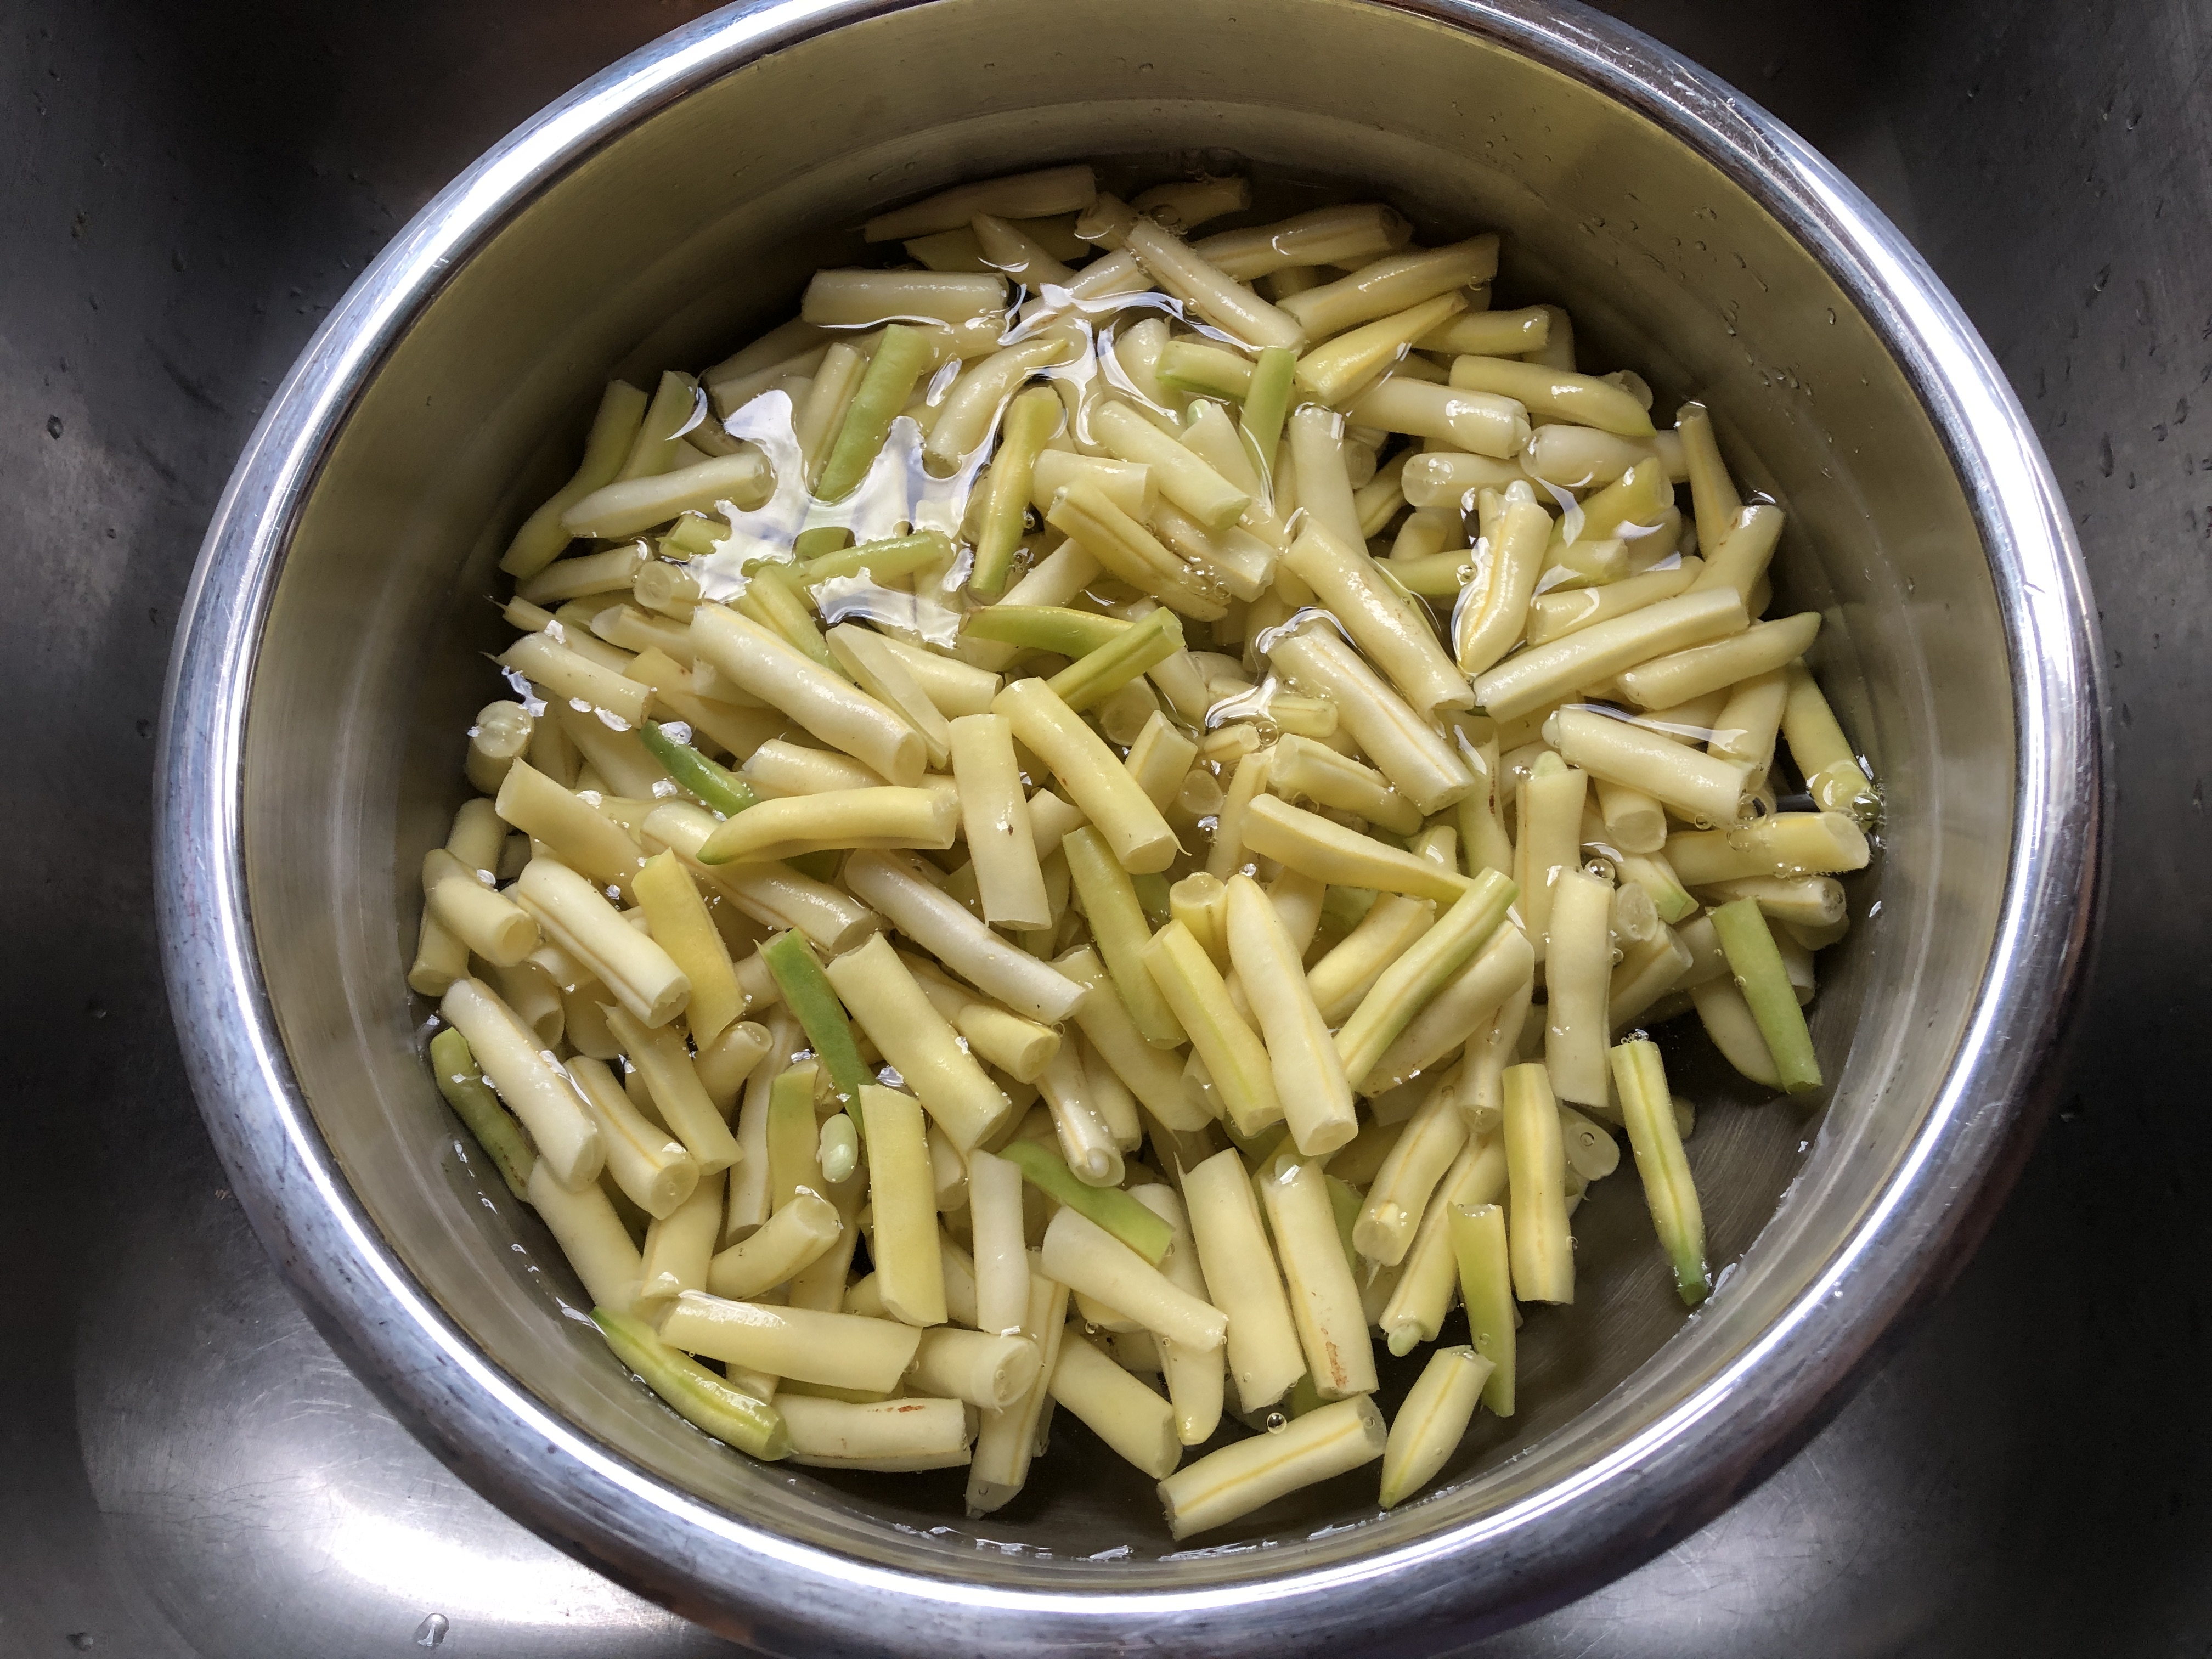
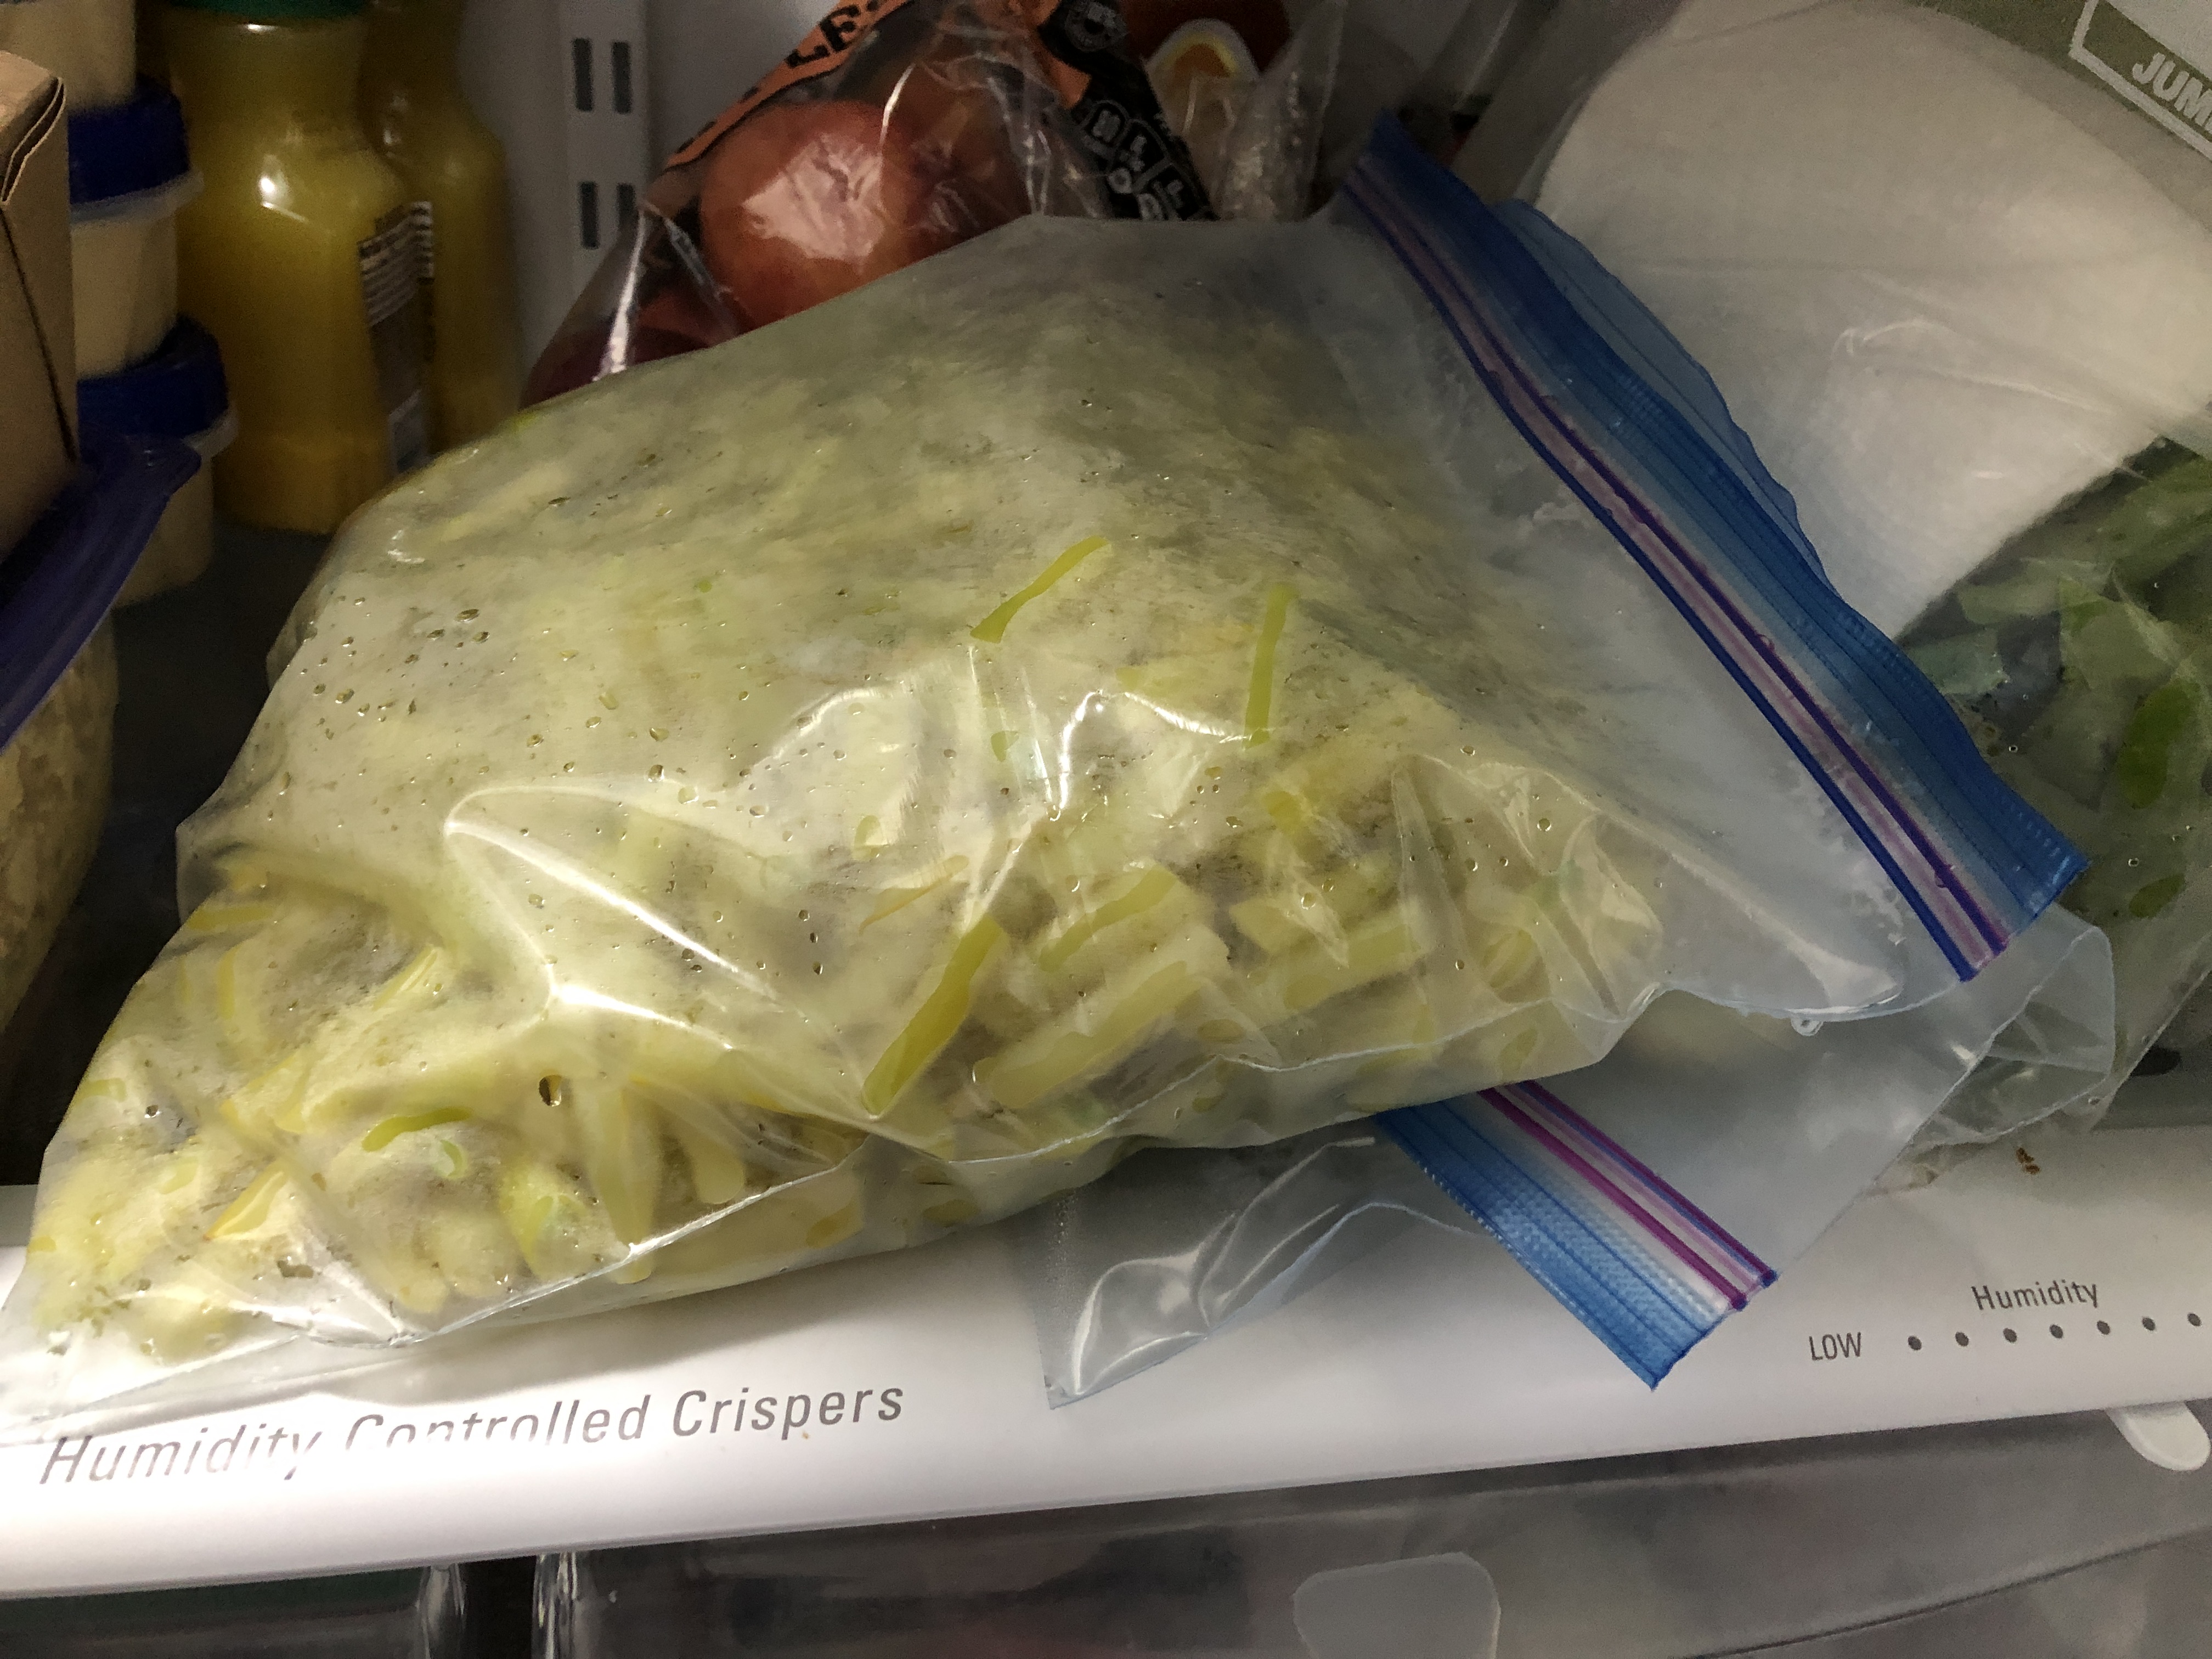
Next, I washed them, blanched them for 4 minutes in boiling water, cooled them in ice water, put them in a bag in the fridge while I did the next batch.
The manual says I should put them in the freezer for 30 minutes, but the fridge worked for me. They dehydrate quicker when they start out cold apparently.
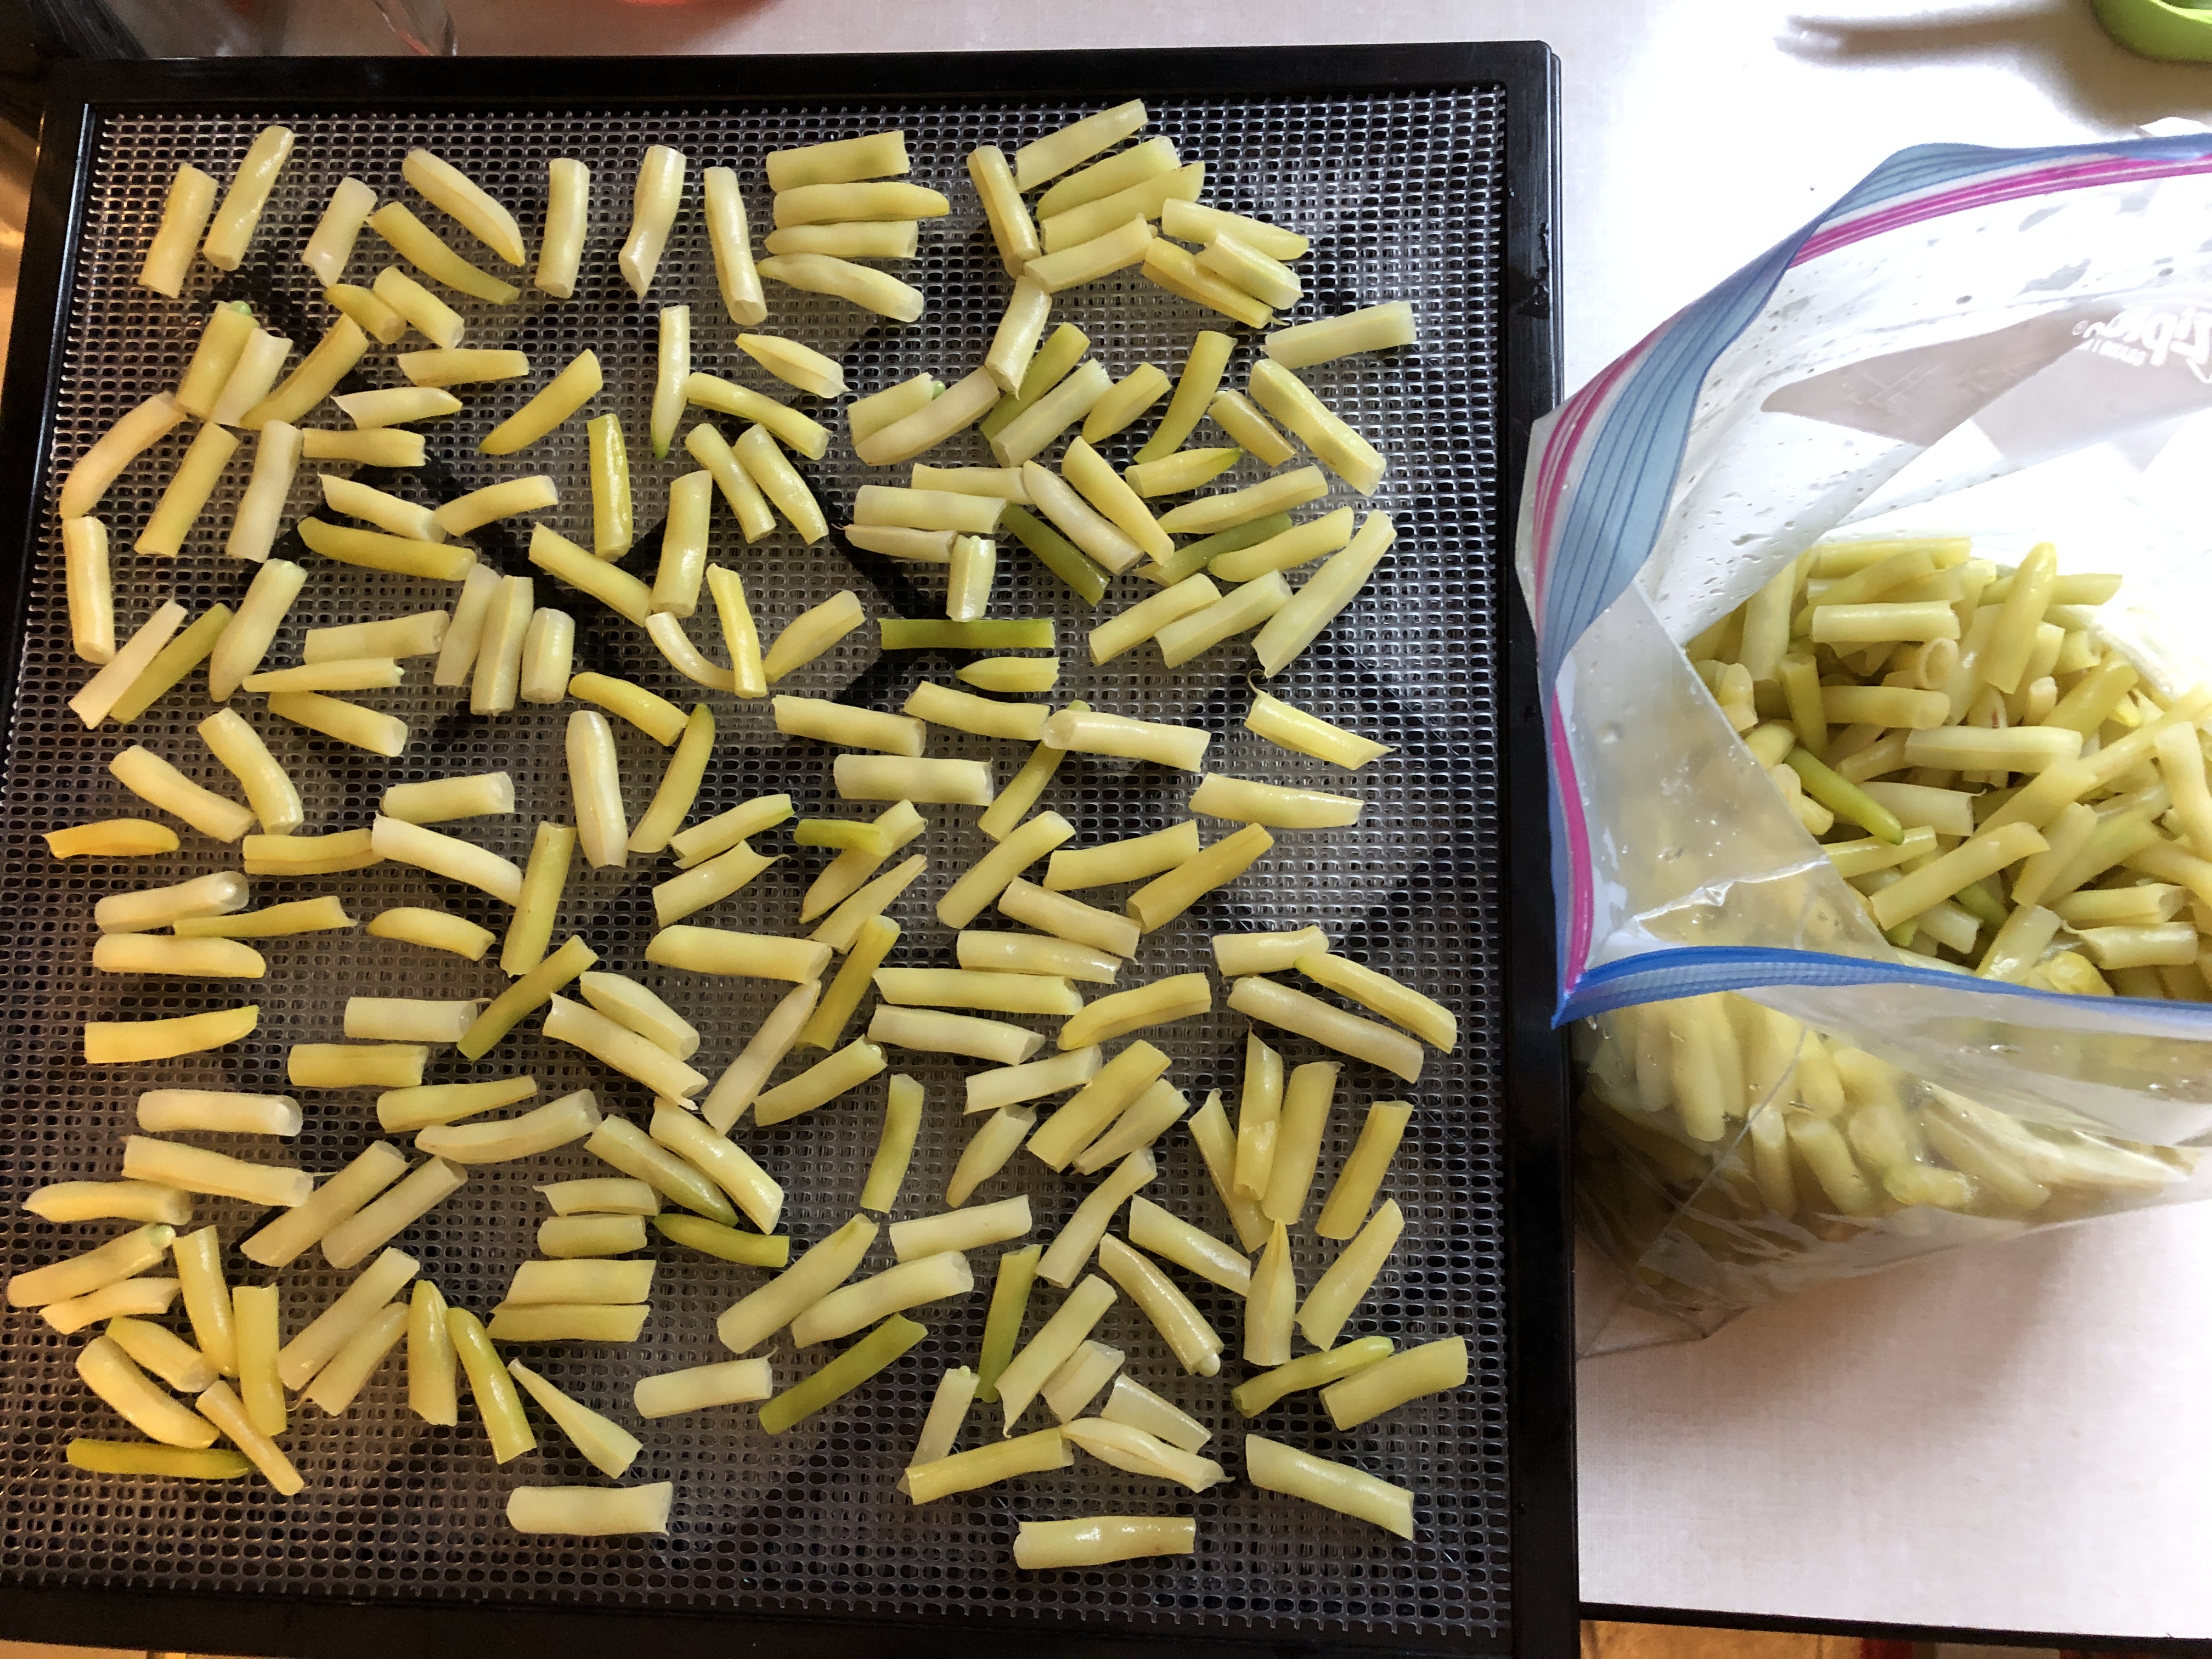
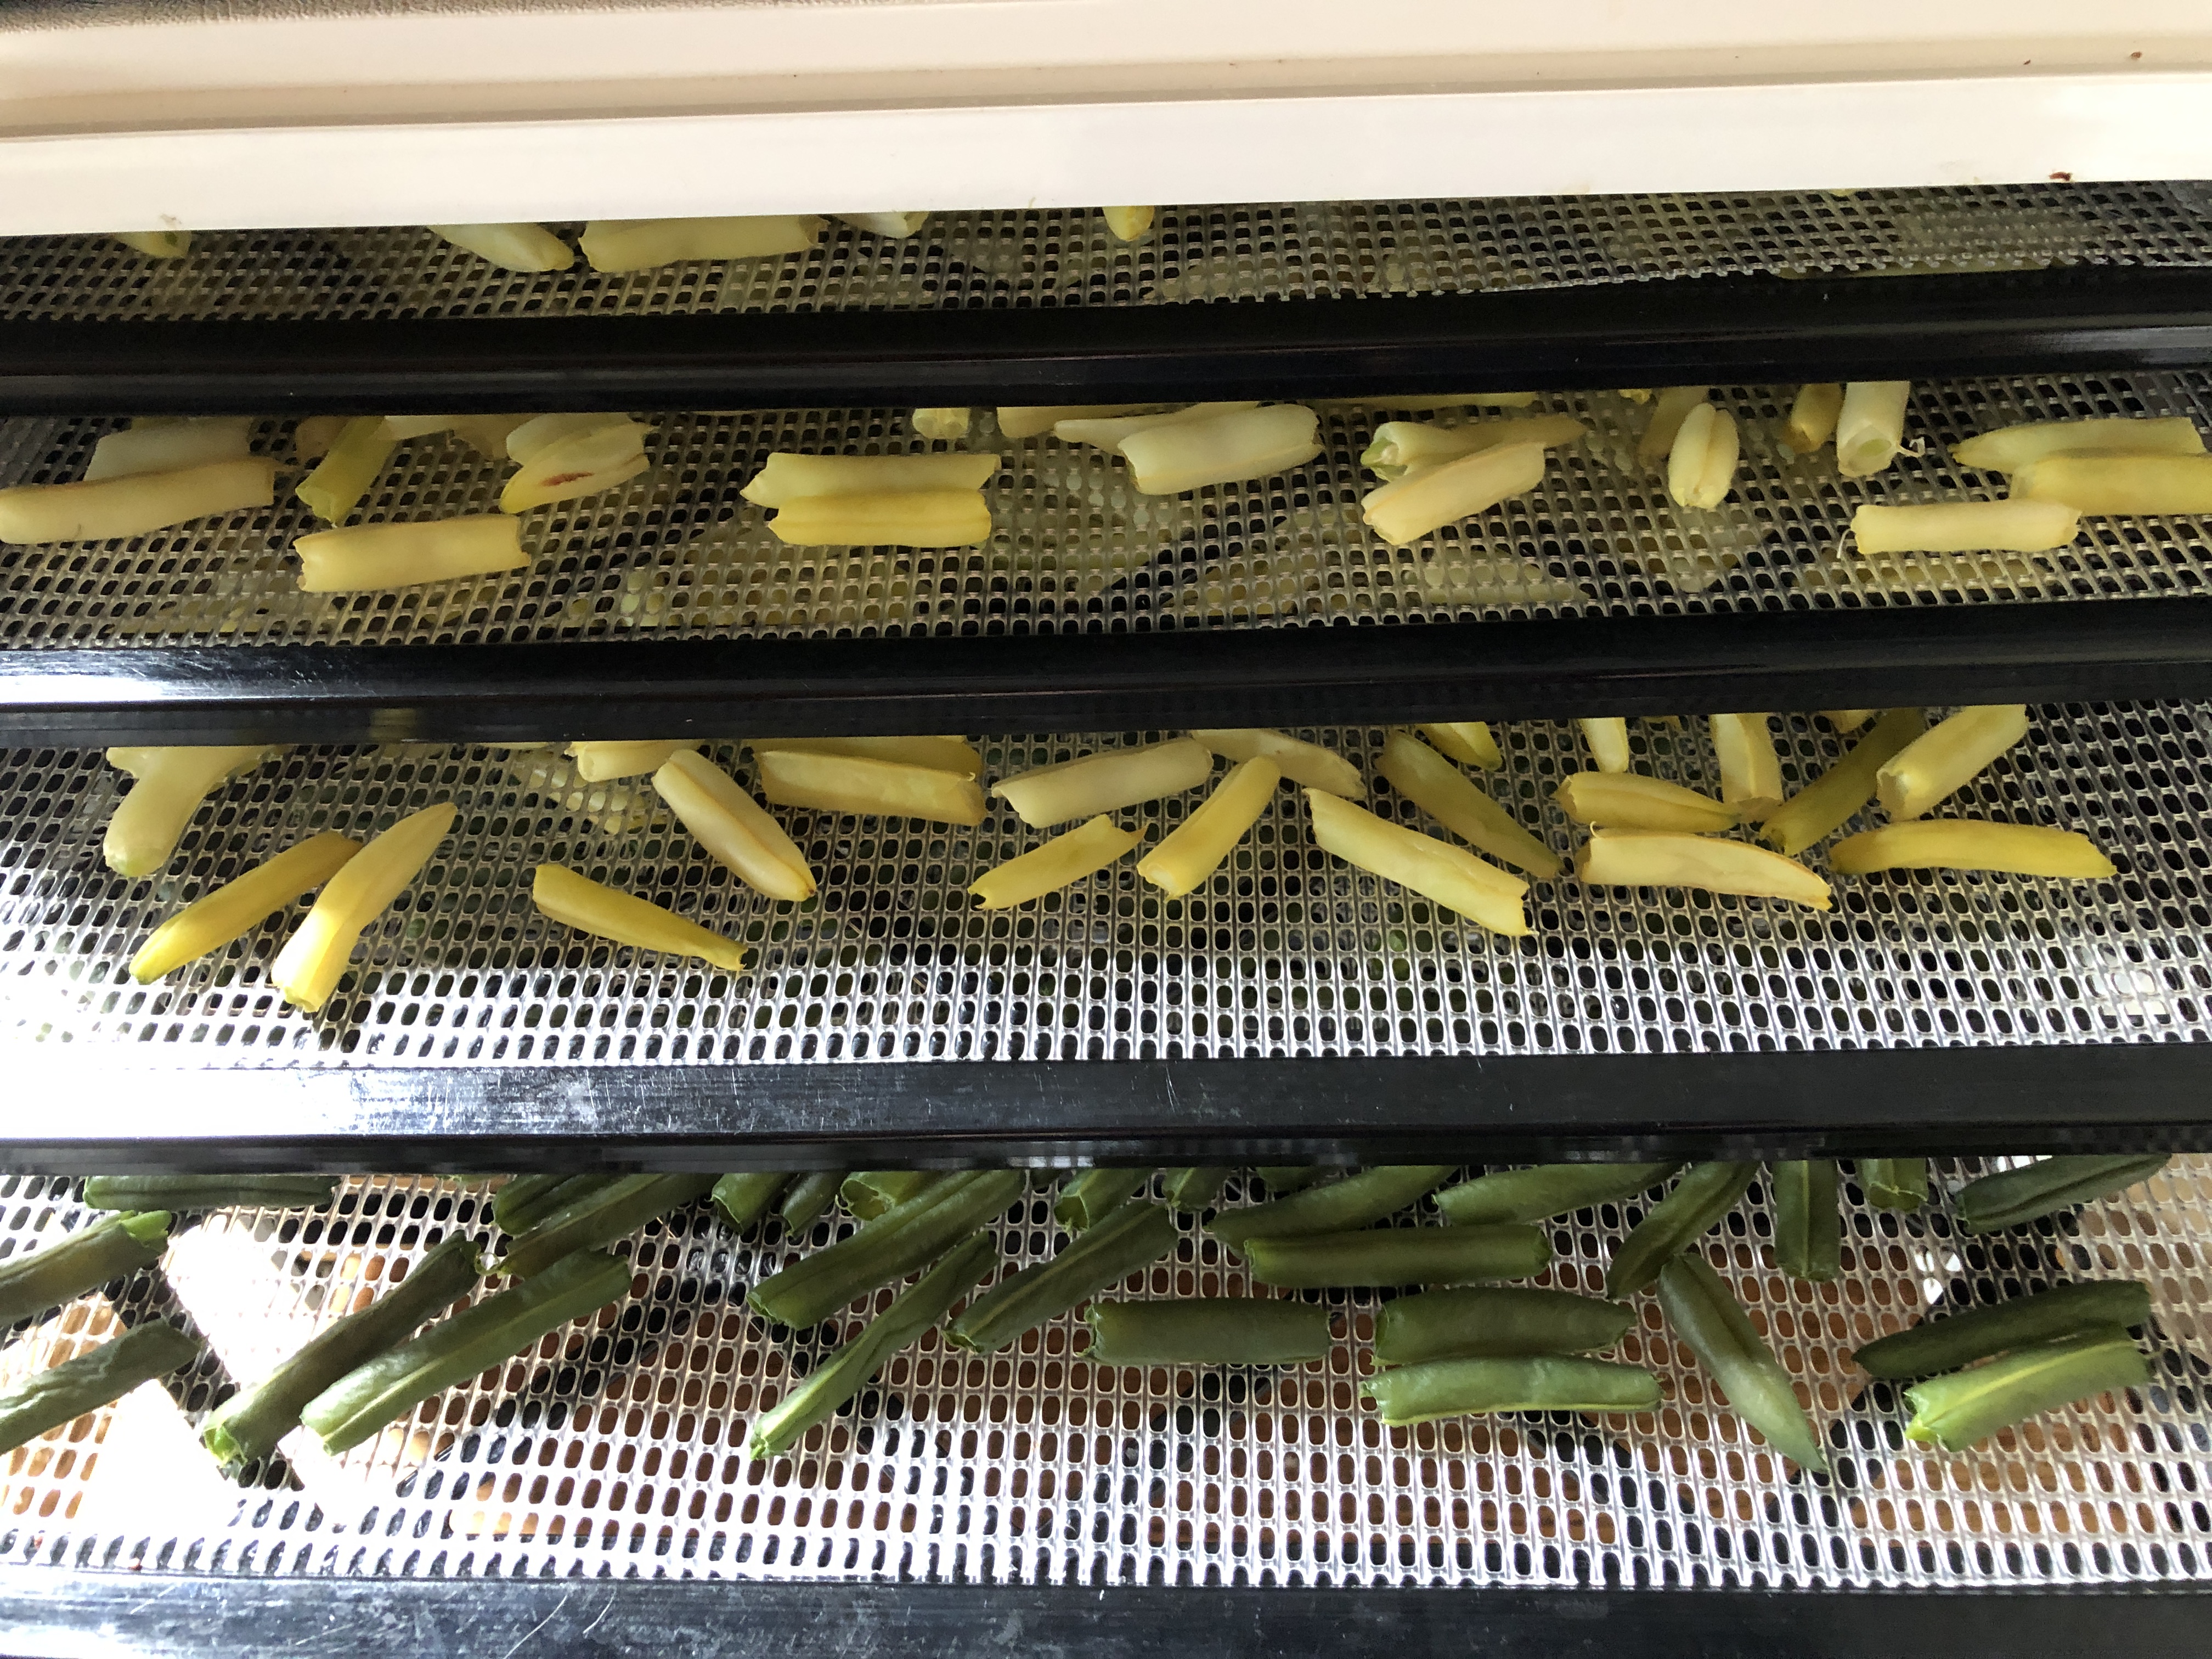
The beans filled all 9 trays of my dehydrator.
The dehydrator sits outside the kitchen door in the garage. It makes noise, has to run for 10-12 hours and is too big to put in the kitchen.
To determine how long to dehydrate the beans, I checked the manual for my dehydrator.
This map shows the general percent of humidity in each region, by season. Pennsylvania is in the green zone in July. The day I dehydrated the beans was damp and rainy so I assumed the time of 11 hours might be more like 12 hours.
The manual describes how to test when the food is dry enough. Vegetables should be brittle.
During the 11 hours, I rotated the trays front to back and from upper levels to the middle several times. The fan is located in the back, so the back of the trays get dry faster than the front edge. After 11 hours, the beans look like this:
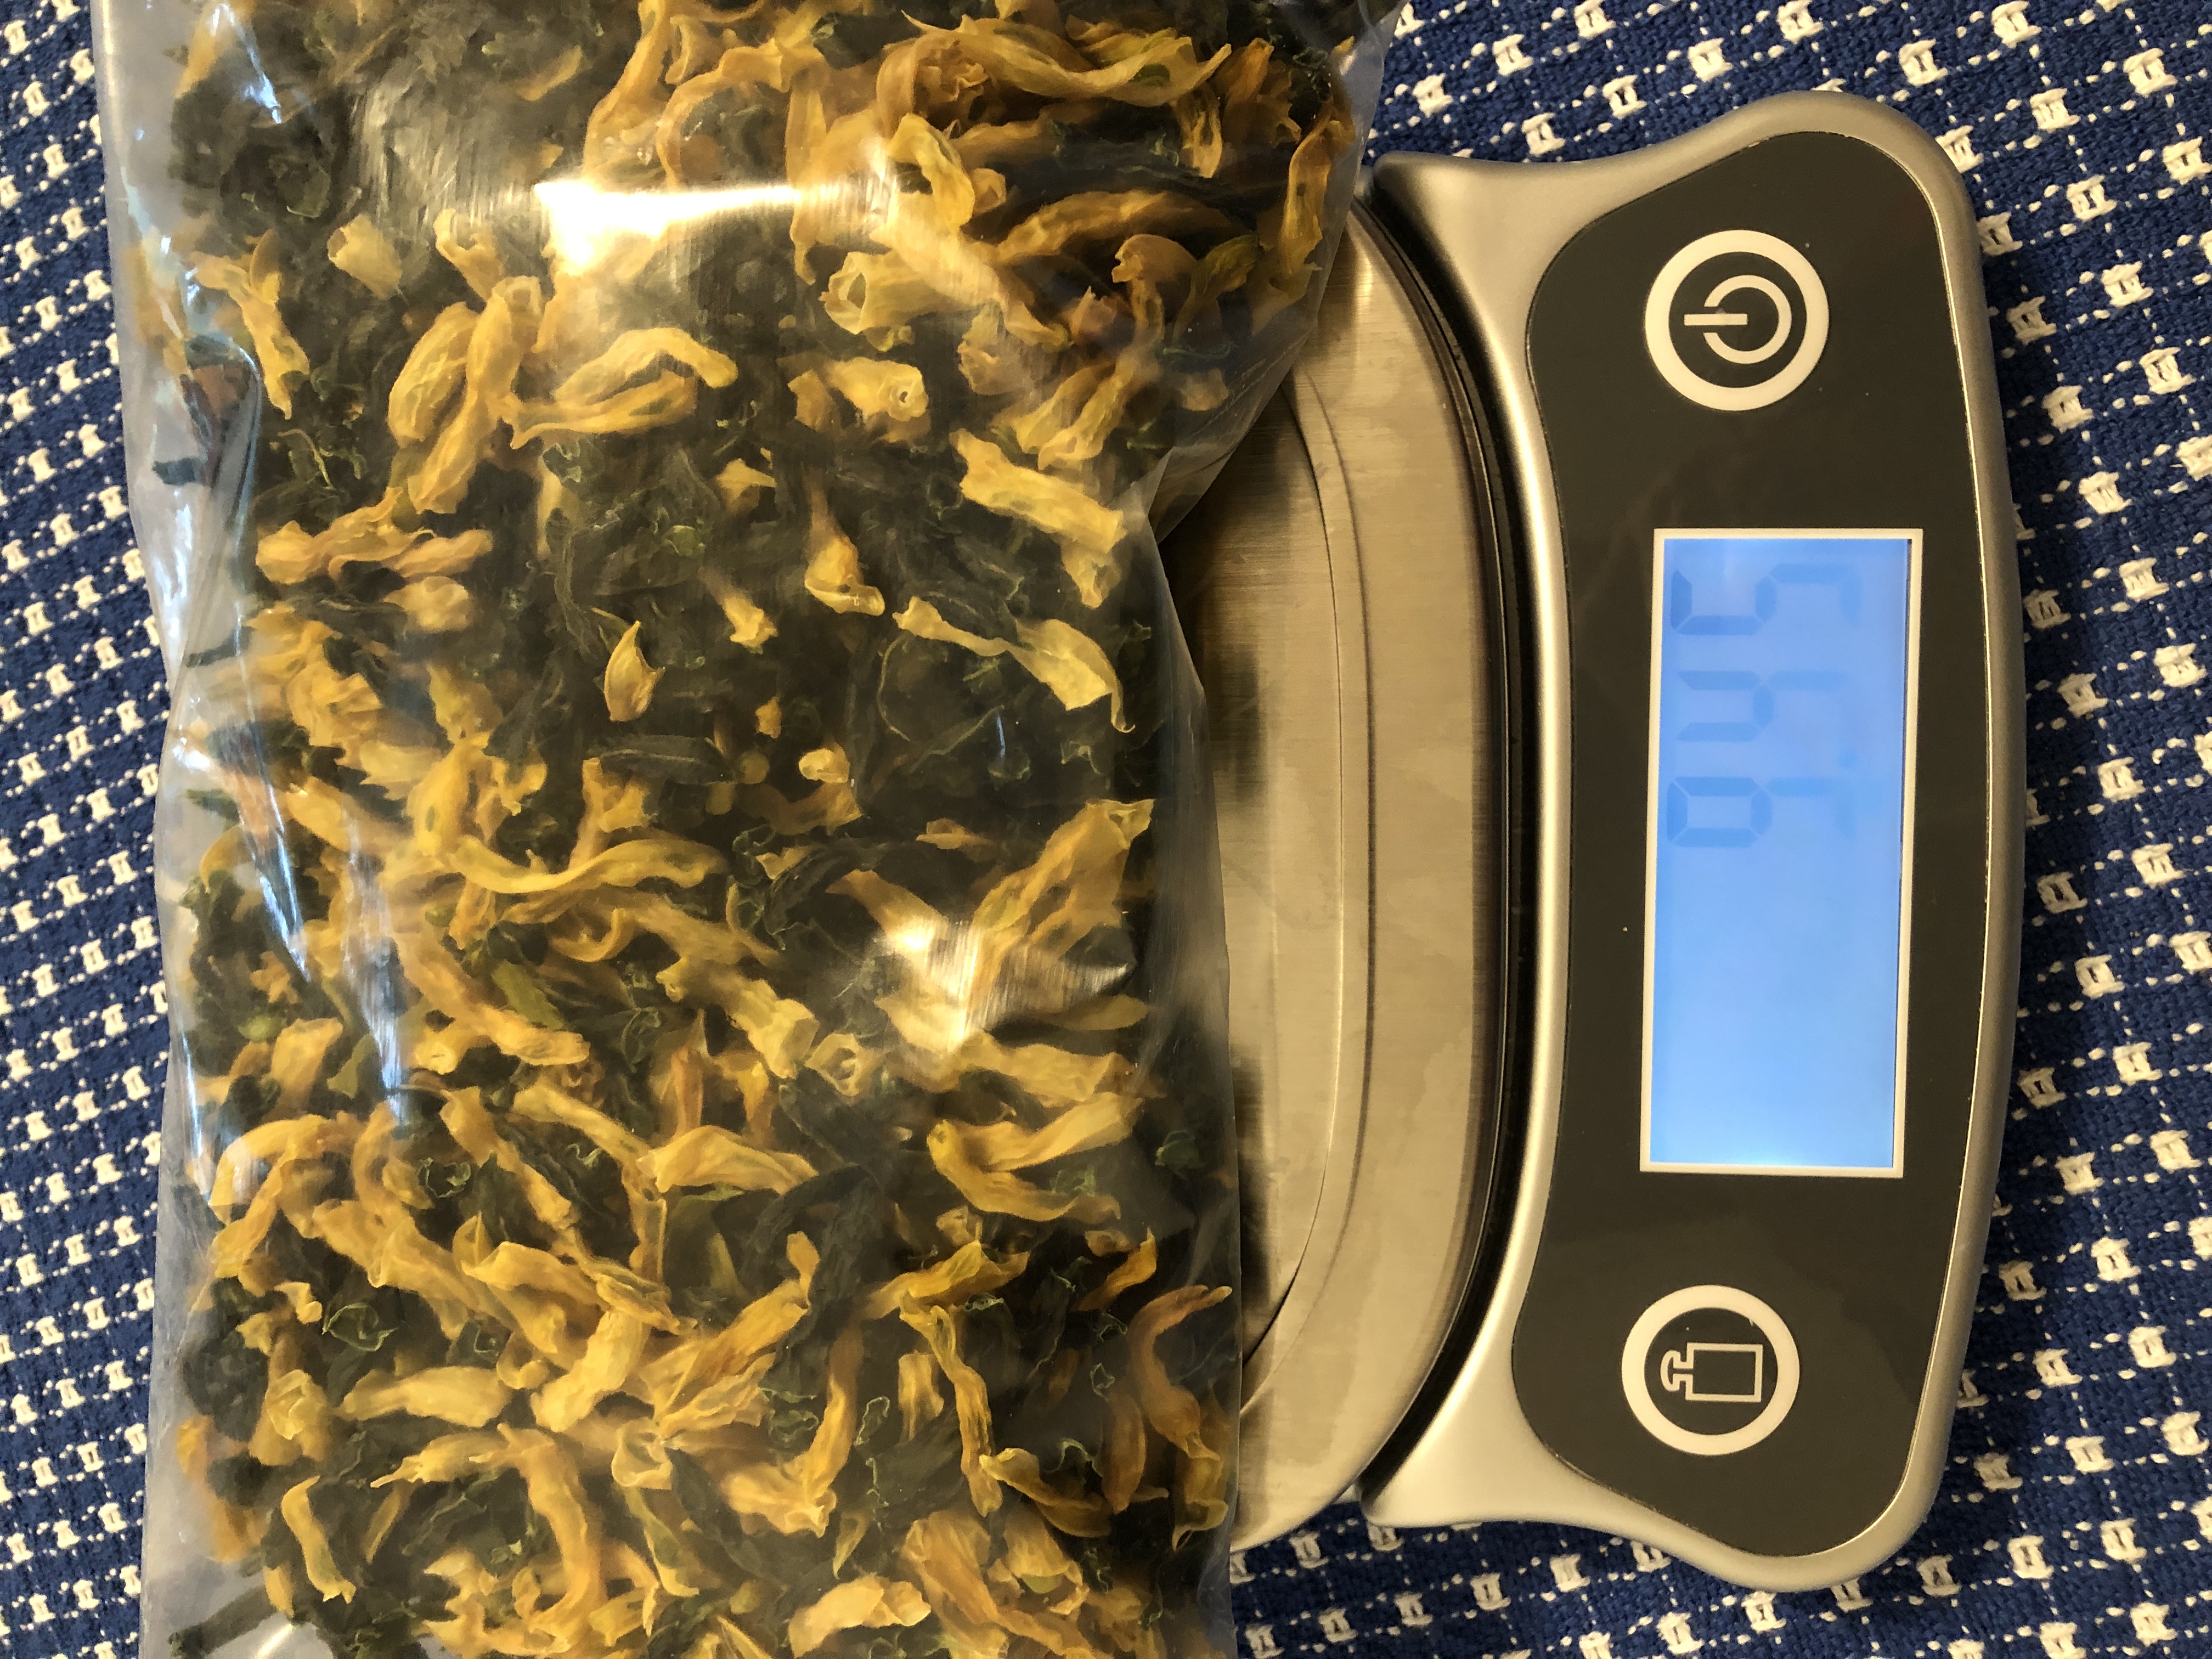
Once I determined they were dry enough…because they were brittle when I bent them…I put them in a zip bag and weighed them again. The 6 lbs. of beans now weighed about 9 1/2 oz…a little more than 1/2 lb.
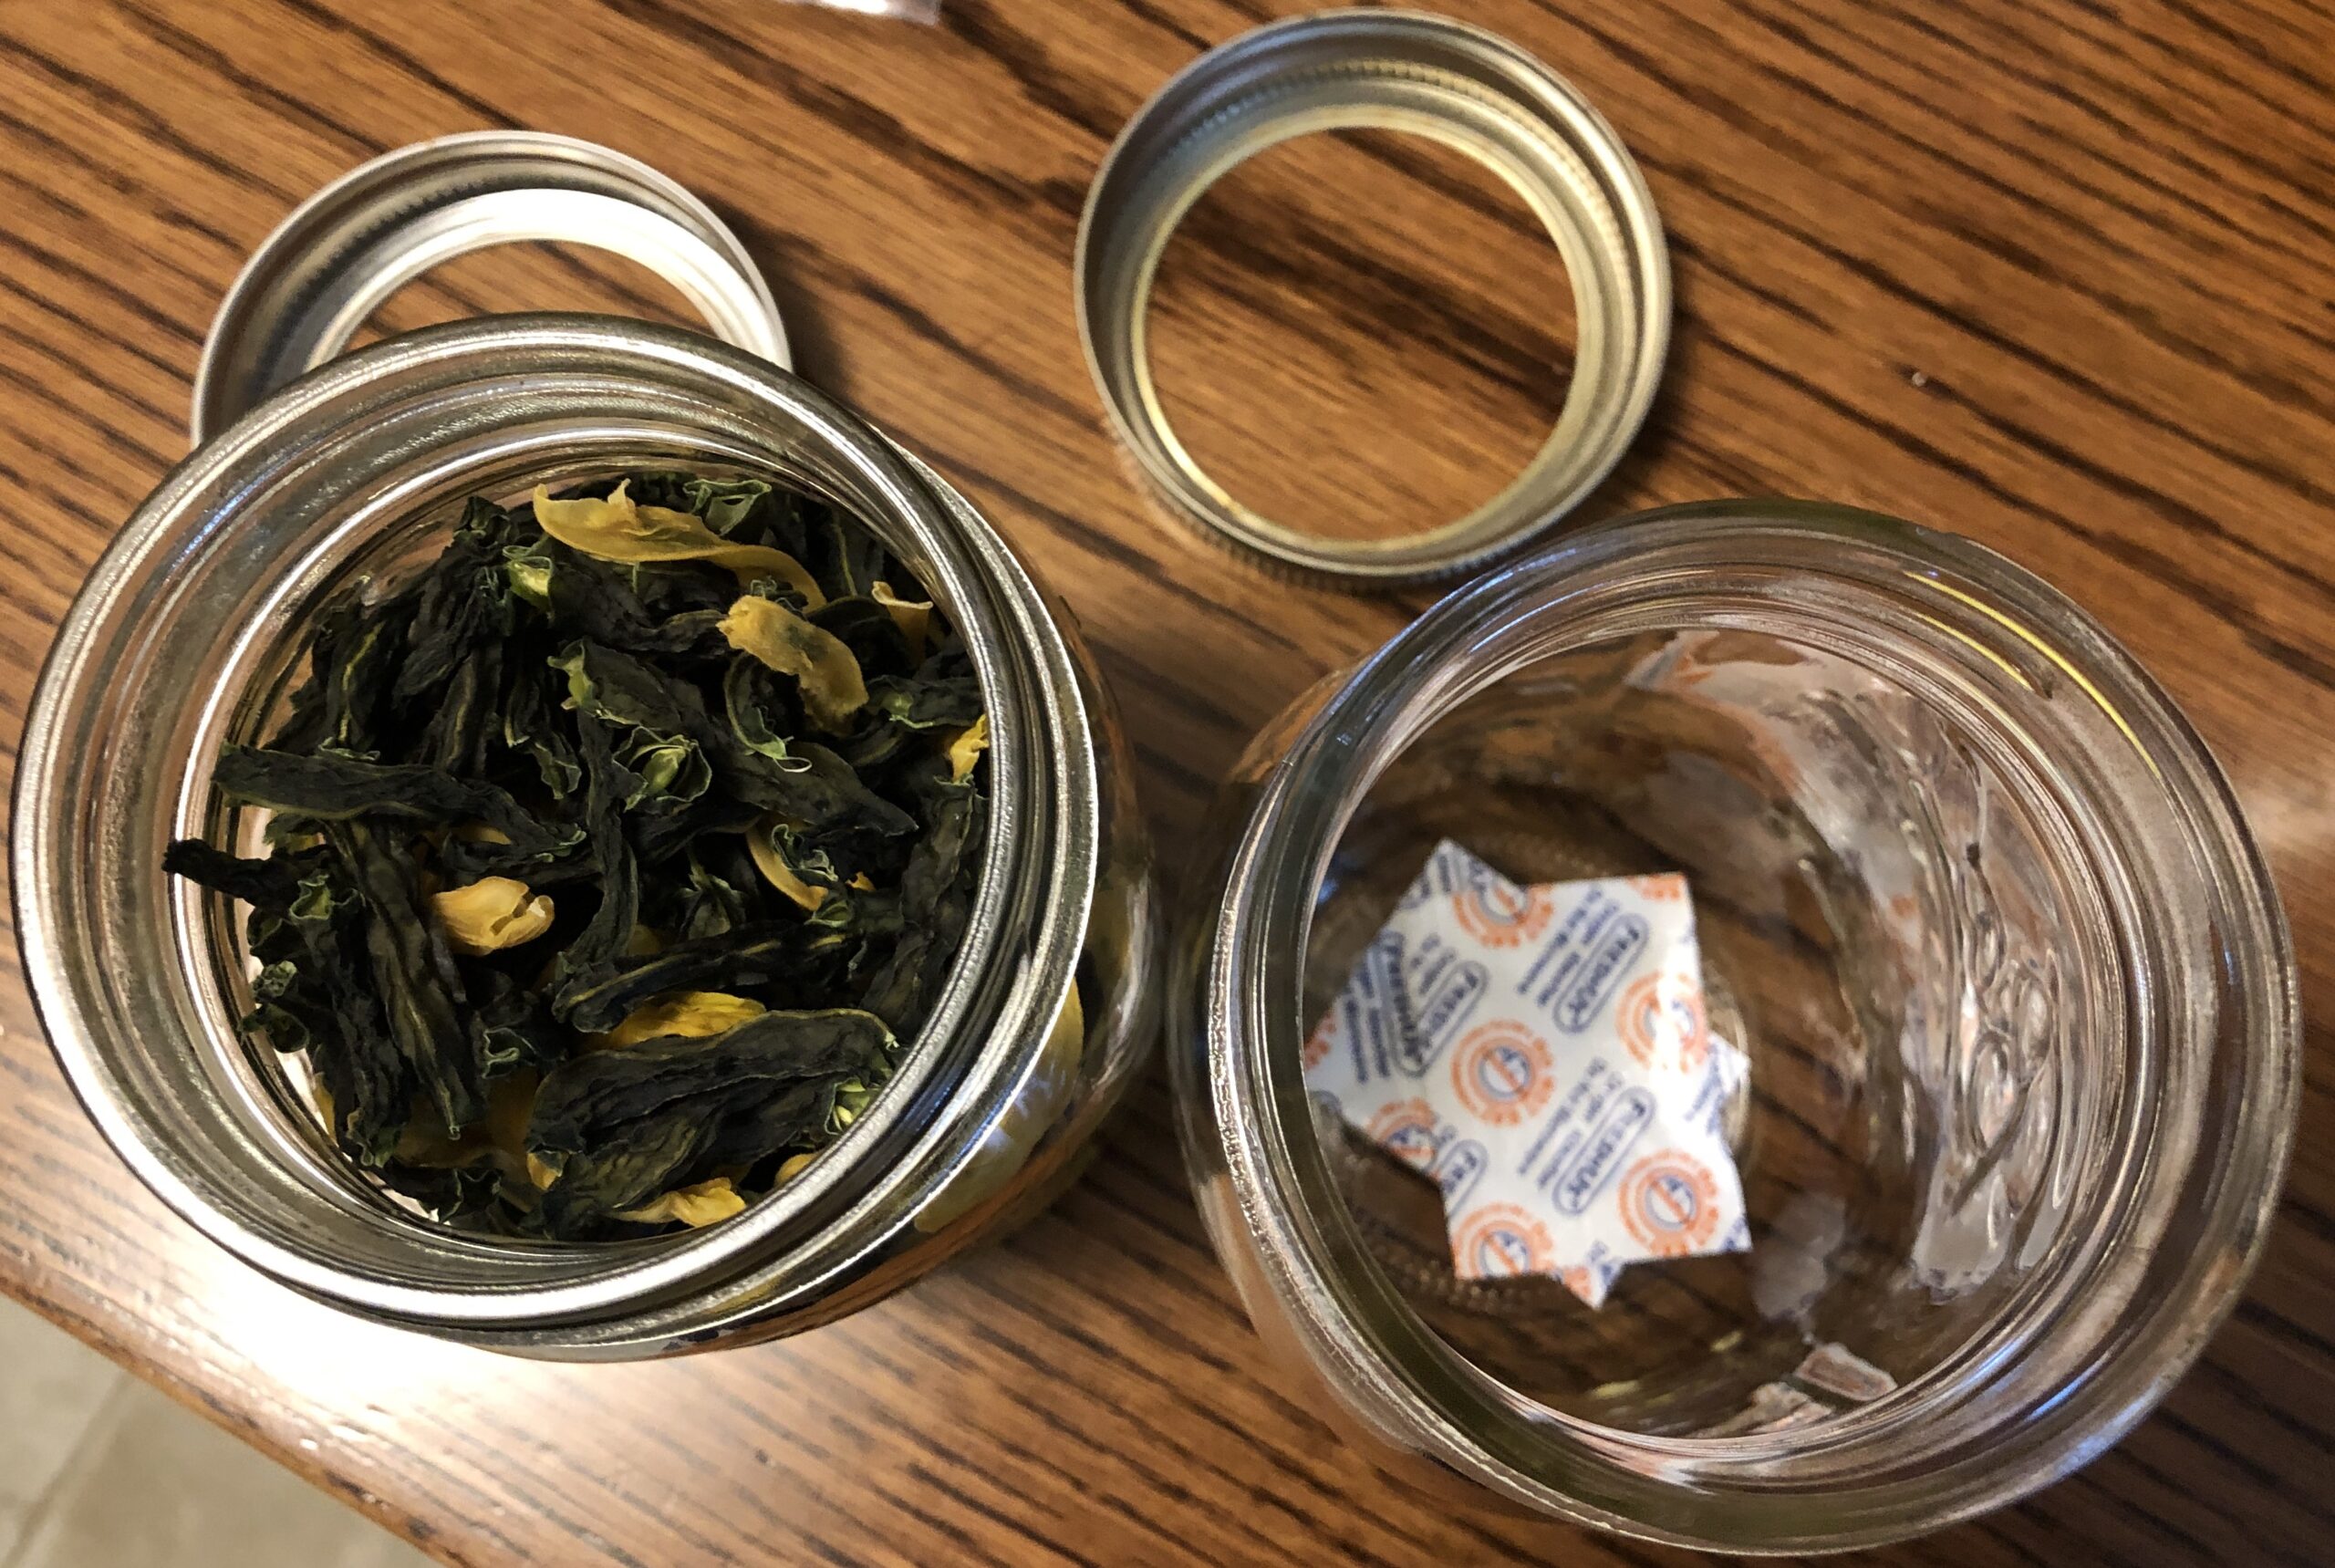
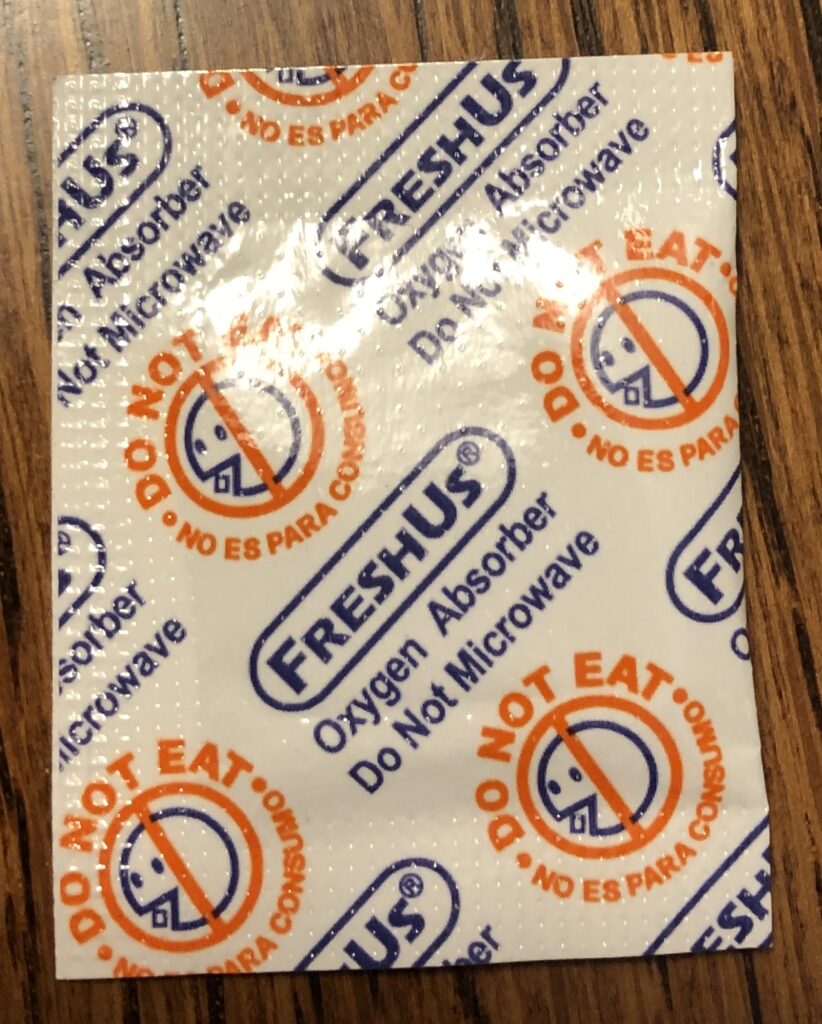
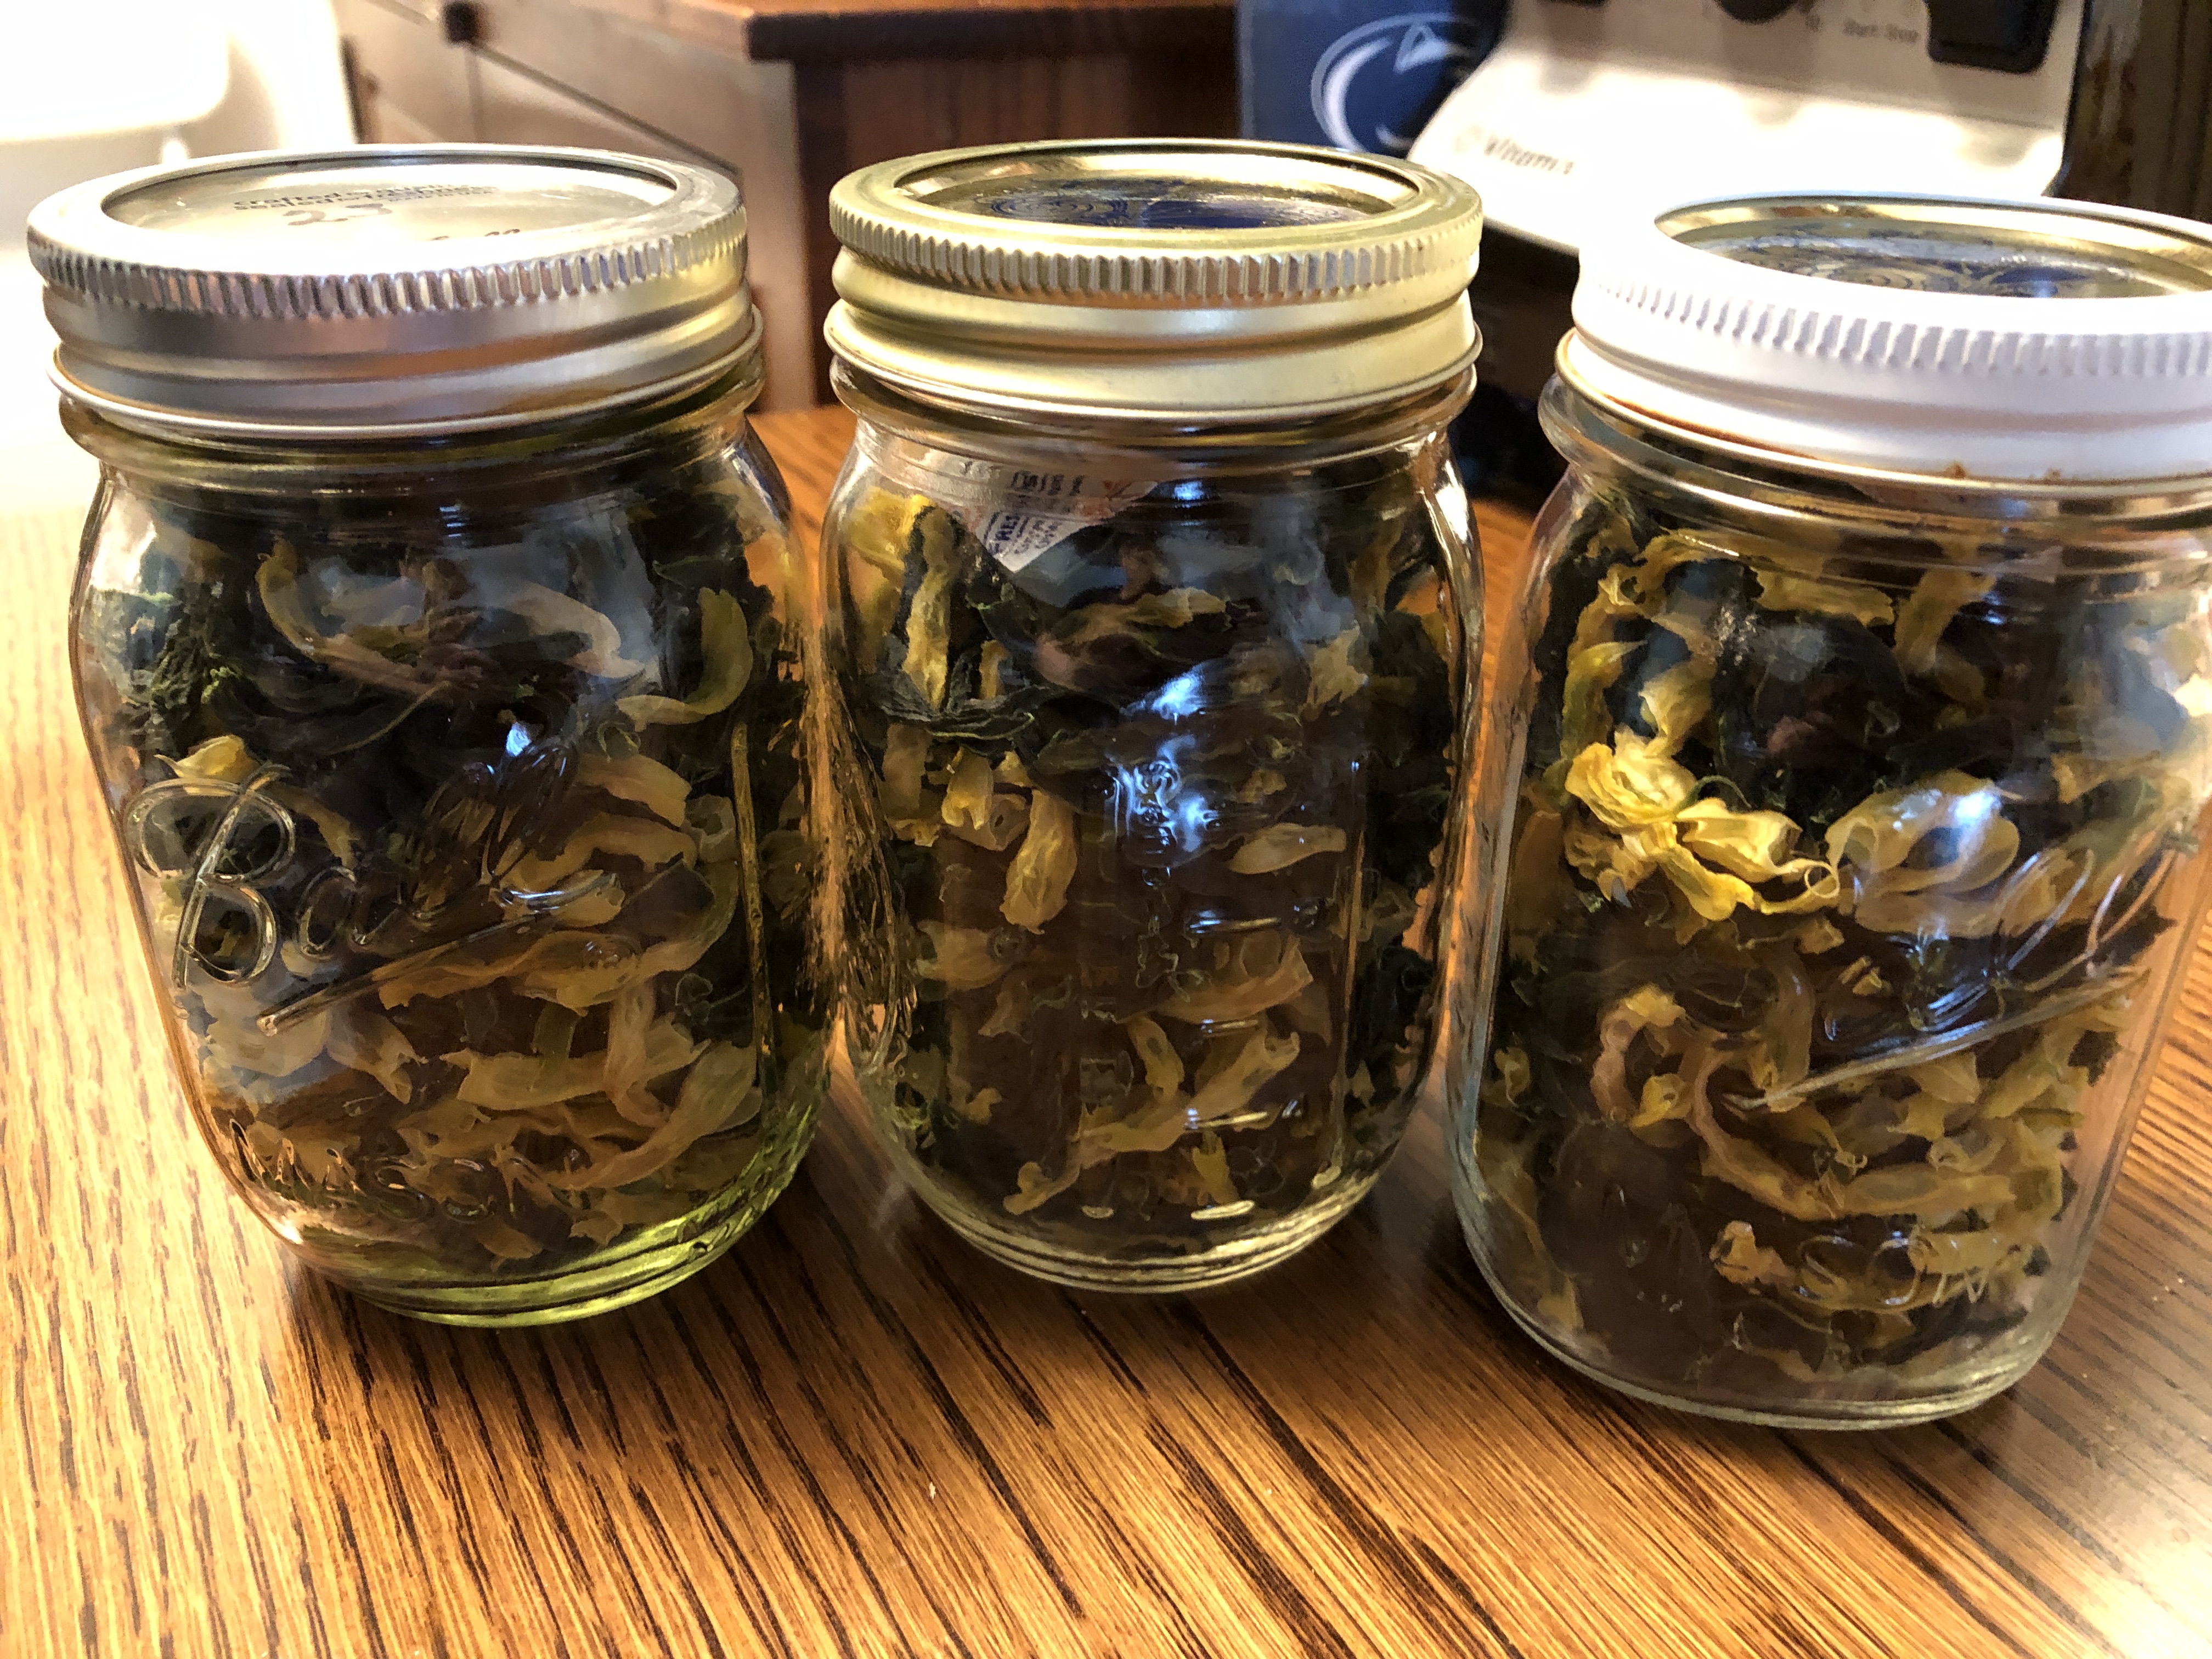
I store dehydrated vegetables in my canning jars, with little packets of oxygen absorbers. They keep the jar sealed on the shelf.
The oxygen absorbers can be purchased at Amazon in several sizes…these are 300cc. I put several in each jar with the beans.
So that 6 lbs. of green and yellow beans are ready for my winter soup. I’ll put about 1/2 cup of dehydrated beans in a pot of soup to start and will add more if needed…depends on the amount of soup I’m making! They need about 30 minutes to reconstitute. Enjoy!
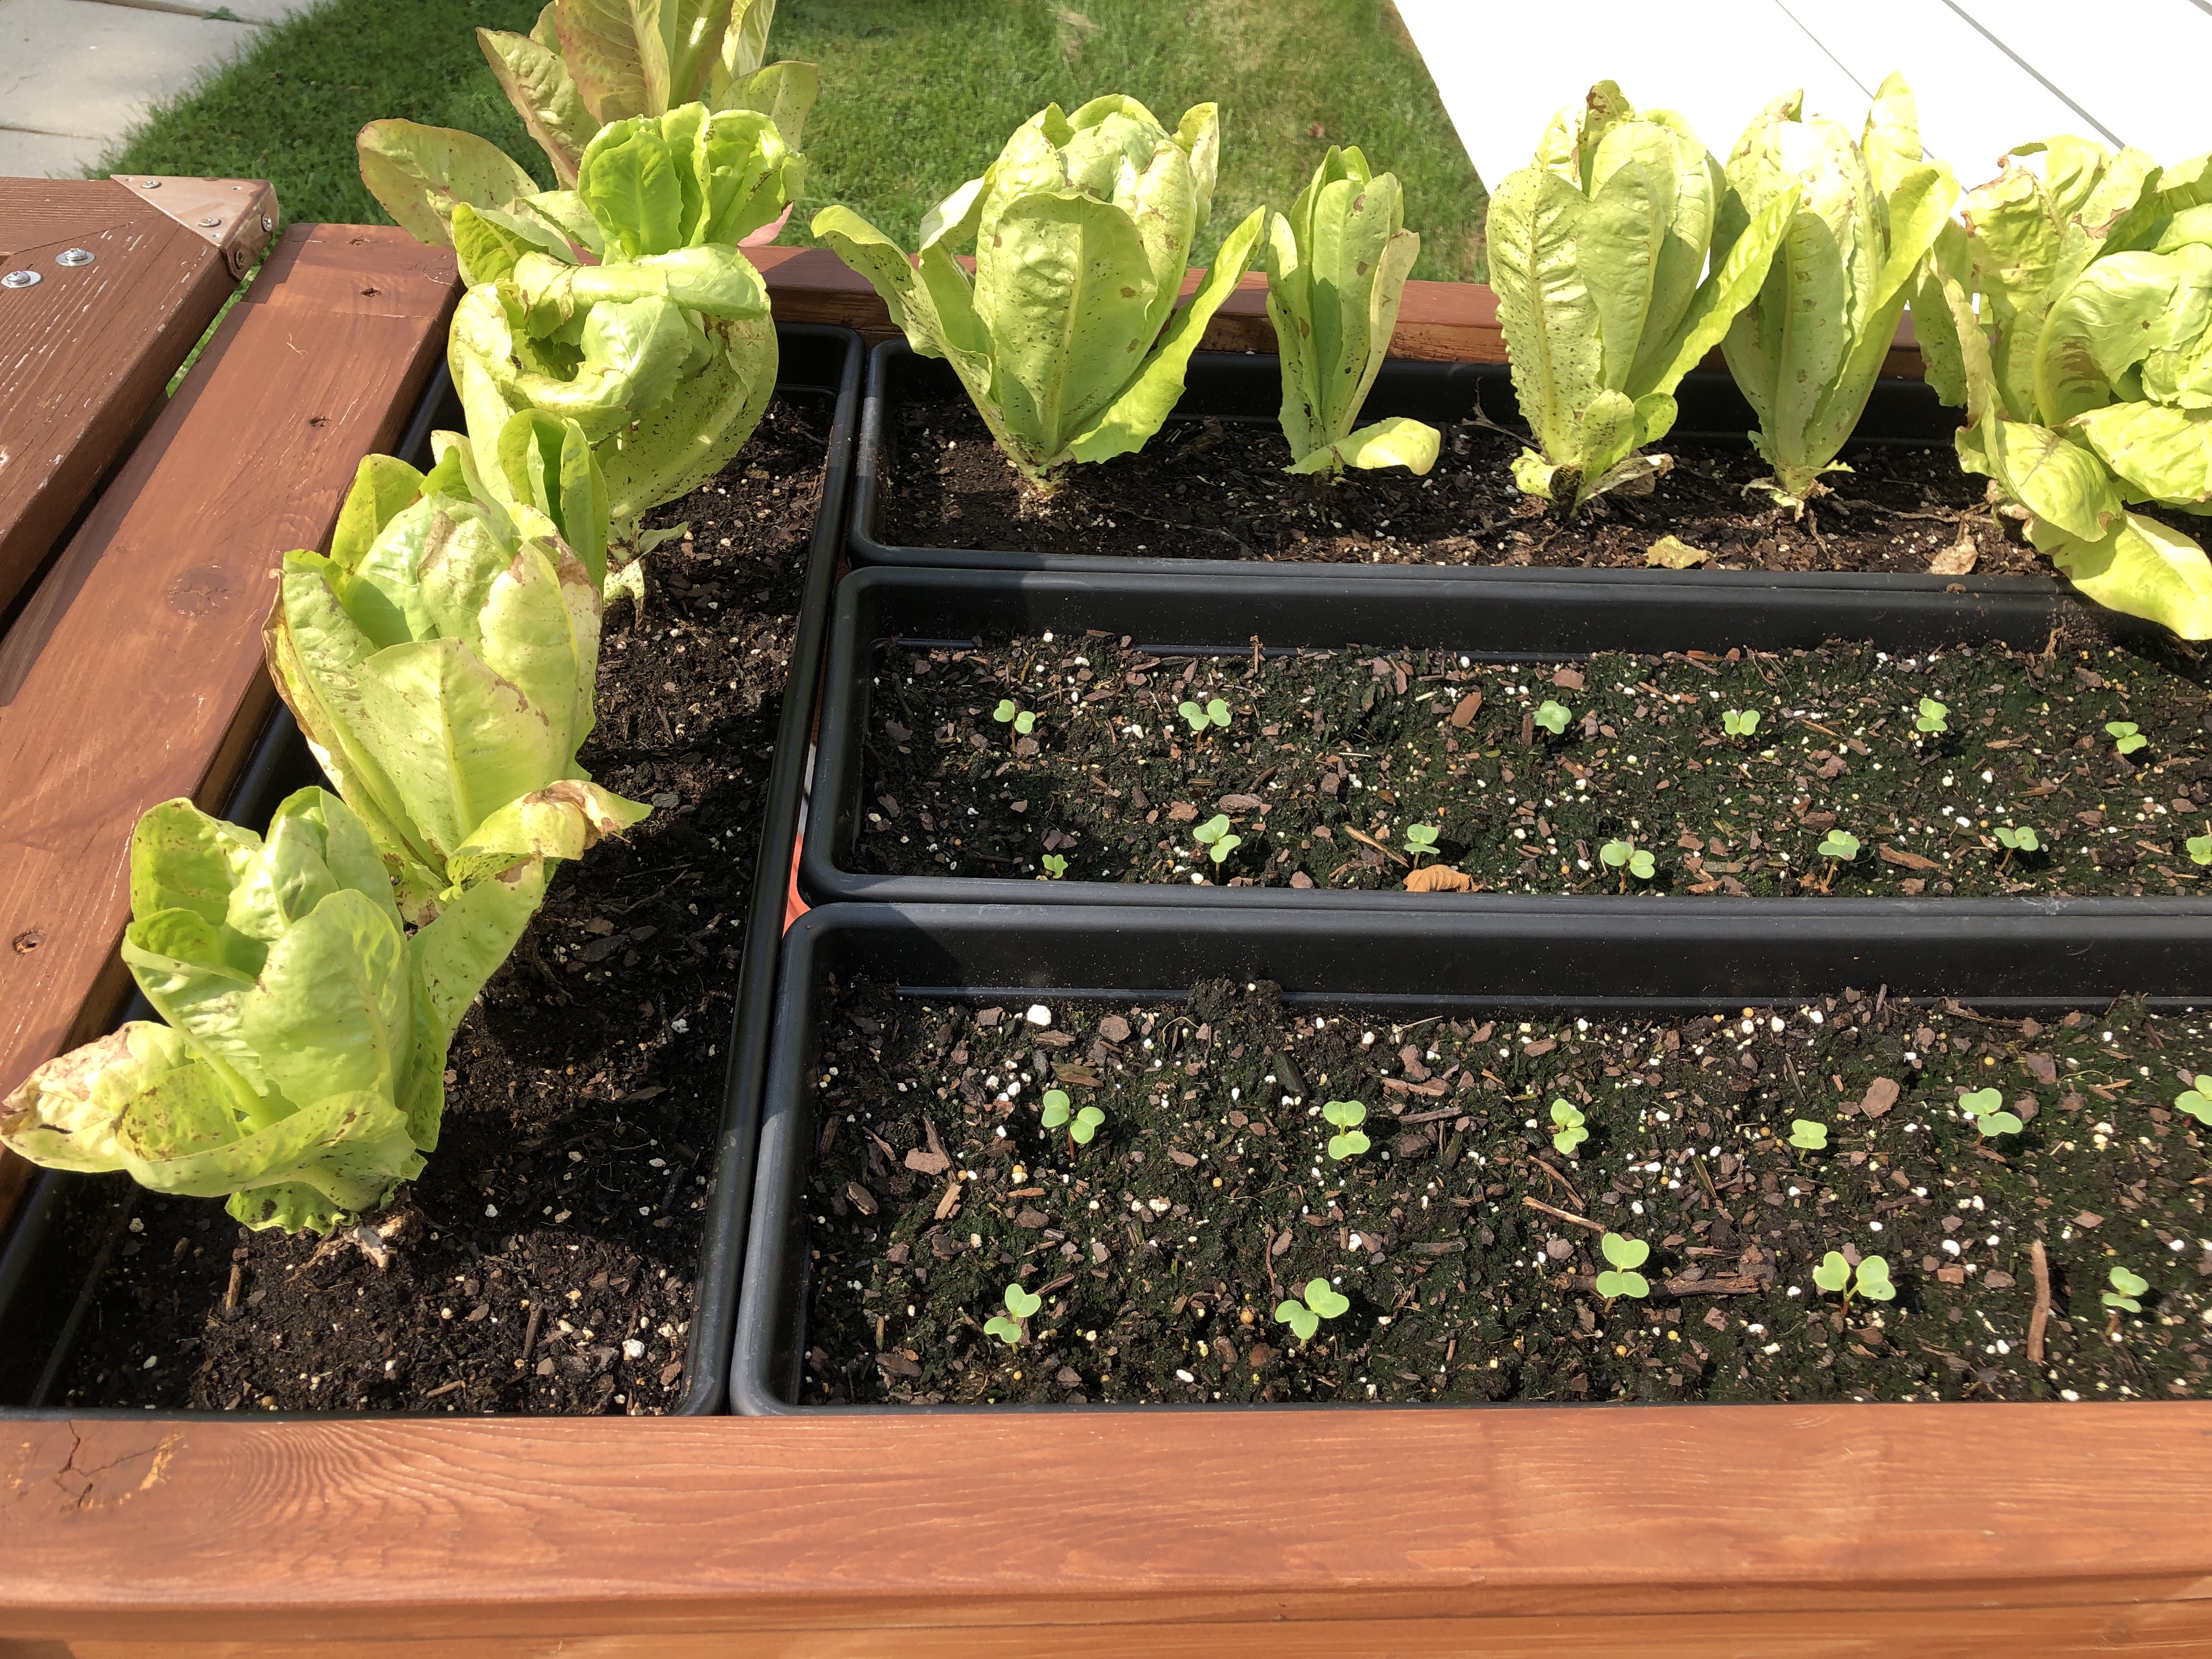
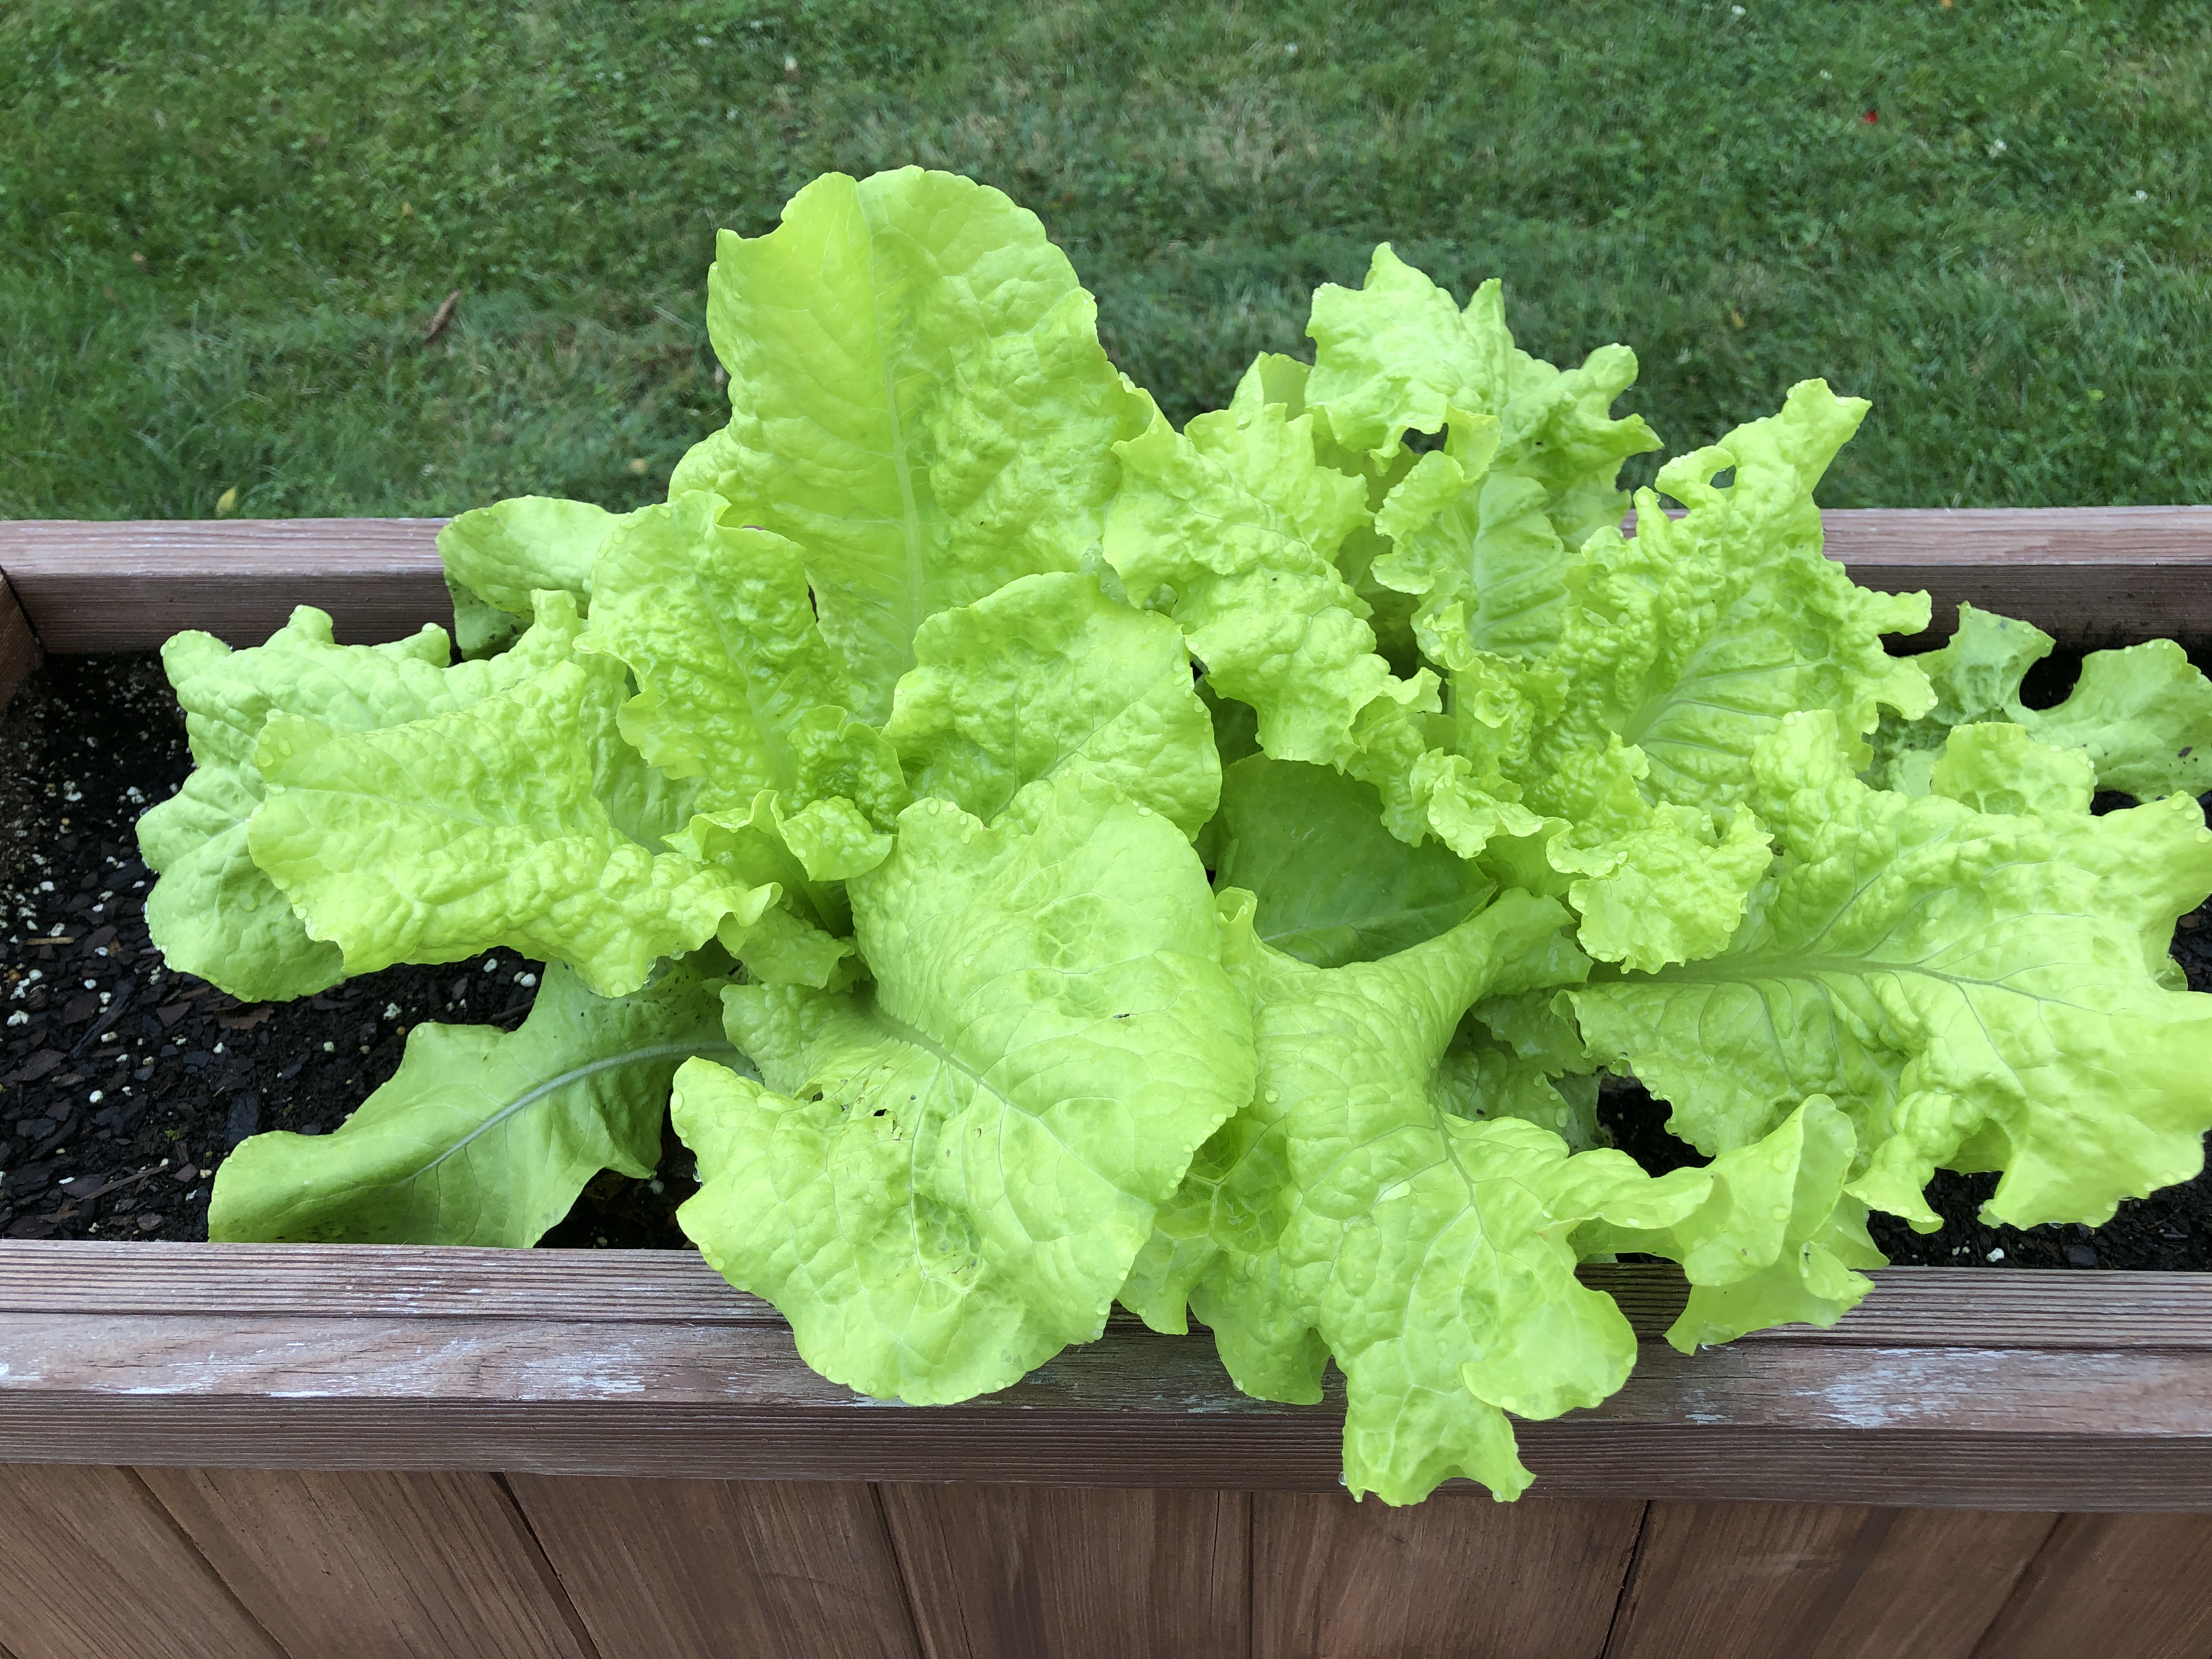
By now, the third week of August, the garden is not only about the plants but also about the produce. The planters on the patio continue to look healthy as I harvest a crop of lettuce and plant a few more rows of radishes.
Baby Romaine lettuce and new radishes look good!
Black Seeded Simpson lettuce ready to pick:
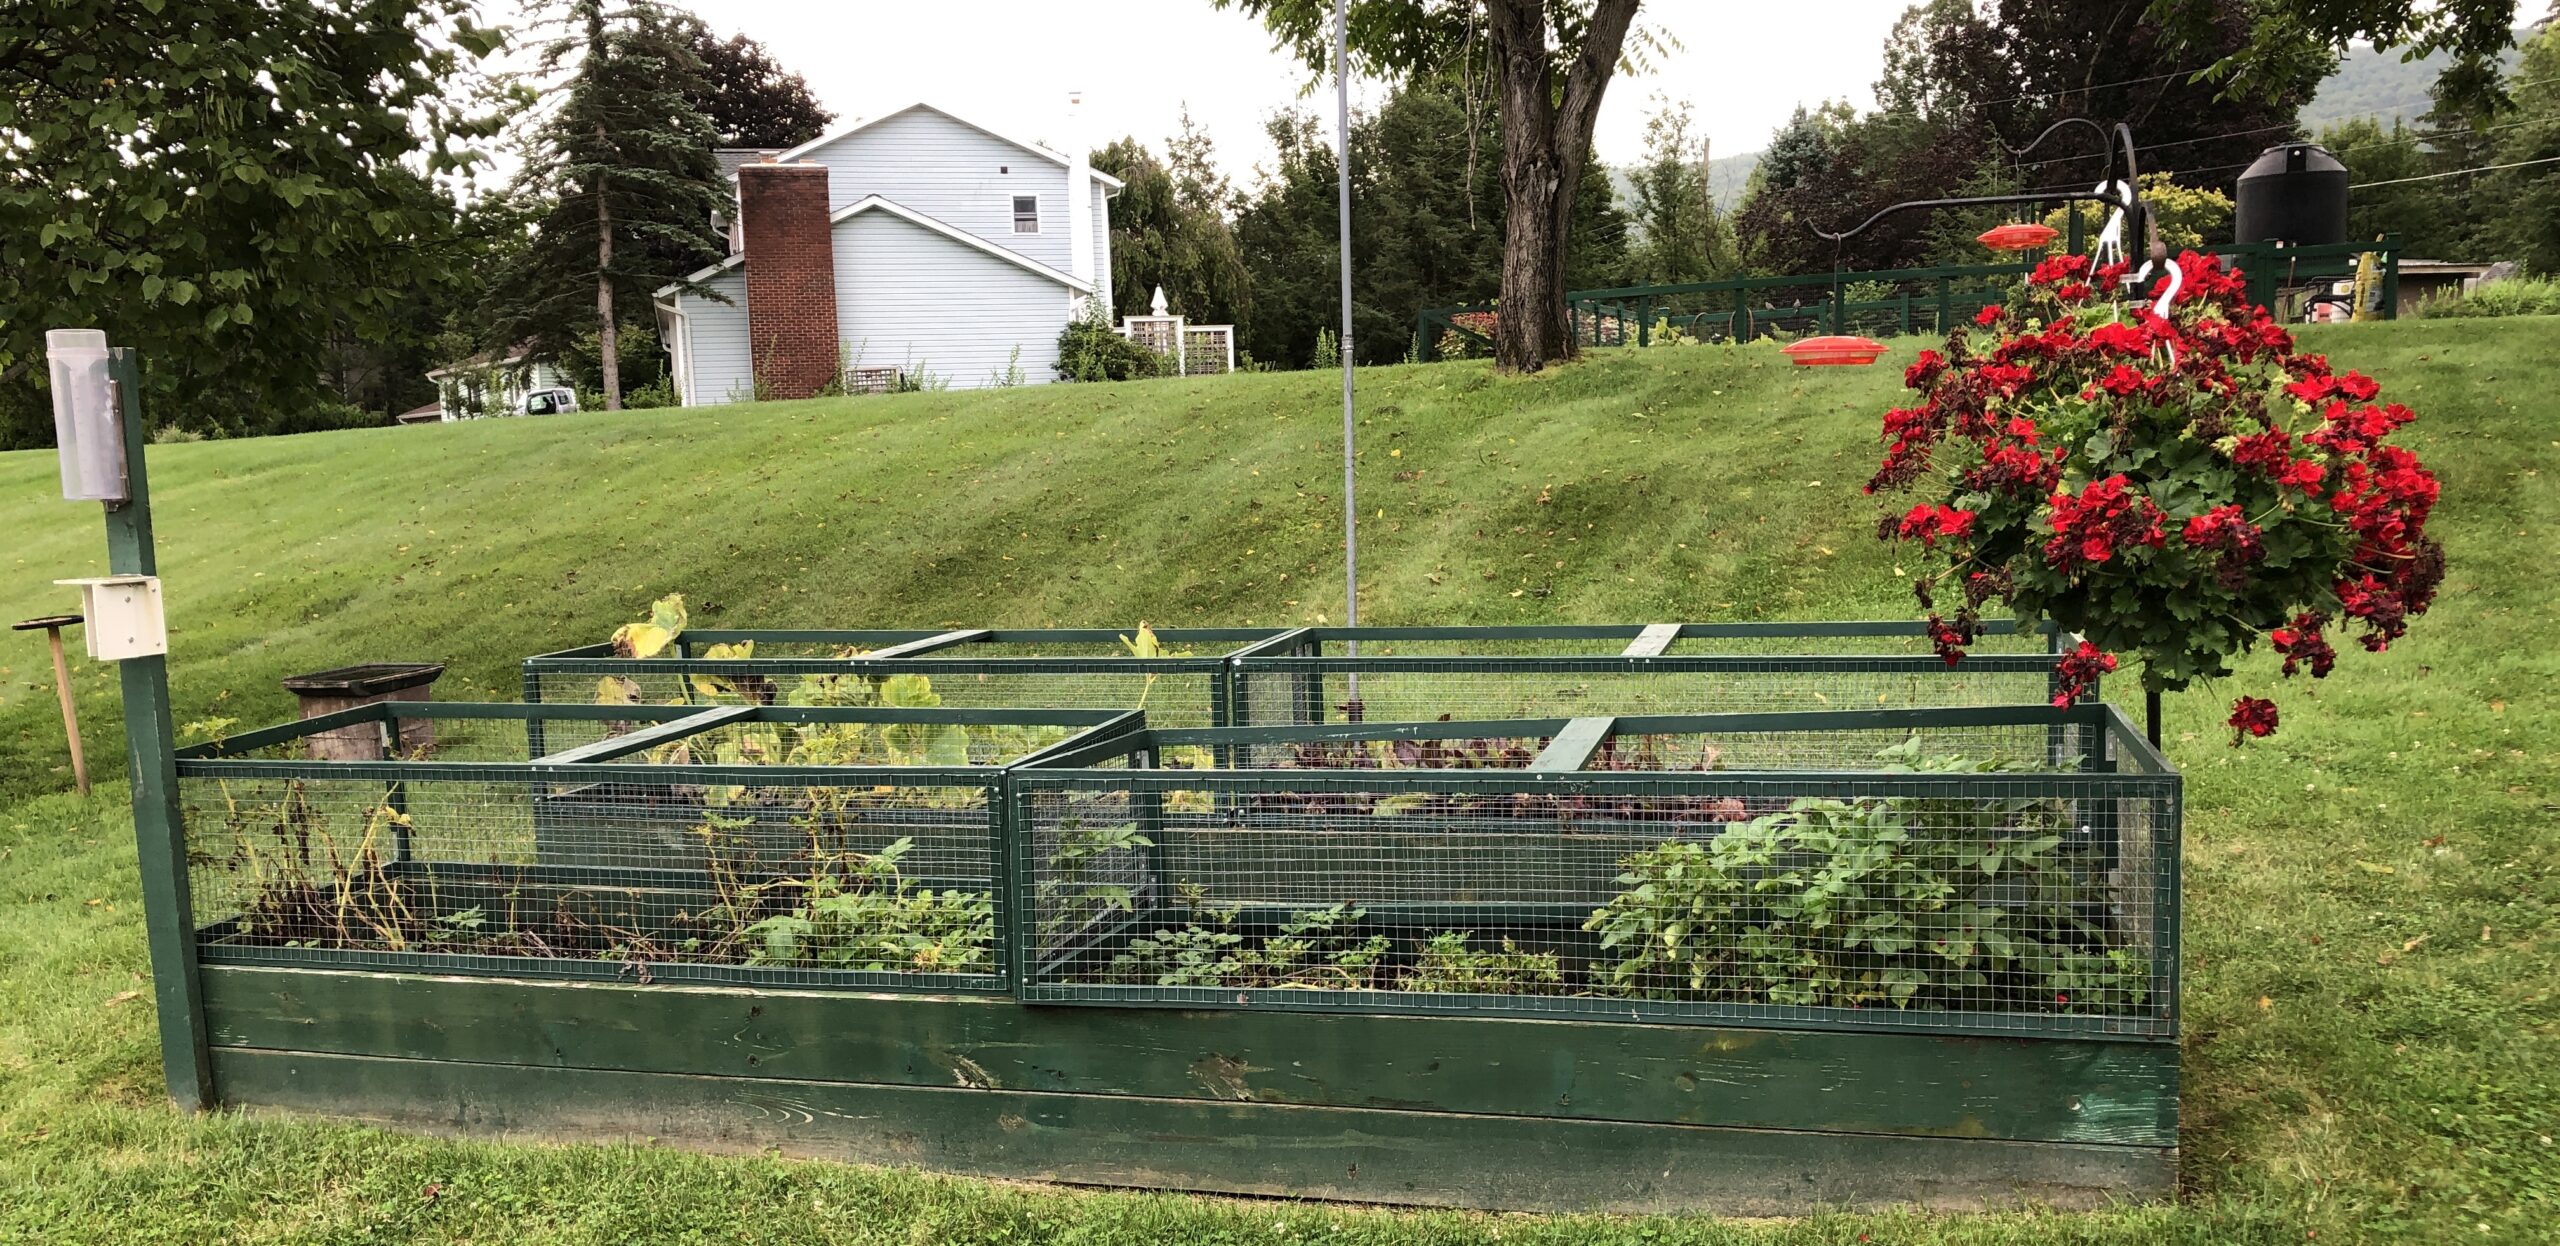
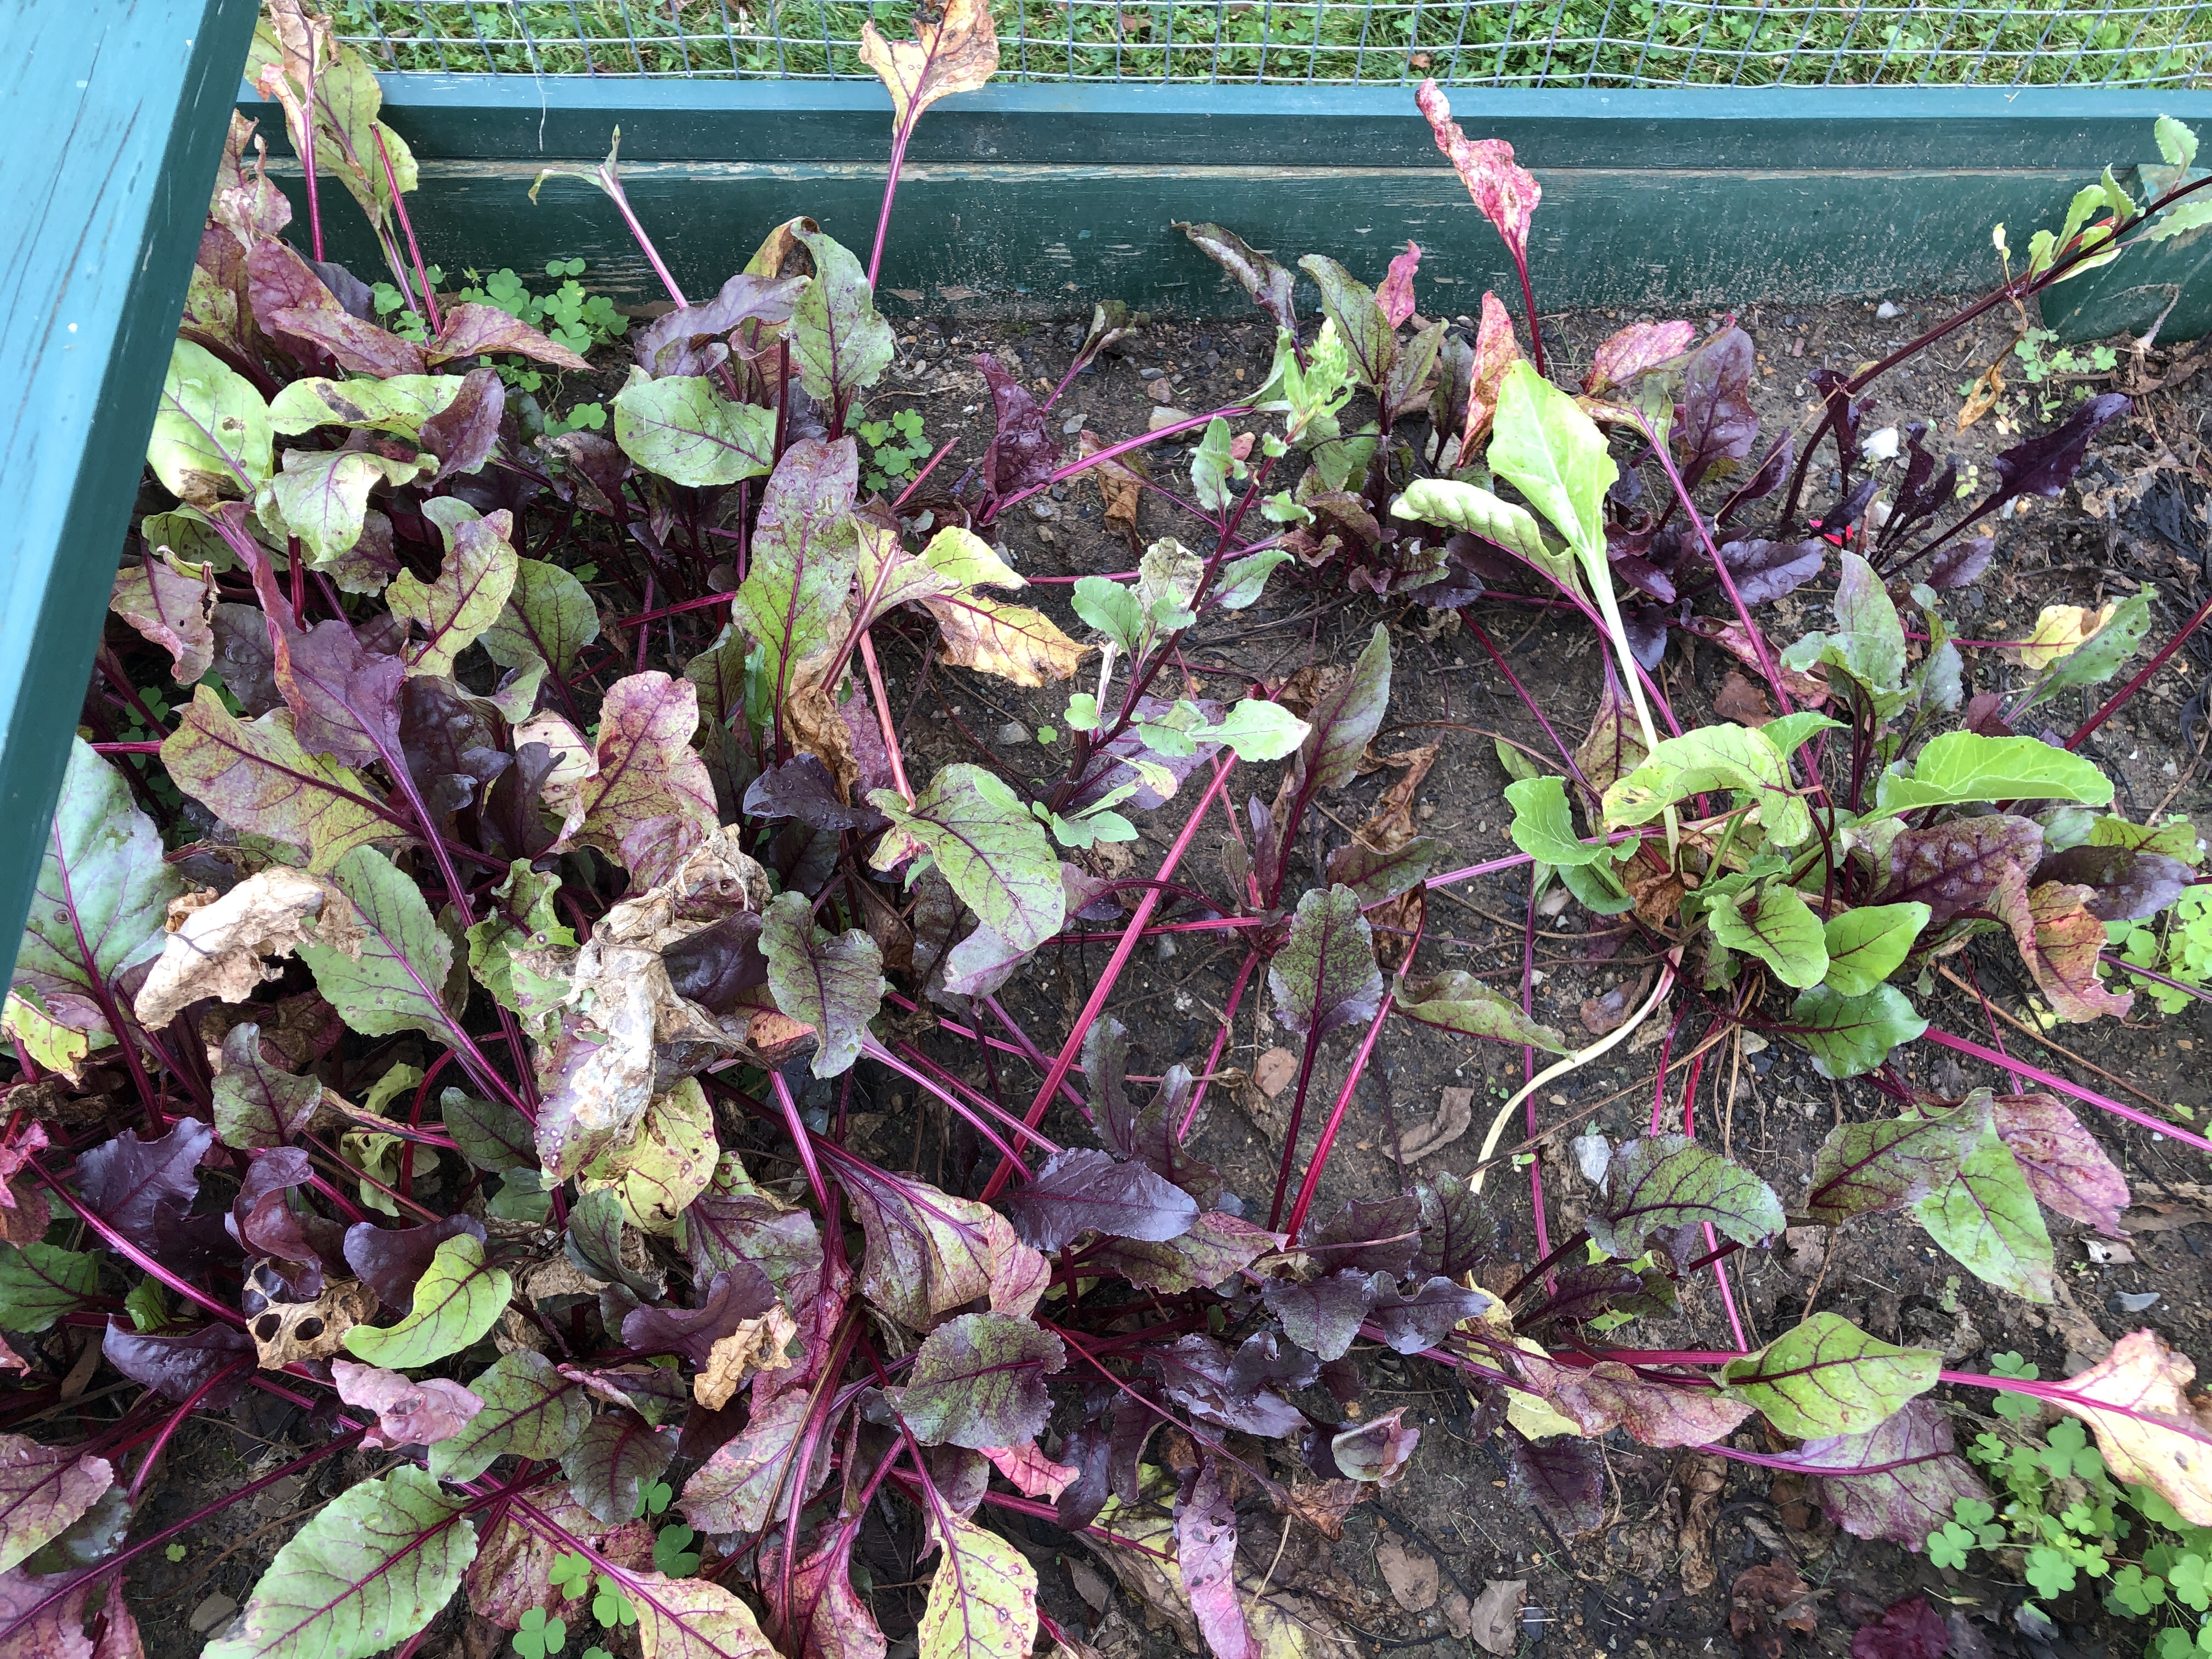
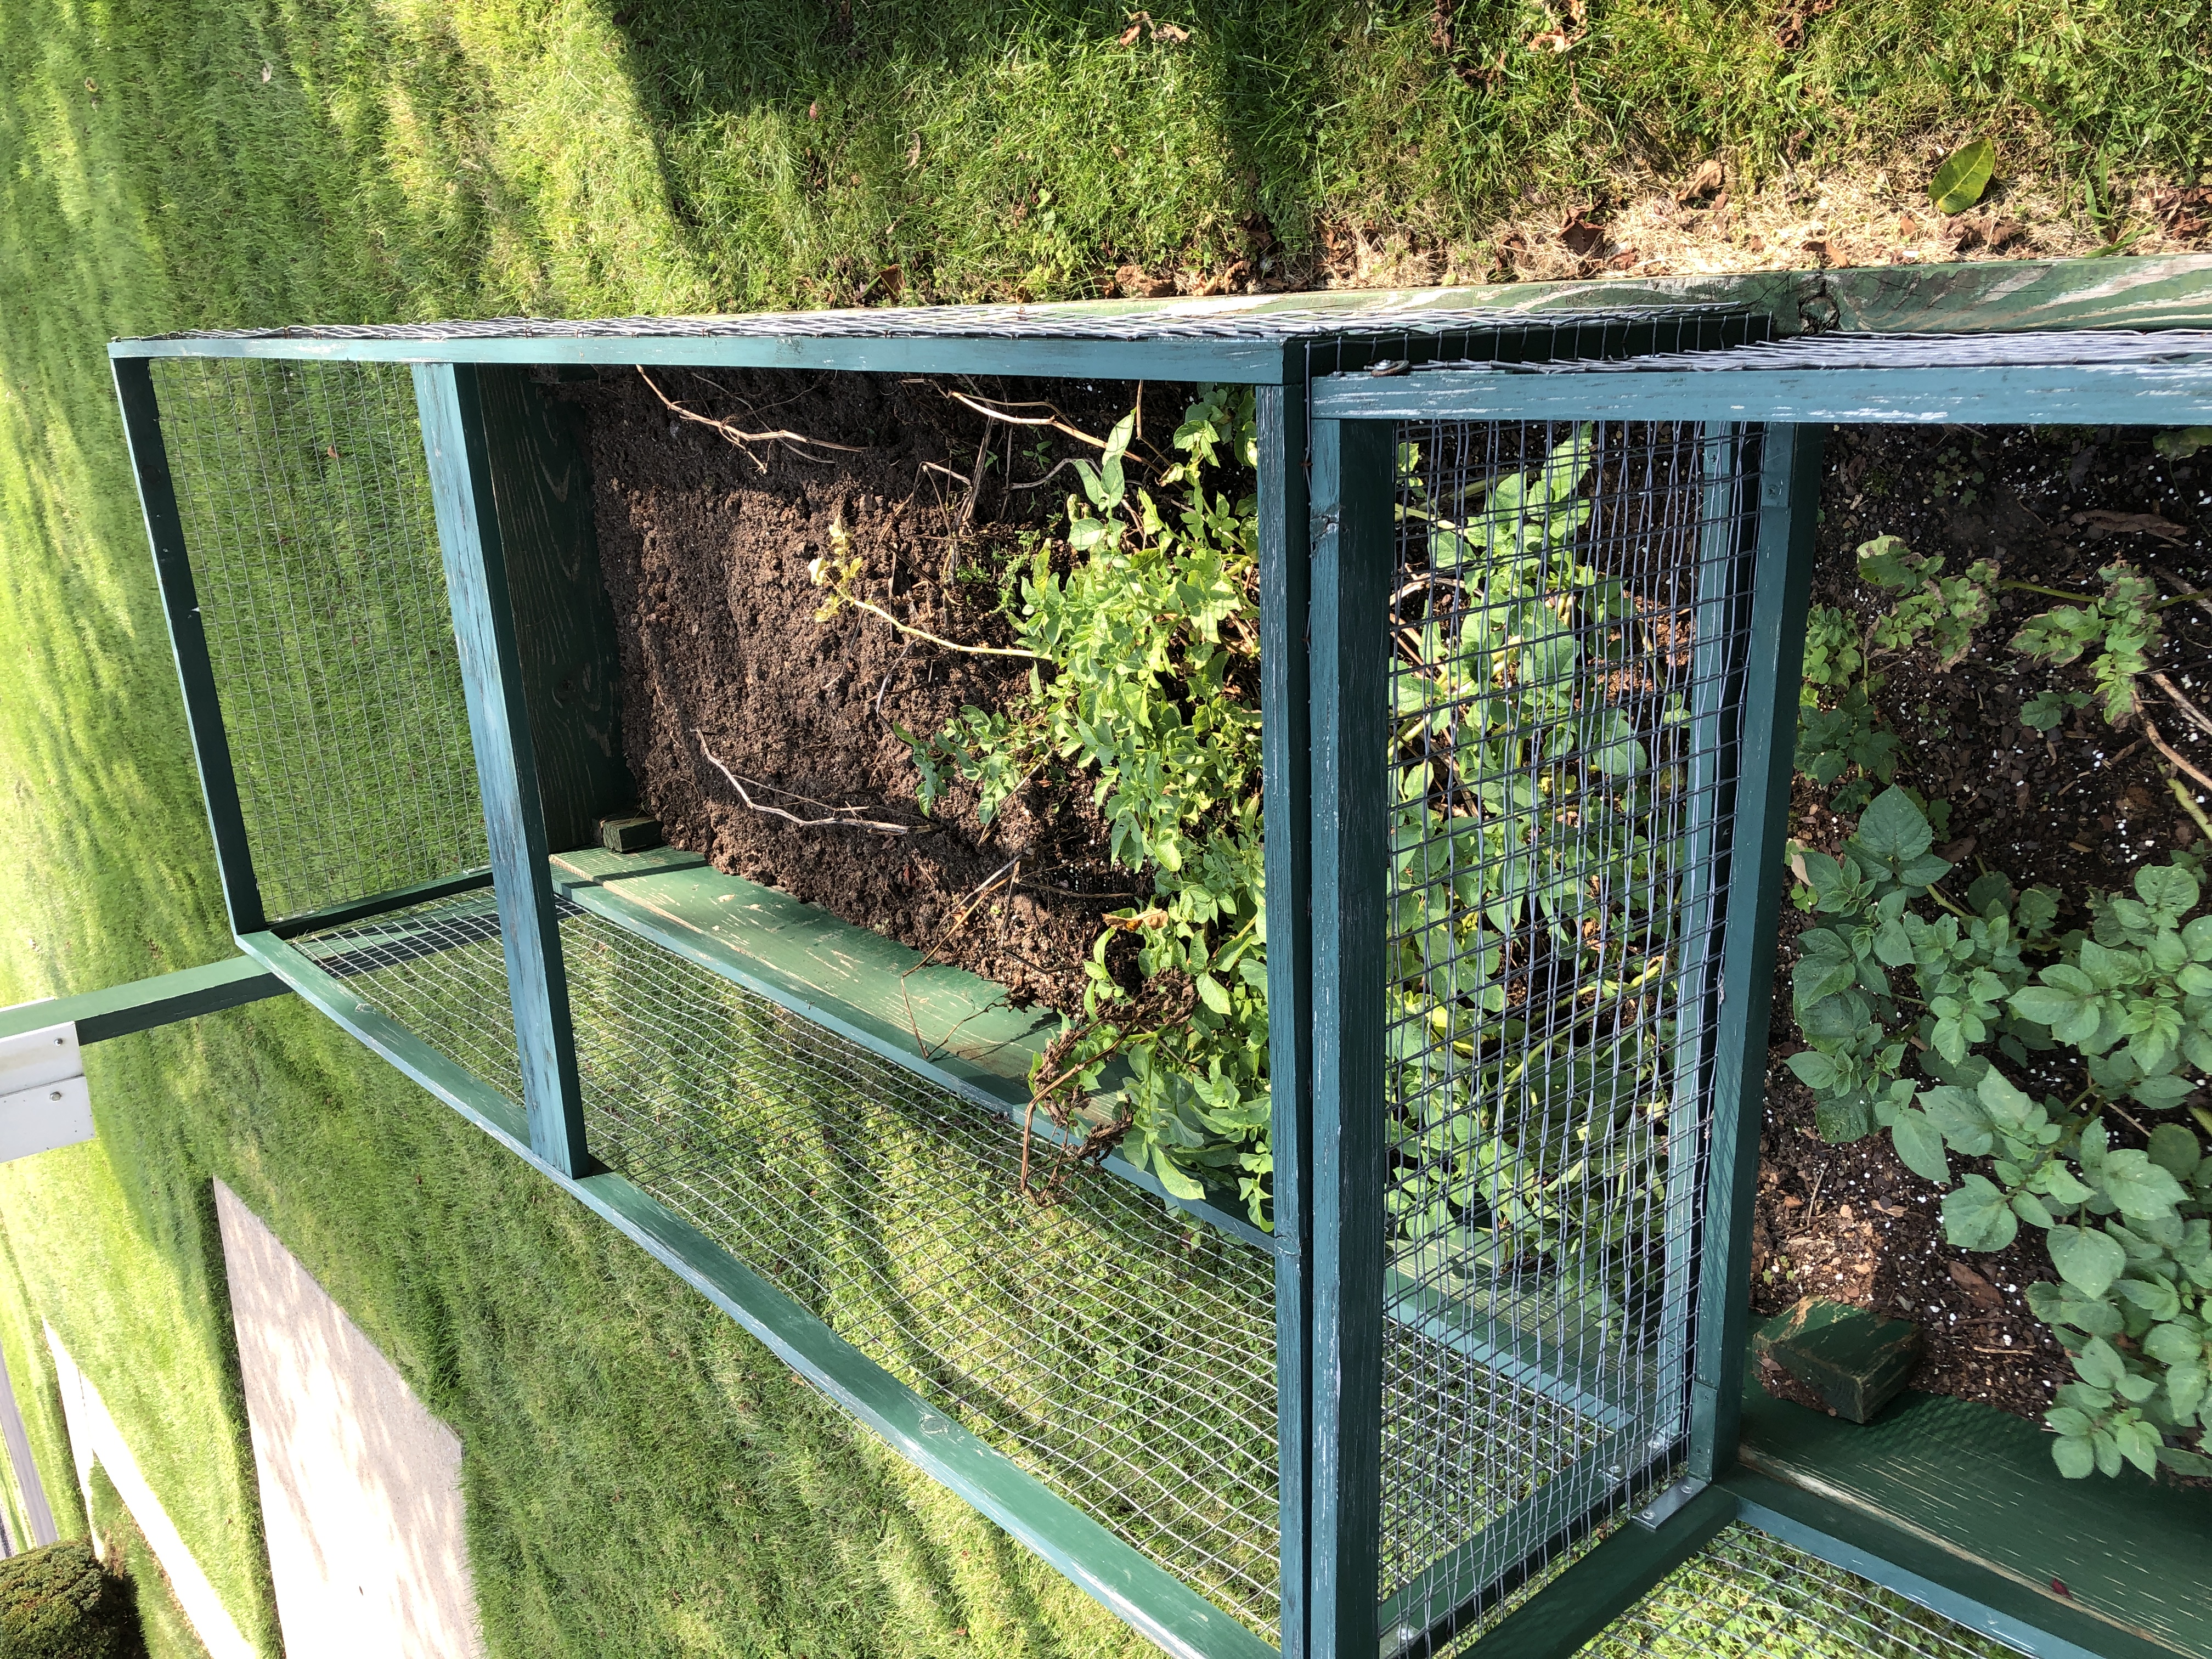
Raised garden beds, just before harvesting stuff…squash and potato plants have died down; beet leaves had been chomped down by the deer a few weeks ago.
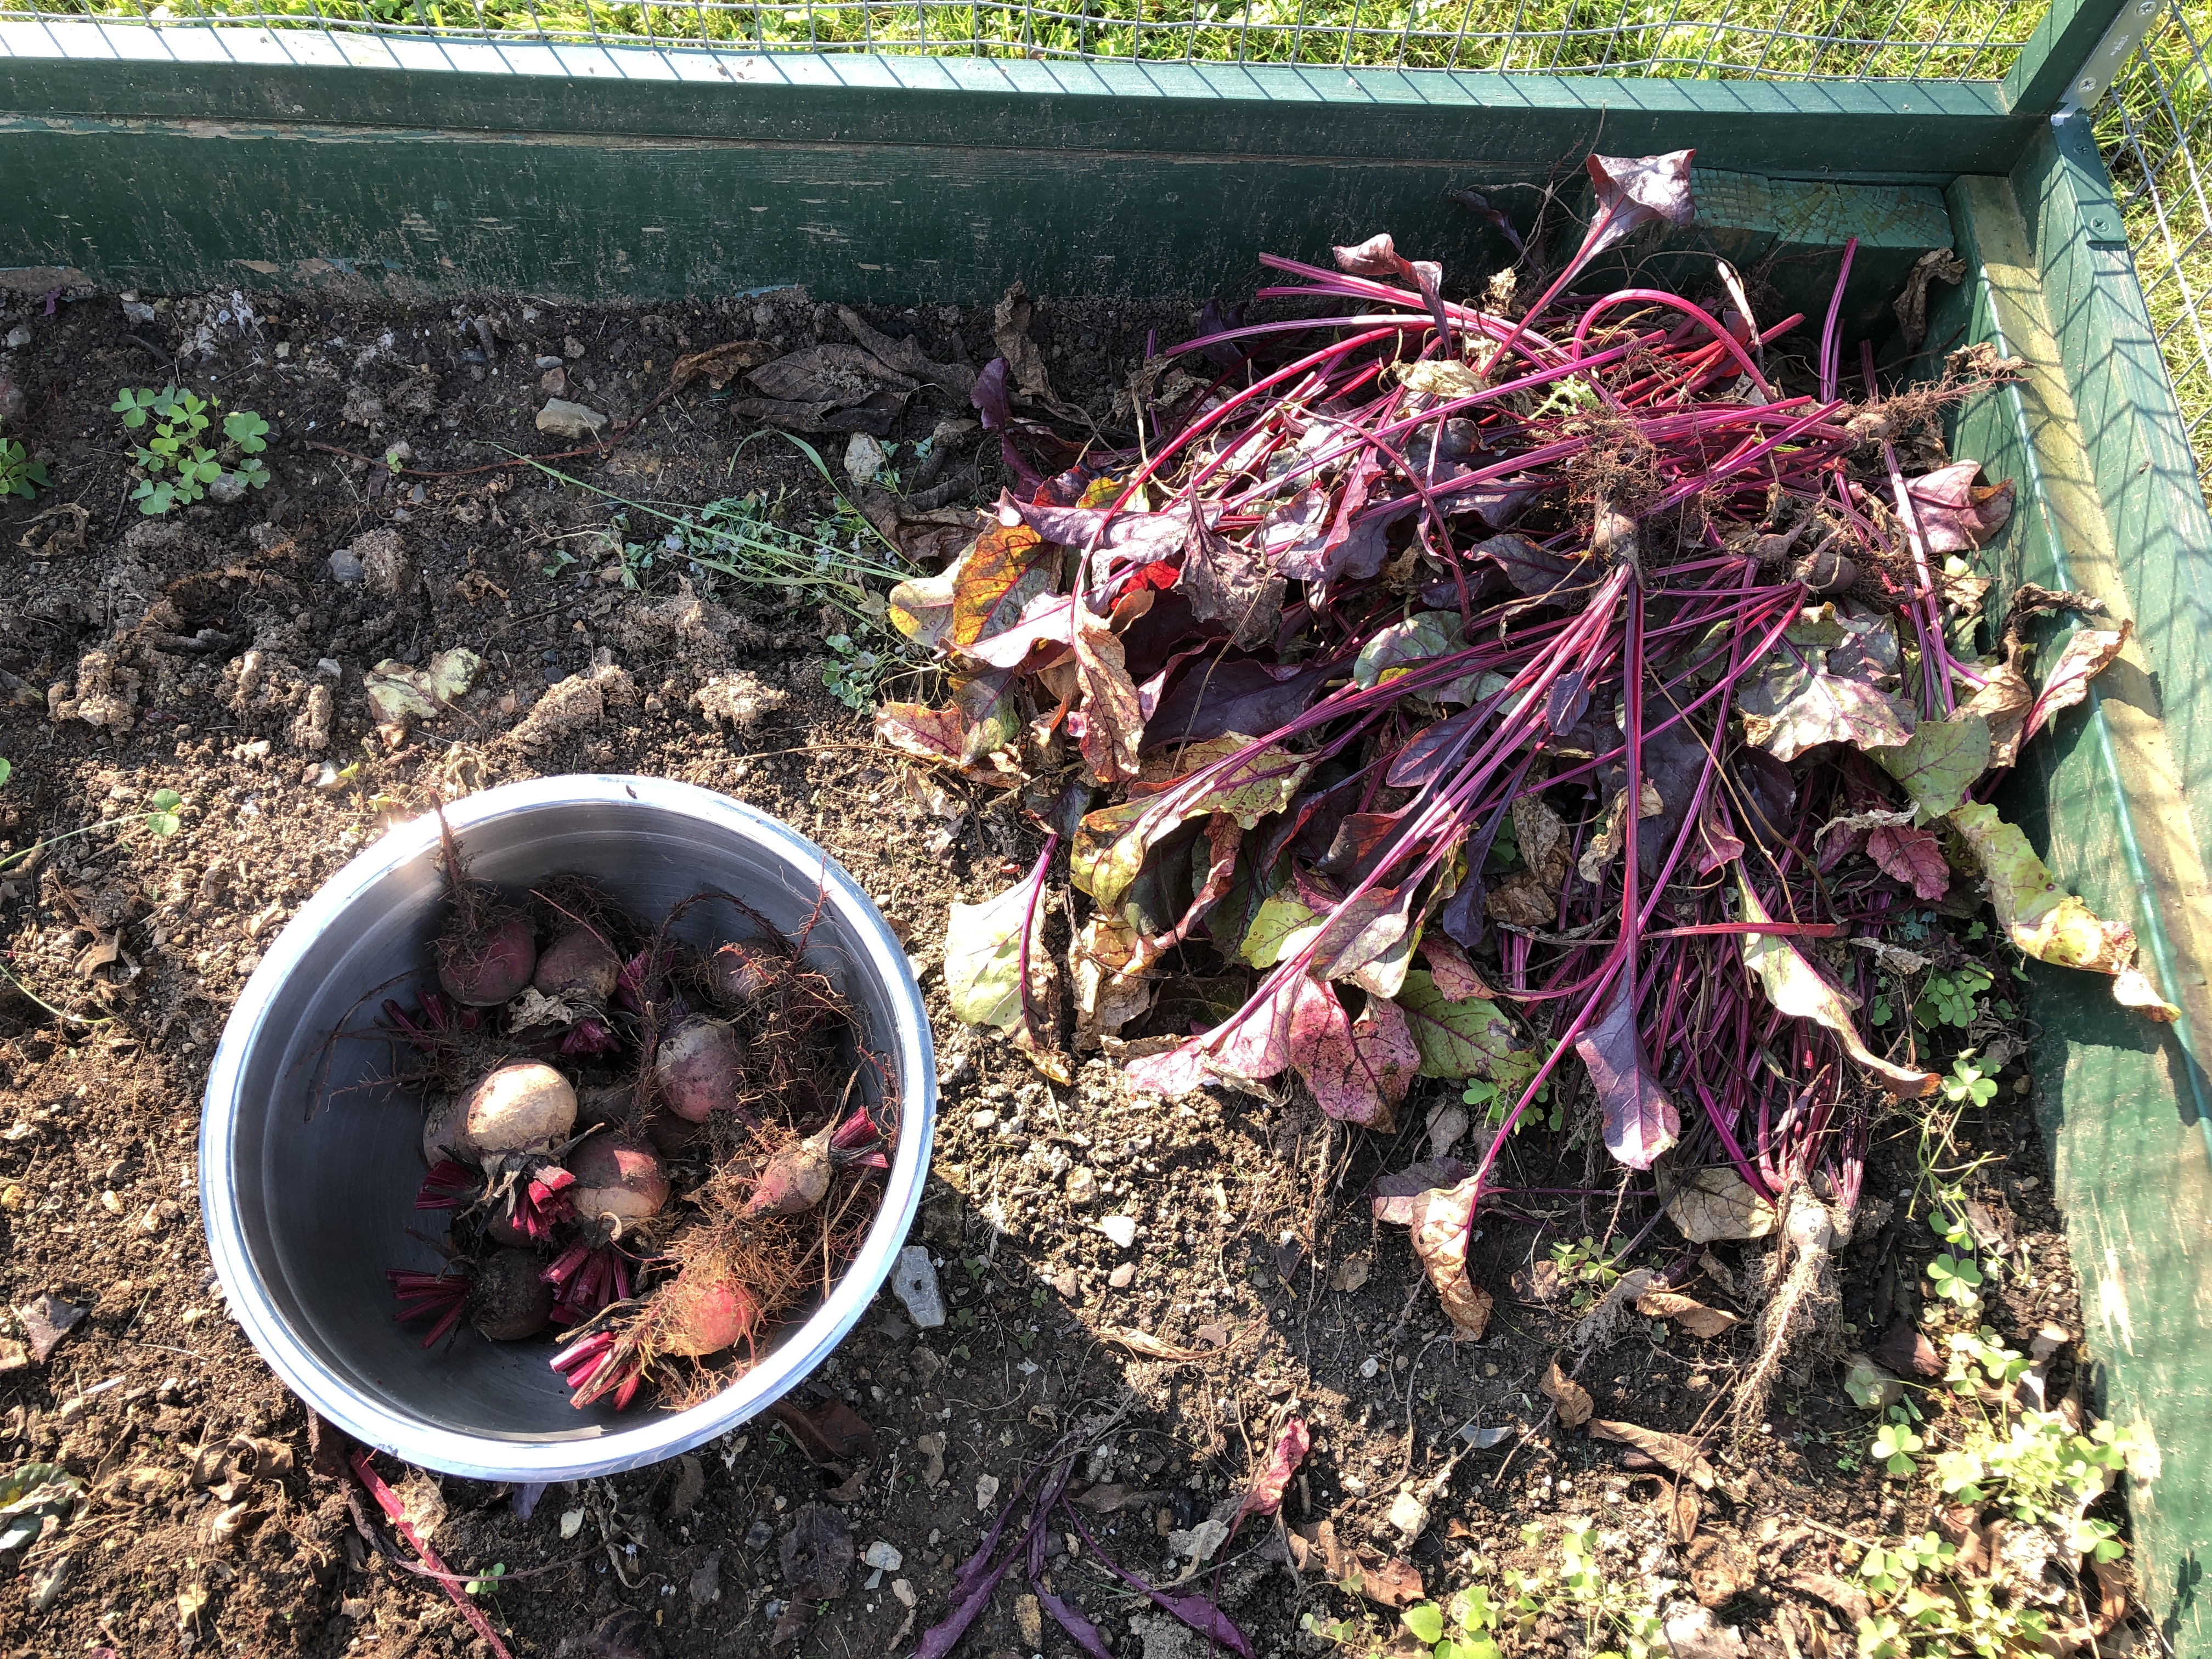
Beets before and after.
Delicata squash
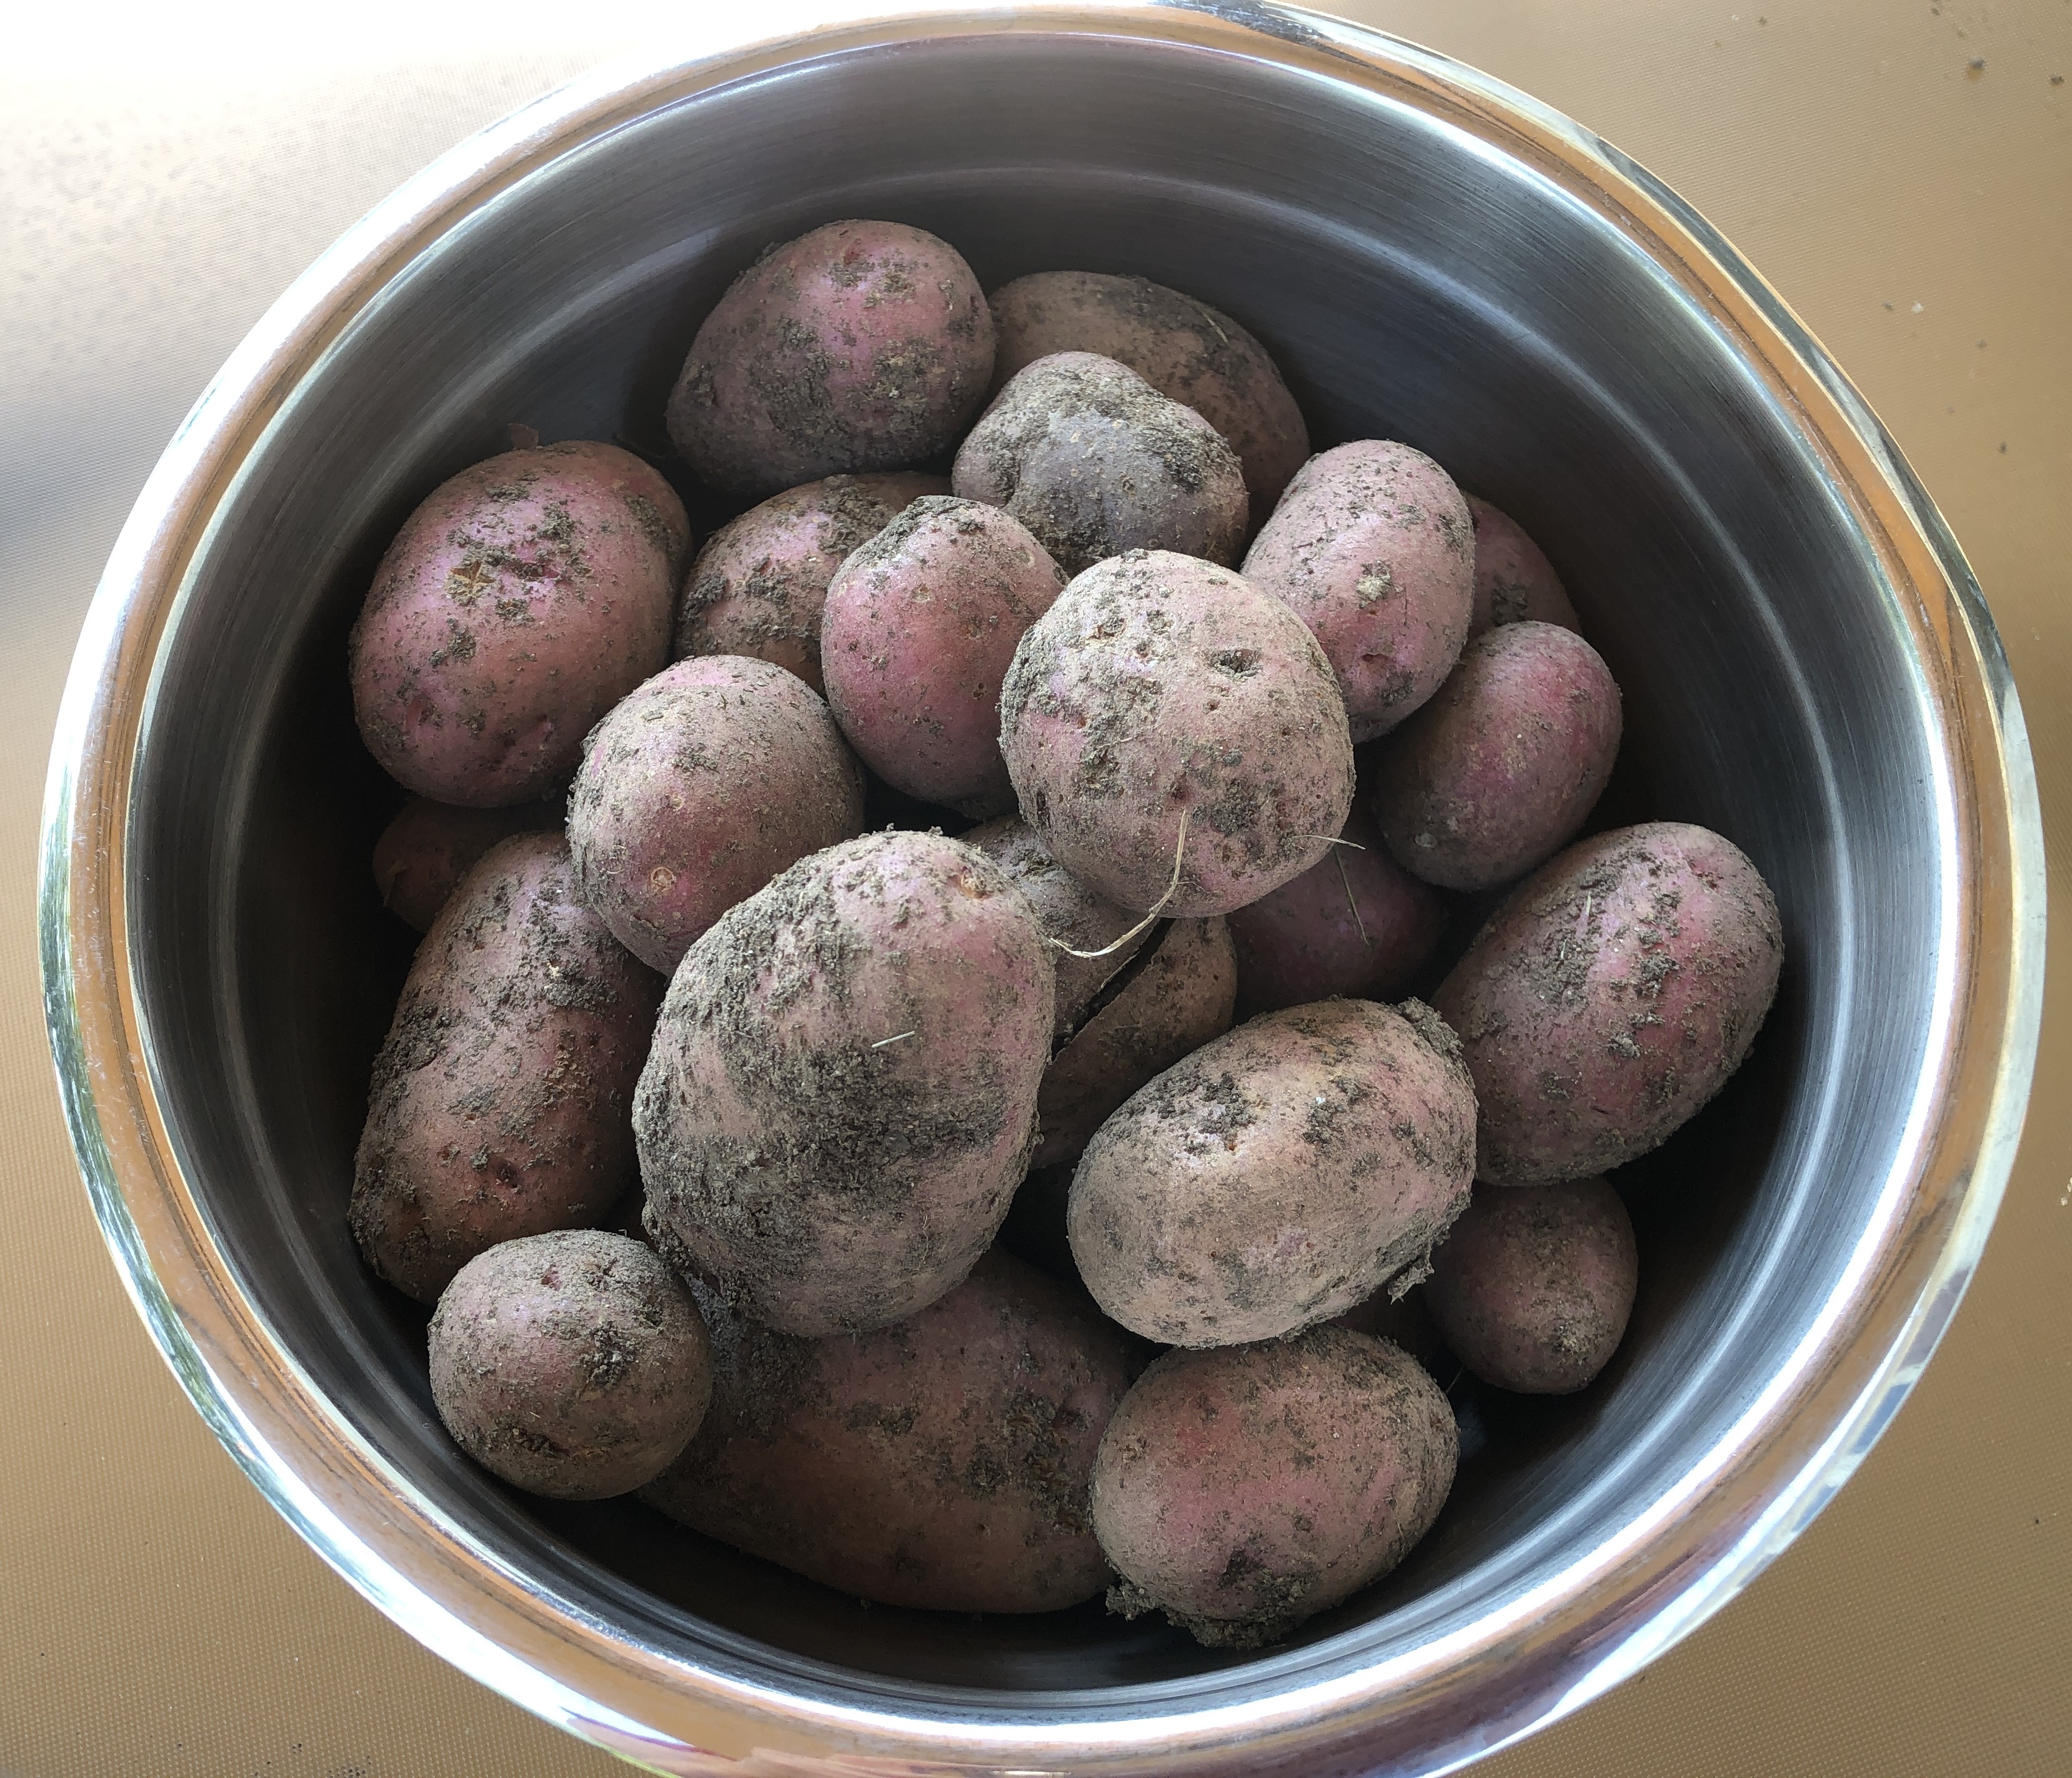
Red potatoes that were growing on my kitchen table in the spring:
We dug up just a few:
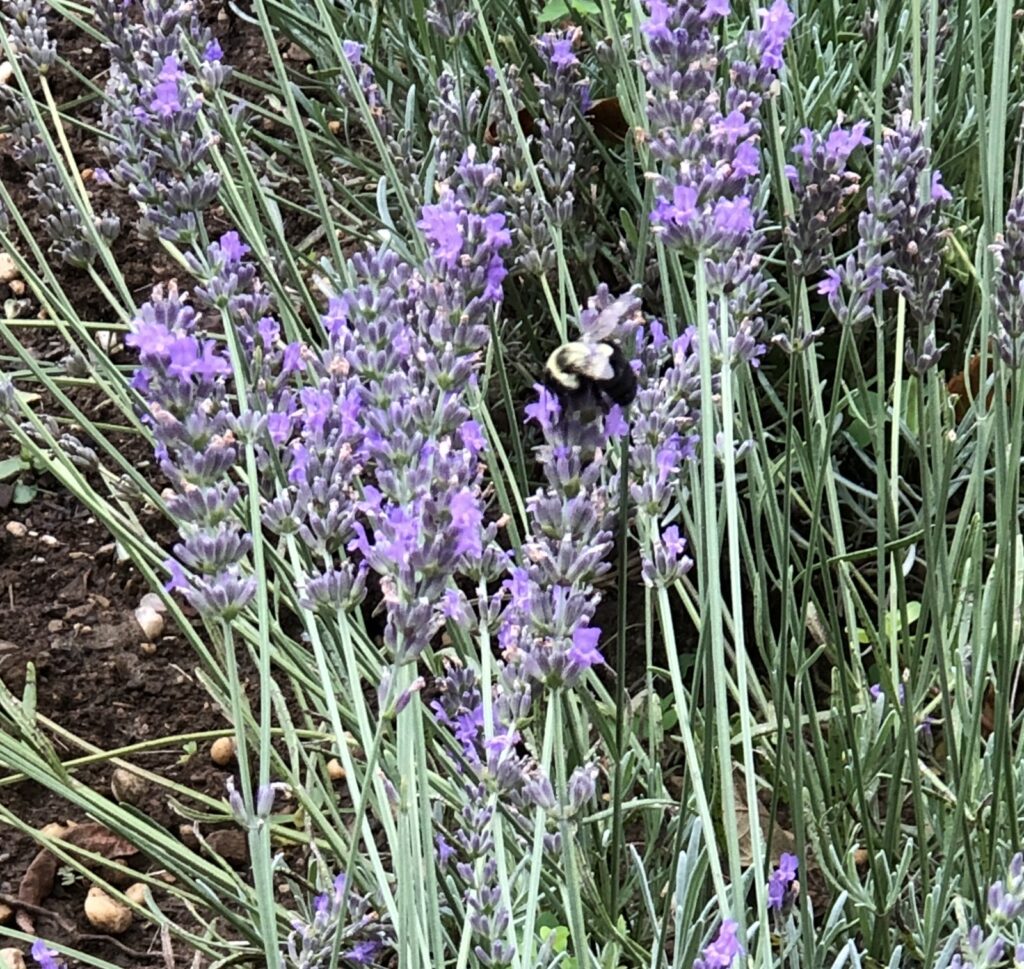
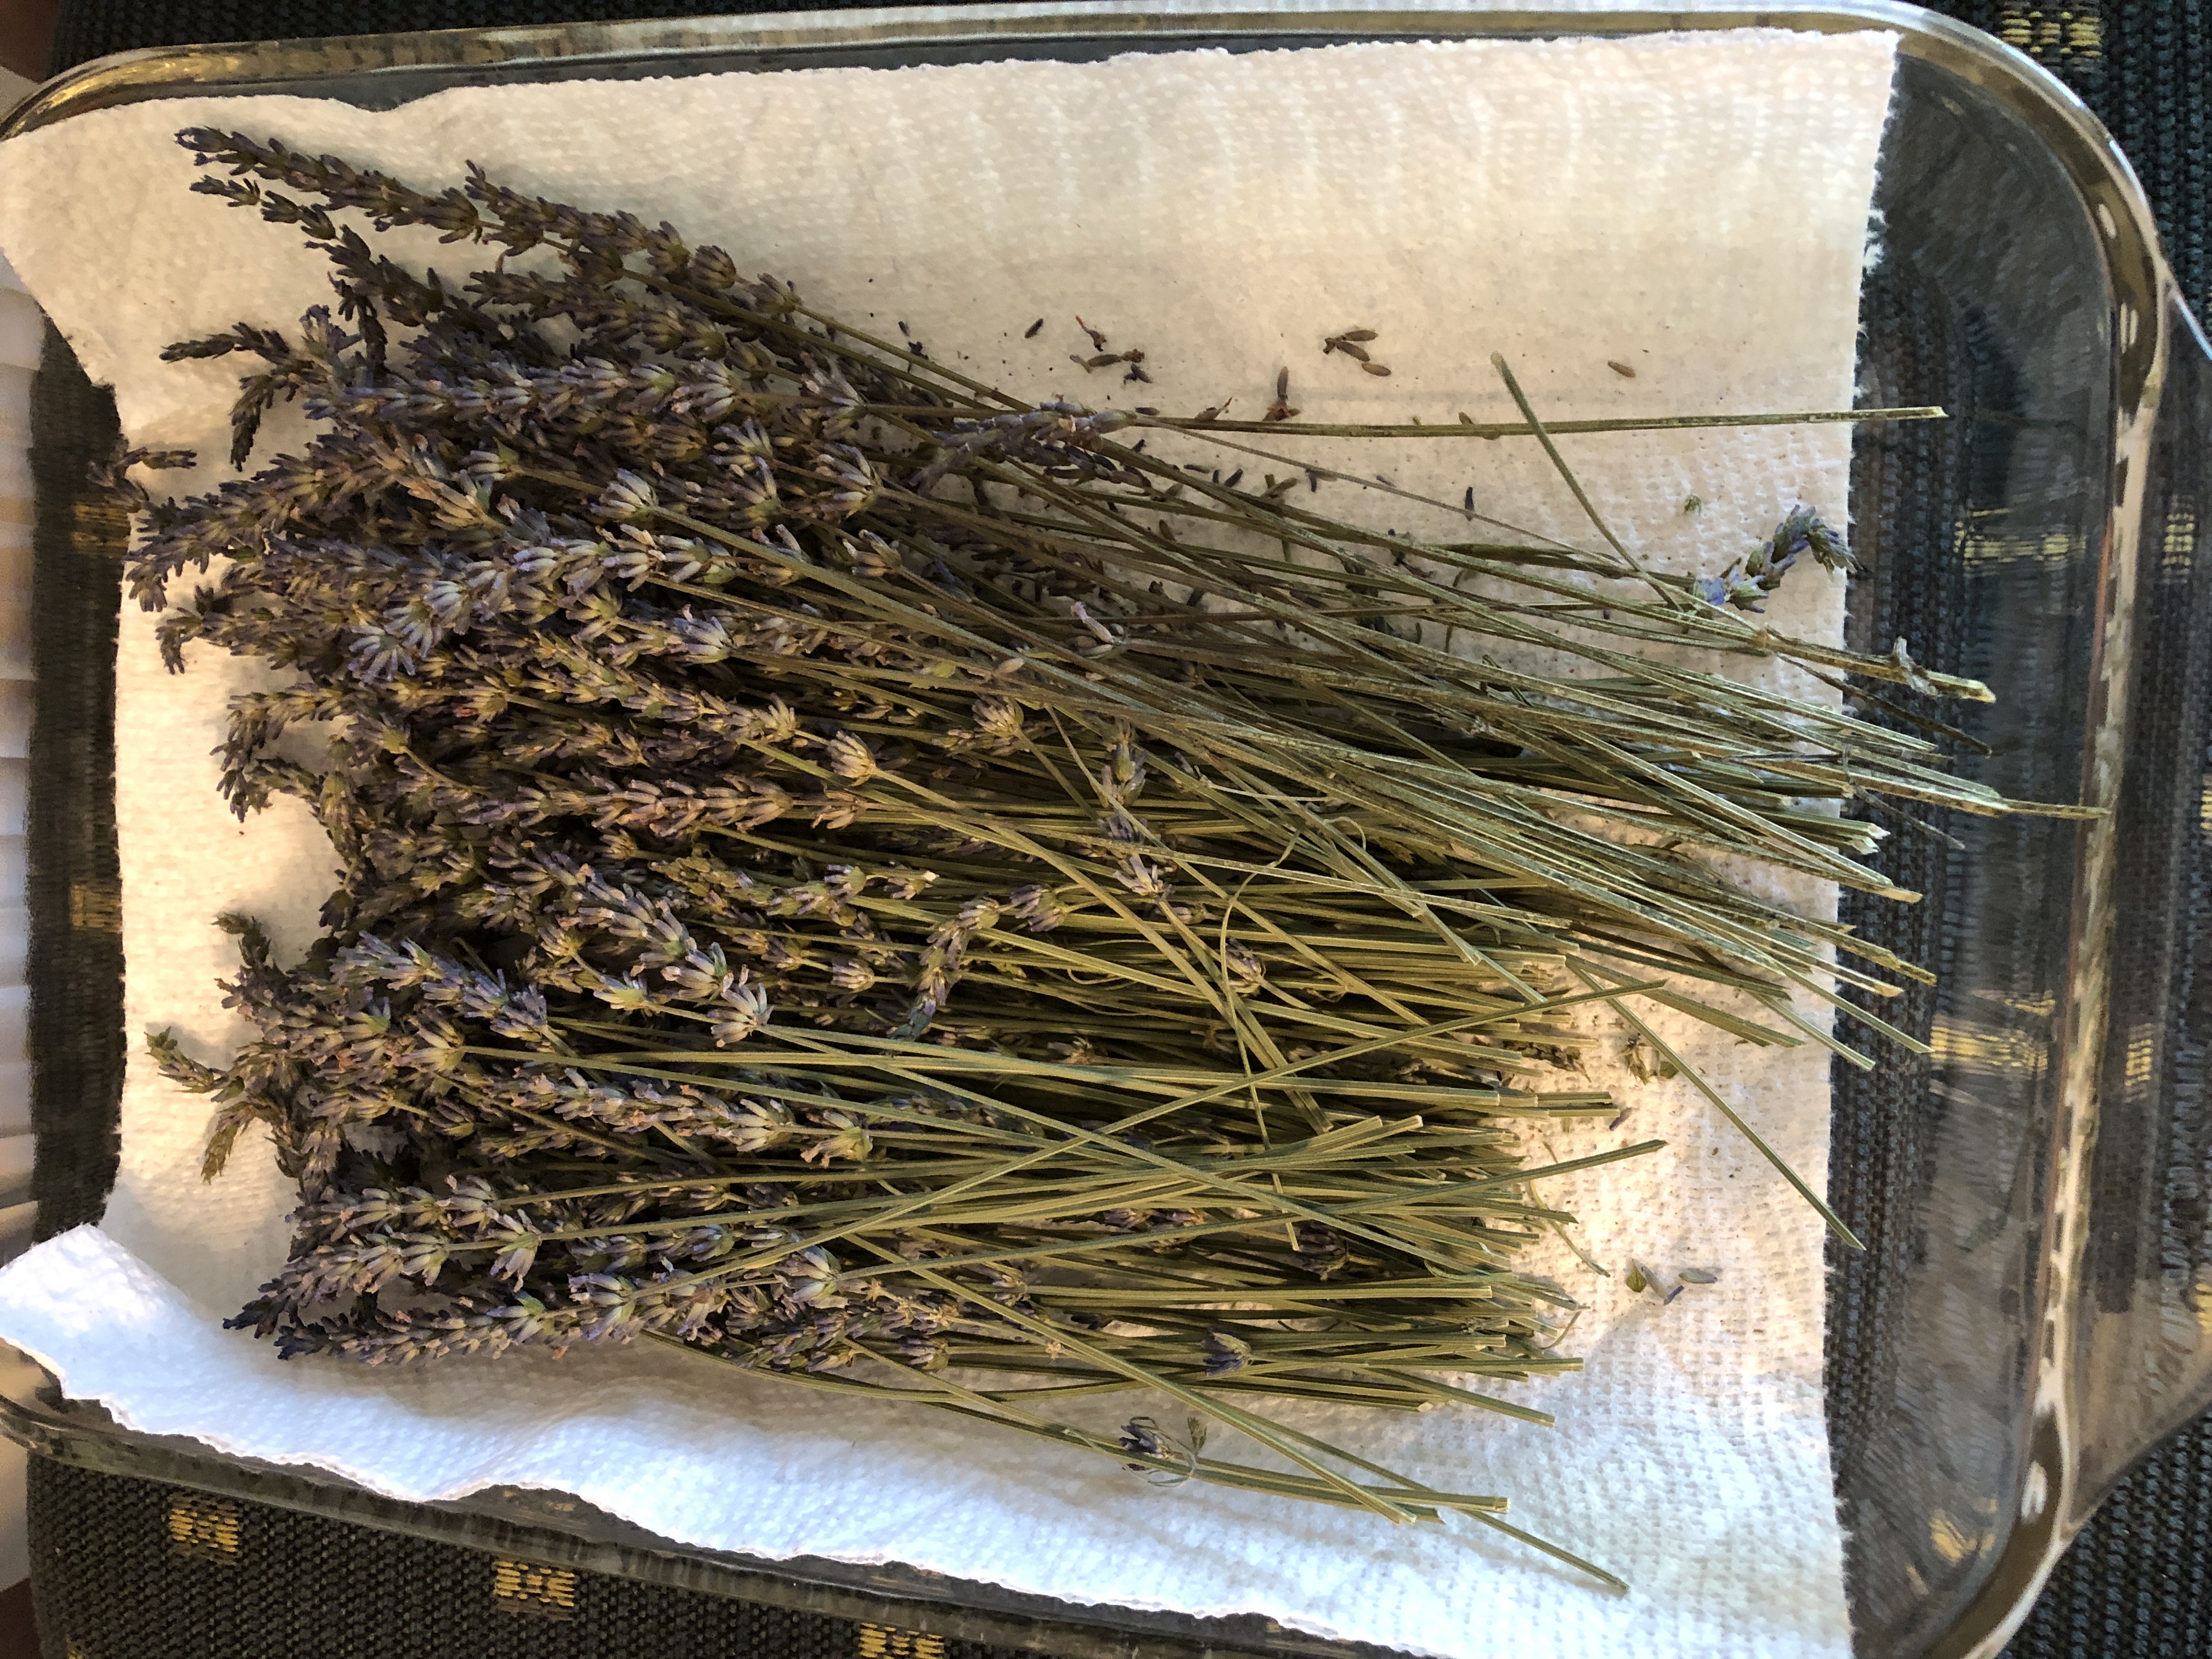
Up in the garden on the hill, the Lavender is still making the bees happy.
I will let these stems dry for a while in the house:
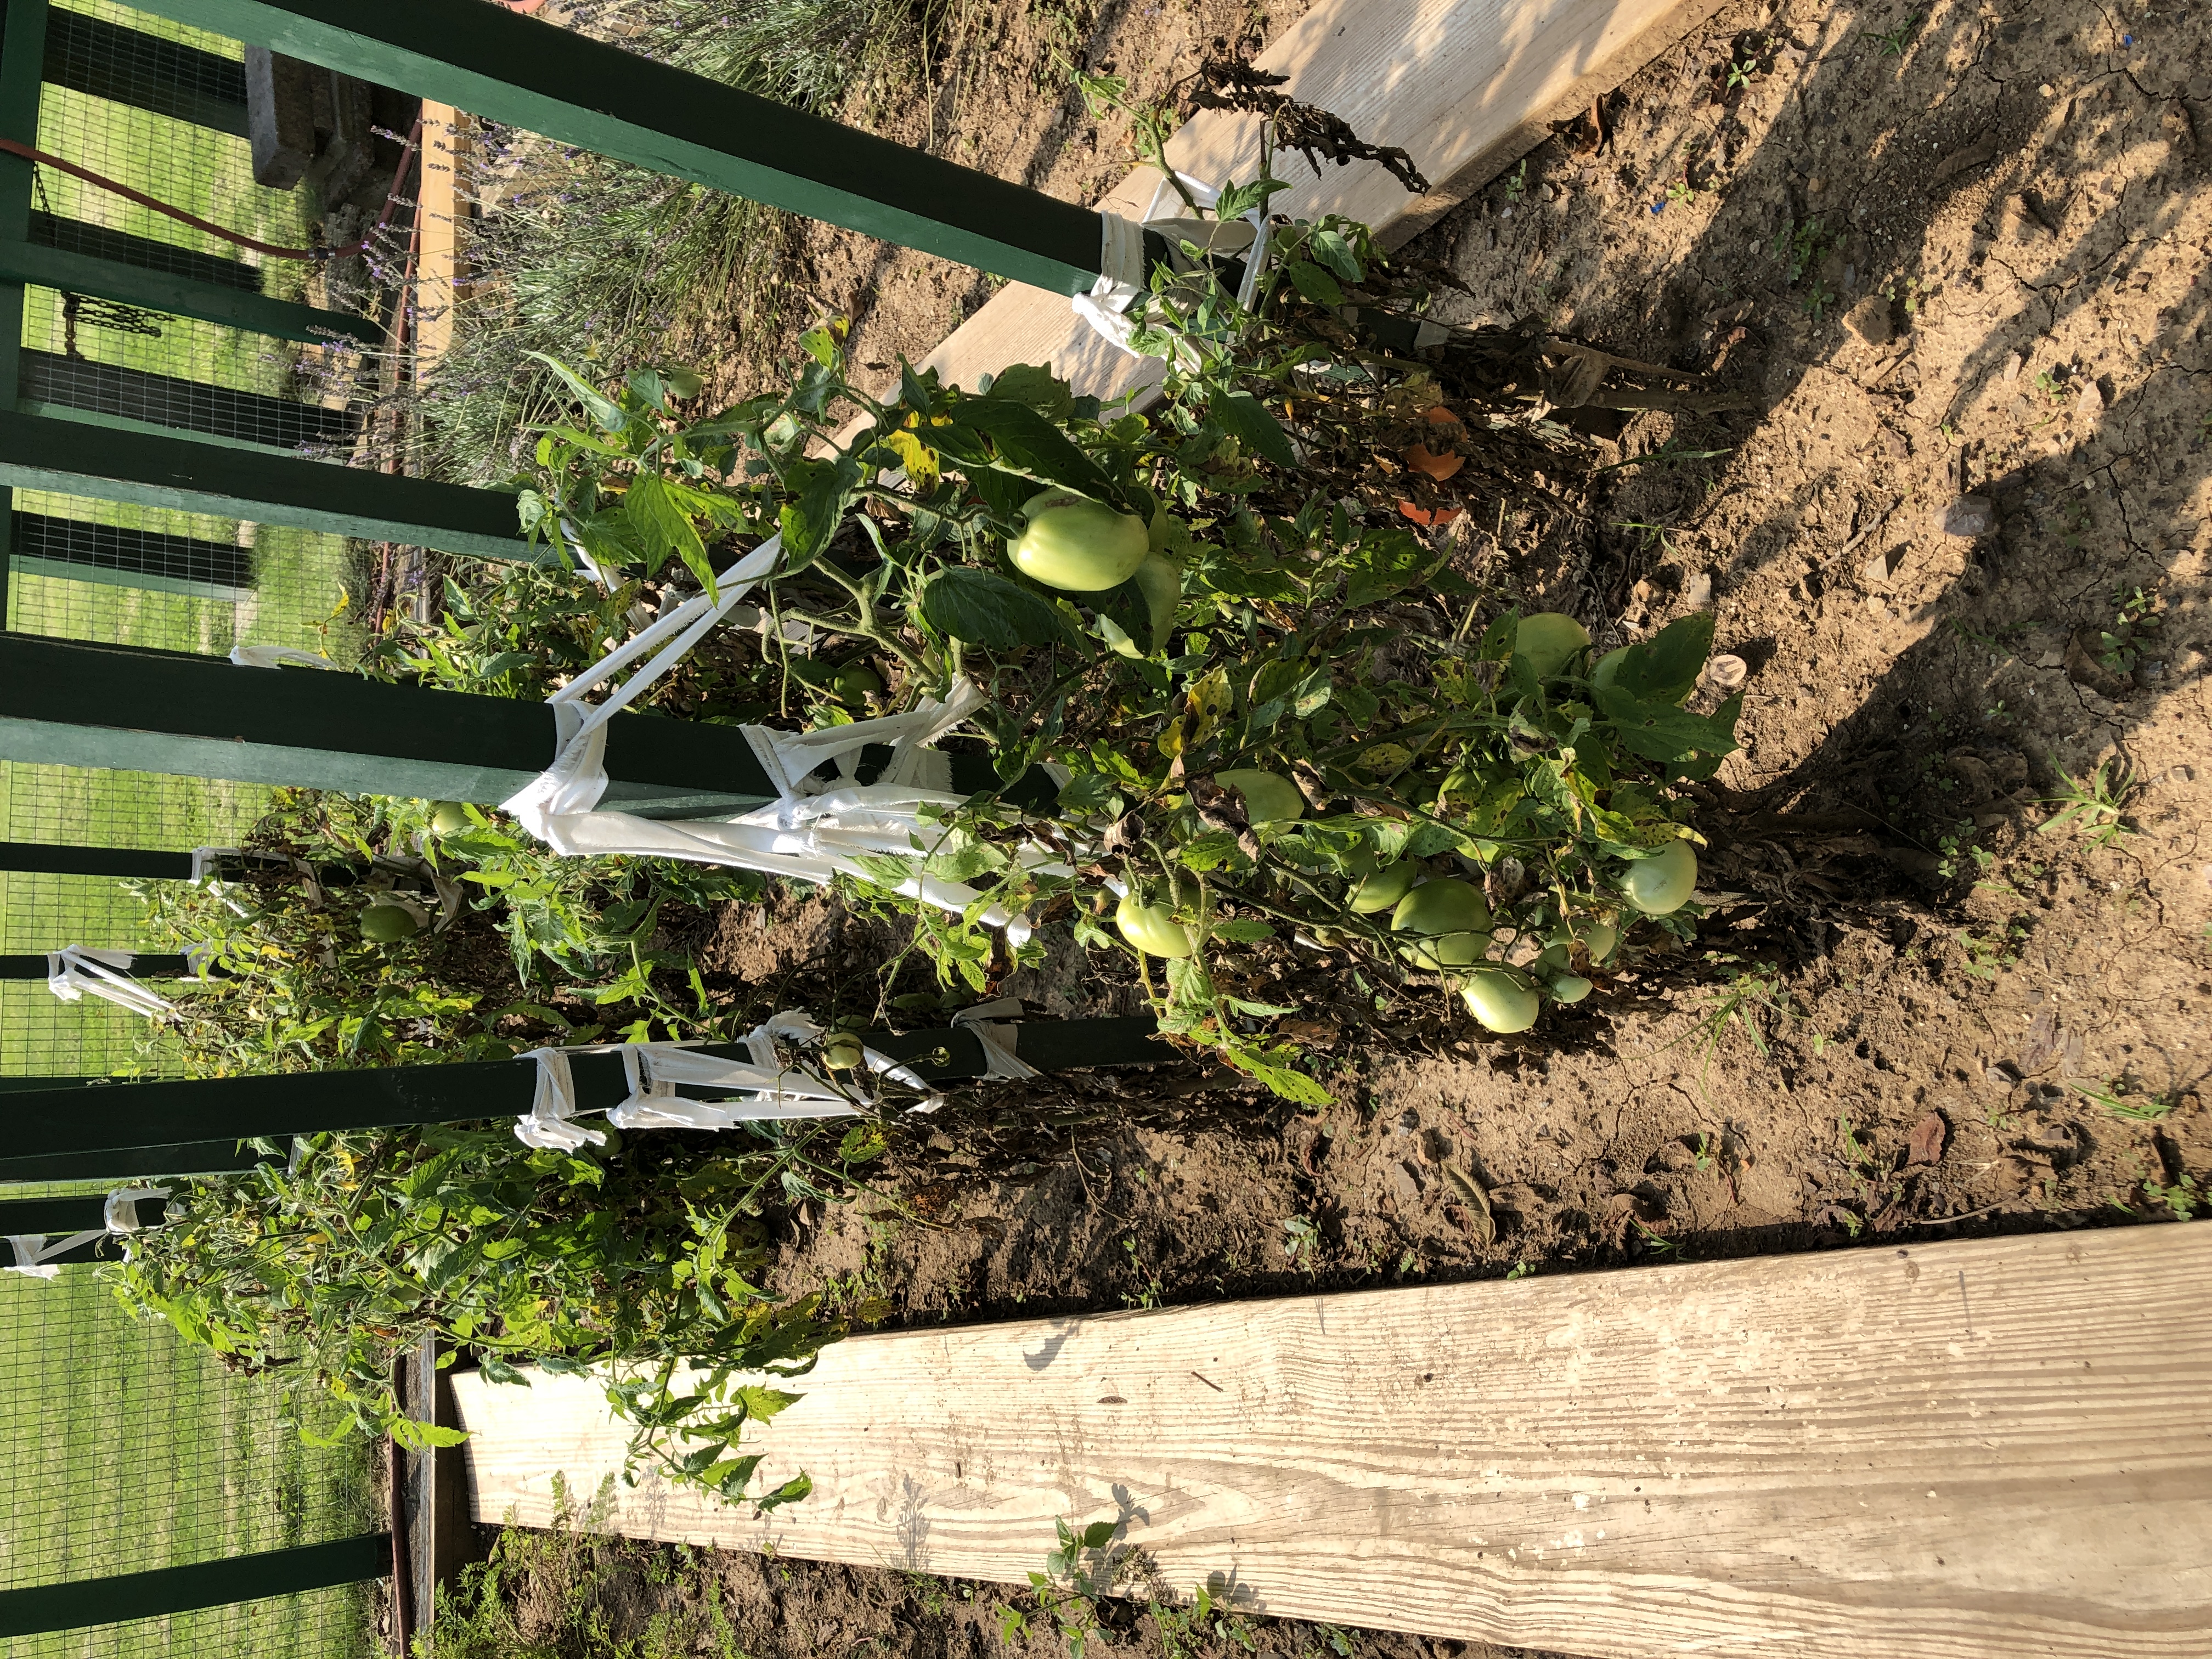
Still quite a few green tomatoes. They should ripen over the next two weeks.
Although we still have a bunch in the house, ready to eat!
This is the second planting of green beans…no flowers yet!
Carrots are still growing. Should do better when the fall weather arrives.
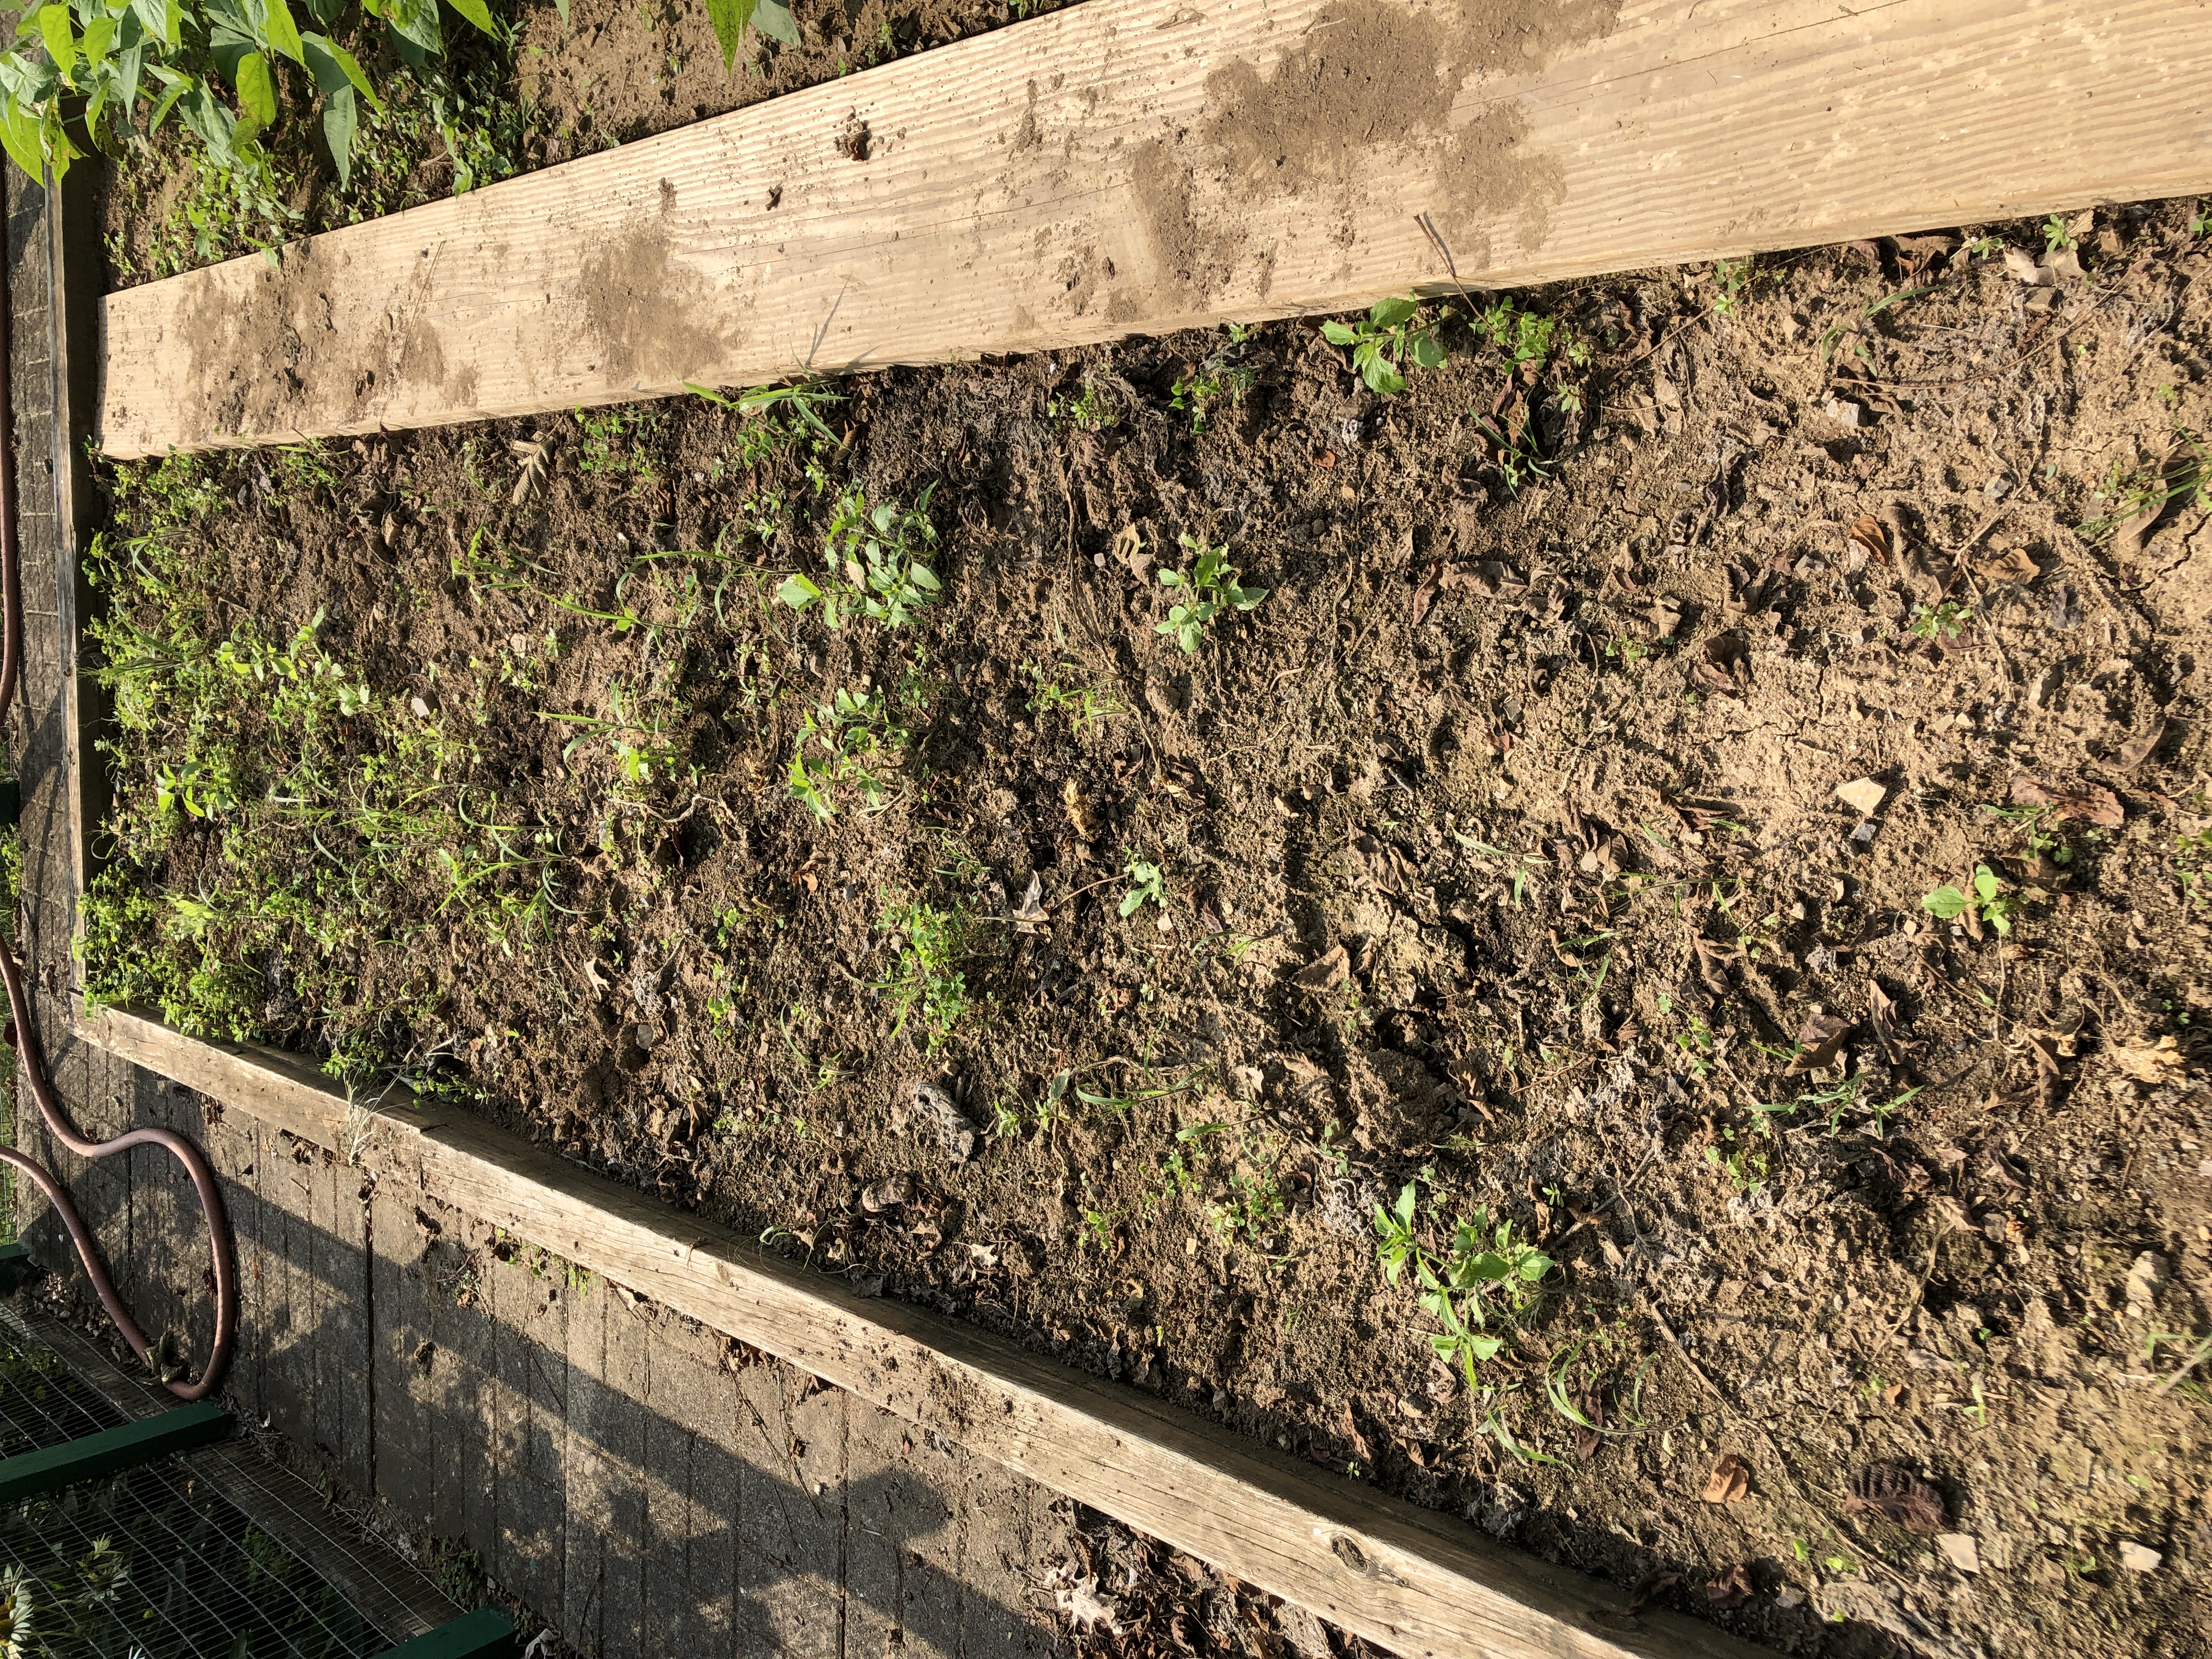
With the Delicata squash plants gone, all we have left is a few weeds!
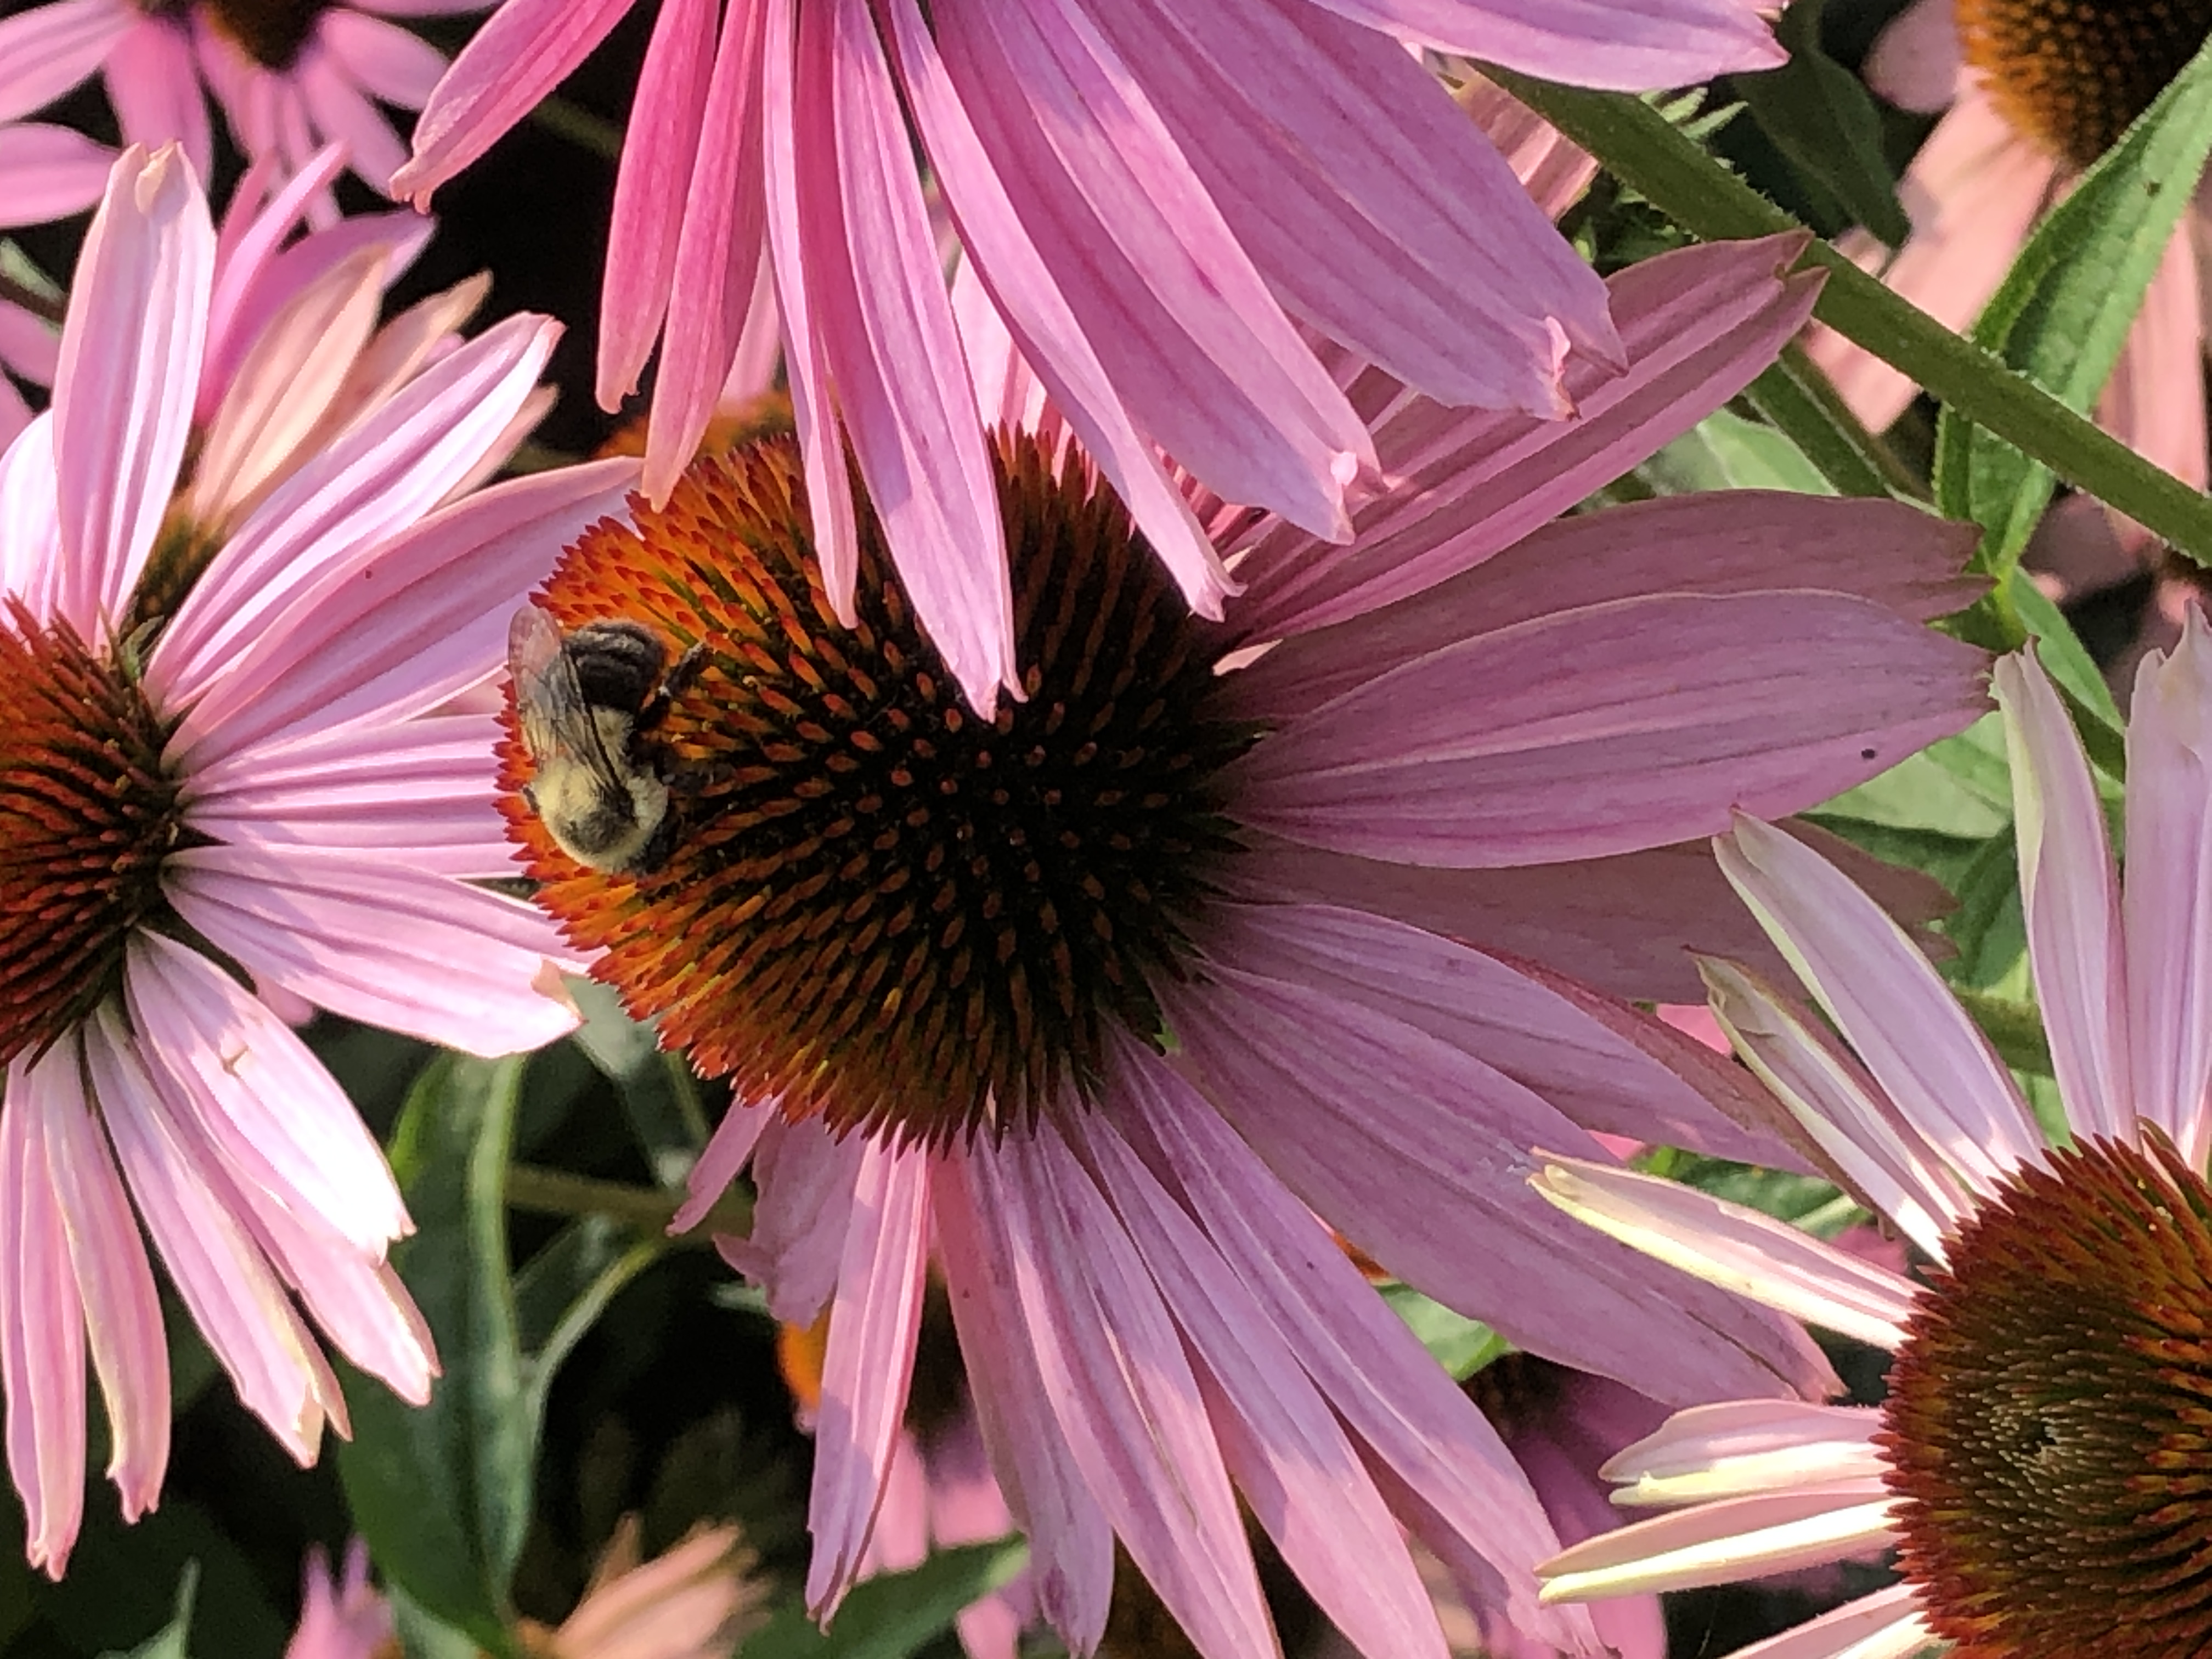
The Echinacea is not as pretty but the bees still love them!
We’ve managed to share a few tomatoes with the neighbors, and we’re blessed with some of their garden produce!
So far, we’ve kept the deer away from most of the garden, but they still like to clean up around the bird feeders…even in broad daylight! Enjoy!
I have many fond memories of my dad with popcorn as a snack. I watched many baseball games on TV with a big bowl of buttered popcorn between us as he explained the strategies of the players. Popcorn has always been my snack of choice, even over chips and pretzels.
When we were first married (way back in the late 60s and early 70s), Bert and I had a huge garden with a section set aside to grow popcorn. The process is much like sweet corn but we needed to keep the sweet corn at the other end of the garden…they will cross pollinate and ruin both. Popcorn is taller than sweet corn and often had pink silk. Really pretty!
I will tell you…growing our own popcorn, drying it and popping it as soon as it was dry enough was a lot of work but the taste was amazing! A whole different taste from popcorn that had been sitting in a jar on the shelf for over a year!
For several years we did the work of picking the ears, husking them, laying the ears out on an old sheet in front of the wood burning stove until they dried enough to shell. We learned the hard way to wear gloves because the corn kernels had a sharp point and after a few ears our hands were shredded (at least mine were!).
We often had 5-6 gallons of shelled corn by Halloween and made sure to gift my dad a gallon of corn for Christmas! Most people thought we were nuts!
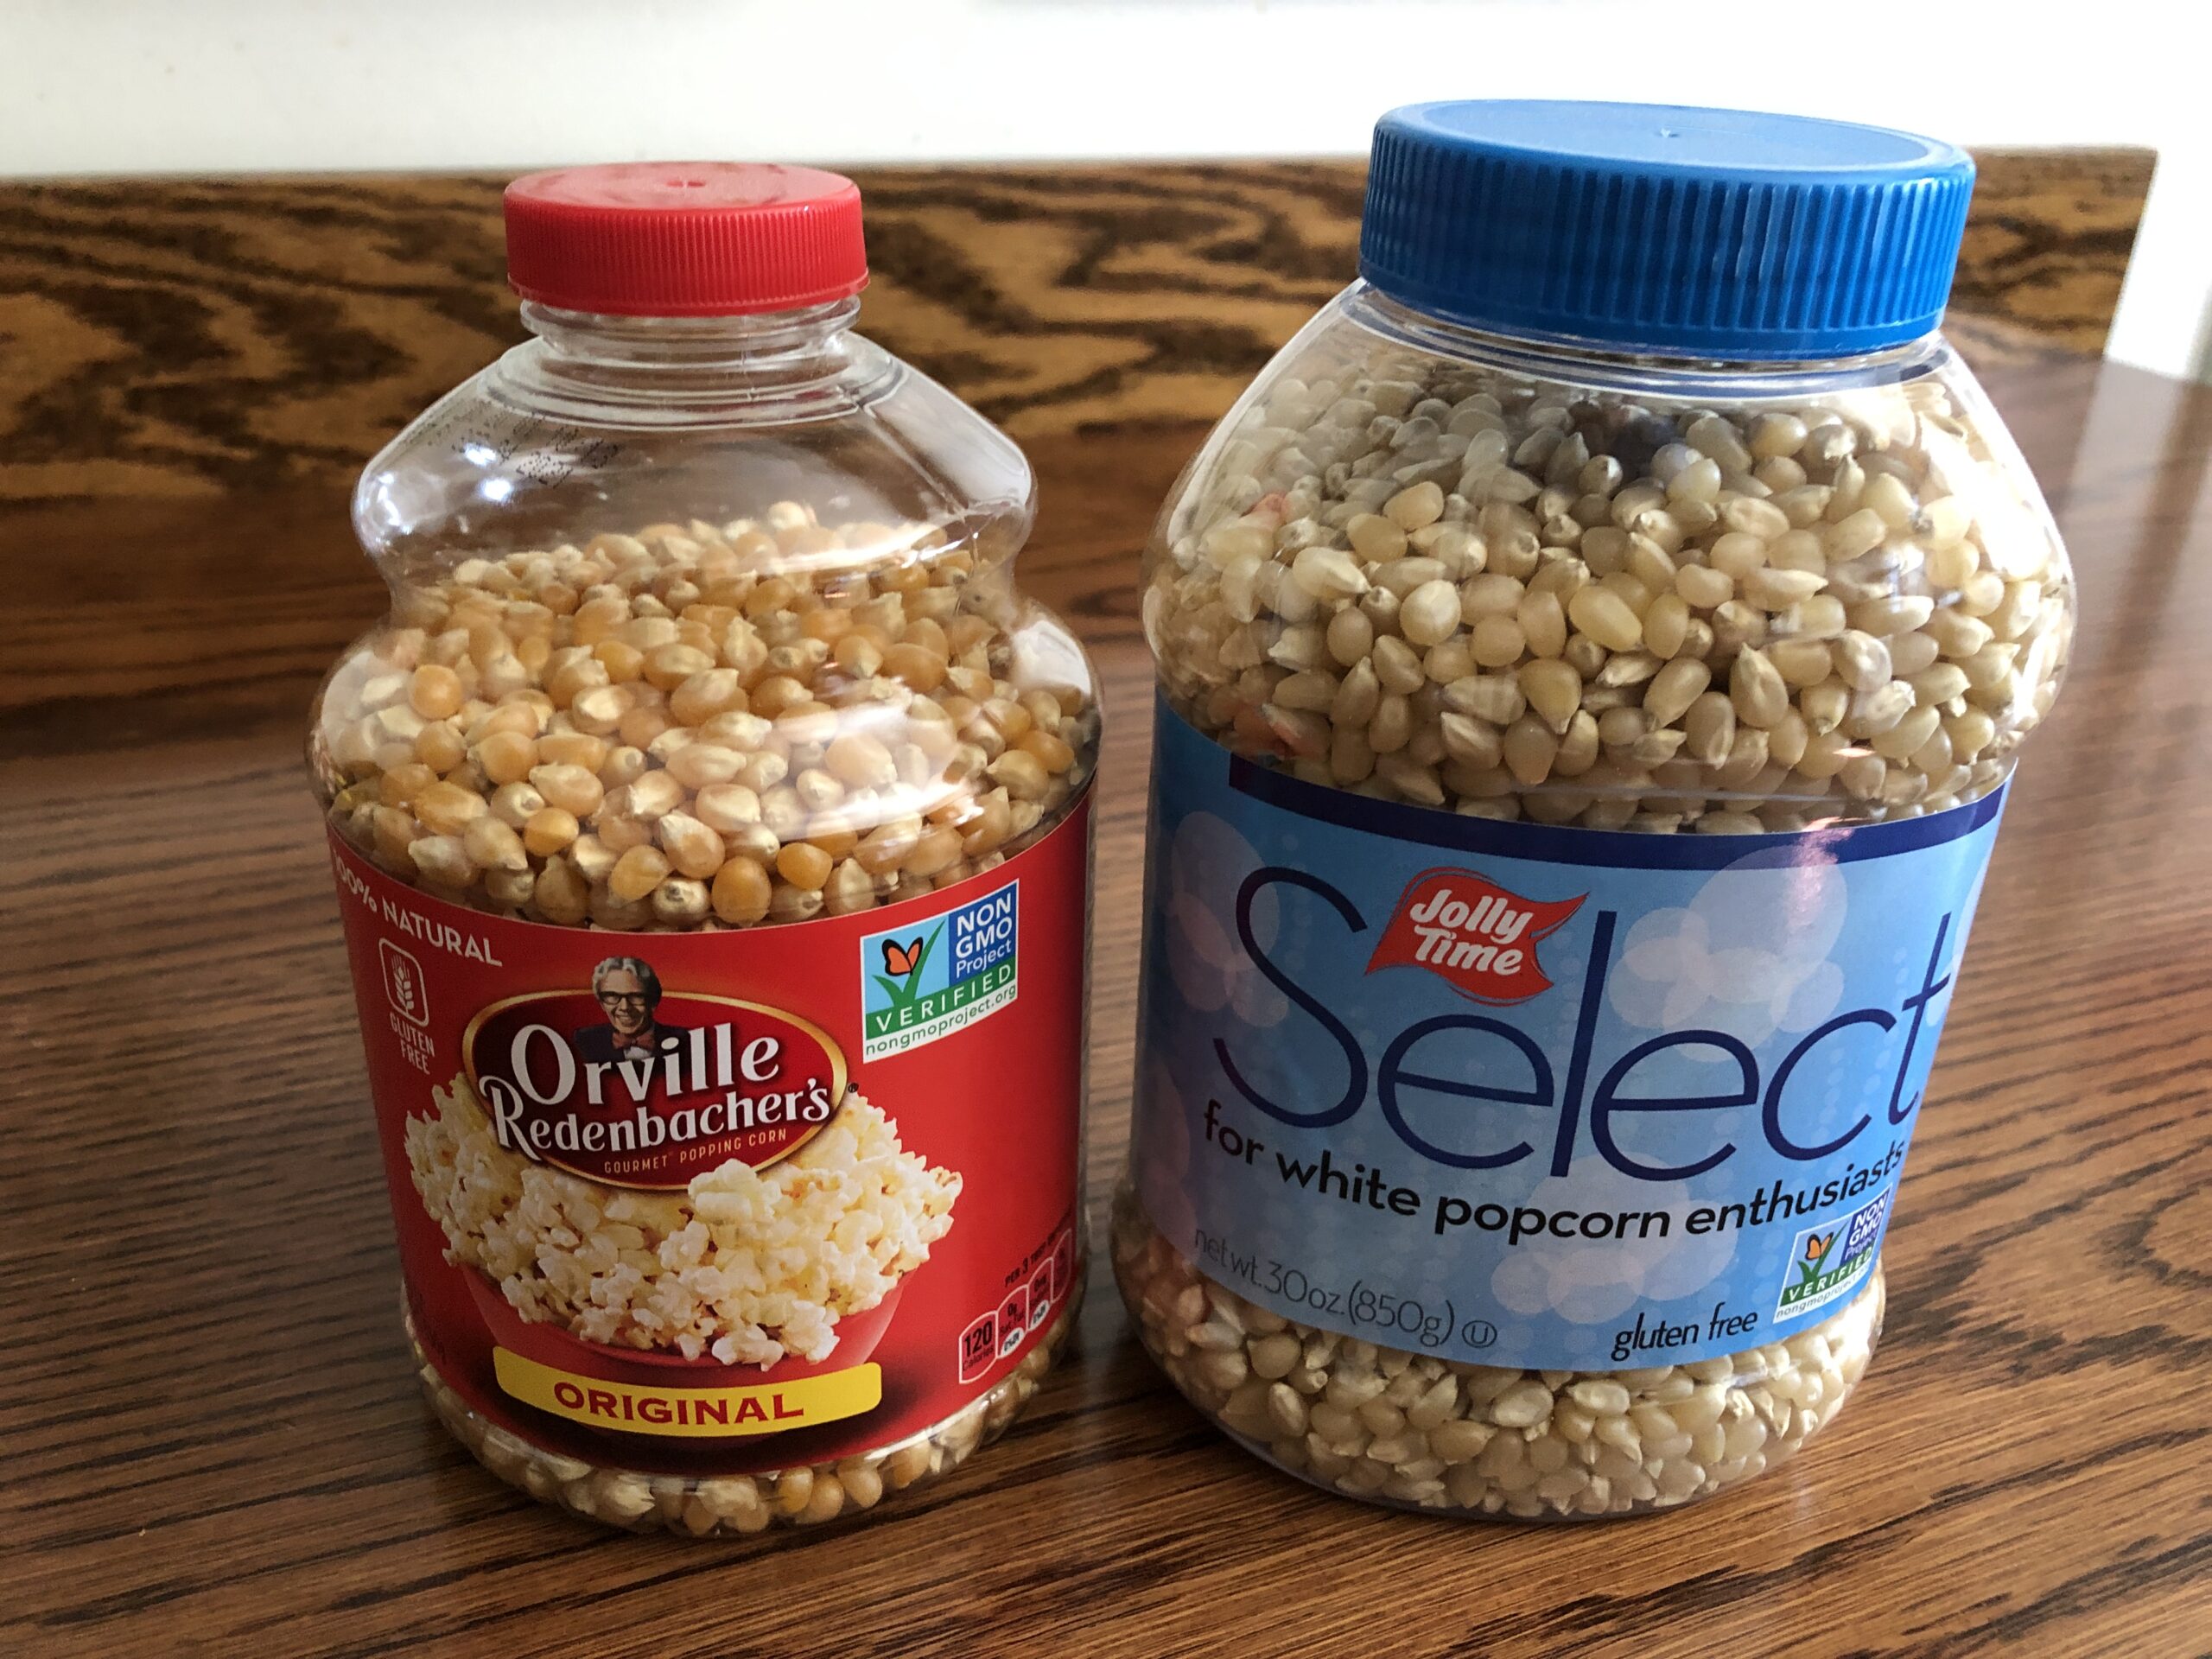
For the last 30+ years we haven’t grown popcorn but I’ve tried to find the best popcorn, and the best popcorn popper rather than growing our own. I’ve tried specialty and multicolor popcorn. The two main kinds of popcorn…white and yellow…seem to be the main choice. The white kernels are smaller and don’t leave a sharp piece of the hull. The big yellow kernels pop up much bigger and have more flavor, but often I’m left needing a toothpick or dental floss to get those sharp hulls that get stuck between my teeth.
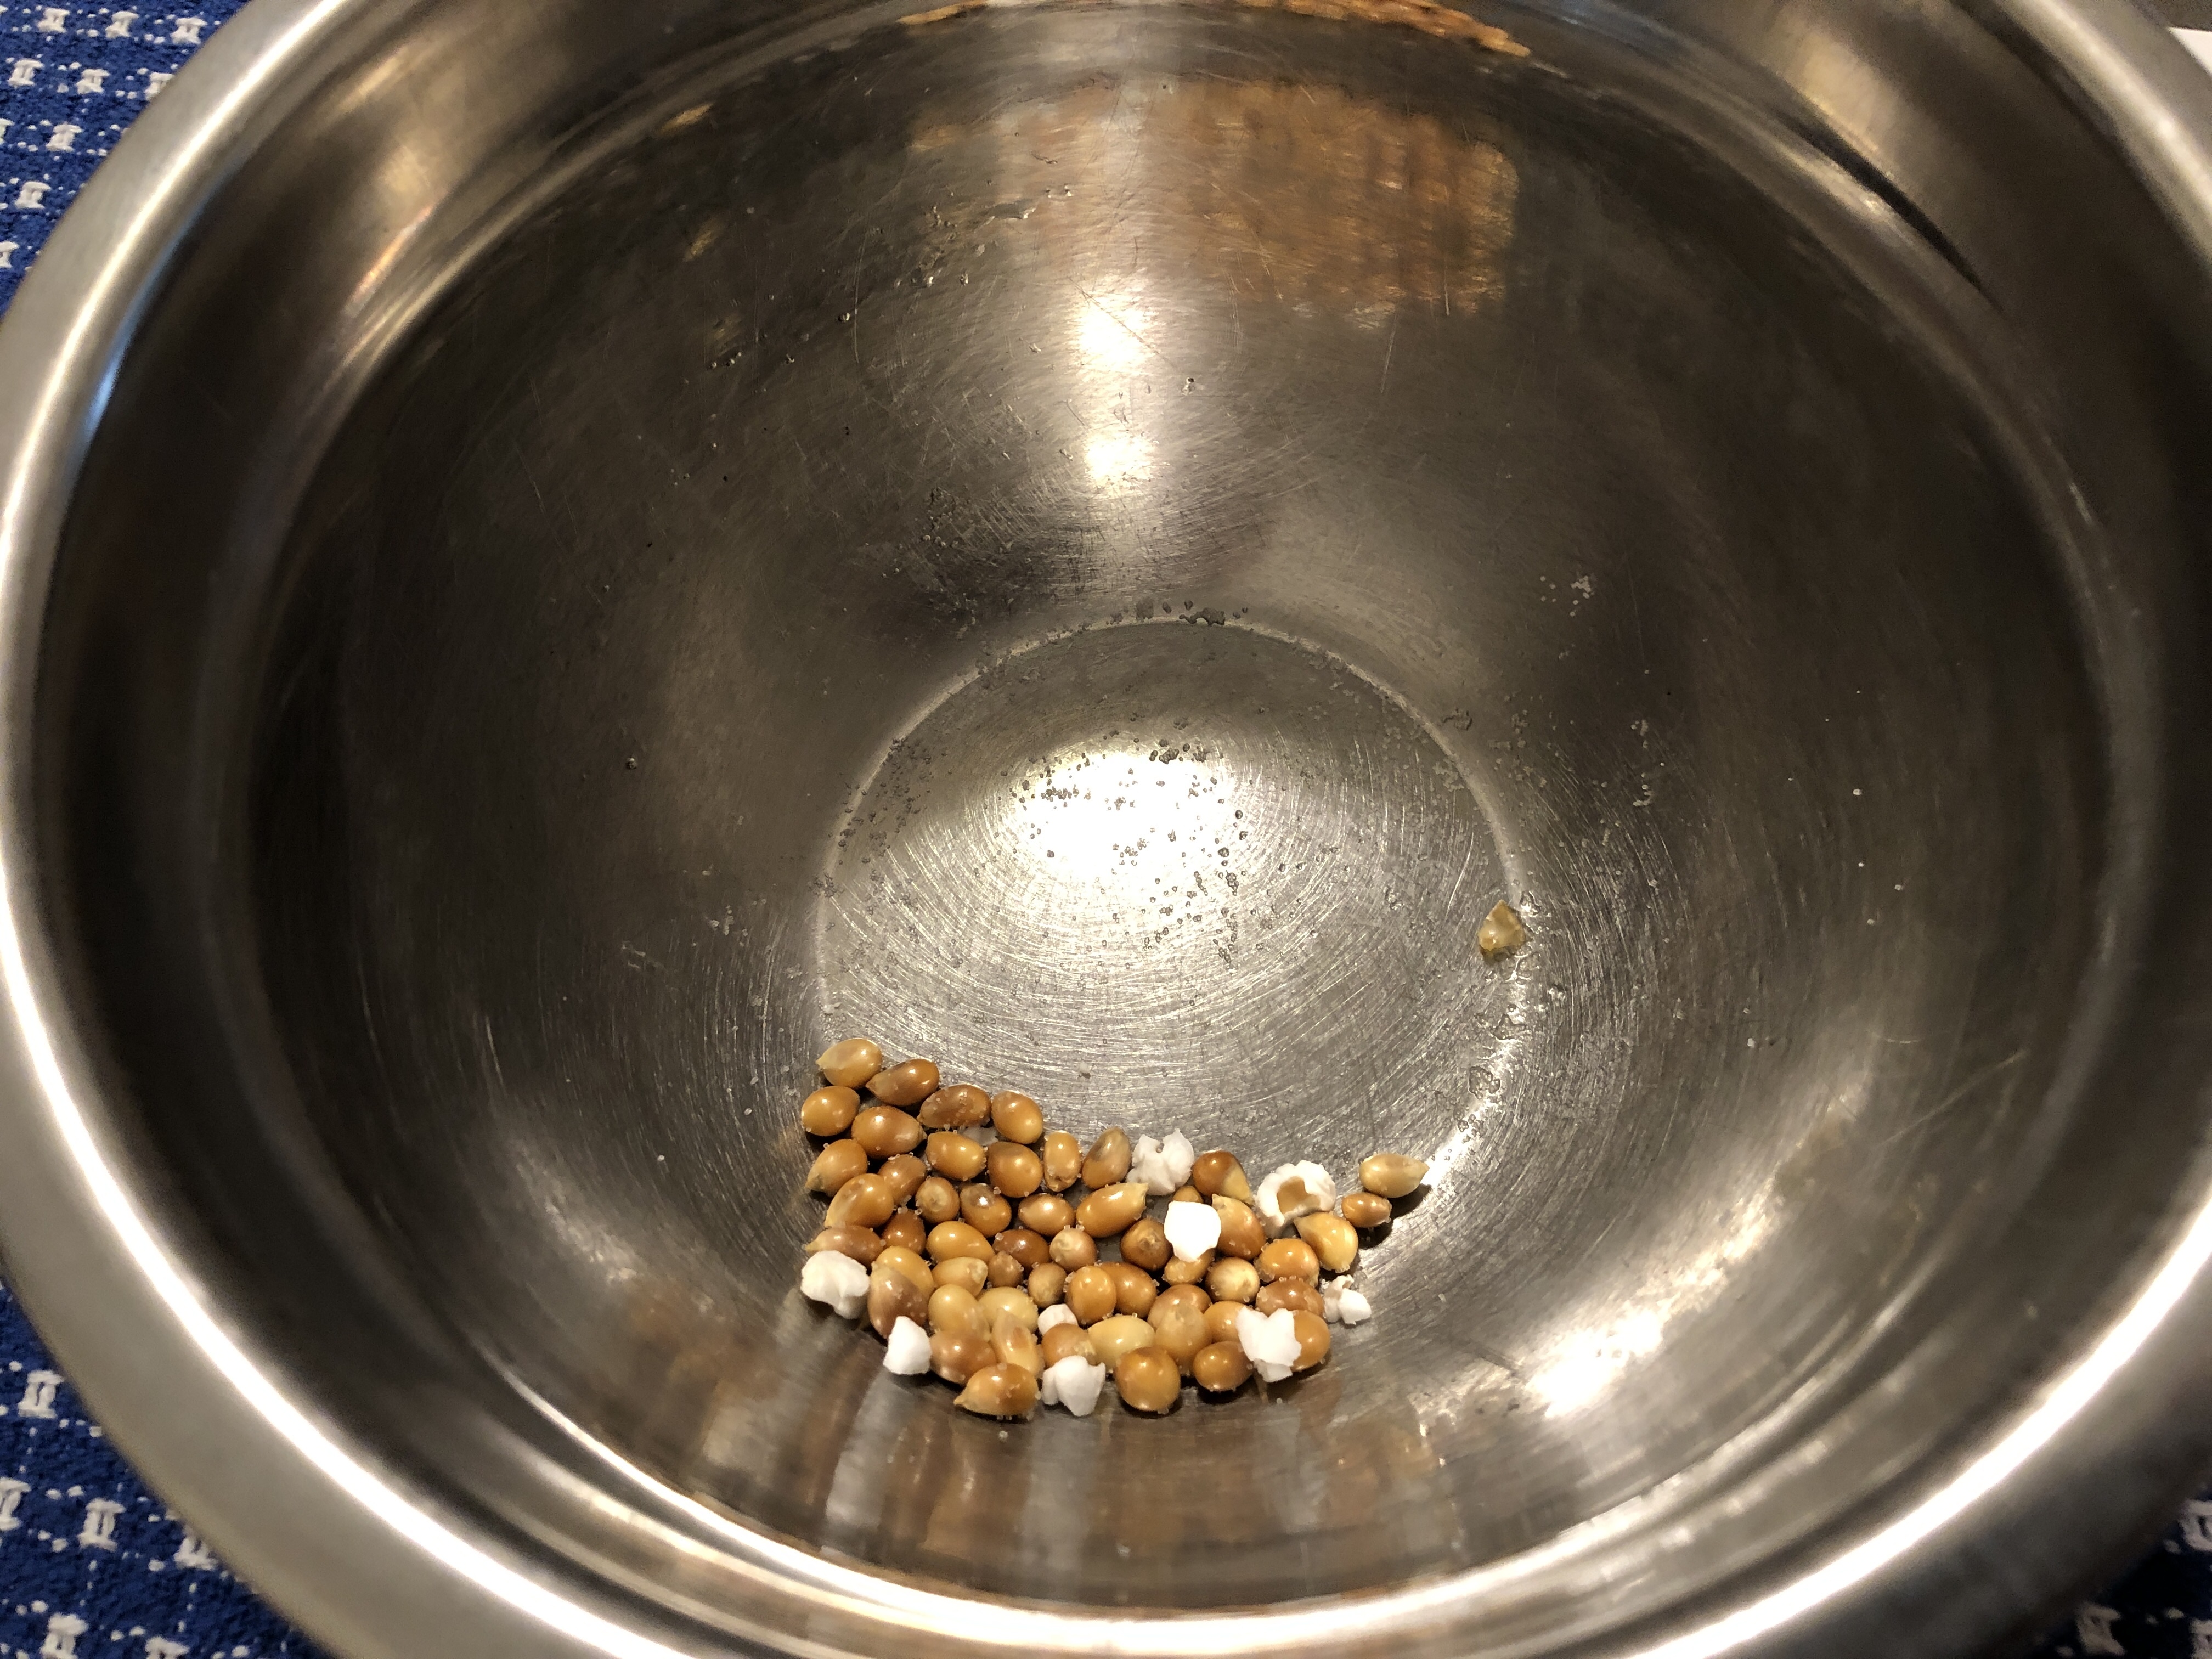
Finding popcorn that is fresh with the right moisture content to pop well is tough. You have no way to know how long ago the popcorn was harvested and how it was stored. Sometimes, popcorn does better if it is stored in the refrigerator or freezer. Here are two brands that work pretty well for me. I always assume some of it will not pop and be left in the bottom of the bowl. I do miss the flavor of the popcorn we grew…but these will do:
The next challenge was finding the right popcorn popper. My dad used a popper similar to the one below and loved it so much he took it with him as he moved into assisted living.
This had a Teflon heat surface with a rotating arm that stirred the popcorn. I had a popper like this too for a while, but it was just too big and bulky and hard to store.
I seem to have quite a collection of popcorn poppers (I sold the air popper at a yard sale a long time age). At the moment I have 4 choices of poppers:
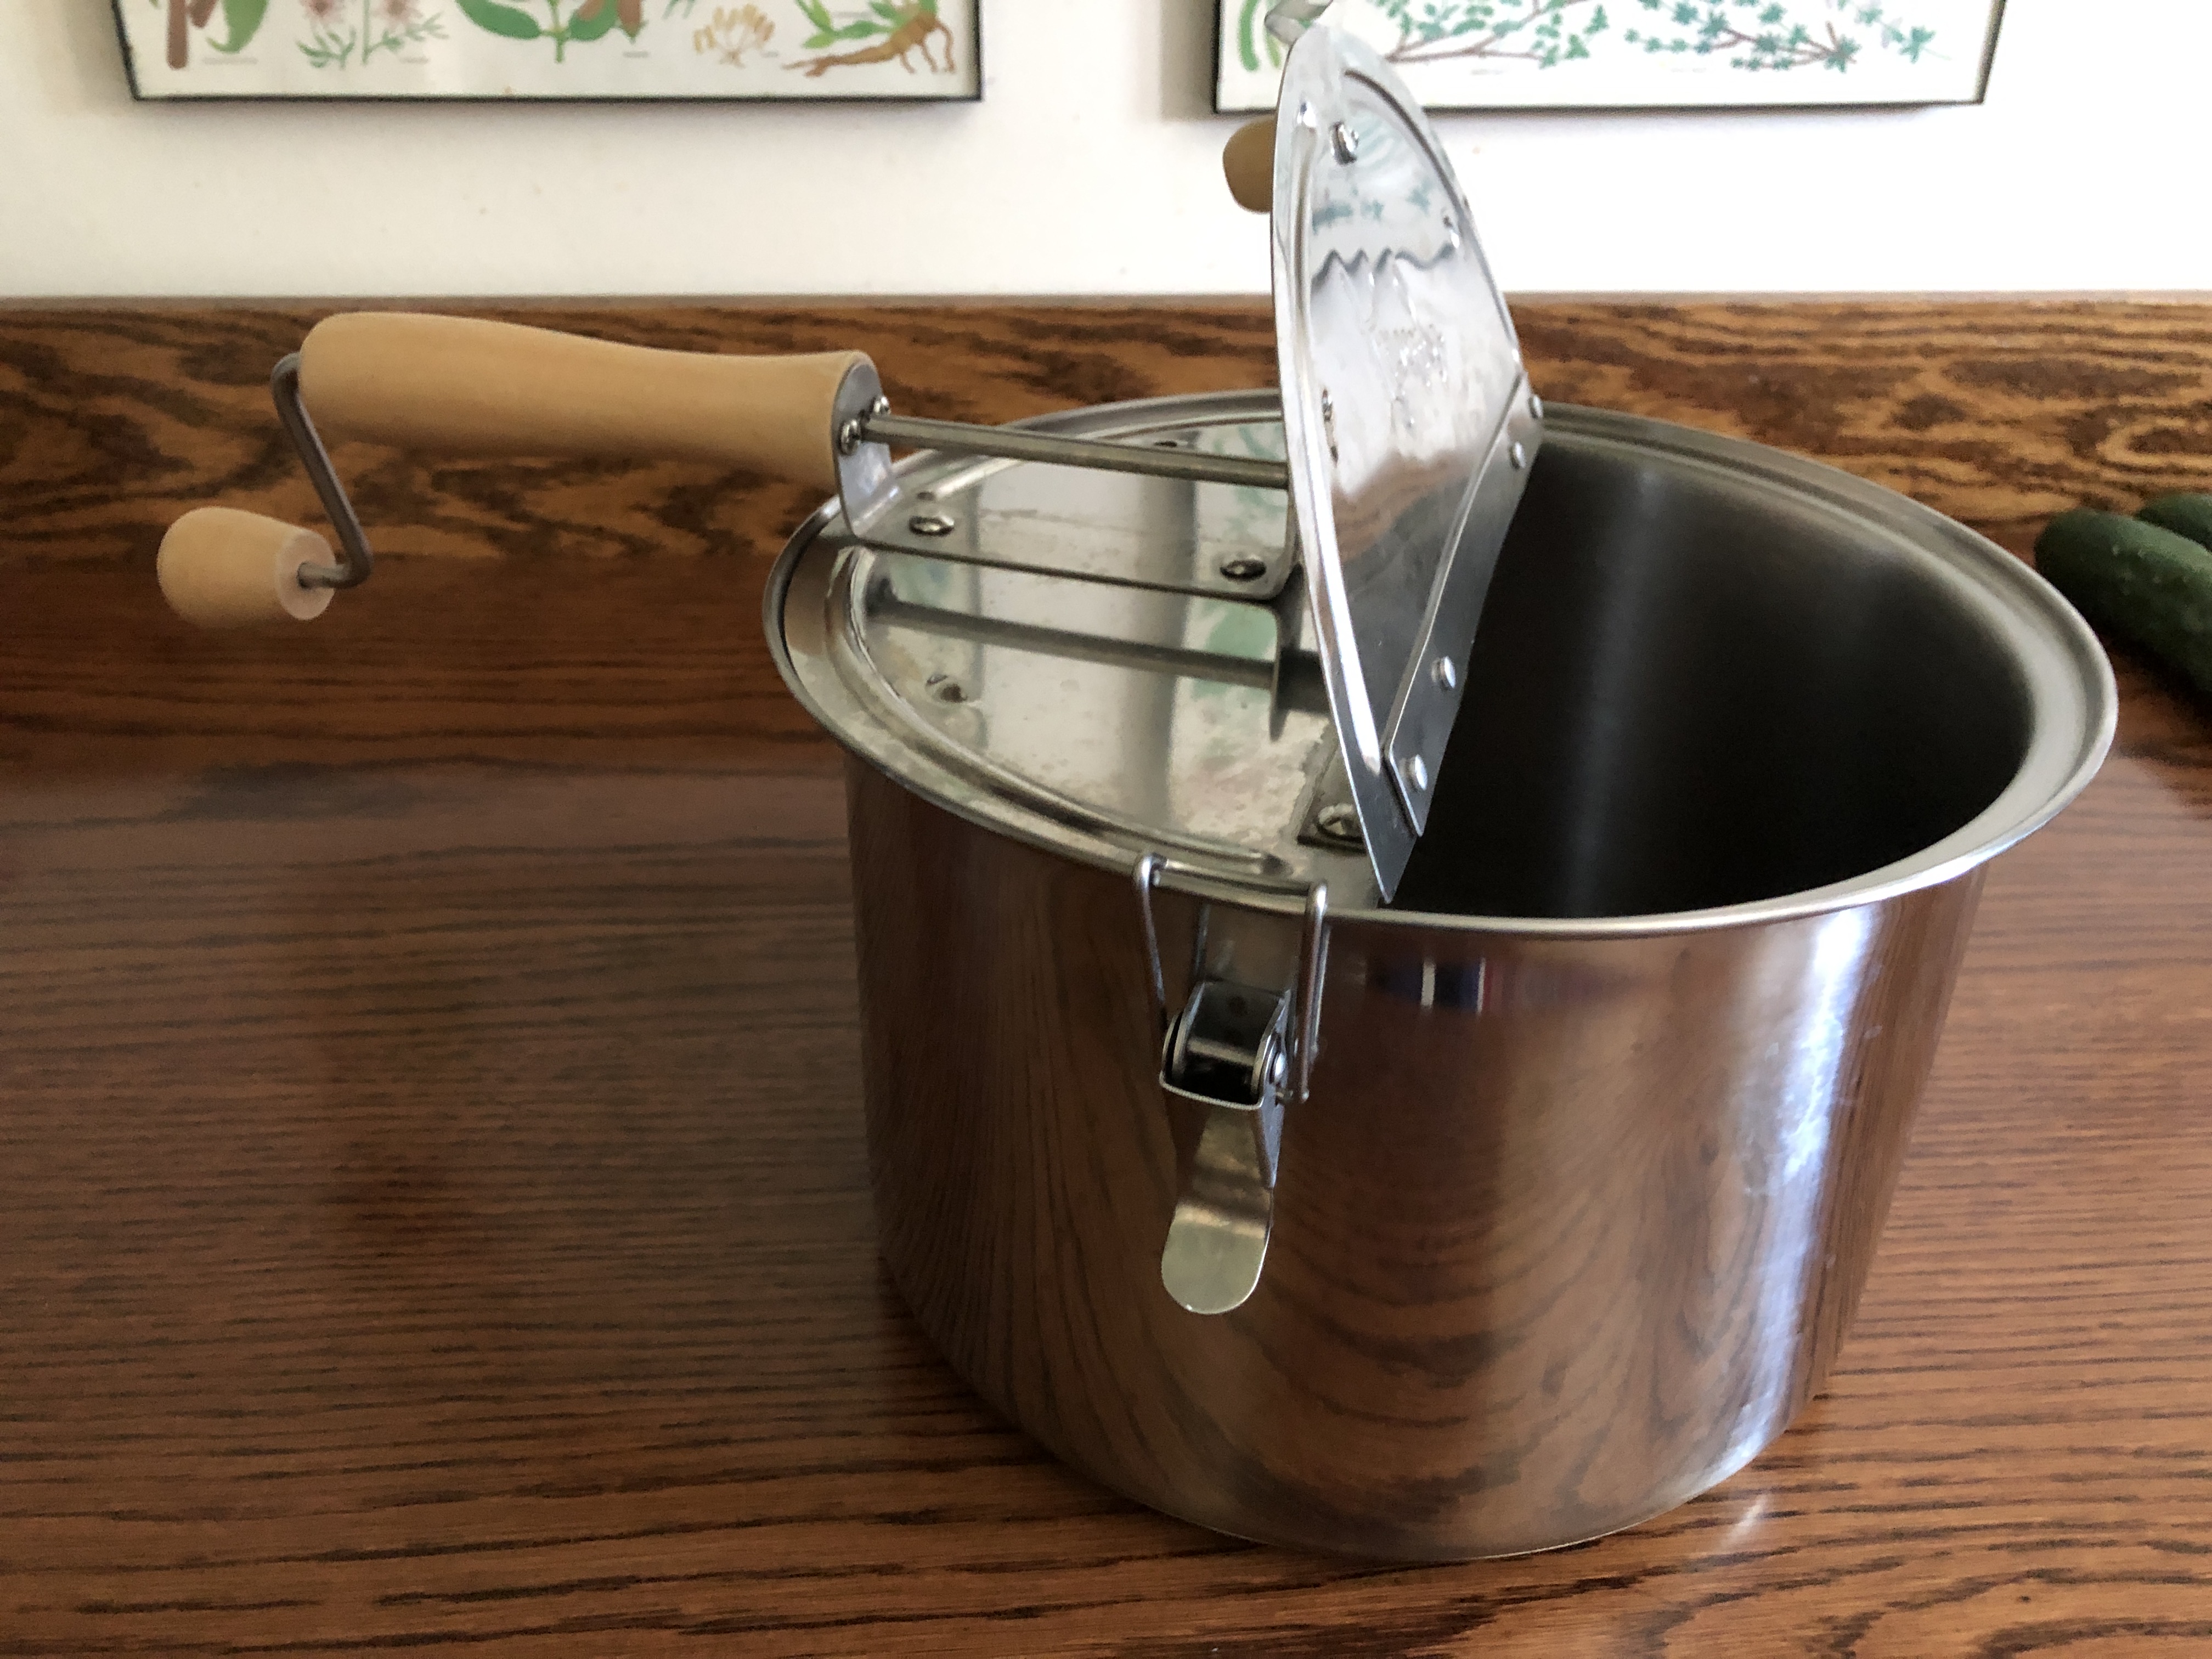
Popper #1
For many years, we used this popper. The handle crank and gears let us stir it as it popped, and frankly made the best popcorn. We still use it if we have company and have to make a lot of popcorn. I’m pretty sure I got this at Lehman’s of Ohio (from the catalog online). It’s solid and works fast.
Popper #2
For a while I was determined to find a popper that worked well in the microwave. I picked up this clay pot, made in Chile but sold by a company in the Midwest that sold popcorn. It does well but it gets hot and is kind of slippery. I’m always worried I’ll drop and break it. I’ve had it sitting on a shelf since that first try.
Popper #3
This clear glass popper is turning out to be my favorite because it has a handle I can grab with a hot pad and I can see how full it is as it pops.
Popper #4
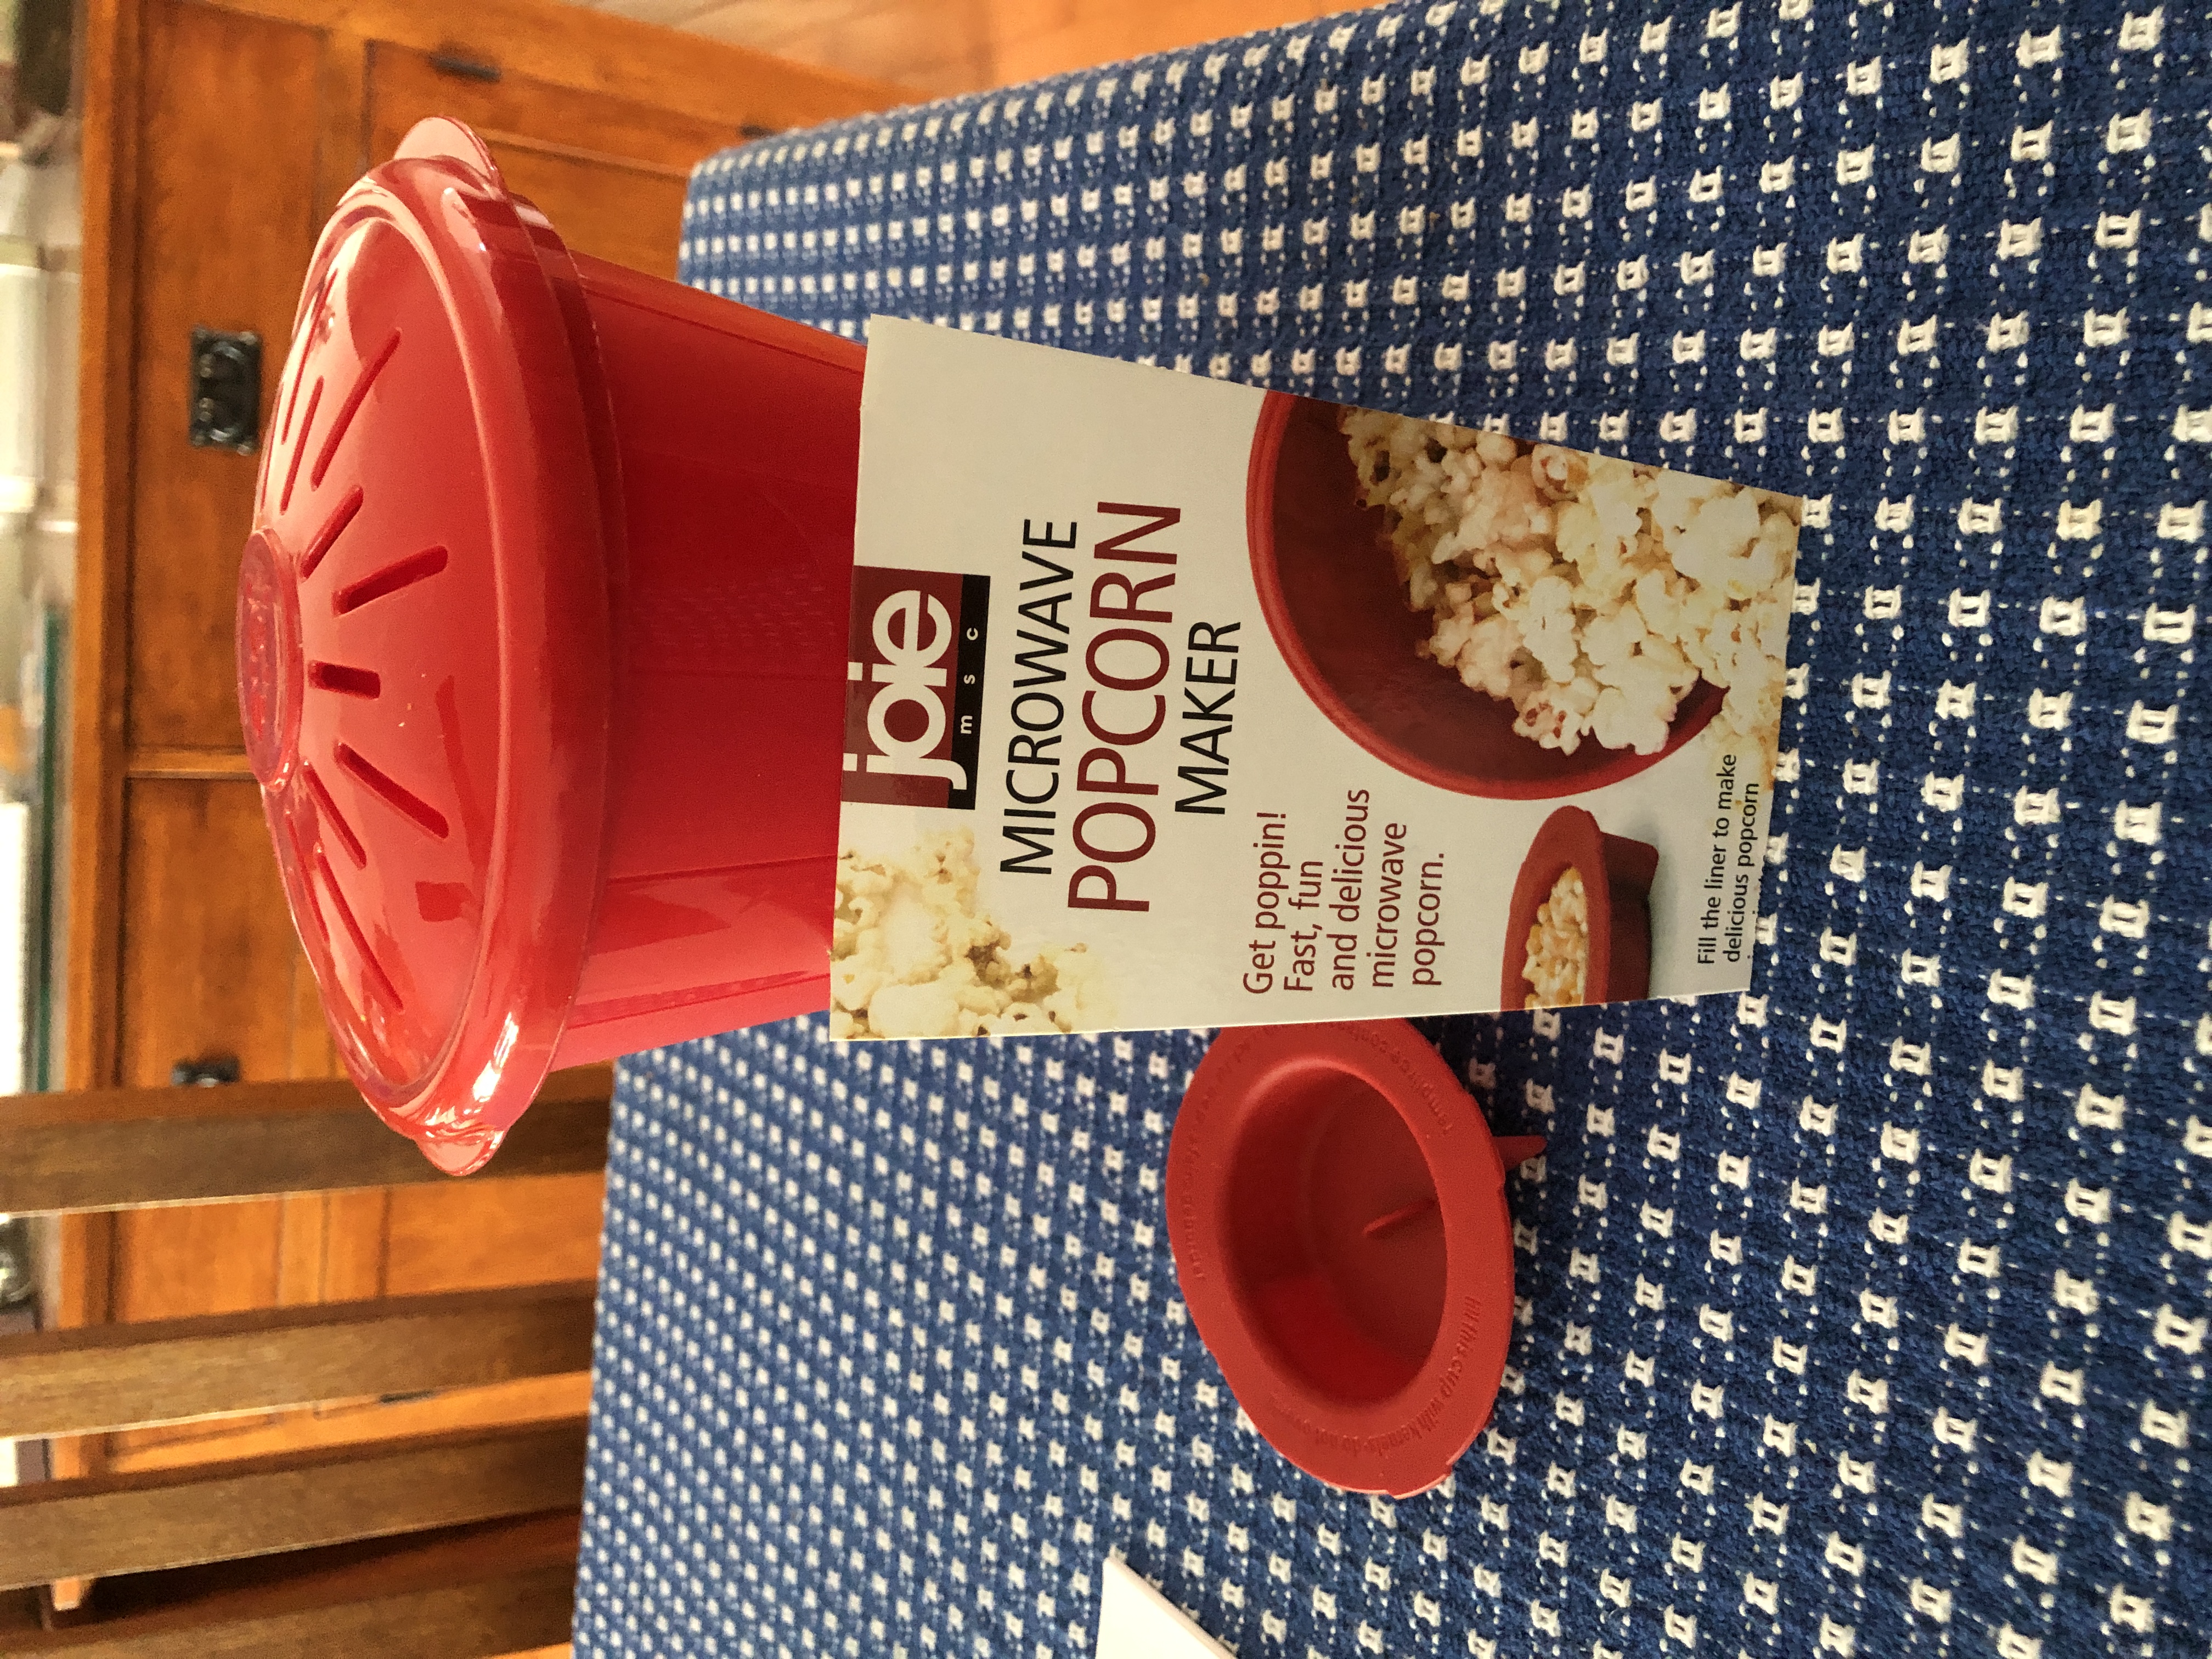
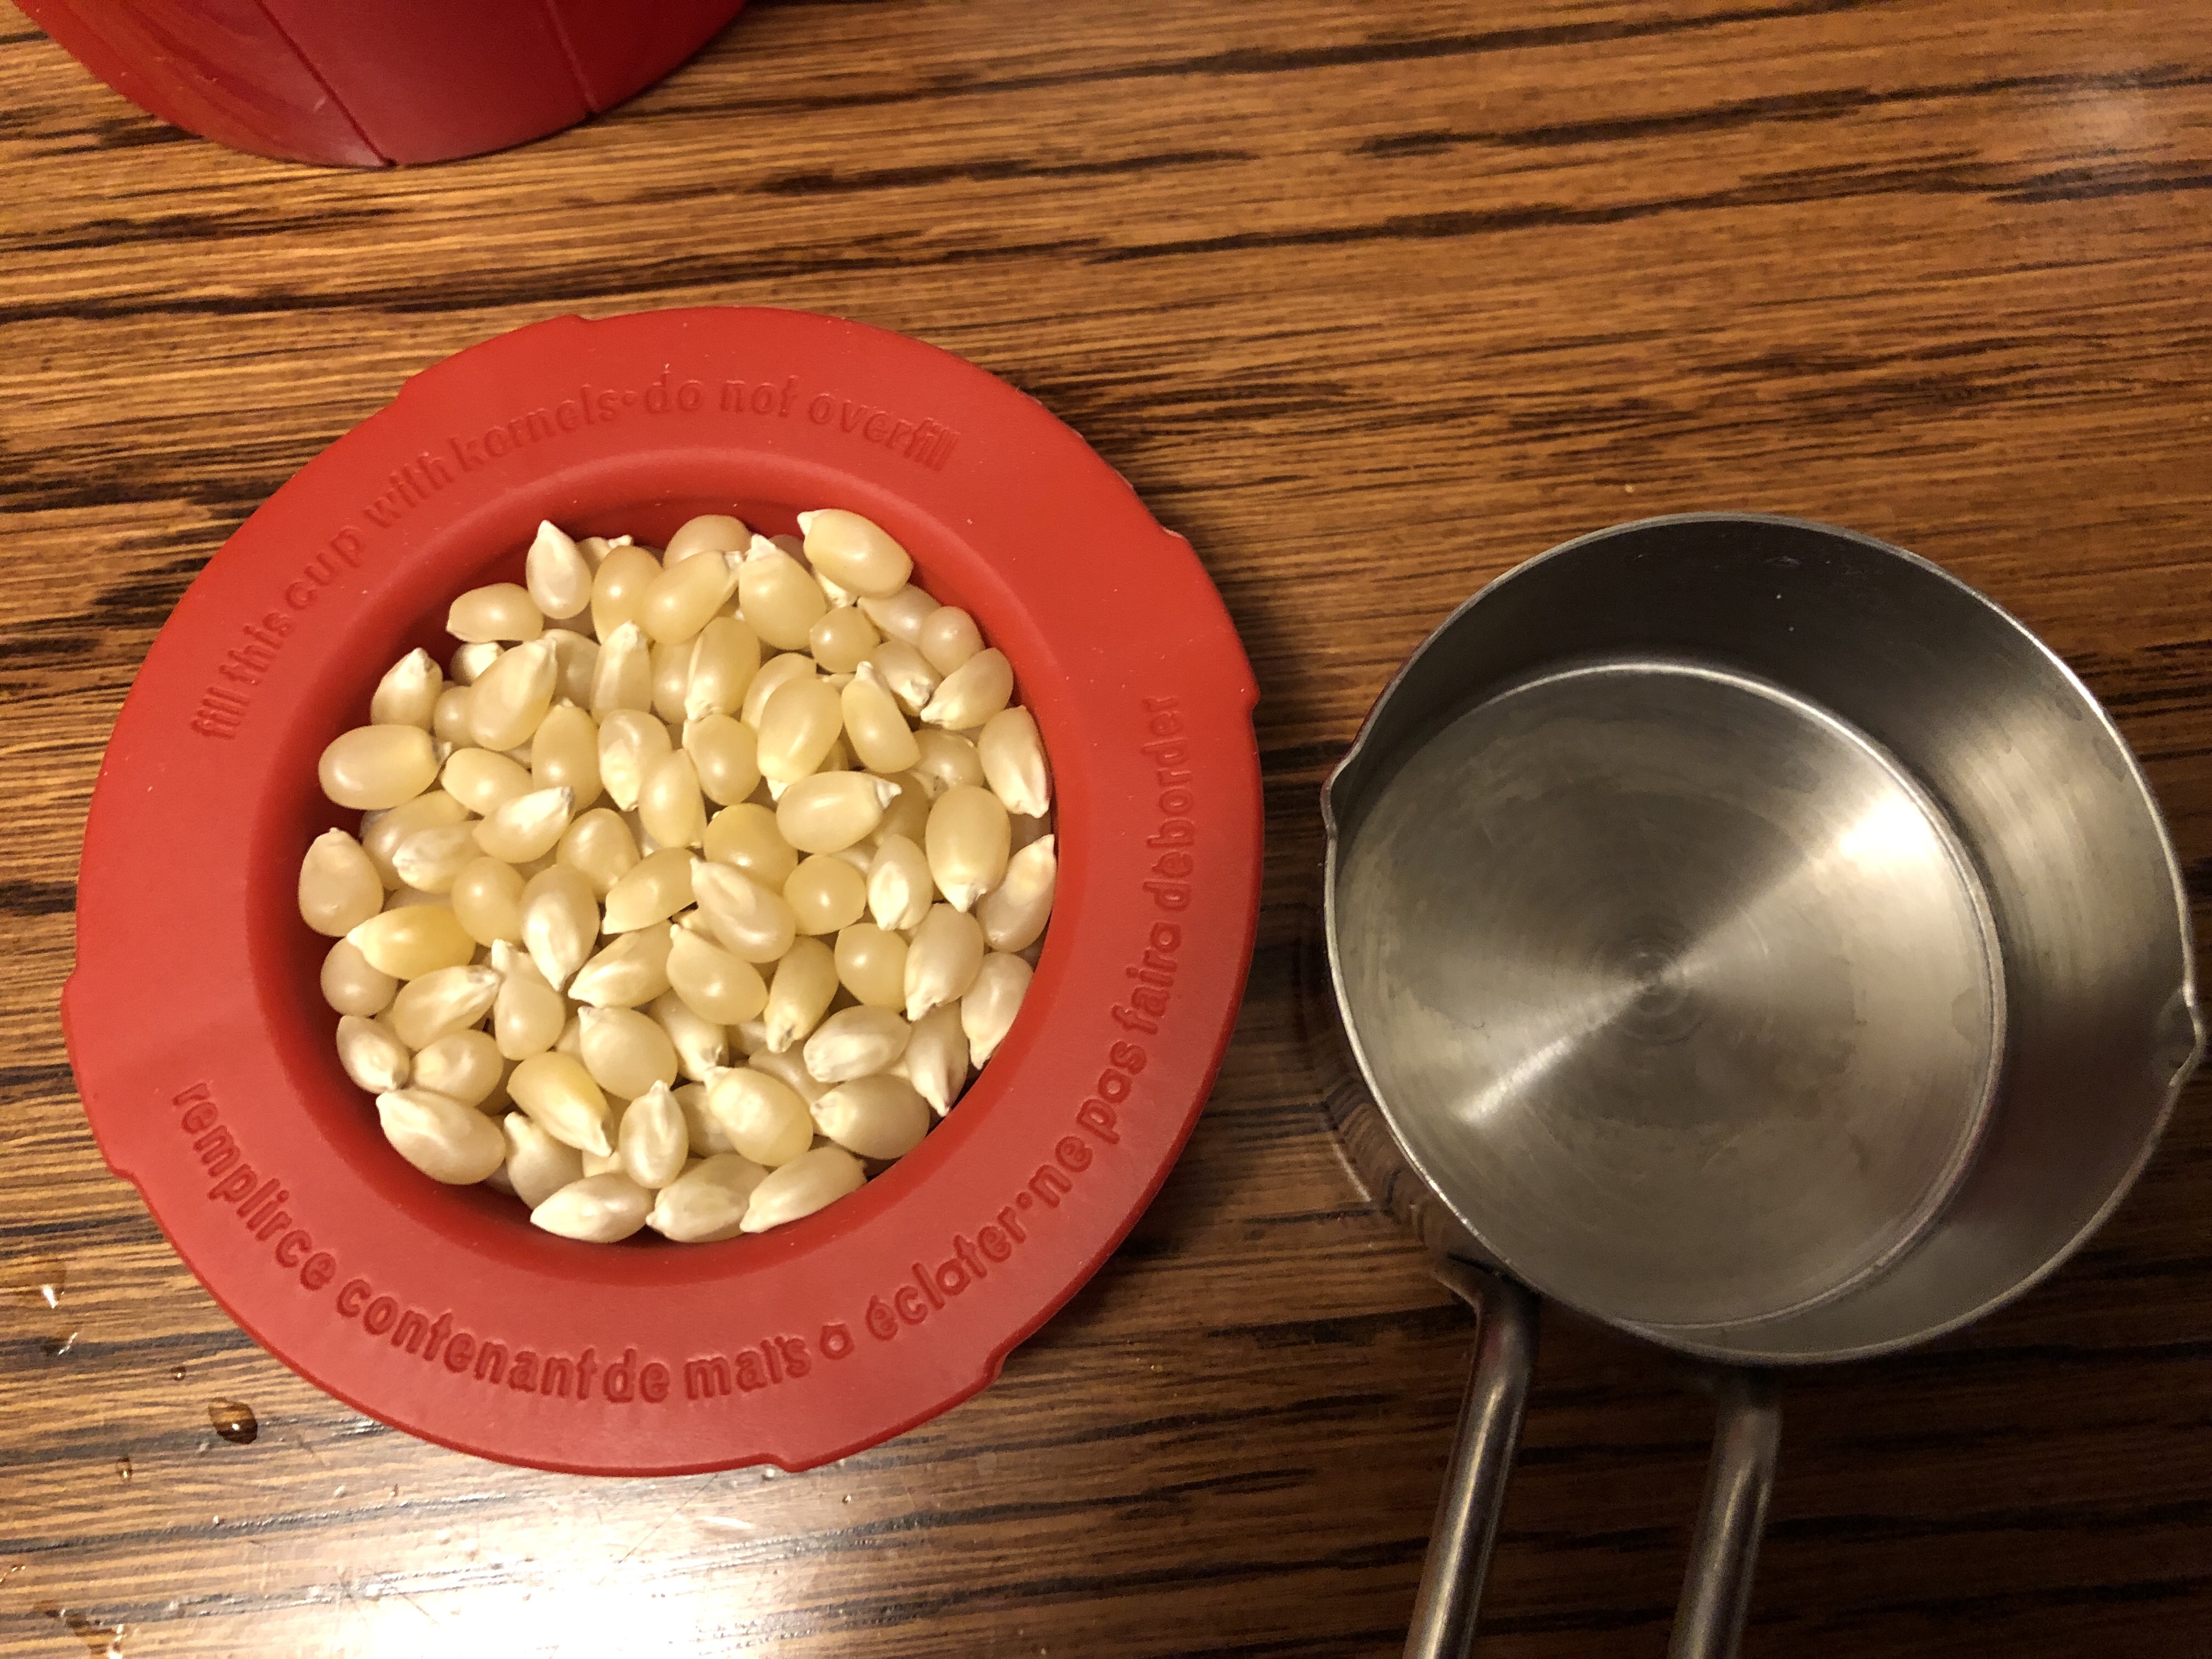
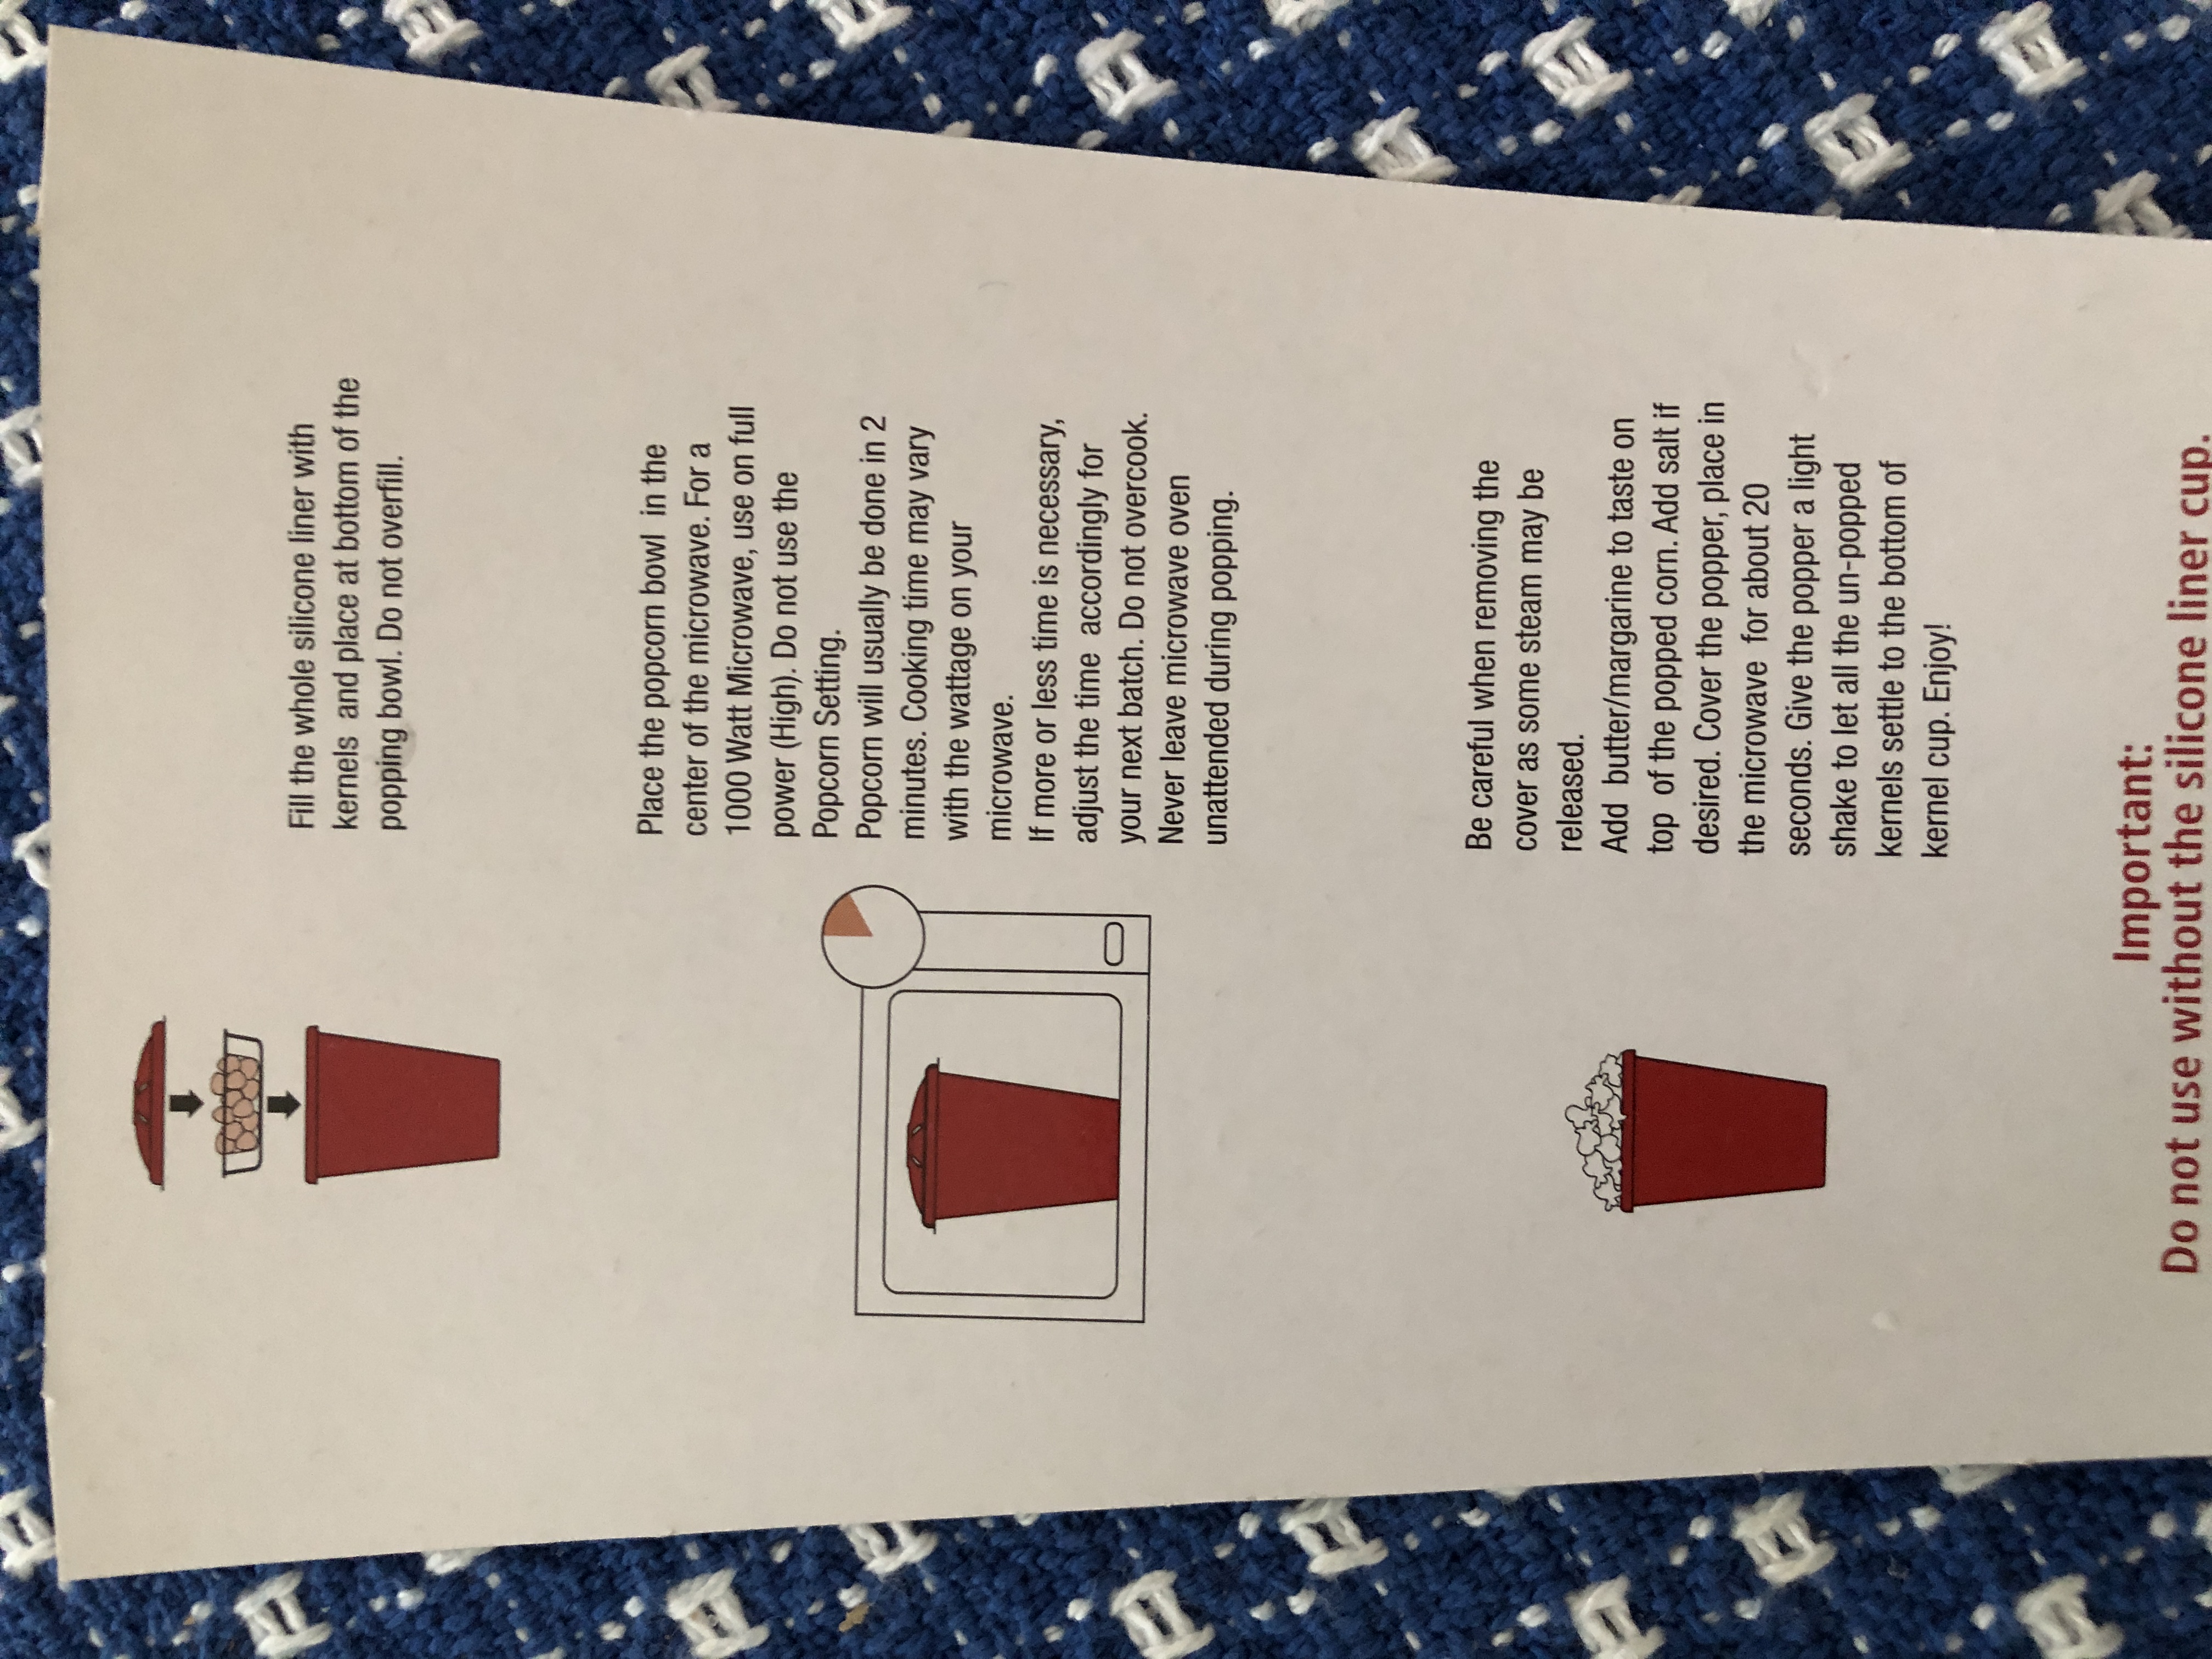
Recently, I was enticed to pick up a small popper at the health food store that would make just one small serving:
Two minutes in the microwave…
This made a single serving of popcorn. I wish I could have seen through the container to see how full the cup was as it was popping but it did leave some of the corn unpopped.
So, my quest to find the best popper continues. I have tried the air popper but it put out so much air it blew the unpopped kernels right out before they had time to pop. It seems I often choose the white corn without sharp hulls and a popper that gets hot like #1 above.
I suggested to Bert that we try popcorn next year in the garden…and all I got was smirk and a reminder of how much work it was to shell. Guess I’ll just buy popcorn by the jar! Enjoy!