My adventure into making scones has persisted for several weeks. I had never eaten or baked a scone before April, 2025. I had read about them in many novels set in Ireland and Scotland. Many folks seemed to love them. However, with all the baking from scratch I’ve done, I had never even tried to make scones! Pretty embarrassing!
With the need to provide some products for the Ladies Auxiliary to the Fire Company bake sales, and various ads from the King Arthur Baking Company, I decided it was time to give it a try. I was sure the scone mixes would make the whole process fool proof! Haha!
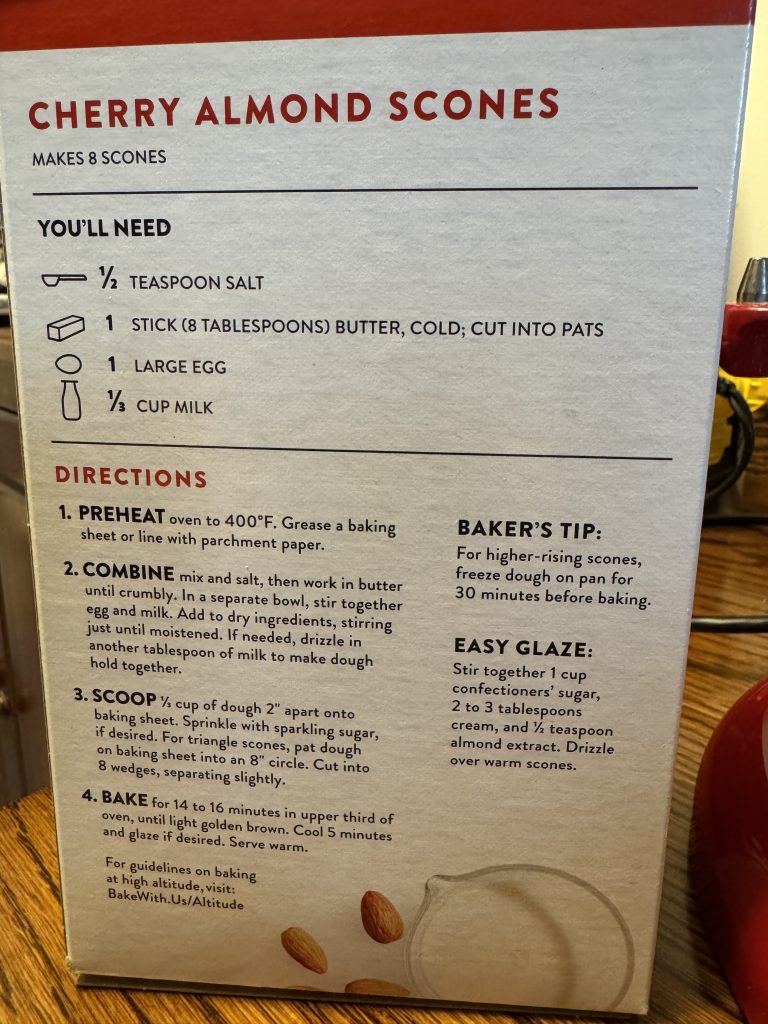
I ordered 5 different flavors of scone mixes. The mixes just needed an egg, 1/2 cup of milk, 1/2 tsp. of salt and a stick of butter. That was the easy part. Then came mixing up a VERY stiff, sticky batter. My hand muscle strength is not very good, so I’m sure the batter did not get mixed well enough. Then I had to struggle to pack the sticky batter into the ceramic scone pan.
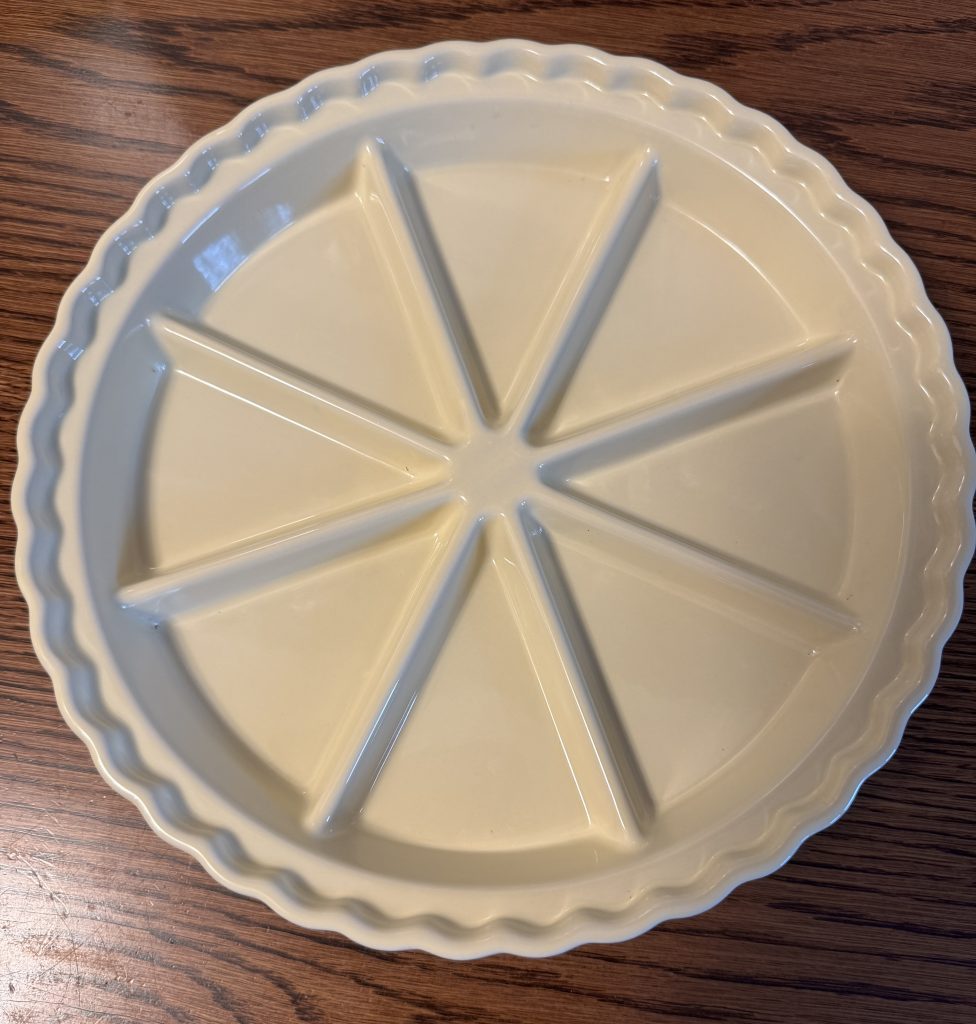
When I baked them, the scones raised up and made a solid mass above the dividers of the pan. I ended up having to add minutes to the baking time…up to 30 minutes…and the bottom of the scones still wasn’t done! Gee…maybe something was wonky with my oven!
(Bert got an oven thermometer and is working on “calibrating” the oven temperature today. We’ve had this oven for 20 years and never knew we could do that!)
By adding time, I was able to get the scones cooked enough to get them ready for the bake sale! It didn’t seem to matter…people loved them and we sold out two days in a row at the Yard Sale (about 70 individual scones) and again at the Memorial Day bake sale (another 70 scones). Holy cow! I think we’ve got a hit…but now that the sales are over until September, I need to figure out a better way to make them!
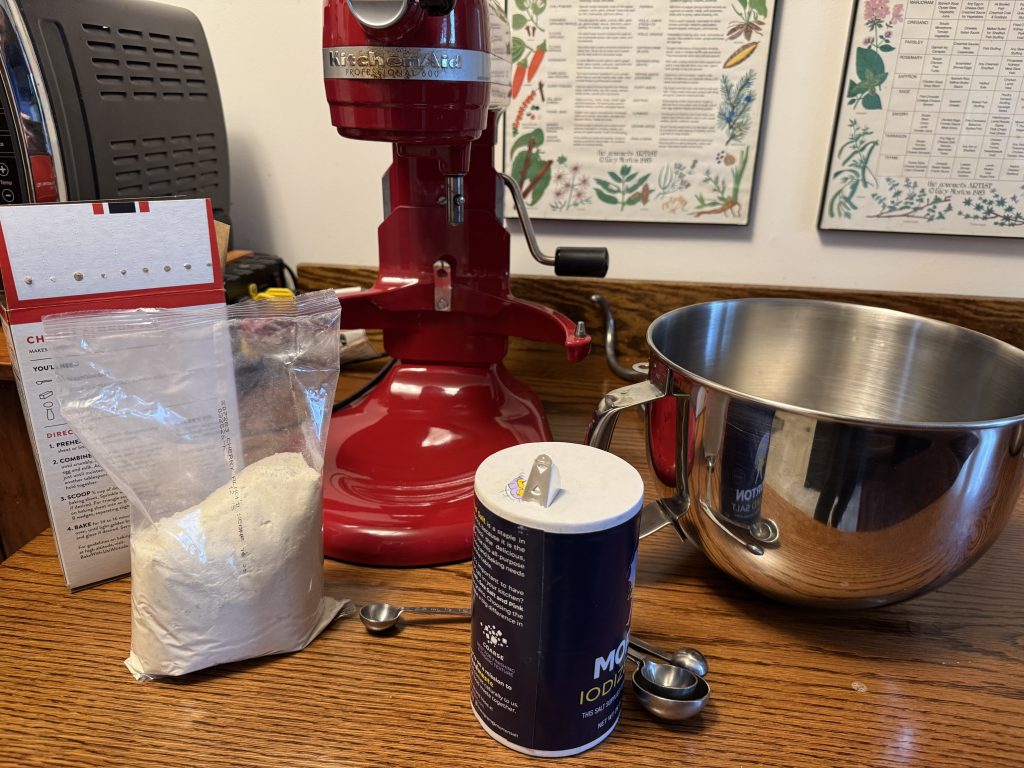
I had an extra Cherry Almond mix (my favorite) so today I assembled the ingredients.

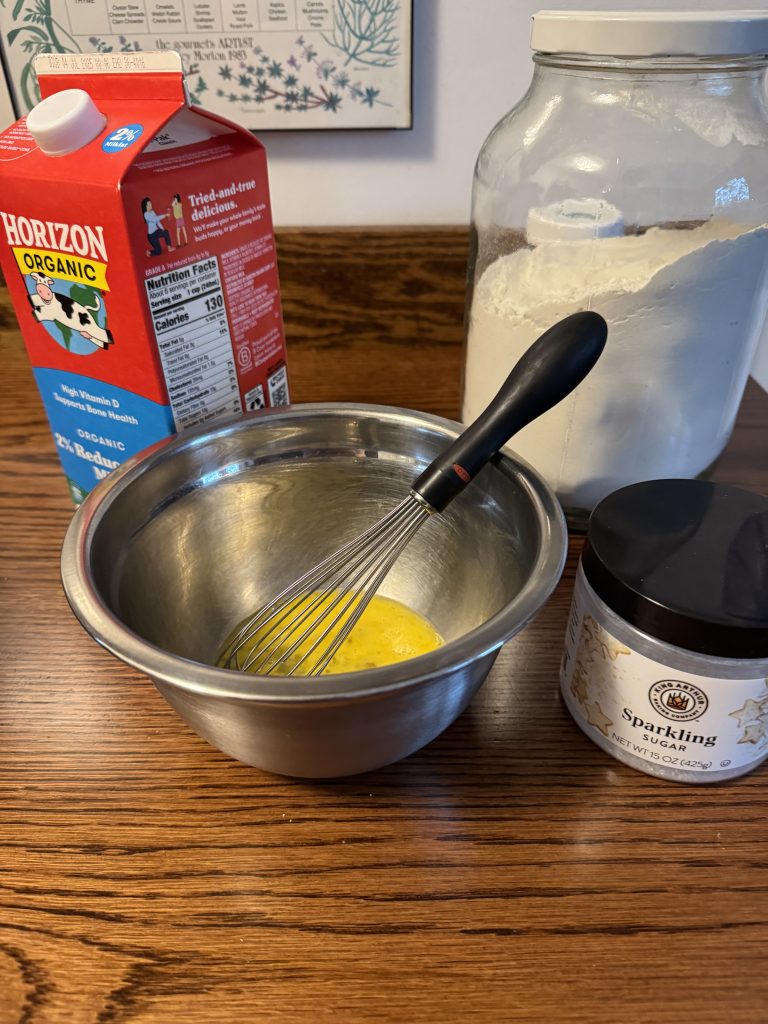
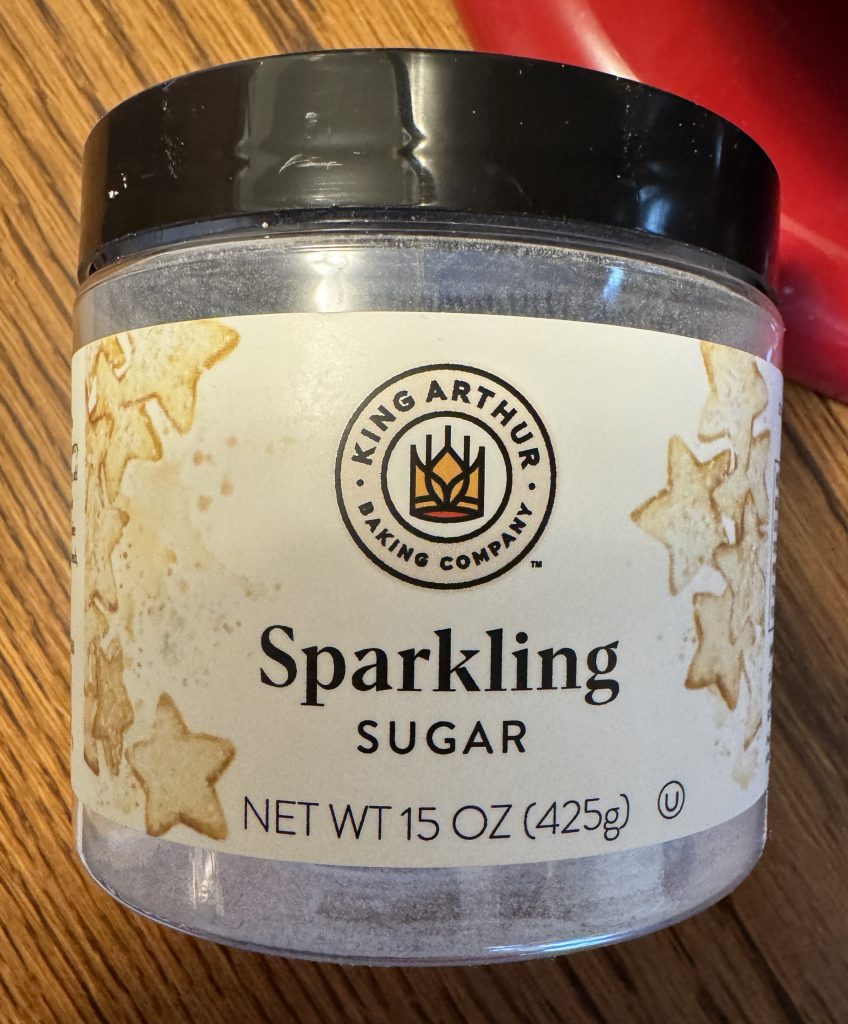
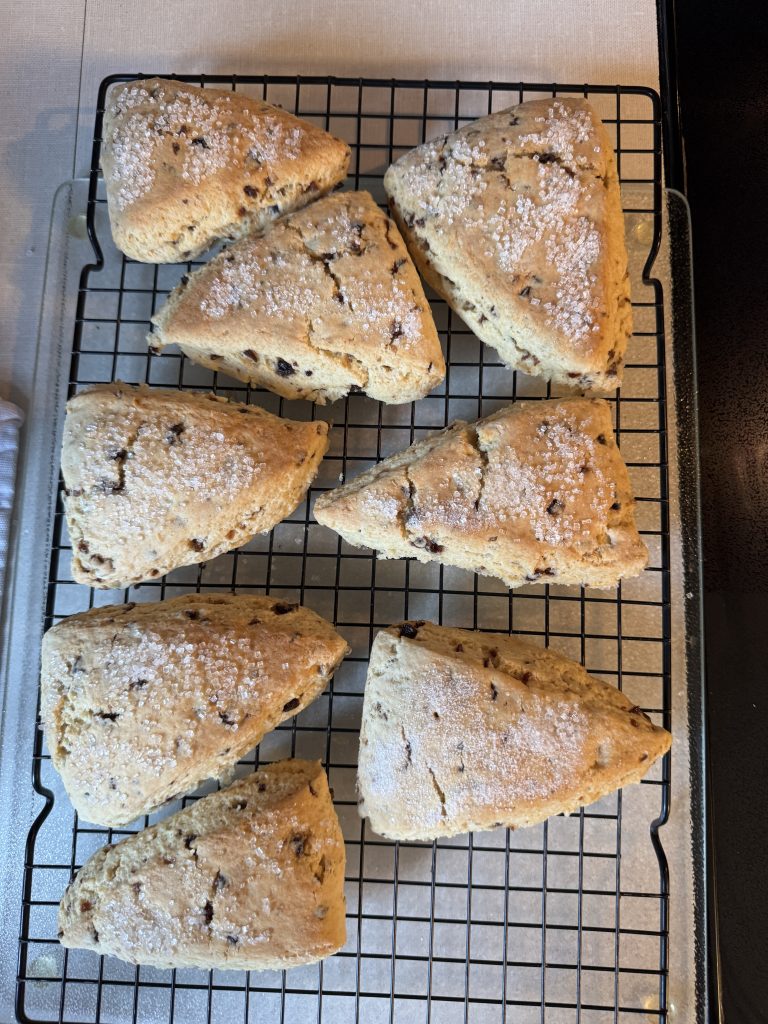
The jar of “sparkling sugar” from King Arthur gave the tops a nice sparkle.
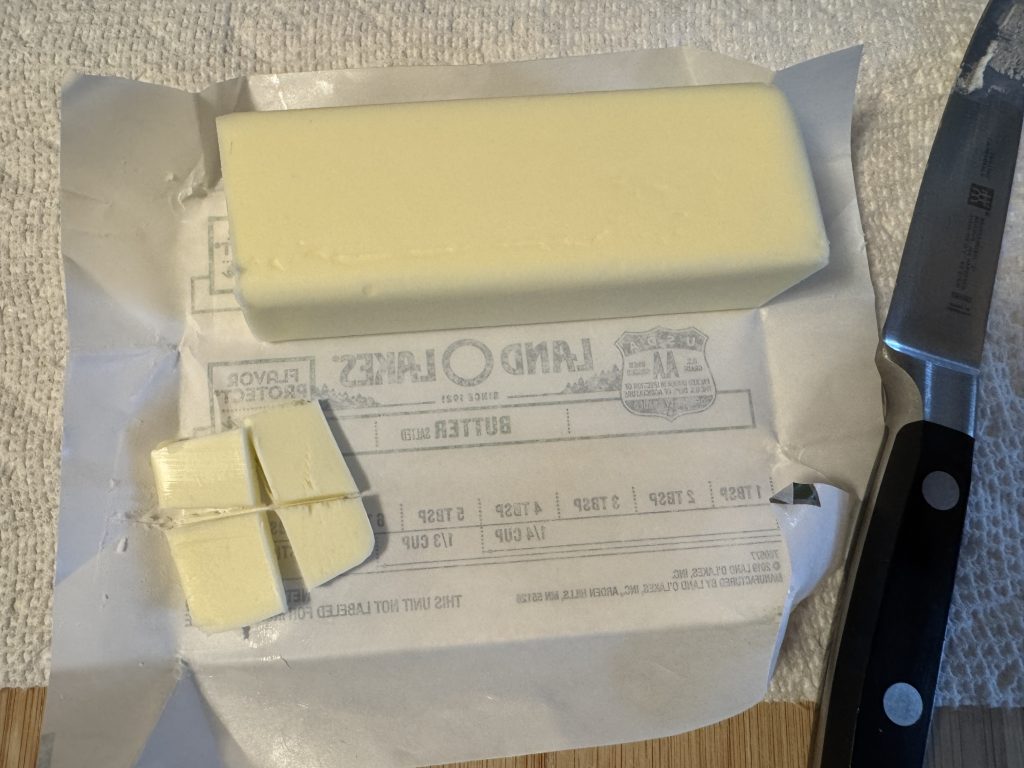
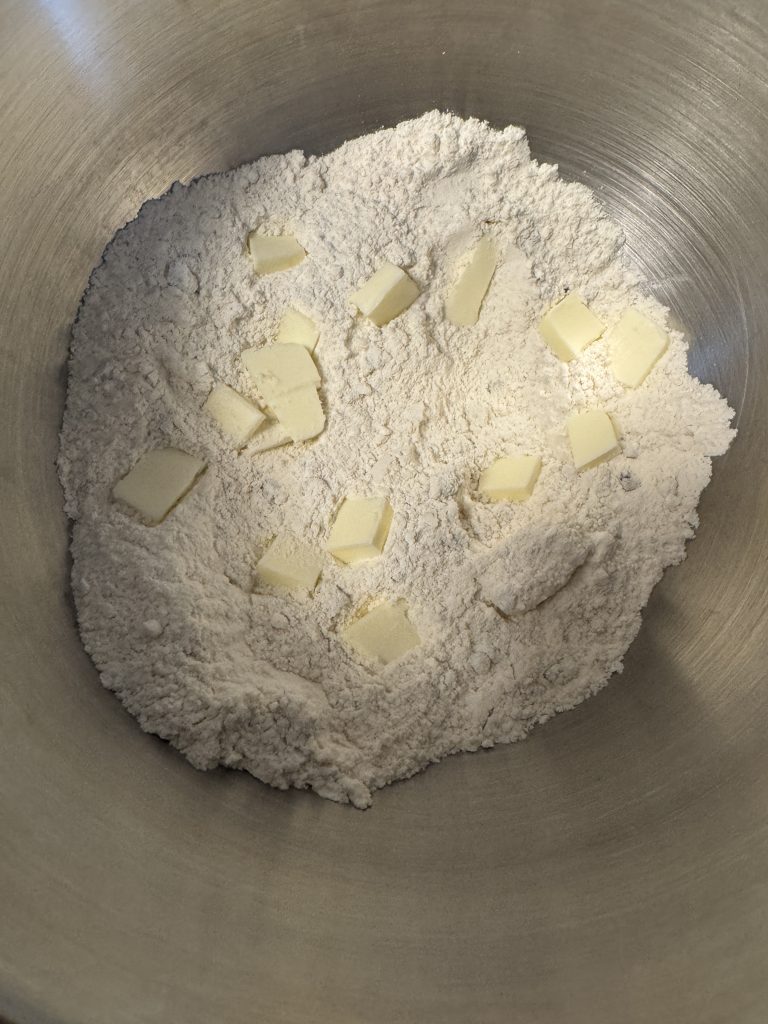
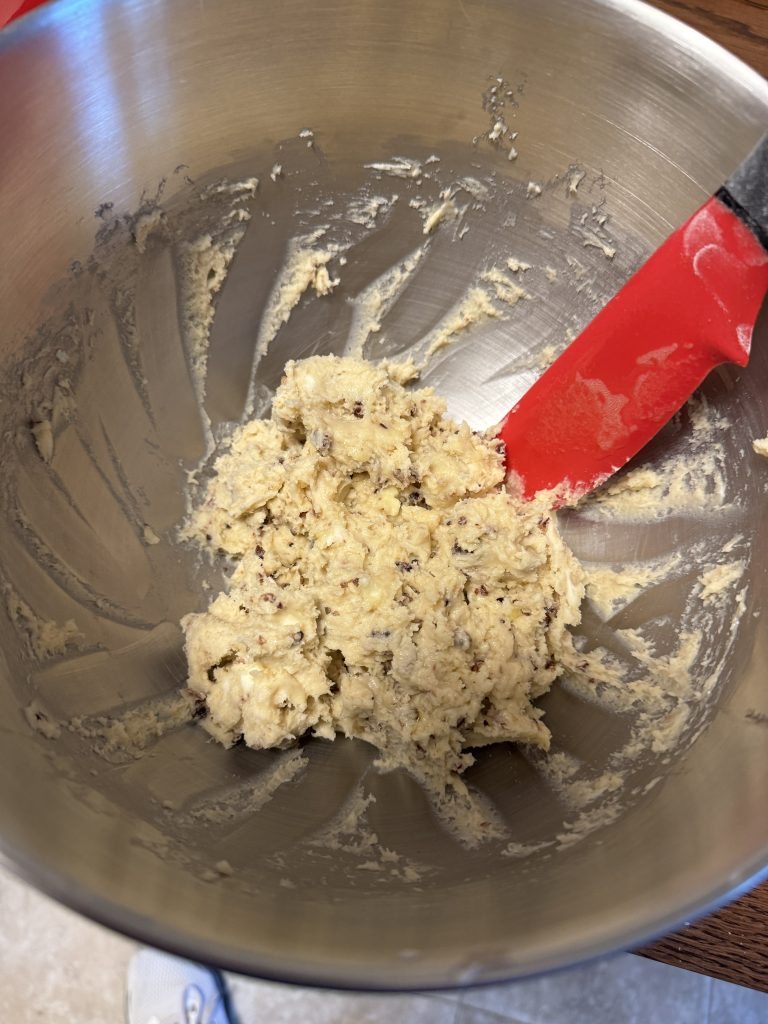
First, I cut up the butter and worked it into small pieces before adding the egg/milk mixture.
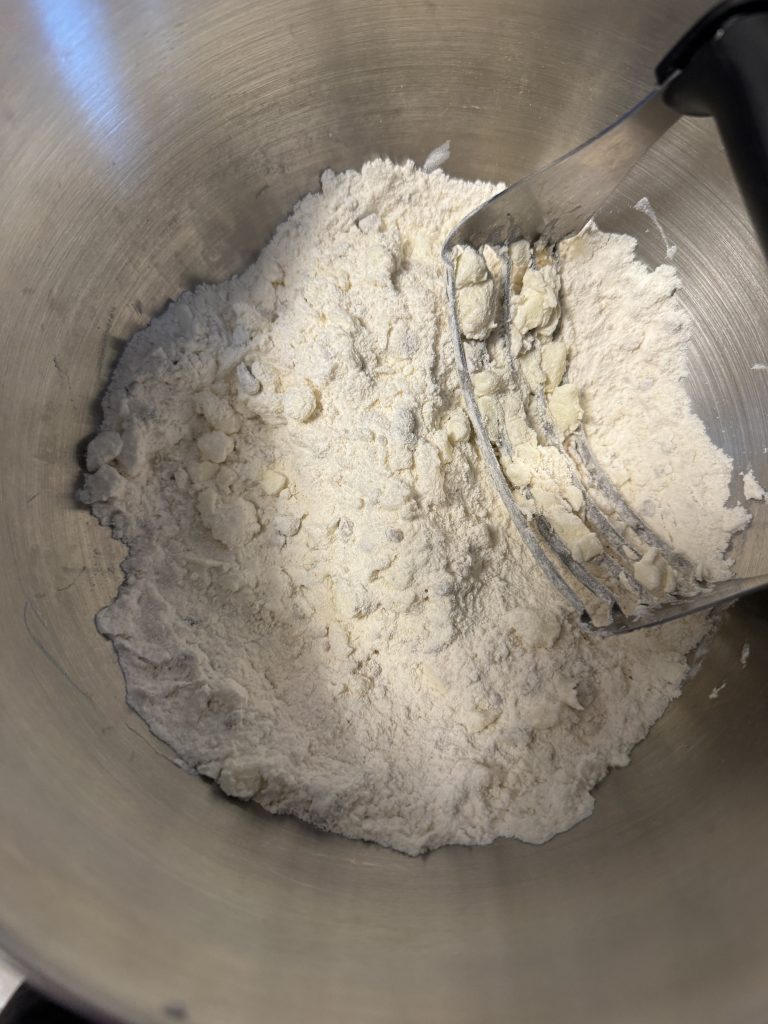
Then, I added the egg/milk mixture. Since the mixing process is tough with my hand strength (or lack thereof) I decided to mix the batter up in my stand mixer. I ended up adding a little more milk than it called for just to get it to mix.
The dough was still VERY sticky, but I dumped it out onto the floured table and gave it a few quick kneads.
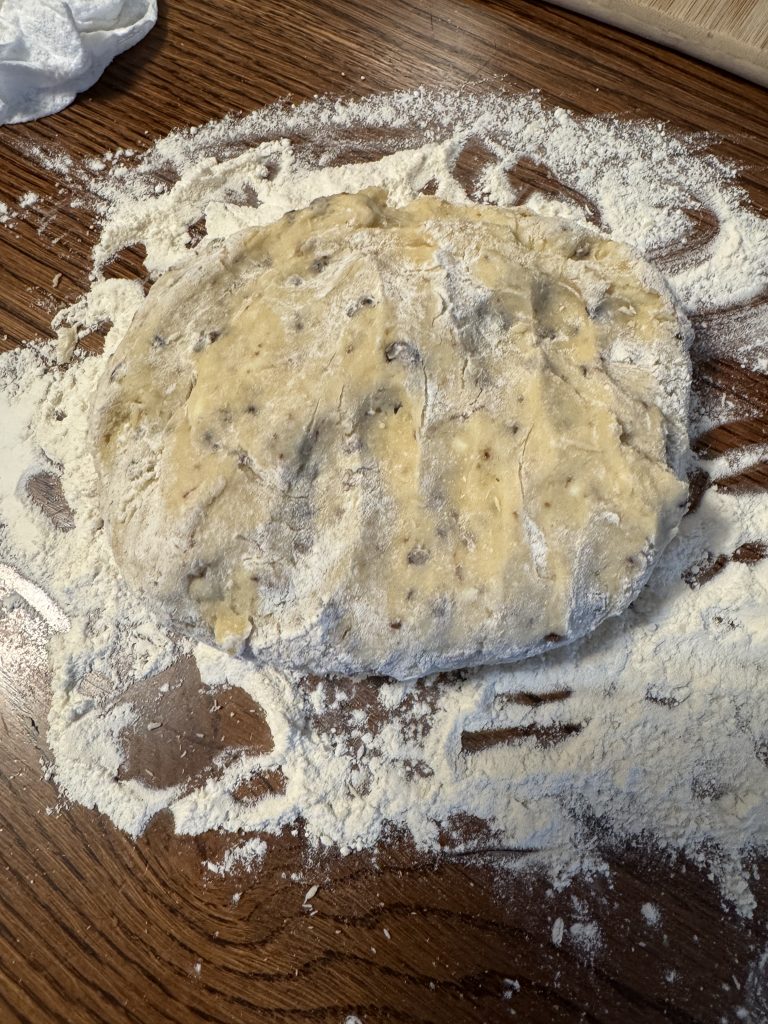
Then I patted it into a thick circle…about 3/4″ thick.
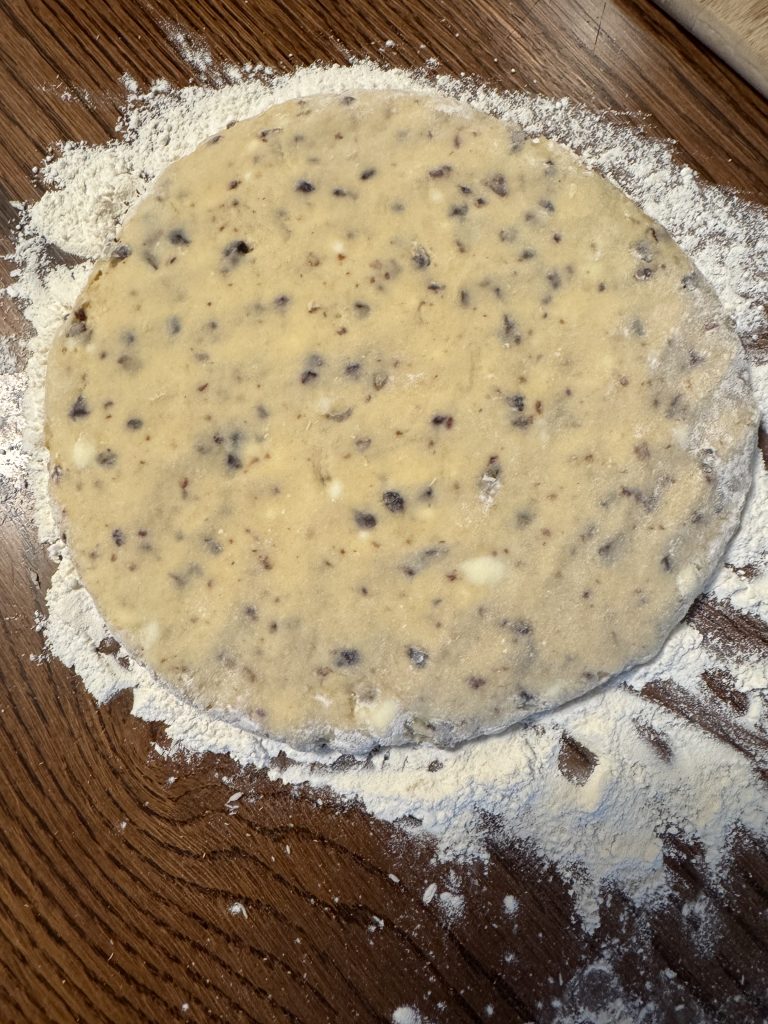
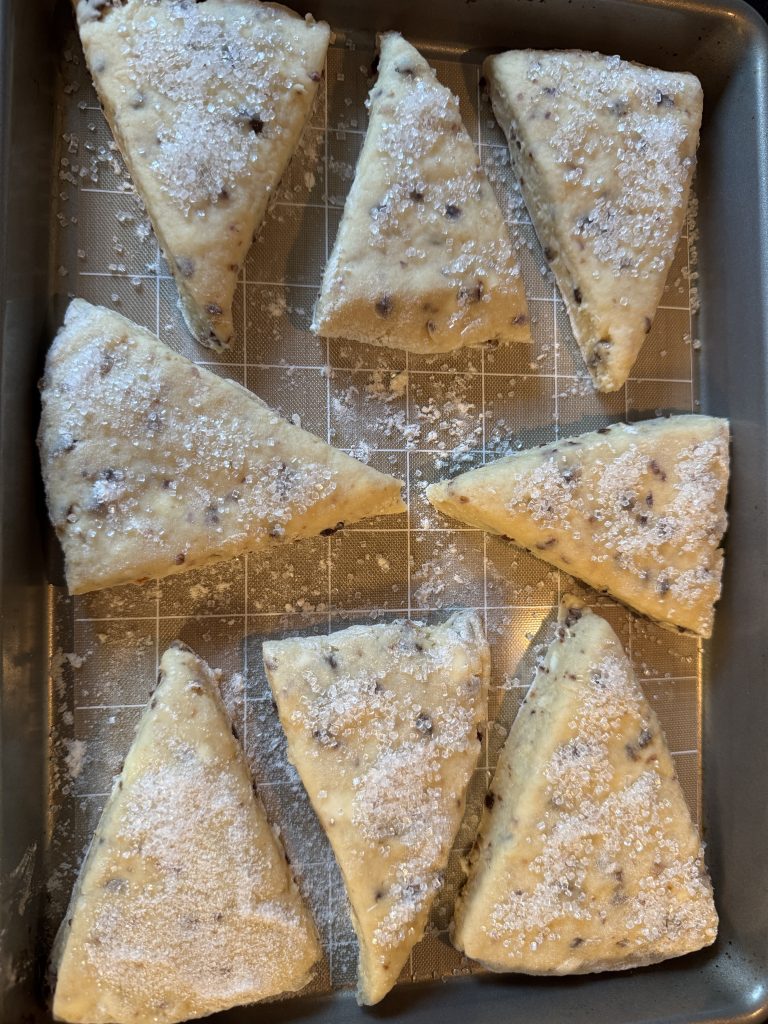
I used a pizza cutter to cut the circle into 8 pieces and put them on a cookie sheet. I sprinkled them with the tiny bit of sparkling sugar I had left.
Note to self: Next time use two cookie sheets to give them room to spread out.
I still had to add a few minutes, but I could get them off the pan without breaking apart…much better compared to the ceramic pan.
They tasted delicious, but now that Bert has the oven calibrated, I hope it’s a little more consistent with time. I’ve also ordered silicone scone pans to try. Maybe when I get the baking part figured out, I’ll try making them from scratch! Stay tuned!