I seem to be on the lookout for Apple Cake recipes. I’m interested in recipes that use apples without having to roll out pie crust for apple pie or cut butter into tiny pieces like apple crisp topping. So far I’ve written about French Apple Cake (https://marykisner.com/making-french-apple-cake/) and German Apple Cake (https://marykisner.com/making-german-apple-cake/).
This recipe for Cinnamon Apple Cake looked easy but the recipe was not in my preferred format. The ingredients were not even listed in order of use so I ended up having to search the list of ingredients at every step to confirm amounts. When I was done mixing and put the pan in the oven…I realized I didn’t measure out the brown sugar correctly! No problem. The cake was delicious with less brown sugar so I corrected my recipe.
Here is my version of this recipe:

Here are the steps to make this delicious cake.
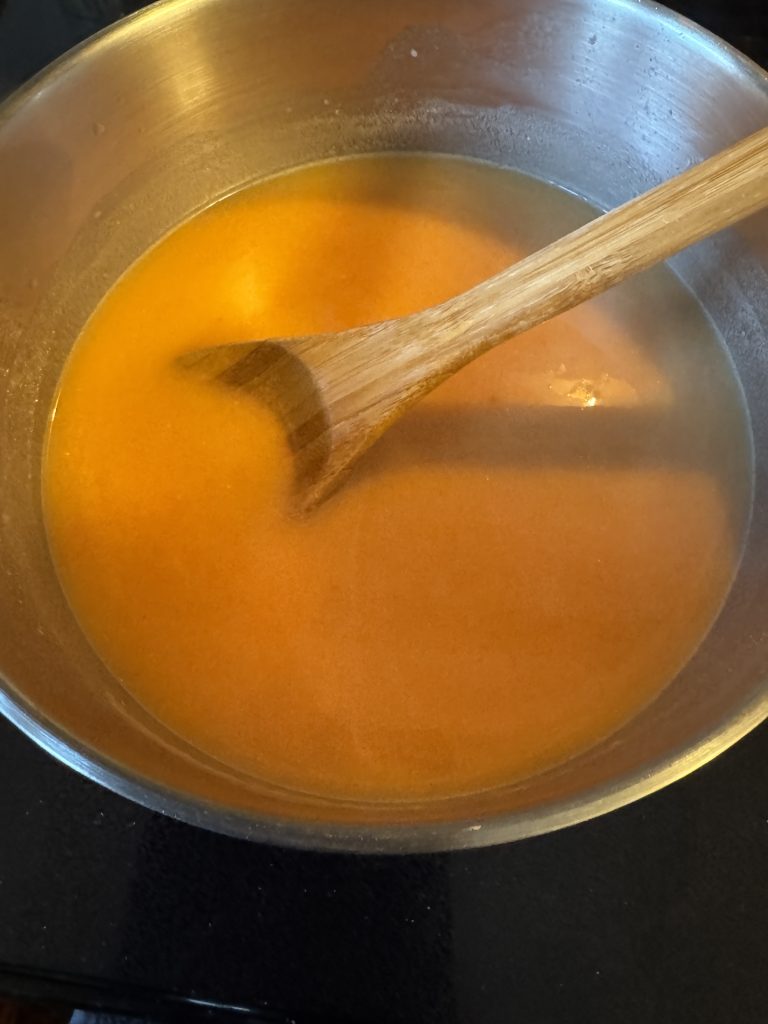
- In a medium bowl, whisk 2 eggs and 1 cup of oil.

2. Measure out the cinnamon, white and brown sugars and vanilla extract. Add them to the bowl. (Original recipe called for 1 cup of brown sugar. I used 1/2 cup.)

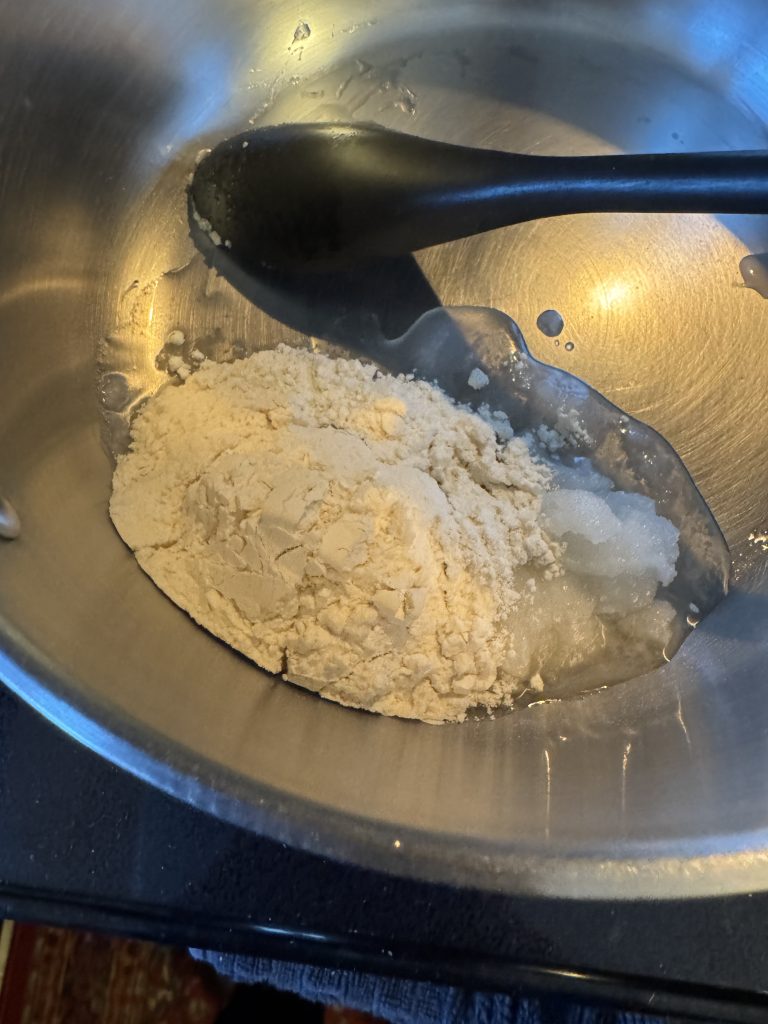
3. Measure out the flour, salt, baking soda and baking powder and add to the bowl.

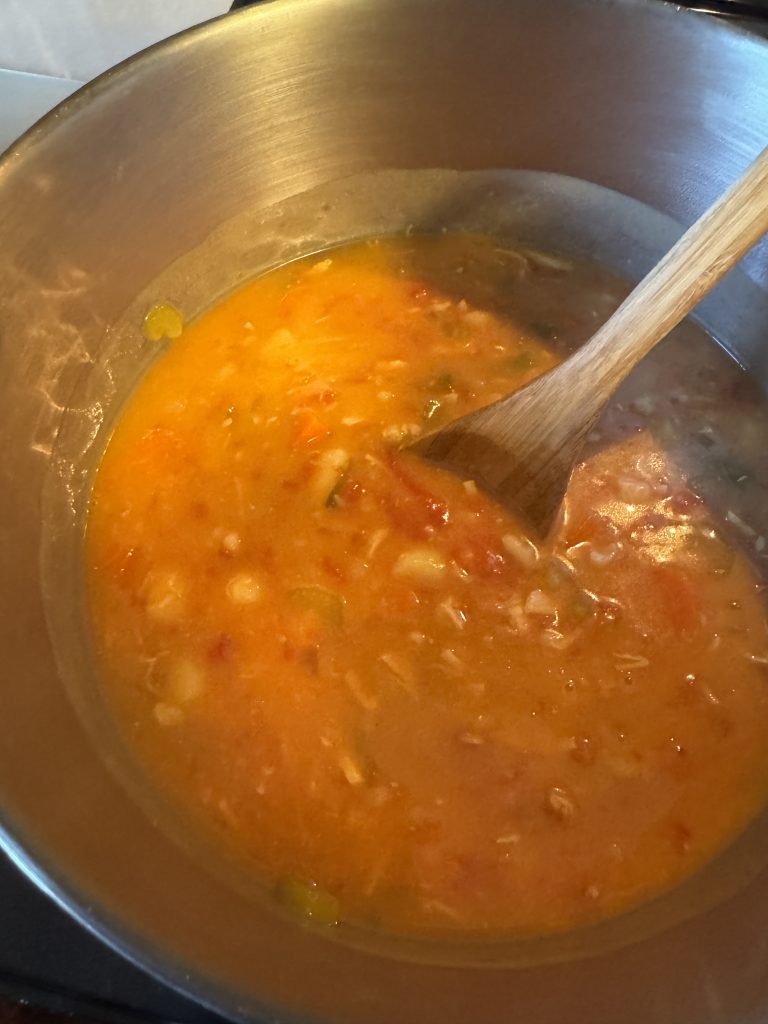
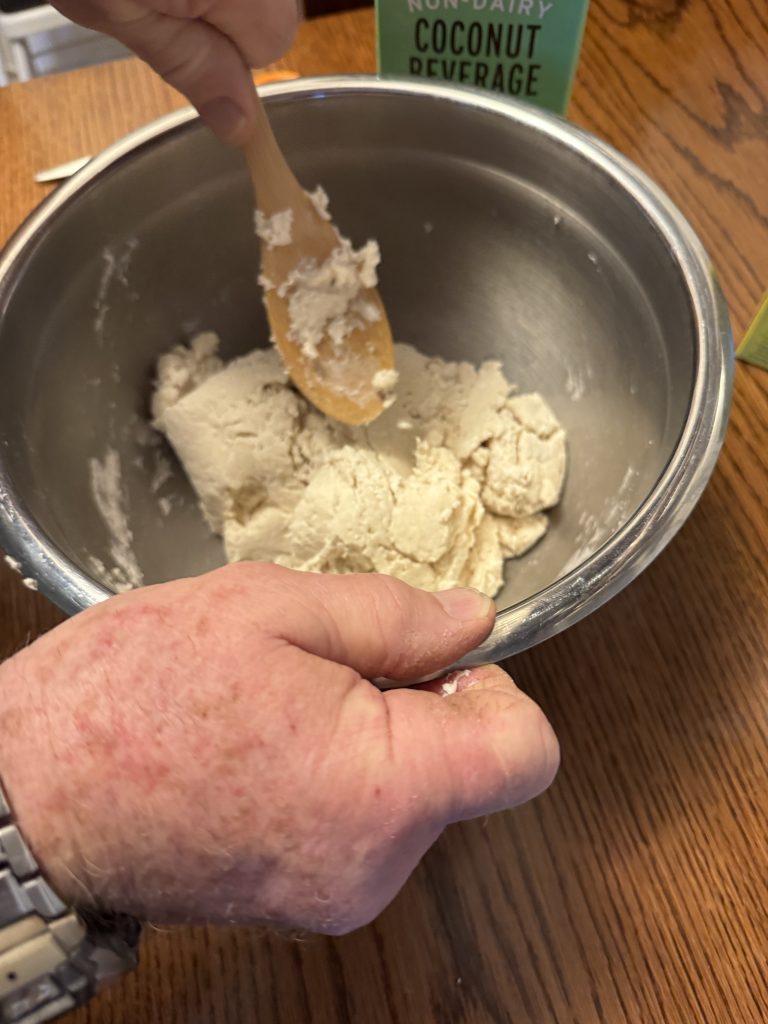
4. Chop 1 large apple (I had two small ones) and 1/2 cup of walnuts. Fold into the batter. This made a VERY stiff batter. Using a spatula, press the mixture into a round 9″ pan (sprayed with PAM).


5. After baking for 45 minutes, here is the cake! It obviously didn’t rise very much but it sure smelled up the house with cinnamon!

The directions said, wait 15 minutes to cut…but I will tell you…wait a little longer! The first piece sort of fell into crumbs when cut while warm:

When the cake was cool, it was much easier to cut!

This is when I knew I didn’t need that extra half-cup of brown sugar…it was sweet enough! I think this recipe for Cinnamon Apple Cake is a winner! Enjoy!