Spring is the time of year we notice dead animals on the side of the road…especially skunks! I’m sure they are all on their way to find food, or they are young ones who haven’t learned about traffic. (Maybe this is just a Pennsylvania issue!) Their odor gets sucked into the car as we drive by and it’s obvious…I need to think about “recharging” my air freshener!
In the past, I’ve tried commercial air fresheners that just hang on the rearview mirror. That lasts about 15 minutes before I pull off at a gas station and throw it away! The scent is always too strong and ends up being worse than letting the skunk smell into the car!
Two years ago, I explored ways to use my own essential oils (fragrance oils work too), to make an air freshener. There were a few ideas online using wood as the item to soak up the oil:
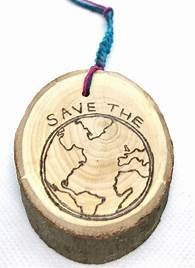
There were even suggestions of a slice of a branch to hang in the car. Either way, once the wood had soaked up the oil, it gently released the scent in the warm car.
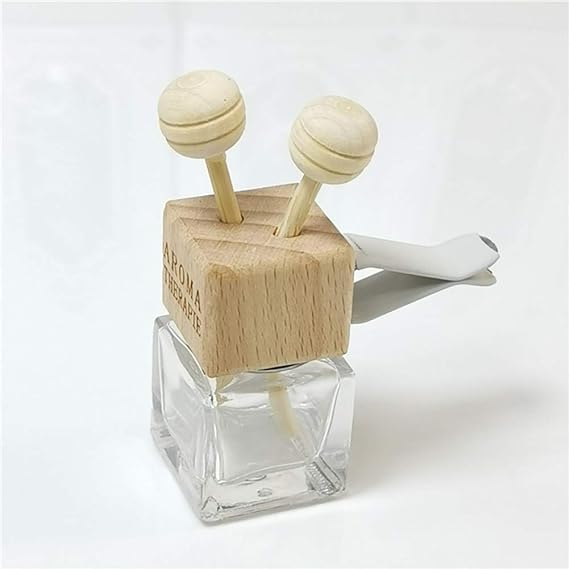
Exploring the internet this year, I noticed a new air freshener attachment offered for sale. It had sticks that reached the little jar of oil and soaked it up to the round pieces at the top. Interesting. I think I’ll stick with the one Bert made me.
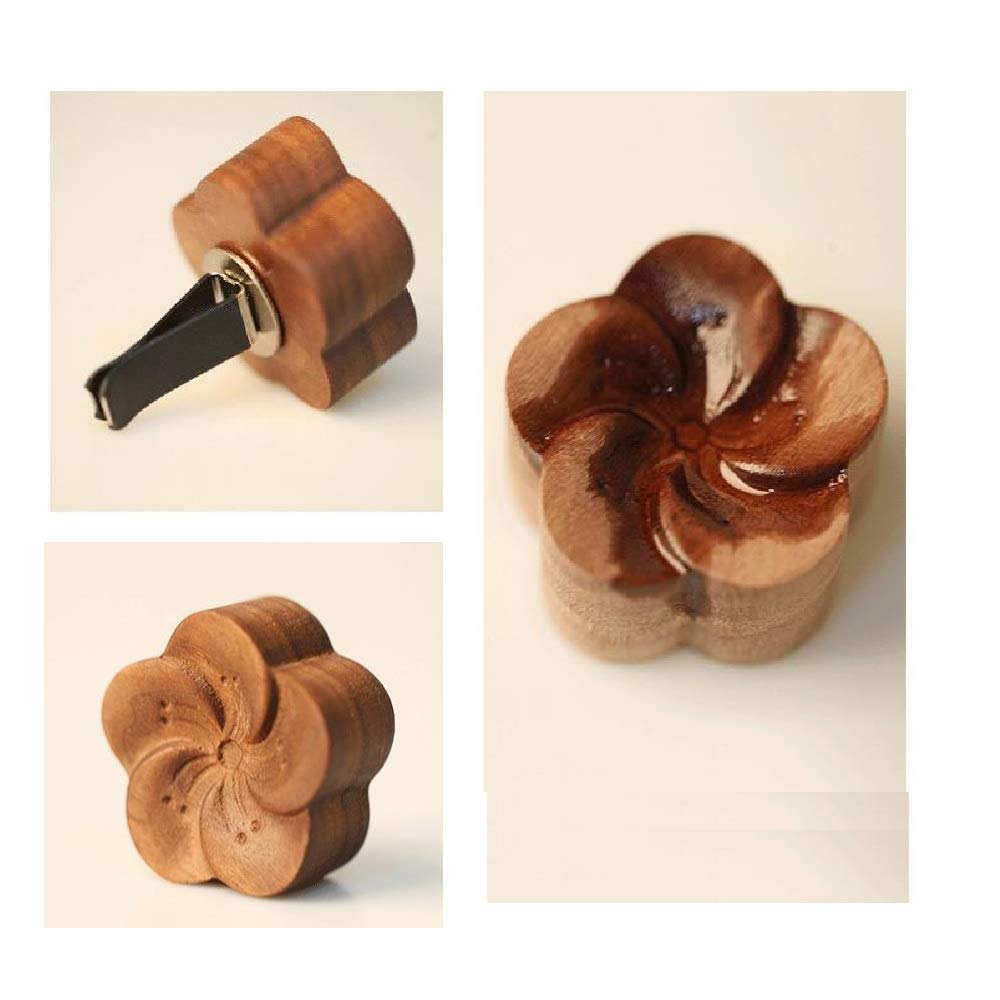
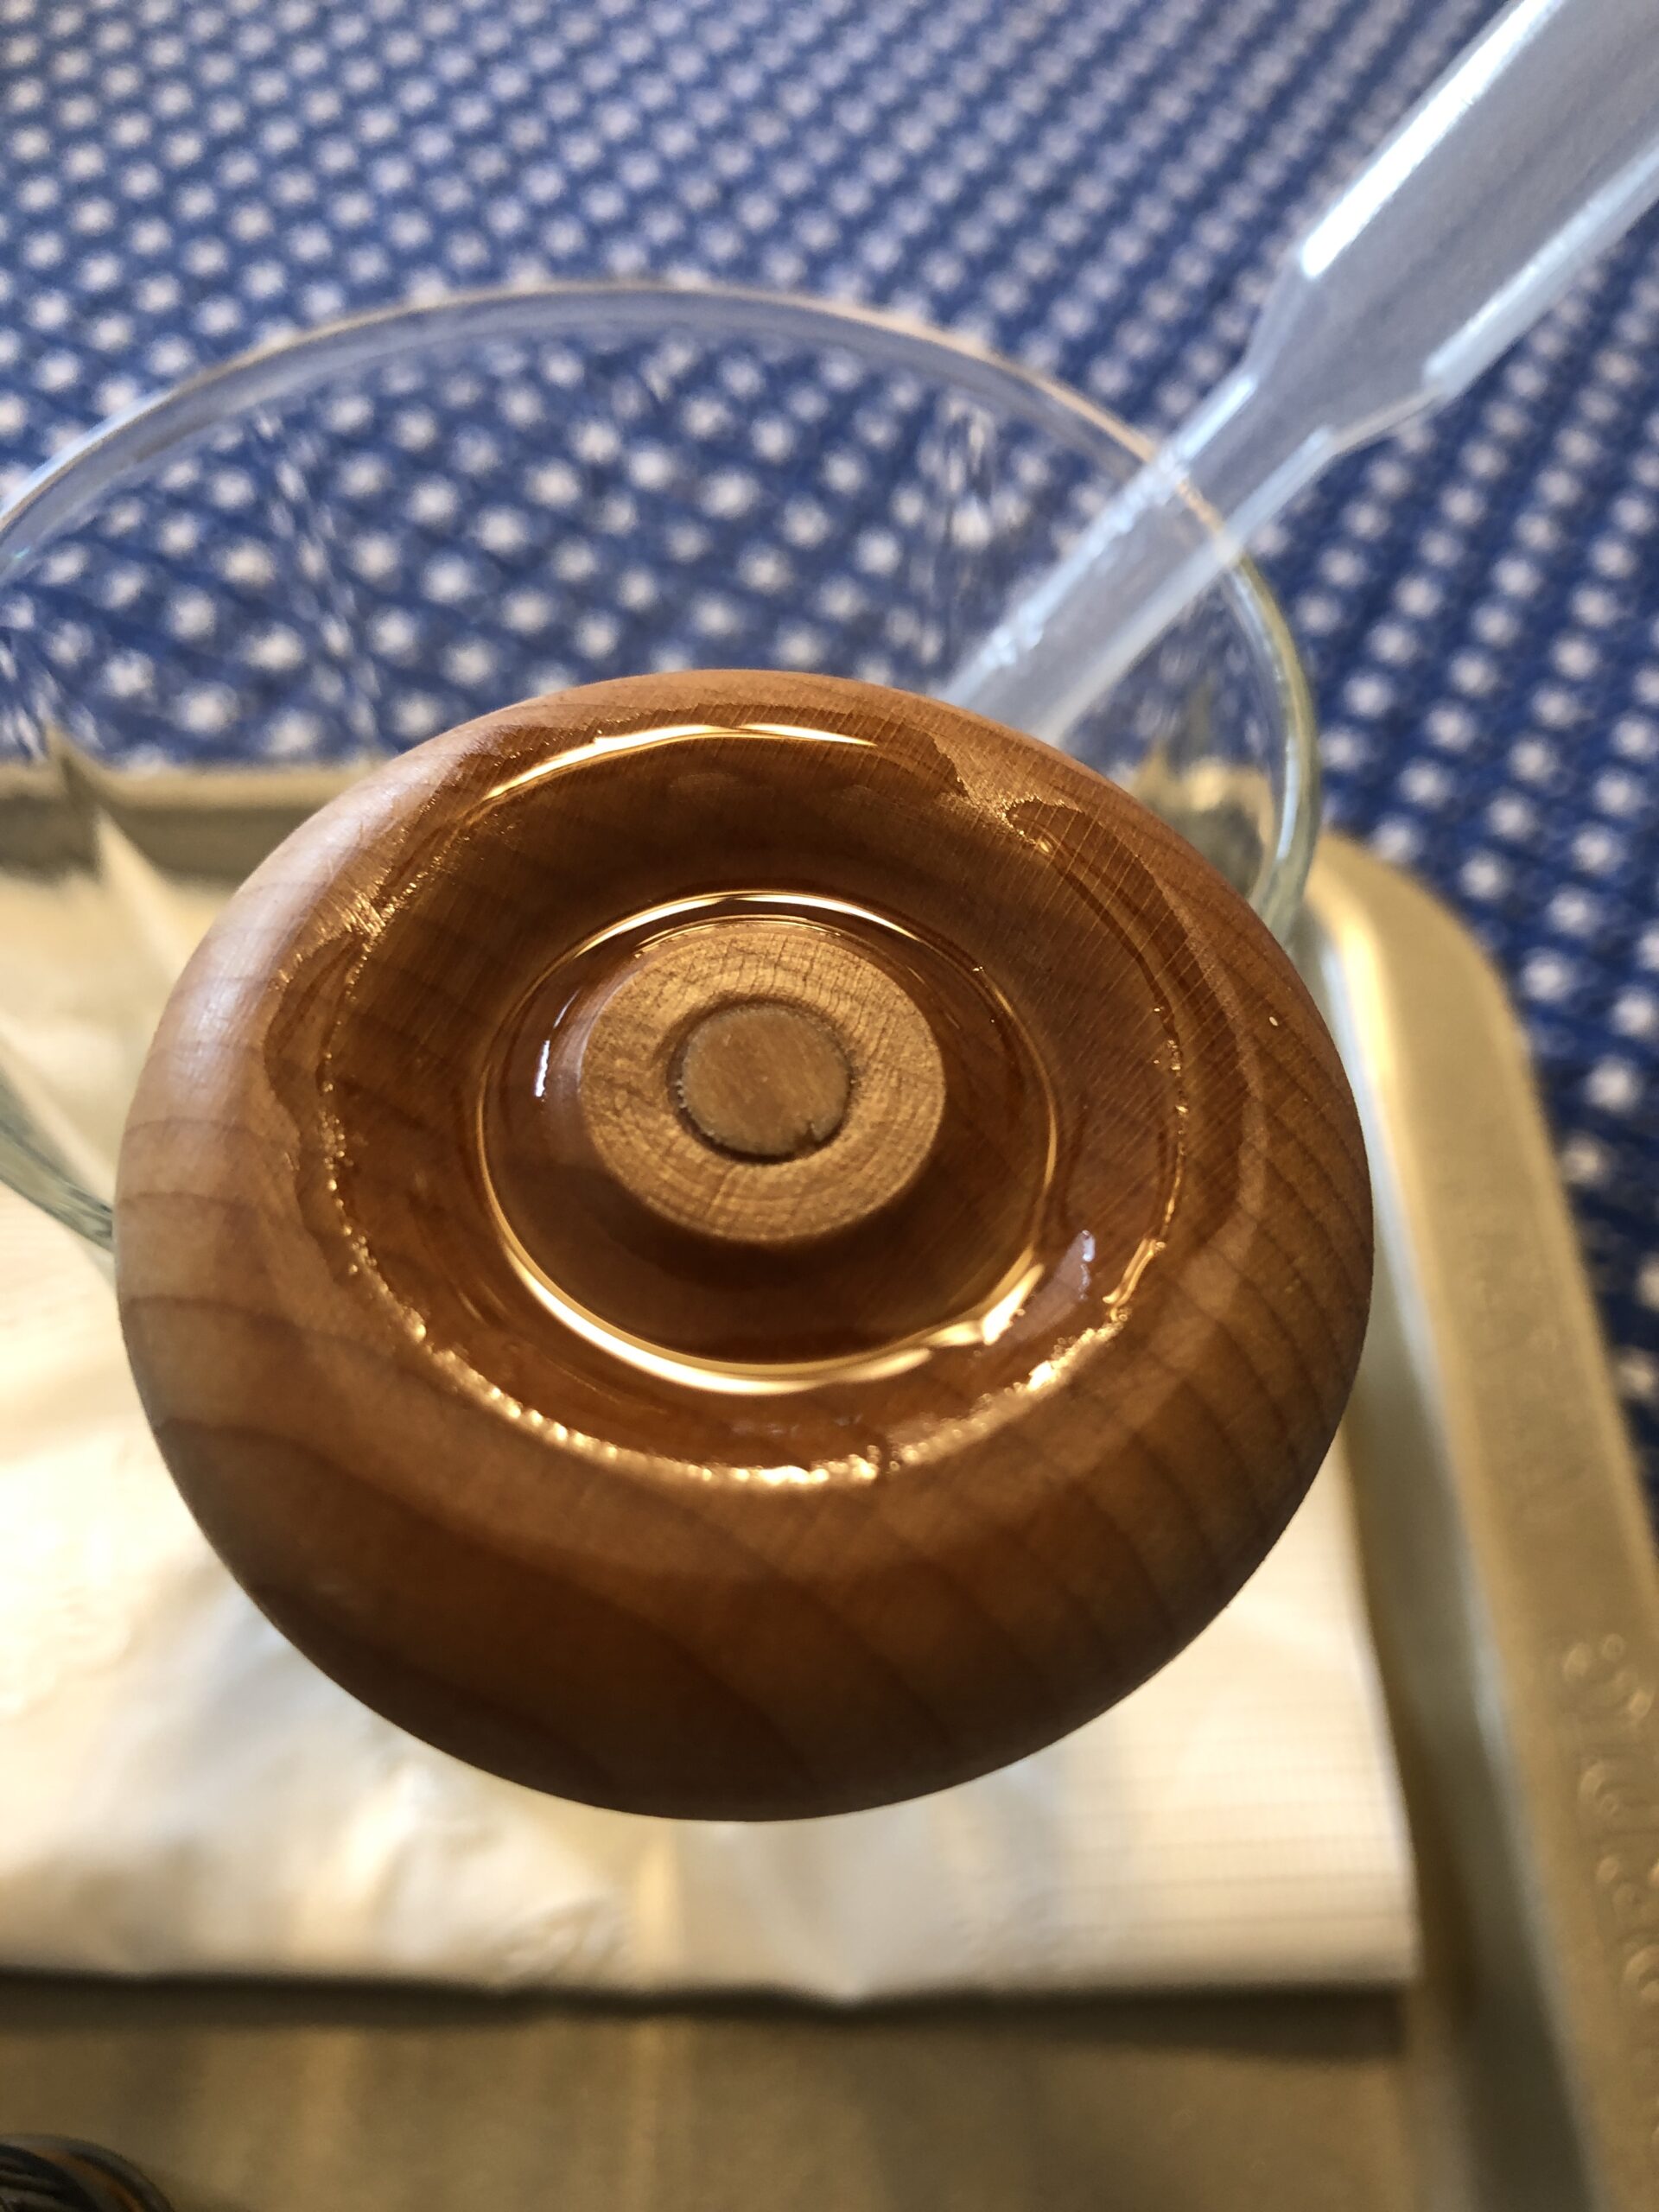
Two years ago, Bert ended up fastening a round block of wood to a clip with screws to hold it in place. Glue wasn’t strong enough. It was very time consuming to make, but it worked great!
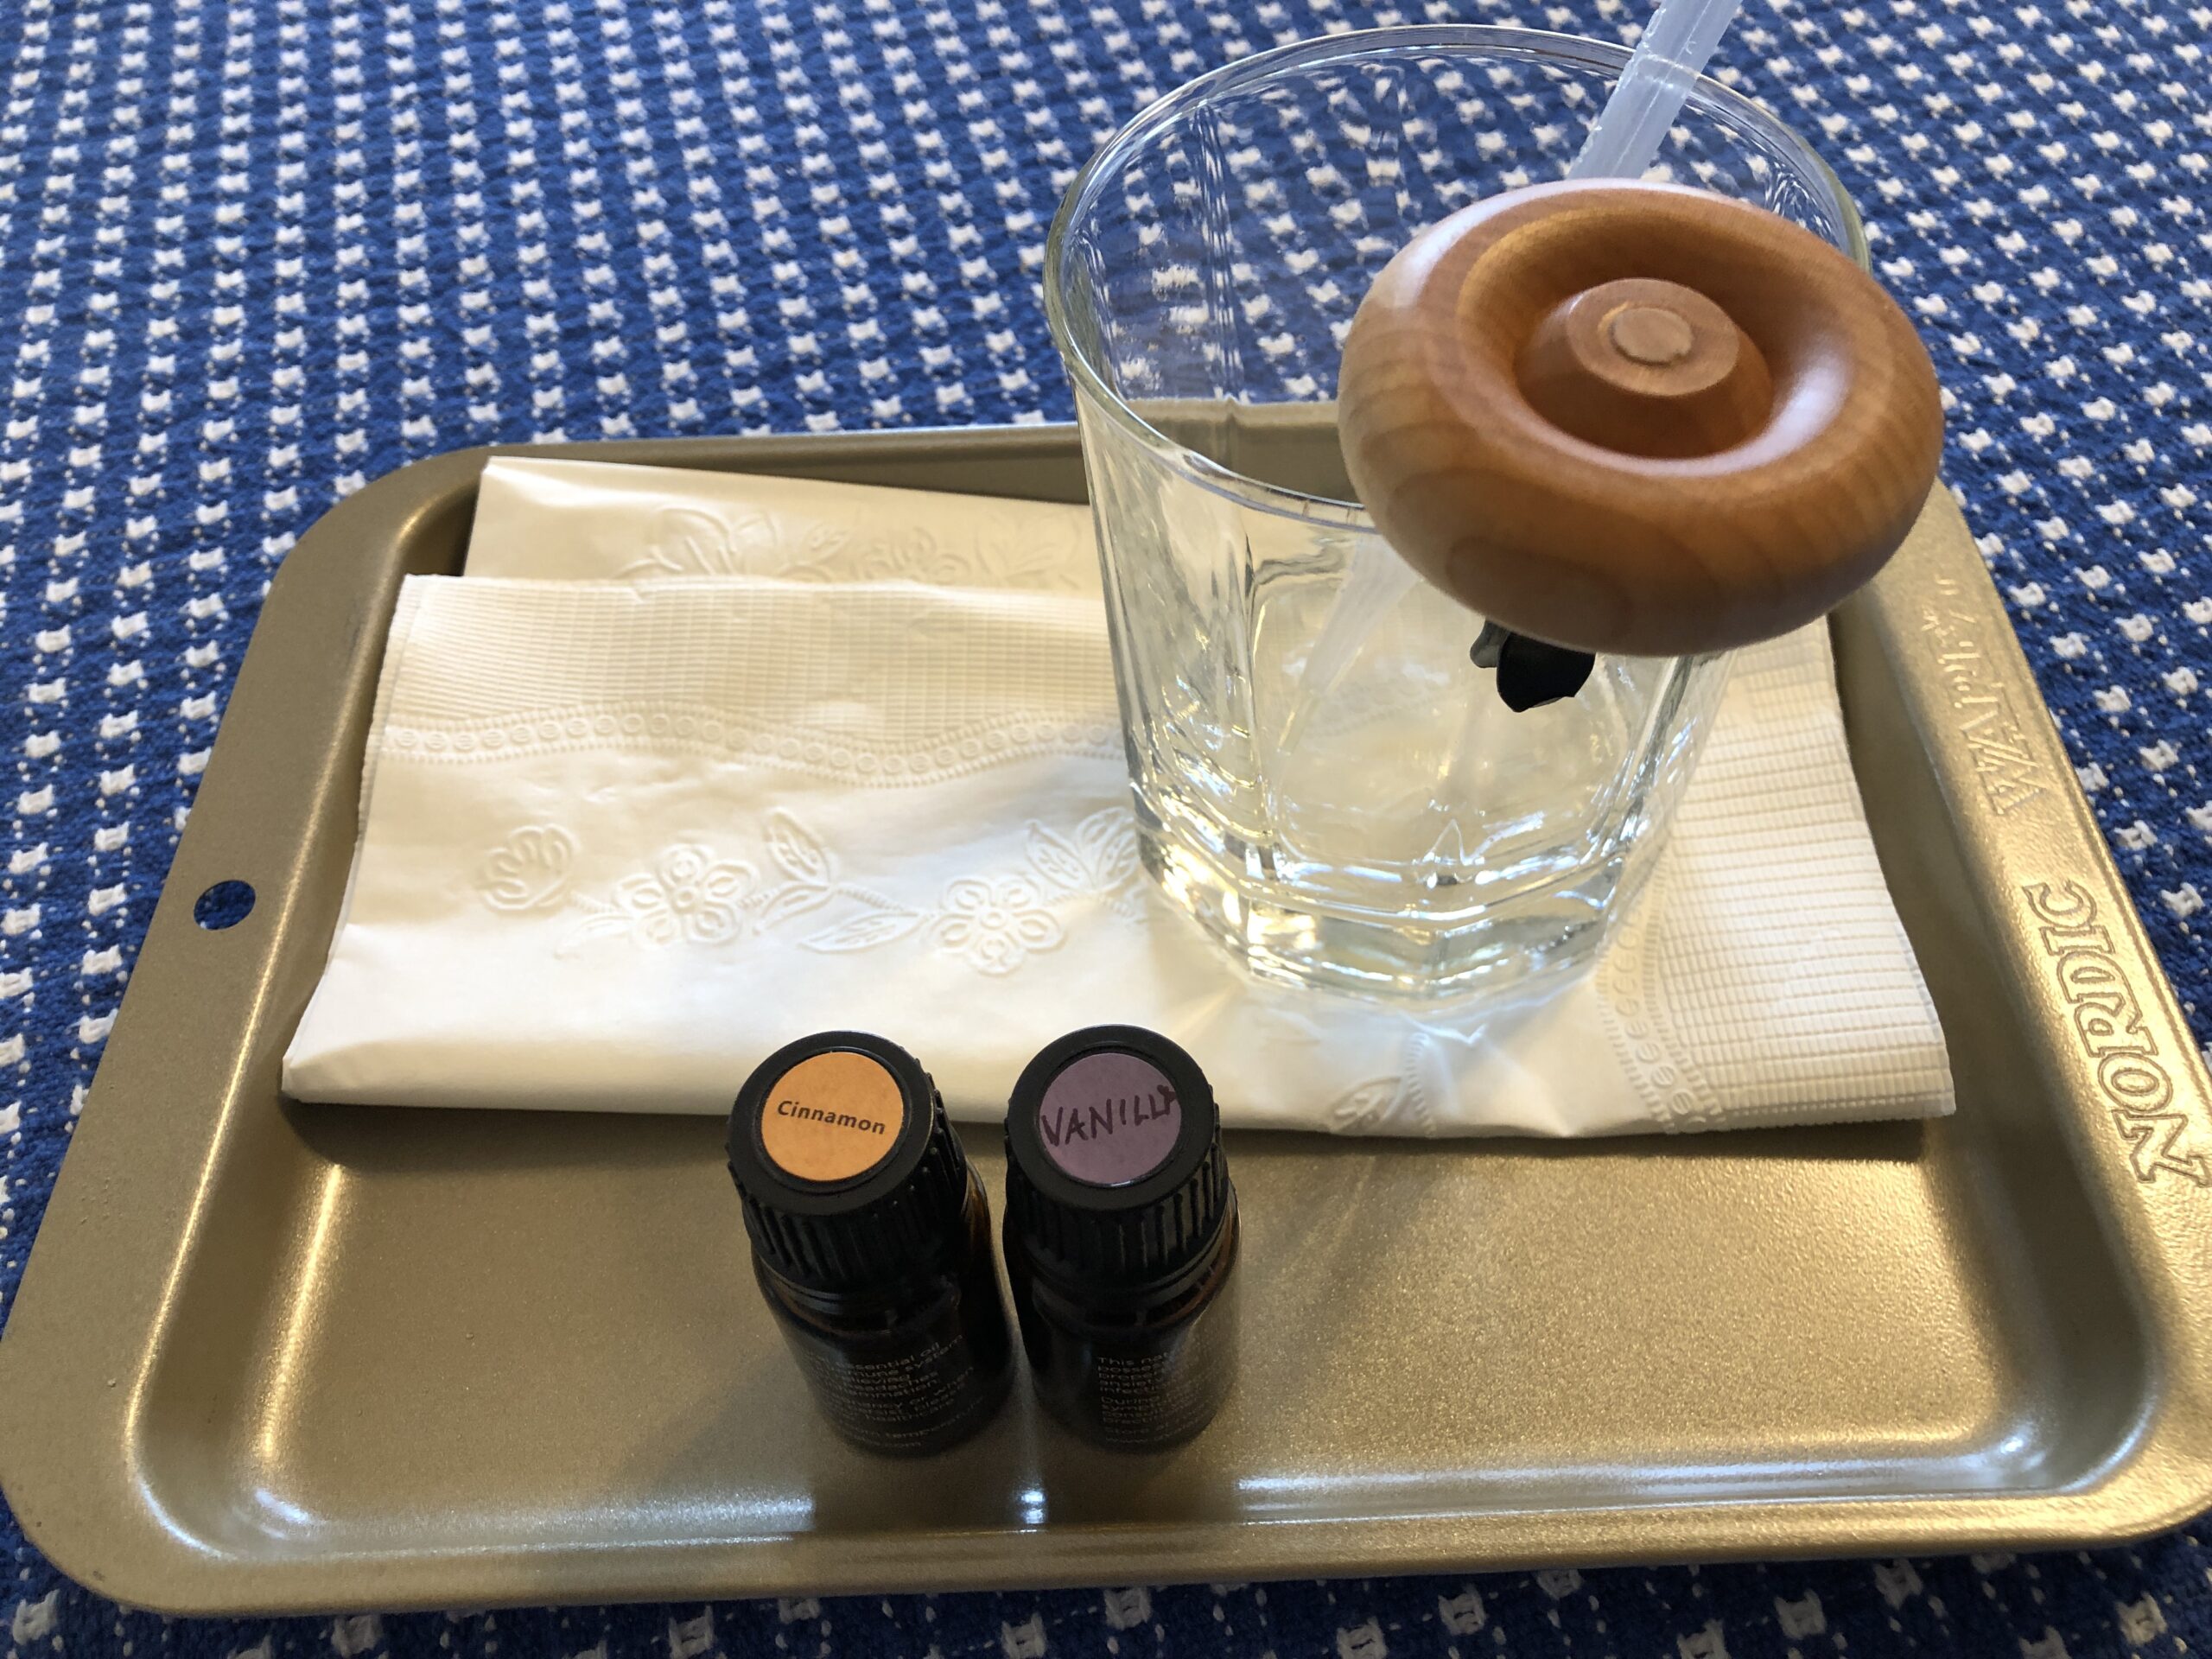
This week, after one more time with skunk smell in the car, I pulled out the wood piece and chose the oil I wanted to use…vanilla and cinnamon sounded good!
I clipped the wood with clip to the side of a glass and proceeded to soak the wood with essential oil. The bottles were almost empty and seemed a great way to use up the oil.
Over a day, I added oil several time to really soak the piece of wood. It made the whole room smell good!
The last step was to plug it into the vent. When the warm air flowed by and through the wood, the whole car smelled good. Luckily, it wasn’t too strong either. Now we can drive by the dead skunks on the side of the road and not choke!
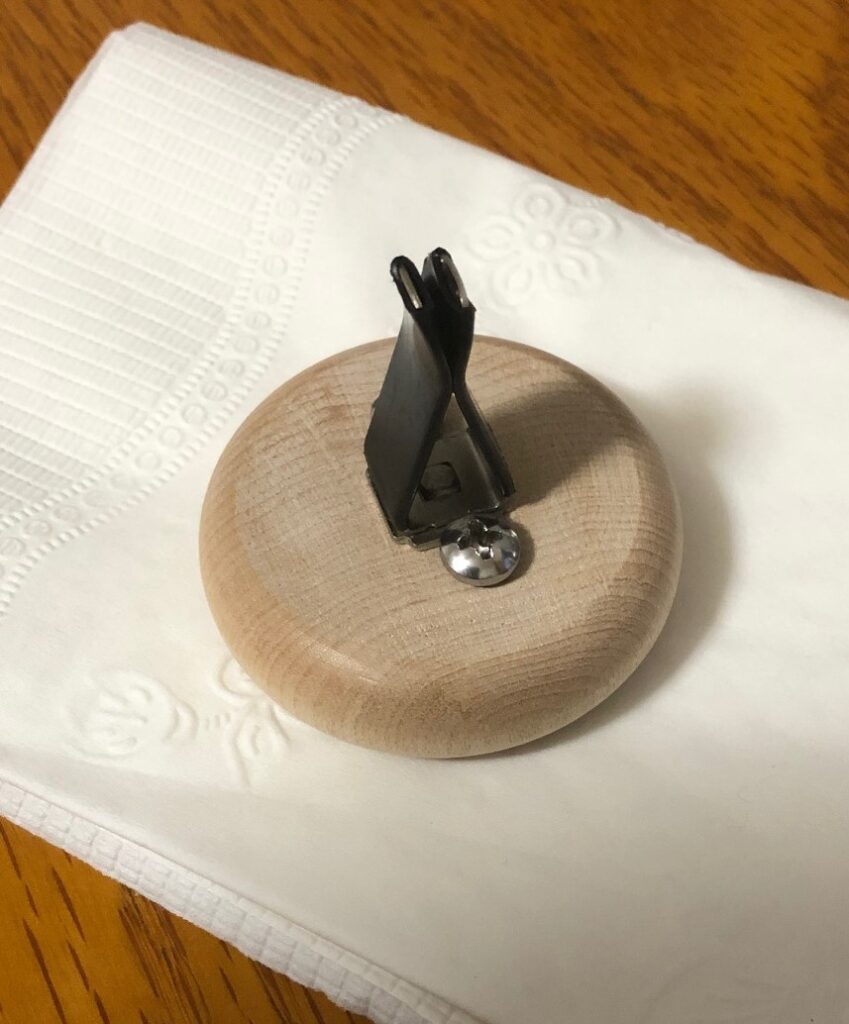
Since, of course, I like sharing stuff with others, I ordered more clips and Bert ordered more wood circles. With his advice, we tried to choose a different clip that would be easier to attach the wood piece. We’ll see how that works! Enjoy!
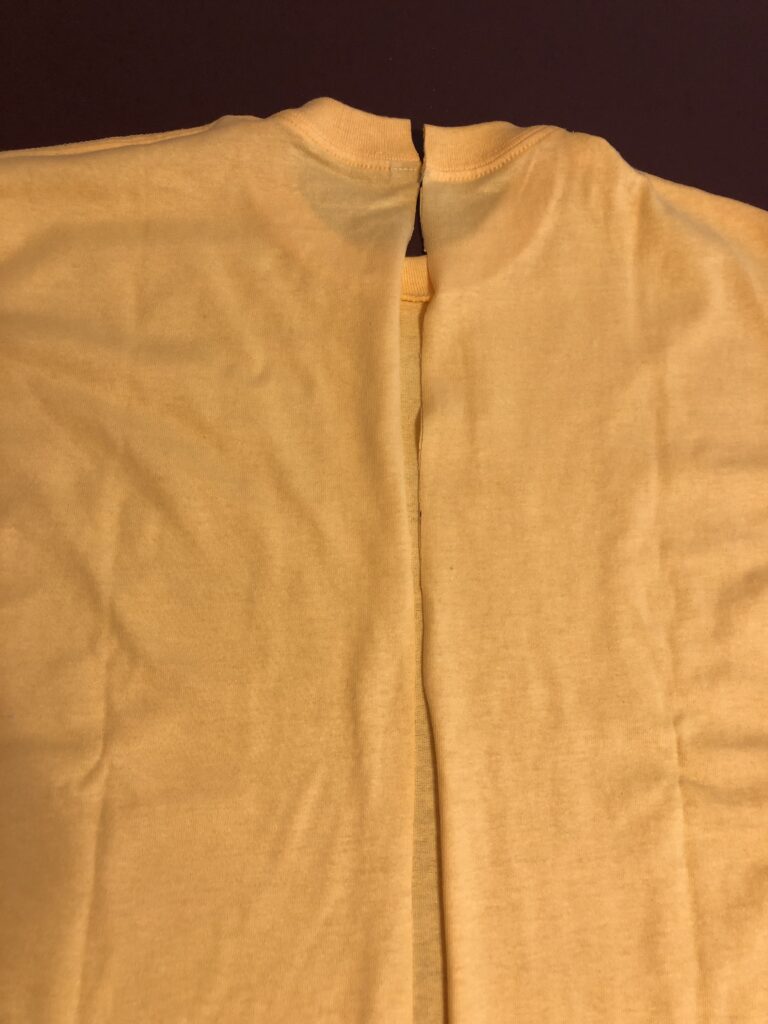
Are you looking for a simple project that could be helpful to caregivers working with hospice patients? Making comfort shirts might also be a project suitable for a scout troop or by a teen who needs community service hours. A comfort shirt is a t-shirt that is split up the back, ties or Velcro added and the neckline decorated with buttons or beads. It provides a way for a caregiver to dress a bed-bound patient easily without having to work head and arms through holes. It also provides a little color for those visiting the patient.
Over ten years ago I was working with a local hospice service making memory bears for the families of their patients. A request was submitted by the nursing staff to try to make colorful shirts that would be easier for them to put on the patients. Regular hospital gowns were drab, too long and not comfortable over the long haul. Most patients were bed-bound and were covered below the waist when they had visitors. Thus, adapting a colorful t-shirt sounded possible.
To make a comfort shirt, you’ll need a t-shirt, ribbon (1/4″ to 3/8″ wide, 2 yards) OR Velcro hook and loop fasteners; assorted buttons or beads to decorate the neckline; a sewing machine to hem the back edges and needle and thread to hand sew the decorations to the front of the t-shirt.
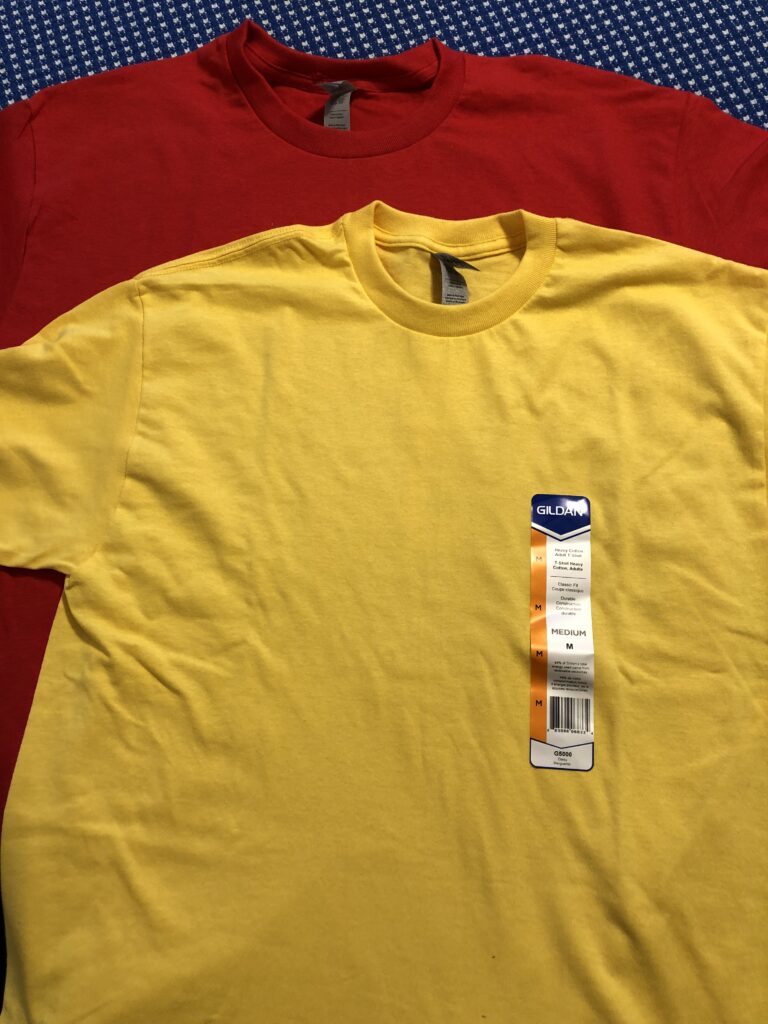
I started by finding inexpensive t-shirts at JoAnn’s Fabric store…they were stocked in all sizes to be used in art projects. I chose mostly the Adult Medium size. All shirts were washed in hot water and dried in the dryer…which is how they will be washed in the future.
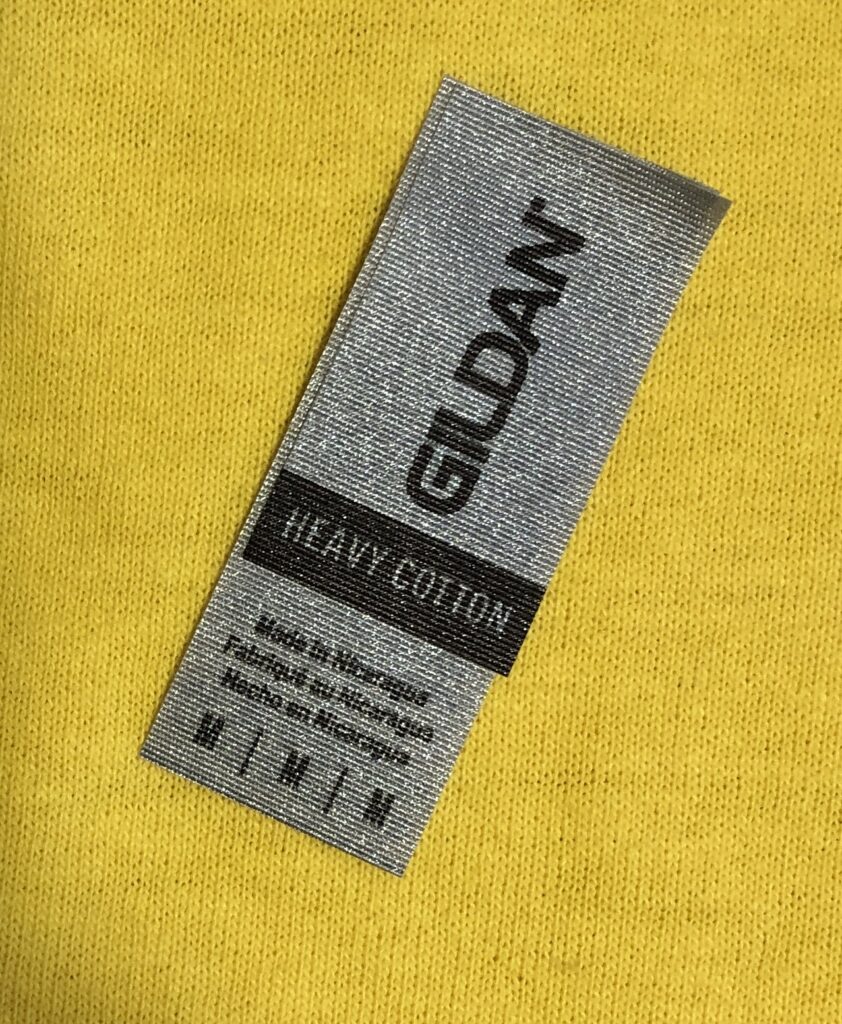
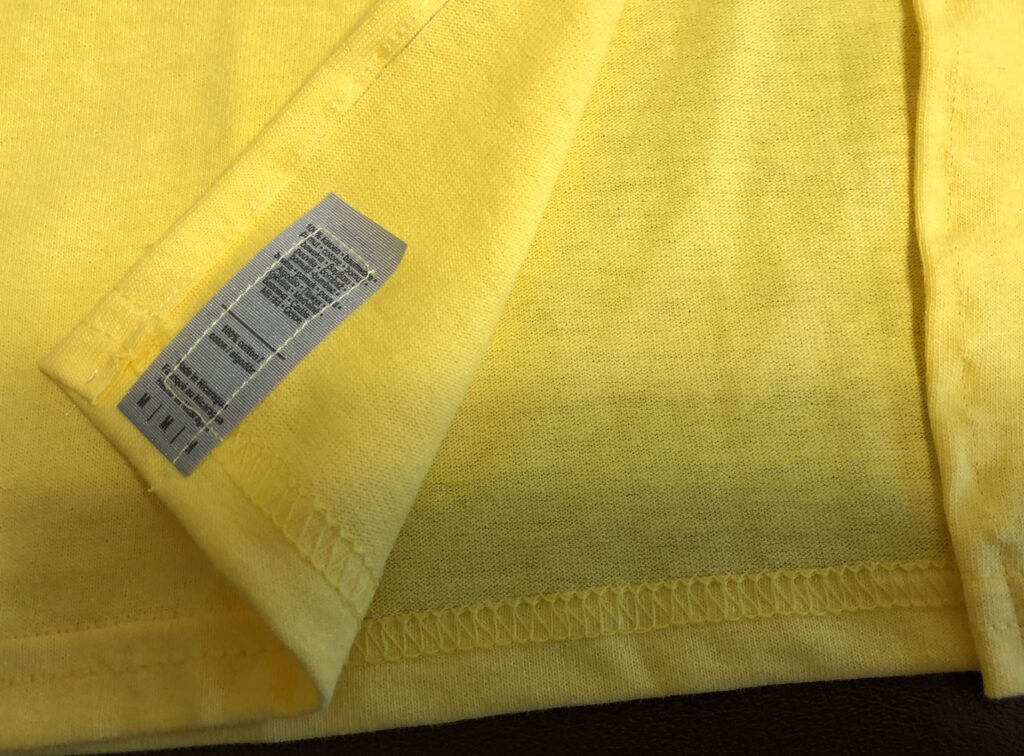
Step 1: I removed the tag at the neckline and saved it. Later, I’ll sew it down low in the back so caregivers know what size it is.
Step 2: I turned the t-shirt over and drew a line from the center back neckline to the hem. I cut the shirt up the back.
Step 3: I folded each cut side over about 1/2 inch and stitch it down. You can fold it again and stitch it a second time to make it sturdier.
Step 4: Sew the tag to the inside bottom of the t-shirt in the back.
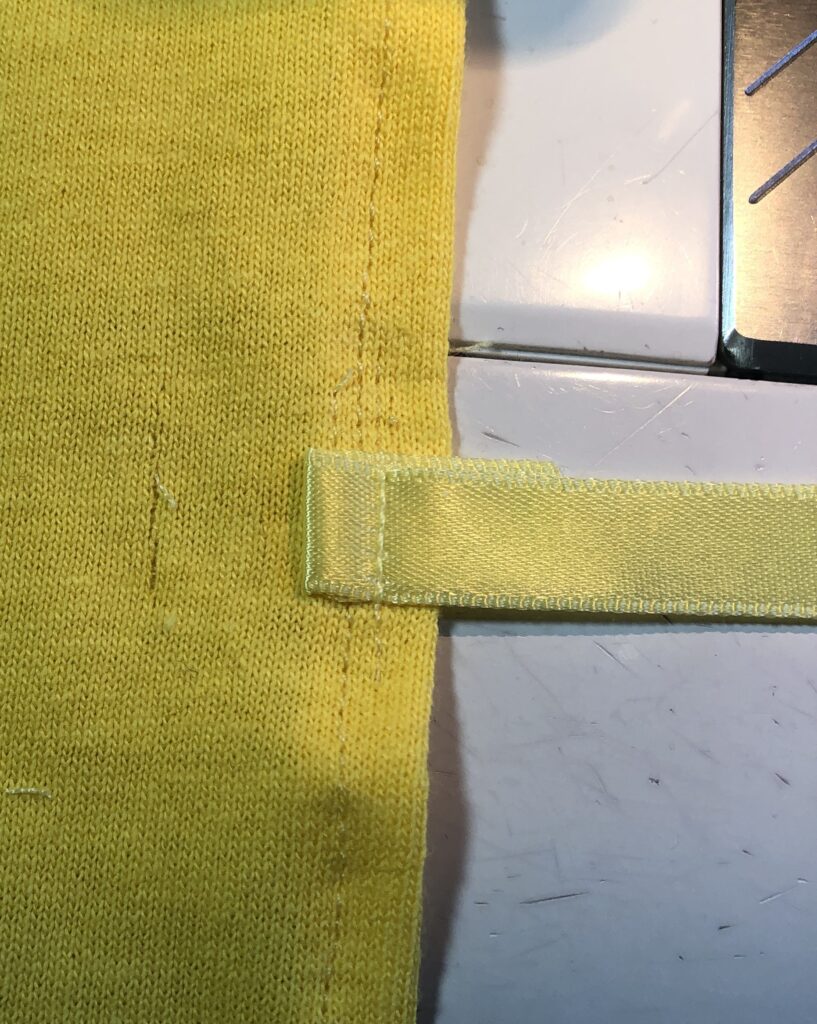
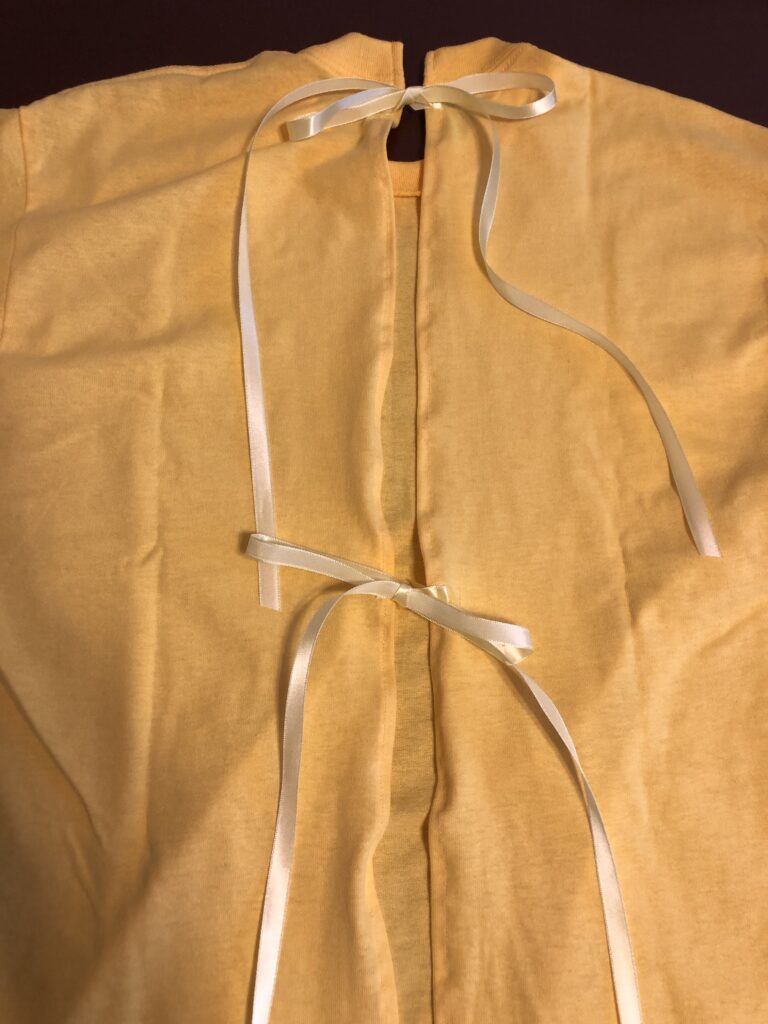
Step 5: Use 1/4″ to 3/8″ wide ribbon OR Velcro for the fasteners. I marked the location of the ties with one near the neckline, another about mid-back. I stitched each ribbon twice…first facing away from the opening and then folded it back and stitched it again in the right direction. This hid the raw edge of the ribbon.
Here are the final ribbon ties.
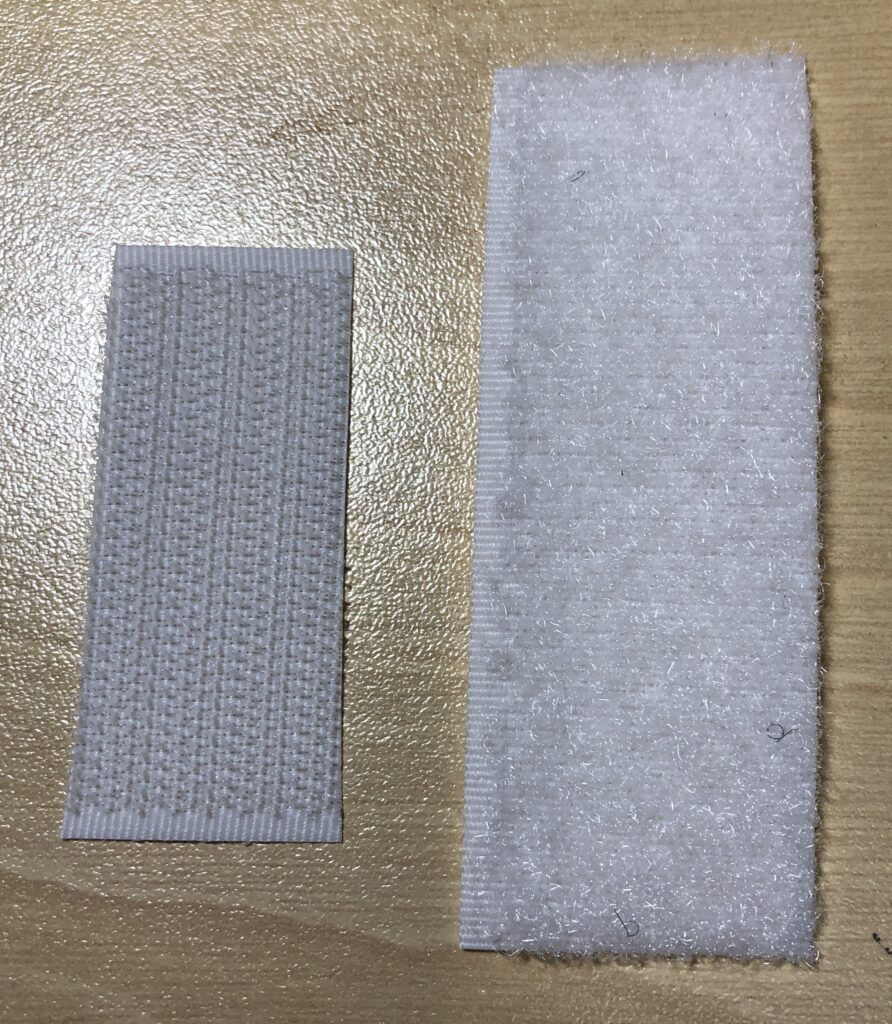
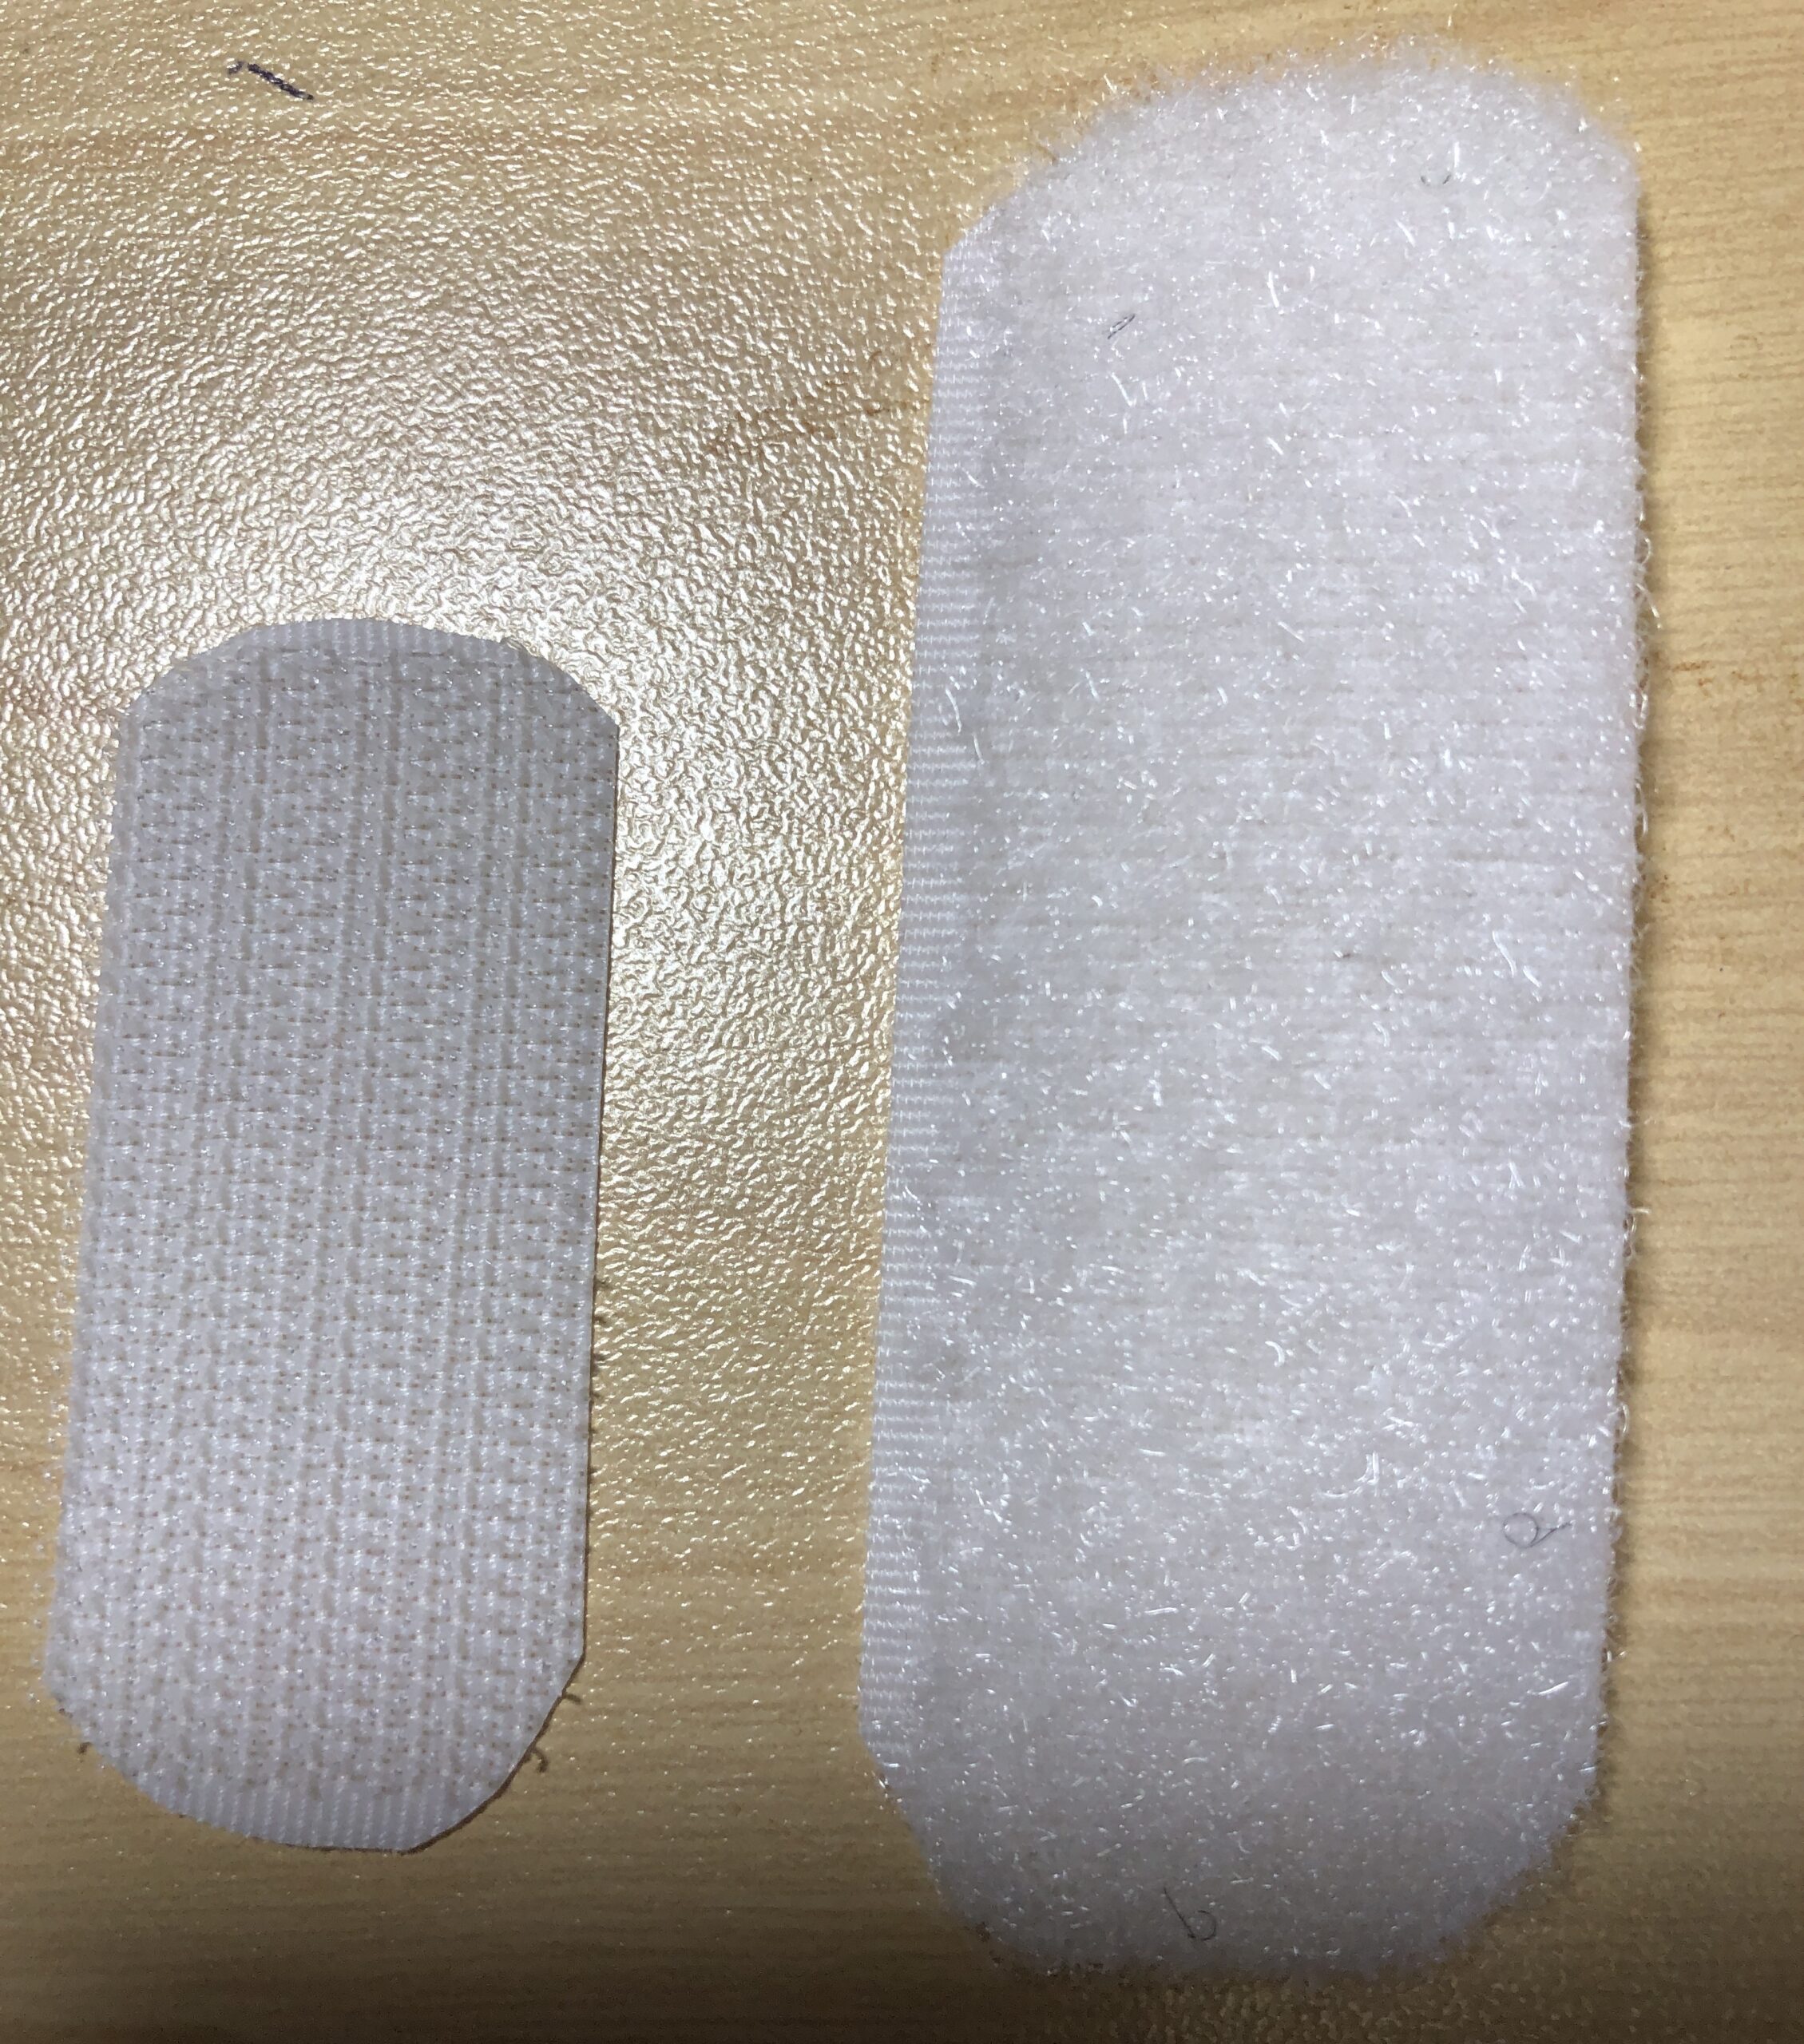
NOTE: If you decide to use Velcro, which my caregivers preferred, I made sure all the corners of the Velcro were trimmed and rounded so the corners didn’t stab the patient in the back. I’ve also learned the Hook part of the Velcro can be smaller than the Loop part…it doesn’t have to be exactly situated to “stick” to a larger loop piece. The Hook part can be about 1″ x 2″ and the Loop part can be about 1″ x 3″.
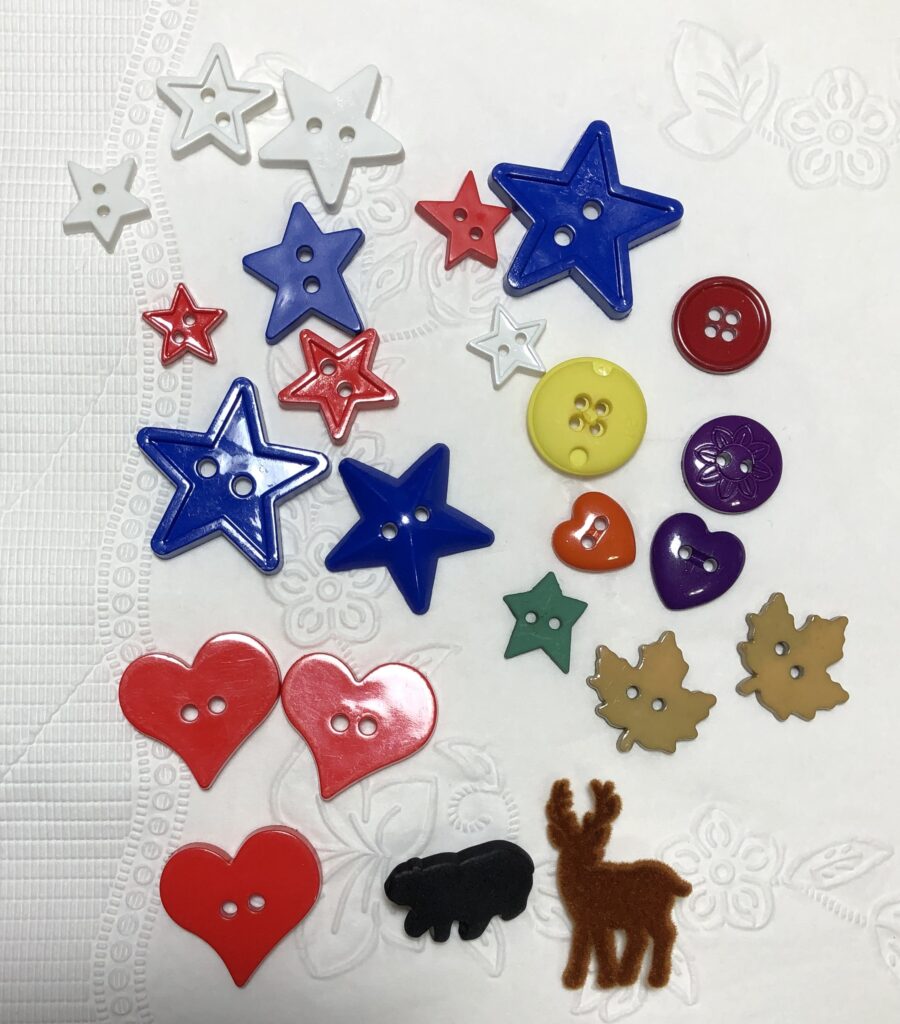
Step 6: Choose buttons or beads to decorate the neckline. Mark the locations about 1″ below the ribbed neckline and hand sew them to the shirt.
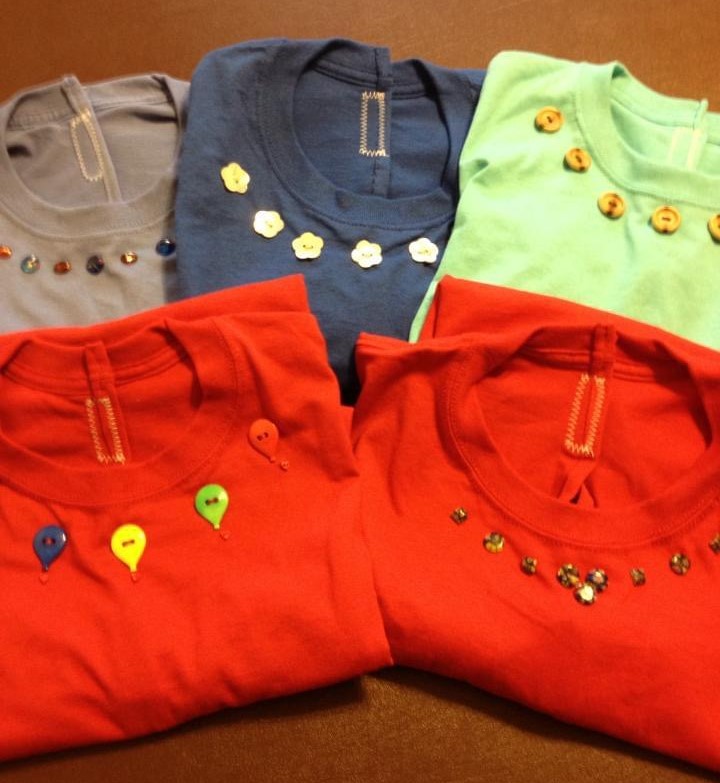
Here are a few of the comfort shirts I’ve made:
Check around in your local community and see if comfort shirts would be useful to caregivers. Great project for folks of all ages! Enjoy!
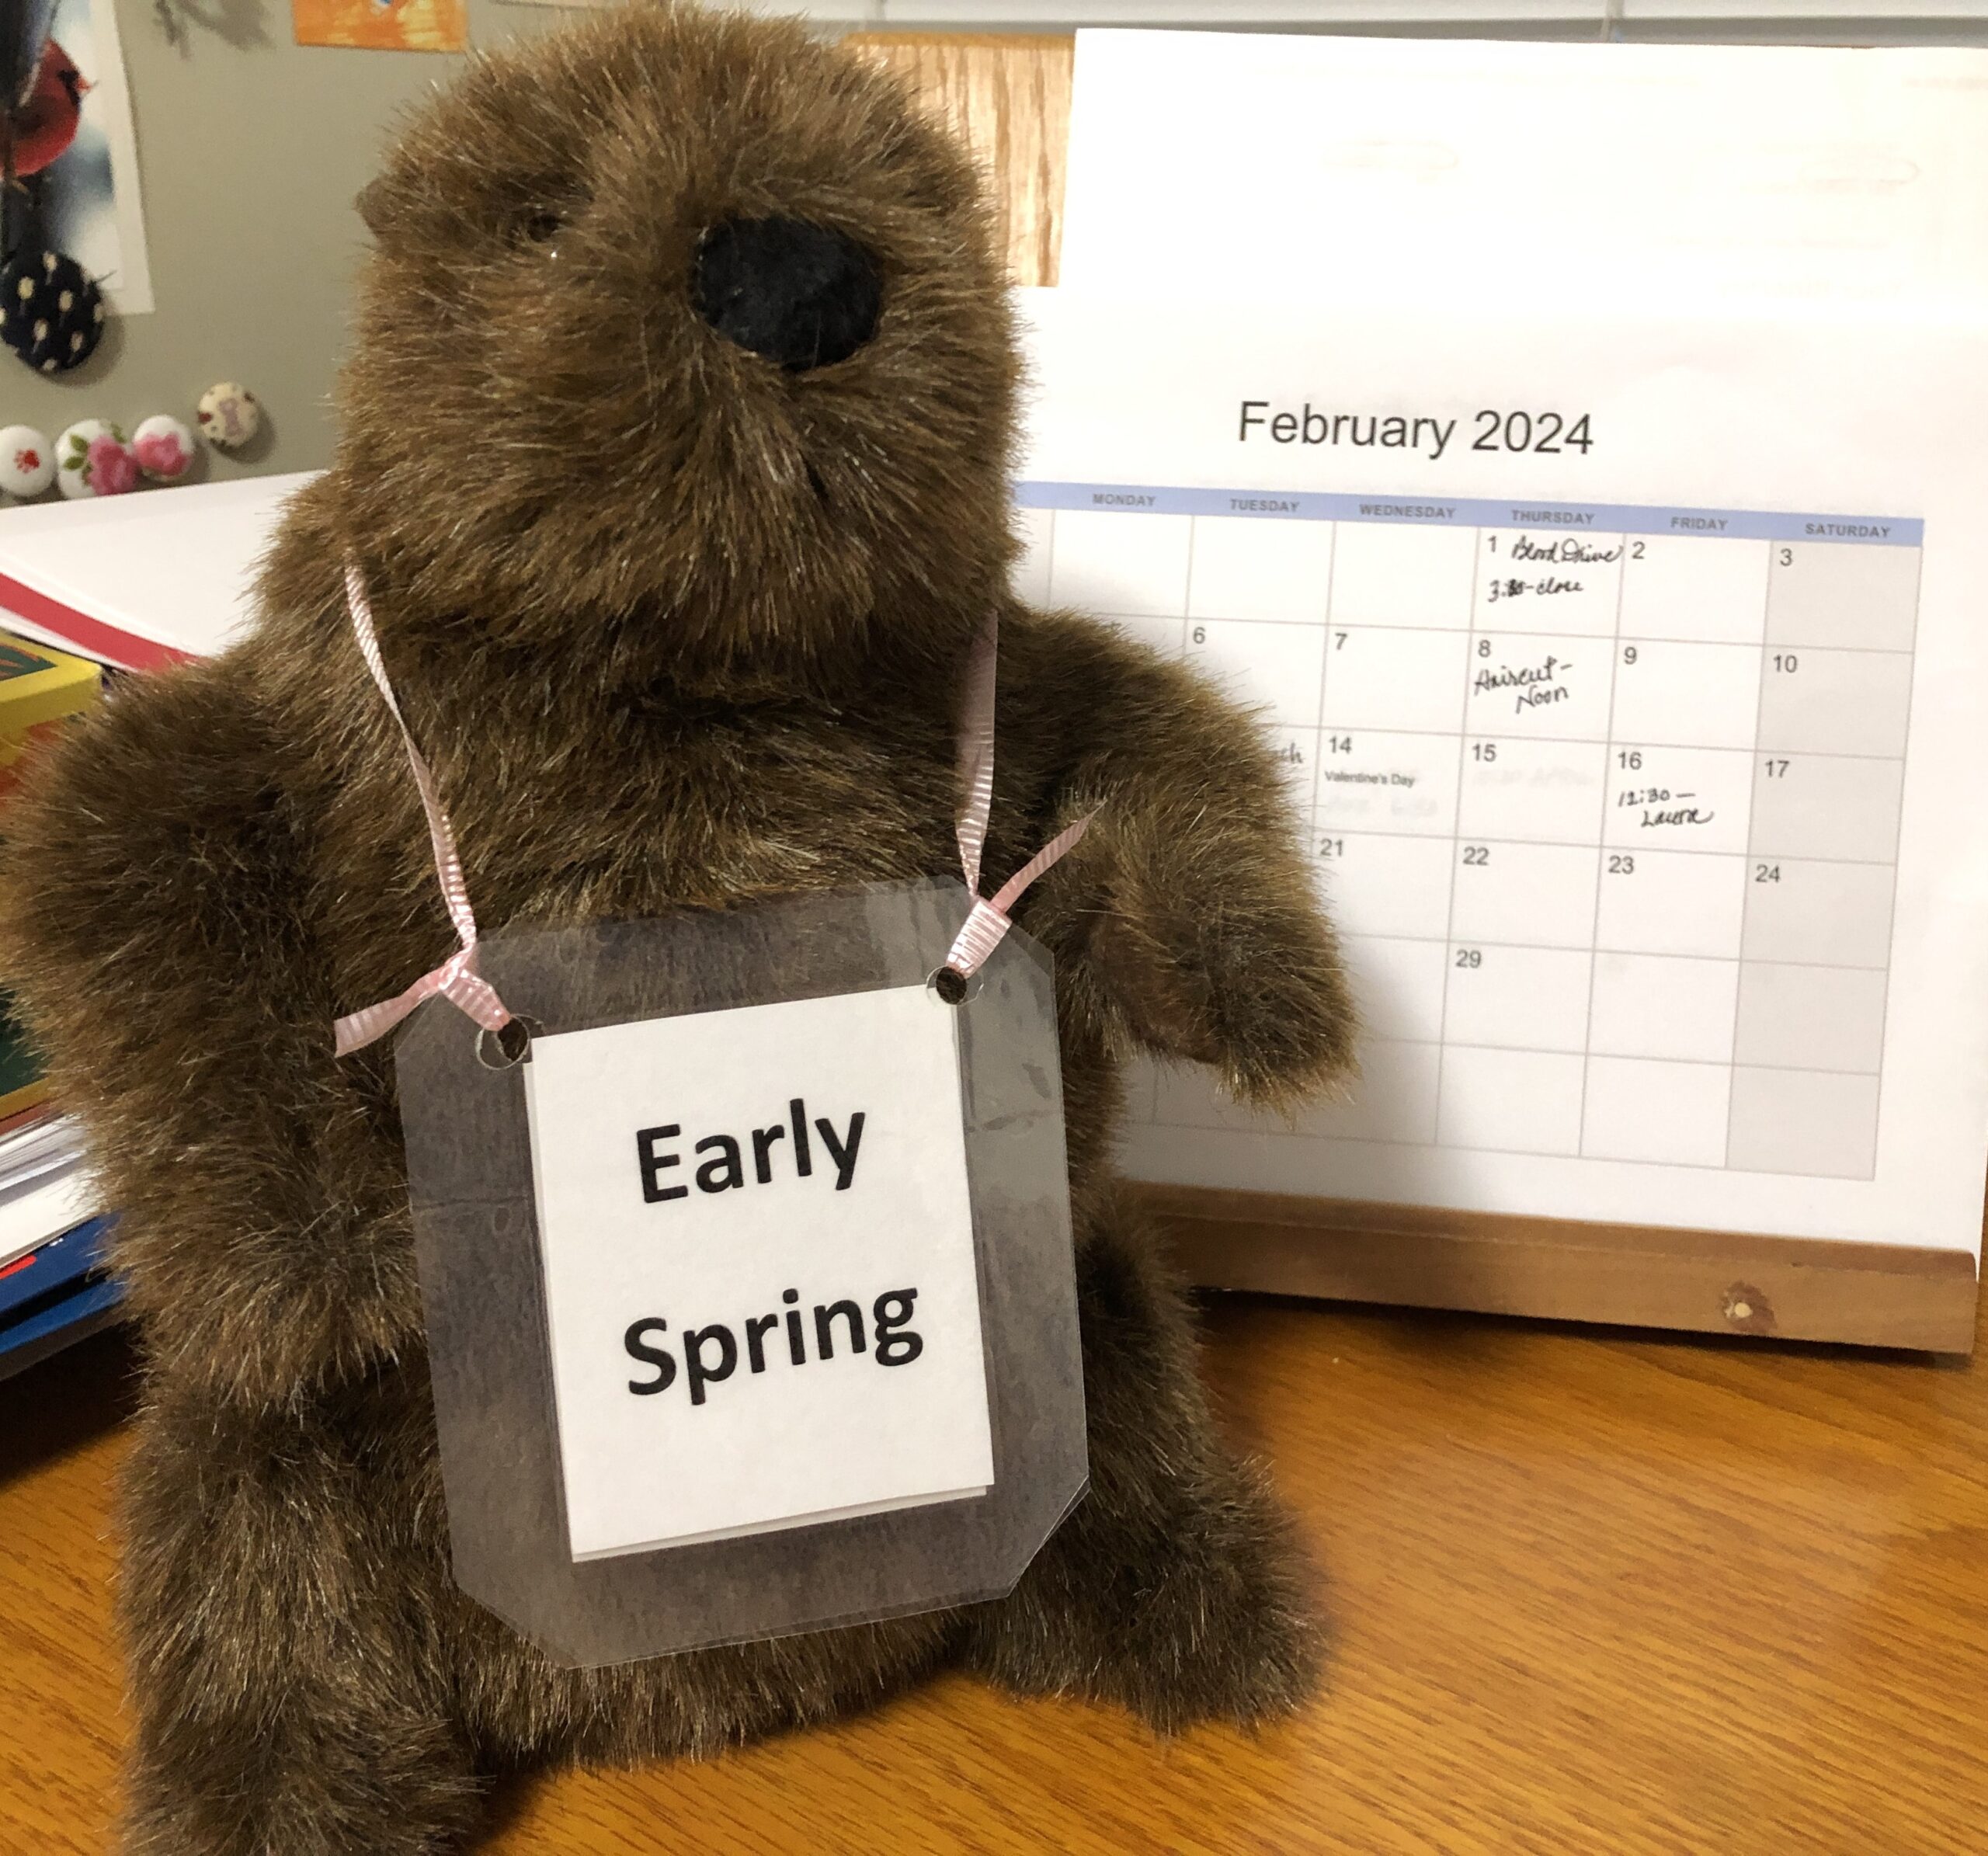
Just a quick note that our resident groundhog has agreed with our cousin Punxsutawney Phil that we’ll have an early spring!
Groundhog Day seems to have a bizarre history, evolving over centuries as it was observed by different groups, from the Celts to Germans to the Pennsylvania Dutch to those folks in the rest of the U.S. While early celebrations claim it all started in 1887 in Punxsutawney, a local historian Dan Yoder, found evidence of townspeople trusting a groundhog for weather advice as early as 1840.
According to Yoder, in 1887 local folks had a “Groundhog Picnic,” where groundhogs were cooked up as a “special local dish,” served at the Punxsutawney Elk Lodge. I guess once “Phil” became famous, with visits to the White House, the “Today” show and Oprah, folks decided it wasn’t appropriate to serve him up at picnics!
If you’d like to know more about Groundhog Day, just type “History of Groundhog Day” into your search engine and learn more than you ever wanted to know! Just typing this brief summary, I may eventually learn how to spell Punxsutawney! Happy Groundhog Day! Enjoy!
Before I move on to other projects, I wanted to share one last project with beads. I seem to have figured out how to work with various stones and gem stones. I think I’ve figured out how to tie a knot in the elastic string and hide it in a larger bead. I also have accumulated enough supplies I can make bracelets until next Christmas!
Citrine and Malachite
However, I still wanted to try to make some bracelets with words on them, which sent me back to my pile of beads with letters.
I started with my favorite poem/saying. I think it came from my sister in the 1970s. She heard it at a conference in California back then. I will not take credit for it, but I have used it for 50 years to motivate me to make changes in my life over the years.
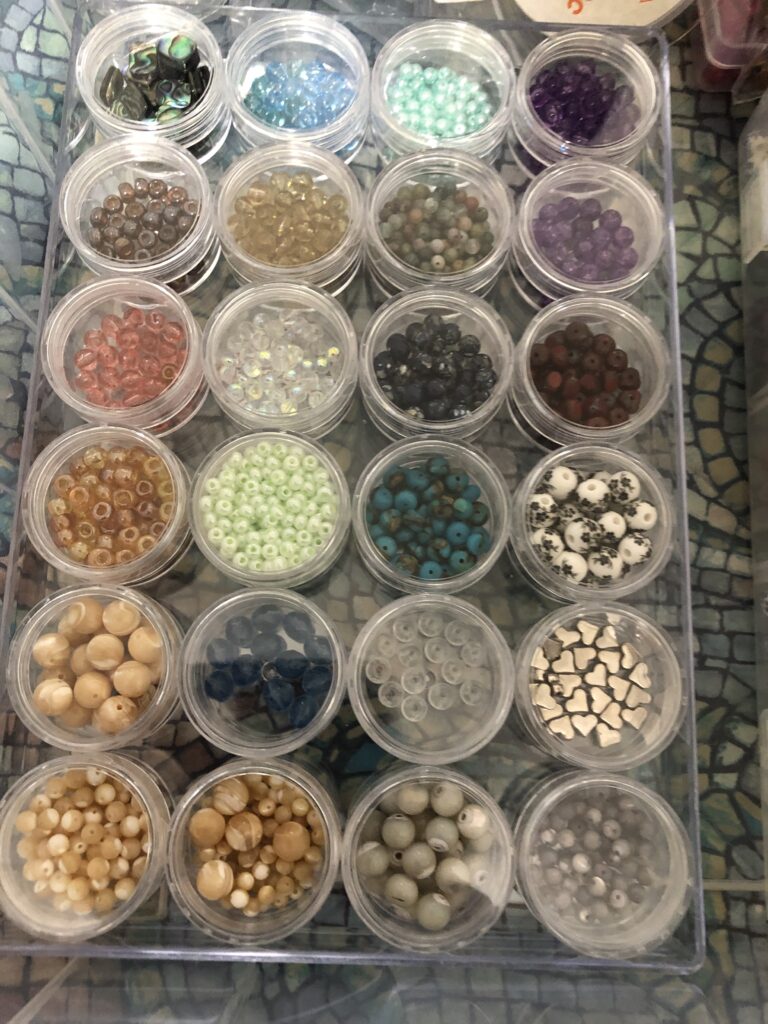
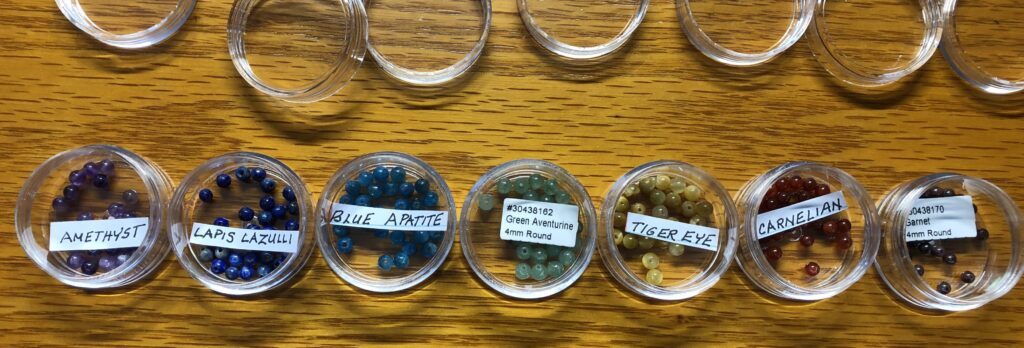
I pulled out the five key words: DESIRE, BELIEVE, IMAGINE, ACT UPON, and INEVITABLE. My tray of beads with letters on them came as a set, so I chose a different color for each word. I tried to coordinate the extra beads with the colors/style of the letters. Here are the trays of letters and extra beads I worked with:
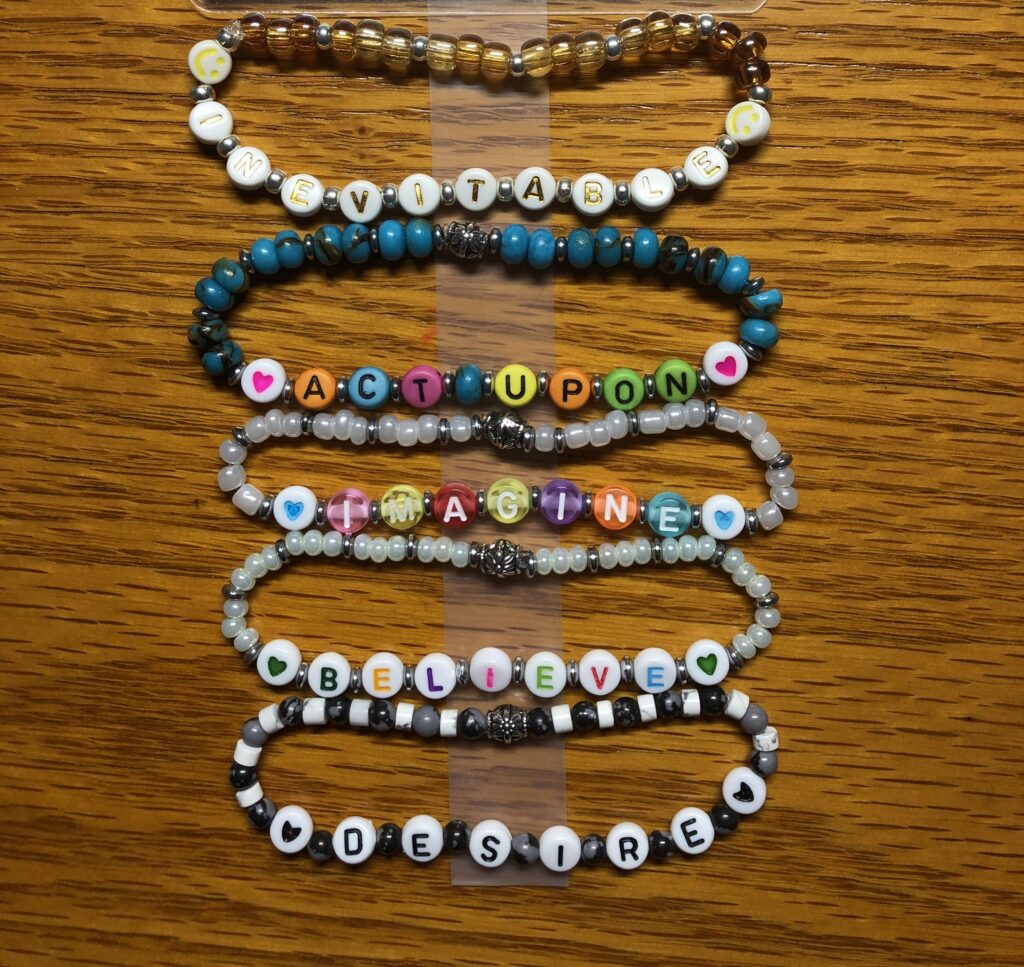
Here was my final result:
I had to stick them to a piece of tape so they would stay put until I got the picture!
I wasn’t sure who else might appreciate my poem and bracelets, but I reached out to a niece in California who might enjoy them (actually, my sister’s granddaughter!) I’m so glad I brought my favorite poem to life in this set of bracelets!
Do you have a favorite poem, saying or word that could be represented as a bracelet? It might be the perfect way to share something with someone else…or to wear yourself!
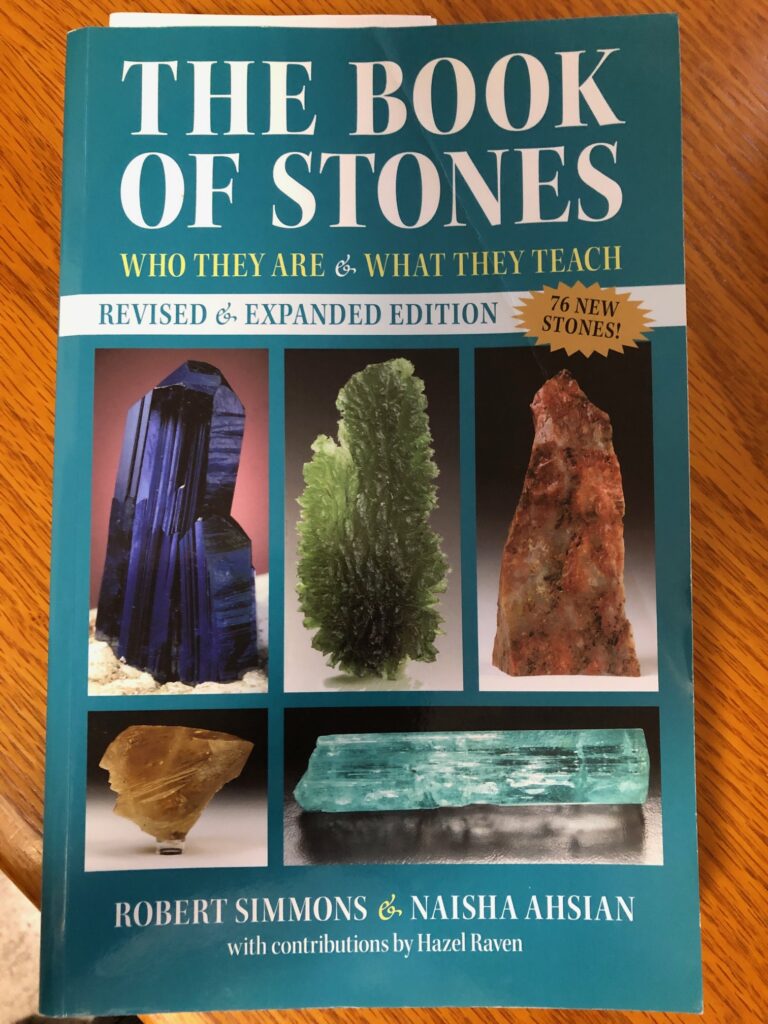
O my goodness! Who would have thought a bunch of tiny beads could be so engaging! I’ve finished about 15 bracelets…which means at least 30 because each one needed at least one do-over. I’m learning so much about the beads/stones, like where they come from and how they’ve been used in history. Here’s the book I’m using for reference:
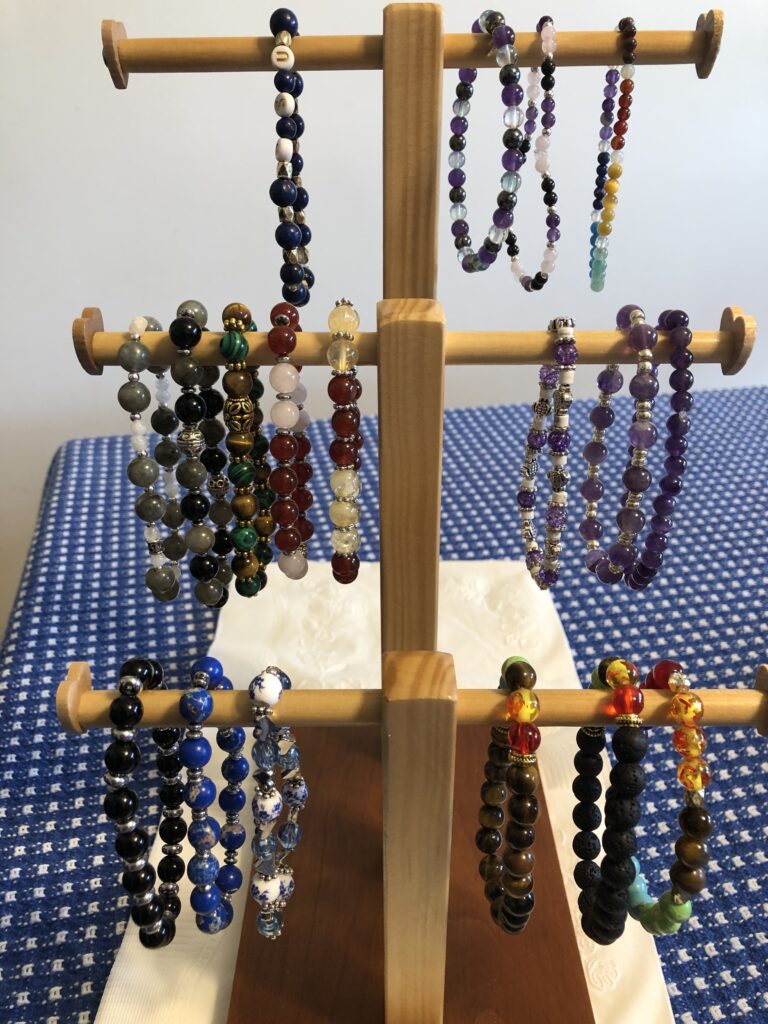
The challenge of tying a knot in this elastic plastic beading string is tough with my old arthritic fingers! I discovered a wealth of ideas for bracelets to make from Facebook…just click on ONE ad for beads and in two days almost every post that scrolls by is trying to sell me beads and bracelets! Lots of good ideas in their pictures. I thought I’d share a few pictures of some of the bracelets I’ve made so you know I haven’t fallen off the face of the earth…although I might be down a rabbit hole!
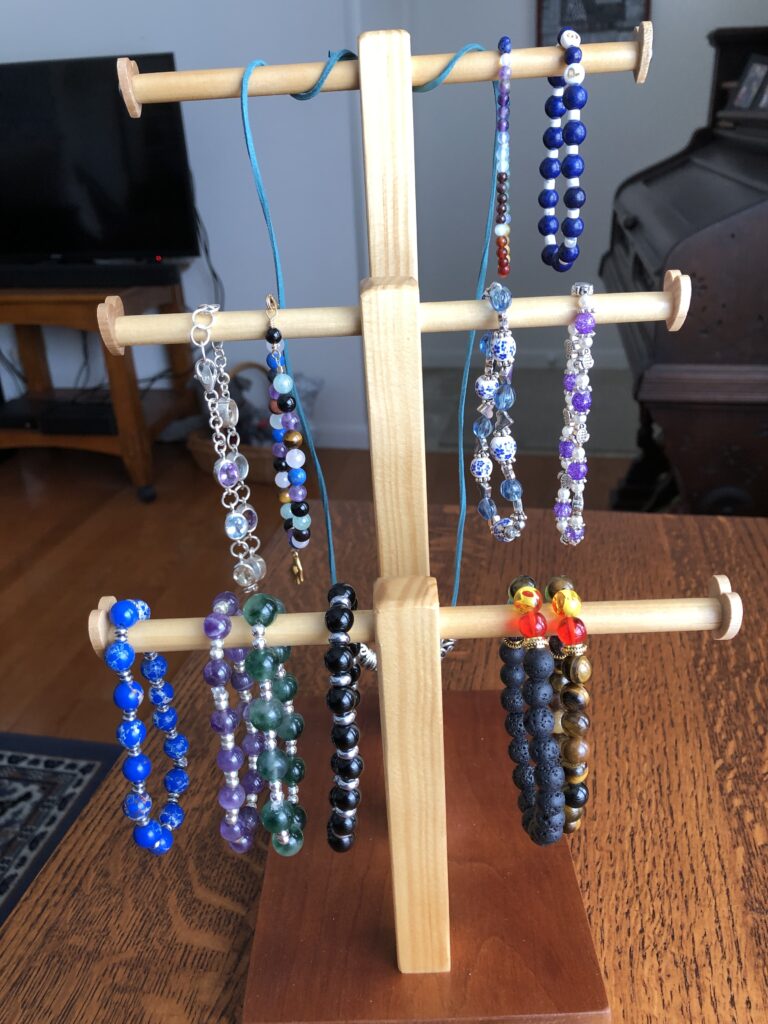
The little stand that Bert made for me is looking lovely so far:
After seeing all the beautiful bracelets online, I realized I don’t have the techniques down to take good pictures of mine. So, bear with me. I’ll need some advice from folks that sell stuff on eBay to show the colors properly. At any rate, I’m having fun and it keeps me out of trouble! Enjoy!
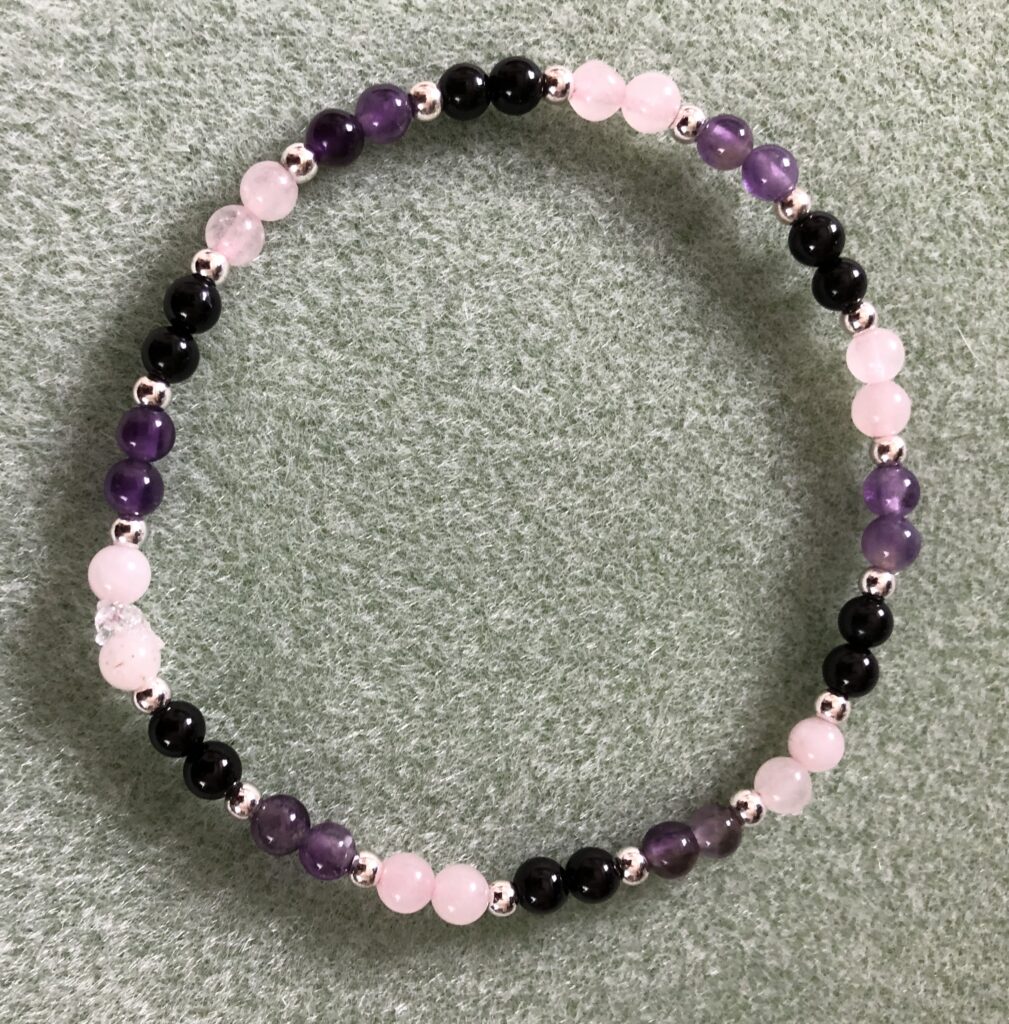
Amethyst, Rose Quartz and Black Tourmaline
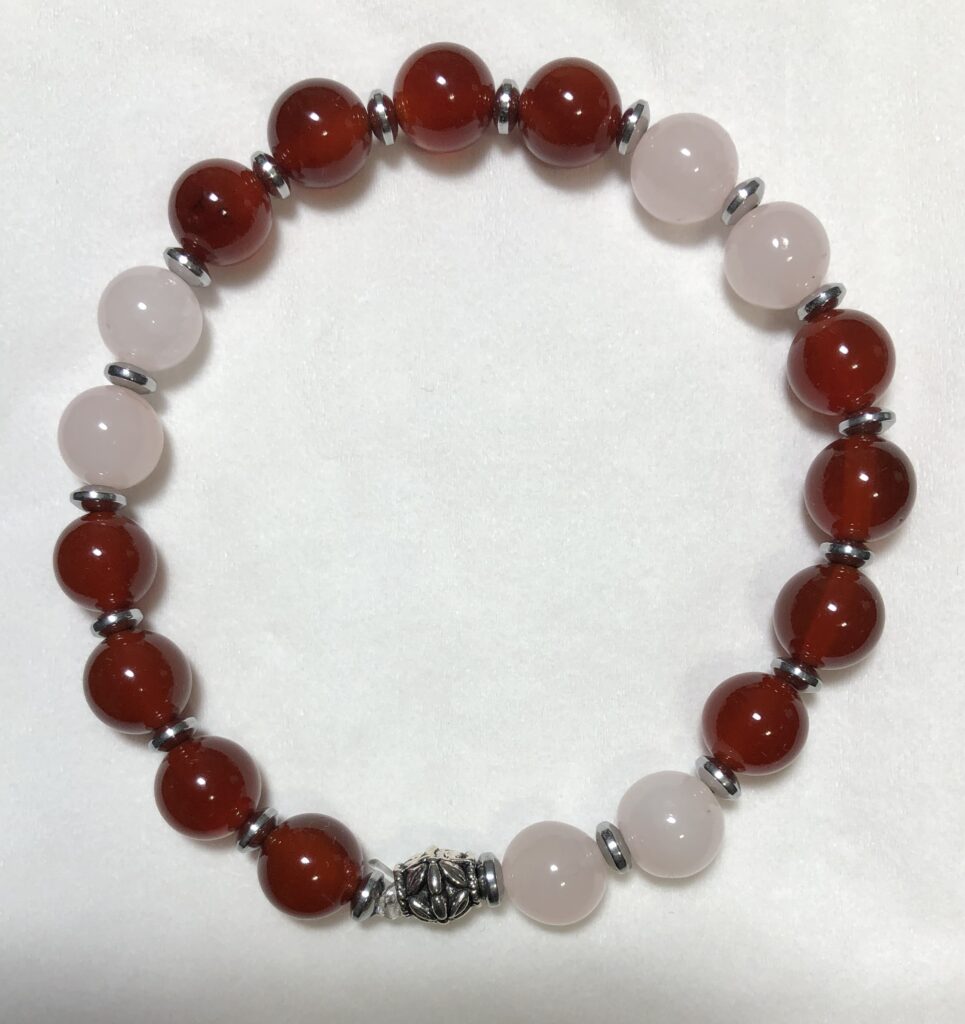
Carnelian and Rose Quartz
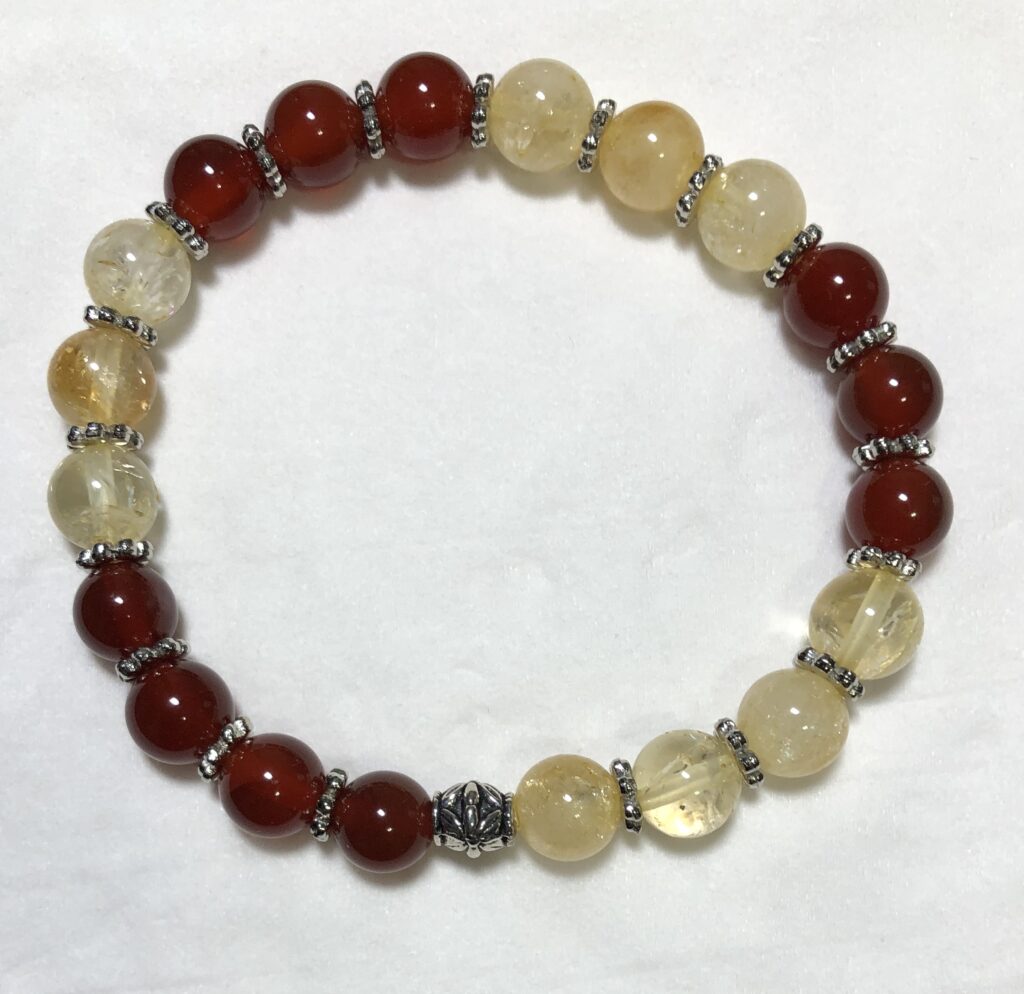
Citrine and Carnelian
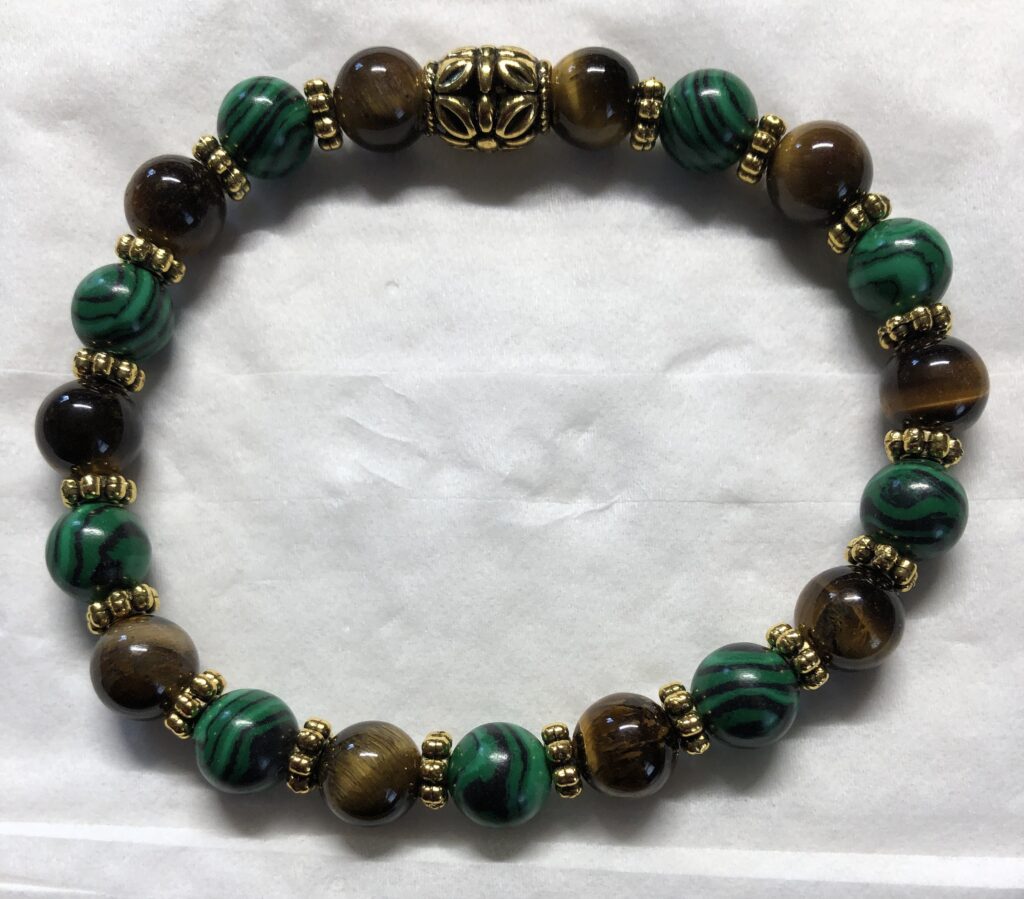
Malachite and Tiger Eye
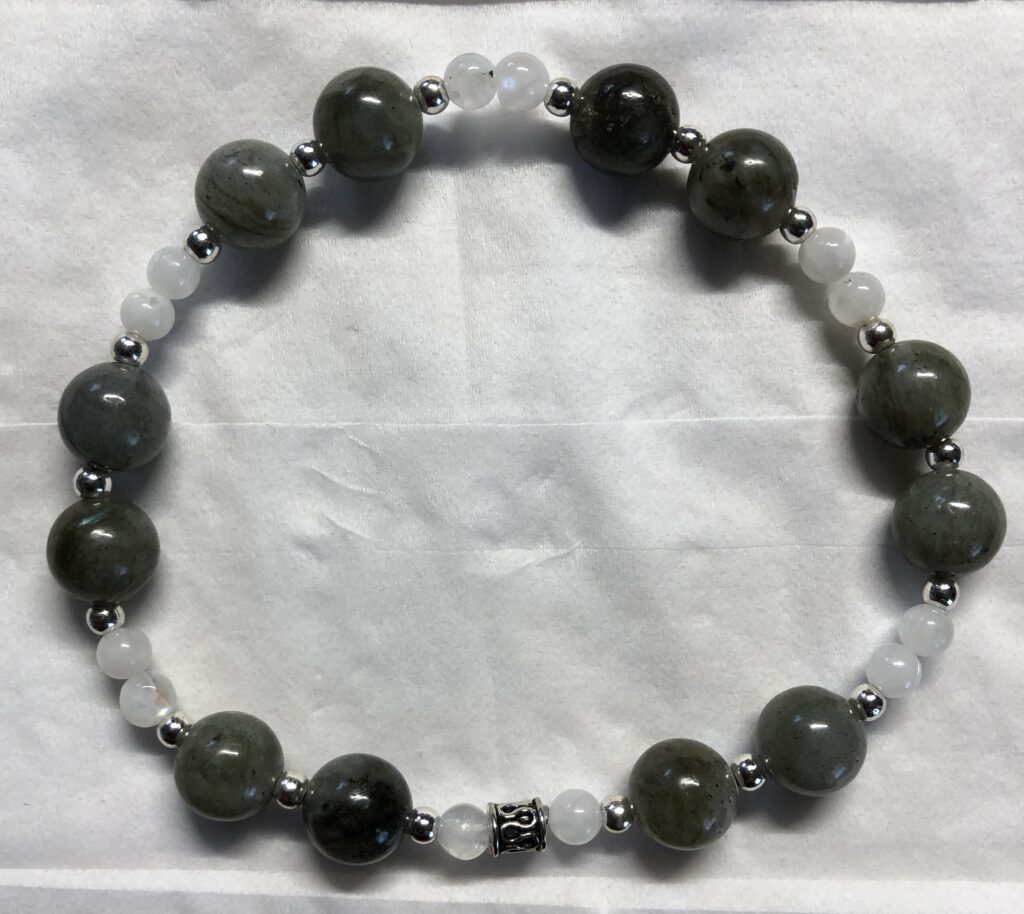
Labradorite and Moonstone
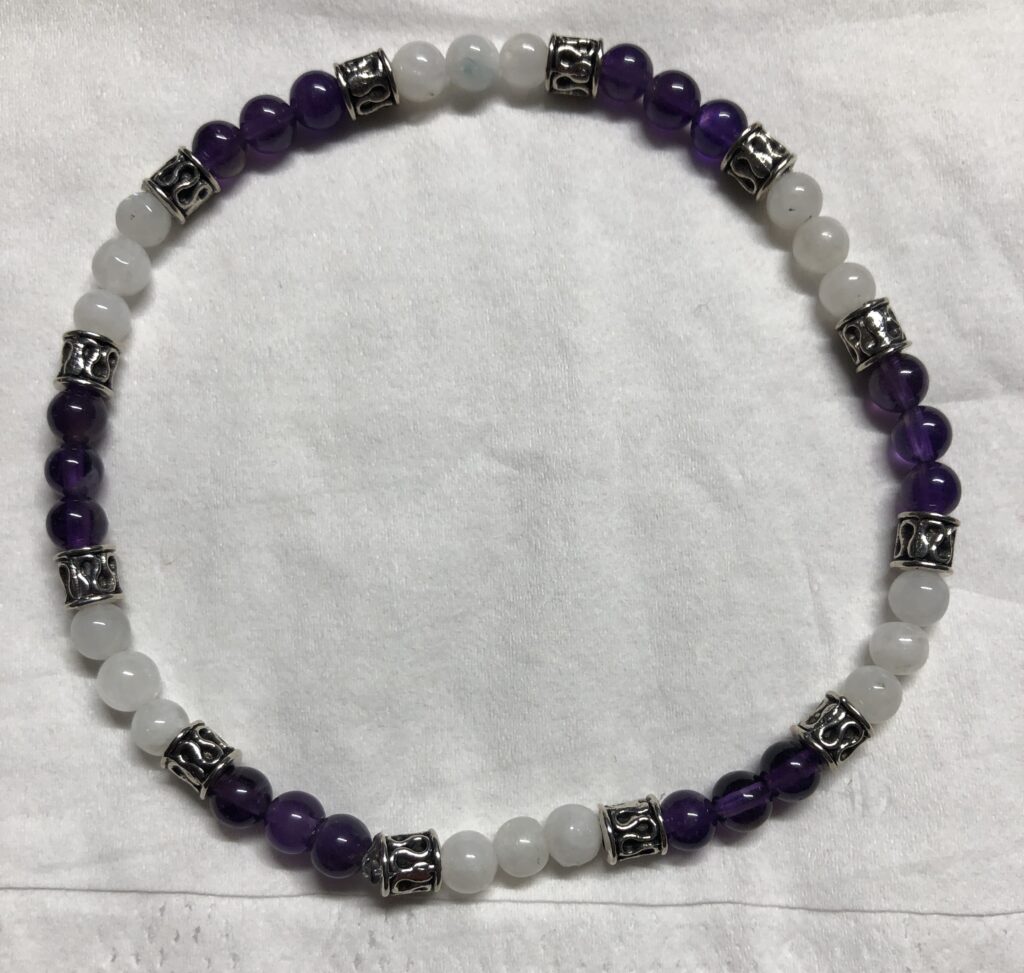
Amethyst and Moonstone
Ok…that’s enough! As you can tell…the Amethyst doesn’t look very purple, the Labradorite doesn’t look very gray. At least the Tiger Eye does look brown! I’m getting better at tying the knots and hiding the knot inside a larger bead. If you have experience with this craft…I’d love to chat with you about your technique!
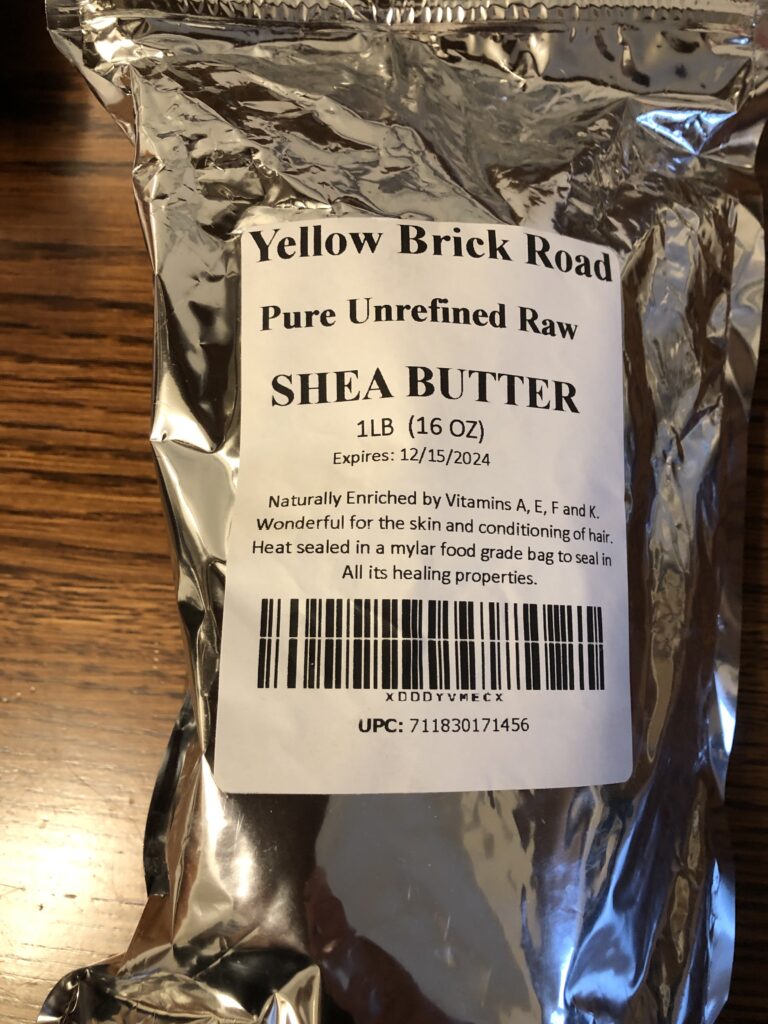
The recipe for my healing salve started as an experimental product for my greyhound friends…almost 3 years ago! I was asked to try to make a salve to soothe the greyhound paws…their feet were very sensitive to walking on gravel, ice and salted sidewalks. They also were prone to developing corns on their paws.
There were quite a few salves on the market, from the simplest DIY recipe from the American Kennel Club to very expensive salves with Hemp oil in them and everything in between. I’d like to think we would have choices to find the one that works for our dogs and is affordable.
In general, ingredients in these salves include Oils (like olive oil, coconut oil and almond oil), Shea Butter, and Waxes (like beeswax, carnauba wax and paraffin wax). In addition, Vitamin E oil helps healing and serves as a preservative for the mixture. Essential oils like Lavender or Rosemary can also help with healing. I’m not sure the dogs care about the smell one way or the other but it can’t hurt.
Samples of the first batch of Dog Paw Salve were sent out to some folks in the greyhound community to give it a try. We had positive feedback that the salve seemed to help the paws that were cracked and made corns softer and easier to remove. It even helped a few sore noses!
Enriching the Salve
To enrich the ingredients in the salve, I explored adding some essential oils that could help in healing the skin. While Tea Tree Essential Oil is often suggested for its anti-bacterial and anti-fungal properties, I had just been researching using Manuka Honey as a topical salve. That led me to learn more about Manuka Essential Oil. This essential oil has been shown to be more effective than Tea Tree Essential Oil and is easier on the skin.
For the last year or two the recipe for my Calendula Healing Salve (also called the Dog Paw Balm and Protection Wax) has started with Calendula-infused oil and included Manuka and Lavender Essential Oils. The salve continues to help the paws of the greyhounds. Here is the recipe:
Necessary Changes Over Time
Of course, the side effect of folks rubbing the salve on their dog’s paws has been requests for the salve for their hands! I’ve also had requests to replace the calendula base with something else (a few folks are allergic to calendula and can’t use the products based on them) and some additional essential oils for a better scent.
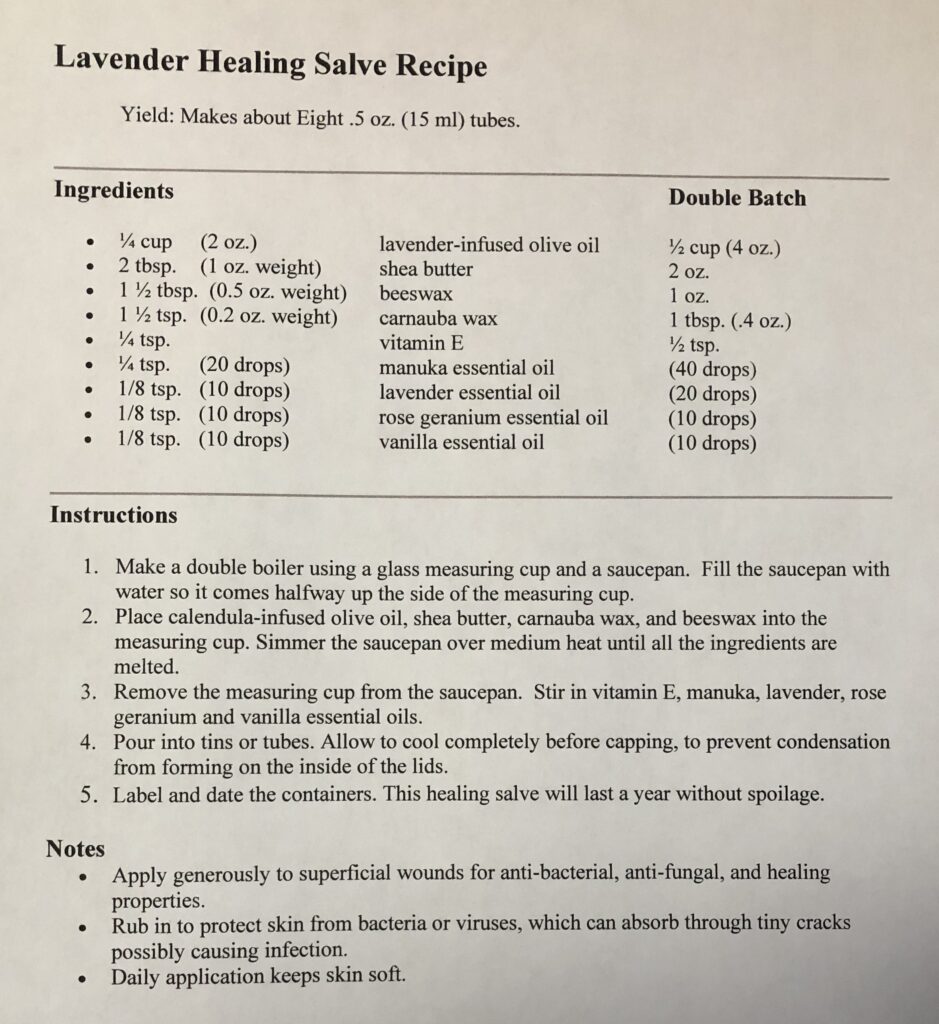
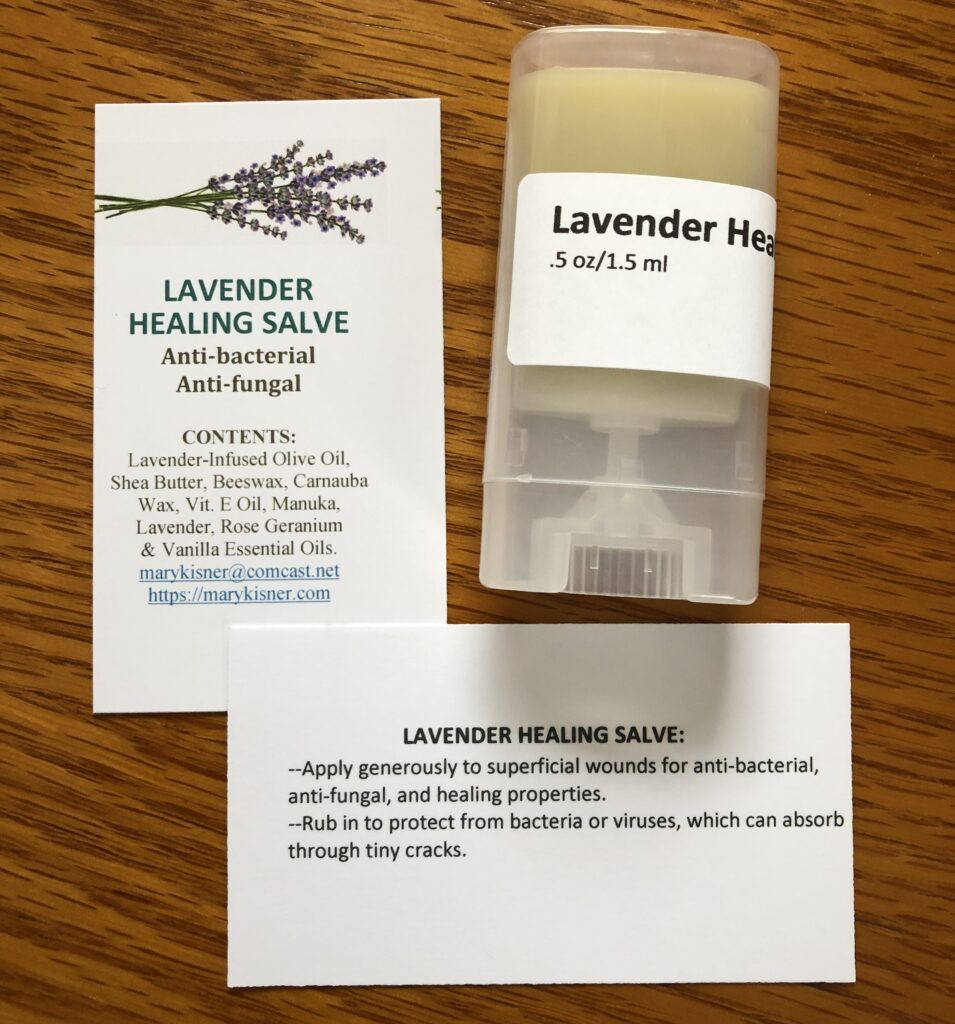
Making the Lavender Healing Salve
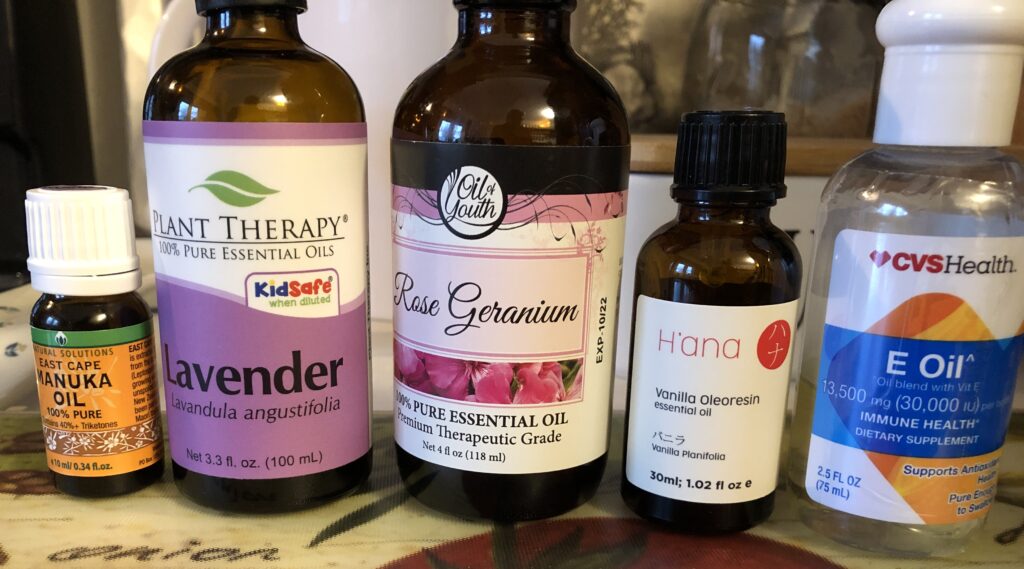
First, I made a big batch of the salve based on Calendula-infused oil to replenish my stash. Then I started over to make a batch of Lavender-infused oil. The rest of the ingredients will be the same as the recipe above. At the end, I added the essential oils of Rose Geranium and Vanilla to enhance the scent. This made a more pleasant salve for the rest of us! Here’s the new recipe:
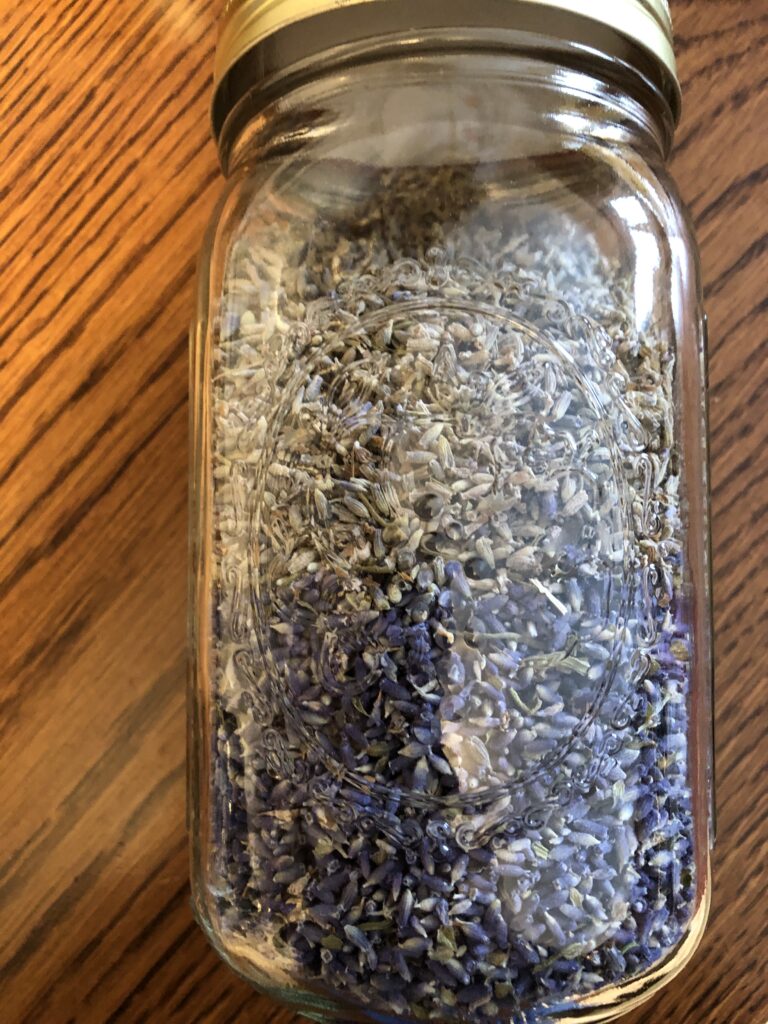
Step 1: Make Lavender-infused Oil
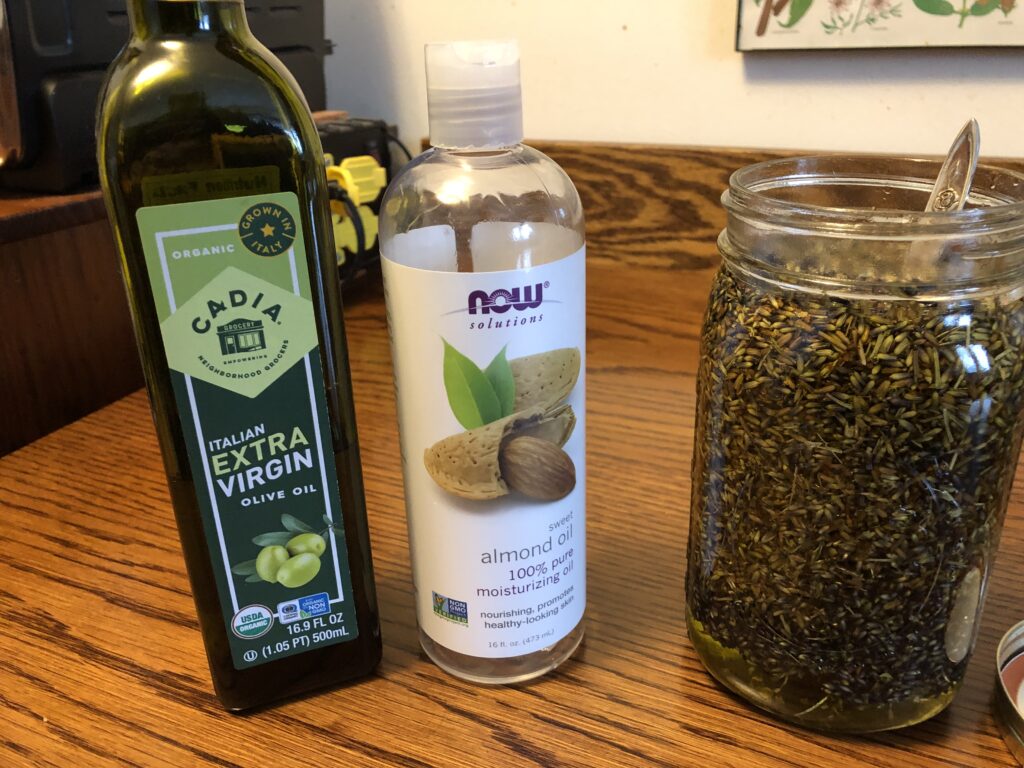
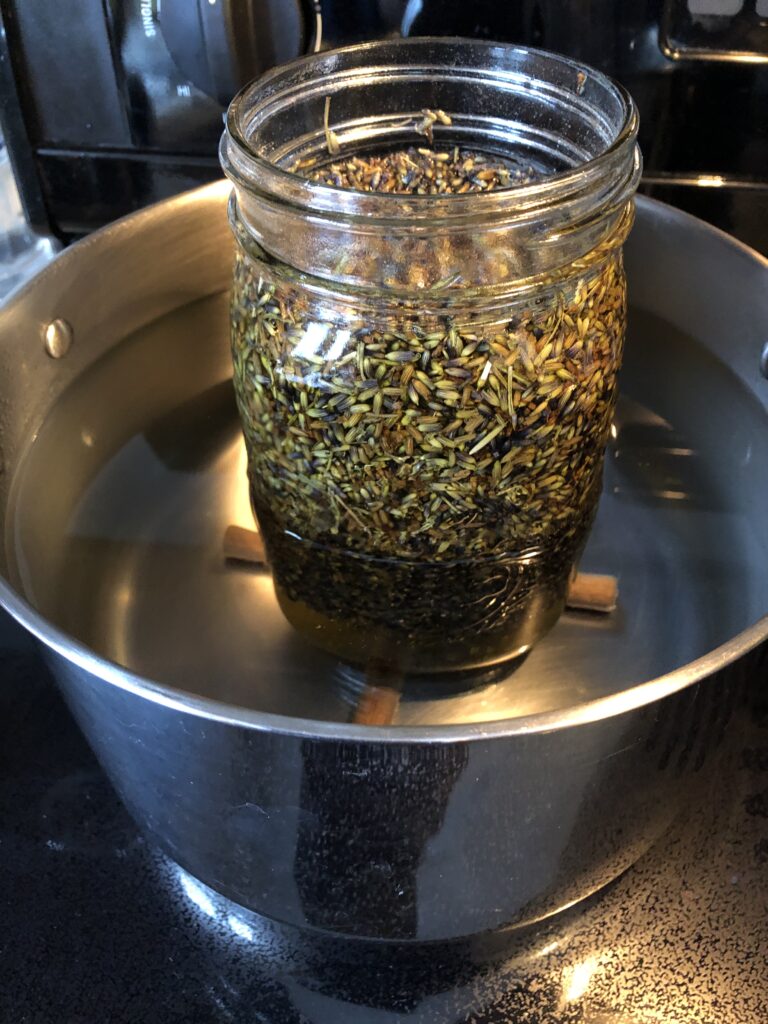
I had a jar of dried lavender buds…some came from my garden last summer. I poured olive oil and almond oil into the jar until the buds were covered. I set the jar in a pot of hot water on the stove. I brought the water up to not quite boiling and let it simmer for about 6 hours. I did have to add water to the pot several times, but all I had to do was stir it every now and then.
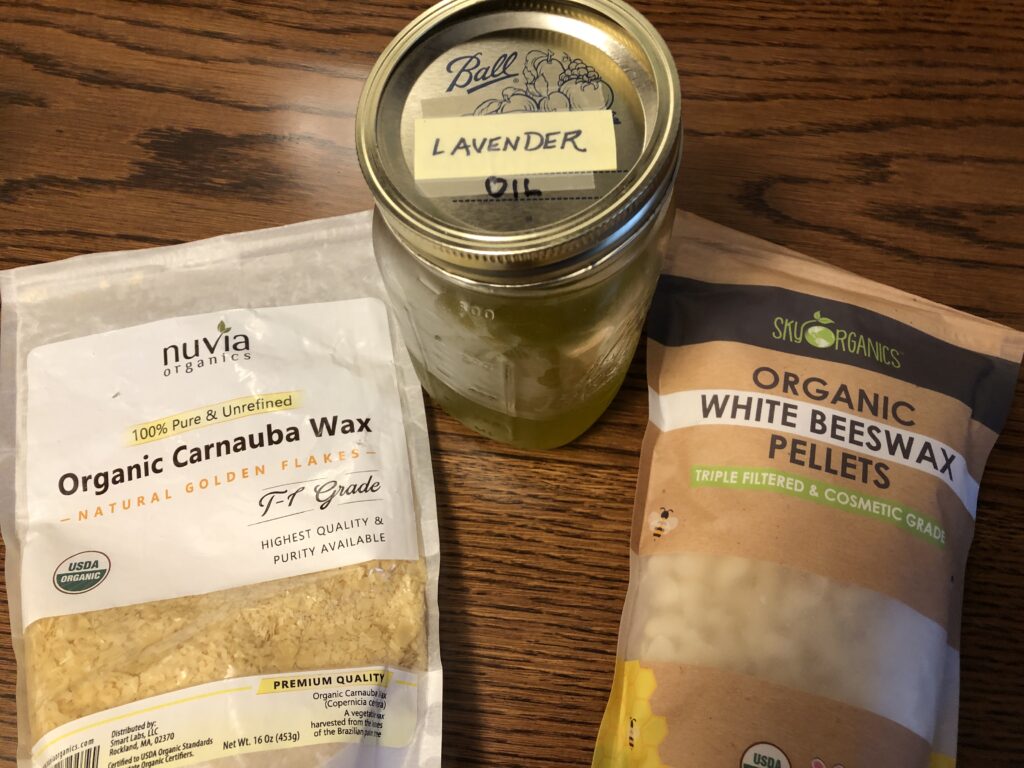
Step 2: The oil/lavender mixture had to be strained several times through cheesecloth. I was left with over 1 cup of lovely lavender-infused oil. I stored the jar in the refrigerator until I was ready to make this new salve.
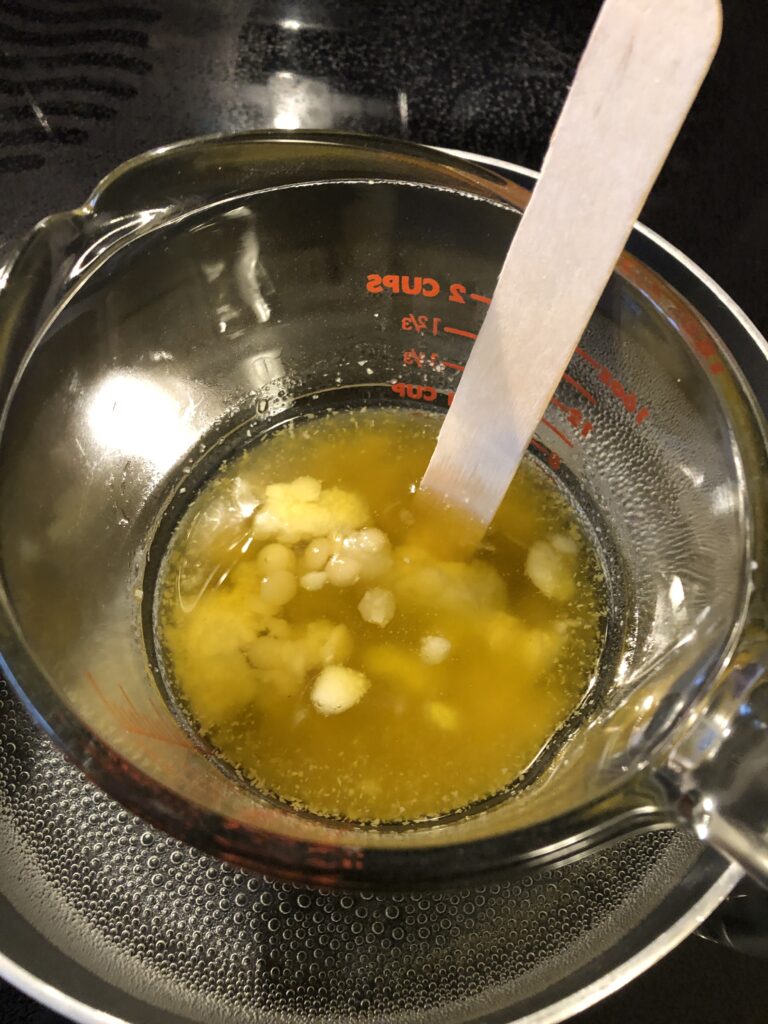
Step 3: To make the salve, collect the ingredients, a two-cup glass measuring cup and your scales. Measure everything into the measuring cup.
Step 4: Set the measuring cup into a saucepan with water on the stove. Bring the water just to boiling and let it simmer. The waxes, shea butter, and oil will gradually melt to a liquid.
Step 5: When all ingredients are melted, remove measuring cup from the pan. Add the liquid Vitamin E and Essential oils, stirring after each addition.
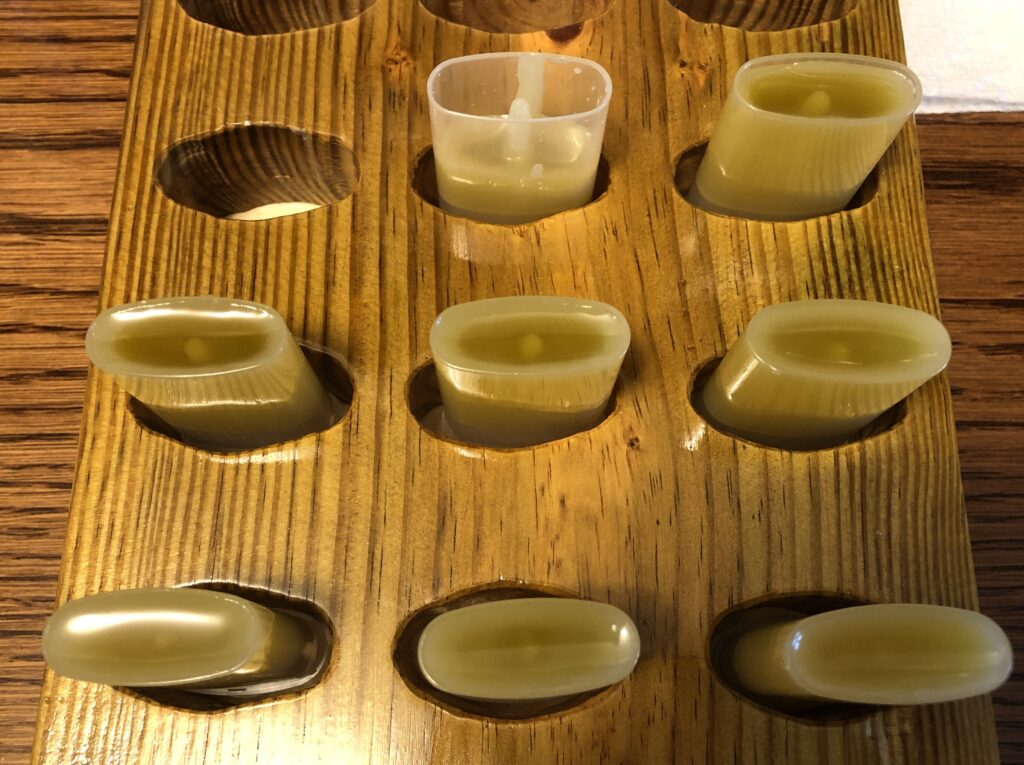
Step 6: Fill the containers by either pouring or using a disposable pipette. Let cool until firm.
Step 7: When cool and firm, label each container. I make a point to make a card with ingredients and instructions so folks know what is in the product.
You can see my Dog Paw Balm and Protection Wax has evolved into my Calendula Healing Salve for dogs and people; while the Lavender Healing Salve is safe for dogs and people who have allergies to Calendula…it also smells pretty good! Try it yourself!
Making bead bracelets seems to be the neat thing to do these days…for young children, teens and even adults! The last time I thought about making anything with beads was when I taught kindergarten years ago, or when my kids were very little. Now, apparently, everyone seems to be making them to share messages with others. I think much of this started with the whole fan base of Taylor Swift. It shows how much impact her followers can influence marketing trends! Why not write a message to a friend!
In any case, when my granddaughter went to a Penn State Lady Lions basketball game a few weeks ago, she was able to make several bead bracelets with tiny basketballs on them. She was thrilled!
My only experience with beaded bracelets as an adult was ordering several bracelets with tiny beads from Etsy. One was made of Citrine stones (my birth stone/color). Then I ordered another set of seven bracelets from Sedona, Arizona. I had hoped to wear them all together as a set…but alas…they were too small and I couldn’t stand them that tight (no pictures for the set).
Needless to say, the set of bracelets stayed in their package for a long time. In the back of my mind, I kept thinking I could take them apart and restring them somehow. When I finally took the plunge to go shopping for the right elastic and additional beads to fill in to make them longer…I got sucked into the whole industry of beading!
If you’ve ever wandered through JoAnn’s Fabric Store or Michaels Craft Store you know what I mean! Yikes! I didn’t quite know what I needed so the displays were very effective in getting me to part with my money!
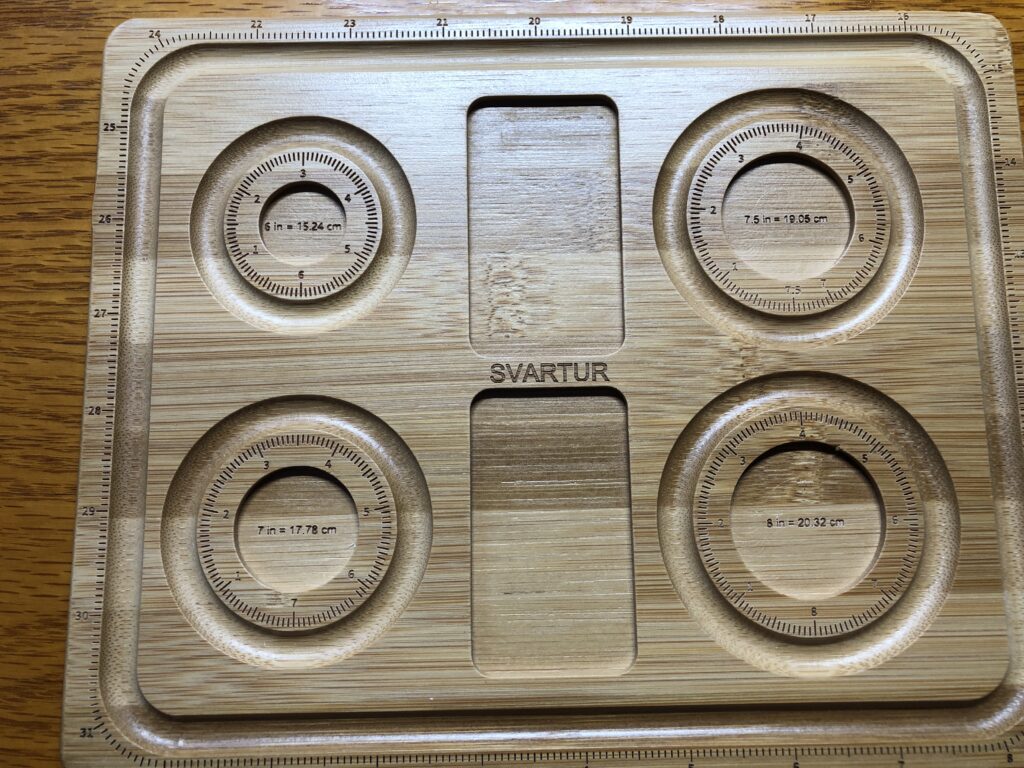
Before I started cutting my precious bracelets apart, I thought I’d better try to make a bracelet first. Of course, that meant ordering a board to hold the beads while I figure out the design.
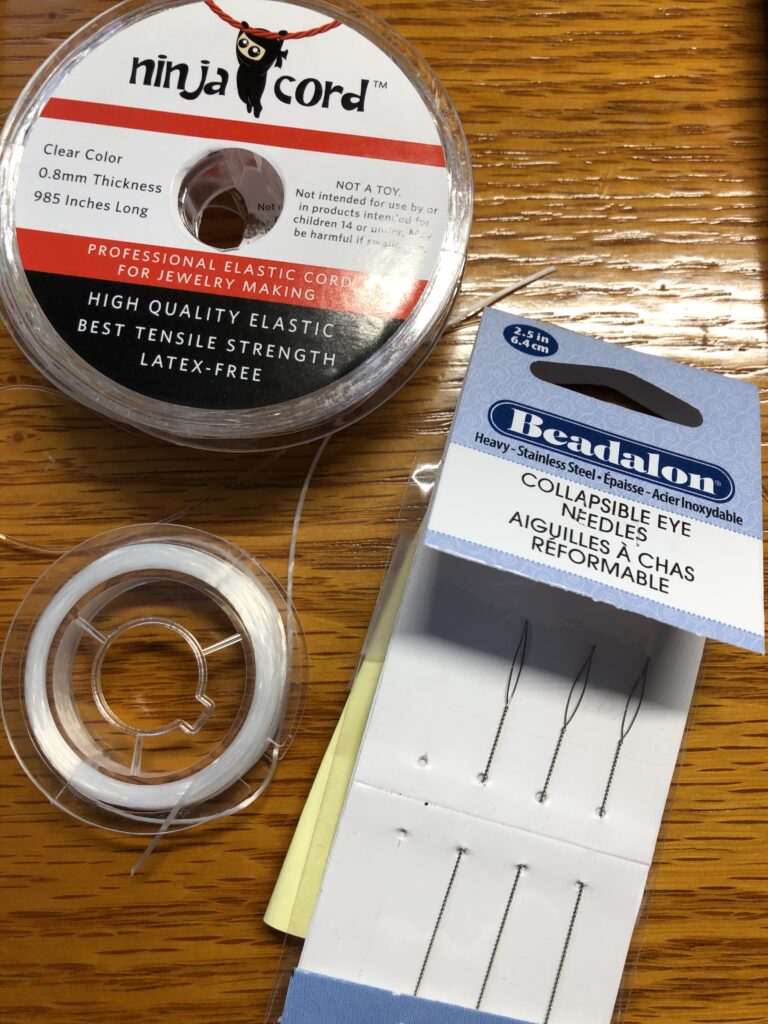
I needed elastic string (like stretchy fishing line) and I had to learn how to tie a knot that would stay tied…haha…then I found a “jewelry glue” to put on the know to hold it. I’m sure I’m not doing it right, but hopefully I’ll get better at it.
Here are some of my first attempts at making bracelets…I fell in love with the tiny turtle beads in the bracelet on the left:
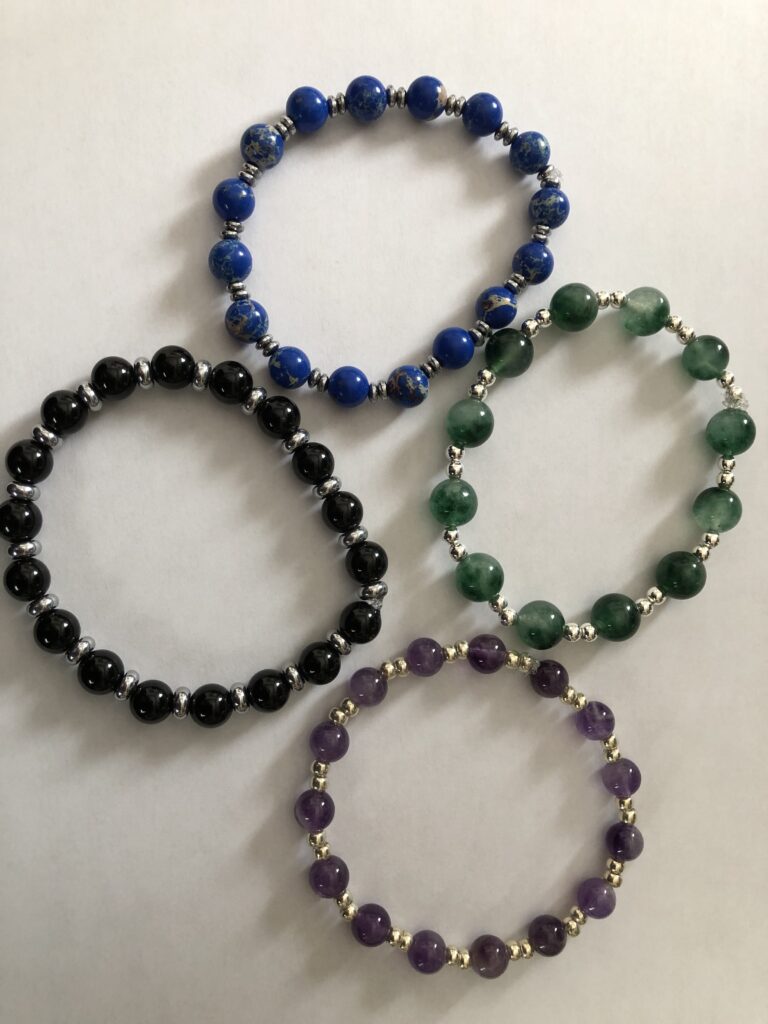
Then I experimented with real stones…they sure felt more substantial than plastic beads. Already I’m discovering what I like to work with…and of course real stones are more expensive than plastic!
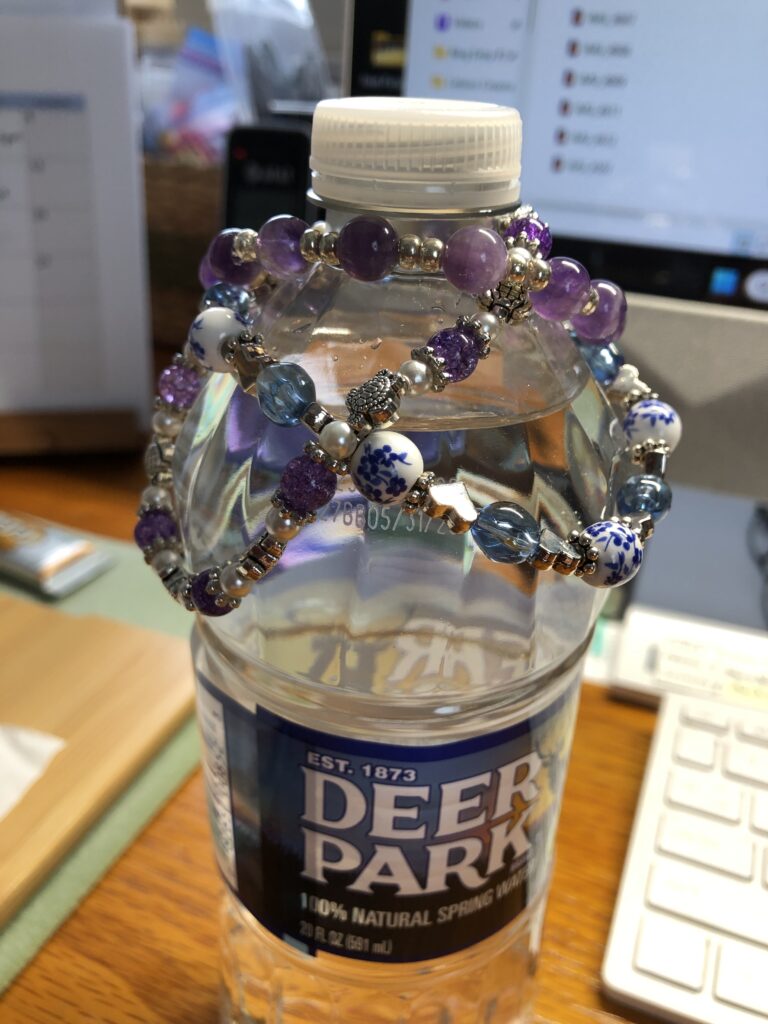
Of course, I wanted to see the bracelets as I made more, so I draped them over my water bottle on my desk.
I think Bert took pity on me and later that day he brought me a stand he had just made to display the bracelets! Very clever and appreciated!
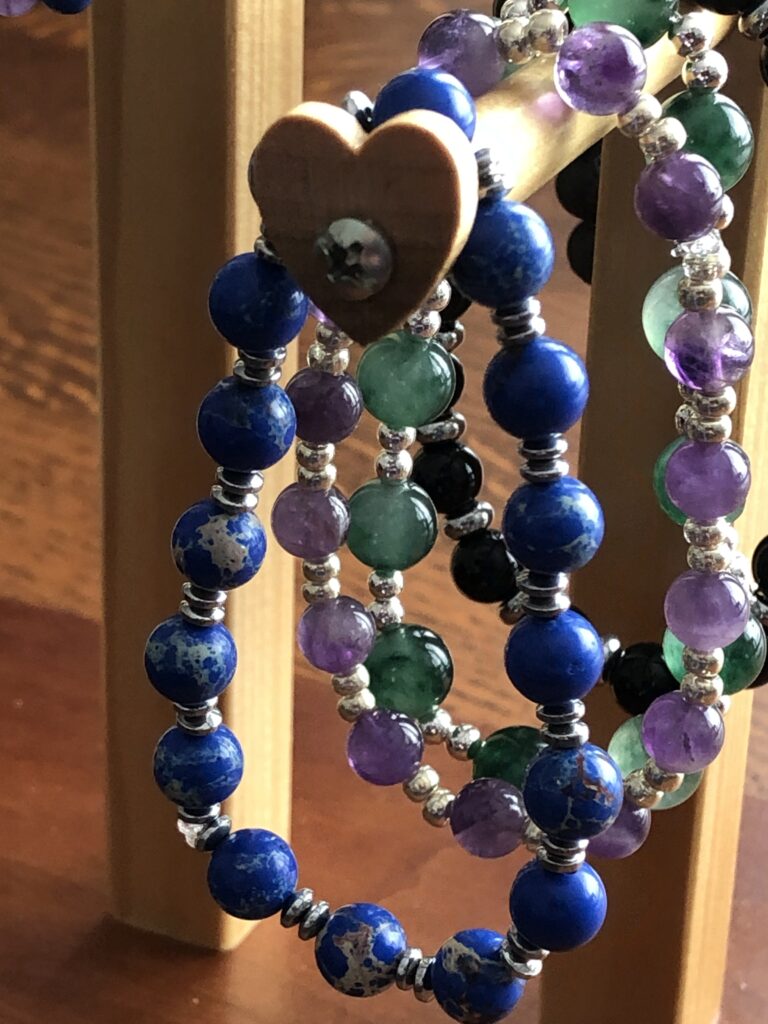
Even the ends were cute!
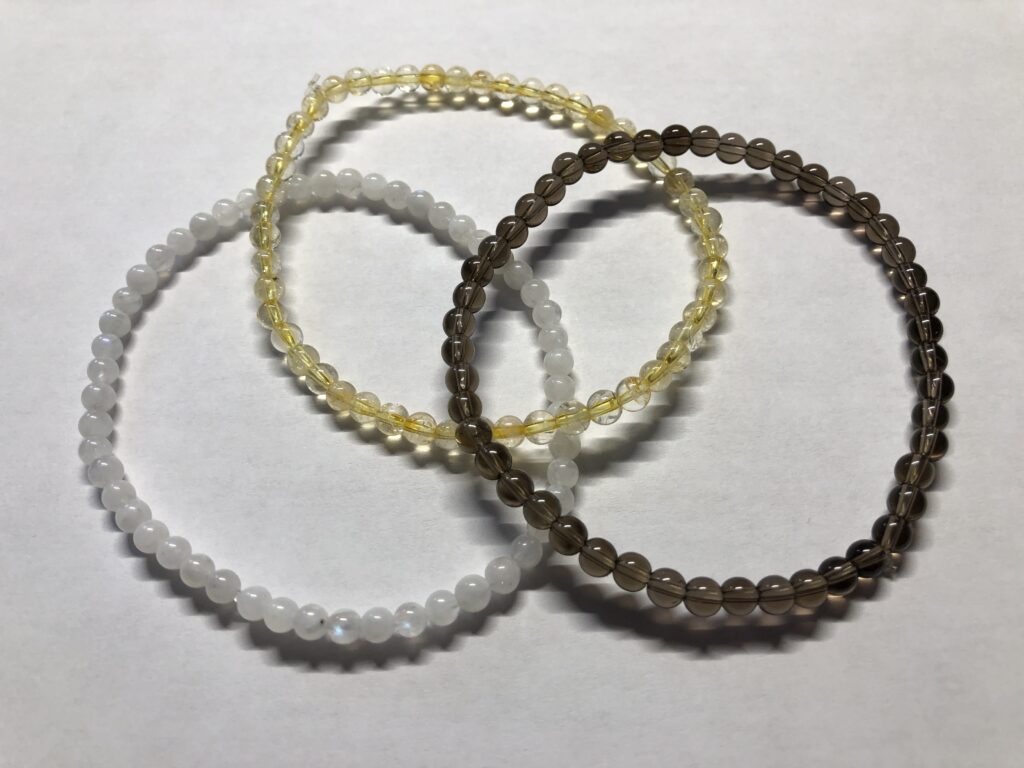
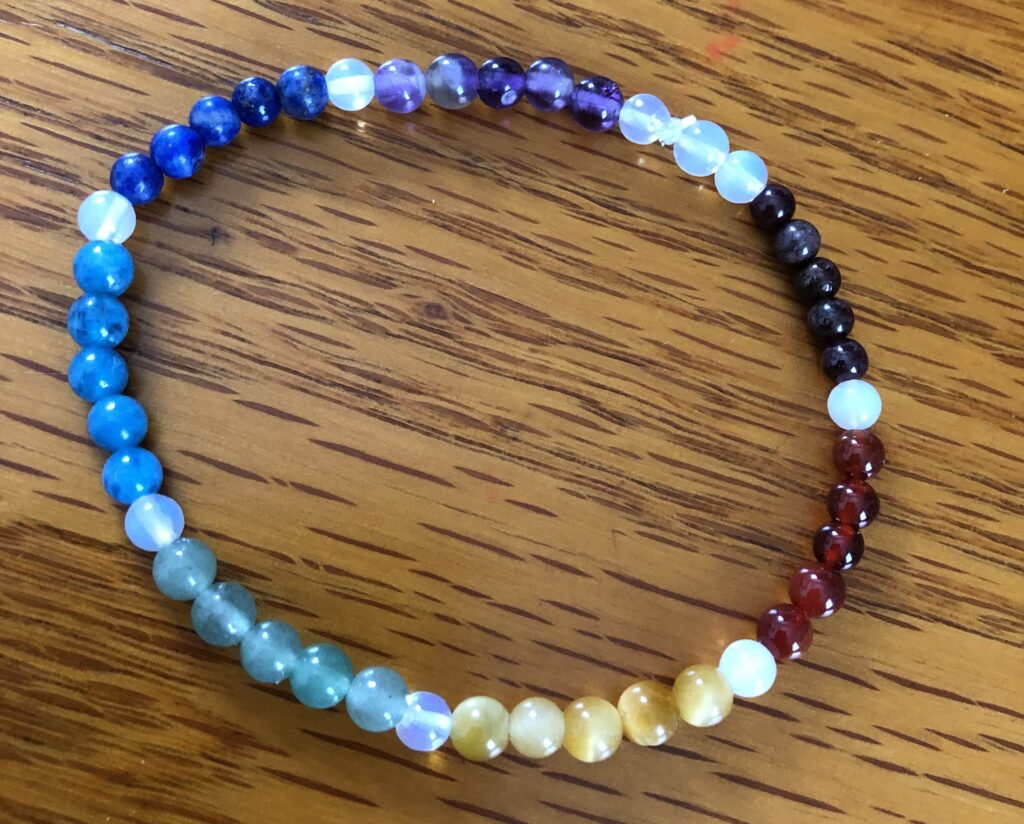
Restringing my special bracelets was a challenge. I had decided to make a bracelet with all 7 colors on one bracelet. First, I cut the string on each bracelet and put the beads in individual little containers…with labels so I’d remember what they were.
Then I tried to figure out how many beads of each color would make the right length bracelet. I ended up with 5 of each color and a single bead of white opal between the colors. It took three tries to get it the way I wanted. I still can’t make in invisible knot, but with the glue it just looks like another bead. Oh well!
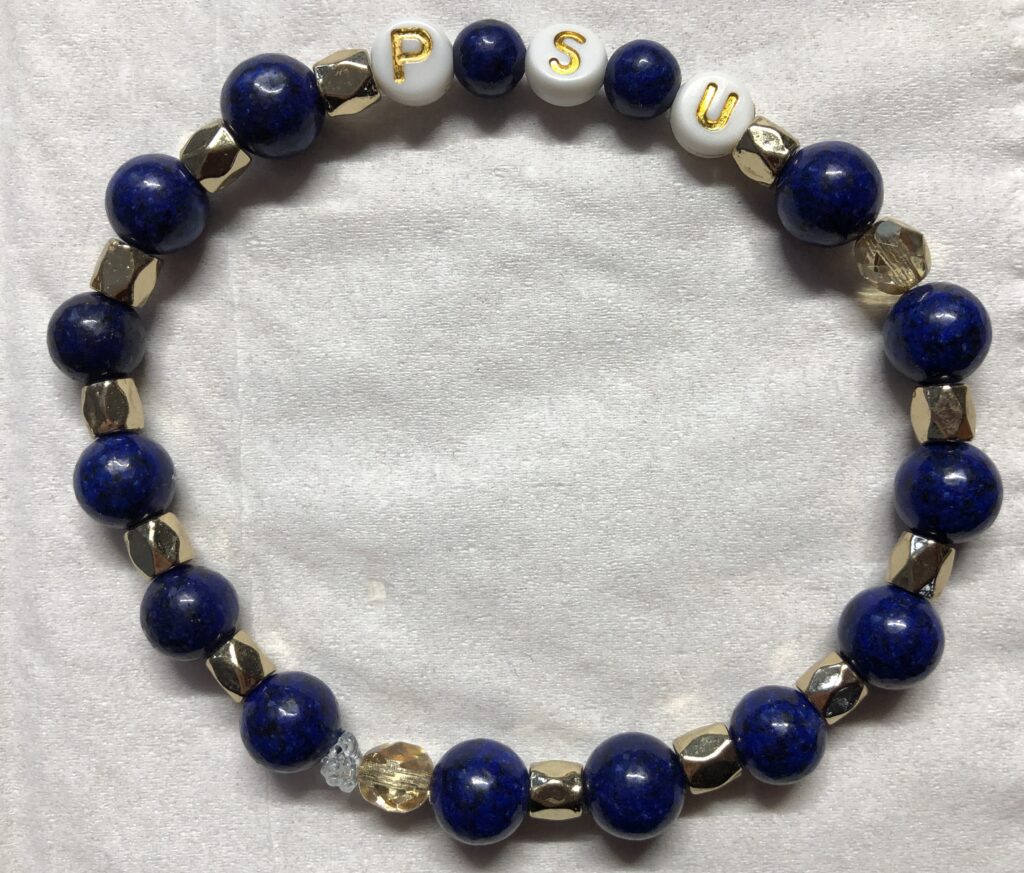
Now, let the fun begin! I must have a bracelet to wear to the next Penn State Lady Lions basketball game…
So, when I’m not cranking out greyhound coats or making skin care stuff or soap, know that I’m sequestered at my desk focused on getting this elastic string through tiny holes in beads! Try it yourself!!
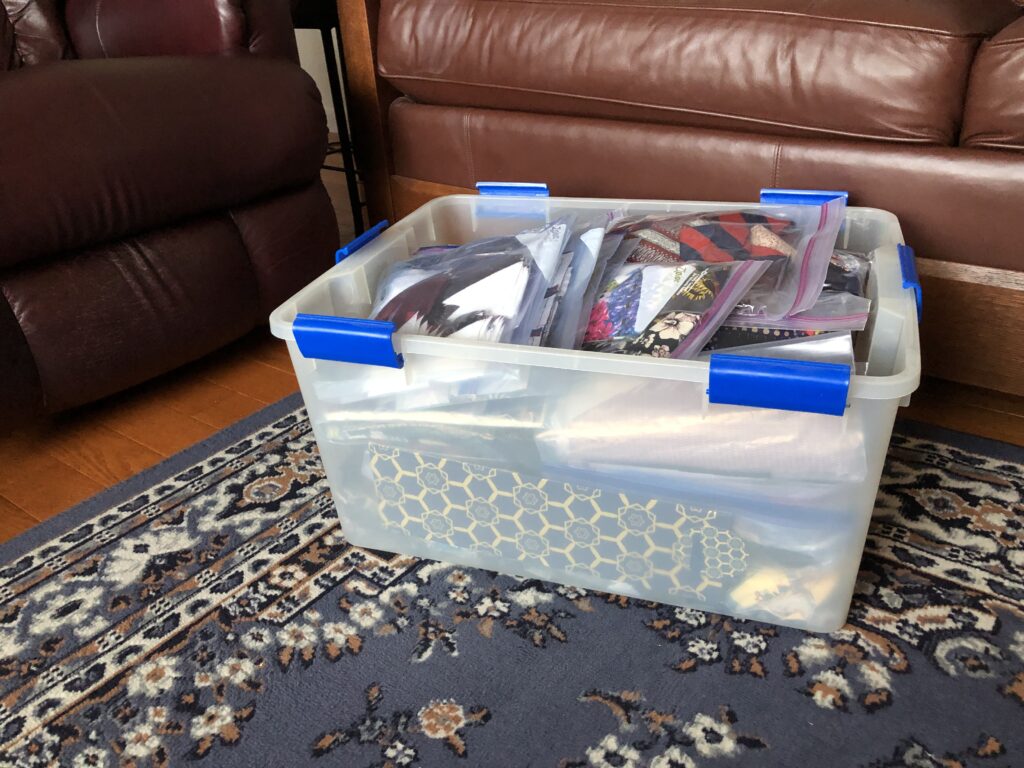
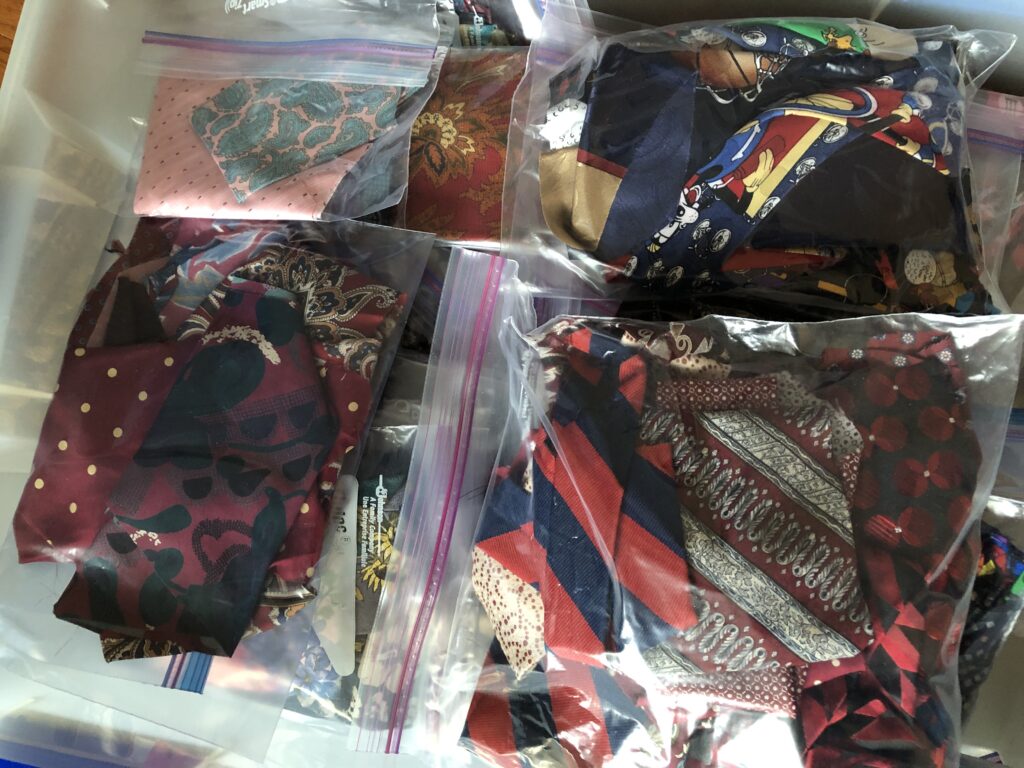
I thought it would be so easy…just drag that bin of necktie material out of the corner, check that I hadn’t stuffed any other kind of materials or tools in the bin, have Bert put the bin in the car and drop it off at Scraps & Skeins! Haha!!
After I had explored Scraps & Skeins Shop here in State College (see https://marykisner.com/exploring-the-scraps-and-skeins-shop/) and had conversations with folks who work there, I determined that was the perfect place to donate my stash of neckties. I thought I could just load up the bin and be done with it! I didn’t realize how emotionally attached I was to that stash!
I couldn’t figure out why I was so attached to these ties…did I have other projects in mind? Was each scrap of material so beautiful that I couldn’t let go? Did each necktie have a memory attached?
What got me started with neckties?
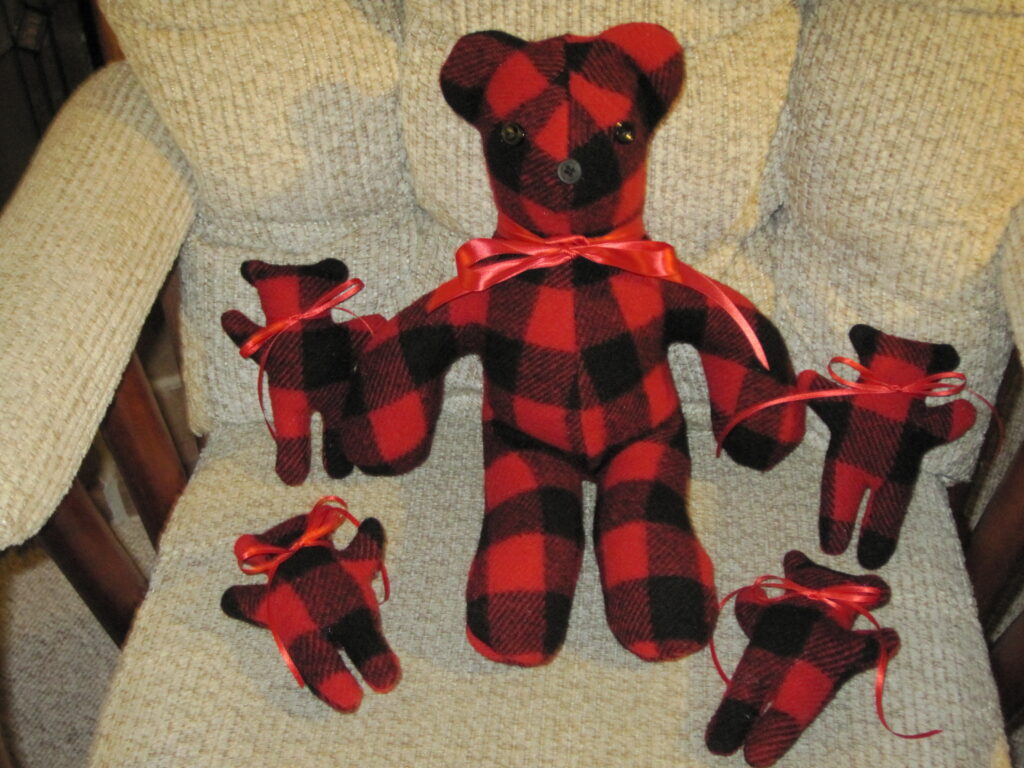
Over 10 years ago, I was volunteering for a local Home Health and Hospice organization. I offered my services to make memory bears from a loved one’s clothing after they passed. I must have made over 100 bears during that time. You can read about the memory bears here: https://marykisner.com/making-a-memory-bear/
One family asked if I could make something out of a collection of neckties…and my quest to find an appropriate item began.
Some neckties can be very colorful and unique. However, there isn’t a lot of fabric in a tie. It is often not washable or colorfast. While some items are made with whole ties sewn together side to side, like a skirt or throw, they end up quite heavy. I did not get enough ties in that first batch to make anything large.
The inner lining of neckties tends to retain odors from the wearer or cleaning solutions. This is often a layer of wool felt or polyester fabric. I found it was just easier to take them apart and remove the inner lining that retained odors. This gave me tie-shaped fabric pieces about twice the width of the tie, tapering to much smaller at the other end.
Ties are cut on the bias (diagonally across the fabric) which makes them too stretchy to work with and is made in three pieces, so two seams are about in the middle of tie. Adding an iron-on interfacing was essential to use the fabric in other projects. To make something, I was limited to small pieces or strips of varying weights and colors.
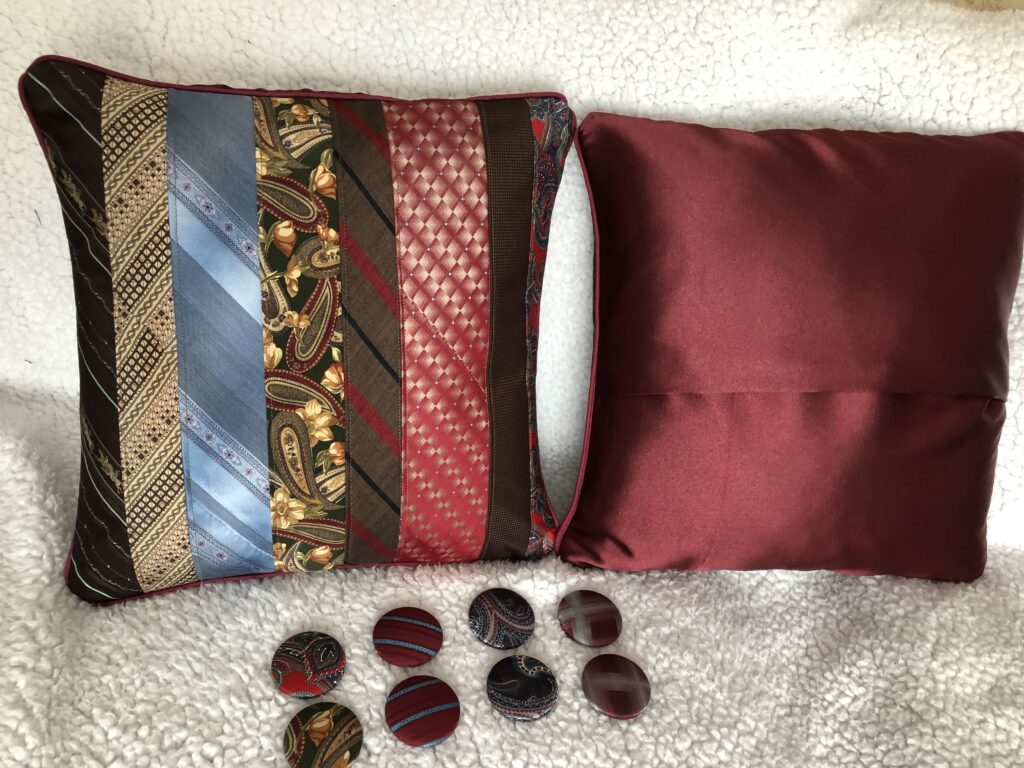
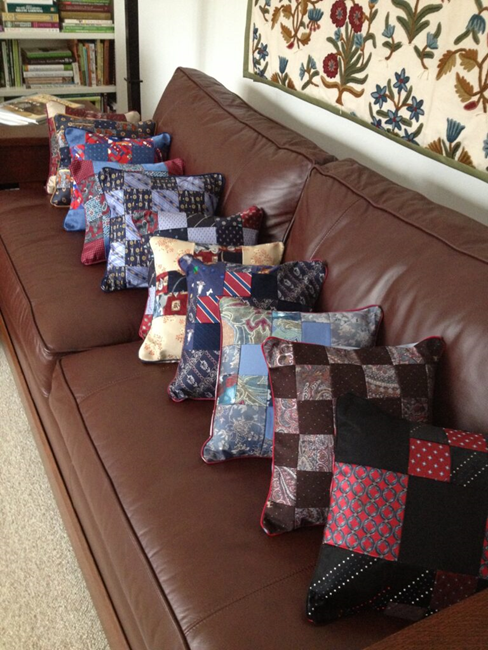
I knew I could not make a bear out of bits and pieces of fabric. A little research on Pinterest for memory items showed many folks had made pillows out of neckties, along with other small items composed of strips, squares, or freehand shapes. The photo below shows a pillow made from 8 neckties. The back of the pillow was a piece of polyester satin. This made a nice memory pillow for the widow.
I have obtained neckties from friends and acquaintances who have cleaned out attics and closets. Sometimes garage sales have a few for sale. Thrift shops, like St. Vincent DePaul’s and Goodwill usually have a collection. I have paid as little as $1 to as much as $4 per tie. That can be very expensive if I’m not careful! Sometimes specific name brands are worth much more.
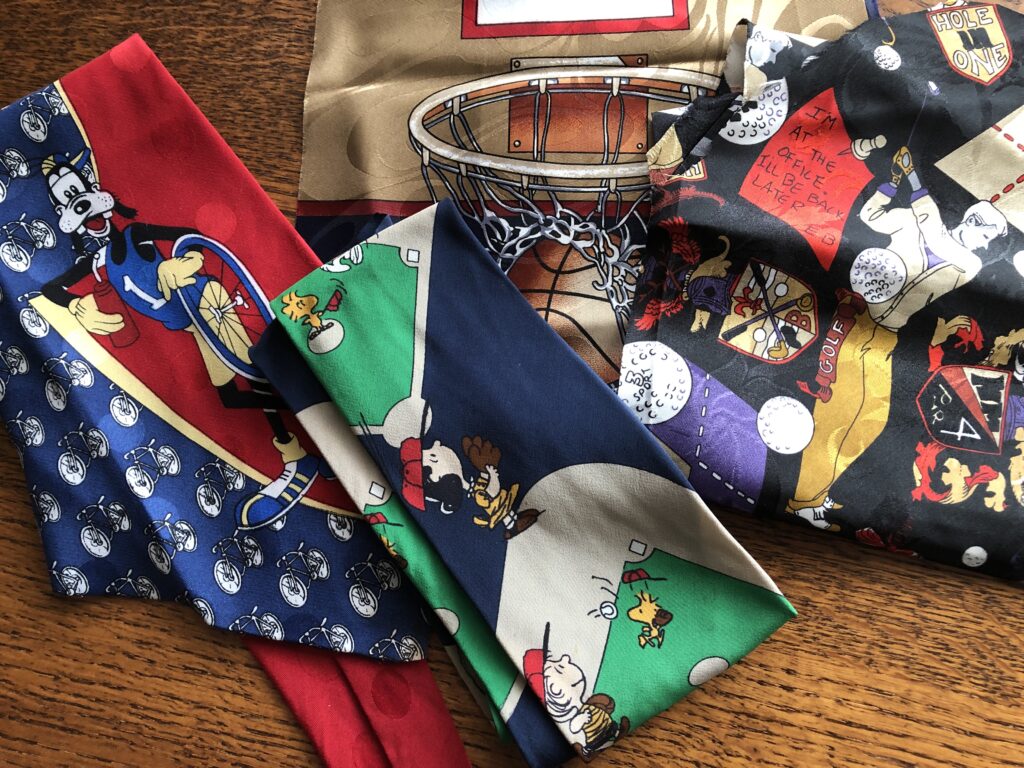
The most interesting ties I worked with came from a retired school Principal…he had novelty ties with cartoon characters appropriate for kids. He probably had enough ties to wear a different one each day.
Once I figured out the process to convert a necktie into small but useful pieces of fabric, I was challenged to find other ways to use neckties. First, of course, I cranked out a bunch of pillows just for fun! This pile below I mailed to a niece in California who works as an Activities Director at a gated community. She used them as prizes and gifts in her activities. Obviously, I was focused on make squares from the neckties at the beginning!
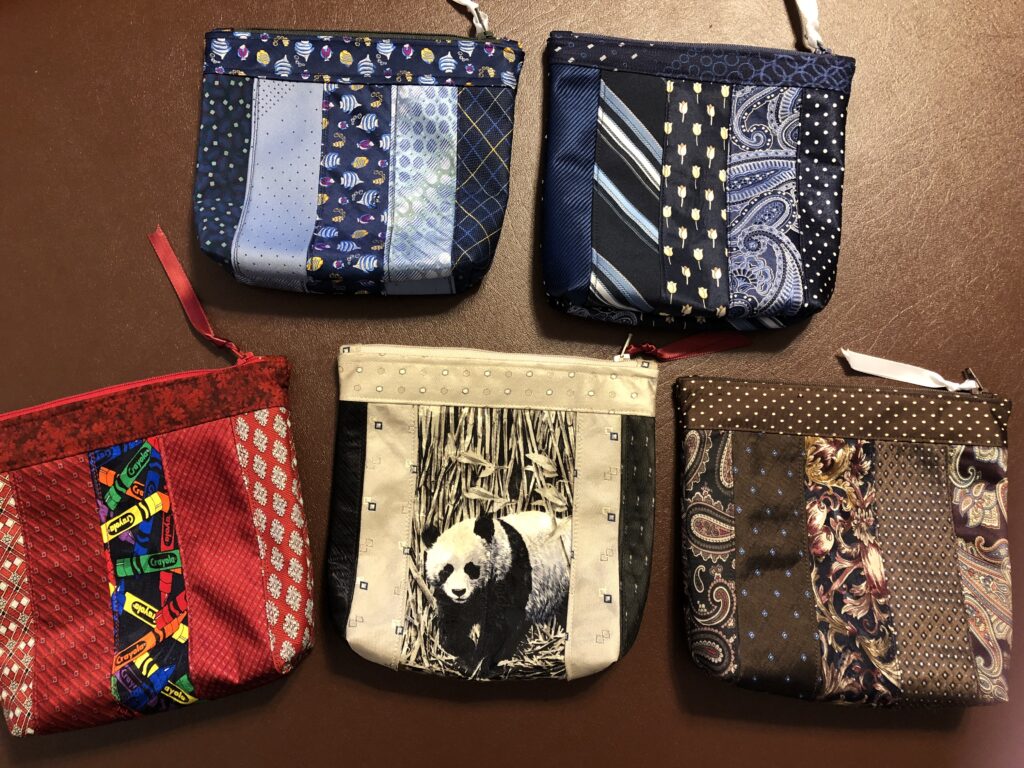
I made cosmetic bags for friends showcasing an interesting tie:
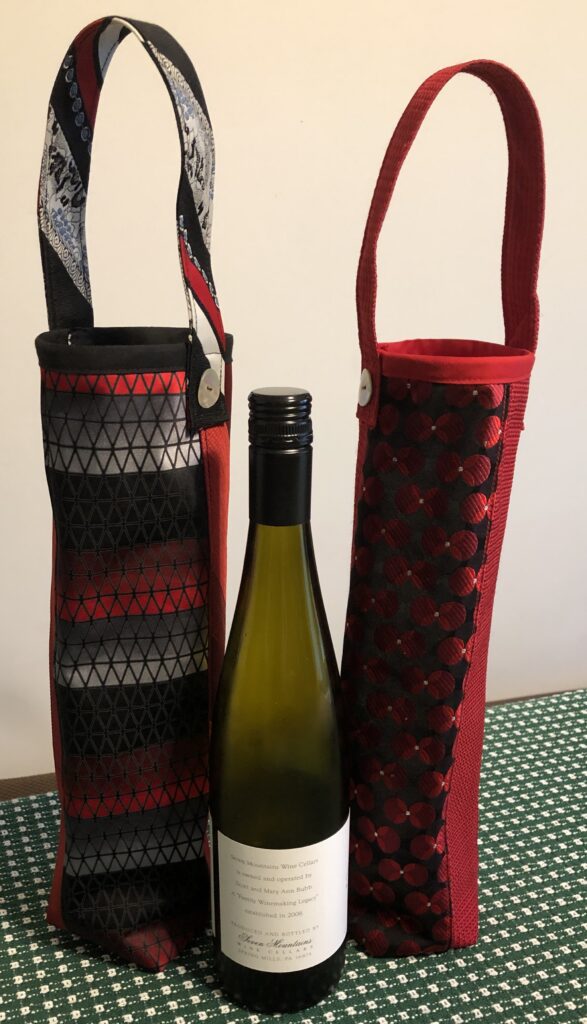
I tried to make wine bags:
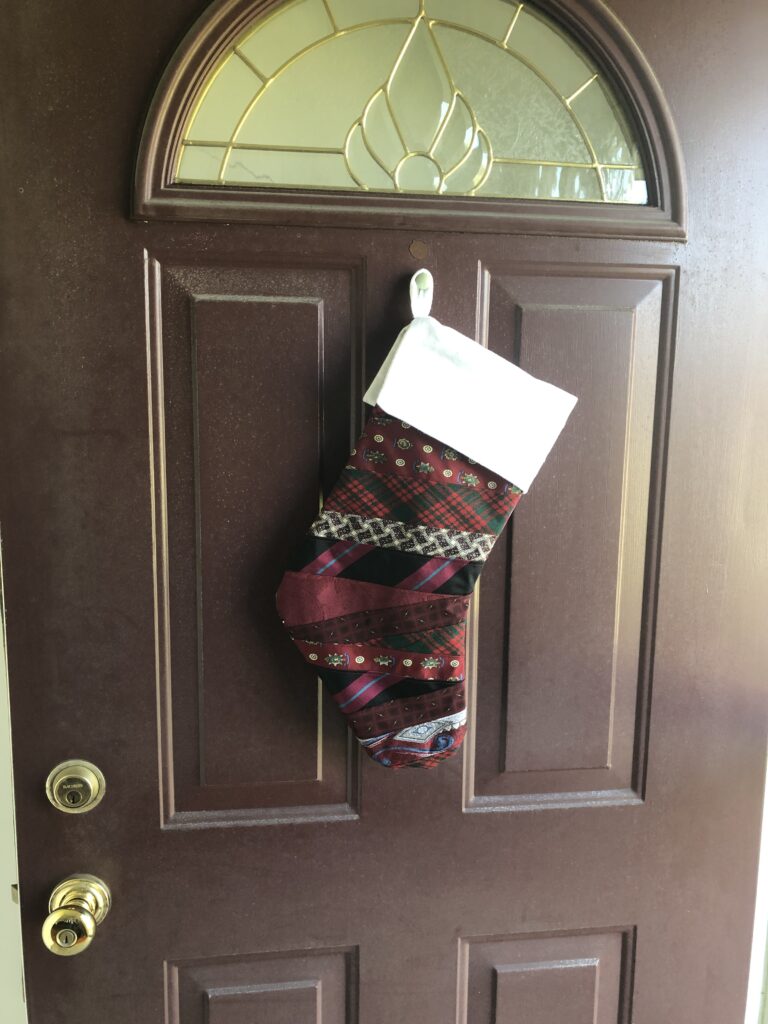
I even made a Christmas stocking for the front door last year!
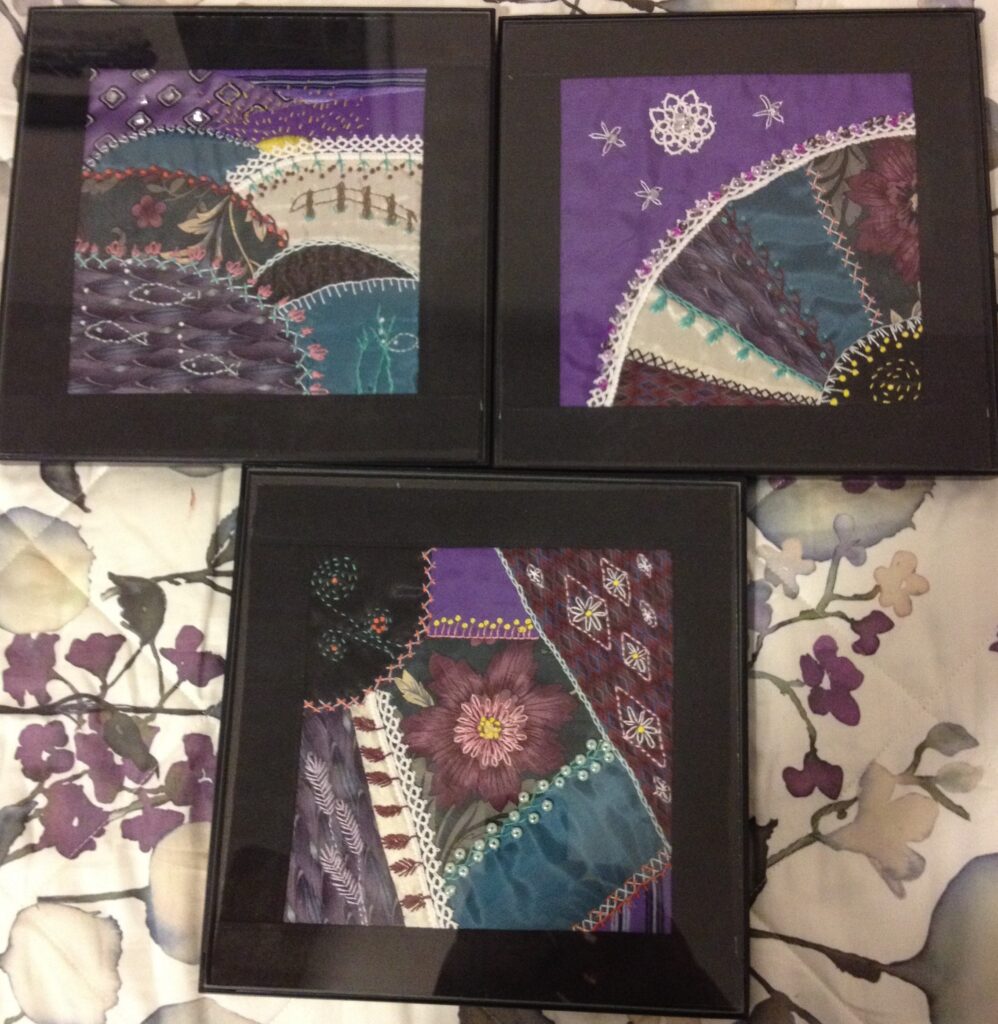
I made crazy quilt pictures…interesting, but I gave them away.
Even though I had made numerous items for fun…all of these projects were missing the deep memories of the pillows I made for a loved one’s family.
Reflecting on why I had this huge stash of necktie pieces was important in the process of letting go. I also realized I will never forget how to work with neckties. If a family loses a loved one, and has a pile of neckties they remember their loved one wearing, I know exactly what to do. I also realized I didn’t need to have this stash of neckties in my cluttered space.
All of this reflection helped me let go of this stash! Maybe someone else can use the pile and do some wonderful things! Perfect!
So, I had Bert load up the bin in the car and off I will go to Scraps & Skeins. What a relief to let go. Now…what to sort next! If I do this a little at a time it might not be so tough! Enjoy!
One of the downsizing challenges for quilters and crafters alike is what to do with our piles of assorted materials. Like many of you, I have materials for quilting like cotton fabric and batting. As a crafter, I also have assorted materials like zippers, bias binding, ribbon, elastic and thread. My giant tub of neckties (cut apart and sorted by color) has become part of a night stand until needed for a craft project! Of course, lately my interests seem to have morphed into beading bracelets! Oh my!
My biggest concern has been what to do with all my stuff if I’m faced with the challenge of downsizing. Might not happen this year, but eventually I’ll need to make some decisions about what to keep and what to get rid of. I just can’t see all this stuff going in the garbage to live forever in a landfill!
In my ongoing quest to find local organizations that accept donations of household goods I’ve already explored the St. Vincent de Paul Thrift Store and the CentrePeace Showroom. They are set up to accept clothing, small appliances and furniture and then offer these items for sale to the public. Each organization has a charity who benefits from these sales. You can read about them here:
Last week I took the time to explore the Scraps & Skeins shop in State College.
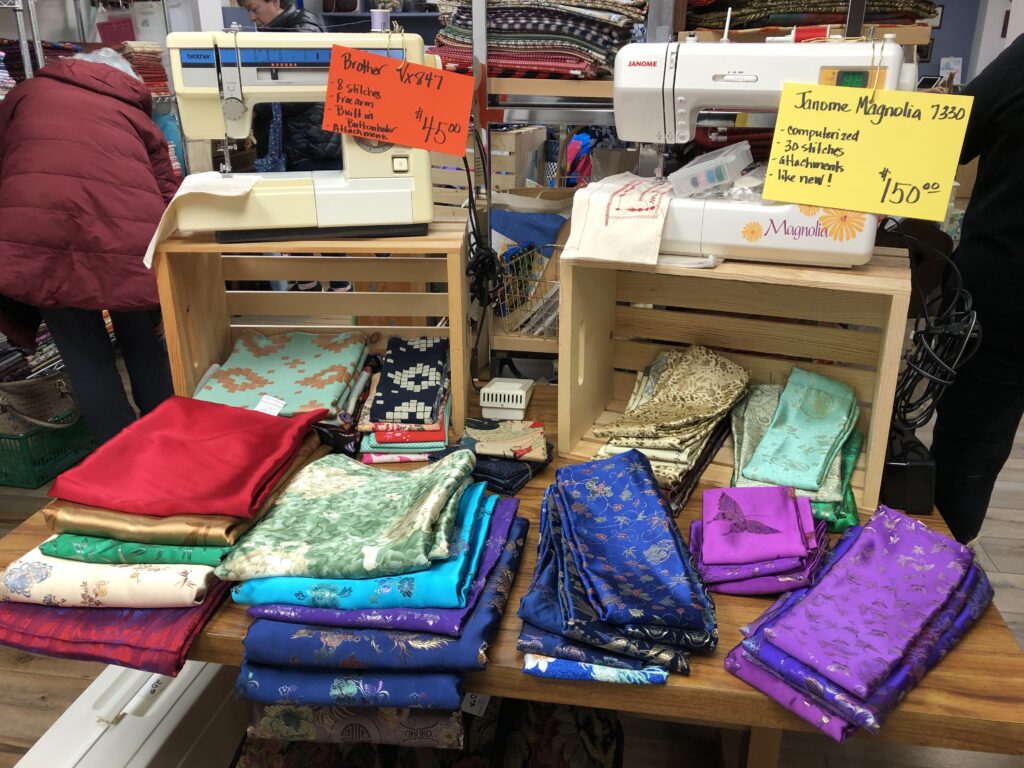
Their printed literature says Scraps & Skeins is a creative reuse store…meaning they accept donated items such as fabric, yarn, quilting supplies, knitting needles, books, patterns and even refurbished sewing machines! These items are organized and repackaged for resale to the public. This store provides employment opportunities for adults with mental health challenges. This is a win/win as far as I can see!
Scraps & Skeins was officially opened in 2015 under the umbrella of Strawberry Fields with the mission to create employment opportunities for adults with developmental delays, intellectual disabilities, and mental health issues. All proceeds support Strawberry Fields Inc., a United Way affiliate.
Since 2015, Scraps & Skeins has grown from a single showroom and store room into the six-room shop and workspace located behind the Strawberry Fields’ administrative office. It now employs a store manager and multiple employees.
Exploring Scraps & Skeins for Donation Ideas
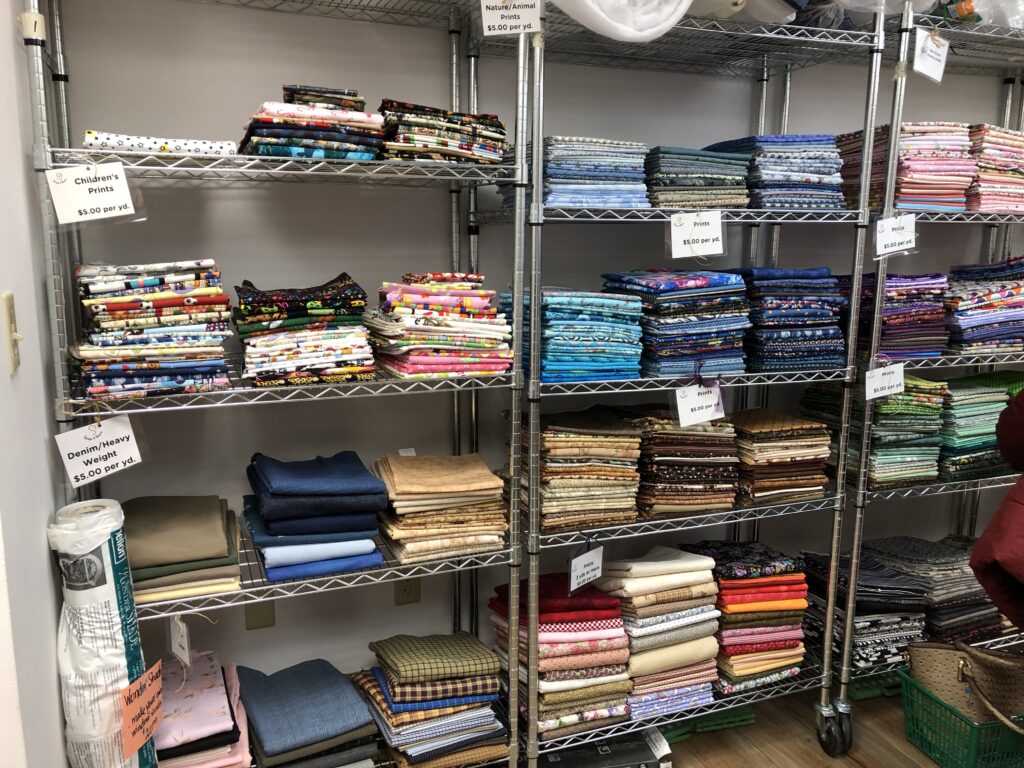
The colorful displays of fabric are enticing! It feels like a fabric store! I wanted to see what items they displayed compared with my pile of stuff so when the time comes to downsize, I’m donating the right things to them.
I found beautiful displays of fabric:
Even my sewing machines could be donated here!
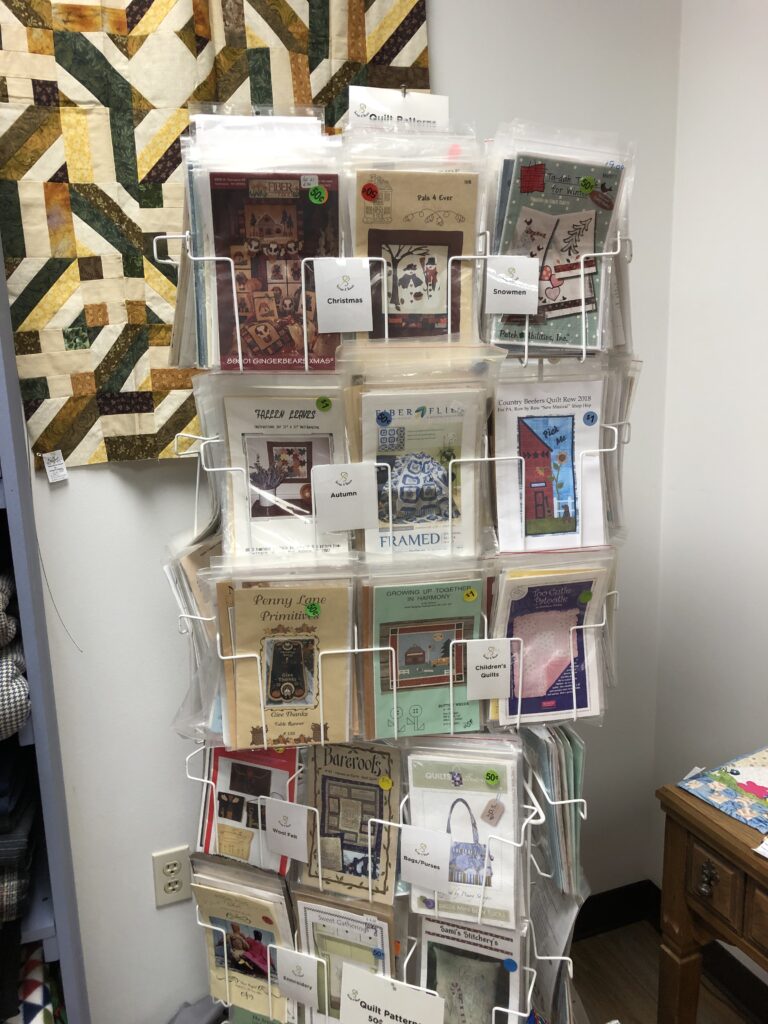
Patterns are accepted too!
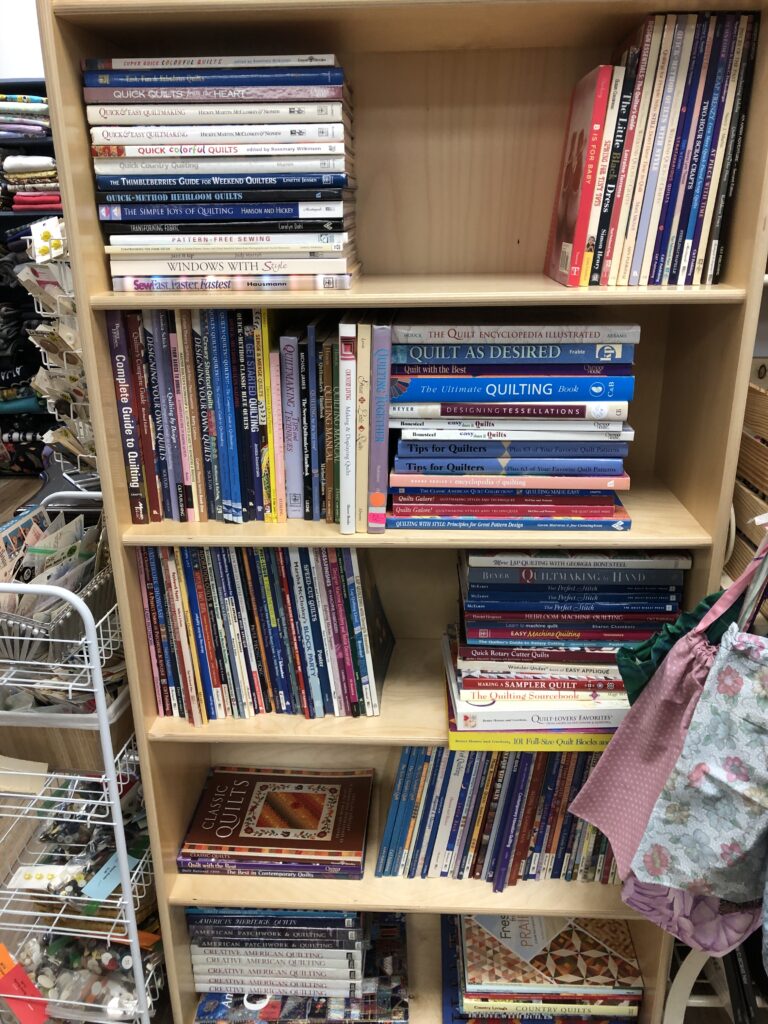
This would be a great place to donate my quilting and crafting books.
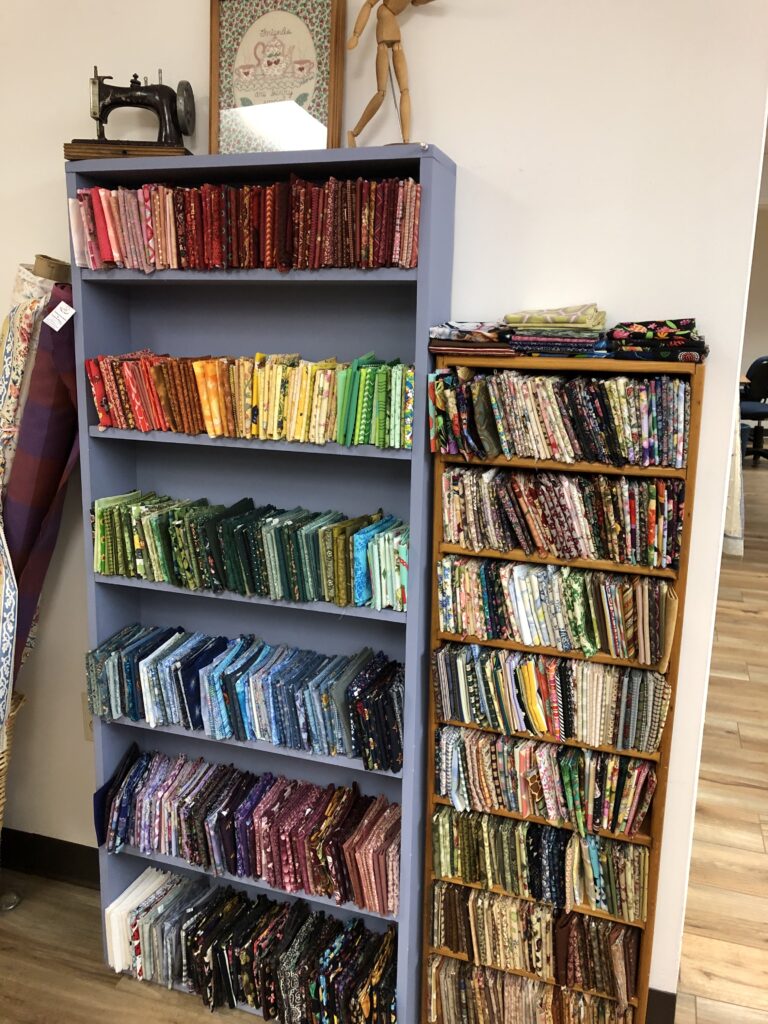
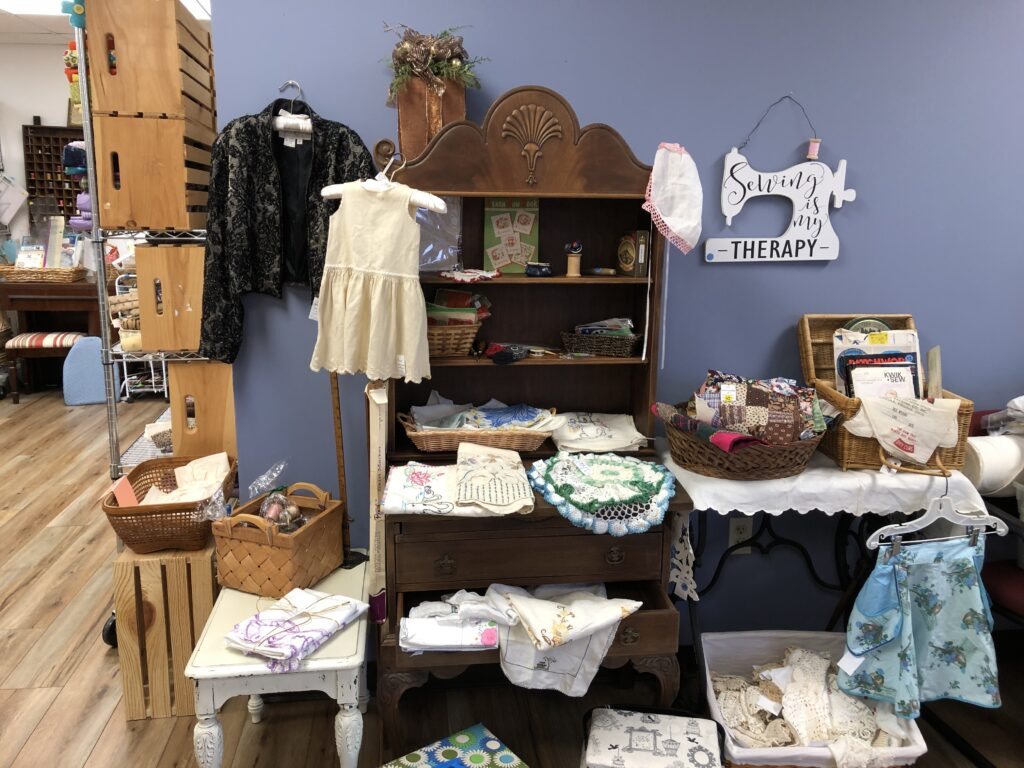
I have a whole bin of vintage fabric and I was pleased to see they displayed vintage items…looks like the stuff I have. I’m glad I can donate it here!
They had a whole room filled with notions…like thread, sewing needles and knitting needles. The room was crowded so I just peeked in…I don’t like to get between folks and their search for the perfect spool of thread!
I asked about donations of beading materials. They said they have found the resale value was too small to bother. After looking around, my bin of necktie material would probably not be accepted either. Good to know!
The Benefits of Donating and/or Shopping at Scraps & Skeins
Now I have a better idea of what I could donate to Scraps & Skeins. I also see the opportunity to go shopping for some lovely fabrics, books and yarn…when the need arises!
It feels good to support this store…I’m able to keep my sewing and crafting stuff out of landfills and by shopping here I’m supporting local adults who are learning valuable employment skills. You can do your part by donating and/or shopping at Scraps & Skeins in State College!
Finding Scraps & Skeins in State College
Their store is a little difficult to find the first time, but when you find it…you’ve found a treasure! Their address is 2766 West College Ave., State College, PA 16801. To get there I find it easiest to turn off West College Avenue onto Bristol Avenue and then turn right onto Enterprise. The first right takes you behind and between the buildings and when they are open, they put out a sign that really helps!
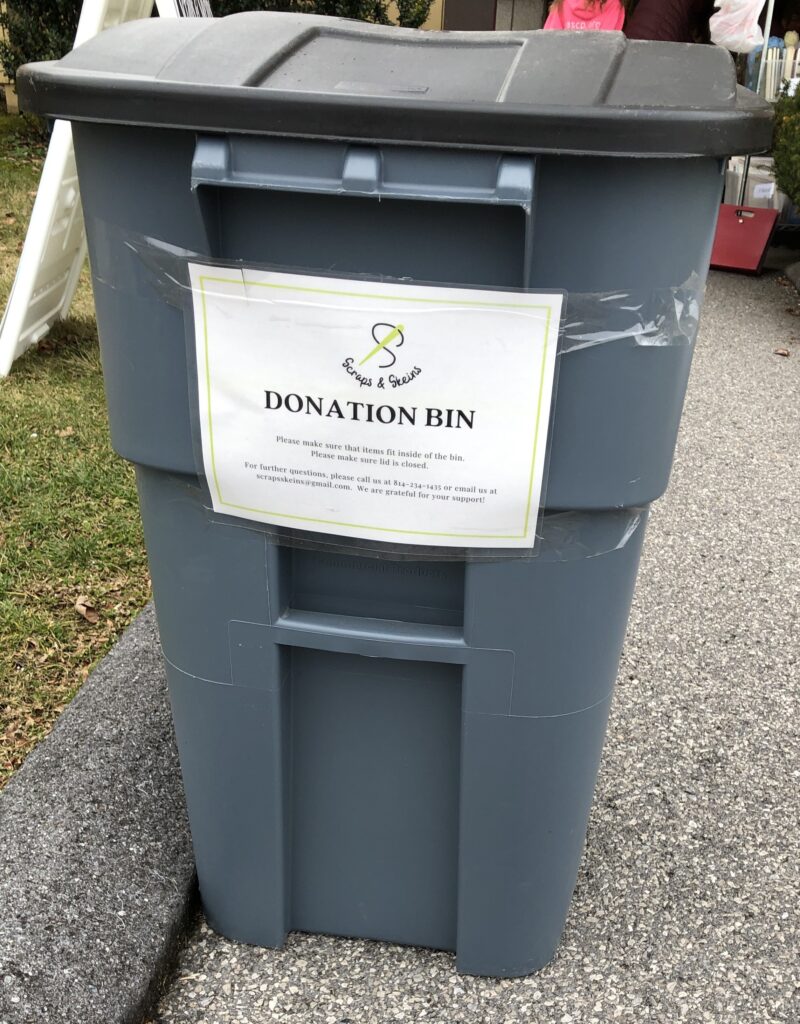
They even put out a bin for small donations in case you just want to drop off a small bag of stuff!
The store is open Tuesdays and Thursdays, 10 am to 2 pm, and every 3rd Saturday of the month from 10-2. Donations can also be dropped off Wednesdays from 10-2, although the shop will not be open then.
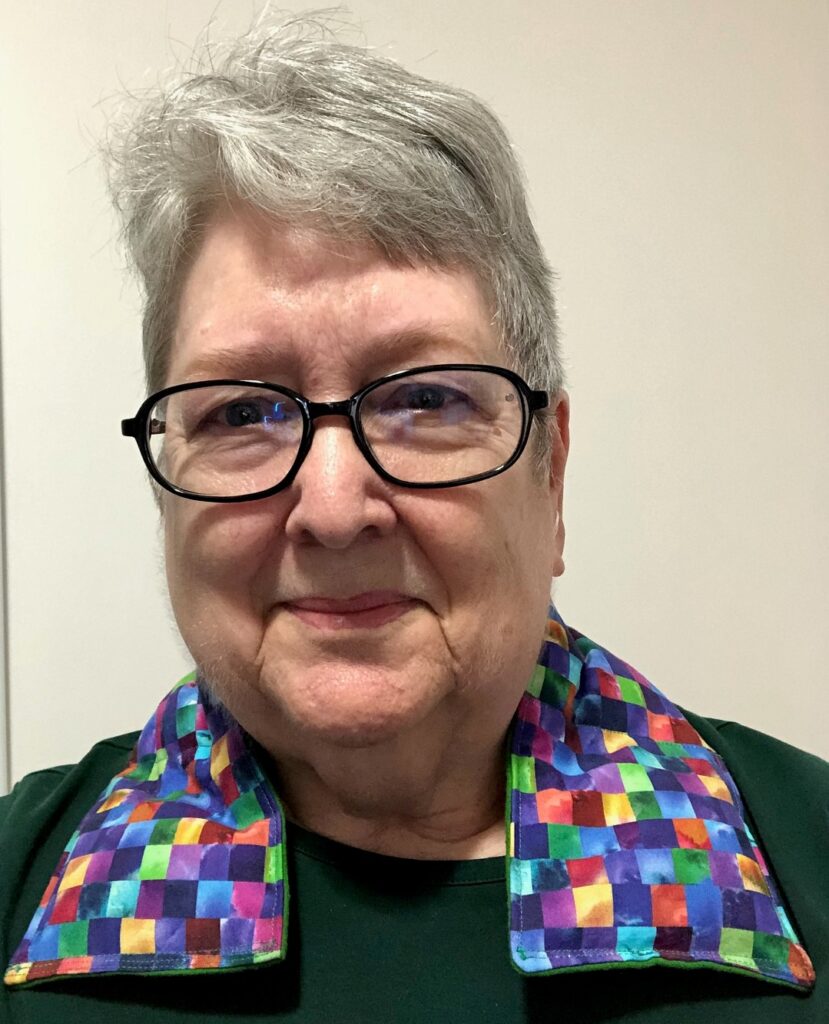
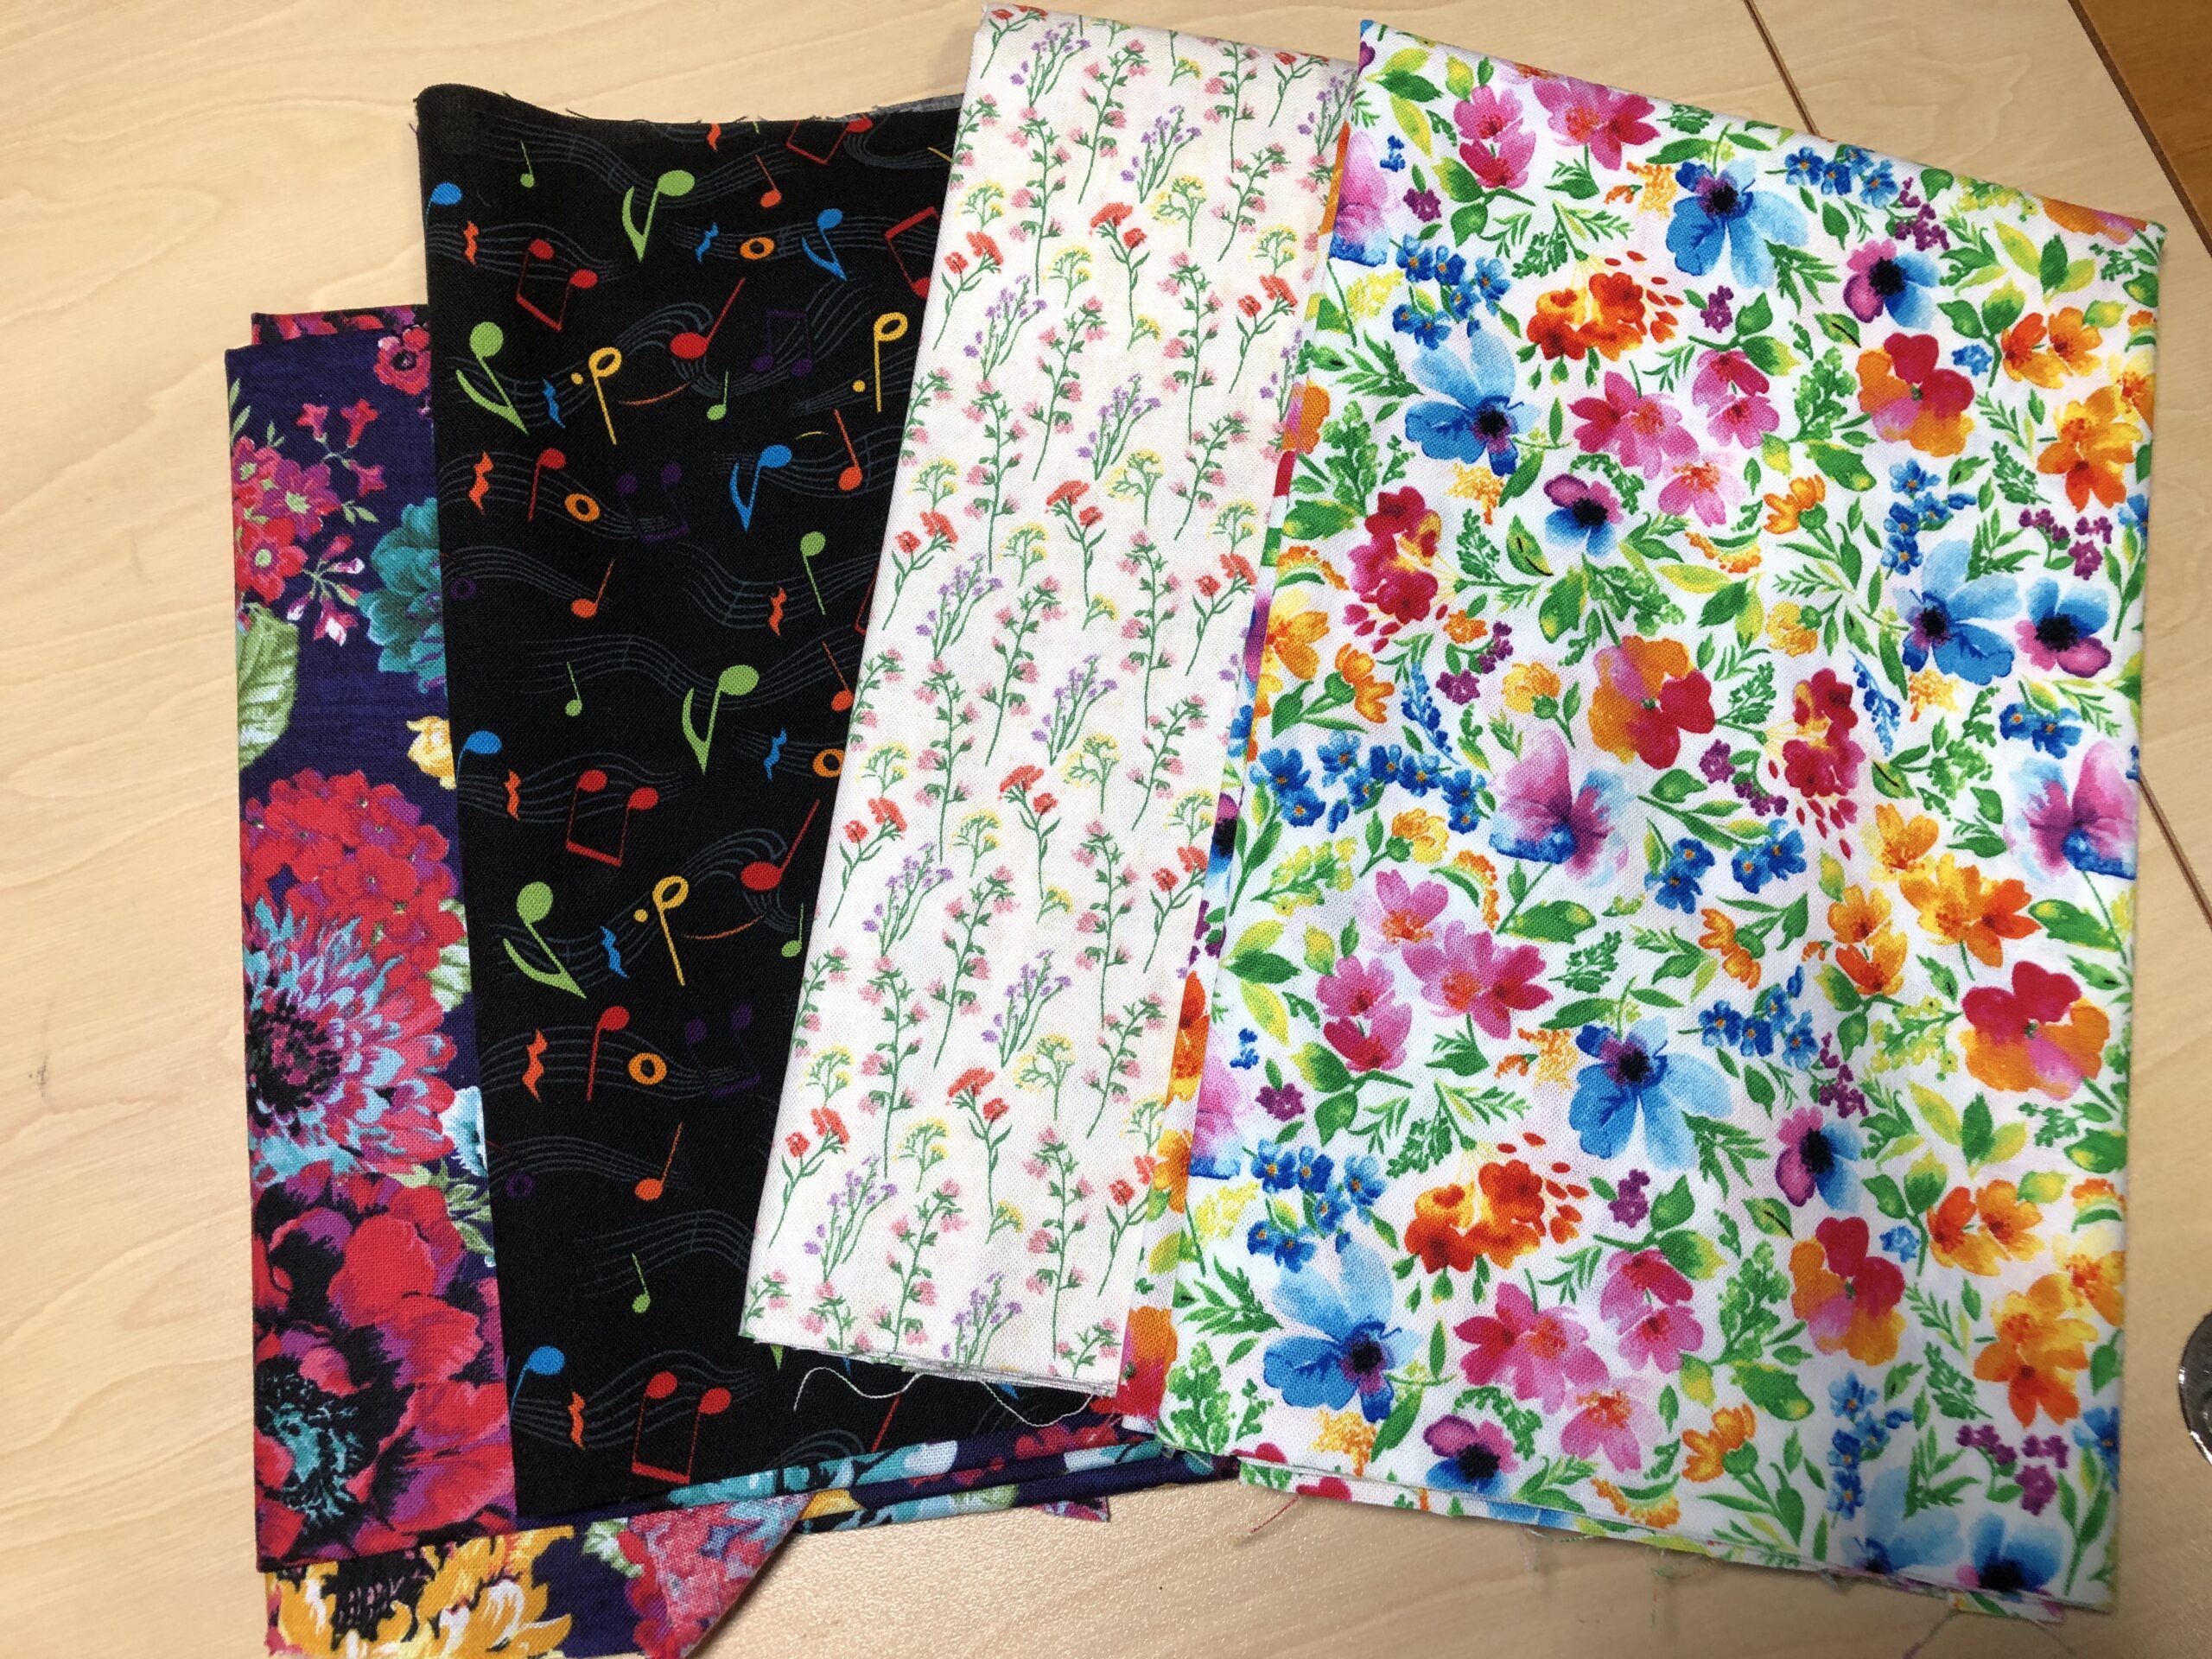
Thanks to the winter storm moving through our area today, I’m reminded about two projects that I worked on two years ago…the hot or cold wraps and pocket warmers. These items, made with cotton and flannel scraps from other projects, would be perfect for these cold days. Unfortunately, I have managed to give away all the ones I made…so I guess I’ll need to make some more!
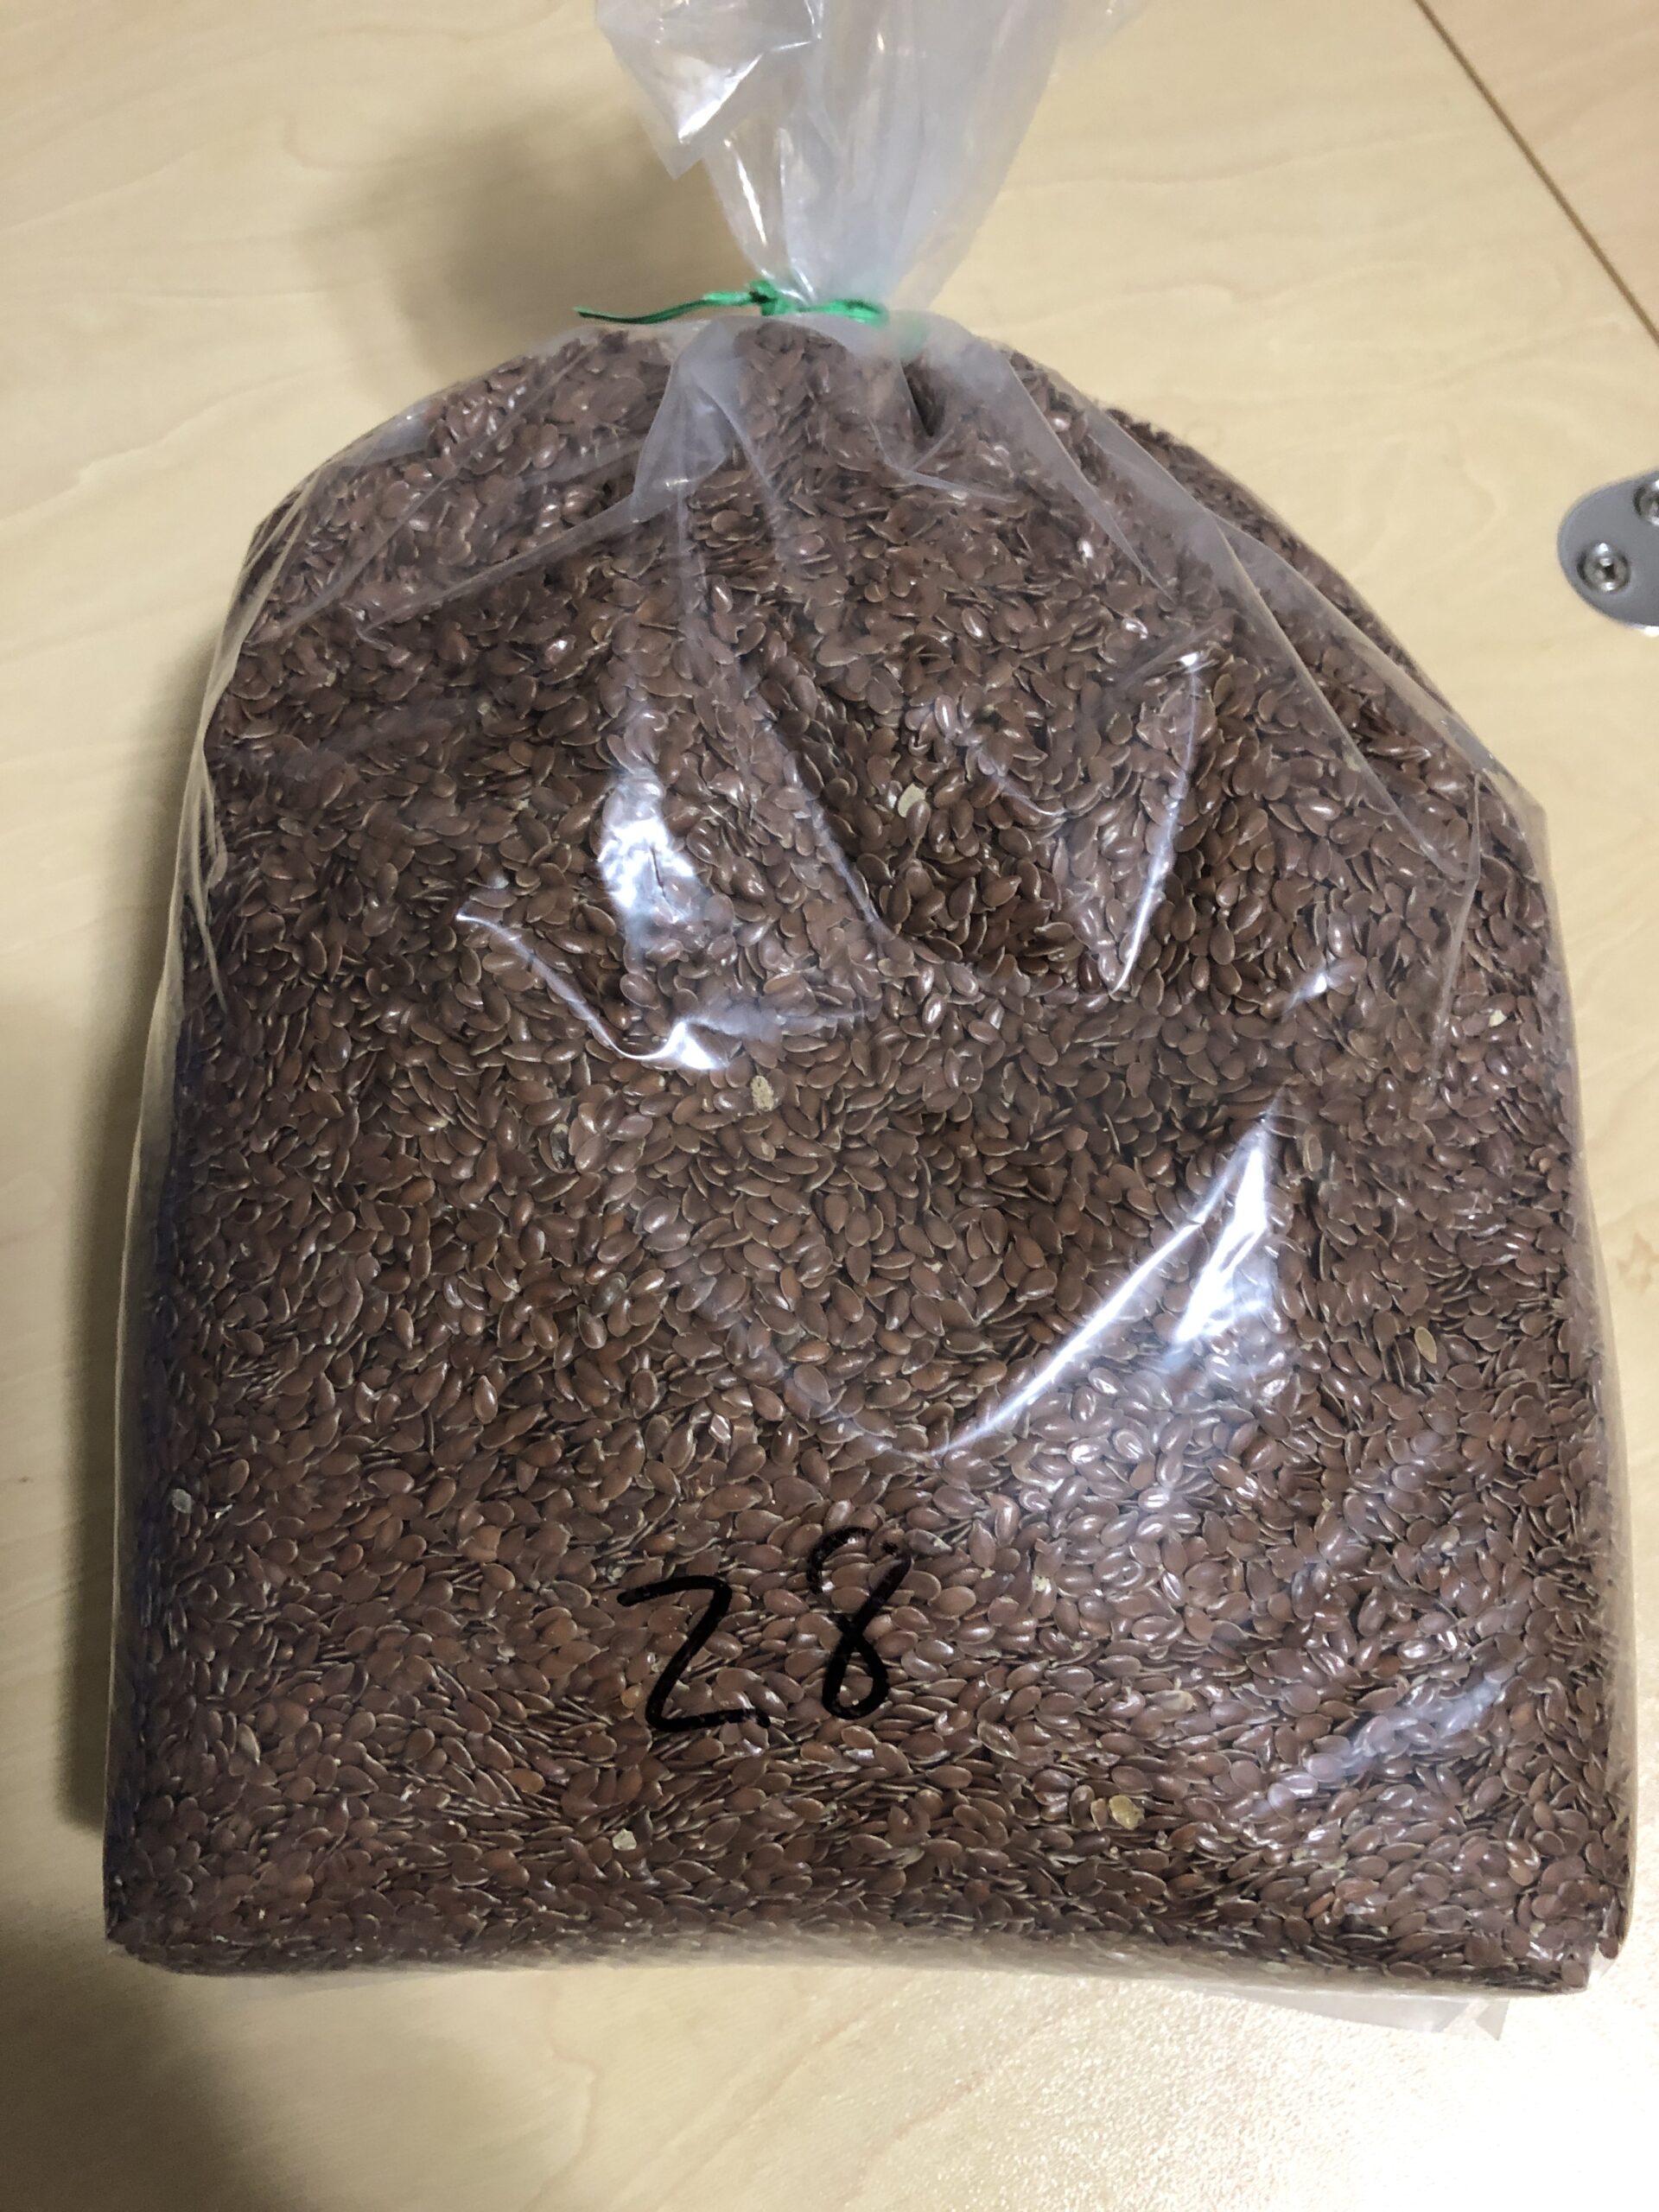
The hot or cold wrap just fit around my neck and could be rolled up to fit in the microwave or placed in the freezer…I think I gifted them two at a time so one could be left in the freezer until needed. It is filled with about 3 cups of flax seeds. With just 20-30 seconds in the microwave, I had a warm wrap for my neck, shoulder or knee. I’ve heard they are even comforting for pets after their walks outside in the snow! The cold wraps in the freezer are handy for kids with bumps and bruises!
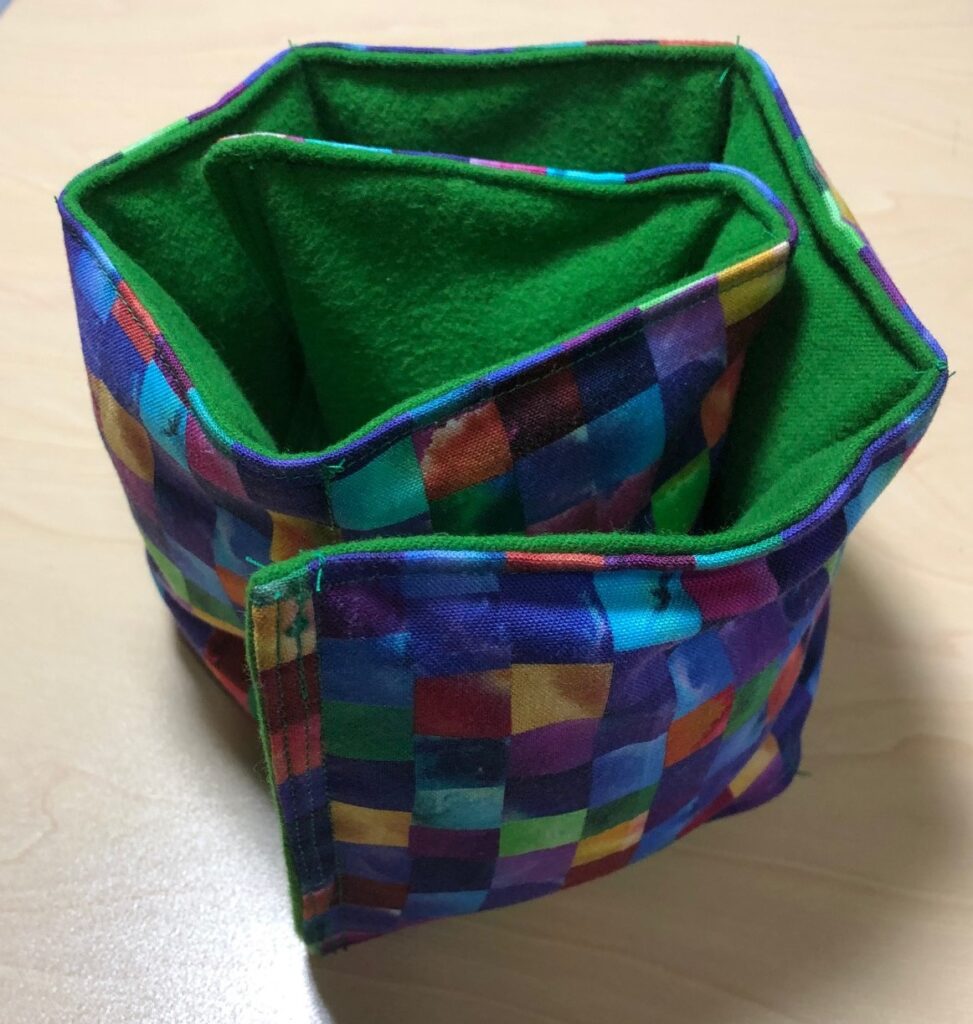
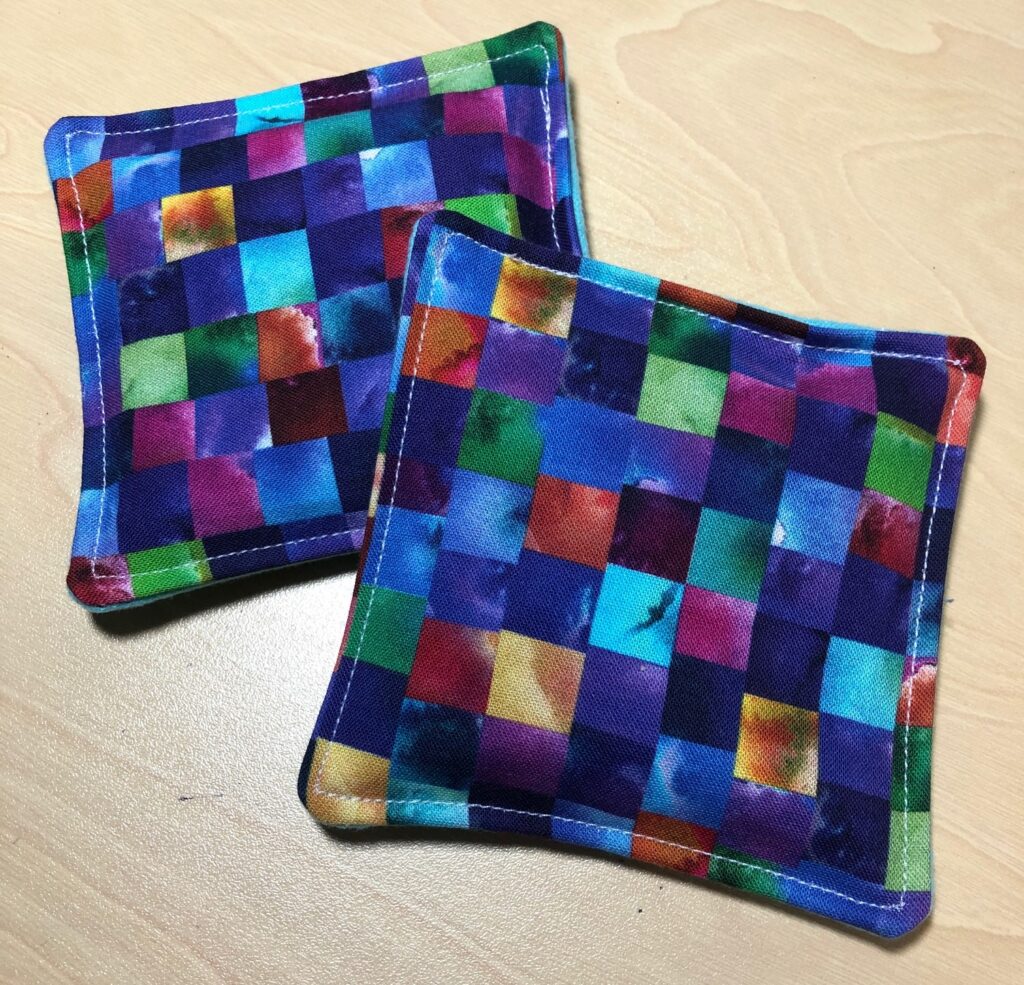
The pocket warmer was made from smaller scraps of leftover fabric and about 1/4 cup of flax seeds. I’m thinking I’ll make these first. Just 15-20 seconds in the microwave and they’ll warm up my coat pockets before I head outside!