Our weather is finally feeling like Fall…good thing, it arrives tomorrow, September 22.
That means I finally got motivated to change up the decoration on my front door. For those of you new to my blogging adventure, I’ve had trouble finding a wreathe for my front door that was skinny enough to not get smashed by the screen door. Last Christmas I gave up and decided to make appropriate small quilts to hang on the door. They stayed flat and didn’t get smashed. Success!
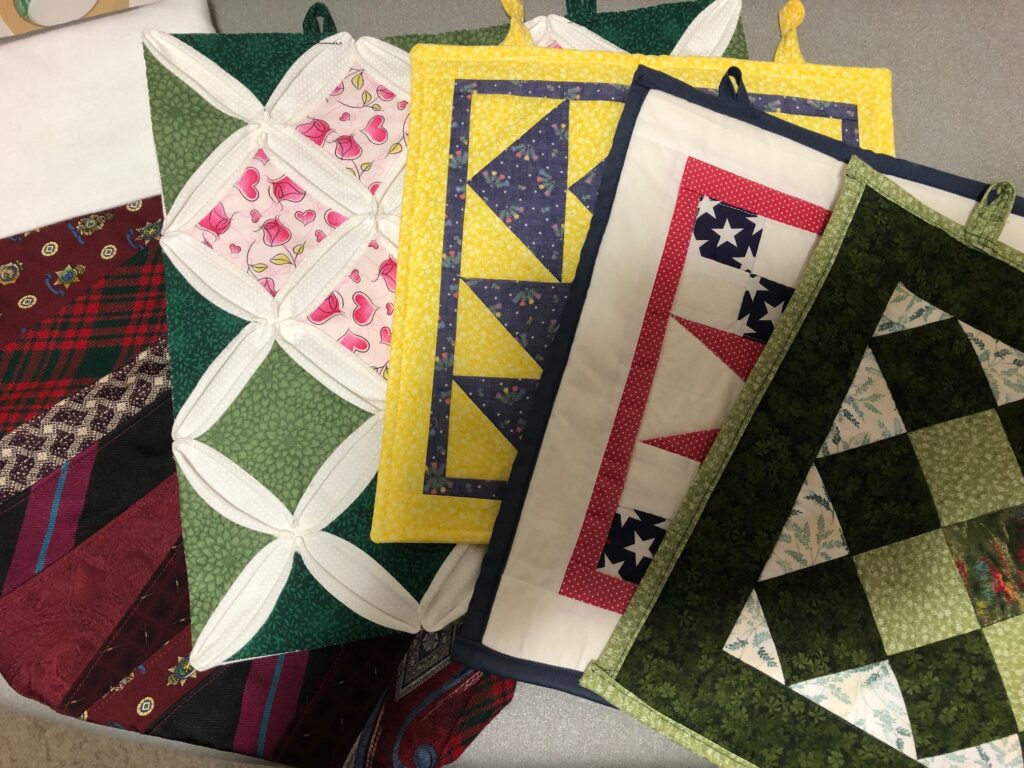
Here are the ones I’ve done this year so far:
If you would like to read about each one, check the index on the Welcome page and scroll to Door Quilts. They should all appear there in order…just scroll down to the article you’re looking for.
I did notice the colors of the blocks faded after two months on the front door, so next year I can just make a different block if I want.
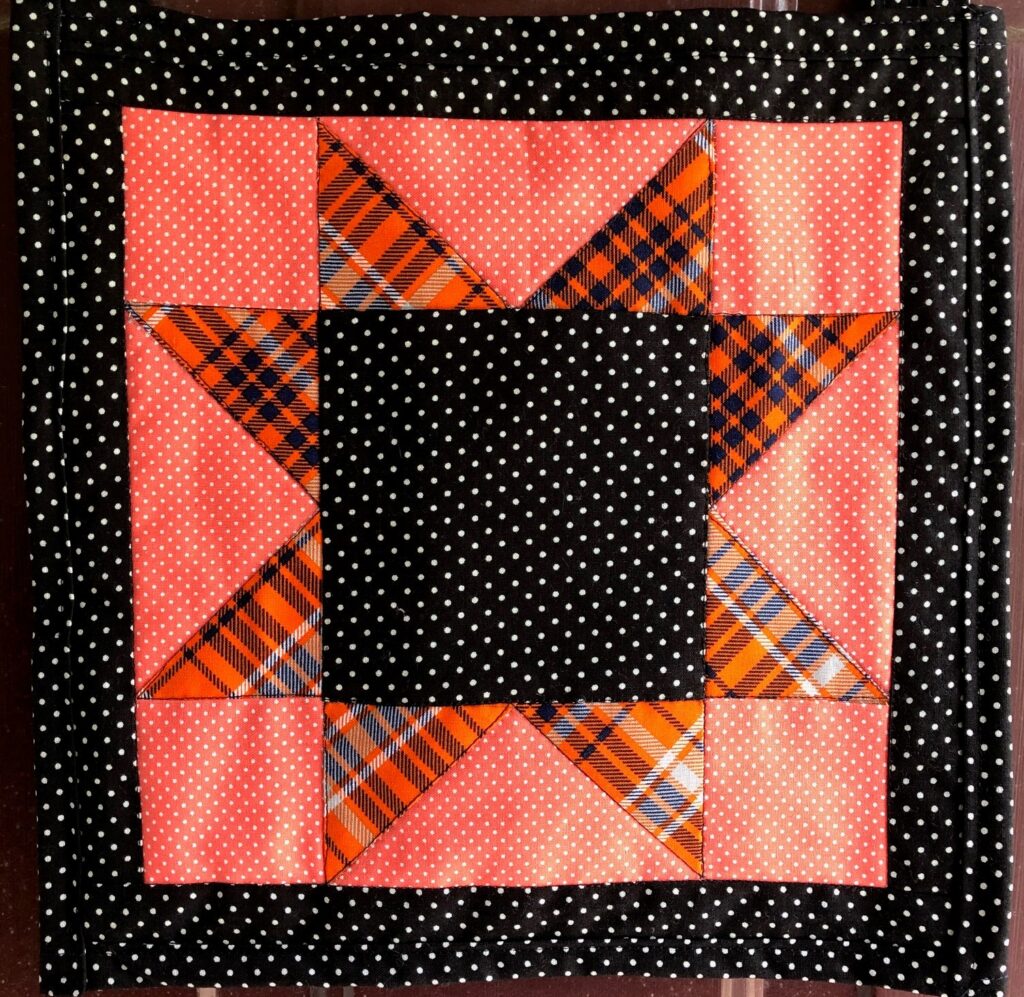
This Fall door quilt was a challenge because I didn’t have a single piece of orange fabric in my stash. Obviously, I have not used orange at all for a long time. To the rescue…JoAnn Fabrics and their “fat quarters” so I could have a few. I also spent time trying to be creative, something like a crazy quilt, but obviously I ended up with a simple star pattern:
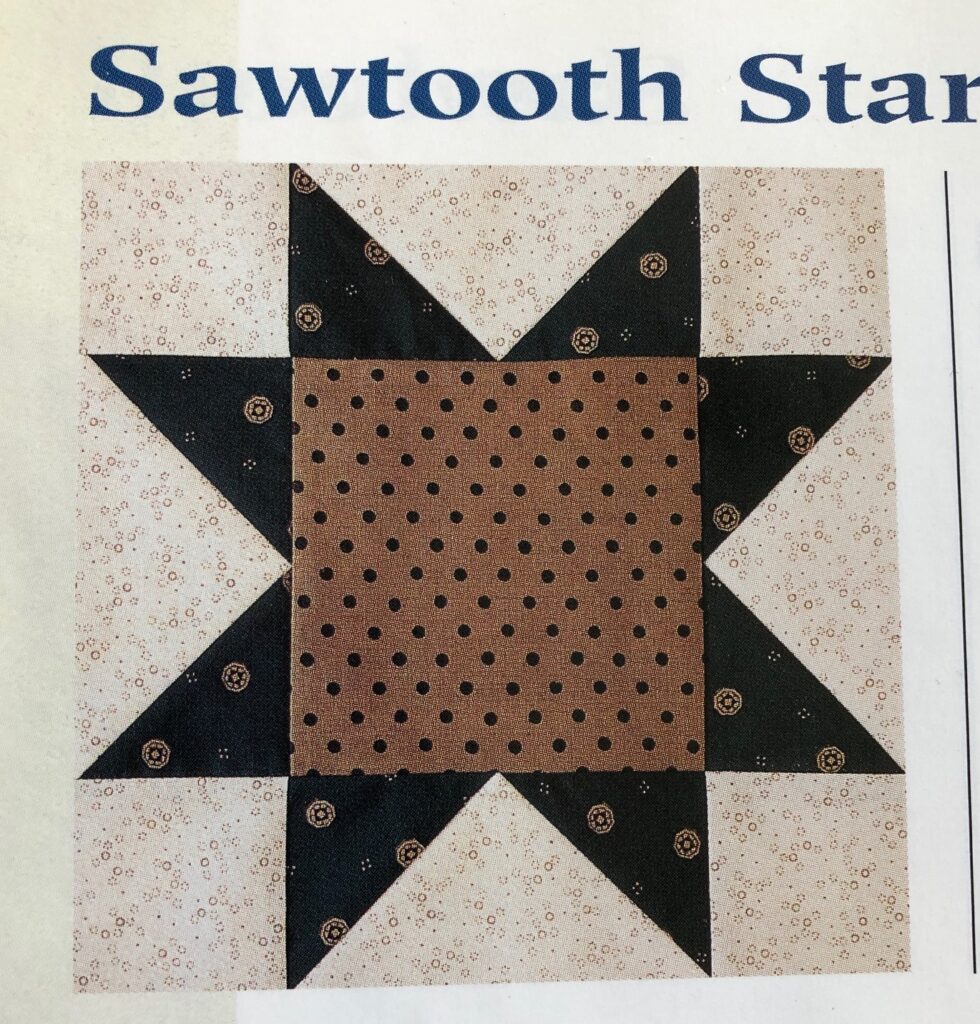
This pattern is called a Sawtooth Star in one book:
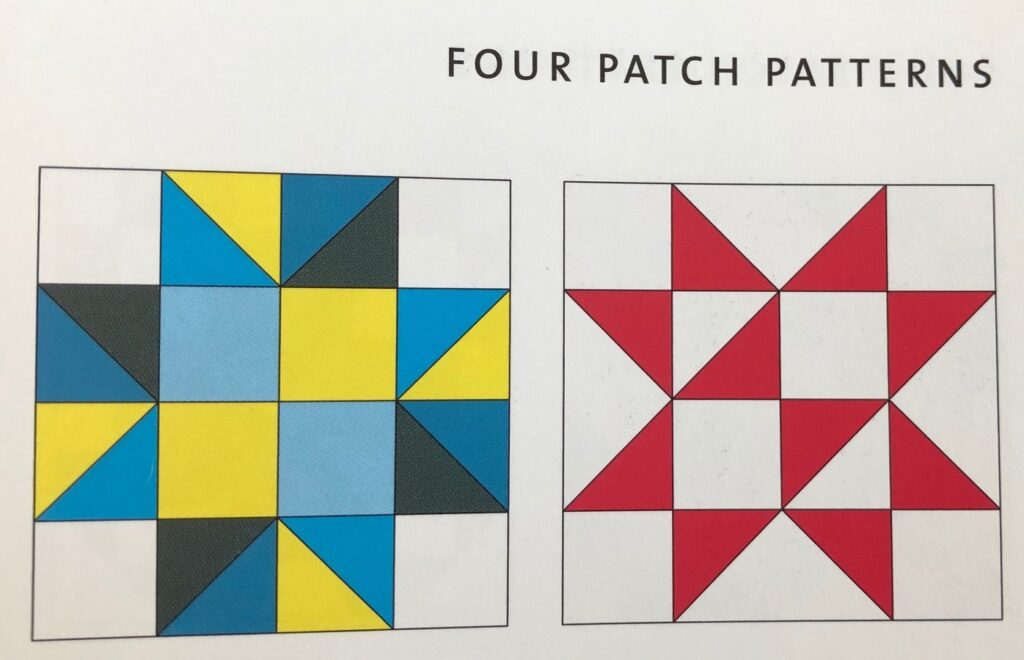
However, when I looked up that name in another book, these two blocks showed up:
The one on the left is named, “Saw Toothed Star”; the one on the right is called, “Free Trade”. Go figure!
If you notice, the arrangement of triangles and squares is similar to mine, except the central block is solid.
Oh well, I hand-pieced the block and then machine quilted around the pieces. They are not my favorite colors, but I guess they work for Halloween. I may have to do another one for November and then I can use the Christmas Stocking from last year in December.
Actually, I don’t think this block looks too bad on the front door! Enjoy!
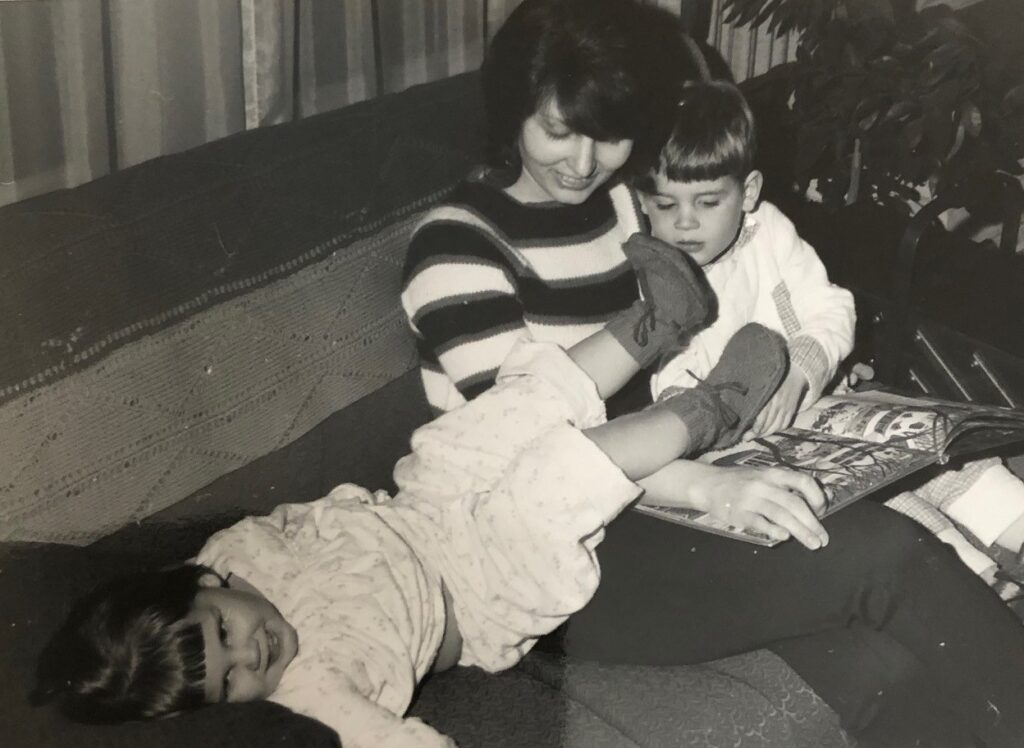
I pulled out my recipes today to make some Italian bread. It’s been a while so when I found the recipe I was reminded of my sister-in-law, Patty…my big brother’s first wife. She was a real sweetheart and my mentor when I started my own family.
Here’s an early picture with two of their kids, Eric and Pam. Paul, Todd and Teresa rounded out their wonderful family by the early 1980’s. We were sorry to lose her in 1984, but my memories keep her in my heart to this day.
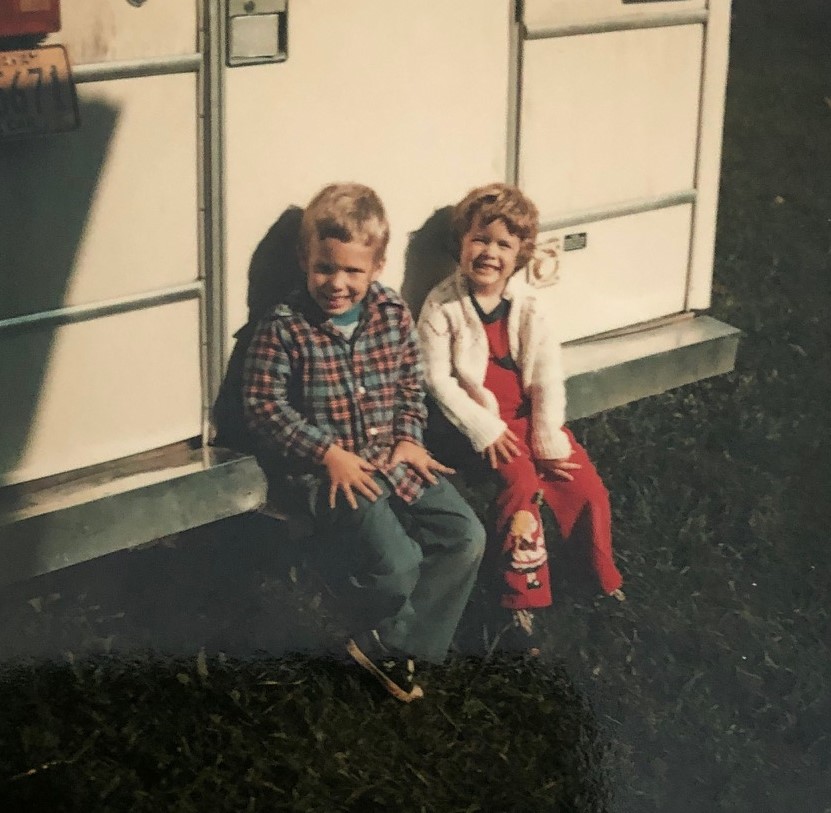
In 1980, Ted, Kathy and I spent a few days with my brother’s family on the farm in northern Pennsylvania. We borrowed my sister’s motor home while she was out of town and had an adventure going to Uncle Mark’s farm.
Ted was four and a half and Kathy was three. Such sincere smiles!
We parked the motor home in the backyard of the farm house and enjoyed visits with the barn cats and the cousins. Early on the first morning, we were awakened by sheep sounds. What a surprise to look out the window and see we had been surrounded by a whole flock of sheep! That was the beginning of our adventure!
Of course, this post is about making Italian bread so let me just say every time I make this recipe, I’m reminded of those days visiting the farm. Patty was always baking something and I was inspired by her ability to whip out this Italian bread or homemade pizza crust in a flash. We had many conversations about baking with whole wheat flour and making our own yogurt. Great memories!
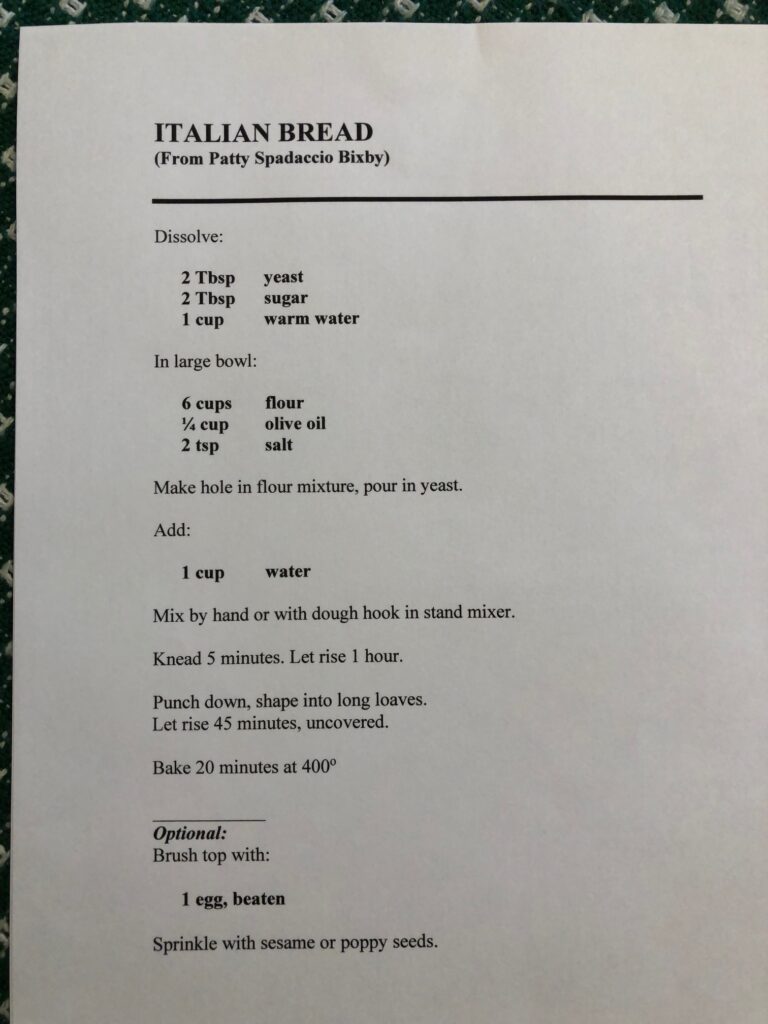
So…here is the recipe for her Italian bread:
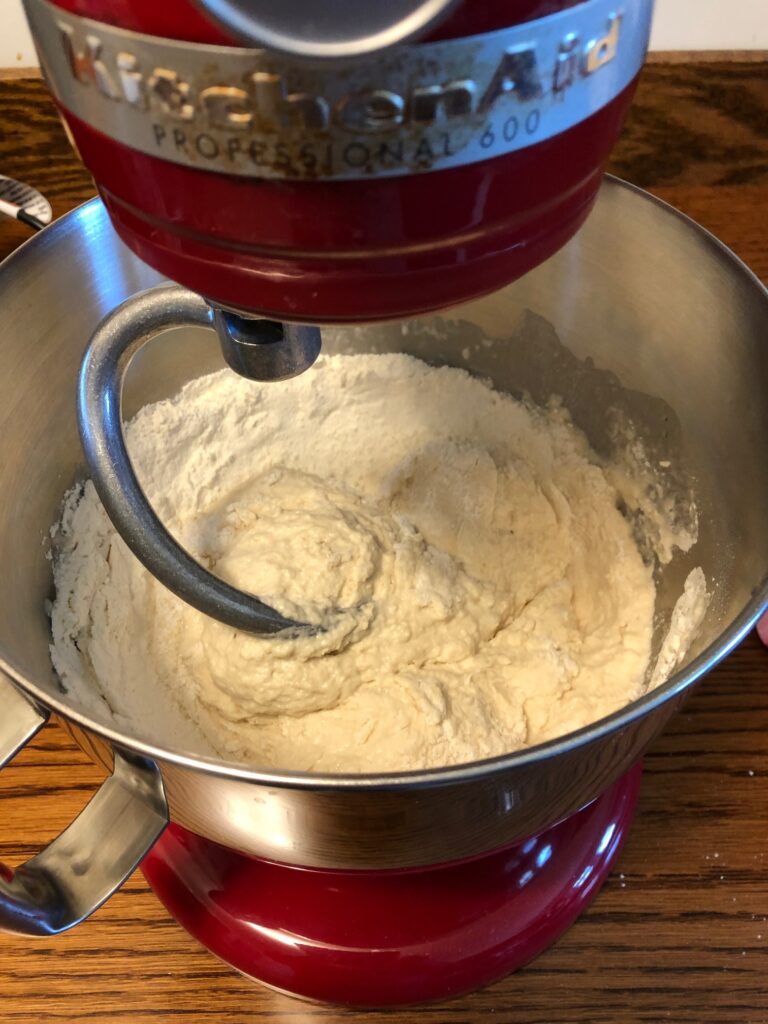
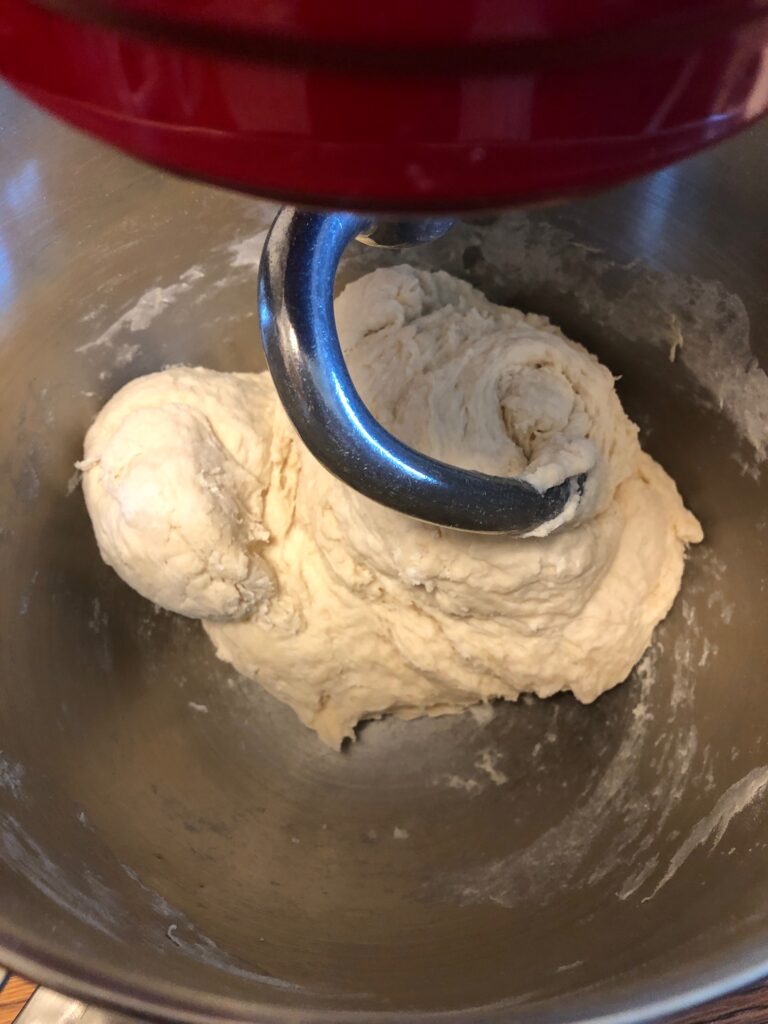
When I make bread, I often start with the liquid ingredients and then add flour. This recipe starts with all the flour in the bowl and then adds the liquid ingredients. I had forgotten this, but it worked out just fine.
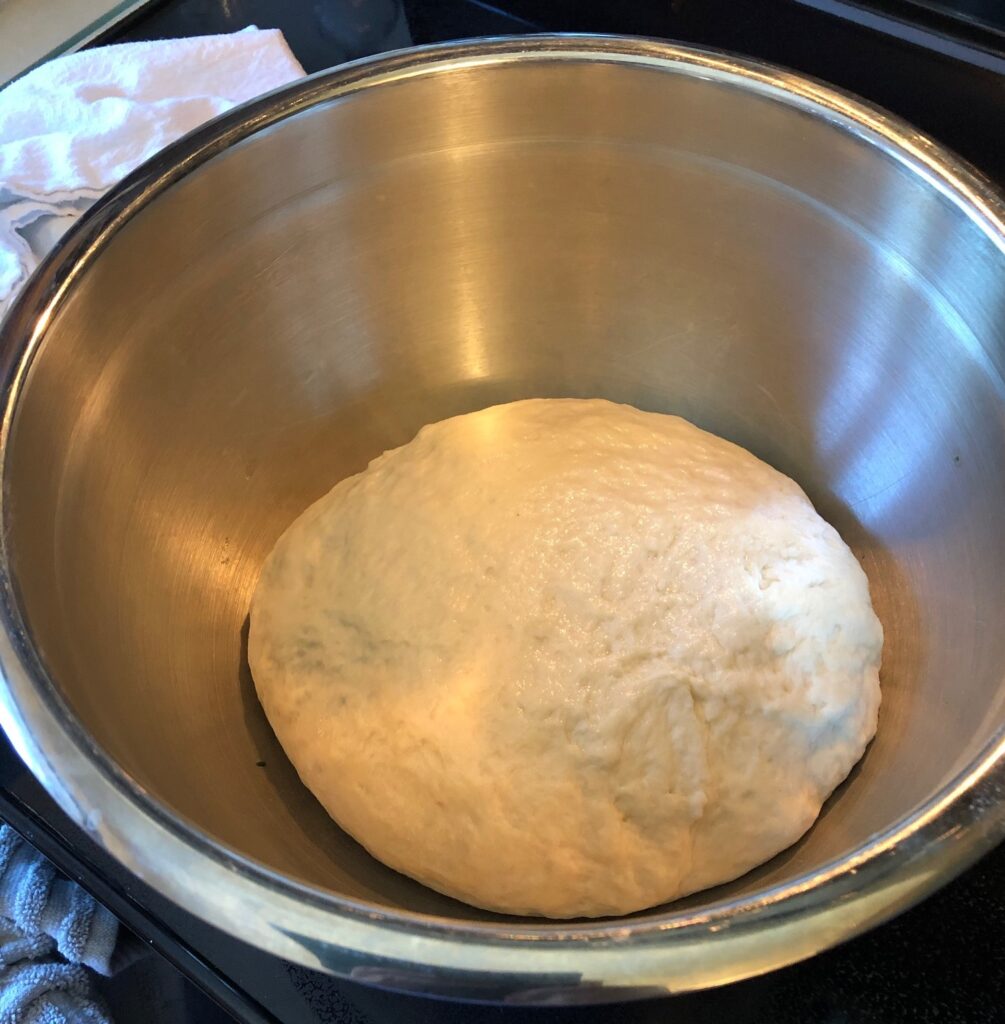
At this point, I dumped the dough out onto the floured table, gave it a few “kneads” and put it an oiled bowl to rise.
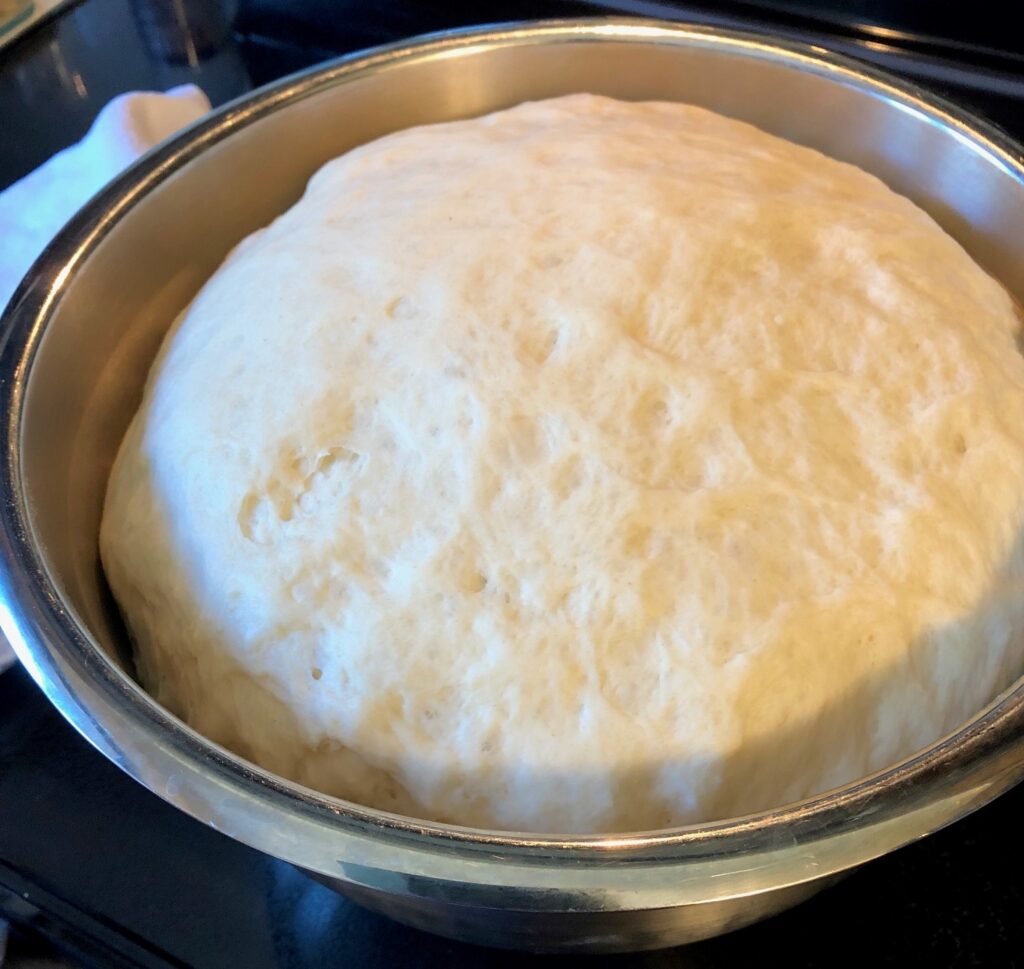
An hour later, the dough had raised to the top of the bowl.
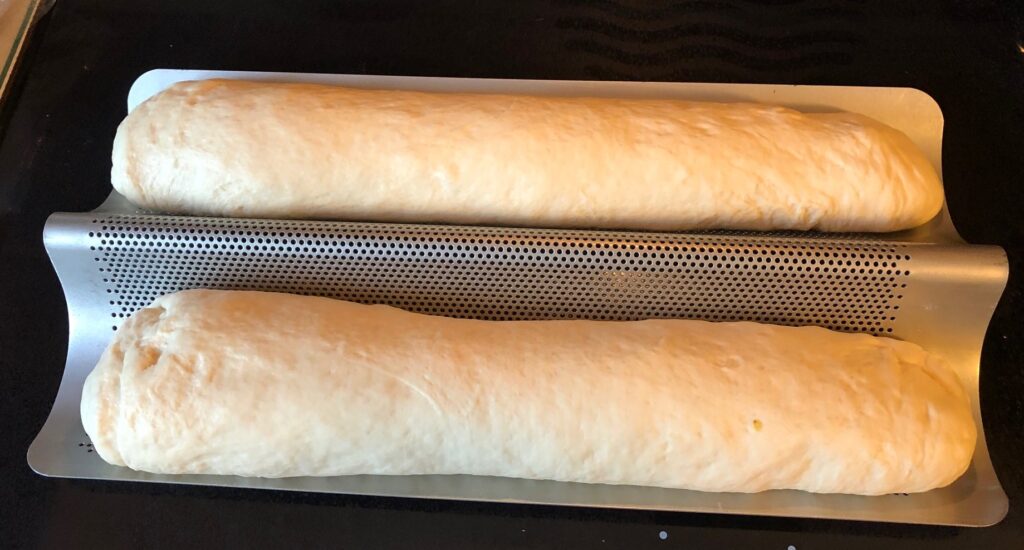
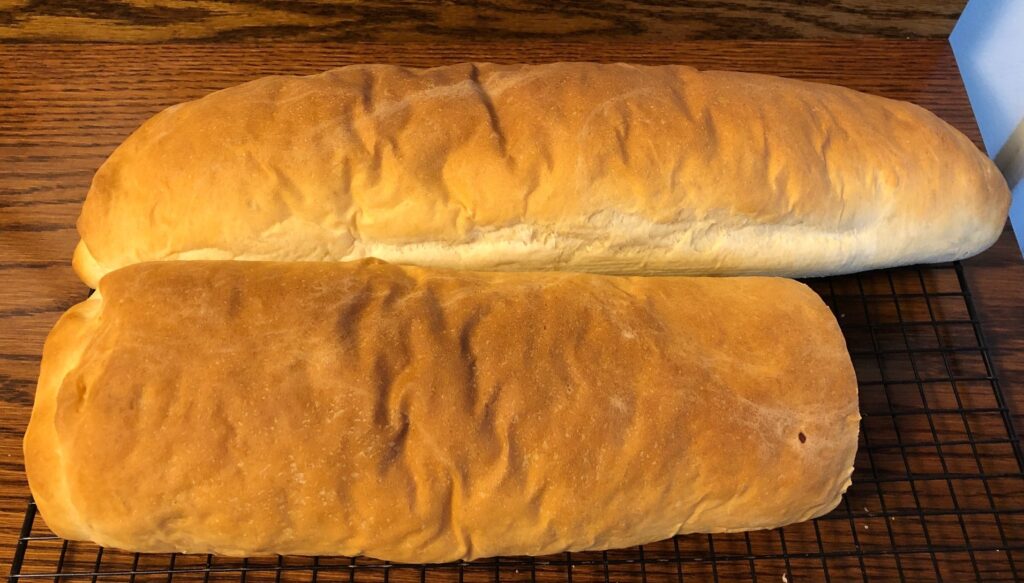
I shaped it into two long loaves and let it raise on the pan.
After 40 minutes the dough was almost over the side of the pan so it went into a hot oven (400 degrees). In 20 minutes the whole kitchen smelled great!
Of course, before I could get a picture of the loaves, SOMEONE had to have a chunk!
So that’s the story of Patty’s Italian bread recipe, memories and all! Enjoy!
It’s been 57 years since I graduated from high school (hard to imagine, I know!). My small circle of close friends from those days are now scattered around the world and of course, many have passed on. However, a core group of folks who stayed or returned to the area, like Bert and I did, have managed to maintain or reestablish friendships over the years. Some of our parents stayed in the area and provided that link for many of us to connect again.
I’m not sure how long this group of women has been getting together once a month, but I discovered the group after our 50th high school reunion. What fun this has been for me!
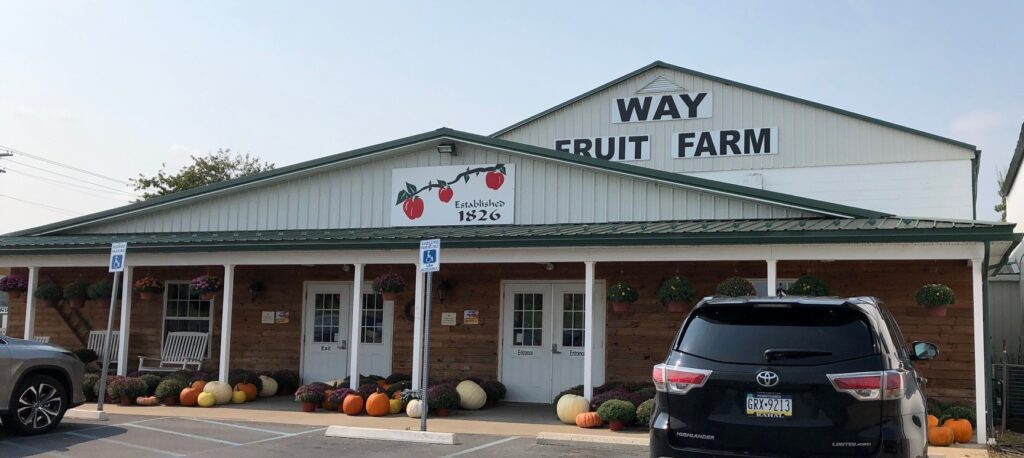
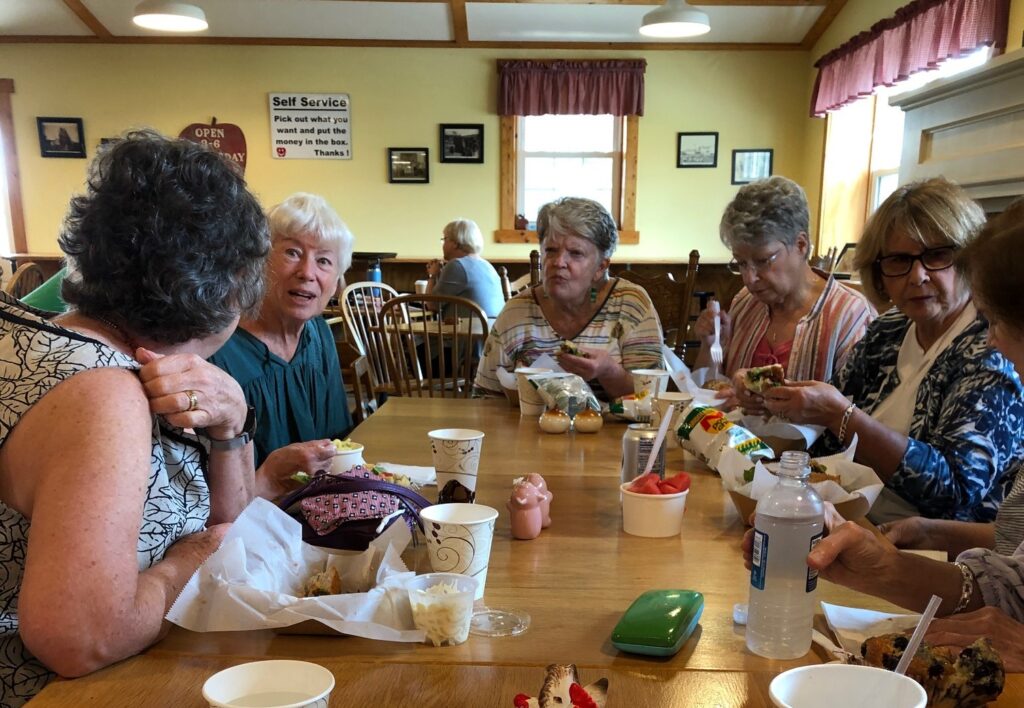
Each month we meet at a local restaurant and enjoy an hour or two of great conversation. This month we met at Way Fruit Farm just outside of State College.
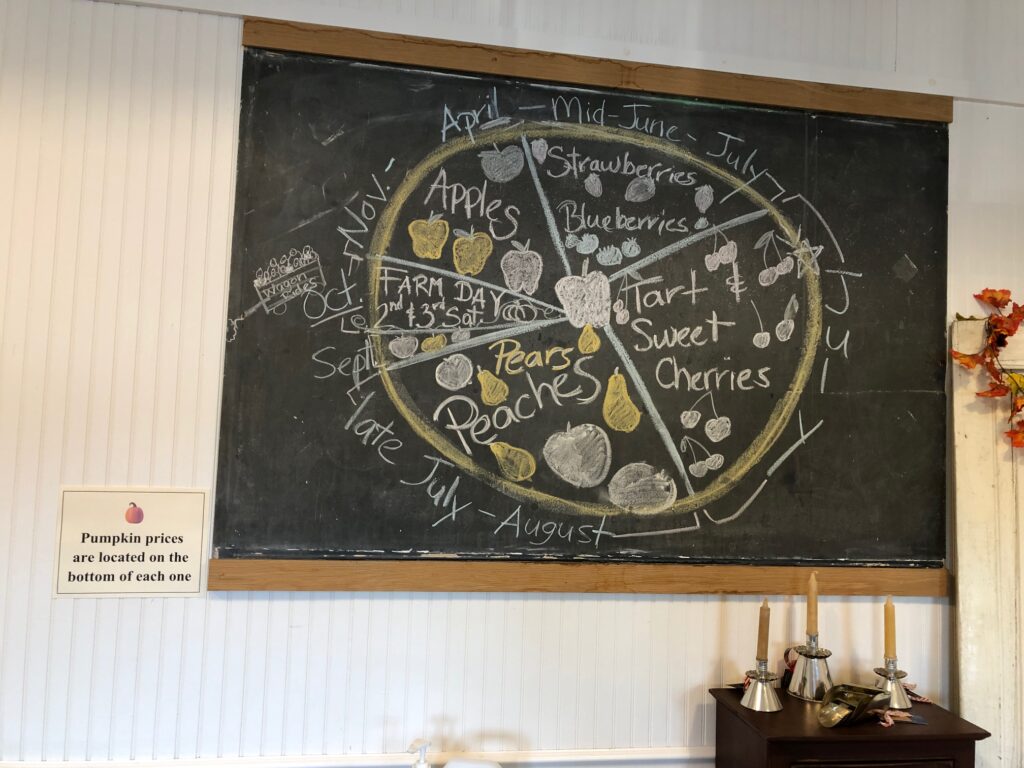
I took a lot of pictures and then discovered their website had similar pictures with detailed descriptions of how they started and the many activities they offer for the public. I had no idea they had been in business since 1826! Six generations have been on the property for almost 200 years and each generation has expanded or updated their products and the way they sell or distribute them.
If you are interested in learning more about them, check their website for their history and current offerings at www.wayfruitfarm.com. They are on Rt. 550 just north of State College.
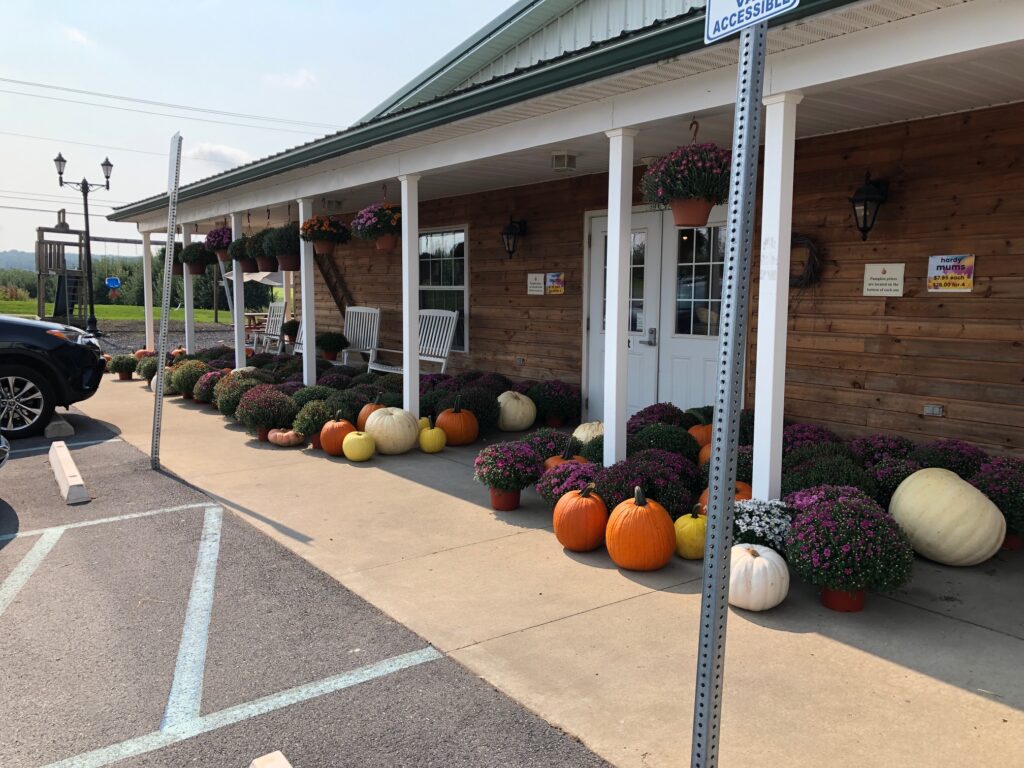
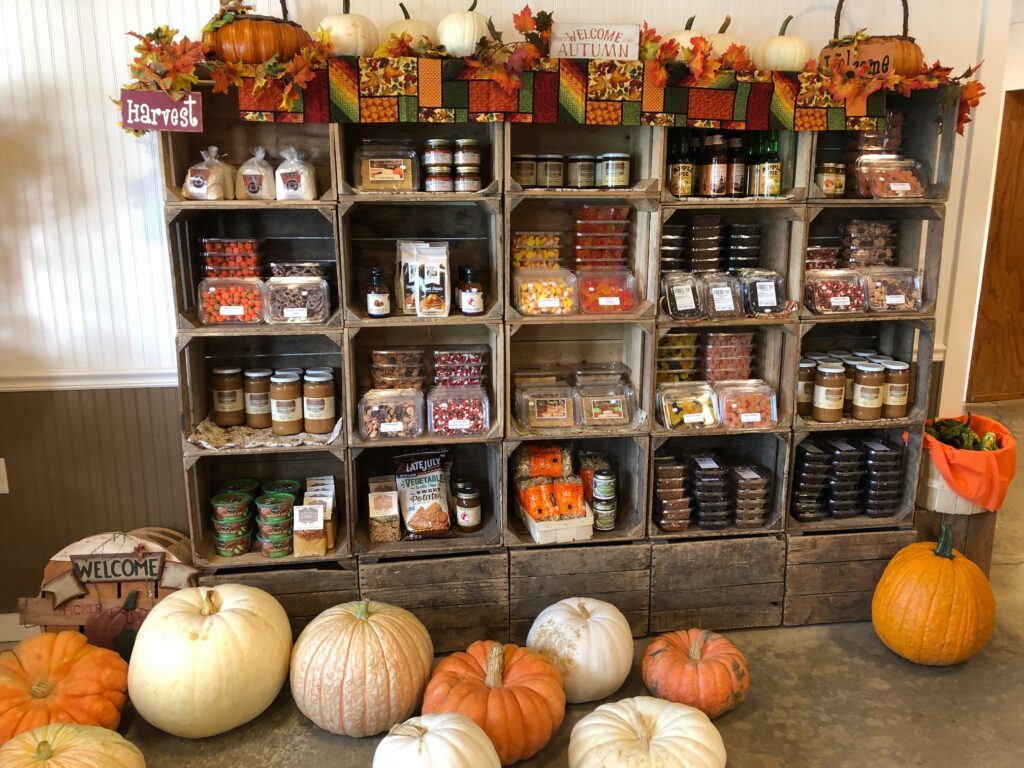
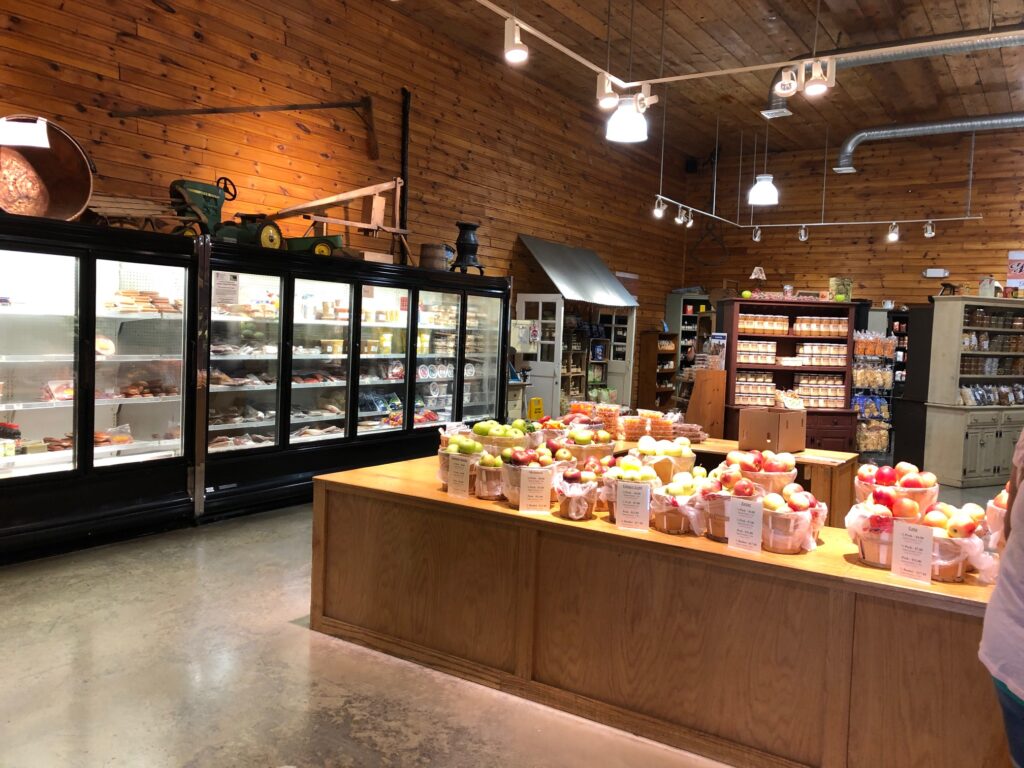
While I waited for the girls to arrive for lunch, I took a few pictures around their store. They have certainly expanded since I was here last.
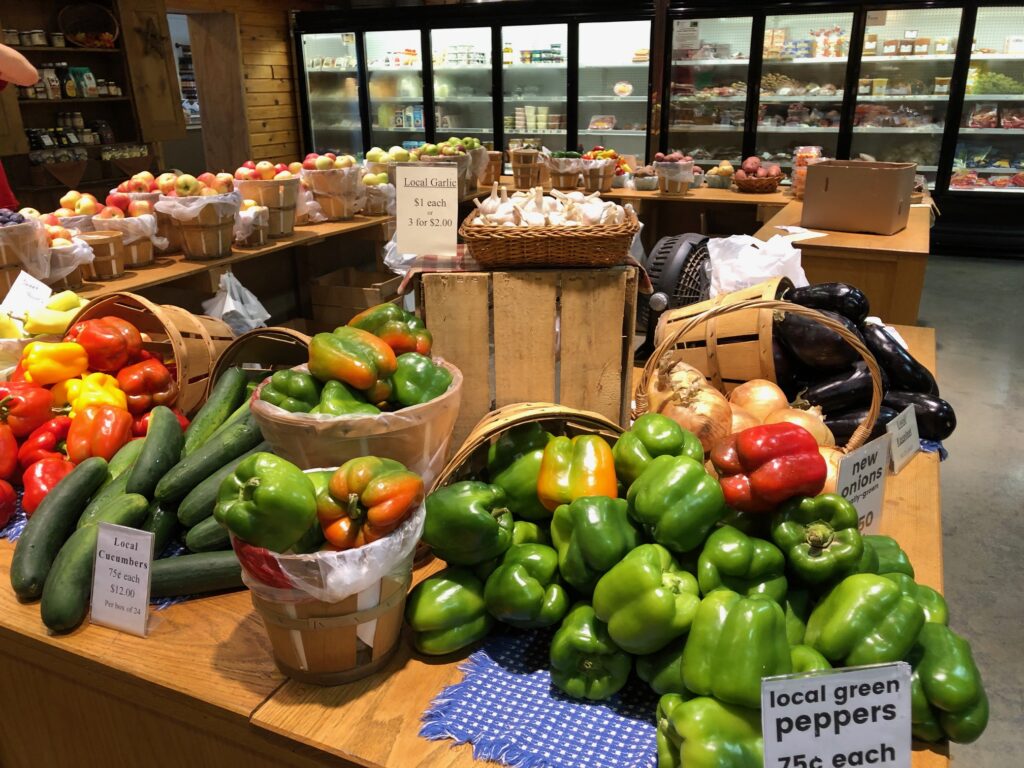
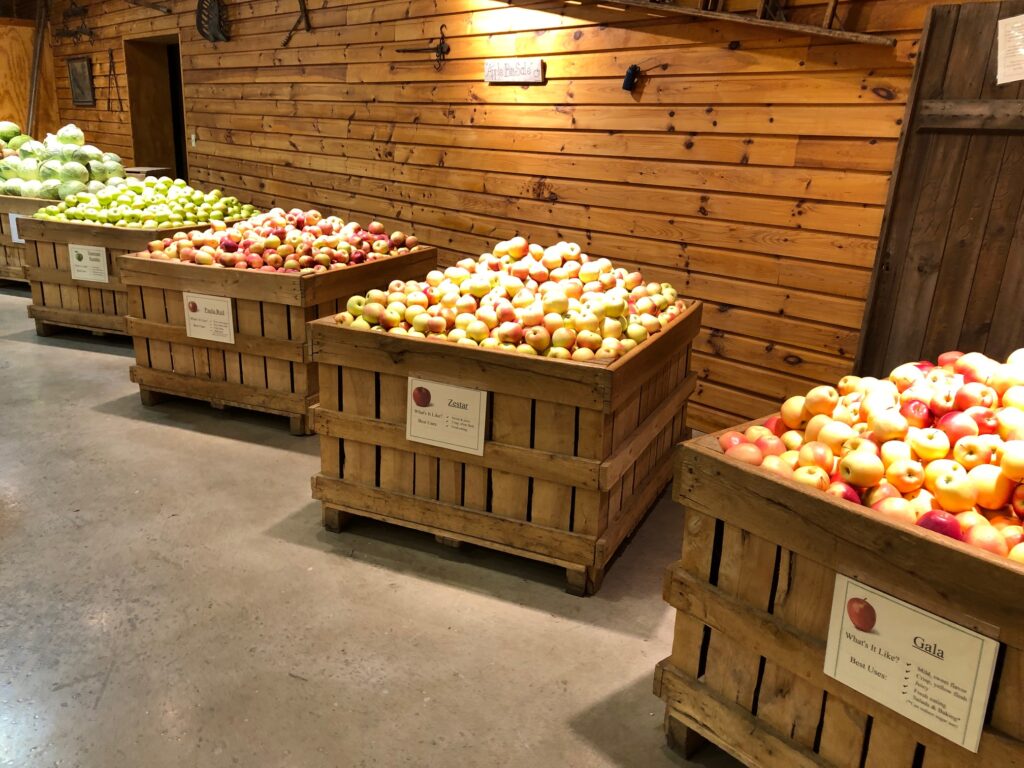
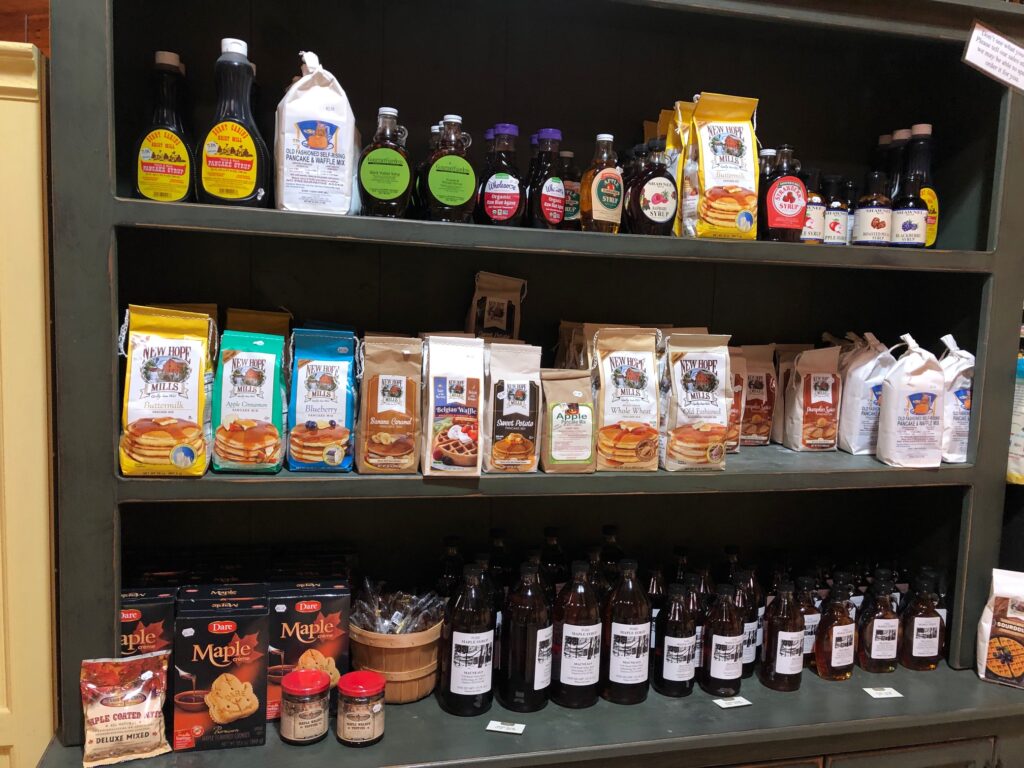
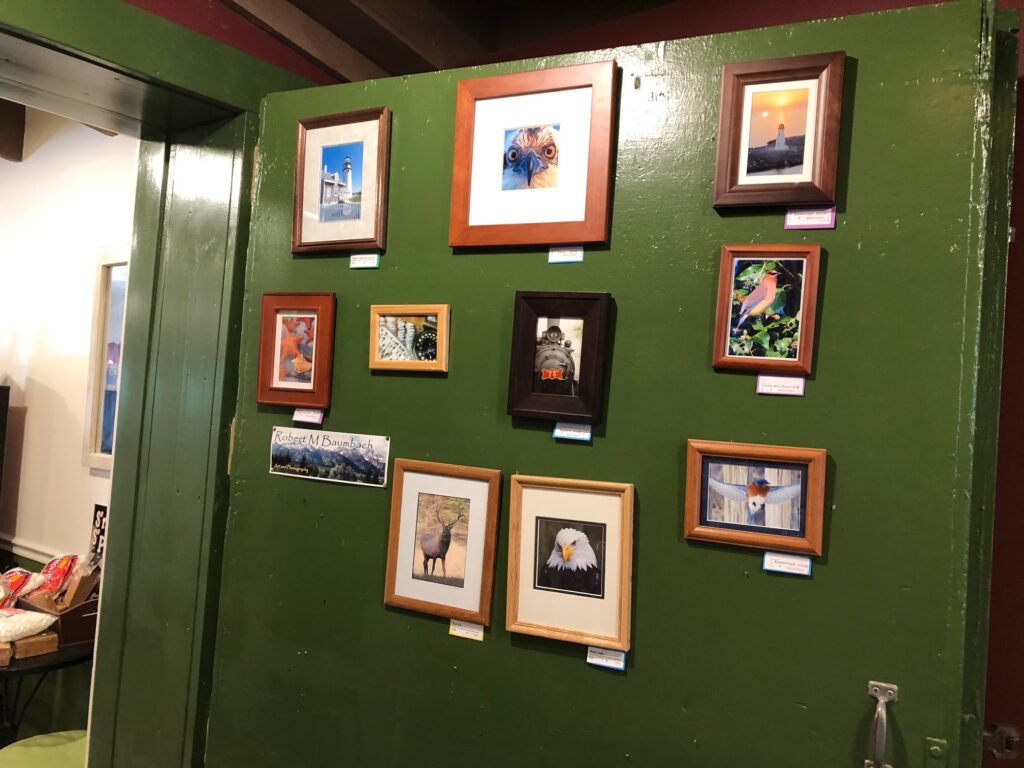
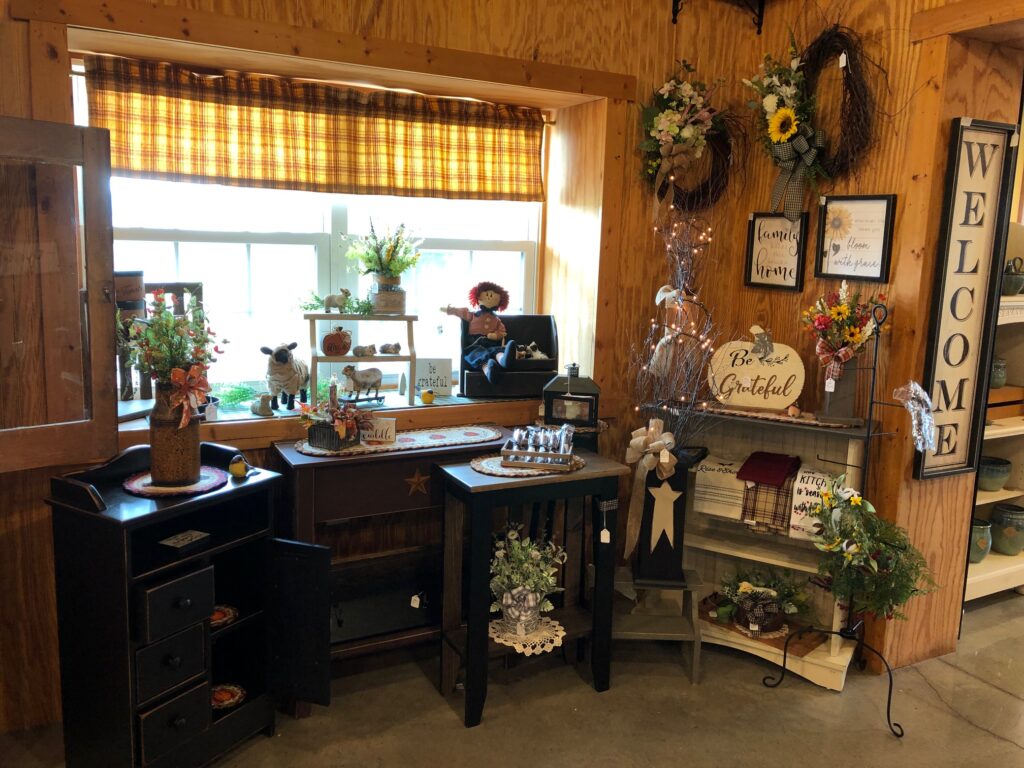
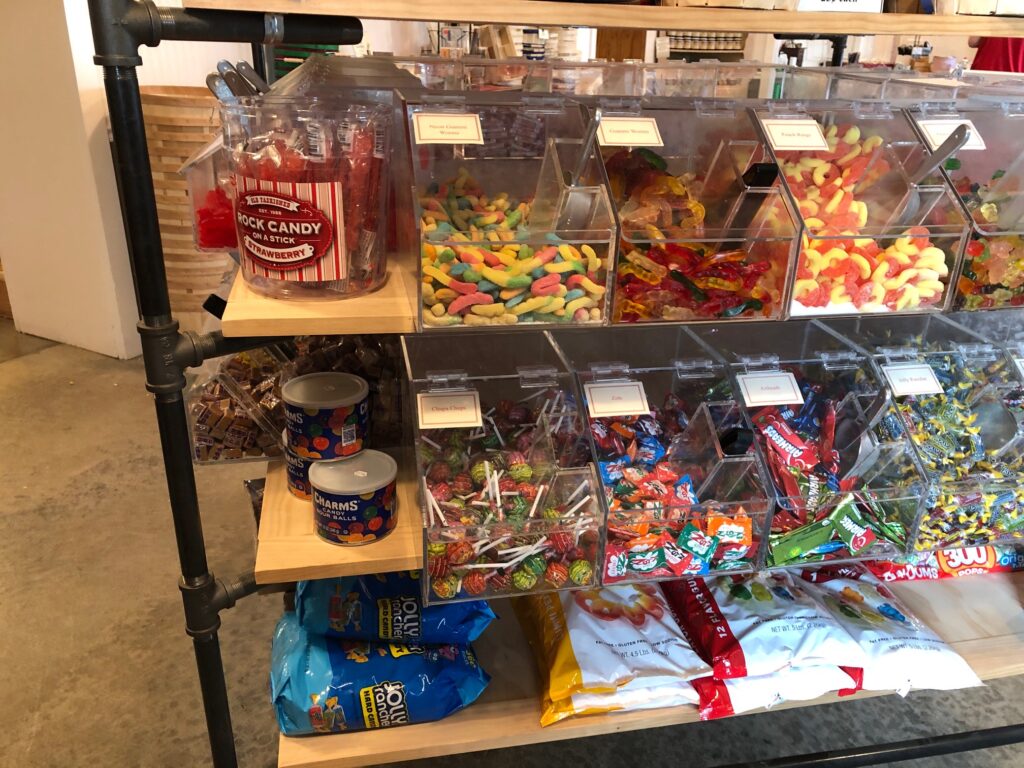
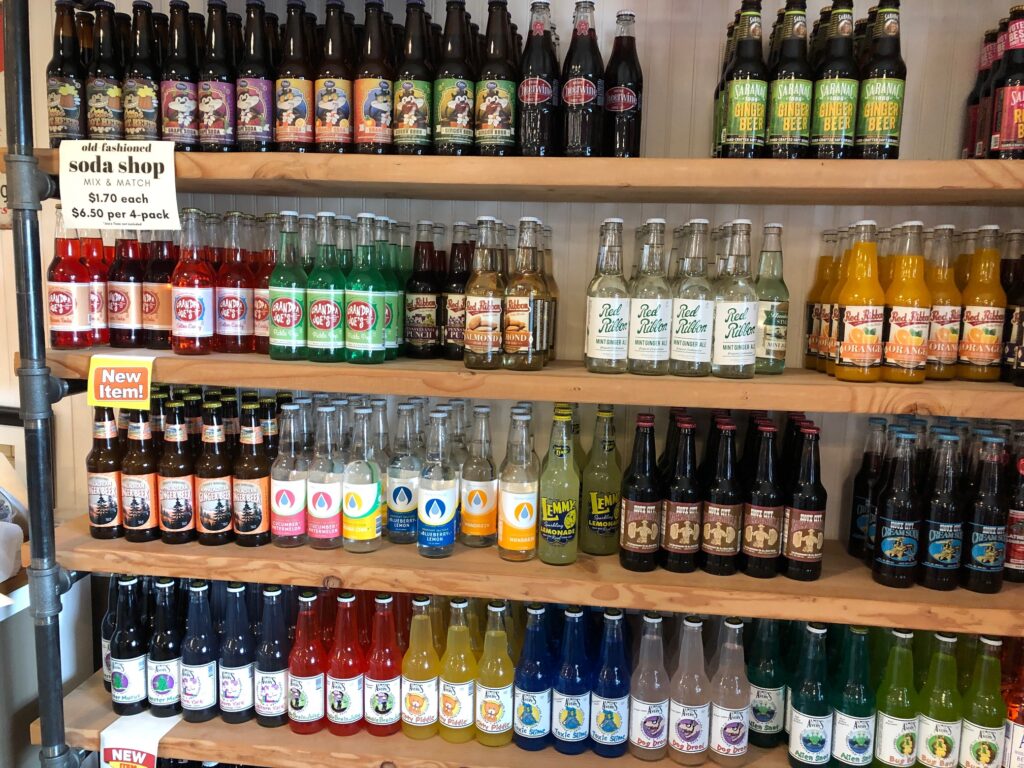
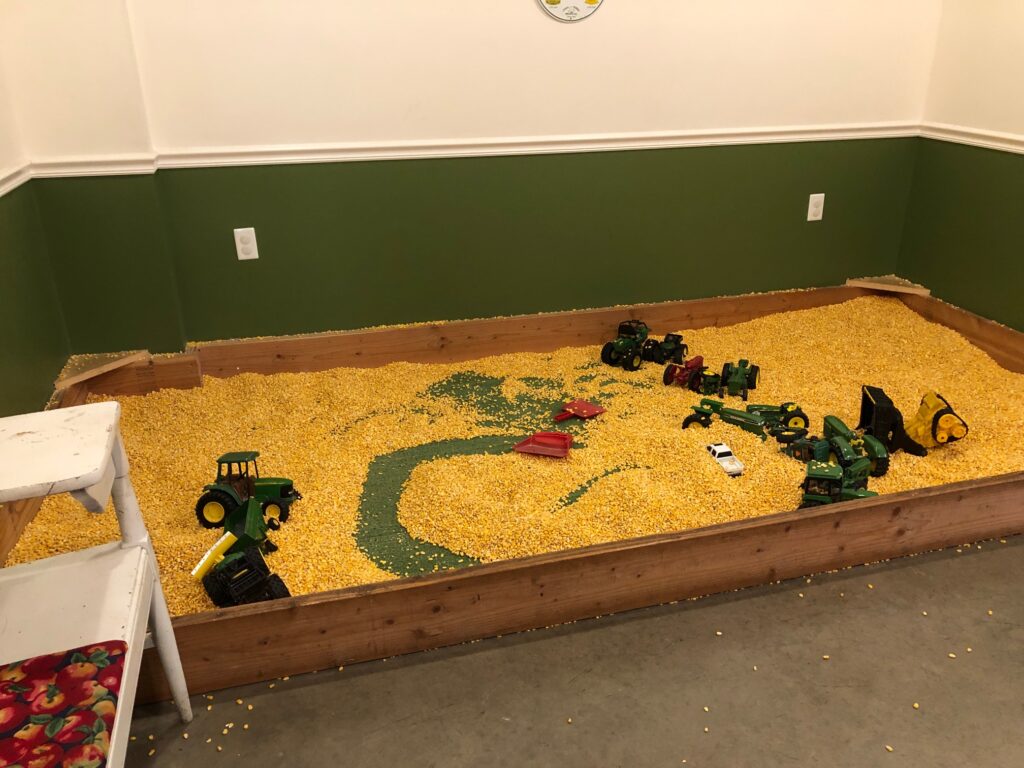
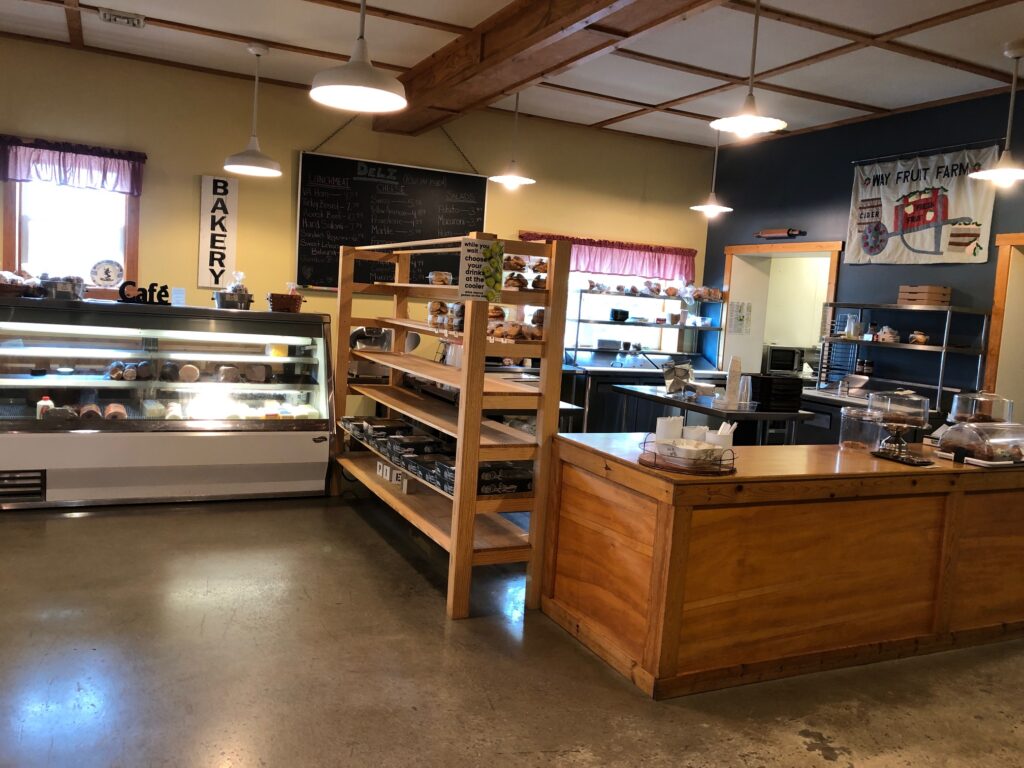
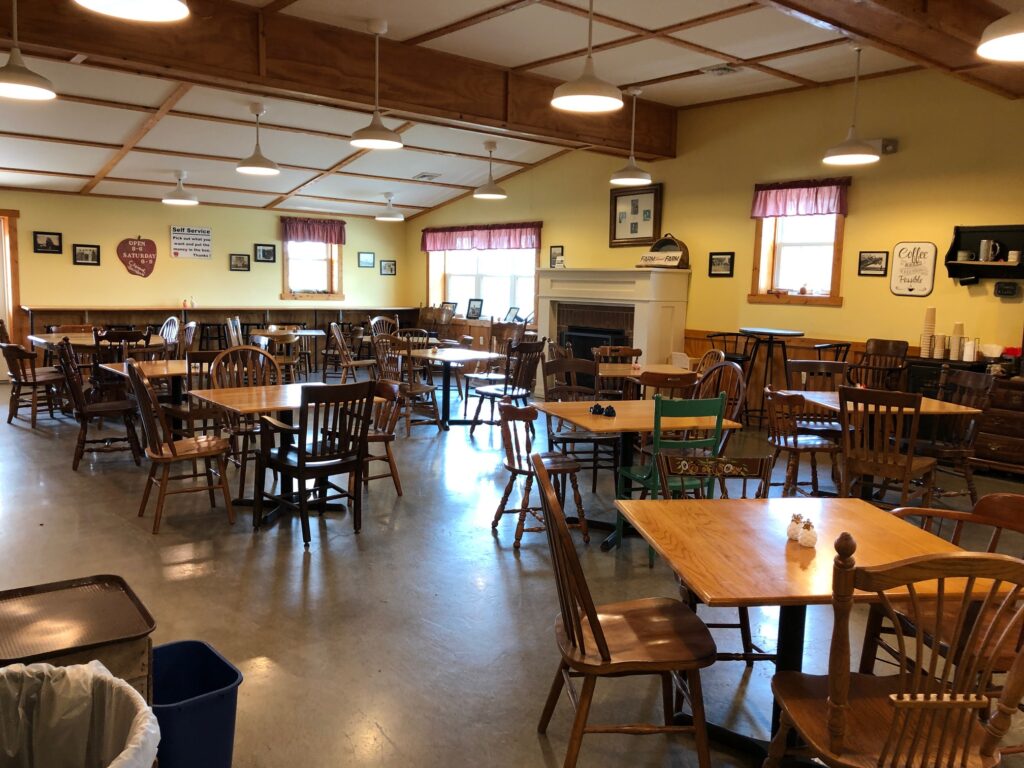
Beautiful flowers on the porch.Seasonal items, from pumpkins to apple butter.Great diagram of what produce is available and when.Local meats and other frozen goodies.Local produce.Apples, of course!Huge cabbages for sale…looked like bowling balls!Pancake mixes, local maple syrup and honey.Bulk baking items, like flour and sugar, so you can bake with all that yummy produce!Local artists have a place to share their photos.All sorts of handmade crafts.Even old fashioned “penny candy” for sale.Old fashioned soda…just like we remember from years ago.And even a place for kids to play!The lunch counter offers soups, sandwiches and baked goods to order.With our group of 13 coming, we needed to move some tables together!Very informal picture of some of us…I’ll keep it small!
This was a great way to rekindle old friendships and enjoy a good lunch! Thanks to all my old and new friends from high school for great conversation!
Check out local farm markets near you…you may find hidden treasures of food and fun! Enjoy!
For several years I’ve been wanting to stop by the home I grew up in (224 Ridge Avenue) to take some pictures. My family moved to State College in 1947. My sister, Jean, was ten years old and my brother, Mark, was seven. I was born in November of 1946, so I was just six months old when we moved from New Jersey.
When my mother passed away in 1988, Dad moved to Foxdale Village in State College. The home has had several owners in the last 30 years and it has been remodeled and updated over those years. While Dad had some contact with the folks that first bought the house from him, after a year or two he felt he didn’t need to stay in touch with subsequent owners.
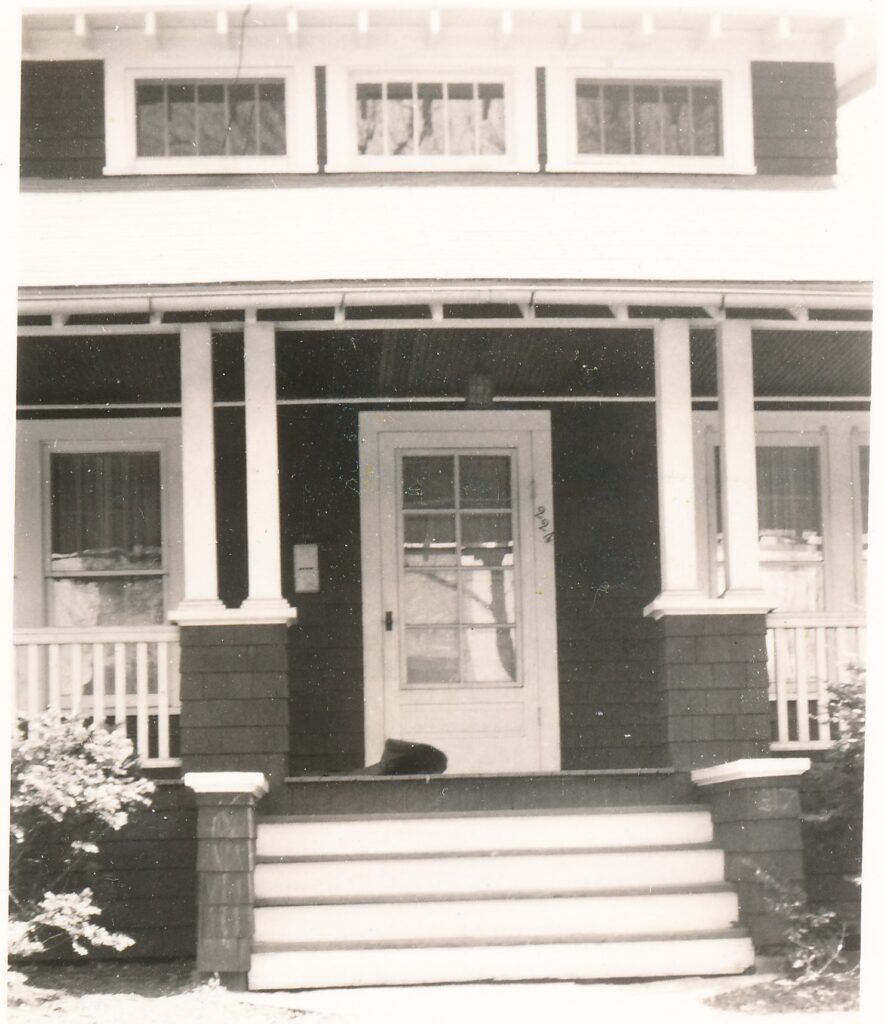
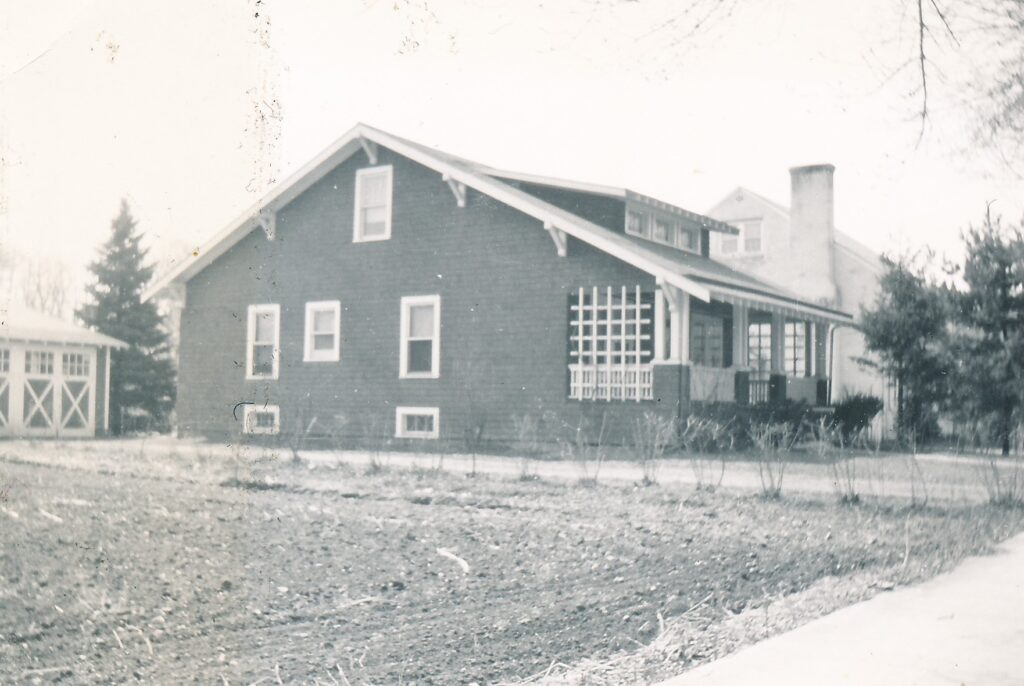
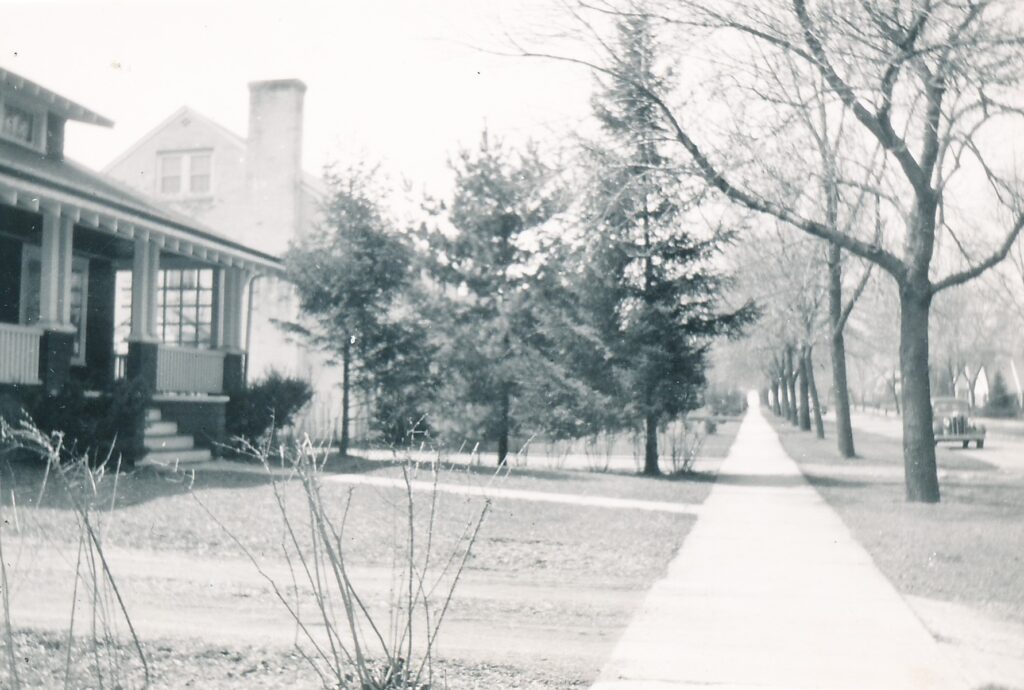
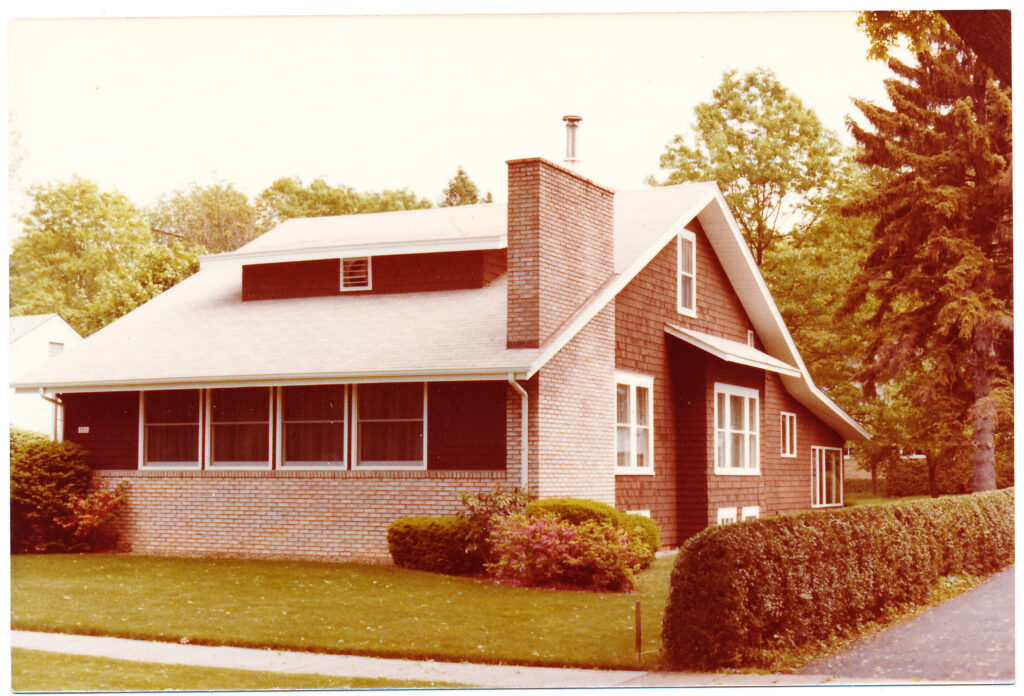
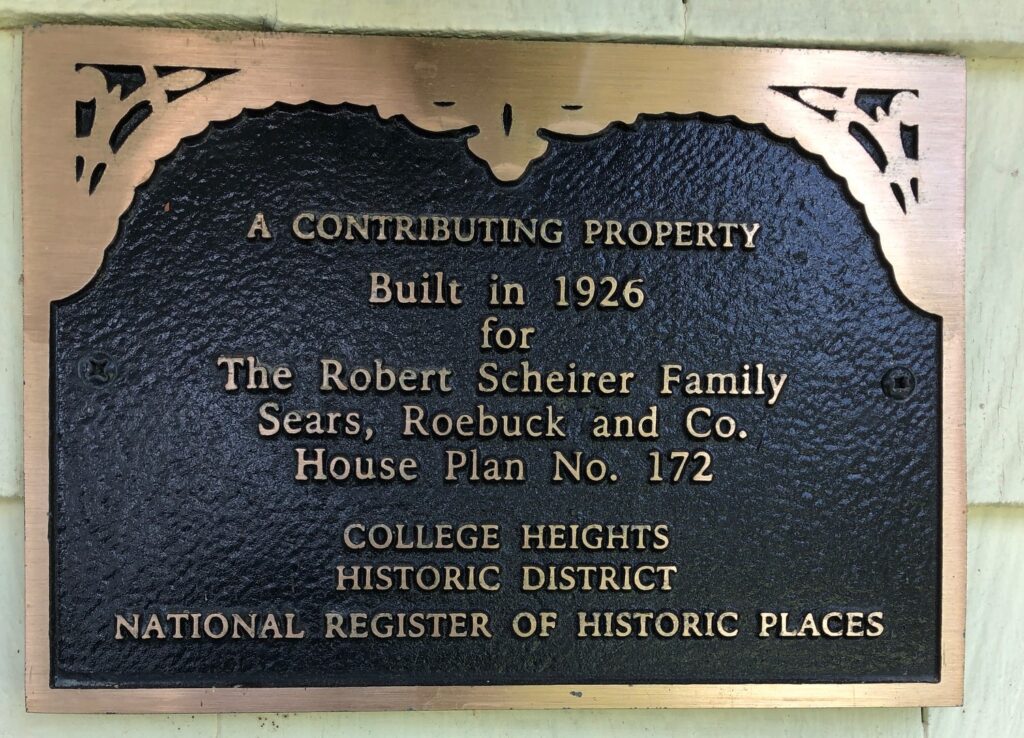
The house was a Sears, Roebuck & Co. craftsman home built in 1926. Here are some pictures I have of the house around the 1950’s.
The front of the house.The back porch with Paul, Jean, Ruth and me! Mark must have taken the picture.The side yard. The house next door had not been built yet.The front yard looking toward Atherton Street. Check out the car on the street!
In the 1960’s Dad had the house remodeled inside and out. The front porch was enclosed with huge windows and a fireplace. The back porch was turned into a landing that led to an enclosed room with lots of windows that became Dad’s office. I don’t know exactly how long the construction lasted, I just remember having to step over construction materials as I went through the back door in my senior prom dress!
The front door was relocated to the left side of the house.
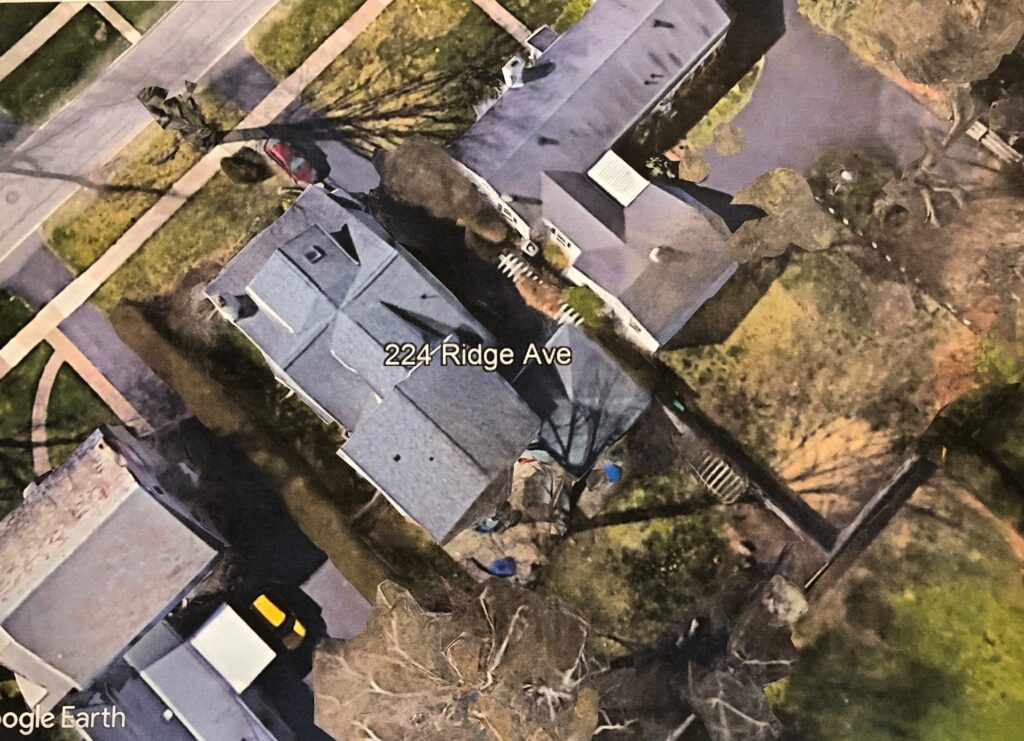
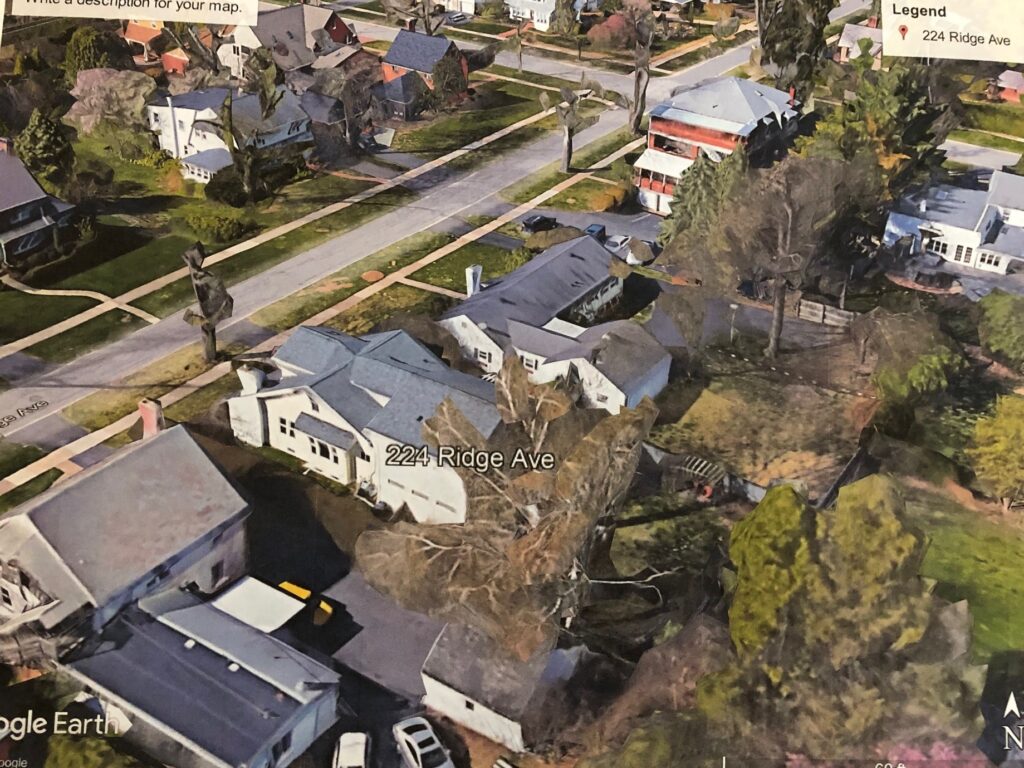
I’ve been able to check the property out on Google over the years and lately I noticed the most recent renovation drastically changed the roof line of the house. Obviously, an addition to the back of the house increased the living space of the structure. I think a second story was added to the room my Dad used as an office. Here are two screen shots from Google maps:
View from above.Side view. You can see the windows of the dining room, but I don’t think the footprint of the house has been changed.
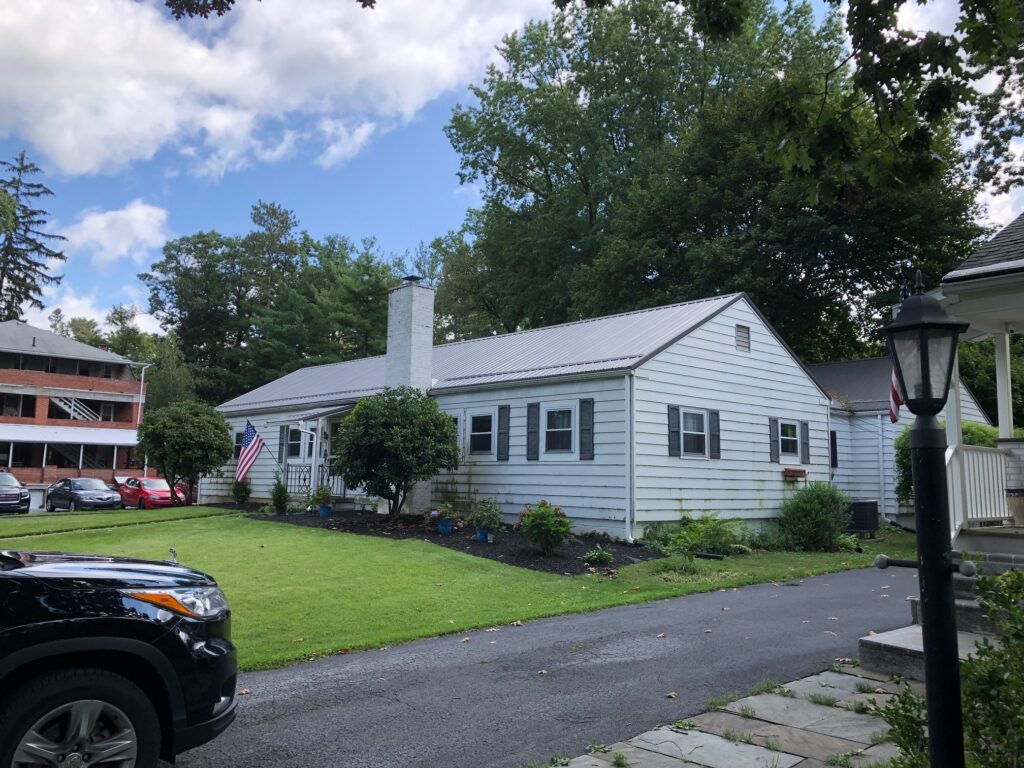
I stopped by the house this week to take some pictures. I rang the doorbell, but no one answered. So much for thinking I could see the inside of the house!
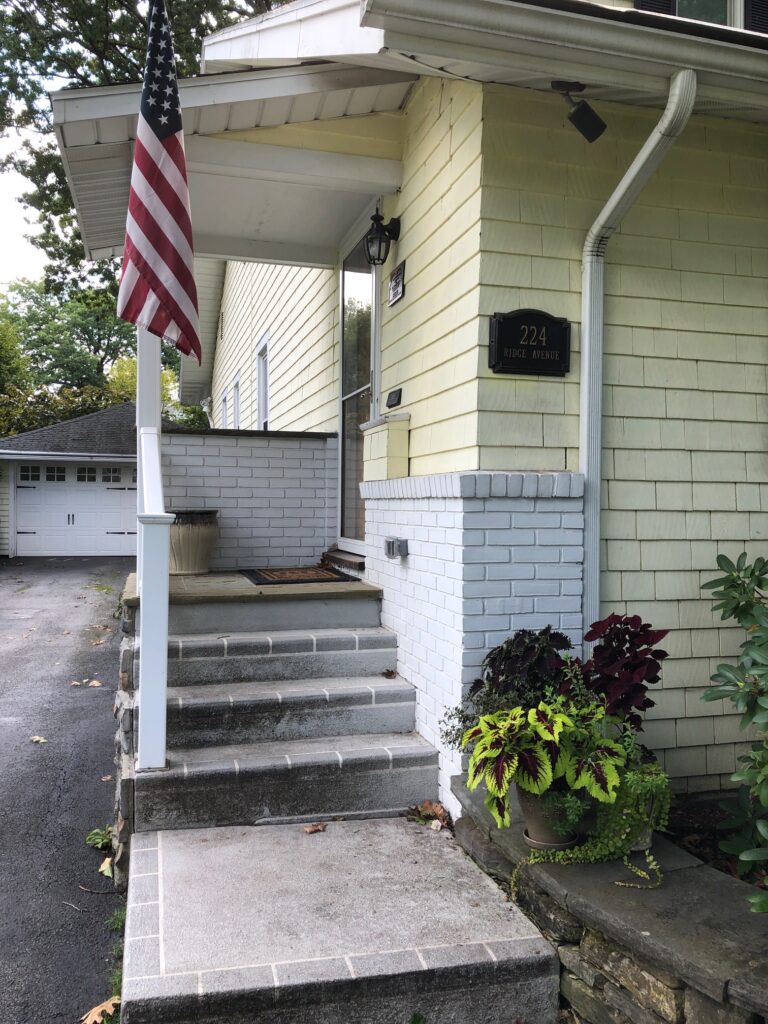
First, I checked out the front steps…I know when the concrete was poured on the steps in the 1960’s, I signed my initials and placed a 1964 penny there. I guess it’s been covered up. These steps look much better!
I saw this plaque by the front door:
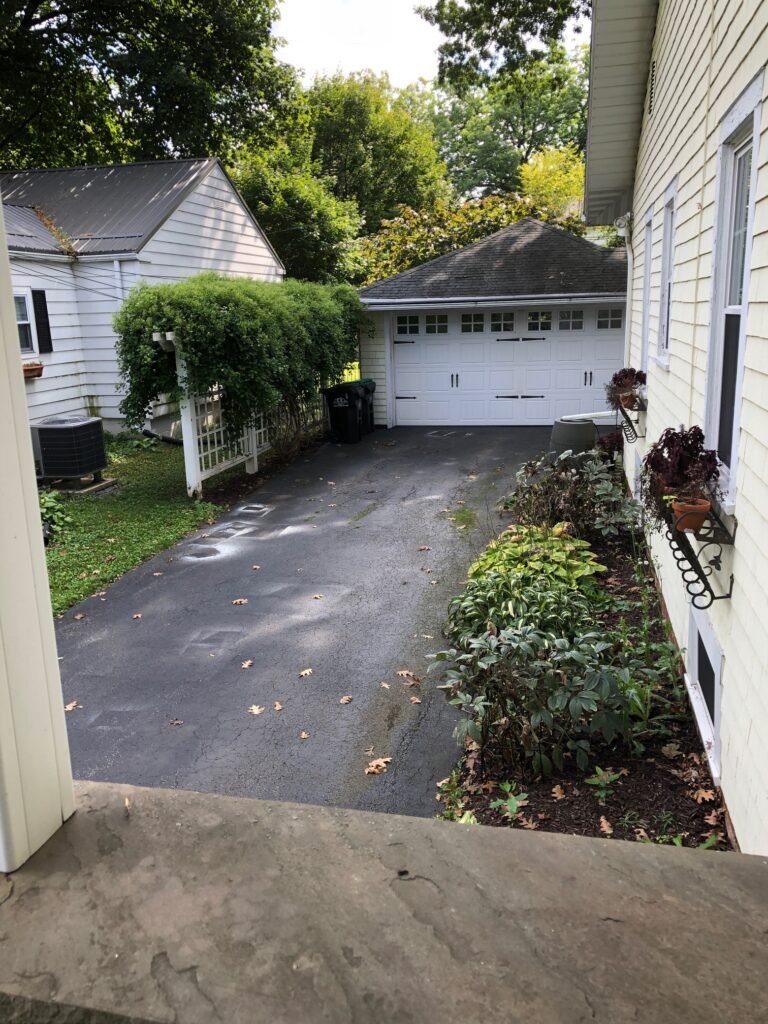
From the porch, looking down the driveway to the garage, the view is certainly filled with green plants.
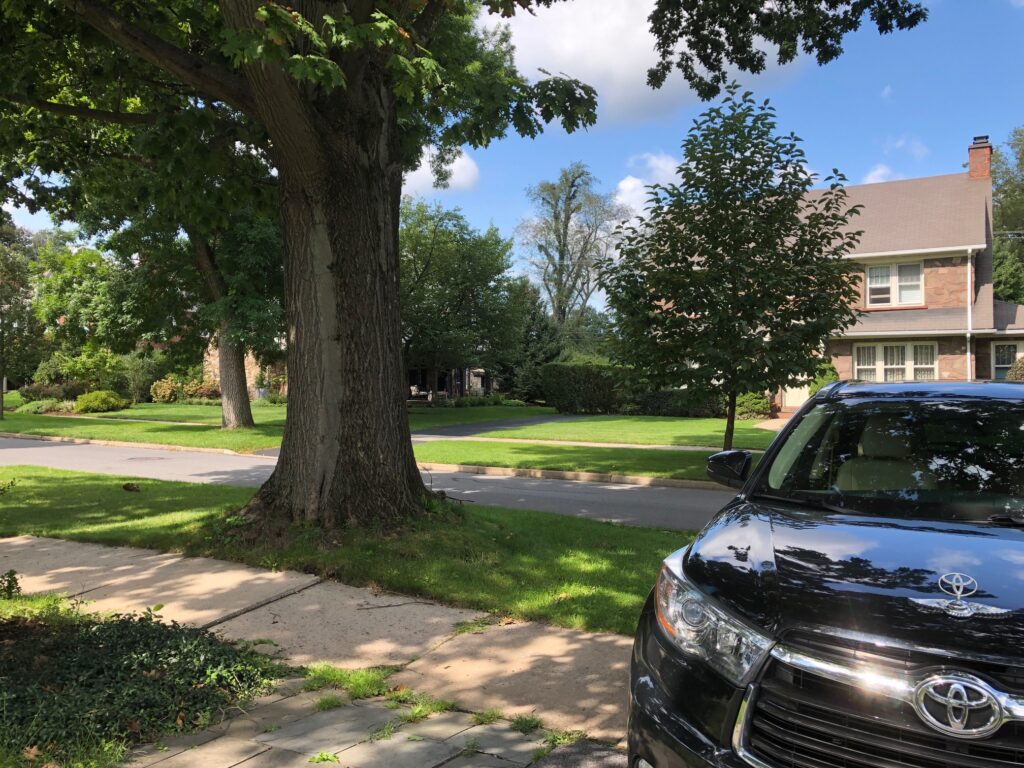
When I turned around to go to the front sidewalk, I realized how HUGE the tree in the front yard was! I don’t even remember if there was a tree there at all. There may have been a large pine tree there when I was much younger. This tree has to be almost 30 years old, but it’s beautiful.
The people living here certainly like lots of plants and privacy hedges.
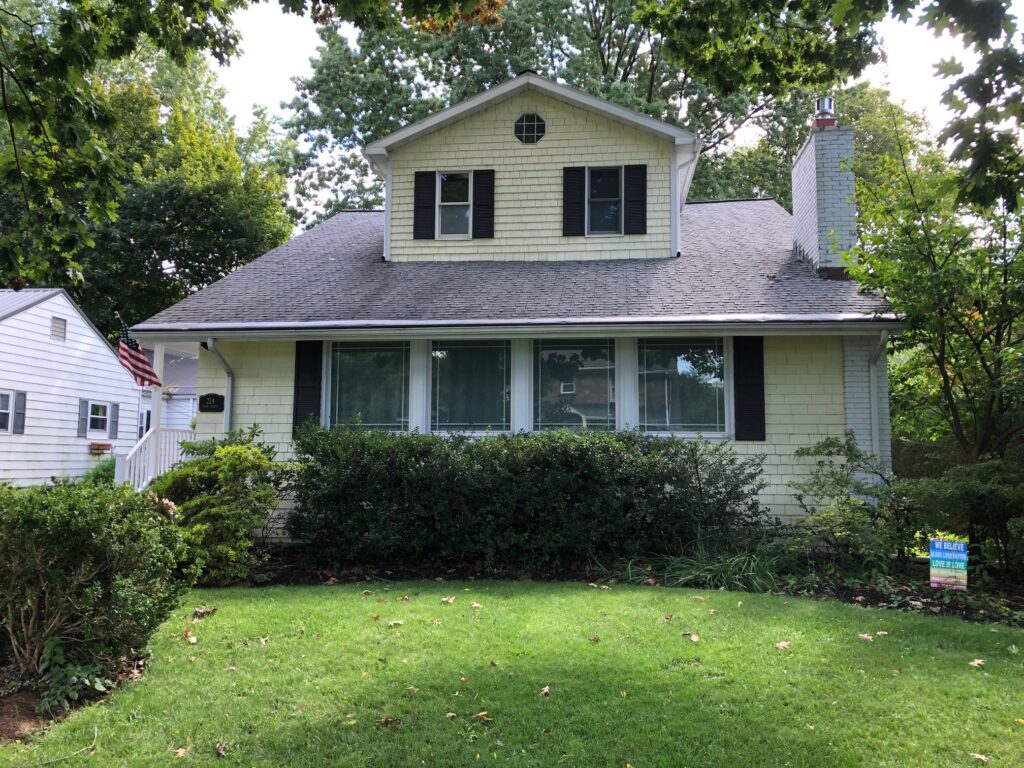
When I stood back closer to the curb to take a side picture, I can barely see the brick chimney on the right with the overhang from the tree in the front yard. Yellow siding and white painted brick certainly changes the whole look of the house. However, it is the best kept house on the block.
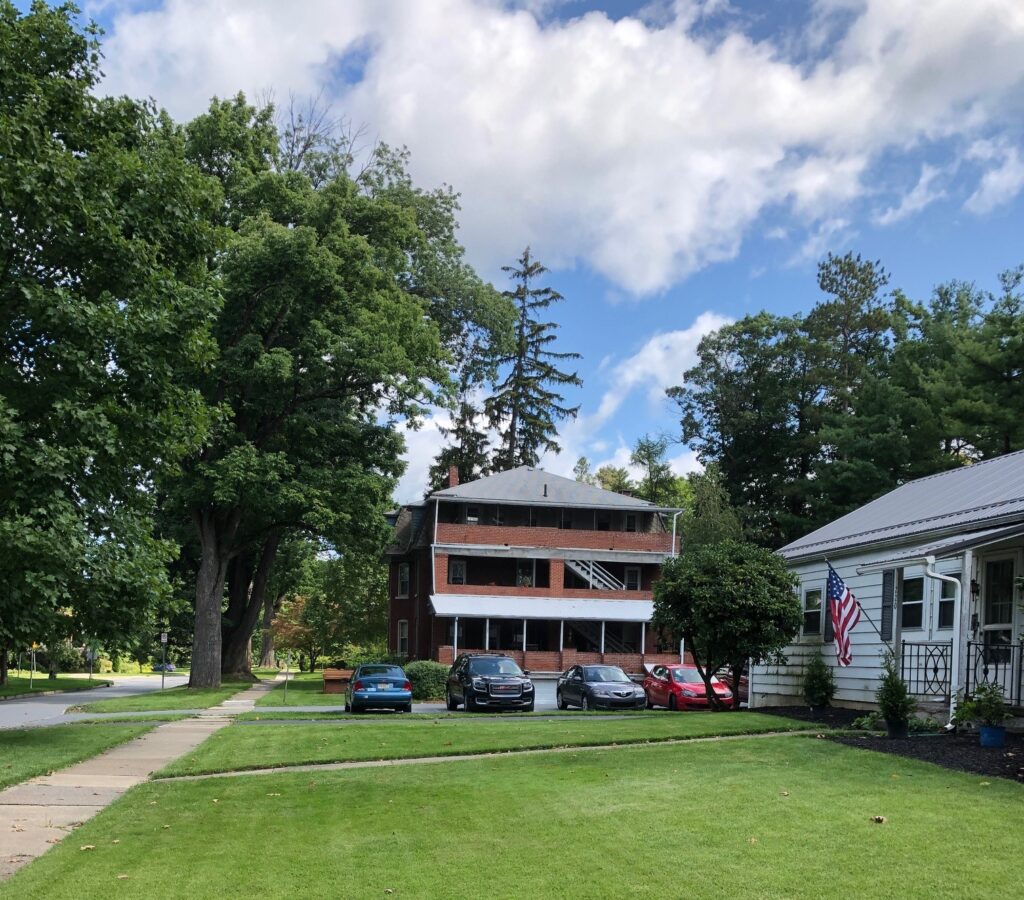
The Adams house next door is still there but doesn’t look like it’s been upgraded at all. Next to that is the brick apartment house on the corner of Burrows Street. From the evidence of assorted stuff outside the house, it looks like student housing.
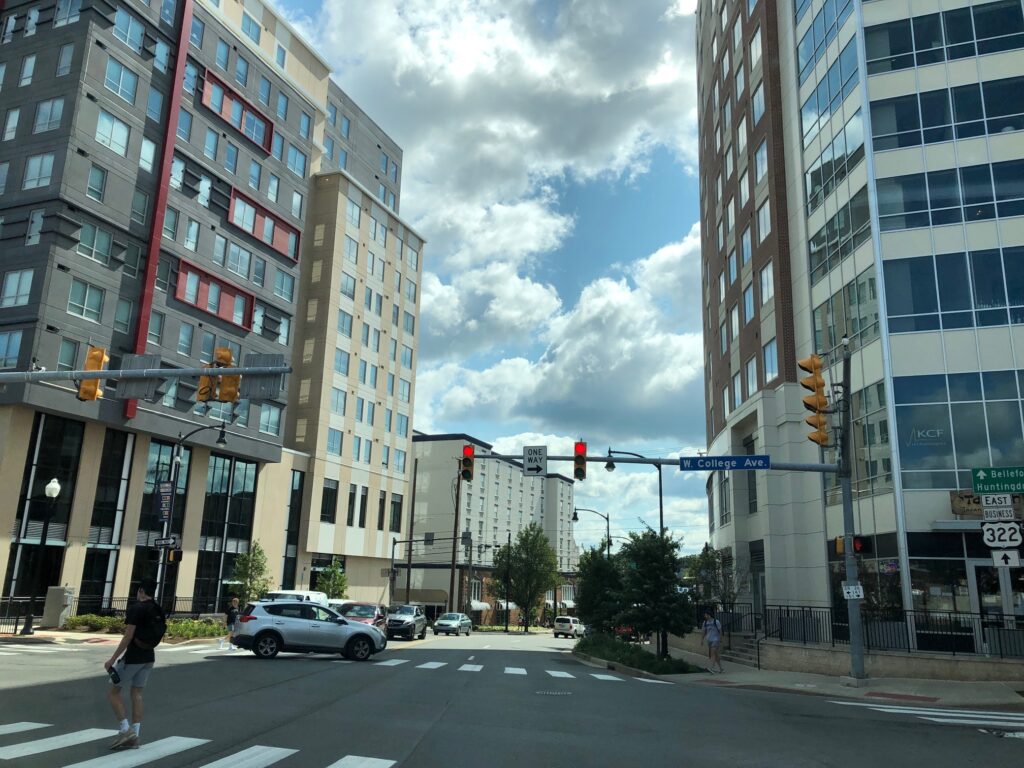
As I drove down Atherton Street toward Boalsburg I was stopped at the light at Atherton and College Avenue. Imagine my surprise to see giant high rise apartment buildings on either side of the intersection! Things have certainly changed! I guess I should drive through town now and then just to keep up!
I guess things stay the same only in our memories! To my family, I hope you enjoyed the updated pictures of 224 Ridge Avenue! To everyone else, treasure the memories you have of the places you’ve lived! Enjoy!
Seems silly to be starting a project for Christmas in September…I know! However, anyone who hand crafts gifts knows that NOW is the time to get started. It’s barely 100 days until Christmas. All the ads for Joann Fabrics and Michaels Crafts stores advertise their patterns and supplies to make gifts and are already encouraging crafters to get started. Television ads show the latest, most desirable toys we should look for soon. The catalogs are arriving with special gifts we could choose for our holiday giving. So, I have begun making my gift ornaments!
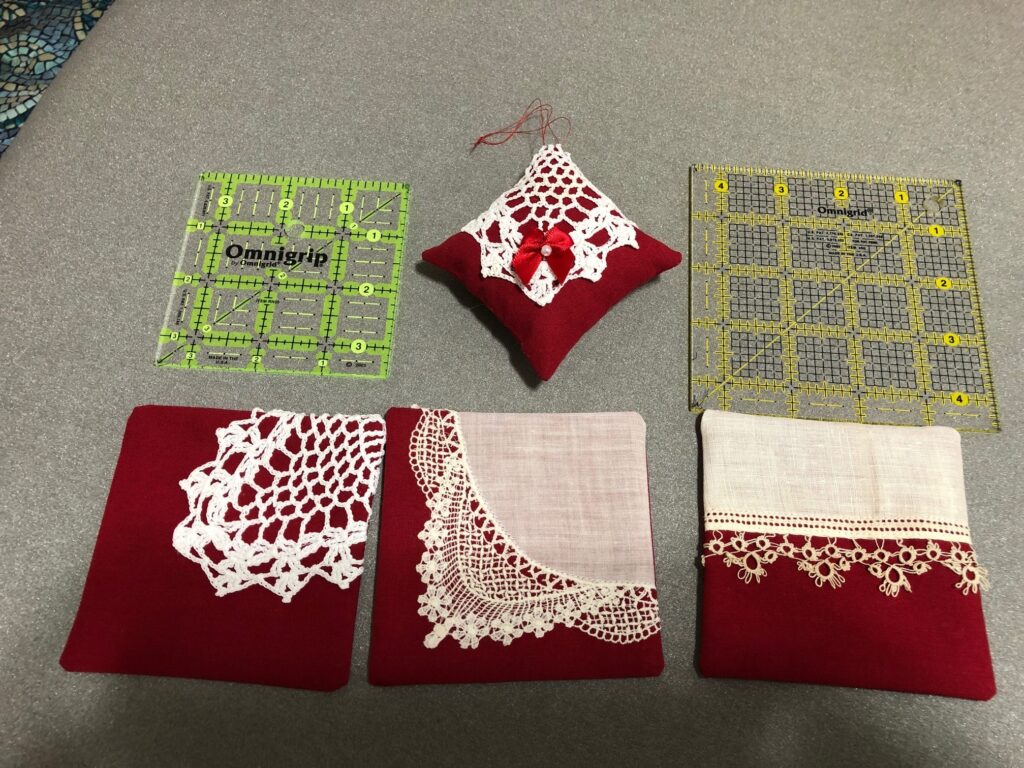
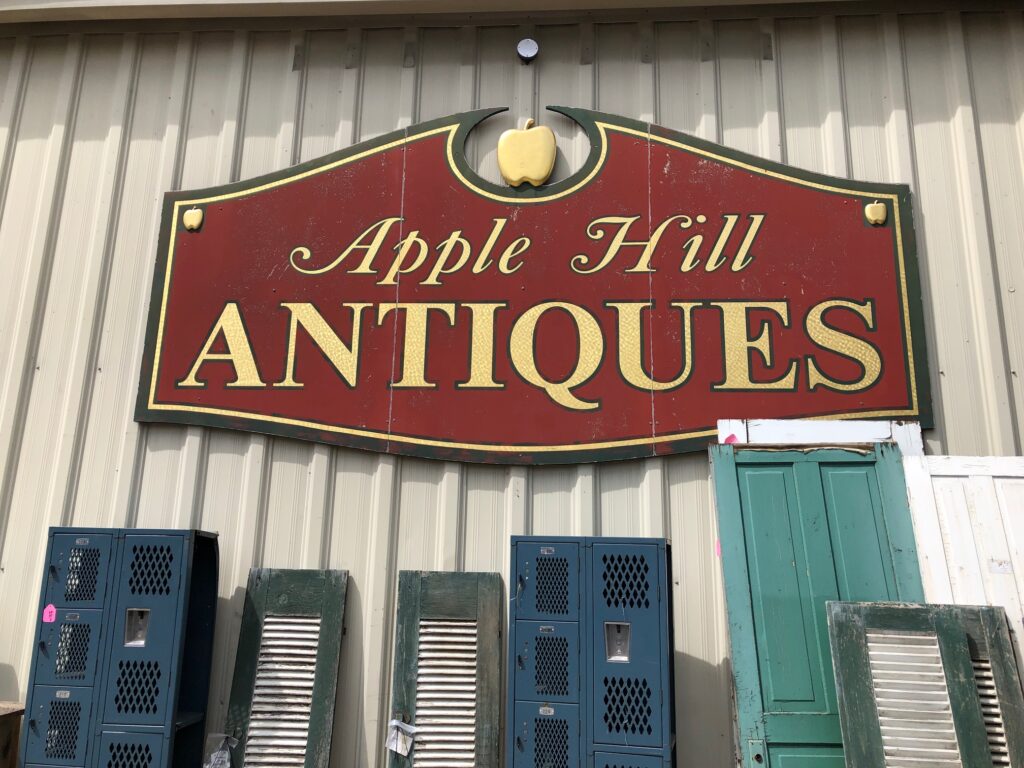
Now that I’ve made my trek to Apple Hill Antiques and assembled what I need to make unique ornaments I thought I’d follow up the last post with a sample of what I’m making.
I shared my first “test” ornament:
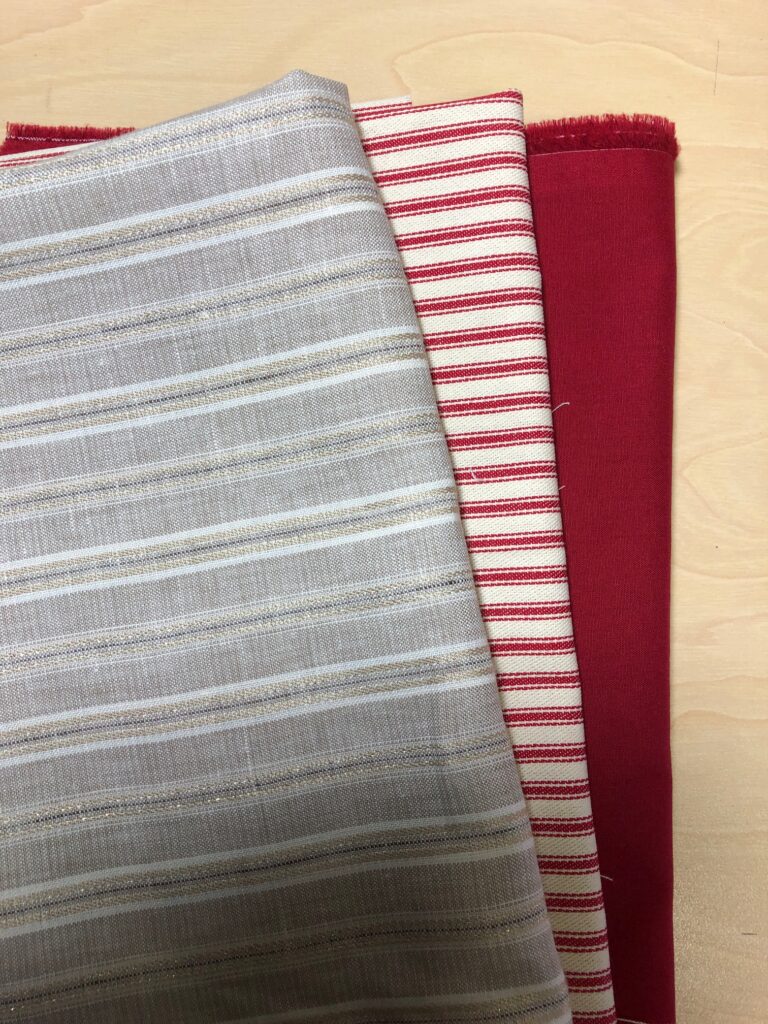
Then, I assembled my base fabrics. I had these on hand and thought they would showcase the lace pieces…and would be good Christmas colors.
The first ornament I made last week (shown above) was based on a 3 1/2″ square. After turning it right side out, I decided to make the rest based on a 4 1/2″ square. It was easier to turn and gave me room to place a button in the center.
I have quite a collection of buttons, some vintage, others I just like. They give a focus to each piece.
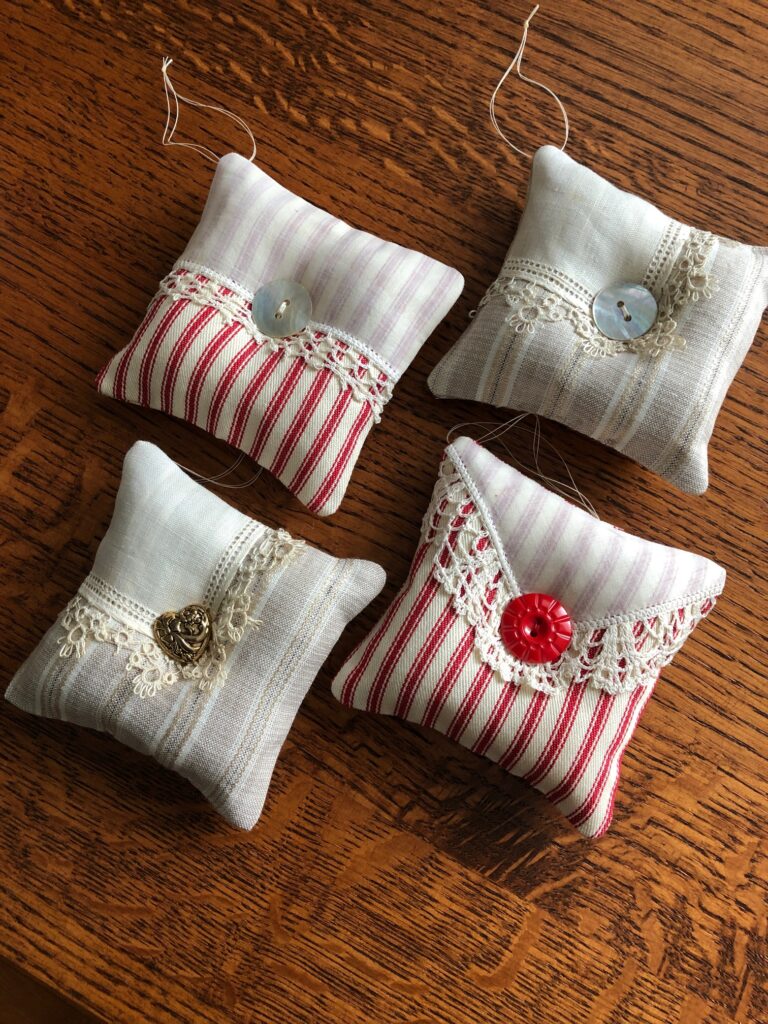
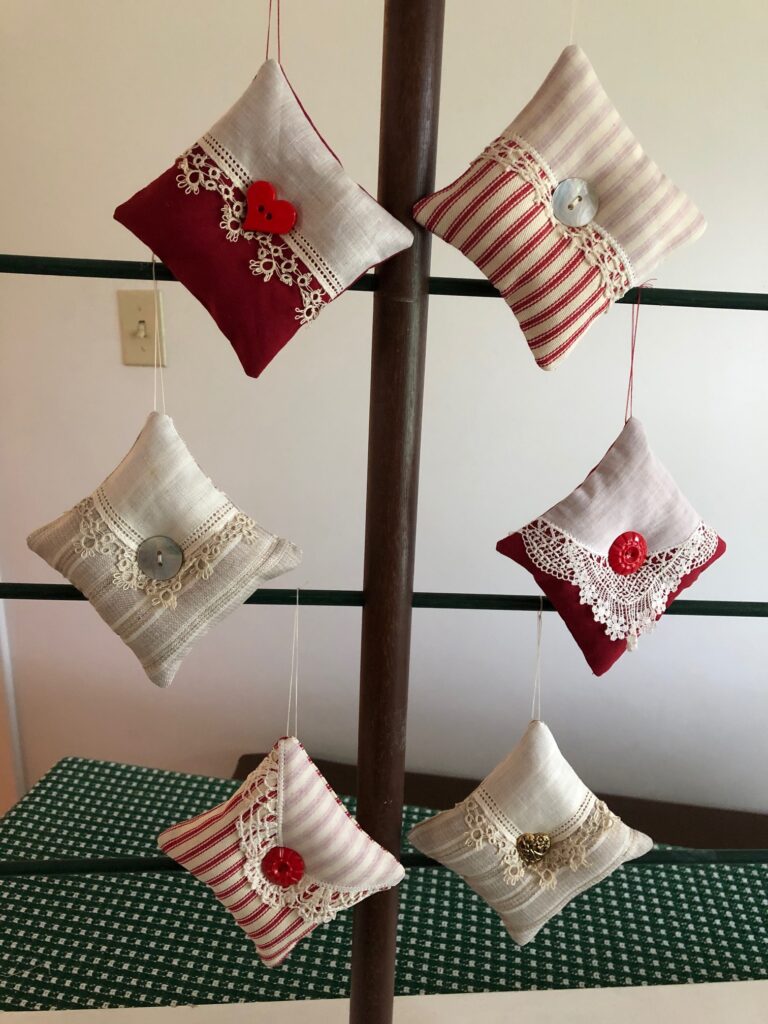
Here are four of the six I finished.
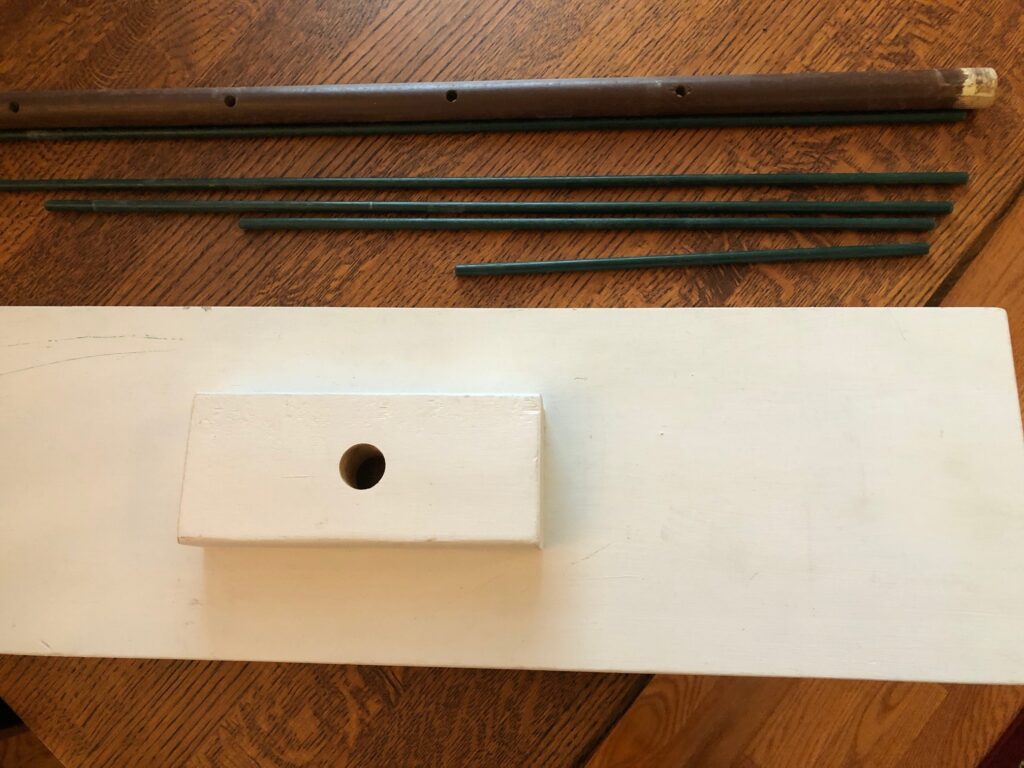
I finished six ornaments and then decided to set up my display tree to see how they looked.
Bert made this simple tree for me many years. It is made of dowel rods and a sturdy base. Unassembled, it tucks into a corner without taking up too much space.
I think these will make nice Christmas gifts!
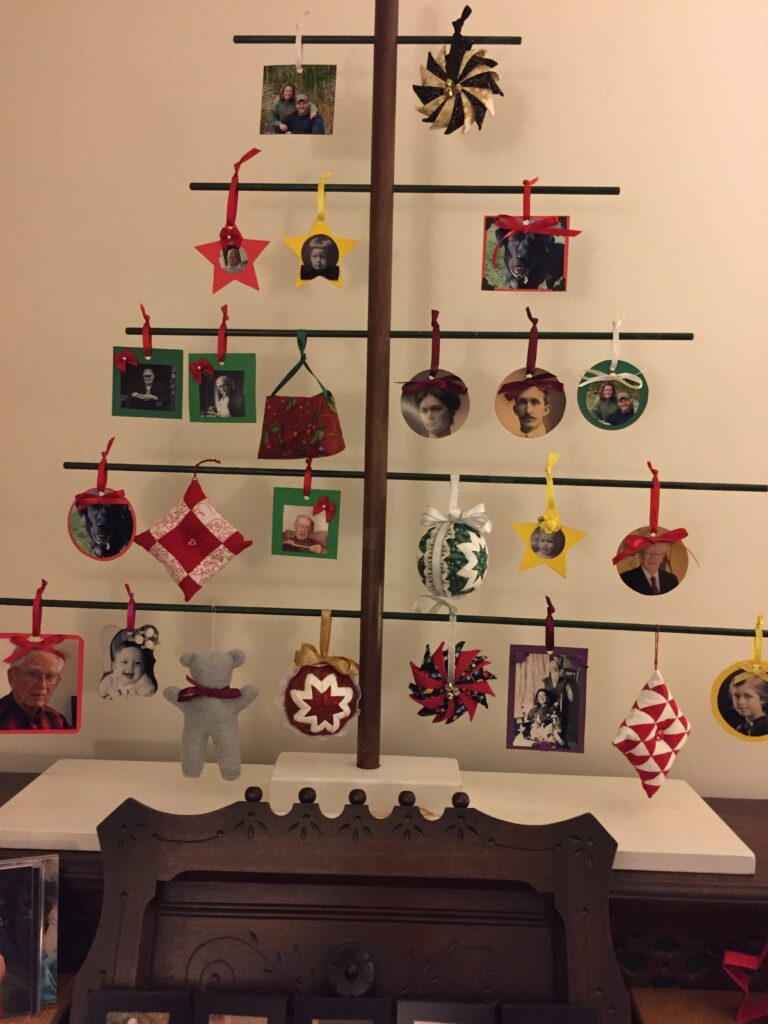
I have used this display tree for clay ornaments at a flea market…
…for a Christmas tree…
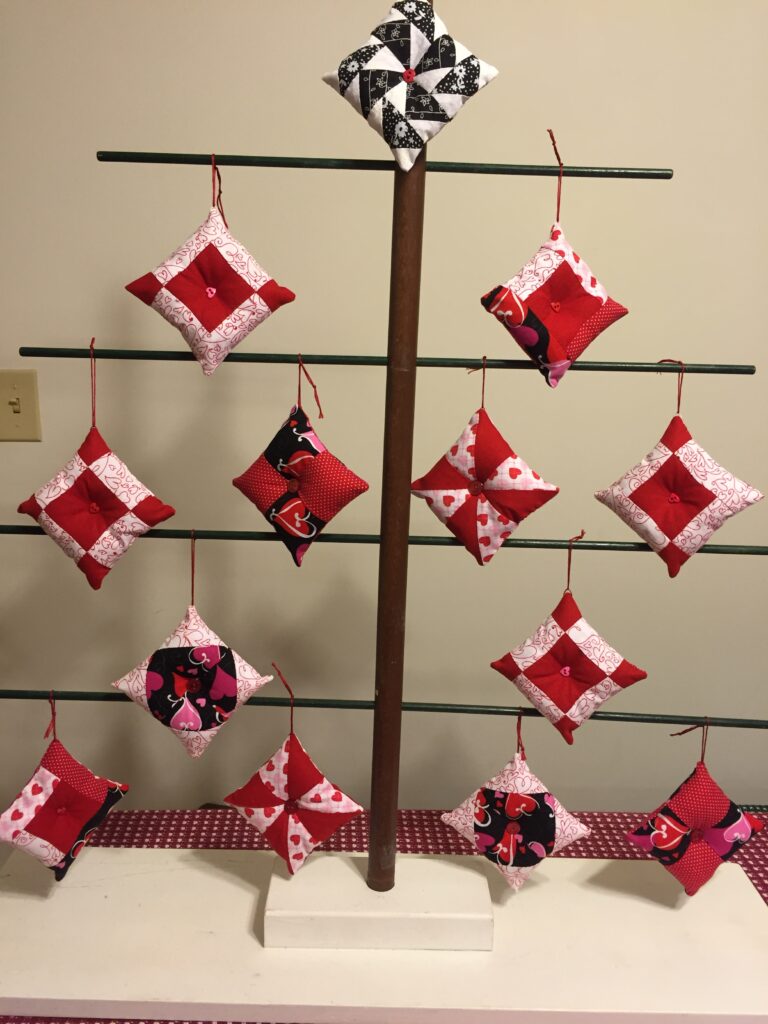
…and even a Valentine tree!
I hope to make about 40 ornaments this time. At least I know if I run out of lace edging I can find more at Apple Tree Antiques! Enjoy!
I’ve always been interested in vintage fabric. So many things left in attics and estate sales remind us of life in by-gone times. Those days folks did not use disposable paper products the way we do today. Now, I’m hoping to never need to figure out how to do without toilet paper, but I remember the days before paper towels, paper napkins and Kleenex. I still have an assortment of beautiful handkerchiefs, cloth napkins and dishcloths from my mother. The dresser scarves and crocheted doilies seemed to be everywhere in my grandmother’s home. I have found many similar items in antique stores and flea markets. Besides representing how my parents and grandparents functioned in their homes, I find them a great resource of one-of-a-kind beautiful fabric.
I recently visited Apple Hill Antiques in State College. This large warehouse-size building is divided up into individual sections for individual sellers. This building used to be the local roller-skating rink back in the 1970’s and 80’s. I have fond memories of learning to skate with my kids back then.
If you like to wander through small shops with an assortment of items, Apple Hill Antiques is a great place to visit.
Usually, I find it helps to focus on a specific time period or a specific kind of item from toys, glassware, furniture or textiles. Otherwise, I find the mixture of items overwhelming. When I focus on vintage fabric my eyes look for a certain kind of display.
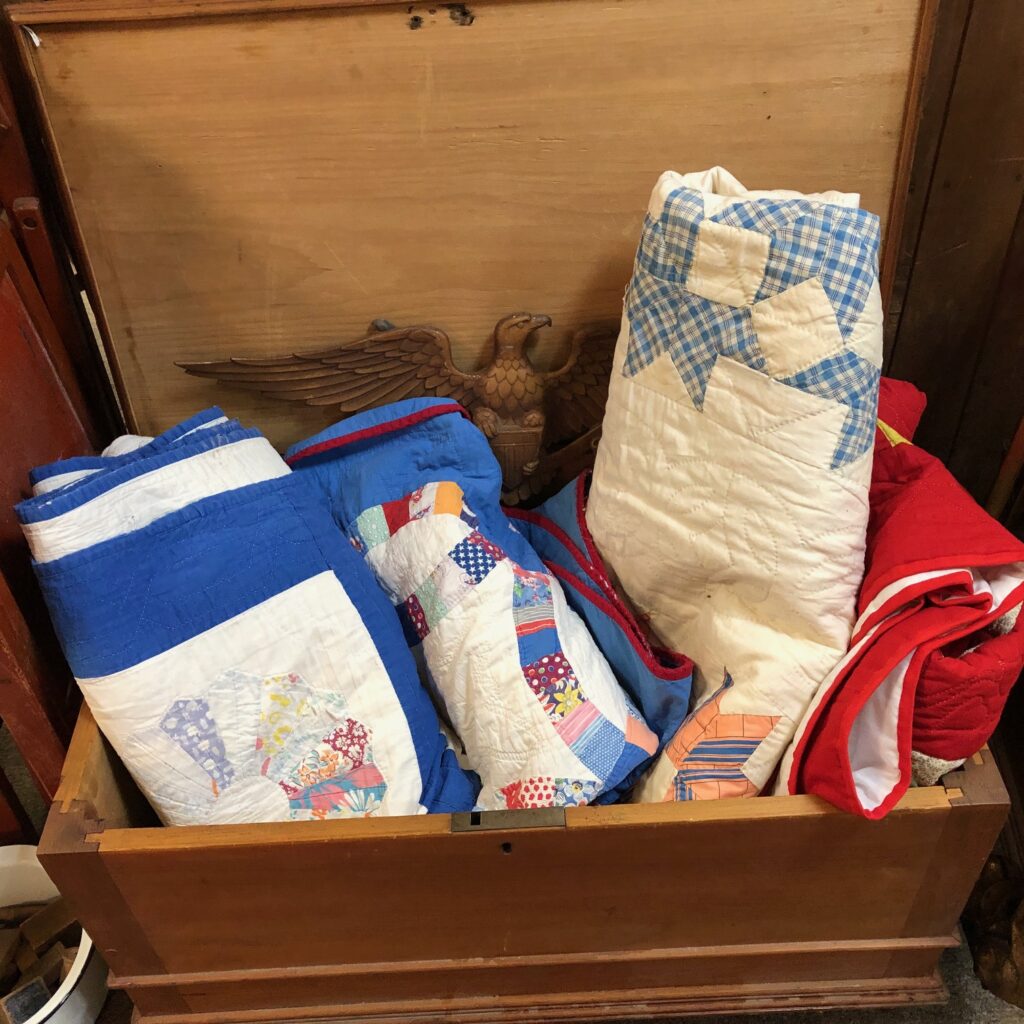
Some items, like quilts, are displayed tucked into trunks.
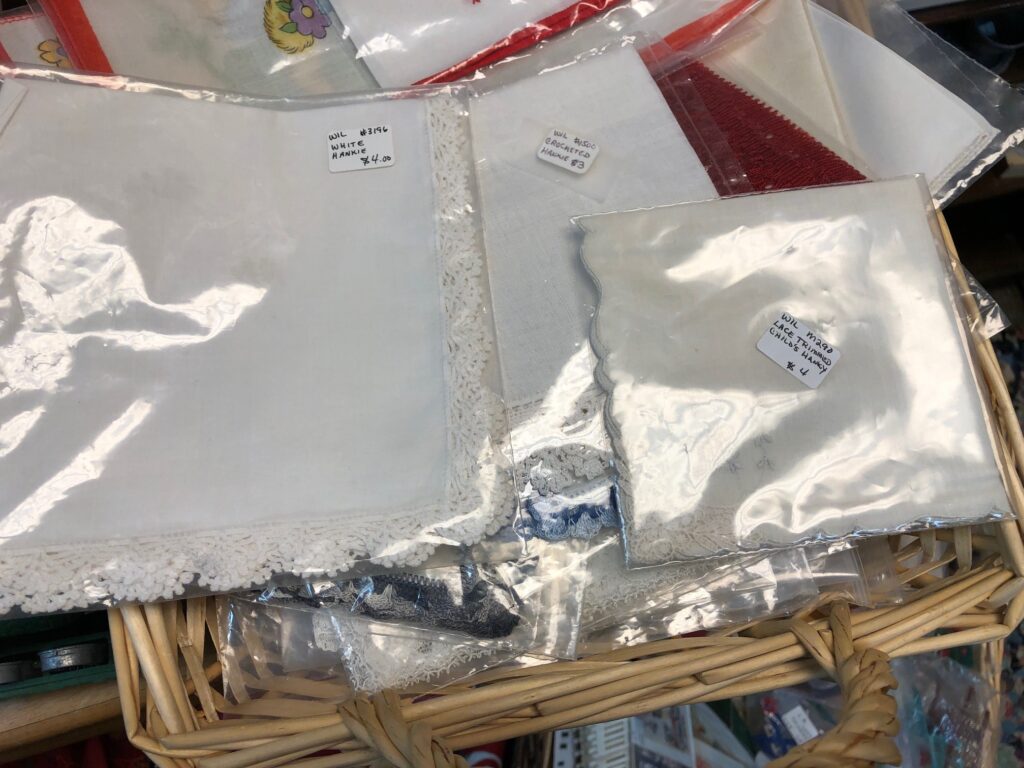
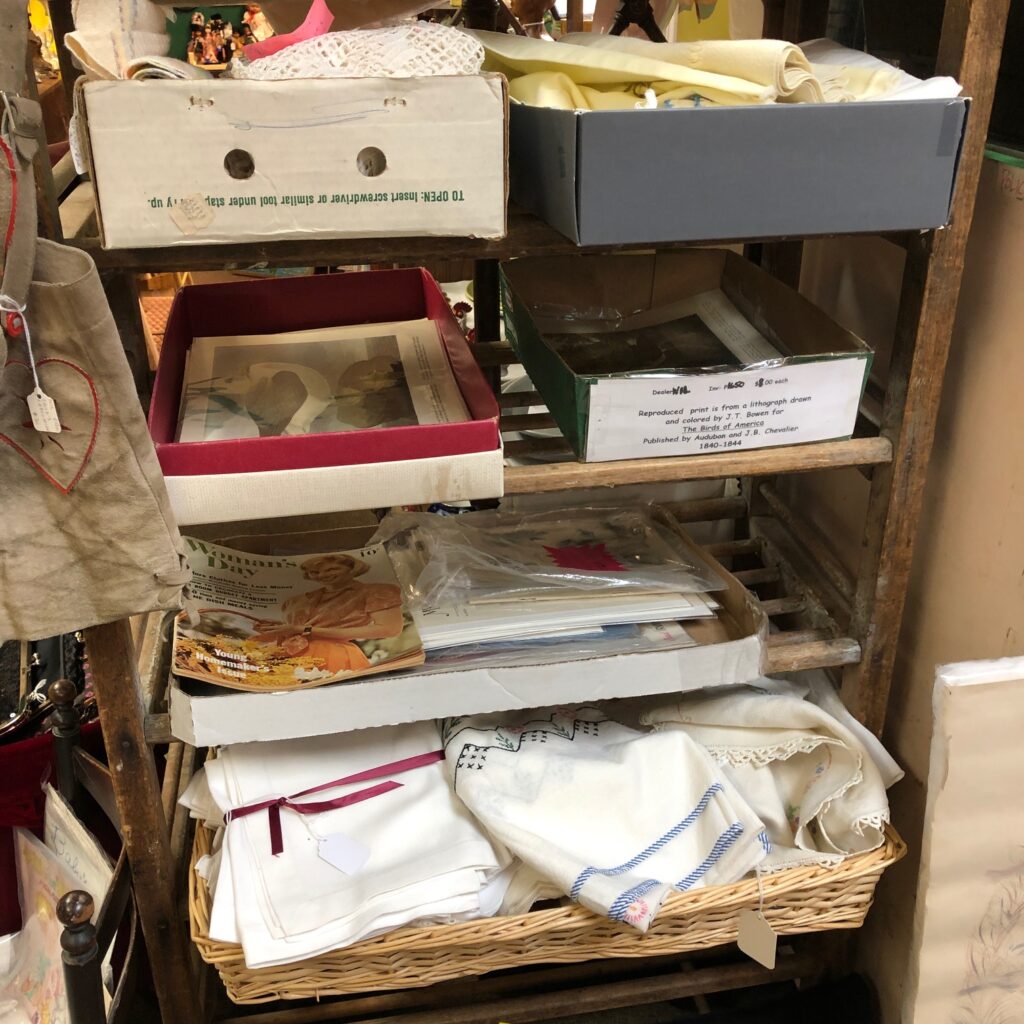
Things like handkerchiefs and napkins are often piled into baskets.
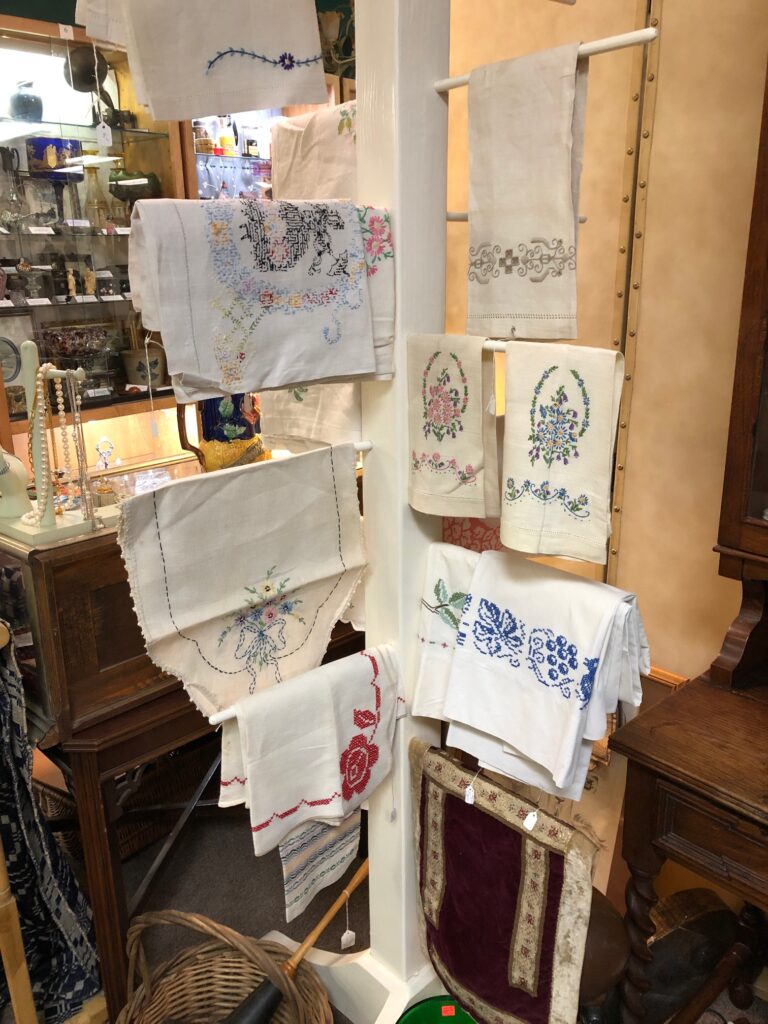
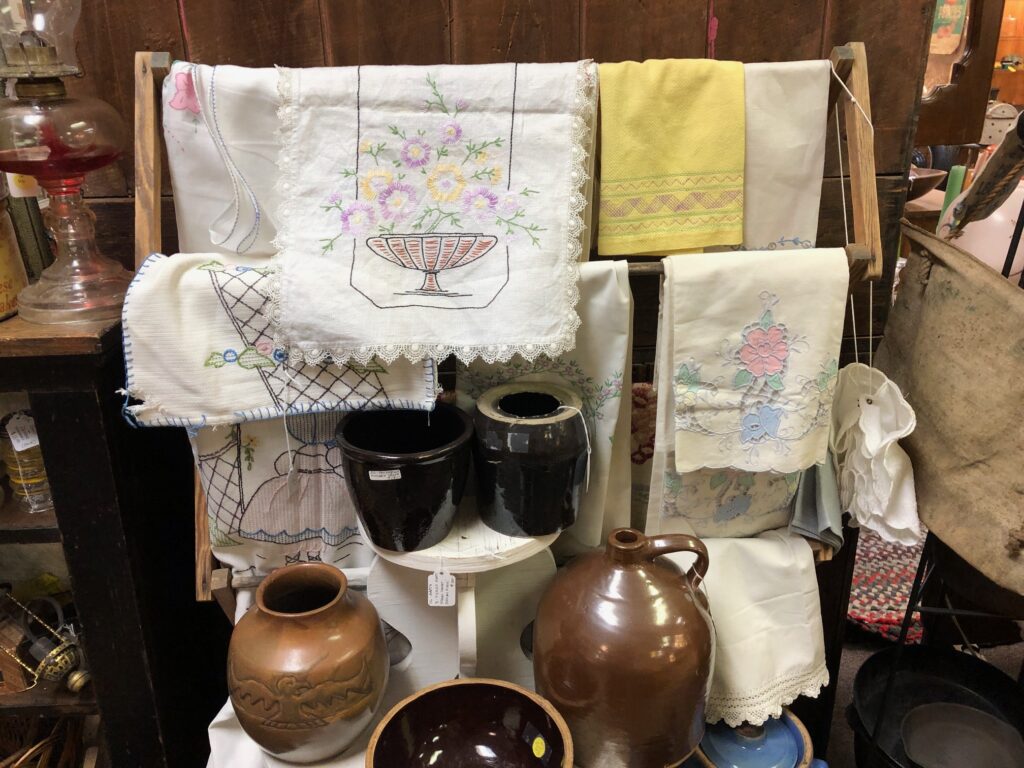
Larger items like hand towels and tablecloths are often hung on hangers or racks.
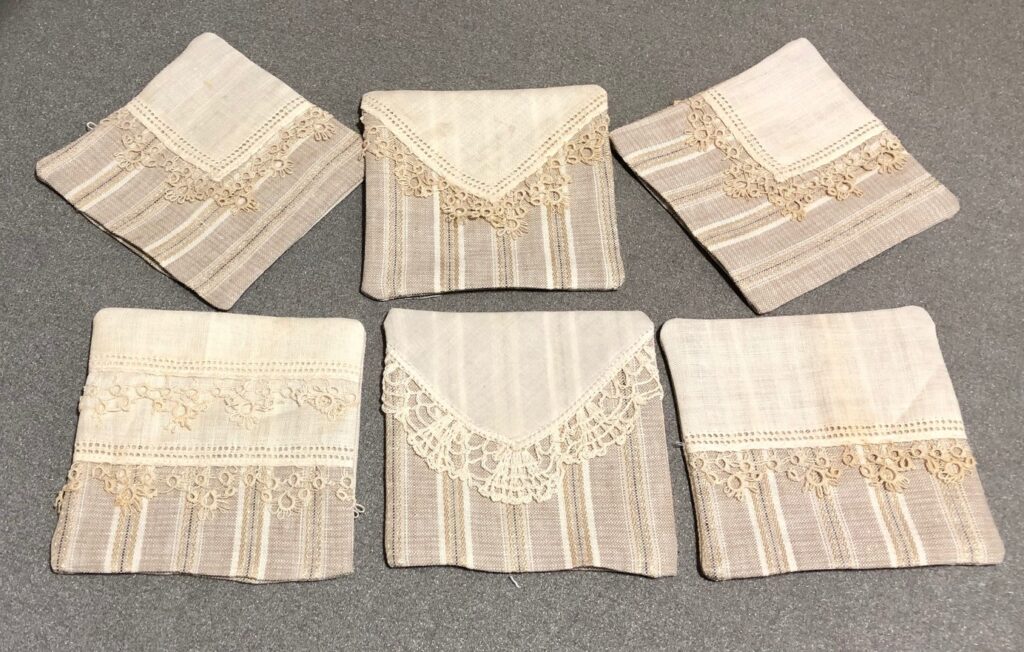
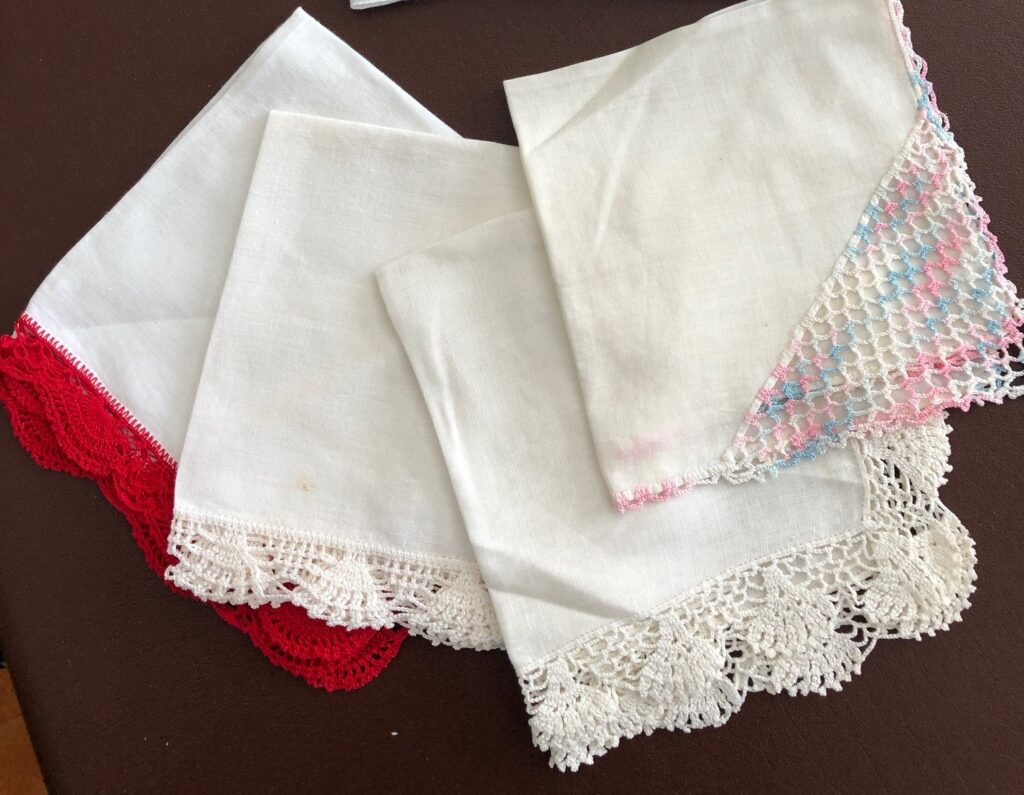
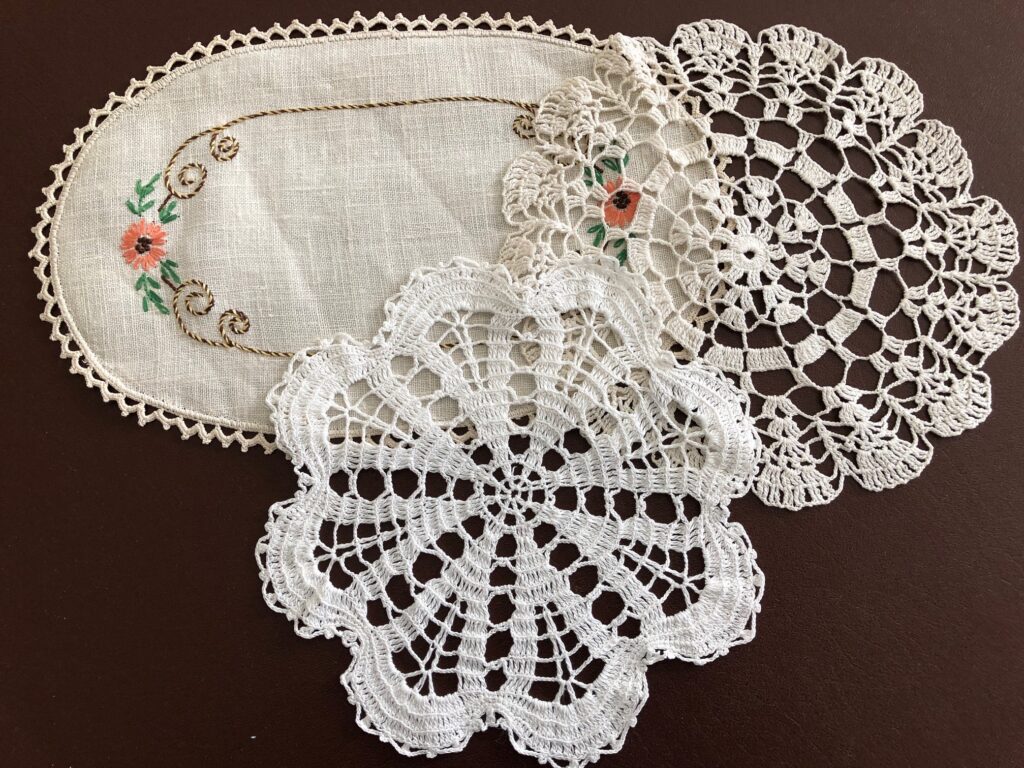
I have a project in mind this time–Christmas Ornaments–so when I stopped by, I focused on smaller items. I was looking for edging on handkerchiefs or embroidery on hand towels. A few crocheted doilies looked promising.
Here is an example of what I hope to make…enough to give as gifts at Christmas:
Therefore, I’m looking for unusual edging on handkerchief or interesting doily patterns.
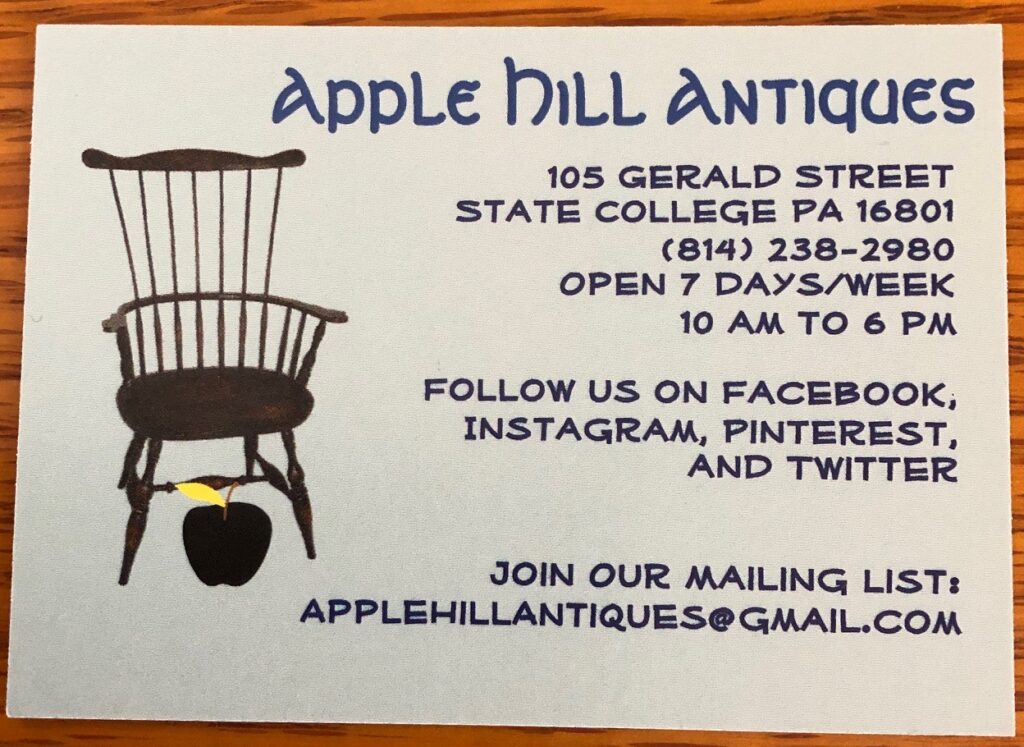
Apple Hill Antiques is a great place to spend time…to relive the past or to search for special items for your own collections. Here’s their flyer with more information:
You could even join their mailing list:
A great way to spend some time! Enjoy!
Please leave a comment or email me directly if you have questions at marykisner@comcast.net.
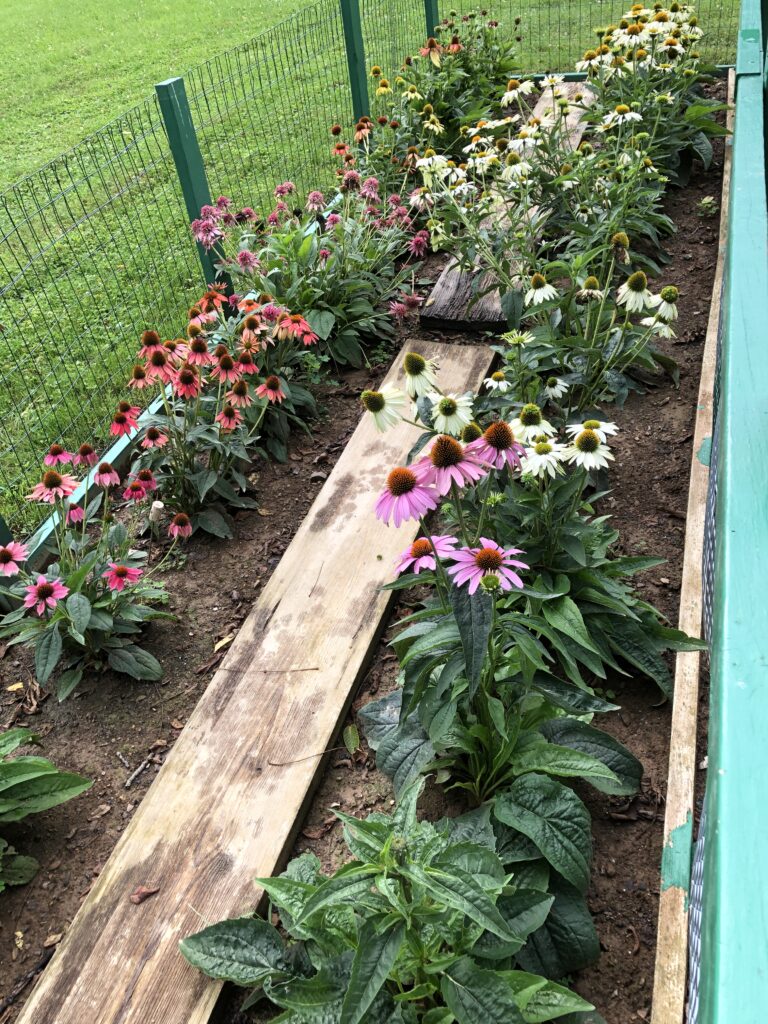
Fall is in the air! The garden is winding down, the evening dusk is coming earlier every day and school buses have started to roll by. The last of the garden produce is ready for harvest. Luckily, the echinacea flowers are still spectacular and the lavender flowers are going strong, so the garden doesn’t look abandoned.
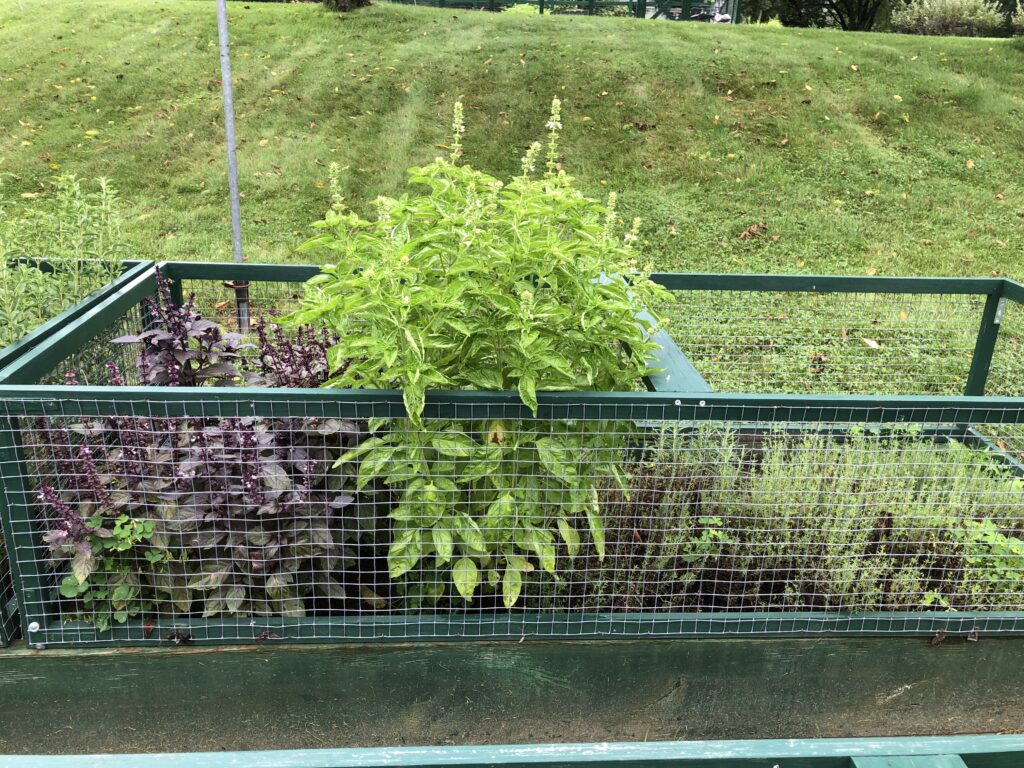
Here’s the latest tour of the garden plots:
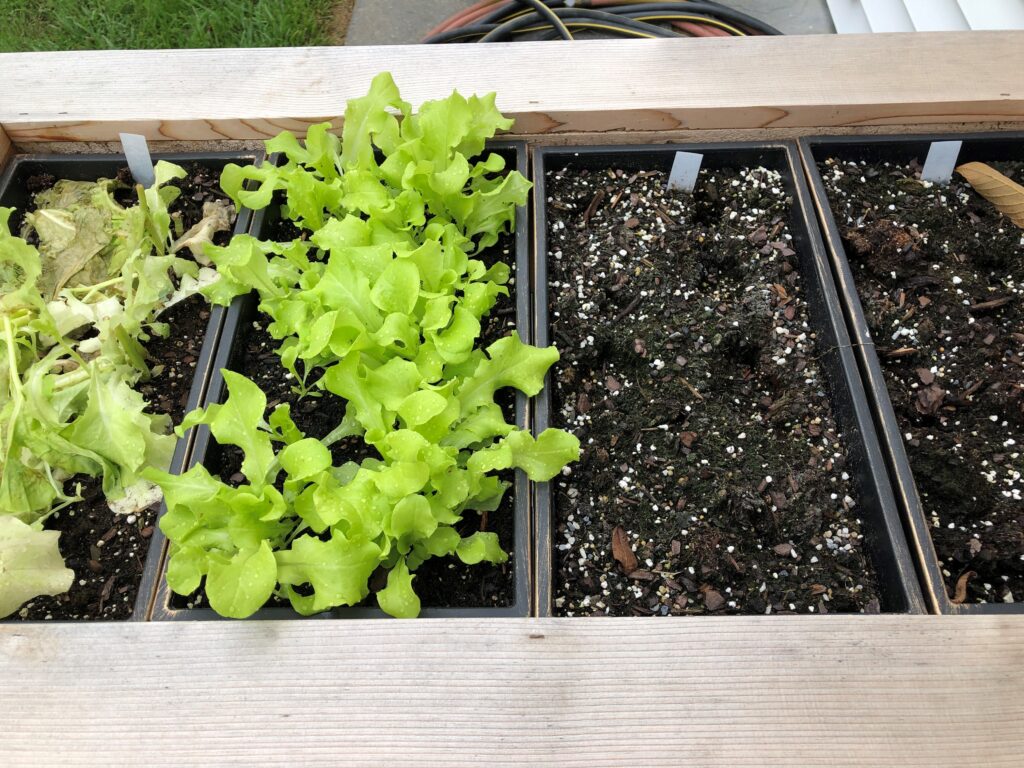
First, the raised planter still has one batch of lettuce growing well. The last radishes are in the refrigerator ready for the next salad. The lettuce on the left was cut a few days ago, but the roots are still there. We’ll dump the whole bin shortly.
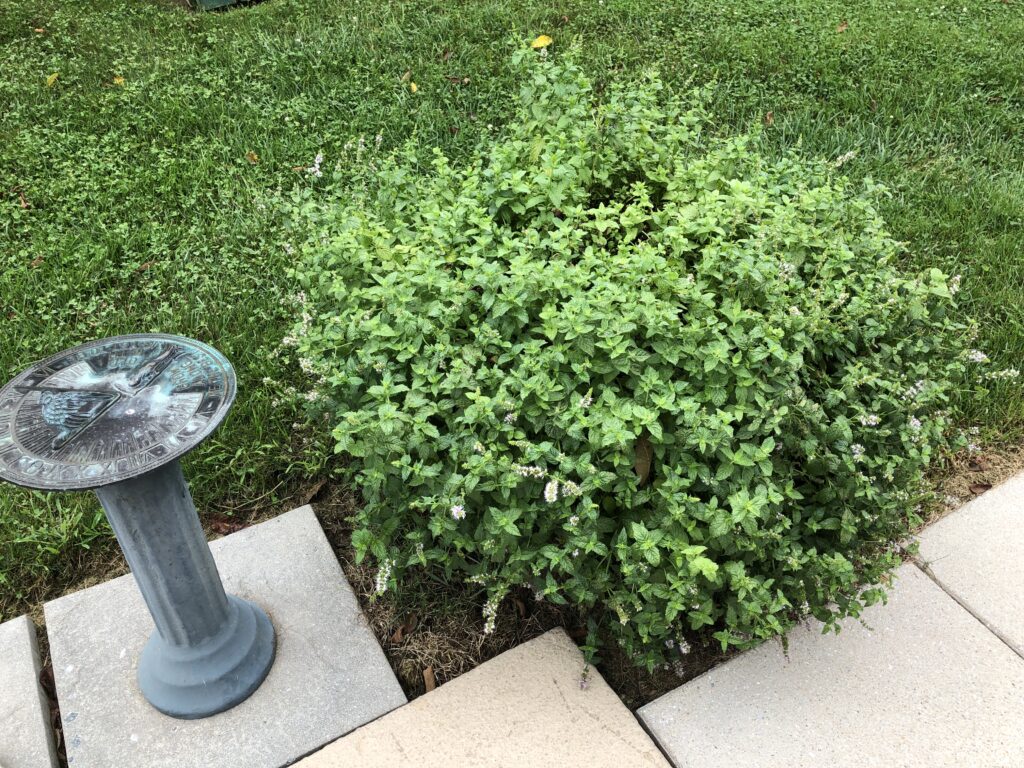
The spearmint is in flower and the bees are busy.
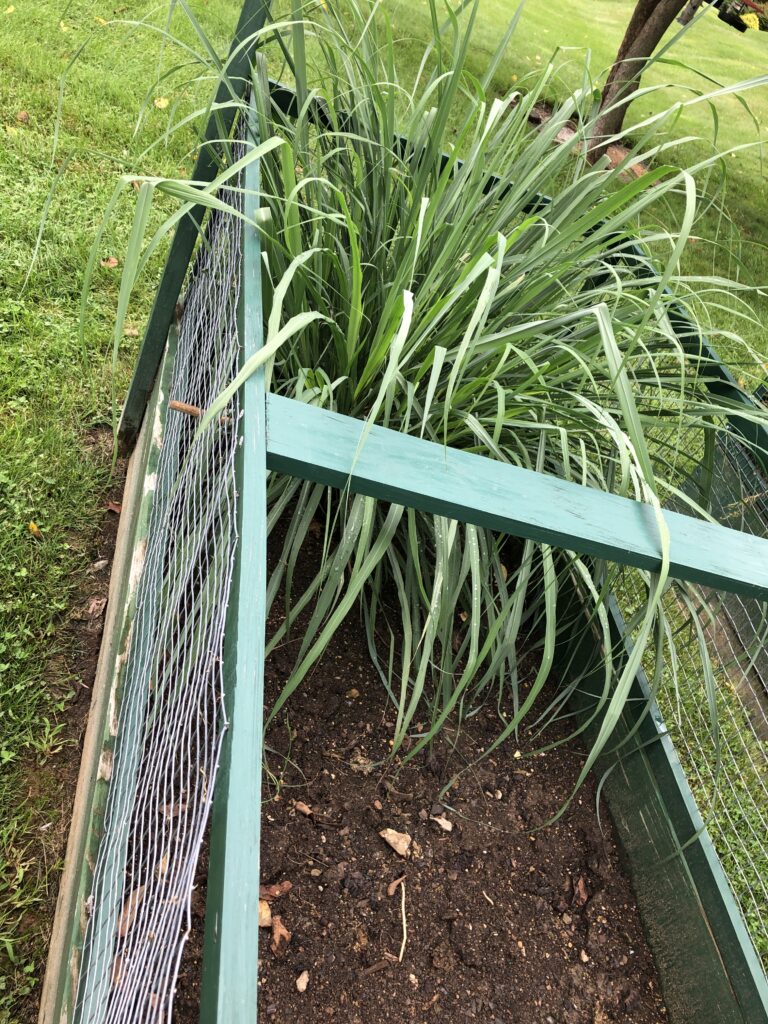
The cucumbers are long gone but just a month ago Bert planted a lemongrass plant, just to see how it would do. Pretty huge now, but I know it won’t survive the winter.
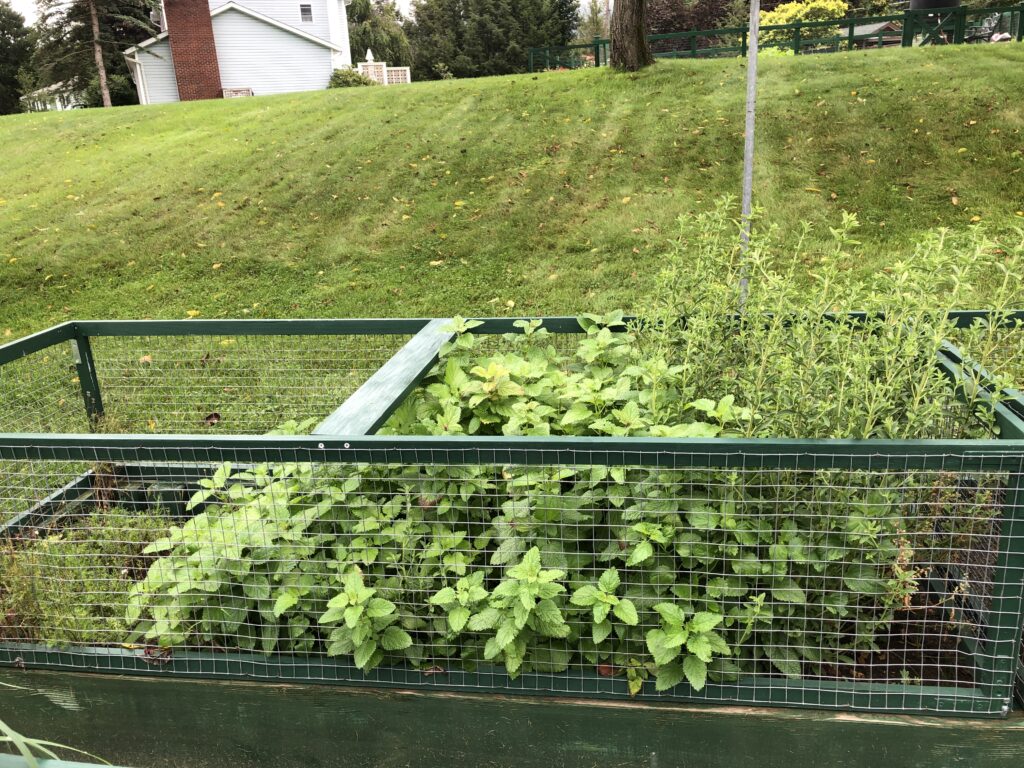
On the left the chamomile is pretty flat, but I was able to harvest some of the flowers for future use. In the center is lemon balm and on the right is stevia. Kind of got out of control with the heat, but the bees are loving the flowers.
The red and green basil is crazy too. On the right is thyme. Time to cut it all back. The thyme and rosemary (hidden behind the basil) should come back next year if I mulch it over the winter.
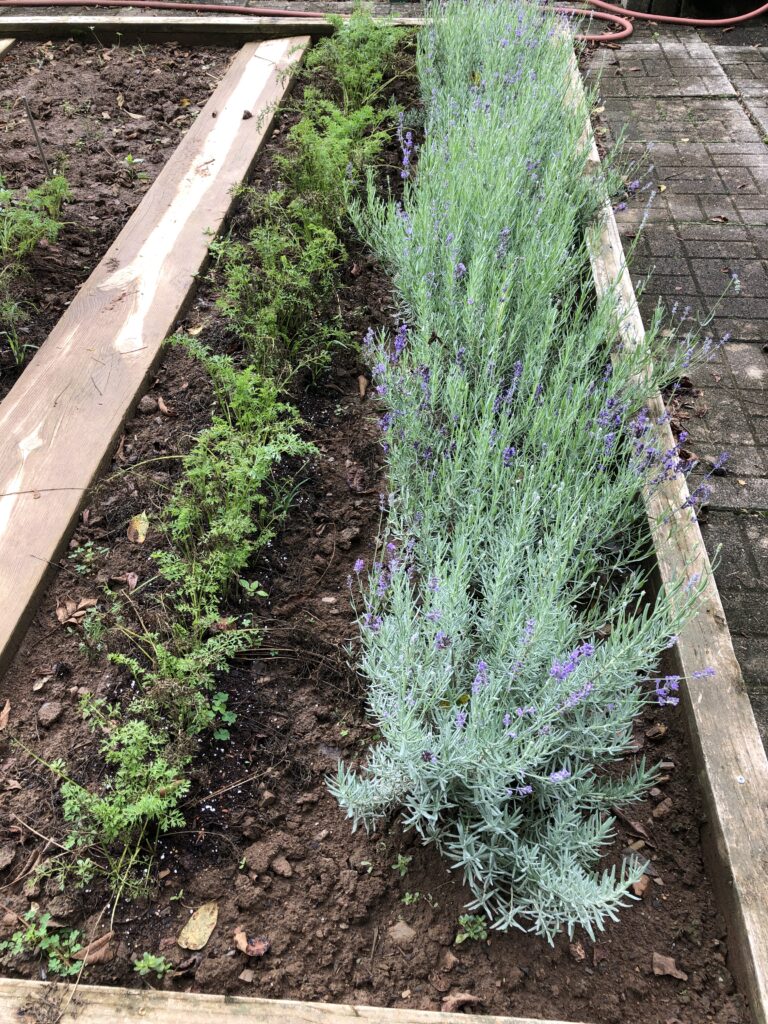
Up in the garden on the hill, the row of lavender is beautiful. I am cutting stems of flower buds to dry. The row next to it is carrots. They are pretty much done growing but we’ll leave them in the ground for another month or two. We’ll dig them up as we need them.
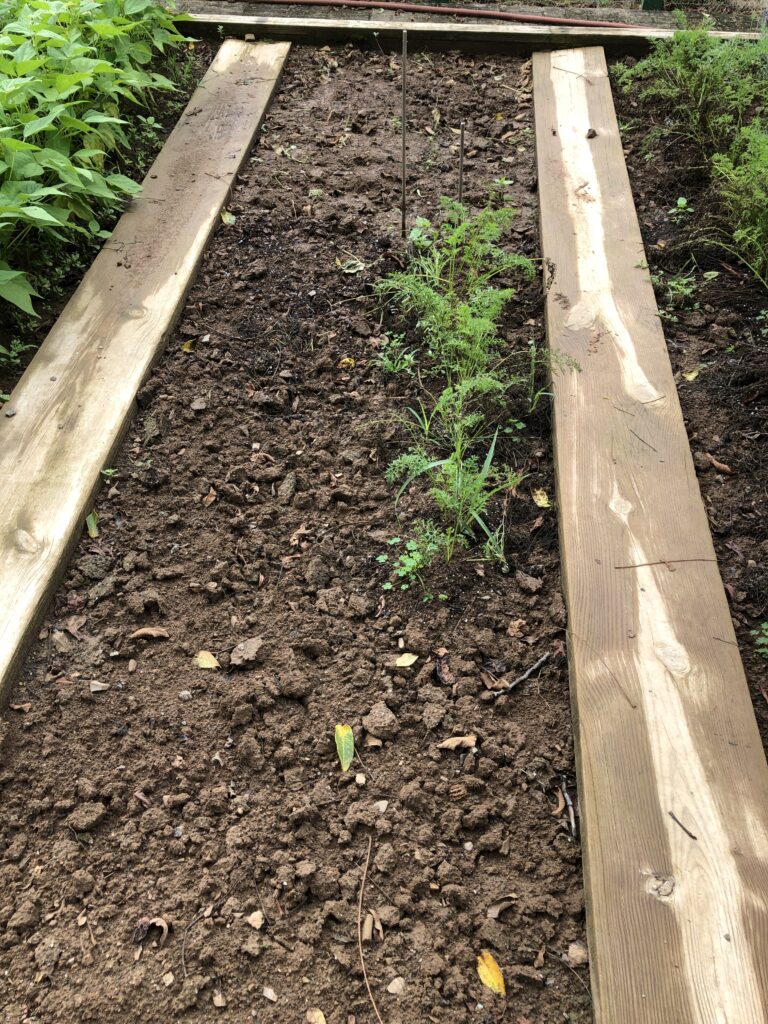
This section had two rows of carrots and two shorter rows of beans. We pulled the beans last weekend and dug up most of the carrots. (Remember that carrot cake I wrote about last week!)
This section is green beans just beginning to flower. They were planted in late July and I wasn’t sure they would make beans before the first frost. We’ll see!
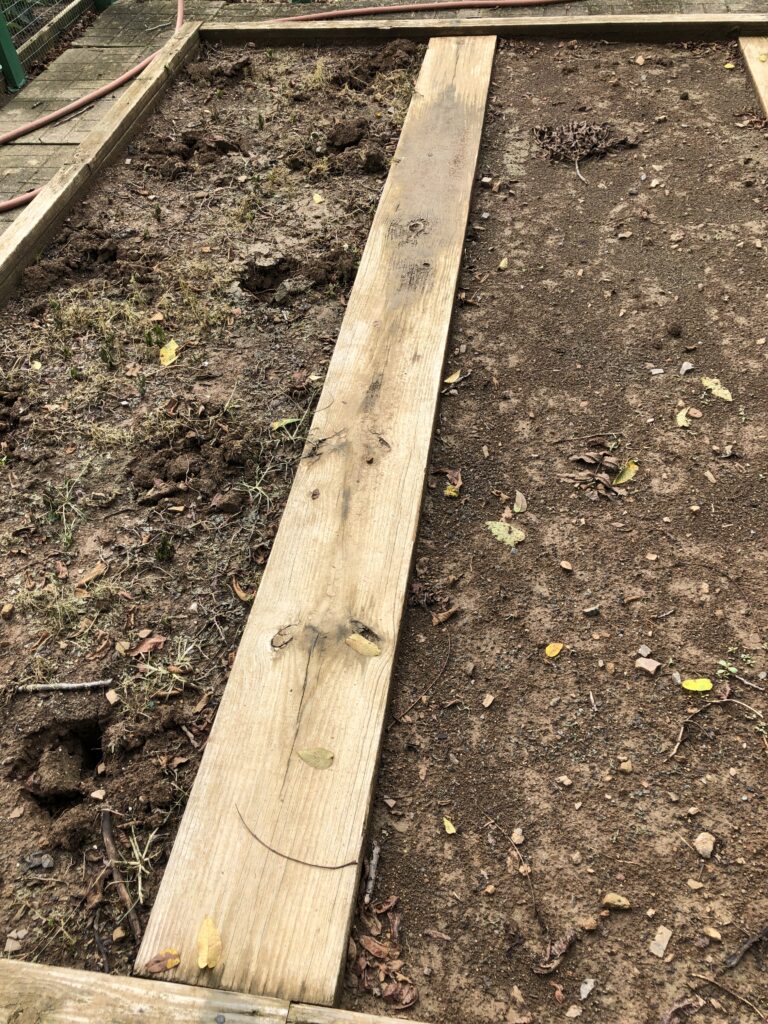
These two sections had tomatoes and early beans. Last weekend we pulled the tomato plants. A dozen tomatoes are on the kitchen table. We’re eating them every day. Delicious!
And the beautiful echinacea are blooming their hearts out. They should reseed themselves and come up next spring.
A few flowers have turned black, so soon I can cut them to save the seeds!
Another hint that fall is coming is the furious feeding frenzy of the hummingbirds. Usually they disappear around Labor Day, so each day we see them is a gift. Just as we were excited to be anticipating gardening season, something about the change of the seasons seems just right. Fall has its own beauty here in Pennsylvania. Time for pumpkins and apple butter! I’m ready to have cooler nights and fall colors. Enjoy!
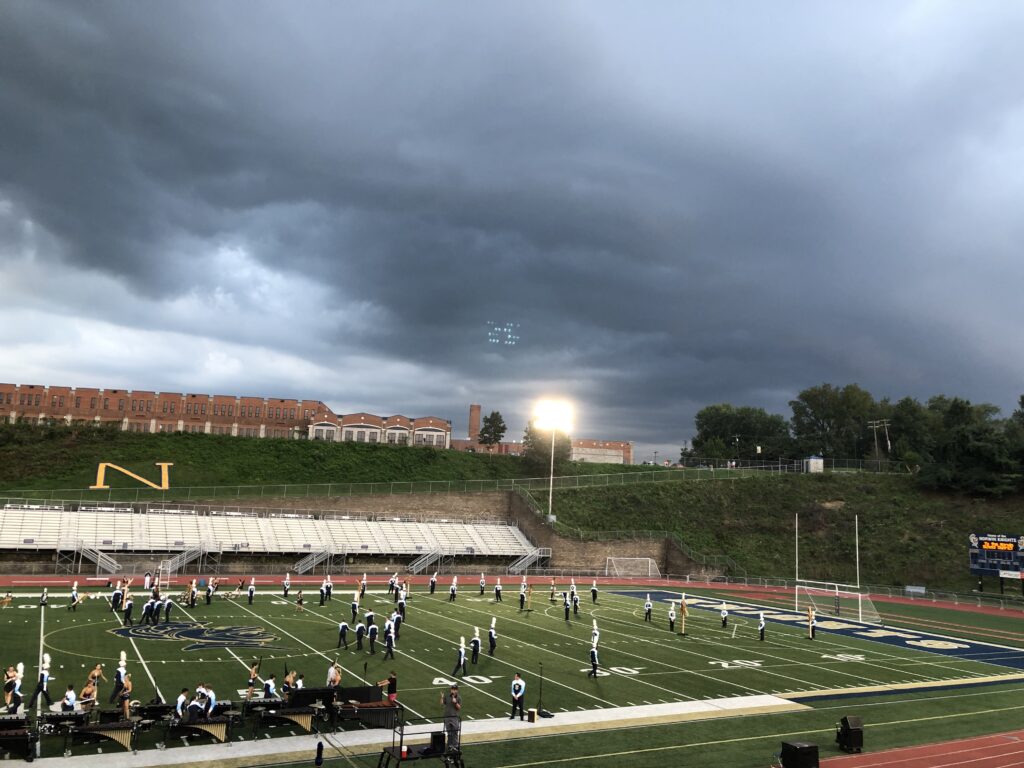
From competitive marching band practice to swimming lessons, I had a wonderful two days with the Grandkids near Pittsburgh. I went to attend the first public practice of the high school marching band. The stands were filled with enthusiastic parents, grandparents, siblings and friends. Food trucks outside the field were ready with their specialties and everyone was ready to have a good time. Ben, age 14, is a freshman. I was impressed with the organization of the whole experience. I had no idea what “competitive marching band” meant until I saw this practice session. Band back in my day meant we marched in a parade or two, and planned for a half time show at the weekly football games. Ben’s band is involved in that…and so much more! They also practice for competitions with other high school bands around the region, some in other states! Oh my! Ben has been having long, full day practice sessions since June and will continue when school starts with after school practice. The director has a great reputation and has built a cohesive group of students. Very impressive organization.
Volunteer parents are essential to making this band successful. To help parents and families feel part of the process, part of this public practice invited parents, grandparents and siblings to join their student band member on the field. They participated by marching along beside them and following the same directions. It was fun for Kathy and Anna to be with Ben on the field. Can you find them?
Can you find Ben, Kathy and Anna? Look near the top, right of center.Ben on the left, Kathy beside him and just the back of Anna’s hair on the right.When the band turned to practice marching you could see all the extra people on the field.
Then we got to watch the band practice some moves as a group. Looks pretty spiffy when it all comes together.
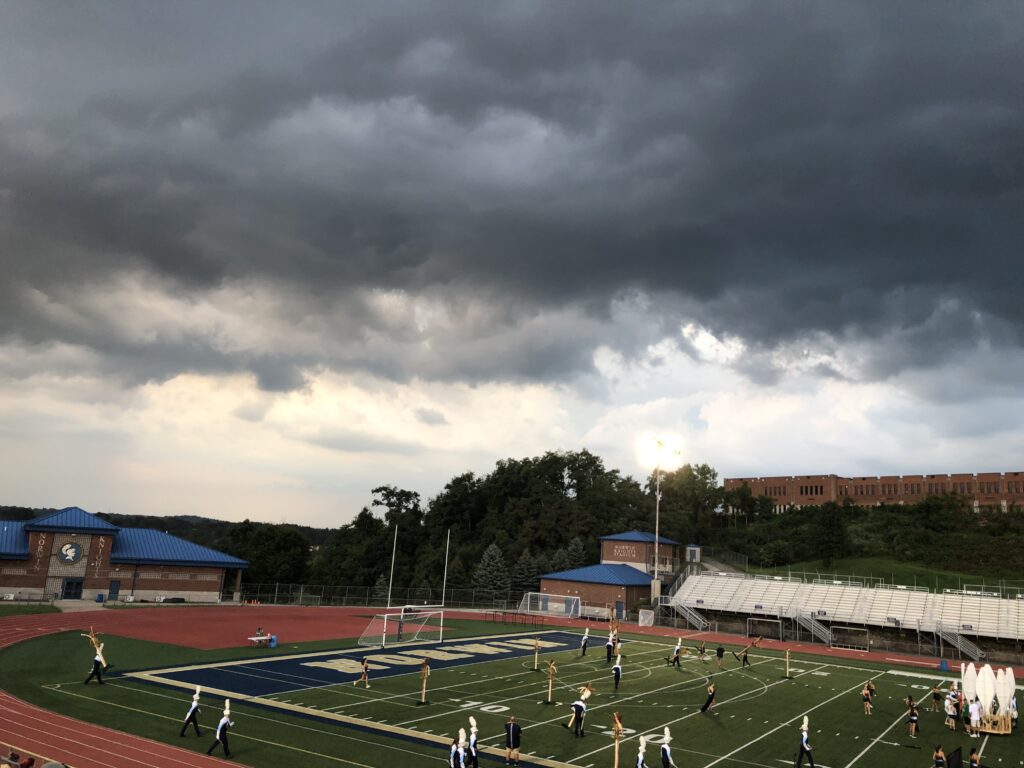
Before the end of the session, we watched clouds move in and lightening in the distance called a halt to the practice session. Luckily, it was another 30 minutes before the rain started so we had time to vacate the stadium.
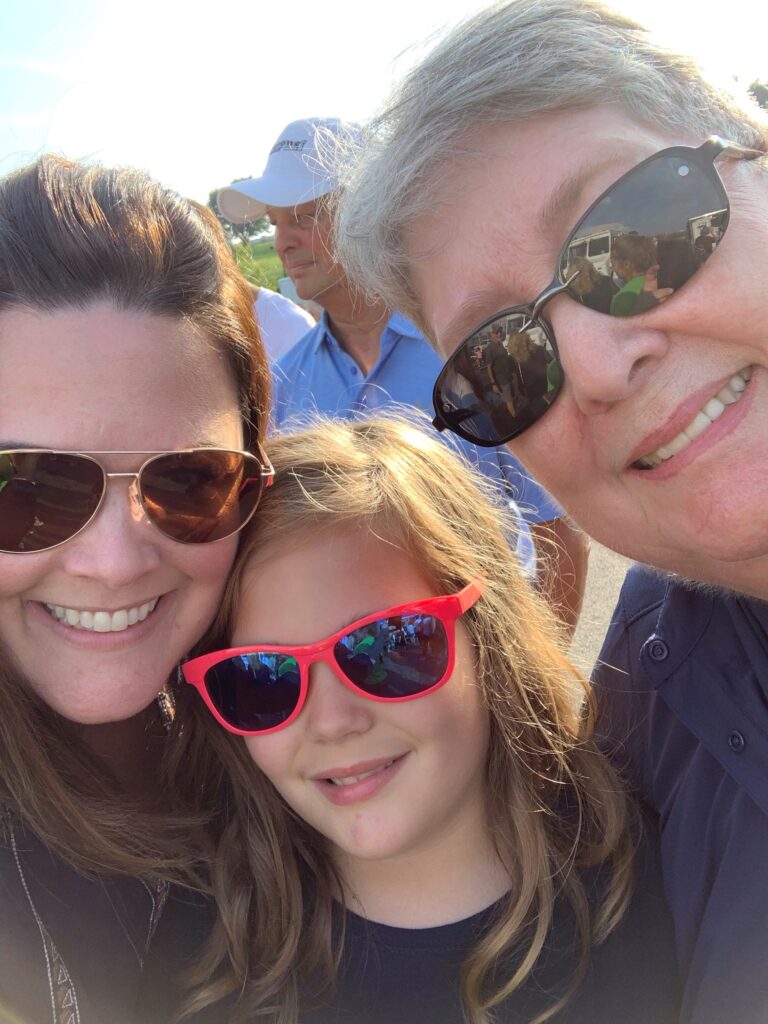
What a great way to practice and include the whole community in the work of the band. Here are two pictures of my handsome grandson:
So, that was my Thursday evening. Friday, I took both kids to Barnes & Noble Bookstore. It’s a great way to see what they are “in to” by seeing what books and toys they choose. Of course, it wasn’t cheap, but it was fun. Ben had another band practice and a football game to prepare for in the afternoon, so Anna and I had time to play.
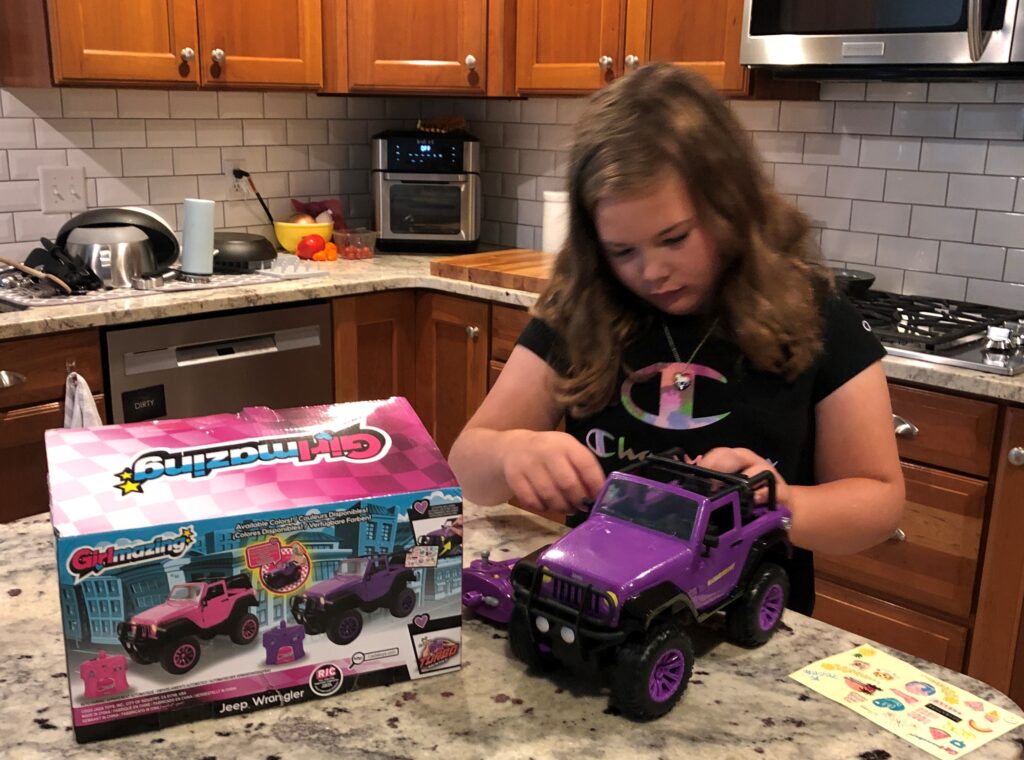
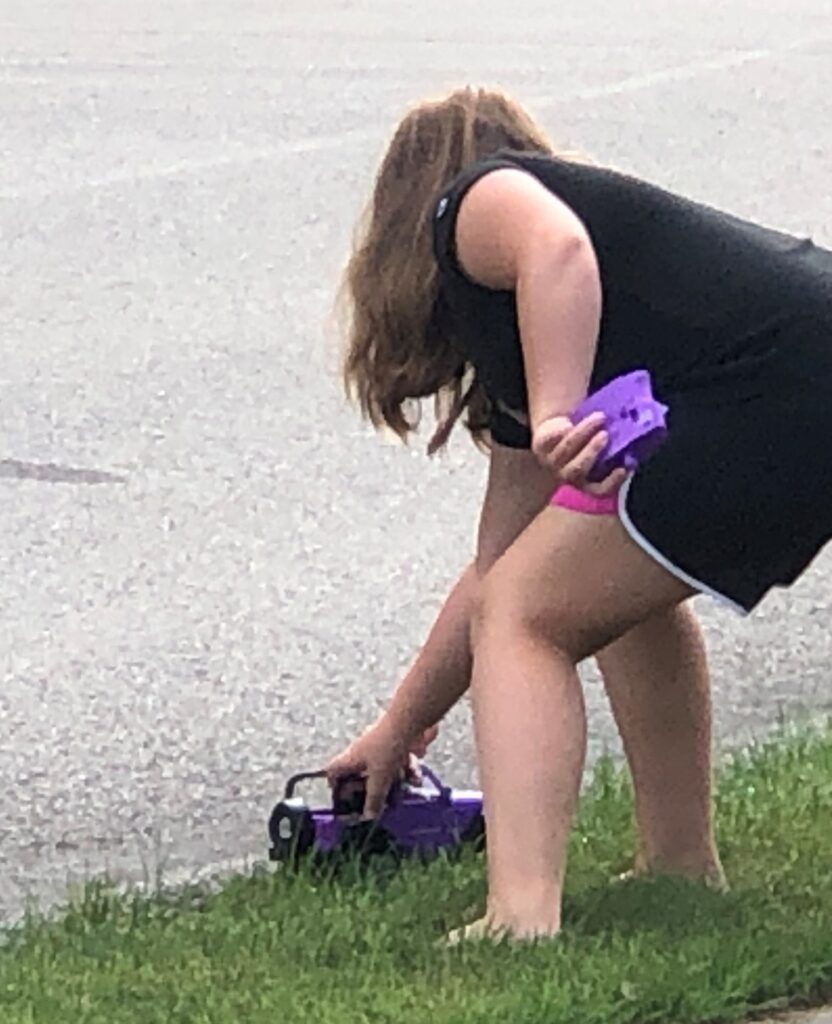
Anna’s birthday was coming up, and since I would not be there, I brought her an early birthday present. A purple remote-control jeep was just what she wanted! She had fun putting the stickers on and then drove it all over the house…and outside! It didn’t do well in the grass but the driveway and sidewalk were perfect.
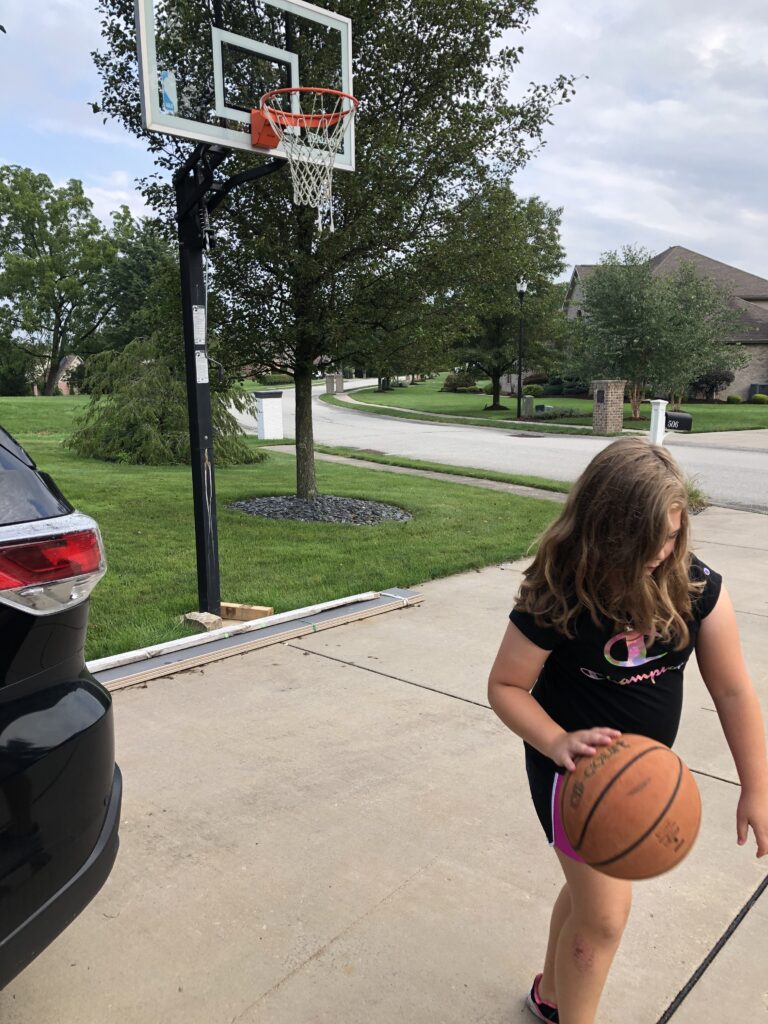
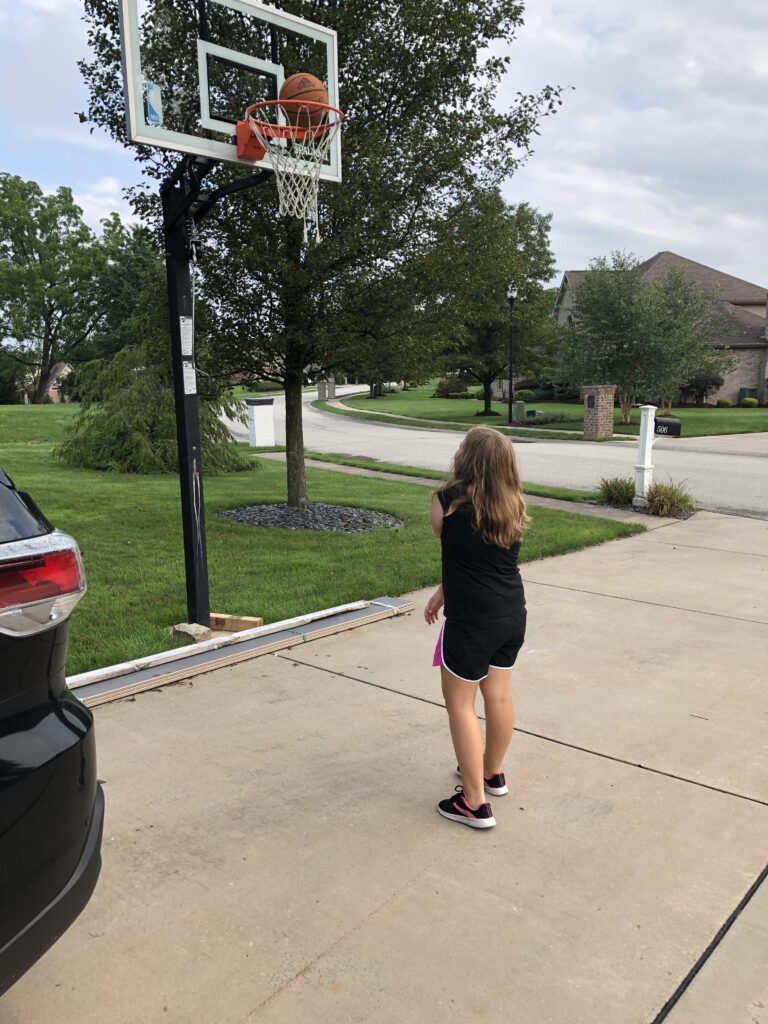
Then, Grandma had personal instruction on how to dribble a basketball, with pretty good competition from my granddaughter!
Then, we took Anna to a swimming lesson and watched a mermaid come alive! I think she’s got the back stroke down and the body movement for a future butterfly!
Daisy and Steve greeted me Saturday morning to wish me safe travels home. I was glad to spend time with Ben and Anna (and Kathy, Steve and Daisy!). It brought back memories of how busy life was with kids at home.
It’s been a while since I made carrot cake but a new pile of carrots from the garden was irresistible. A neighbor who was generous with her potatoes, which we didn’t grow this year, inspired me to make carrot cake, with an extra to share.
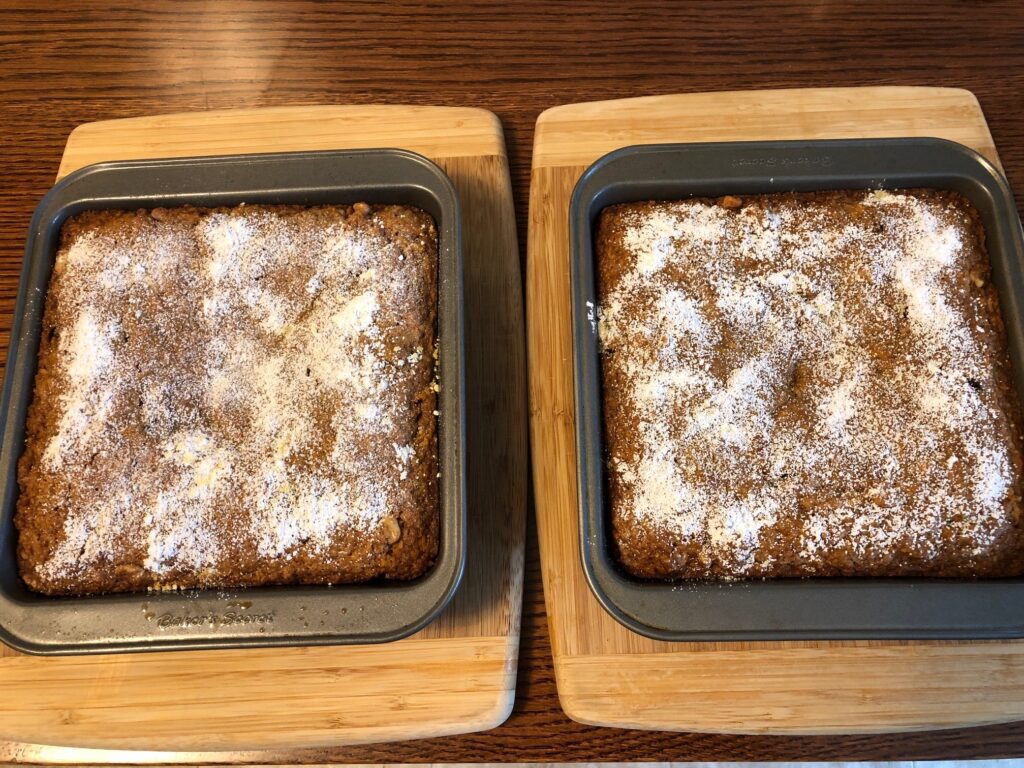
Since I knew the carrot cake recipe has many steps, including shredding the carrots, chopping the nuts and measuring out all the other ingredients, I figured it would be easier to just do both cakes at the same time.
Here’s the recipe:
Note: A little change to the recipe…this needs to bake longer than 45 minutes…probably 50-55 minutes. I usually make cupcakes and they cook through fine, but the center of these cakes was still too moist. The toothpick came out clean, but when cool the center was not cooked enough. I kept the cake in the refrigerator and that helped, but in the future, I’ll go back to making cupcakes.
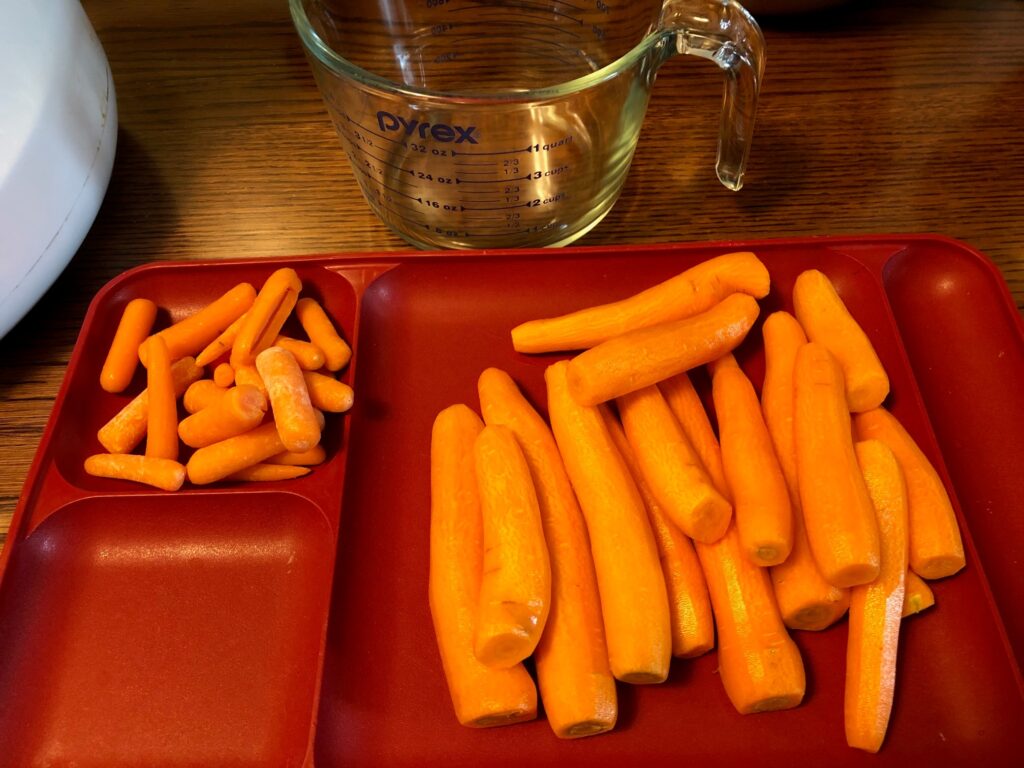
To make two cakes I needed a lot of carrots. Luckily, we had just dug some up from the garden. I still needed a few extra, but the little ones from the store didn’t shred very easily. I finally had to chunk them up before feeding them through the food processor shredding blade. (Note to self: start with more big carrots!)
(Sorry…I forgot to take a picture of the food processor working).
I measured out all the ingredients in matching bowls so I wouldn’t miss anything.
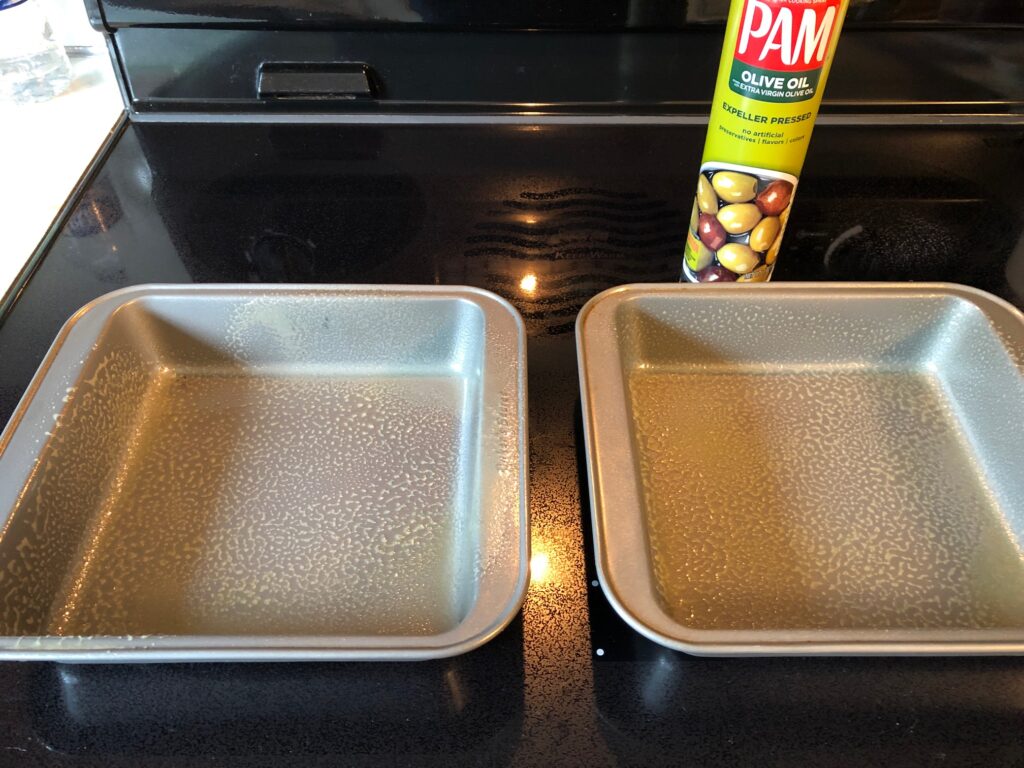
Before I mixed everything all together, I preheated the oven and sprayed the pans…
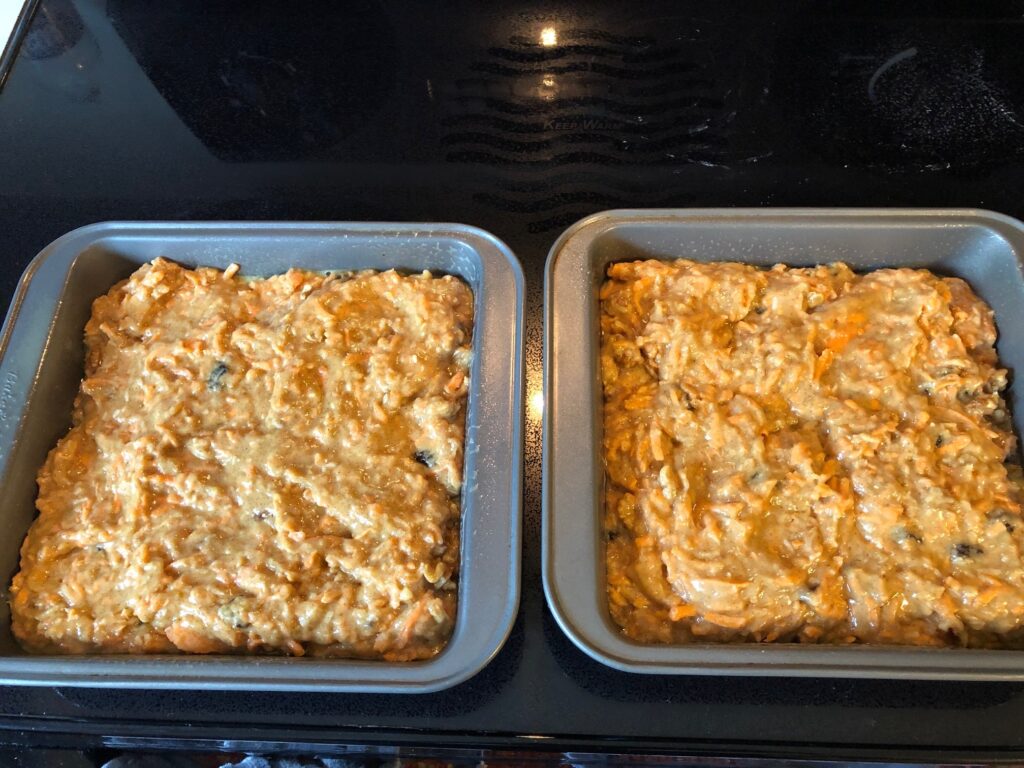
…and scooped the batter into the pans.
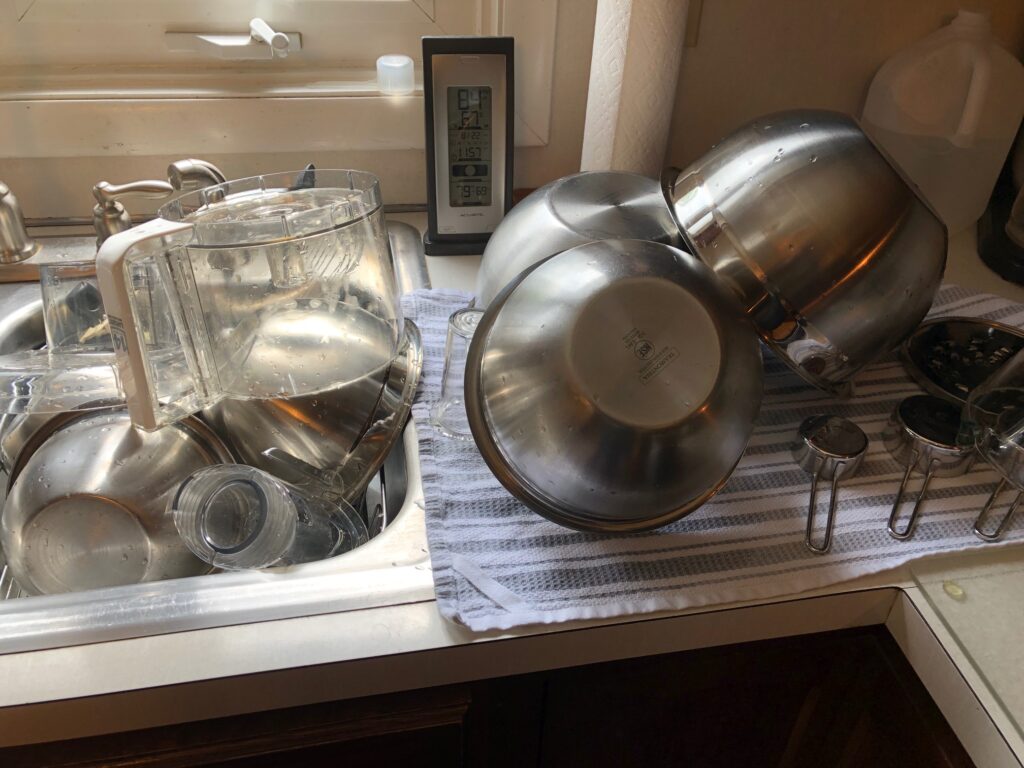
While the cakes were baking, I washed up all the dishes. I was amazed how many dishes I used to make this double batch. Whew!
The cakes turned out just fine…but not quite cooked in the middle. I noticed that didn’t stop us from eating it!
A little sprinkle of powdered sugar dressed it up. My neighbor seemed pleased to give it a try! Enjoy!
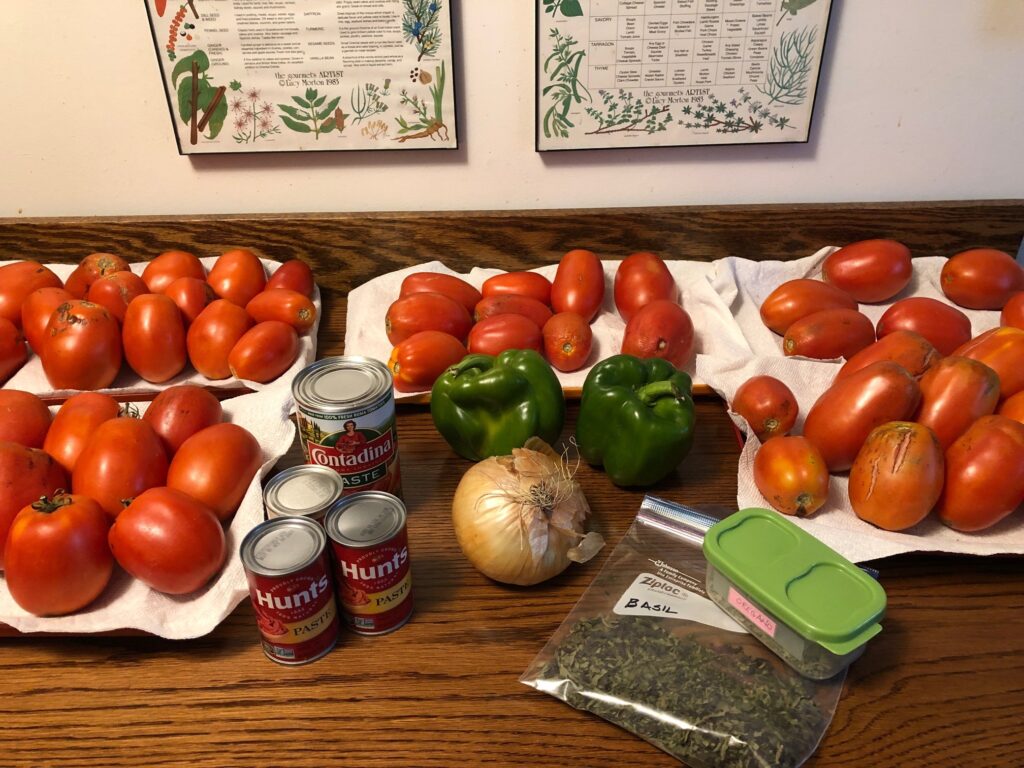
Tomatoes galore! I now had about 3 dozen tomatoes sitting on the kitchen table and a decision needed to be made…what should I make with them? While we don’t frequently have homemade pizza, I thought it was time for me to figure out how to make a good vegan (or at least cheese-free) pizza. I have not yet found a good vegan cheese that melts like mozzarella and actually tastes good. I’ll have to do without cheese, so that means the sauce had better taste good!
I decided to make a hearty sauce with the tomatoes plus green peppers, onion, garlic, basil, oregano, salt, pepper, sugar and canned tomato paste.
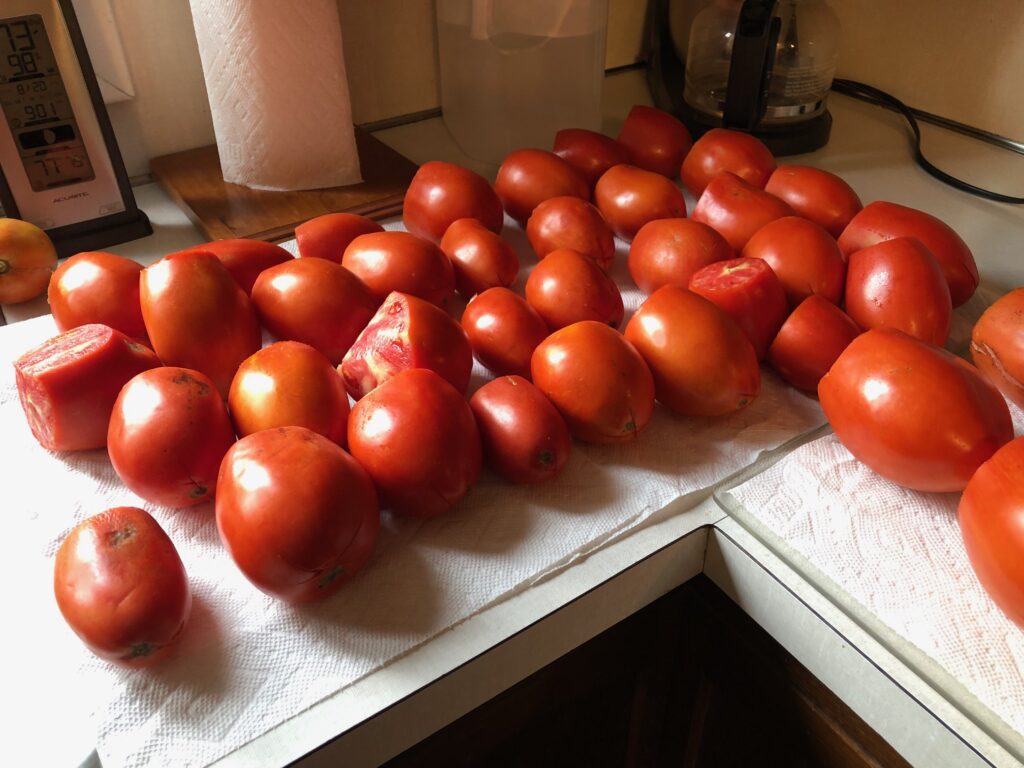
All my tomato recipes start with dipping the tomatoes into boiling water for about a minute and then shocking them in ice water. This loosens the skins so they are easy to peel. (If you want to see that process in detail, see the post at https://marykisner.com/garden-update-august-9-2021).
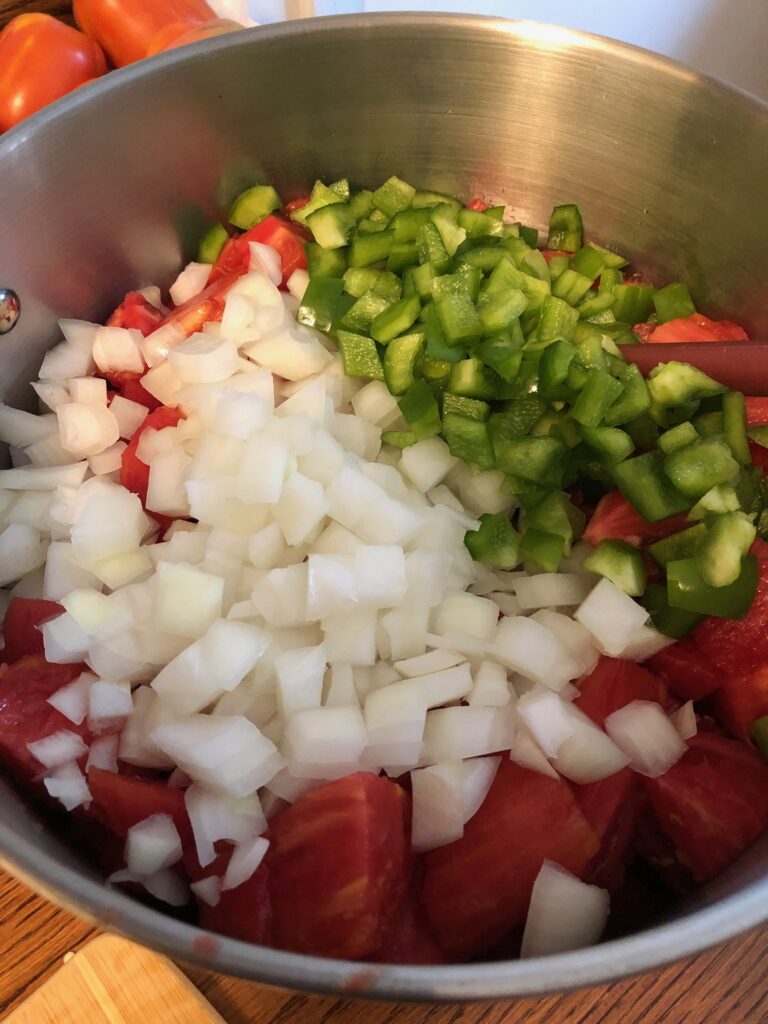
Tomatoes ready for their boiling water bath!Chopped tomatoes, onions and green peppers.
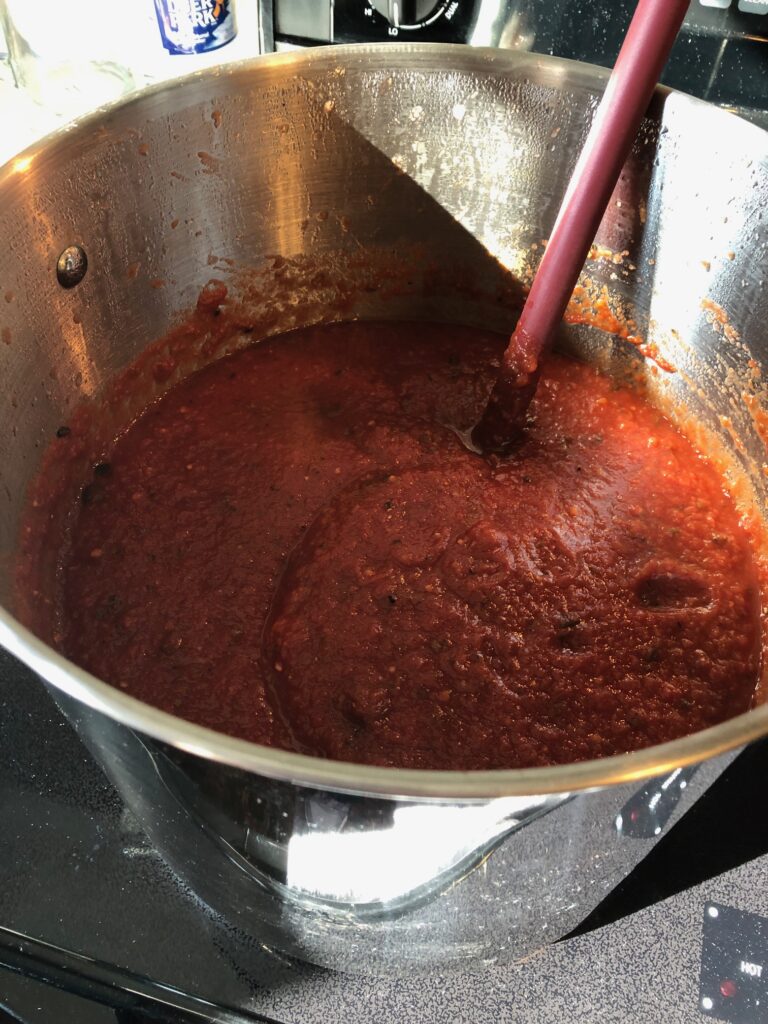
When the tomatoes were soft and bubbling, a lot of water had floated to the top. Without stirring the mixture, I was able to scoop off about 3 cups of watery juice so the whole mixture would be thicker.
When completely soft but still lumpy I put the mixture through the food processor to make it smooth. Then I added the tomato paste. This made a nice thick sauce. I added the dried basil, oregano, garlic, salt and pepper and about 1/3 cup of sugar.
This is a 12-quart pot and it was about half full.
We took this whole pot of sauce and put it in the refrigerator overnight. This morning I ran the dishwasher with 19 half-pint jars. (Turns out the canner holds 19 pints, but 24 half-pint jars! Next year…). I froze a few containers that were left over.
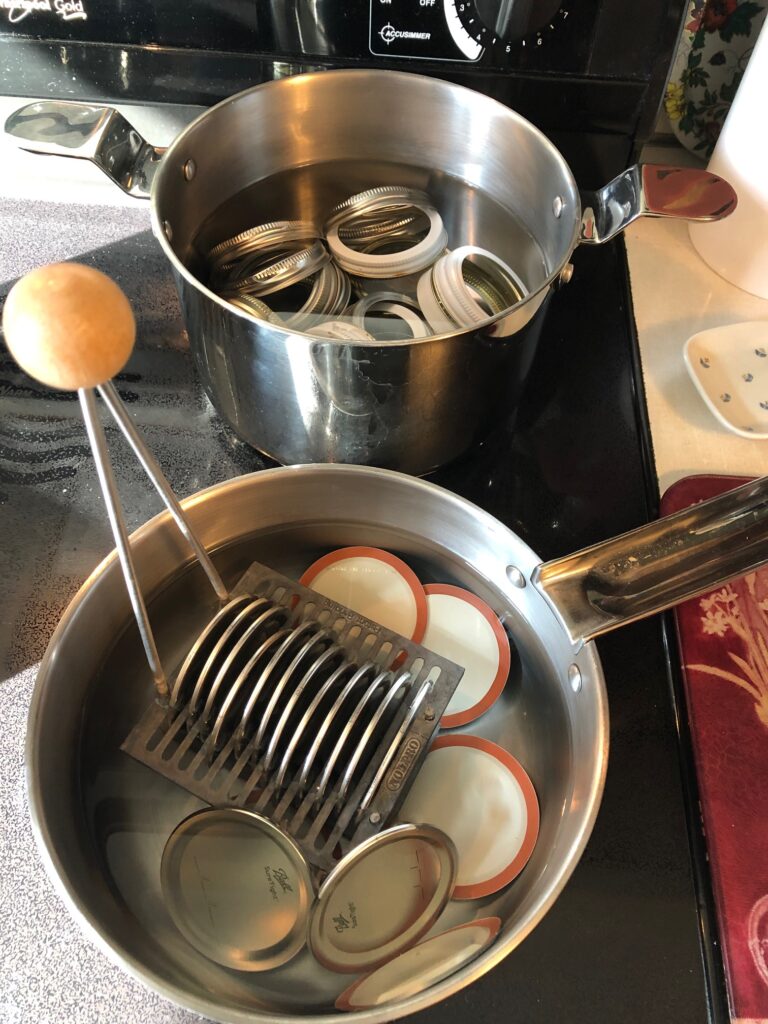
Sterilized lids and rings.
Bert started loading the canner with filled jars. (Sorry, no pictures of that exciting process!) However, after a few jars were lowered into the hot water, one broke spilling out sauce all over the other jars. Bert had to start over…taking out the unbroken jars, dumping the hot water, carefully removing the broken jar, rinsing the canner, and adding water and vinegar back (we have hard water and vinegar keeps the sediment off the jars). Luckily, I had an extra jar ready to go so 19 jars went back into the canner.
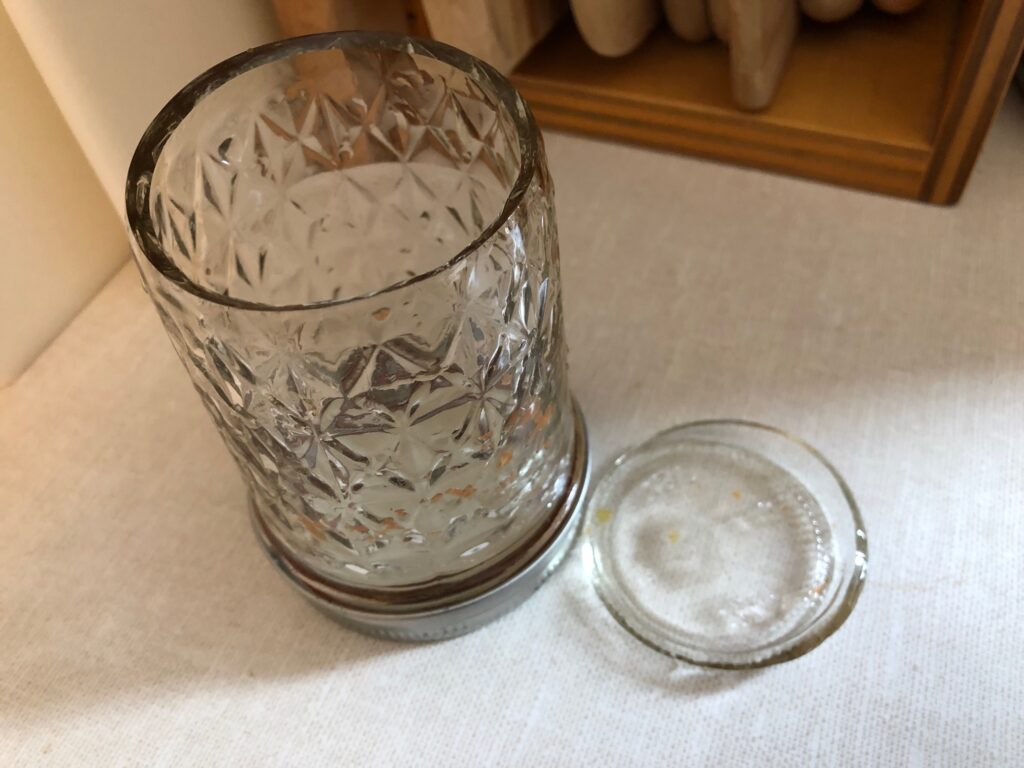
The jar broke right along the bottom…looked like a clean break. I’ve never had a jar break…ever!
The bottom broke right out!
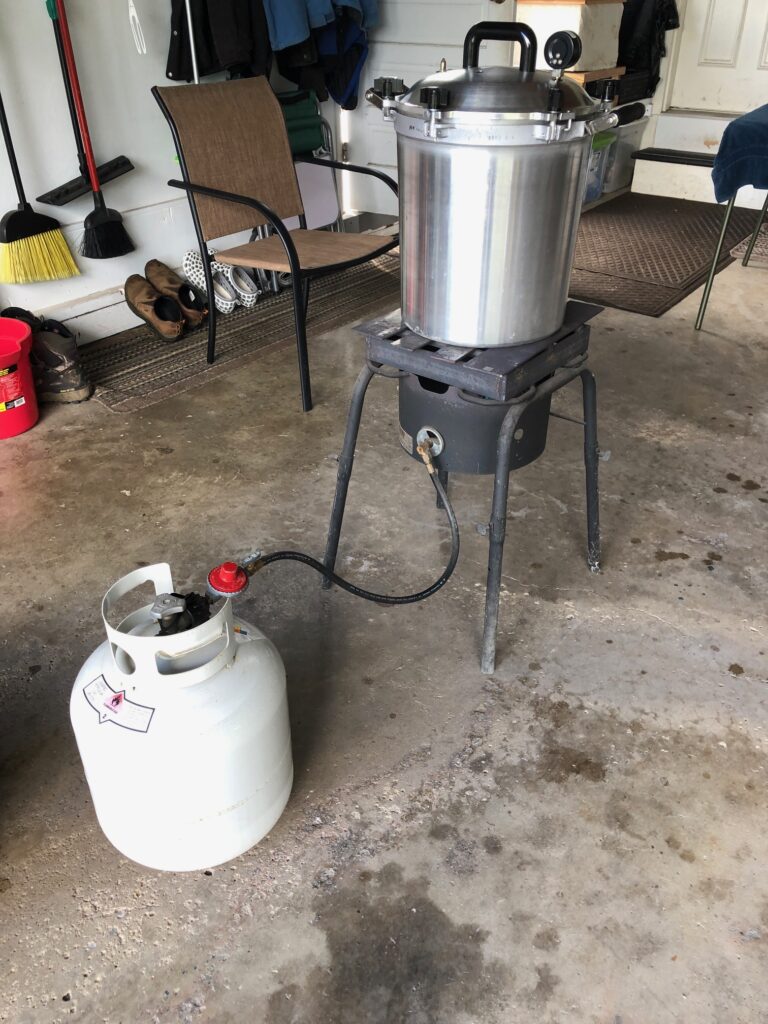
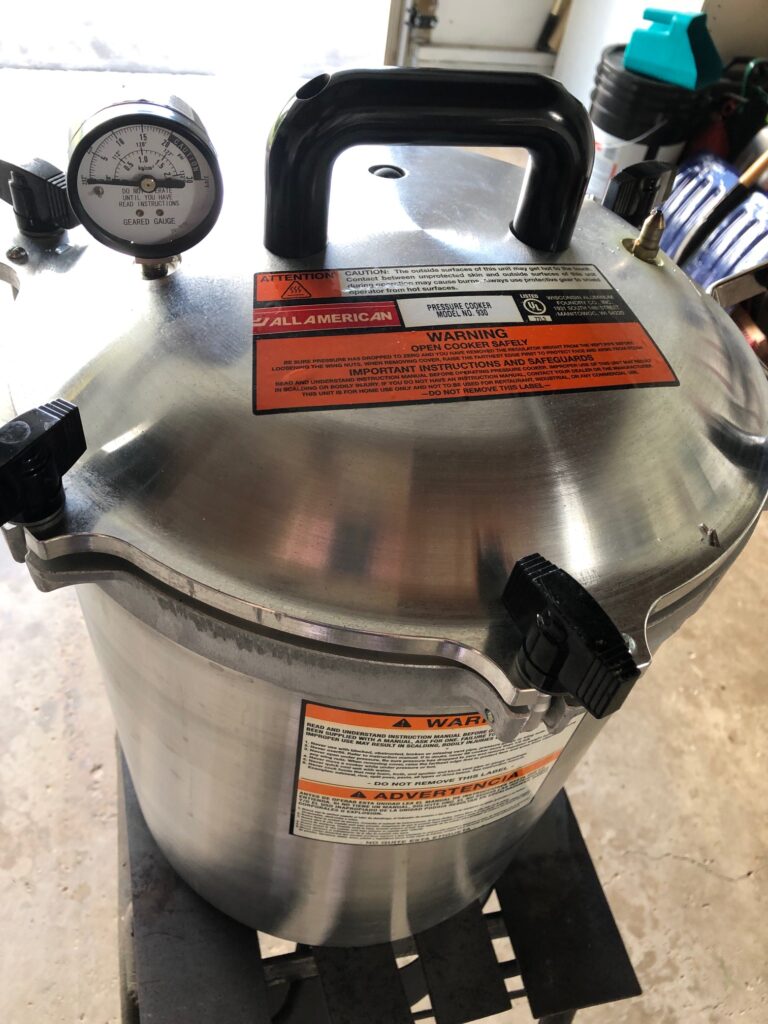
Now the pressure canning process: Bert has rigged up a burner with propane that we use in the garage. The canner is too big to fit on our glass stove top.
Tomato sauce with additional stuff like peppers, onions and garlic is processed at 10 lbs. of pressure for 30 minutes. It always takes longer than that because the canner has to be vented first, then brought up to pressure, held for 30 minutes and then cooled down until pressure is back down.
So…we sit in comfortable chairs in the garage and visit or read while we wait. Occasionally, neighbors will drop by to see what we’re doing since the garage doors are open and we look open for a visit!
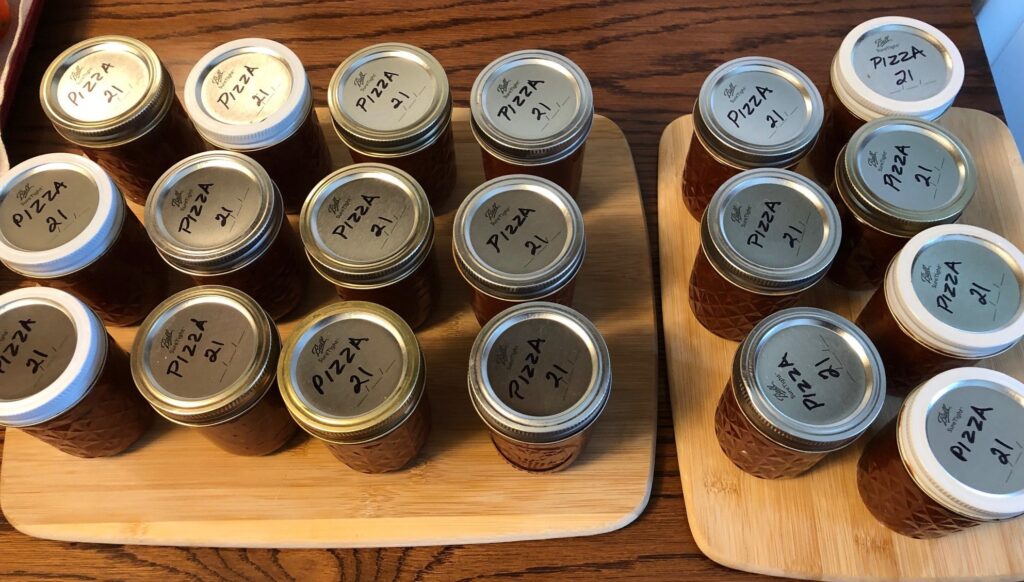
Finally, the jars are ready to come out of the canner. They will sit on my kitchen table for a few hours to cool down. I’ll write on the lids what they contain and the year. After that, they go to the basement shelves…ready for Pizza! I’ll let you know when I give that a try…maybe I’ll find some vegan cheese to try too. Enjoy!