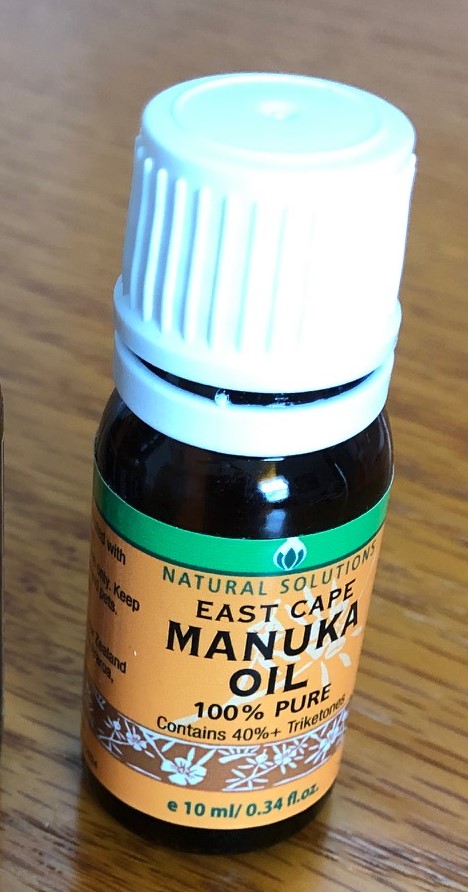
All my work with essential oils has been geared for human use. I’ve been asked if this salve or that lotion can be used on their dogs and cats for their skin issues. (At the end of this post is an article from a veterinarian about which essential oils are safe for dogs and cats. This helped me a lot in choosing which oils would be safe in my spray.)
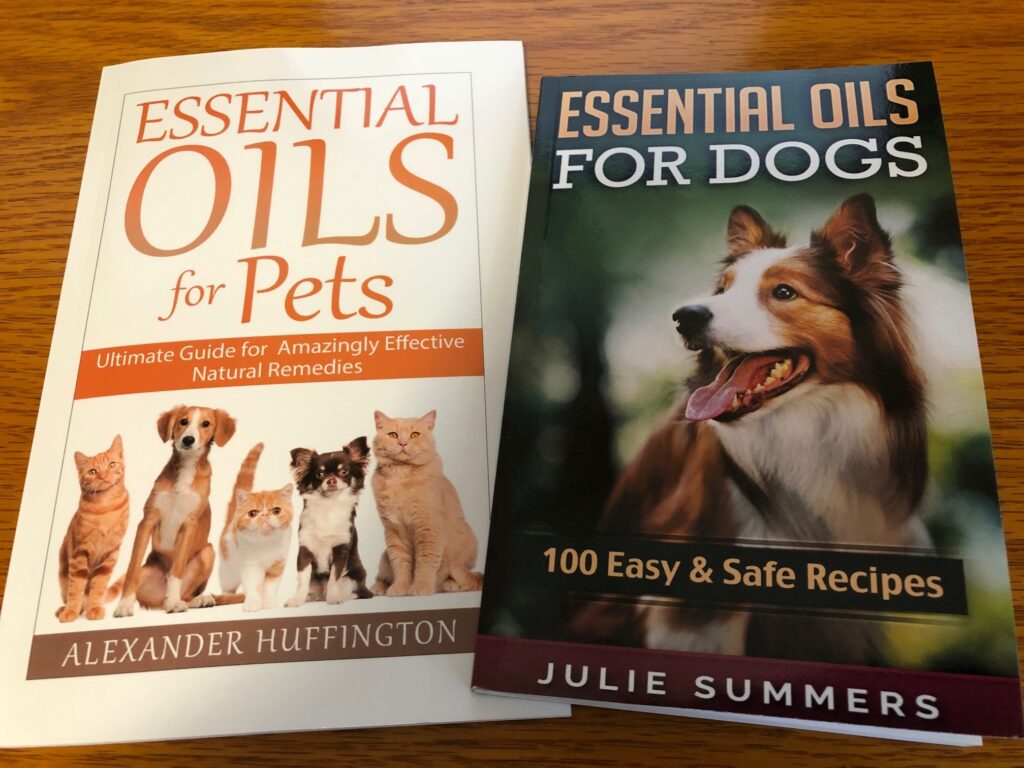
Today was my “chemistry experiment” day…where I experimented with making a Flea and Tick Repellent for dogs (but not cats). Here are two books I just got that have lots of recipe ideas.
The recipe I’m using today came from a website on the internet. Most of the recipes are pretty similar, with water, essential oils and something that serves as an emulsifier to disperse the oils in water.

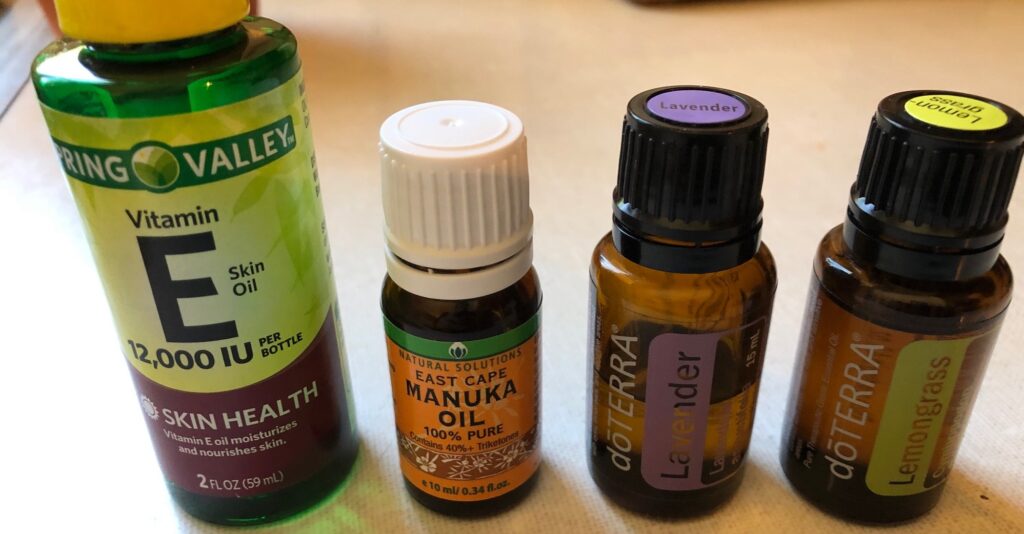
Last week I prepared to make this spray by ordering the 8 oz. spray bottles, the Lavender Hydrosol (basically lavender-infused water) and Rose Geranium essential oil. I already had the other oils. Then it was recommended I include an “emulsifier” to help the various essential oils disperse in the water. So, I ordered the Polysorbate 20.
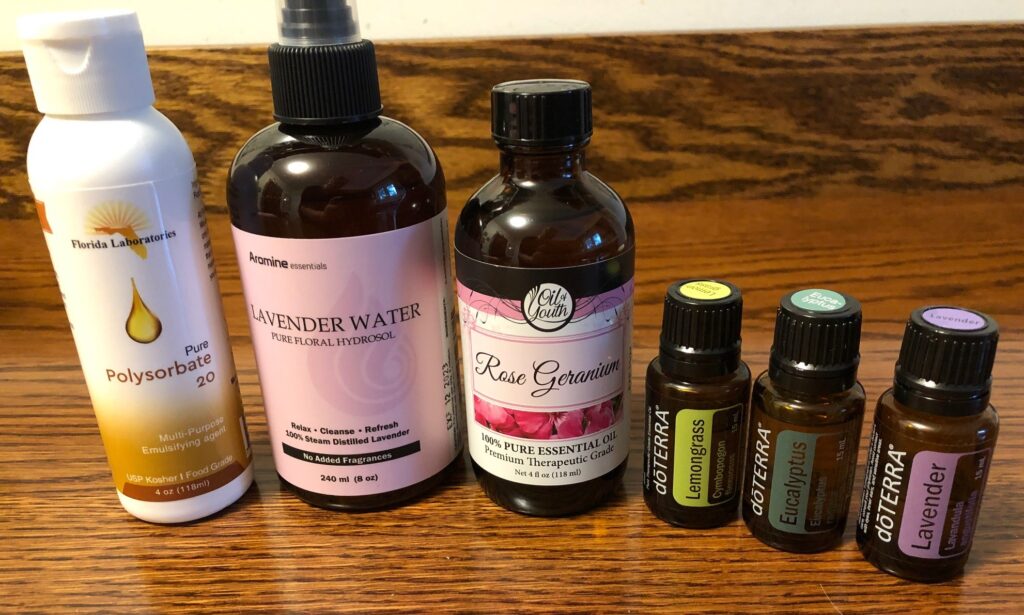
I chose 8 oz. spray bottles because I was planning to give these to several folks that would test it for me.

I did not have enough Lavender Hydrosol to use only that instead of plain water, so I portioned it out so each spray bottle had 2 ounces. It smells really good!

Since the total amount of drops of essential oils measured to about 1/4 teaspoon, I added 1/4 teaspoon of the Polysorbate 20 that would help disperse the oils in water.
Then I filled the bottle the rest of the way with filtered tap water, screwed on the spray top and shook it up. Looks like the oil is dispersed just fine!

This spray is just for dogs. My research into which essential oils are safe showed that this will work for dogs, but NOT for cats. See the information below:
What Veterinarians Say About Essential Oils
I’d like to share what various veterinarians have recommended for which essential oils are safe for dogs and cats. There are many long lists of essential oils that are BAD for your pets. It’s easier to show you the list of oils that are SAFE for your dogs and cats.
This list came from Dr. Maranda Elswick, who is a licensed Veterinarian in Florida and Virginia:
Essential Oils Safe for Dogs include:
Cedarwood oil, Chamomile oil, Citrus oils (including lemon oil and orange oil), Eucalyptus oil, Fennel oil, Frankincense oil, Helichrysum oil, Lavender oil, Lemongrass oil, Certain mint oils (peppermint, spearmint), and Rose oil.
Essential Oils Safe for Cats include:
Chamomile oil, Jasmine oil, Lavender oil, and Rose oil.
So you can see, it matters what your pets are exposed to.
If you find your dogs or cats are experiencing mild respiratory irritation after inhaling an essential oil, move them to an area with fresh air.
If an essential oil causes irritations after contact with your pet’s skin or fur, wash the area with a pet-safe dishwashing liquid, such as Dawn.
If your dog or cat ingests an essential oil, consult with your veterinarian or poison control center immediately. Do NOT induce vomiting.
Good advice from Dr. Elswick!
I will make sure that the label on the final spray bottle will say NOT FOR CATS! I may also print out the list of safety warnings above on how to help your dog or cat if they have a reaction to this spray.
That was my chemistry experiment of the day! Enjoy!
Please comment or email me directly if you have questions at marykisner@comcast.net.