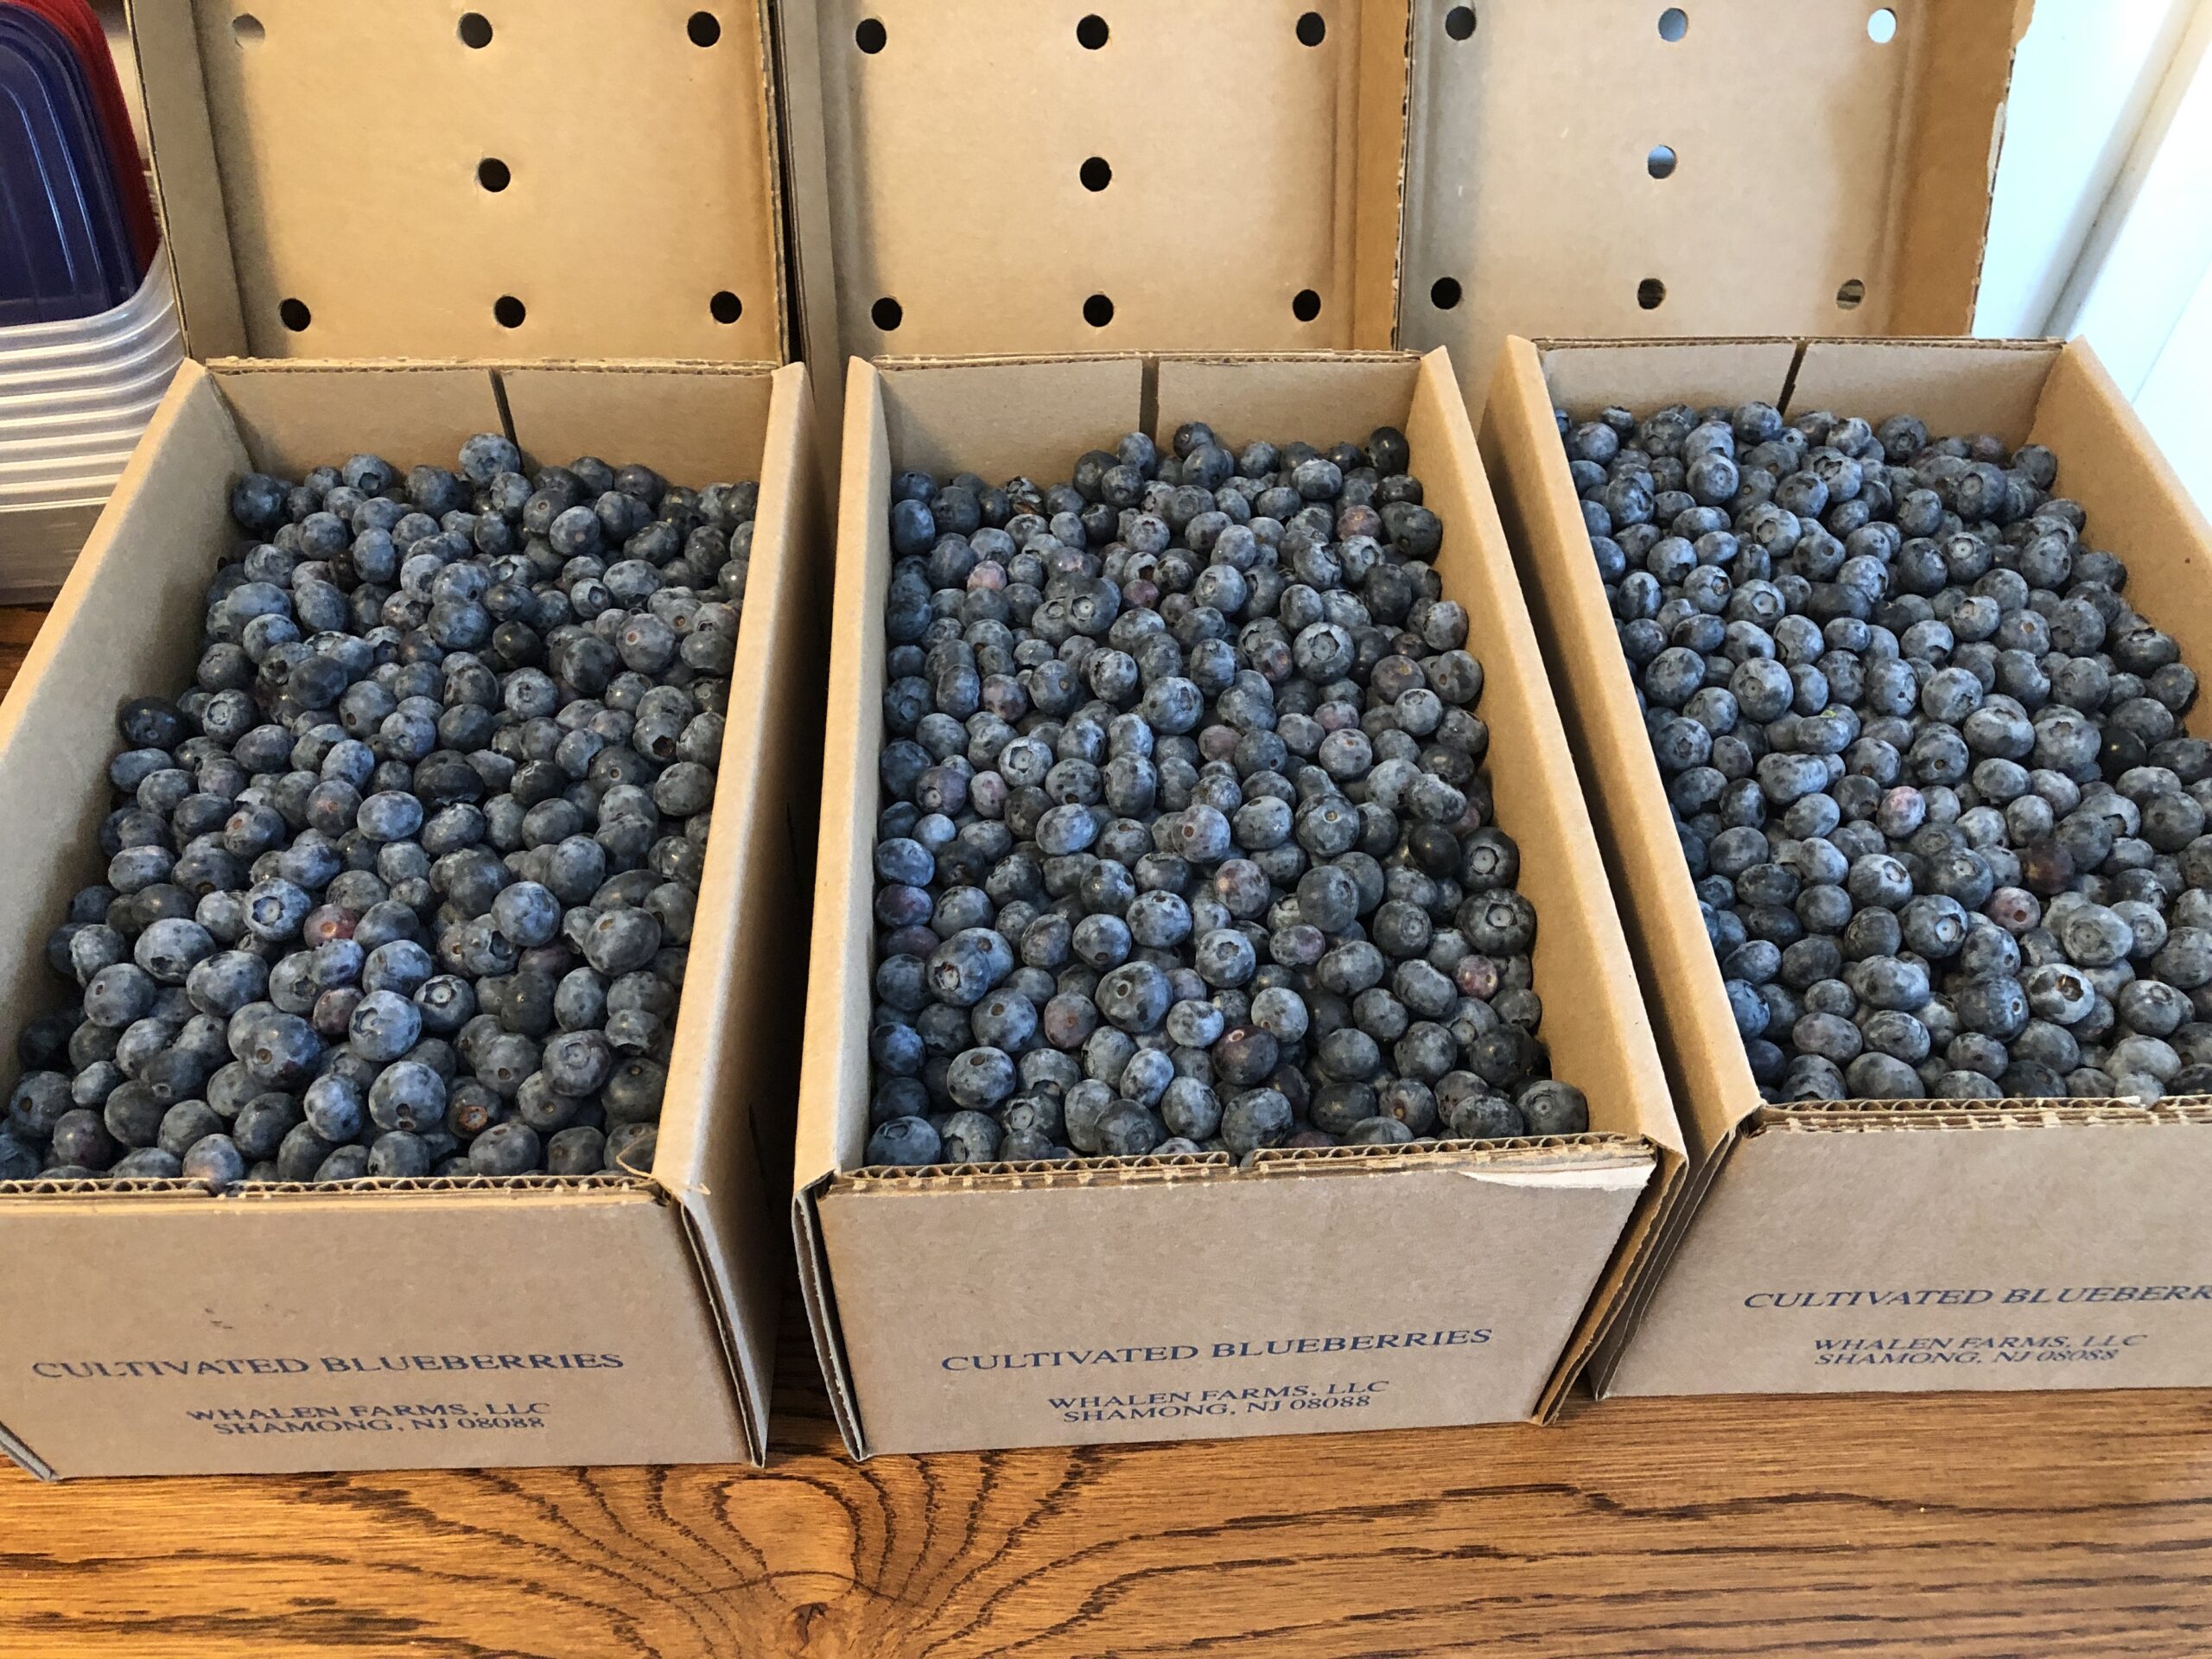
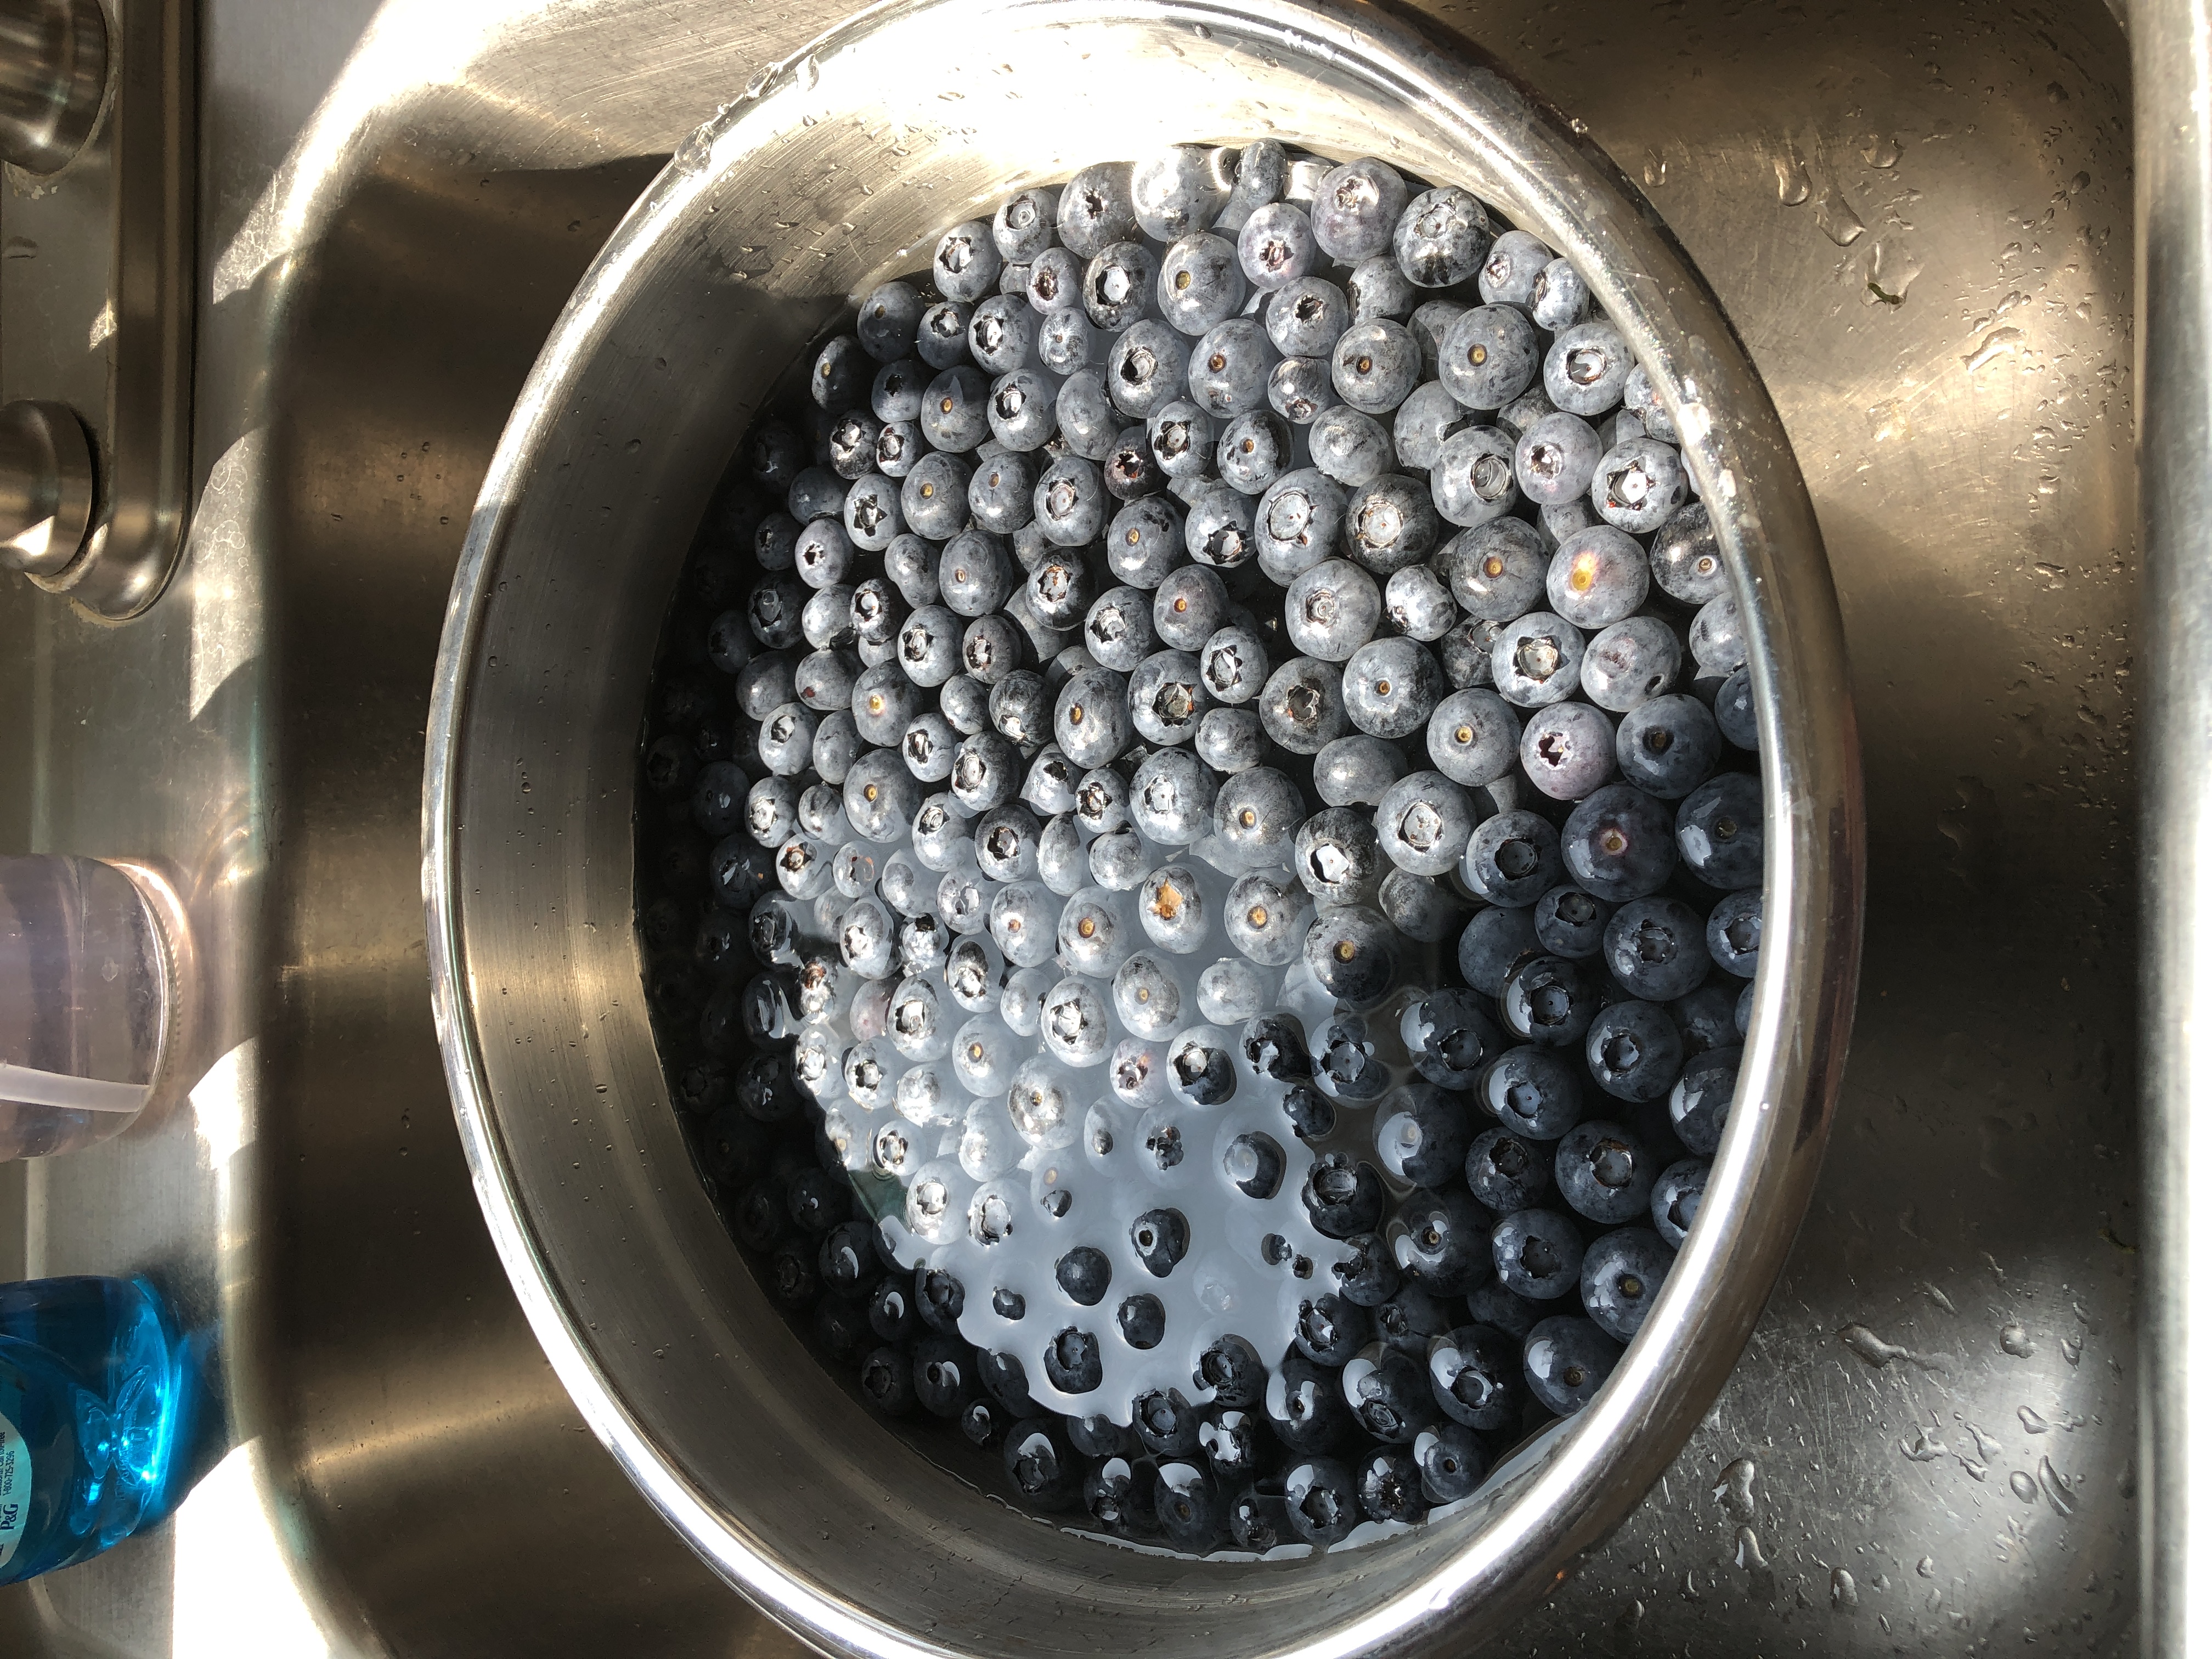
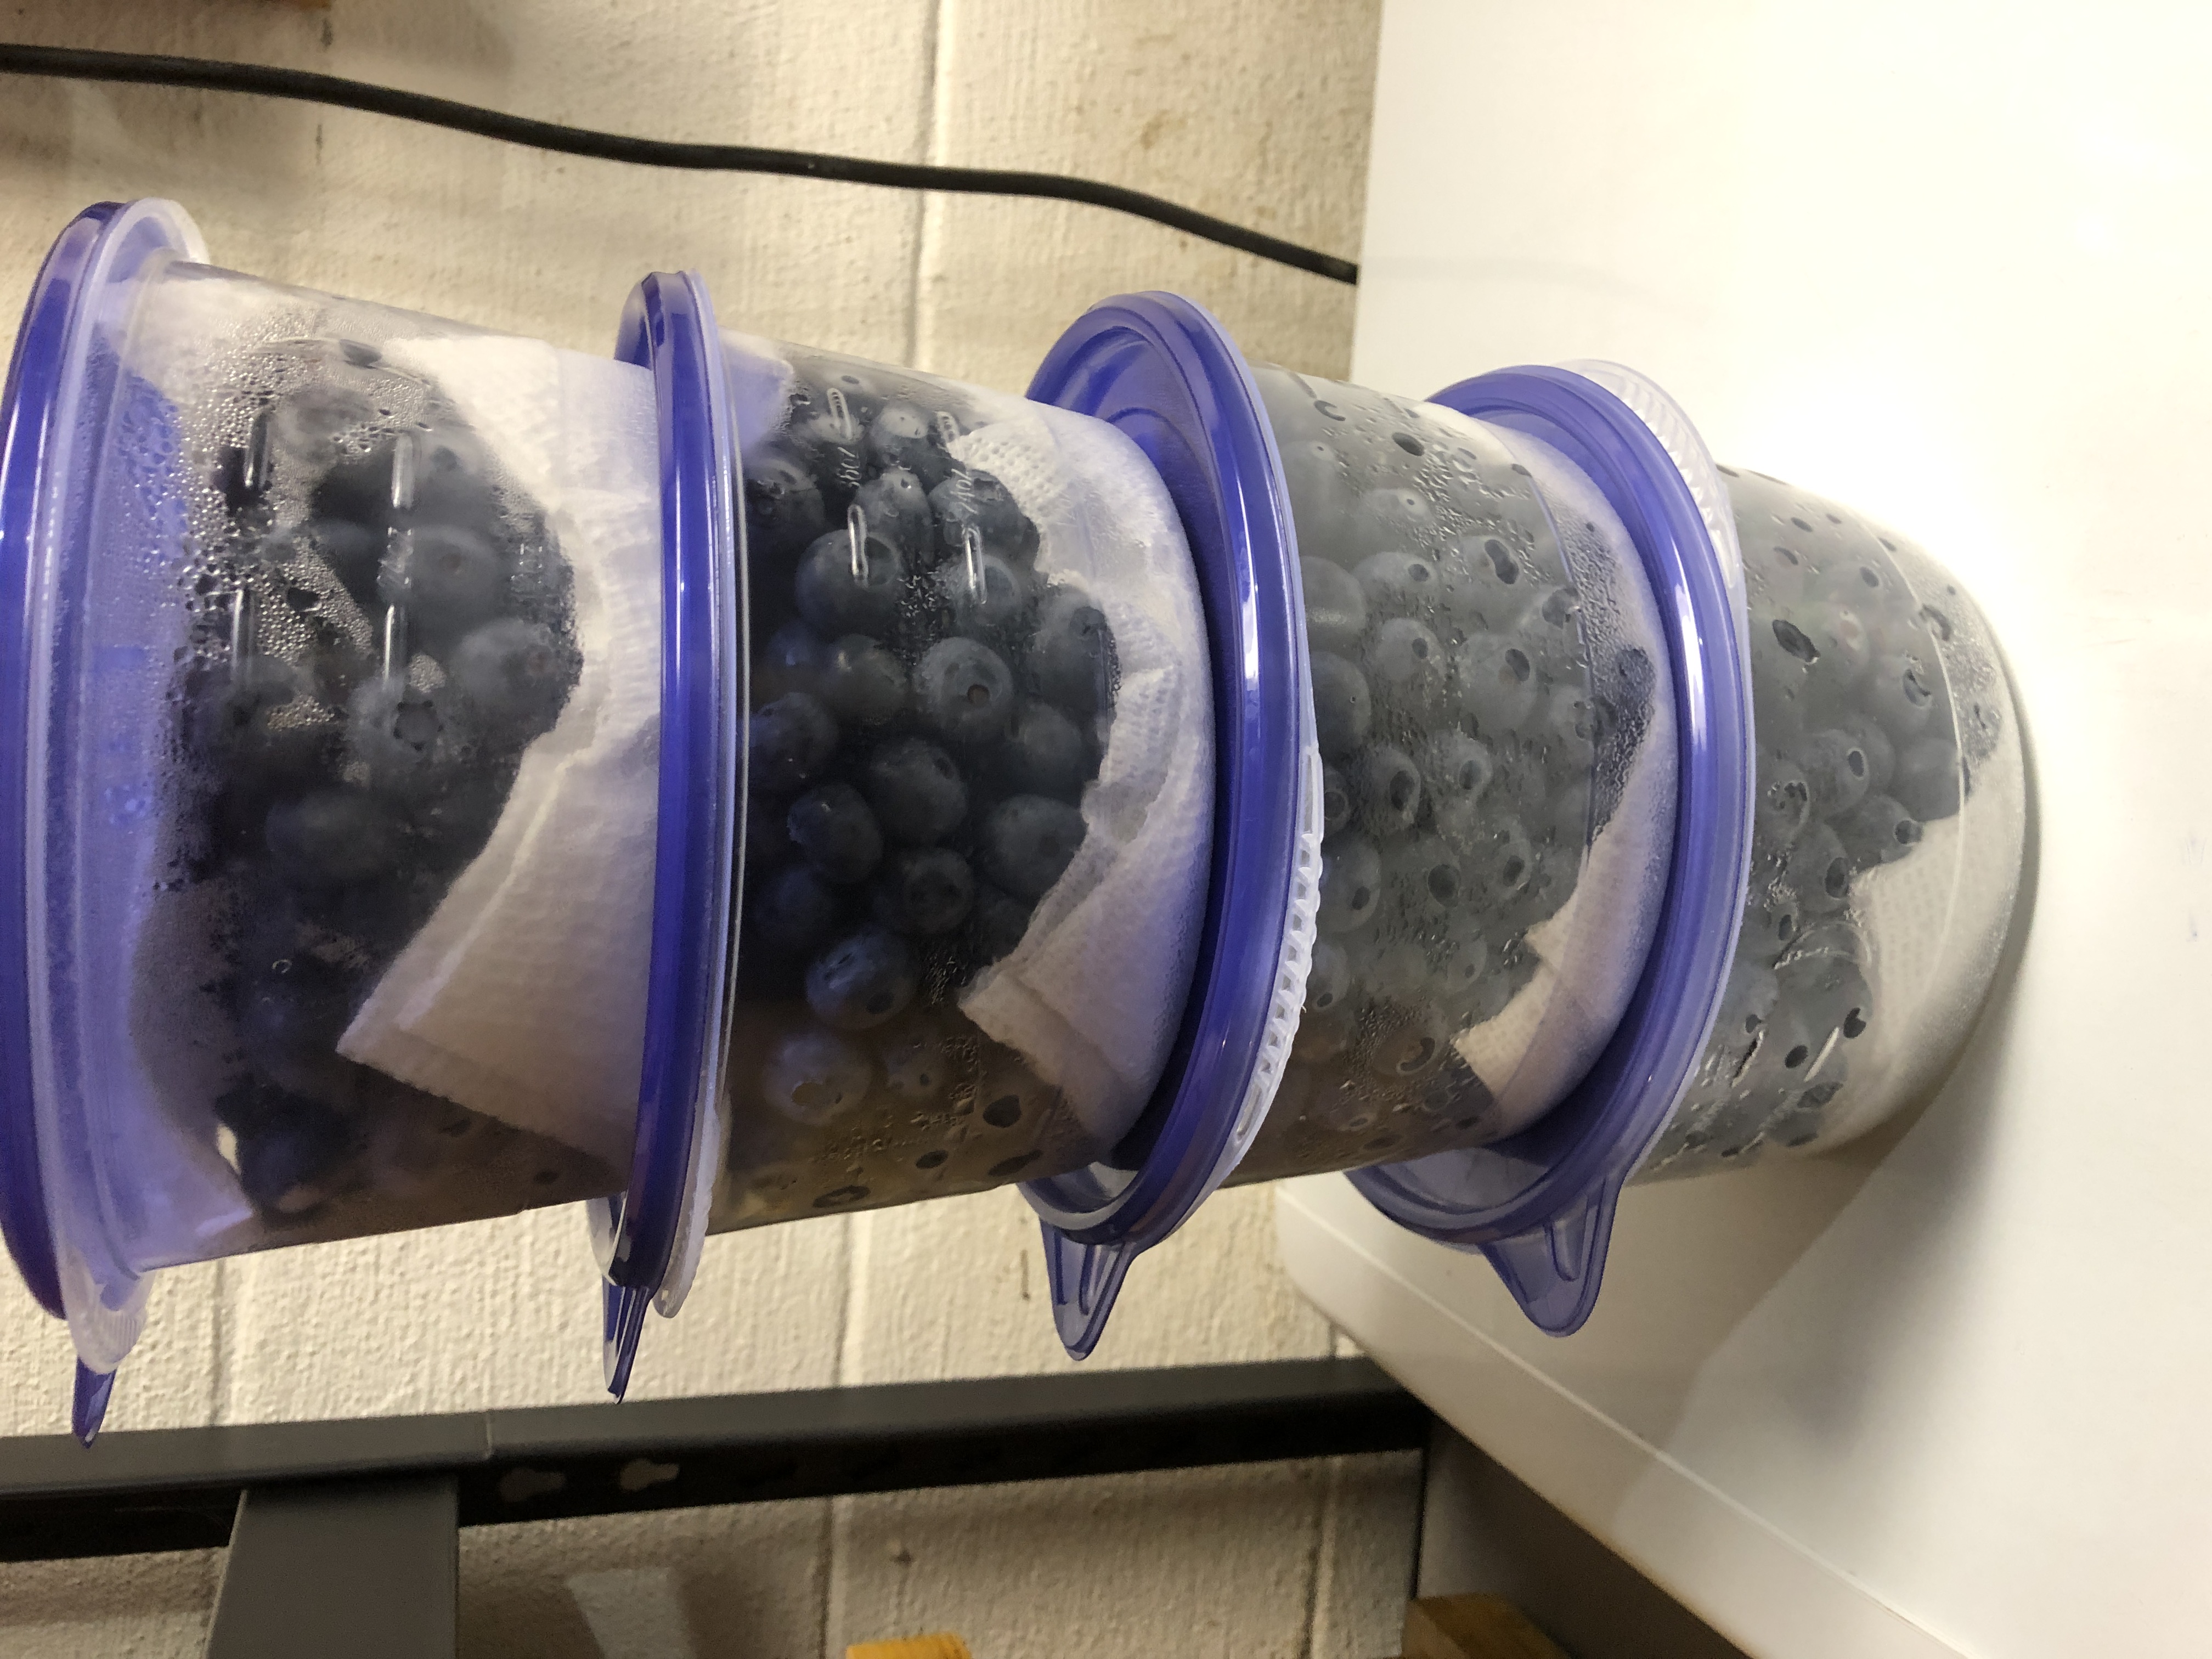
You might never need to deal with 30 pounds of blueberries all at one time…unless you can get them like I did, through the local Kiwanas. Every year they have a fund-raising sale and bring in 10-pound boxes of blueberries, fresh-picked from New Jersey. the berries are beautiful! After washing all 30 pounds, I think I had to discard less than a cup because of blemishes. This year’s crop was delicious!
If you check back on my blog to one year ago exactly, I processed 20 pounds of blueberries. I don’t need to repeat the description but you can read about it here: https://marykisner.com/blueberries-galore/
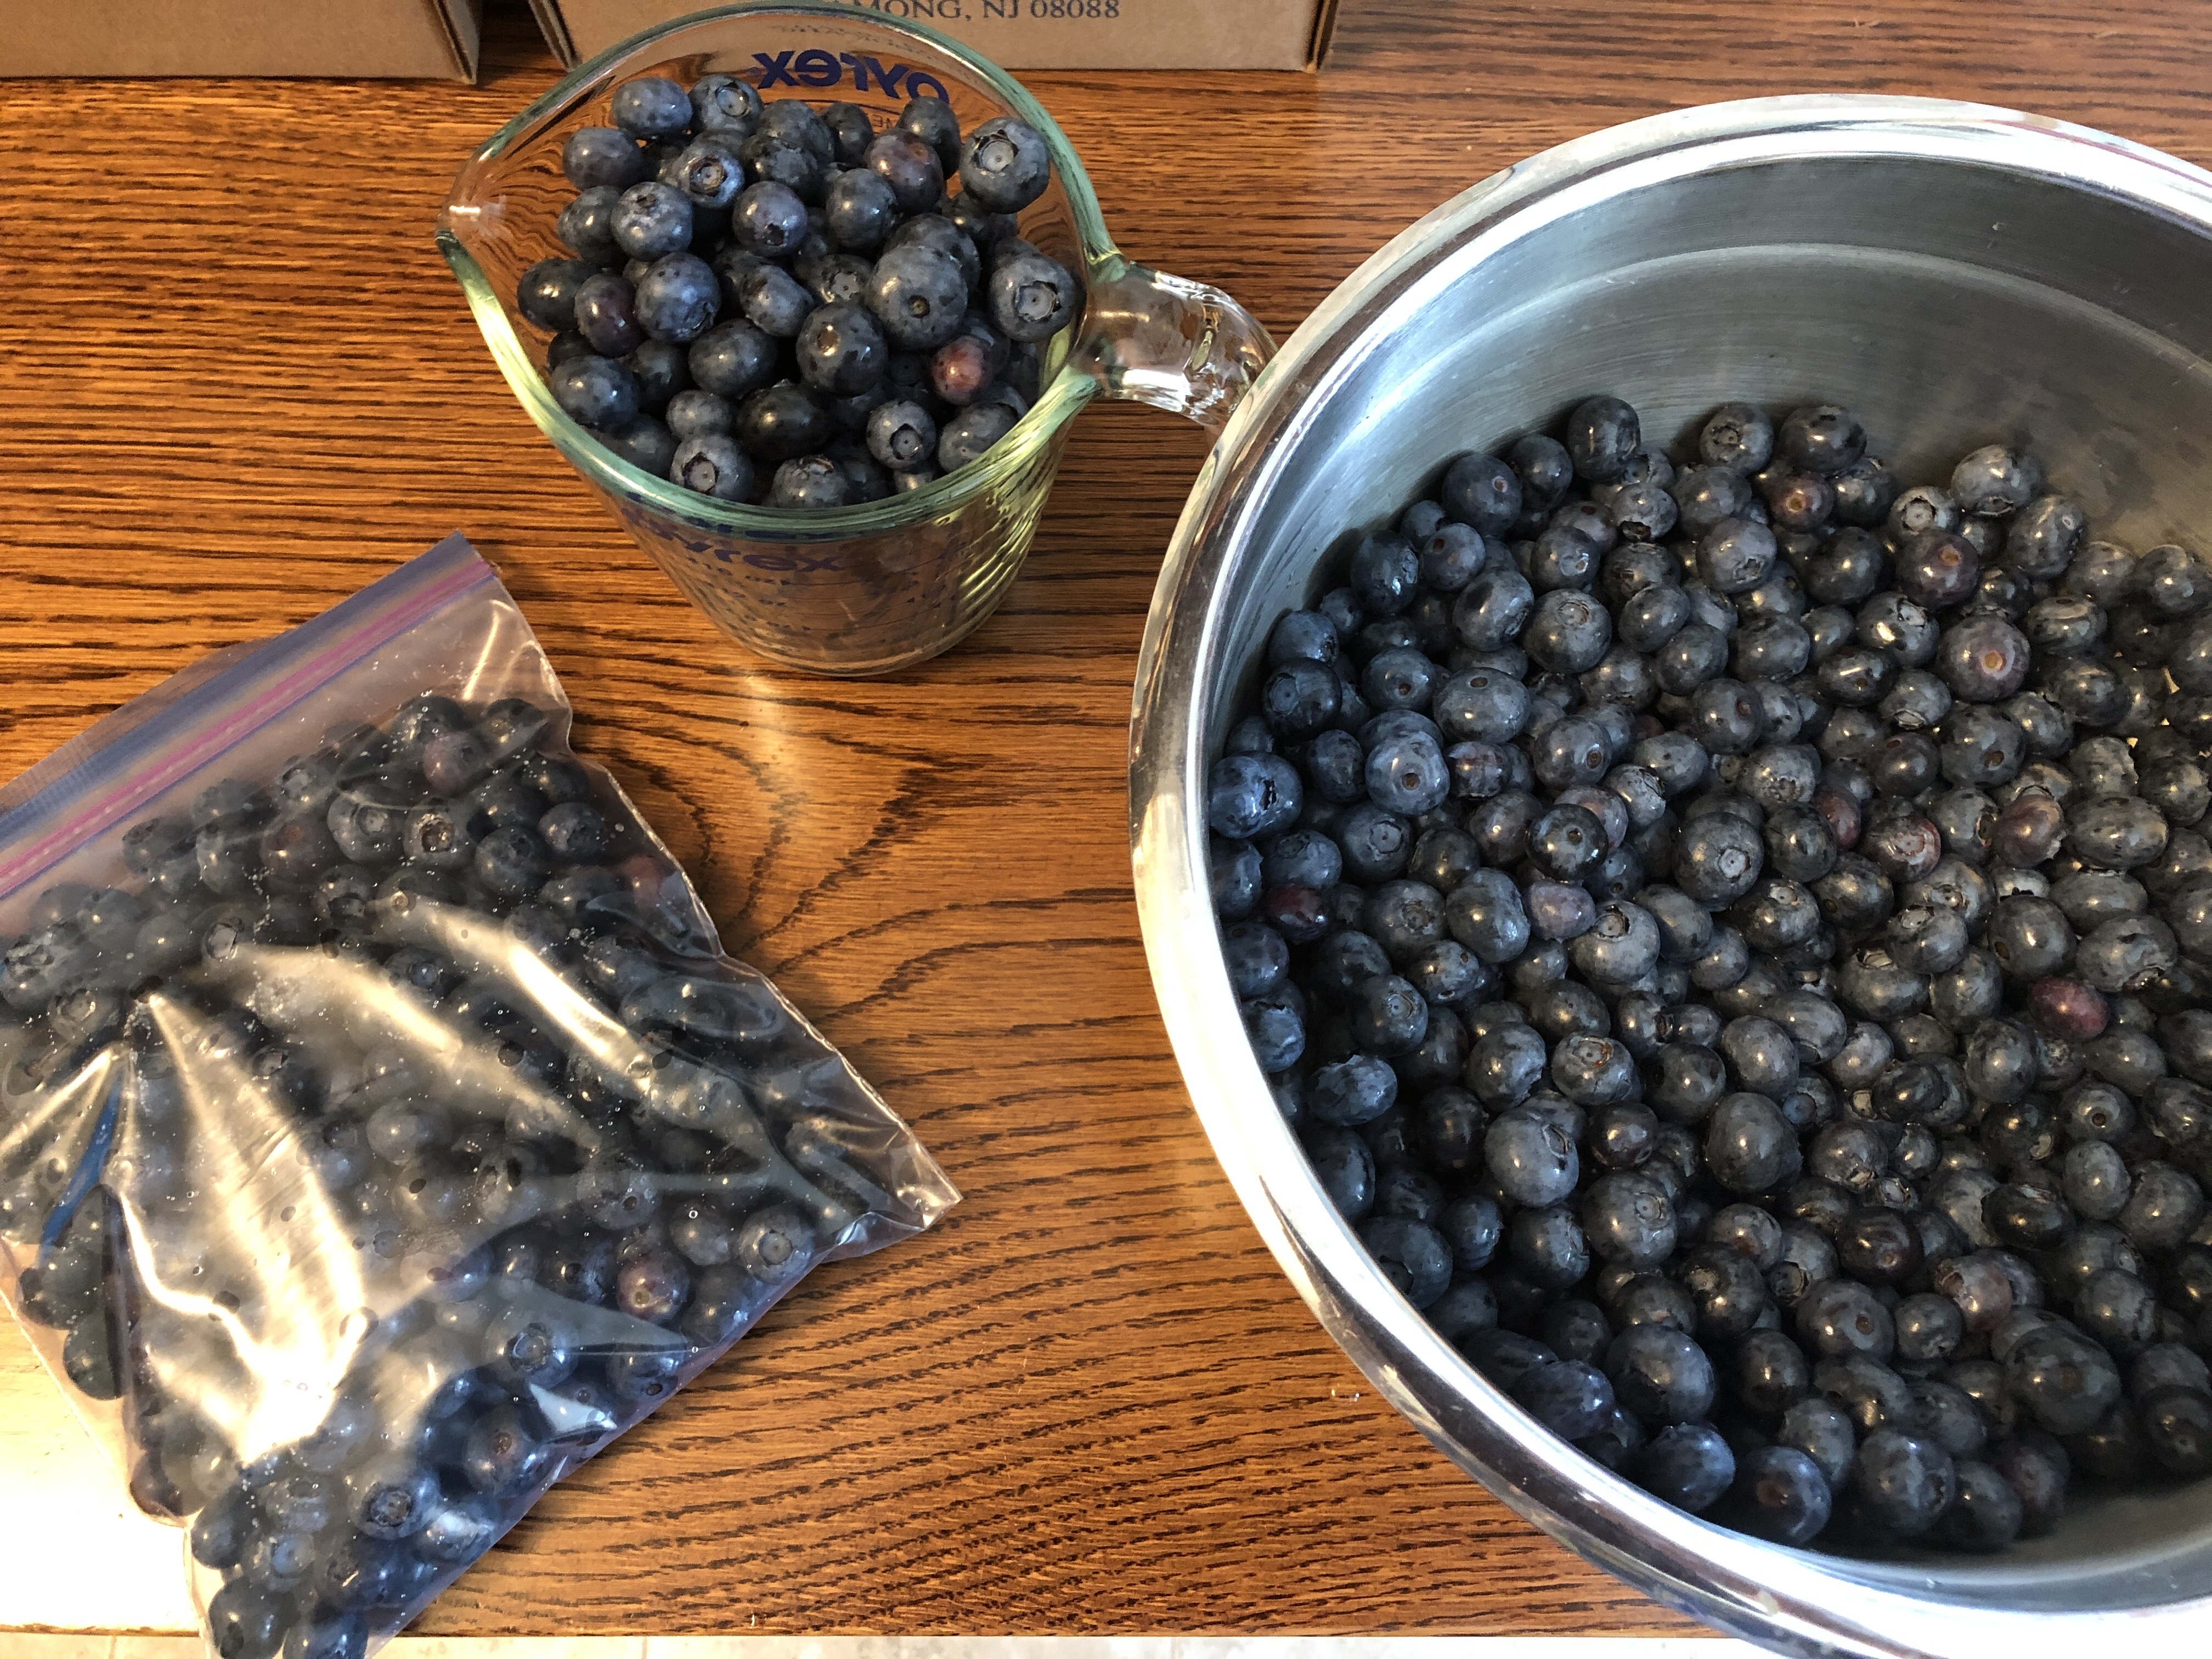
So, the first 20 pounds of berries I washed and packed into zip bags, 2 cups in a bag:
So, what do I do with all these frozen blueberries?
First, they are great on cereal or oatmeal. the frozen berries roll out of the bag like marbles and within a minute or two they are thawed enough to eat!
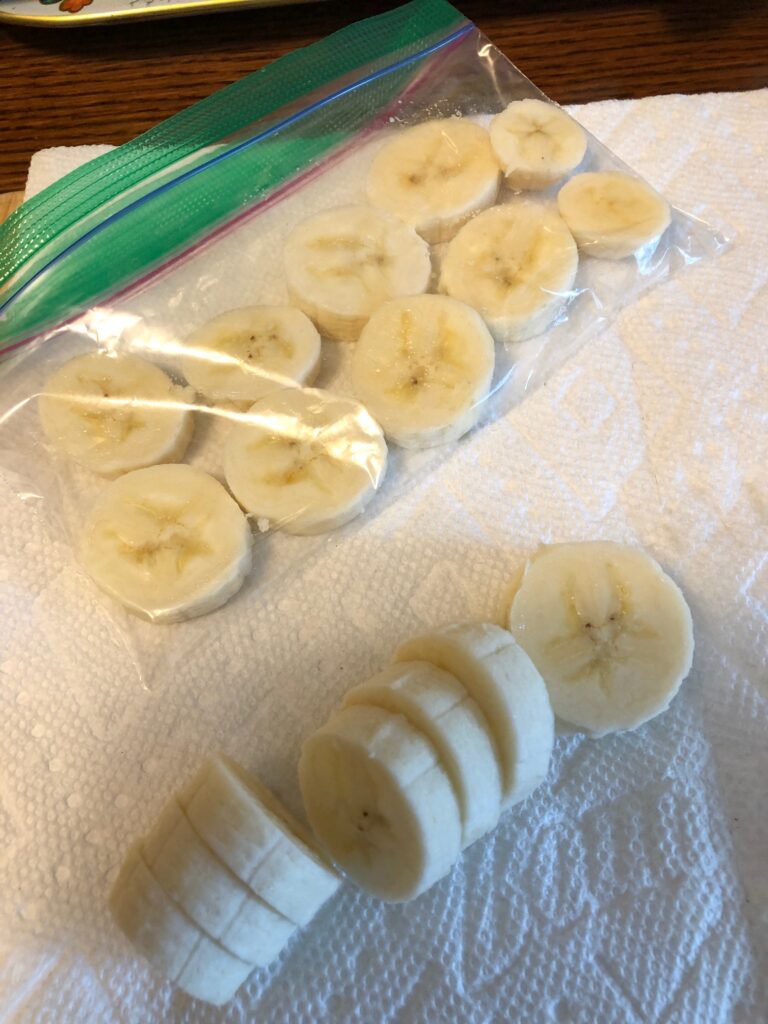
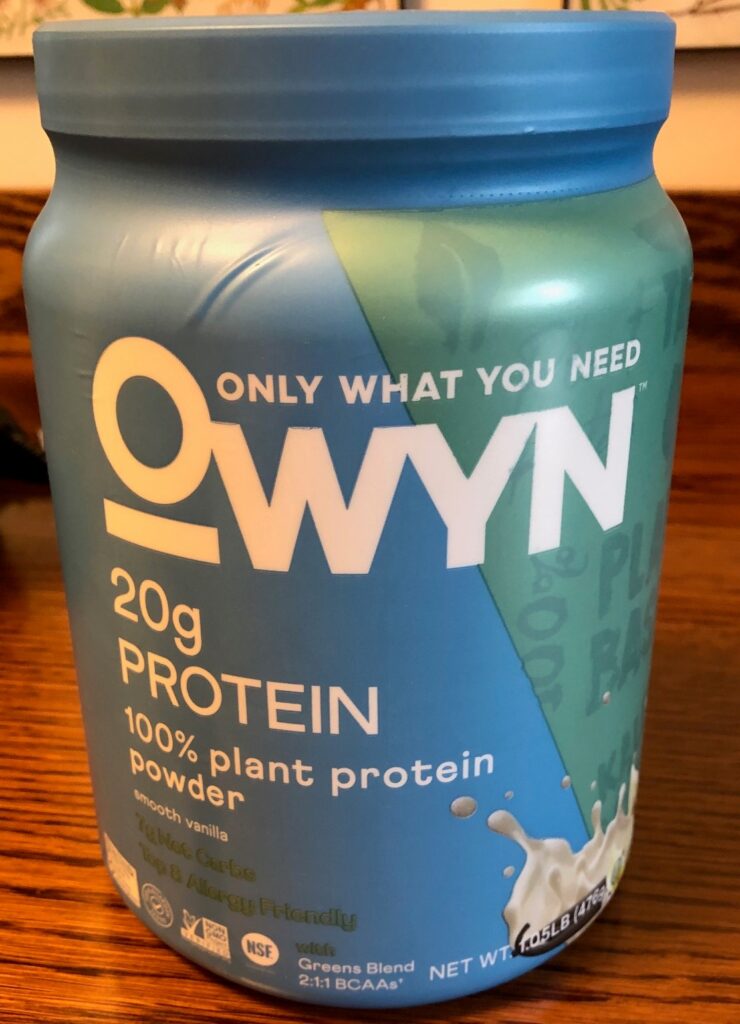
Second, I can toss about 1/2 cup of berries into my breakfast smoothie along with frozen banana slices and two scoops of my vegan protein powder. The frozen berries act like little bits of ice and thicken up the smoothie.
I make these especially for me because they are vegan and they have bananas and walnuts in them.
I’m now working on another muffin recipe that has only blueberries…no bananas or walnuts. After I give the recipe a try, I’ll post it for you.
The last 10-pound box of blueberries will be kept fresh just to eat. Ted’s family will be visiting next week and the berries will be good to munch on! Enjoy!
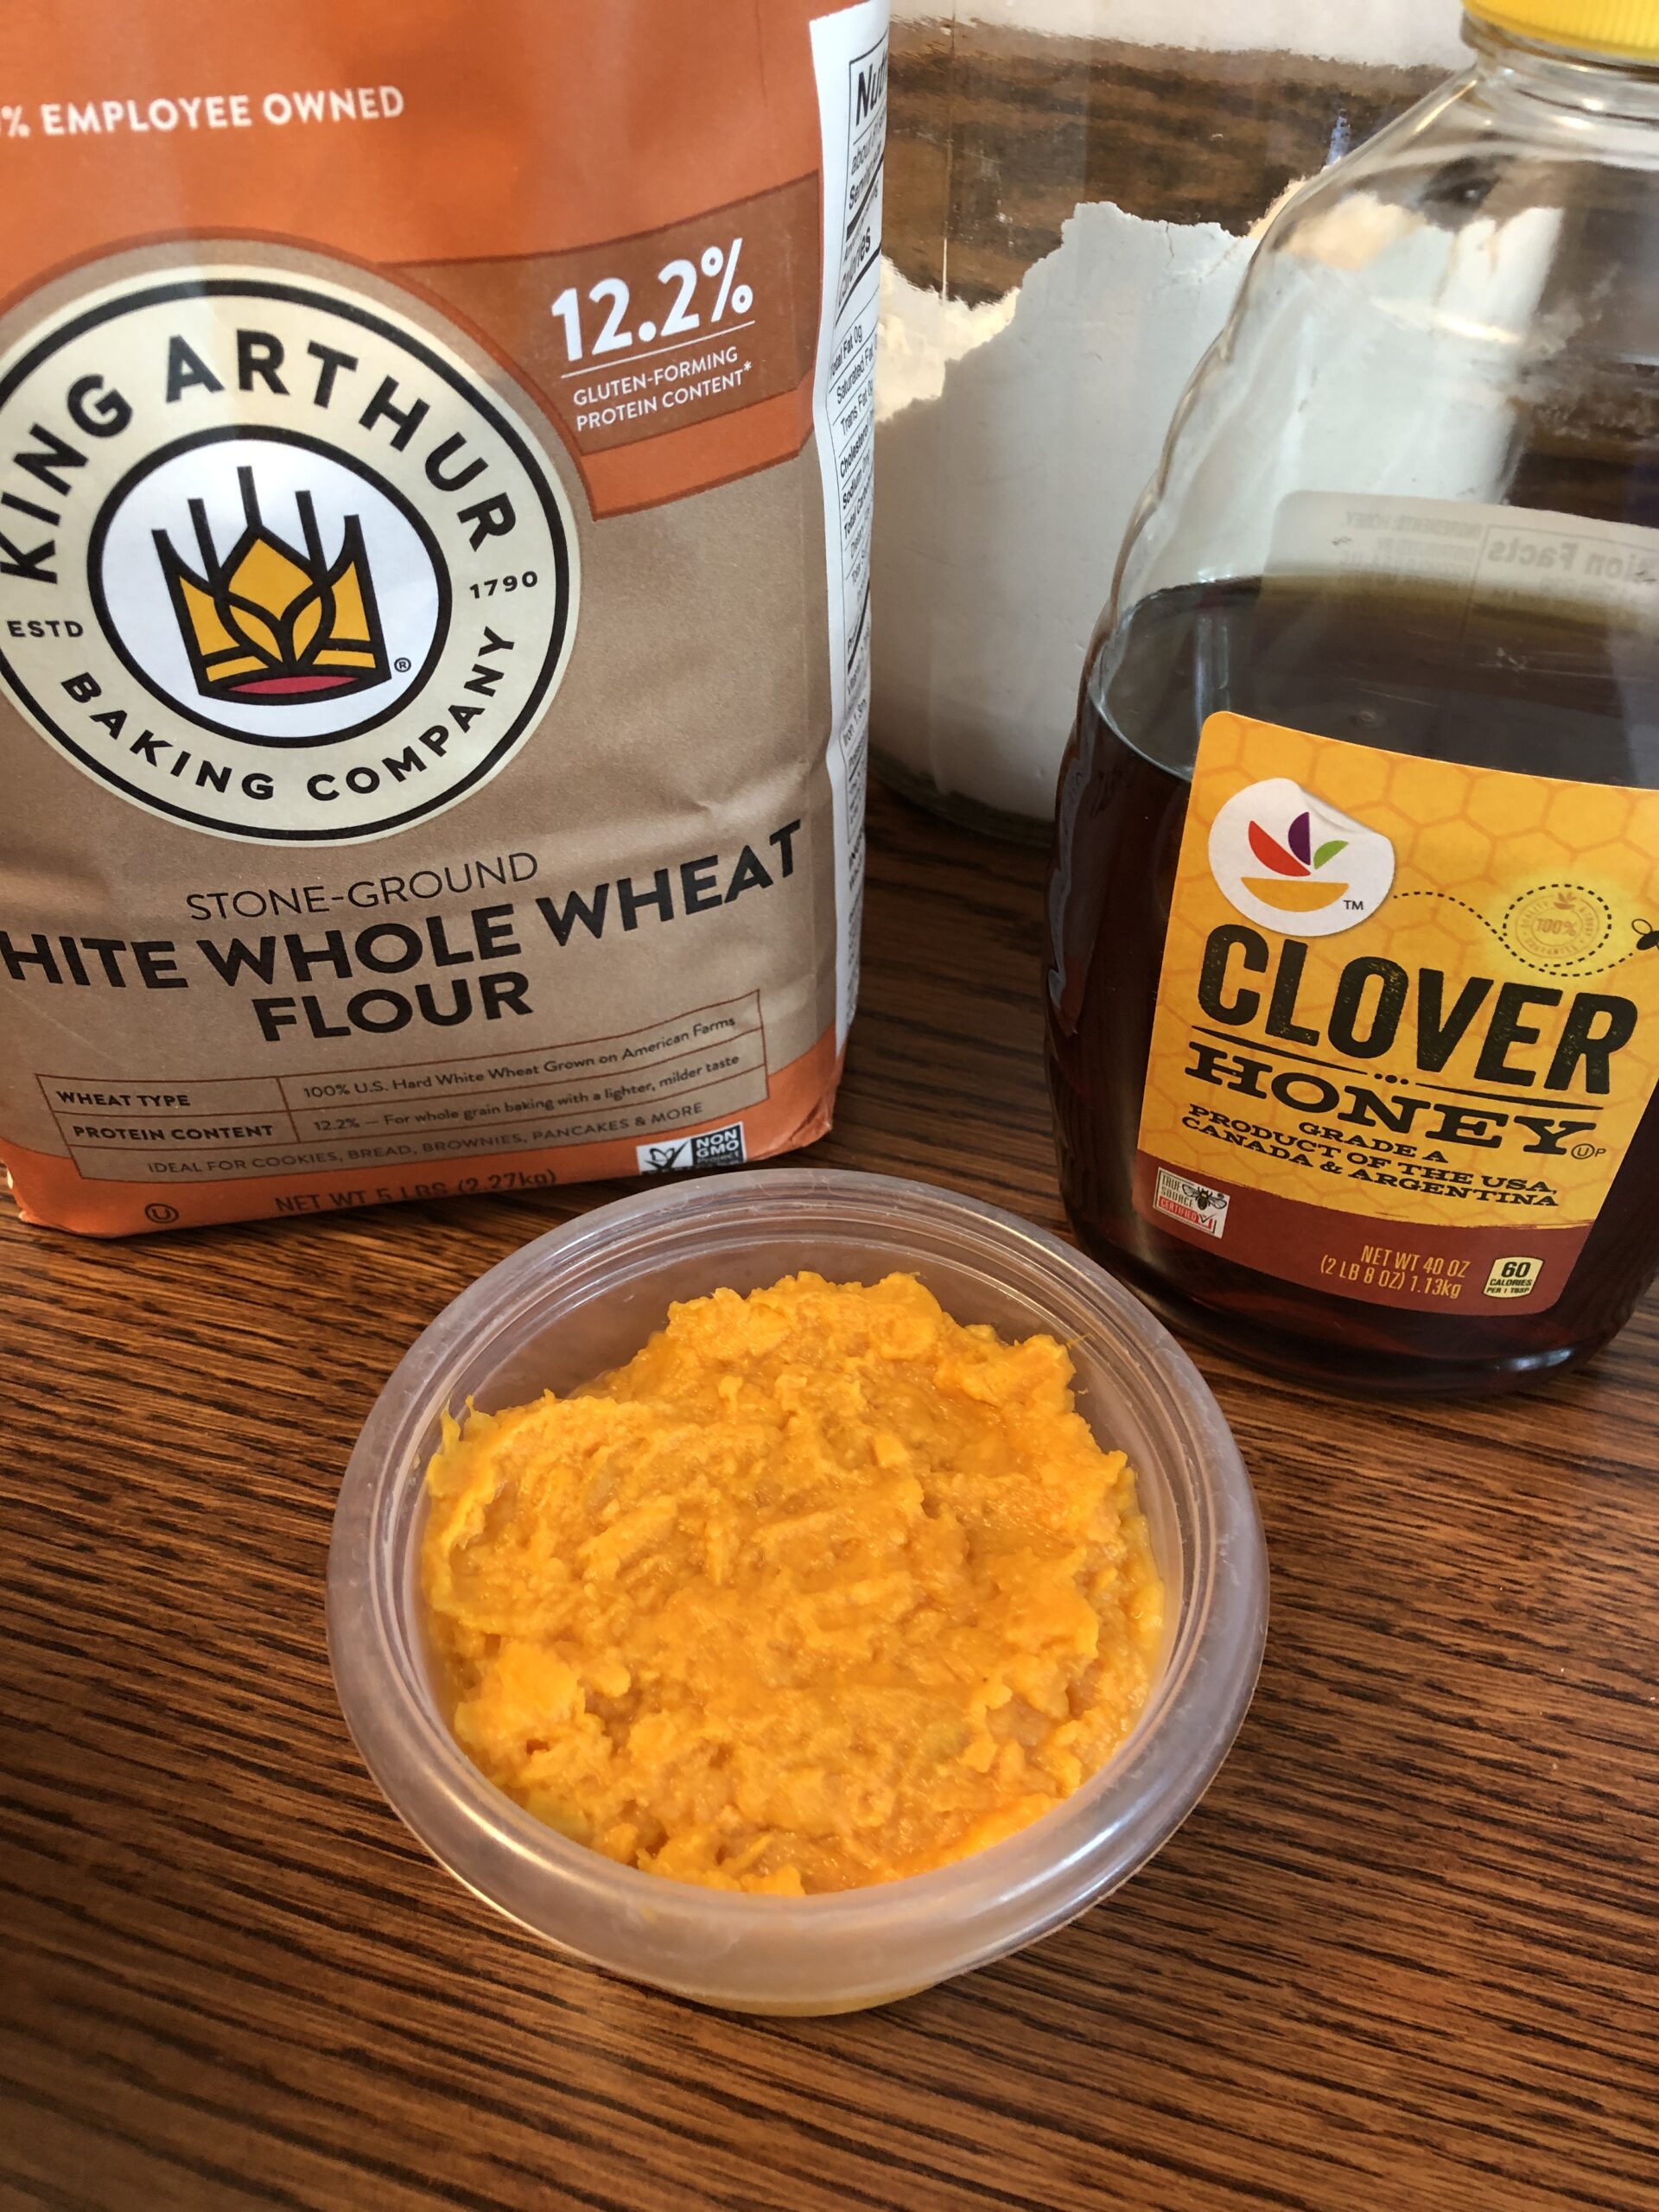
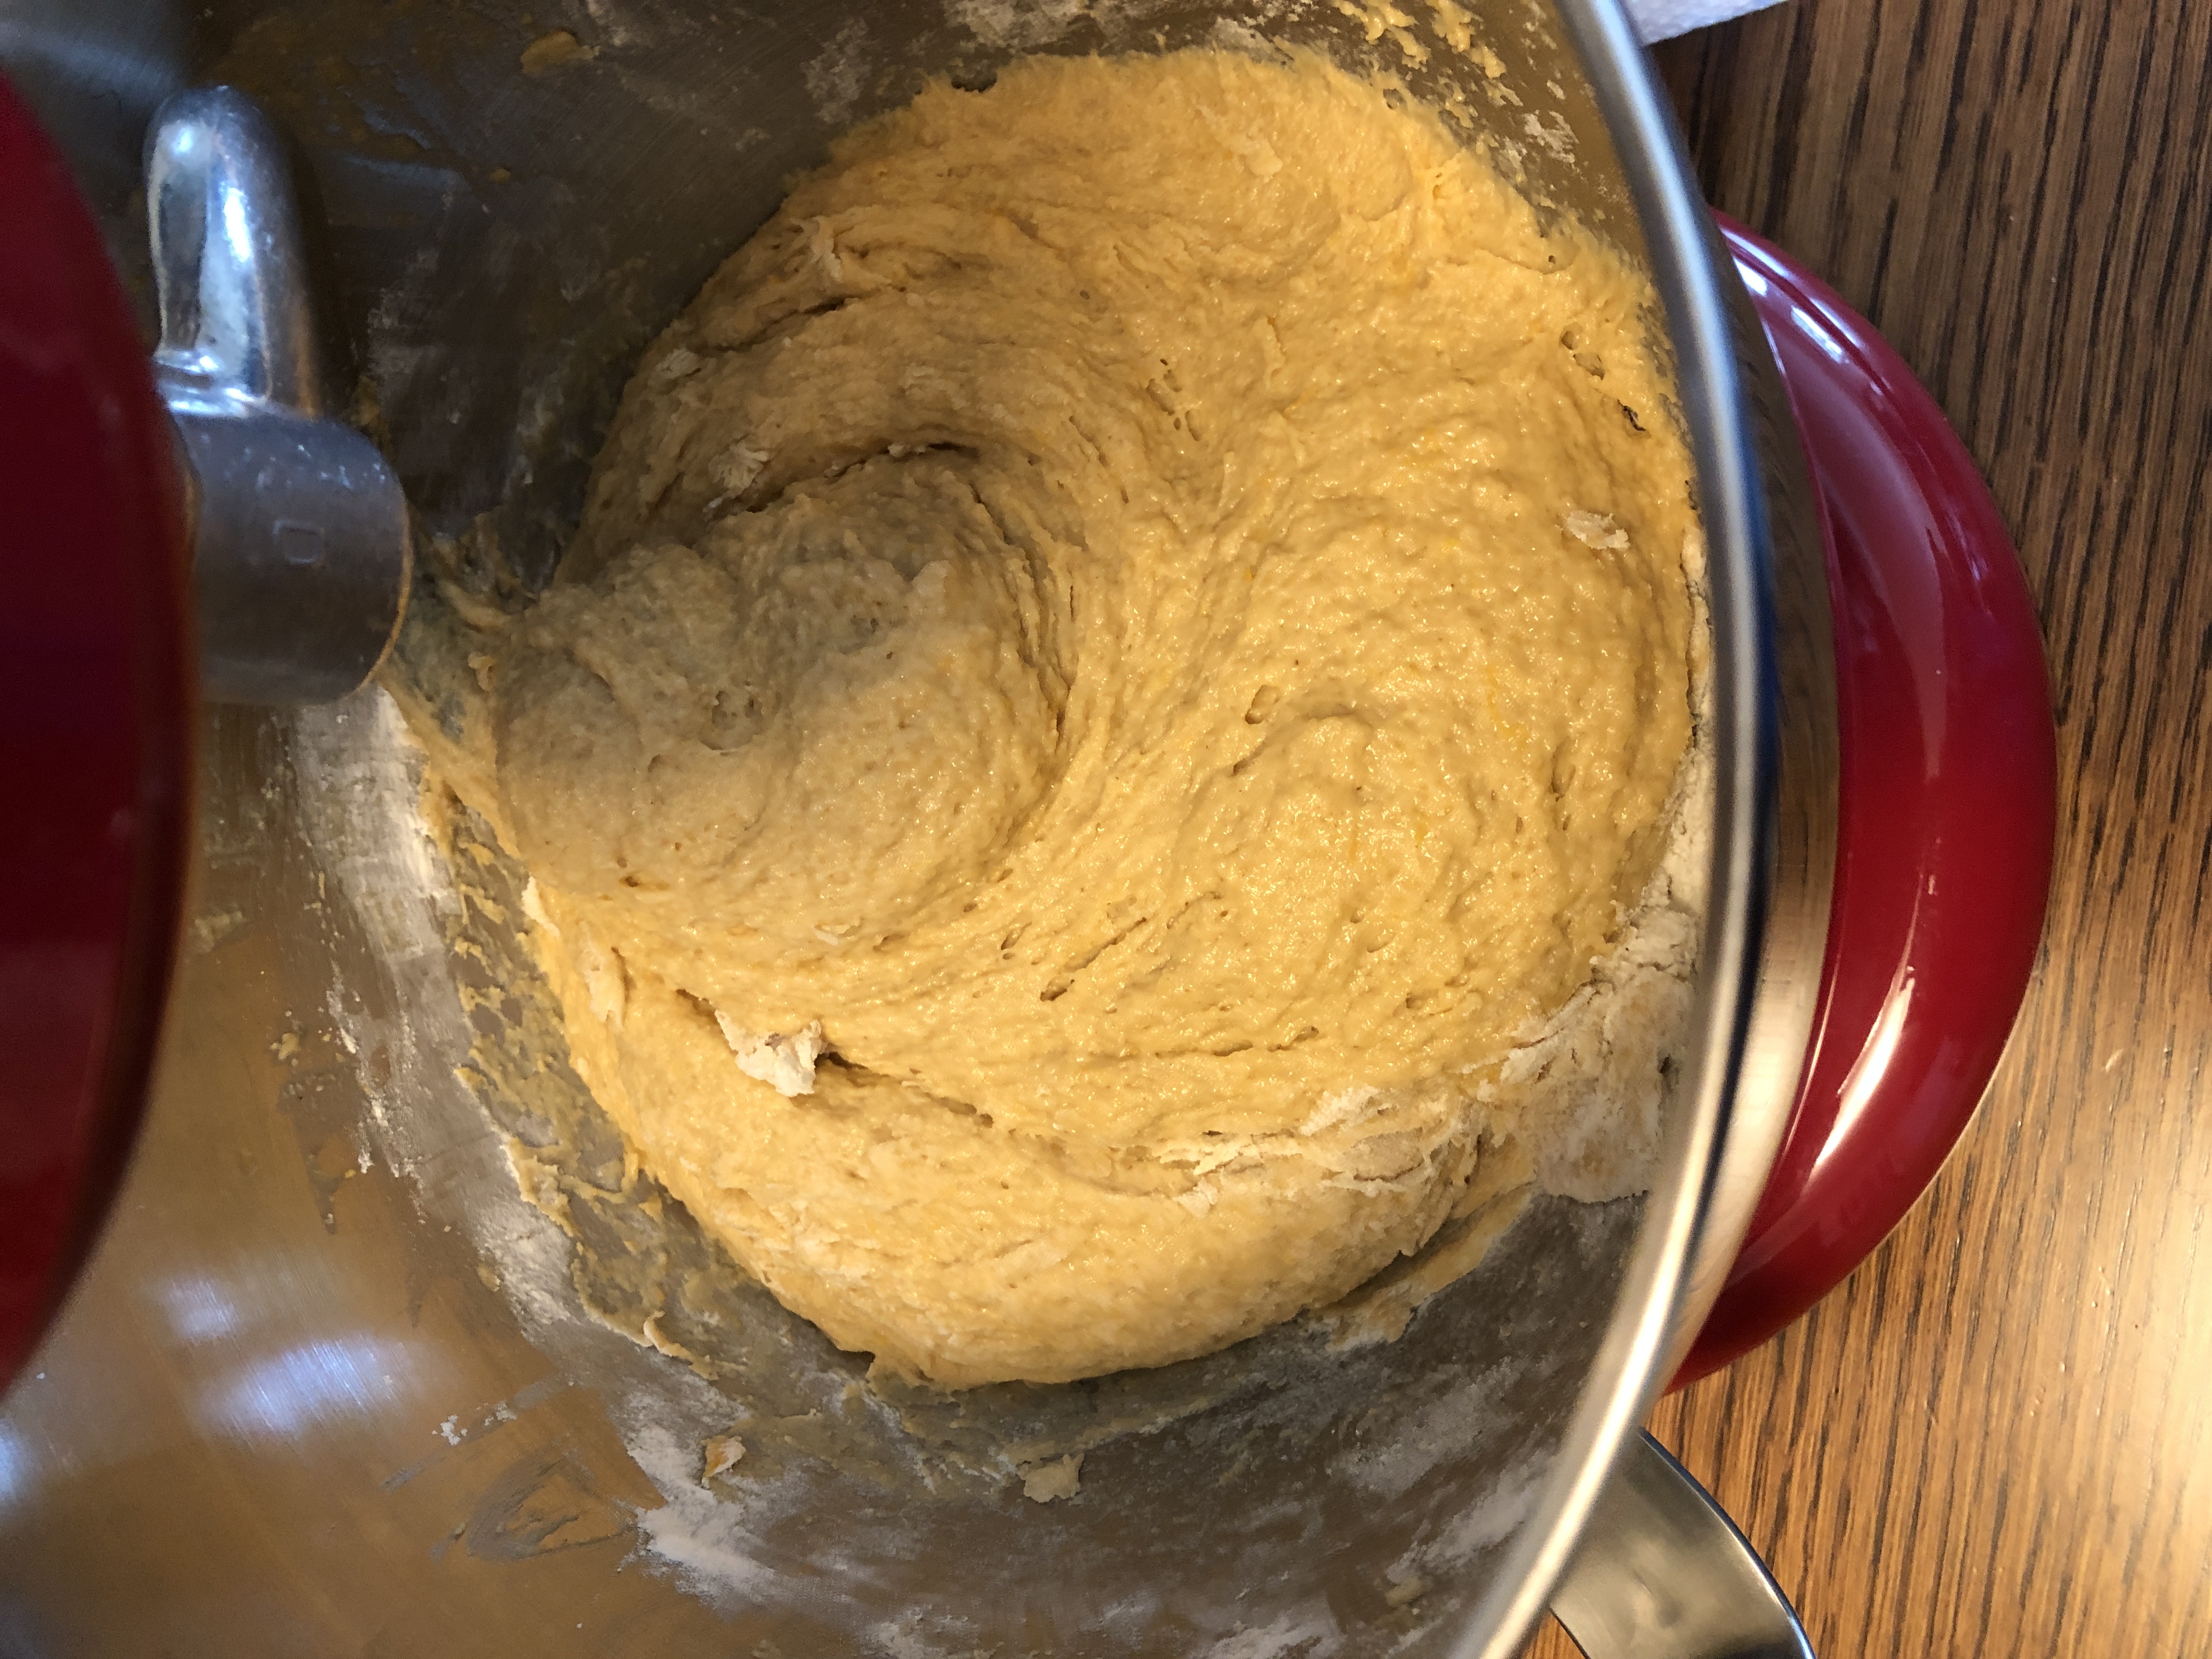
The recipe I made yesterday made two large loaves of bread that were light and delicious. The recipe did call for butter and one egg, so if you are vegan, use plant-based butter and eliminate the egg. Here is the recipe:
I was very interested that this recipe uses half whole wheat flour. It was still very light and held together after baking. It was also an easy recipe that could be made in just one bowl (I used my stand mixer bowl).
The recipe called for whole wheat flour. I usually grind my own whole wheat flour, using white whole wheat berries, so I was glad to find King Arthur White Whole Wheat Flour at the grocery store. That saved me a step.
Mixing everything in one bowl reduced the clean up time!
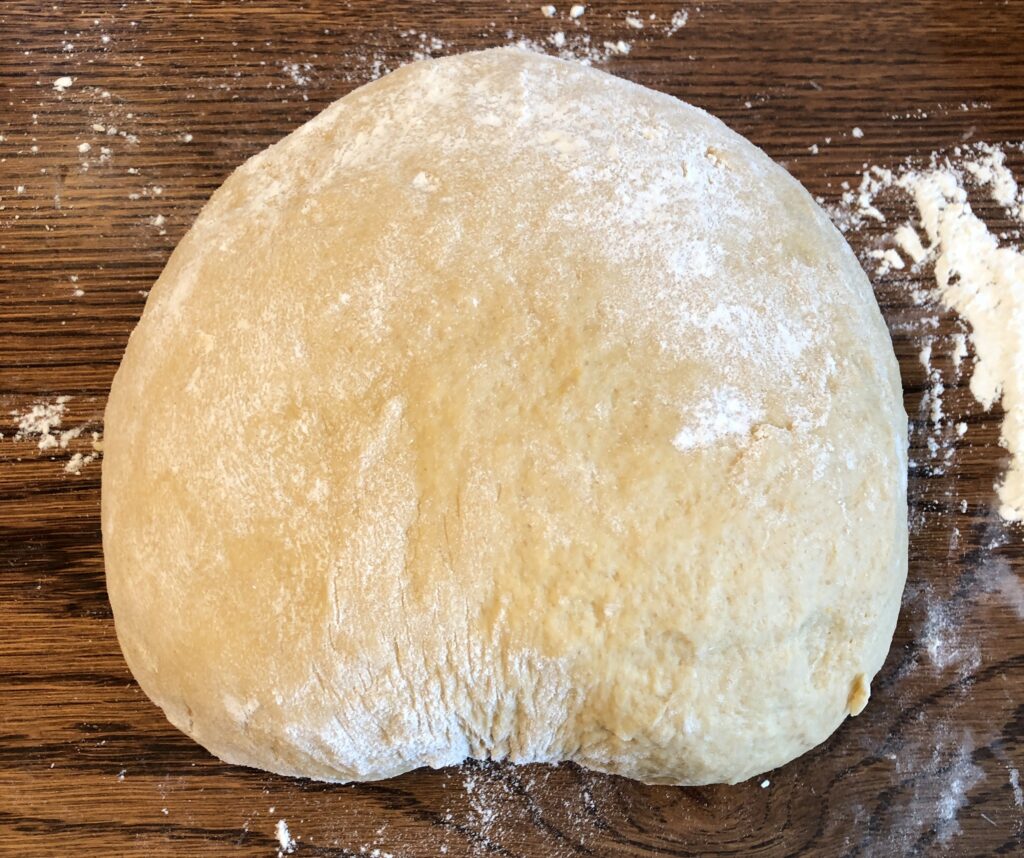
This did make a very nice soft dough.
I did not do a very accurate job of dividing the dough into two loaves. I had to cut the biggest one in half to fit in the bag for the freezer. Next time I might make three loaves instead!
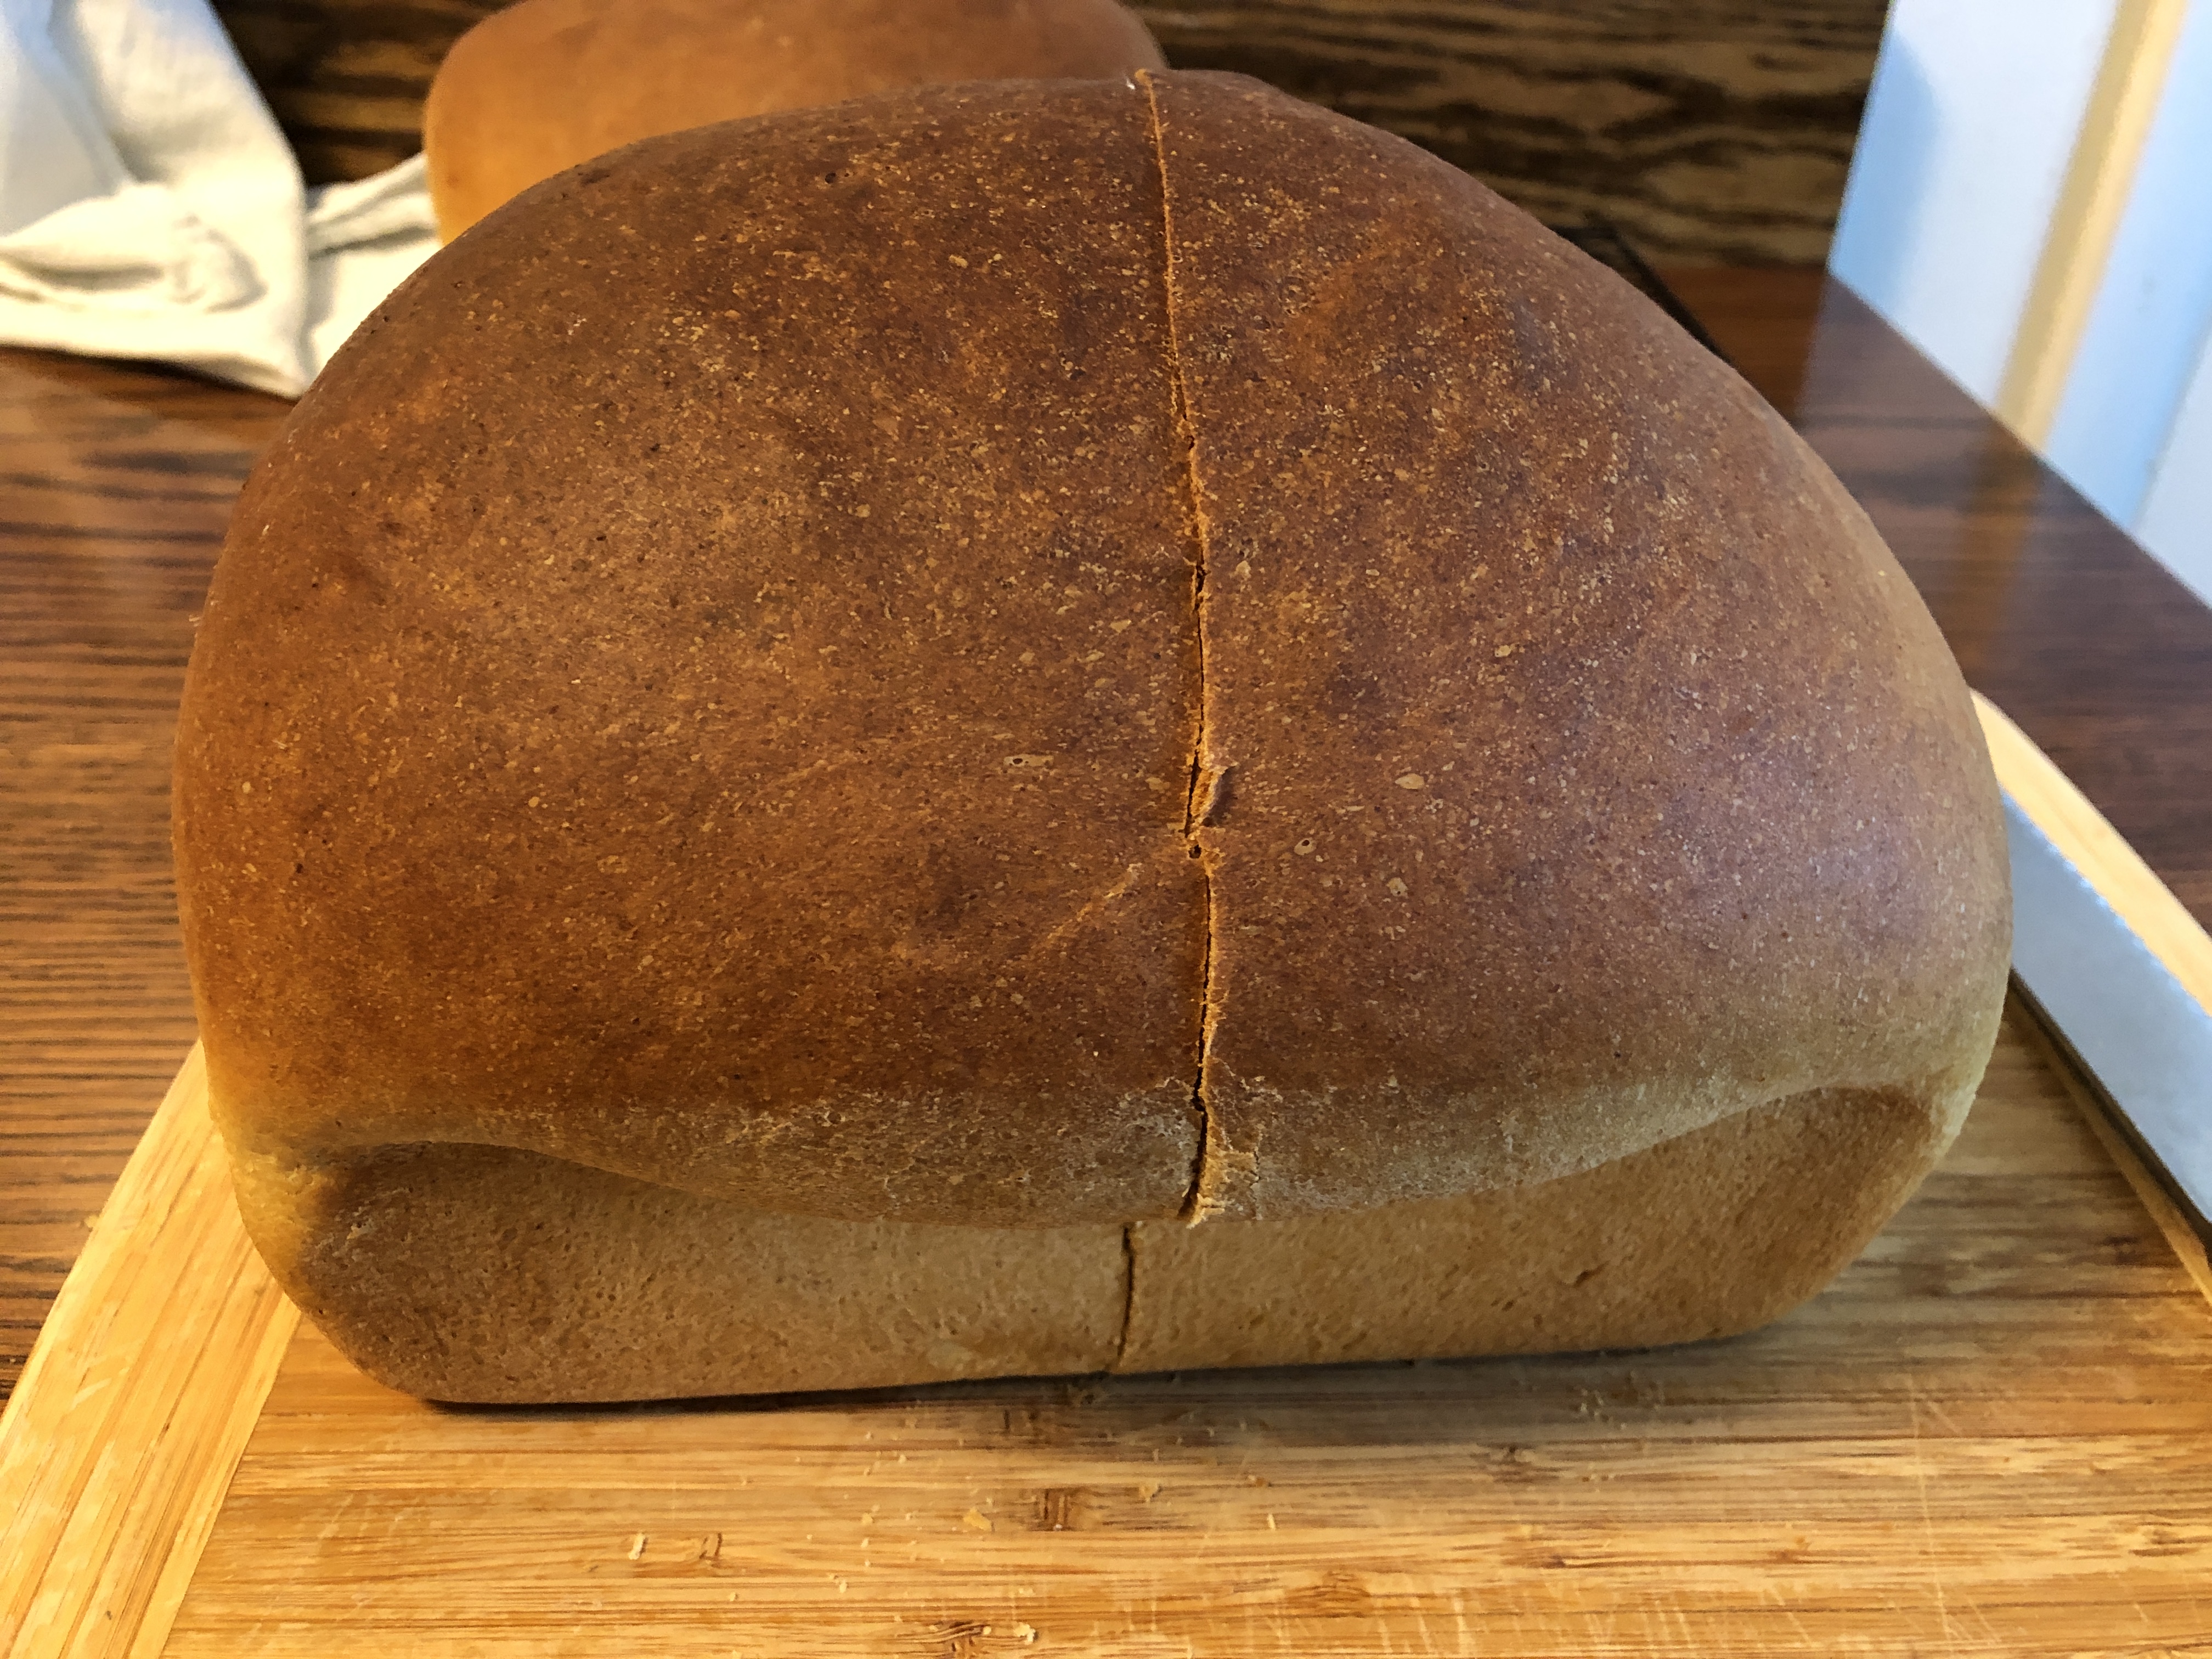
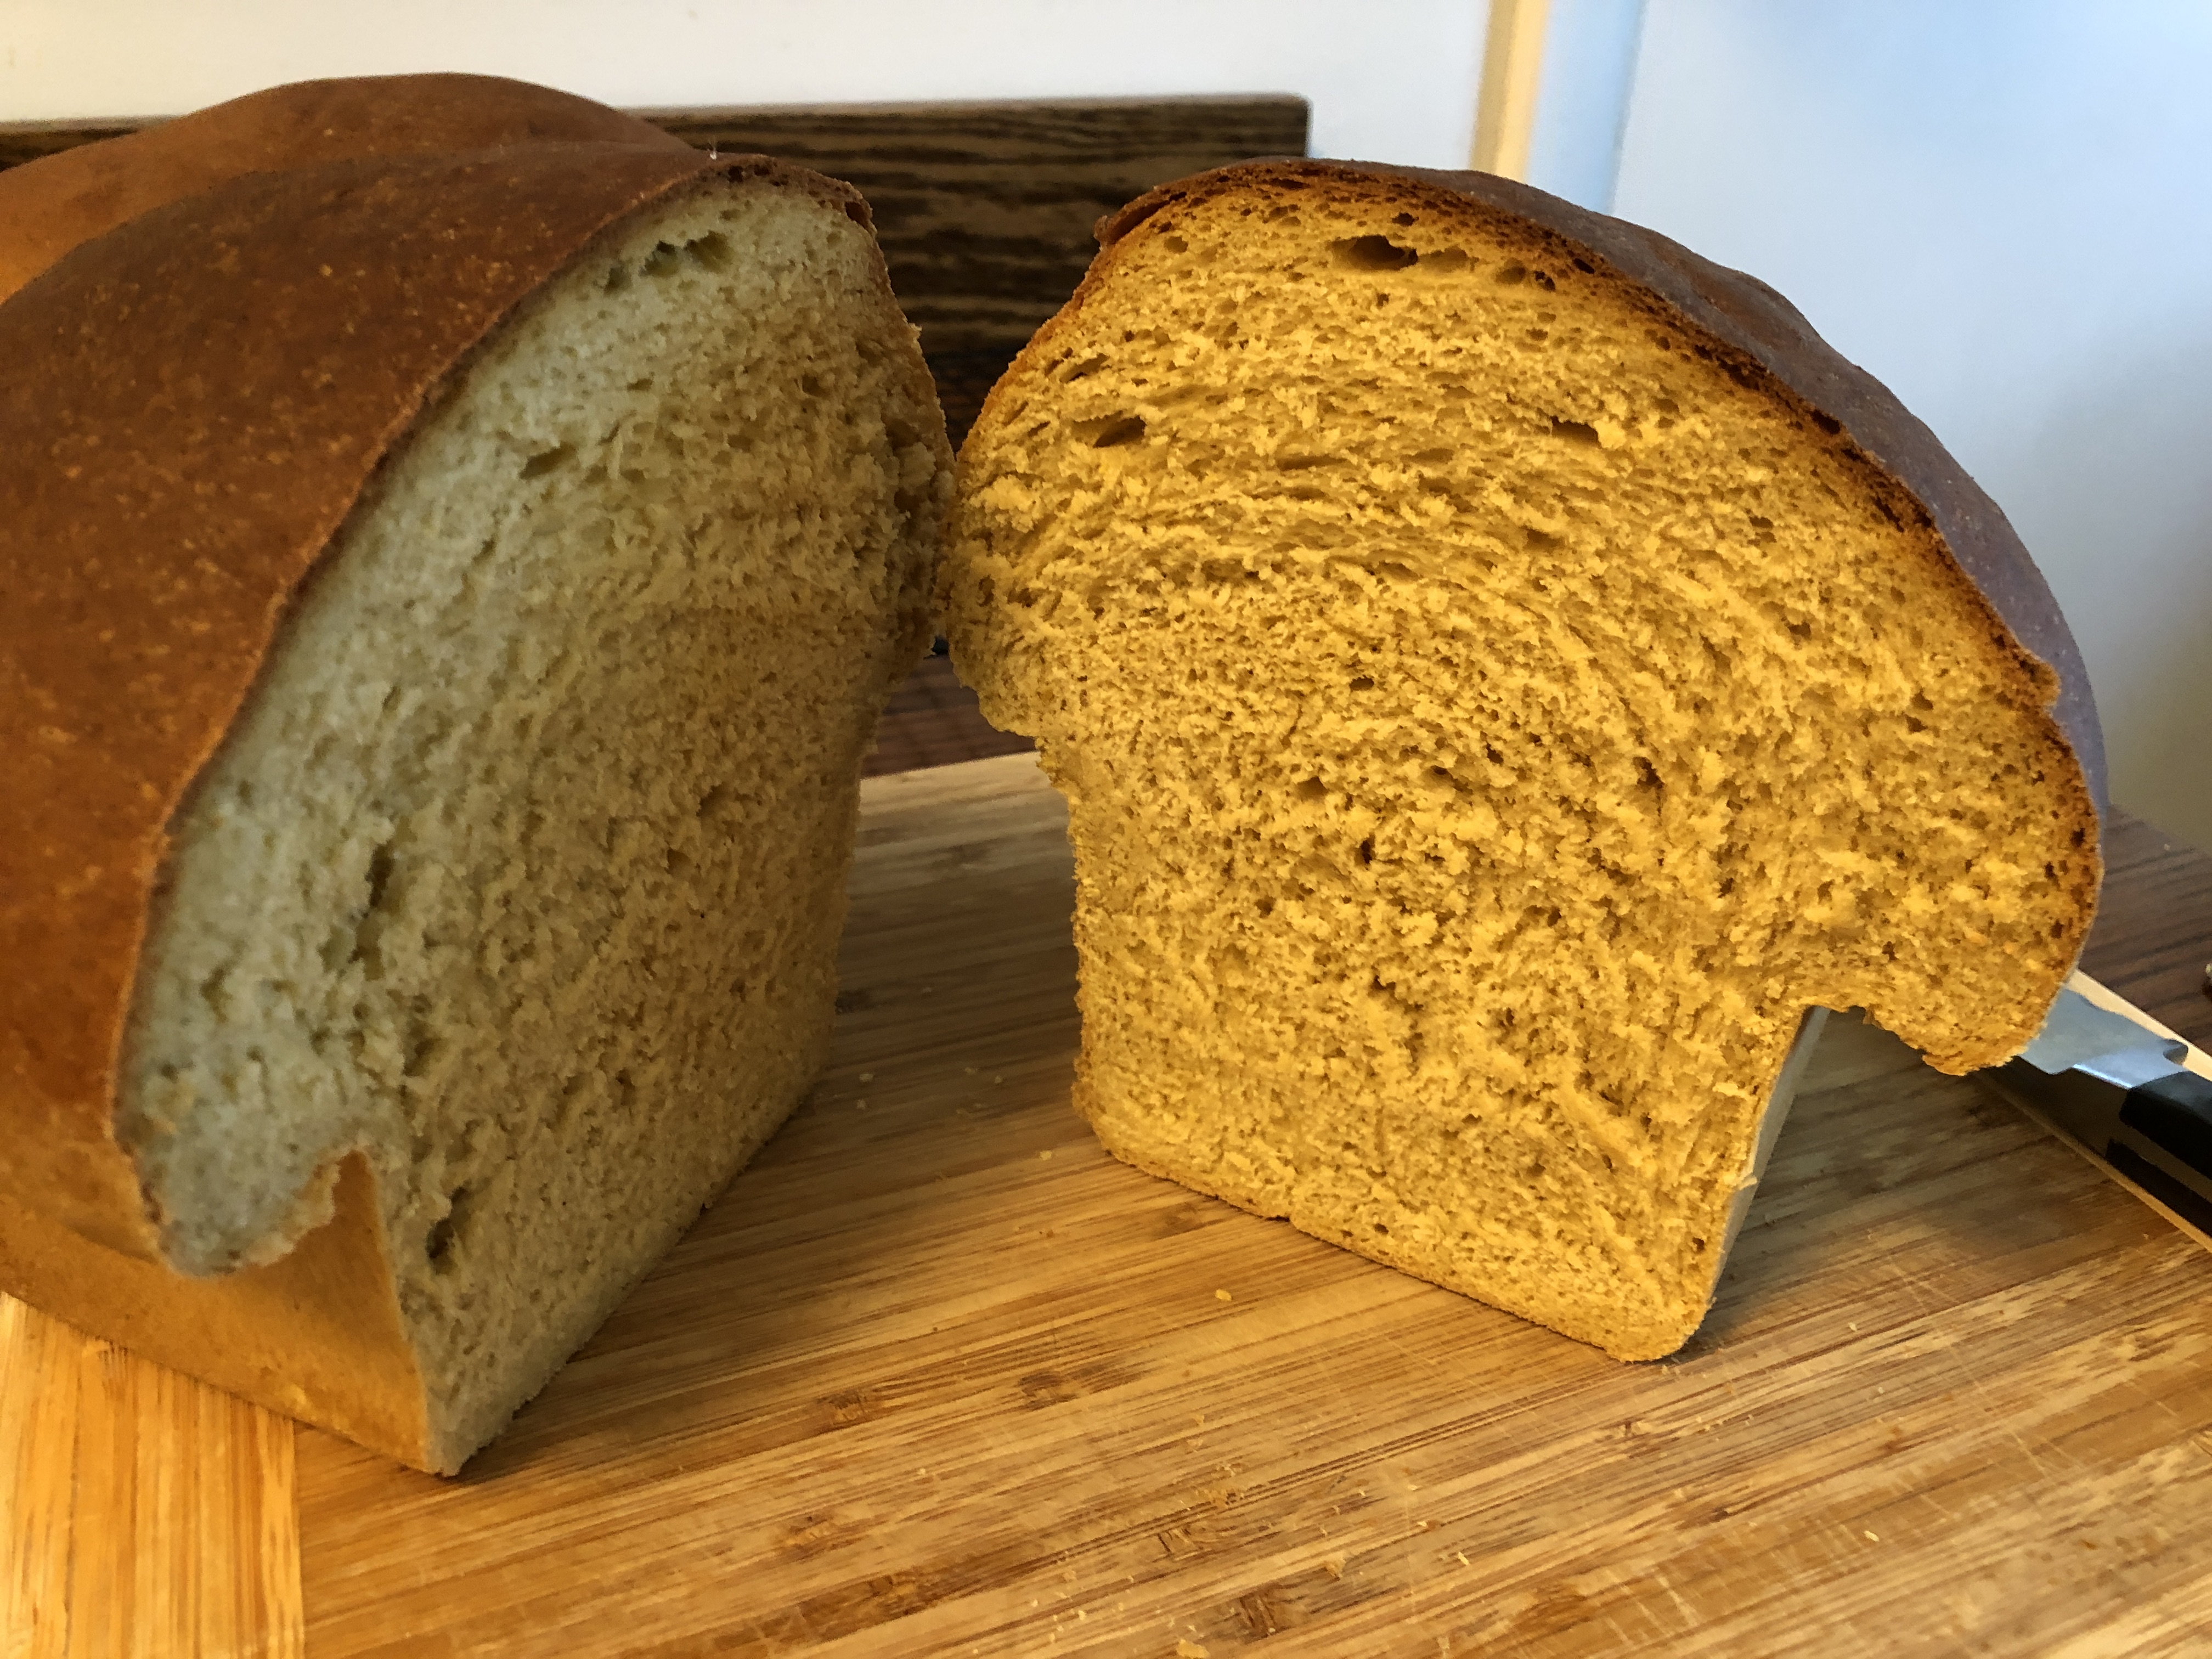
Look how beautiful the bread is! Delicious too.
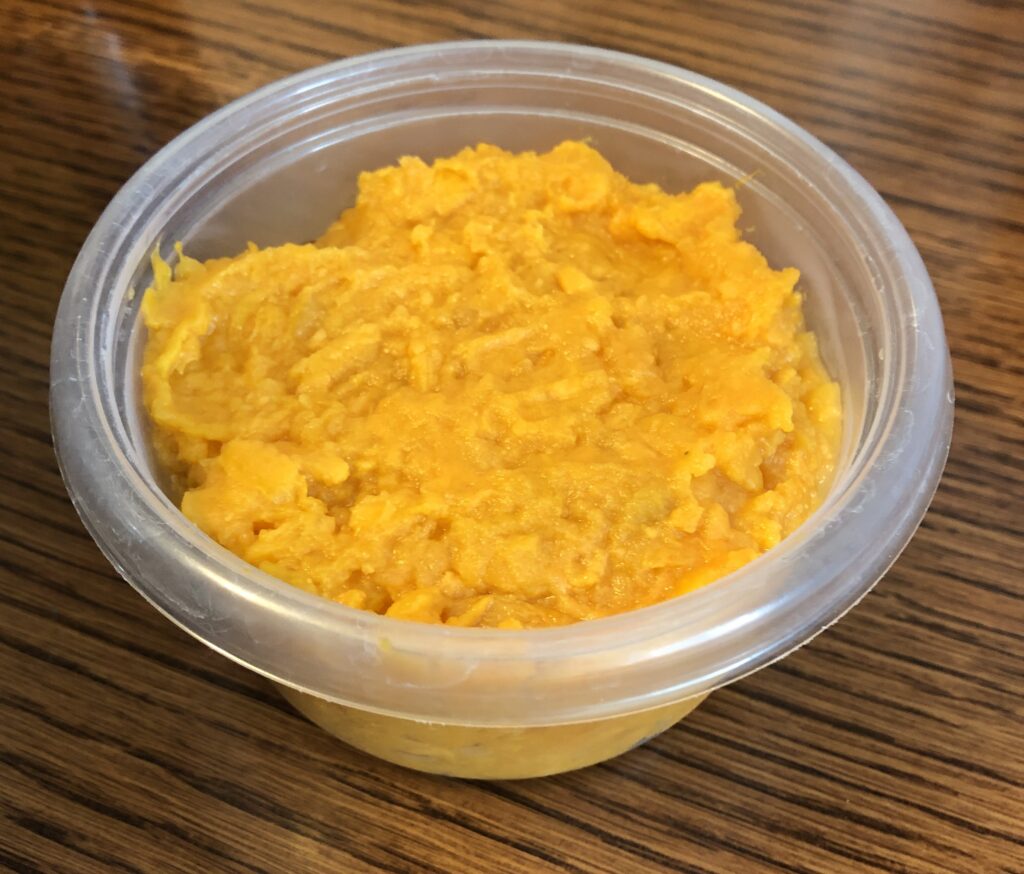
Keep this recipe in mind when you cook sweet potatoes…cook an extra, mash it and freeze it. Makes a special loaf of bread! Enjoy!
I’ve been hearing through the grapevine that the recipe I posted for vegan sweet potato buns is a hit! Thanks C.N. and T.N. for the feedback! You can see the recipe at https://marykisner.com/making-vegan-sweet-potato-buns/
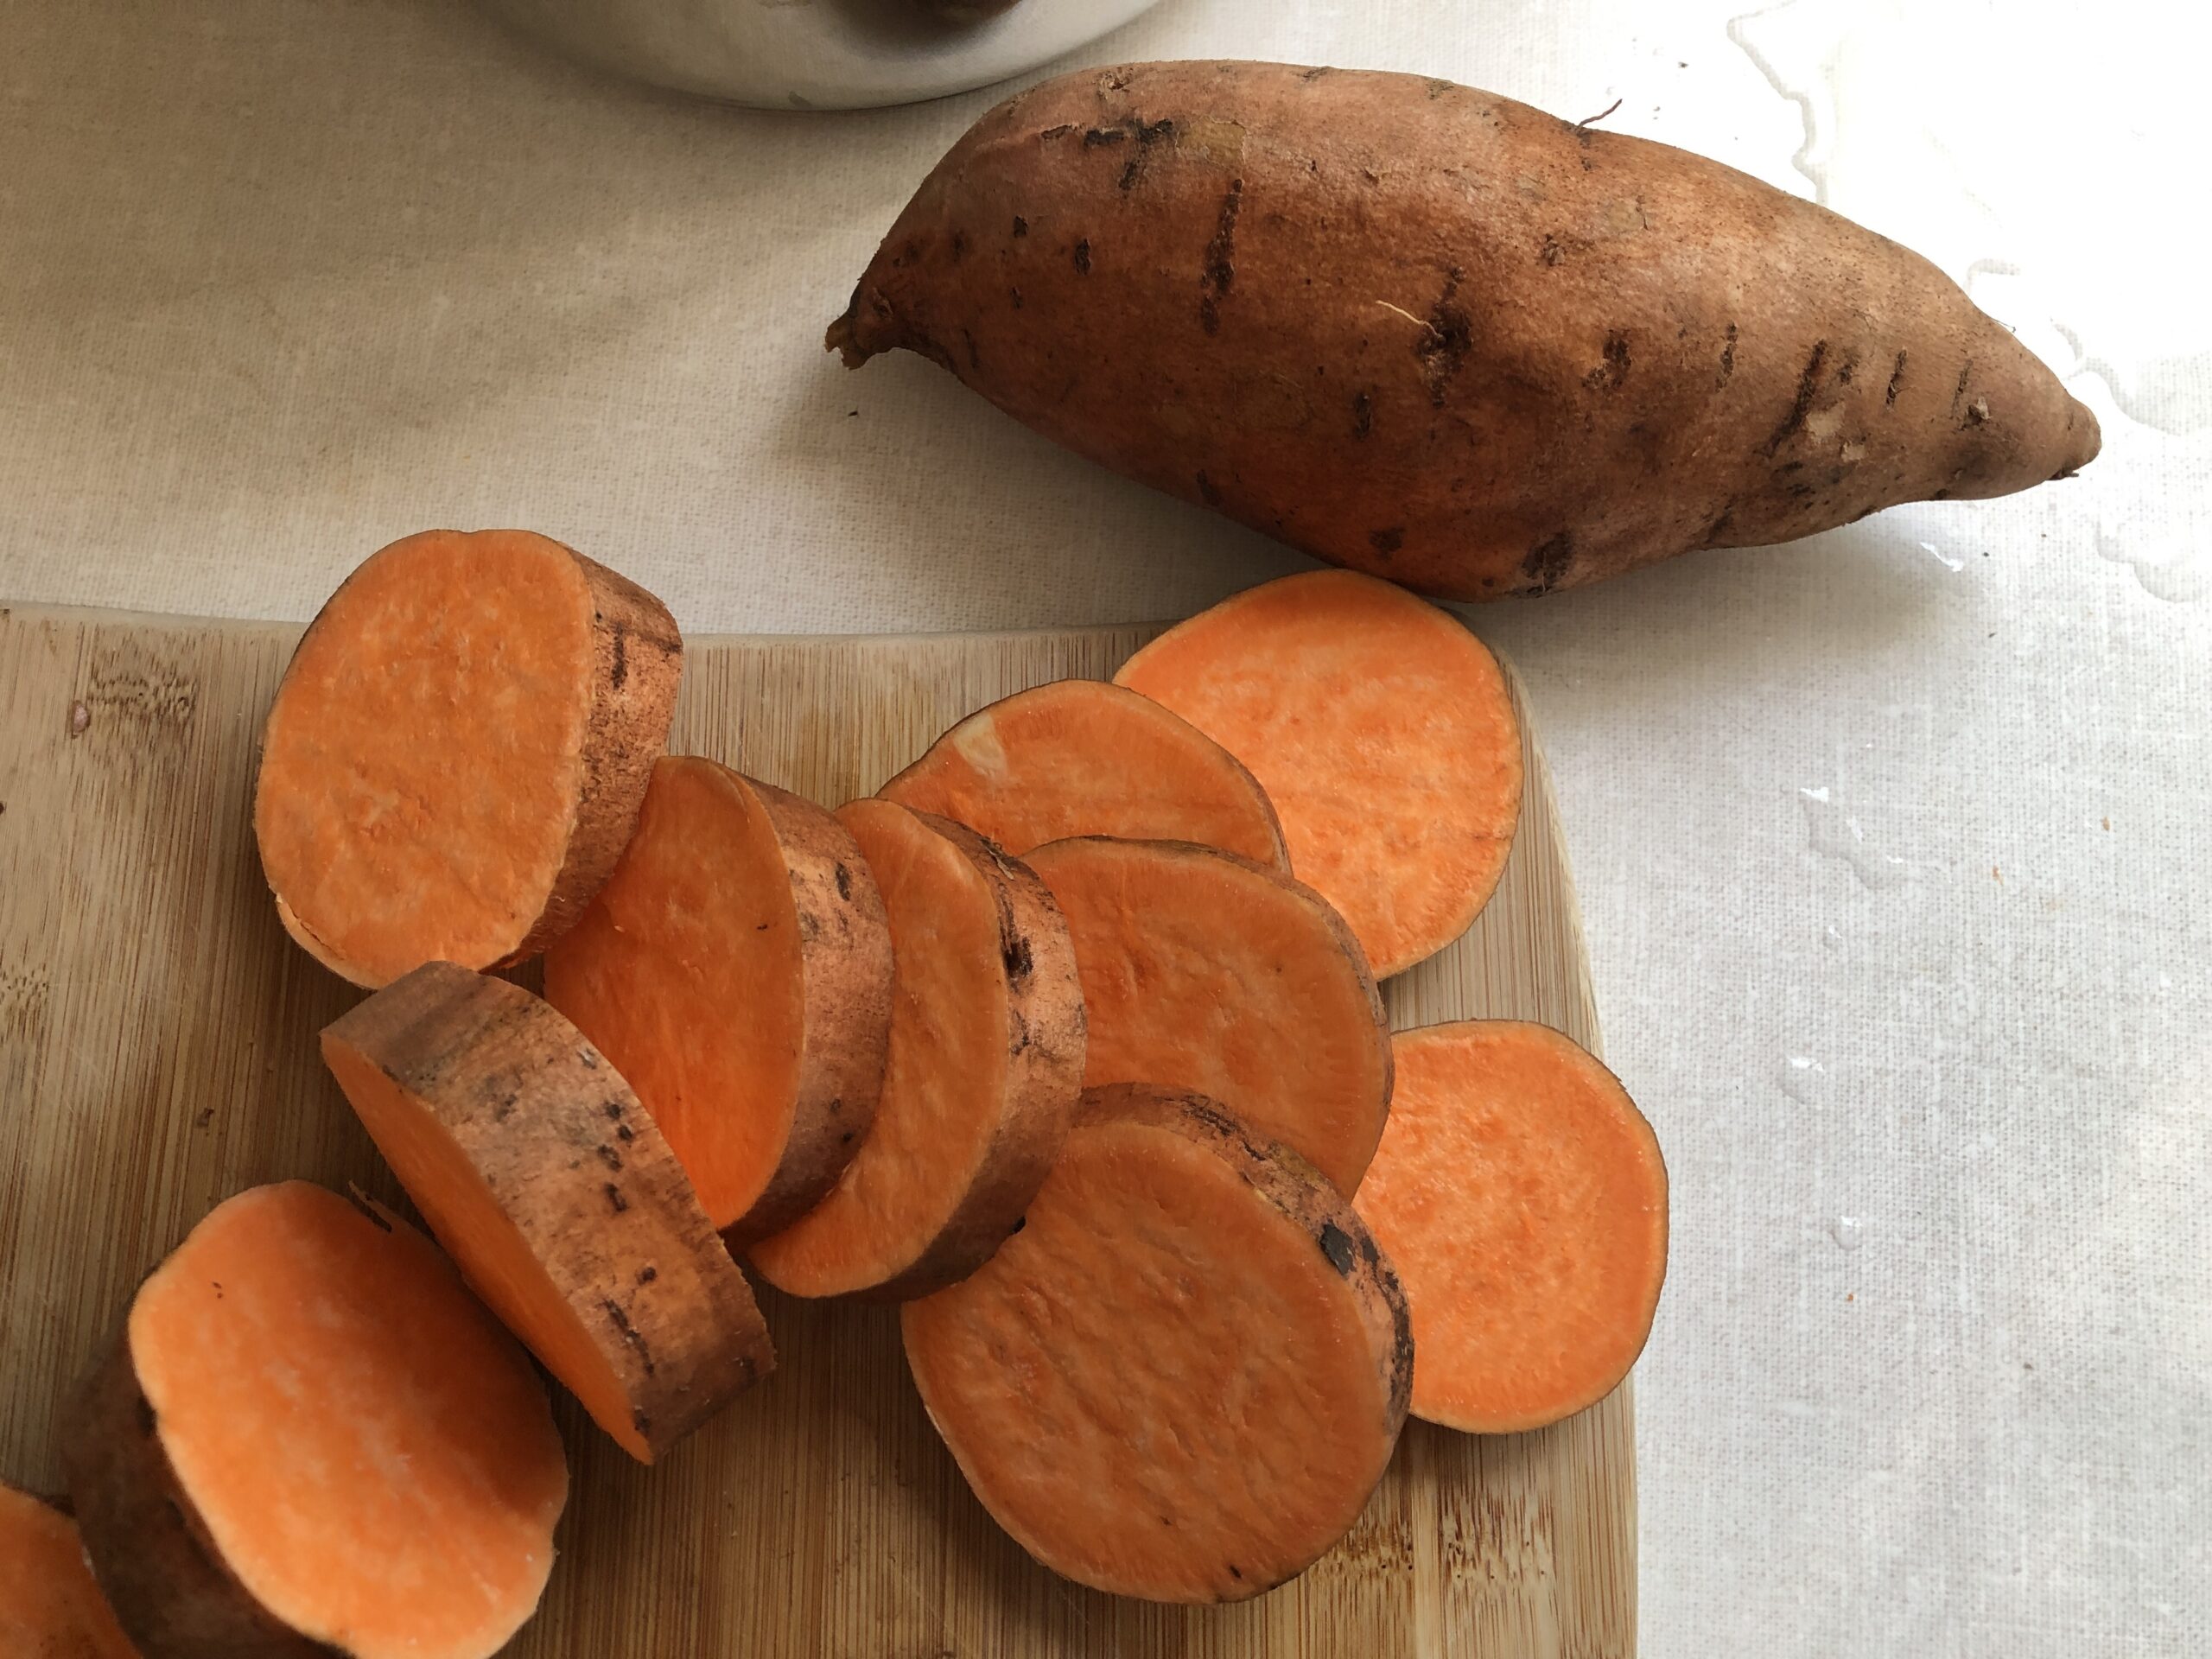
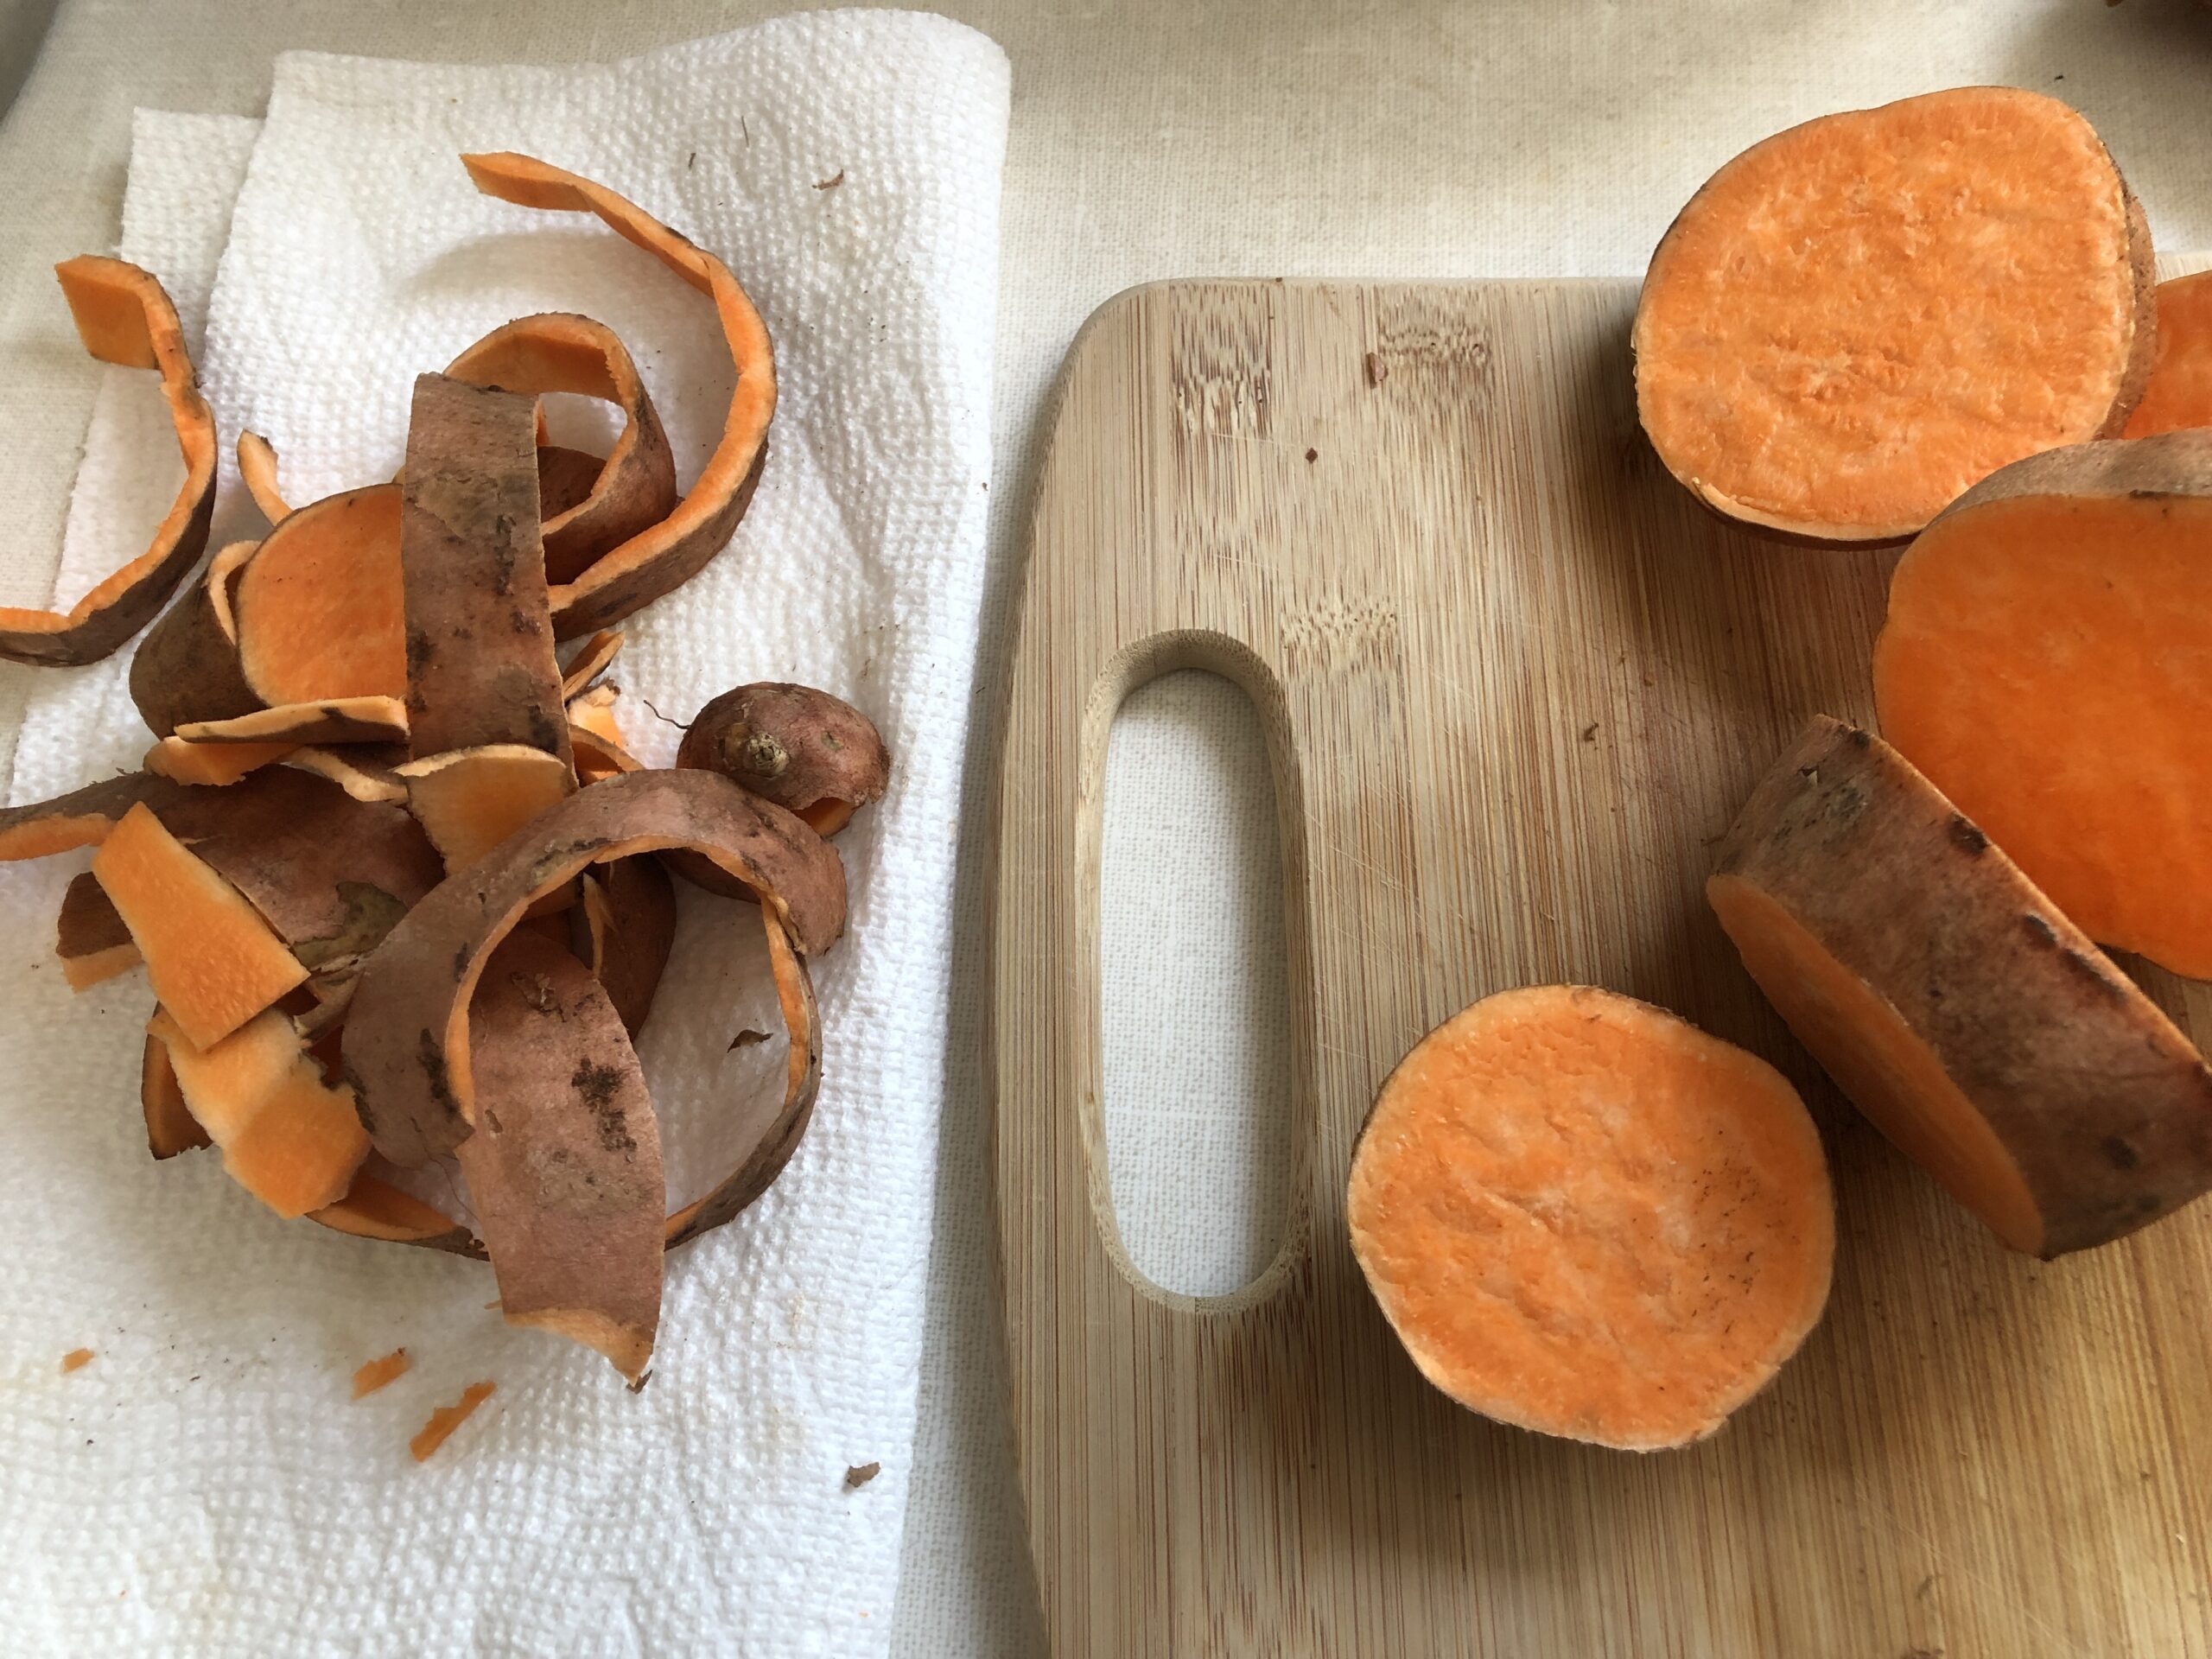
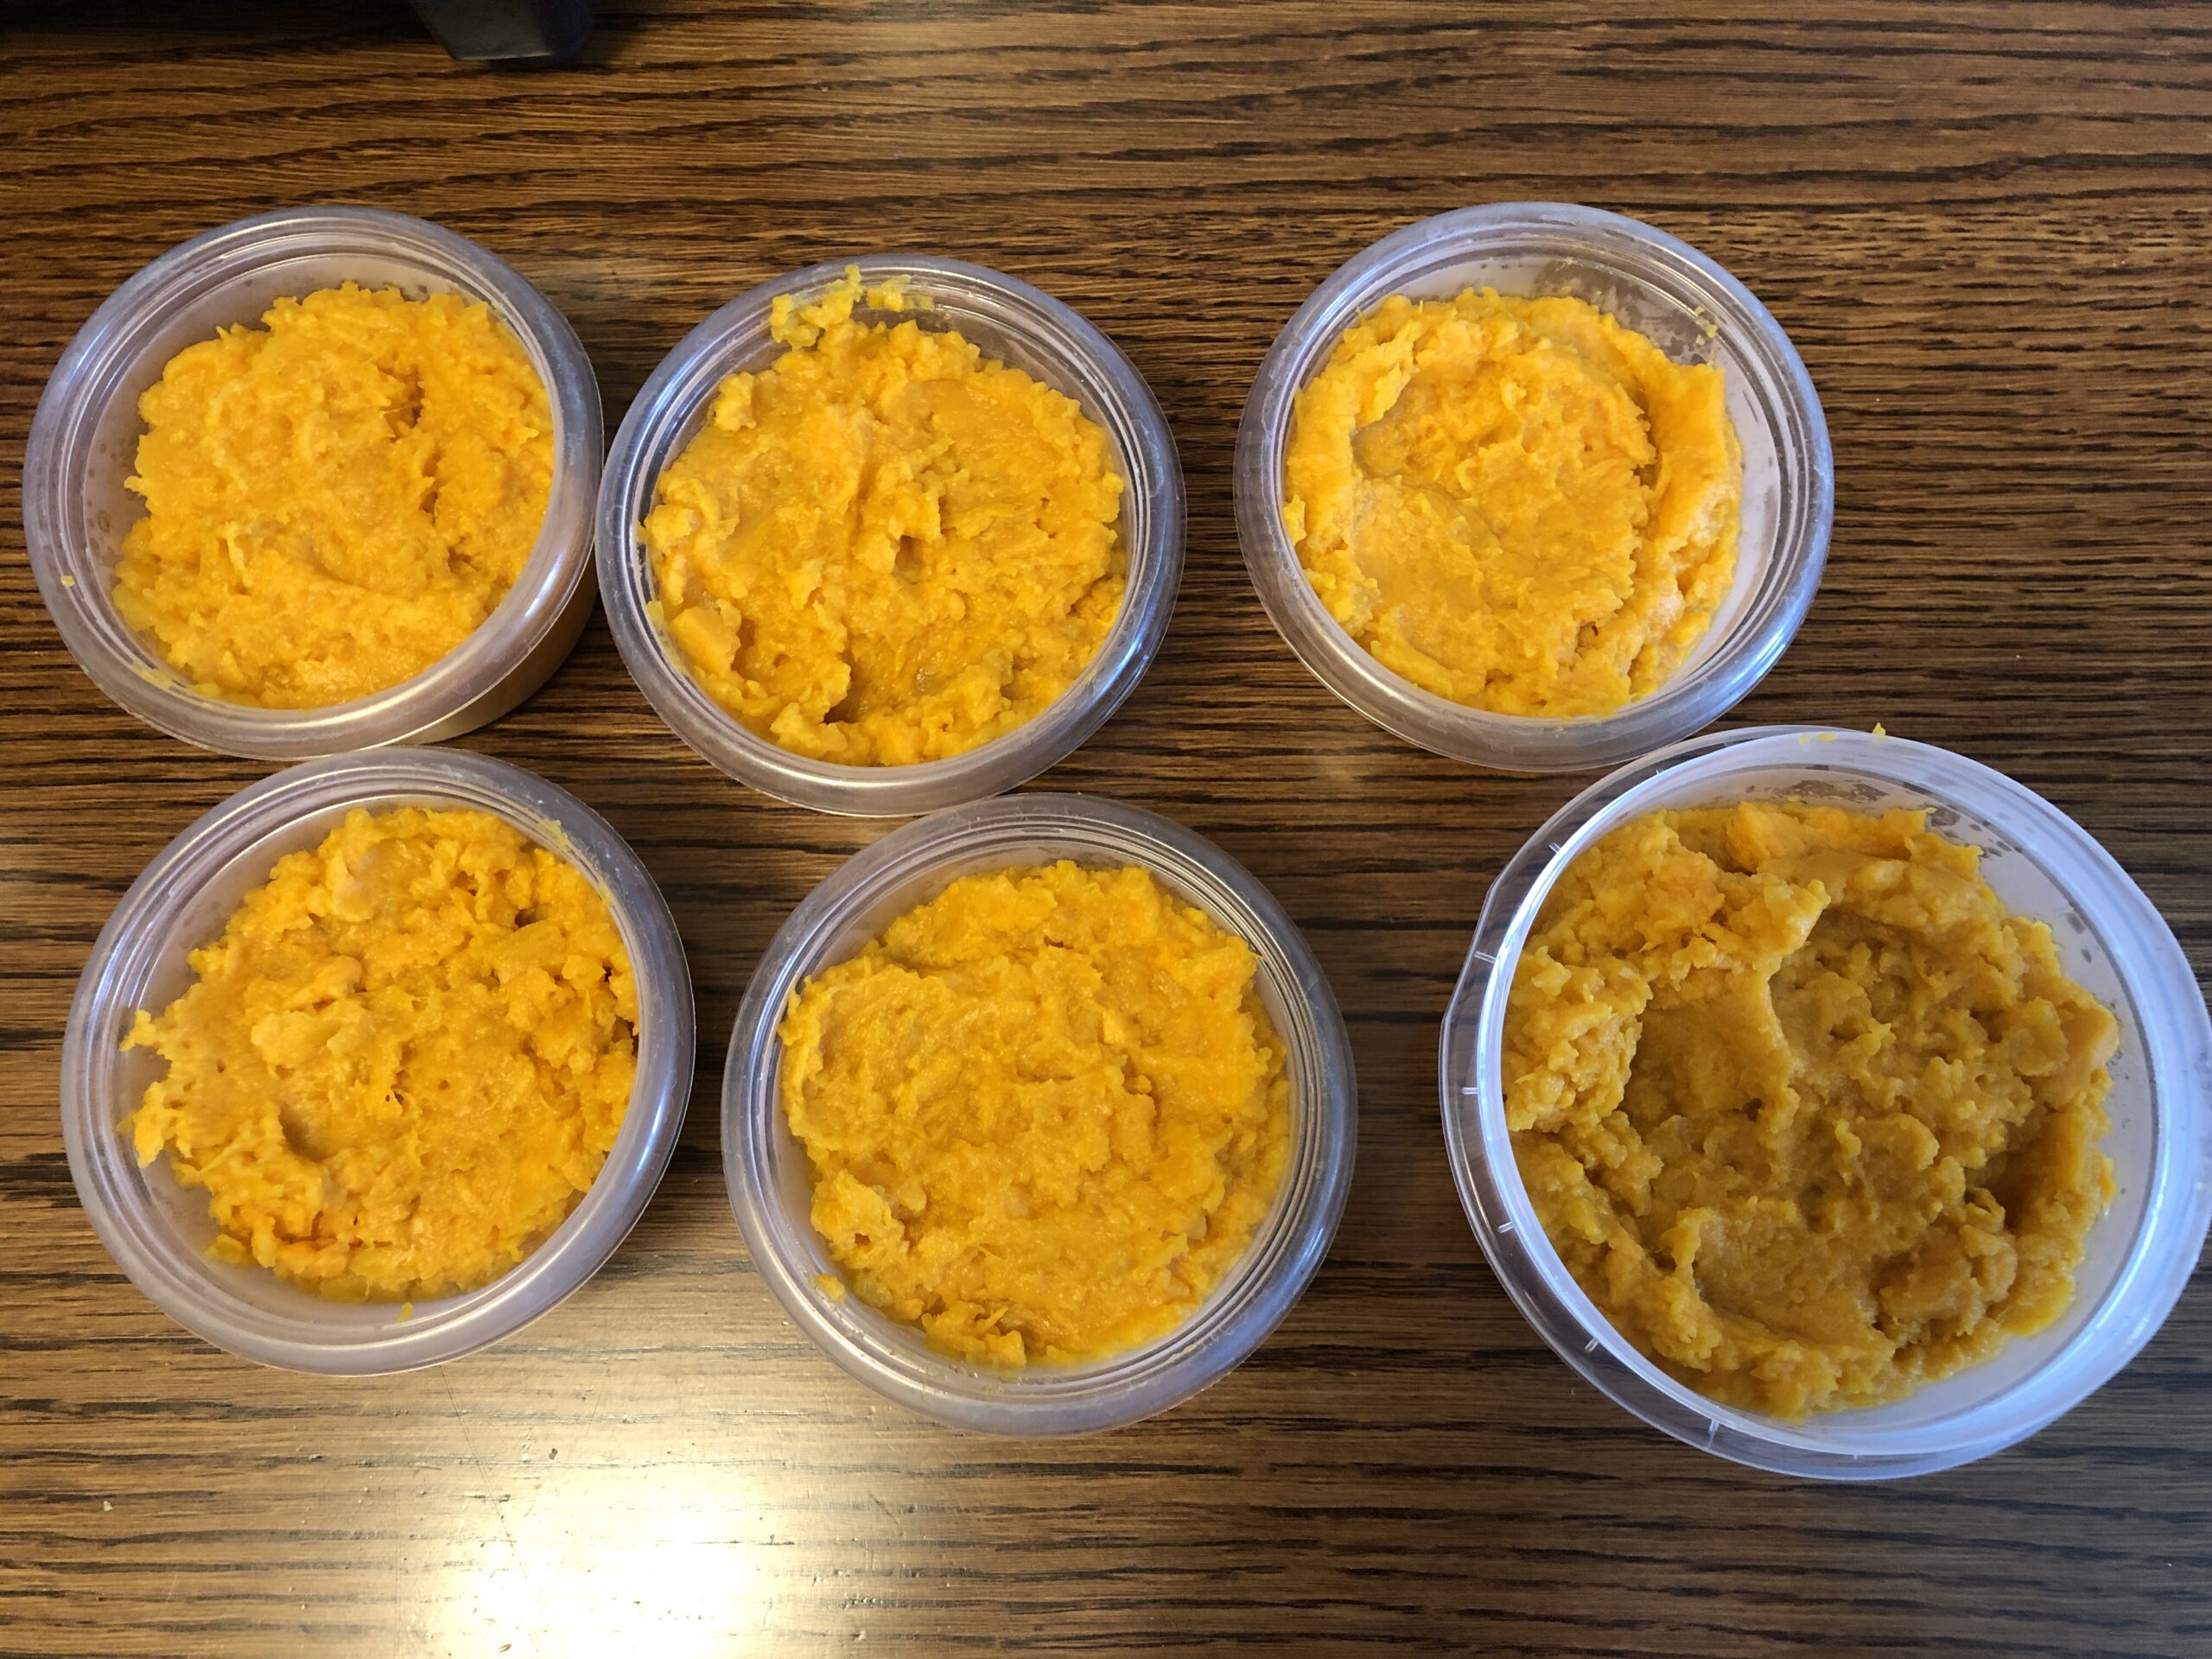
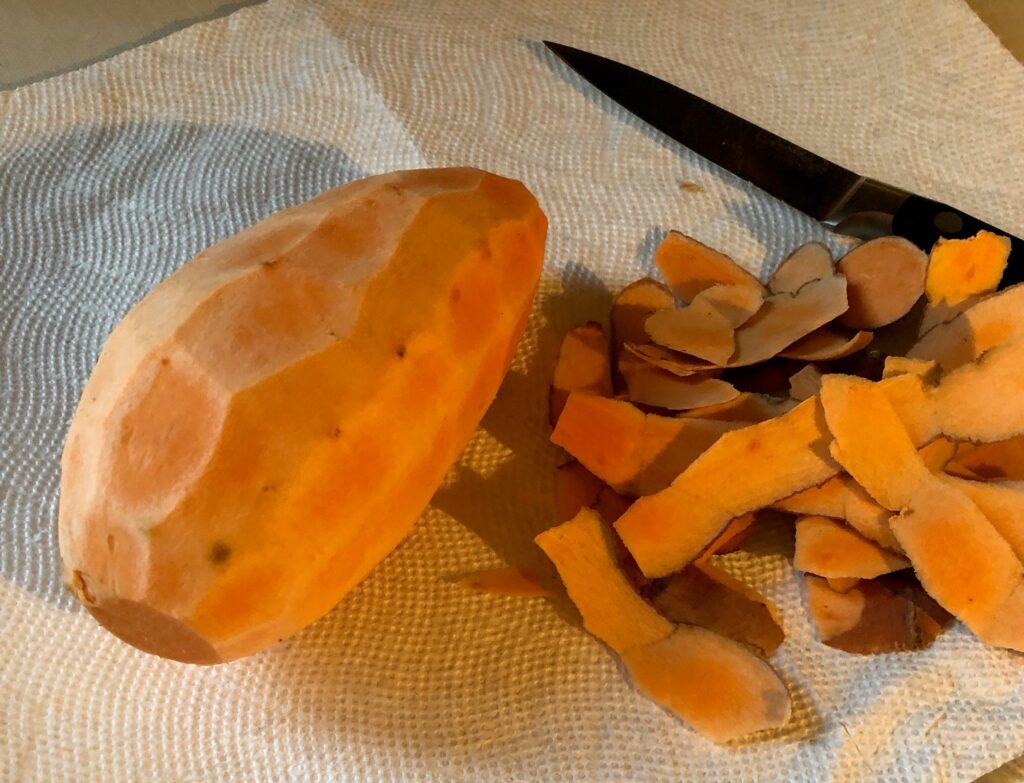
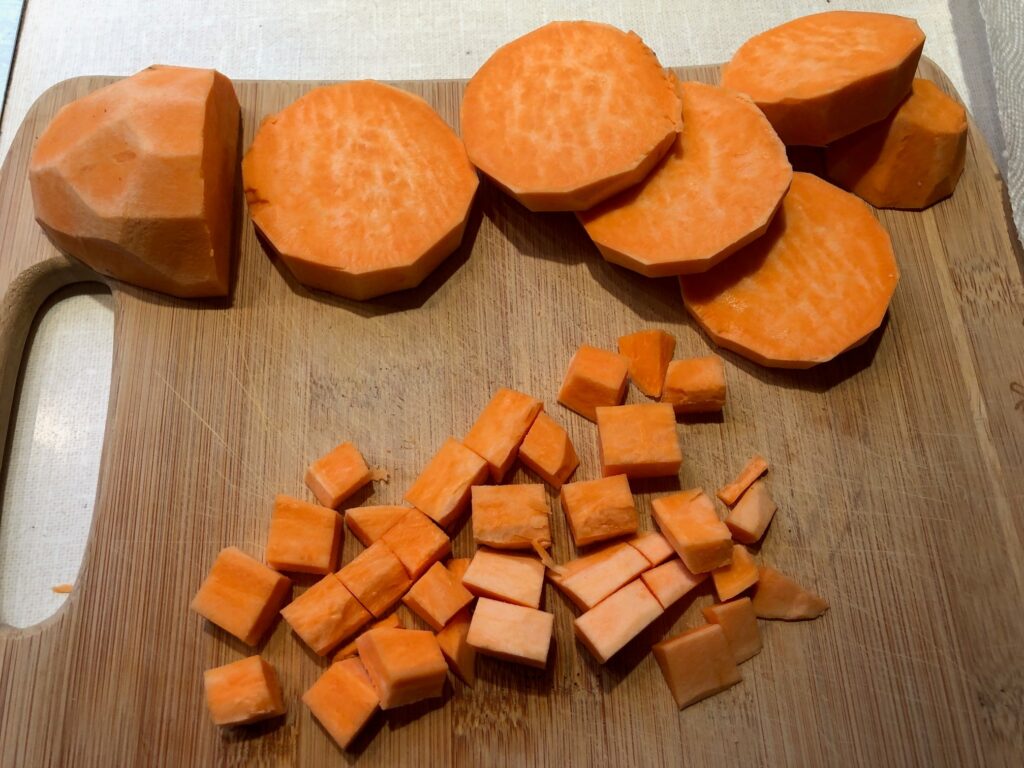
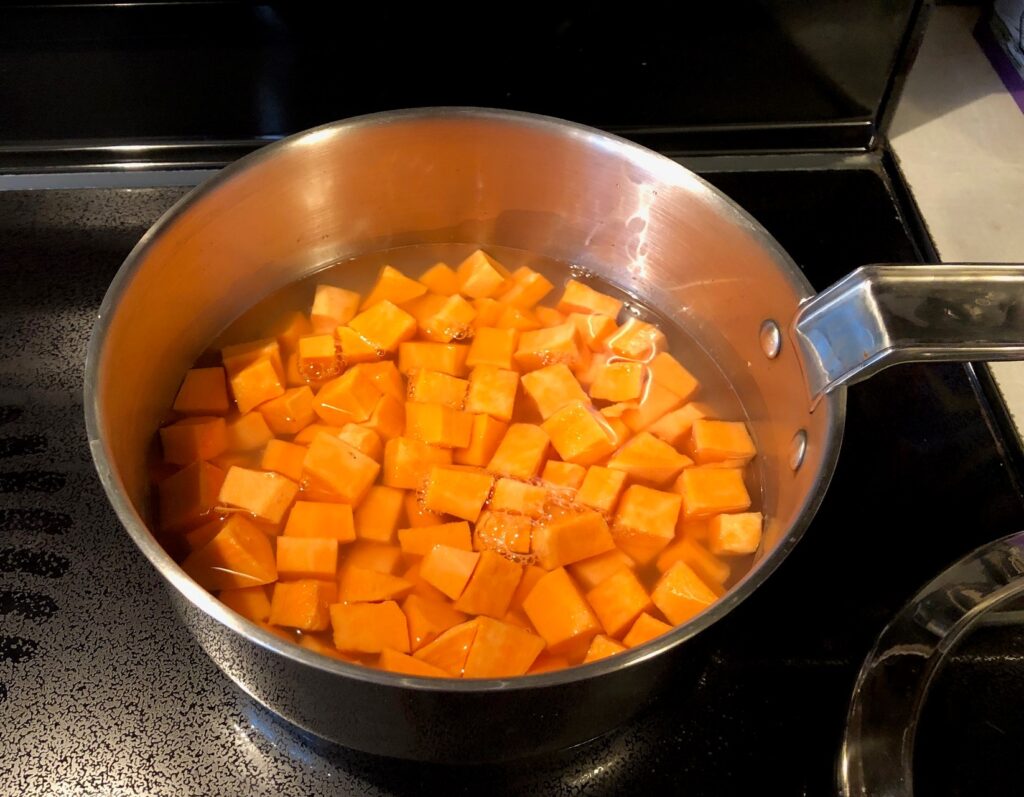
It got me in the mood to bake some myself but of course I didn’t have any sweet potatoes on hand. Cooking one sweet potato to get 1 cup of mashed is very inefficient…so I stopped at the store today and picked up 4 large sweet potatoes. I cut them into rounds and then peeled and chopped each round. I guess I could have bought a can of Yams…but that feels like cheating!
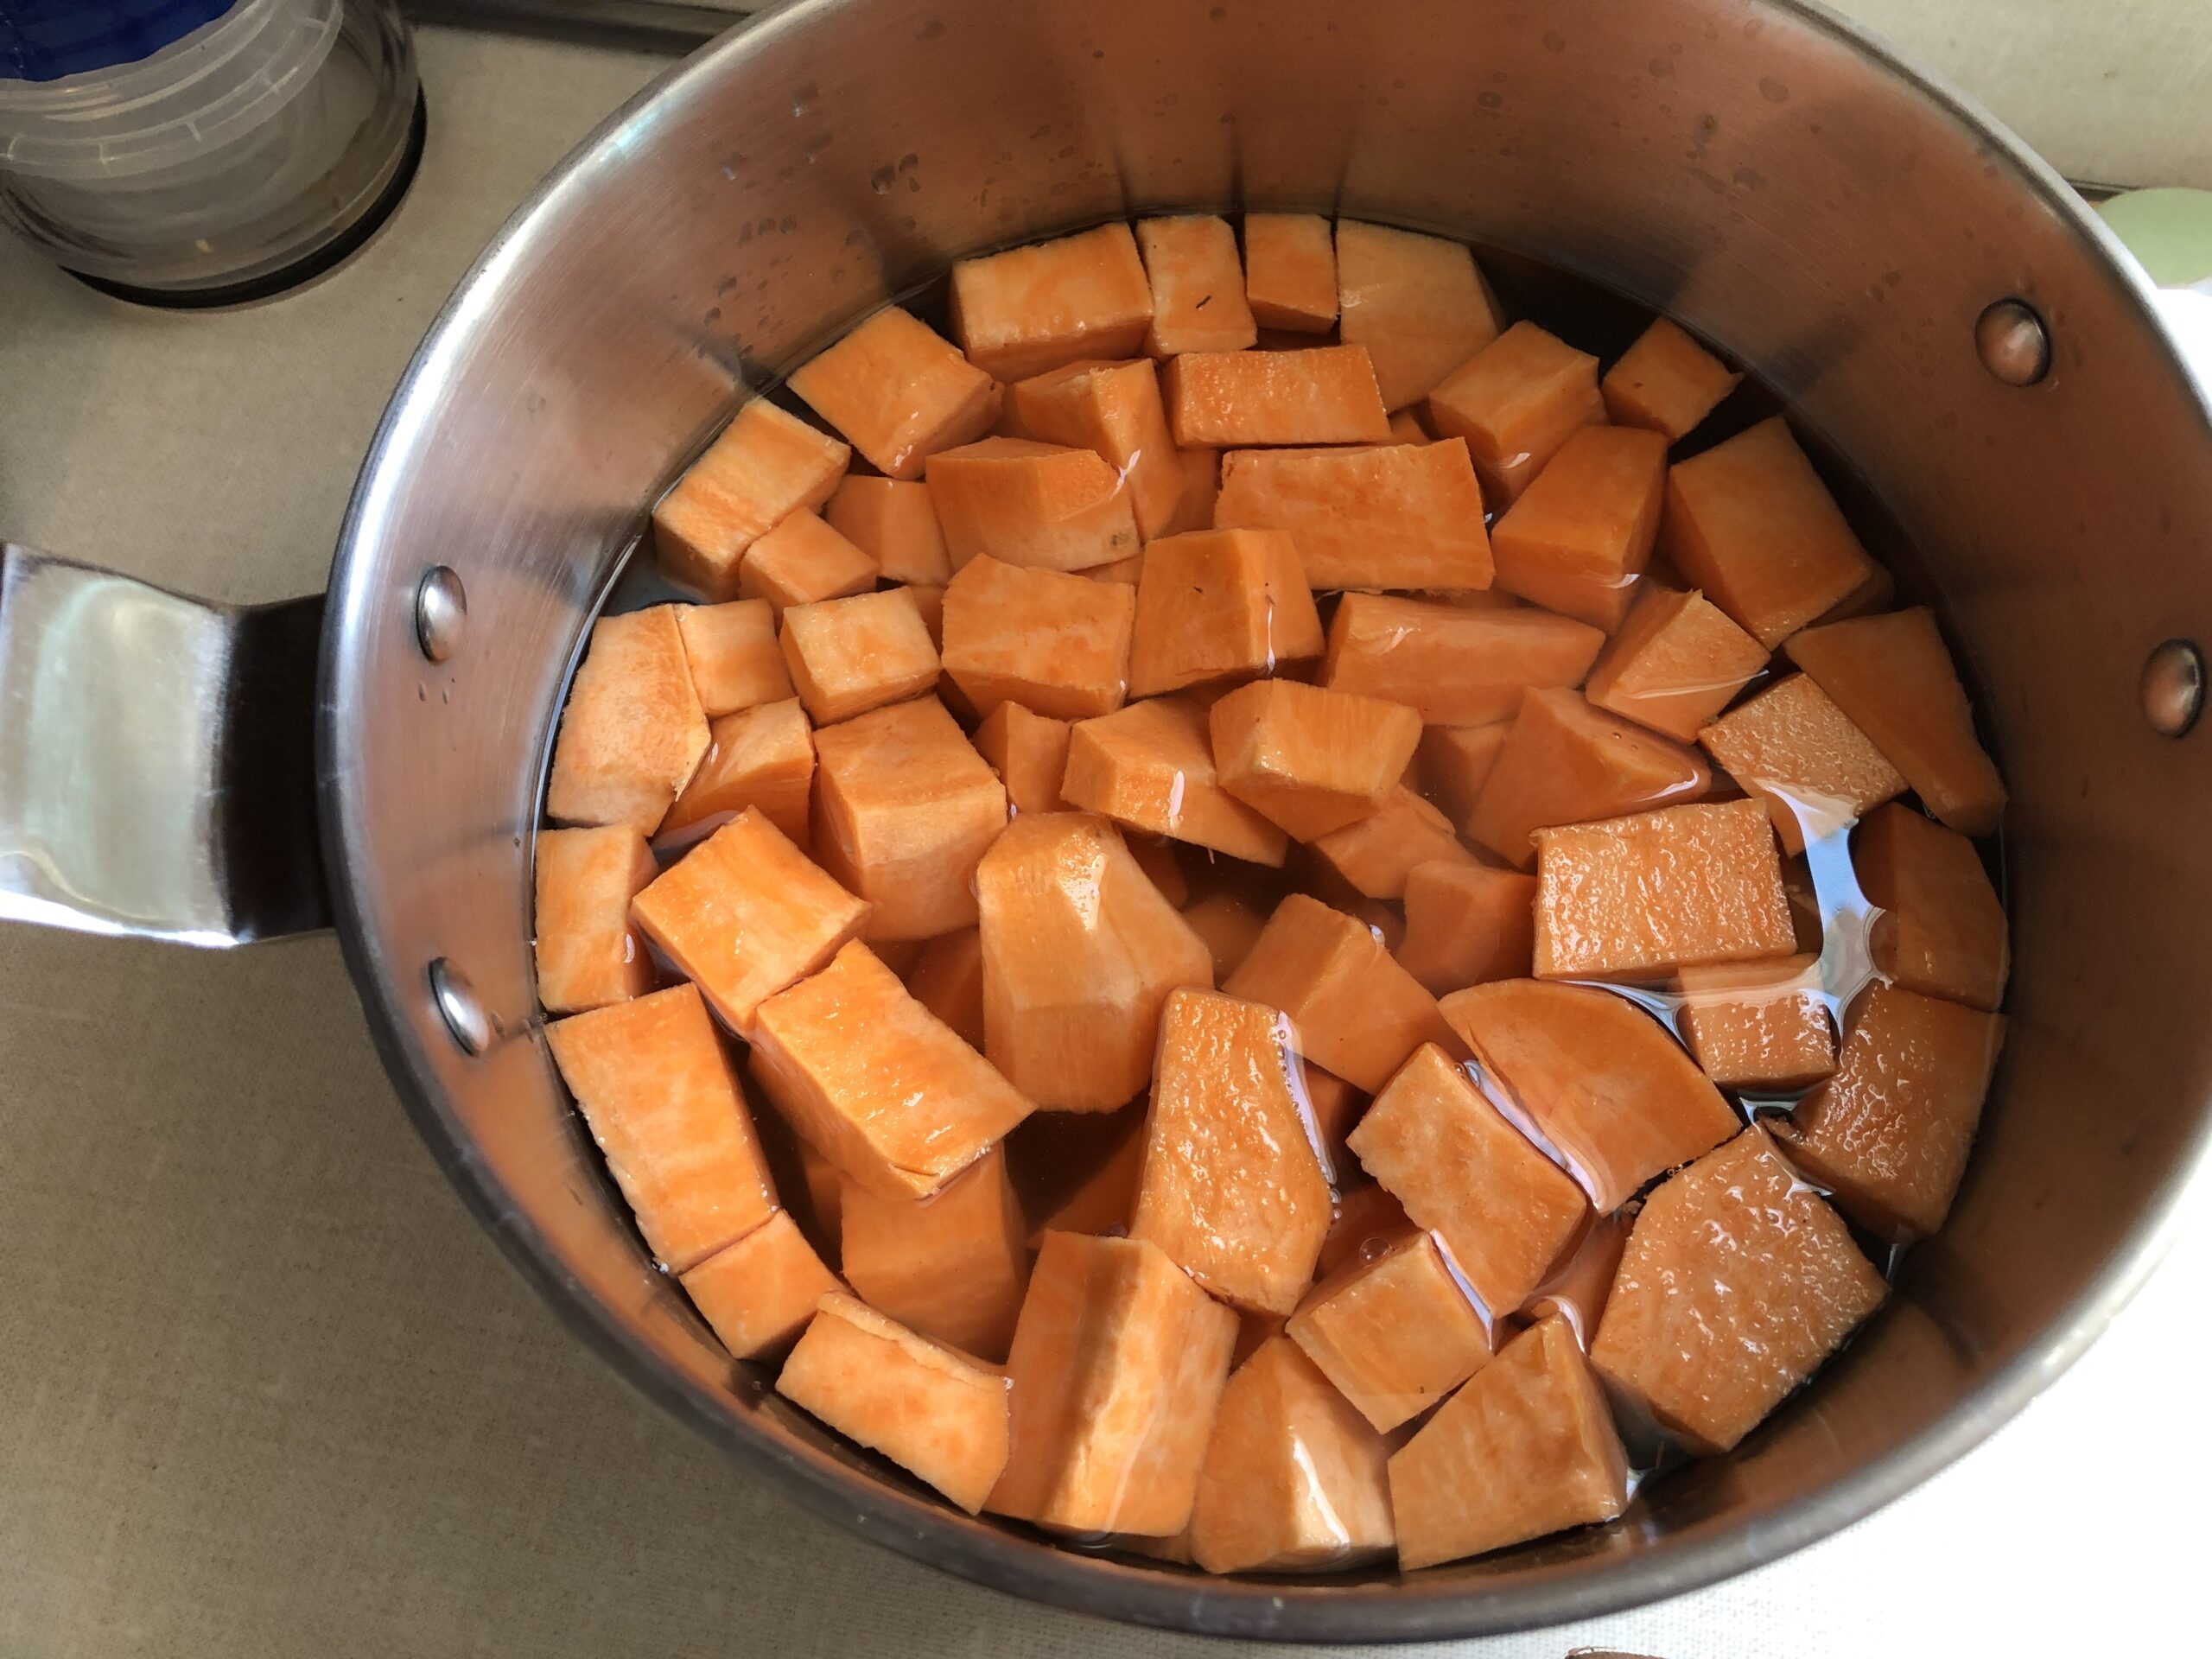
It took about 20 minutes to boil the chunks until soft.
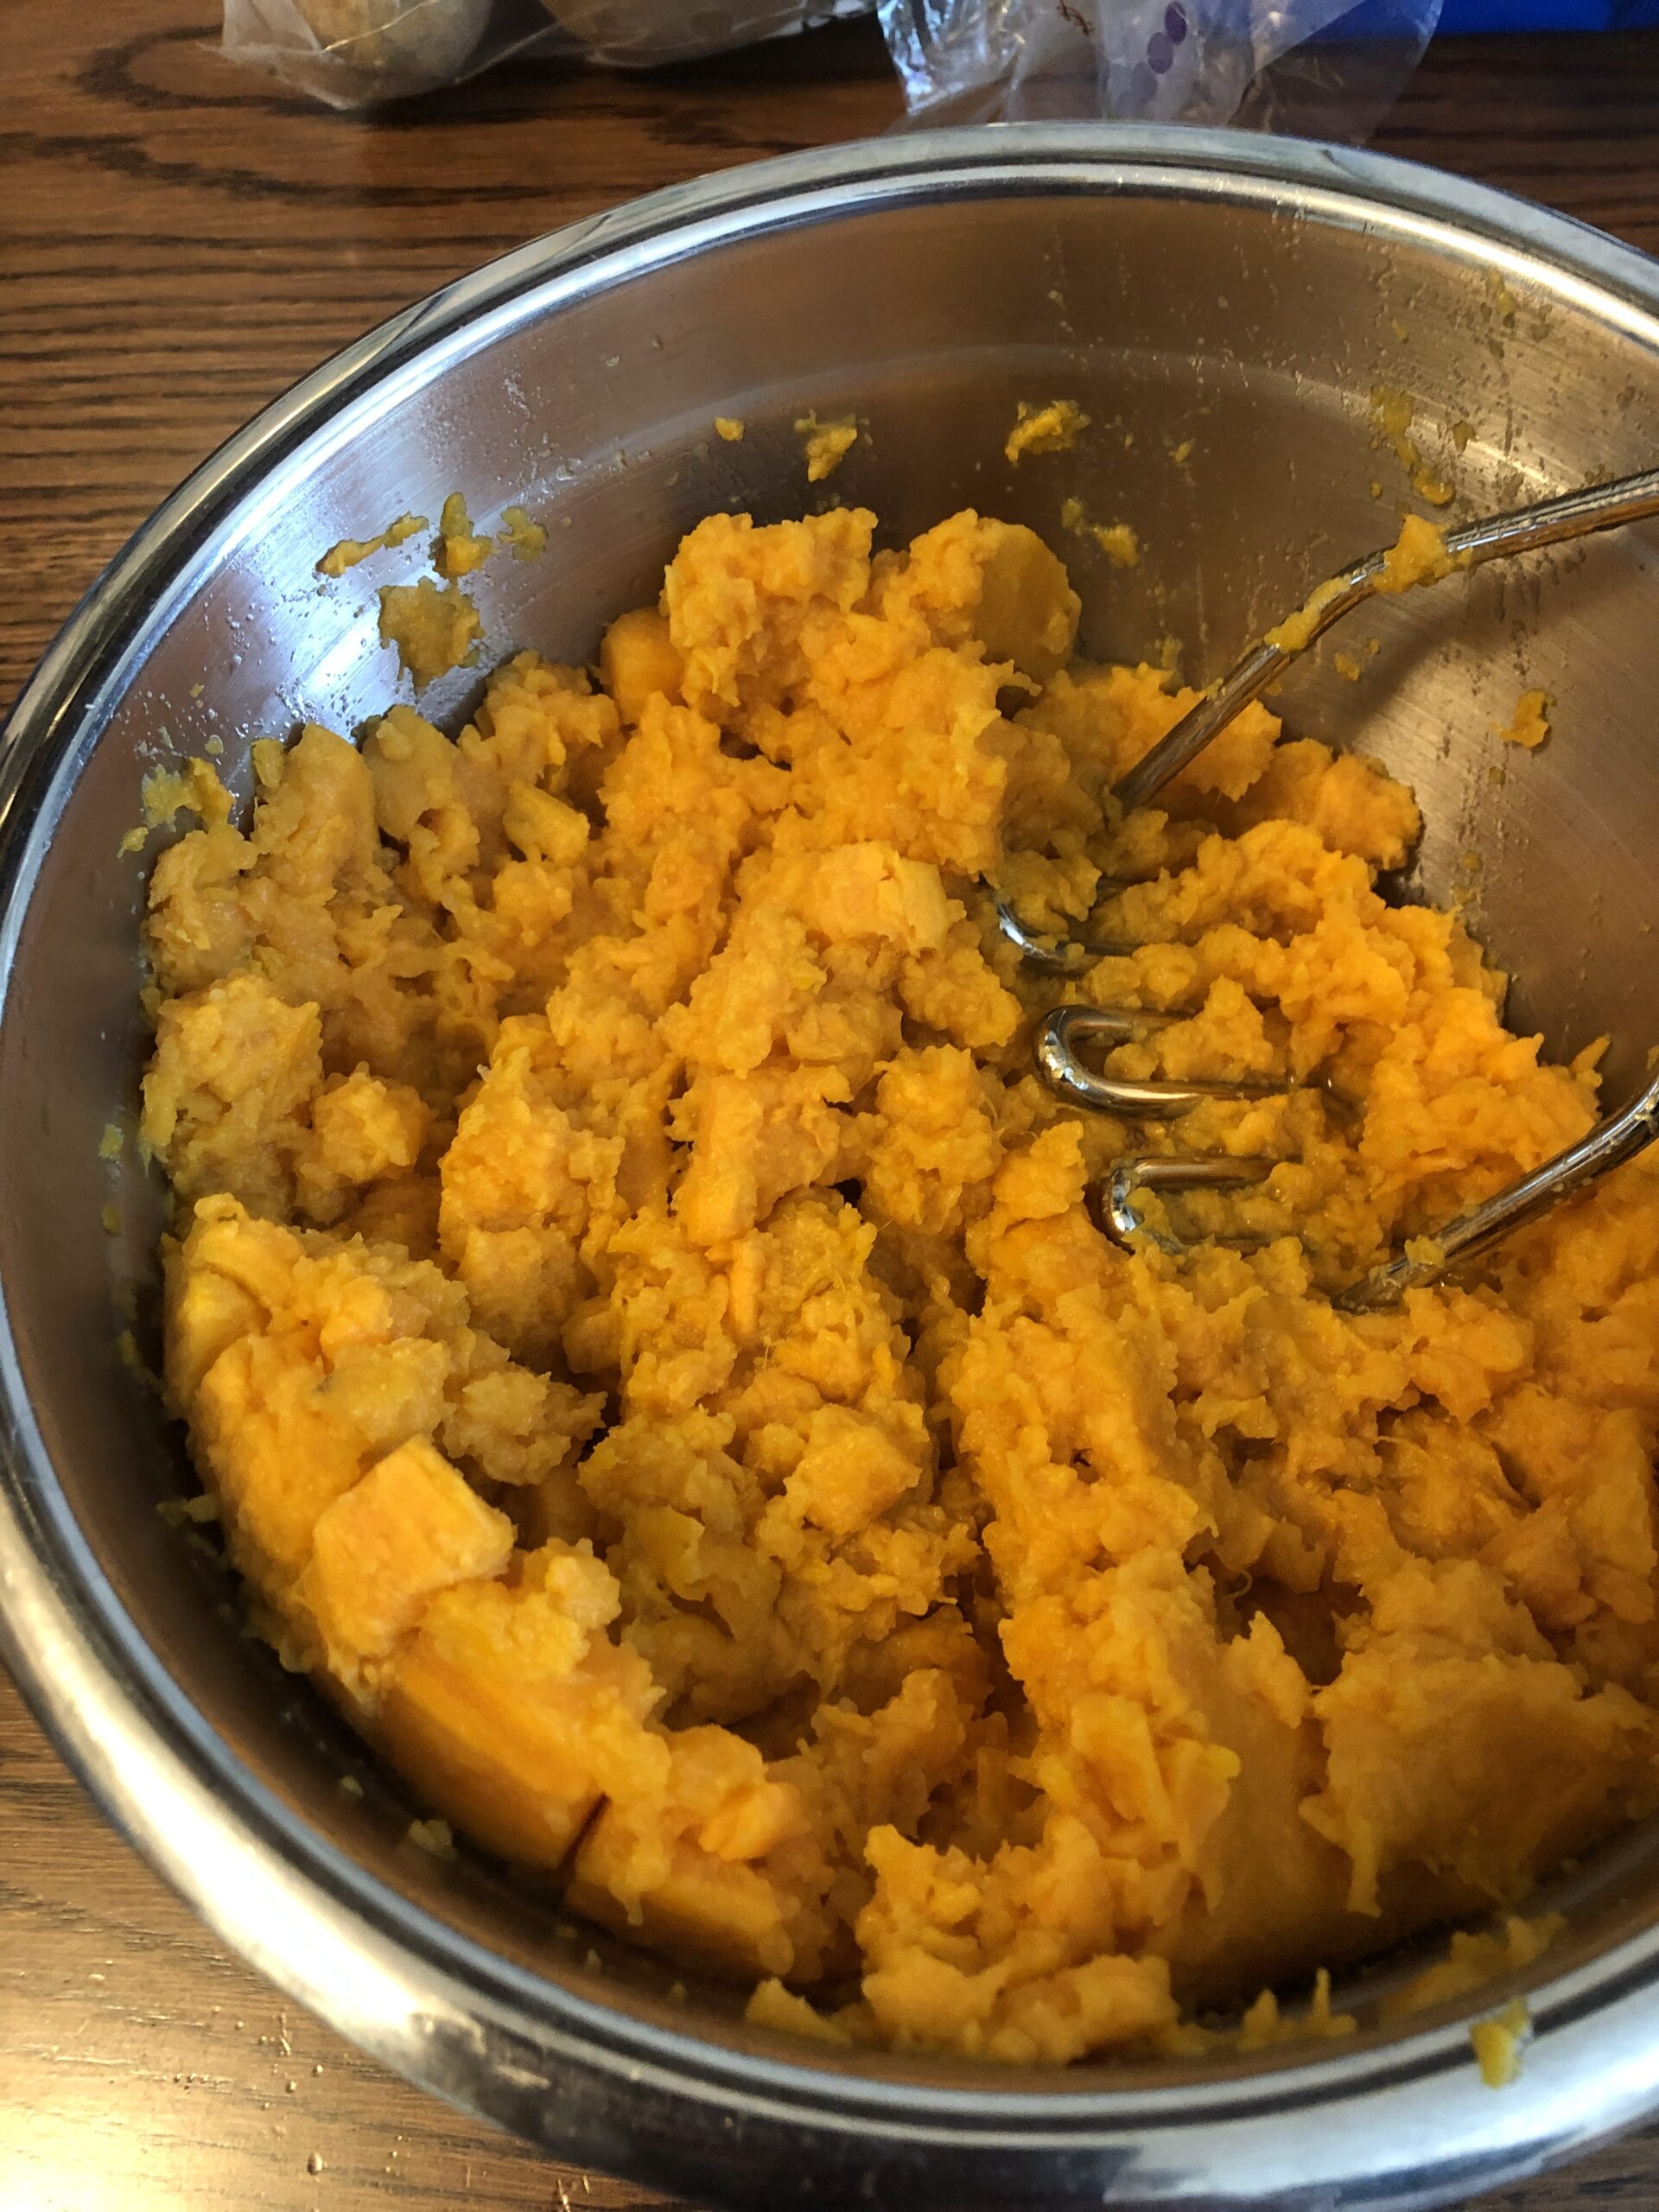
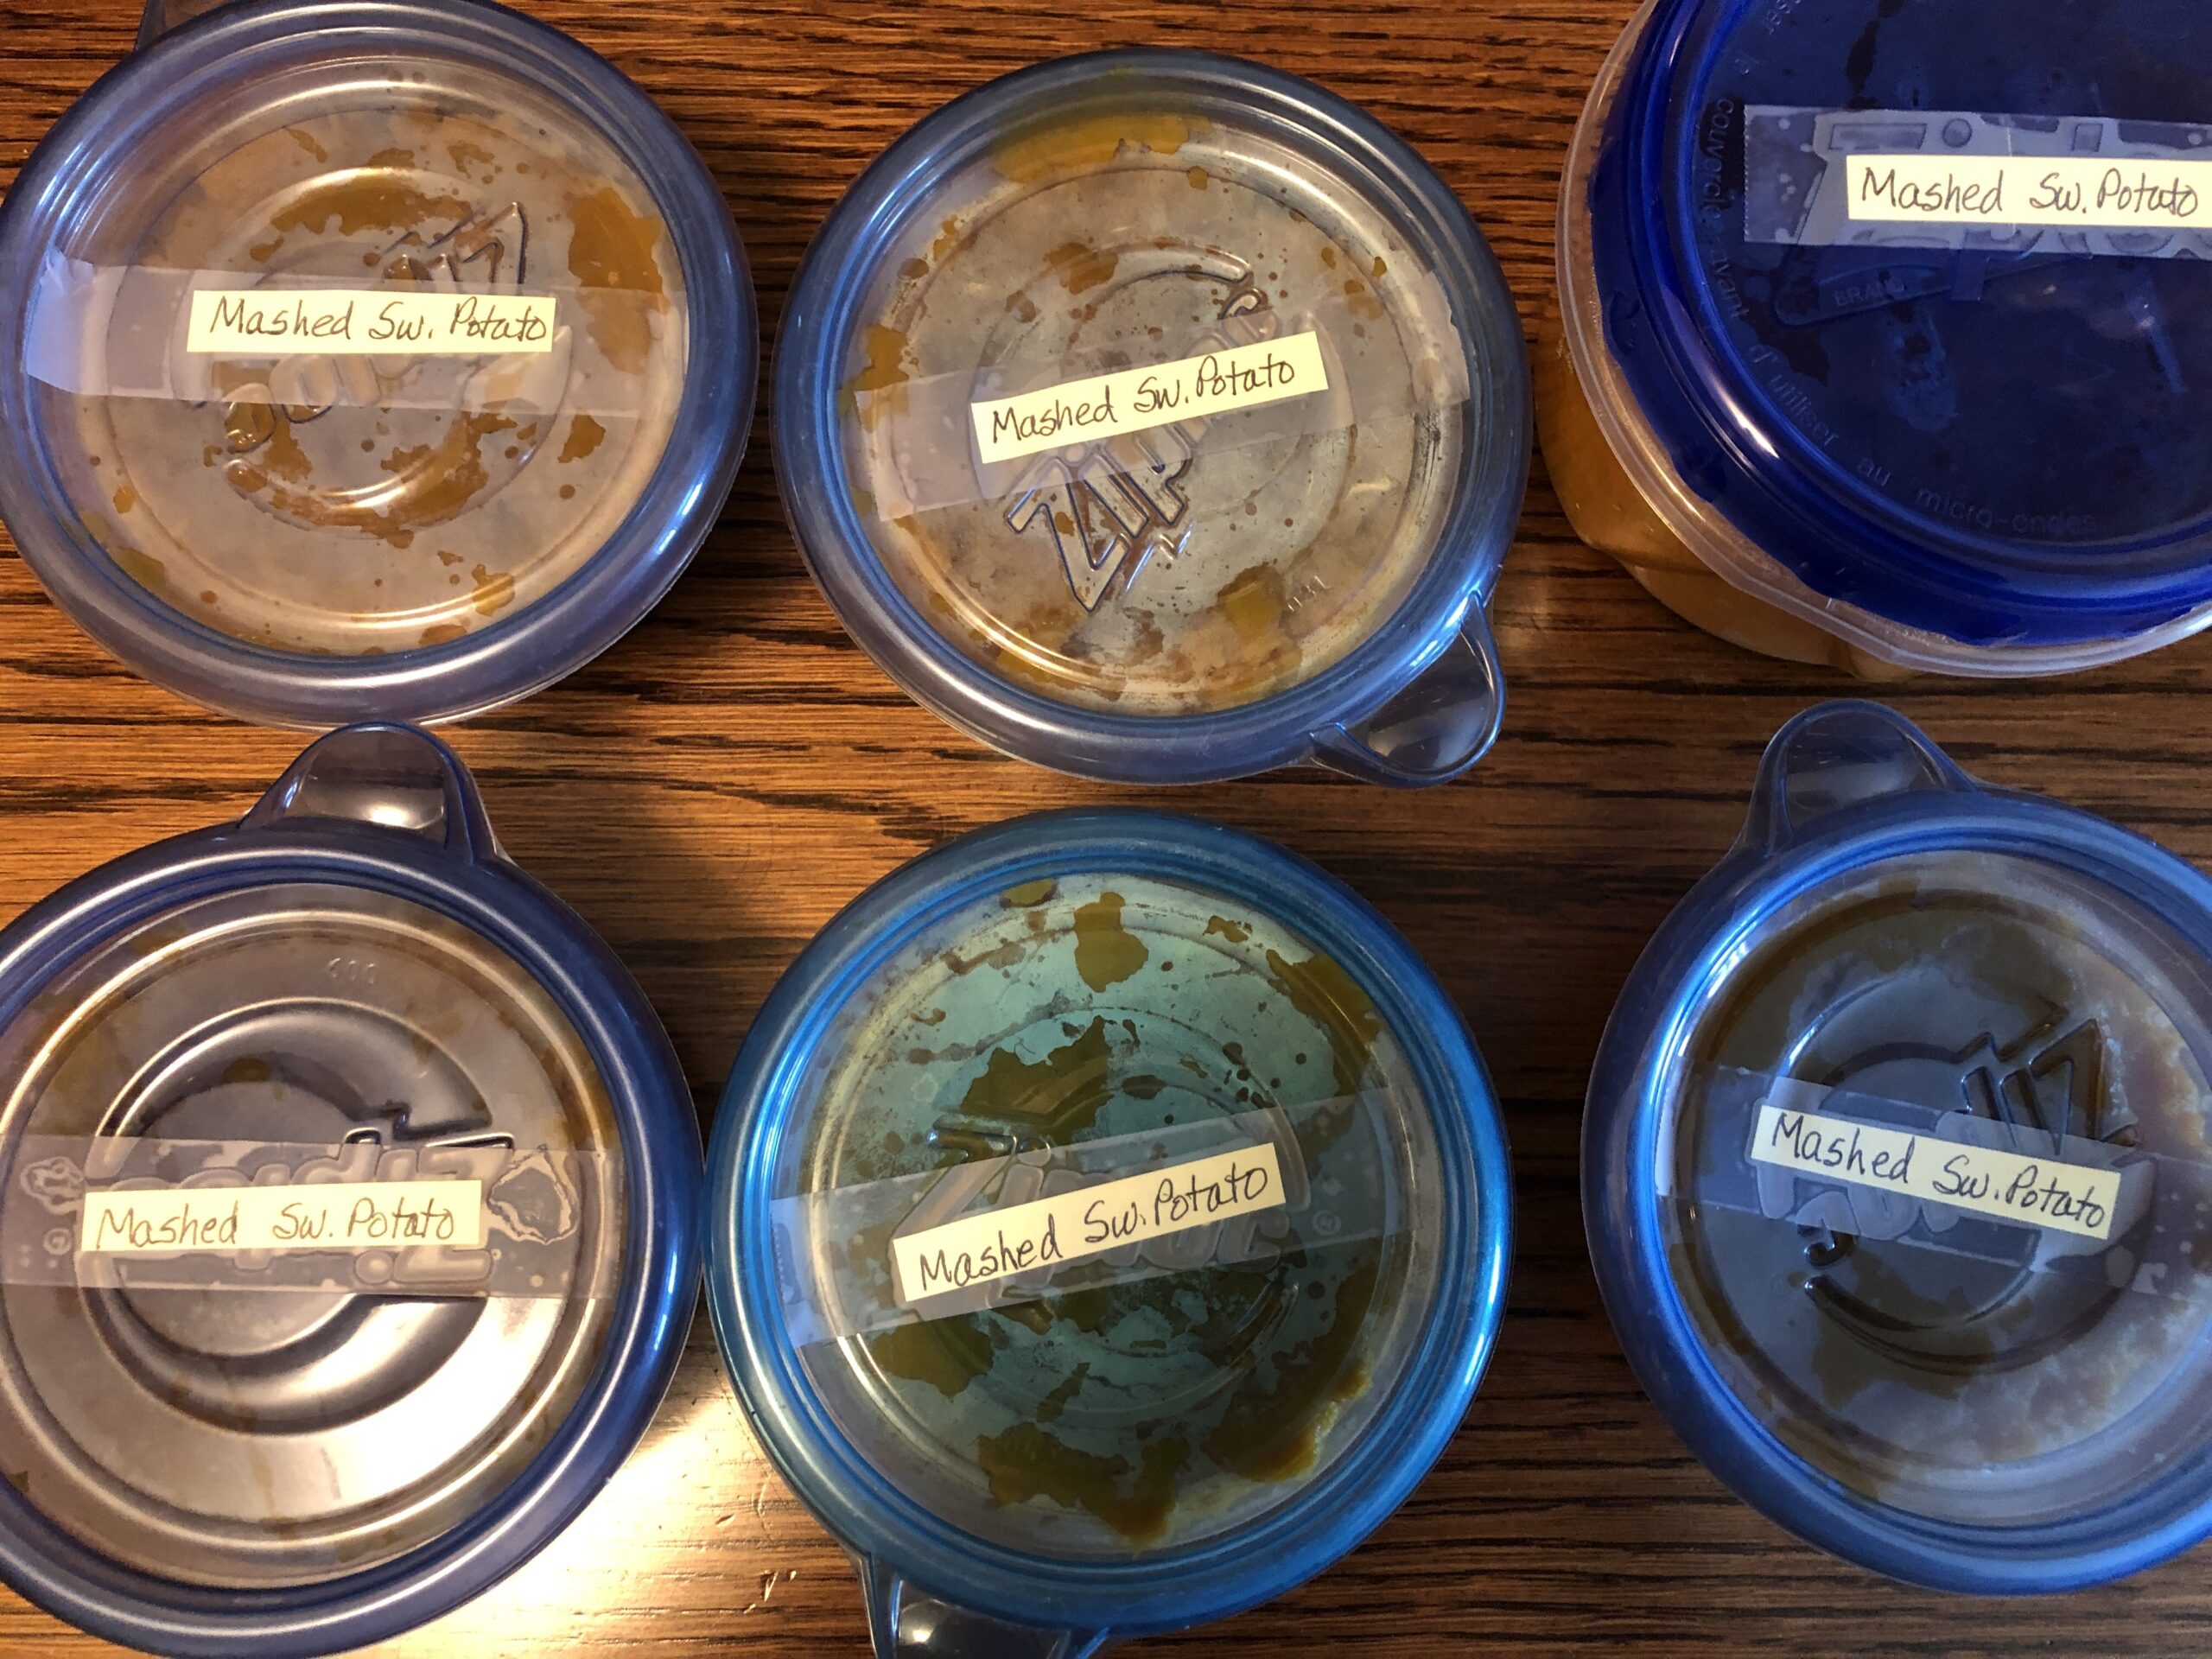
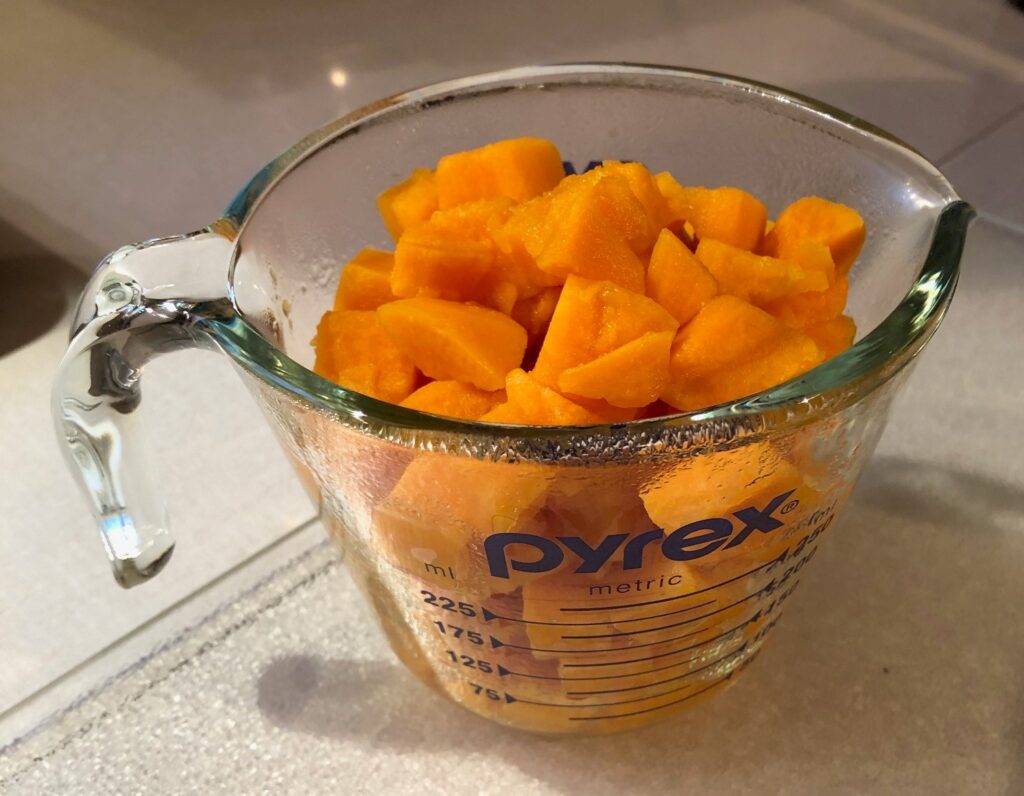
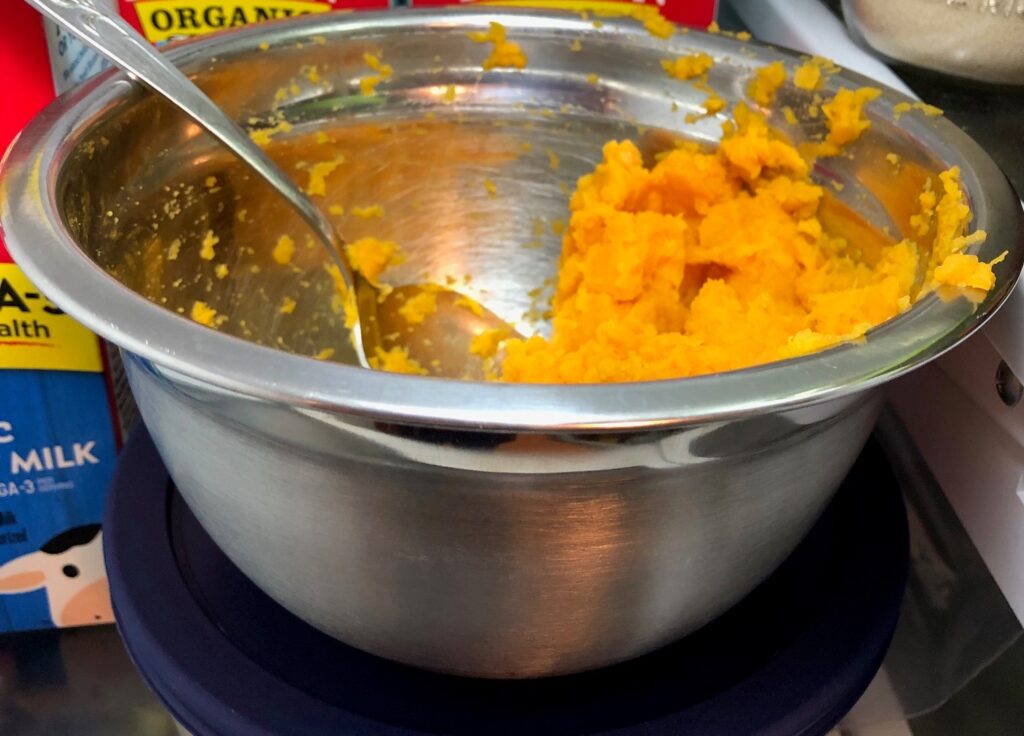
I could have hauled out the food processor, but my handy (low tech) potato masher worked just fine. Then I scooped the mashed potatoes into containers and put them in the freezer. Now I’m set to add sweet potatoes to the bun recipe above.
I now have five 1-cup servings and one 2-cup serving (good for a double batch!) in the freezer.
My plan is to make a batch of buns like these:
Then I’d like to try putting some into my Oatmeal Bread recipe…either in addition to or instead of the oatmeal. I sense an experiment coming! Enjoy!
During the Memorial Day weekend activities, the Ladies Auxiliary to the Boalsburg Fire Company has a bake sale in the fire hall. The small carnival is held in the parking lot behind the fire hall and the firemen sell barbequed chicken. The fire hall room is available with tables and restrooms during those activities. What a perfect time for an assortment of baked goods to be available for sale in that room!
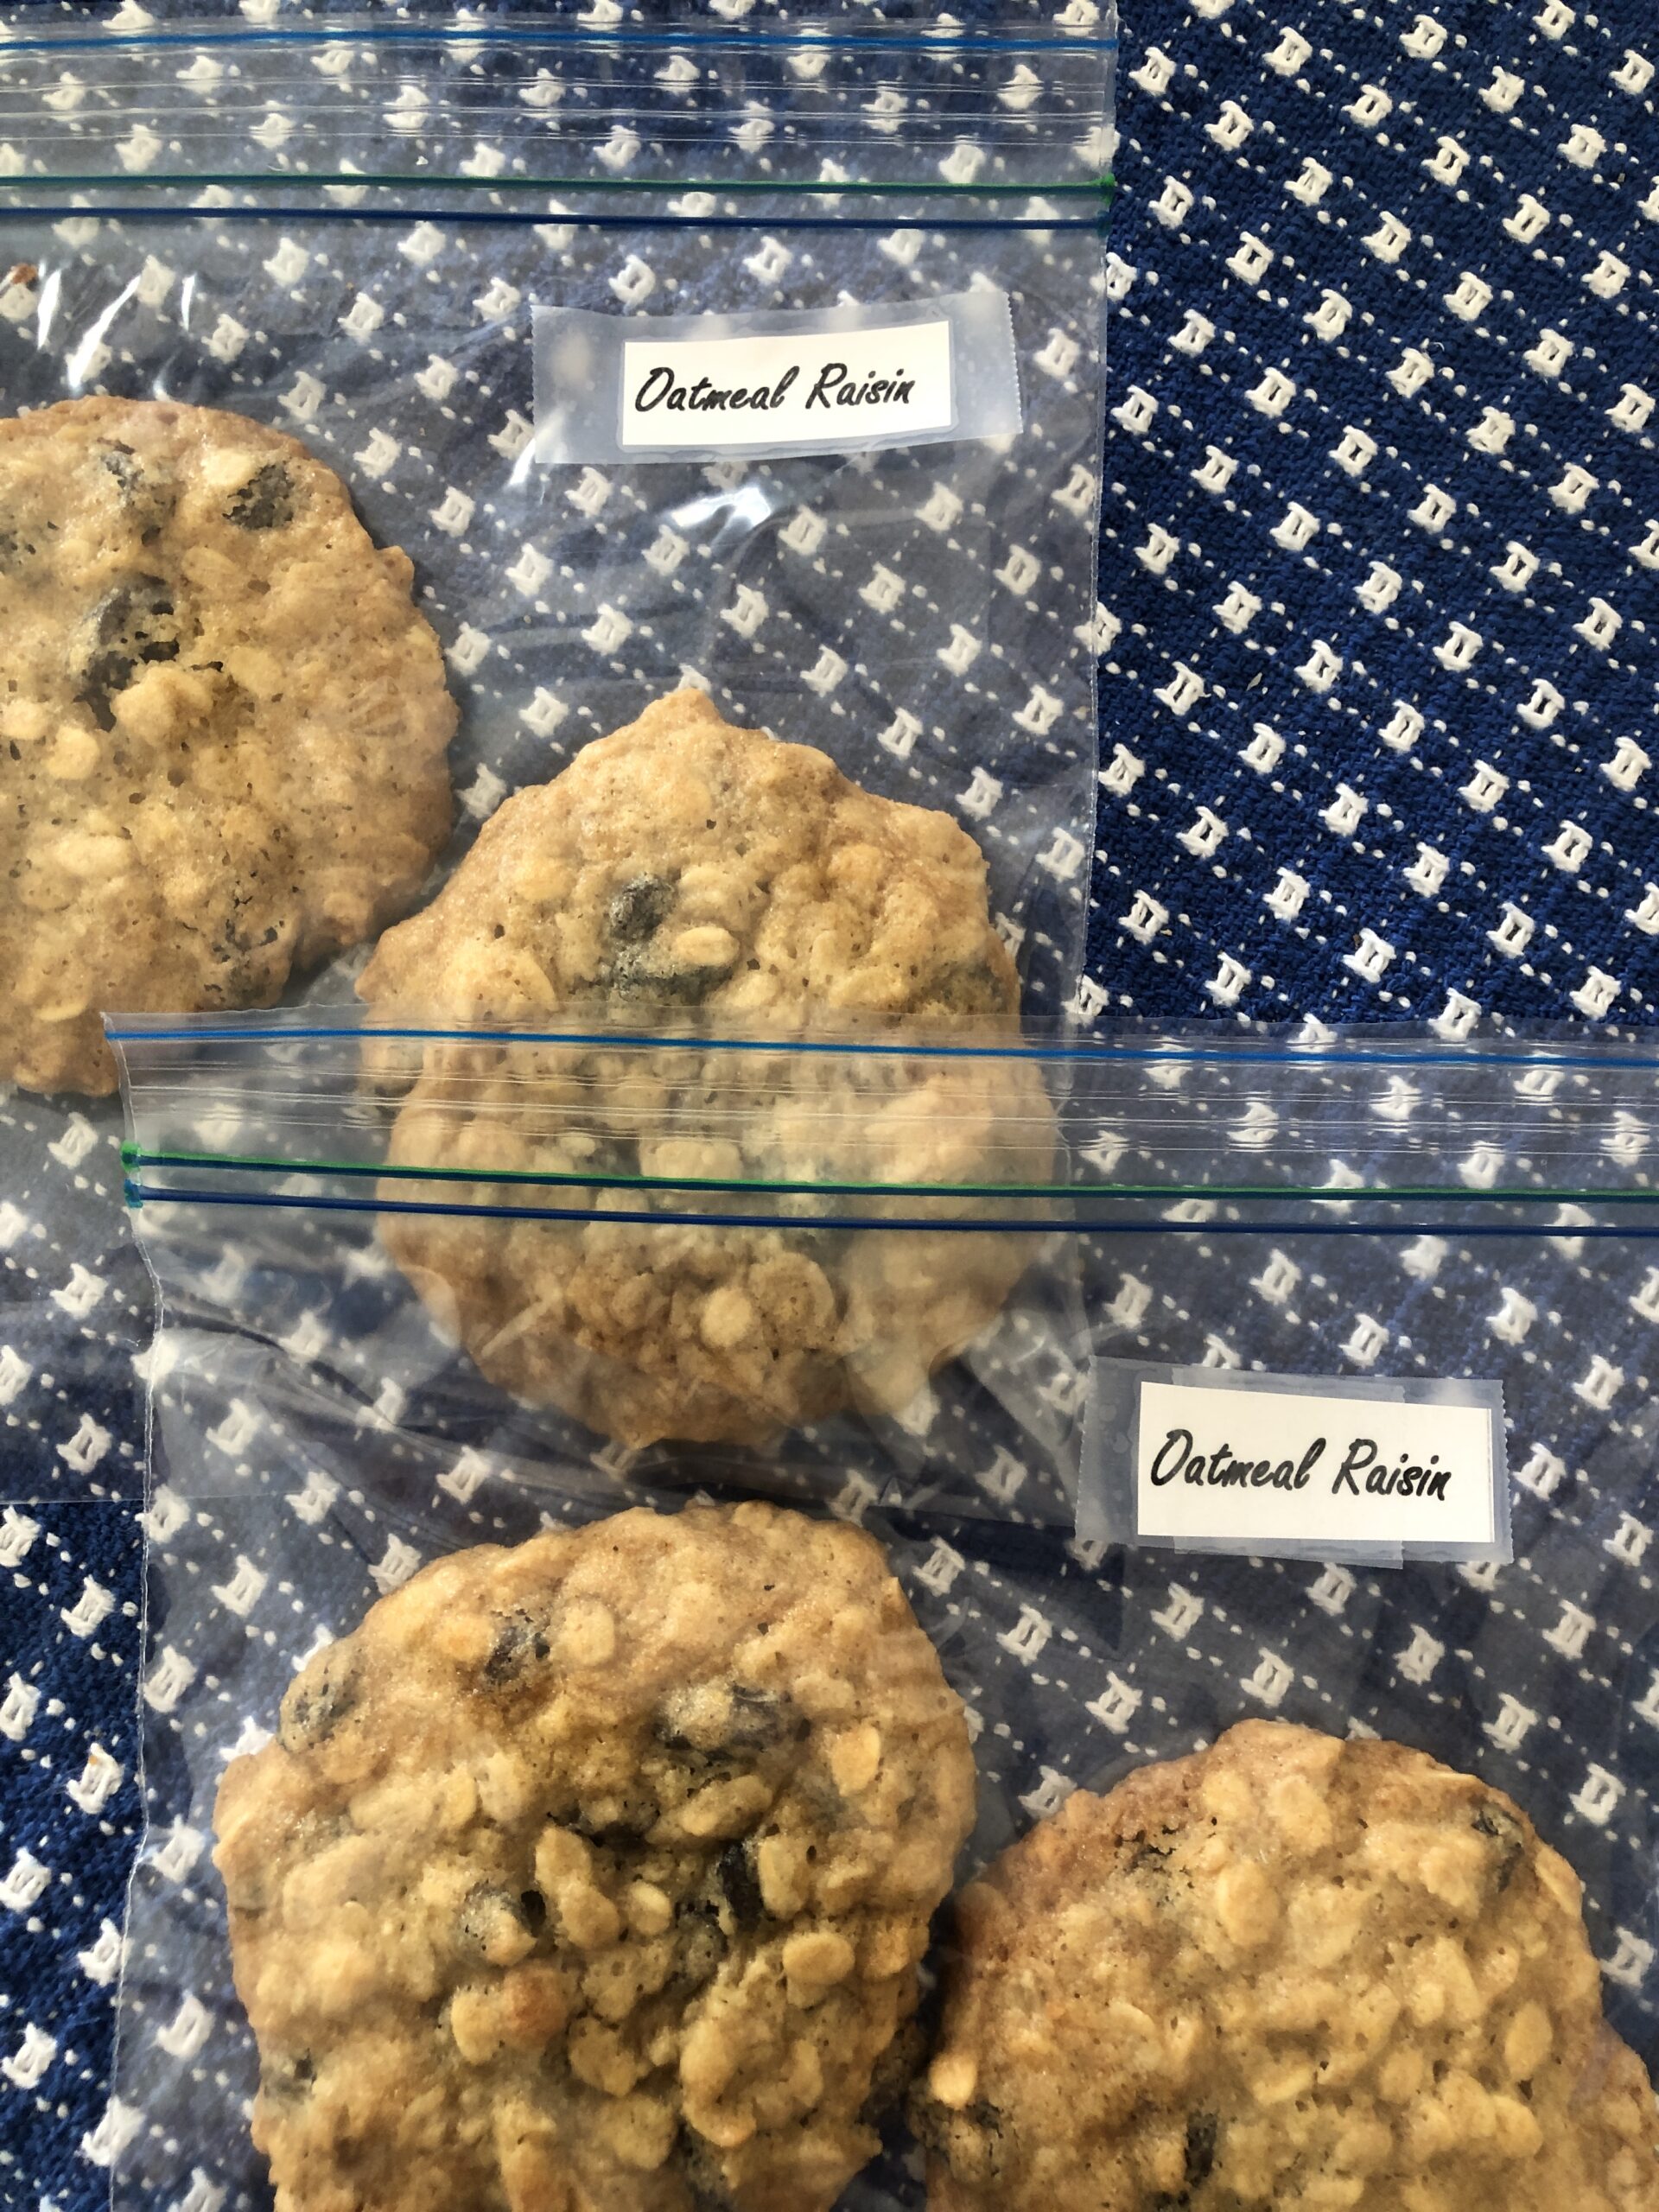
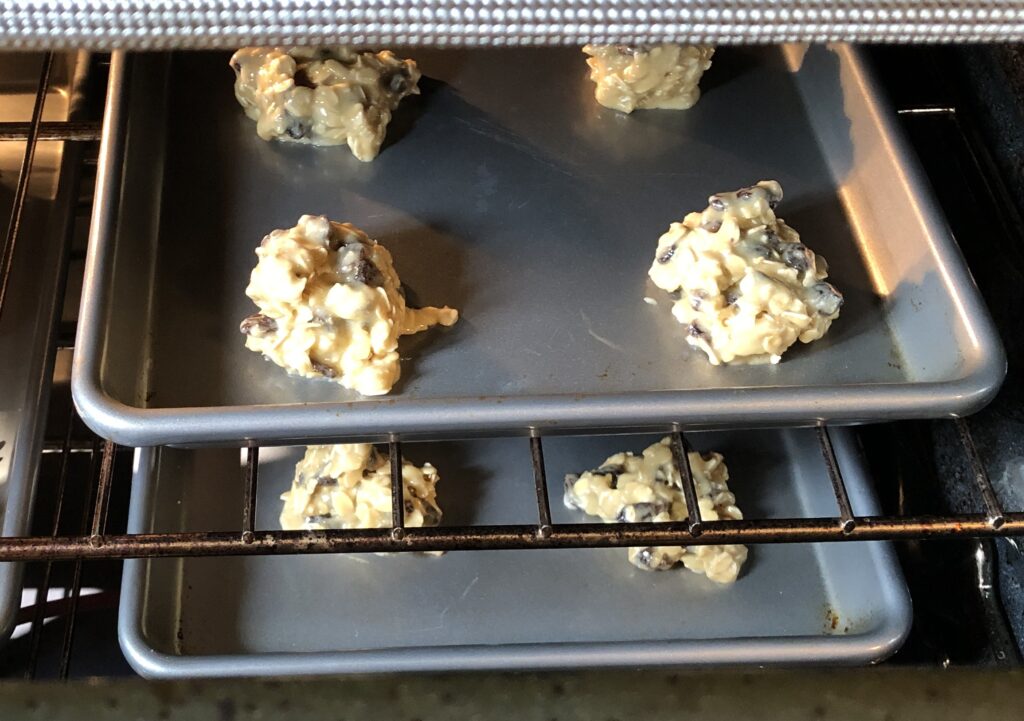
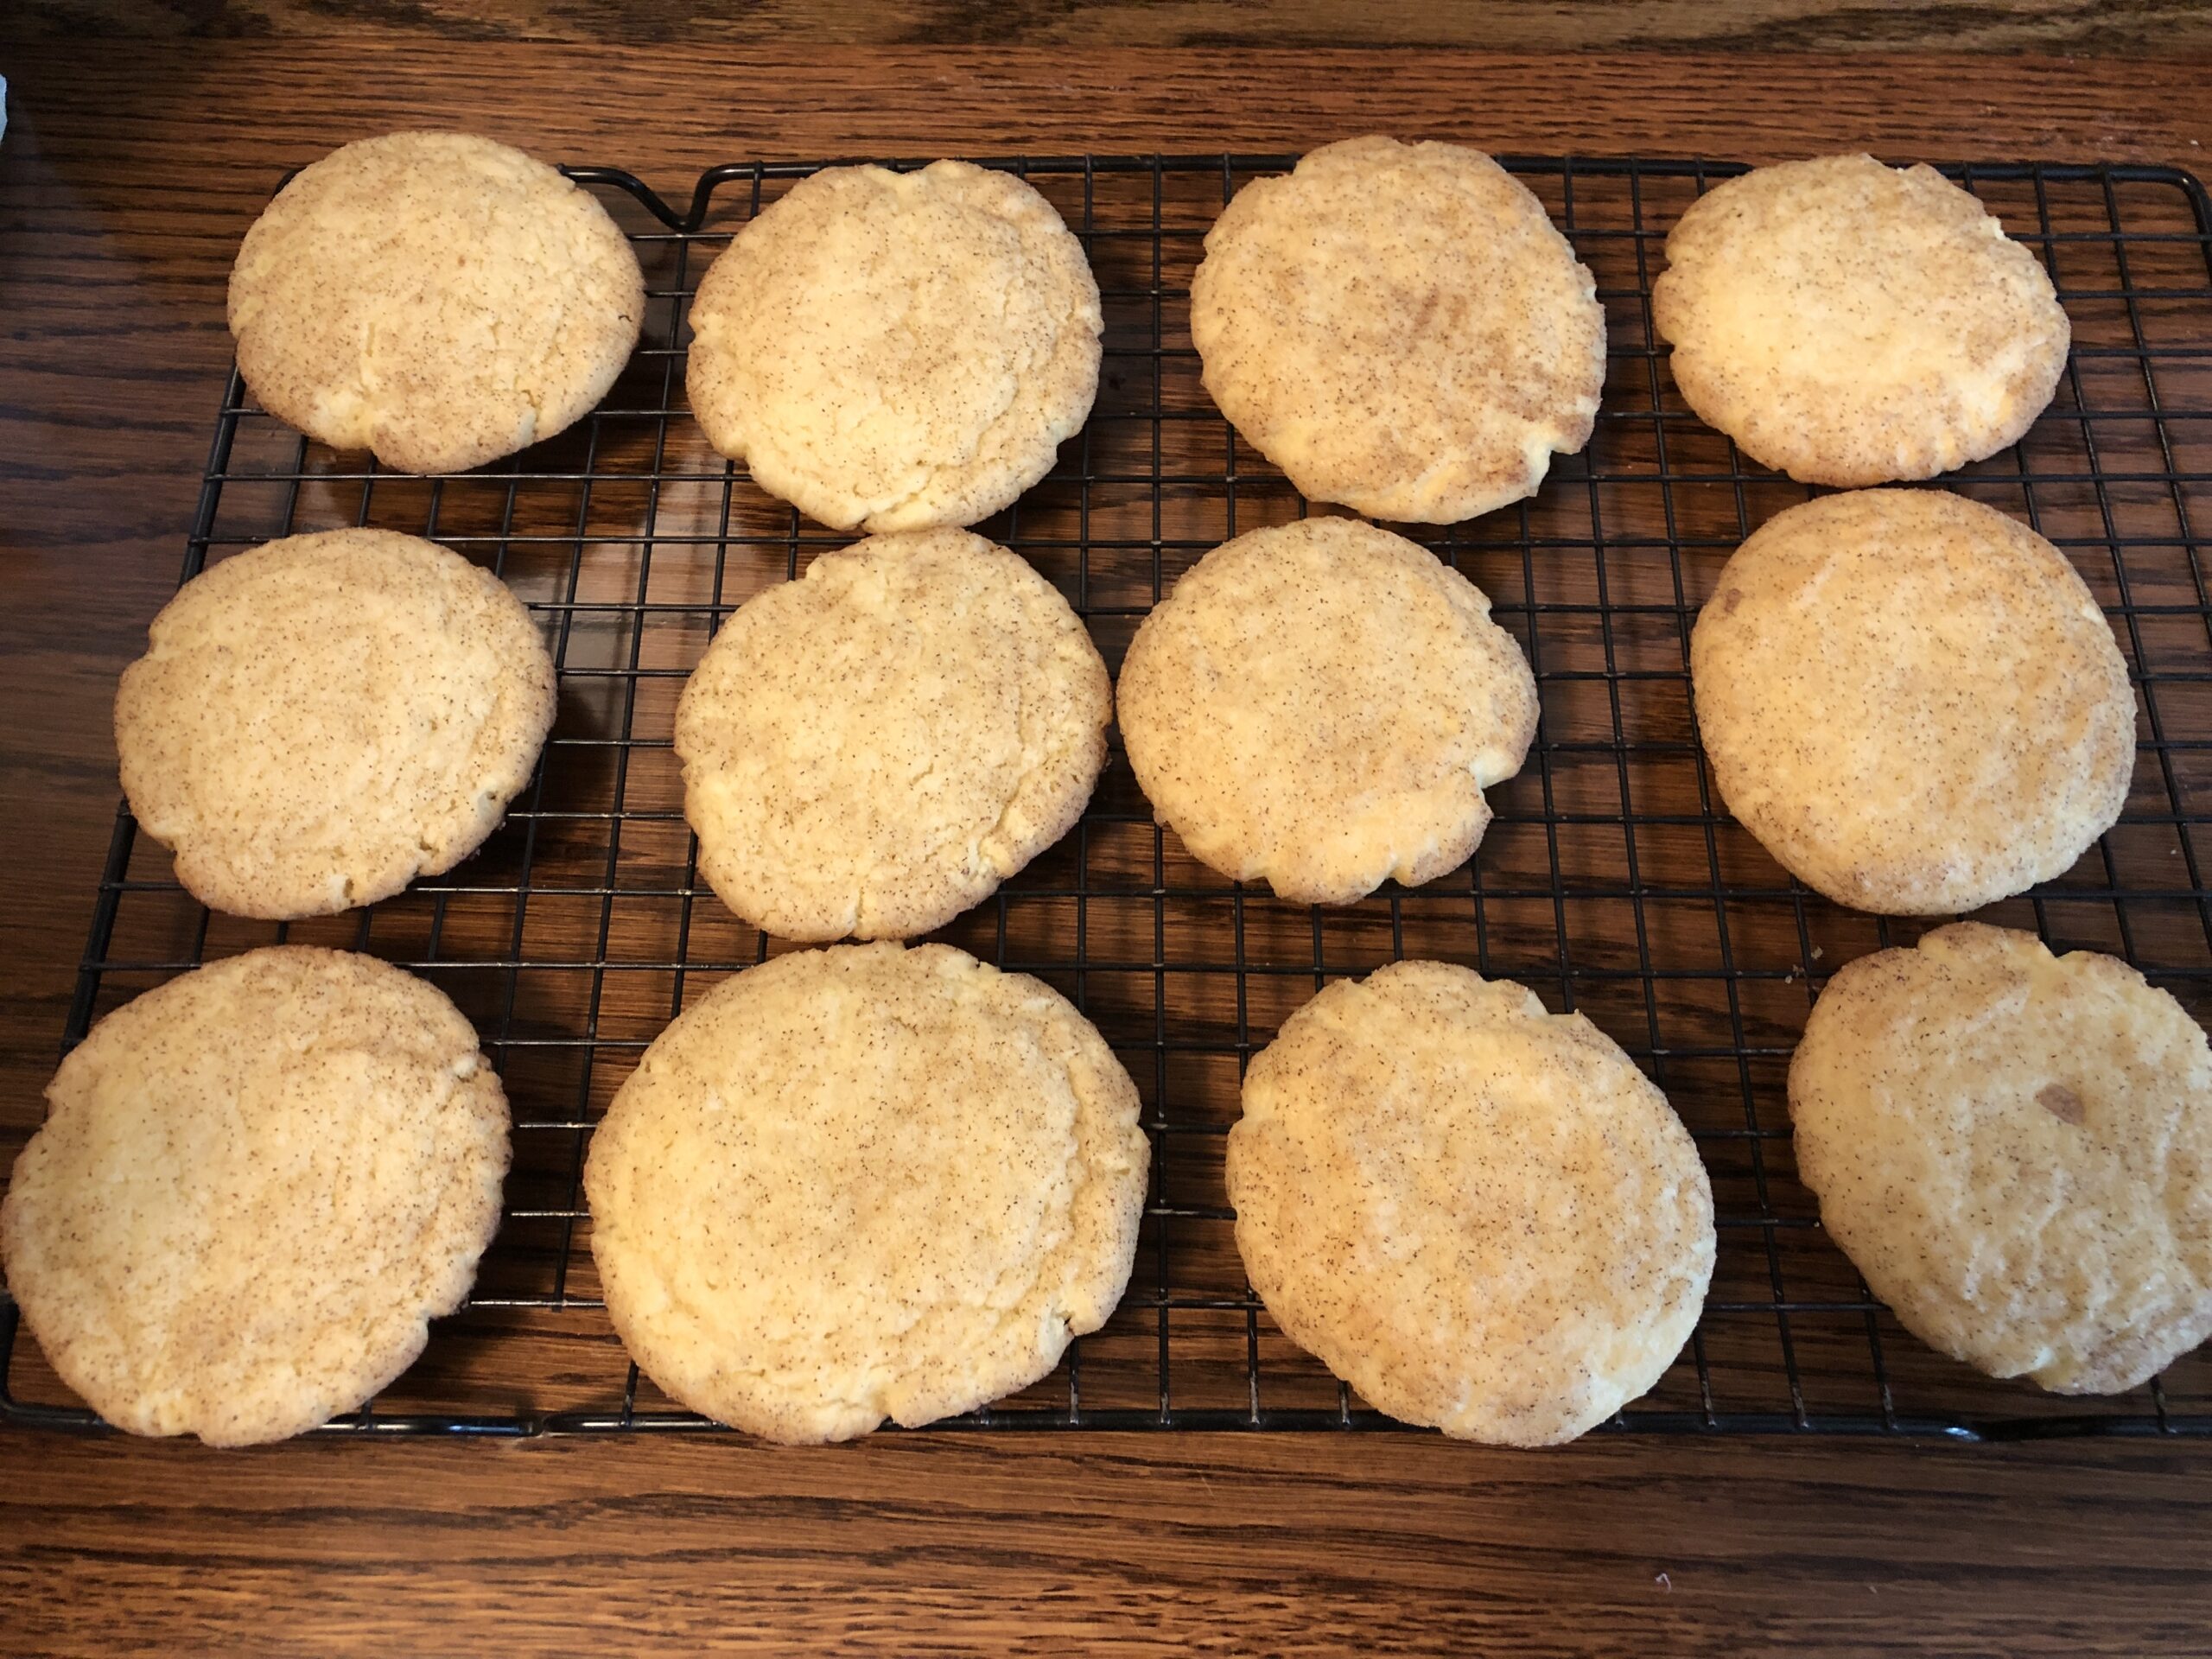
Over the last few days, my goal was to crank out some cookies for the sale. Of course, I don’t bake cookies very often…that seems to be Bert’s specialty at Christmas…but certainly I could produce something! Cookies for this bake sale needed to be sturdy enough to last in a zip bag that will get shuffled around for 5 days. I chose two recipes…oatmeal raisin cookies and snickerdoodles. You can use any favorite recipe you like!
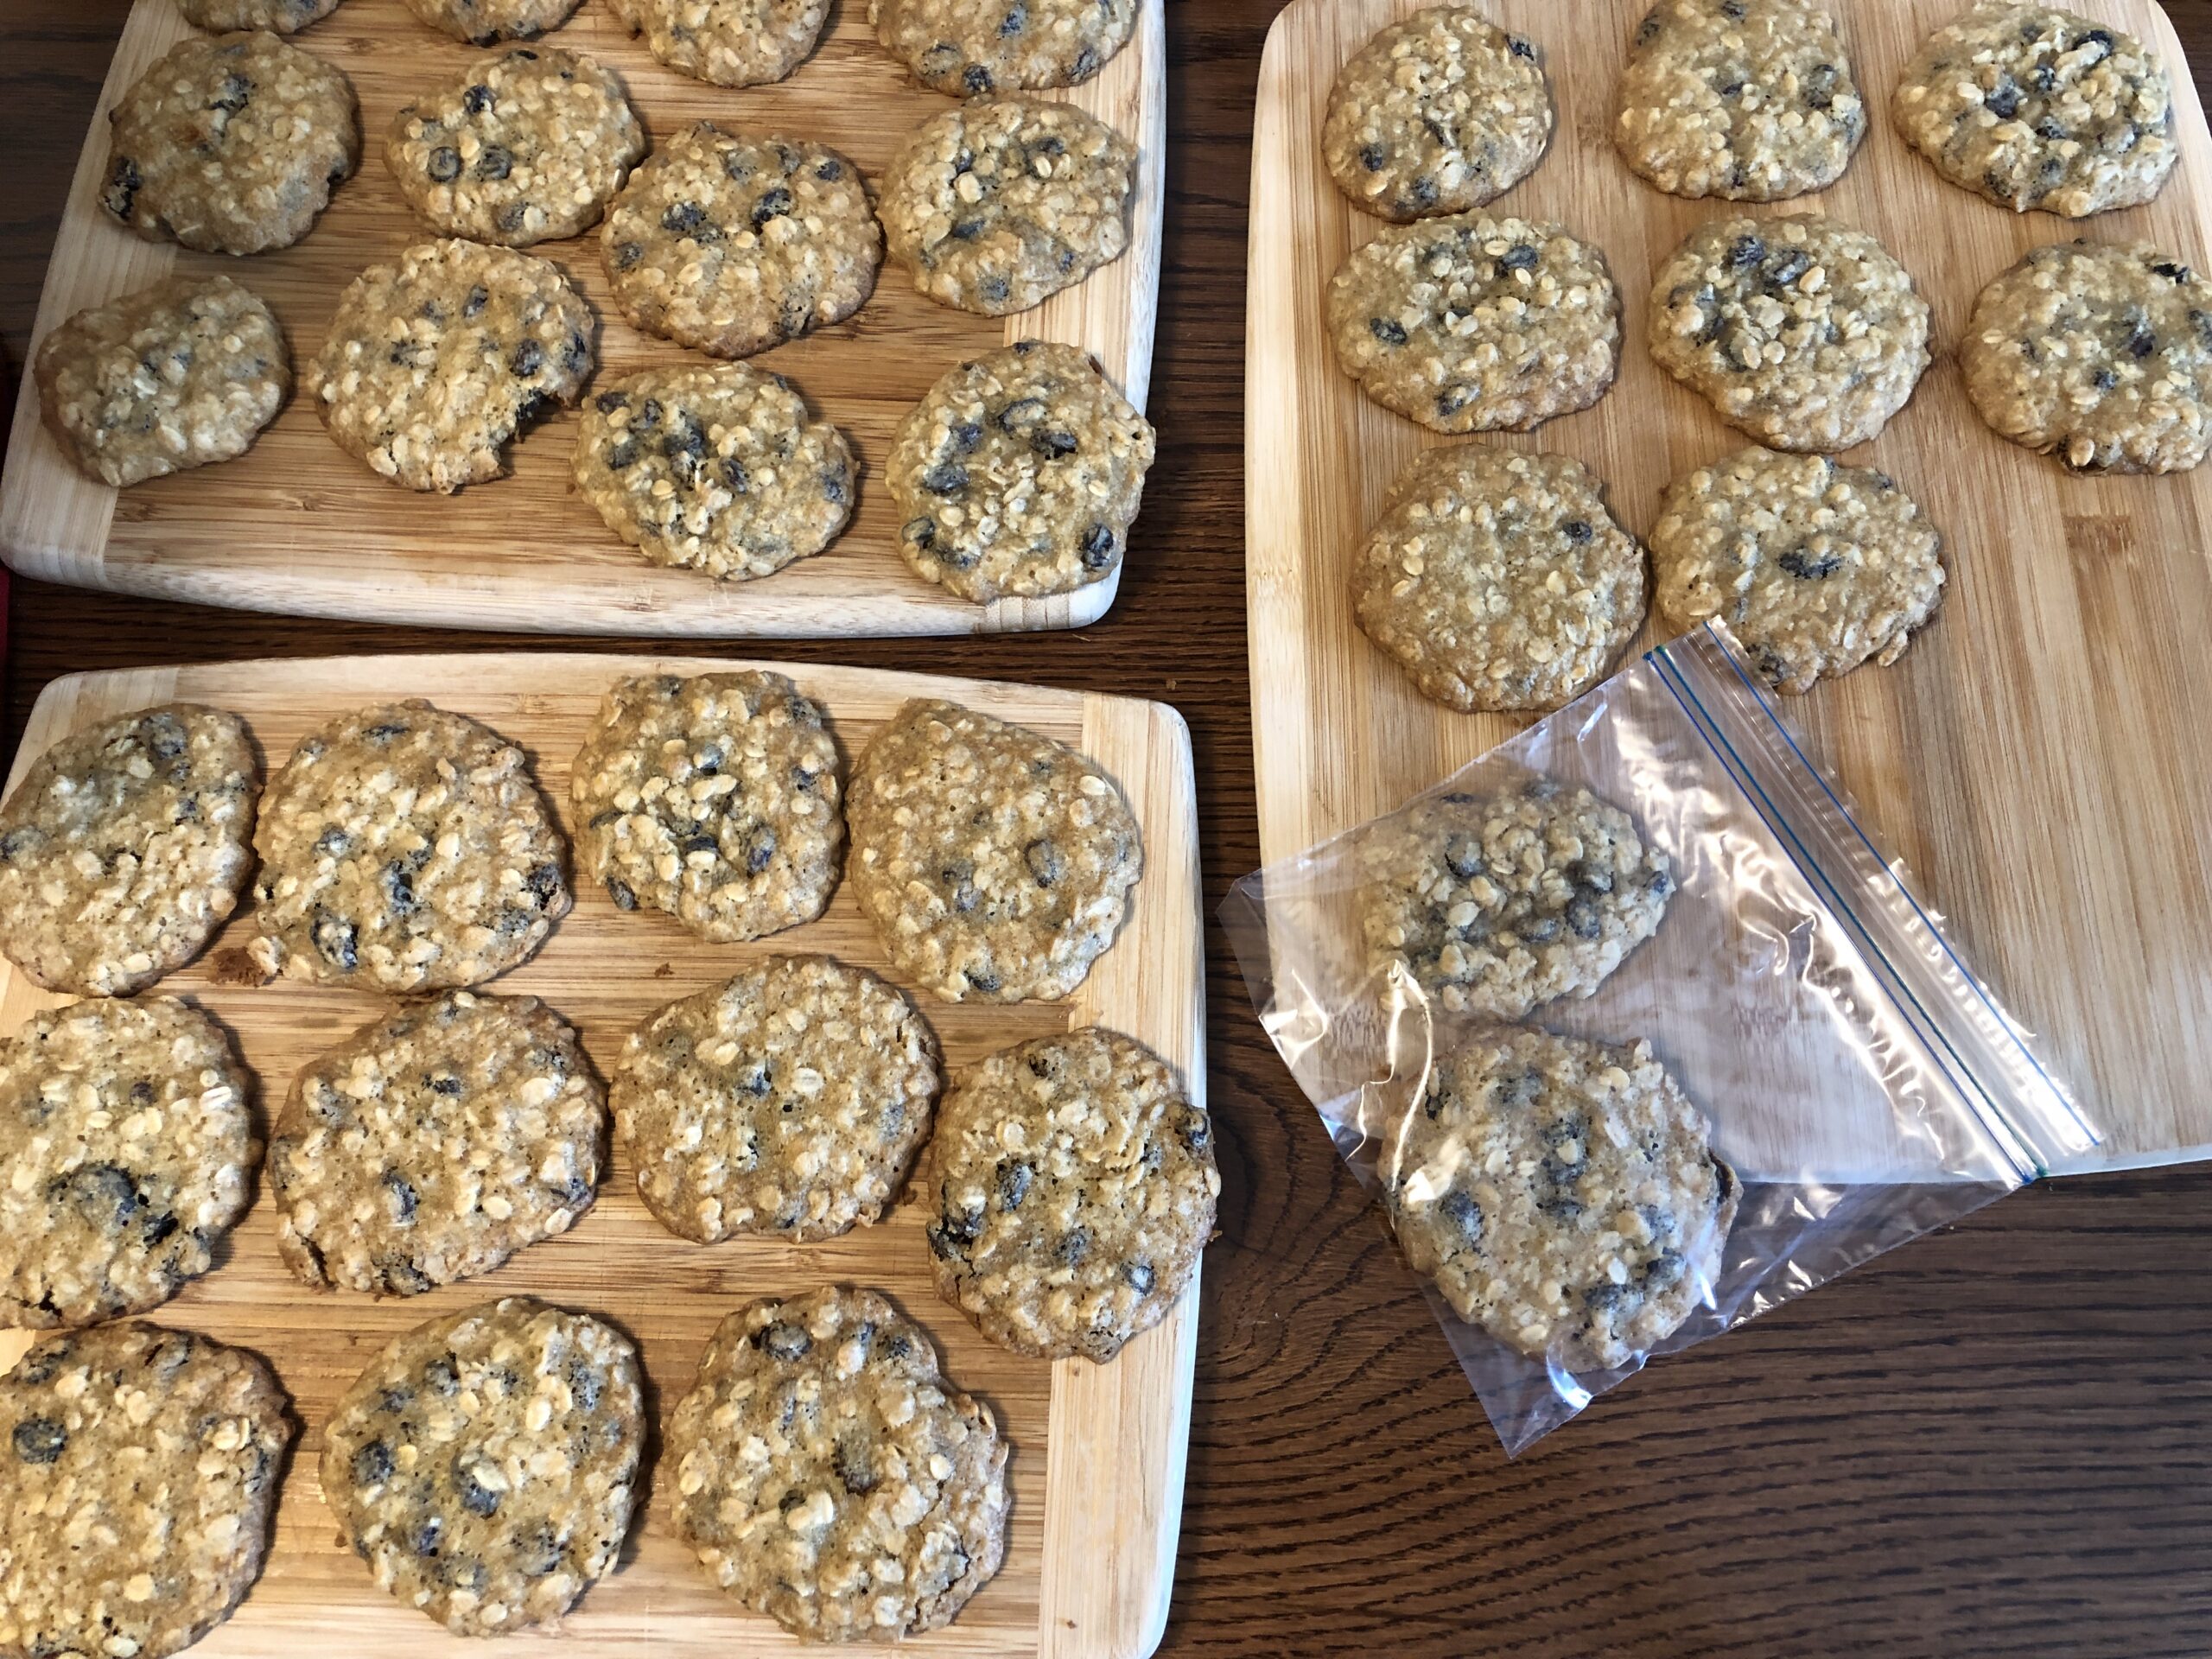
It was quite obvious I don’t bake cookies very often. They were too big (who knew they would spread out so much!). I can see if I did this more often, I’d figure it out. I’m sure Bert would recommend more flour, chilled dough and smaller scoops of dough. I may try again today, but for now let me share how it went.
Oatmeal Raisin Cookies
Here is the recipe:
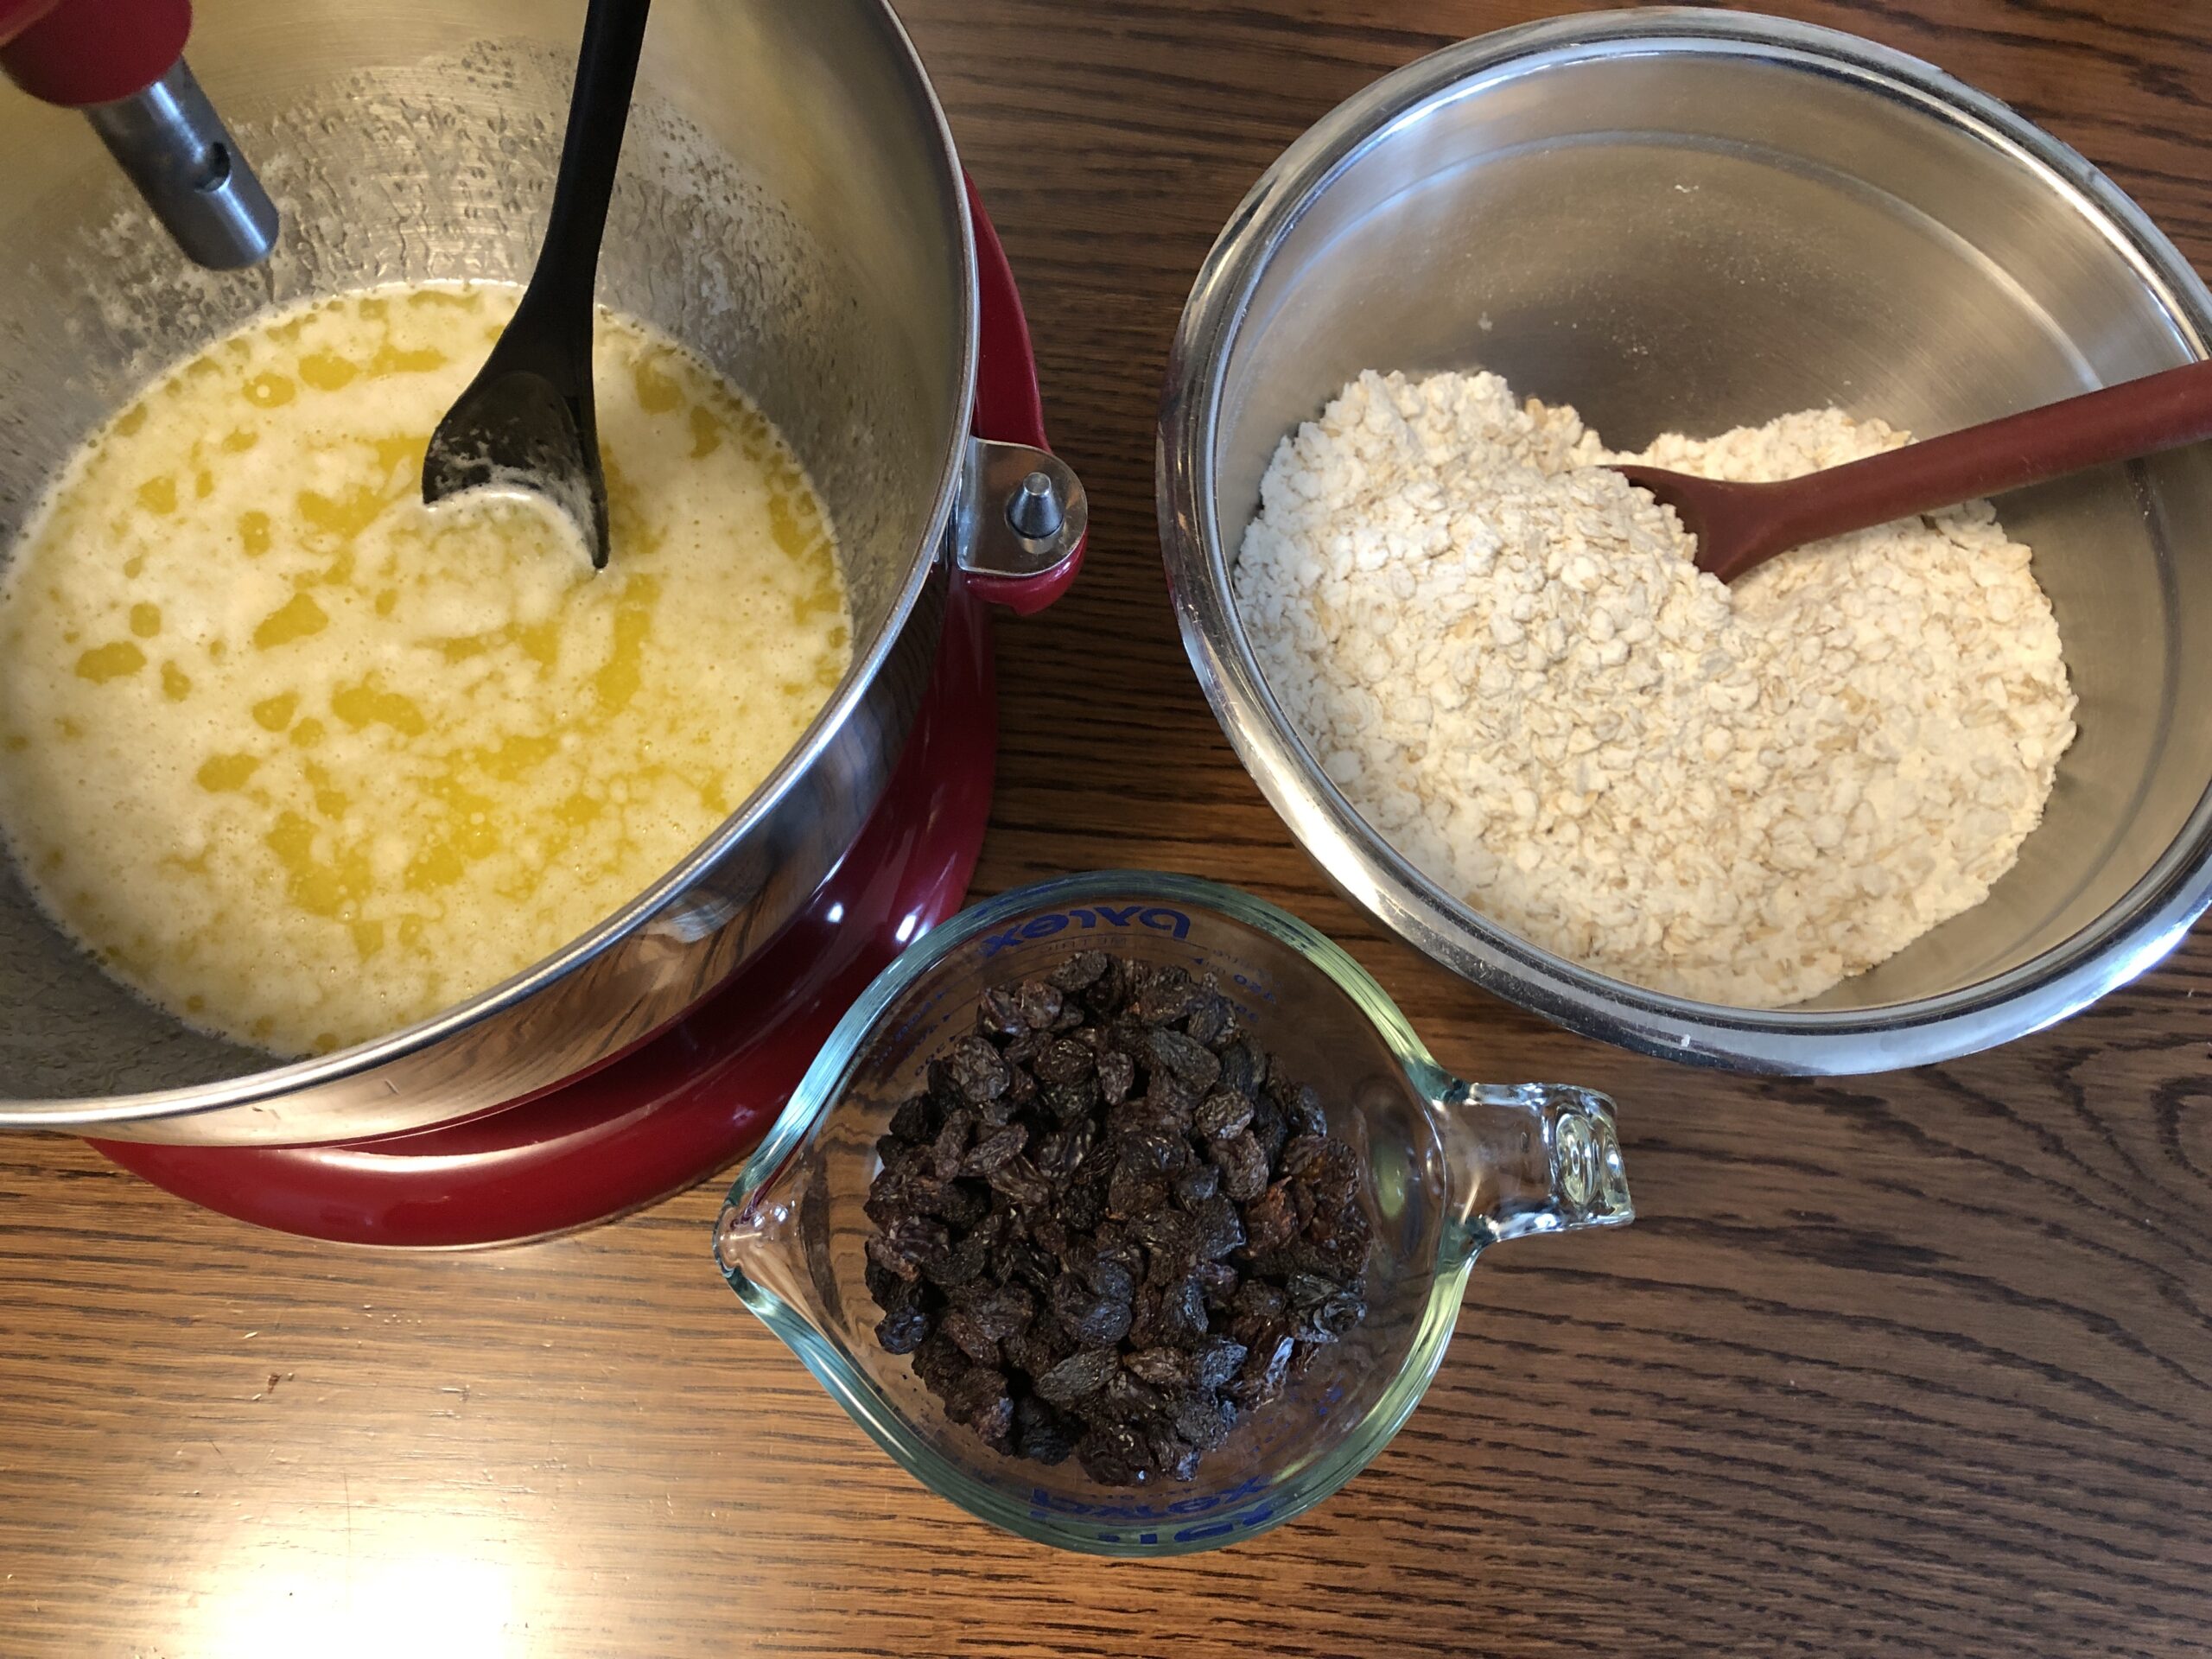
Wet ingredients, dry ingredients and raisins ready to assemble. The mixer did all the work!
Of course, I don’t have a 2-Tablespoon scoop so my cookies look a little ragged! It’s on order so next time…
Of course, only two cookies fit in a sandwich bag. At least they look homemade!
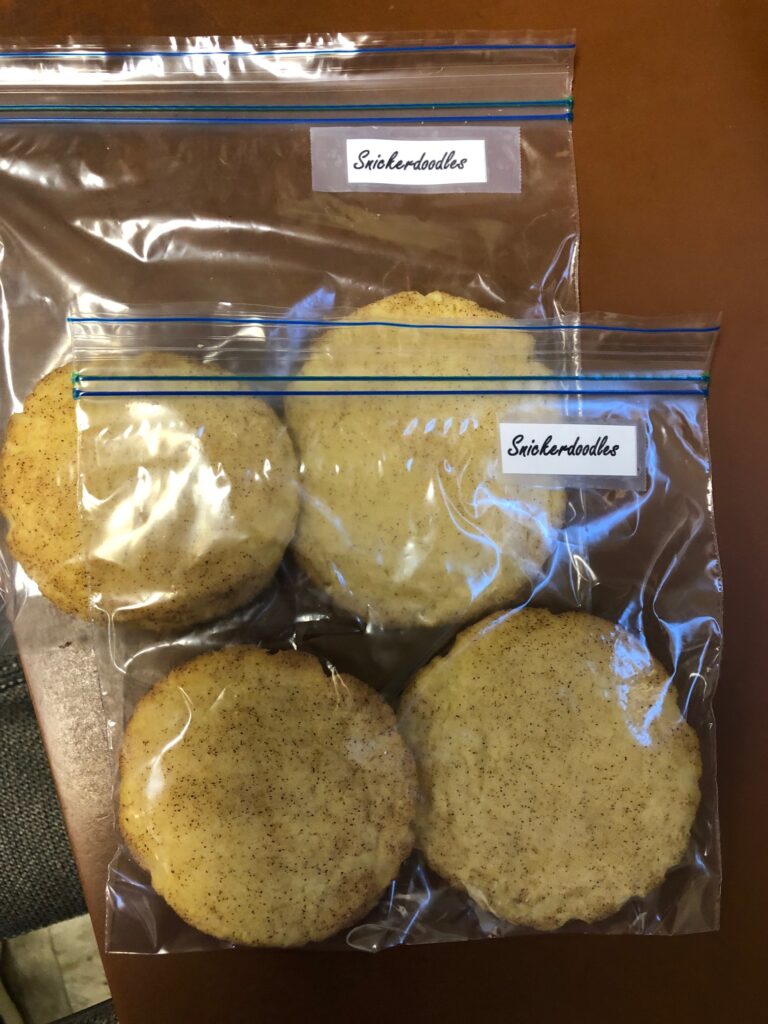
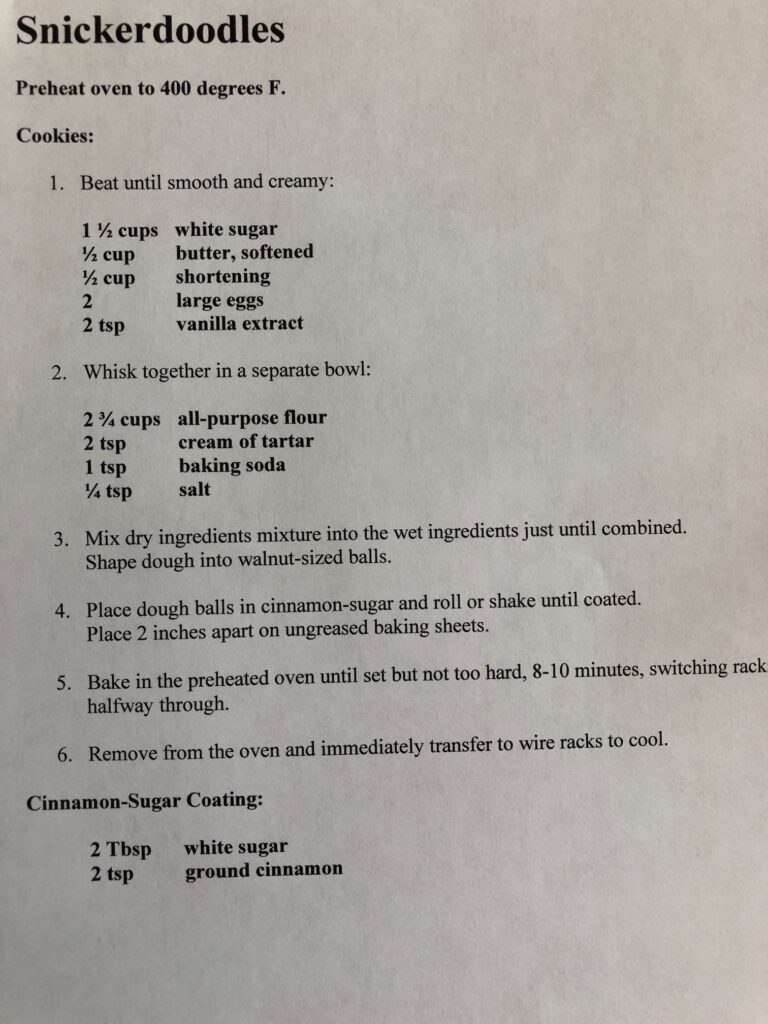
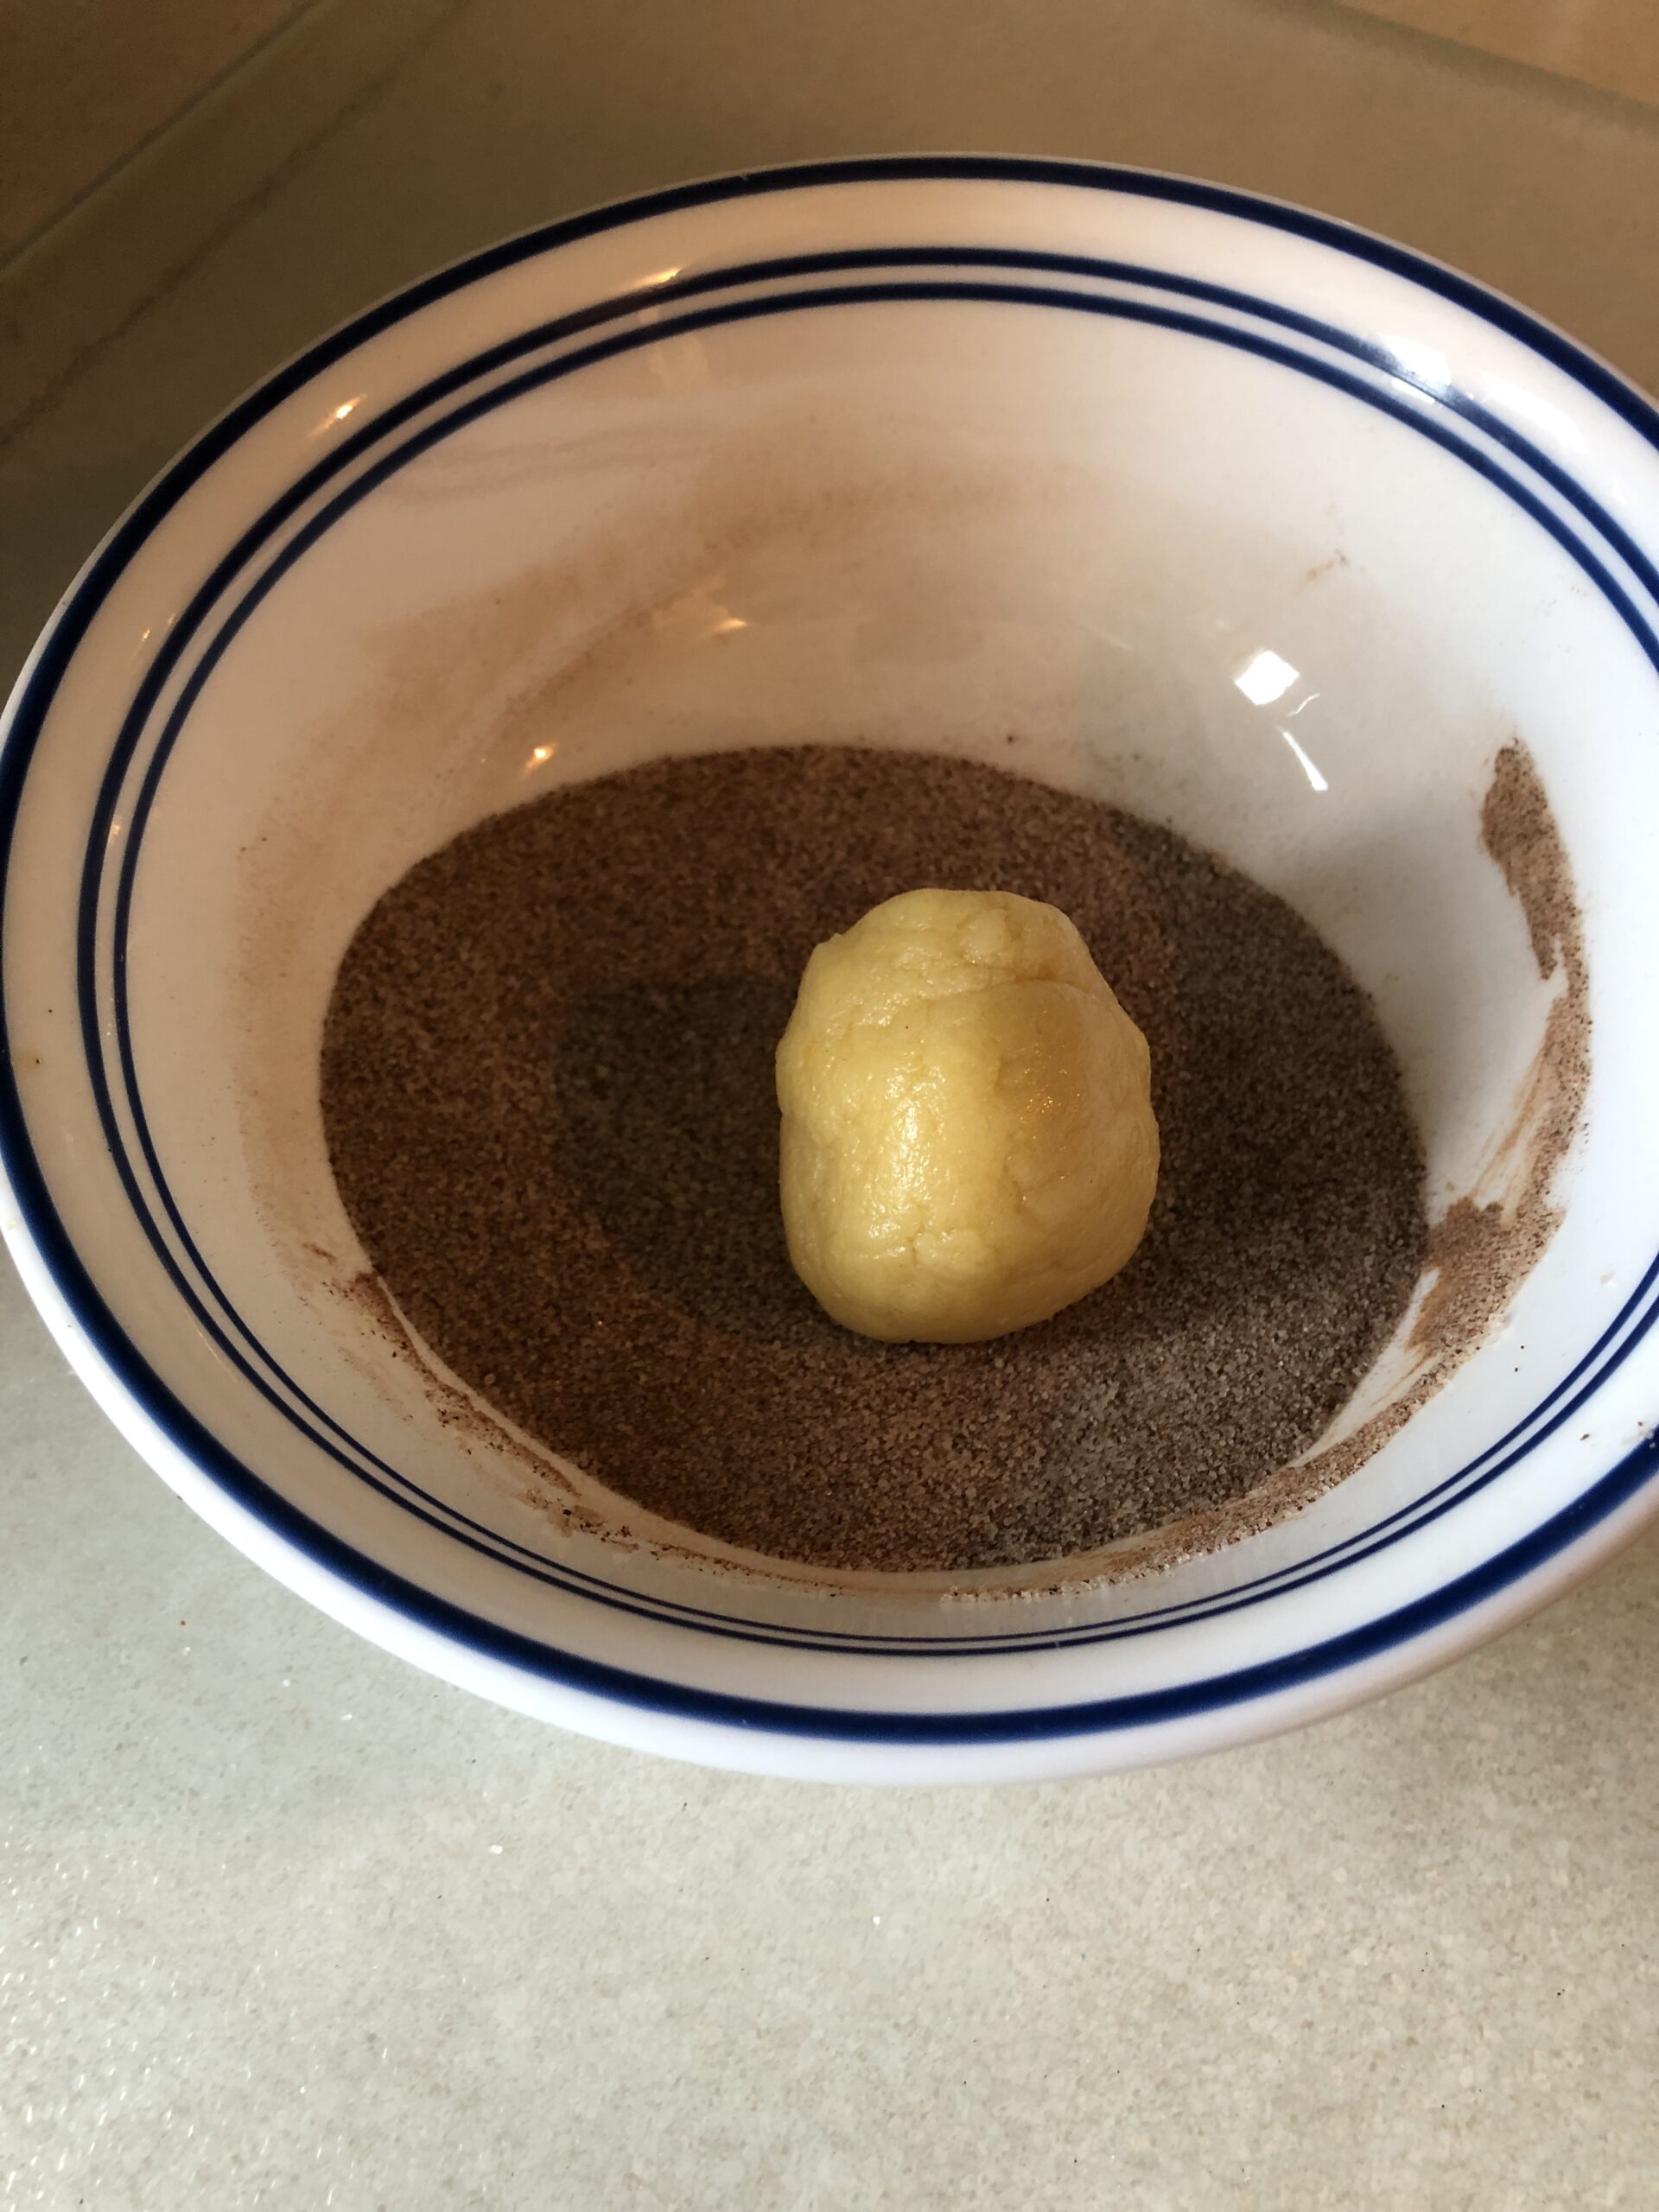
Snickerdoodles
Here is the recipe I used:
Once again, the mixer did the work but when it came time to roll the dough into balls, I misjudged and they got too big! When was the last time I had a whole walnut sitting around to help me visualize the right size!
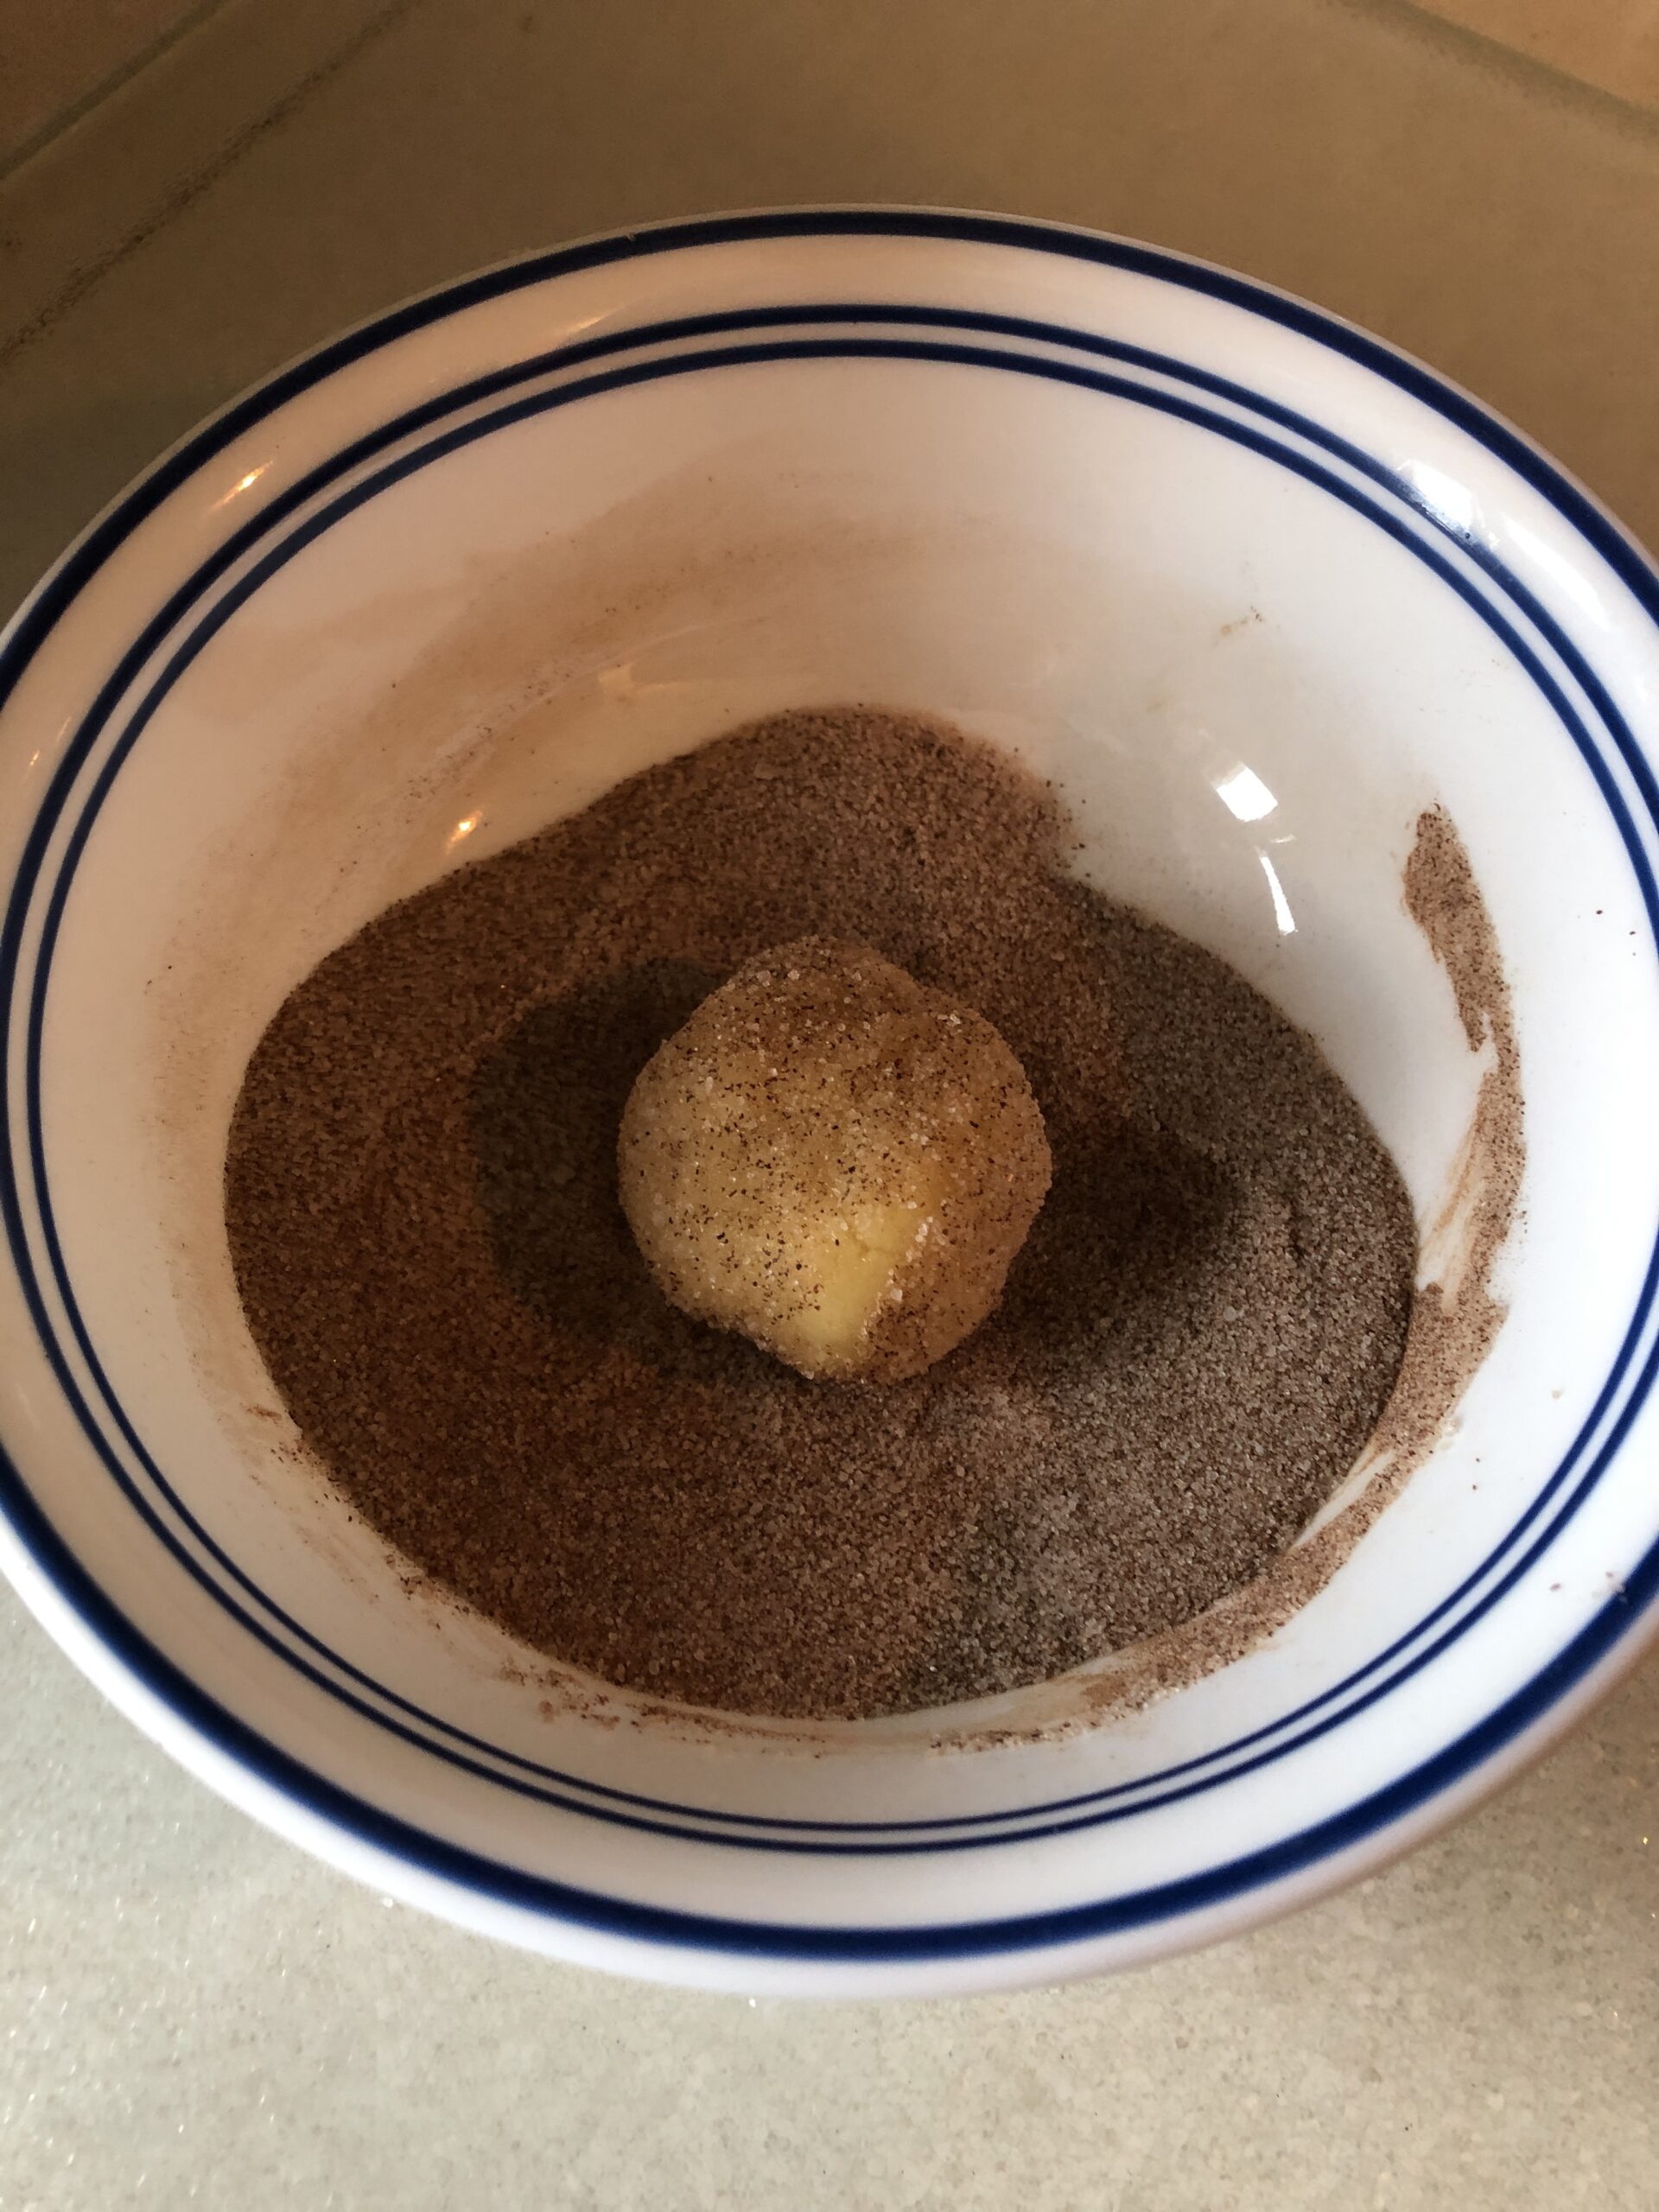
Oh well, I rolled the dough in cinnamon and sugar and put them on the cookie sheet.
Once again…too big! Oh well, they sure did taste good!
What Did I Learn?
Consider adding more flour to the oatmeal raisin cookies.
Chill the dough before baking.
Use a dough scoop to get better shaped cookies. (mine is on order!)
For bake sale cookies, make smaller, more consistent-sized cookies that will fit better in a zip sandwich bag.
If you are asked to make cookies for a bake sale, any contribution will be appreciated! Choose your favorite recipe and make a dozen or two.
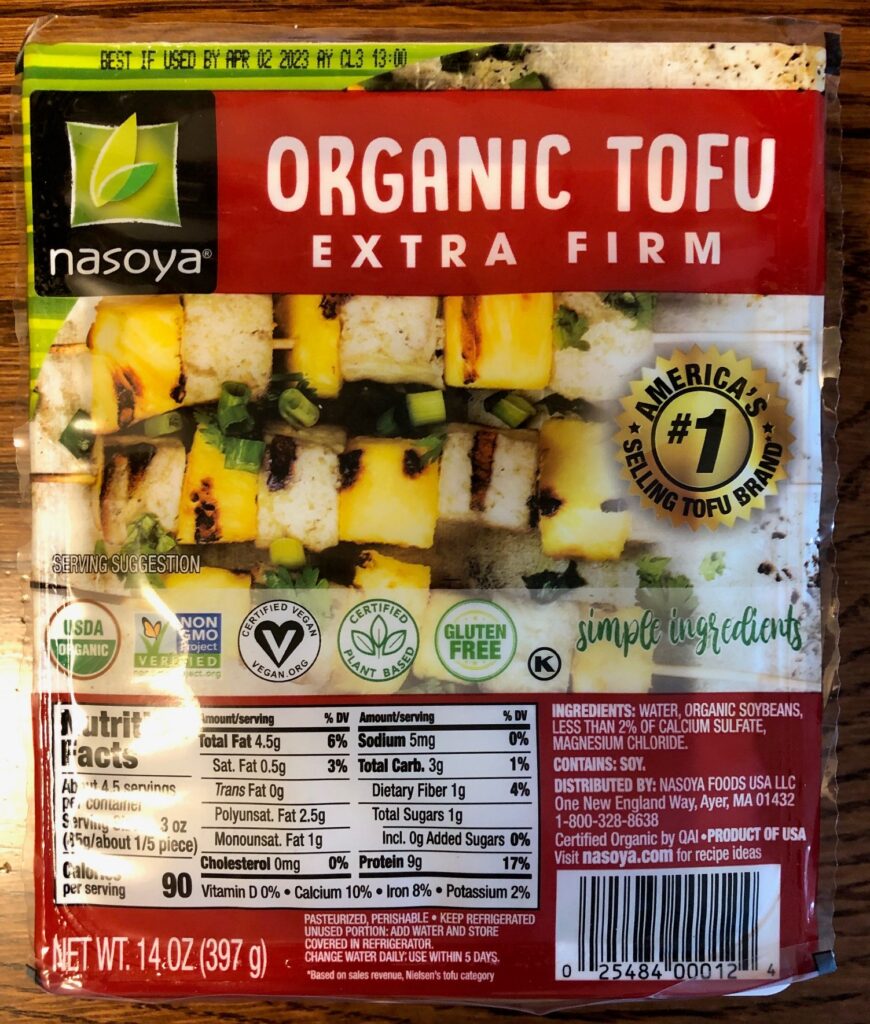
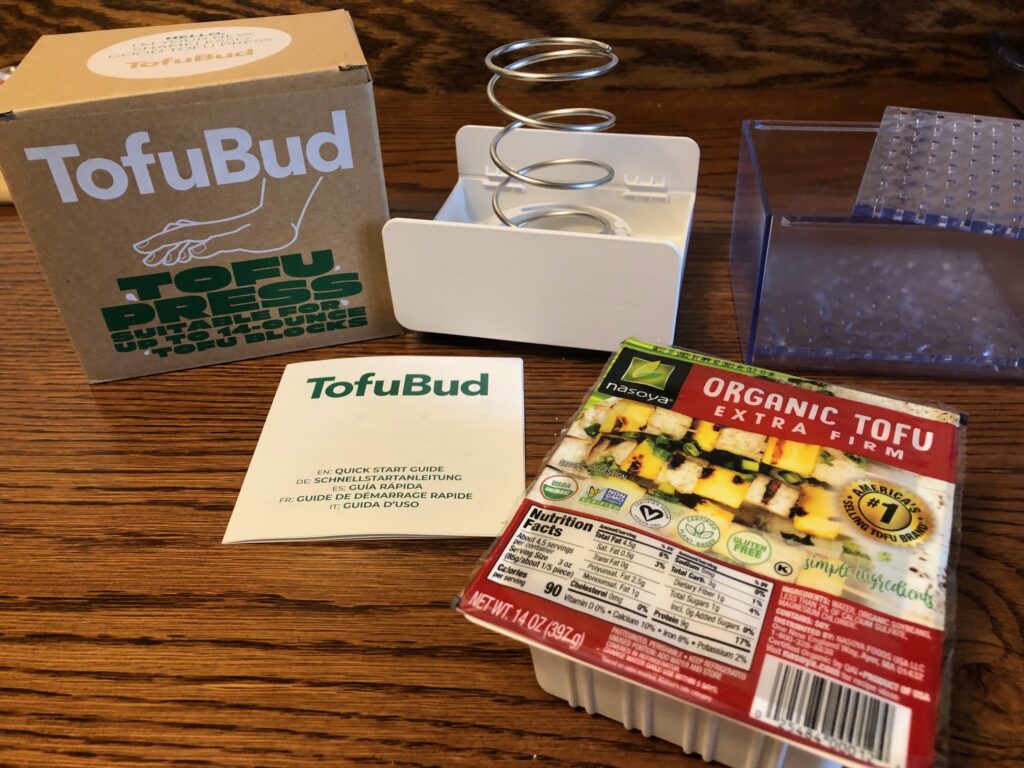
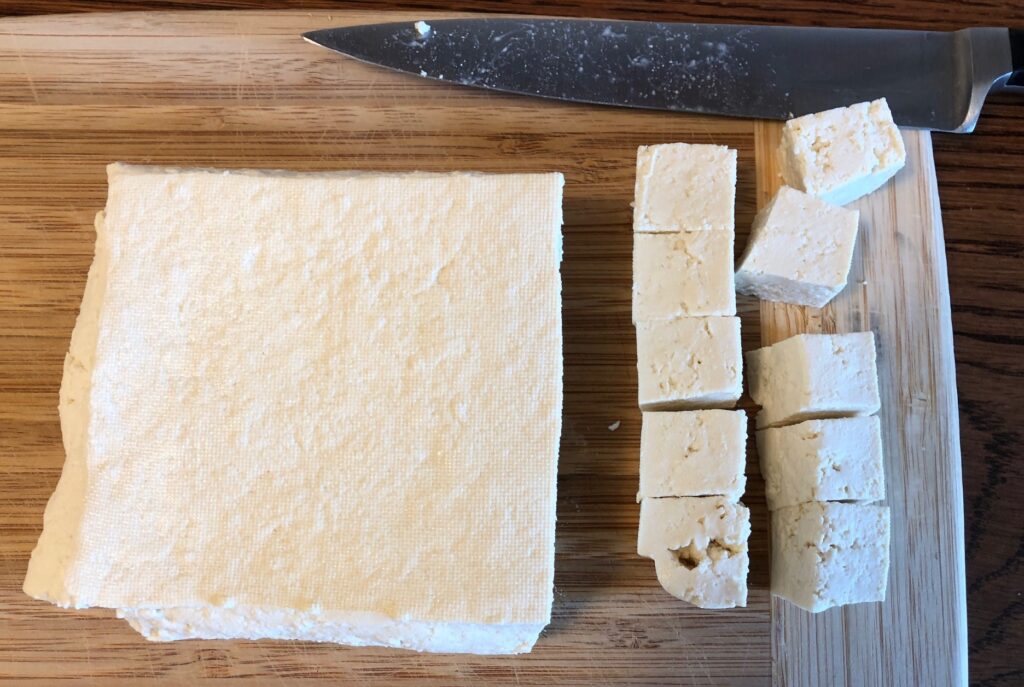
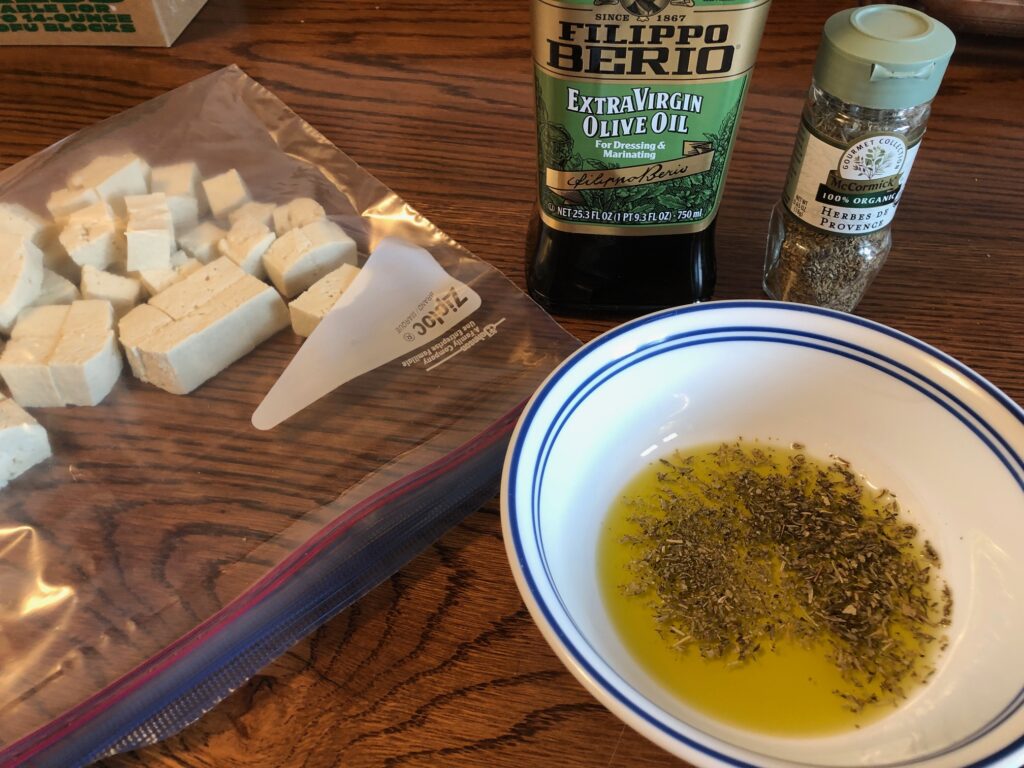
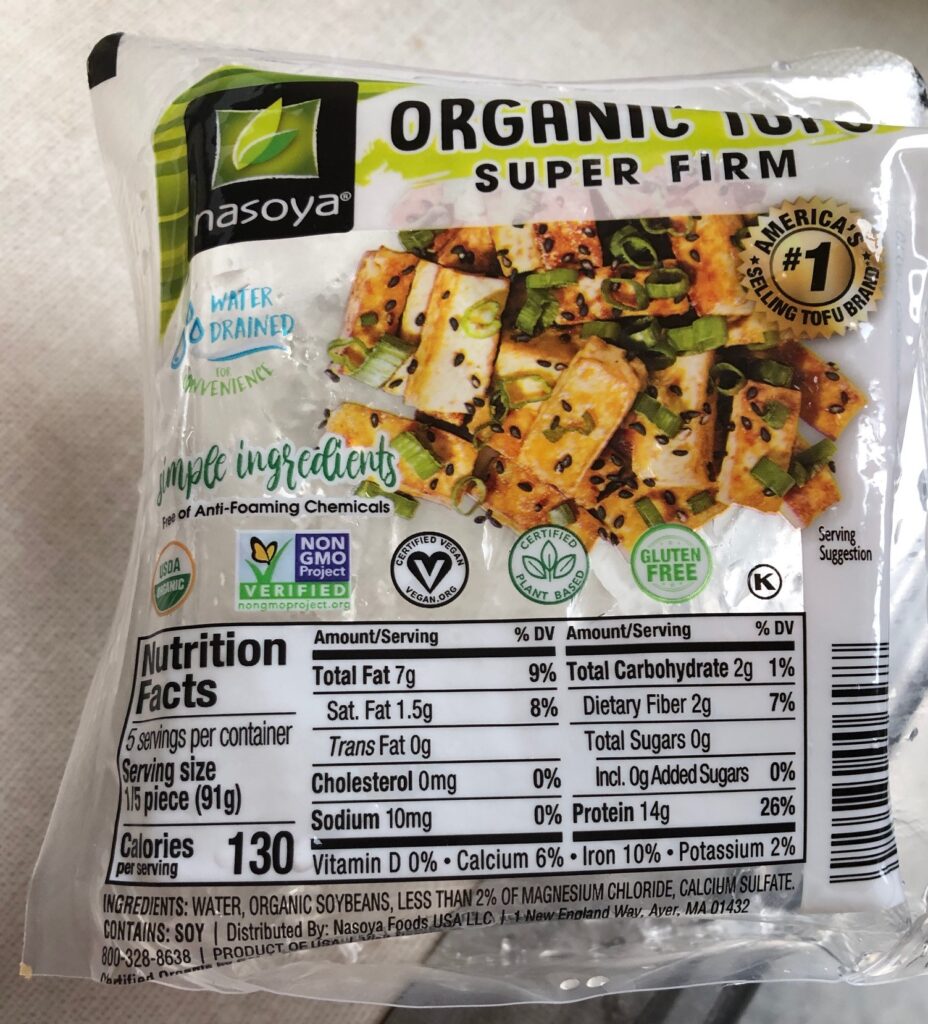
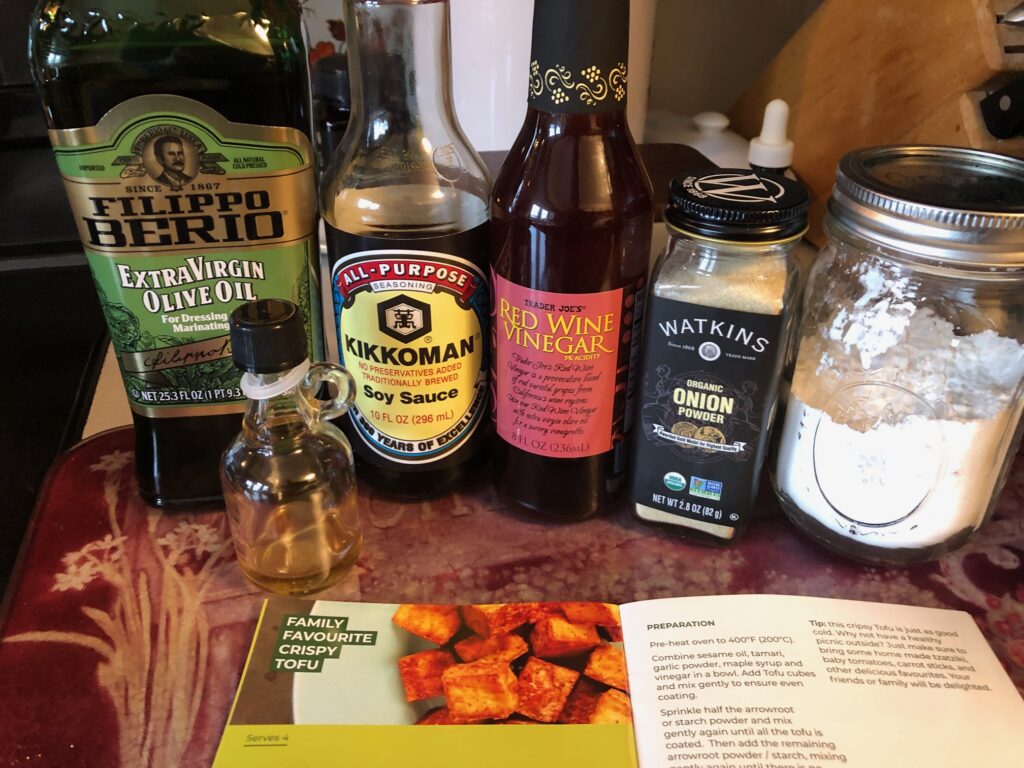
As a follow-up to my first attempt to cook tofu (https://marykisner.com/cooking-tofu-first-attempt/) I’ll try to adjust a few things to try to produce better cubes of tofu. My advice to myself the last time said: cut bigger cubes, add more seasoning and reduce cooking time. I started by doing a search online about recipes to season tofu. While I found and printed out about 10 recipes, I chose a simple recipe of olive oil and Italian herbs so I could use the seasoned cubes in a salad or even put them in soup.
I started with a block of extra firm tofu:
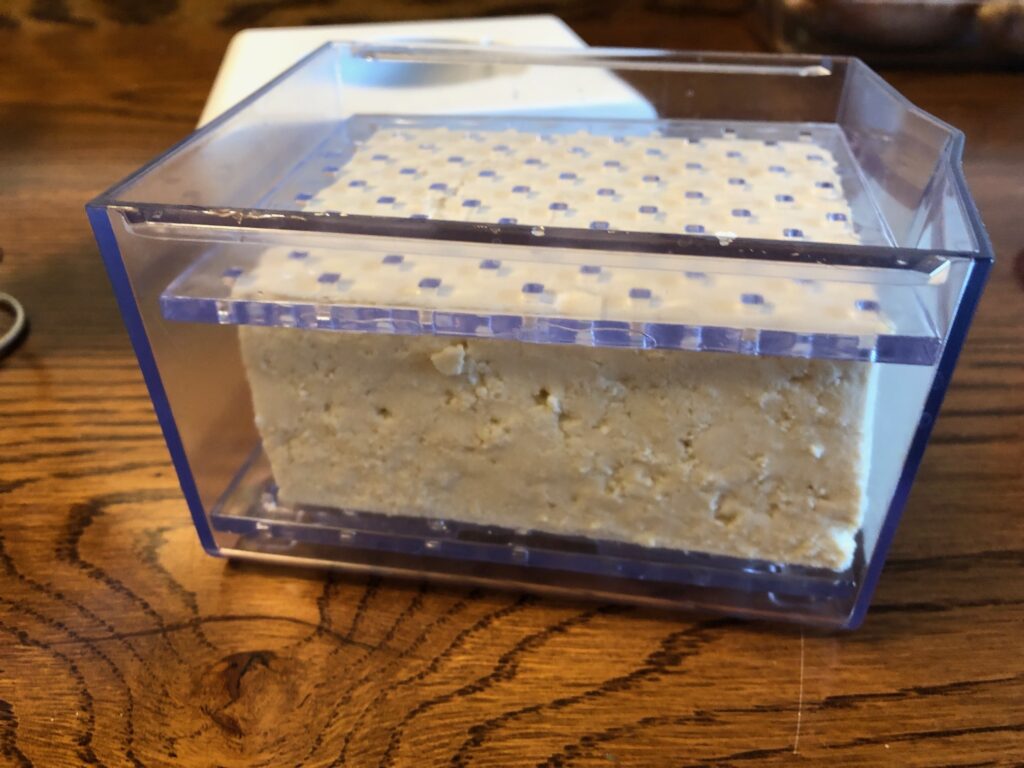
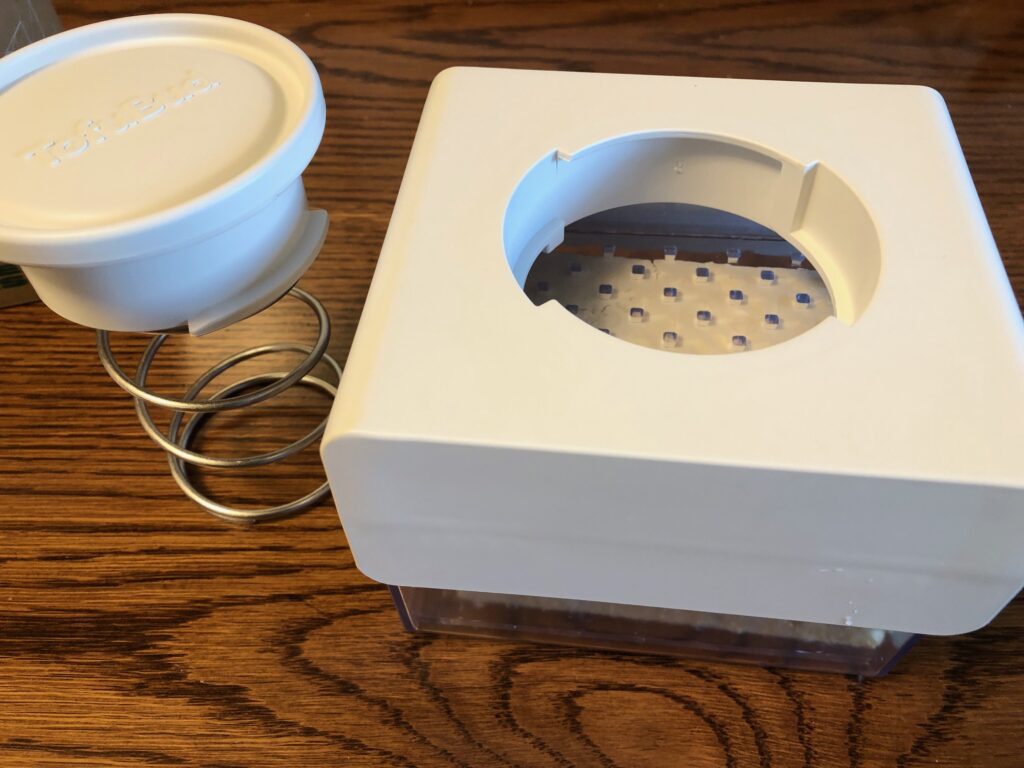
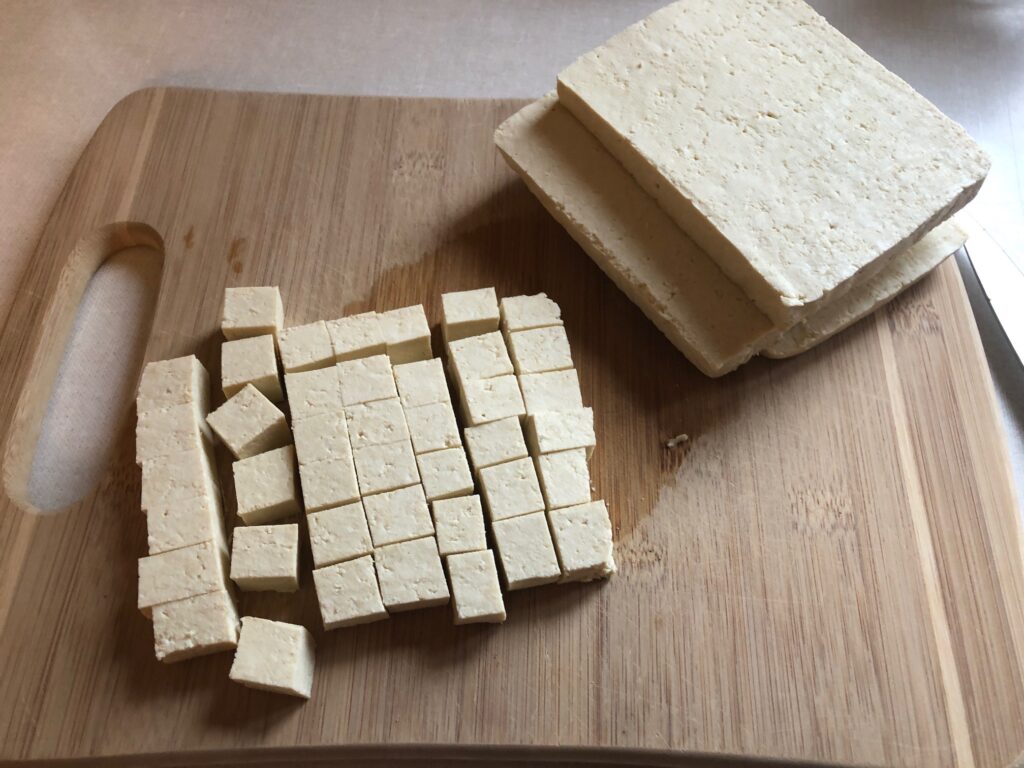
Next, I got out my tofu press and placed the block of tofu in it. This block was not as firm as the first time and felt “fresher.”
The instructions said to place the tofu block between the two flat inserts in my palm, drop the container over my palm…and then turn it right side up. This keeps the tofu from breaking apart.Pressure being applied.
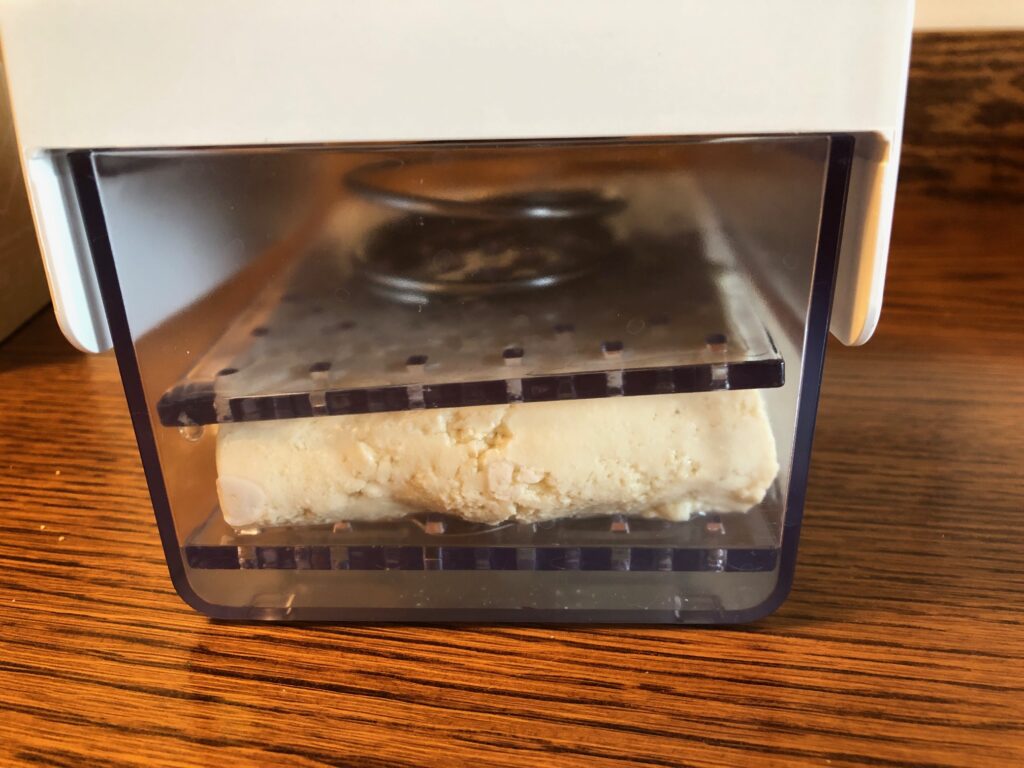
After 20 minutes the whole block was half as thick and submerged in liquid. I poured off the water and opened the press.
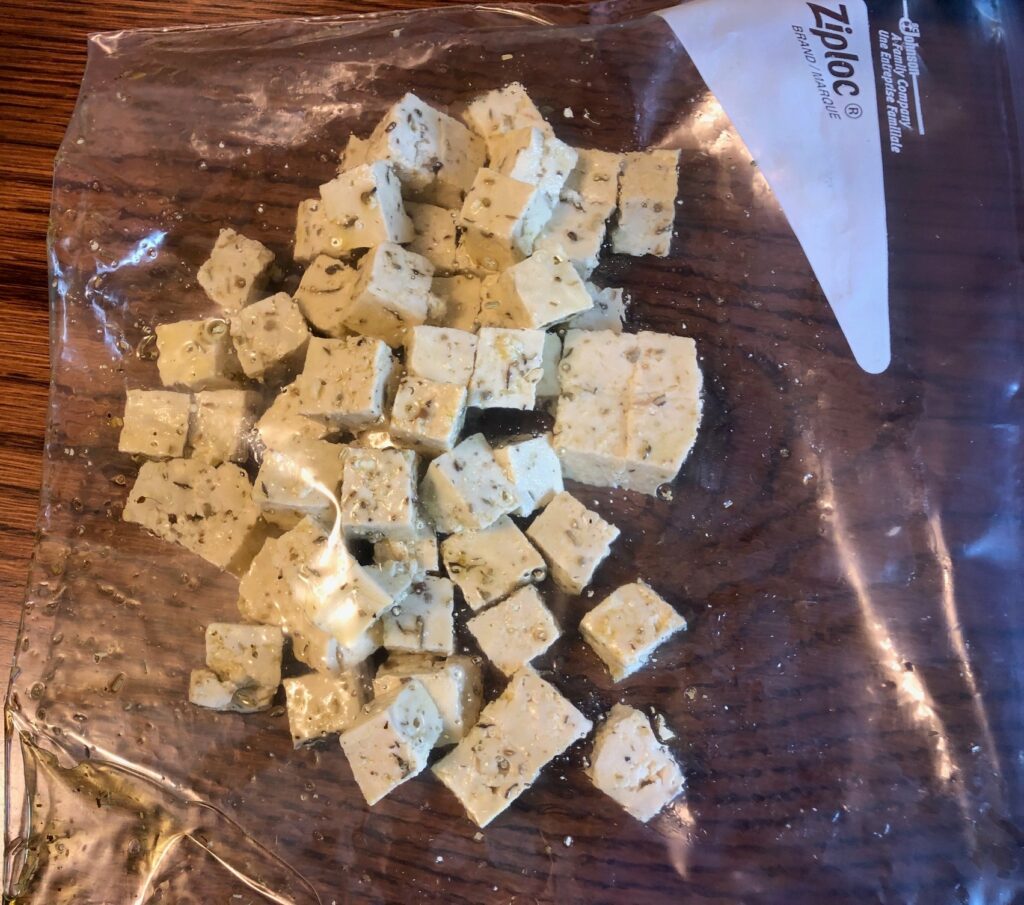
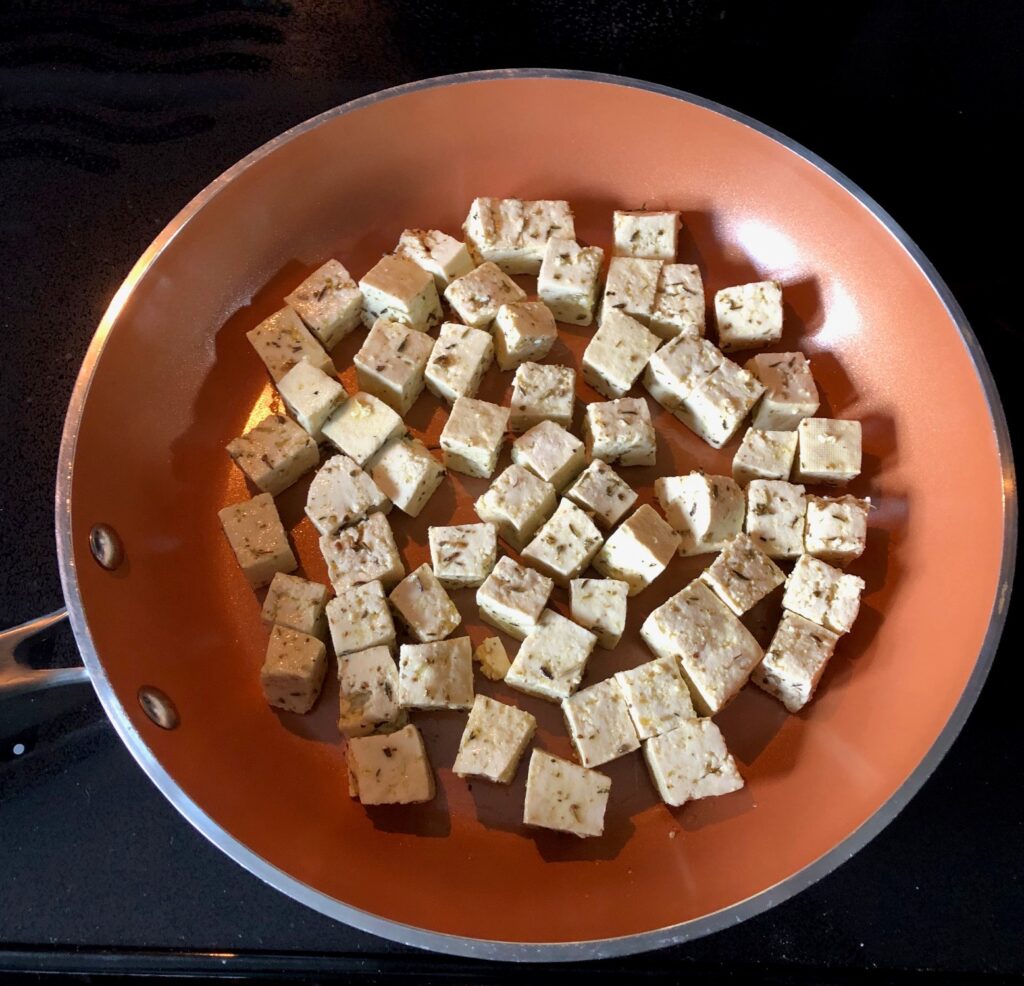
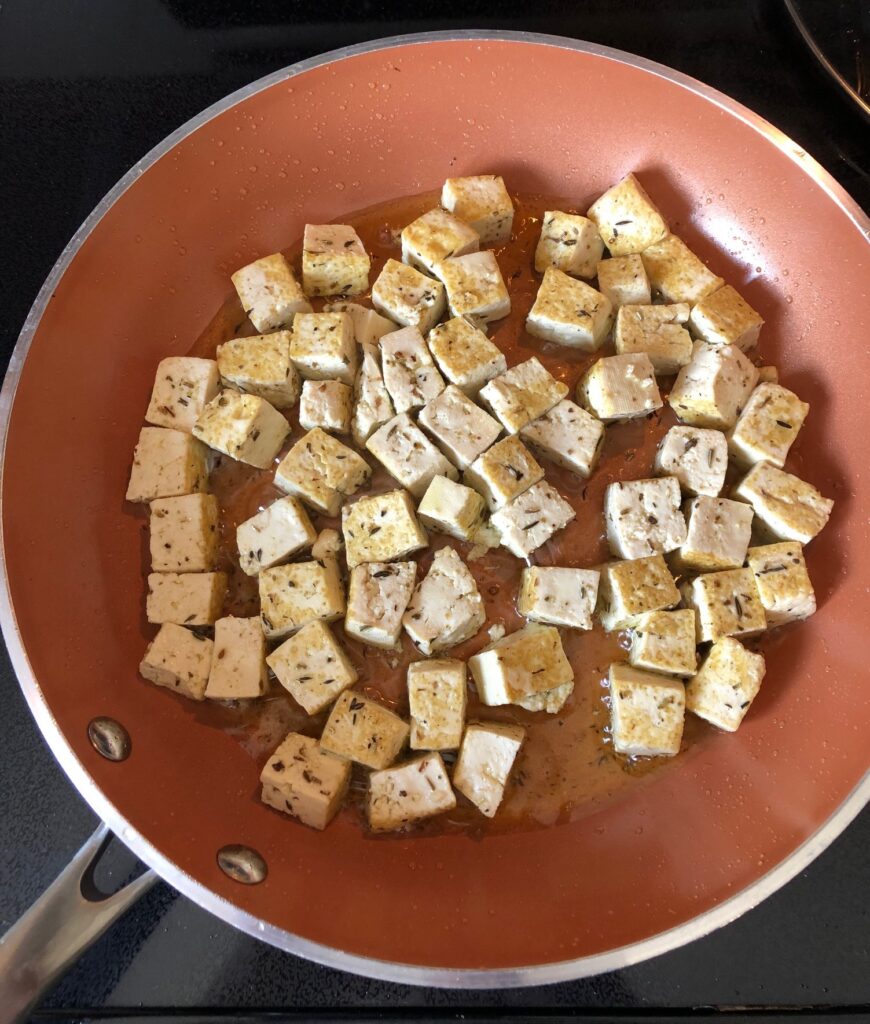
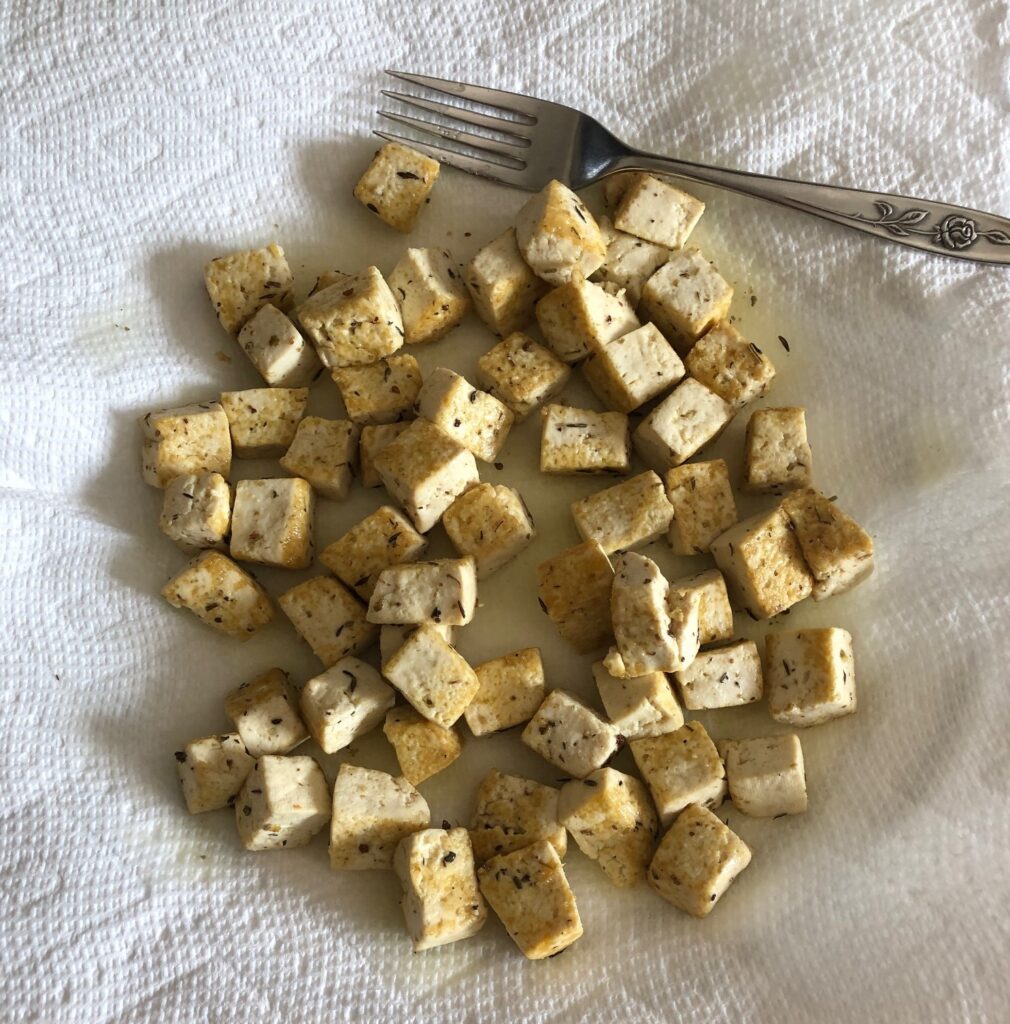
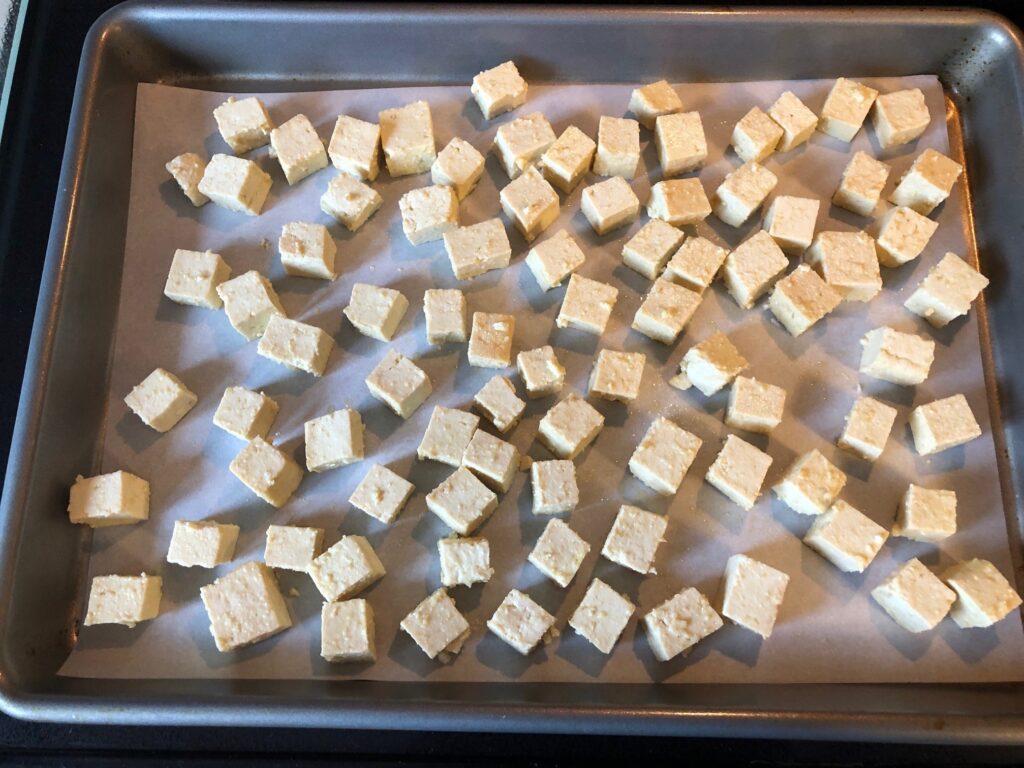
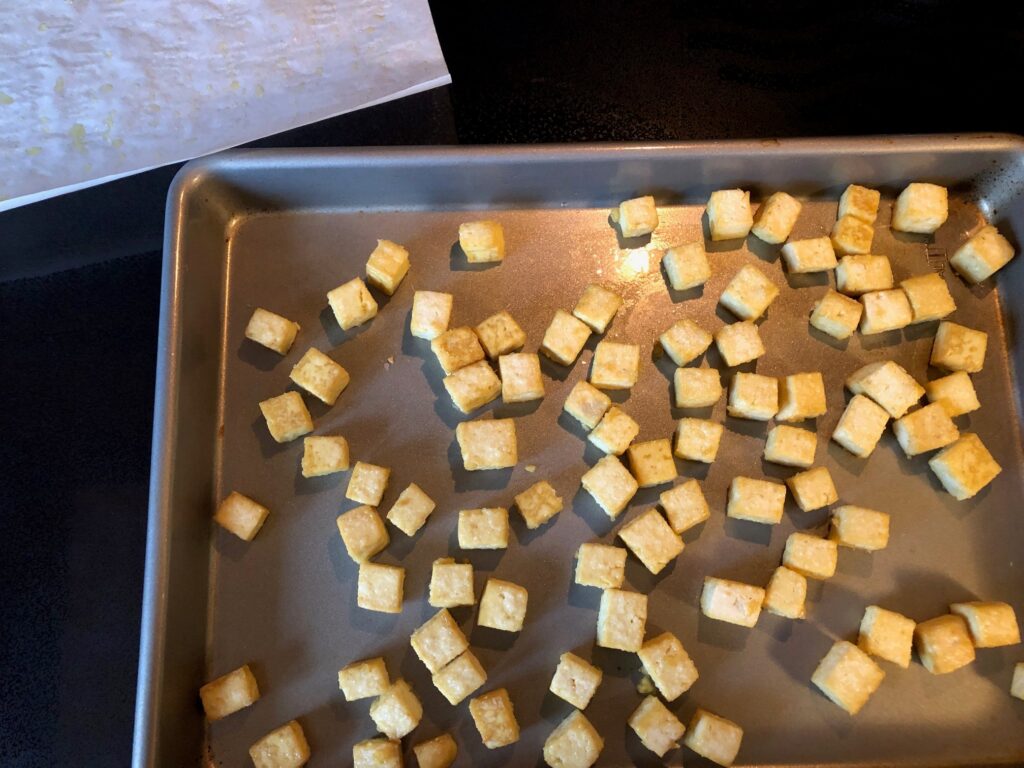
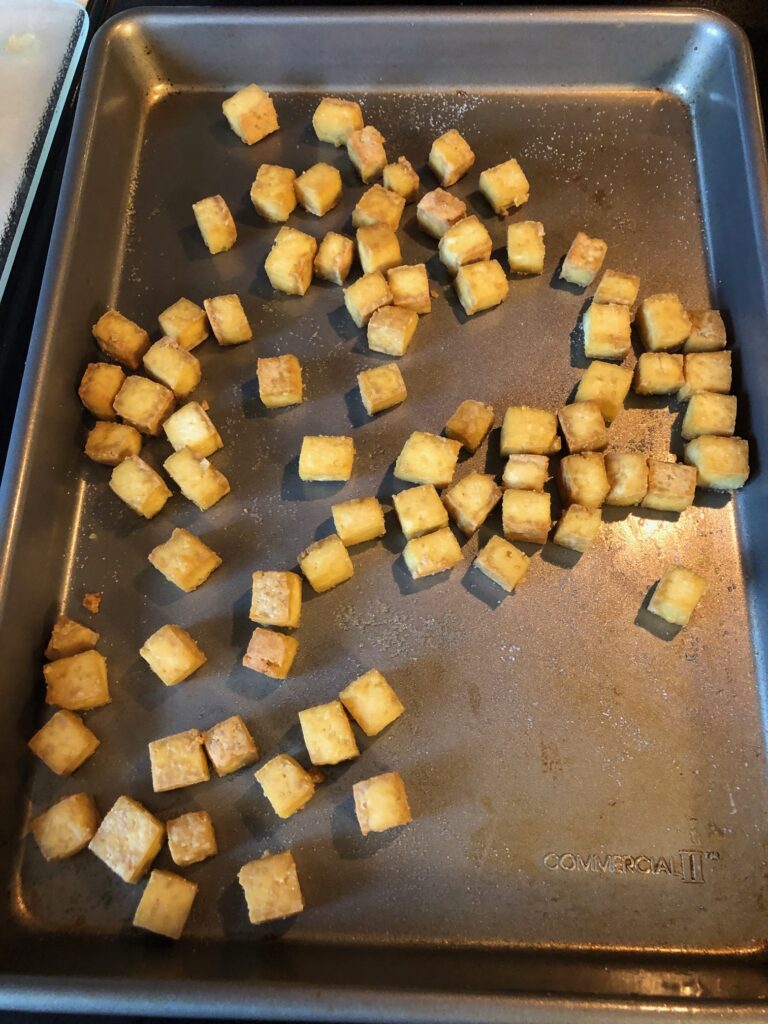
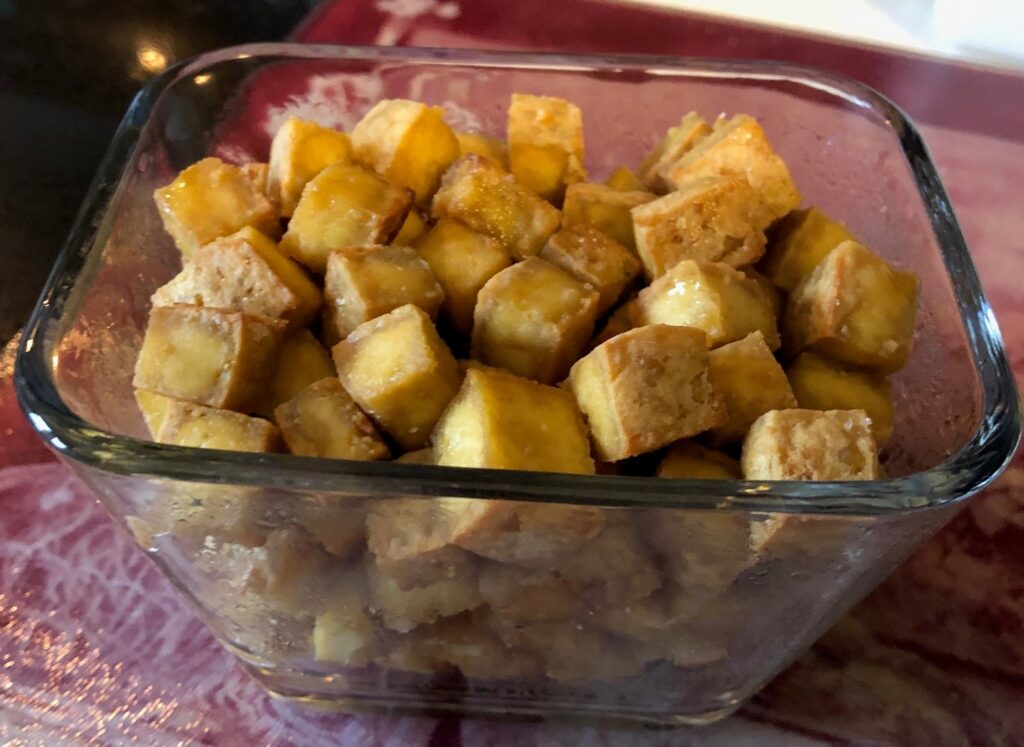
This time I cut the block into larger cubes than the first time.I mixed Italian herbs with olive oil and poured it into the bag of cubes. After gently mixing them up to coat each cube, I put the bag in the refrigerator for 2 hours.Cubes were now soaked with oil and herbs.Into the frying pan with a little more oil.After 10 to 15 minutes on medium heat, the cubes were browned but still soft enough to stab them with a fork.Drained on a paper towel and sprinkled with salt they tasted pretty good right out of the pan!
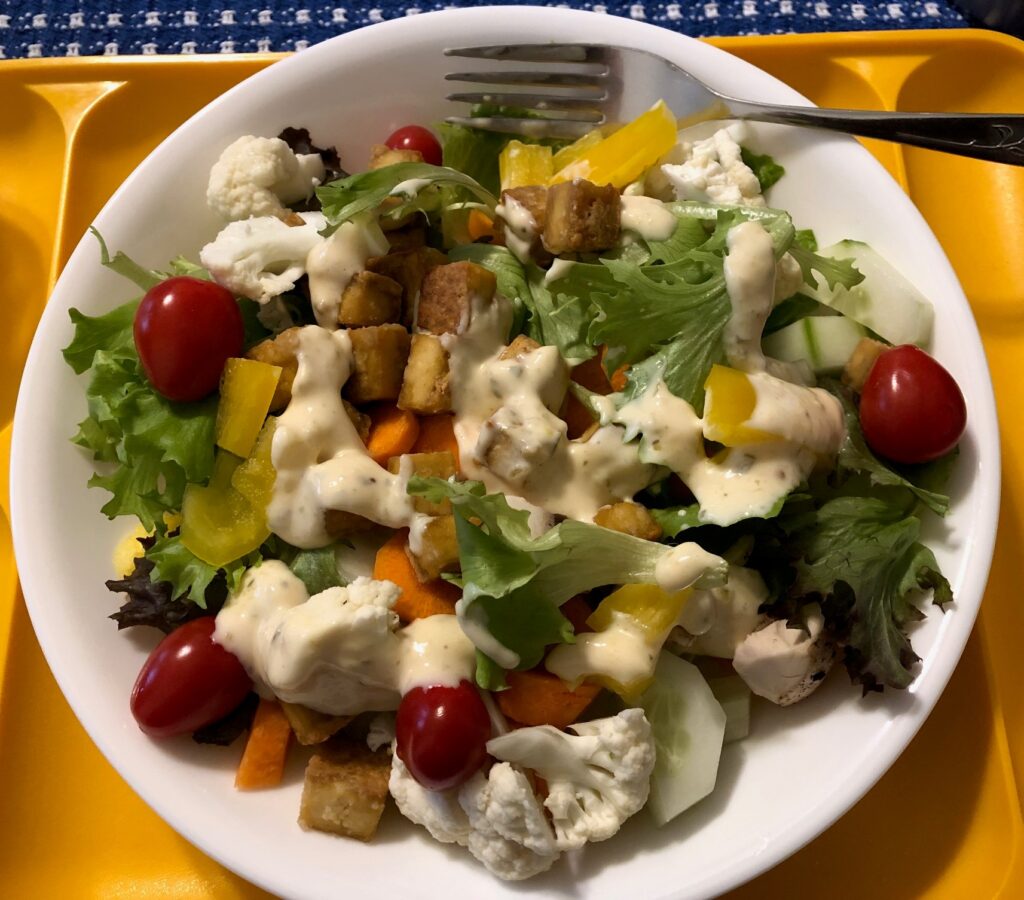
These cubes are still soft enough to put a fork through them. I think this way of cooking allows me to keep from overcooking them. Now they’re ready to put on a salad or add to soup! Give it a try!
It all seemed so simple! For someone like me, with a not-so-refined palette, the first time I try a new food I depend on the instructions in a recipe to do it right. Adding tofu to my “plant-based” meals seemed like a good idea, even though I’m still including meat and a few eggs in my meals. However, I have no baseline experience about how tofu tastes, how it cooks and even where to buy it in the grocery store! This adventure was a learning experience!
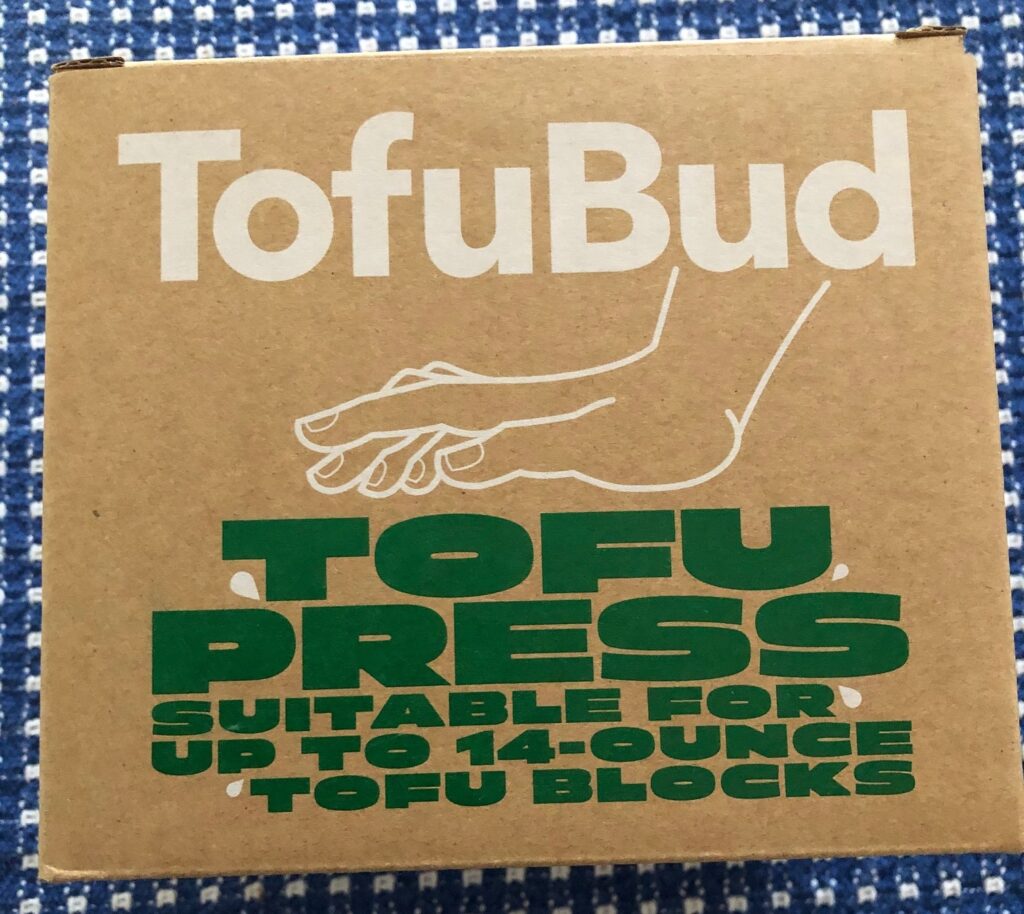
I read a little online about the different kinds of tofu…from silken to extra firm. What I wanted was flavored cubes of tofu that I could put on a salad. It appeared I needed to start with a firm or extra firm block of tofu. Since I really wasn’t interested in figuring out how to press it with a stack of heavy books, I ordered a “tofu press” from Amazon.
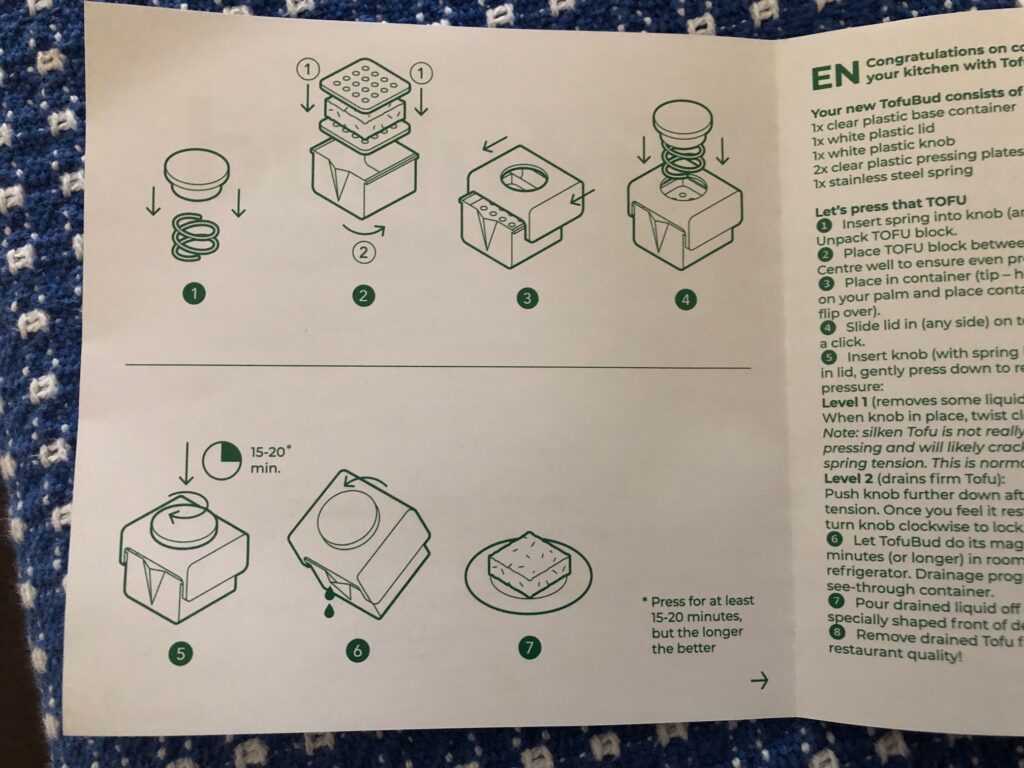
Instructions to assemble the press. Looks like Lego instructions!The press, assembled with a block of tofu.
Next, I went to the local health food store to find tofu. They didn’t have any at that moment and said I should go to the grocery store and look in the produce section. Who knew!!
I found several choices high on the shelf above the lettuce and near the wonton wrappers. I took a guess and brought one home.
The package said it was already drained and it was very firm.
I unwrapped the block and put it in the press…even though it said on the package that it had already been drained. At least I could see how the press worked. After 20 minutes or so, there was about a tablespoon of water in the bottom of the press. I dumped out the water and removed the block.
The press came with a little cookbook with a few recipes. The first recipe was for crispy tofu…sounded exactly like what I wanted.
I substituted onion powder for the garlic powder (because I had it and I don’t care for much garlic flavor).
I thought I bought Rice Wine Vinegar…and it turns out I bought Red Wine Vinegar. Oh well. I did have maple syrup and soy sauce. I used olive oil instead of toasted sesame oil. Probably with all these substitutions the tofu won’t taste right.
These were the ingredients I had to work with. I didn’t realize I had no cornstarch in the kitchen, so I raided my soap-making stash to grab the jar of cornstarch.
With all the substitutions, who knows what I’ll end up with!
I cut up the tofu into cubes and tossed them in the bowl with the seasoning oil mixture.I spread them out onto parchment paper and put them in the 400-degree oven.When it was time to flip them over, I realized the parchment paper was useless. It slid right off the pan. I just took it off and finished the baking time.Out of the oven they had shrunk and were sort of crispy but got really hard as they cooled.They really had very little flavor and were so firm I couldn’t get a fork in them.They were sort of like very firm croutons on my salad.
NEXT TIME I will:
Cut bigger cubes
Add more seasoning
Reduce cooking time
I guess I need to read more recipes to figure out the seasoning. Stay tuned for the second attempt to cook tofu!
One of my fondest memories of my mother’s cooking was her baked egg custard. It hit the spot on a cold winter day! For the last several years I didn’t even want to think about custard since eggs and dairy were off limits to me. I now seem to be able to tolerate an occasional egg in my diet, while dairy products are still a problem. Bert was interested in having some custard around now and then so I thought I’d dig out the recipe.
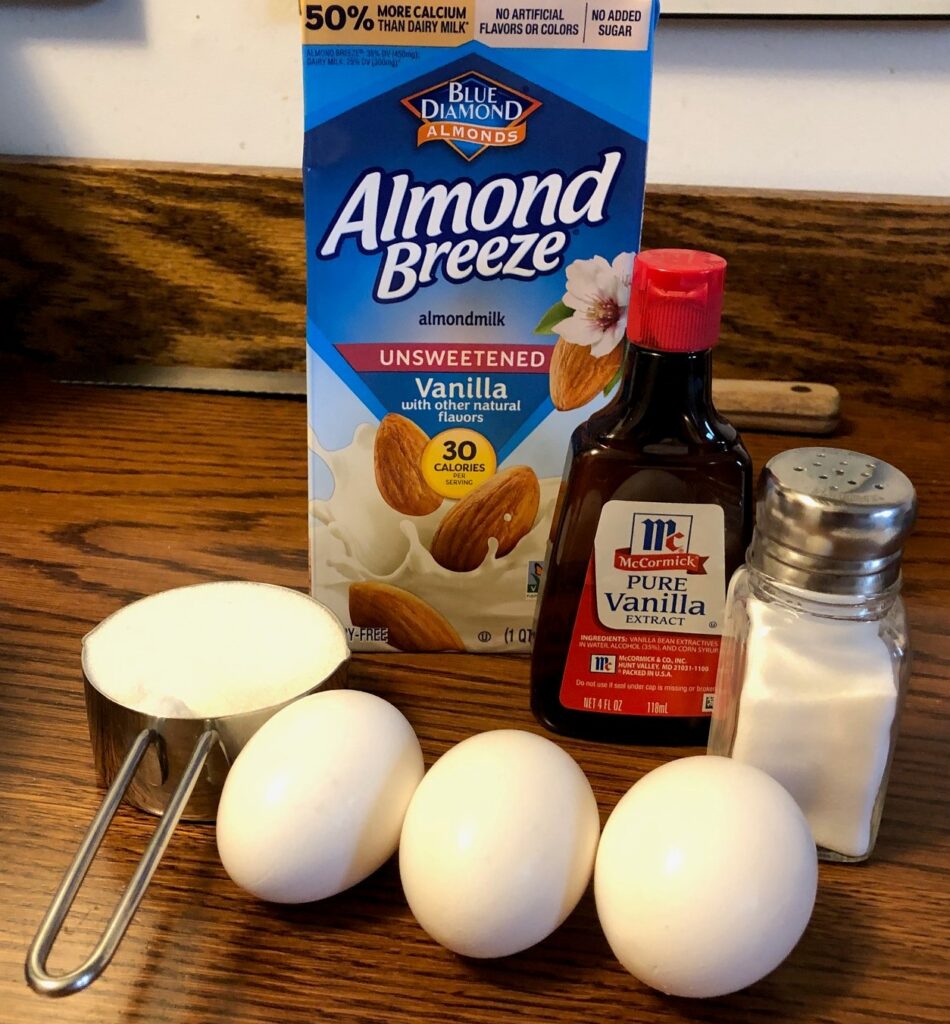
I wasn’t sure if the recipe would work if I used Almond milk so I made two batches…one with 2% milk and the other with almond milk.
Of course, to make this recipe I needed some baking dishes or custard cups. I can’t seem to find the ones I had that has plastic lids…they really helped because I could stack them in the refrigerator. Luckily, Amazon sells them! I ordered two sets last week and now I can make custard!
The picture from Amazon.
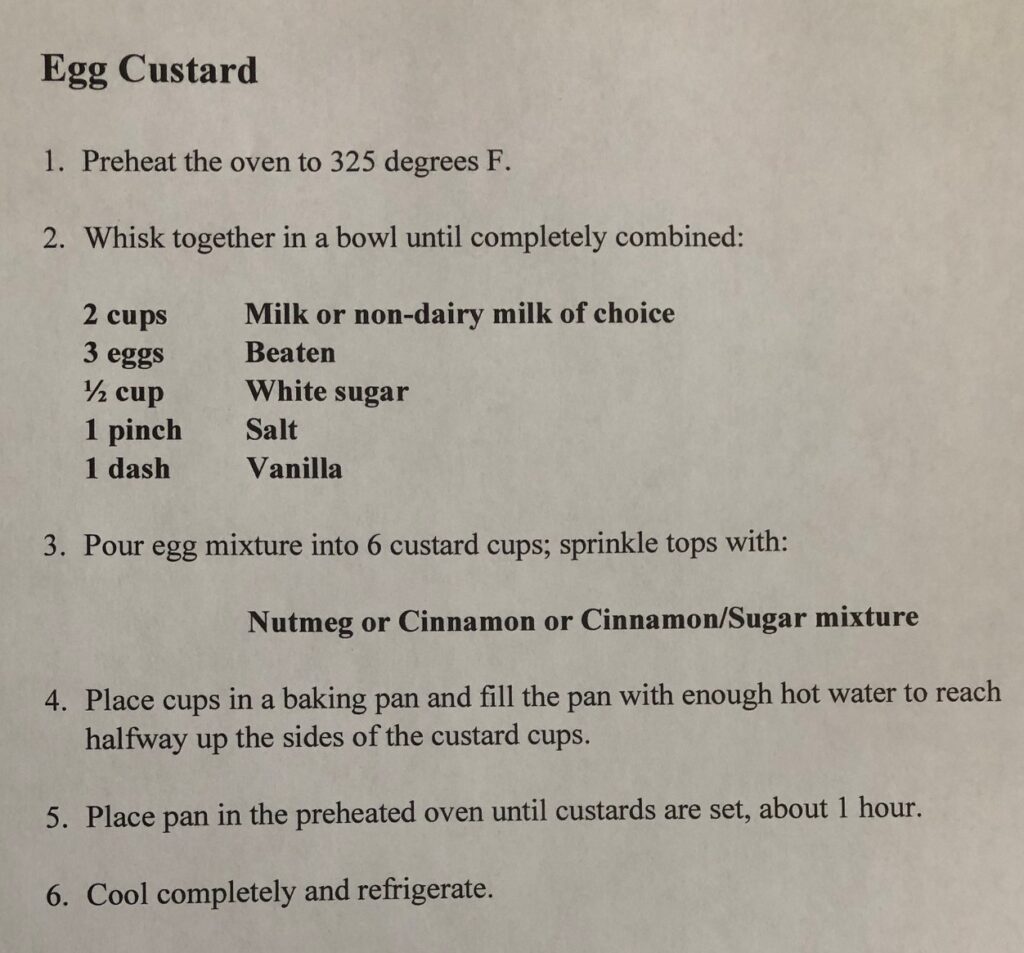
Here is the recipe:
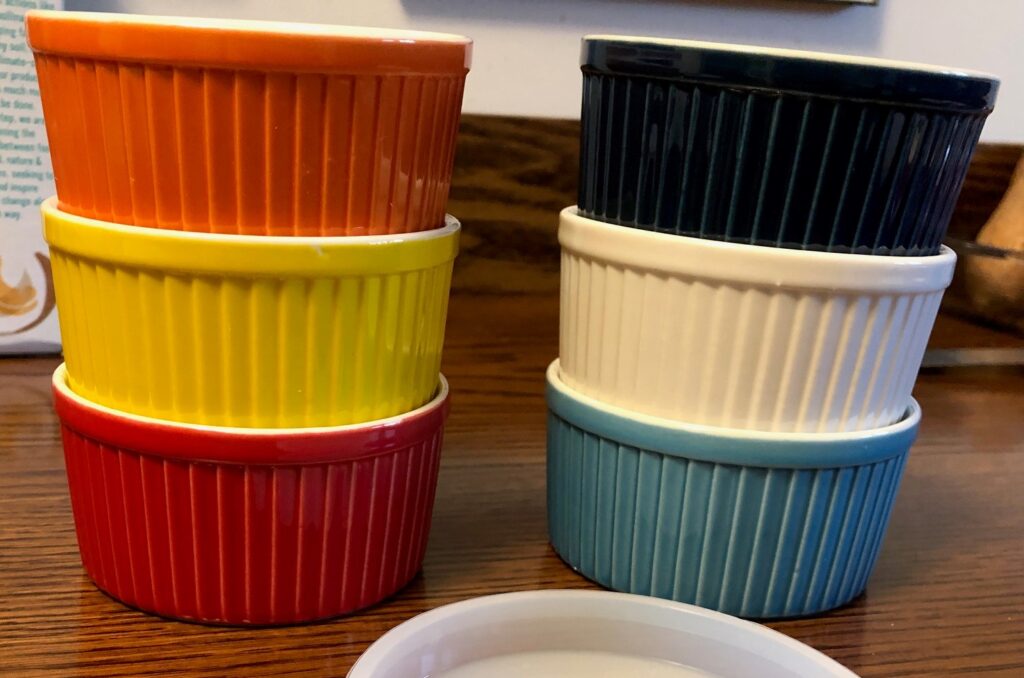
The recipe is pretty simple. The first decision was to color coordinate the cups so I would know which ones used my almond milk. I didn’t want to accidently eat the one made with real milk.
I ended up with the real milk custards in the red/orange/yellow cups and my almond milk custard would be in the aqua/navy/white cups.
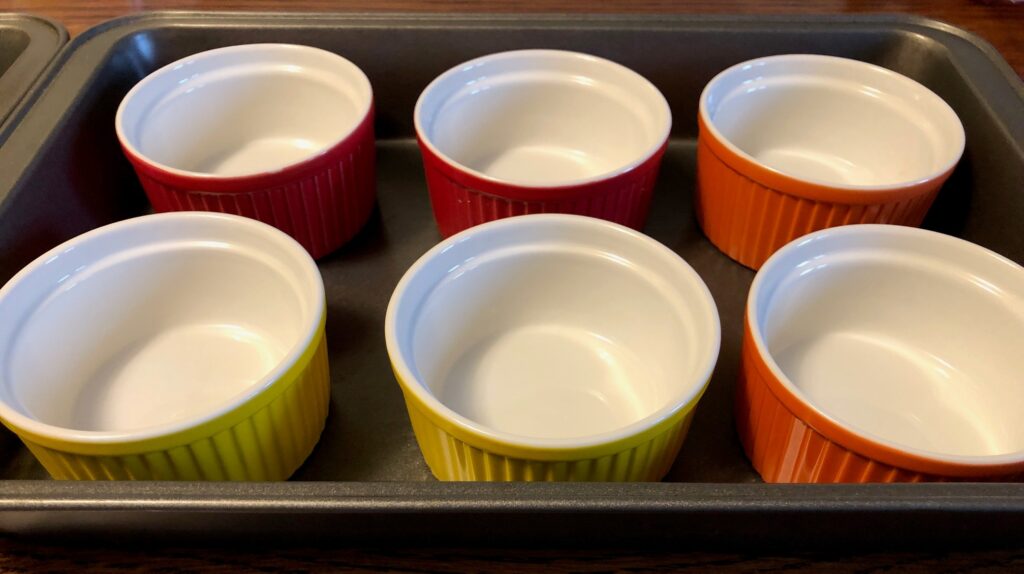
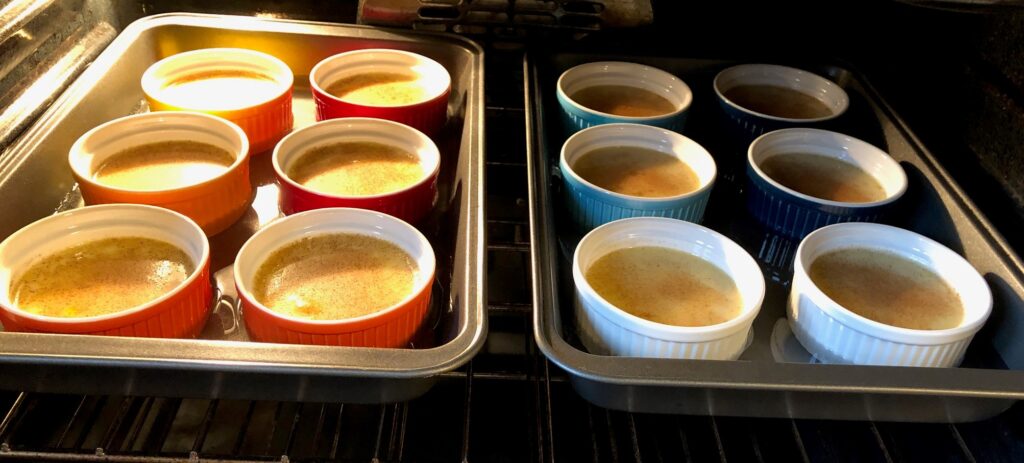
Next, I had to make sure the 6 cups fit into a cake pan before I filled them with custard.
I whisked the ingredients for the real milk custard in a bowl, transferred it to a 4-cup measuring cup and filled the 6 cups. I sprinkled a little cinnamon/sugar on top of each cup. Then I added hot water to the pan and put it in the preheated oven.
Next I mixed up the dairy-free custard.:
Ingredients for the dairy-free custard.Both pans fit side by side in the oven.
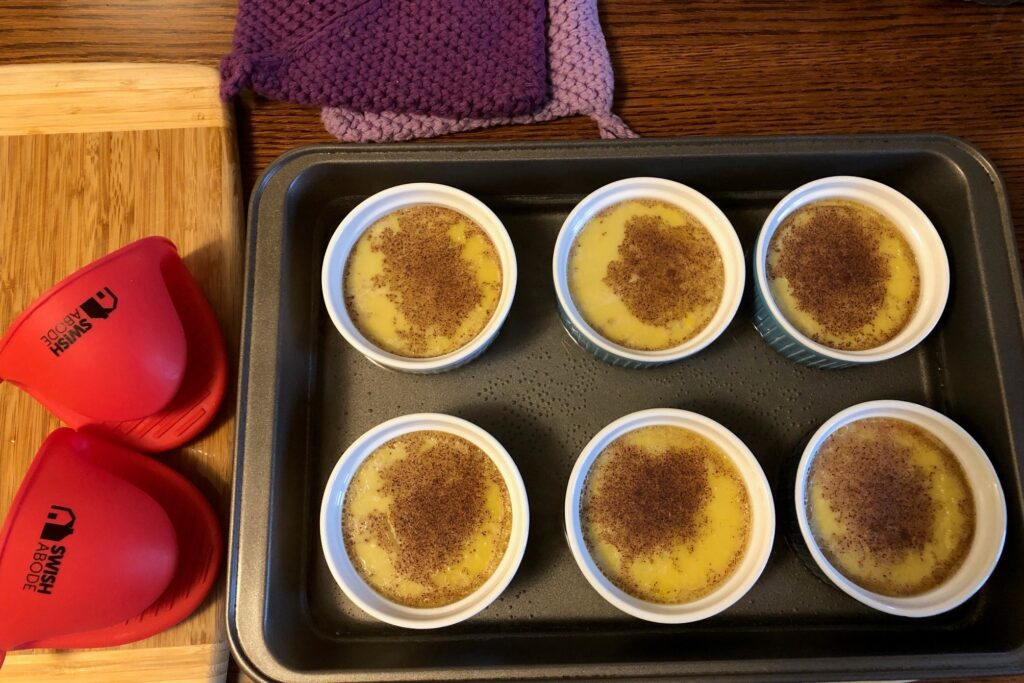
When I took the pans out of the oven, I remembered my dilemma from long ago…how to easily lift the hot cups out of the pan filled with water. When I used regular hot pads, I could not get a good grip on the hot cups. I thought I’d try the silicone hot pads that came with out air fryer. They were perfect! Sort of sticky, they gripped the cups and did not get soggy from the hot water.
The almond milk egg custard came out just fine…yea! Now we both have a special dessert this winter. Give it a try!
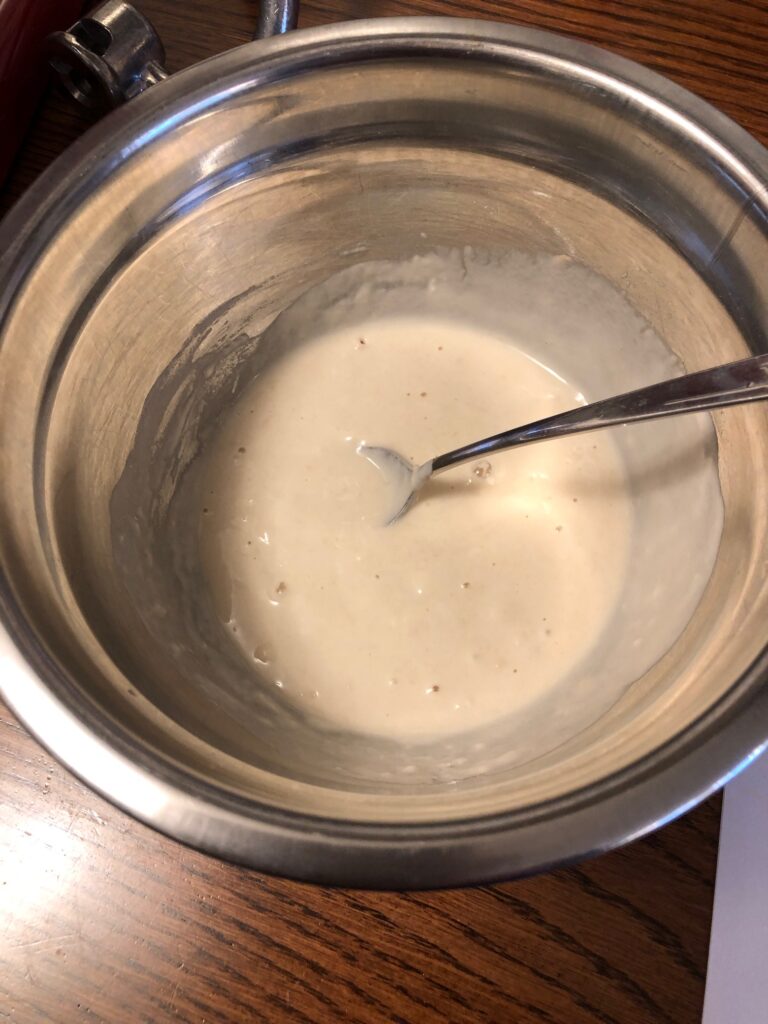
Before I get distracted by my next sewing project, I thought I’d share this recipe I tried yesterday. These sweet potato buns were delicious and the sweet potatoes made them nutritious. The recipe came from a website (https://twogreenpeas) that even had pictures of the process.
A few of the instructions weren’t clear to me, so I revised the recipe to suit the way I bake bread. Here is my revised recipe:
The preliminary step for this recipe is to peel, cube, cook, mash and cool a sweet potato. If you’re baking sweet potatoes, do an extra one and you’re good to go.
The original recipe started with making the sponge and then cooking the sweet potato. So, I did that. However, after peeling, cubing, cooking and mashing the sweet potato it was too hot to add to the yeast mixture. It needed 20 minutes in the refrigerator which meant the sponge was left sitting too long.
So, starting from scratch, I recommend you get the mashed sweet potato done first before starting the sponge.
Prepping the Sweet Potato
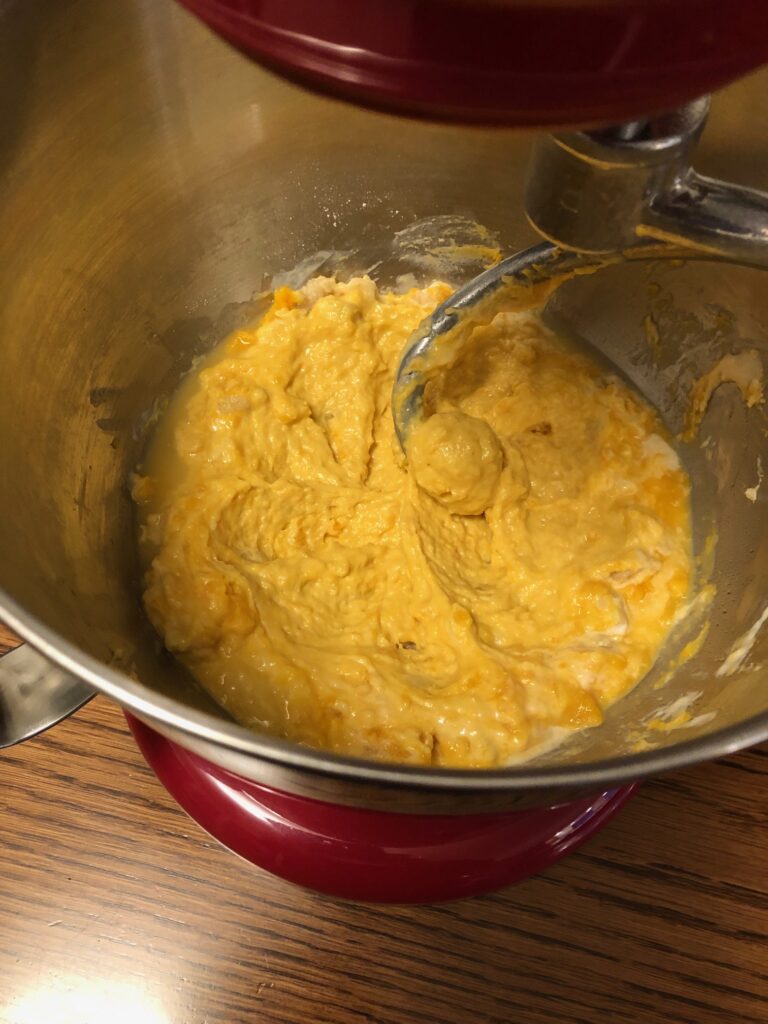
PeelCubeCookMeasure 1 cup (I had about 1 1/2 cups…just meant a little more flour needed)Mash and cool
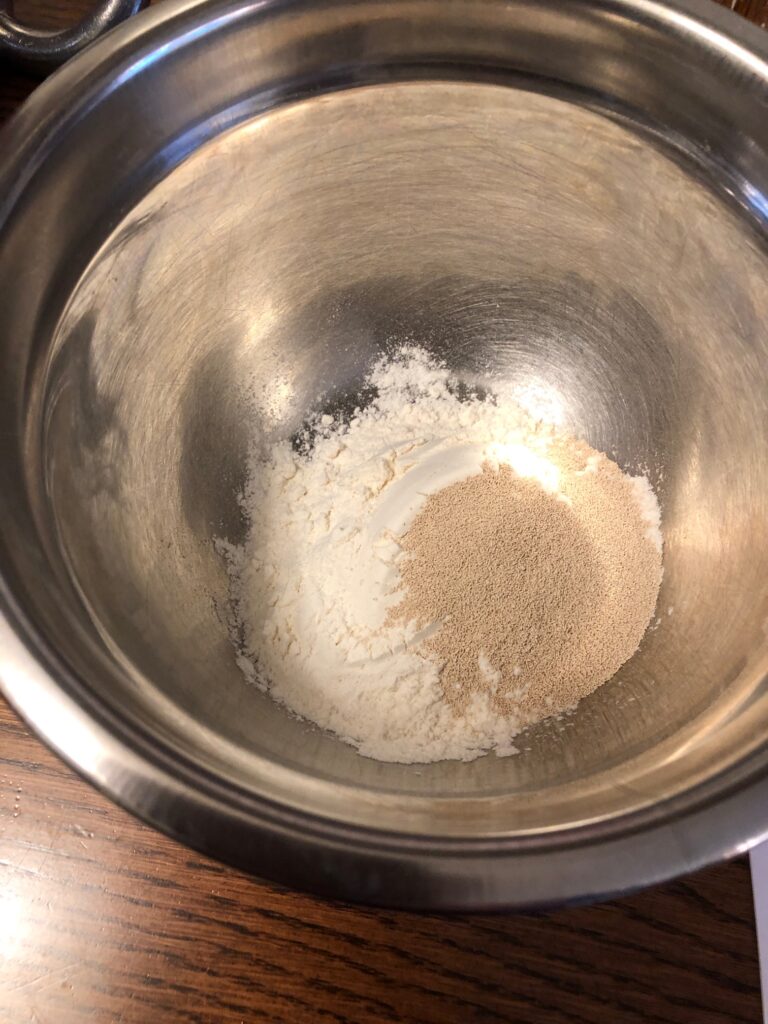
Make the Sponge
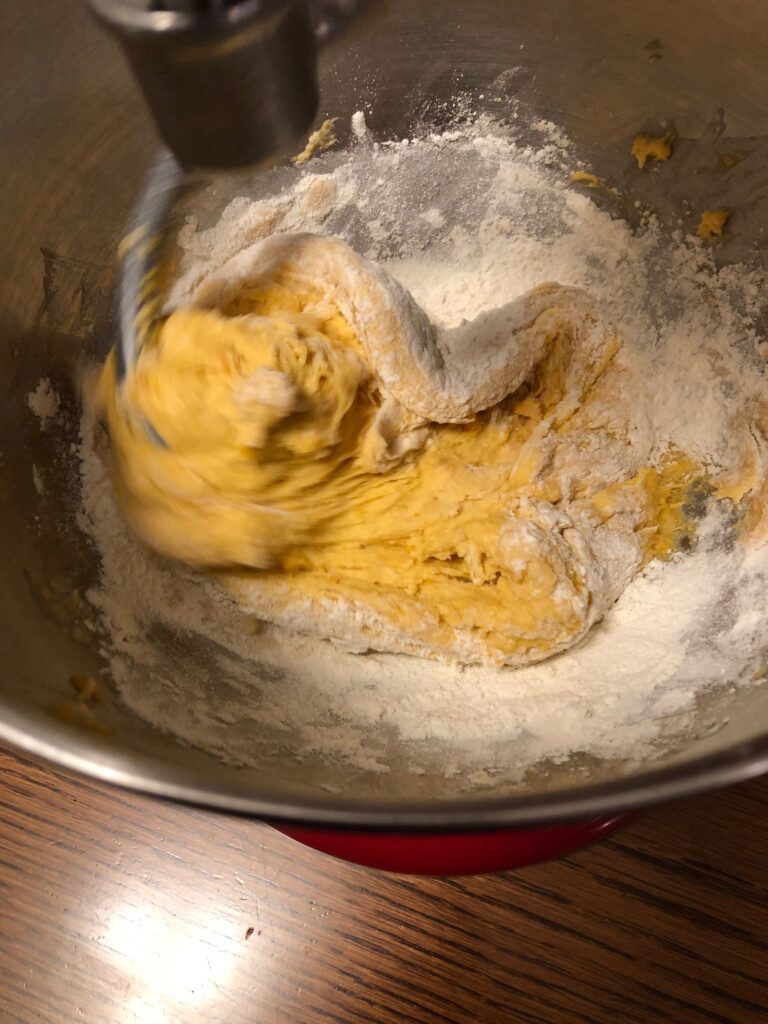
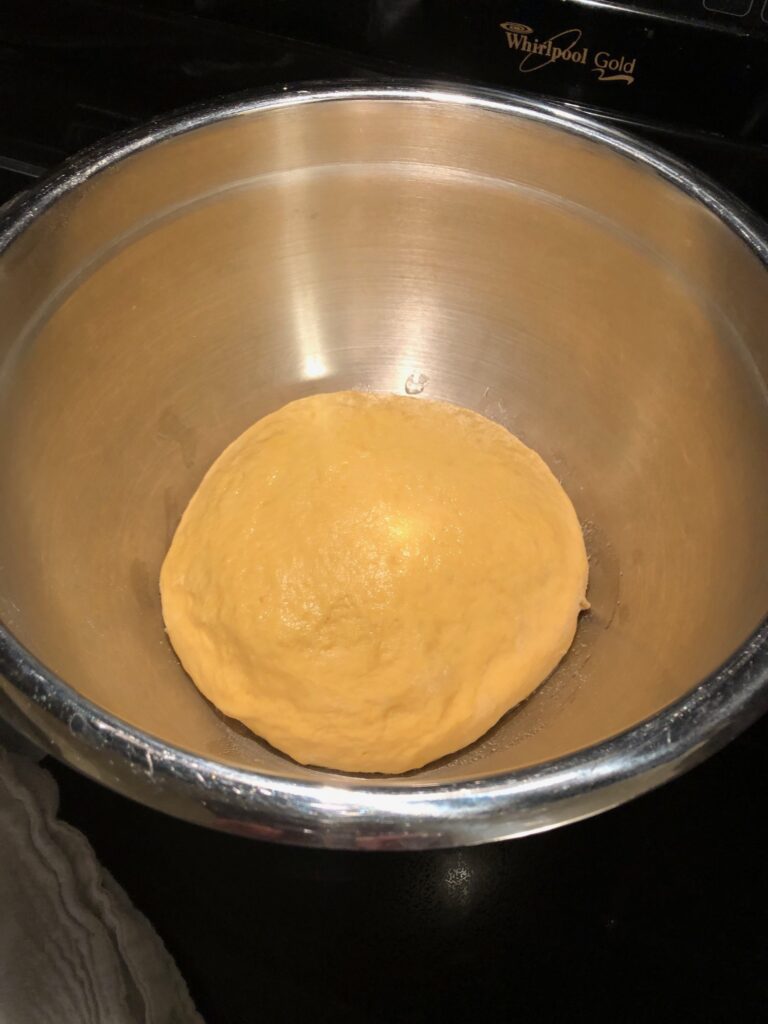
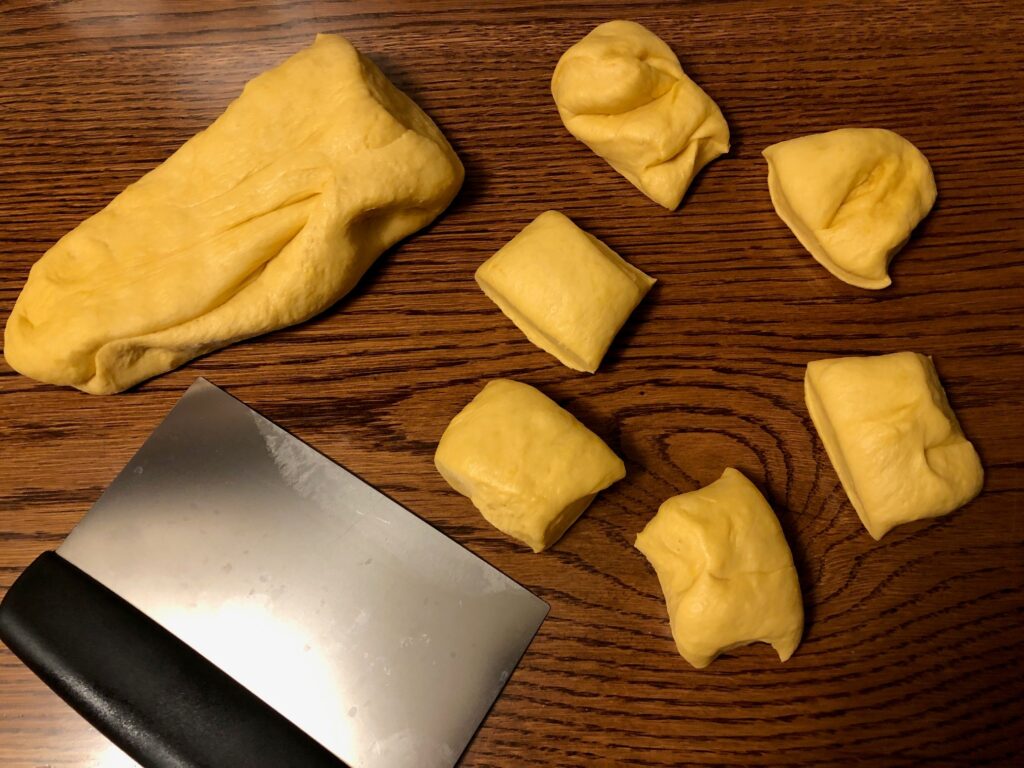
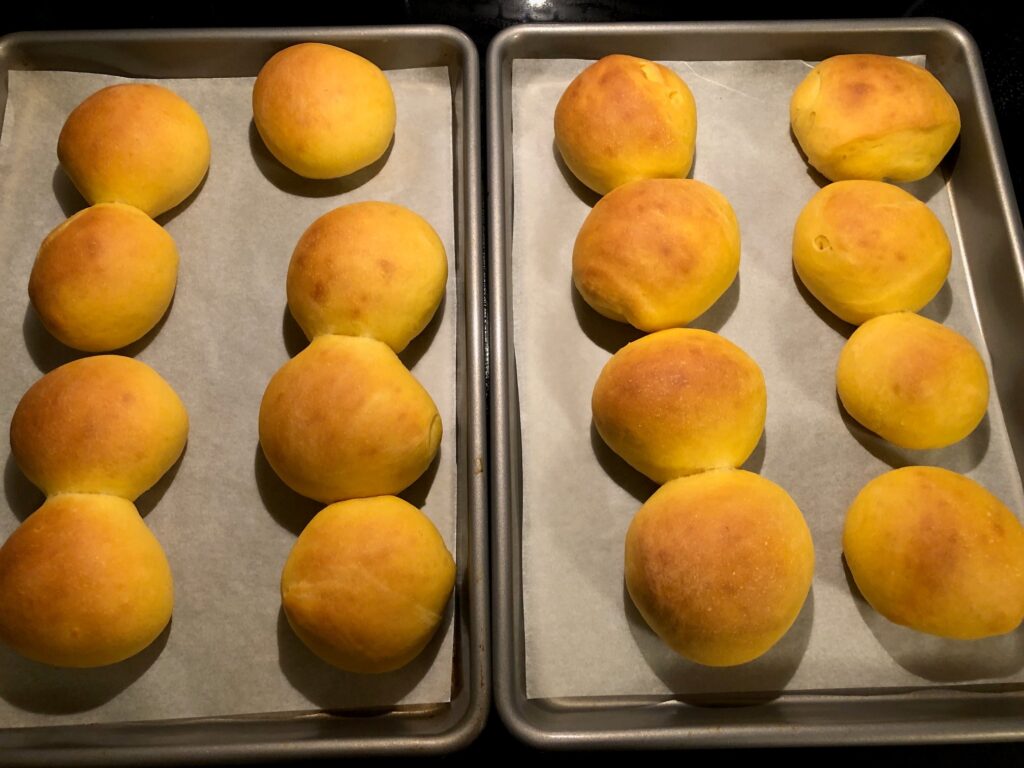
Flour, yeast, warm waterWait 20 minutesAdd other ingredients to spongeMix 5-7 minutes and add flour as needed to make a ballPlace in an oiled bowl and cover with a cloth to rise.Divide into 16 pieces. Form into balls.Let rise on a baking sheet for 15 minutes.Bake 15 minutes.Delicious!!
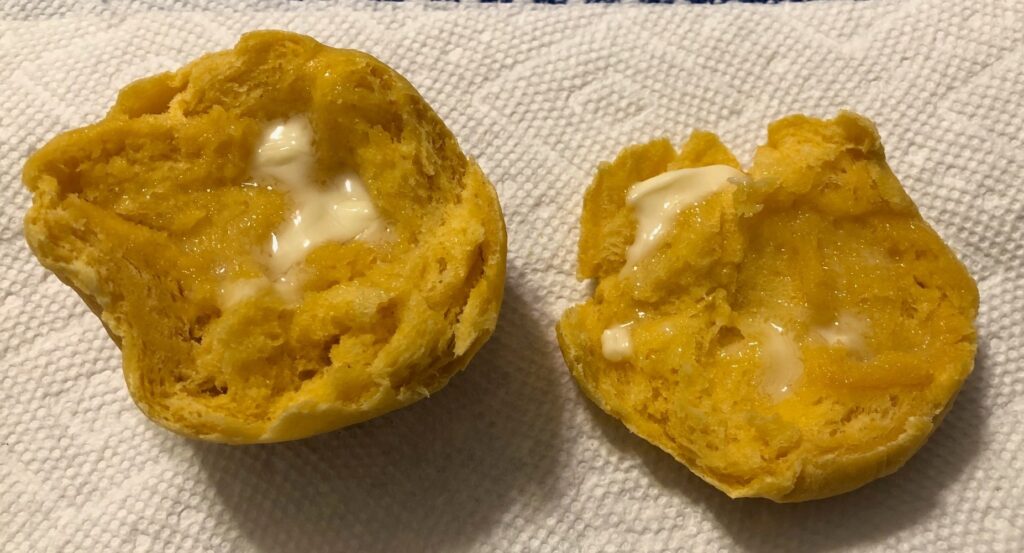
The buns could be made larger for sandwiches. It is a delicate bun and might not hold together for a sandwich. Give it a try and let me know! Enjoy!
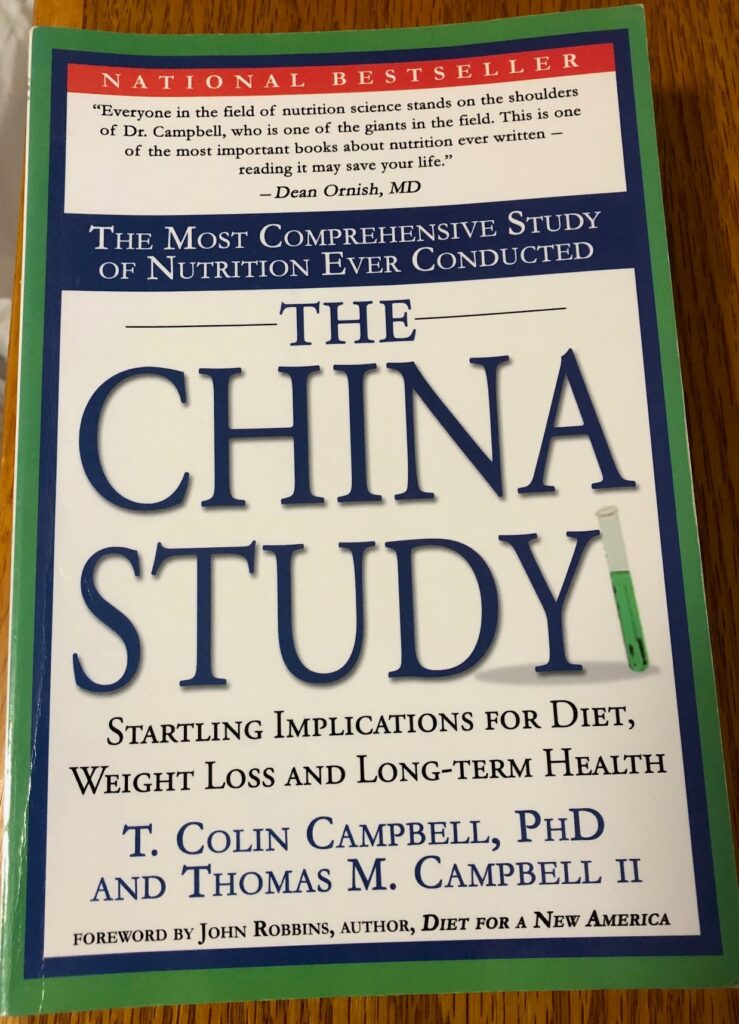
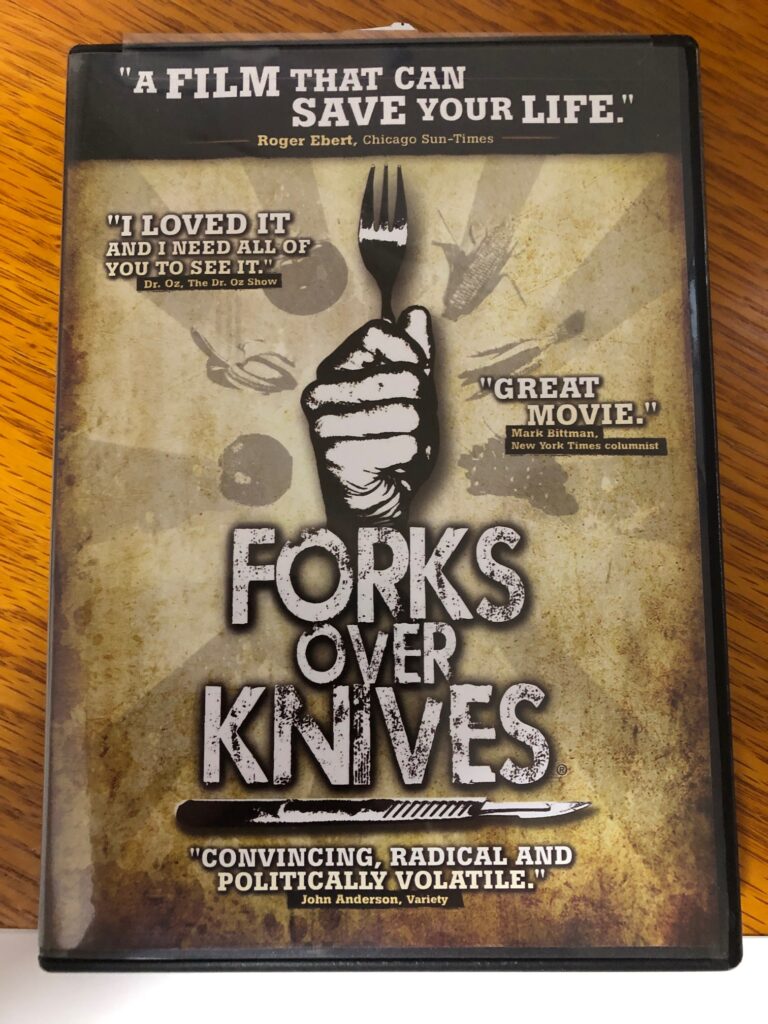
If reading the extensive research-based book, The China Study, is not interesting or possible for you, I’d like to suggest you watch this 90-minute documentary based on the research from Dr. Colin Campbell and Dr. Caldwell Esselstyn. This video weaves the research around the practical stories of a few people who were making important changes in their diets to improve their health.
This video is a comprehensive overview of The China Study research and followed the career paths of Dr. Campbell and Dr. Esselstyn. While they had not met before, their professional work supported each other’s research. Dr. Campbell was following the science of a plant-based diet, while Dr. Esselstyn’s work provided the clinical research into heart disease that supported Dr. Campbell’s findings. All of their findings were stronger when they finally discovered how their research supported one another.
This video is offered as part of Prime Video at Amazon or the DVD is available for purchase for $11.39. Your local library may even have a copy to lend.
Cataract Surgery Update
Hopefully, after tomorrow I’ll be able to enjoy reading again. It will take a few days for the eye to clear up after surgery. I’ll finally have 20/20 vision for distance. Then, I’ll have to find the right “cheeter” readers so I can see close up. I can’t wait to get back to all my ongoing projects…from sewing Greyhound coats to experimenting with soap and skin care products. While I couldn’t read books comfortably, I seemed to be able to click on Amazon to order some of the cookbooks to go along with the whole-foods, plant-based eating plan. They have now arrived, so soon I’ll share some of the recipes that worked for me. That’s all for now…I have to be at the medical center at 6:10 tomorrow morning! Yikes! More later!
I apologize for going silent for a week and leaving my ugly mug in view for so long! My new (cataract-free) left eye is now 20/20, but of course the right eye will be worked on next week. Soooo…my vision is a little crazy. I wanted to share some information that I’m rereading about the research into the whole foods plant-based eating plan (as opposed to the label “vegan”) but I can’t really see well enough to write up that description. Since I can type without looking at the keyboard, I’d just like to summarize my thinking about attitudes toward nutrition.
Nutritional advice has shifted back and forth over time from low carb to high carb and balanced diet to restricted diets. It seemed diets were driven by folks who wanted sell books, or supplements or actual food.
Back in the 1960’s you might have recognized names like Adelle Davis who pointed out the harmful hormones and additives in common foods. She felt foods were lacking in nutrition and recommended adding vitamin supplements to the diet. (See her book, “Let’s Eat Right to Keep Fit”).
Robert Atkins encouraged a low carb diet with unlimited protein and saturated fat. This diet was criticized for putting folks at risk for heart disease.
Around the same time one of the most controversial diet books was published, “Diet for a Small Planet” by Frances Moore Lappe. This book laid out the principles of eating less or no animal products and using plants in a way to combine their nutrients so we had adequate nutrition (expressed as food combining, like beans and rice). Food companies spent a lot of advertising energy proclaiming that we just couldn’t get enough of the right kind of protein on this diet.
At the time, the Standard American Diet was definitely focused on beef, pork and poultry as the base for an adequate diet. This diet was supported by the industrial food growers and manufacturers with subsidies to farmers and advertising to the public (remember the “Where’s the beef?” and “Got Milk?” ads?). Most plant-based crops not designed to be fed to animals were more of a novelty or appropriate for home gardeners. Families choosing to eat less meat were shamed into thinking they were not feeding their children adequate nutrition.
At the time, nutritionists were taught the basic food groups of a good diet (meat, dairy products, vegetables, fruit and starch (bread and potatoes). any diets that deviated from this Standard American Diet were often described by what they did not include: Vegetarian meant no meat but cheese and milk were OK; Vegan meant no meat, no dairy, but dangerous lack of protein.
When I discovered that I was allergic (or very sensitive to) eggs and dairy products, I would say I was a vegan that could eat meat…so I could reassure folks that I could still be healthy.
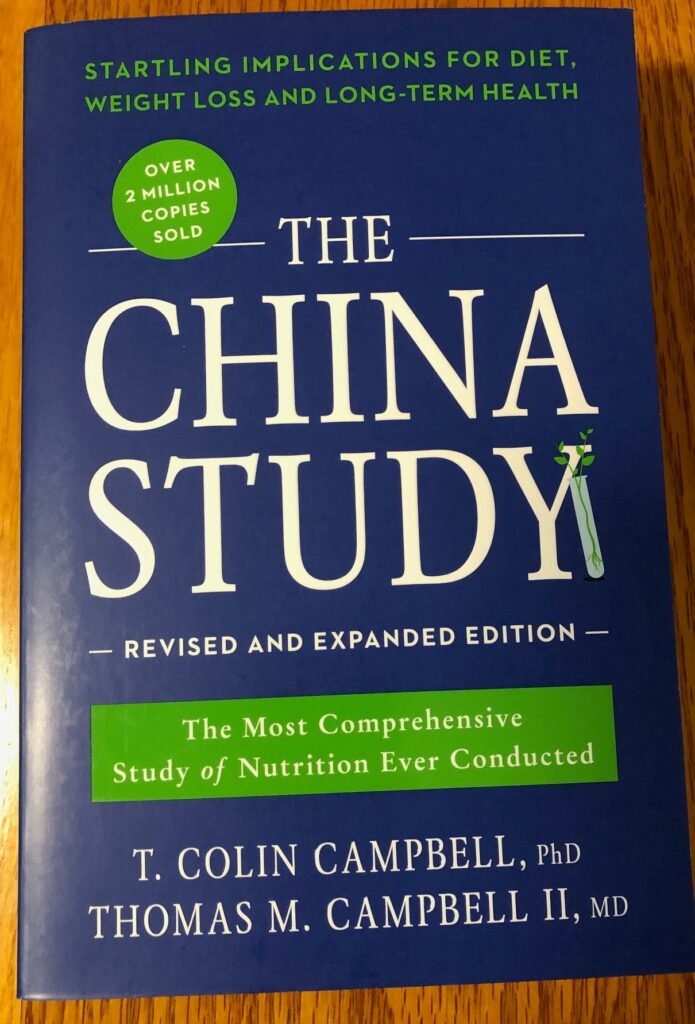
The China Study
In 2006 I stumbled upon a book describing some major research in the field of nutrition, called The China Study. This research was spearheaded by T. Colin Campbell, a nutritional biochemist at Cornell University and his son Thomas M. Campbell, MD.
The research was focused first on animal studies trying to understand the relationship between diet, longevity and cancer. The research team then had the opportunity to use a vast database from China that explored many variables, including the relationship between the intake of animal protein and the incidence of cancer. The detailed results were published in this book, The China Study.
The research presented in this book was very compelling to me. However, at this stage it was difficult to see how it could be implemented…especially in the winter in Pennsylvania. Our garden was under snow. I did not have a greenhouse and I had very little experience cooking with beans or tofu. However, I was thrilled to attend a presentation given by Dr. Campbell at Foxdale village here in State College in 2008 and had him autograph my book!
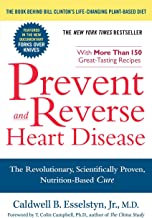
The researchers in The China Study also partnered with Dr. Caldwell Esselstyn, a noted cardiac surgeon at the Cleveland Clinic, who was implementing a diet for his most difficult heart patients that focused on a whole-foods, plant-based eating plan. He was finding the diet worked, even when traditional doctors were still recommending the Standard American Diet. His patients loved him; many of his colleagues didn’t want to hear about his successes!
After reading The China Study 15 years ago (which I found inspiring), I was amazed at the reaction from the government, food industries and nutritional organizations (subsidized by the government and food industries). The revised edition of the book, out in 2016, describes some of the most controversial issues. I could not believe the vitriol being thrown about.
With any research-based book like this, it’s always hard as an individual to figure out how to implement the findings. What should my dinner plate look like if I wanted to follow the suggestions?
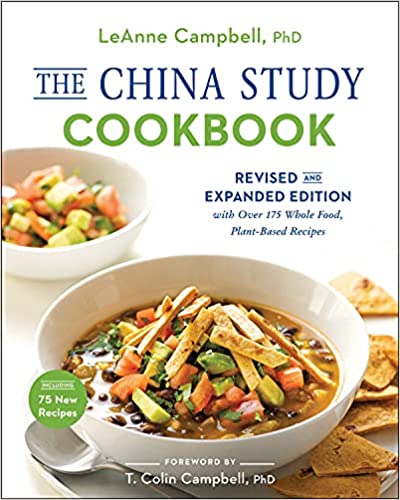
Curiously, over the last 15 years, T. Colin Campbell’s wife, daughter and son found ways to define the practical side of the diet. Dr. Esselstyn’s wife and daughter published cookbooks and his son (a firefighter) brought the diet principles into the fire house, creating the Engine 2 Cookbook based on the book and video Forks Over Knives.
Now I realize the language about diet has changed from Vegan (and the foods not allowed) to a Whole-Foods, Plant-based diet (with a more positive image). Both families (Campbell and Esselstyn) transitioned to this way of eating gradually and their younger generation has found a way to champion this way of eating. I find it inspiring!
This afternoon, I’m still uncomfortable trying to read in depth so I’m going to watch the video I have of Forks Over Knives to refresh my memory. As soon as I can actually focus and reread parts of The China Study, I’ll share some of the research. If you’d like to dive into the research yourself, the revised edition is available on Amazon. There are now several cookbooks available that are written by LeAnne Campbell. More about those recipes in the future! Enjoy!