One of my fondest memories of my mother’s cooking was her baked egg custard. It hit the spot on a cold winter day! For the last several years I didn’t even want to think about custard since eggs and dairy were off limits to me. I now seem to be able to tolerate an occasional egg in my diet, while dairy products are still a problem. Bert was interested in having some custard around now and then so I thought I’d dig out the recipe.
I wasn’t sure if the recipe would work if I used Almond milk so I made two batches…one with 2% milk and the other with almond milk.
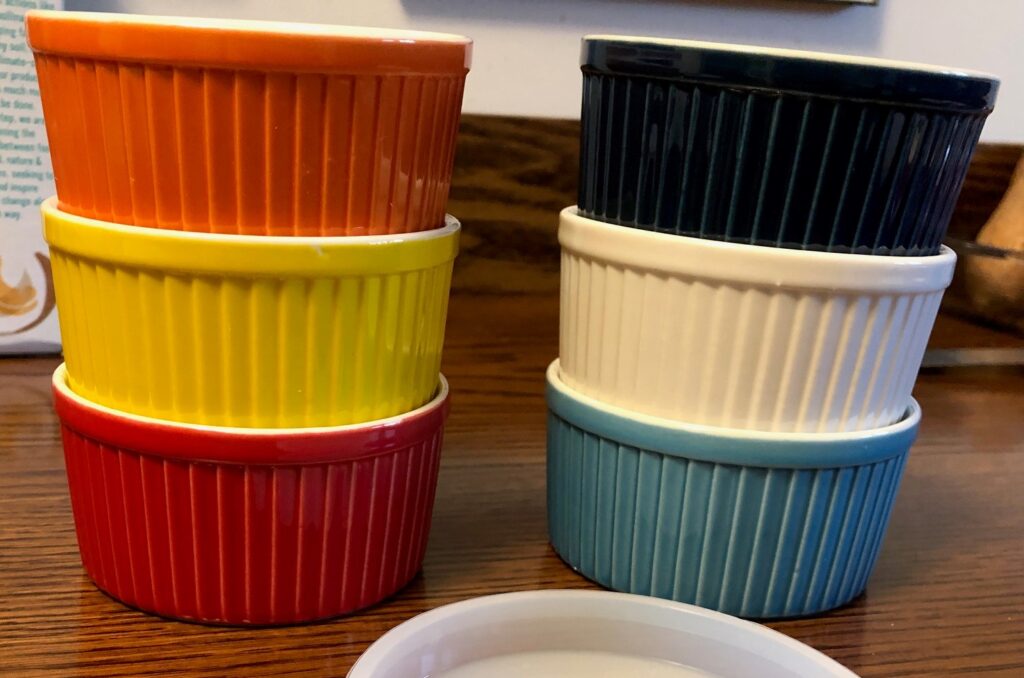
Of course, to make this recipe I needed some baking dishes or custard cups. I can’t seem to find the ones I had that has plastic lids…they really helped because I could stack them in the refrigerator. Luckily, Amazon sells them! I ordered two sets last week and now I can make custard!
The picture from Amazon.
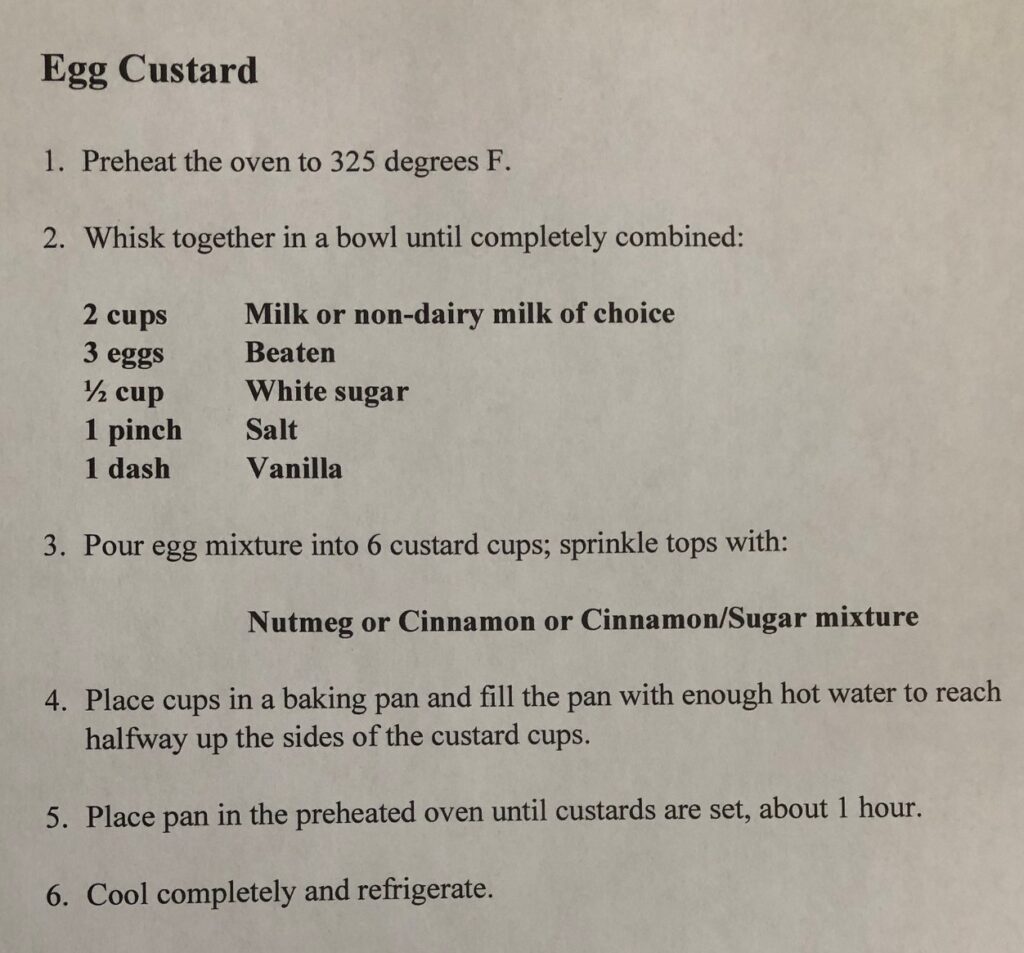
Here is the recipe:
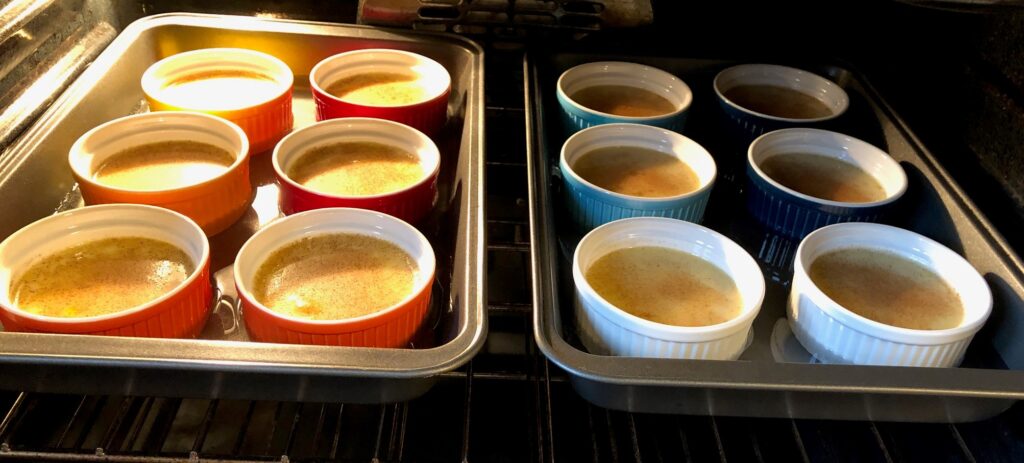
The recipe is pretty simple. The first decision was to color coordinate the cups so I would know which ones used my almond milk. I didn’t want to accidently eat the one made with real milk.
I ended up with the real milk custards in the red/orange/yellow cups and my almond milk custard would be in the aqua/navy/white cups.
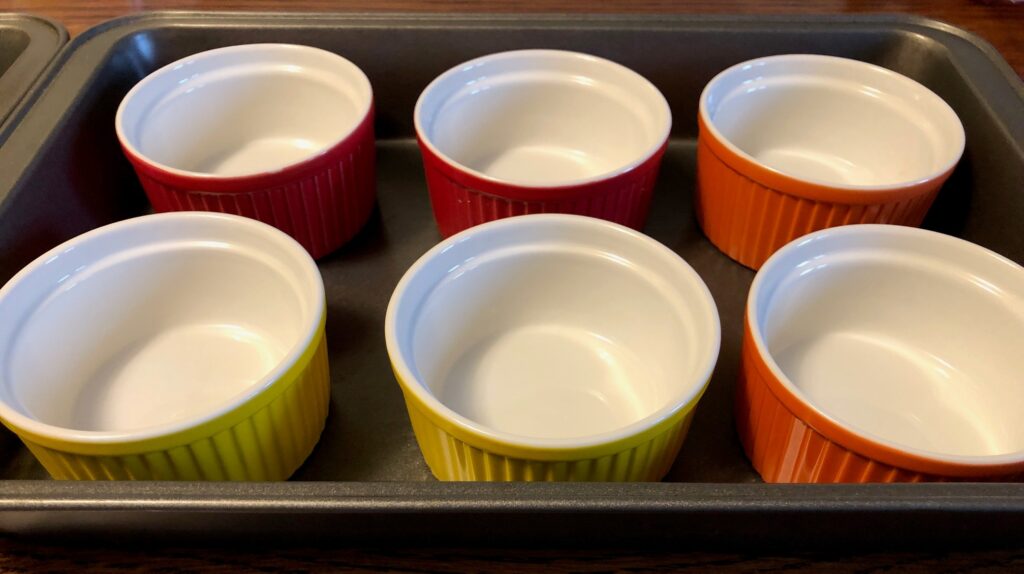
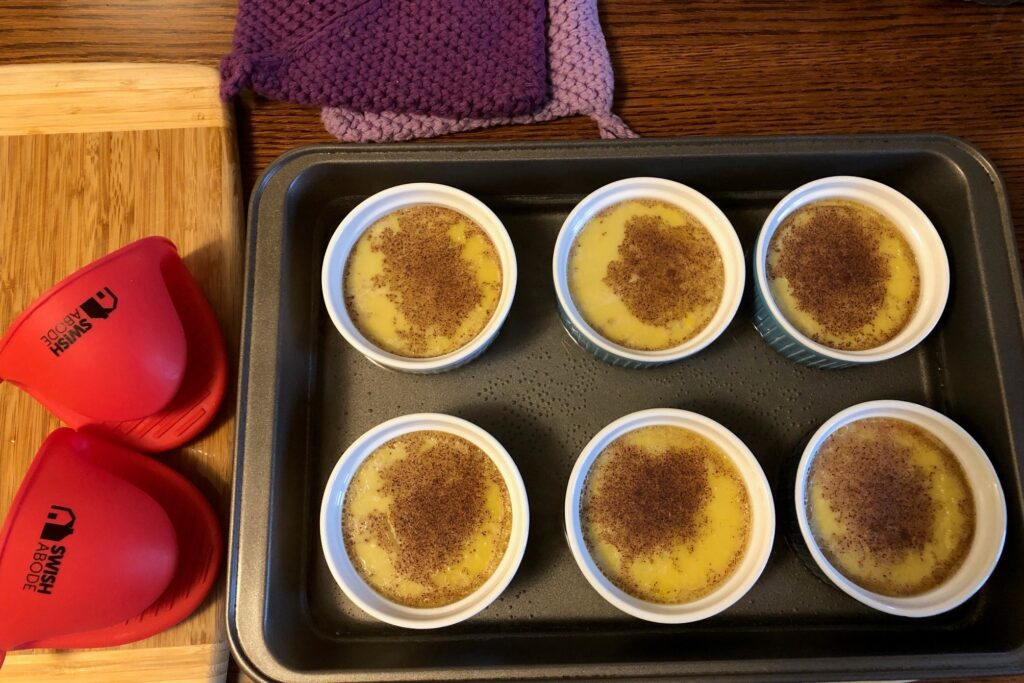
Next, I had to make sure the 6 cups fit into a cake pan before I filled them with custard.
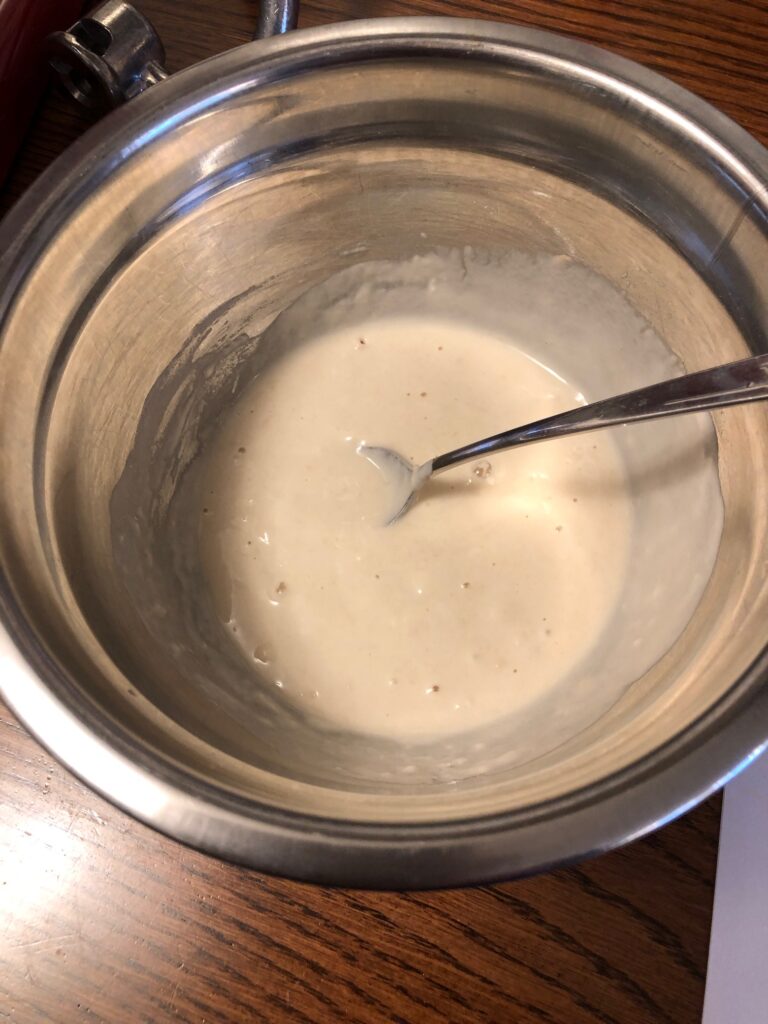
I whisked the ingredients for the real milk custard in a bowl, transferred it to a 4-cup measuring cup and filled the 6 cups. I sprinkled a little cinnamon/sugar on top of each cup. Then I added hot water to the pan and put it in the preheated oven.
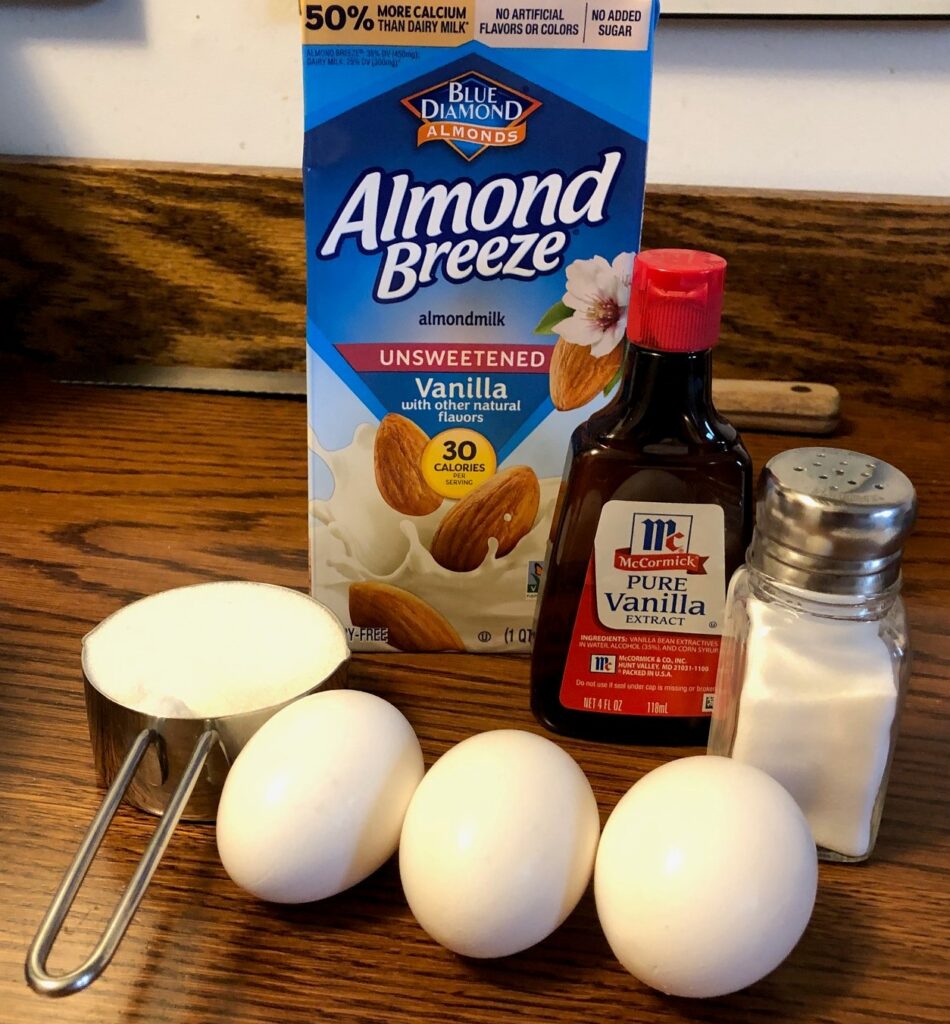
Next I mixed up the dairy-free custard.:
Ingredients for the dairy-free custard.Both pans fit side by side in the oven.
When I took the pans out of the oven, I remembered my dilemma from long ago…how to easily lift the hot cups out of the pan filled with water. When I used regular hot pads, I could not get a good grip on the hot cups. I thought I’d try the silicone hot pads that came with out air fryer. They were perfect! Sort of sticky, they gripped the cups and did not get soggy from the hot water.
The almond milk egg custard came out just fine…yea! Now we both have a special dessert this winter. Give it a try!
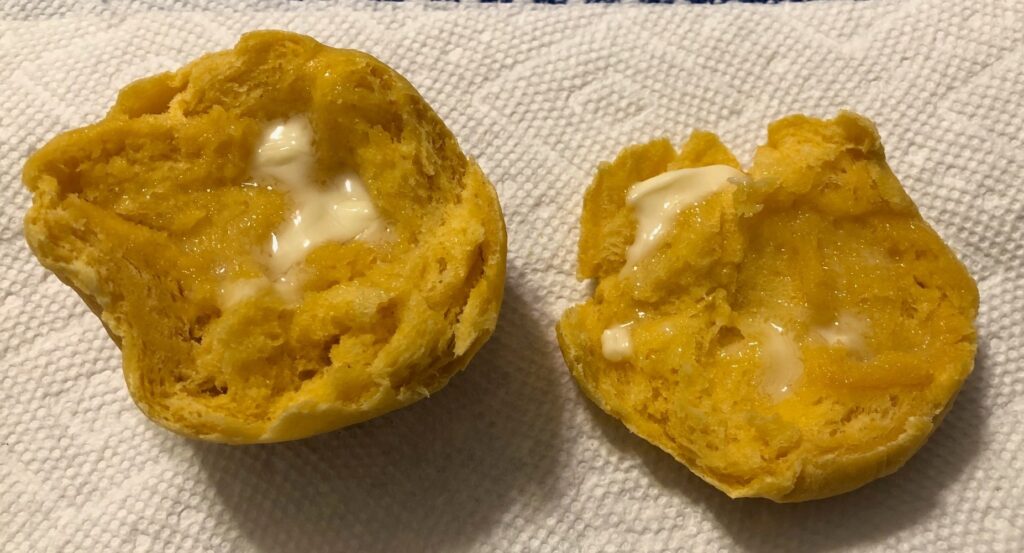
Before I get distracted by my next sewing project, I thought I’d share this recipe I tried yesterday. These sweet potato buns were delicious and the sweet potatoes made them nutritious. The recipe came from a website (https://twogreenpeas) that even had pictures of the process.
A few of the instructions weren’t clear to me, so I revised the recipe to suit the way I bake bread. Here is my revised recipe:
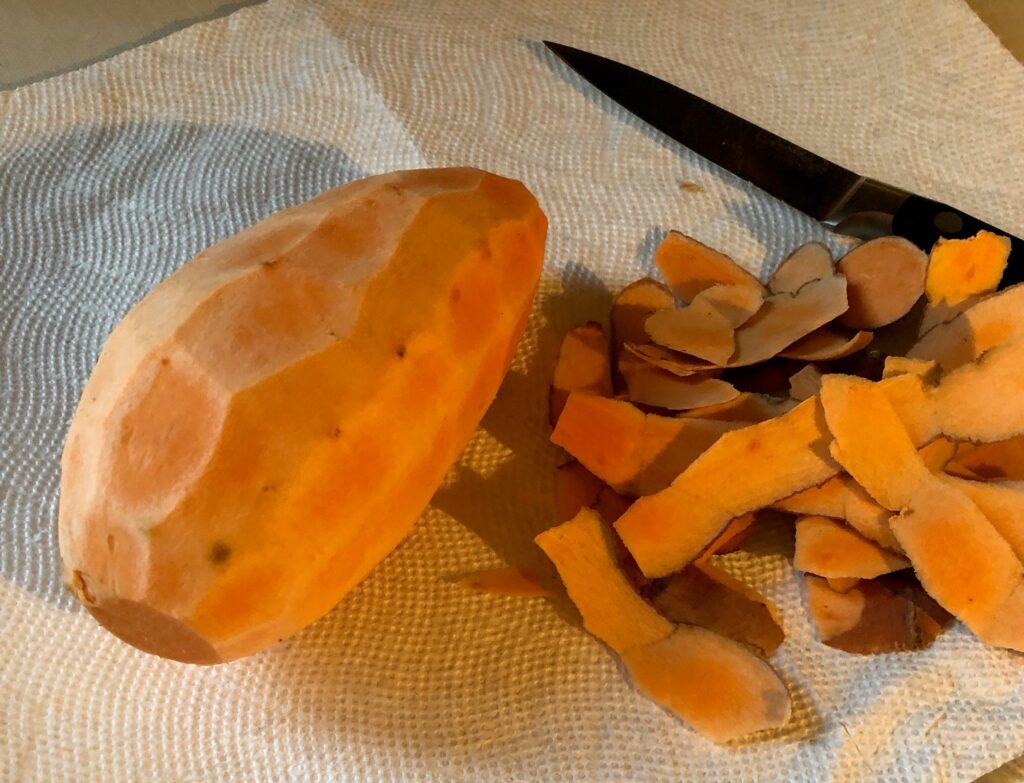
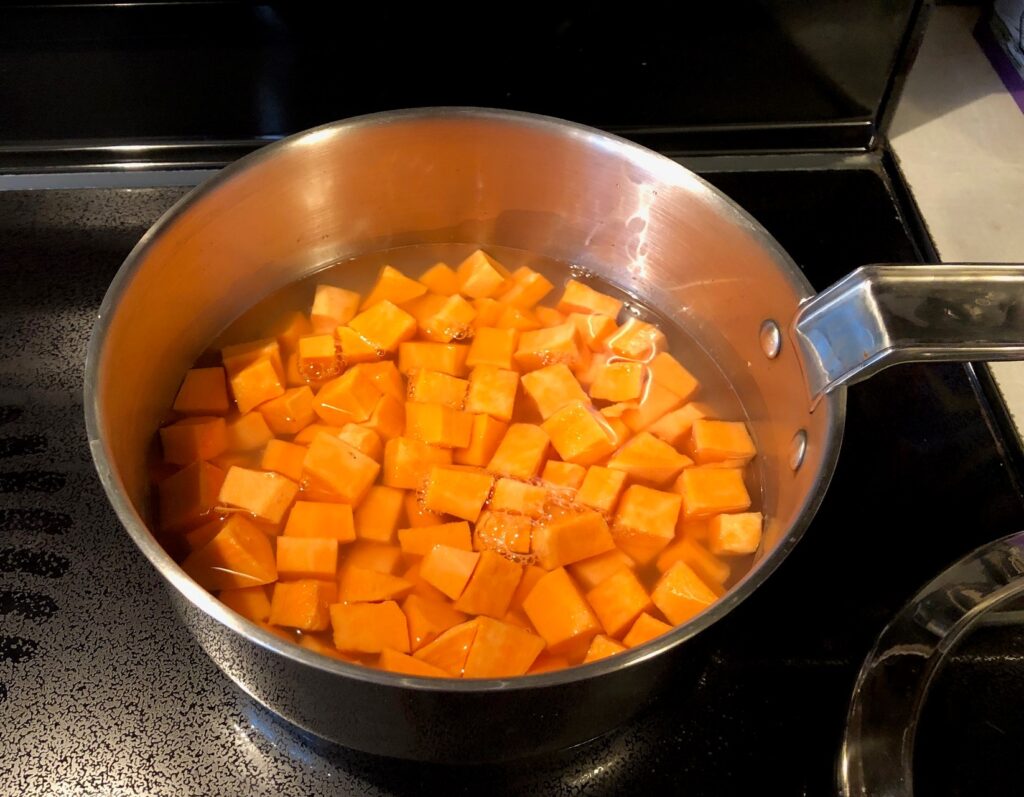
The preliminary step for this recipe is to peel, cube, cook, mash and cool a sweet potato. If you’re baking sweet potatoes, do an extra one and you’re good to go.
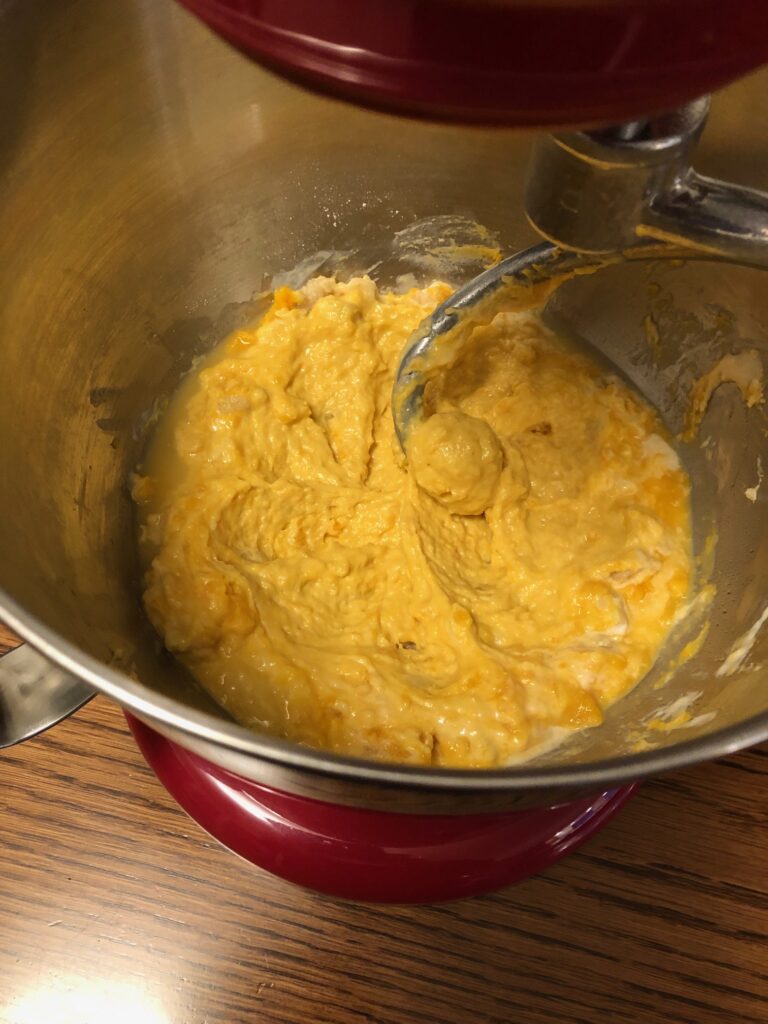
The original recipe started with making the sponge and then cooking the sweet potato. So, I did that. However, after peeling, cubing, cooking and mashing the sweet potato it was too hot to add to the yeast mixture. It needed 20 minutes in the refrigerator which meant the sponge was left sitting too long.
So, starting from scratch, I recommend you get the mashed sweet potato done first before starting the sponge.
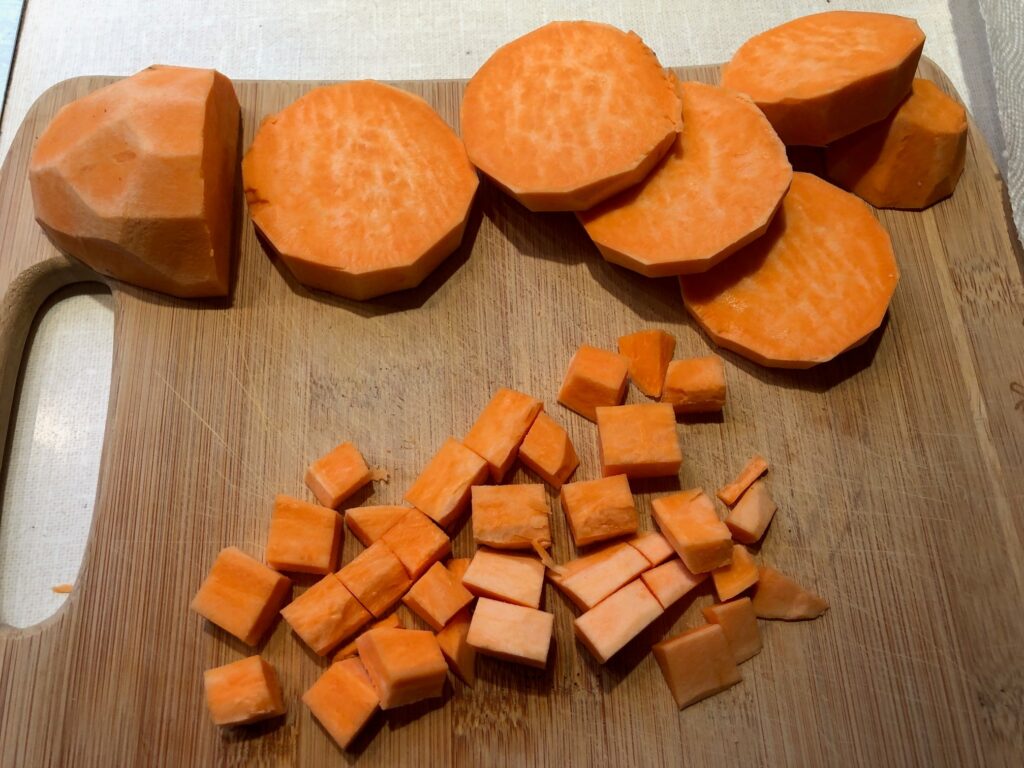
Prepping the Sweet Potato
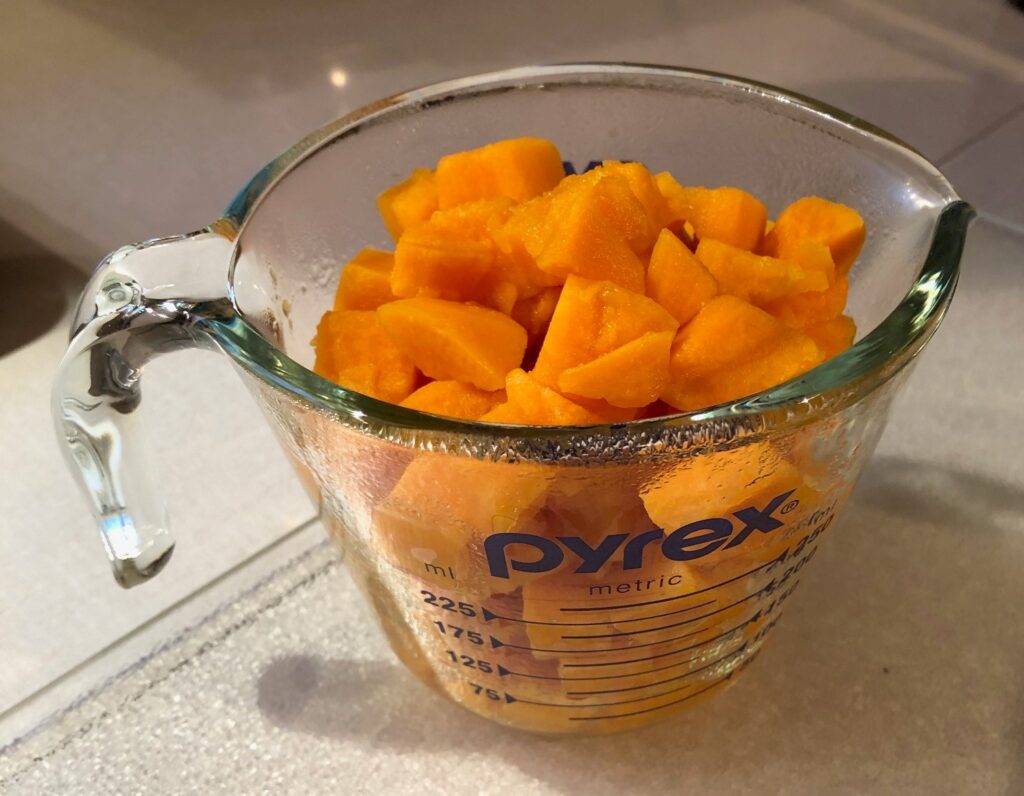
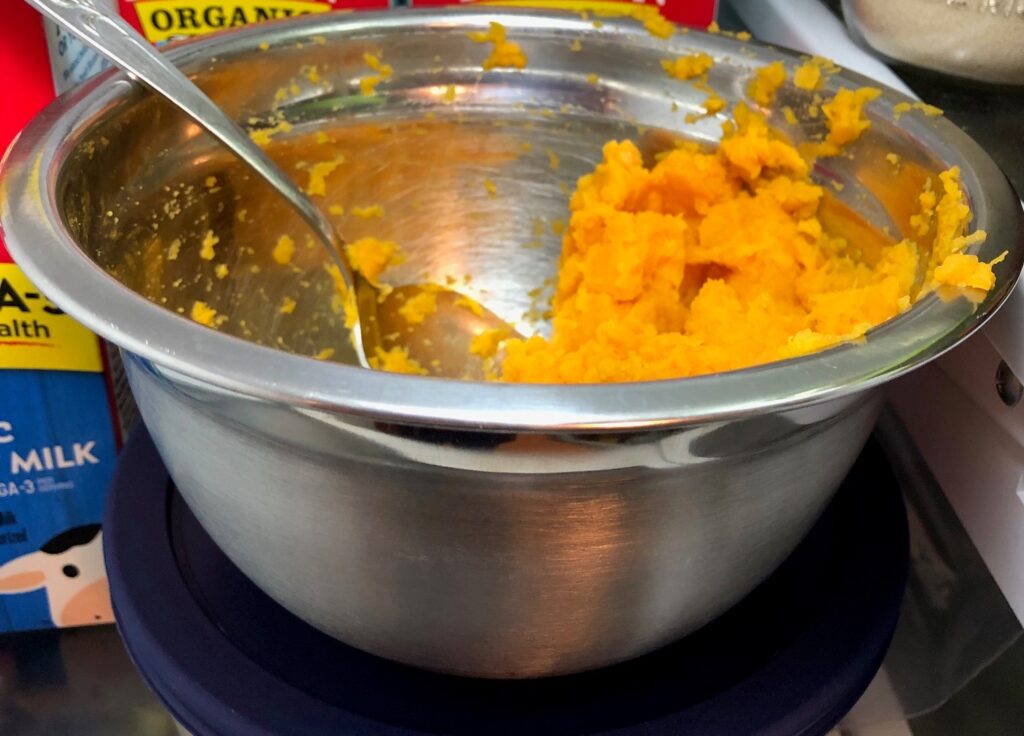
PeelCubeCookMeasure 1 cup (I had about 1 1/2 cups…just meant a little more flour needed)Mash and cool
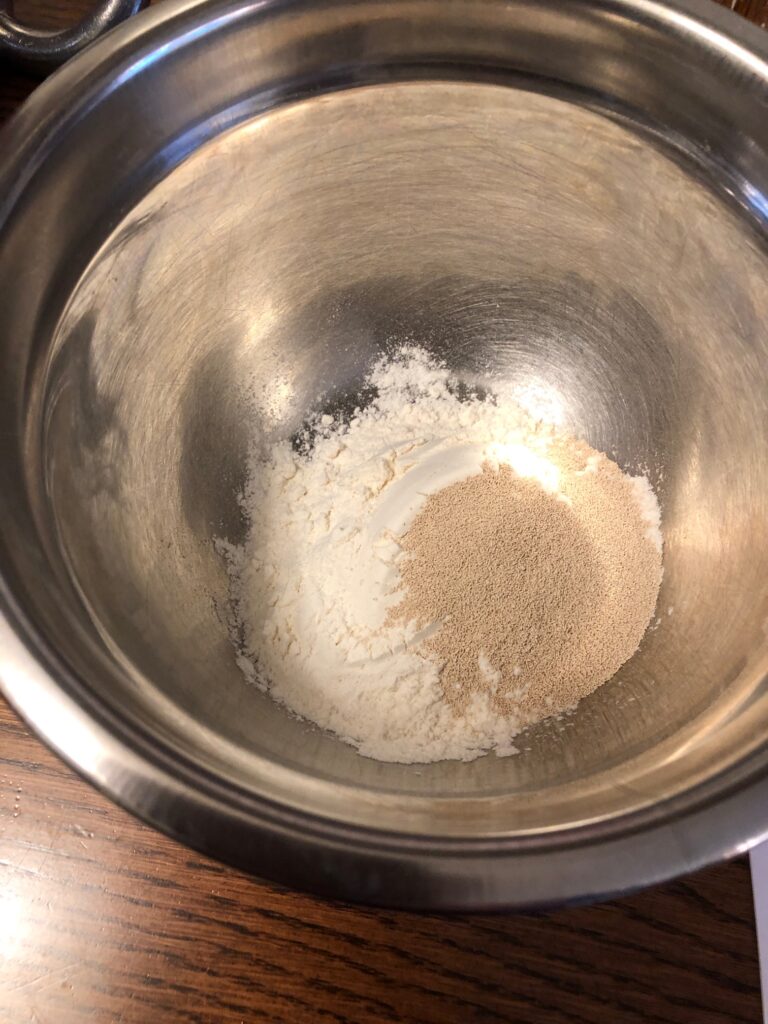
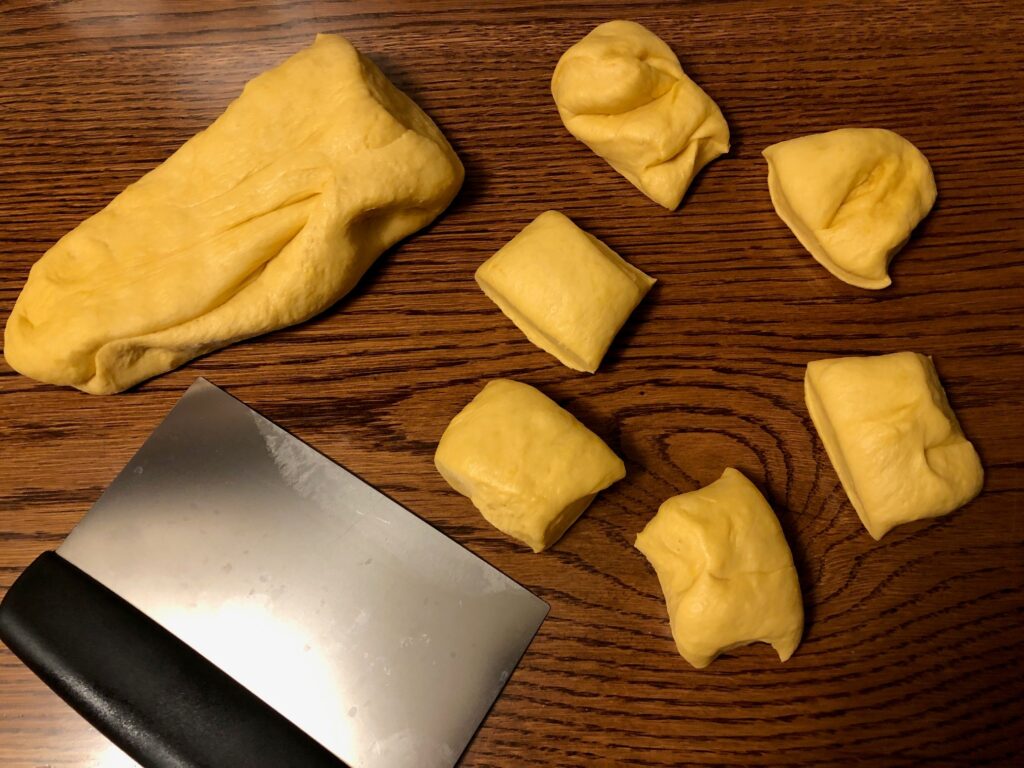
Make the Sponge
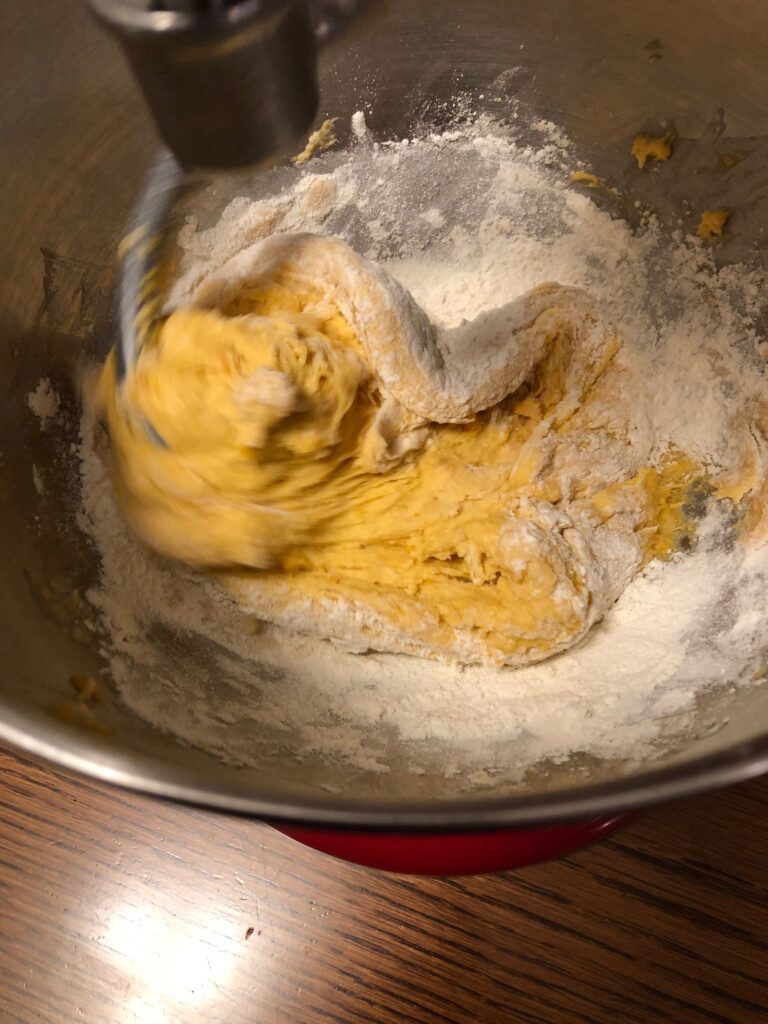
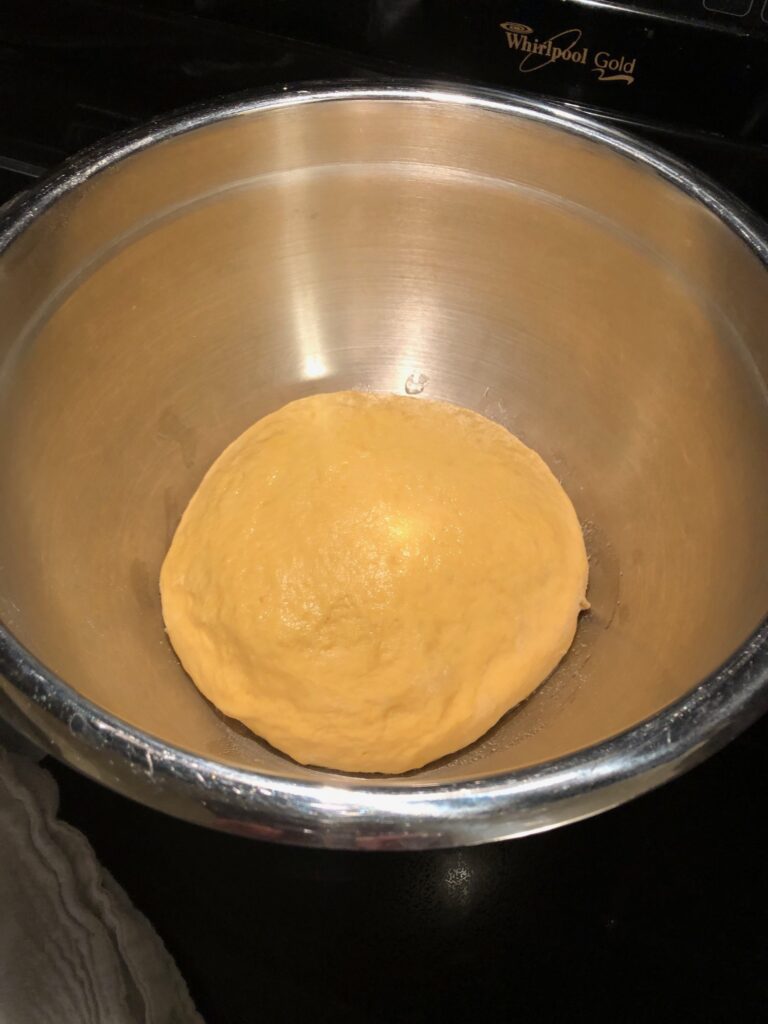
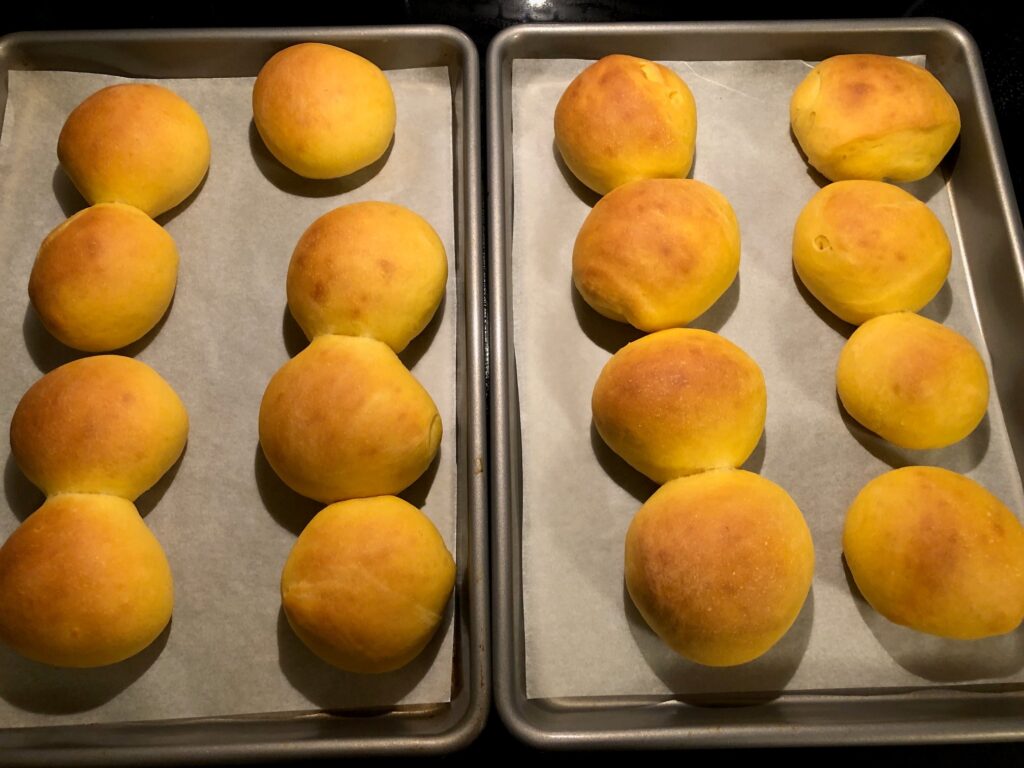
Flour, yeast, warm waterWait 20 minutesAdd other ingredients to spongeMix 5-7 minutes and add flour as needed to make a ballPlace in an oiled bowl and cover with a cloth to rise.Divide into 16 pieces. Form into balls.Let rise on a baking sheet for 15 minutes.Bake 15 minutes.Delicious!!
The buns could be made larger for sandwiches. It is a delicate bun and might not hold together for a sandwich. Give it a try and let me know! Enjoy!
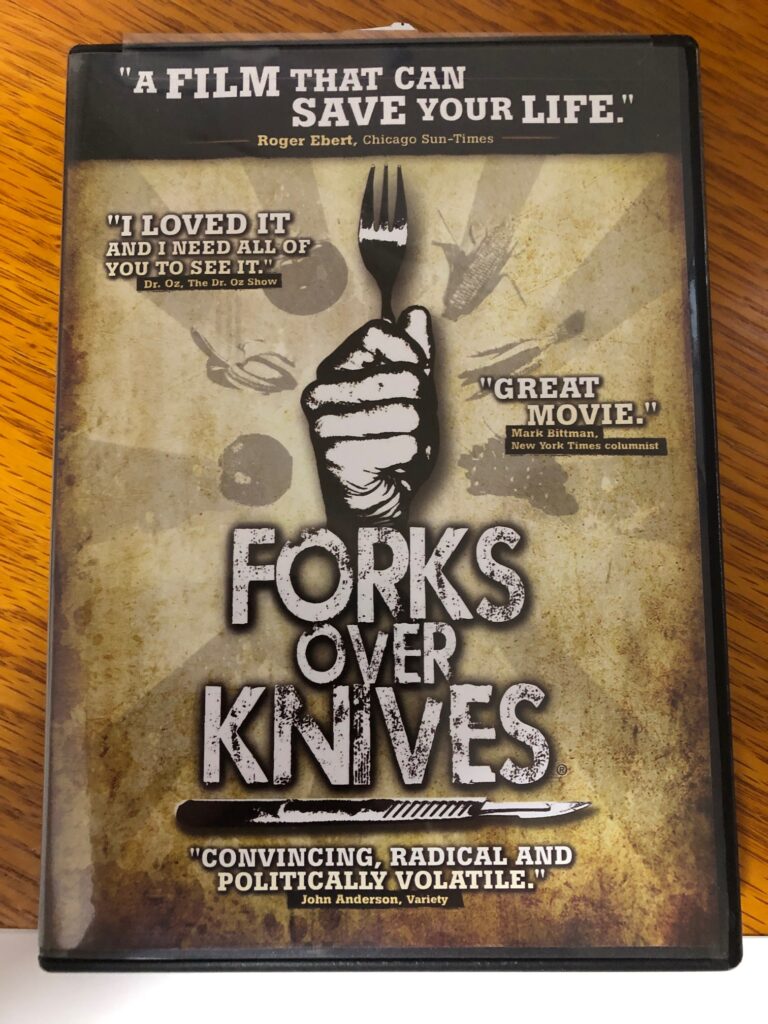
If reading the extensive research-based book, The China Study, is not interesting or possible for you, I’d like to suggest you watch this 90-minute documentary based on the research from Dr. Colin Campbell and Dr. Caldwell Esselstyn. This video weaves the research around the practical stories of a few people who were making important changes in their diets to improve their health.
This video is a comprehensive overview of The China Study research and followed the career paths of Dr. Campbell and Dr. Esselstyn. While they had not met before, their professional work supported each other’s research. Dr. Campbell was following the science of a plant-based diet, while Dr. Esselstyn’s work provided the clinical research into heart disease that supported Dr. Campbell’s findings. All of their findings were stronger when they finally discovered how their research supported one another.
This video is offered as part of Prime Video at Amazon or the DVD is available for purchase for $11.39. Your local library may even have a copy to lend.
Cataract Surgery Update
Hopefully, after tomorrow I’ll be able to enjoy reading again. It will take a few days for the eye to clear up after surgery. I’ll finally have 20/20 vision for distance. Then, I’ll have to find the right “cheeter” readers so I can see close up. I can’t wait to get back to all my ongoing projects…from sewing Greyhound coats to experimenting with soap and skin care products. While I couldn’t read books comfortably, I seemed to be able to click on Amazon to order some of the cookbooks to go along with the whole-foods, plant-based eating plan. They have now arrived, so soon I’ll share some of the recipes that worked for me. That’s all for now…I have to be at the medical center at 6:10 tomorrow morning! Yikes! More later!
I apologize for going silent for a week and leaving my ugly mug in view for so long! My new (cataract-free) left eye is now 20/20, but of course the right eye will be worked on next week. Soooo…my vision is a little crazy. I wanted to share some information that I’m rereading about the research into the whole foods plant-based eating plan (as opposed to the label “vegan”) but I can’t really see well enough to write up that description. Since I can type without looking at the keyboard, I’d just like to summarize my thinking about attitudes toward nutrition.
Nutritional advice has shifted back and forth over time from low carb to high carb and balanced diet to restricted diets. It seemed diets were driven by folks who wanted sell books, or supplements or actual food.
Back in the 1960’s you might have recognized names like Adelle Davis who pointed out the harmful hormones and additives in common foods. She felt foods were lacking in nutrition and recommended adding vitamin supplements to the diet. (See her book, “Let’s Eat Right to Keep Fit”).
Robert Atkins encouraged a low carb diet with unlimited protein and saturated fat. This diet was criticized for putting folks at risk for heart disease.
Around the same time one of the most controversial diet books was published, “Diet for a Small Planet” by Frances Moore Lappe. This book laid out the principles of eating less or no animal products and using plants in a way to combine their nutrients so we had adequate nutrition (expressed as food combining, like beans and rice). Food companies spent a lot of advertising energy proclaiming that we just couldn’t get enough of the right kind of protein on this diet.
At the time, the Standard American Diet was definitely focused on beef, pork and poultry as the base for an adequate diet. This diet was supported by the industrial food growers and manufacturers with subsidies to farmers and advertising to the public (remember the “Where’s the beef?” and “Got Milk?” ads?). Most plant-based crops not designed to be fed to animals were more of a novelty or appropriate for home gardeners. Families choosing to eat less meat were shamed into thinking they were not feeding their children adequate nutrition.
At the time, nutritionists were taught the basic food groups of a good diet (meat, dairy products, vegetables, fruit and starch (bread and potatoes). any diets that deviated from this Standard American Diet were often described by what they did not include: Vegetarian meant no meat but cheese and milk were OK; Vegan meant no meat, no dairy, but dangerous lack of protein.
When I discovered that I was allergic (or very sensitive to) eggs and dairy products, I would say I was a vegan that could eat meat…so I could reassure folks that I could still be healthy.
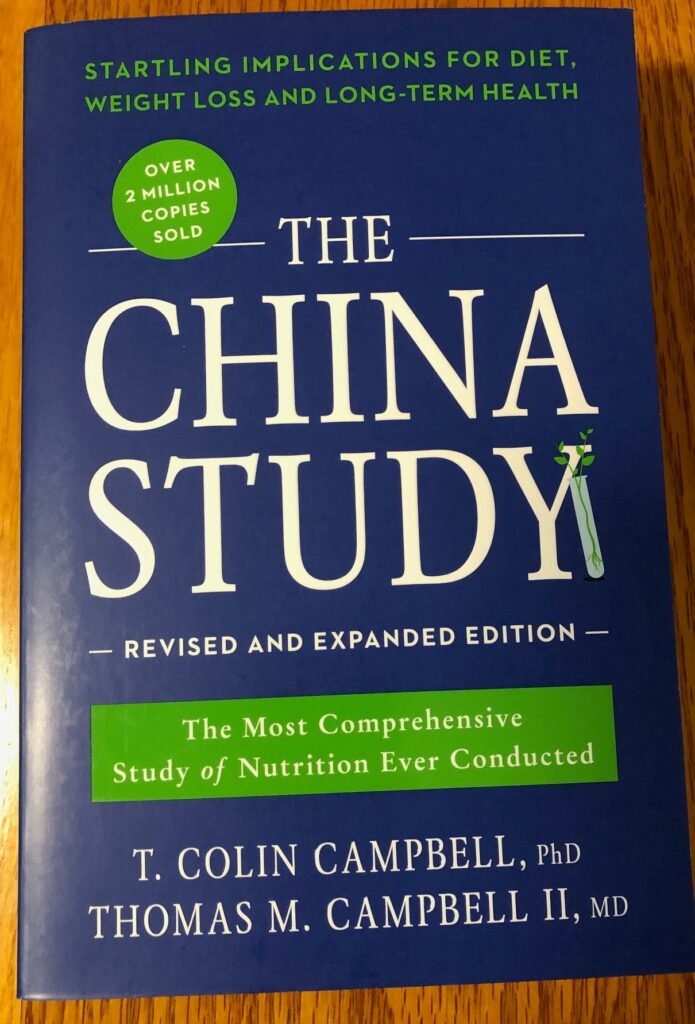
The China Study
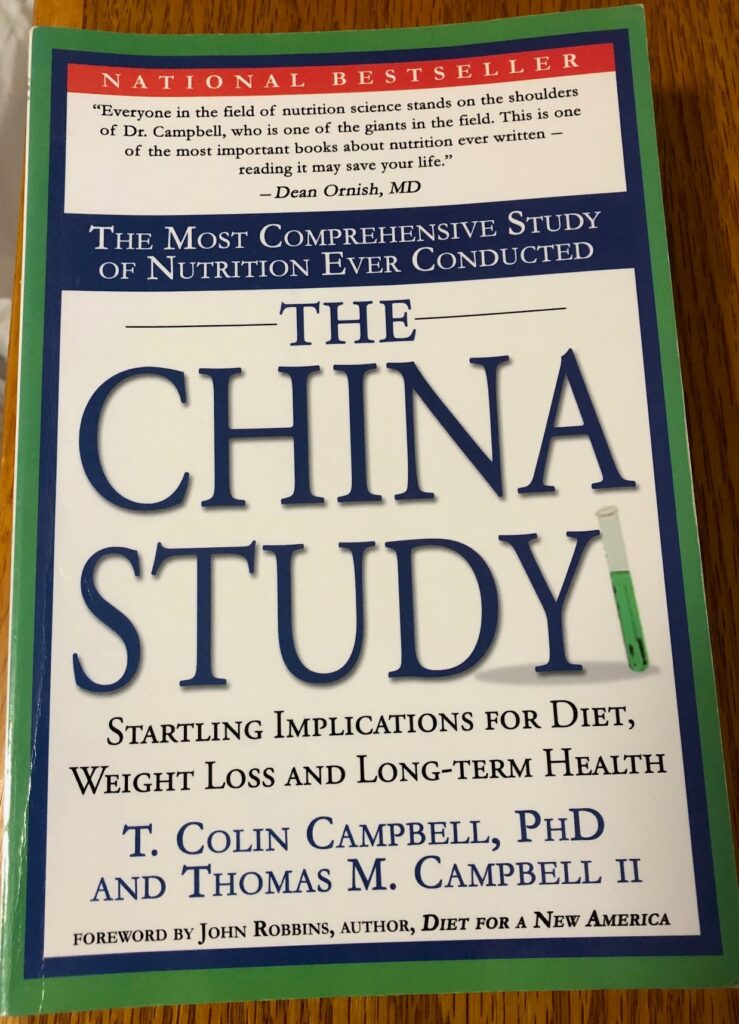
In 2006 I stumbled upon a book describing some major research in the field of nutrition, called The China Study. This research was spearheaded by T. Colin Campbell, a nutritional biochemist at Cornell University and his son Thomas M. Campbell, MD.
The research was focused first on animal studies trying to understand the relationship between diet, longevity and cancer. The research team then had the opportunity to use a vast database from China that explored many variables, including the relationship between the intake of animal protein and the incidence of cancer. The detailed results were published in this book, The China Study.
The research presented in this book was very compelling to me. However, at this stage it was difficult to see how it could be implemented…especially in the winter in Pennsylvania. Our garden was under snow. I did not have a greenhouse and I had very little experience cooking with beans or tofu. However, I was thrilled to attend a presentation given by Dr. Campbell at Foxdale village here in State College in 2008 and had him autograph my book!
The researchers in The China Study also partnered with Dr. Caldwell Esselstyn, a noted cardiac surgeon at the Cleveland Clinic, who was implementing a diet for his most difficult heart patients that focused on a whole-foods, plant-based eating plan. He was finding the diet worked, even when traditional doctors were still recommending the Standard American Diet. His patients loved him; many of his colleagues didn’t want to hear about his successes!
After reading The China Study 15 years ago (which I found inspiring), I was amazed at the reaction from the government, food industries and nutritional organizations (subsidized by the government and food industries). The revised edition of the book, out in 2016, describes some of the most controversial issues. I could not believe the vitriol being thrown about.
With any research-based book like this, it’s always hard as an individual to figure out how to implement the findings. What should my dinner plate look like if I wanted to follow the suggestions?
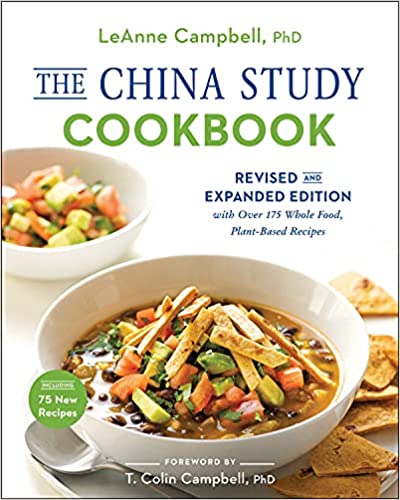
Curiously, over the last 15 years, T. Colin Campbell’s wife, daughter and son found ways to define the practical side of the diet. Dr. Esselstyn’s wife and daughter published cookbooks and his son (a firefighter) brought the diet principles into the fire house, creating the Engine 2 Cookbook based on the book and video Forks Over Knives.
Now I realize the language about diet has changed from Vegan (and the foods not allowed) to a Whole-Foods, Plant-based diet (with a more positive image). Both families (Campbell and Esselstyn) transitioned to this way of eating gradually and their younger generation has found a way to champion this way of eating. I find it inspiring!
This afternoon, I’m still uncomfortable trying to read in depth so I’m going to watch the video I have of Forks Over Knives to refresh my memory. As soon as I can actually focus and reread parts of The China Study, I’ll share some of the research. If you’d like to dive into the research yourself, the revised edition is available on Amazon. There are now several cookbooks available that are written by LeAnne Campbell. More about those recipes in the future! Enjoy!
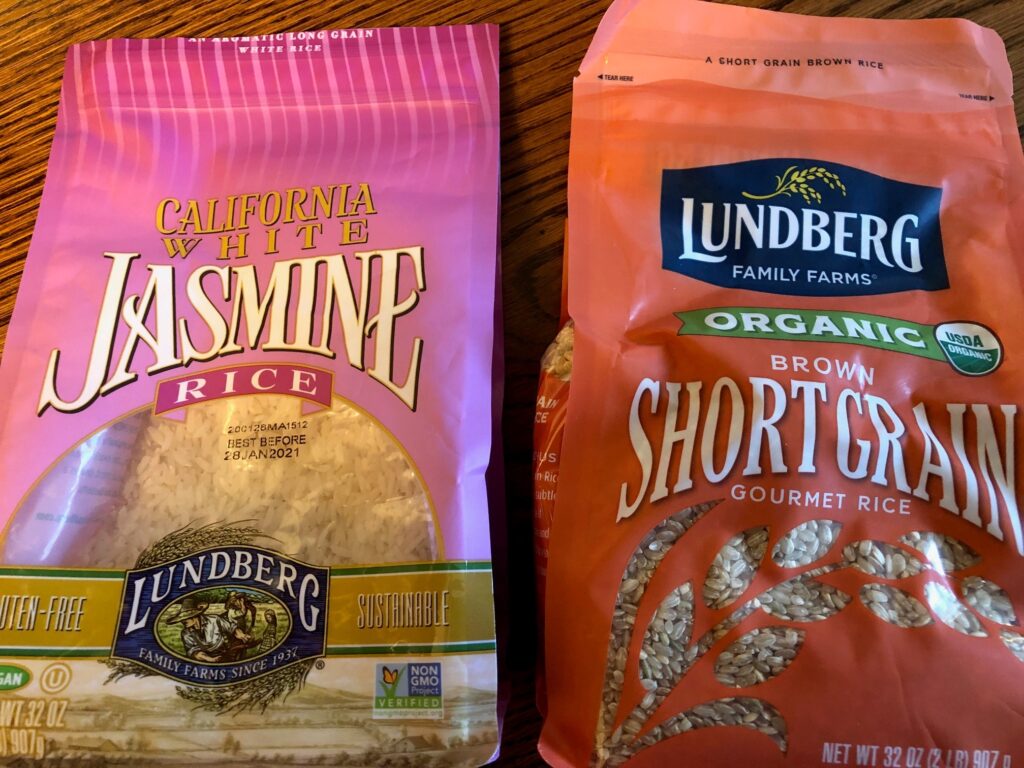
I have an assortment of different kinds of rice, from Basmati and Jasmine to short grain brown rice. Off hand I couldn’t tell you why they are different from each other but someday I’ll look them up to see if I can tell the difference after they are cooked. I do know that if I have a choice, I prefer the heft of the short grain brown rice.
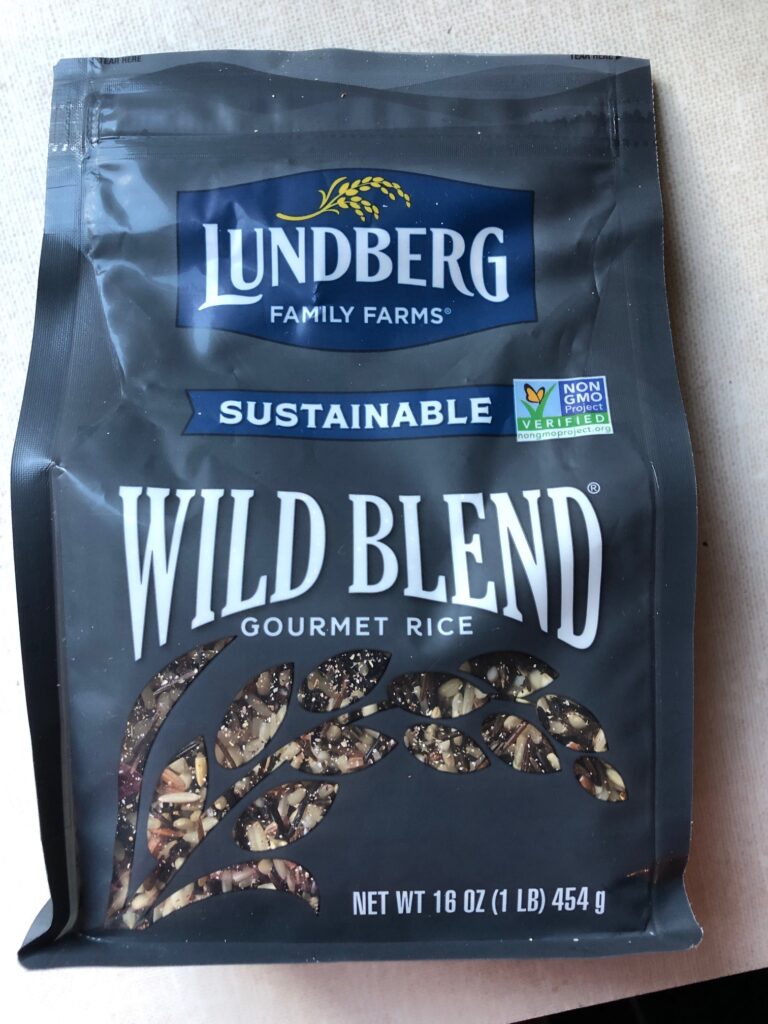
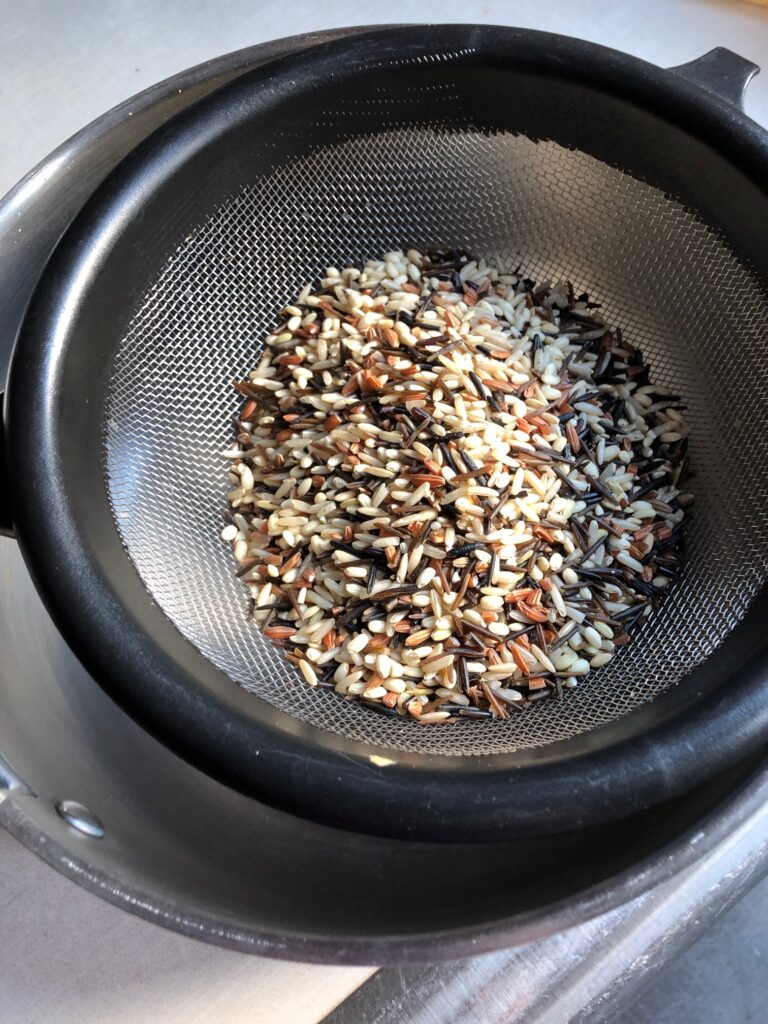
I picked up this bag of Wild Blend of Gourmet Rice at the grocery store recently and gave it a try yesterday.
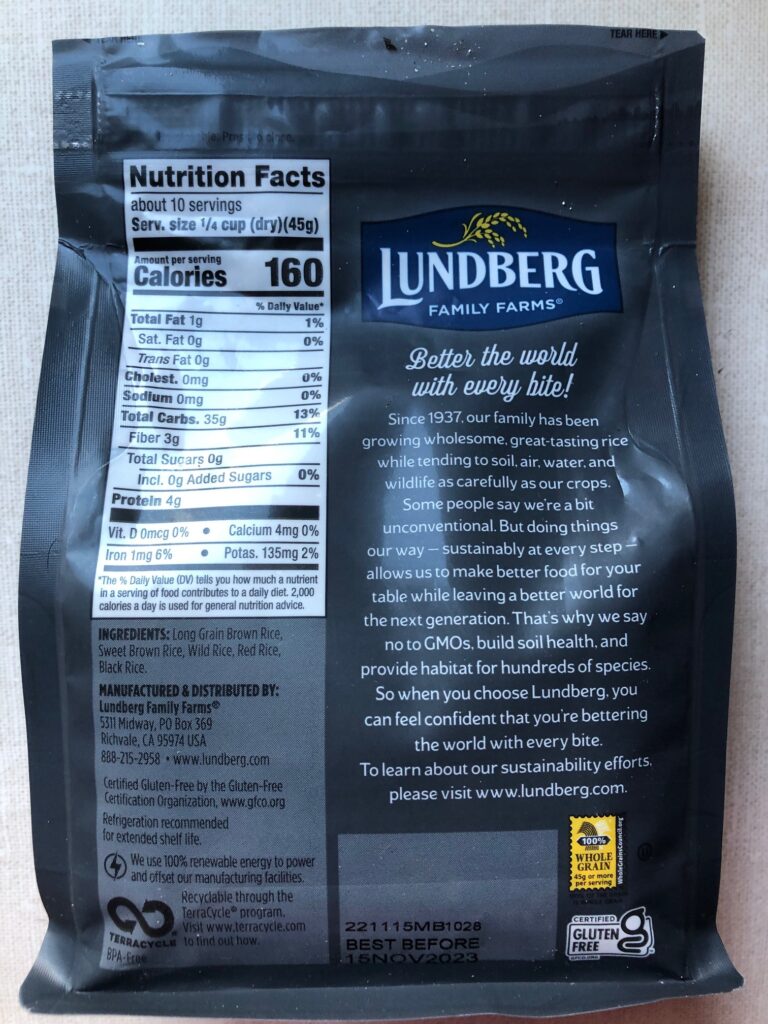
Just a note…this rice blend had 3 gm of fiber in a 1/4 cup serving: the brown rice also had 3 gm of fiber, while the Jasmine rice had no fiber. Good to know!This blend was a mixture of black, brown, red and wild rice.
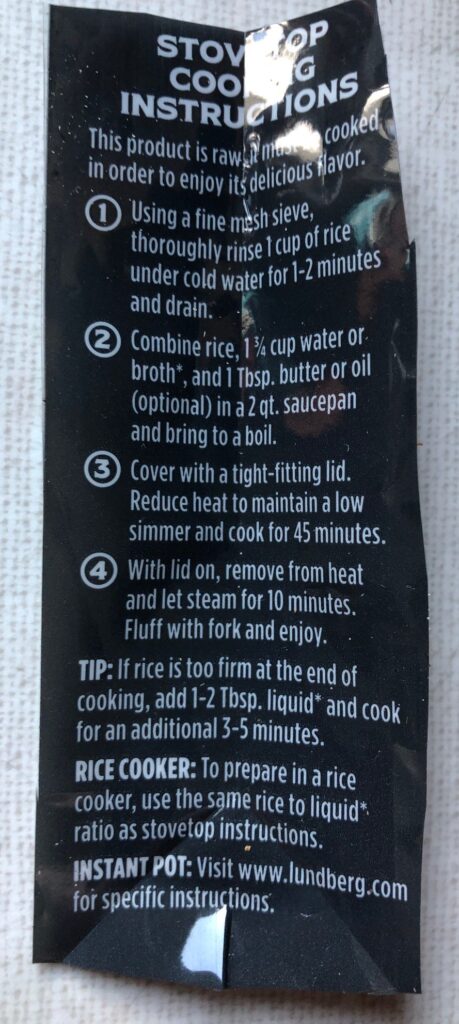
It’s a good thing that every bag of rice has cooking instructions…each kind seems to have different liquid requirements. The way this bag was glued shut, I could hardly see the instructions, so after I measured out what I wanted, I saved what was left in a jar and cut up the bag so I could read the instructions better. I’ll drop these pieces of plastic into the jar for the next time I want to cook it!
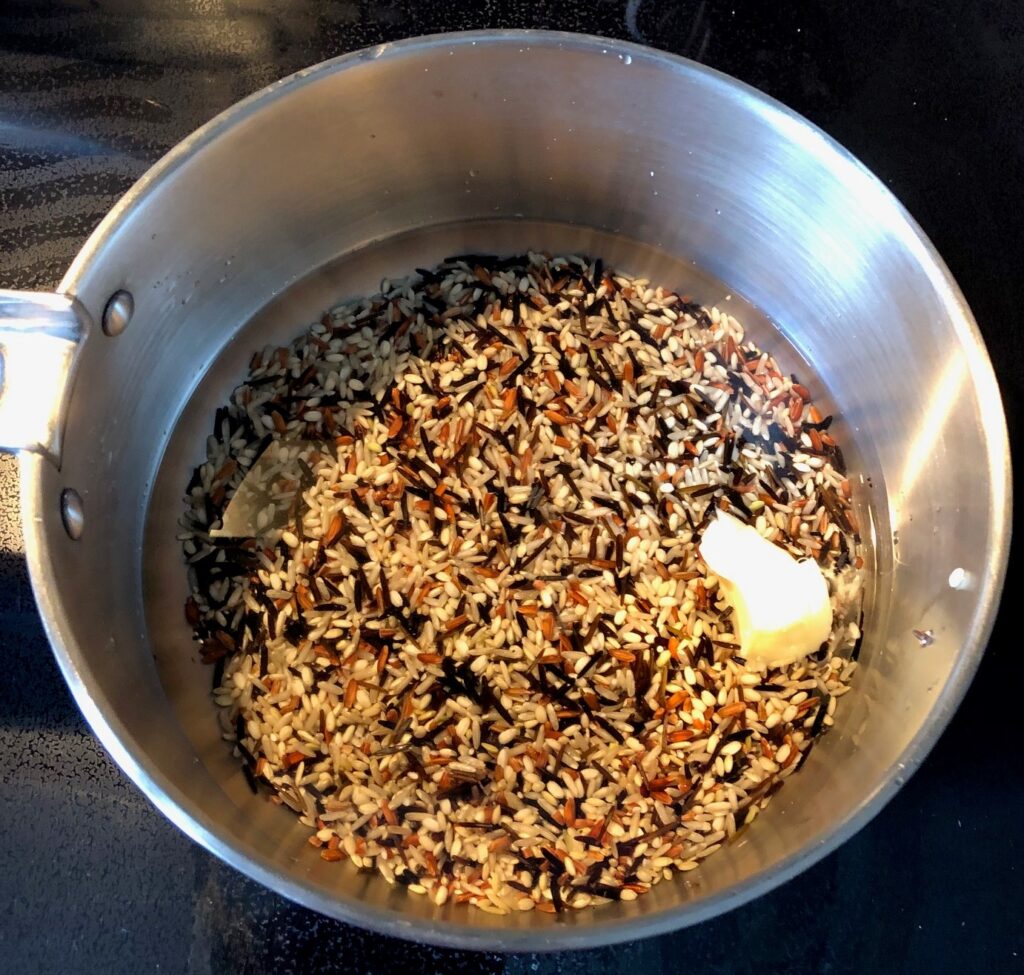
I started with 1 cup of rice blend and rinsed it over the sink.I put the 1 cup of rice in a saucepan with 1 1/4 cups of water and a tablespoon of butter. Then I brought it to a boil and reduced the temperature until it just simmered. I set the timer for 40 minutes.
After 30 minutes it looked like the water was all absorbed but the rice was still pretty chewy, so I added another 1/2 cup of water and let it simmer for another 10 minutes.
Then the instructions said to remove the lid and let it sit for 10 minutes.
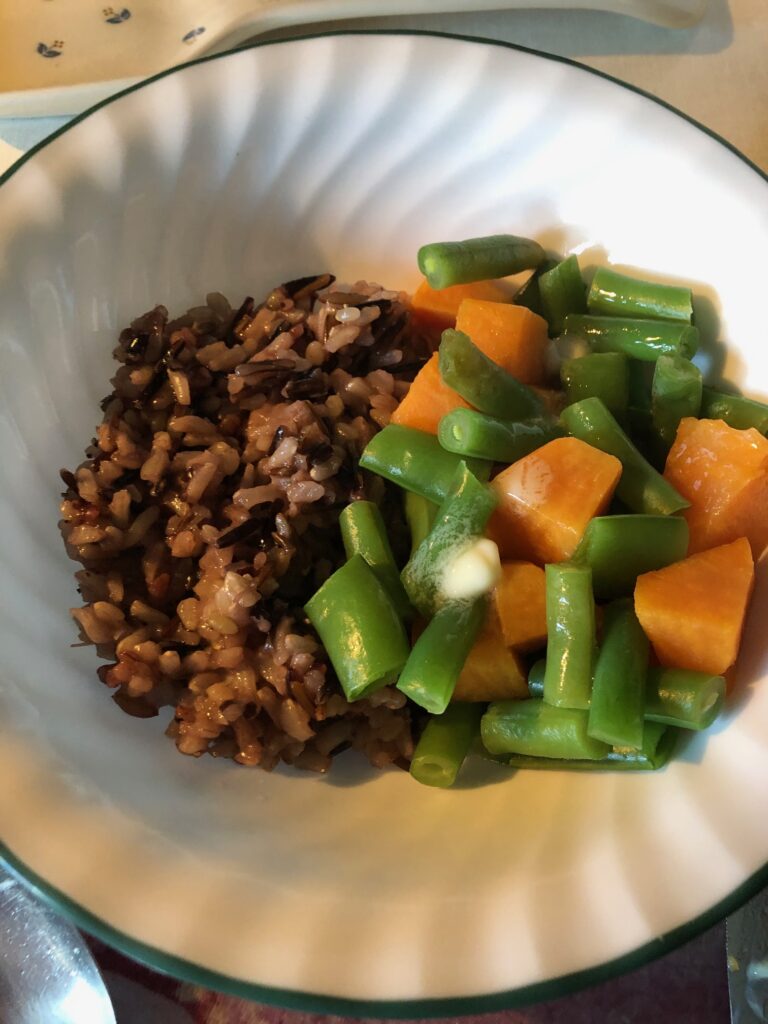
While I waited those 10 minutes I pulled out a few green beans, snap peas and 1/2 a sweet potato, chopped. In a saucepan, I added some water and boiled the vegetables. A little butter, salt and pepper and I had a great lunch!
Delicious!
I think I’ll make sure to keep this rice around for future meals! Enjoy!
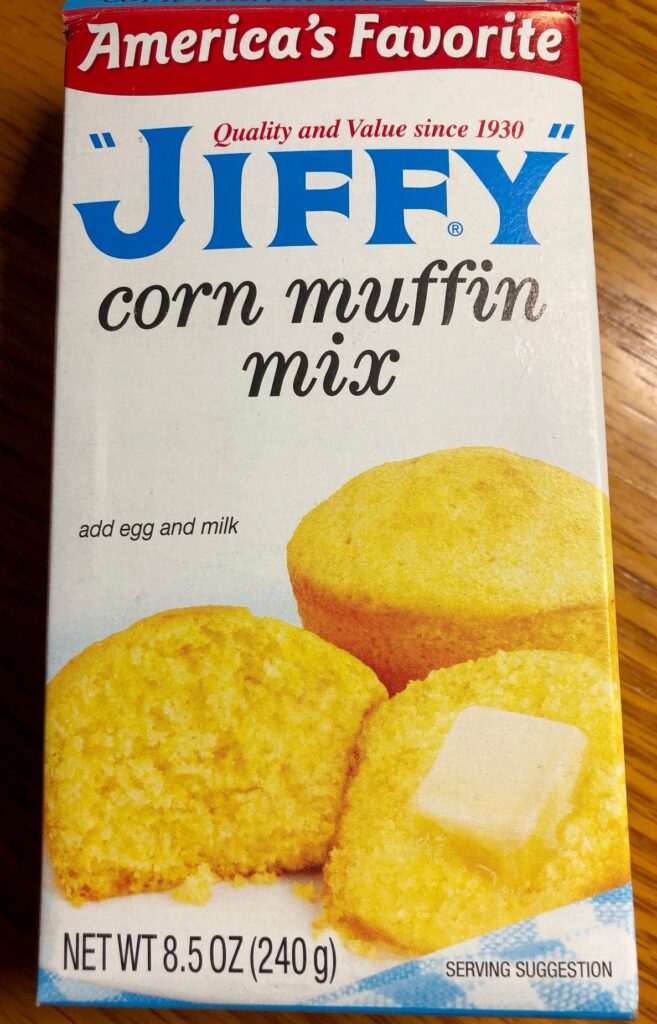
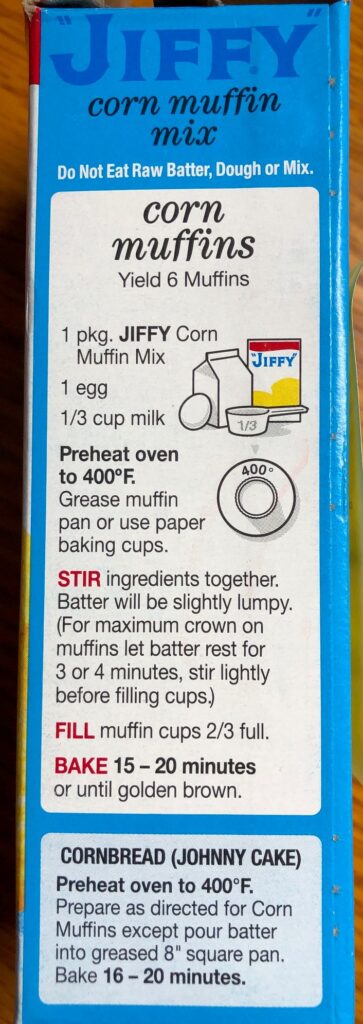
I was checking out recipes online the other day and came across an article with this title: 24 Things to Add to Jiffy Cornbread Mix to Make it Even Better. I remember loving those mixes and was so surprised that they were still on the shelf at the grocery store.
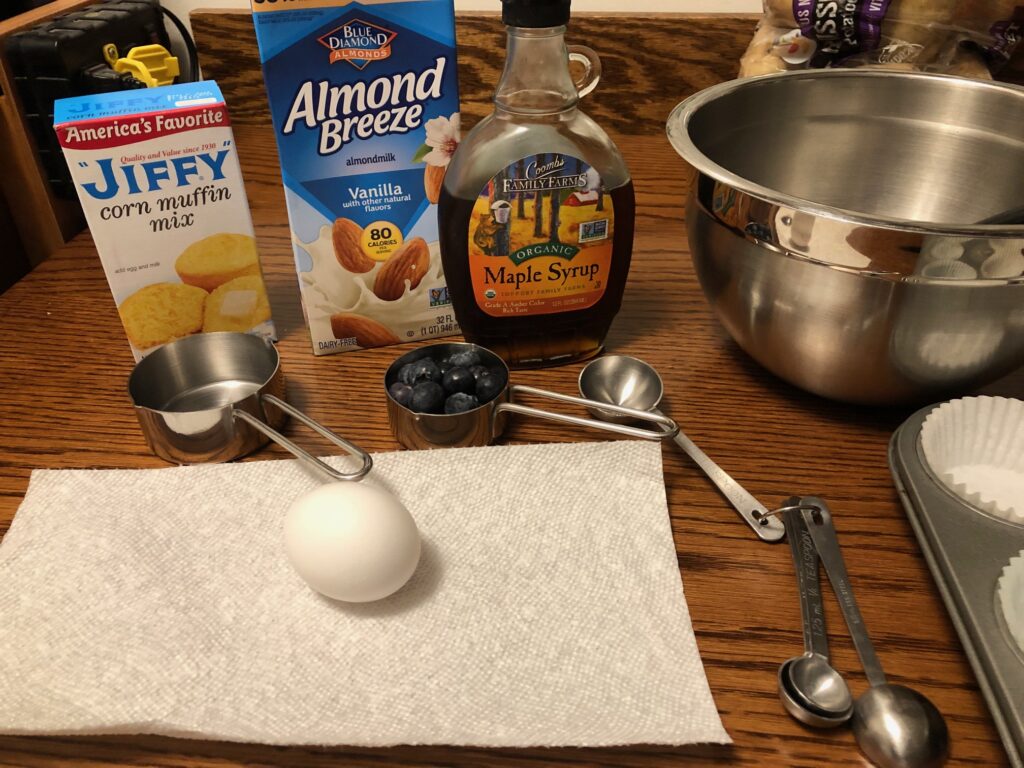
Now that I can have an egg here and there, all I had to do was substitute my almond milk for the regular milk. Then, in that article I mentioned above, I found an addition that might taste good: 1/2 cup of blueberries and 3 tablespoons of maple syrup. I picked up a box mix and some blueberries and thought I’d give it a try!
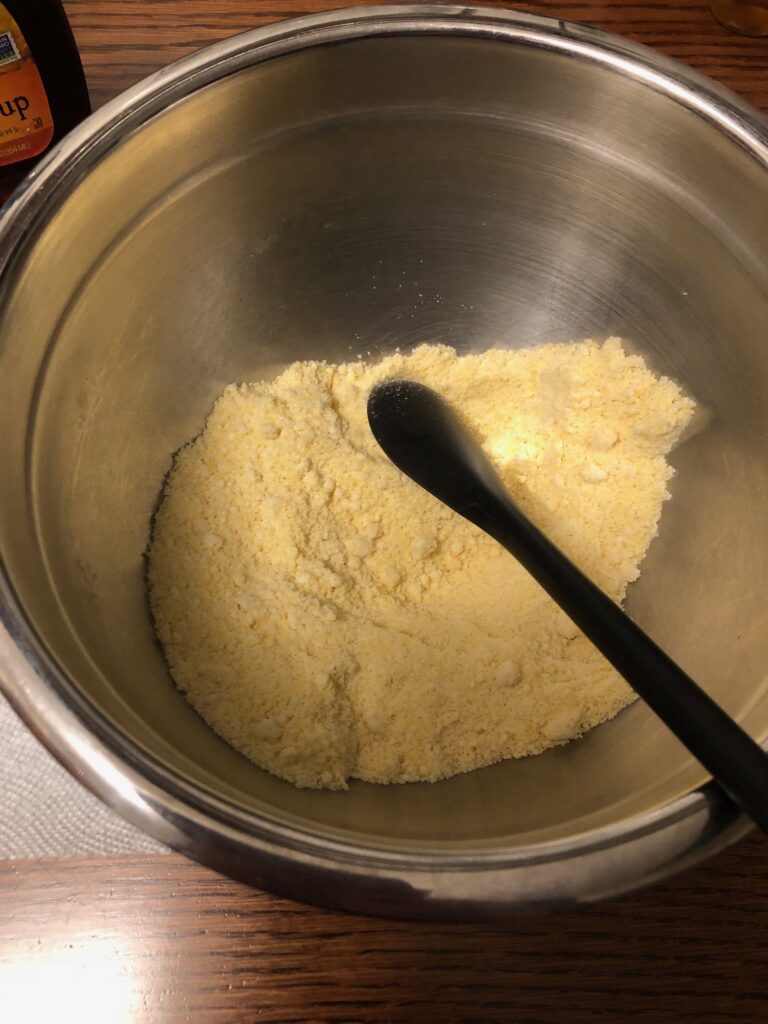
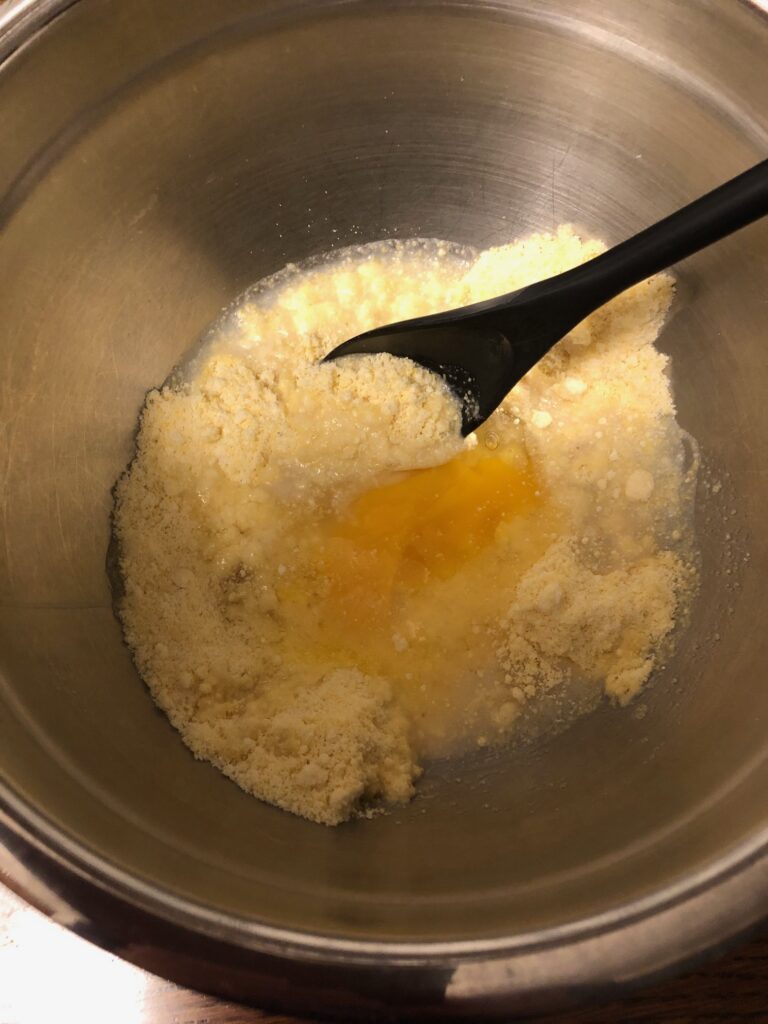
The dry mix was a little lumpy so I used a mixing spoon to break up the lumps. Then I added the almond milk and 1 egg.
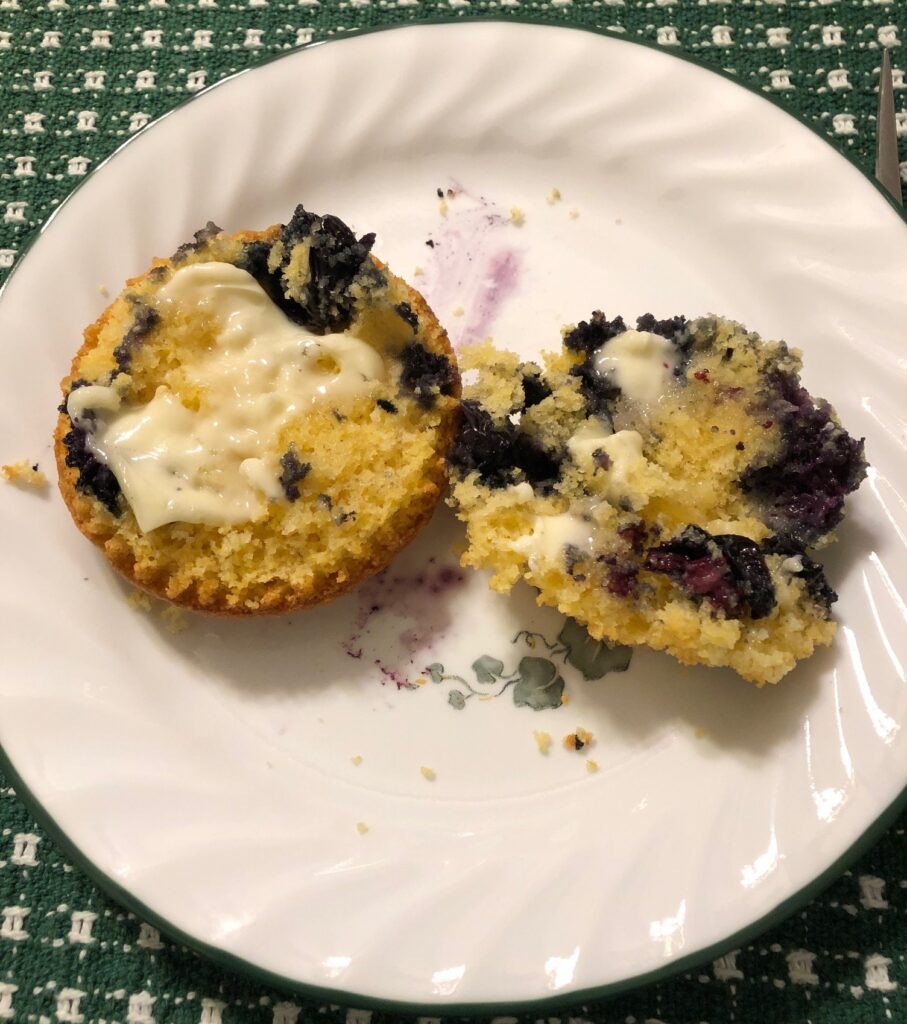
After adding the blueberries and maple syrup I gave it a good mix. The batter was pretty runny…but I didn’t want to add anything more until I saw how it baked. Next time I think I’ll add a little flour to stiffen up the batter. The additions also meant I might be able to make 7 muffins…so I’d better use the full size pan!
The muffins needed 20 minutes in the 400 degree oven and still looked a little flat. The extra flour would help that the next time.
However, they were delicious!! Very quick and easy. I think I’ll check out the other variations that were suggested in the article. I did another search online for “additions to the Jiffy Corn Muffin Mix” and found dozens of ideas! Since it only makes 6 muffins, I won’t have too many to deal with at one time. Give it a try! Enjoy!
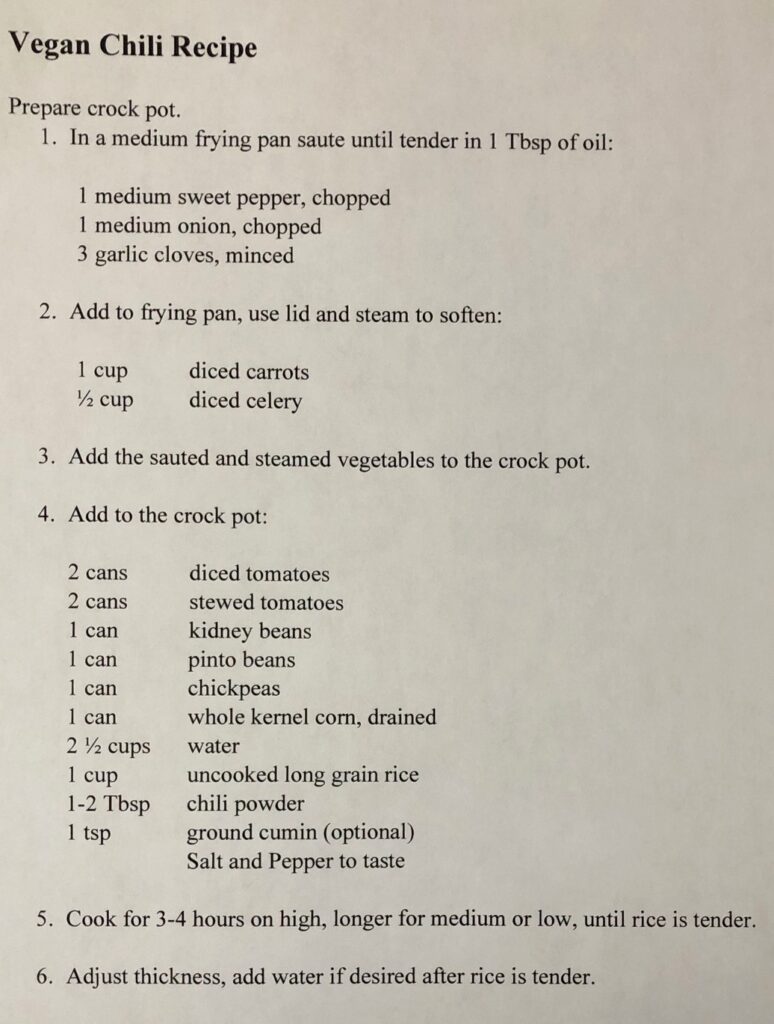
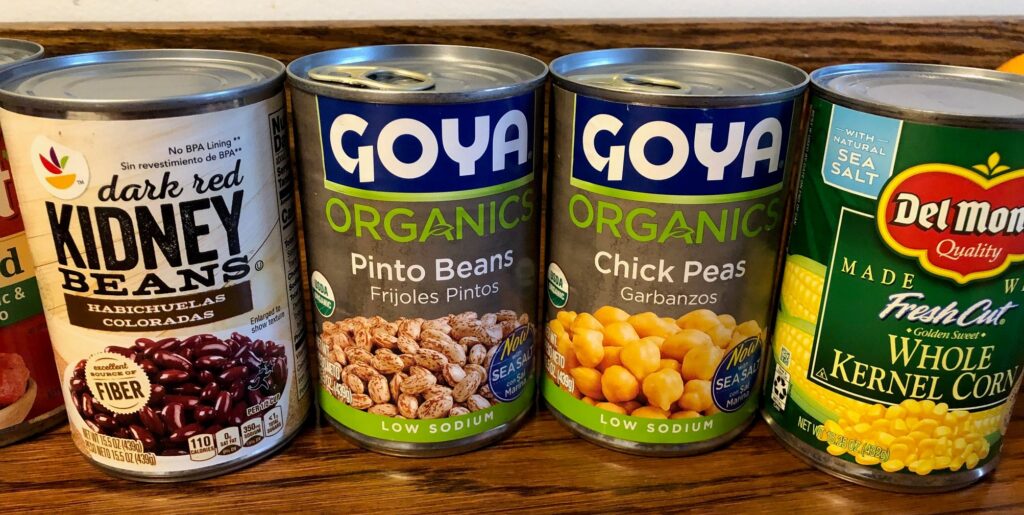
Yesterday, anticipating the snow that arrived today, I made a quick stop at the grocery store…along with many of my neighbors! I wanted to make a pot of vegan chili in the crock pot today and just needed a few ingredients. Here is the recipe:
Not a very complicated recipe and very adaptable to whatever you have available.
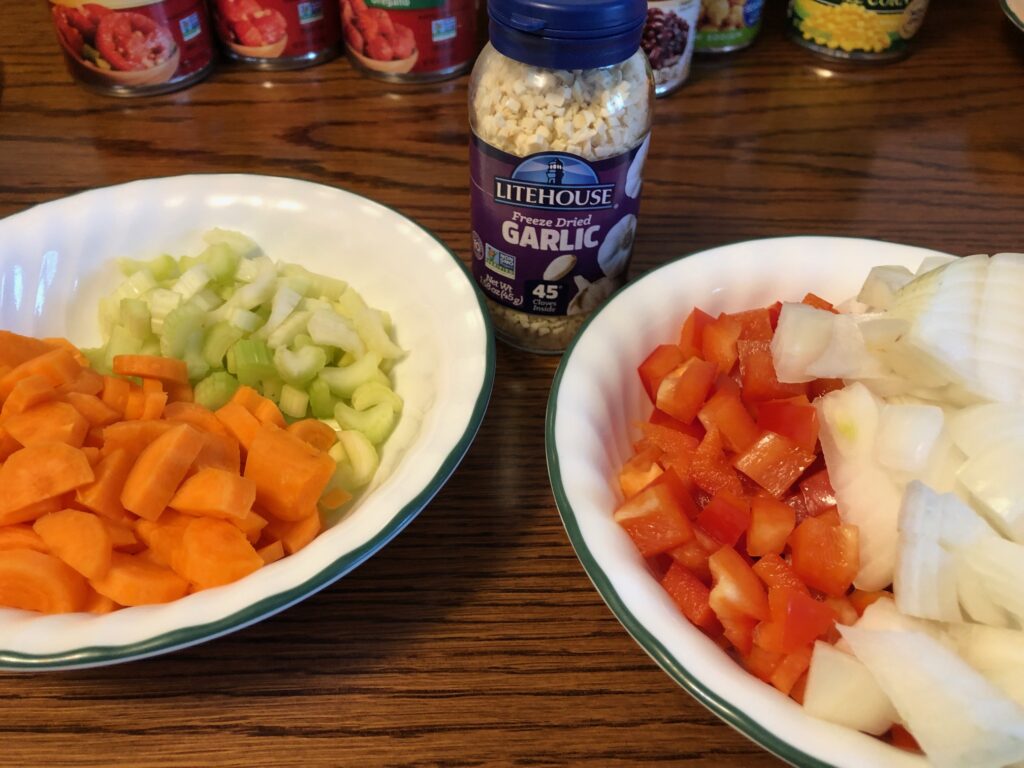
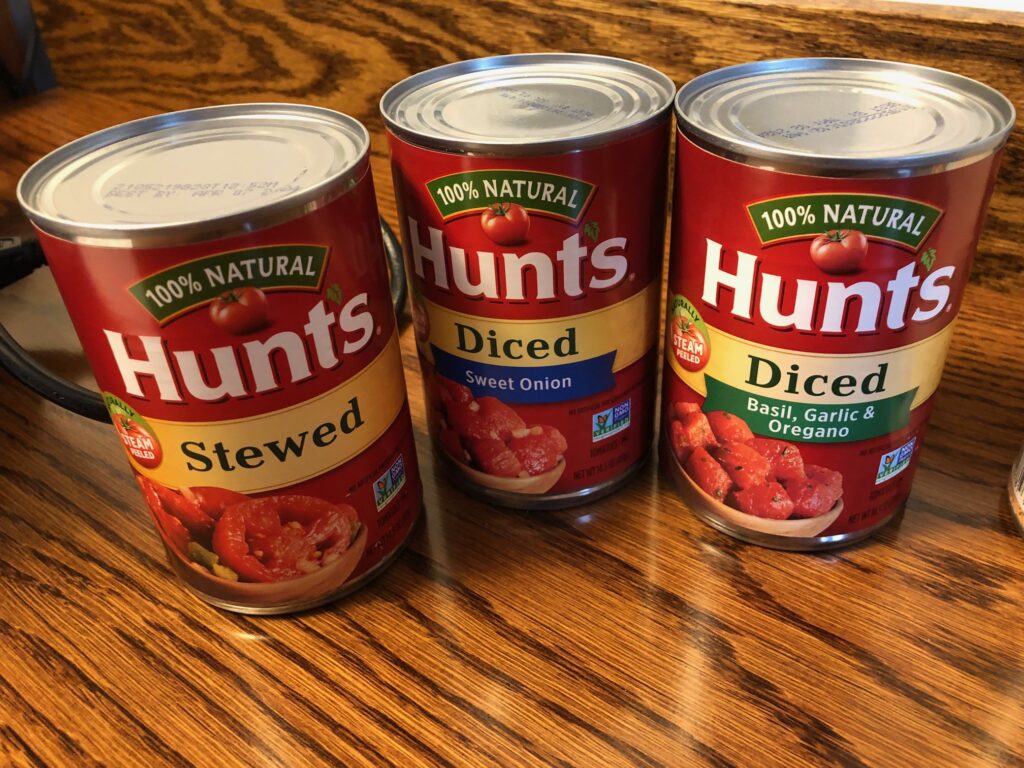
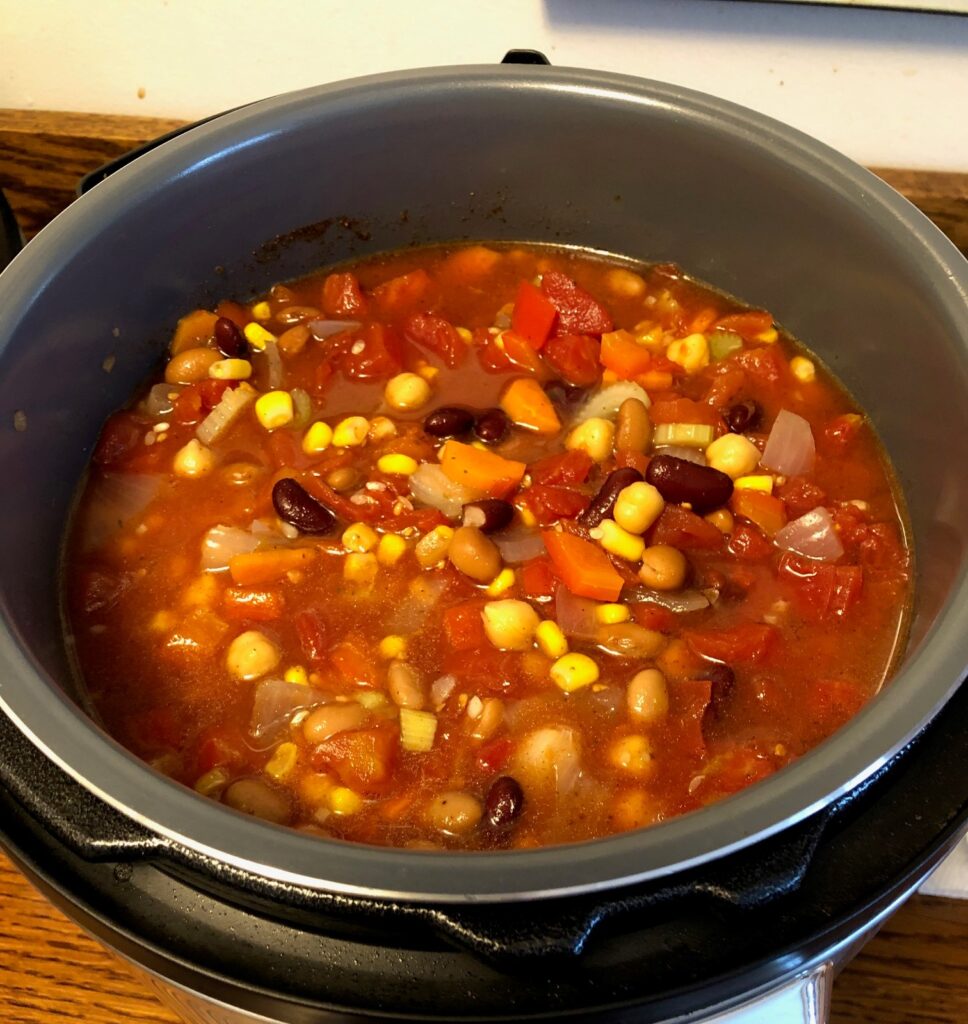
I picked up a red sweet pepper and some freeze-dried garlic. I don’t use a lot of garlic and this little jar is so easy! I had carrots, celery, and onion but I took a look at the canned tomatoes and found some interesting flavors. I started with three cans of tomatoes and ended up adding a fourth can of diced tomatoes just to fill up the crock pot.
After dumping everything in the crock pot, this is what simmered in my kitchen all day. Delicious!! Try it yourself!
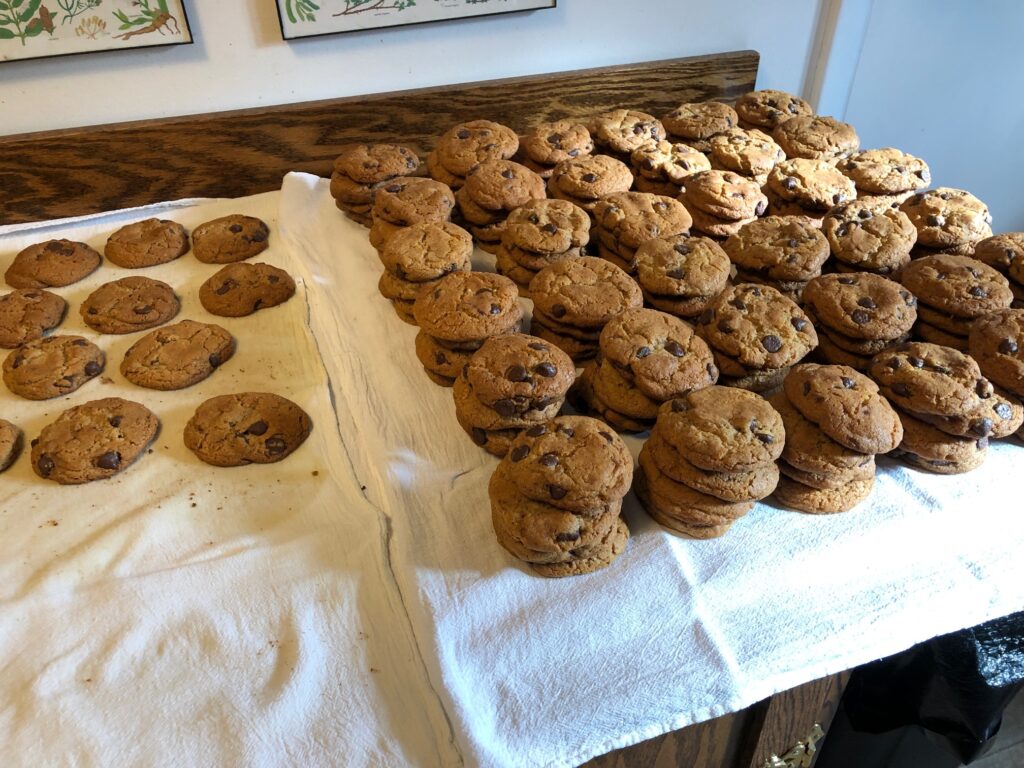
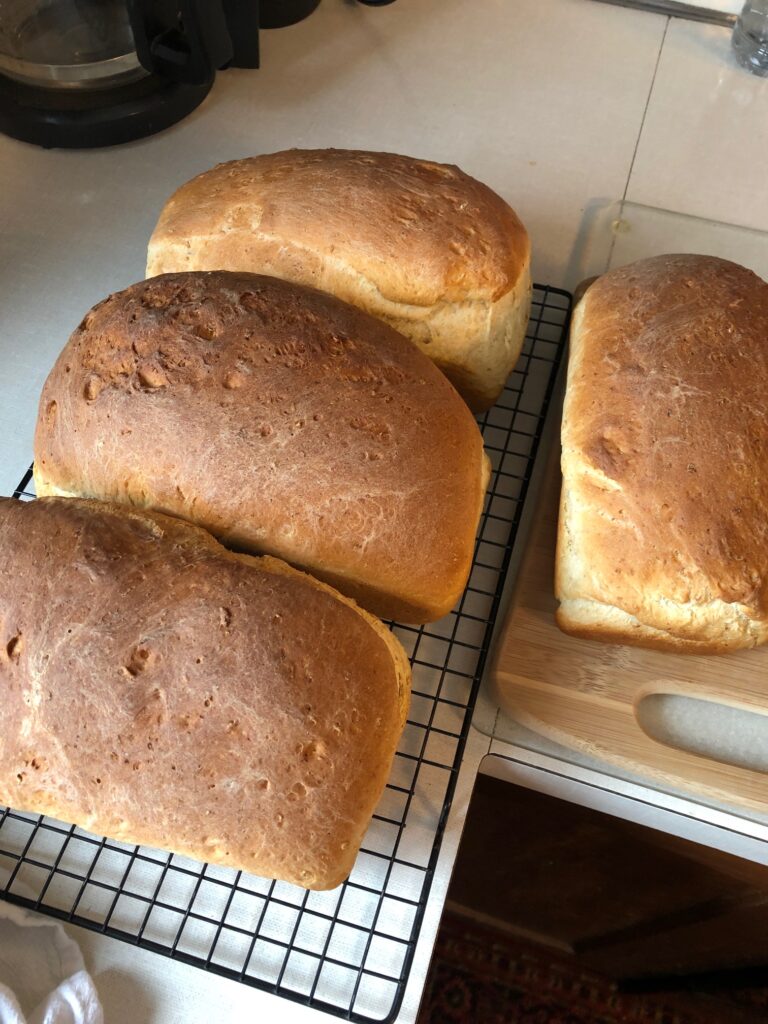
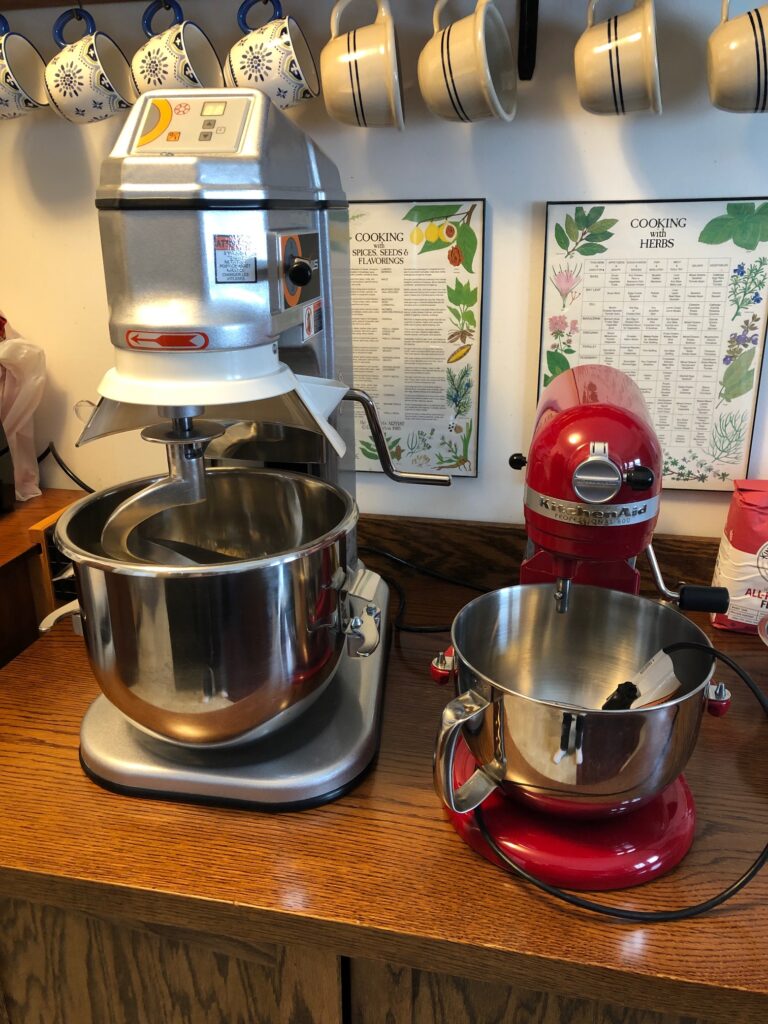
Right at the moment, my whole house smells great! Bert is cranking out the chocolate chip cookies and between mixing and baking I was able to use the big mixer to make my oatmeal bread.
Bert’s Chocolate Chip CookiesMary’s Oatmeal BreadThis is the big mixer compared to my KitchenAid mixer.
So for a few days, I’m also not able to do anything in the kitchen…no other meals, no skin care products, no cooking…just heating things up in the toaster and microwave! Of course, I haven’t bothered to take new pictures since I’ve documented both the cookies and the bread in other posts. Sooooo…let me give you those links here:
The main thing I can tell you is that the cost of making 170 pounds of dough into cookies has almost doubled. That doesn’t even count Bert having to figure out the change in ingredients when the cake flour boxes are no longer 2 pounds but 1 pound 10 oz. He’ll have to change the recipe to reflect that. At least this year he was able to find the ingredients he needed. Who knows what will happen next year!
Check out those links above for details about the cookies and bread! I’ll be at the other end of the house trying to not sneak into the kitchen to snag a cookie!
I was really in the mood for something different for breakfast today. We haven’t had cereal around for a long time but today I wanted to put my frozen blueberries on a bowl of granola. Soooo…guess it’s time to make some!
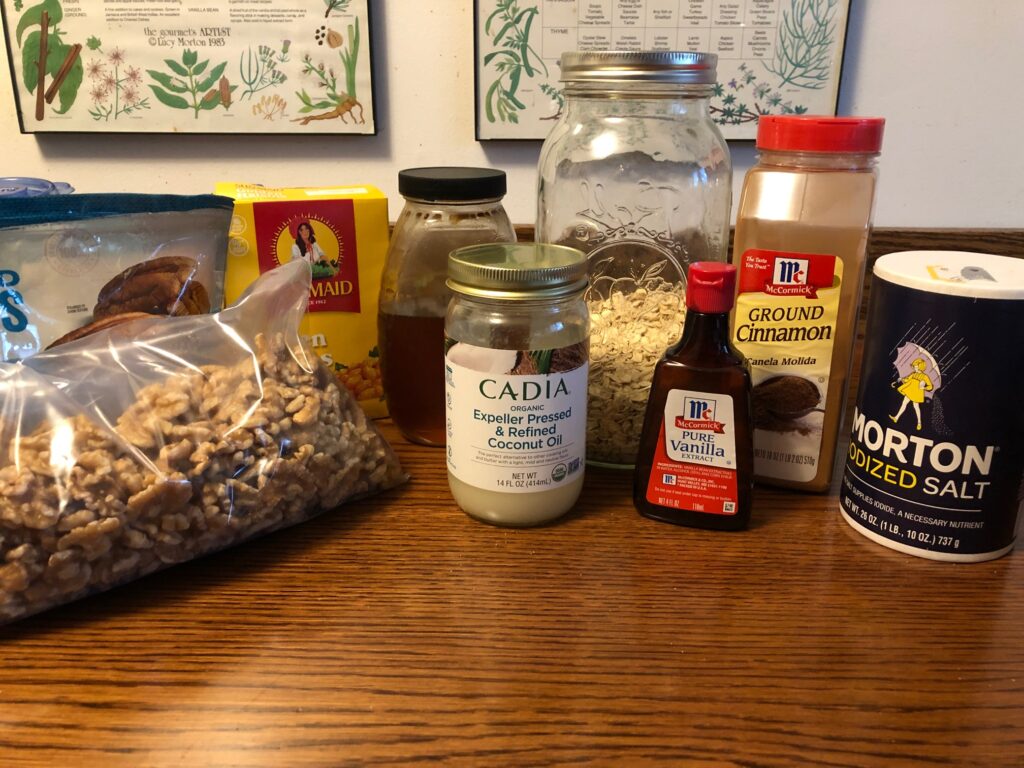
I found a pretty simple recipe online and gathered ingredients. The original recipe calls this “Healthy Granola” but I decided to call it Honey Nut Granola. The link to the original is here: https://cookieandkate.com/healthy-granola-recipe/
Here are the ingredients:
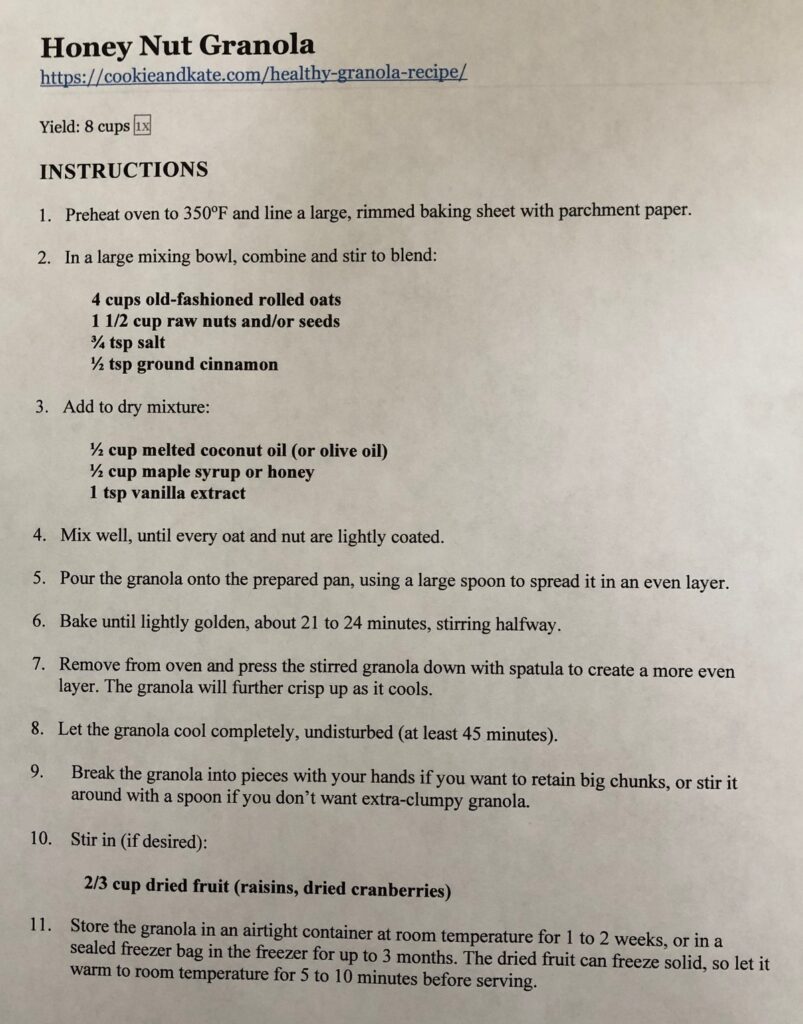
And here is the recipe:
Making Granola
Step 1: I prepped a 9″ x 13″ cake pan with parchment paper and preheated the oven to 350 degrees.
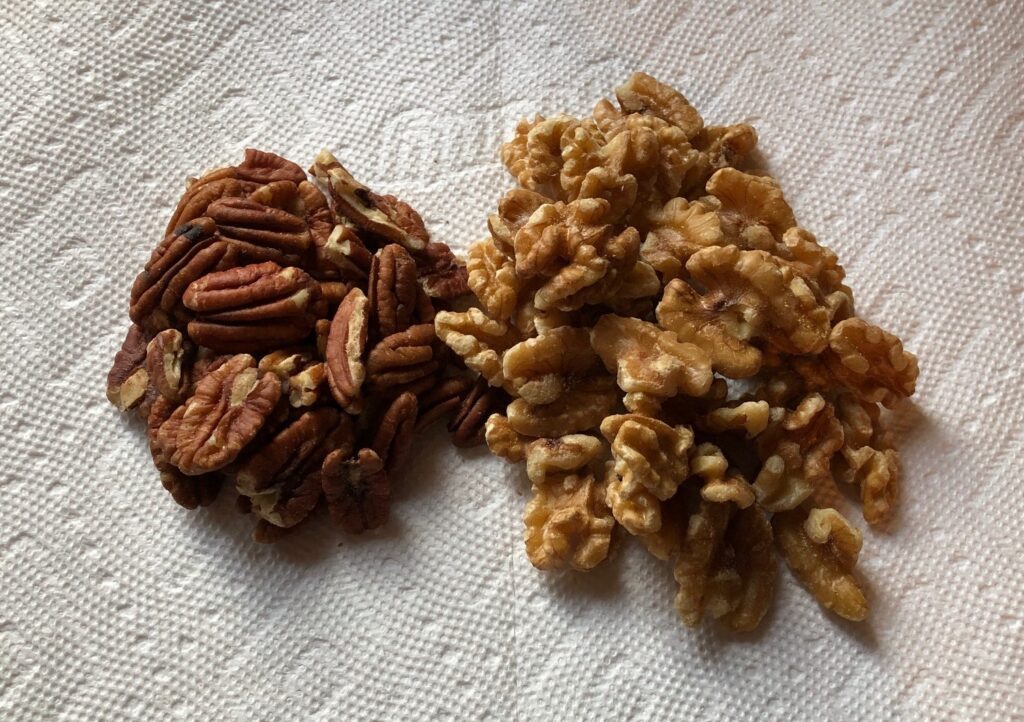
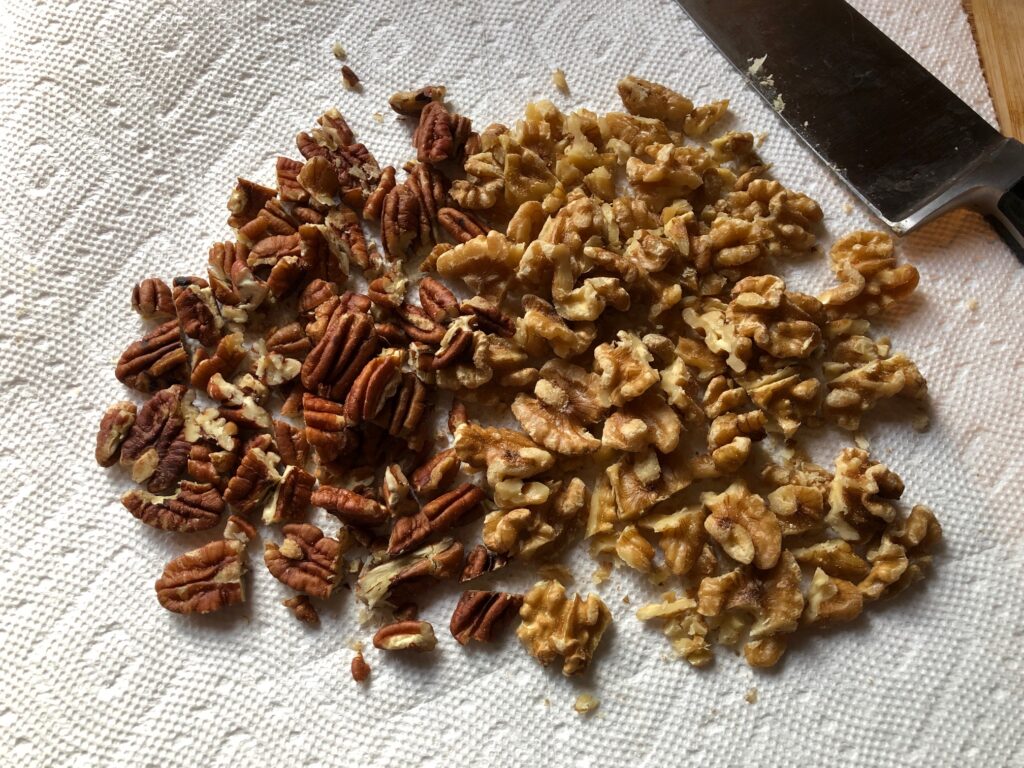
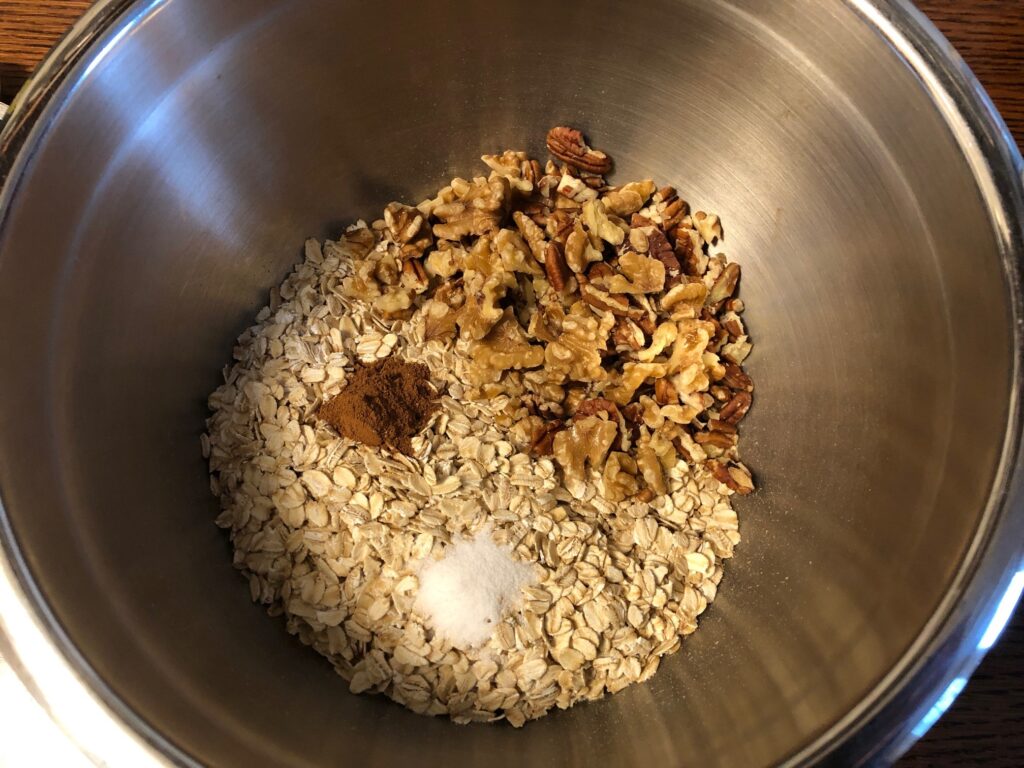
Step 2: I measured out the dry ingredients and put them into a large bowl. (I did chop the nuts into smaller pieces.)
Pecans and WalnutsDry Ingredients: Rolled Oats, chopped nuts, salt and ground cinnamon.
Step 3: Mixed up the wet ingredients in a small bowl before adding them to the dry ingredients: coconut oil, maple syrup and honey (I used 1/4 cup each), and vanilla extract.
Step 4: Mixed up the granola to lightly coat “every oat and nut.”
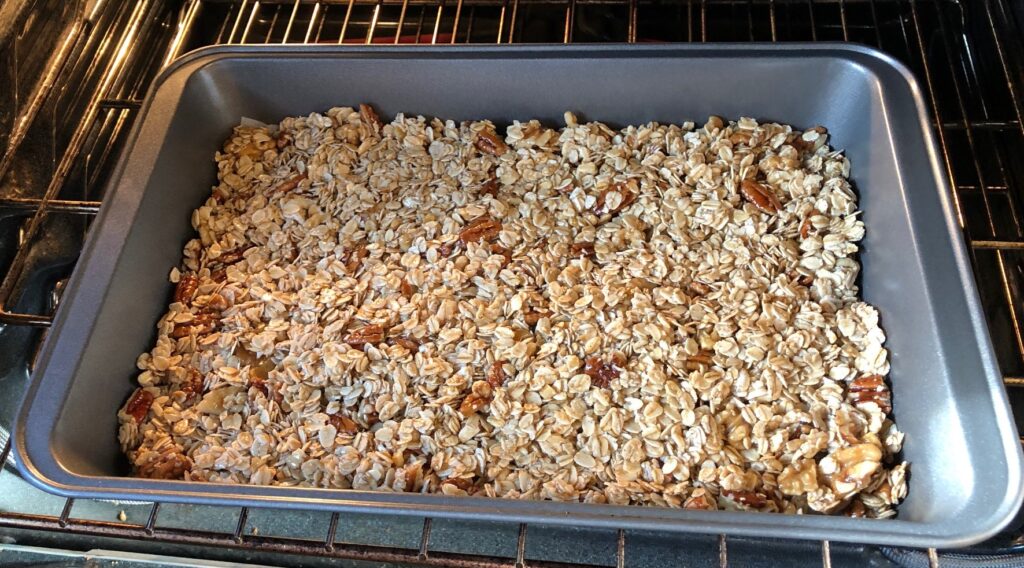
Step 5: Poured the granola mixture into the prepared pan. I used a spatula to press the granola into the corners.
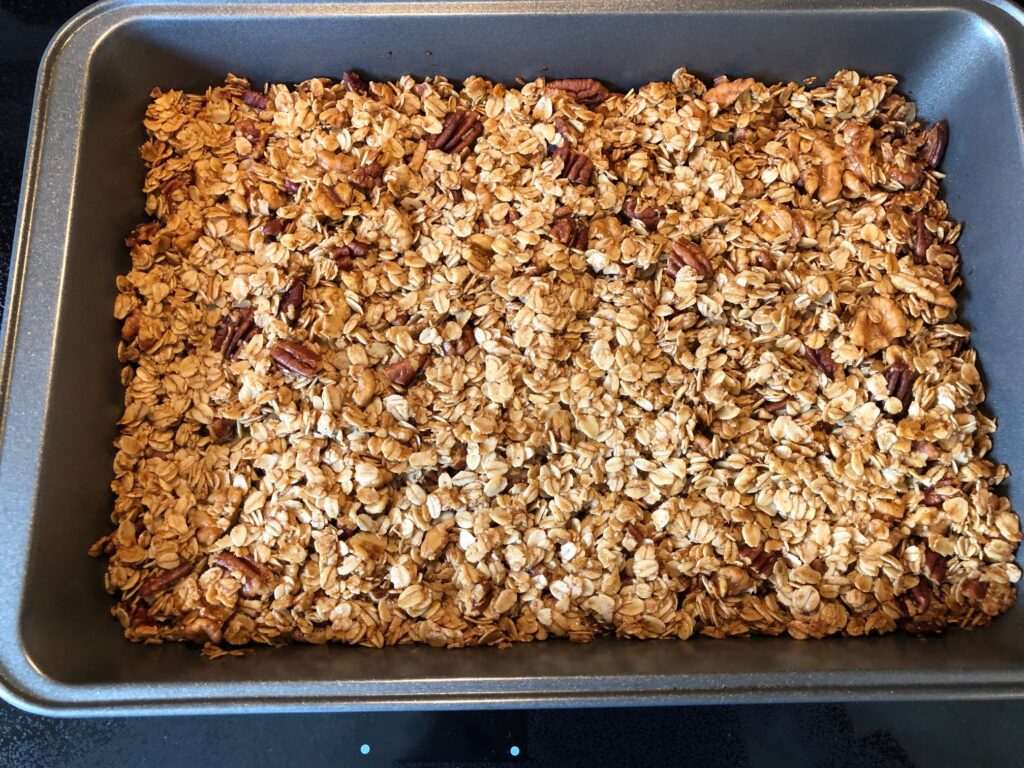
Step 6: Baked granola in 350-degree oven for about 24 minutes. (I stirred it halfway and pressed it back down in the pan with the spatula).
Steps 7 & 8: Remove the pan from the oven and let it sit to cool completely (at least 45 minutes).
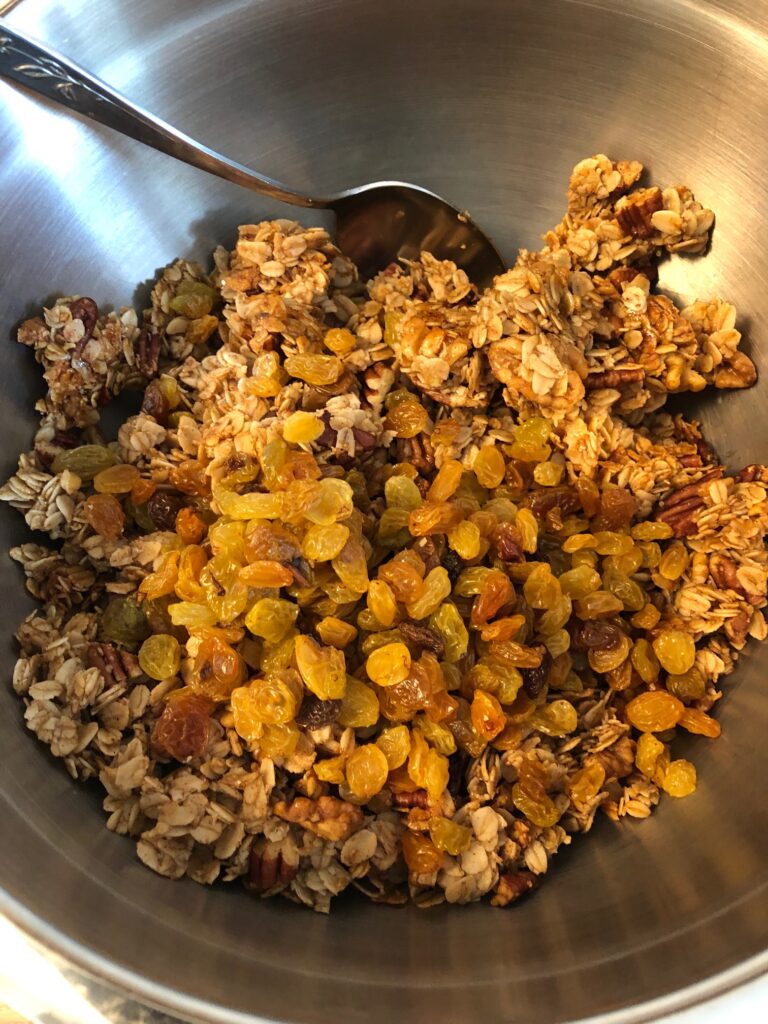
Step 9: I broke the granola into big pieces with my hands and put it all into a large bowl.
Step 10: I stirred in 2/3 cup of golden raisins and let it cool some more.
Cooled granola and golden raisins.
Step 11: I dumped the granola into a gallon ZipLock bag and put it in the freezer.
This recipe is supposed to make 16 – 1/2 cup servings. We’ll see!
Tomorrow’s granola breakfast should be delicious with a helping of frozen blueberries on top! Try it yourself! Enjoy!
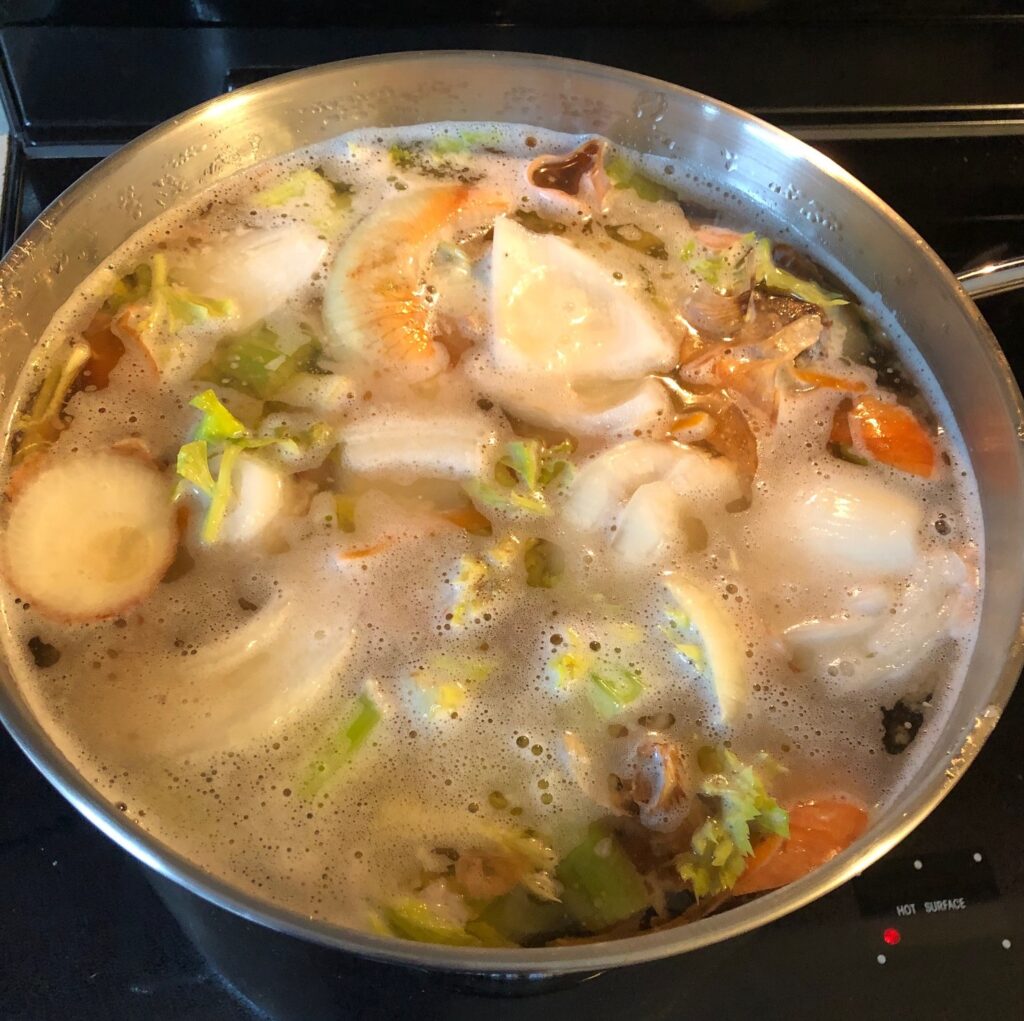
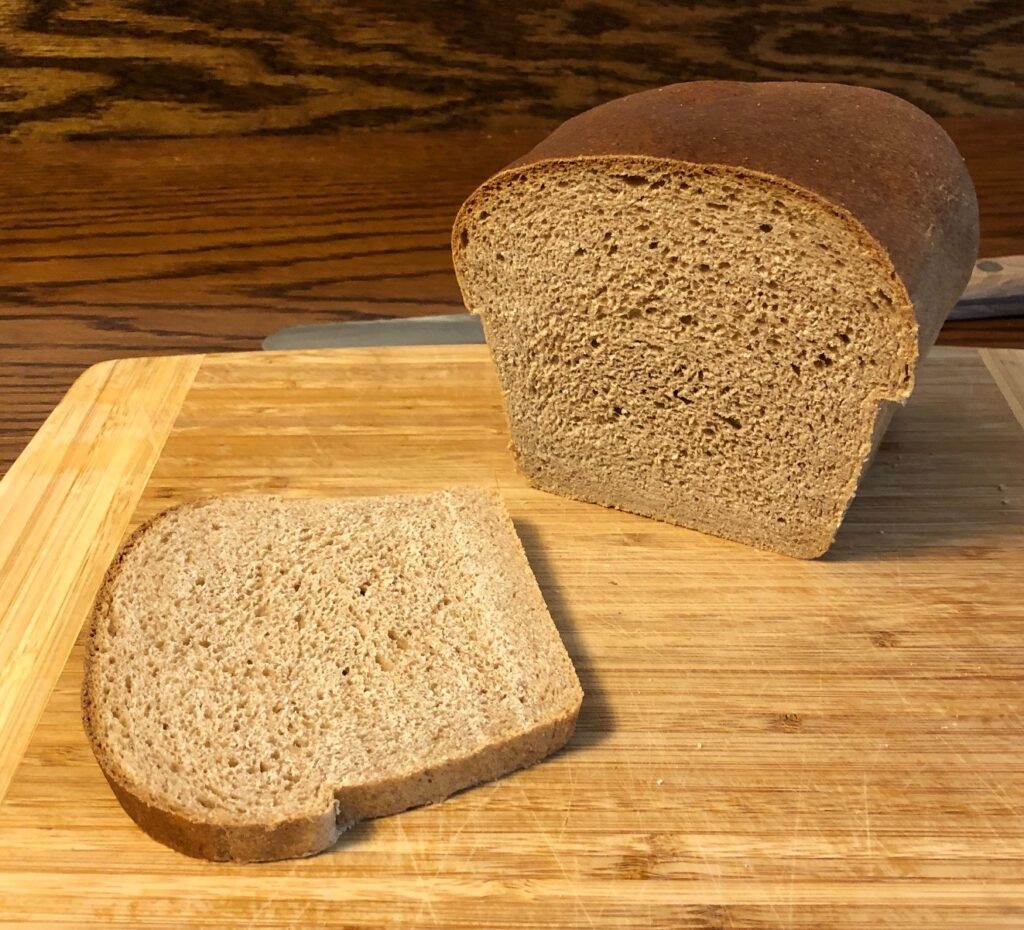
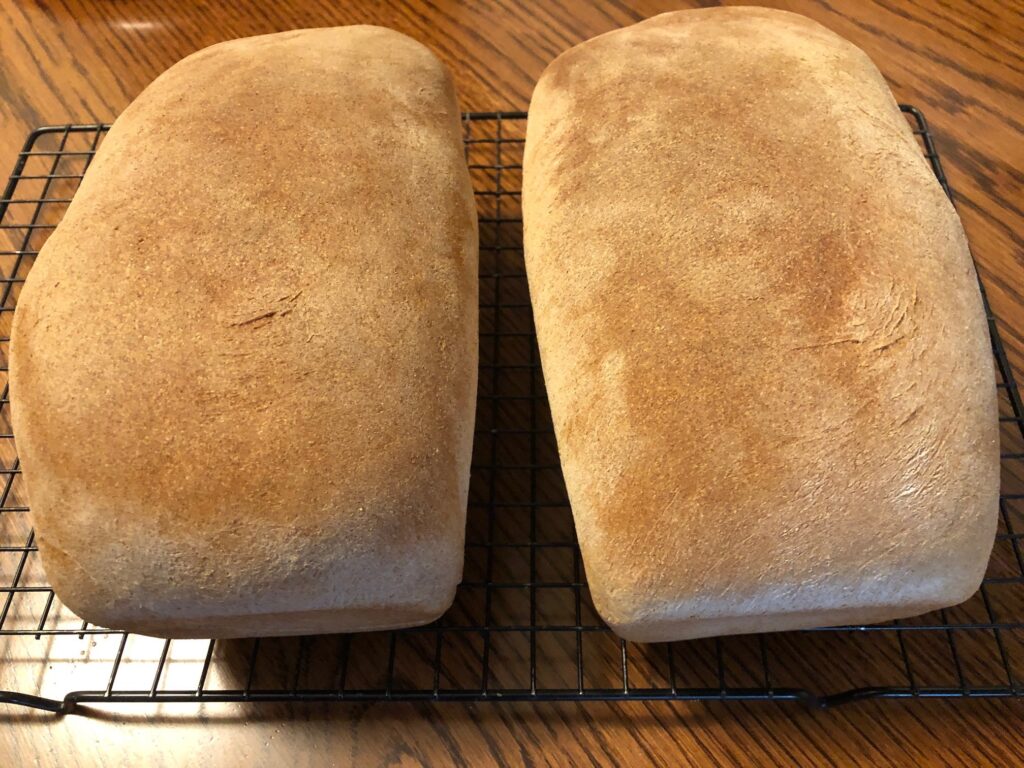
A cold snap in our area always entices me to make soup and homemade bread! Bert had purchased a large ham with the bone the other day and after cooking and taking off the meat, I boiled the bone and trimmings along with other vegetable scraps to make Ham soup stock. While it was boiling away, I whipped up my whole wheat bread.
Not exactly appetizing yet…but the stock will make great soups!
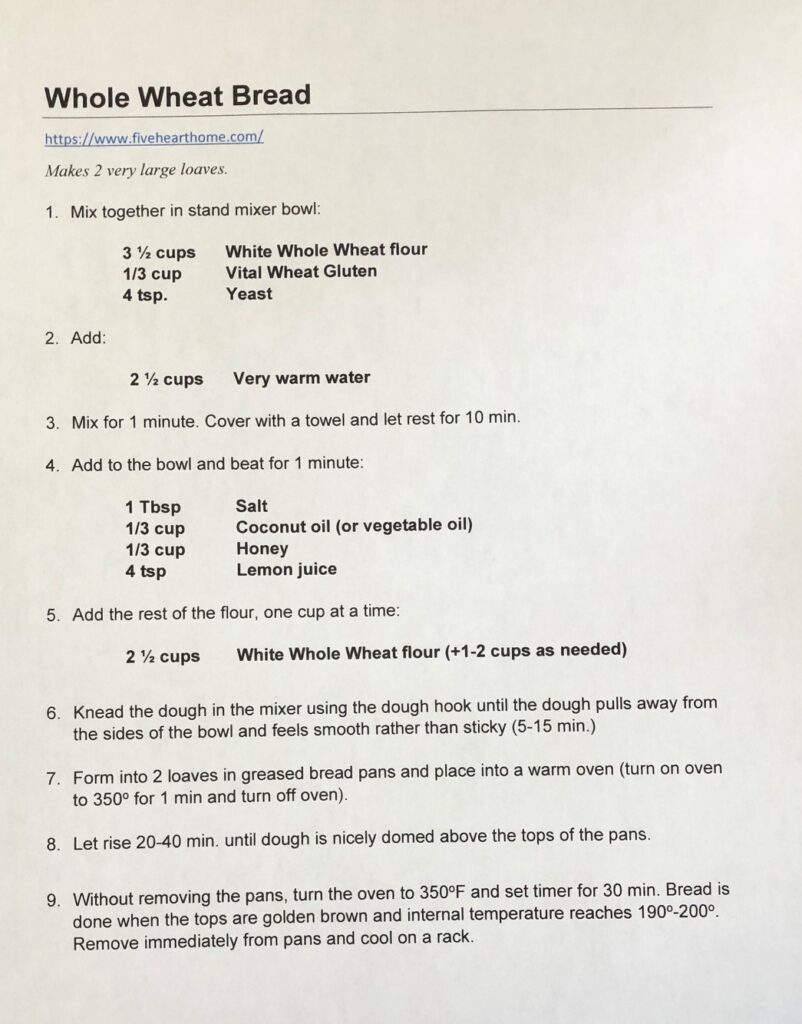
I wrote about this bread recipe last May, using all whole wheat that I ground myself (https://marykisner.com/from-wheat-berries-to-bread/). This time, I used up some of the flour I had ground before. I store it in the freezer to keep it fresh.
Here is the recipe again:
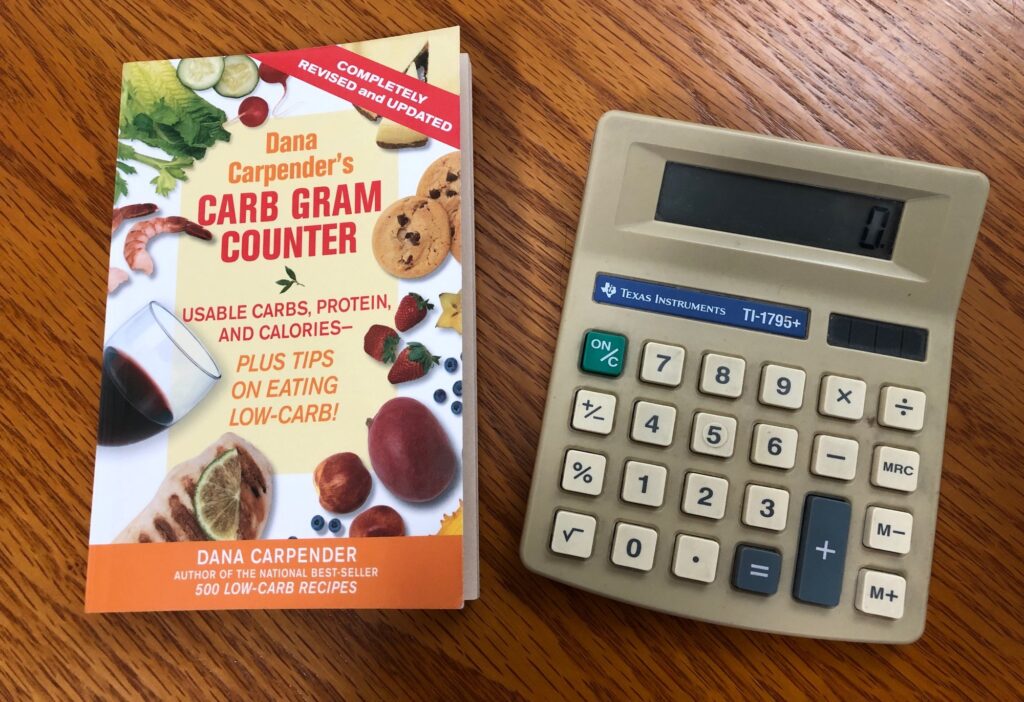
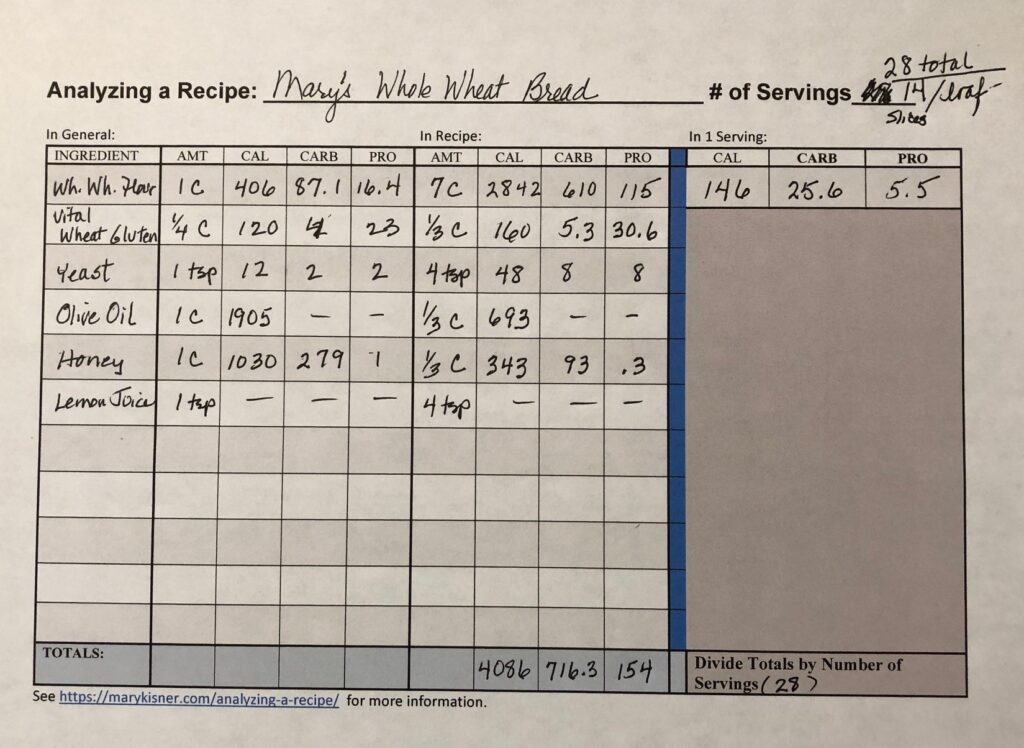
This time I wanted to analyze the recipe to see if it was as nutritious as I thought it was. I used the chart tool that you may have read about a week or two ago (https://marykisner.com/analyzing-a-recipe/).
While the bread was baking (and the soup stock was boiling) I pulled out a blank chart and started by listing the ingredients in the recipe. I looked up each ingredient in my little book or online.
Here is the finished chart:
The hardest part was deciding how many slices there were in a loaf…sometimes we’ll cut it thicker!
So, it looks like each slice of bread will be about 146 calories, 25.6 gm of carbohydrates and 5.5 gm of protein. It was a good reminder that it compares well with commercial bread, tastes better and has no extra preservatives or chemicals. I keep the loaf we are using in the refrigerator and freeze the extra. And of course, commercial bread from the store doesn’t make the whole house smell so good on a cold day!
Give this recipe a try! Your whole house will smell great!