Have you ever wondered how many calories or carbs are in a favorite recipe? It’s pretty easy if you bought that cake or package of dinner rolls at the store. But what if you make it yourself? There are no labels on your own homemade goodies. Sometimes a recipe is posted on-line and will include the various nutritional numbers, but not always.
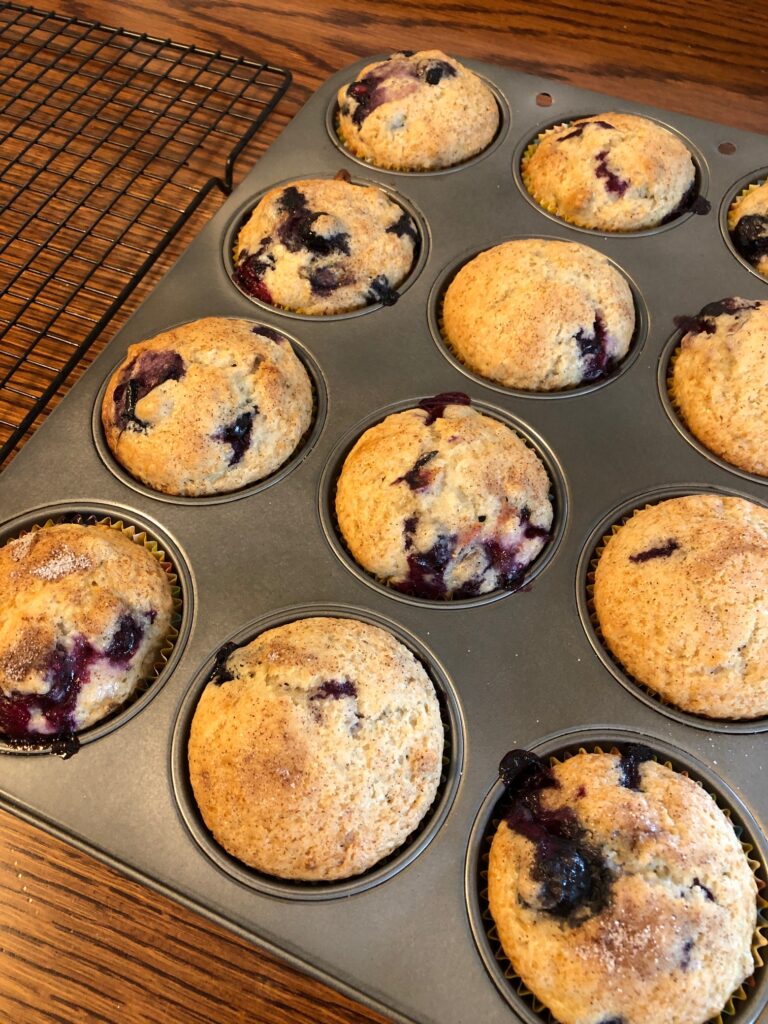
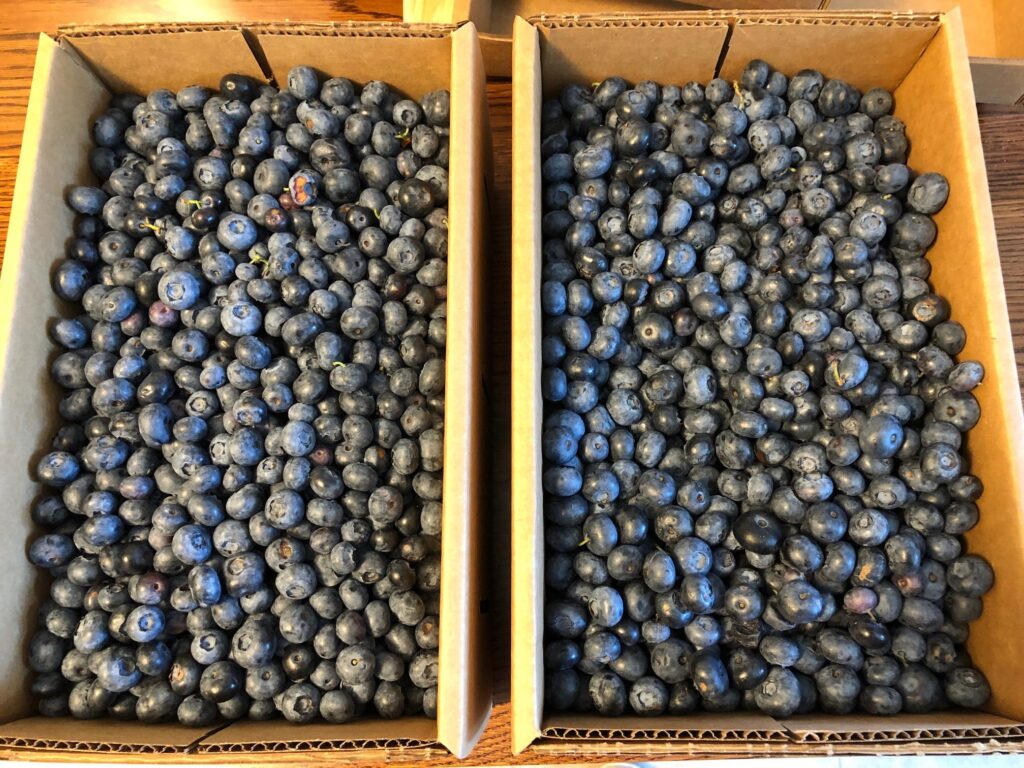
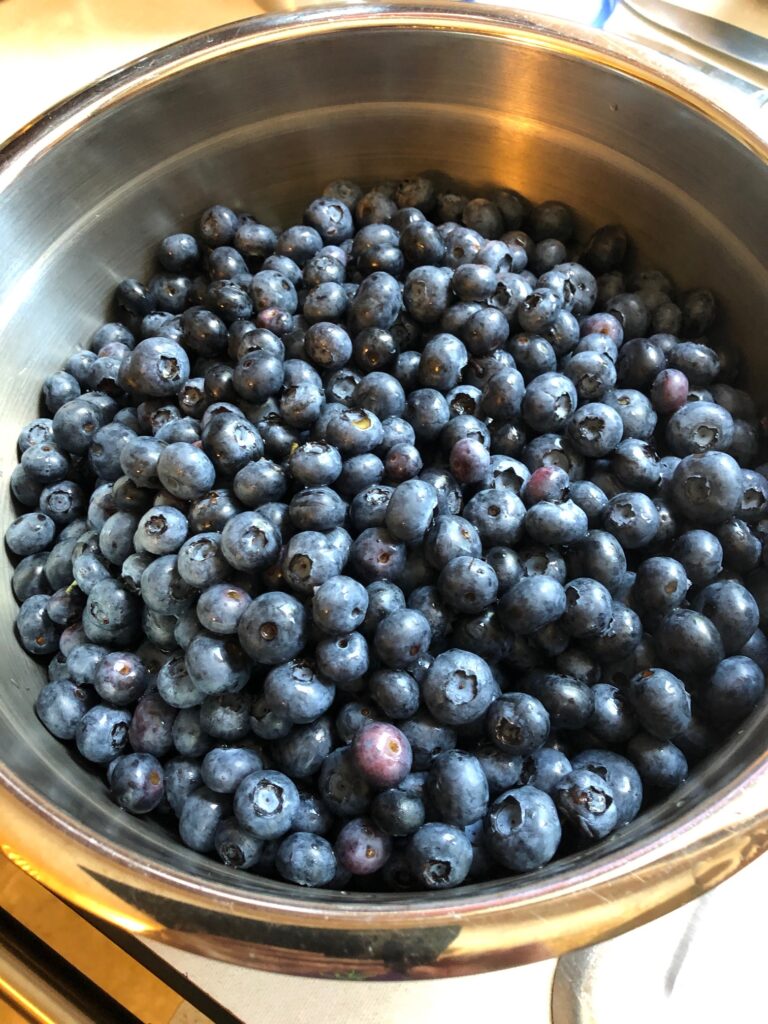
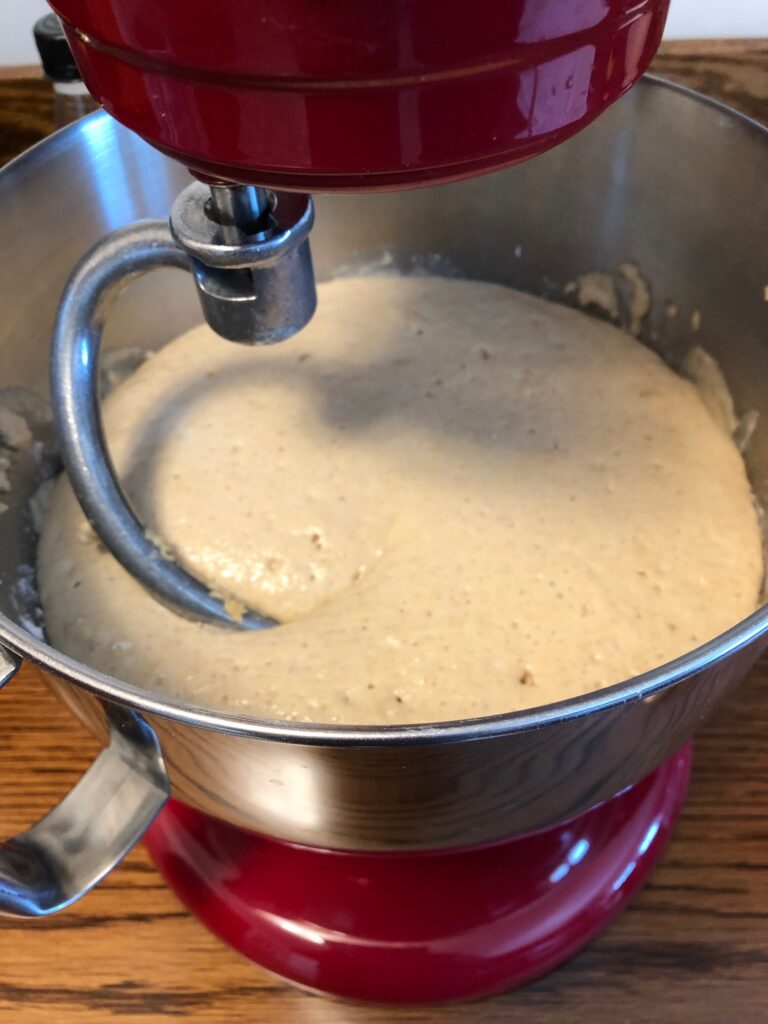
Sunday I was motivated to make a big batch of my favorite muffins…Blueberry Banana Walnut Muffins. This is a Vegan recipe…meaning no dairy or egg involved. I had tweaked the recipe over the years so while the original may have had nutritional information now I had no idea about those values.
Recently, I found out that I’m no longer so sensitive to egg protein and wondered if adding one egg to the recipe would boost its protein level or make no difference. I figured adding one egg to a recipe making 12 muffins would also be safer for me as I tried to introduce even a small amount of egg protein to my diet.
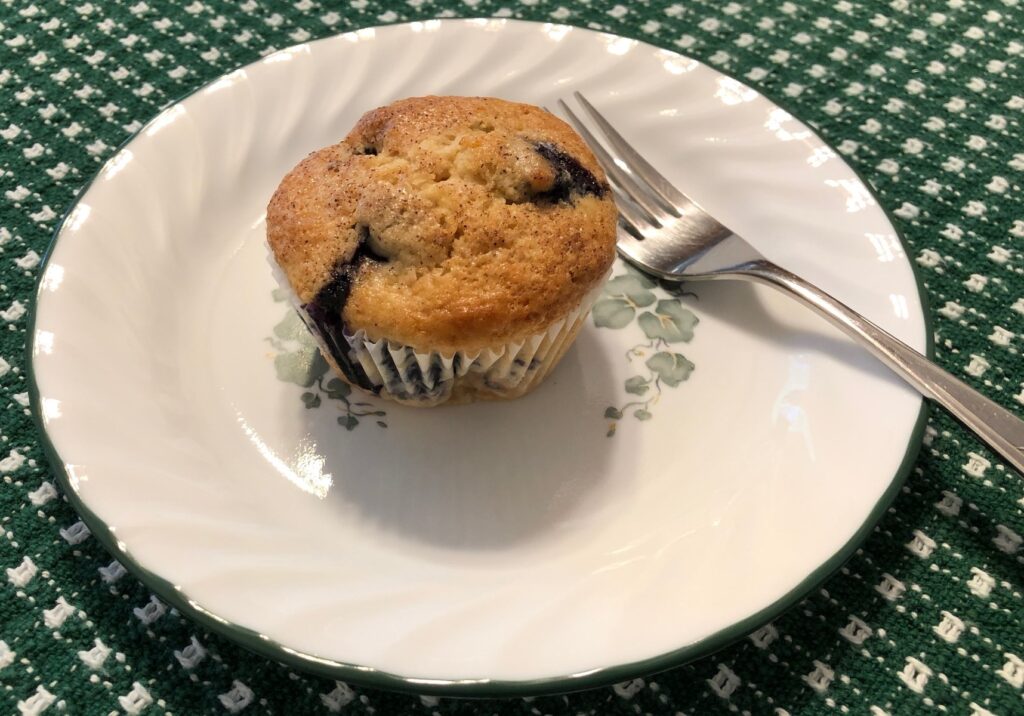
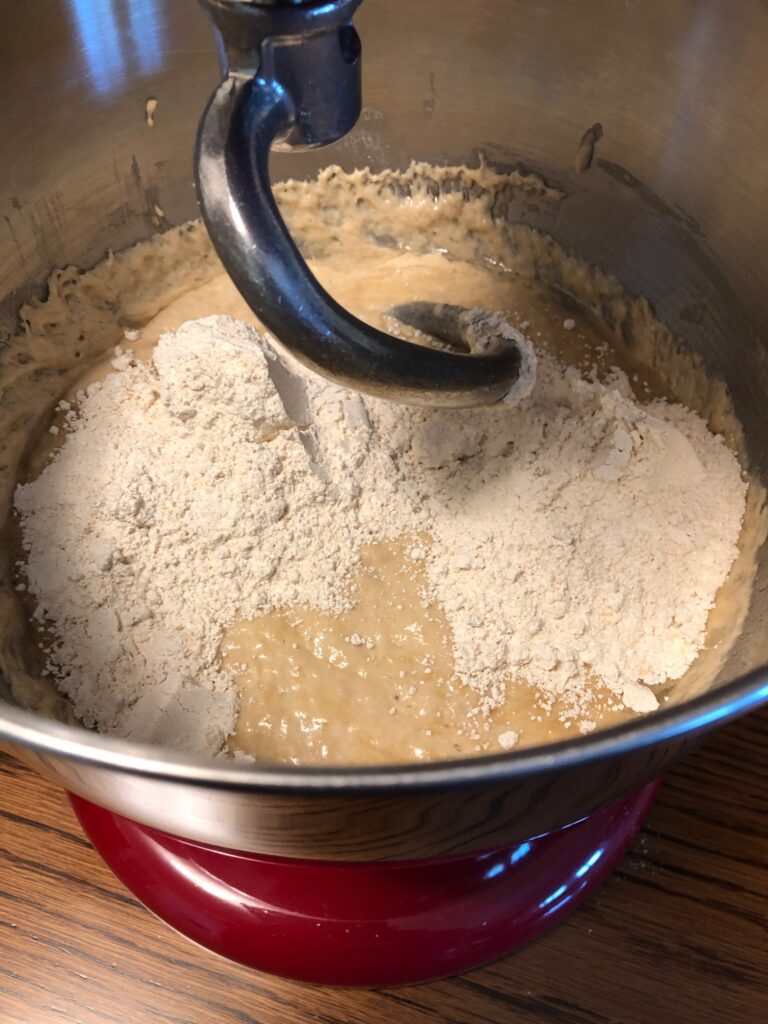
While I was mixing and baking, I wondered if I could figure out the nutritional content of a single muffin, specifically calories, carbohydrates and protein.
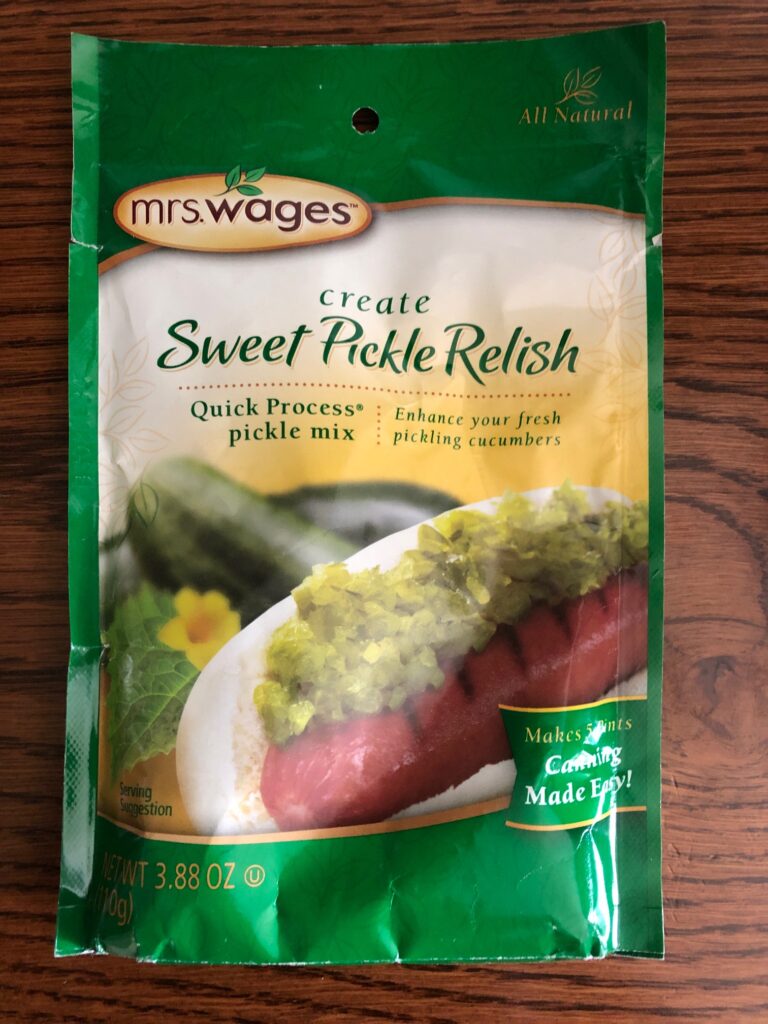
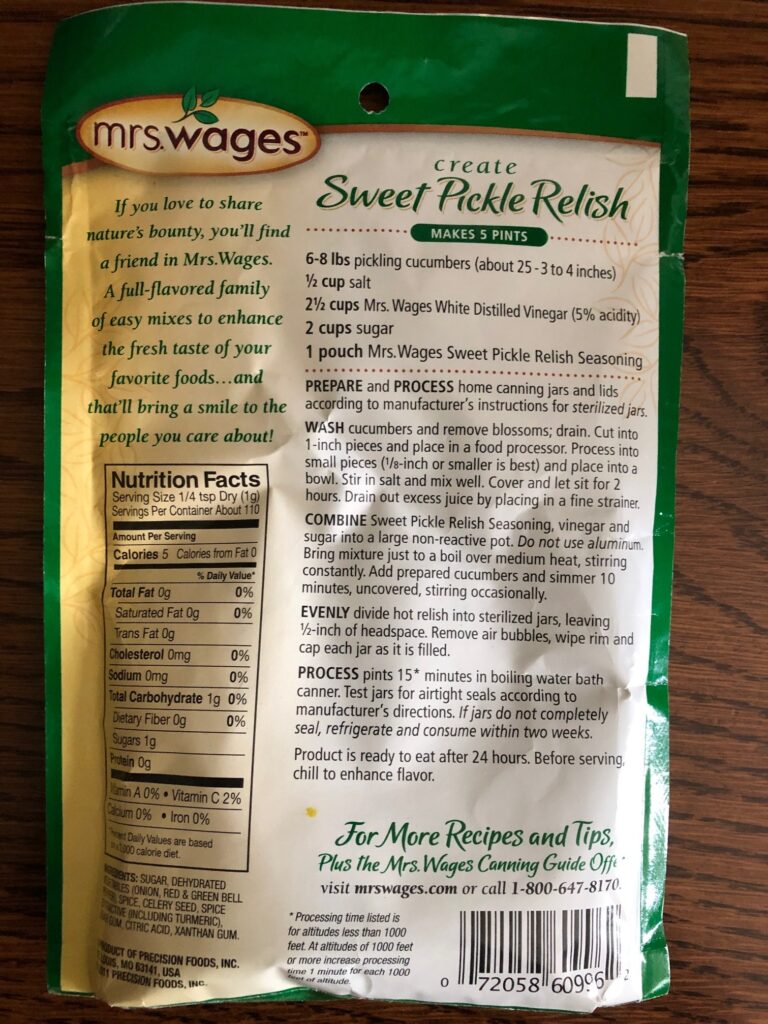
It is so much easier to buy a packaged item and look at the Nutrition box on the package. I’ve been reading the information on the back of almost every package I buy, since I’ve been careful to avoid all dairy and egg products. I’m sure you’ve read them too. For example:
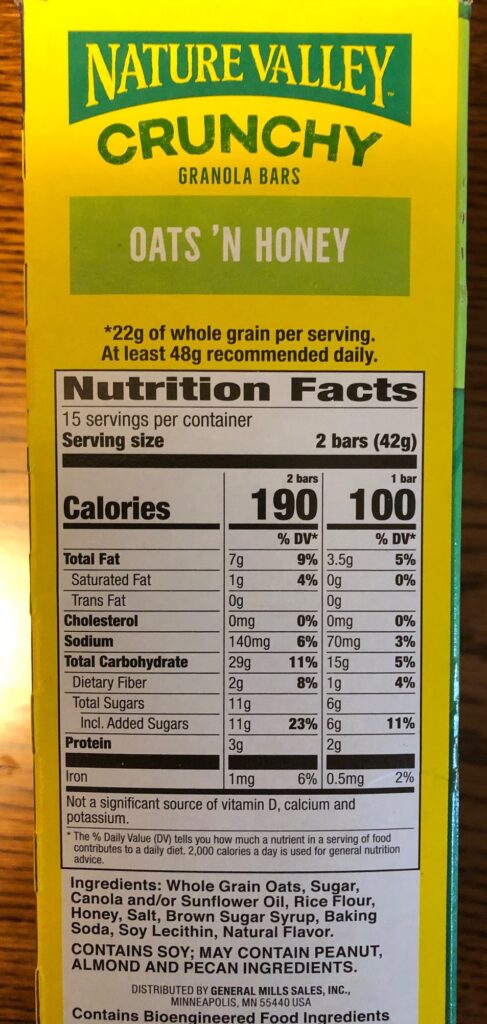
This information is required by law now and is very helpful if you or your family members have allergies to certain foods.
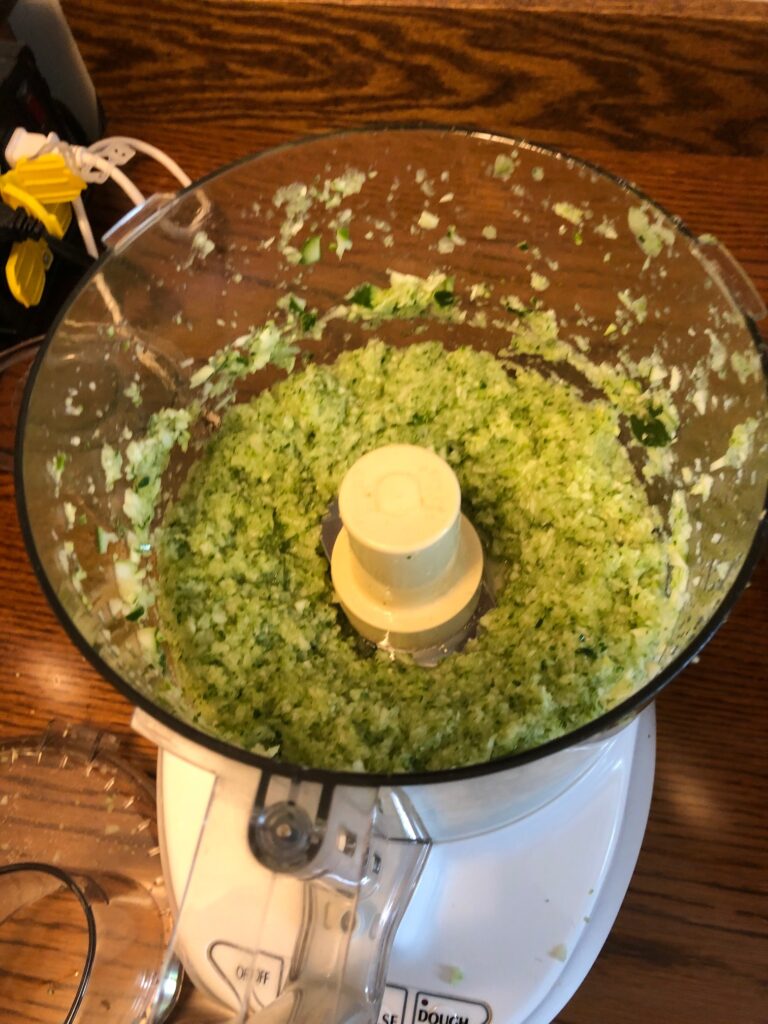
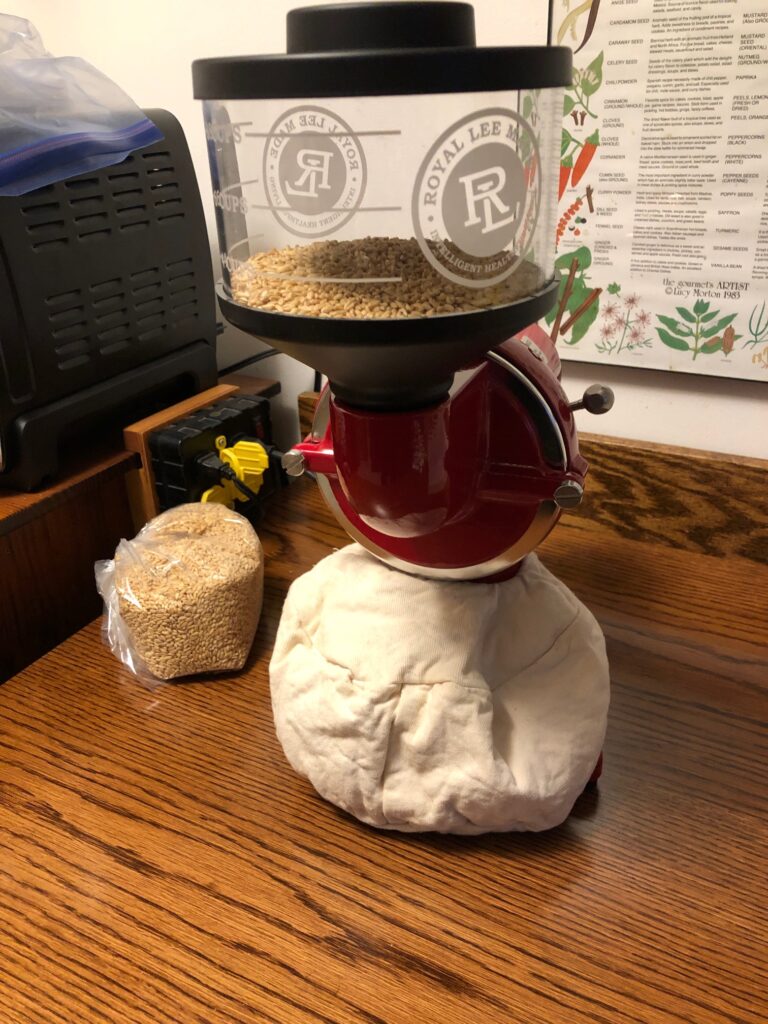
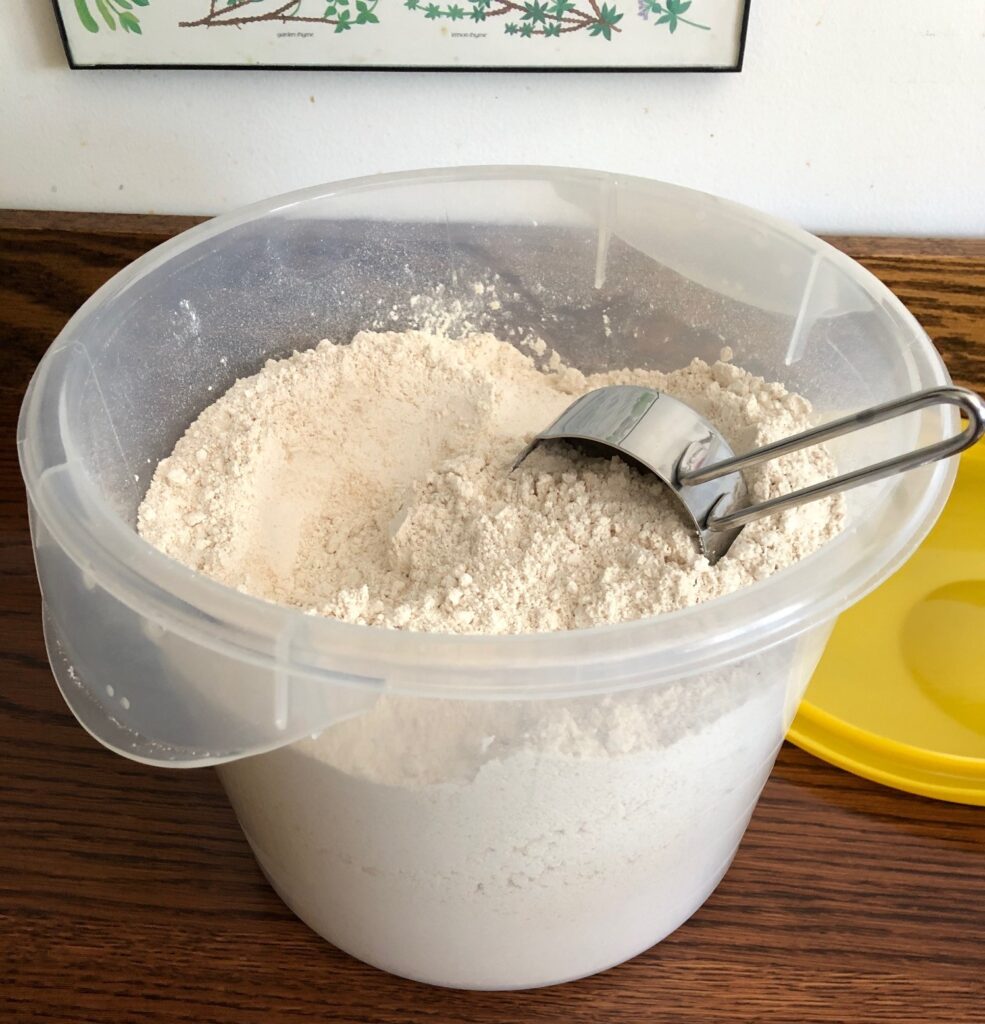
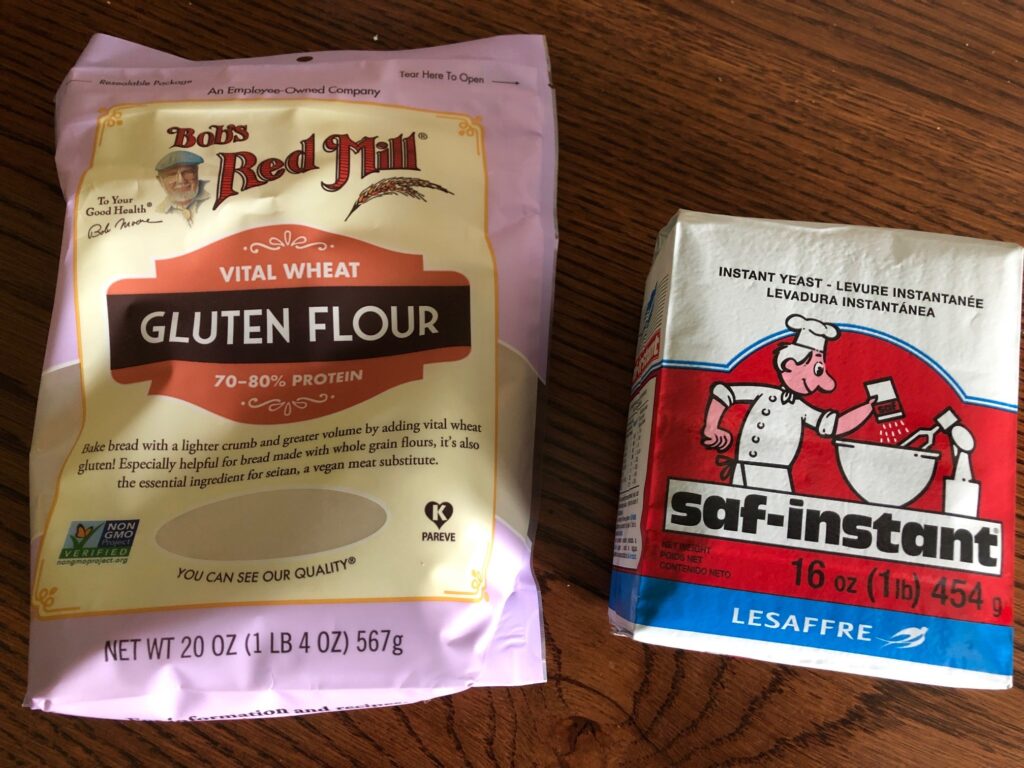
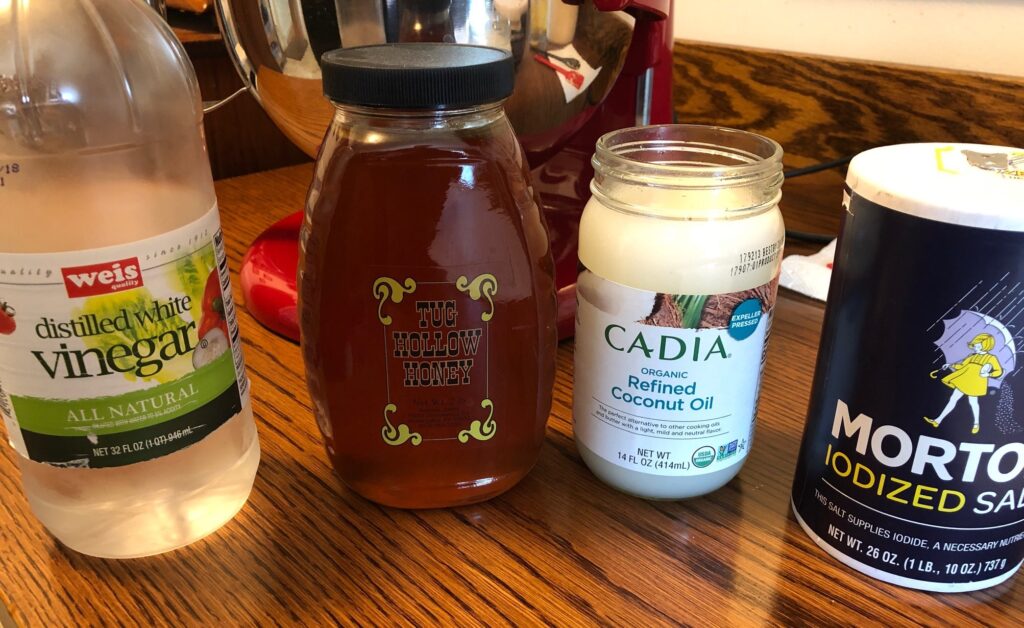
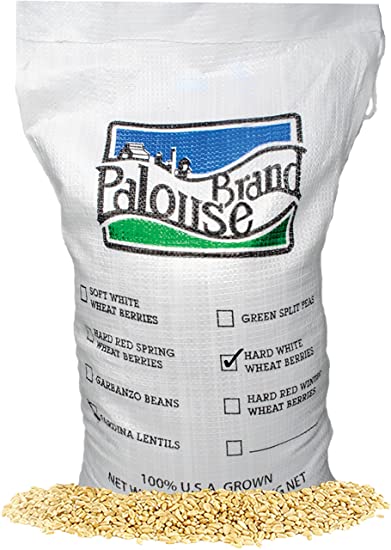
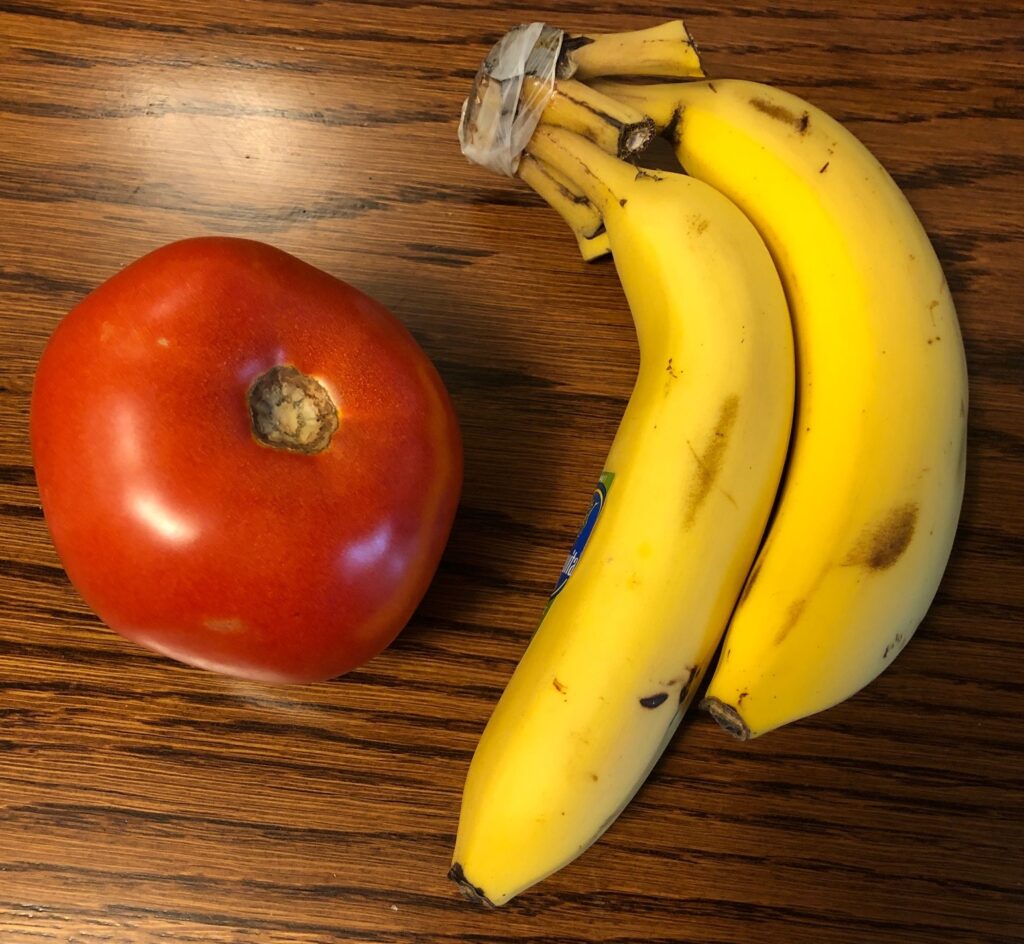
However, in my house, most everything I make is from scratch so the nutrition labels only refer to an individual ingredient, like flour or sugar. Some items have no labels:
So, I spent Monday creating a chart to include the items I wanted to know about in my muffins…like calories, carbs and protein. I could have added fiber, fat or sodium if I had wanted to track those nutrients.
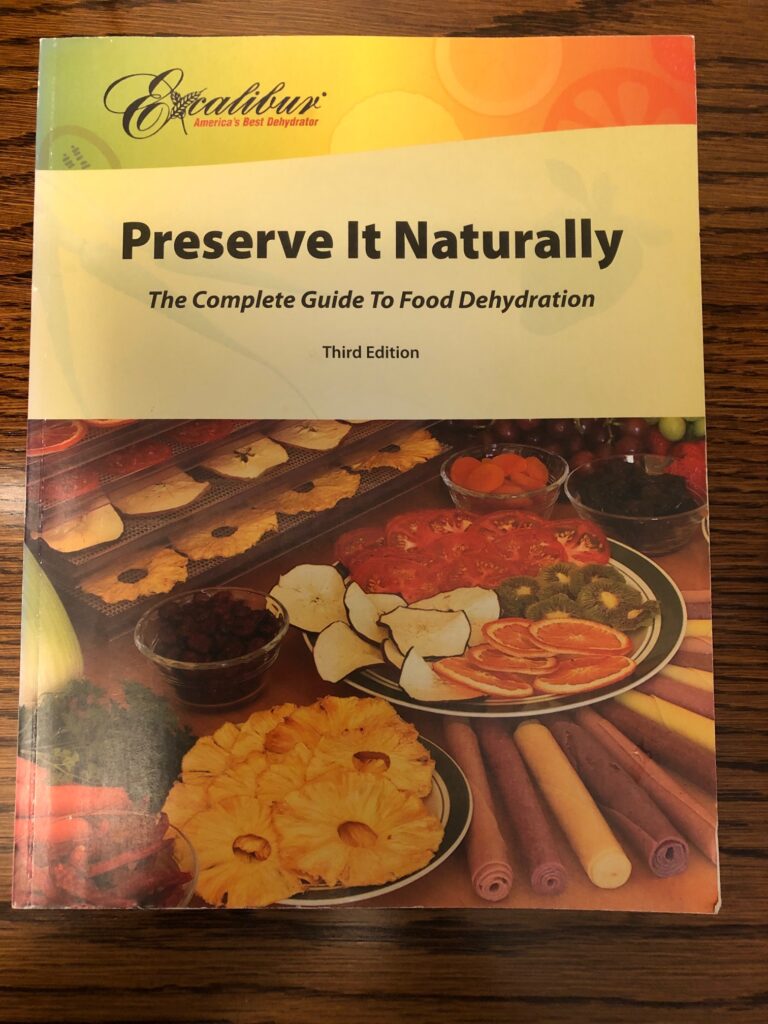
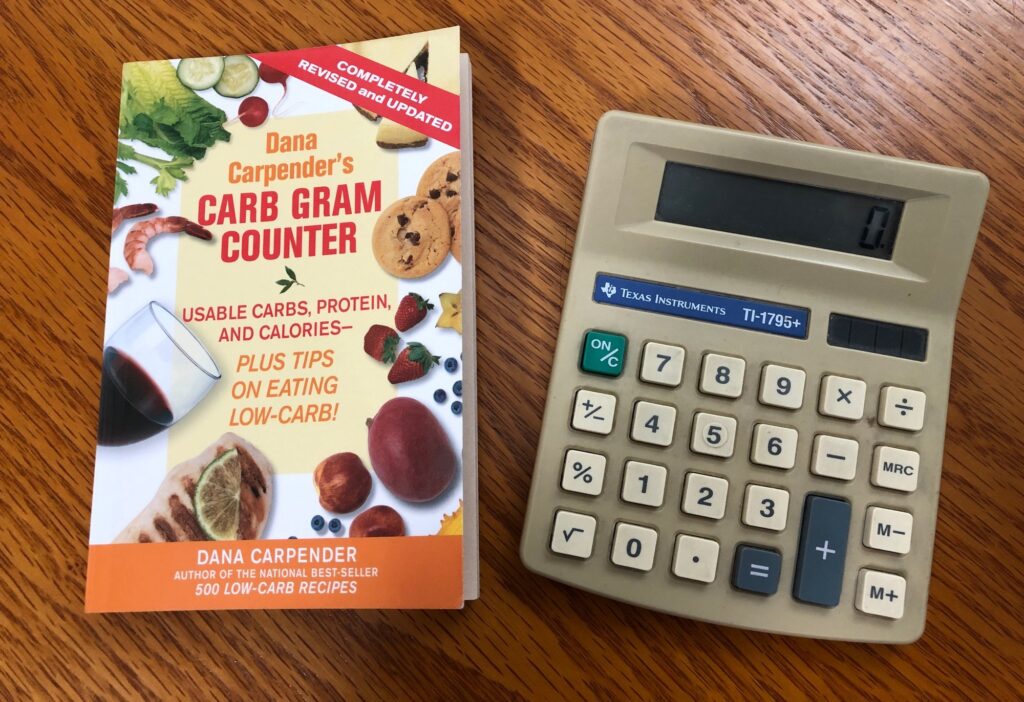
The two items below were essential to make this chart…a general book listing most foods and their nutrition content…and a calculator. I also used this website: https://calorieking.com/us/en/.
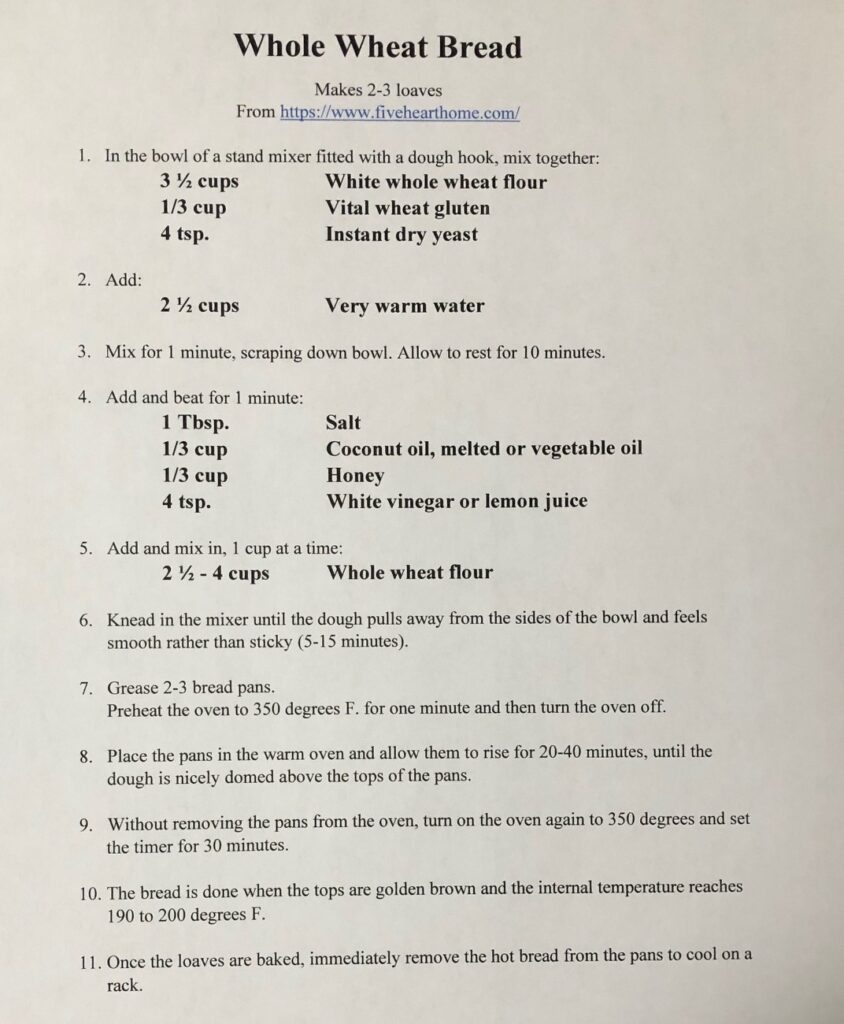
I printed out the revised recipe with the addition of one egg. Of course, adding the egg meant it was no longer a Vegan recipe. If I find the egg bothers me, I know the recipe is just fine without it.
I first started scribbling on sheet of paper and finally decided to make a Table in Microsoft Word (shown below).
The first section of 4 columns is for the standard measure of the ingredient; the next 4 columns is the amount in my recipe. Once the numbers are added up (shown at the bottom of the columns, I divided each number by 12 and got the final amount for each muffin.
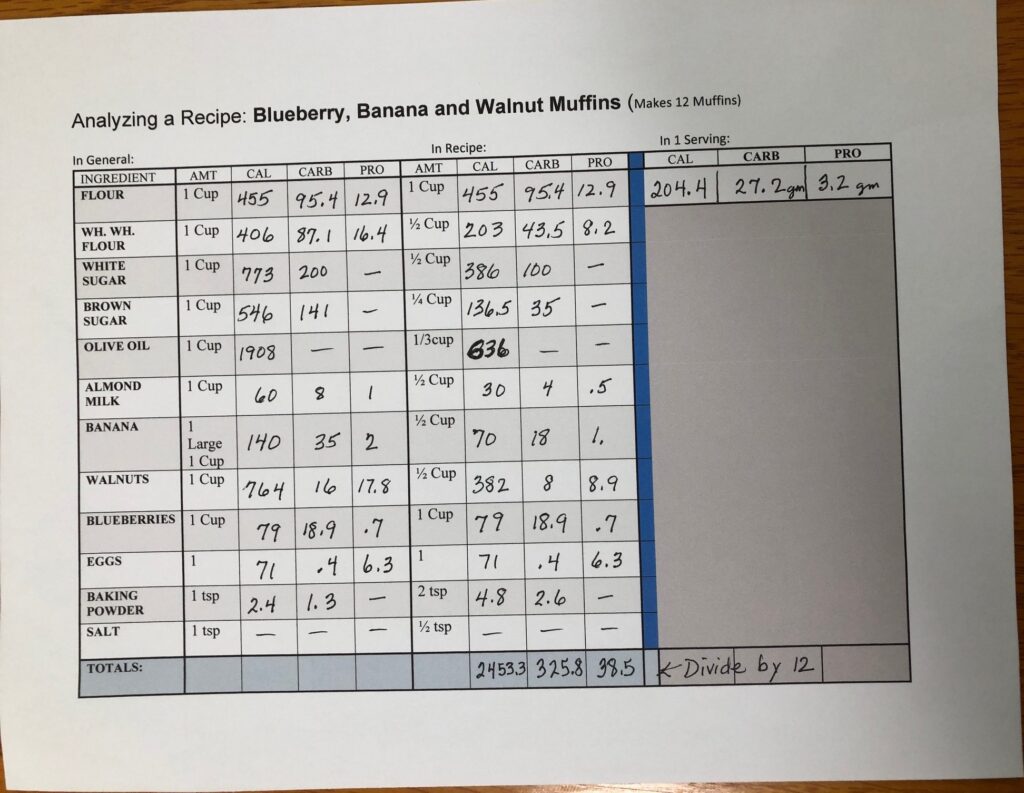
First, I listed the separate ingredients in the first column. Then I looked up each one to find the basic measure (like 1 cup) and recorded the three values: calories, carbs and protein.
Then I recorded the amount used in my recipe and computed the three values in the second set of 4 columns. I finally tallied the totals at the bottom and divided by 12 (muffins).
Now I could say a single muffin would provide about 204 calories, 27.2 gm of carbs and 3.2 gm of protein. Adding the egg to the recipe increased the protein a little, but I could easily leave it out if this tiny bit of egg protein bothered me.
Note: This method isn’t perfect. I can’t guarantee that every muffin has the same number of blueberries, but it’s good enough for me!
At the end, I made my table into a Template by deleting all my notes about the muffins and saved it as a PDF. I will use it when I want to know the nutritional value of any other recipes I make. If you would like a PDF of this chart send me an email at marykisner@comcast.net, or you might be able to capture it right out of this post.

You can make a table yourself like this in Word and include the categories you are interested in. I probably should find someone who knows how to set up an Excel spreadsheet Template that would let me type right into the form and add up the numbers automatically! Wouldn’t that be nice! As it is, I’m happy using a pencil or pen for now. Enjoy!
Please comment or email me directly at marykisner@comcast.net.