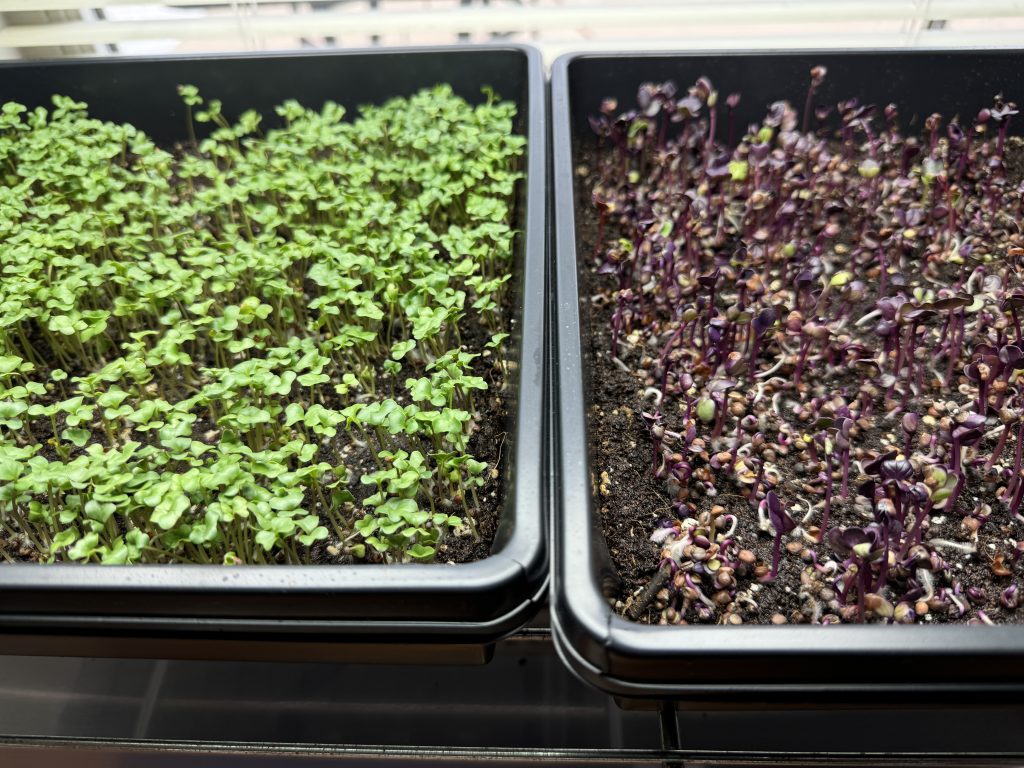
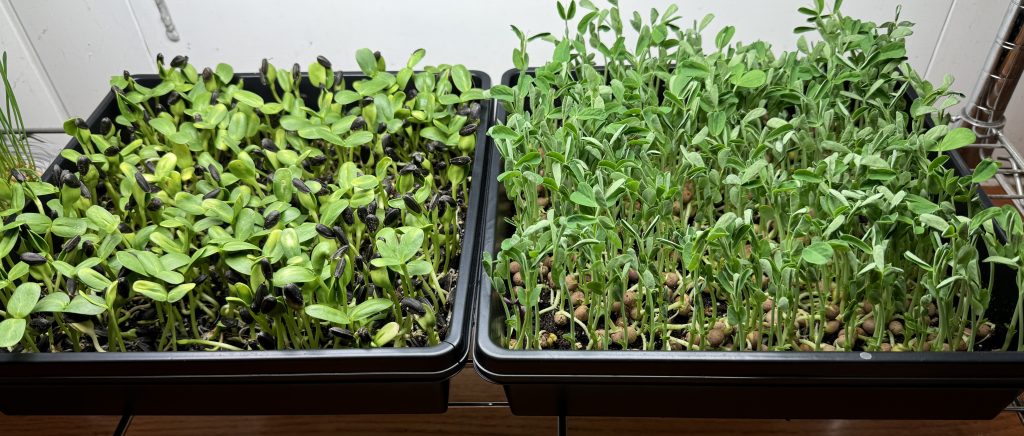
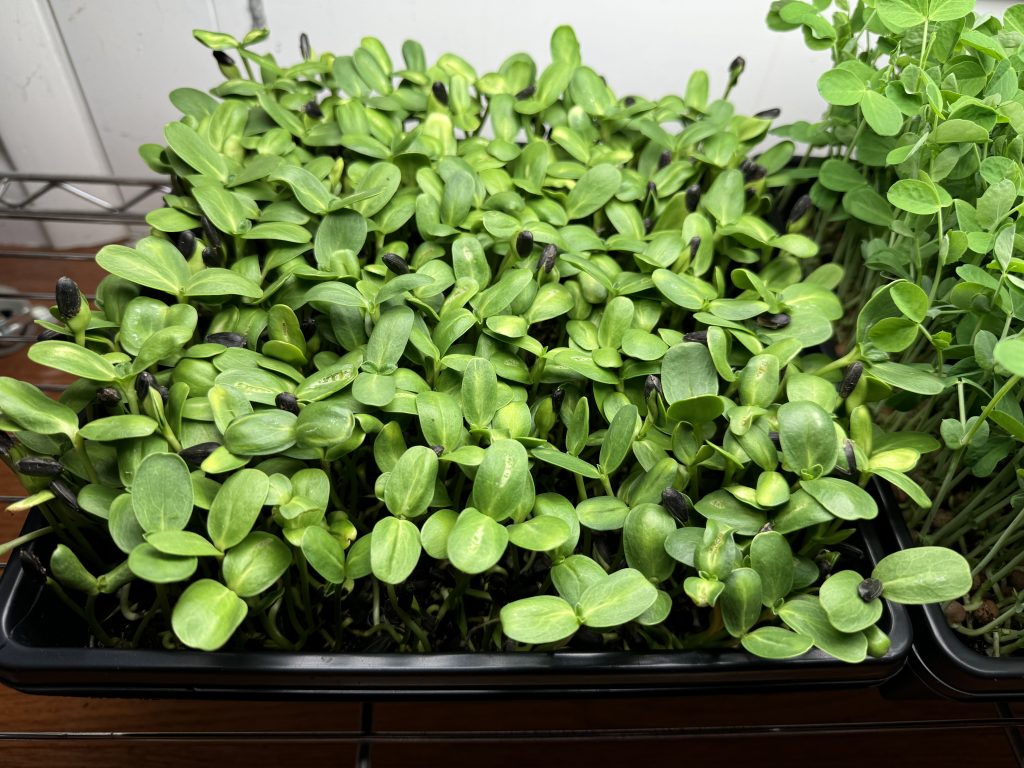
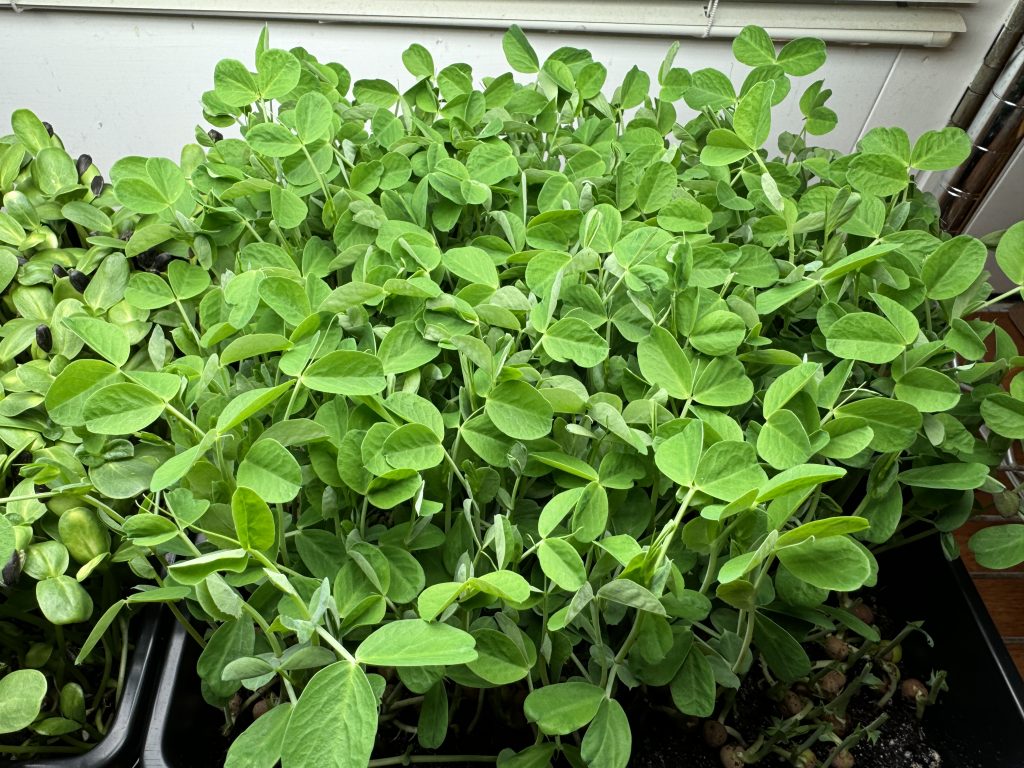
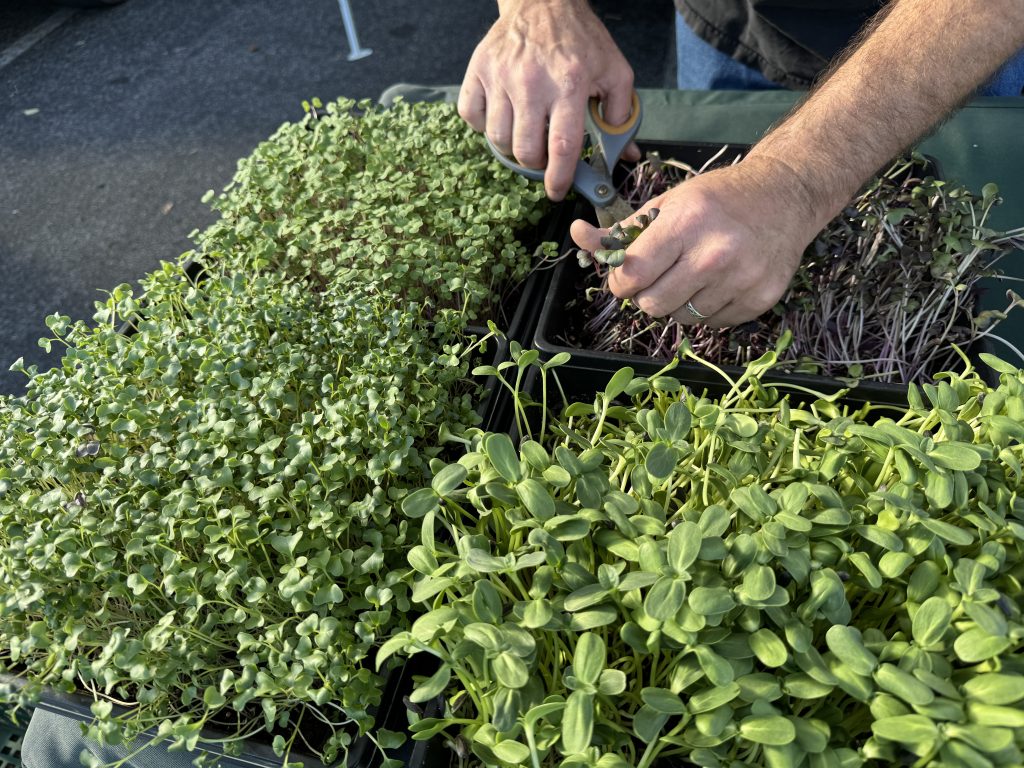
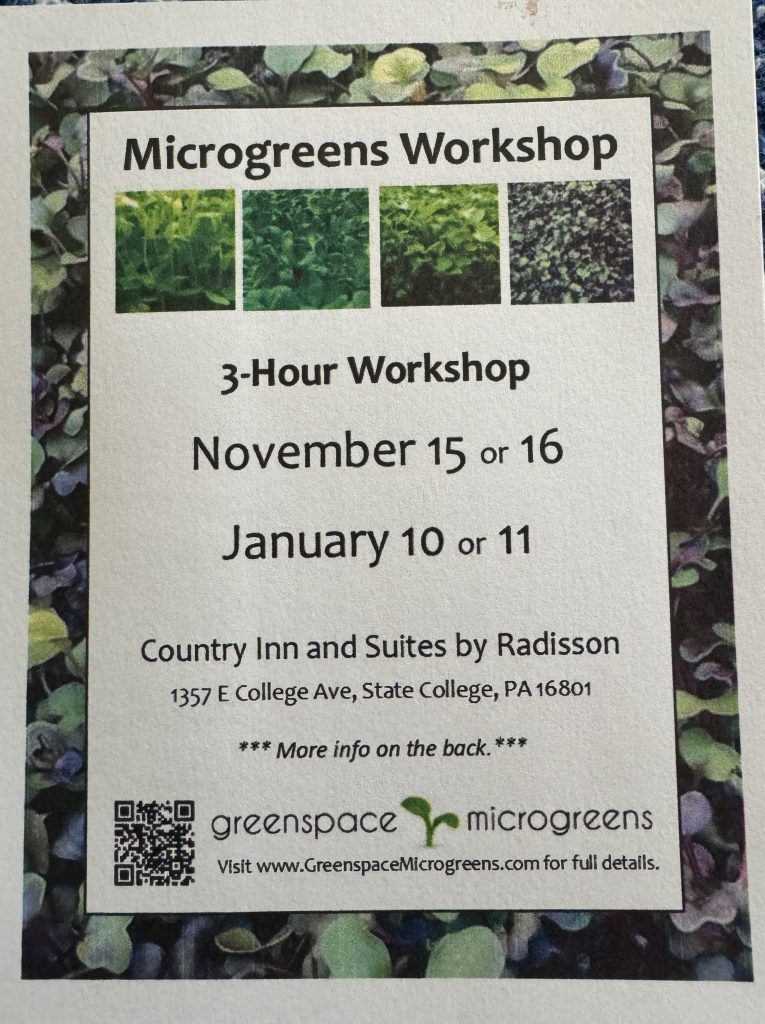
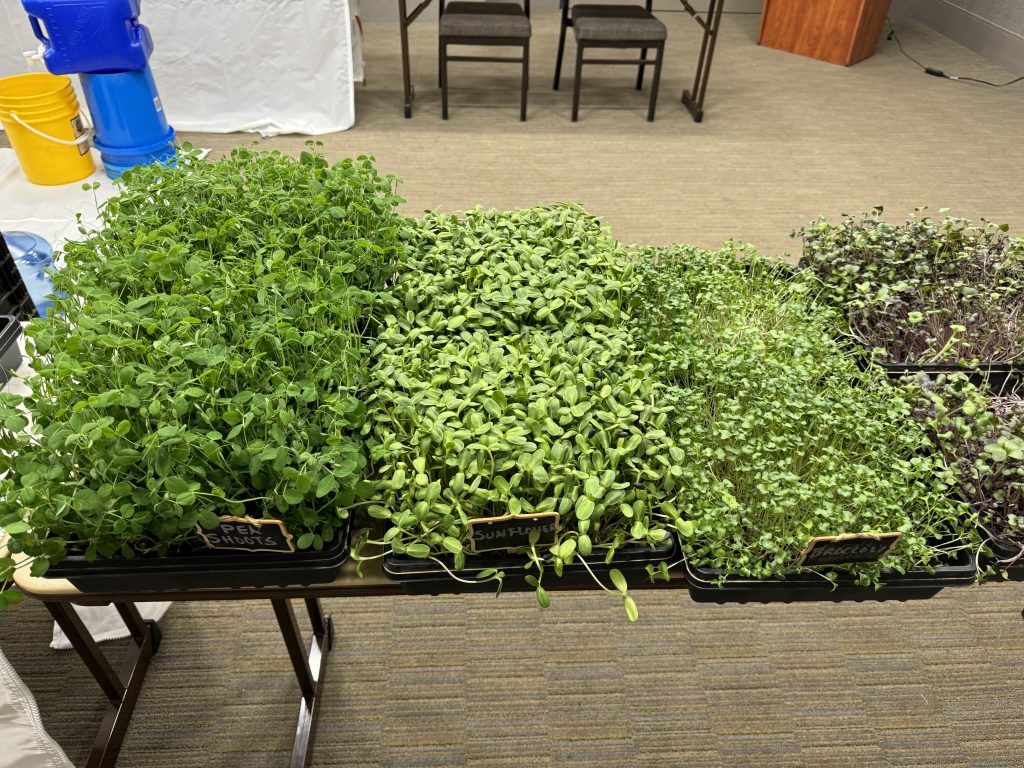
The whole point of learning how to grow microgreens from a workshop with an expert was to be able to do it myself at home. I learned about starting tiny seeds, like broccoli and radishes and larger seeds, like peas and sunflowers. You can read about my successes with those seeds here:
https://marykisner.com/growing-microgreens-part-1/ and
https://marykisner.com/growing-microgreens-part-2/
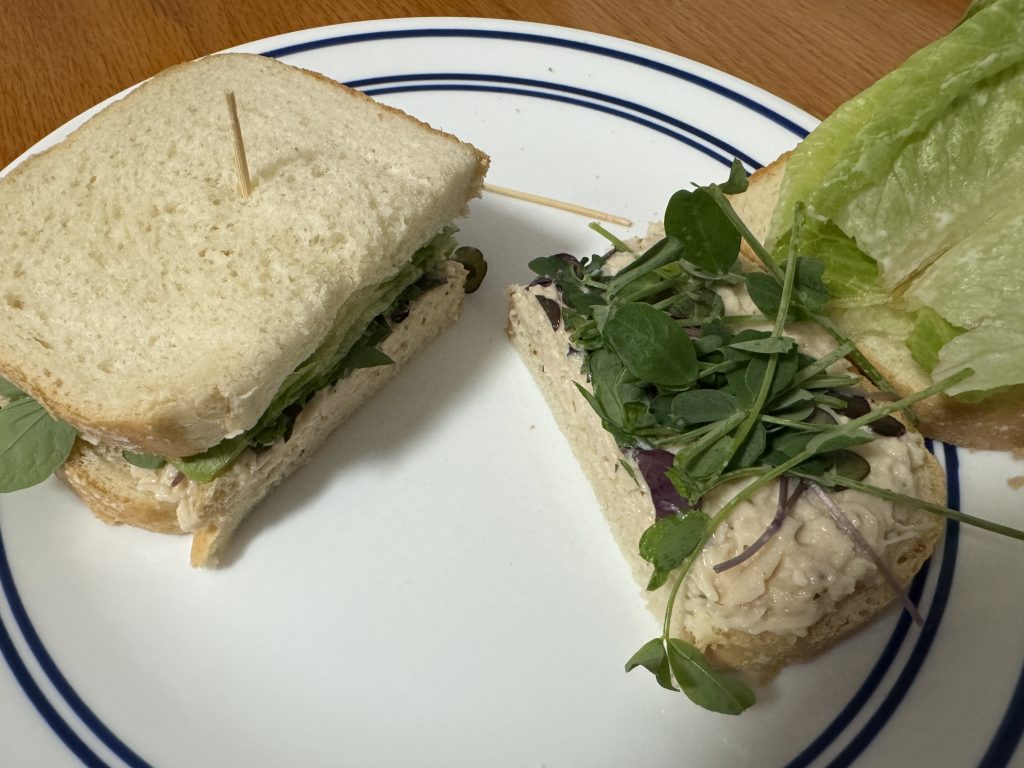
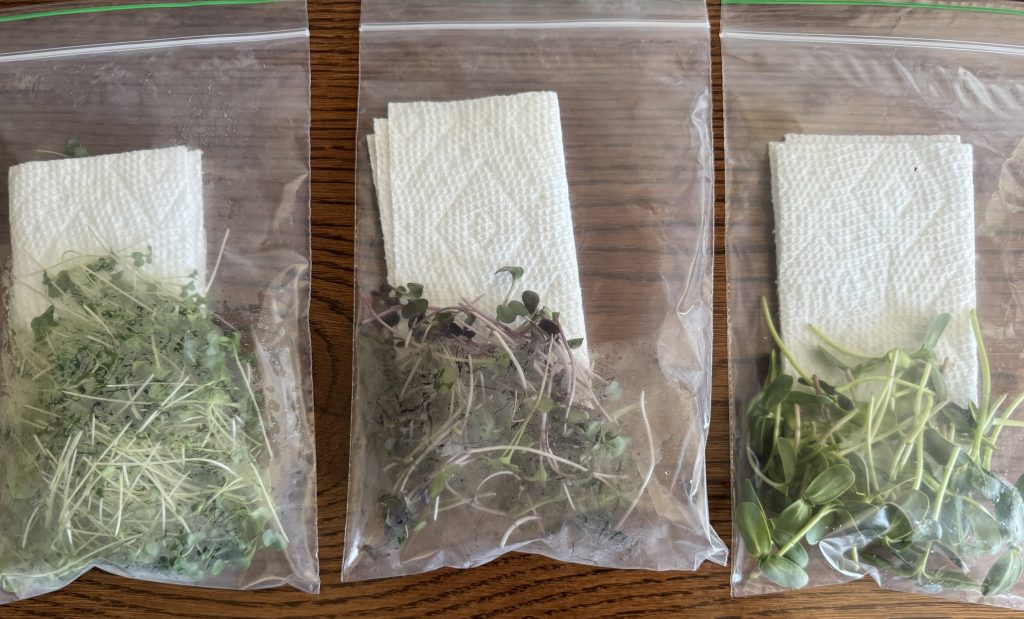
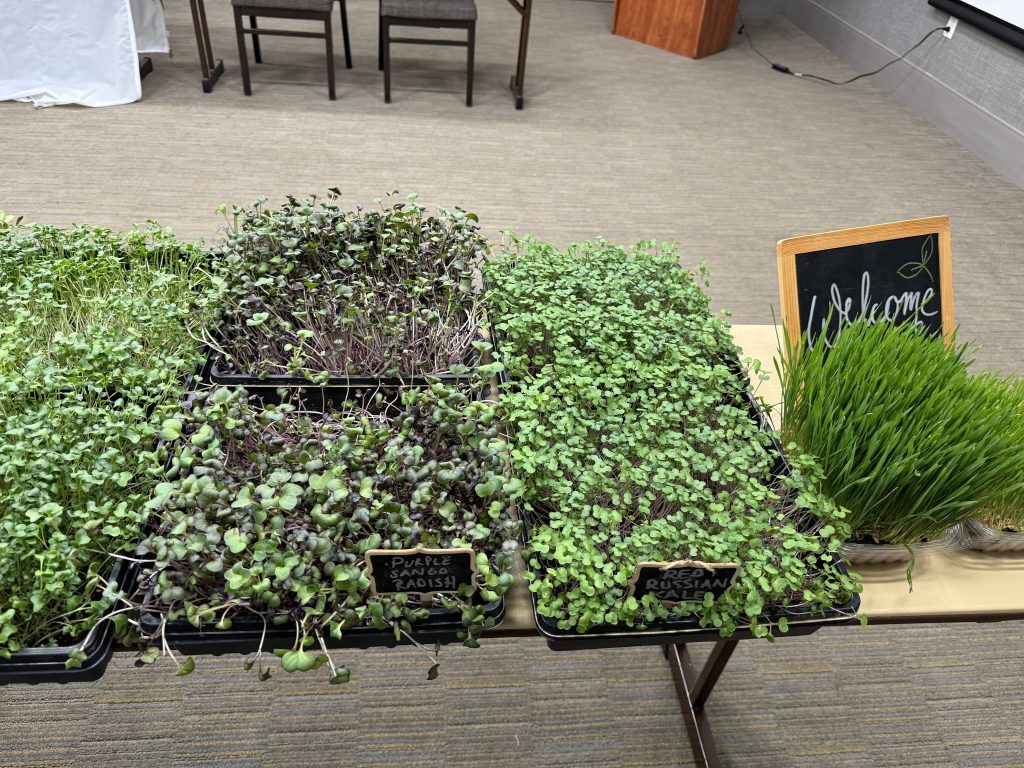
I’ve shared the greens with friends and added them to my salads and sandwiches. Now that I’ve composted the leftover roots and cleaned out the trays, I’m ready to try something else.
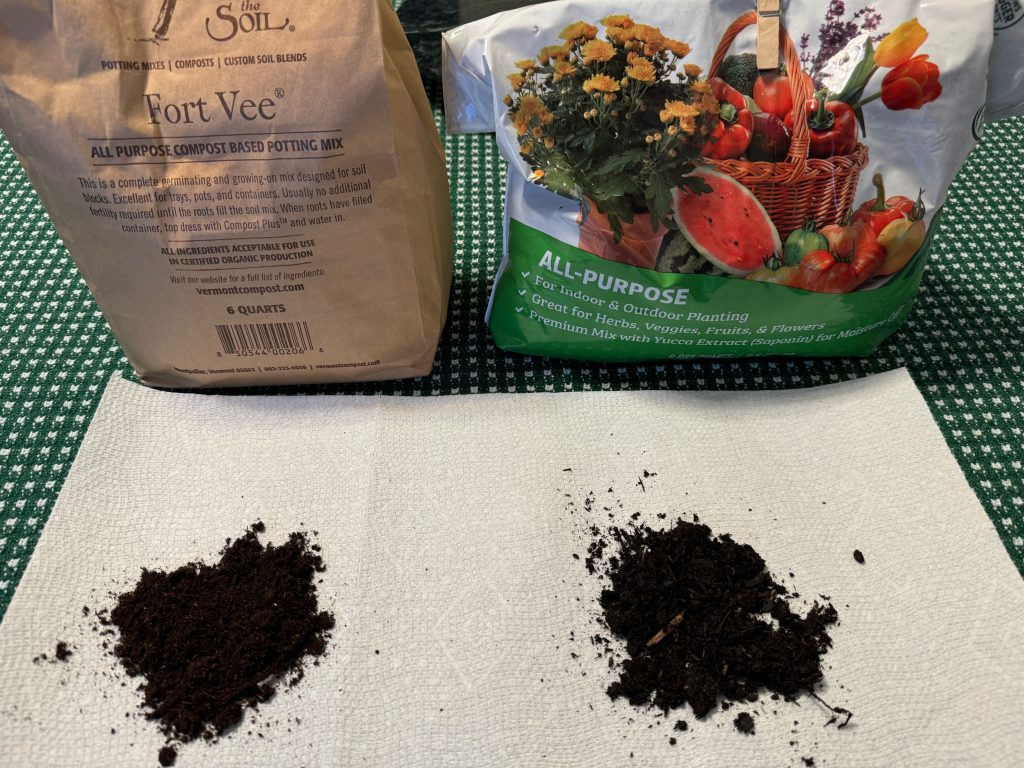
I ordered some potting soil from the Vermont Compost Company, that was recommended by the High Mowing Seed Company (recommended at my workshop). This mix was pretty smooth and loose.
Given the description online of that grow mix, Bert went to Lowes and tried to find a similar product. He ended up with this one:
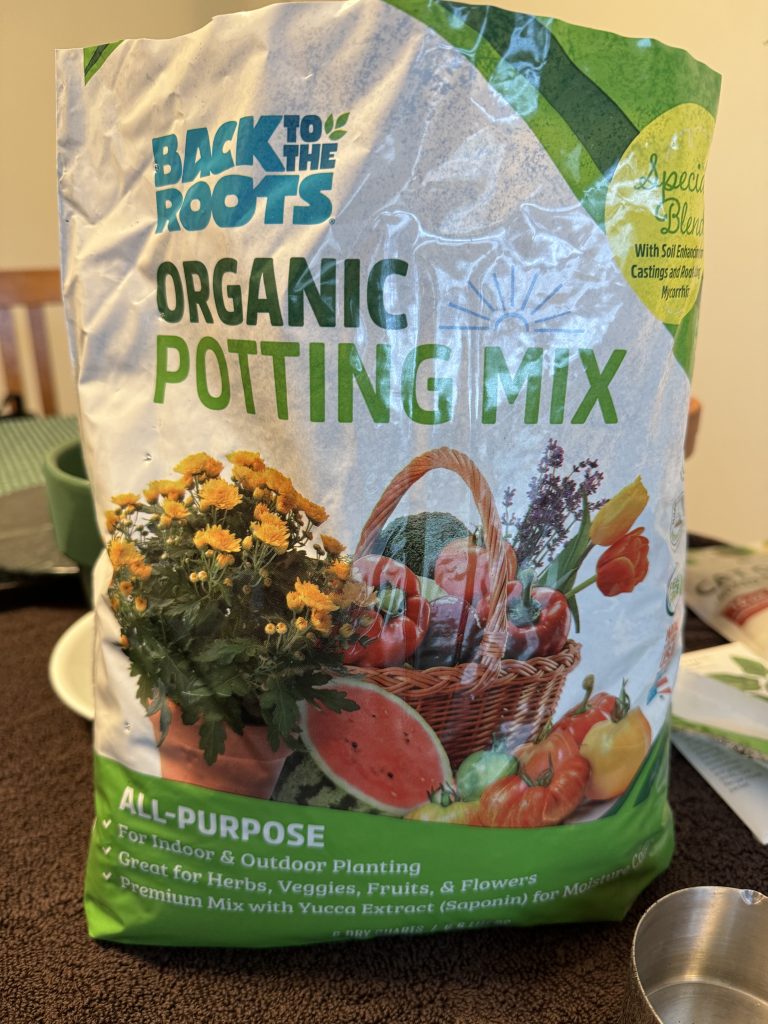
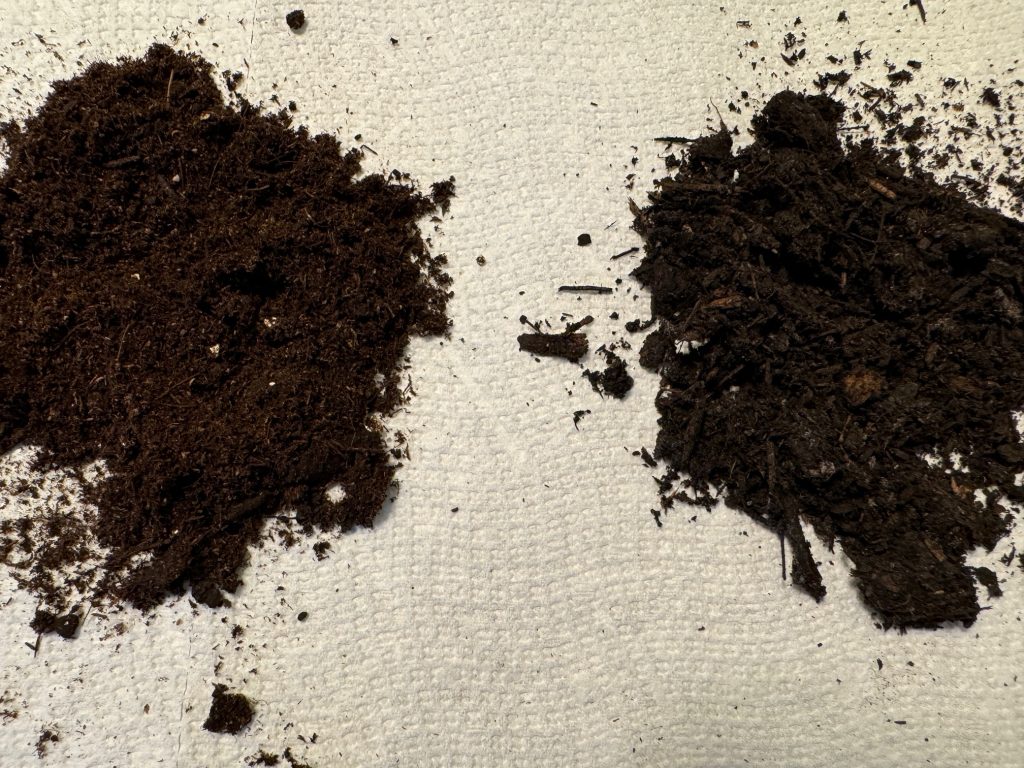
They looked different from each other…the one from the Vermont Compost Co. was pretty consistent with no big chunks. The one from “Back to the Roots” (above) had chunks of bark and twigs along with the compost mixture.
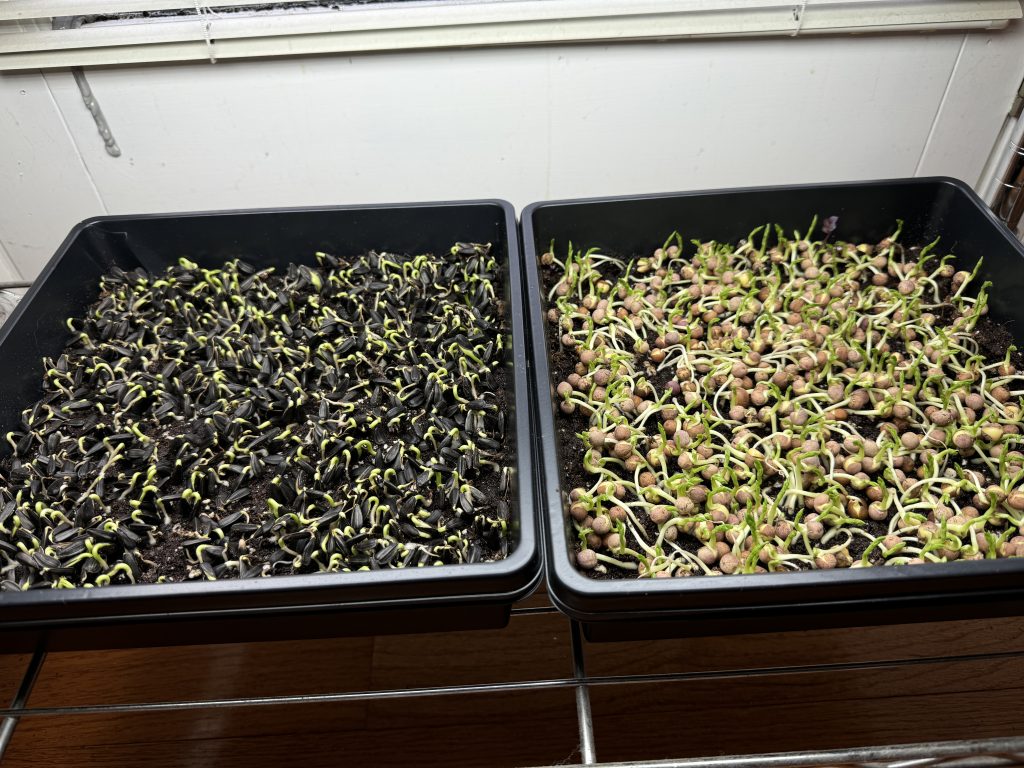
Next, I needed to decide what to plant. I had some broccoli seeds, some sunflower seeds and a mixed bag of peas, lentils and red beans. I’ll save them for later, because for my second try, I wanted to try something new.
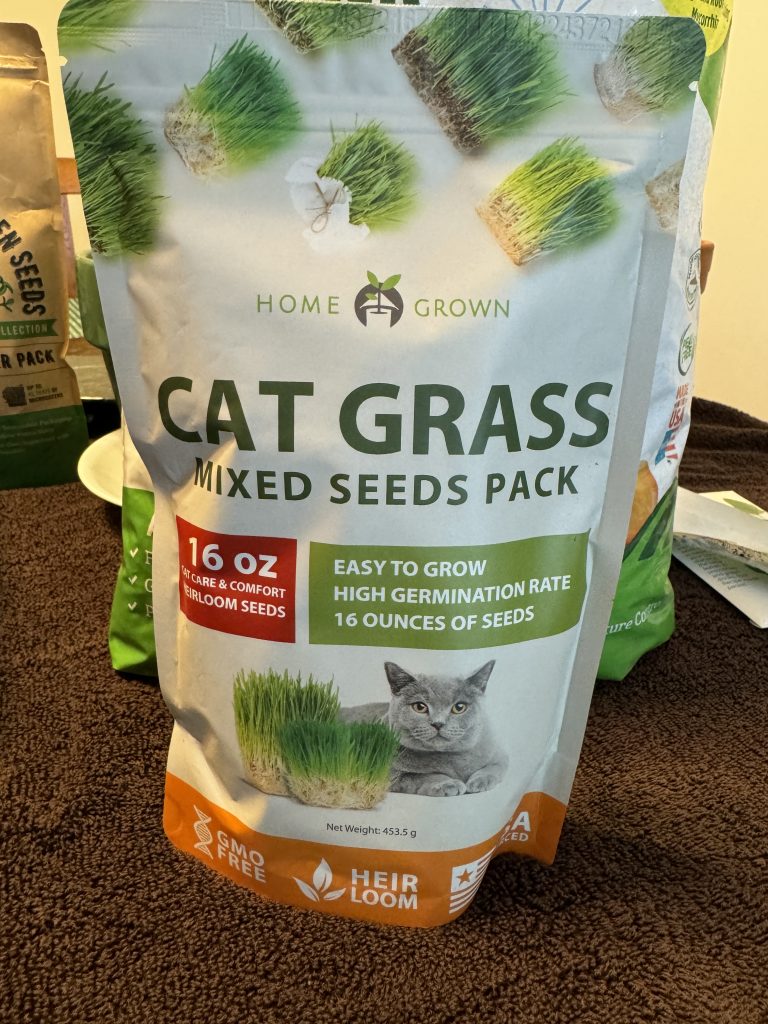
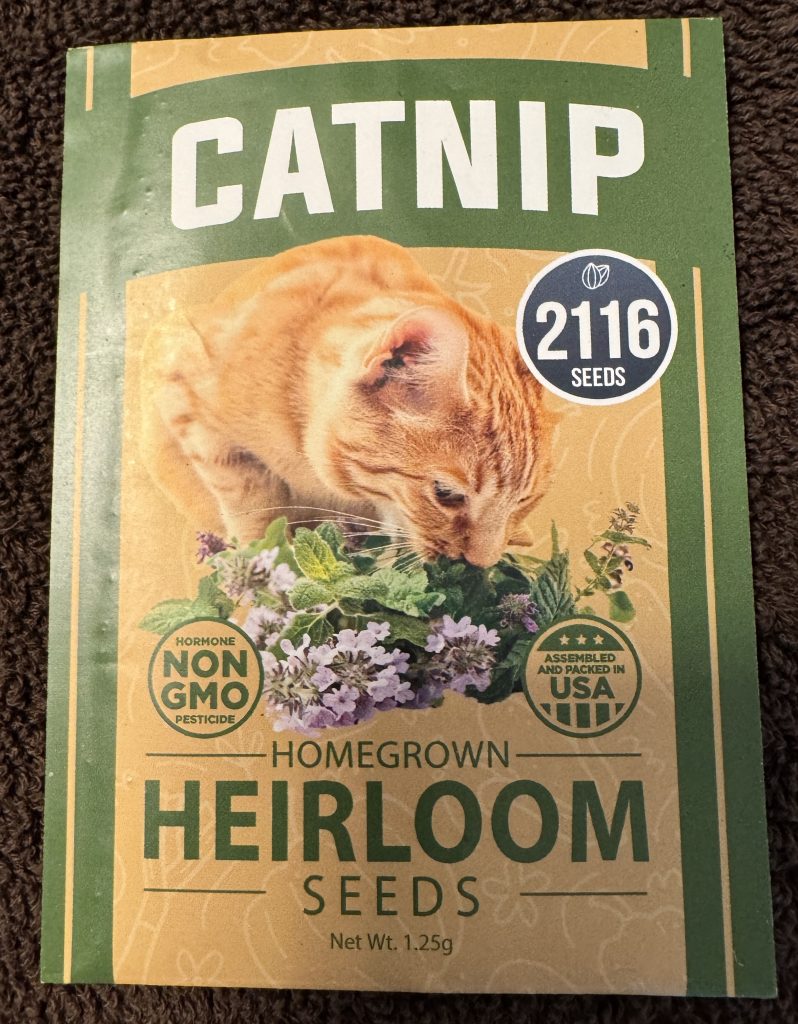
Cat Grass and Catnip
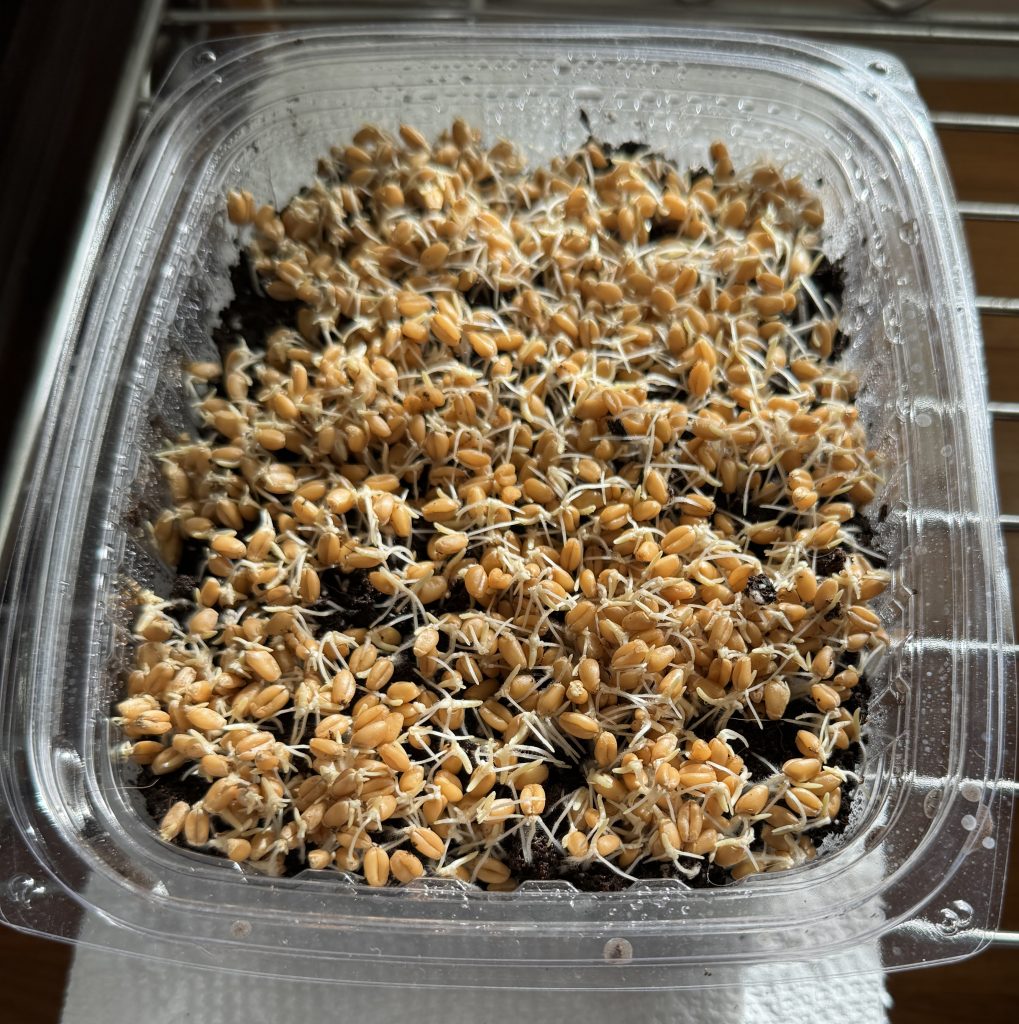
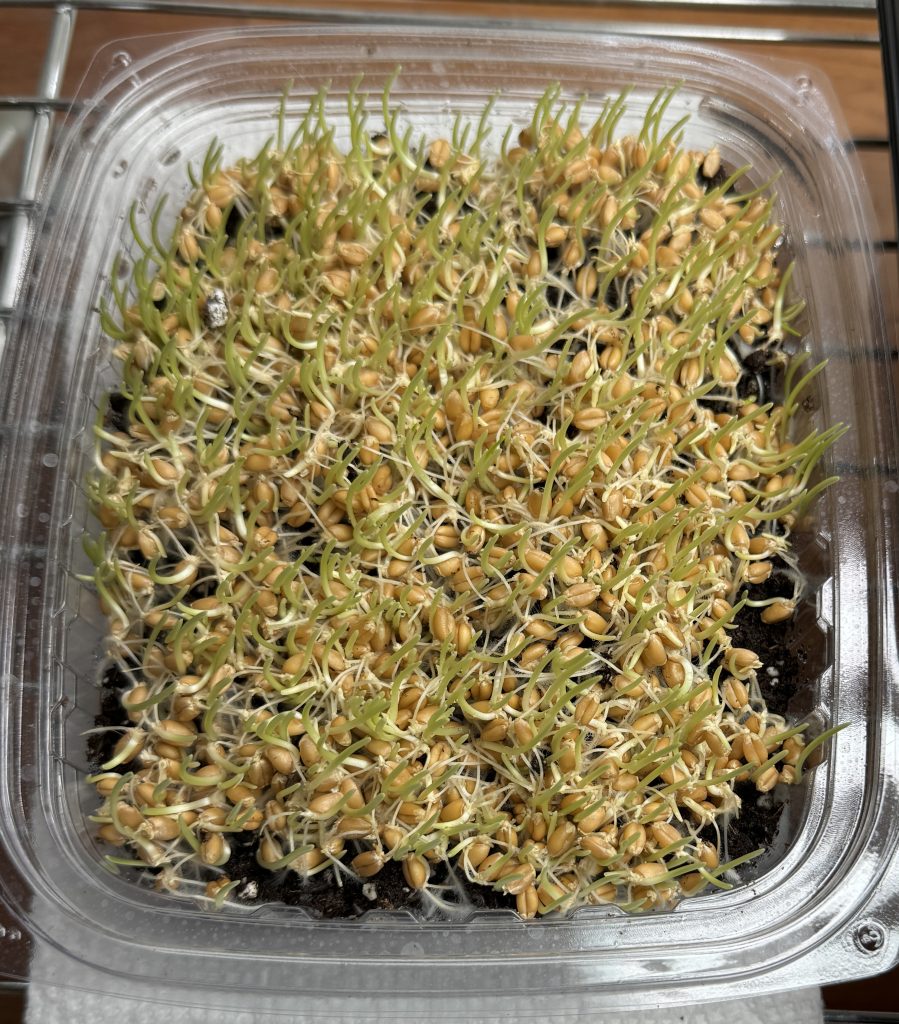
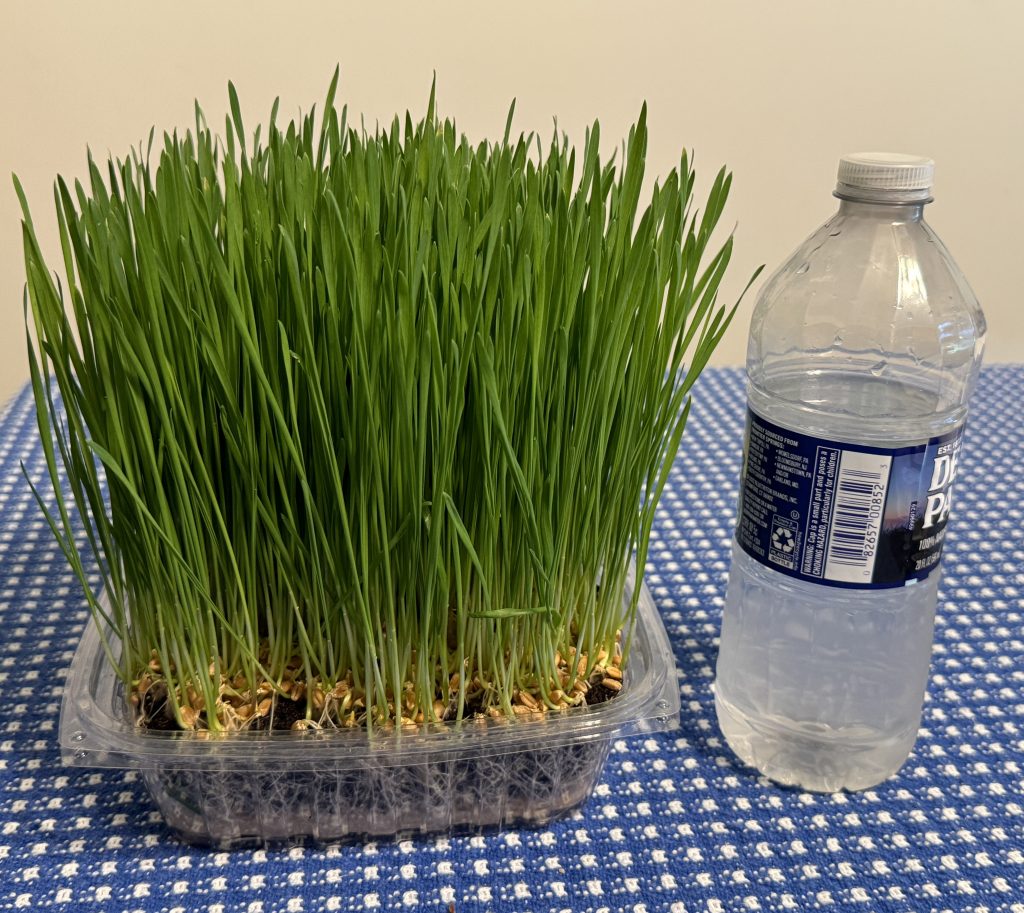
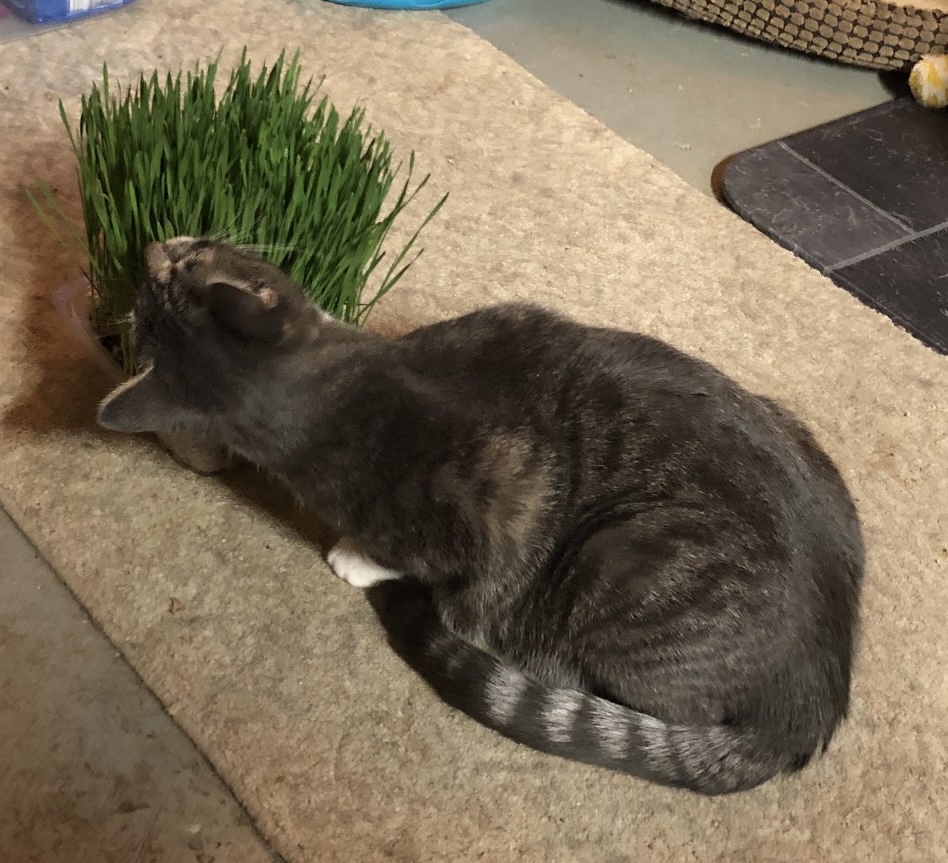
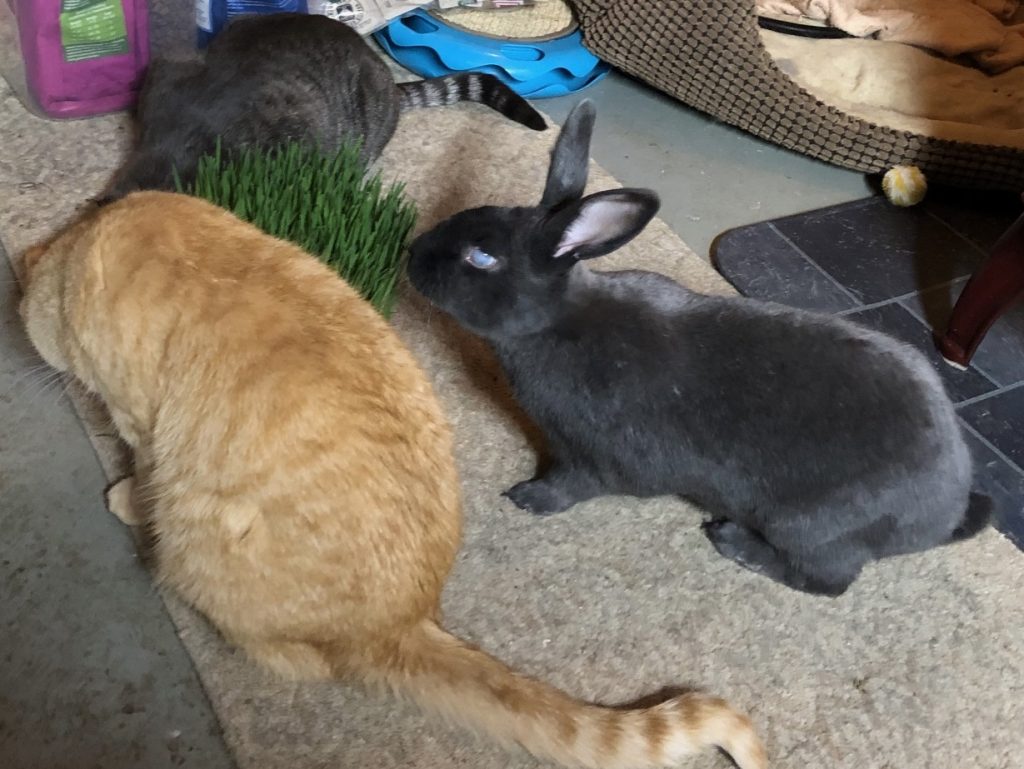
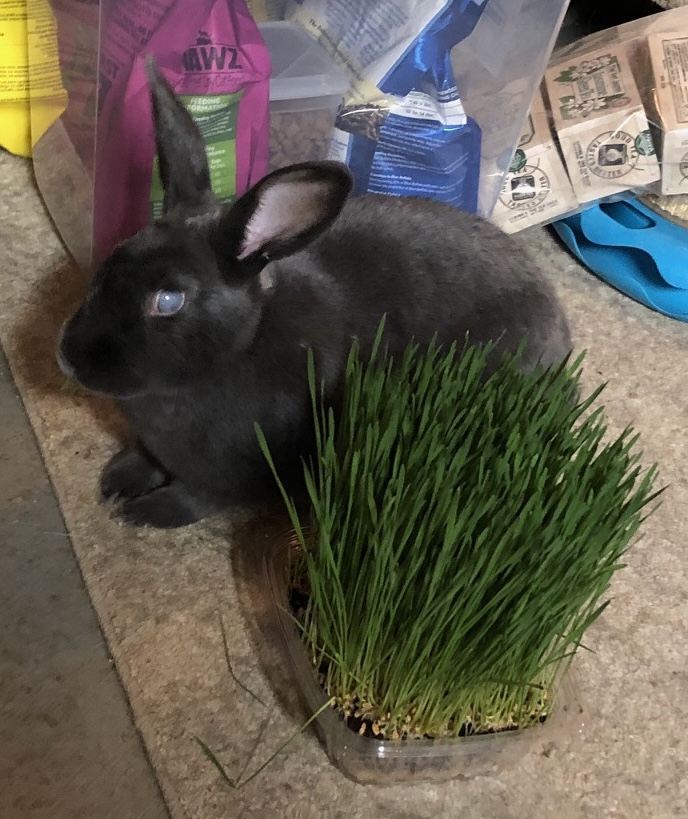
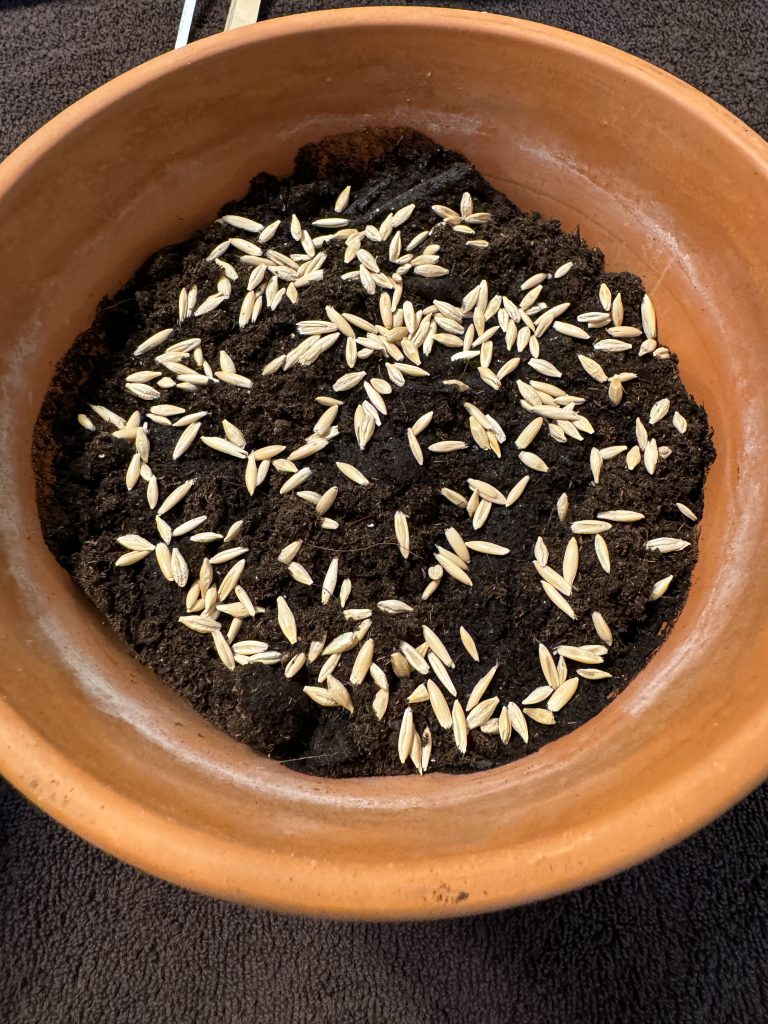
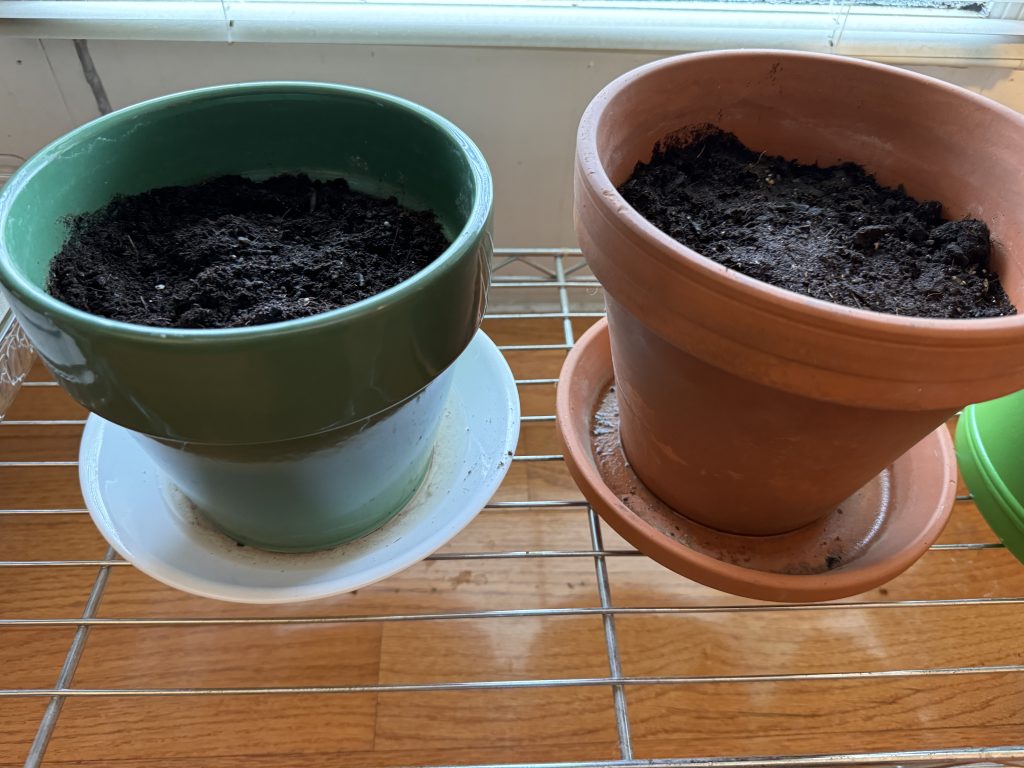
First, after the success of the wheat grass with a friend’s cats, I thought I’d try real cat grass (oats and barley) for another friend with a cat. Because the pot needed to be sturdier, I chose a hefty clay pot that would help the grass last longer and be easier to water.
The cat grass seeds were pretty big, so after I filled the pot with potting mix and soaked the soil, I sprinkled the seeds on the top and covered them with a tiny bit more of the potting mix. I’m sure they won’t be as quick to sprout as the smaller seeds but I’m in no hurry.
The catnip seeds were VERY tiny so you can’t even see them on the dirt. We’ll see what happens!
Watercress and Baby Spinach
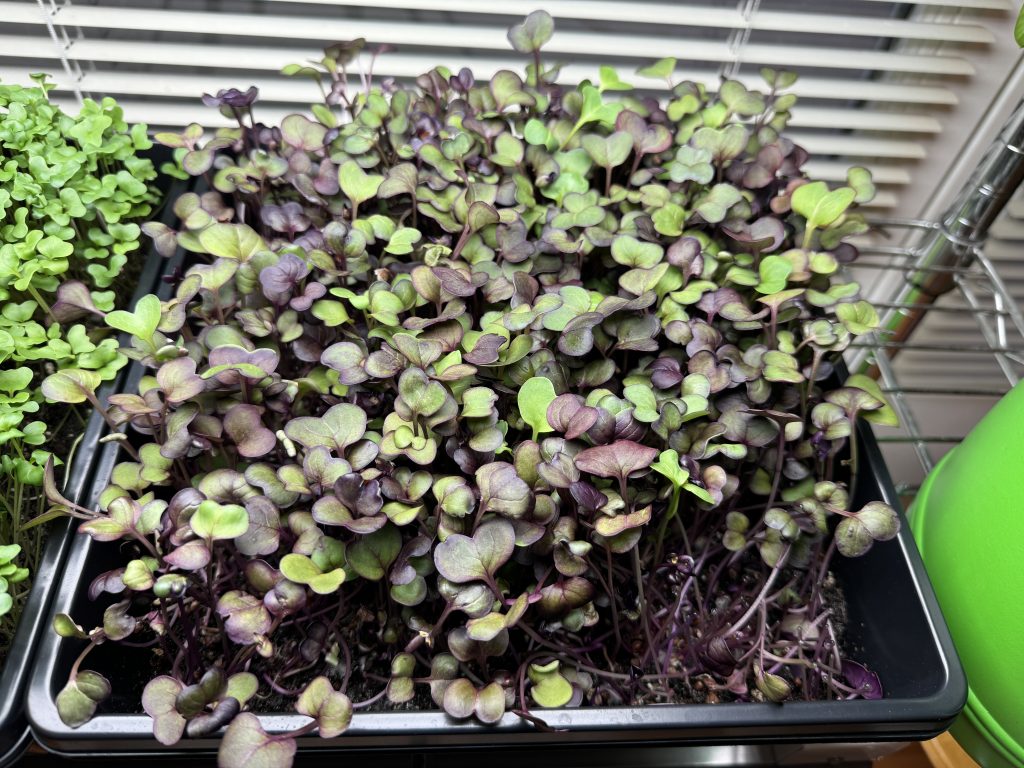
I had a friend interested in whether watercress would work as a microgreen. I ordered a bag of seed. If it works, I’ll give her the whole flat! We could probably use the extra seed to make a lot of watercress for a long time. Look out Becky!
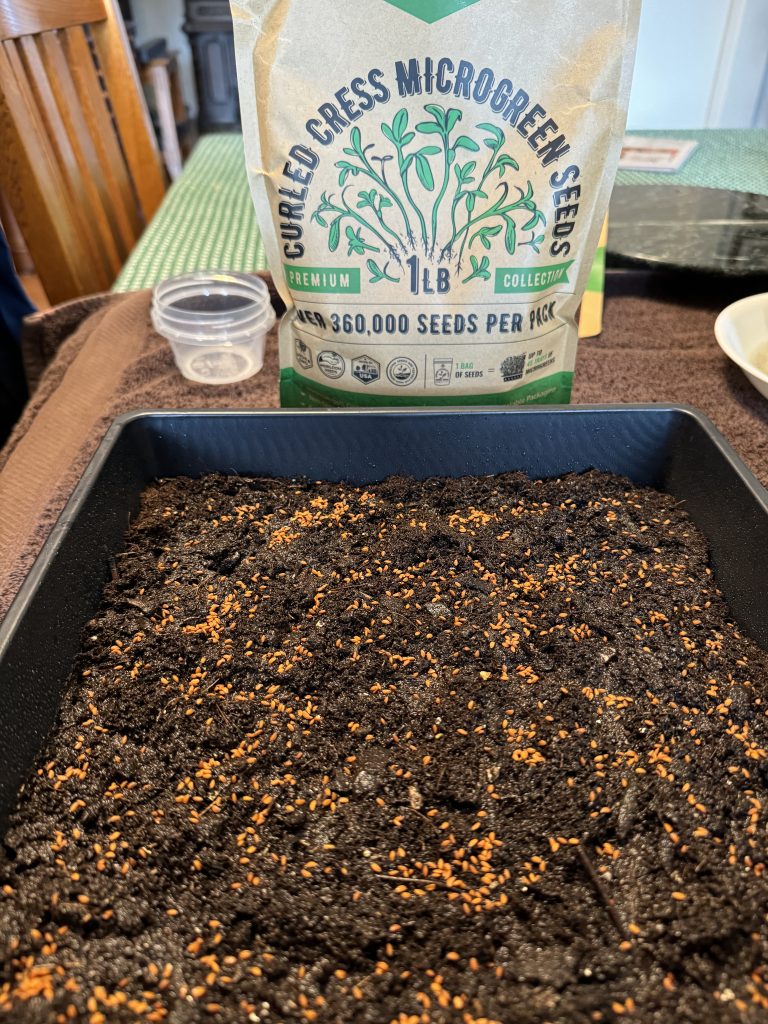
Since the watercress seeds are tiny like the broccoli and radish I did first, I soaked the soil, spread the seed around the tray and sprayed the seeds with water. Finally, I covered the tray with an extra tray to keep it dark for a few days.
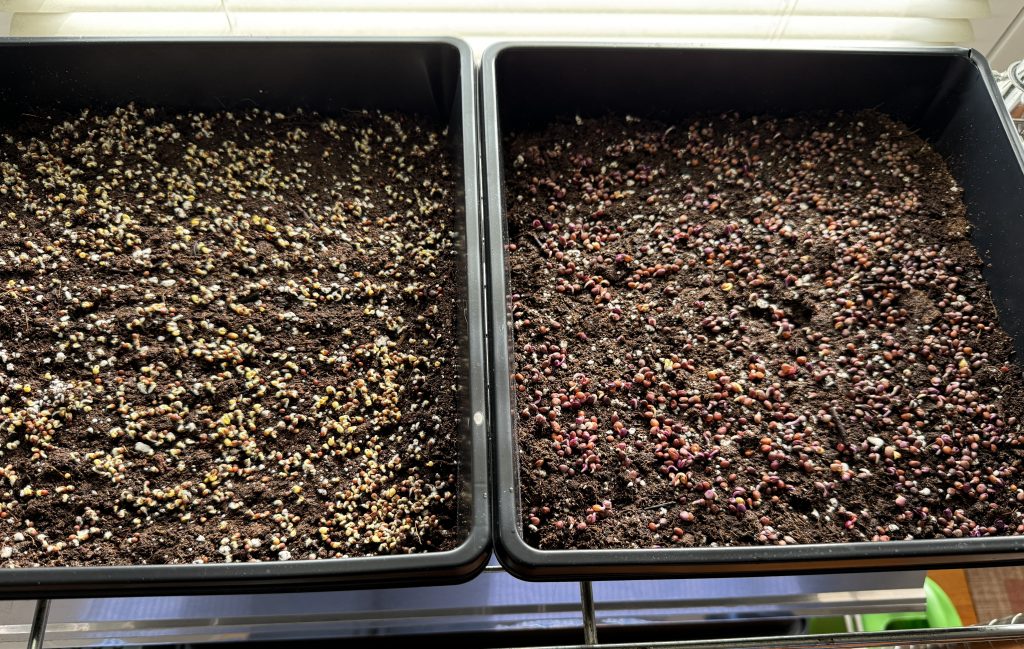
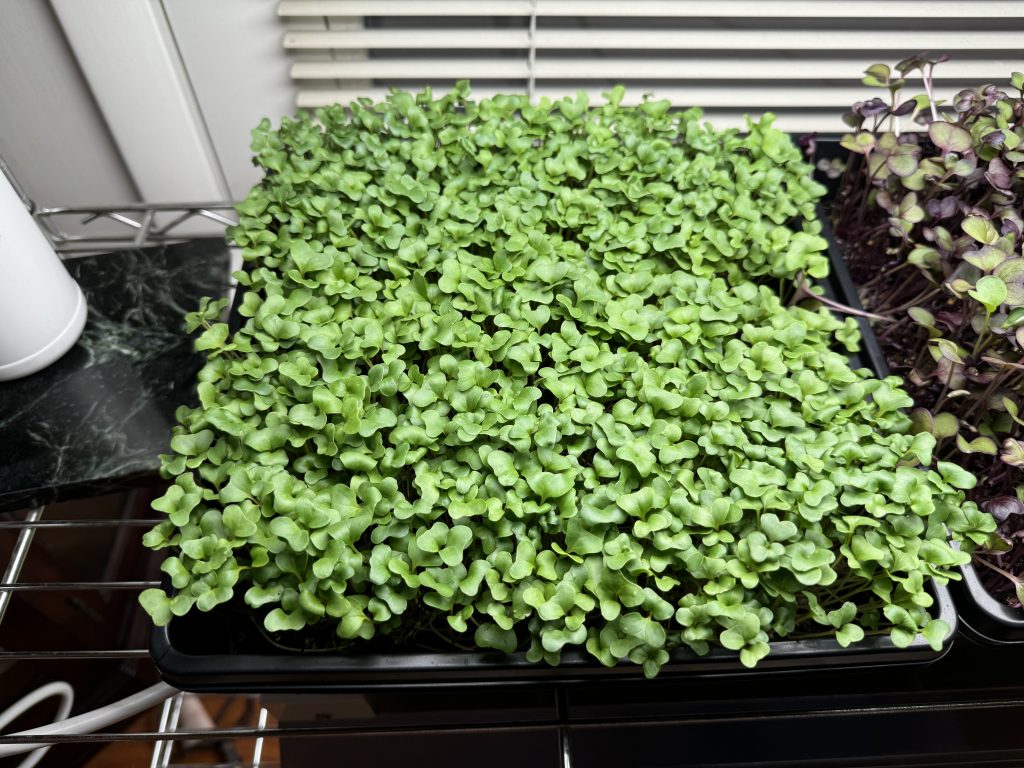
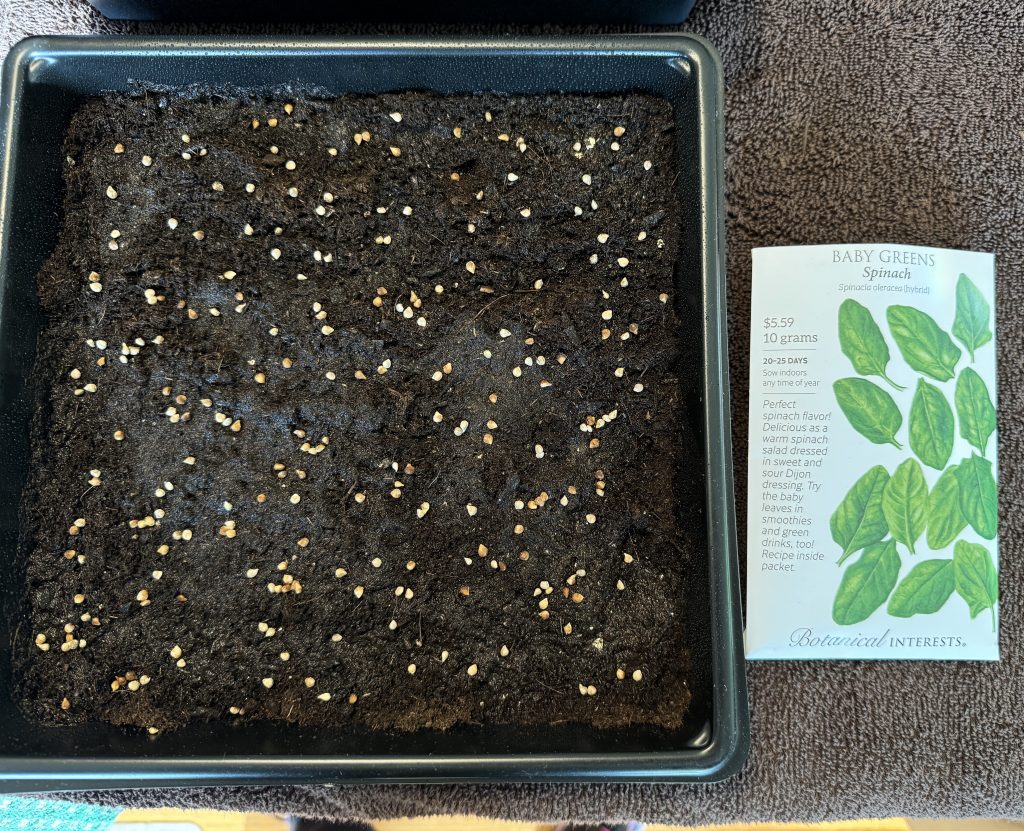
The final seeds I wanted to try were these Baby Spinach greens. Not sure if they’ll work, but we’ll see! I started with the seeds you can see below…not very dense. I ended up adding more so it looked like the seeds were better distributed. This flat I also soaked the soil, spread the seeds and sprayed the top. Then I covered it with an extra tray for a few days of darkness.
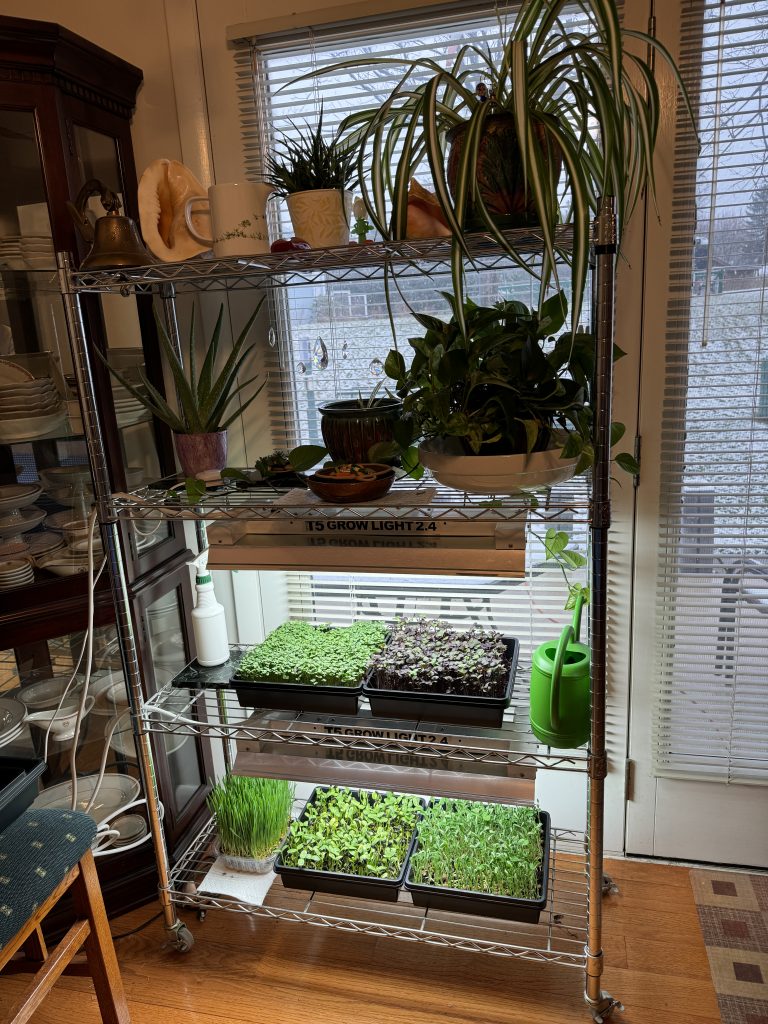
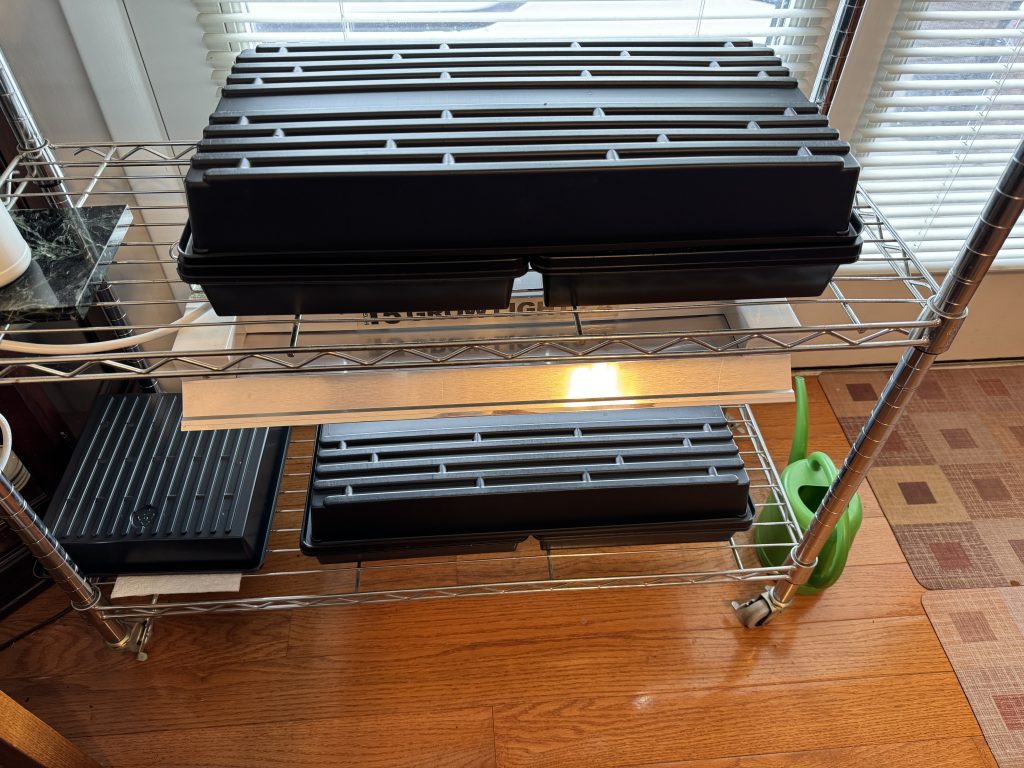
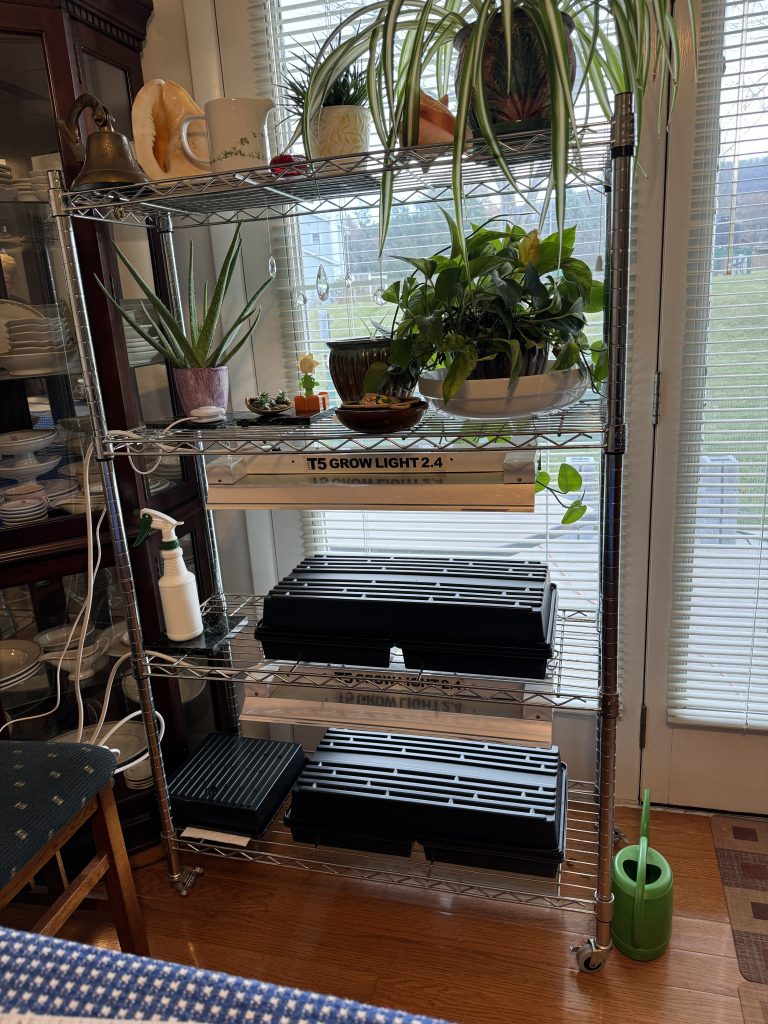
So, in this next phase, I’ll see if I can get the cat grass and catnip started in regular pots (and under grow lights if they sprout!). I’ll handle the watercress and baby spinach like my first trays of tiny seeds.
Stay tuned. We’ll see what works! Enjoy!