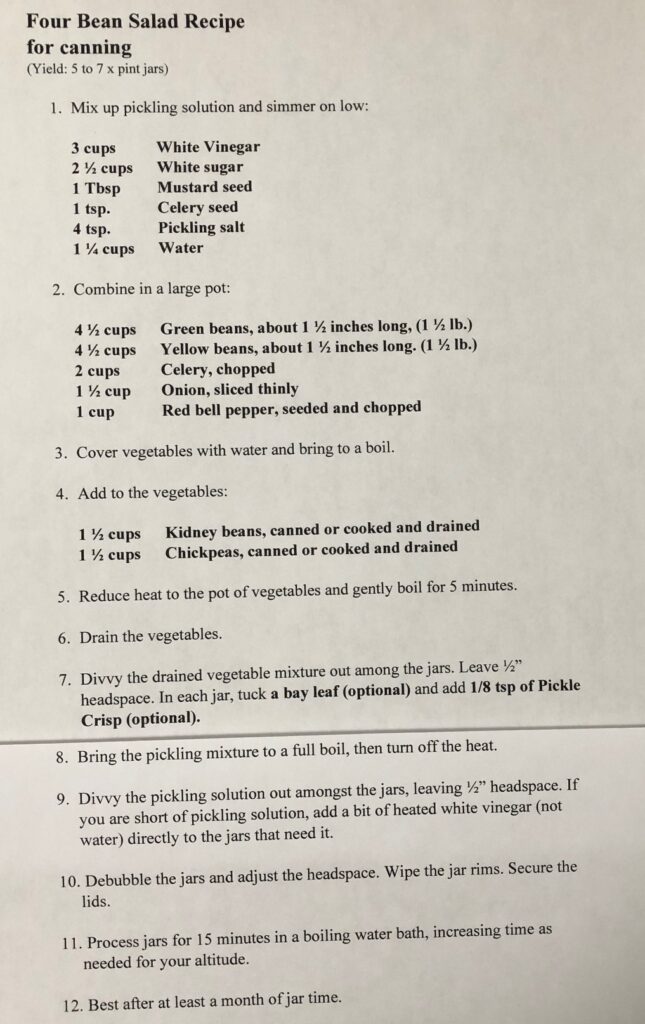
Fresh green and yellow beans are abundant right now…at least at the Farmer’s Market! Since my poor bean plants were dried out and then drowned, if I wanted my four bean salad for the winter, I had to count on the Farmer’s Market to supply them. In one quick trip to the local market I was able to bring home 6 lbs. of green and yellow beans, onions and red peppers. I also had celery, kidney beans and chickpeas ready to go.
Here is the original recipe:
For this next batch of Four Bean Salad I doubled the recipe. I started with 6 lbs. of green and yellow beans, snapped and washed.
In this post, I’ll try to edit the recipe so you can see what I need to change the next time. I was hoping to make 19 pints, which would fill my canner. However, at 16 pints I ran out of the pickling solution. I decided to just put the extra blanched vegetables in jars and put them in the fridge. I’ll use the bean mixture in soup or over rice as is.
The original recipe called for chopped celery, red pepper and onion. I did not care for how the onions turned out last time (kind of stringy and slimy) so this time I chopped the onions like the peppers. (Picture below is from last year!)
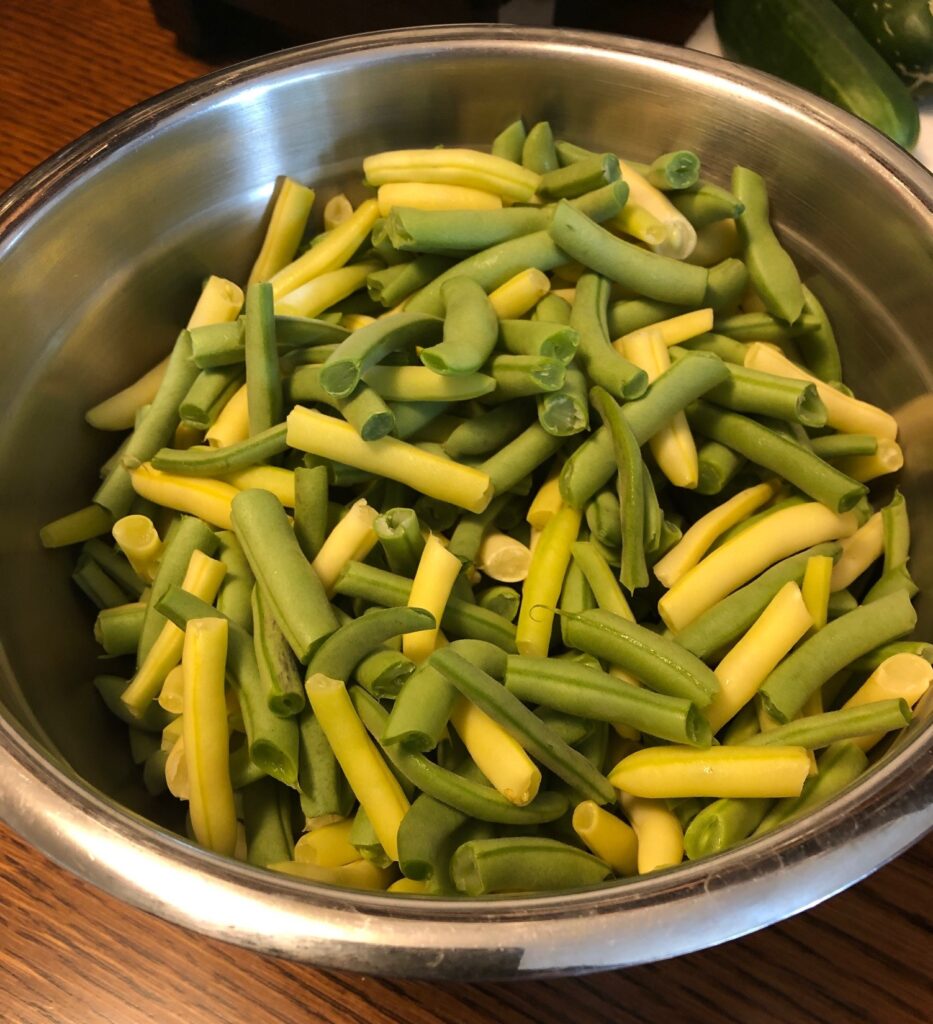
I wanted more chickpeas in the mix, so I added three cans and 2 cans of kidney beans.
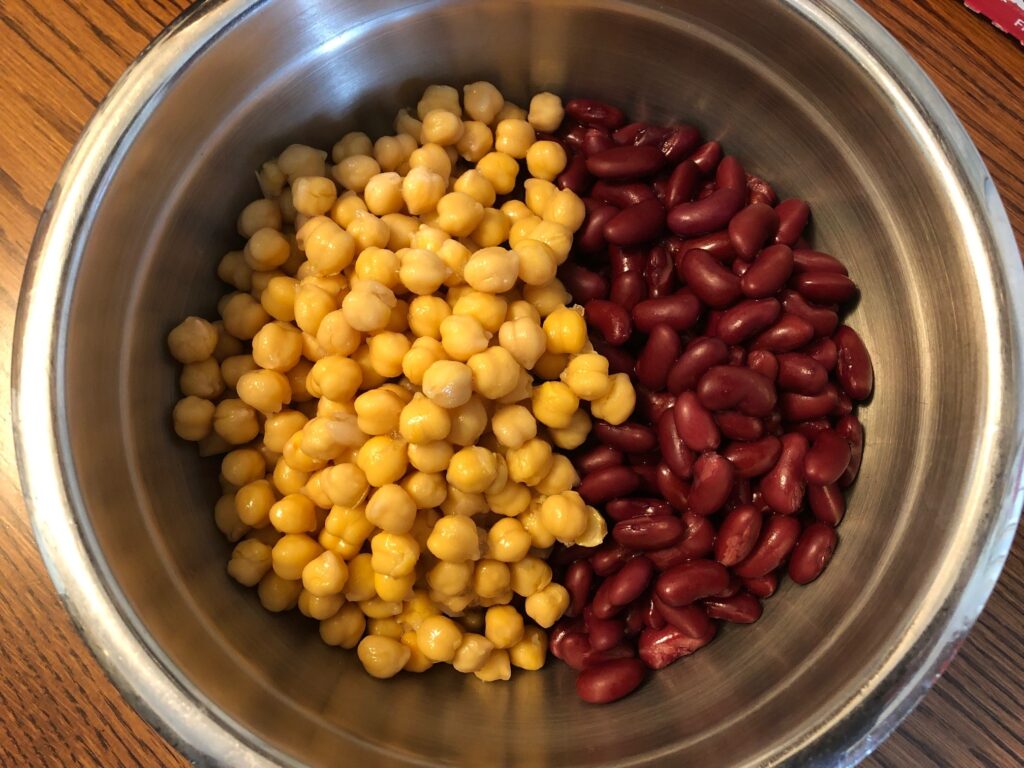
I did double the recipe for the pickling solution, but I was still short about 3 cups.
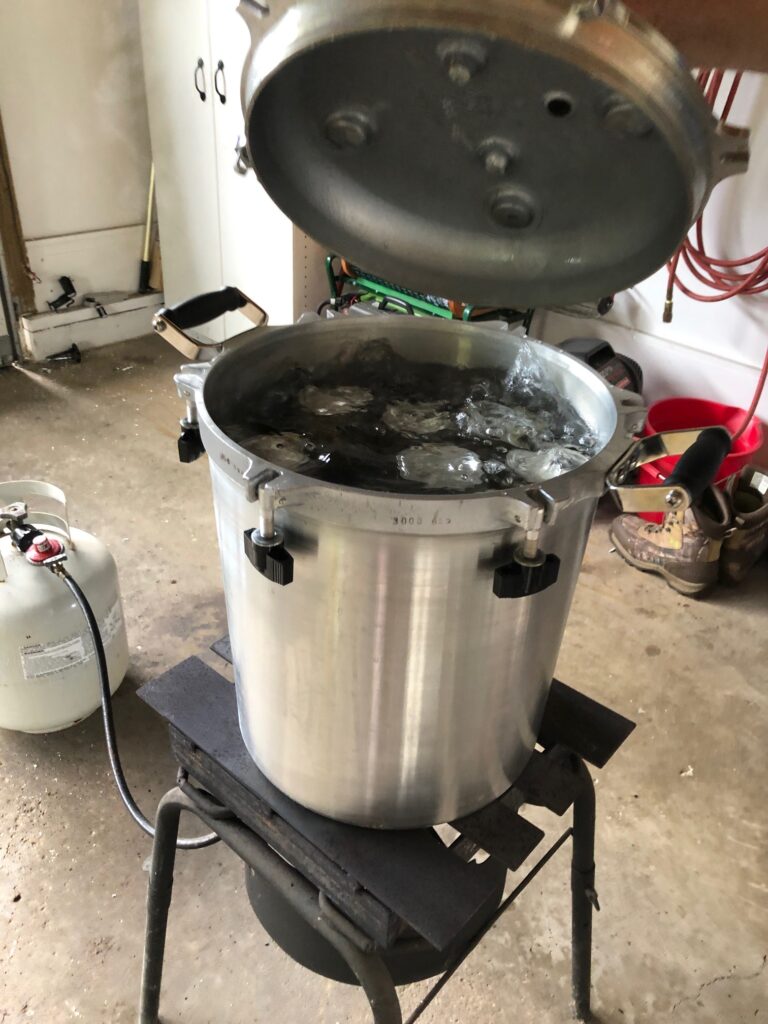
Bert got us into production mode with the propane tank and the canner!
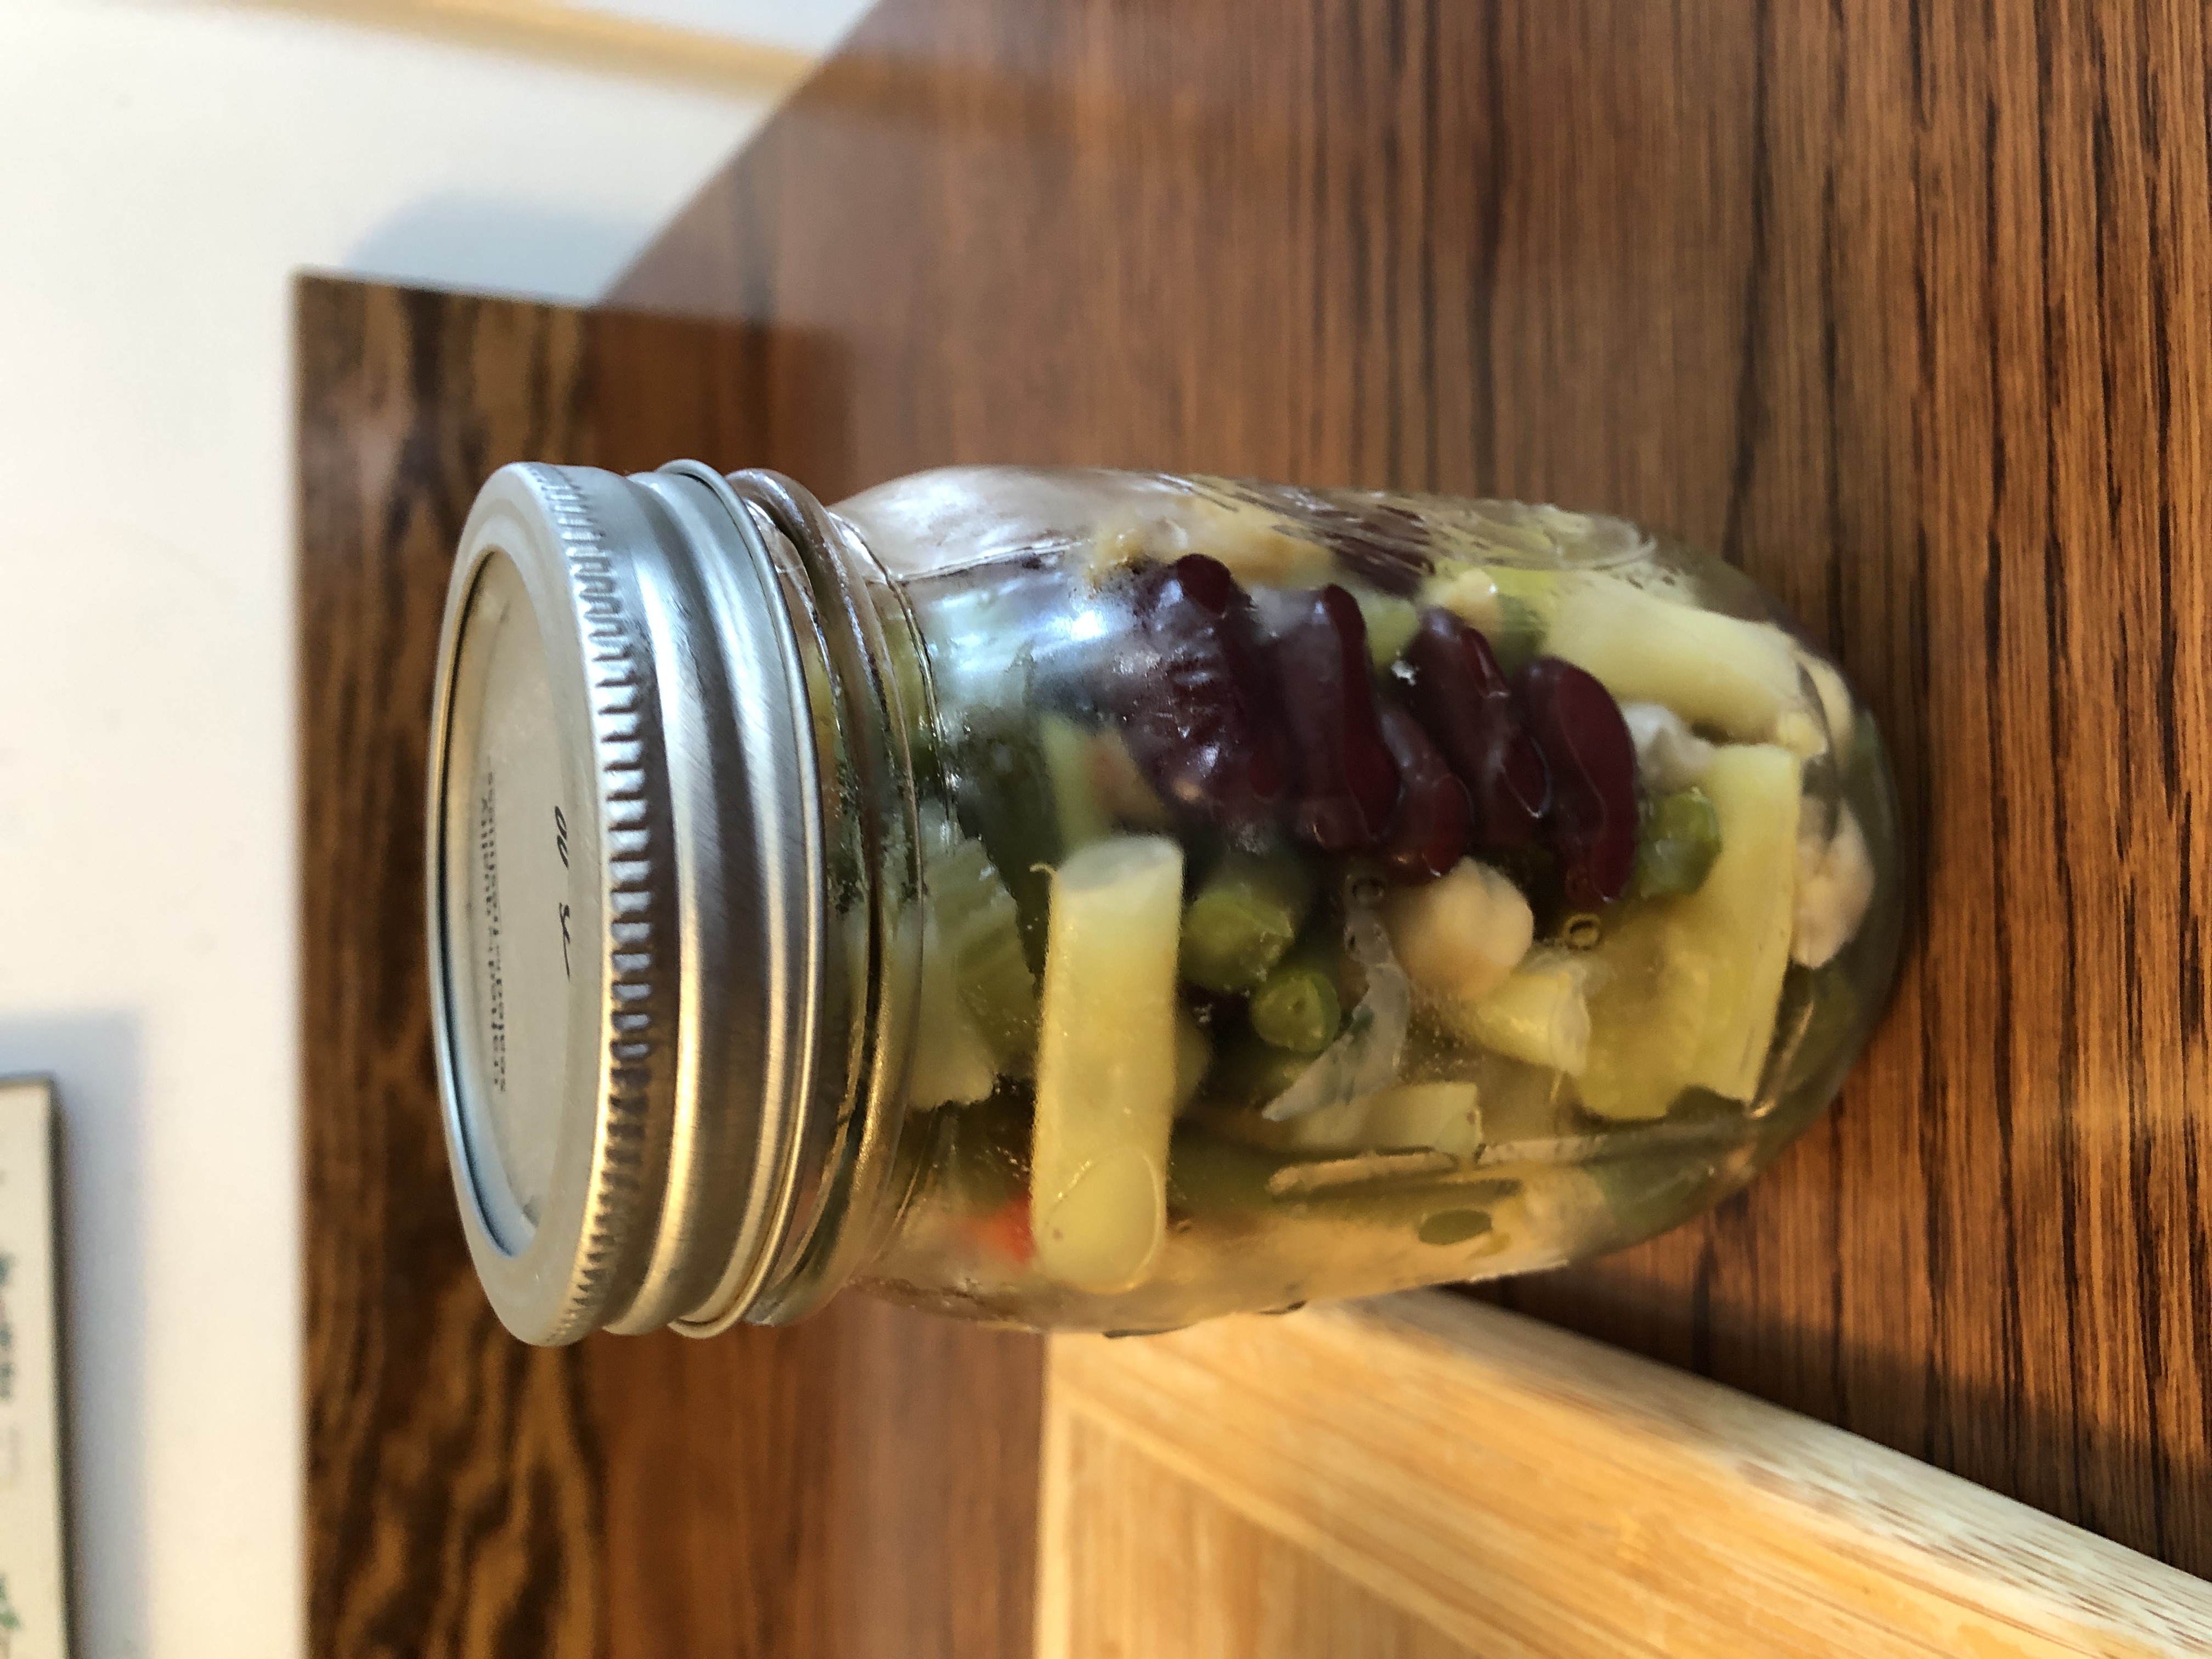
Here are the finished 16 jars ready for the shelf. I’ll wait a month or so before I try this batch…give the pickling solution time to work!
The three extra jars are in the refrigerator ready to heat up and eat!
Here is the revised recipe:
Since I was short about 3 cups in the pickling solution, I added more vinegar, sugar and water to the recipe.
Next time should be better but I’ll sure enjoy these!
Last week was mixture of sad and happy events. A few weeks ago, my Aunt Janice passed away. She was 92 years old and was my father’s youngest sister. Her passing was the end of an era; her generation is now gone. My cousins and I are now the oldest generation. Her memorial service in St. Paul, Minnesota was the event that enticed all the cousins to arrange travel to the Midwest.
Ted was anxious to meet folks at this gathering too, so he arranged his travel plans to join us. I traveled with Kathy and Anna so I wouldn’t get lost. I haven’t flown for over 10 years (more like 15) and it was helpful to be with them.
So, last Tuesday I drove to Kathy’s house outside of Pittsburgh. On Wednesday morning we drove to a service near the airport where she left her car and we were shuttled to the airport.
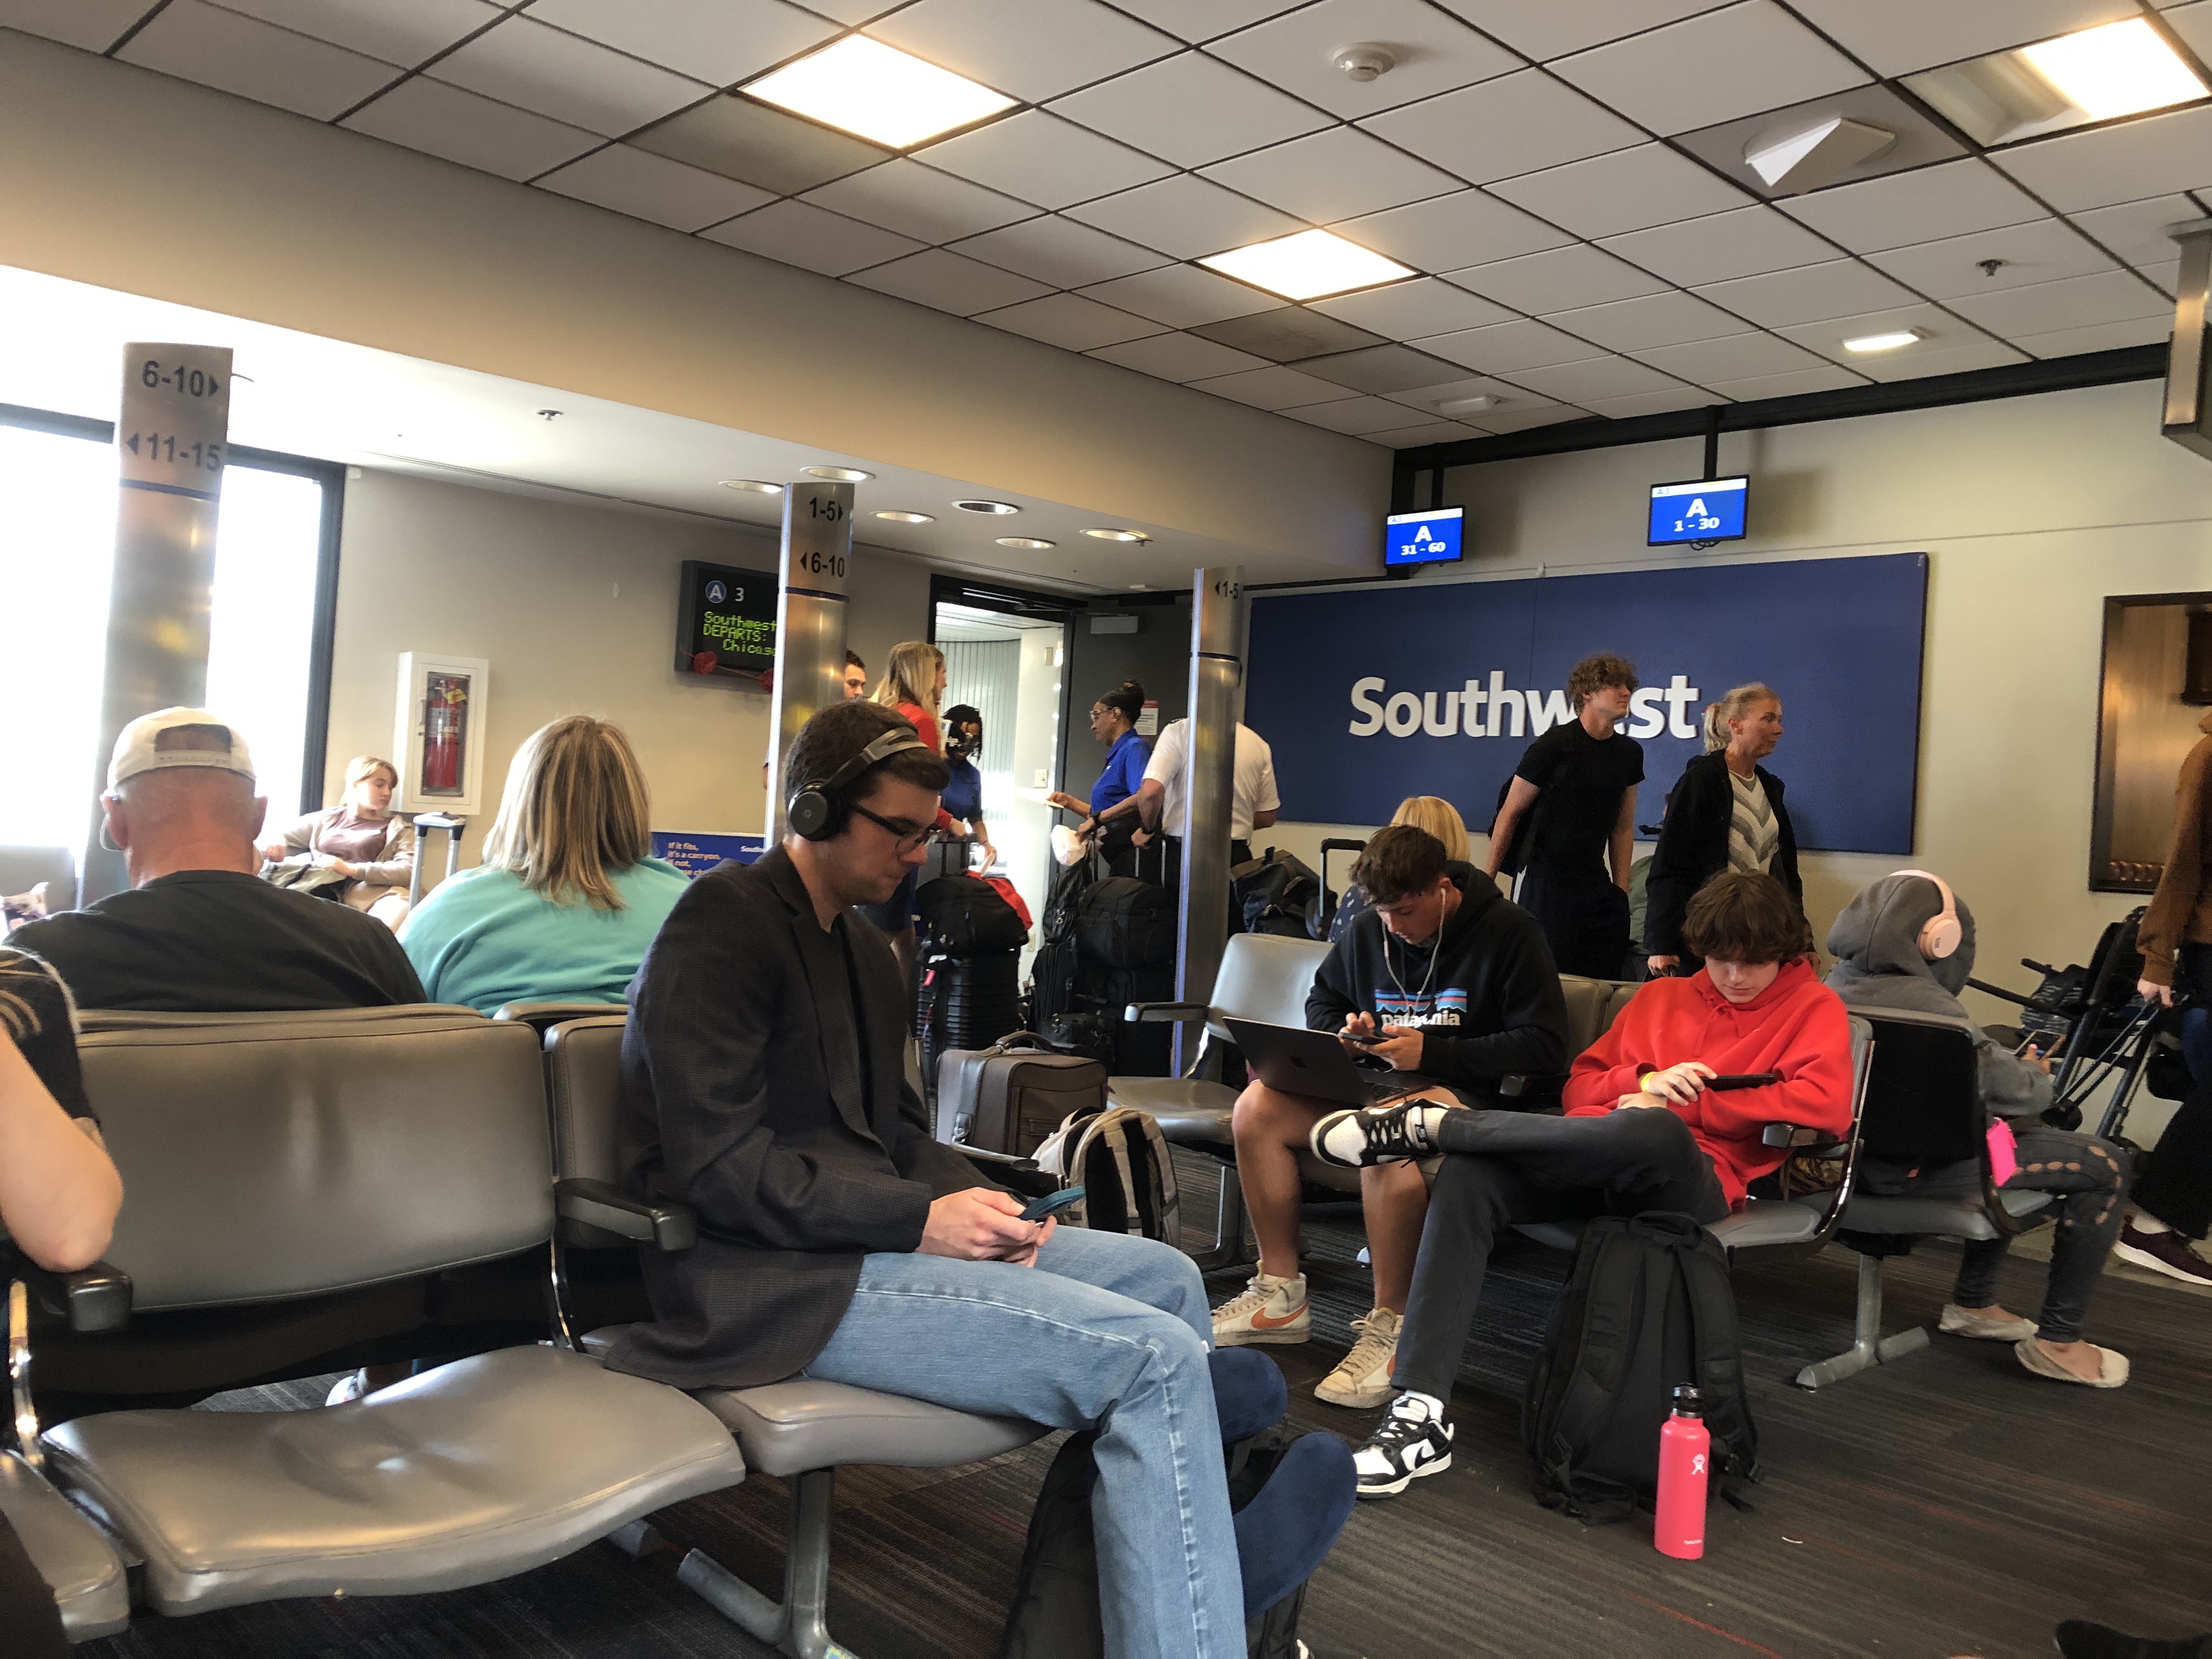
At the airport, everyone was on their phones so it was pretty quiet in the boarding area. I had never flown Southwest, so their boarding procedures were different for me. I’m glad I had Kathy and Anna nearby. I did discover that I probably should get hearing aids if I really wanted to hear/understand the announcements!
All the instructions and procedures for an emergency sounded familiar, but of course, since it was the first time in many years I thought I should at least listen to them at least once. The guy to my right was reading the drink menu! Nobody else even looked up from their phones.
In contrast, on the way home I was just as bad as everybody else!
Thursday, August 3
Ted joined us Thursday and we traveled together to the Memorial Service.
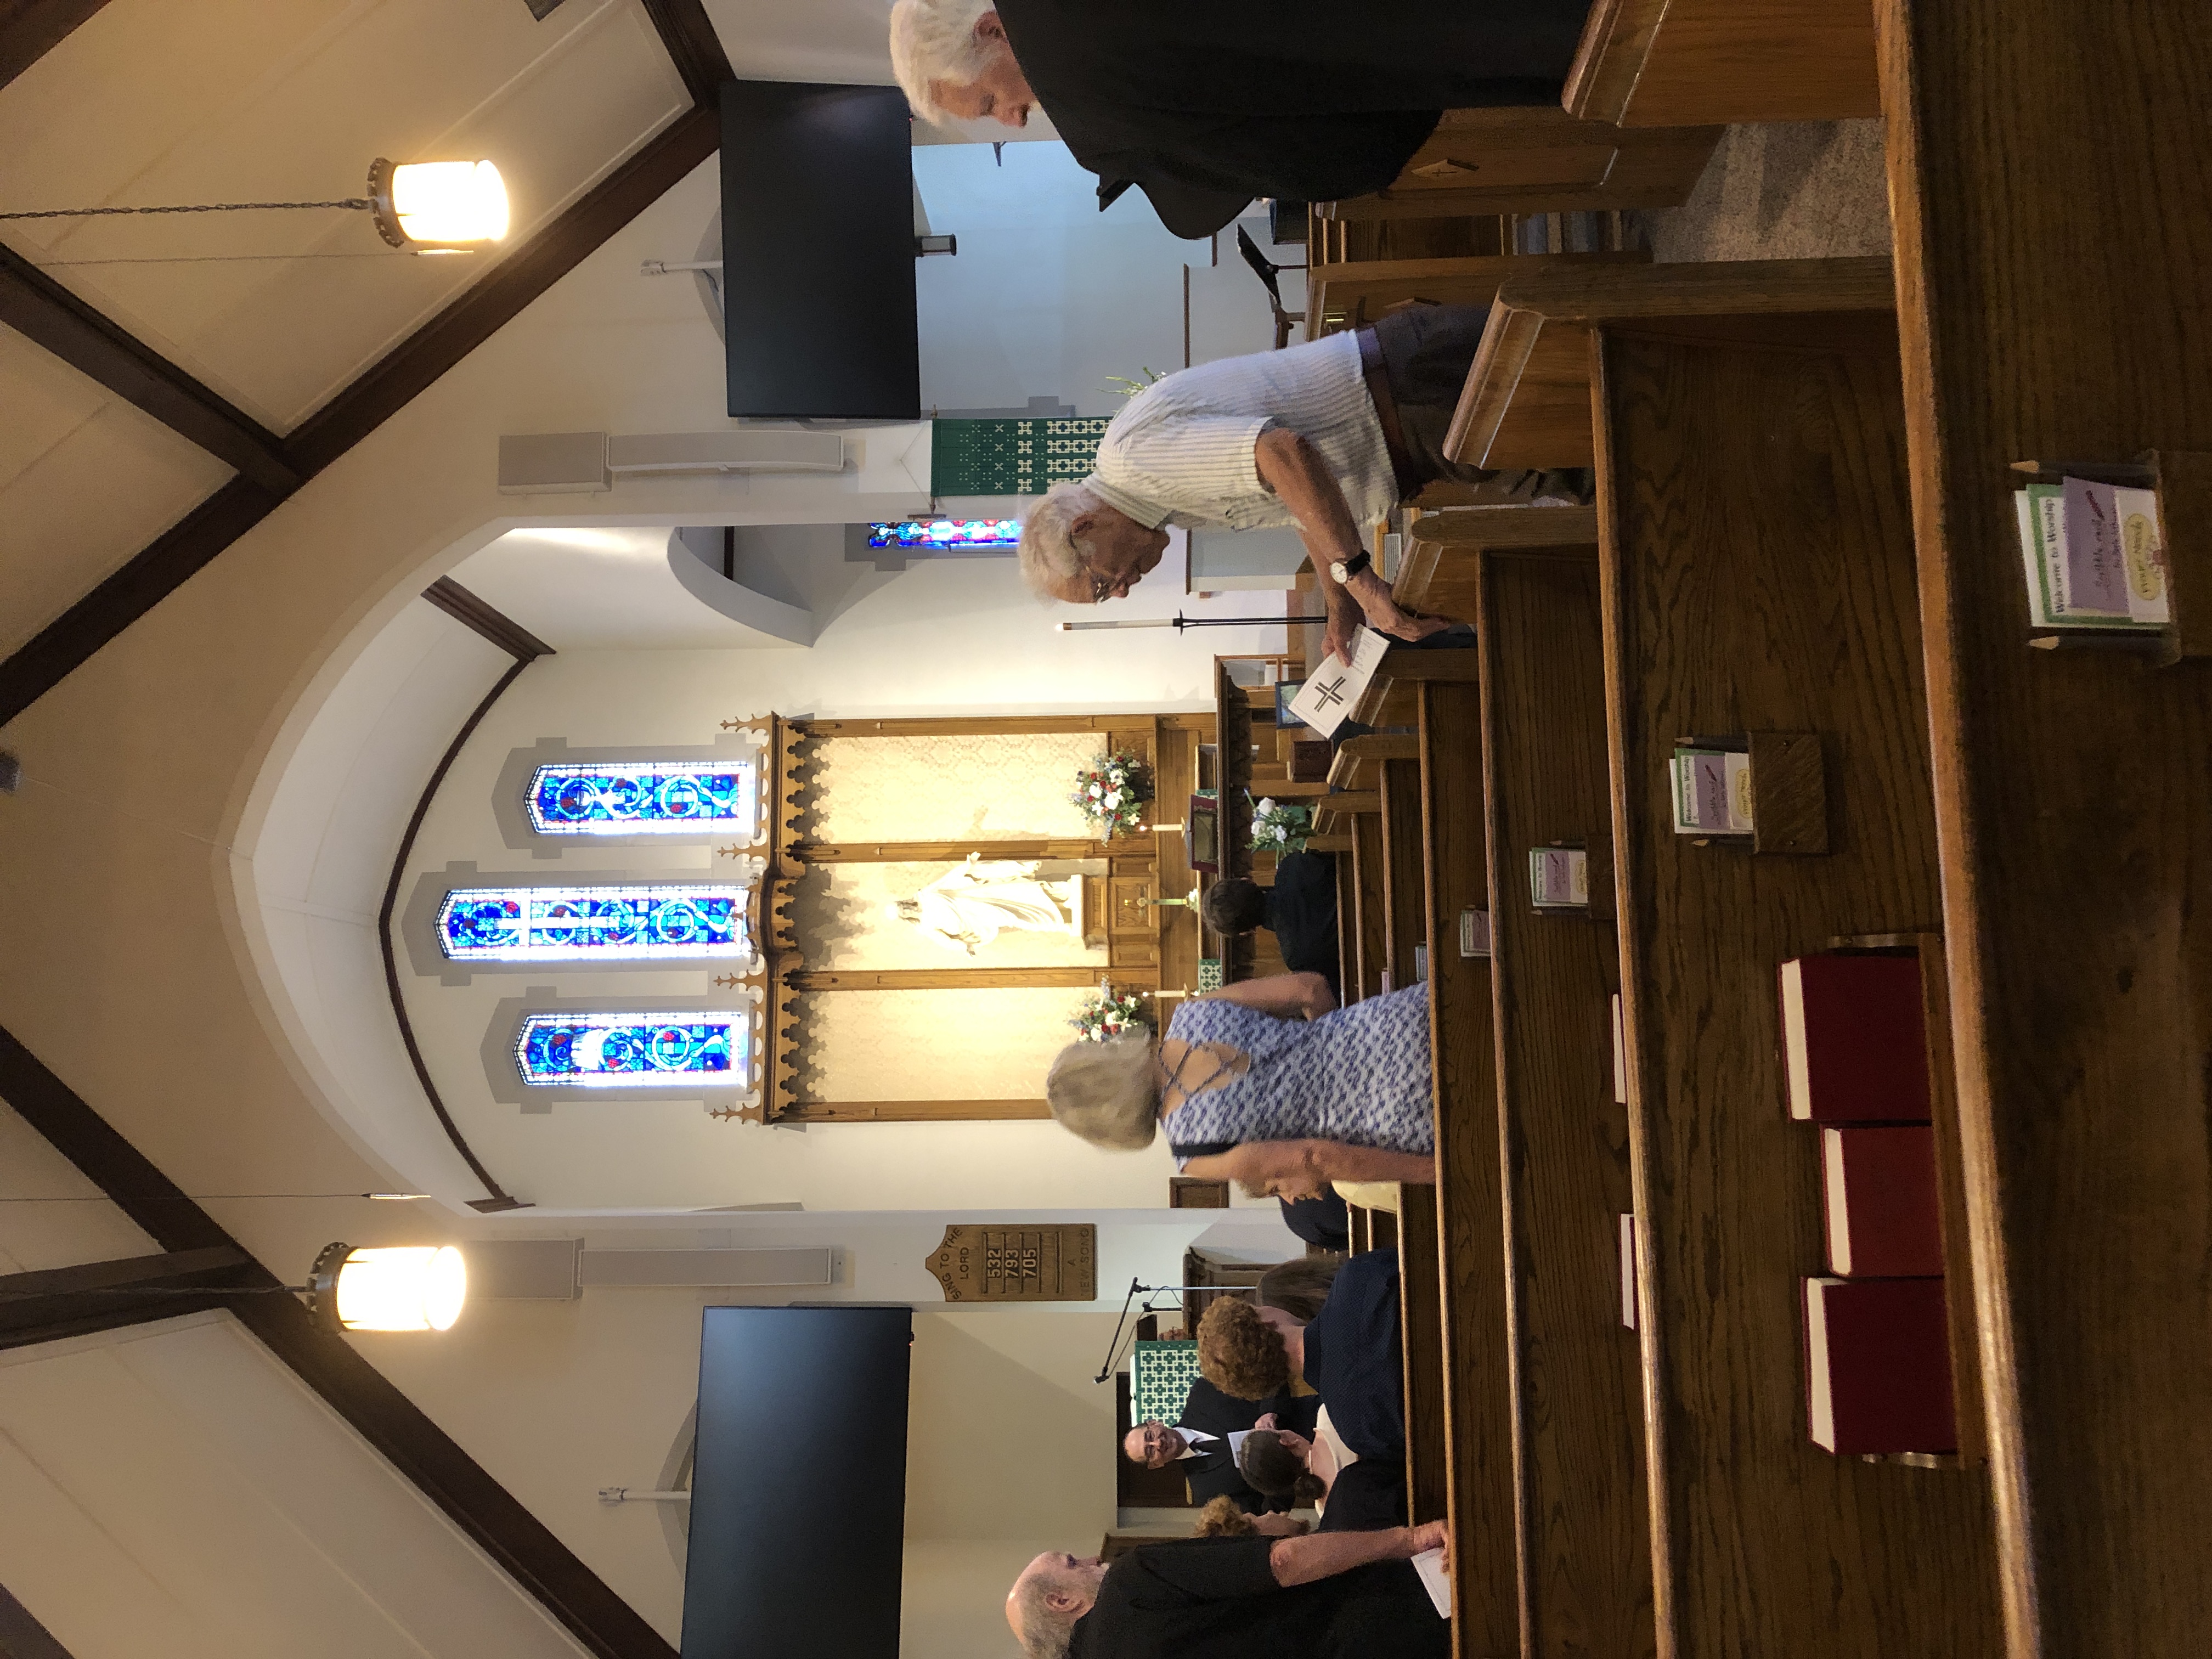
The service was in Janice’s home church. It was a lovely, meaningful service with reflections from her kids and grandkids. Very touching.
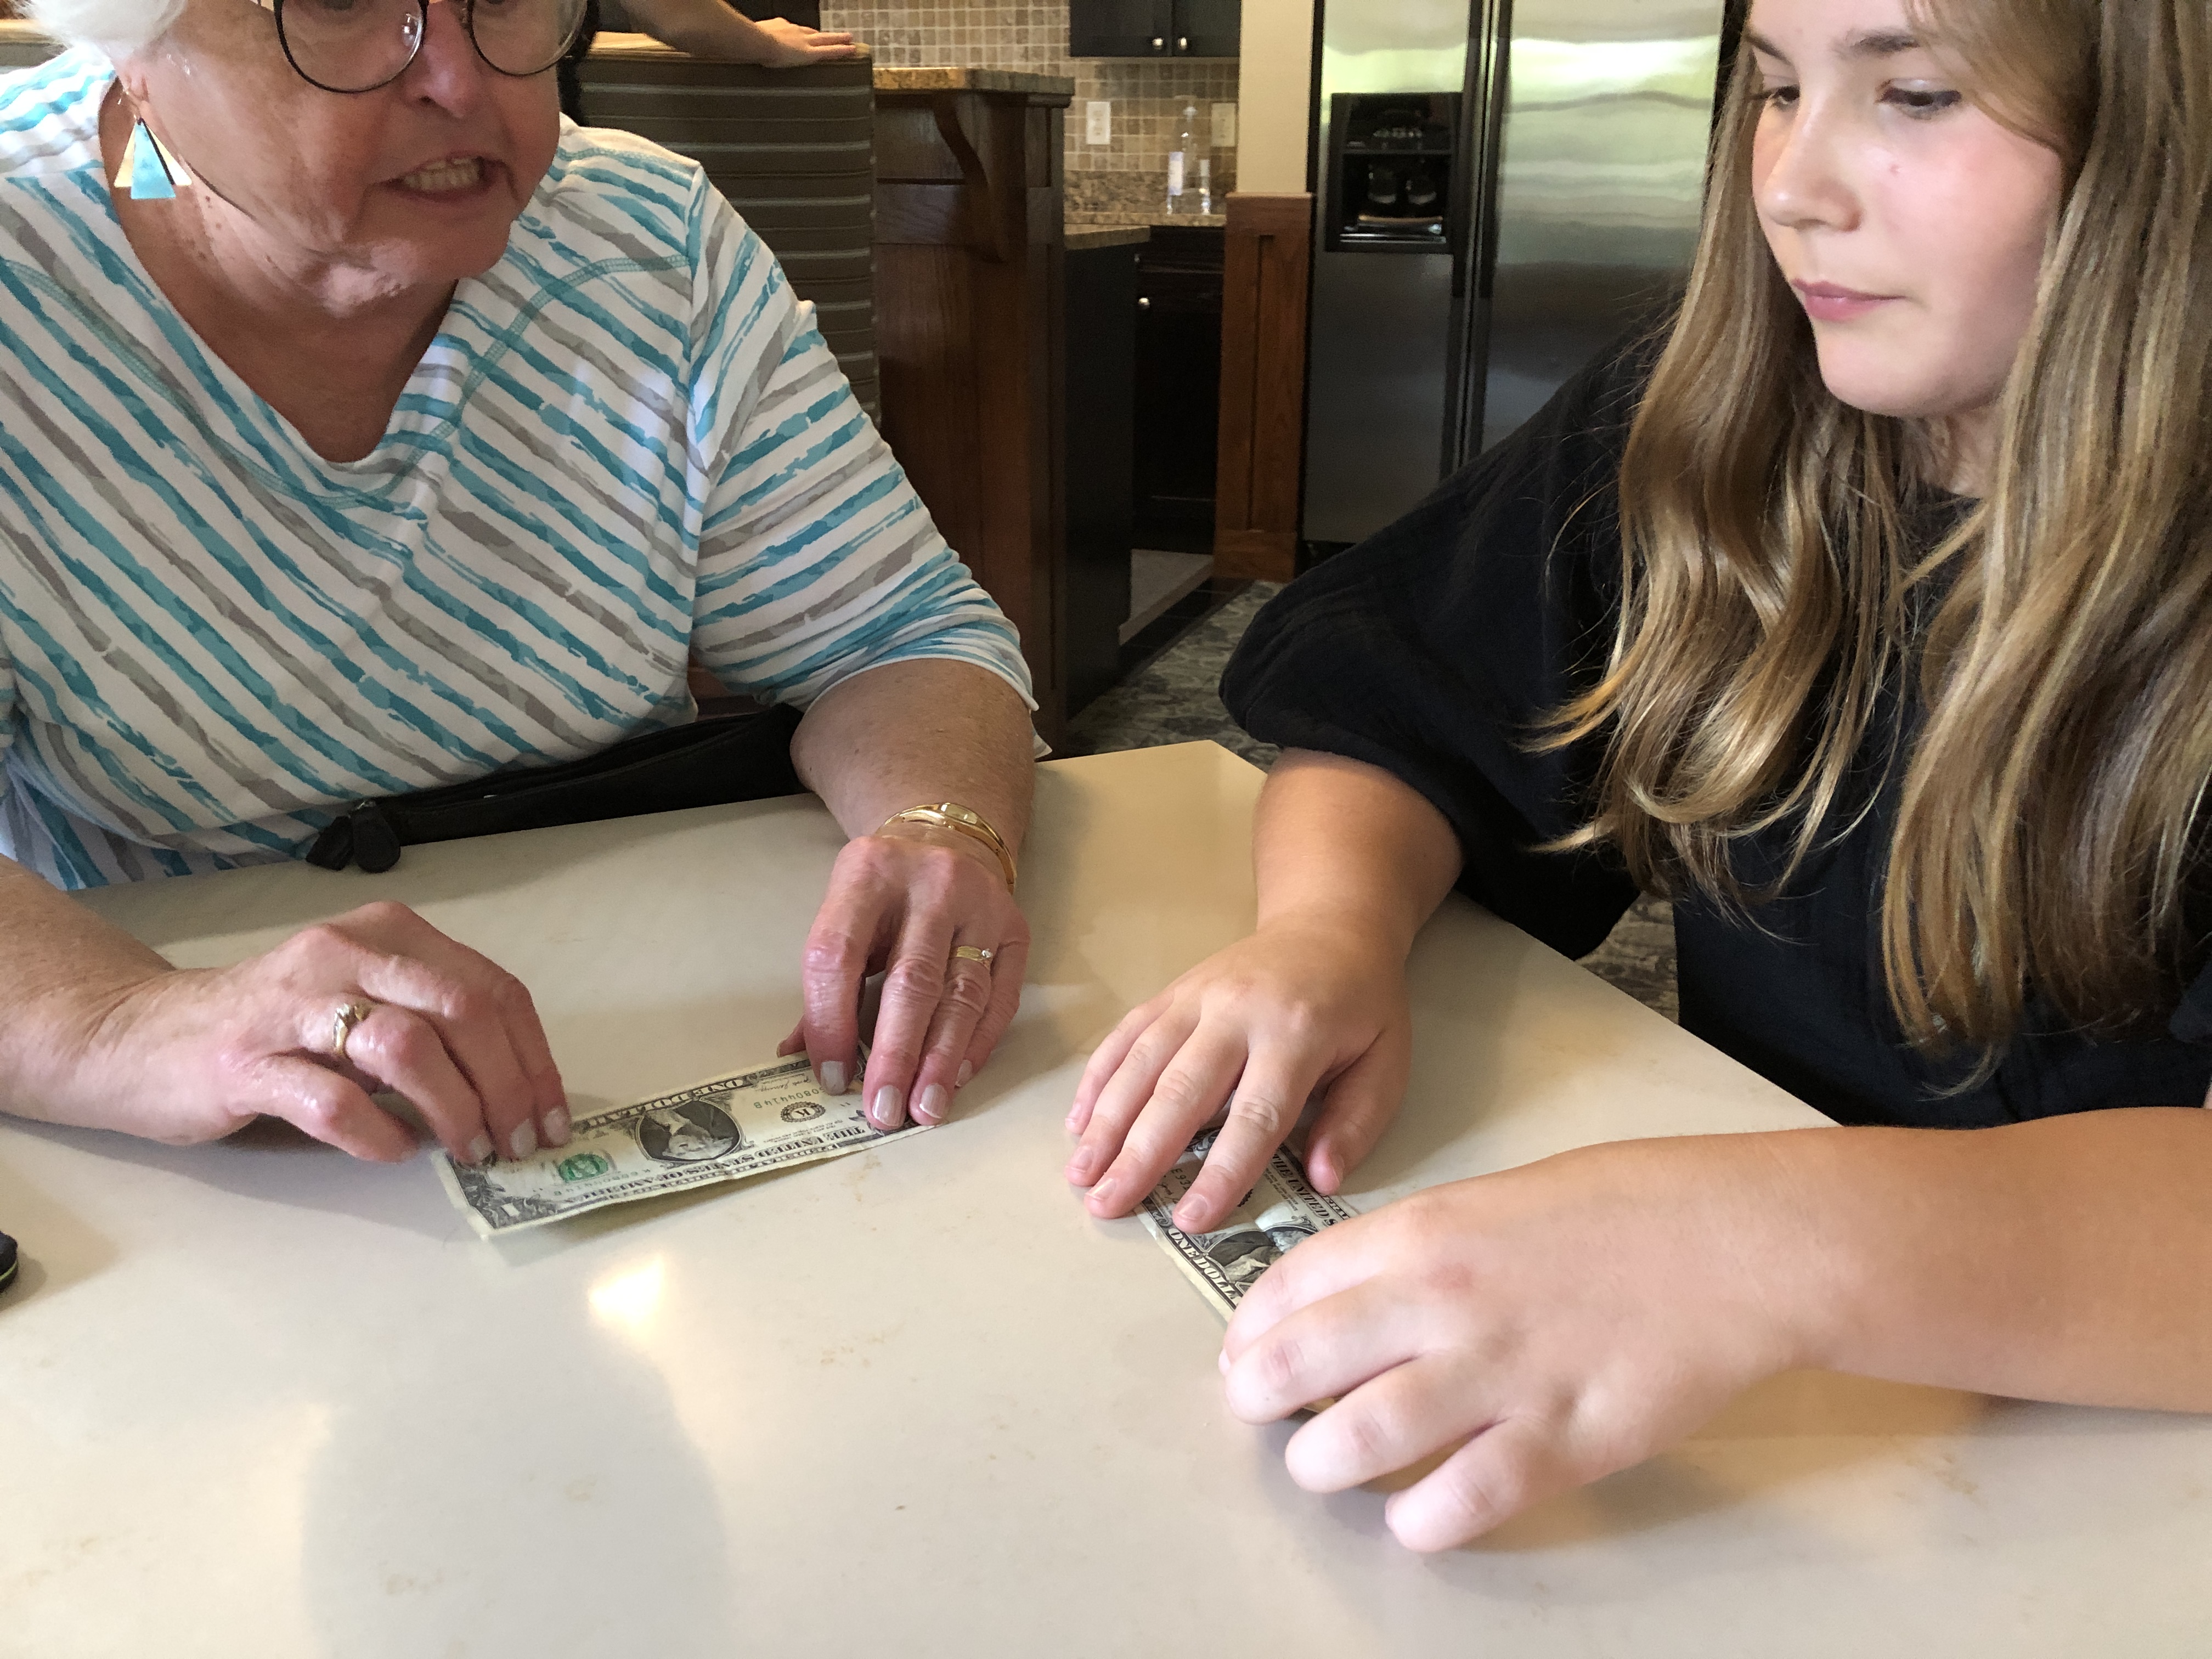
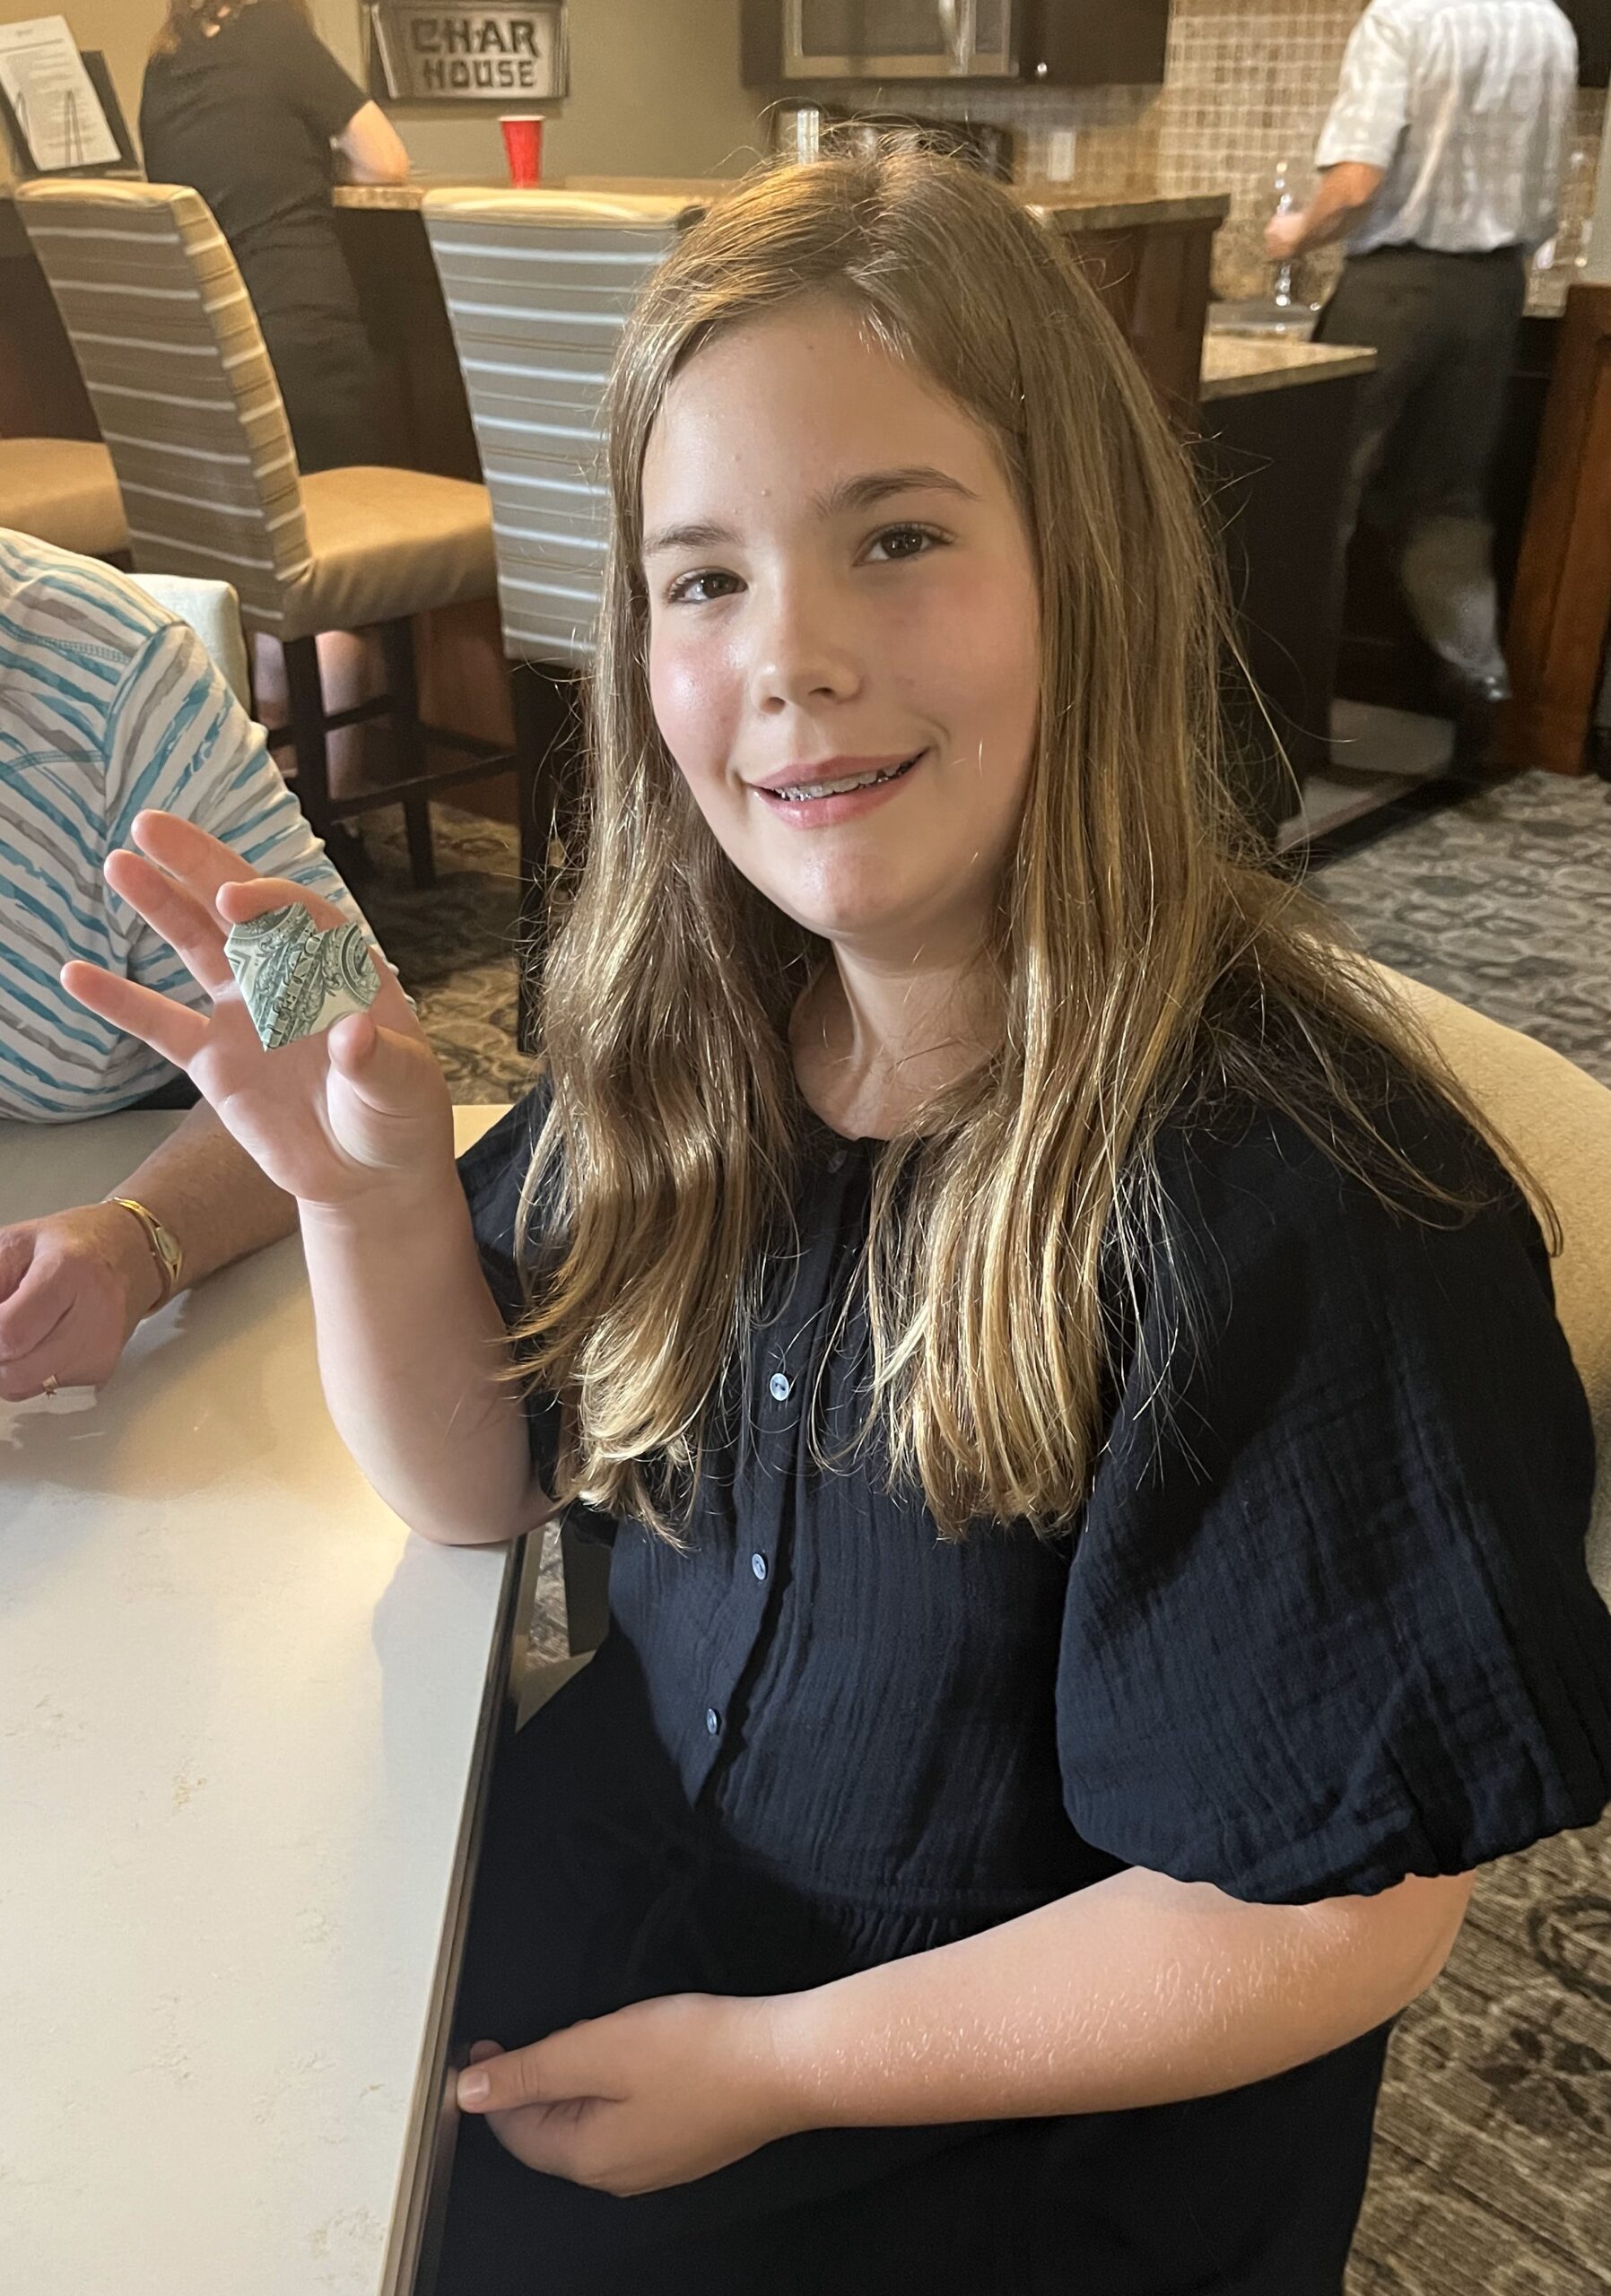
After the service we had a brief reception where we got to know each other better. Marilyn, the spouse of one of my cousins, kind of adopted Anna and I watched while she showed Anna how to fold a dollar bill into a heart.
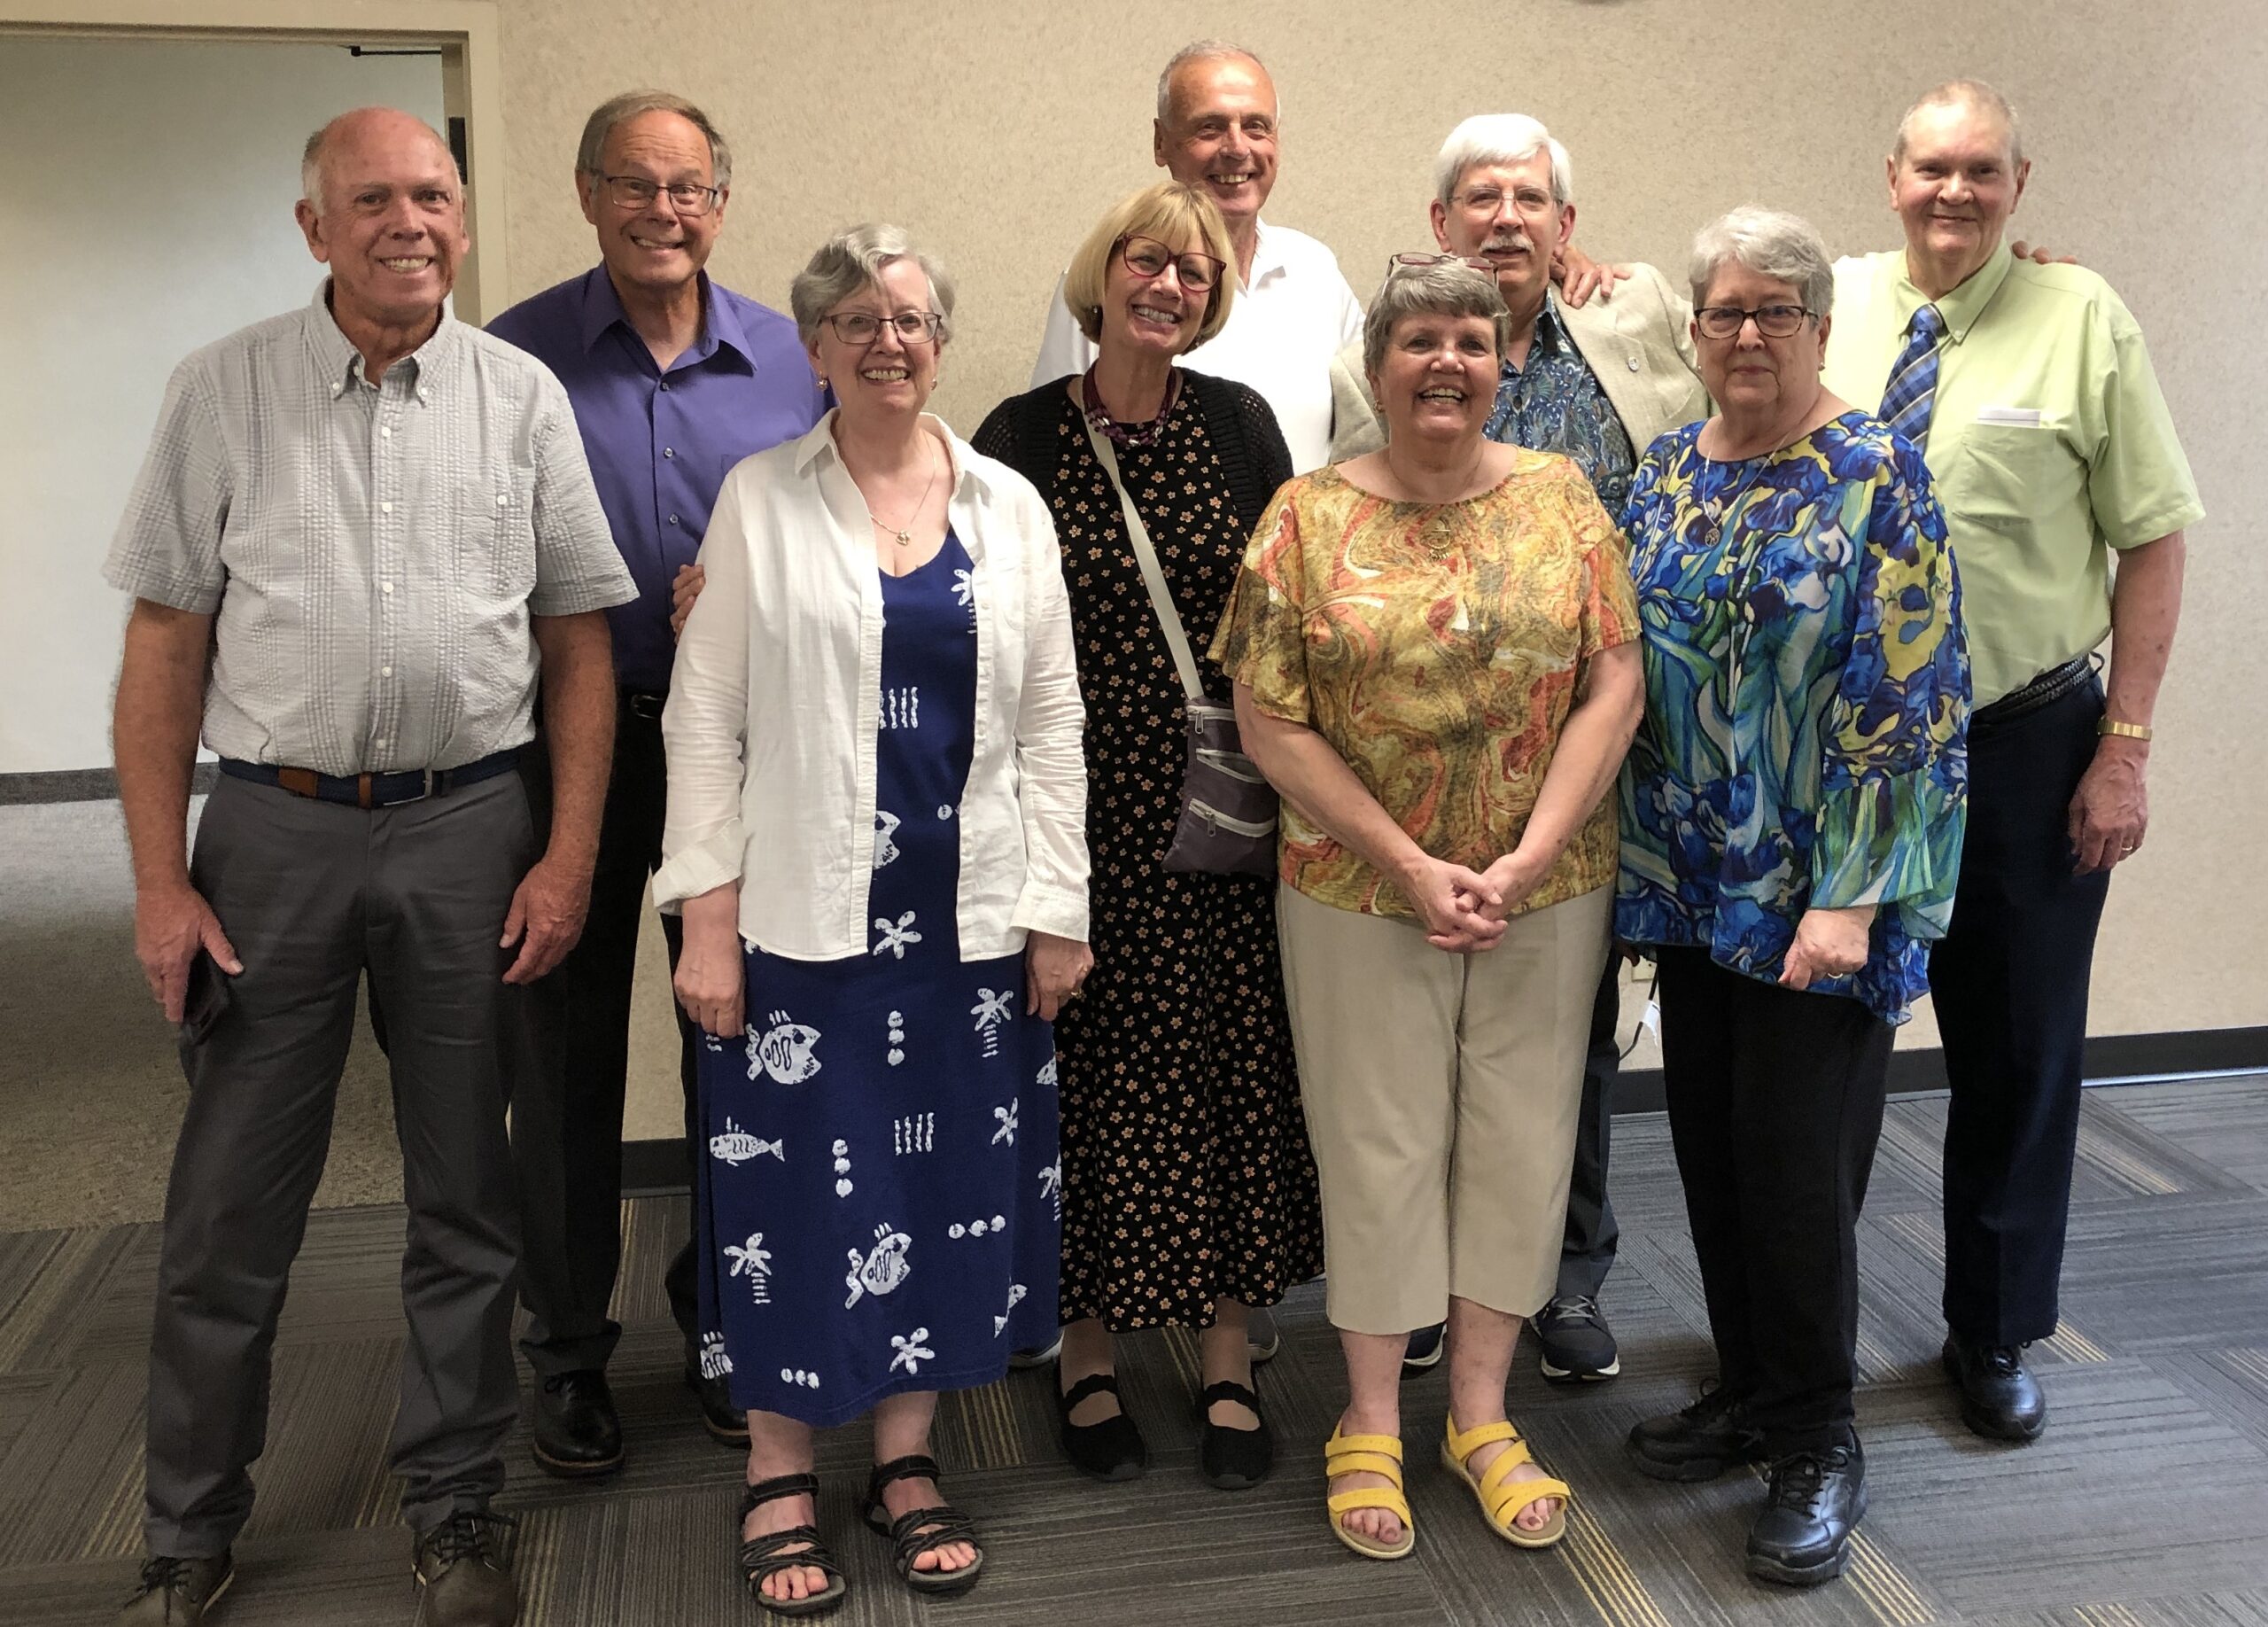
Of course, the required photo of the assembled cousins was taken. What a smiley bunch we are!
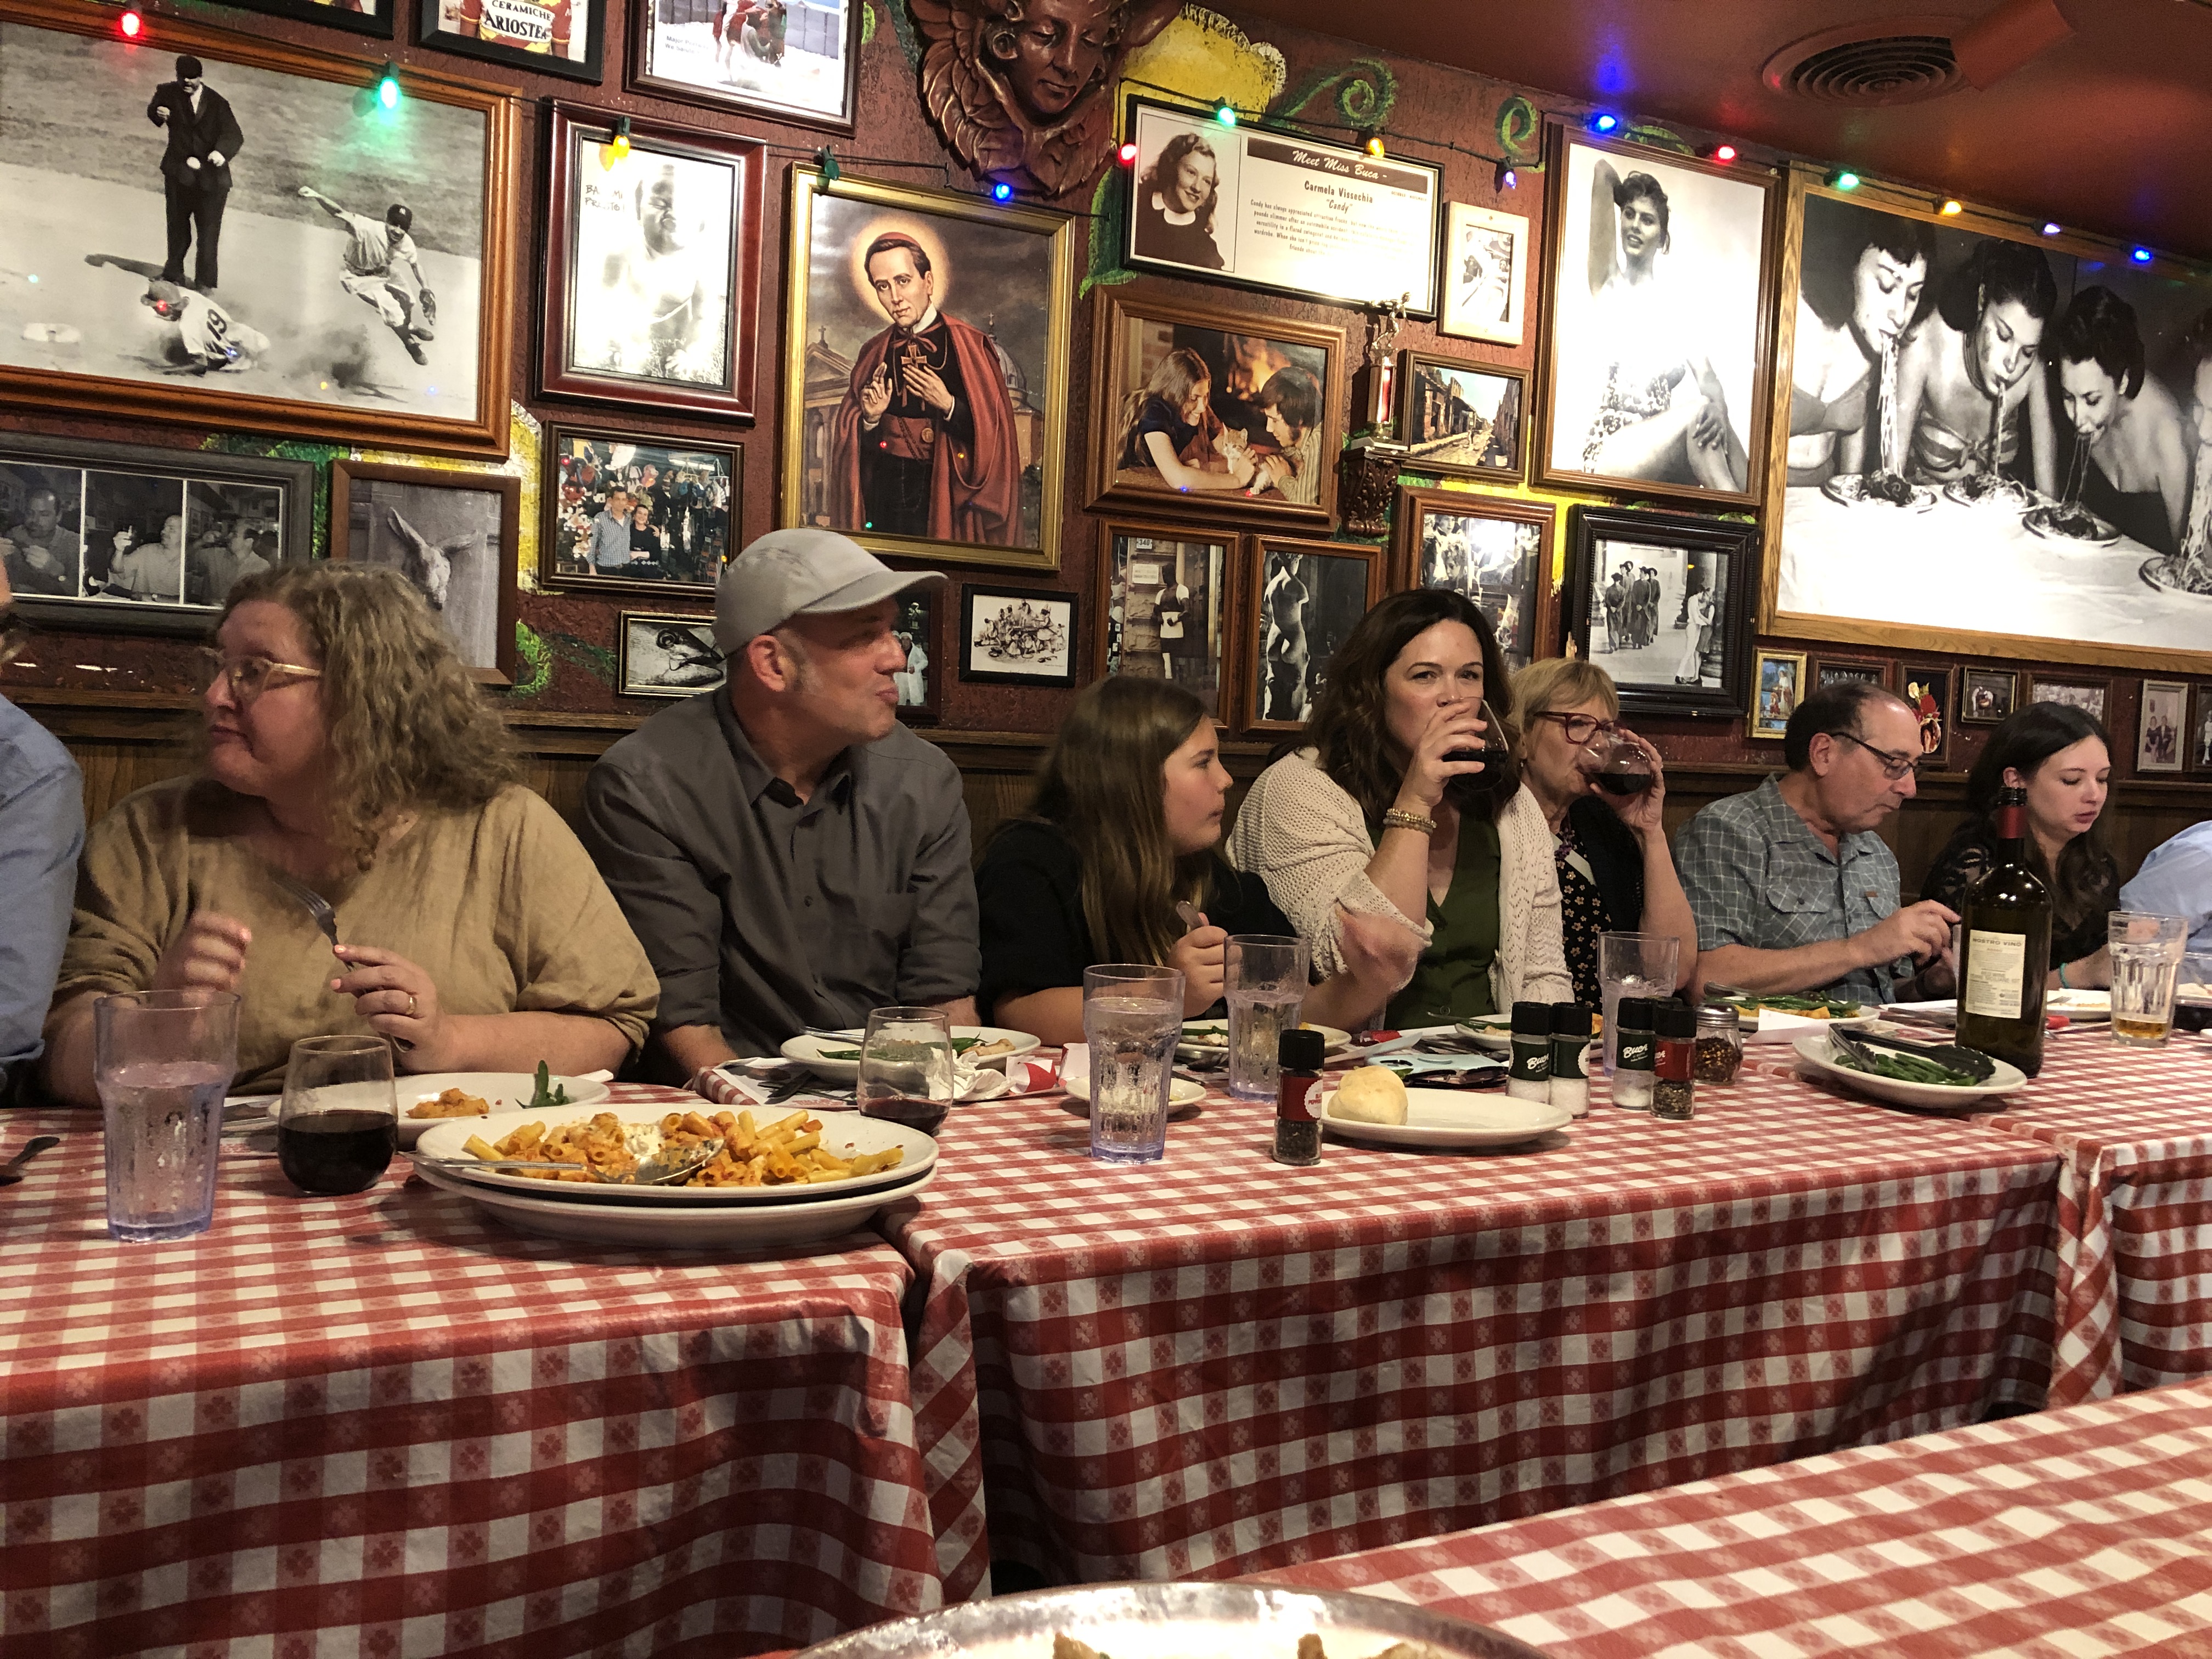
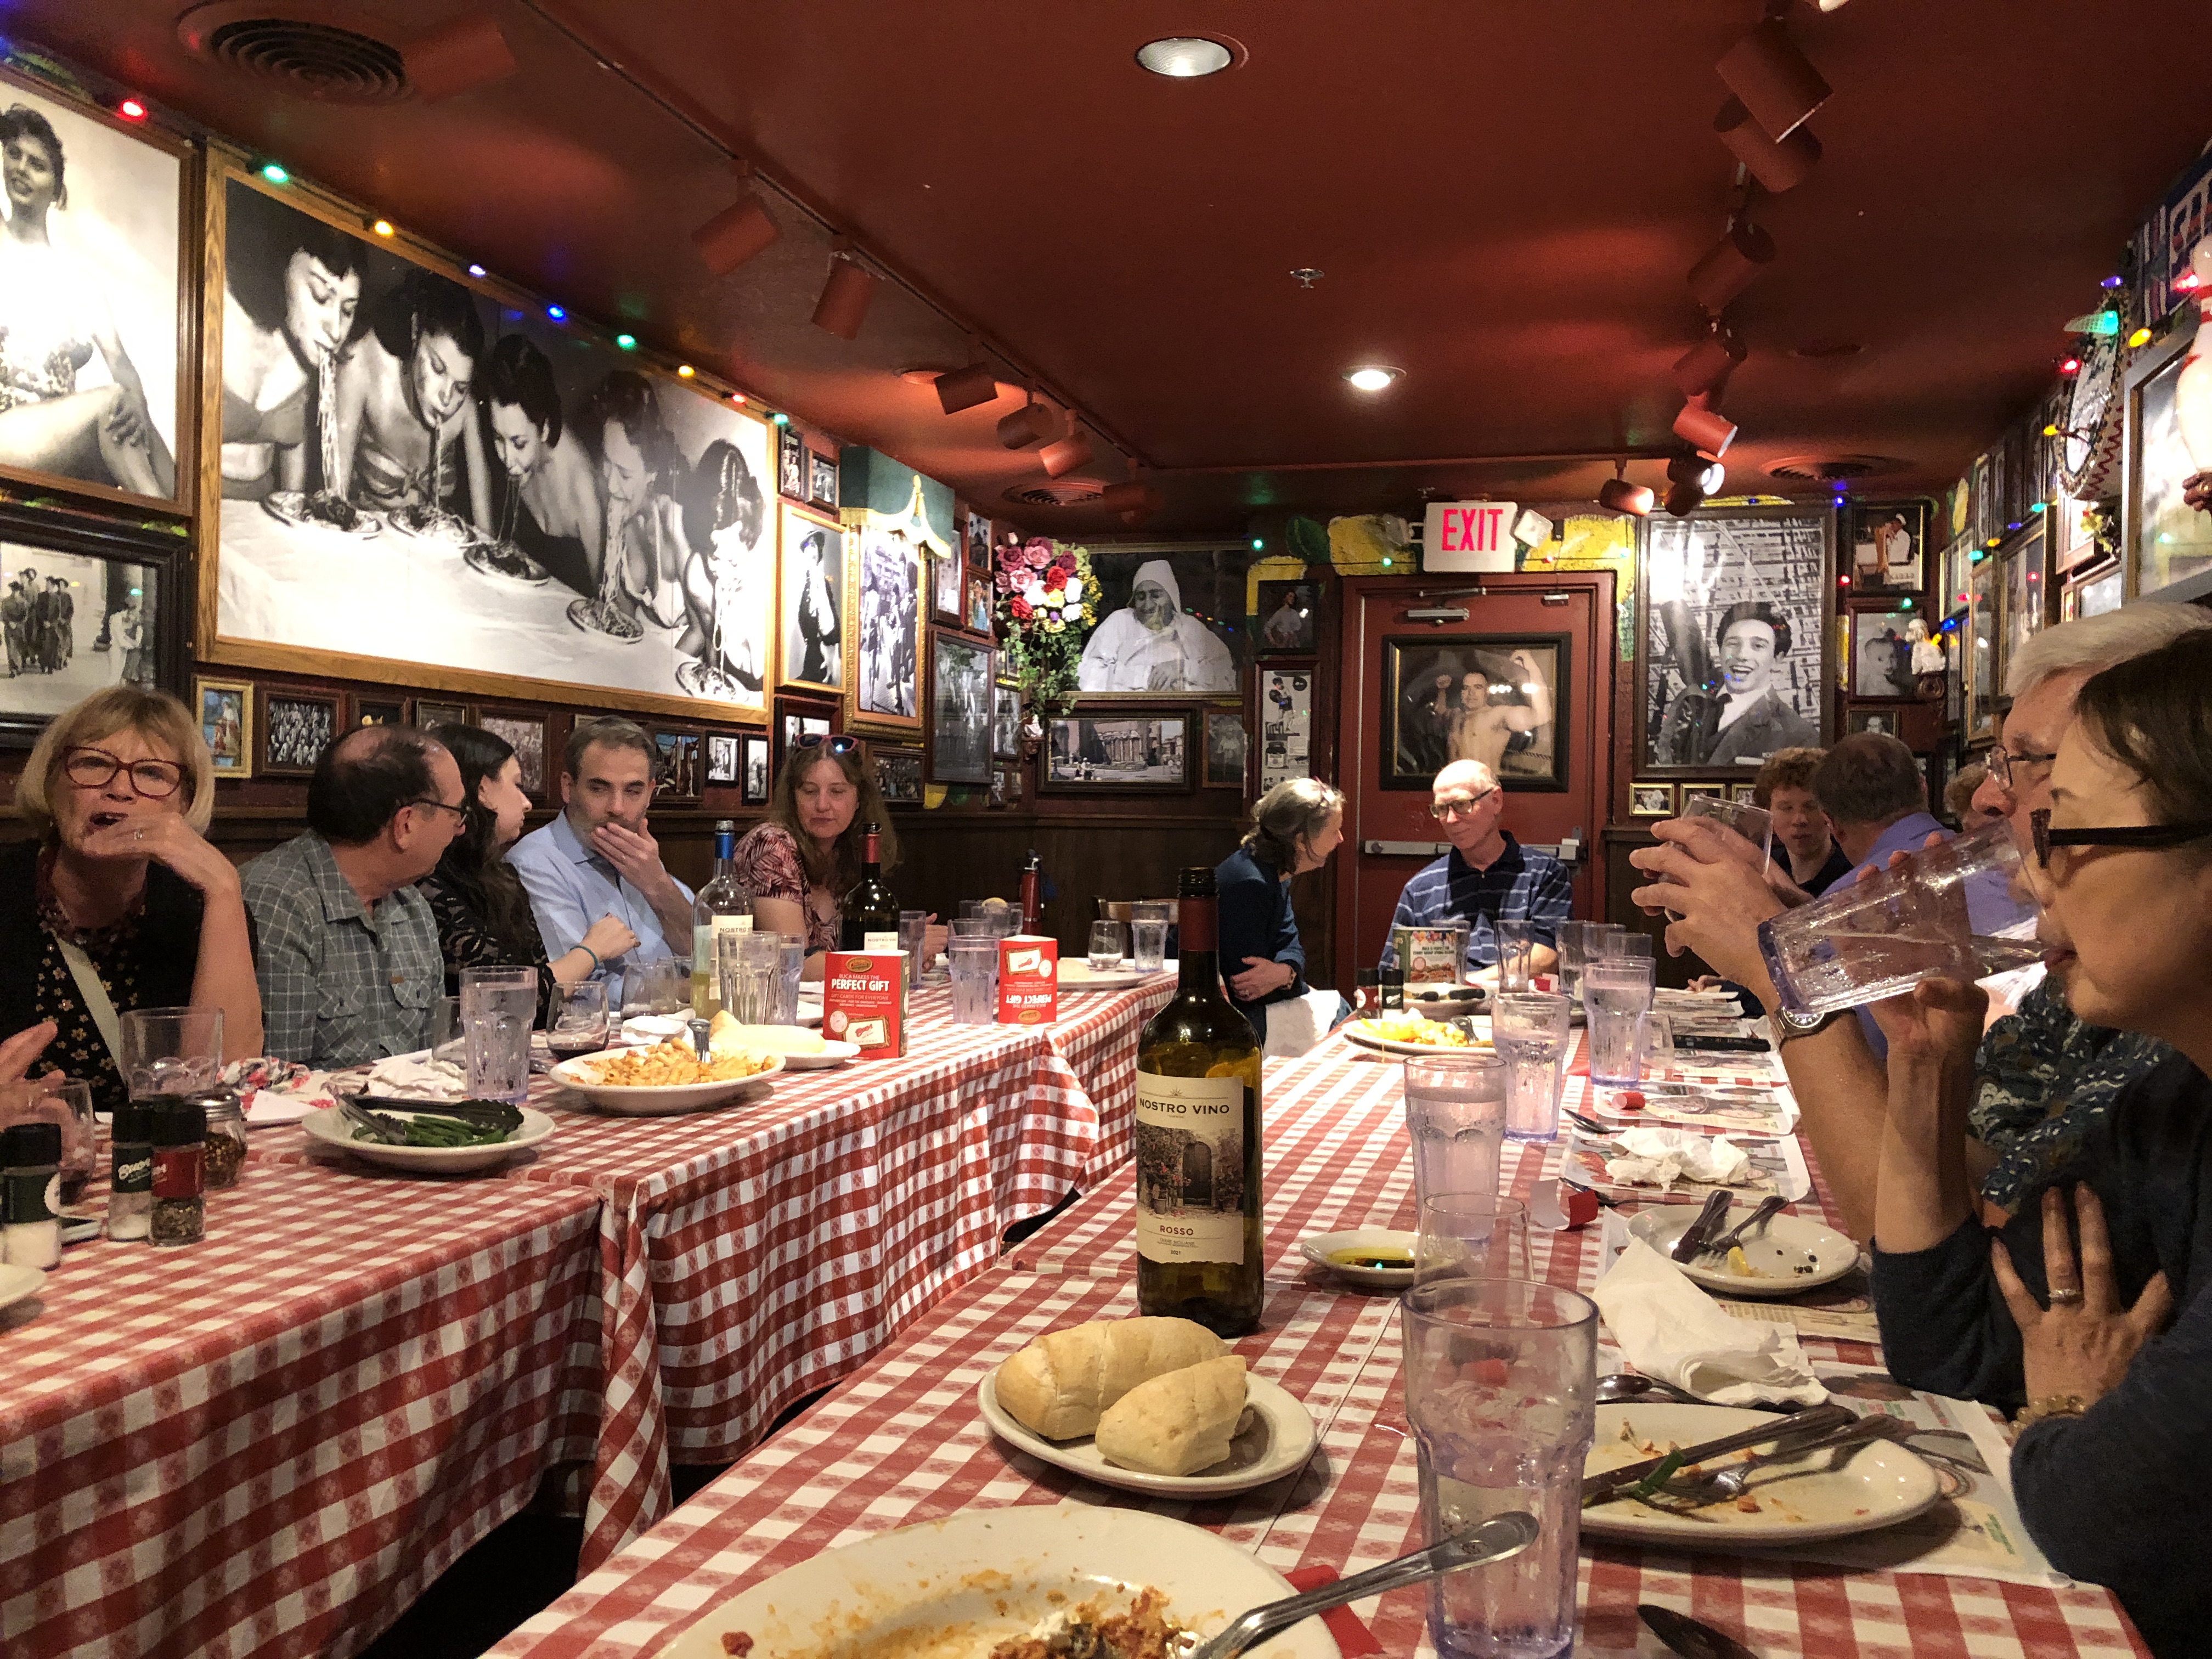
We ended the evening with all 25+ of us at an Italian Restaurant nearby. Always tough for me with Italian food and trying to avoid dairy products. I think I had a piece of chicken and some green beans. Anything else would have made me sick. Oh well, I came back to the hotel and had a peanut butter and jelly sandwich!
Friday, August 4
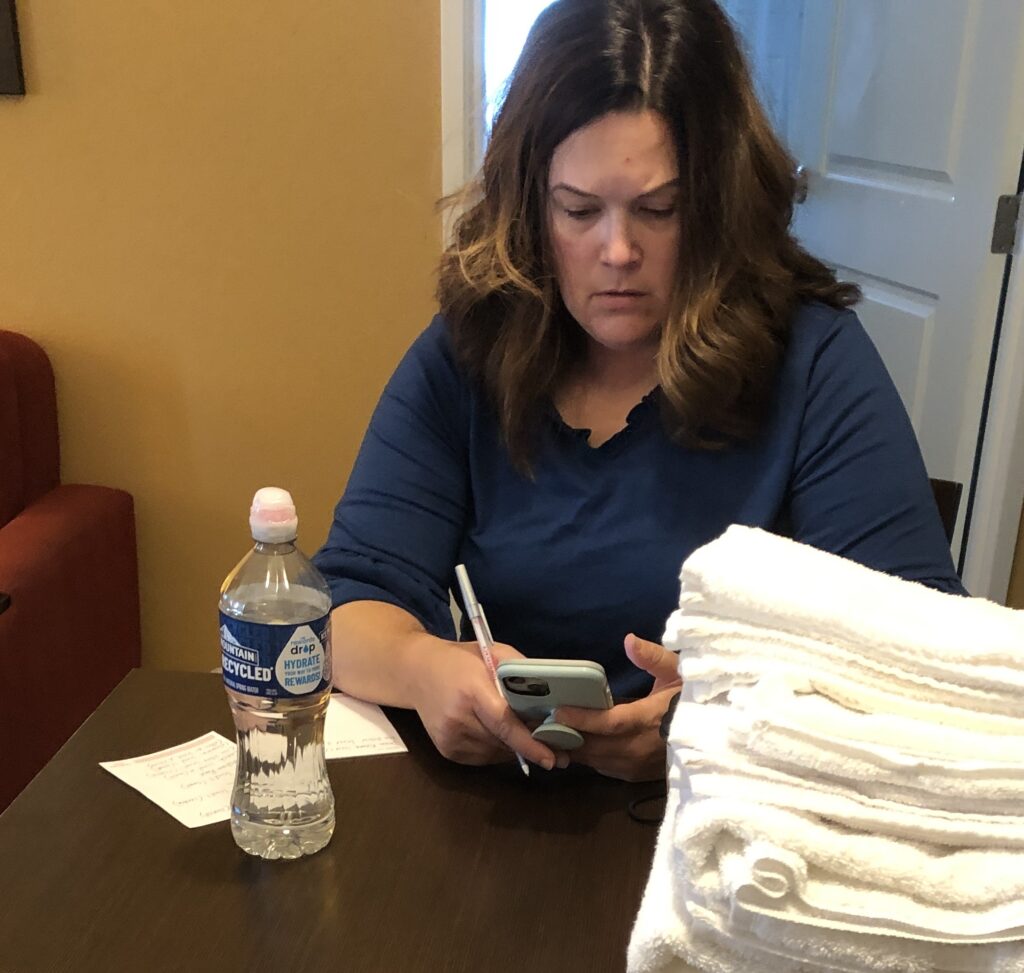
Friday was our day at the Mall of America! Kathy pulled out a list of all the stores in the Mall. She got us organized, first by going down the list and asking if we were interested in shopping there. By the time we left for the Mall, she had everything organized by floor and area, like North or West.
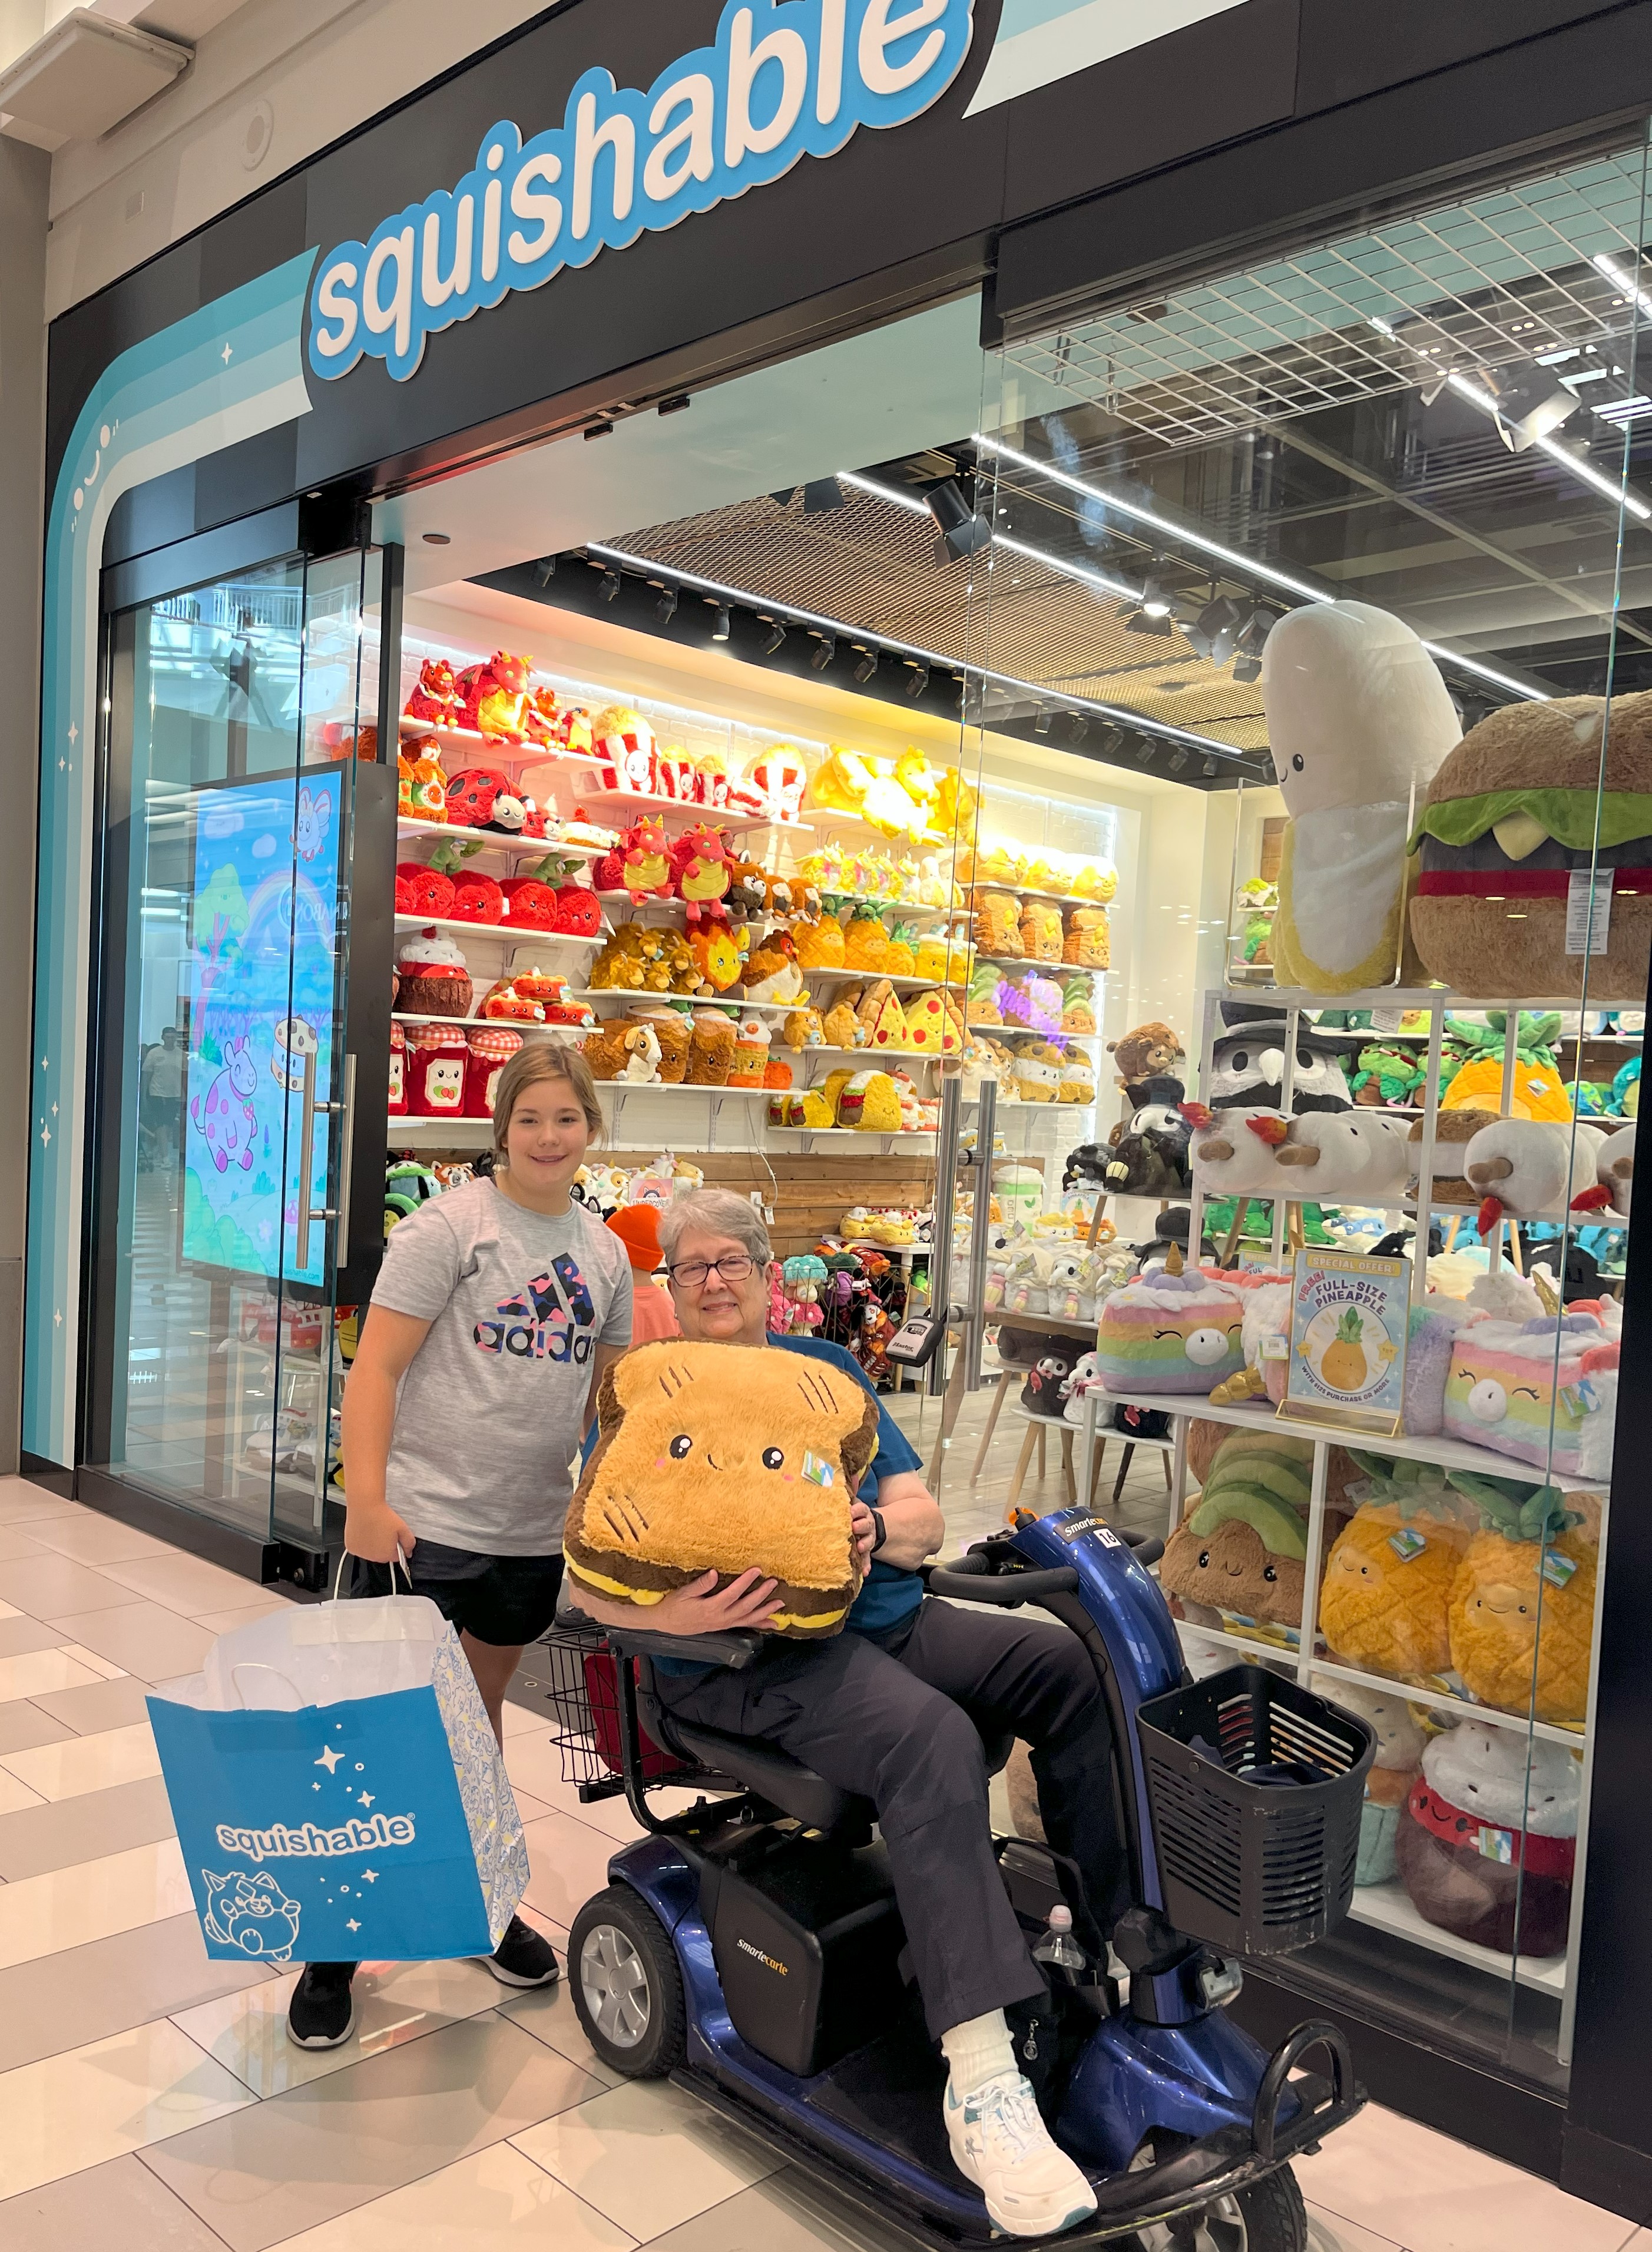
When we arrived at the Mall, Kathy checked the directions and we found the Guest Services counter. I was a proud driver of a scooter! It really helped me survive 8 hours of shopping with my two girls!
I actually didn’t hit anything. Luckily the Mall wasn’t crowded.
The Mall of America is four floors of stores! It is one mile around each floor, with an occasional repeat of stores, like the ones selling Minnesota t-shirts and coffee cups. It is an impressive collection of shopping venues.
Some stores were familiar, like North Face and Old Navy.
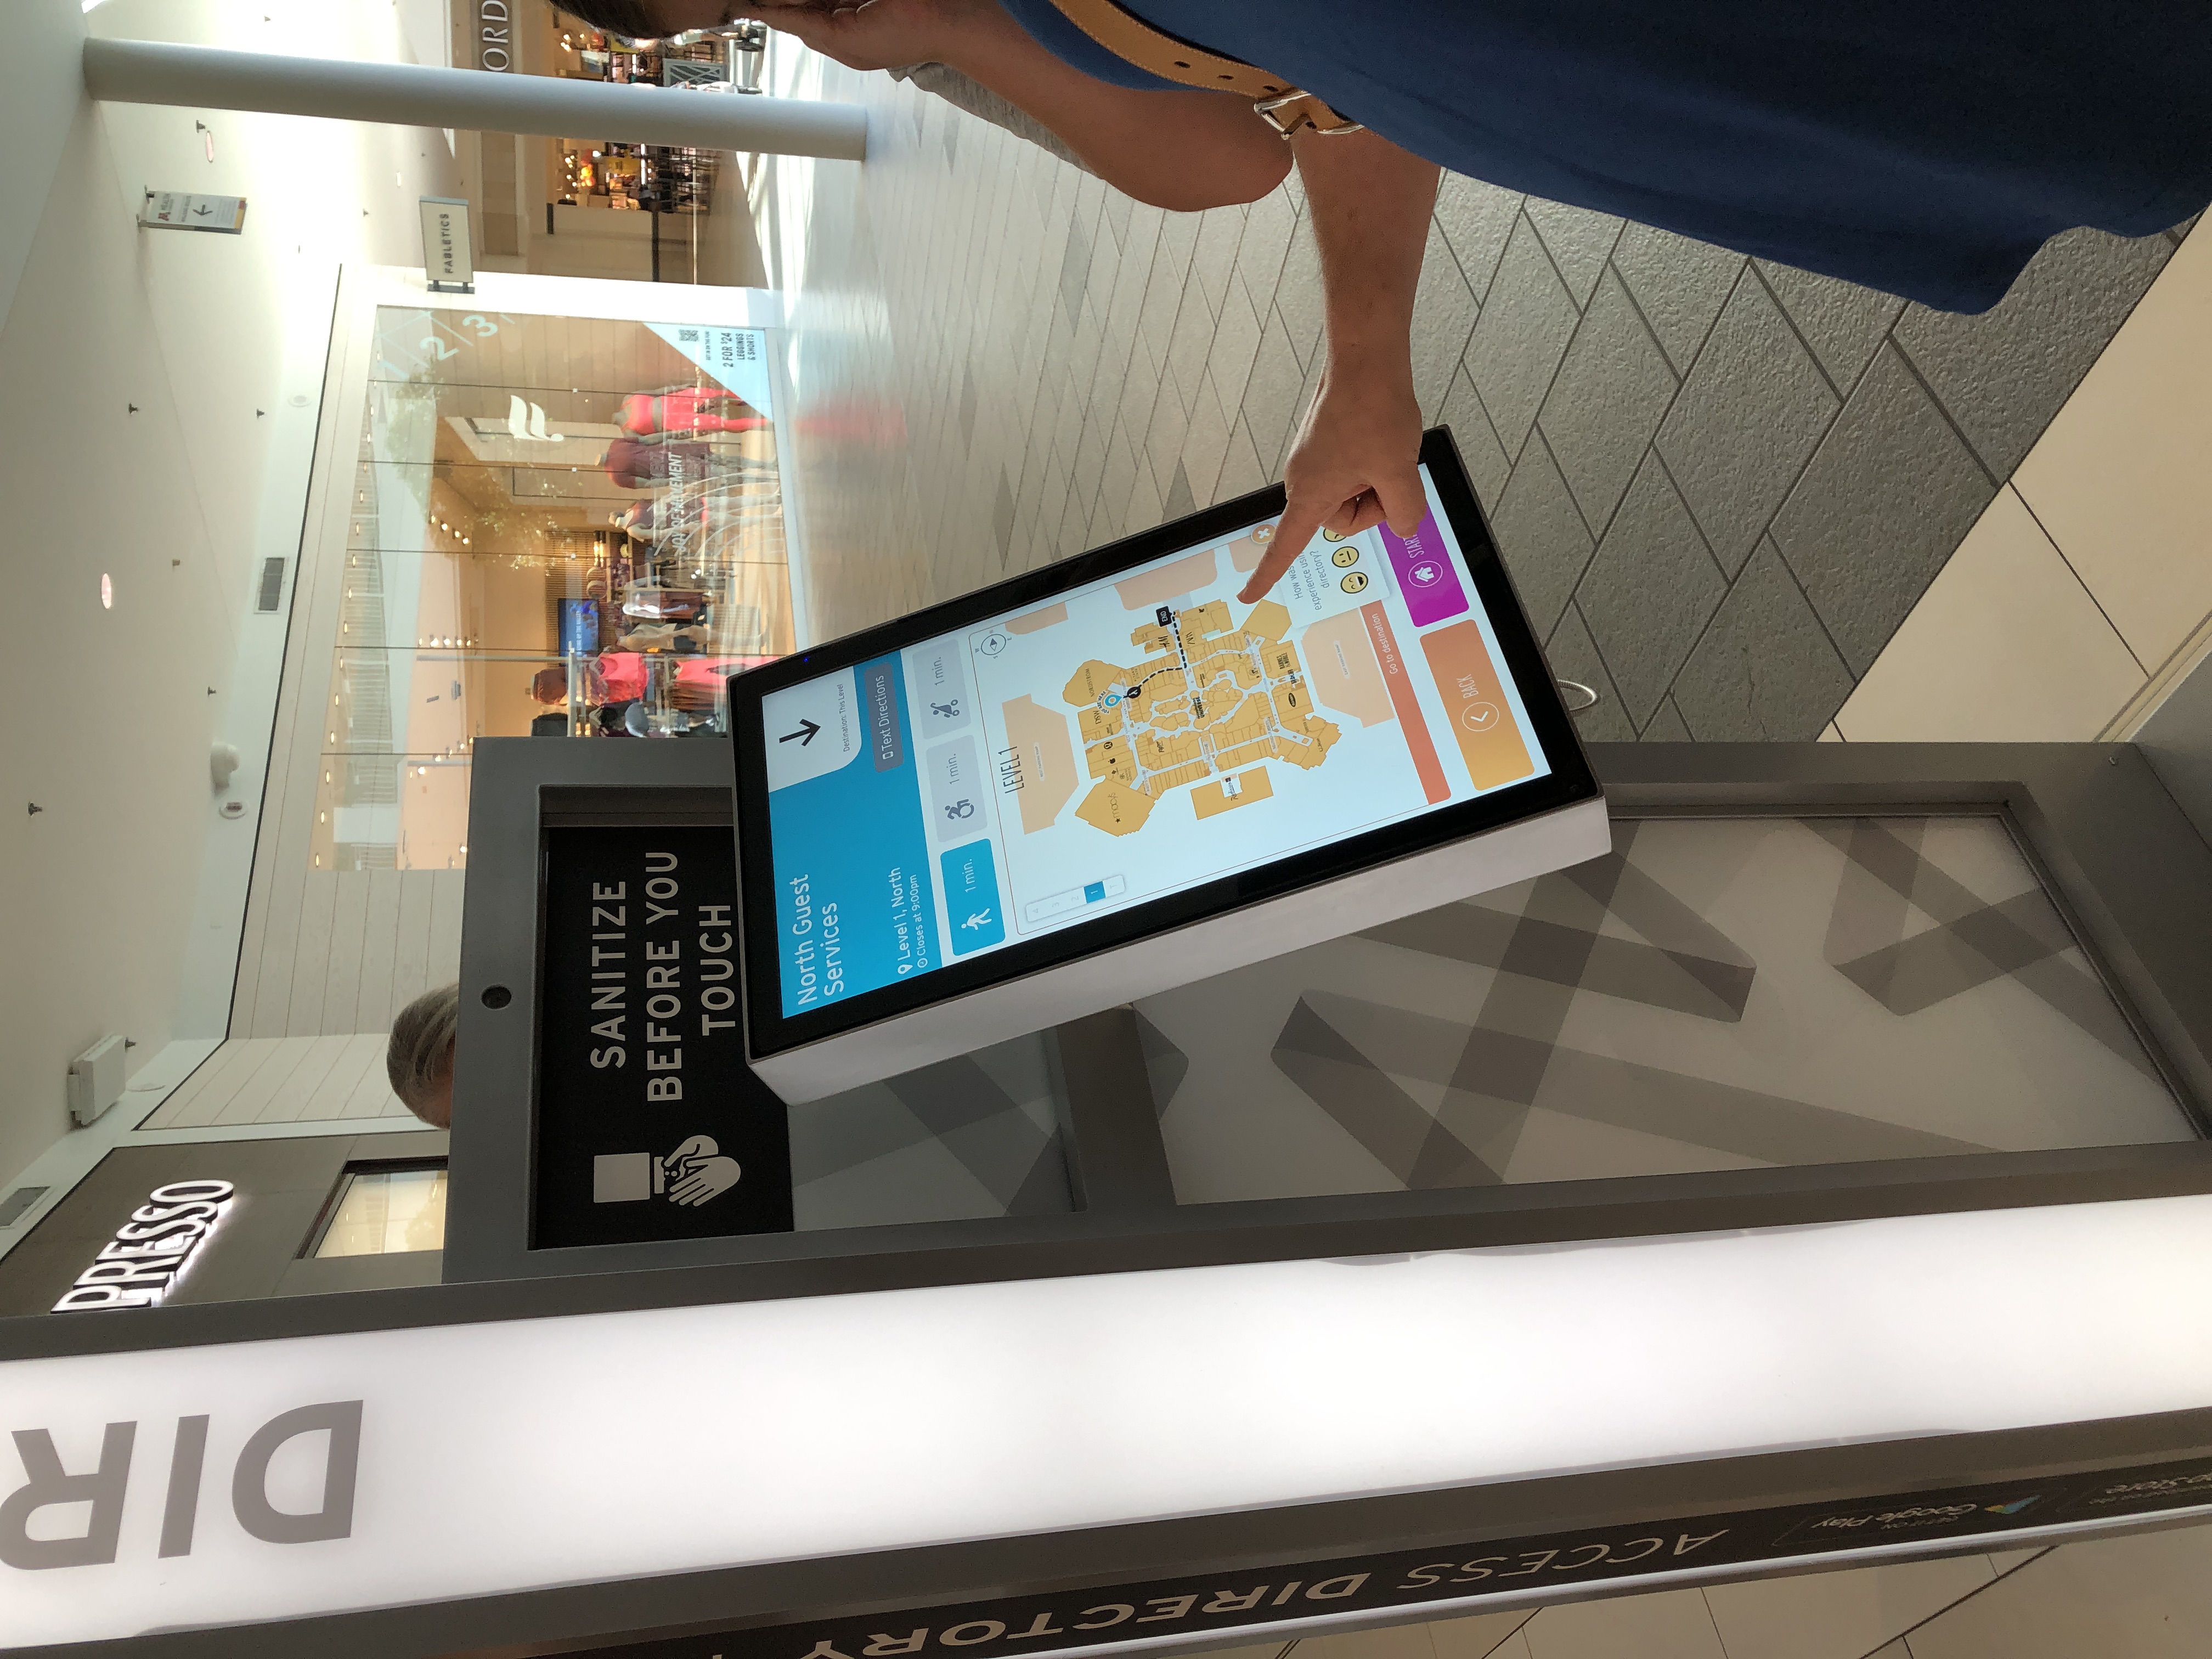
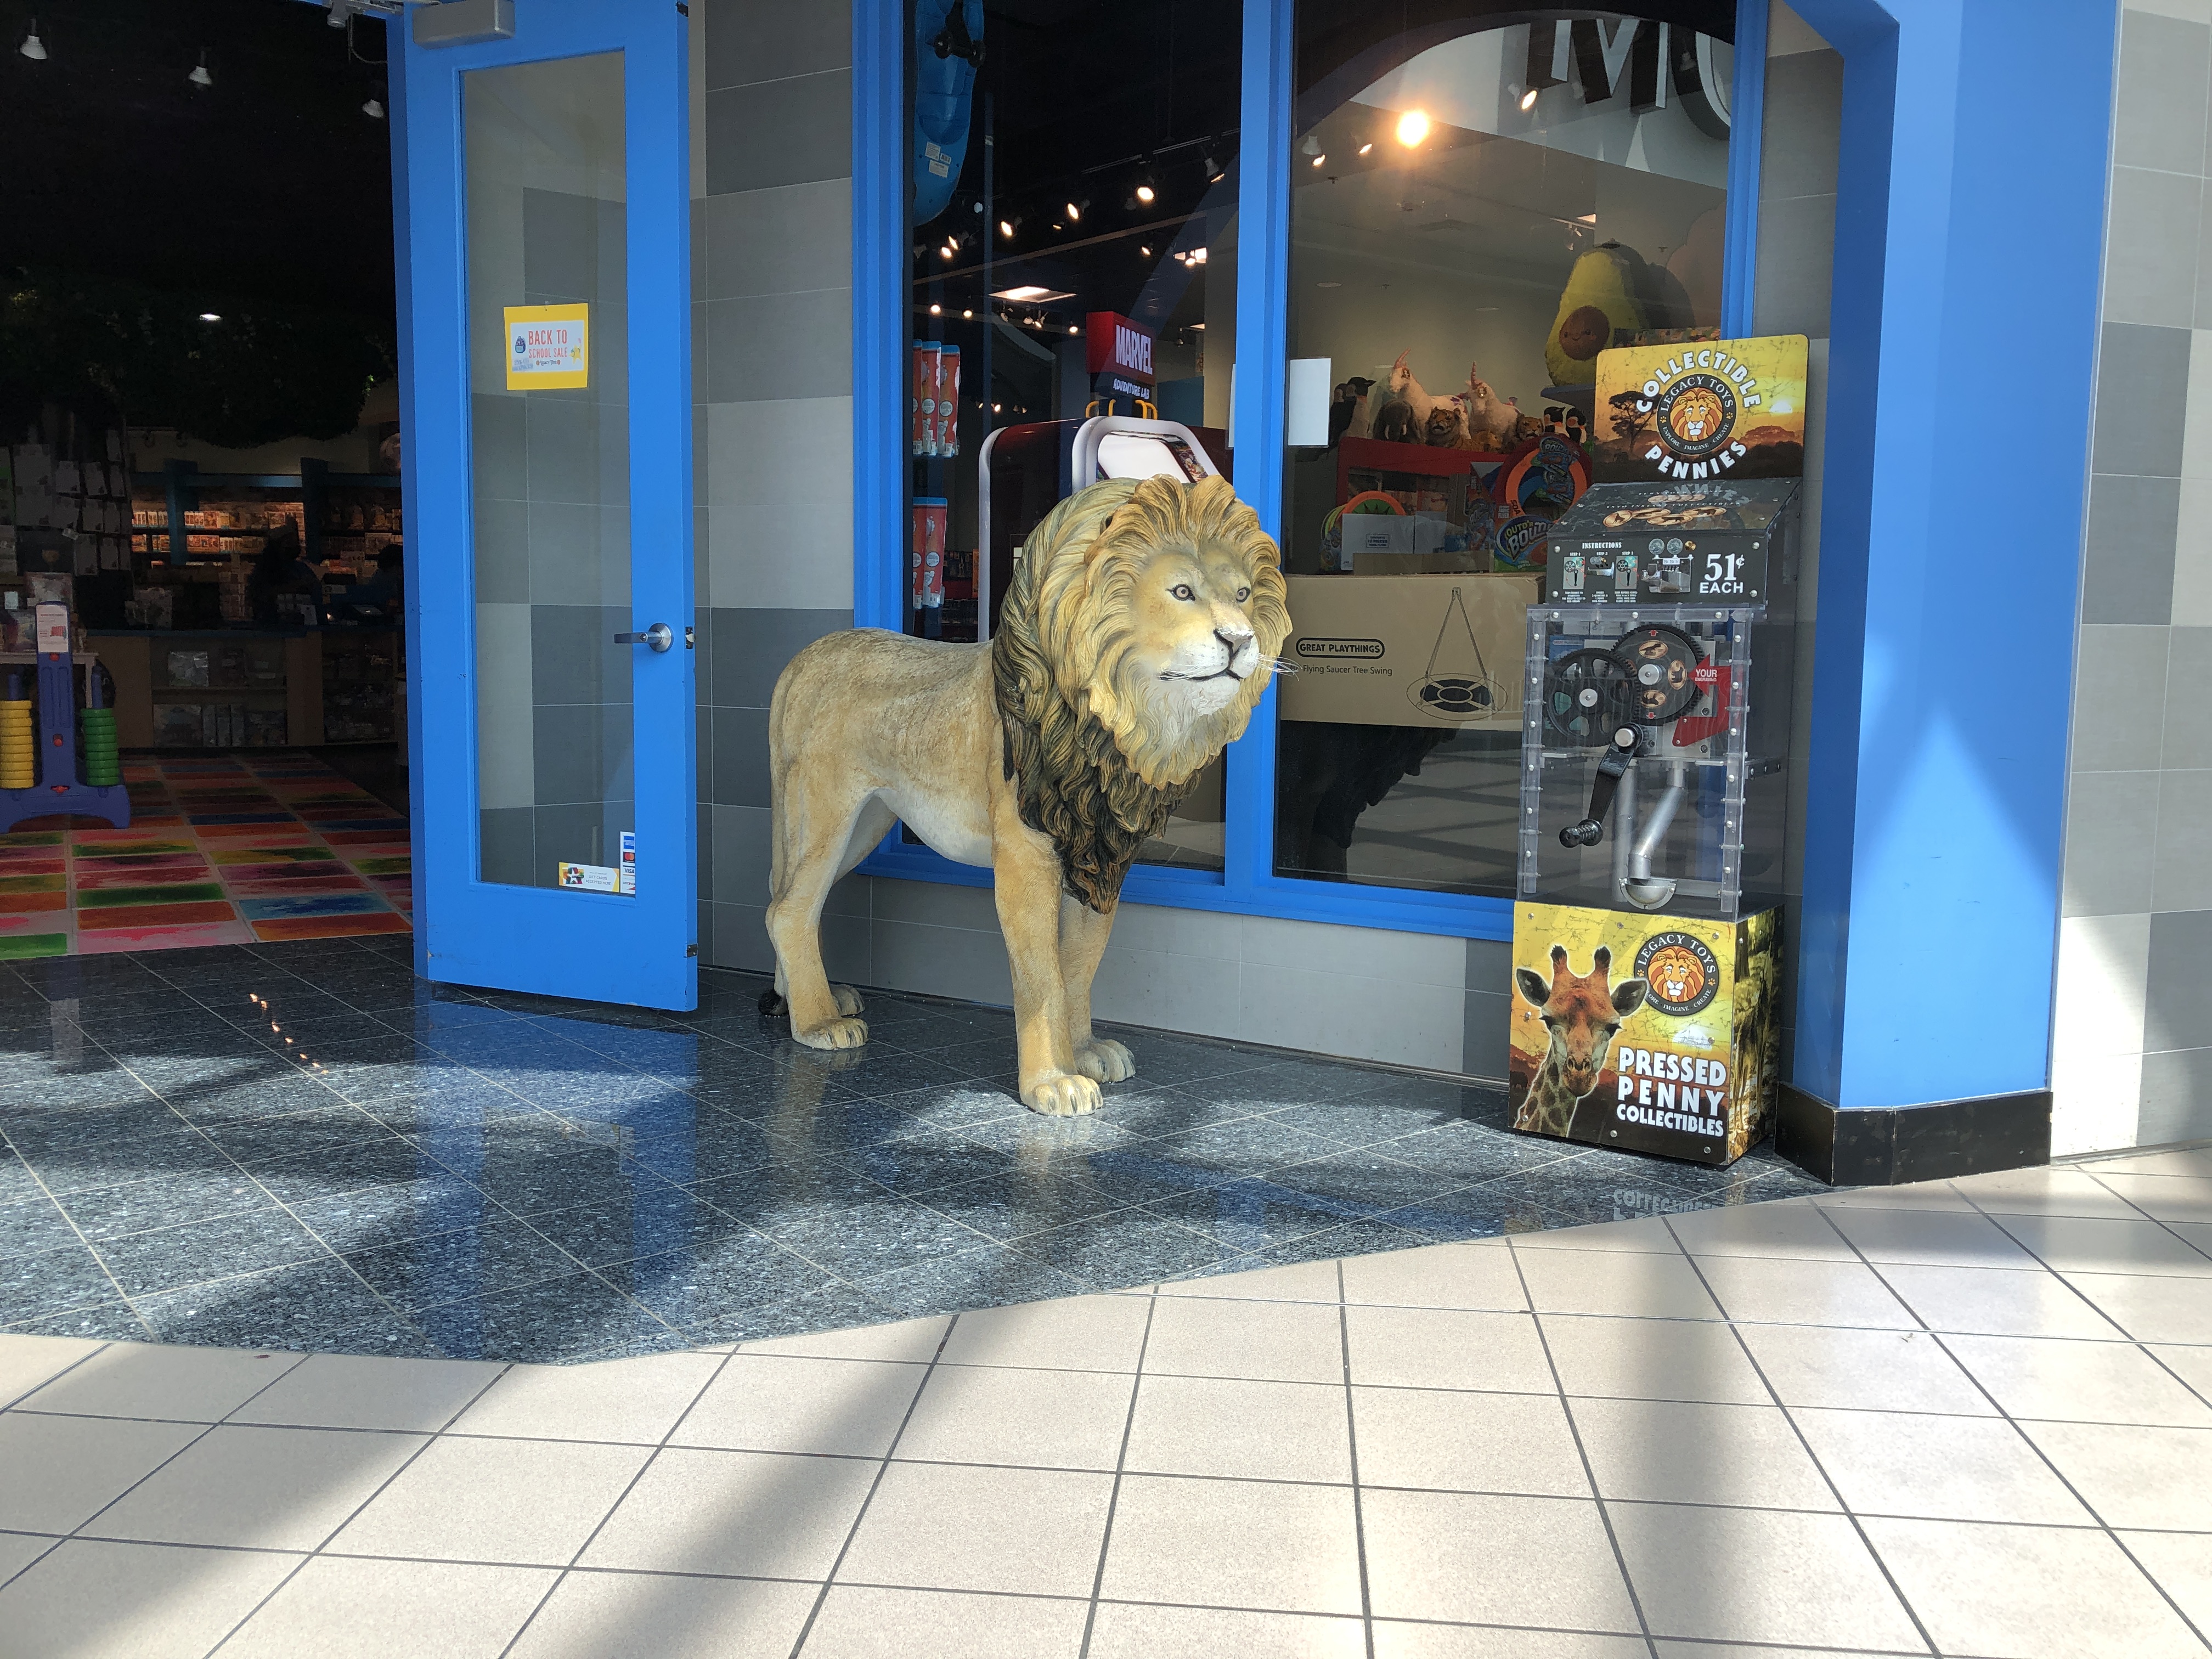
Most stores were new to me. Anna had scoped out the toy stores so they were on our list to visit!
Of course, this soft “grilled cheese sandwich” is going to come home with us!
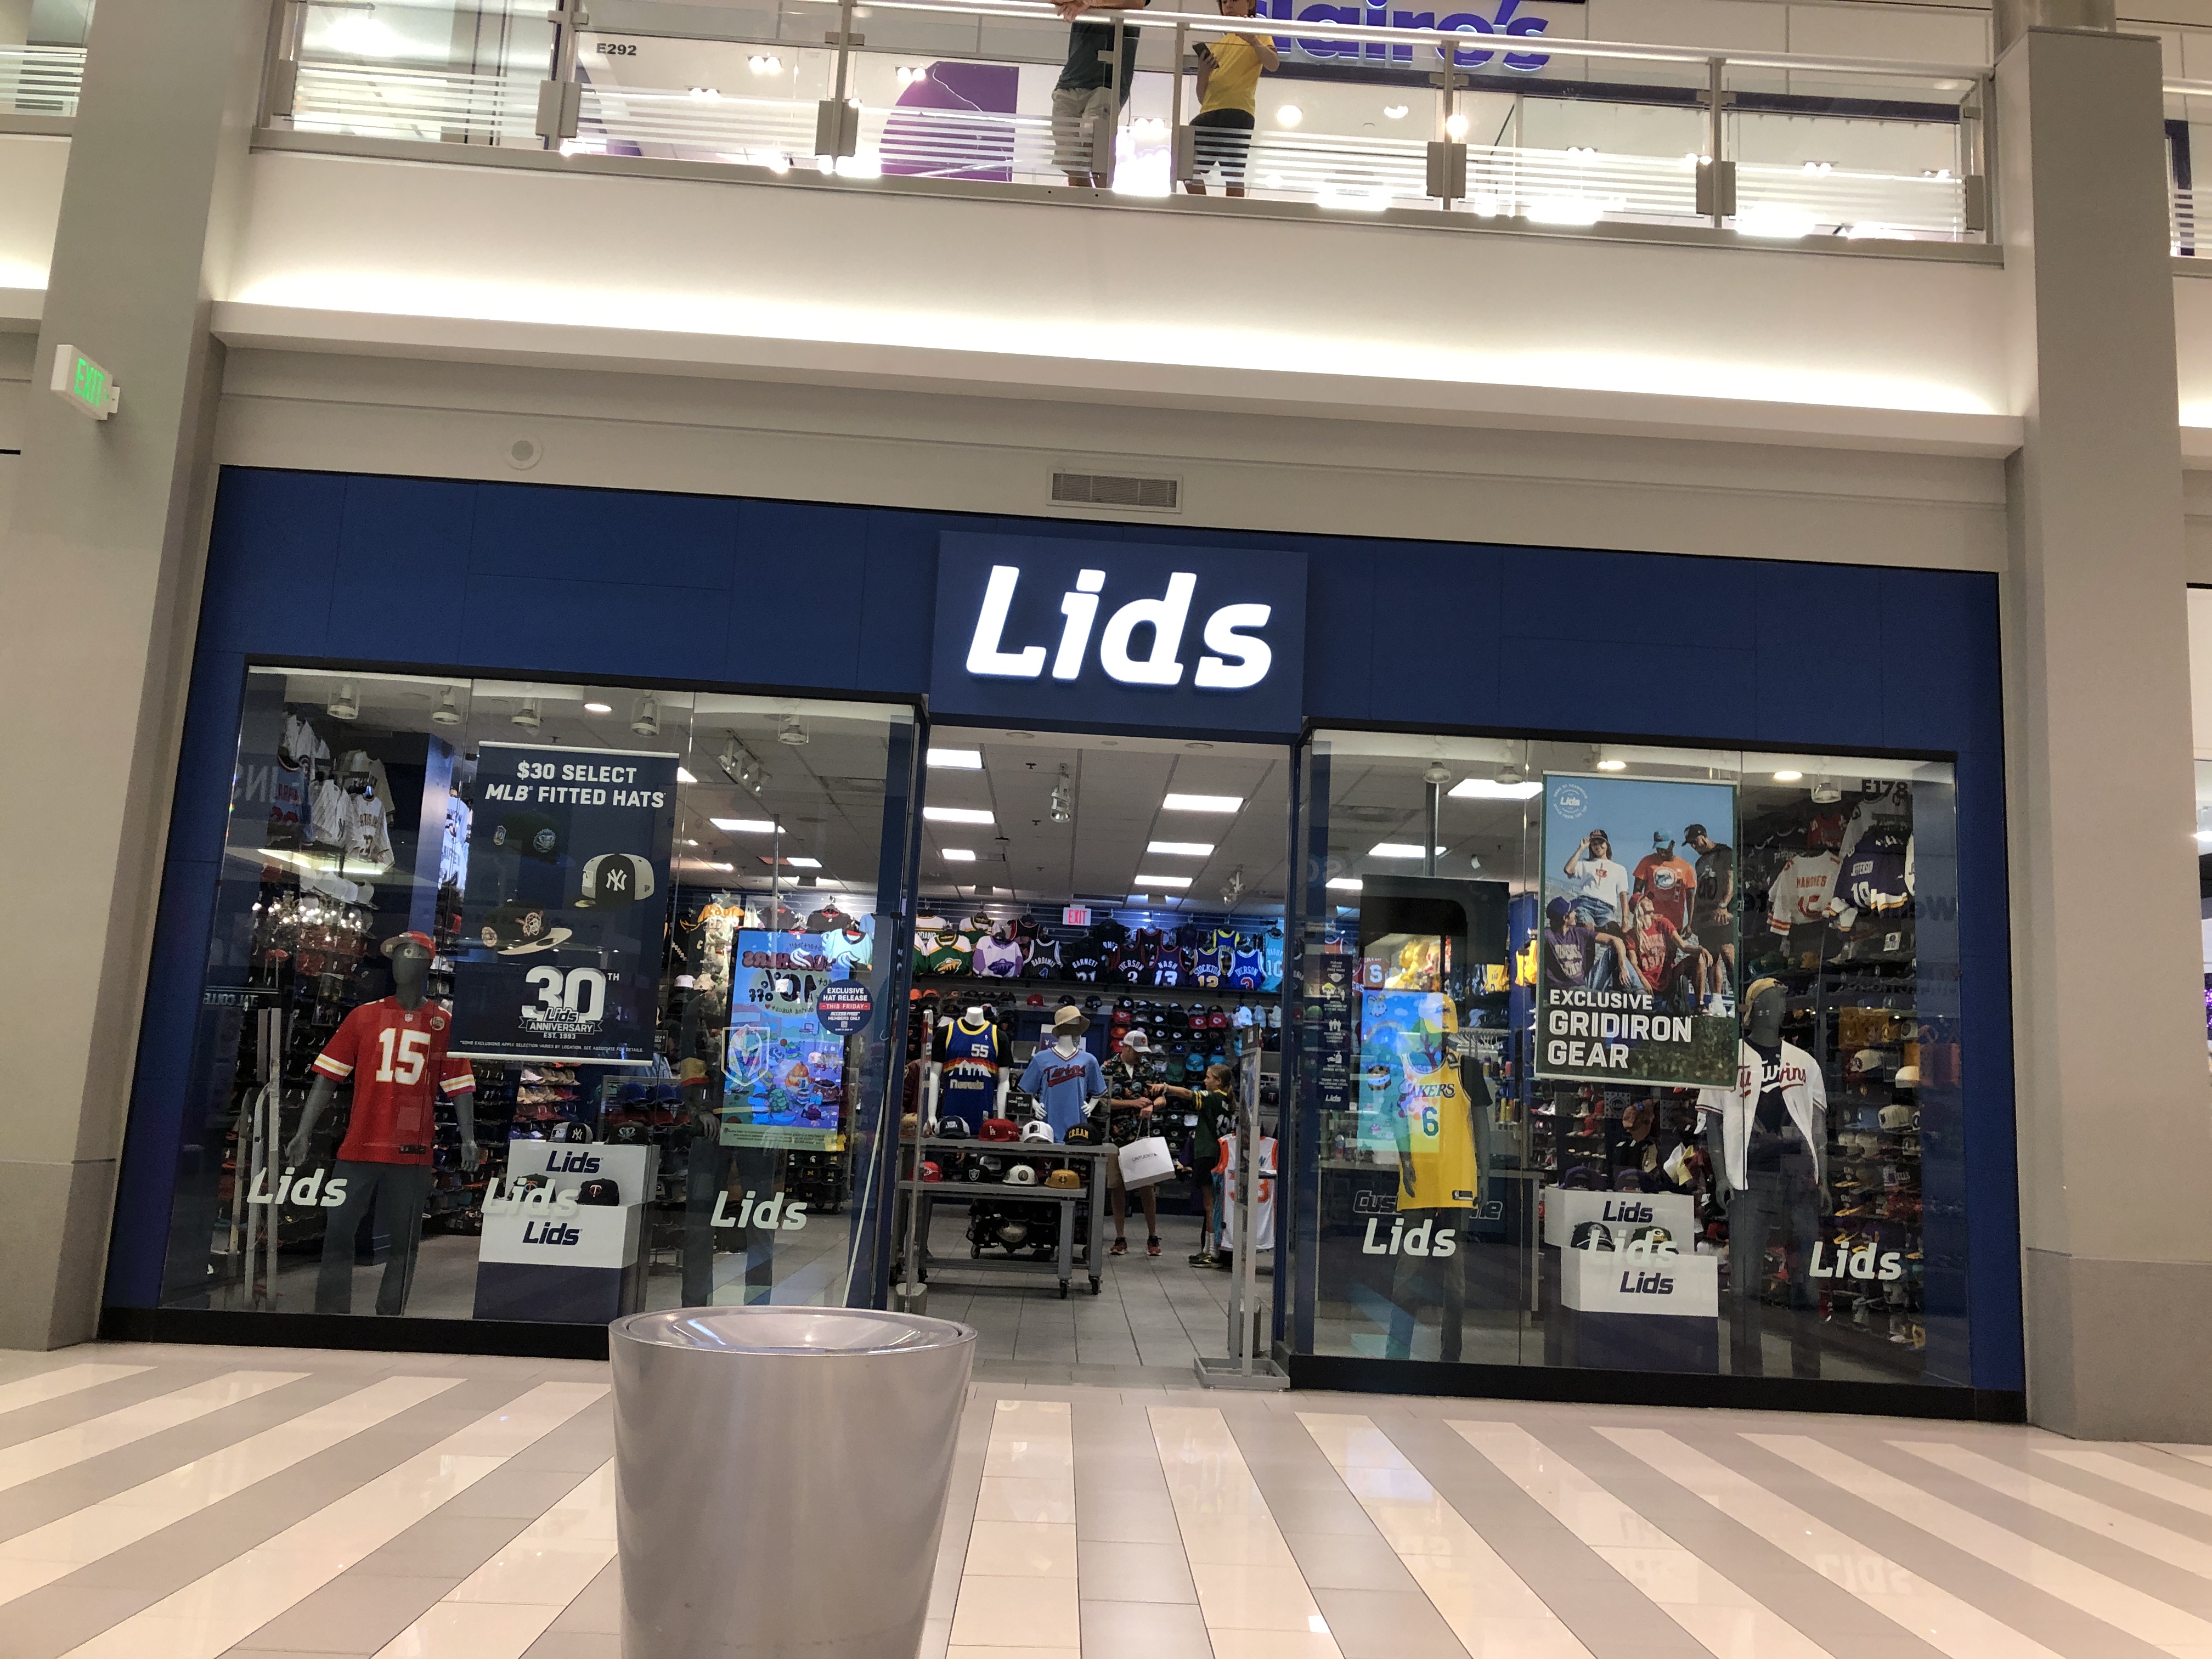
Some store names were obvious:
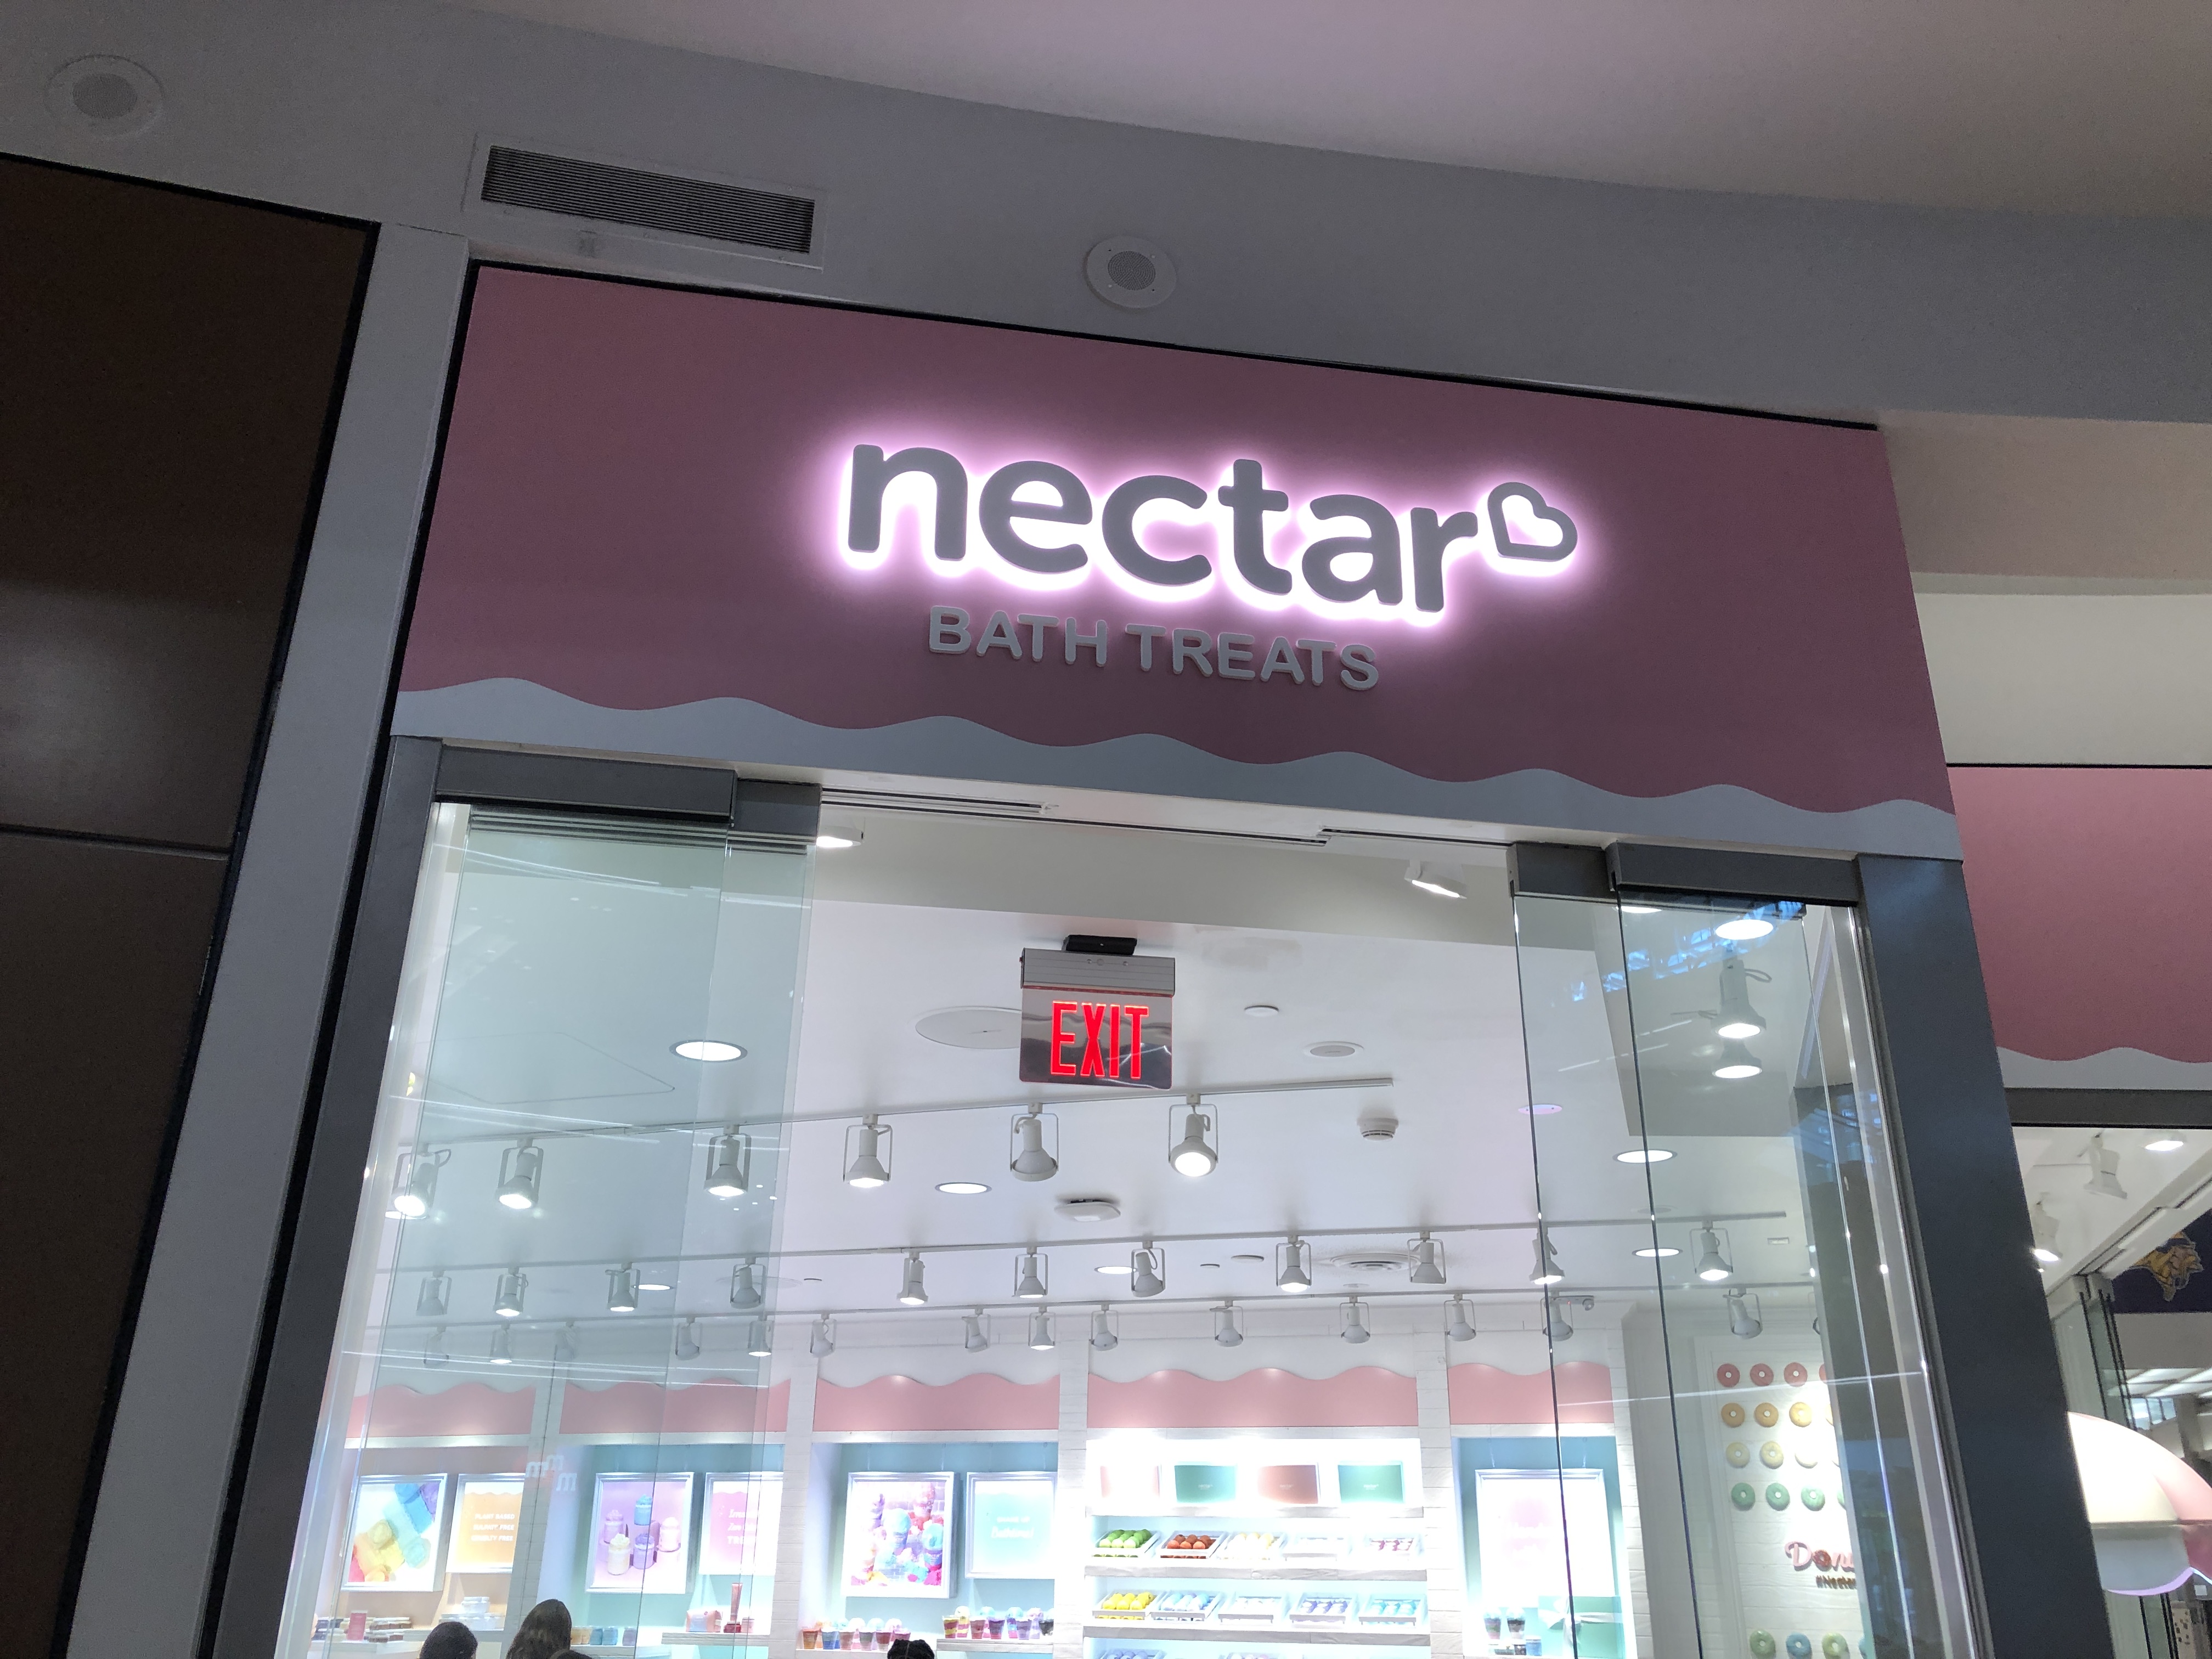
This one was interesting:
Many kids stopped by this store…only to realize all these “confections” were SOAP or bath bubbles, etc. Very clever!
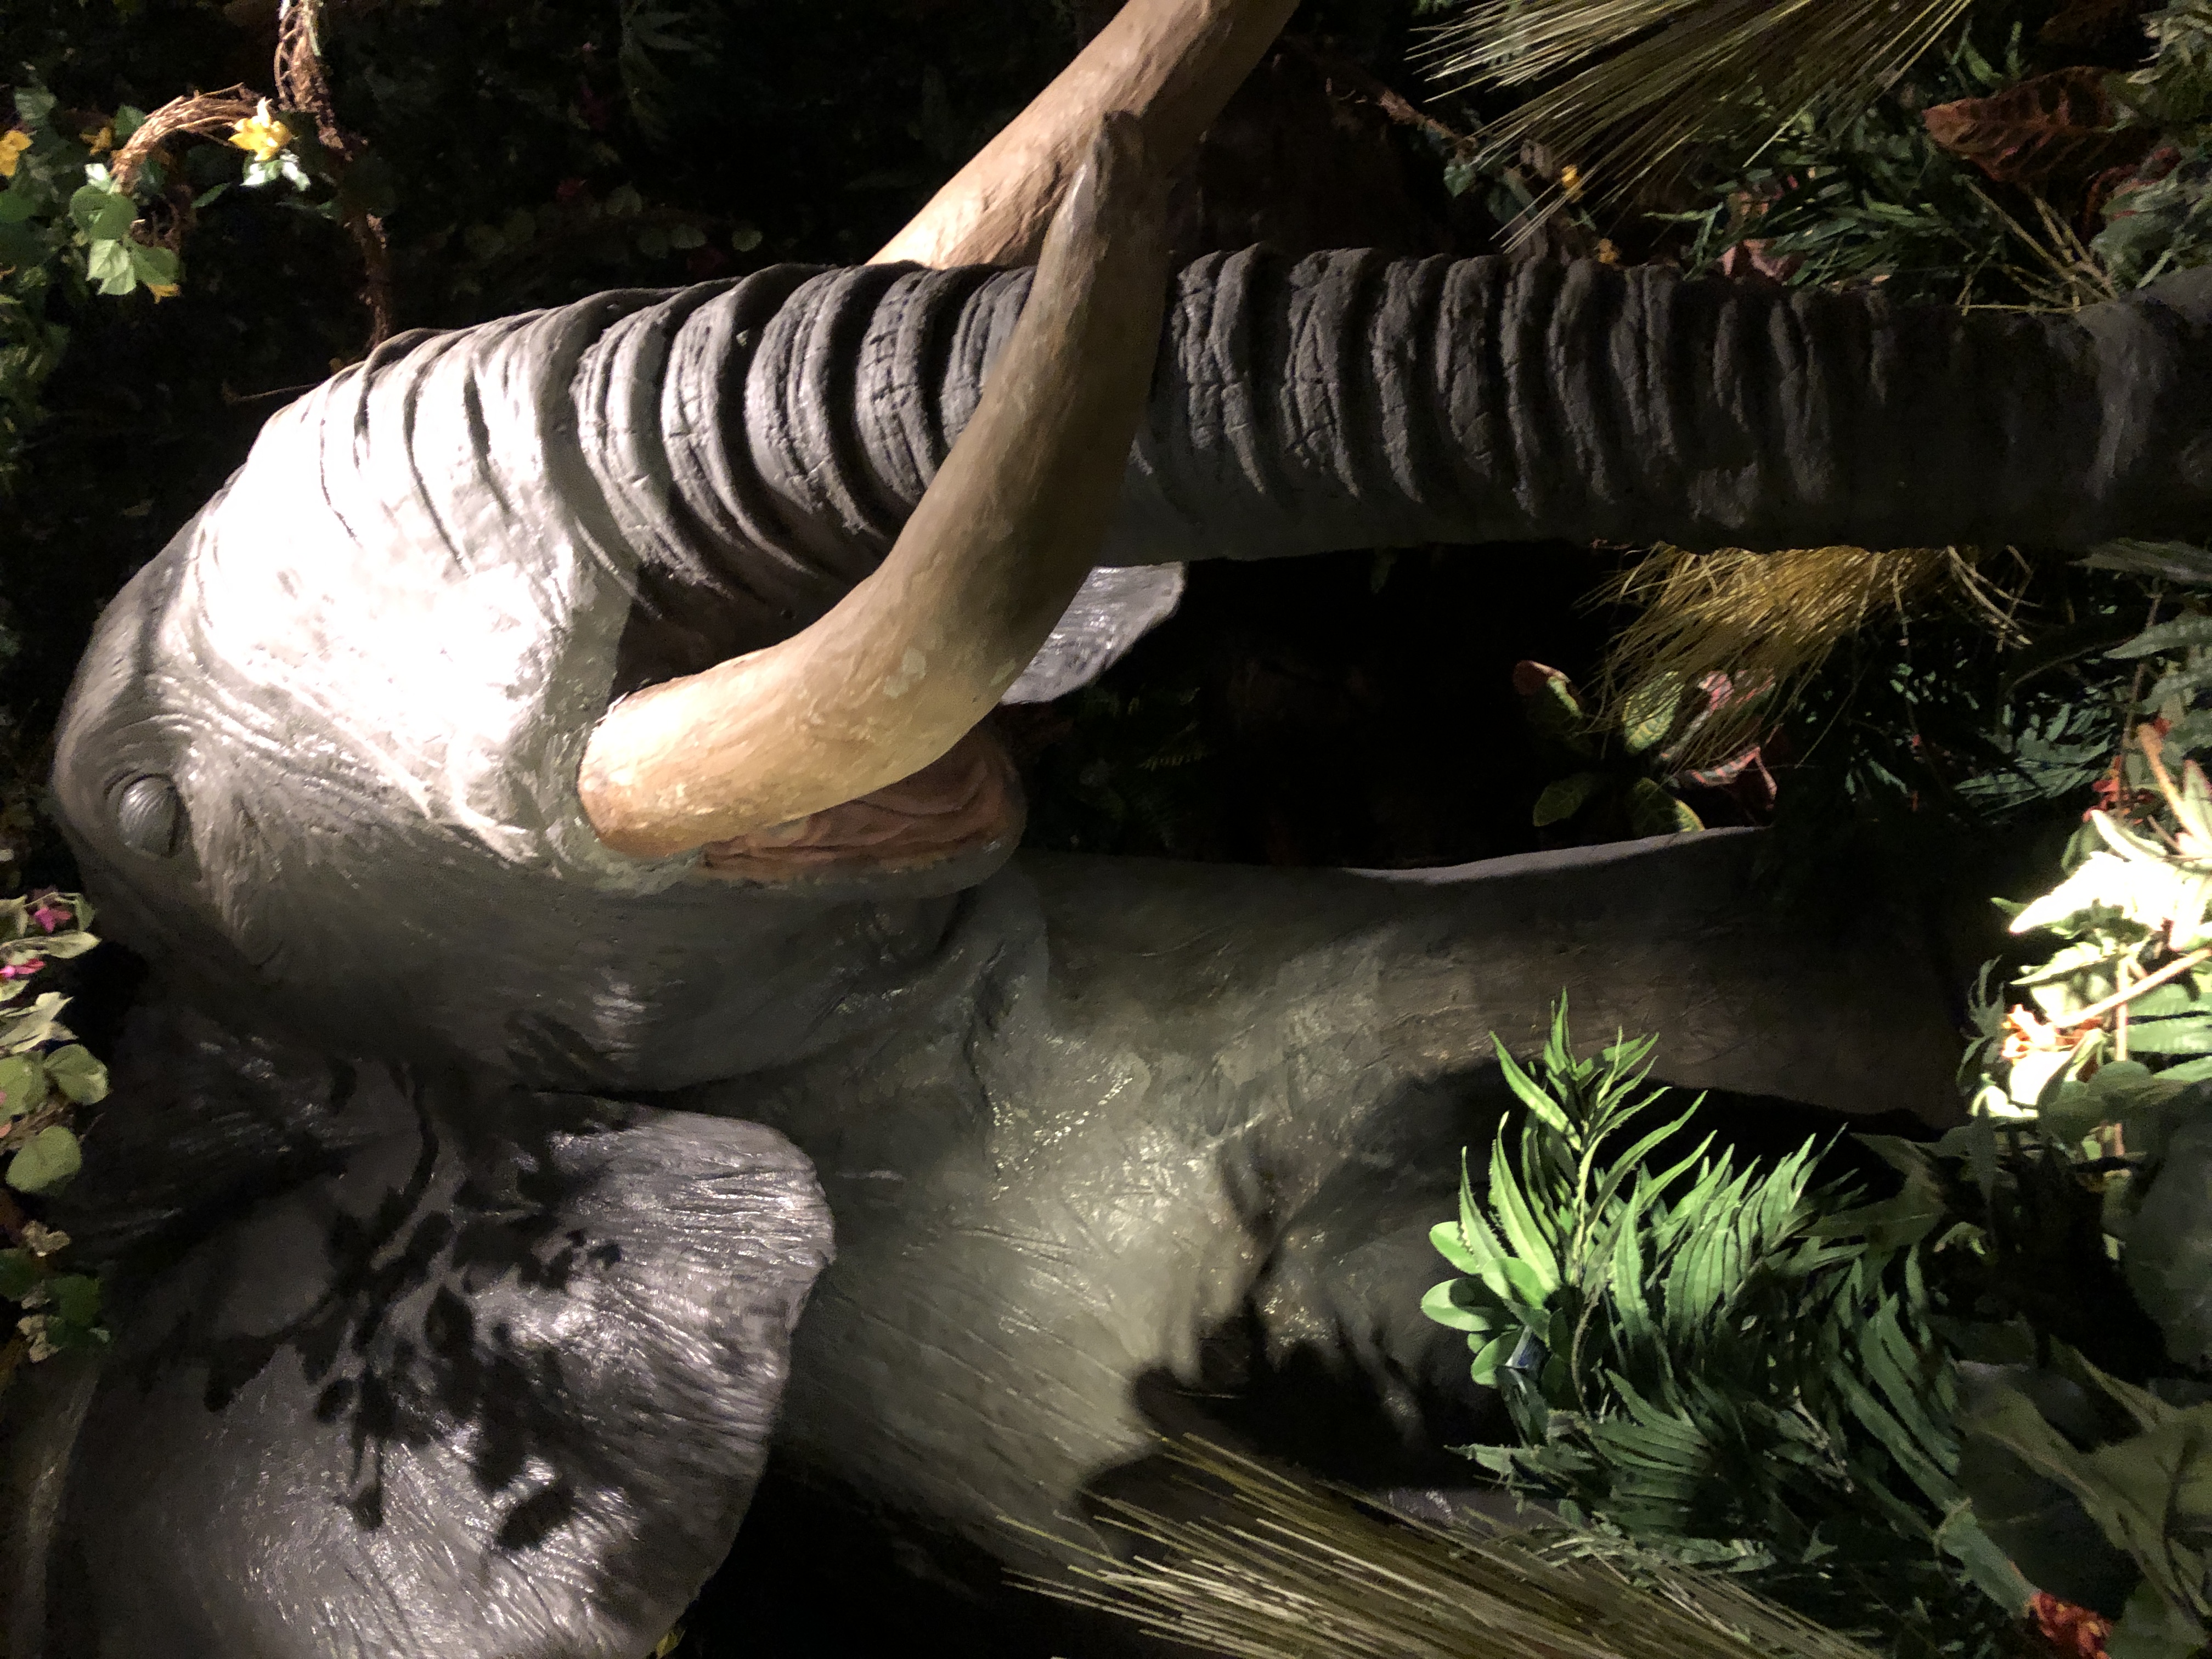
We had lunch at the Rainforest Cafe. It certainly looked like a jungle with giant elephants and gorillas around the perimeter and jungle vines hanging down. Lots of screeching and chest pounding. Every 10 minutes we experienced thunder and lightning as a “storm” passed by. A bit over the top, but the food was actually very good!
At the end of the day, Anna had a chance to check out the amusement park in the middle of the mall. She loved the rides!
Saturday, August 5
We checked out and made our way to the airport. Luckily, we ran into one of the cousins and had a chance to really visit over lunch. That was nice. Of course, Kathy and Anna had one more picture they just needed to take at the airport!
Based on all this, if you are in the area of the Mall of America, check it out. You might find something you can’t live without!
I’m headed out of town today to Minneapolis for a Memorial Service for my last Aunt, my Dad’s youngest sister. It will be good to visit with all my cousins who are convening from around the country. Ted and Kathy (and 10 yr. old Anna) will be joining me in this quick trip. We hope to take time to check out the Mall of America, so I may have some pictures of that when we get back next week.
This is just a reminder that you can download a pdf of all my postings at the link below (also found on my Welcome page). That list has hot links to get to each post. Enjoy browsing all the crazy things I’ve written about over the last two years! More next week!
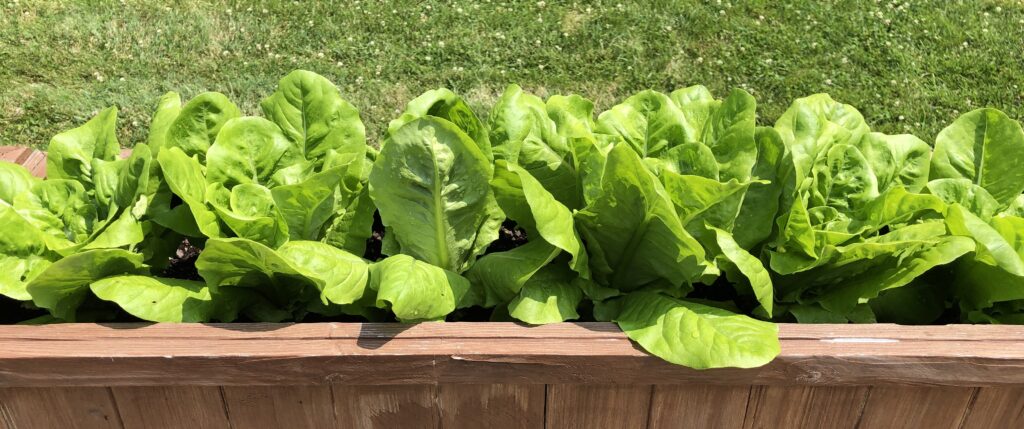
Every year the garden is different. This year we started season in a drought so watering every day was necessary. Now, in July, we’ve had over 8 inches of rain! Basically, the lettuce and radishes in the raised planters did well. They were easy to water when it was dry and drained well when it was very wet. The Romaine lettuce is starting to make heads.
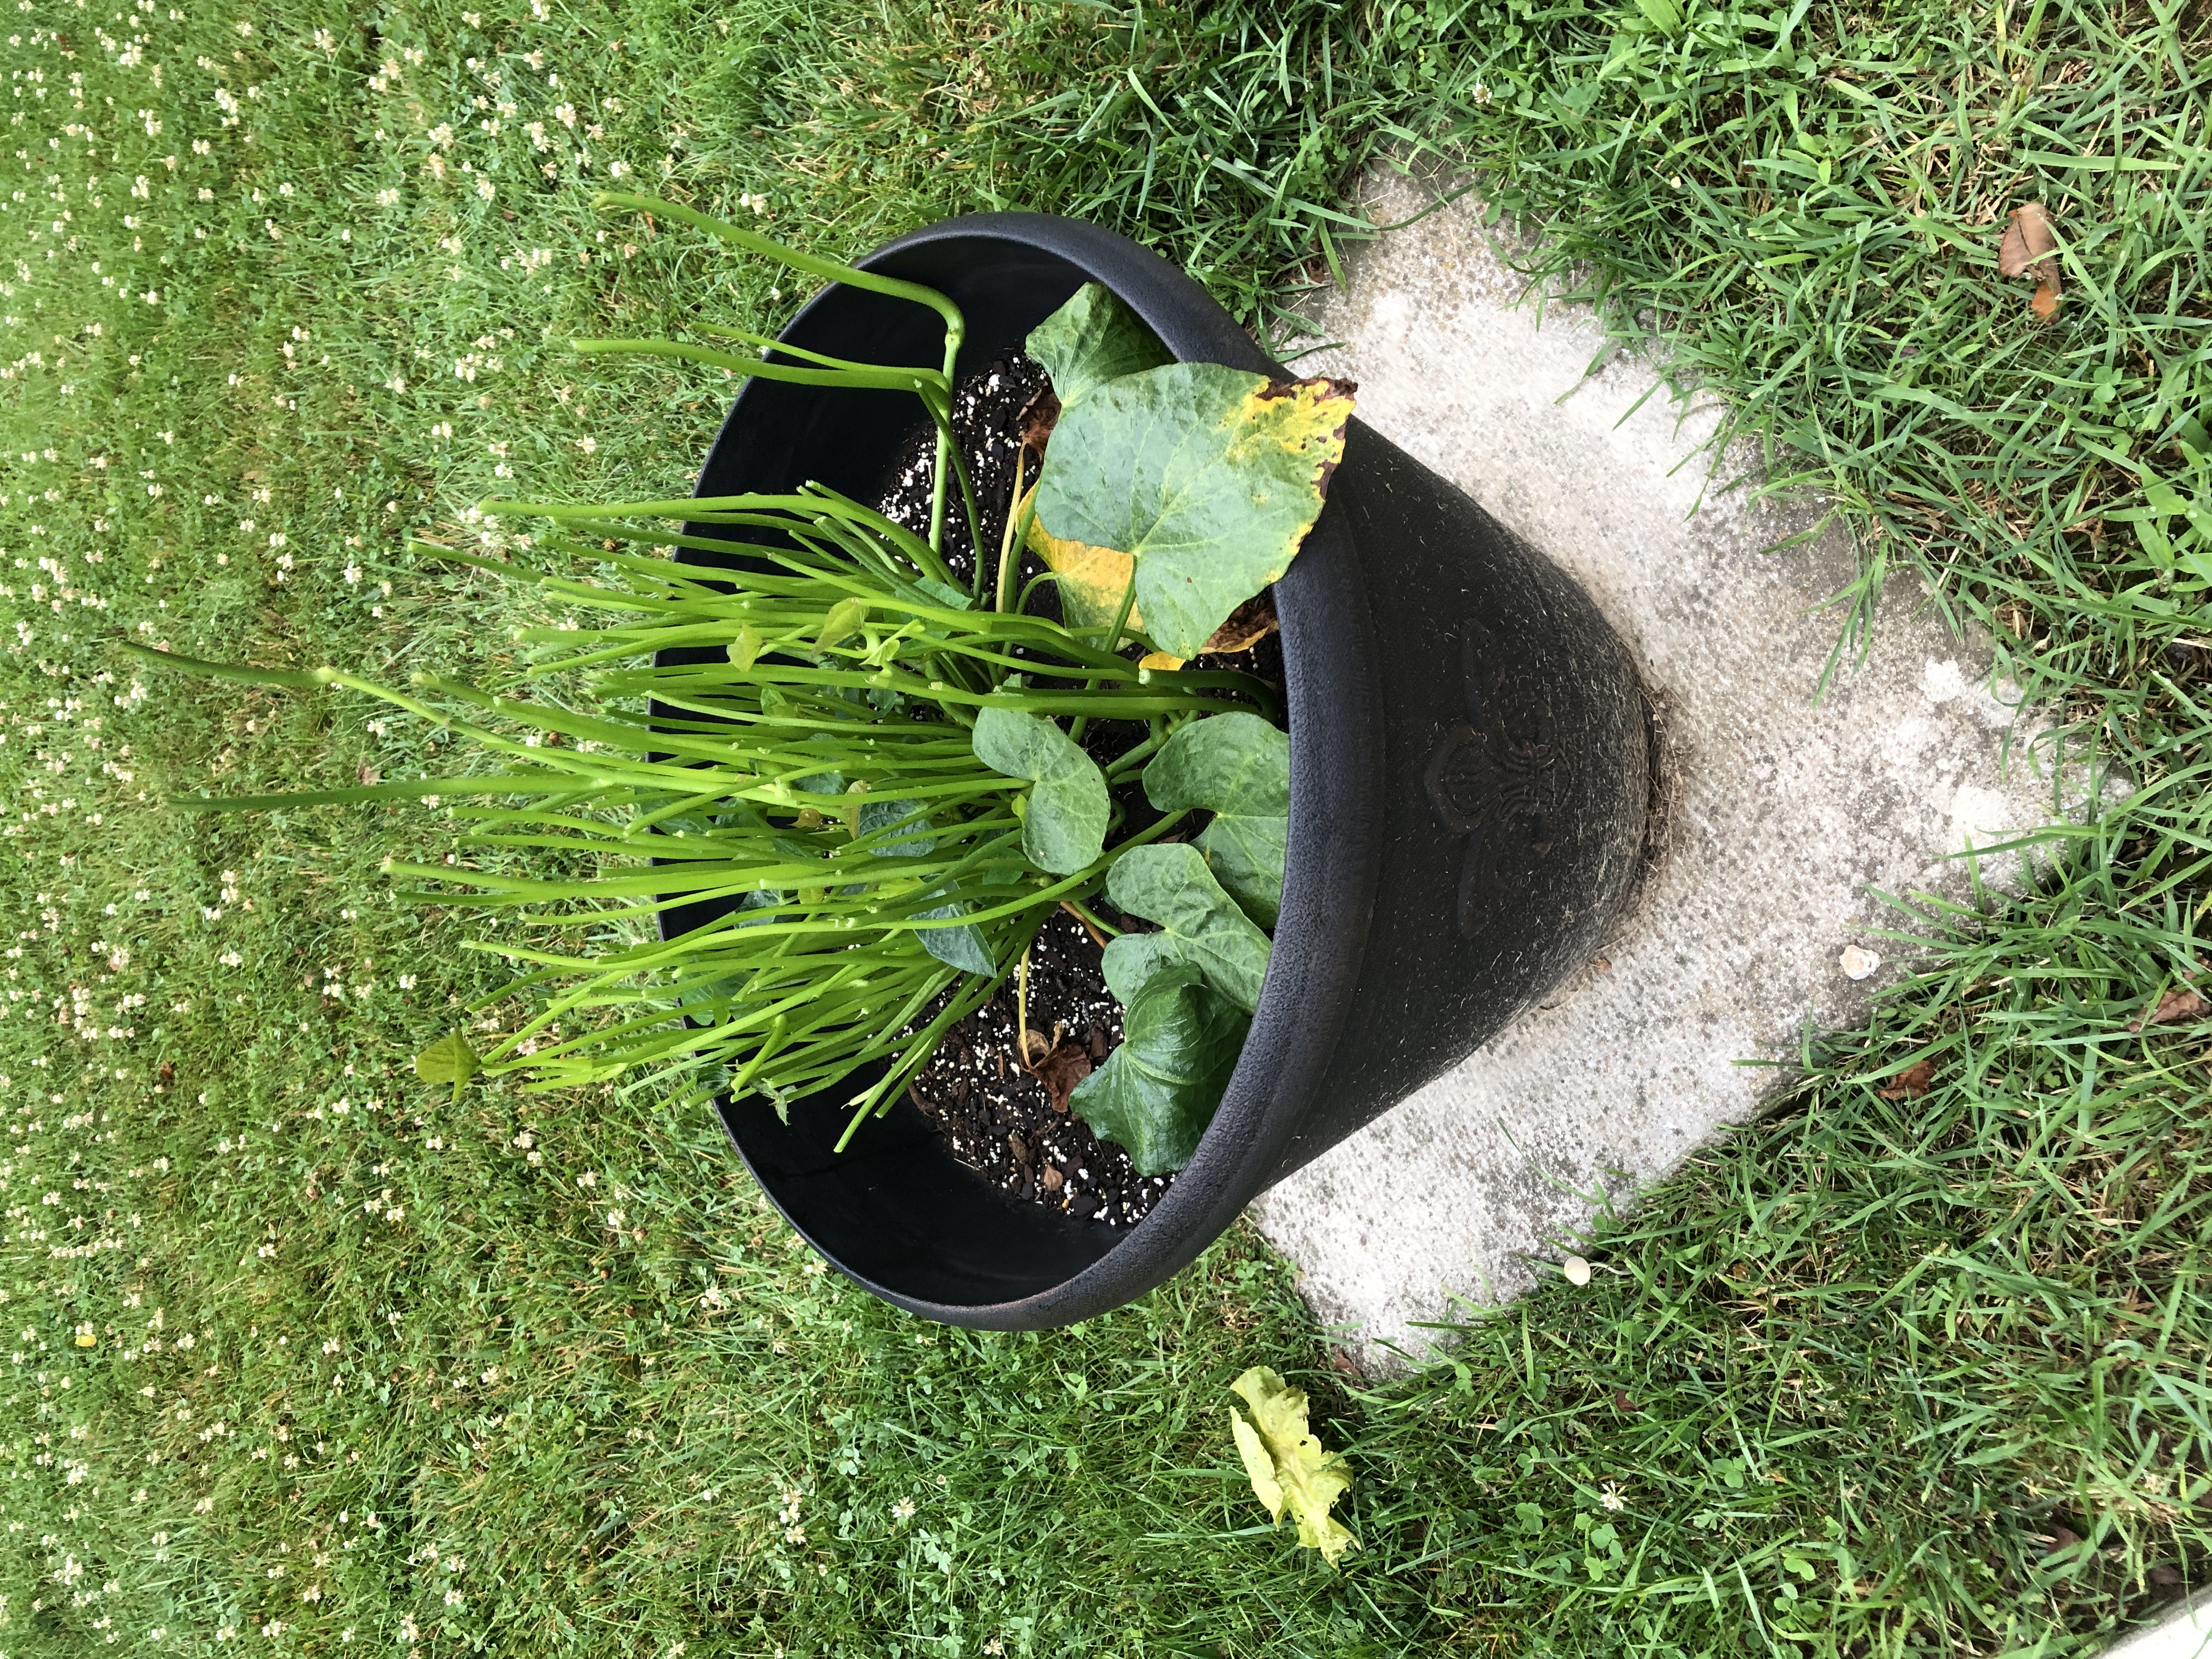
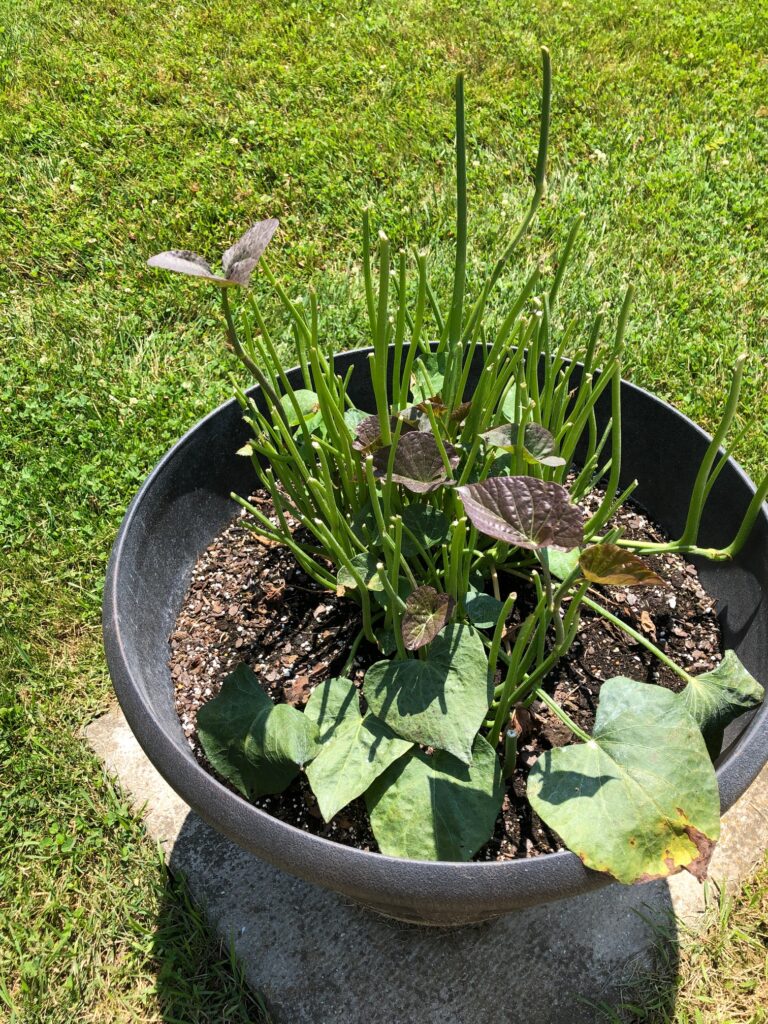
The sweet potato in a pot has survived having most of the leaves chomped off several weeks ago by the deer. It has recovered well and is now sending out runners…not sure if the roaming bunnies will find it yummy.
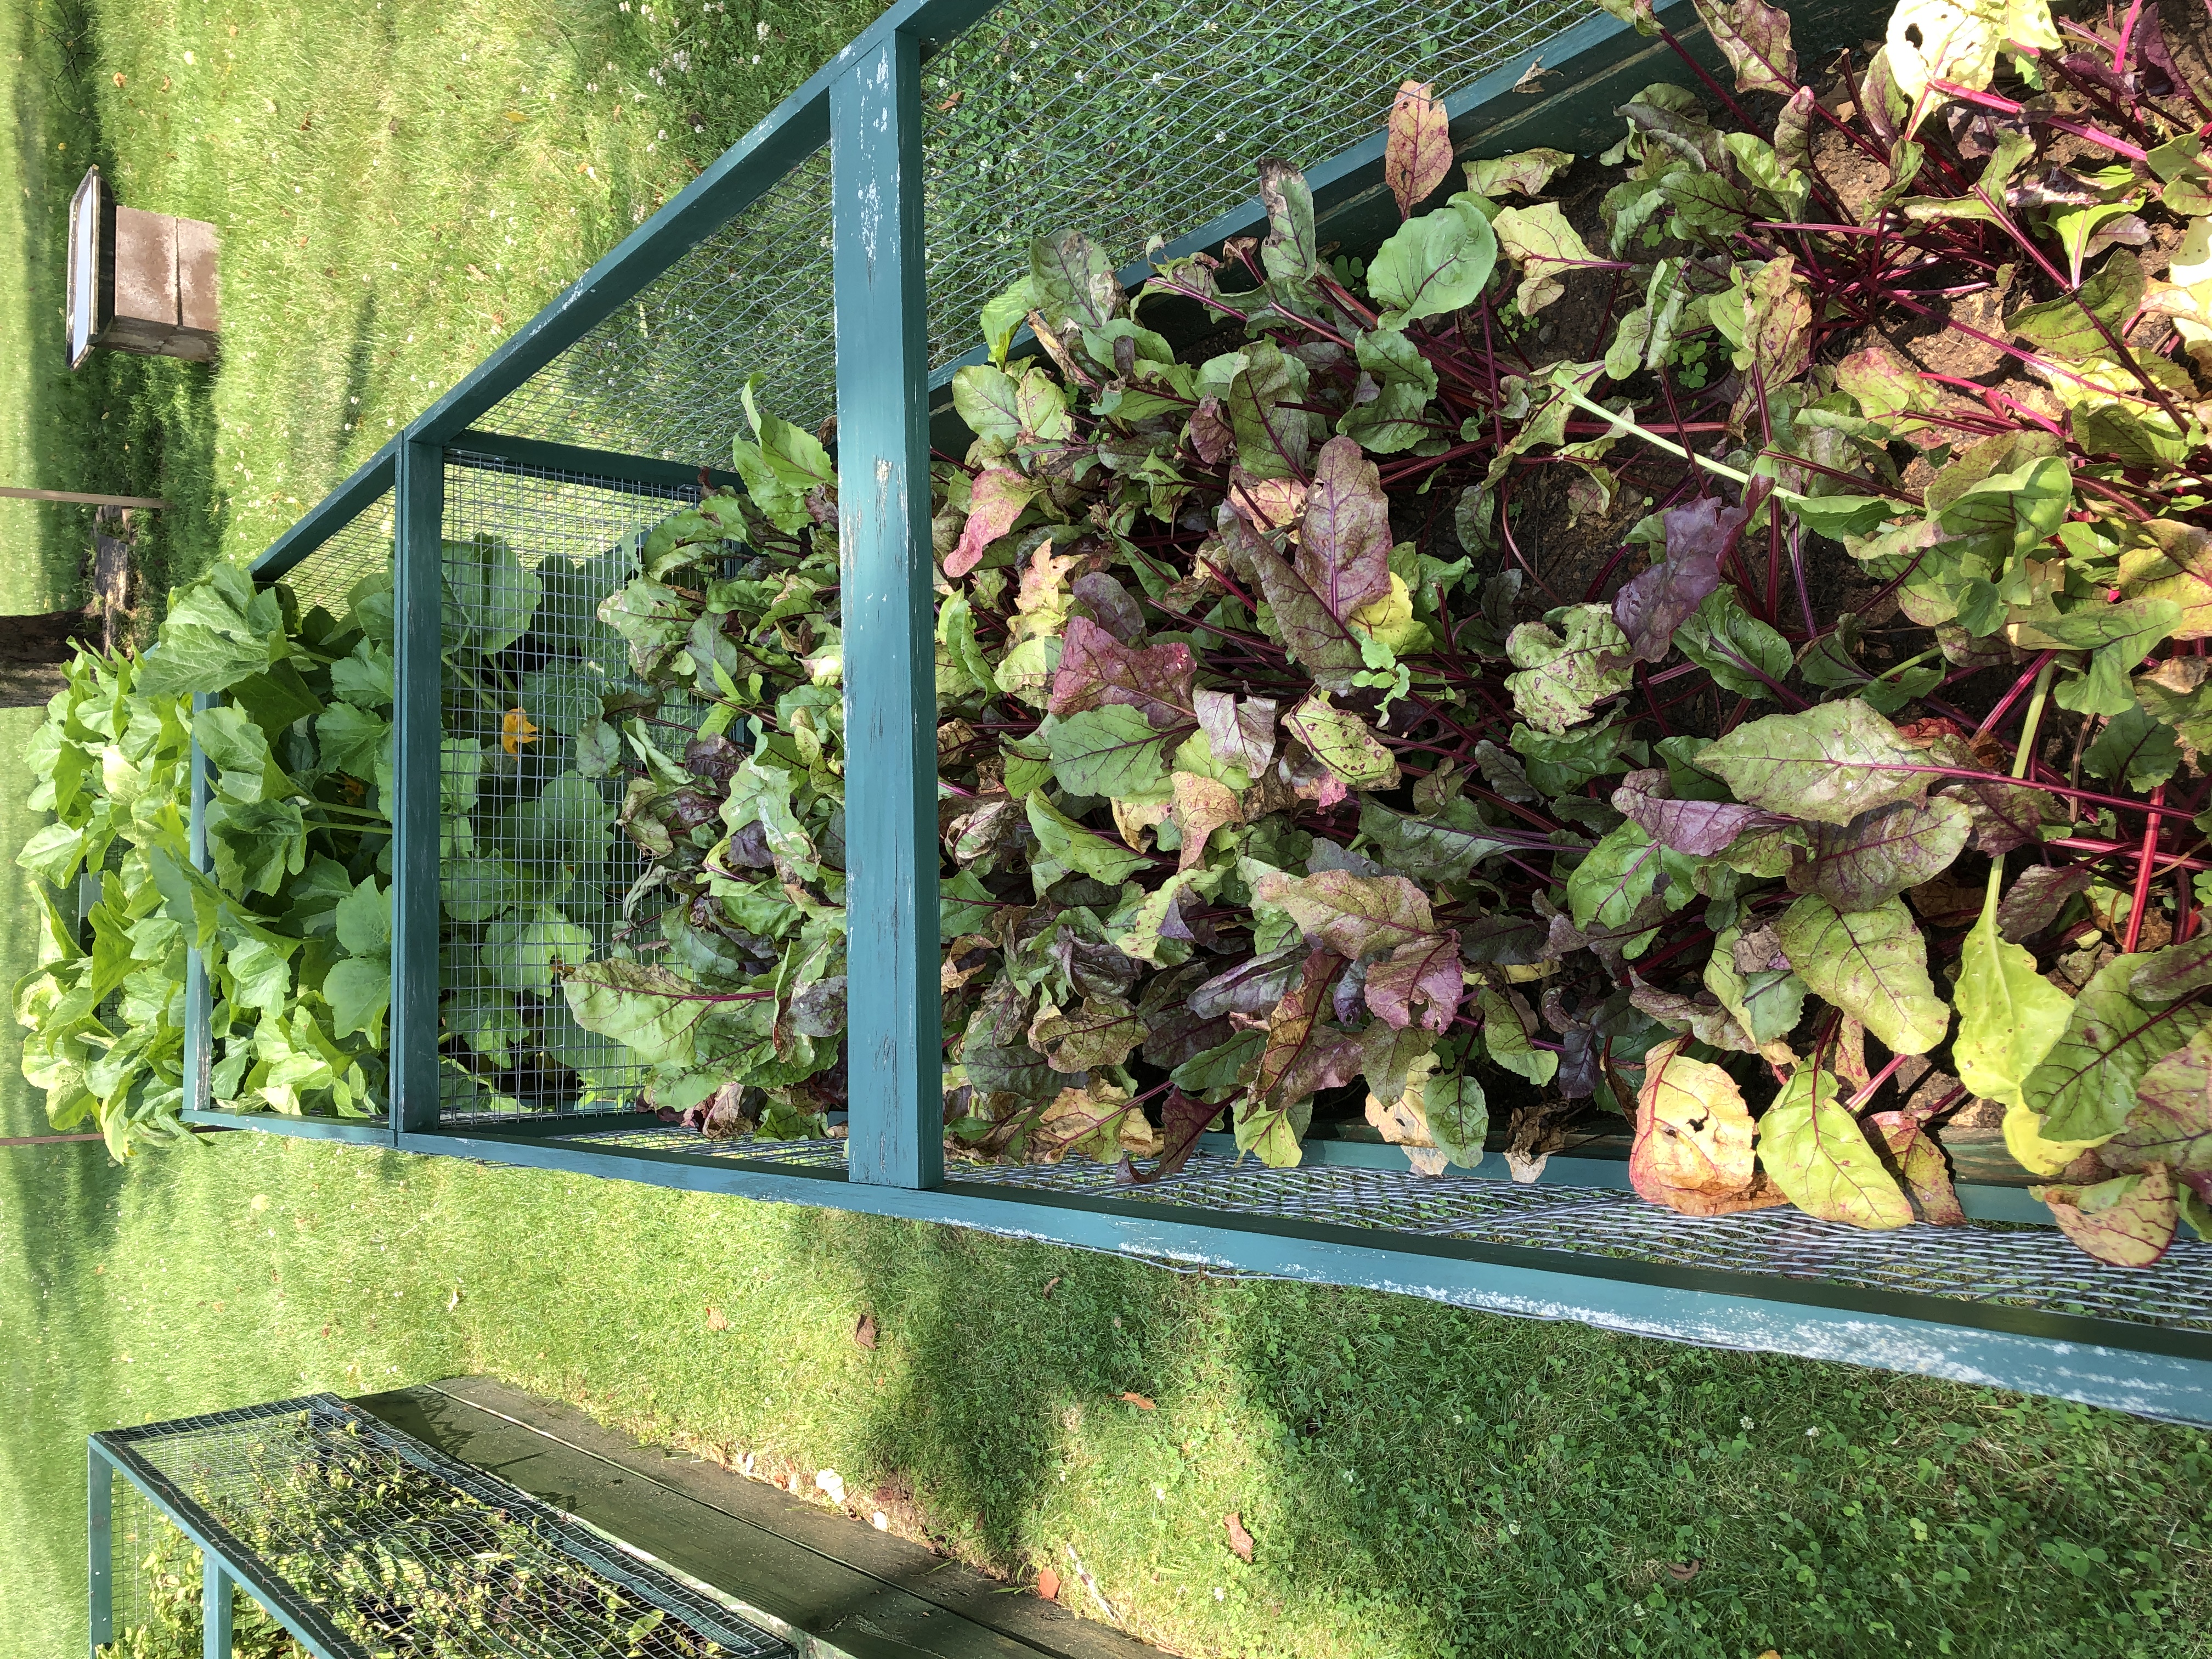
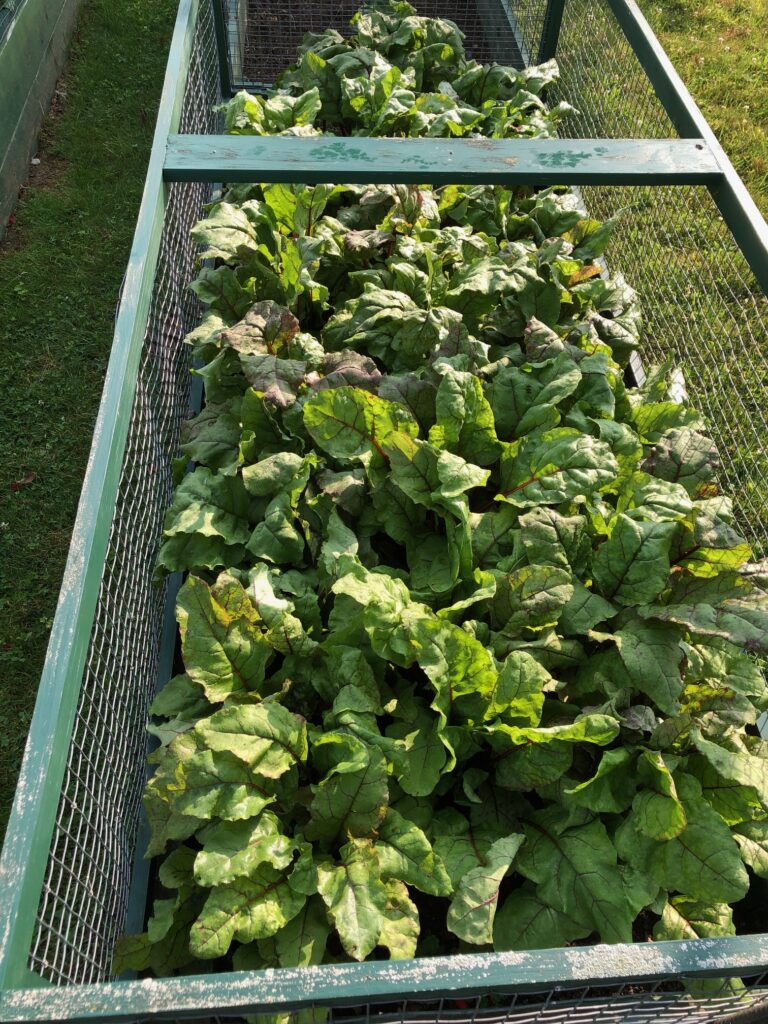
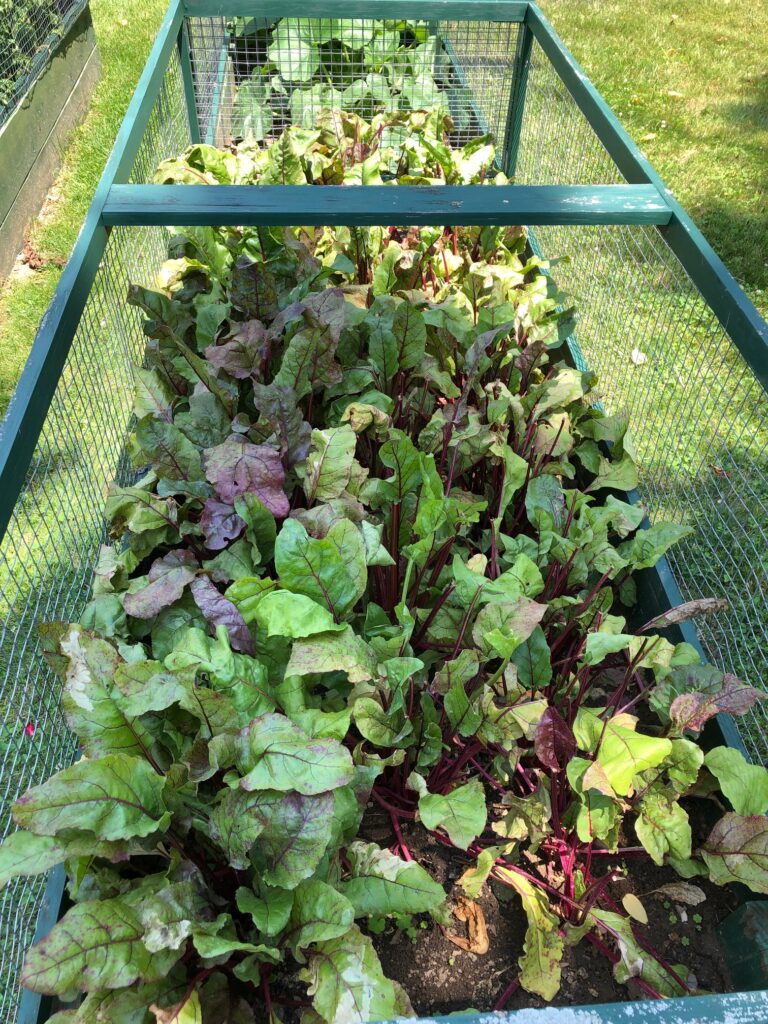
In the next week or so, we’ll dig up the beets. The tops were a nice snack for the deer a few weeks ago that slowed down their growth.
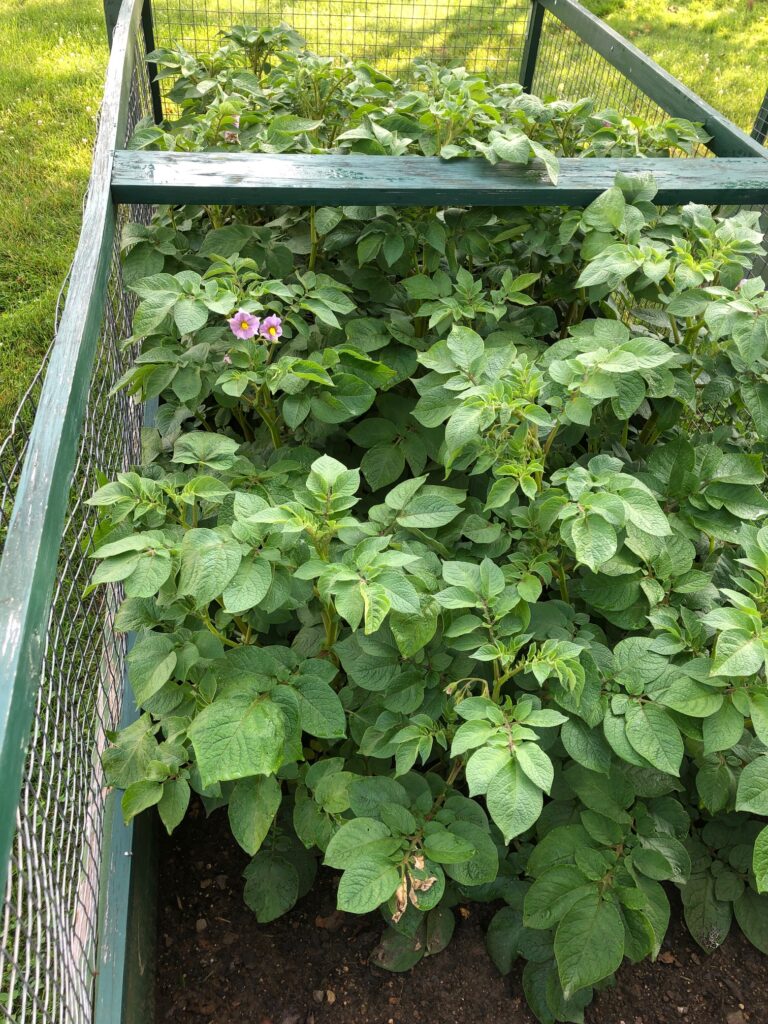
Forgot to take a picture of the potatoes to the left of the beets…you can sort of see a little piece of that bed in the picture above. They are starting to die off but that’s normal. Bert said he could see a few potatoes above ground so he added some potting soil to cover them up. When the plants are dead we’ll dig up the potatoes.
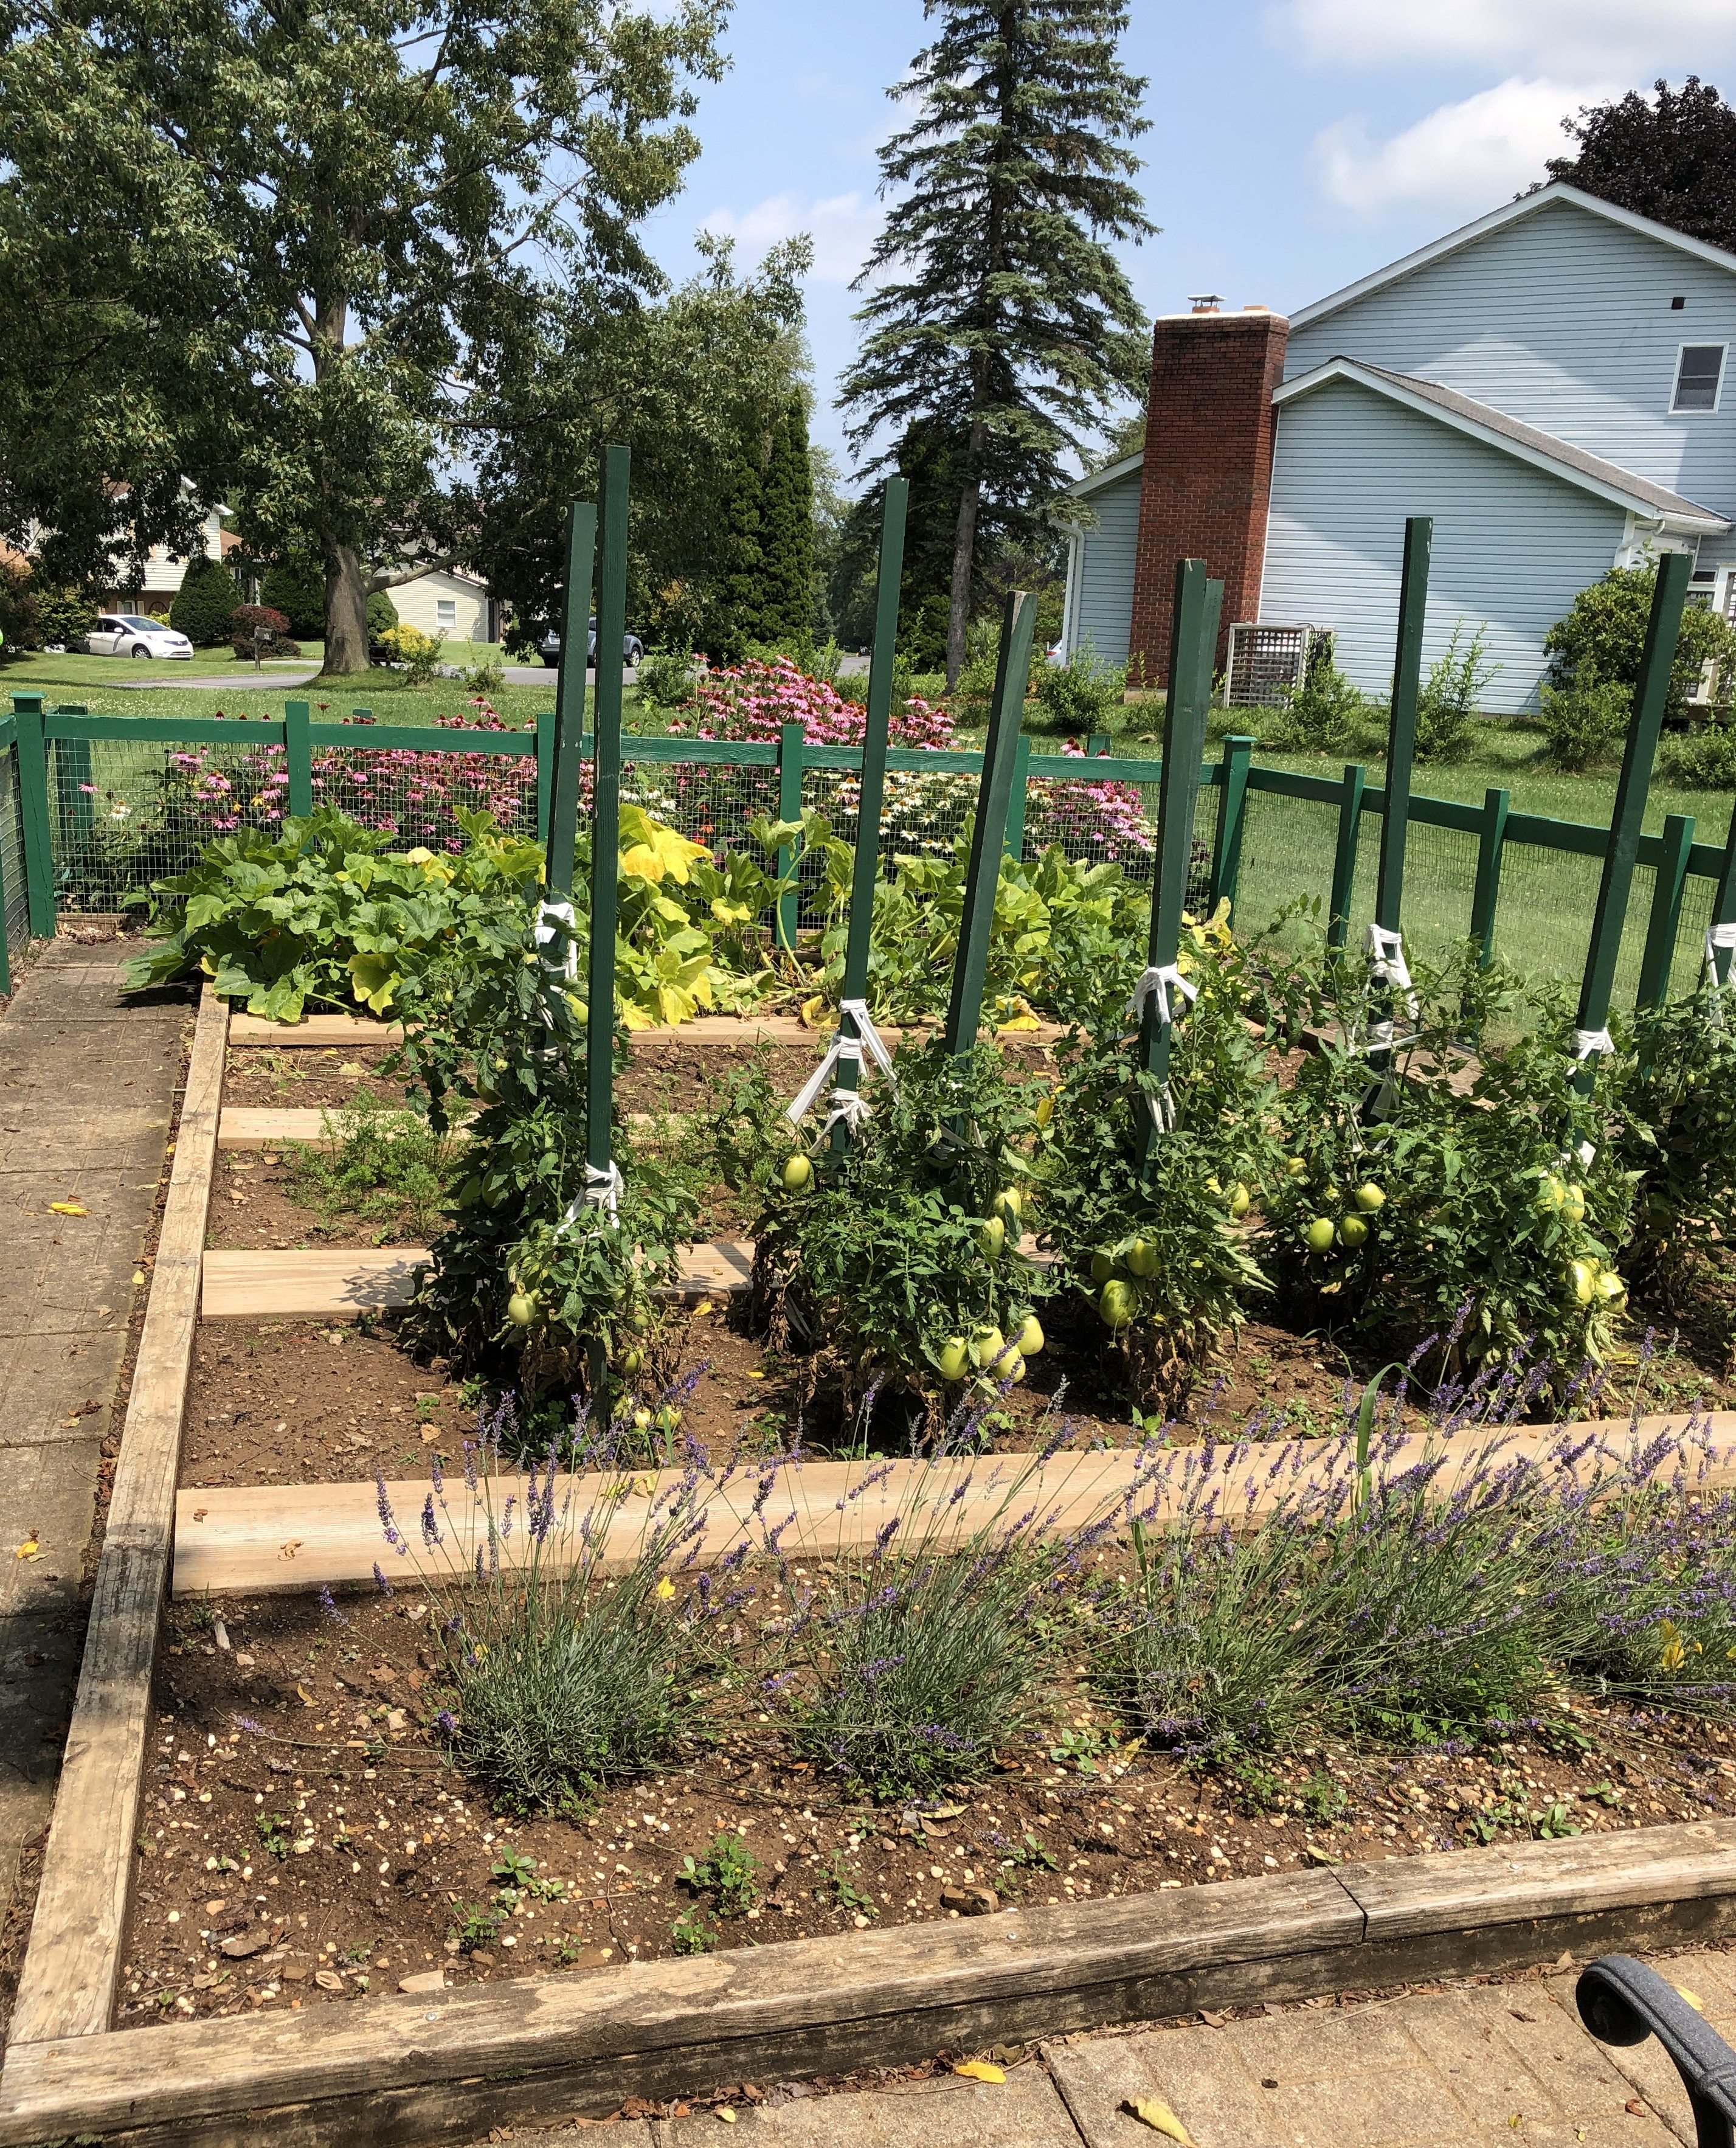
The garden up on the hill mostly survived a wandering deer…the footprints in the wet soil gave them away. Bert has started spraying the plants with a nasty-smelling concoction that is meant to keep deer away. We’ll see!
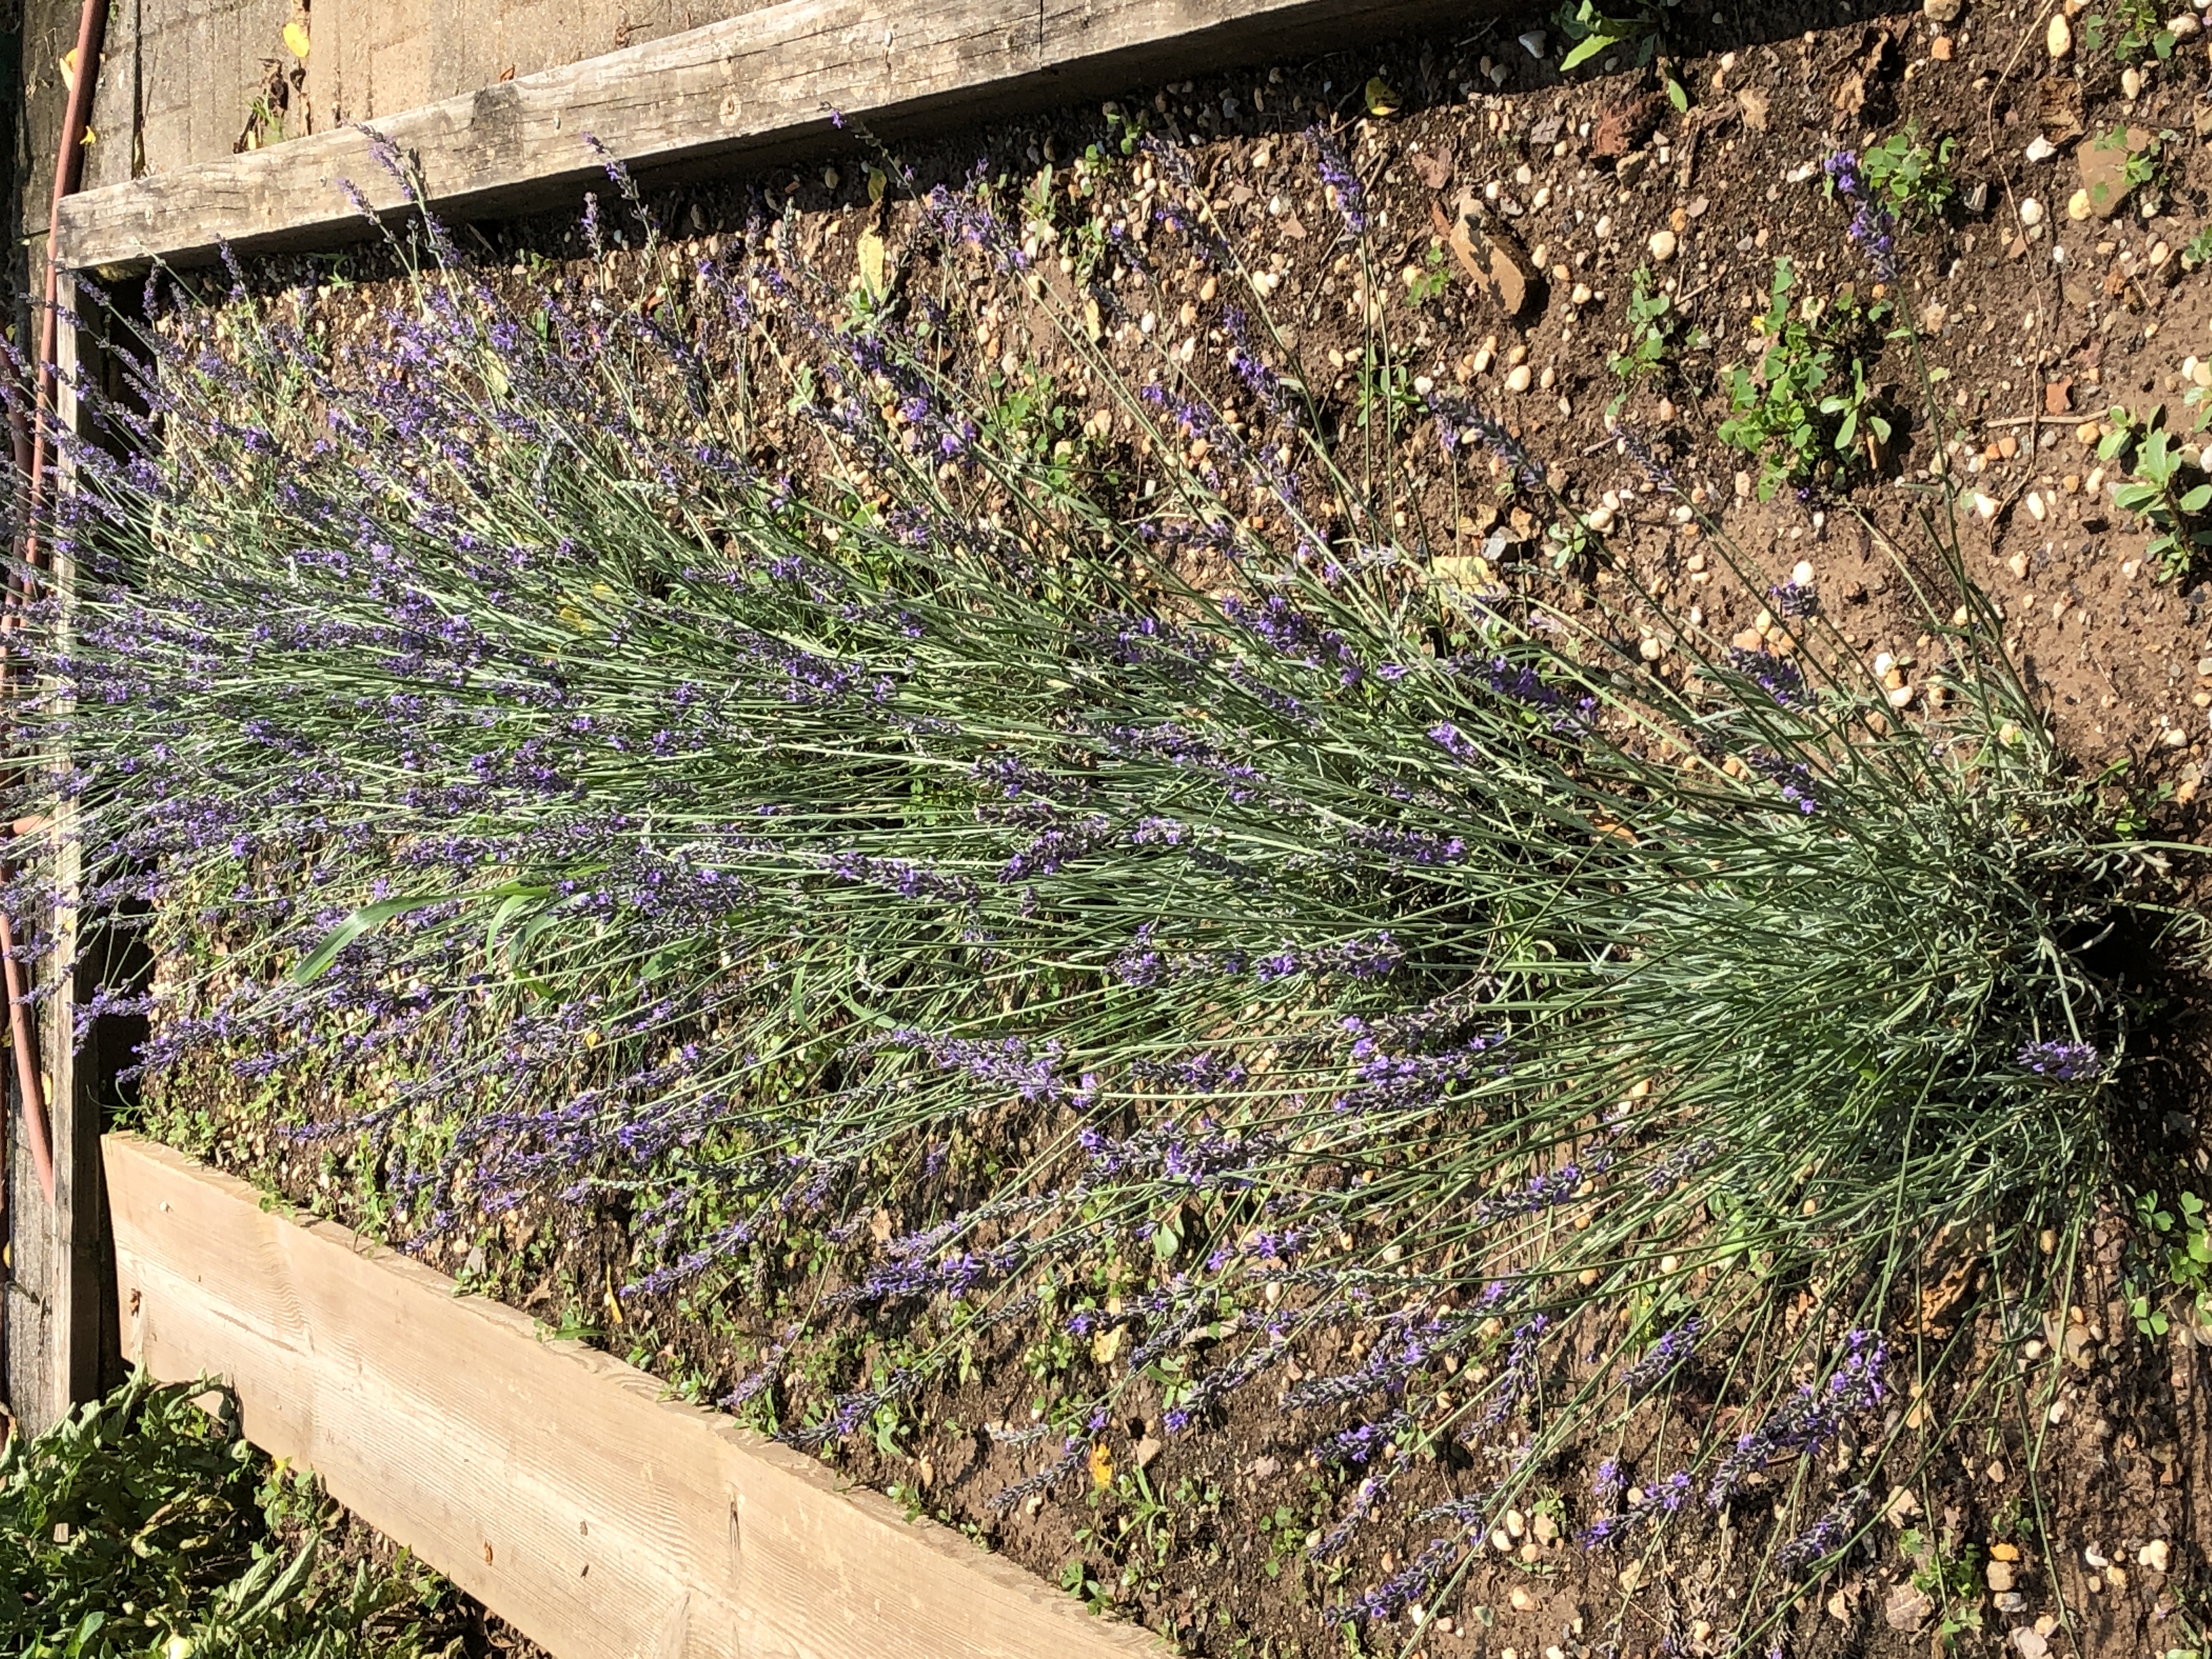
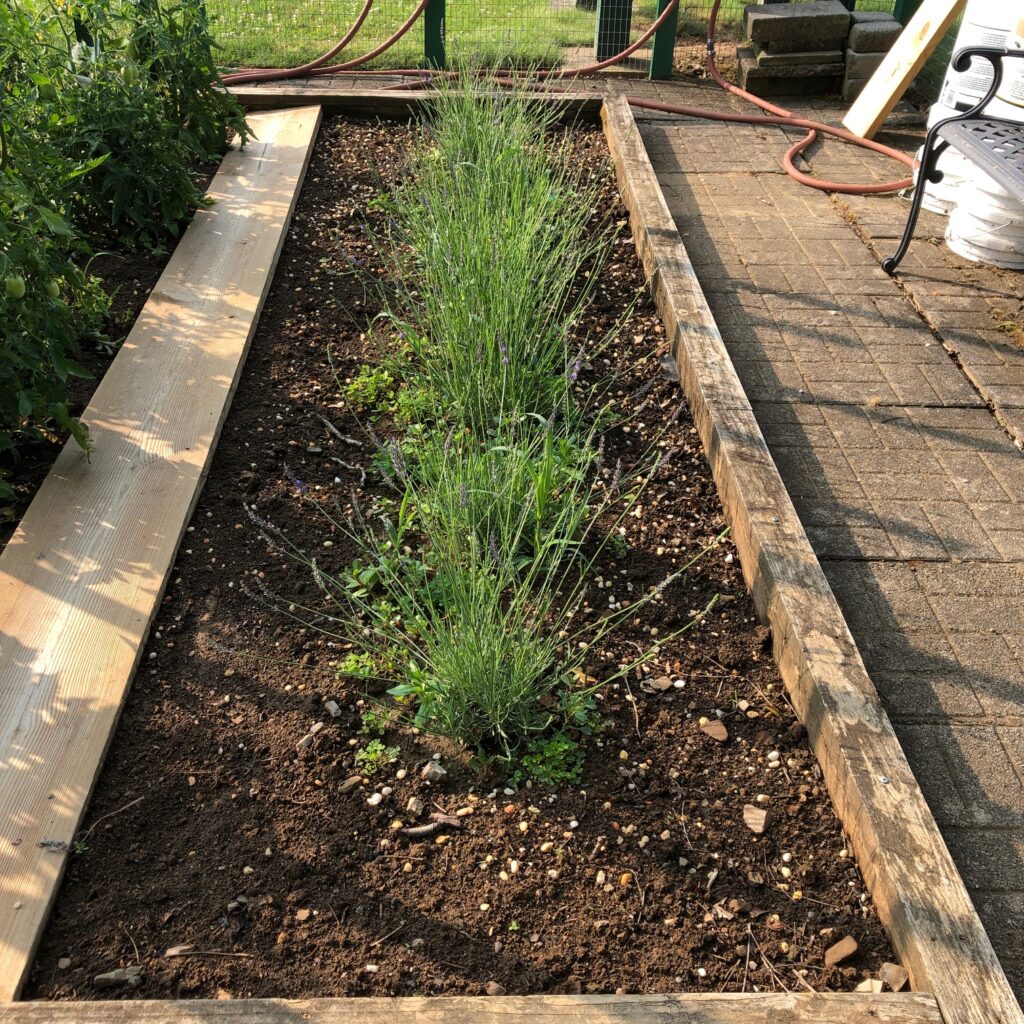
The lavender is filling out and the bees love it. I’ll wait a little while before I cut too much.
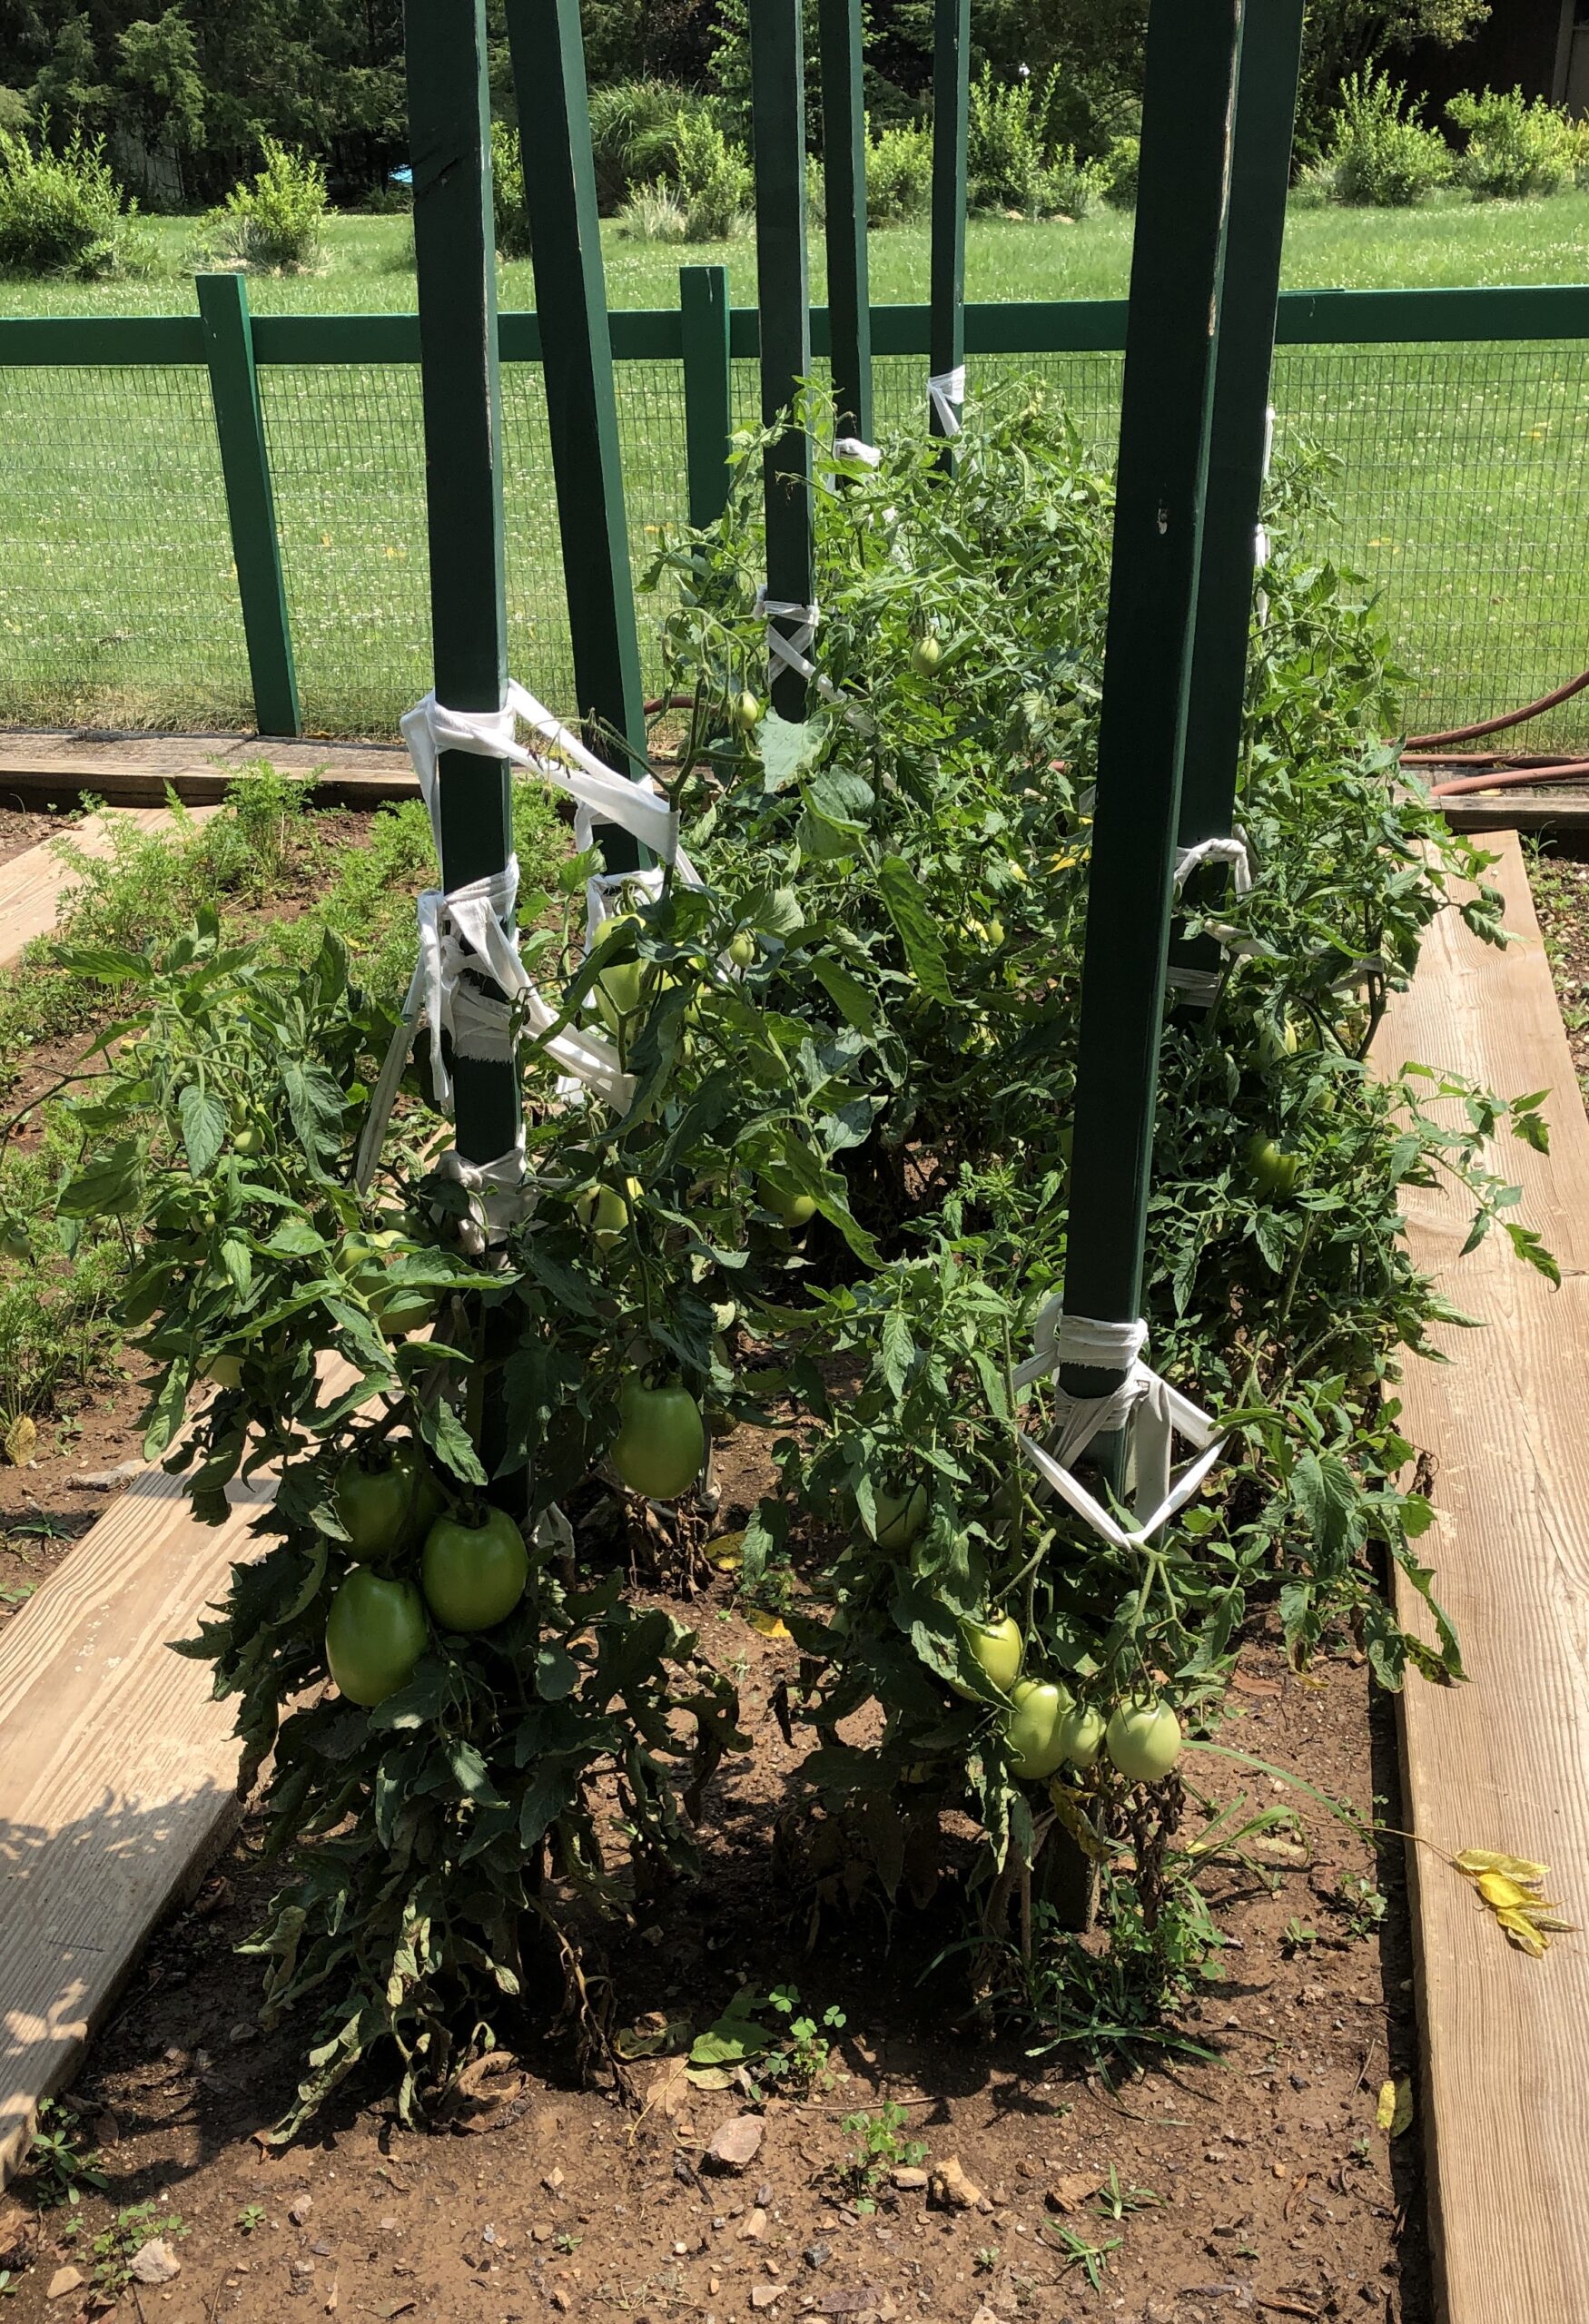
We have lots of green tomatoes, but they are ripening fast. I expect in the next week I’ll have trays on the kitchen table with almost ripe tomatoes.
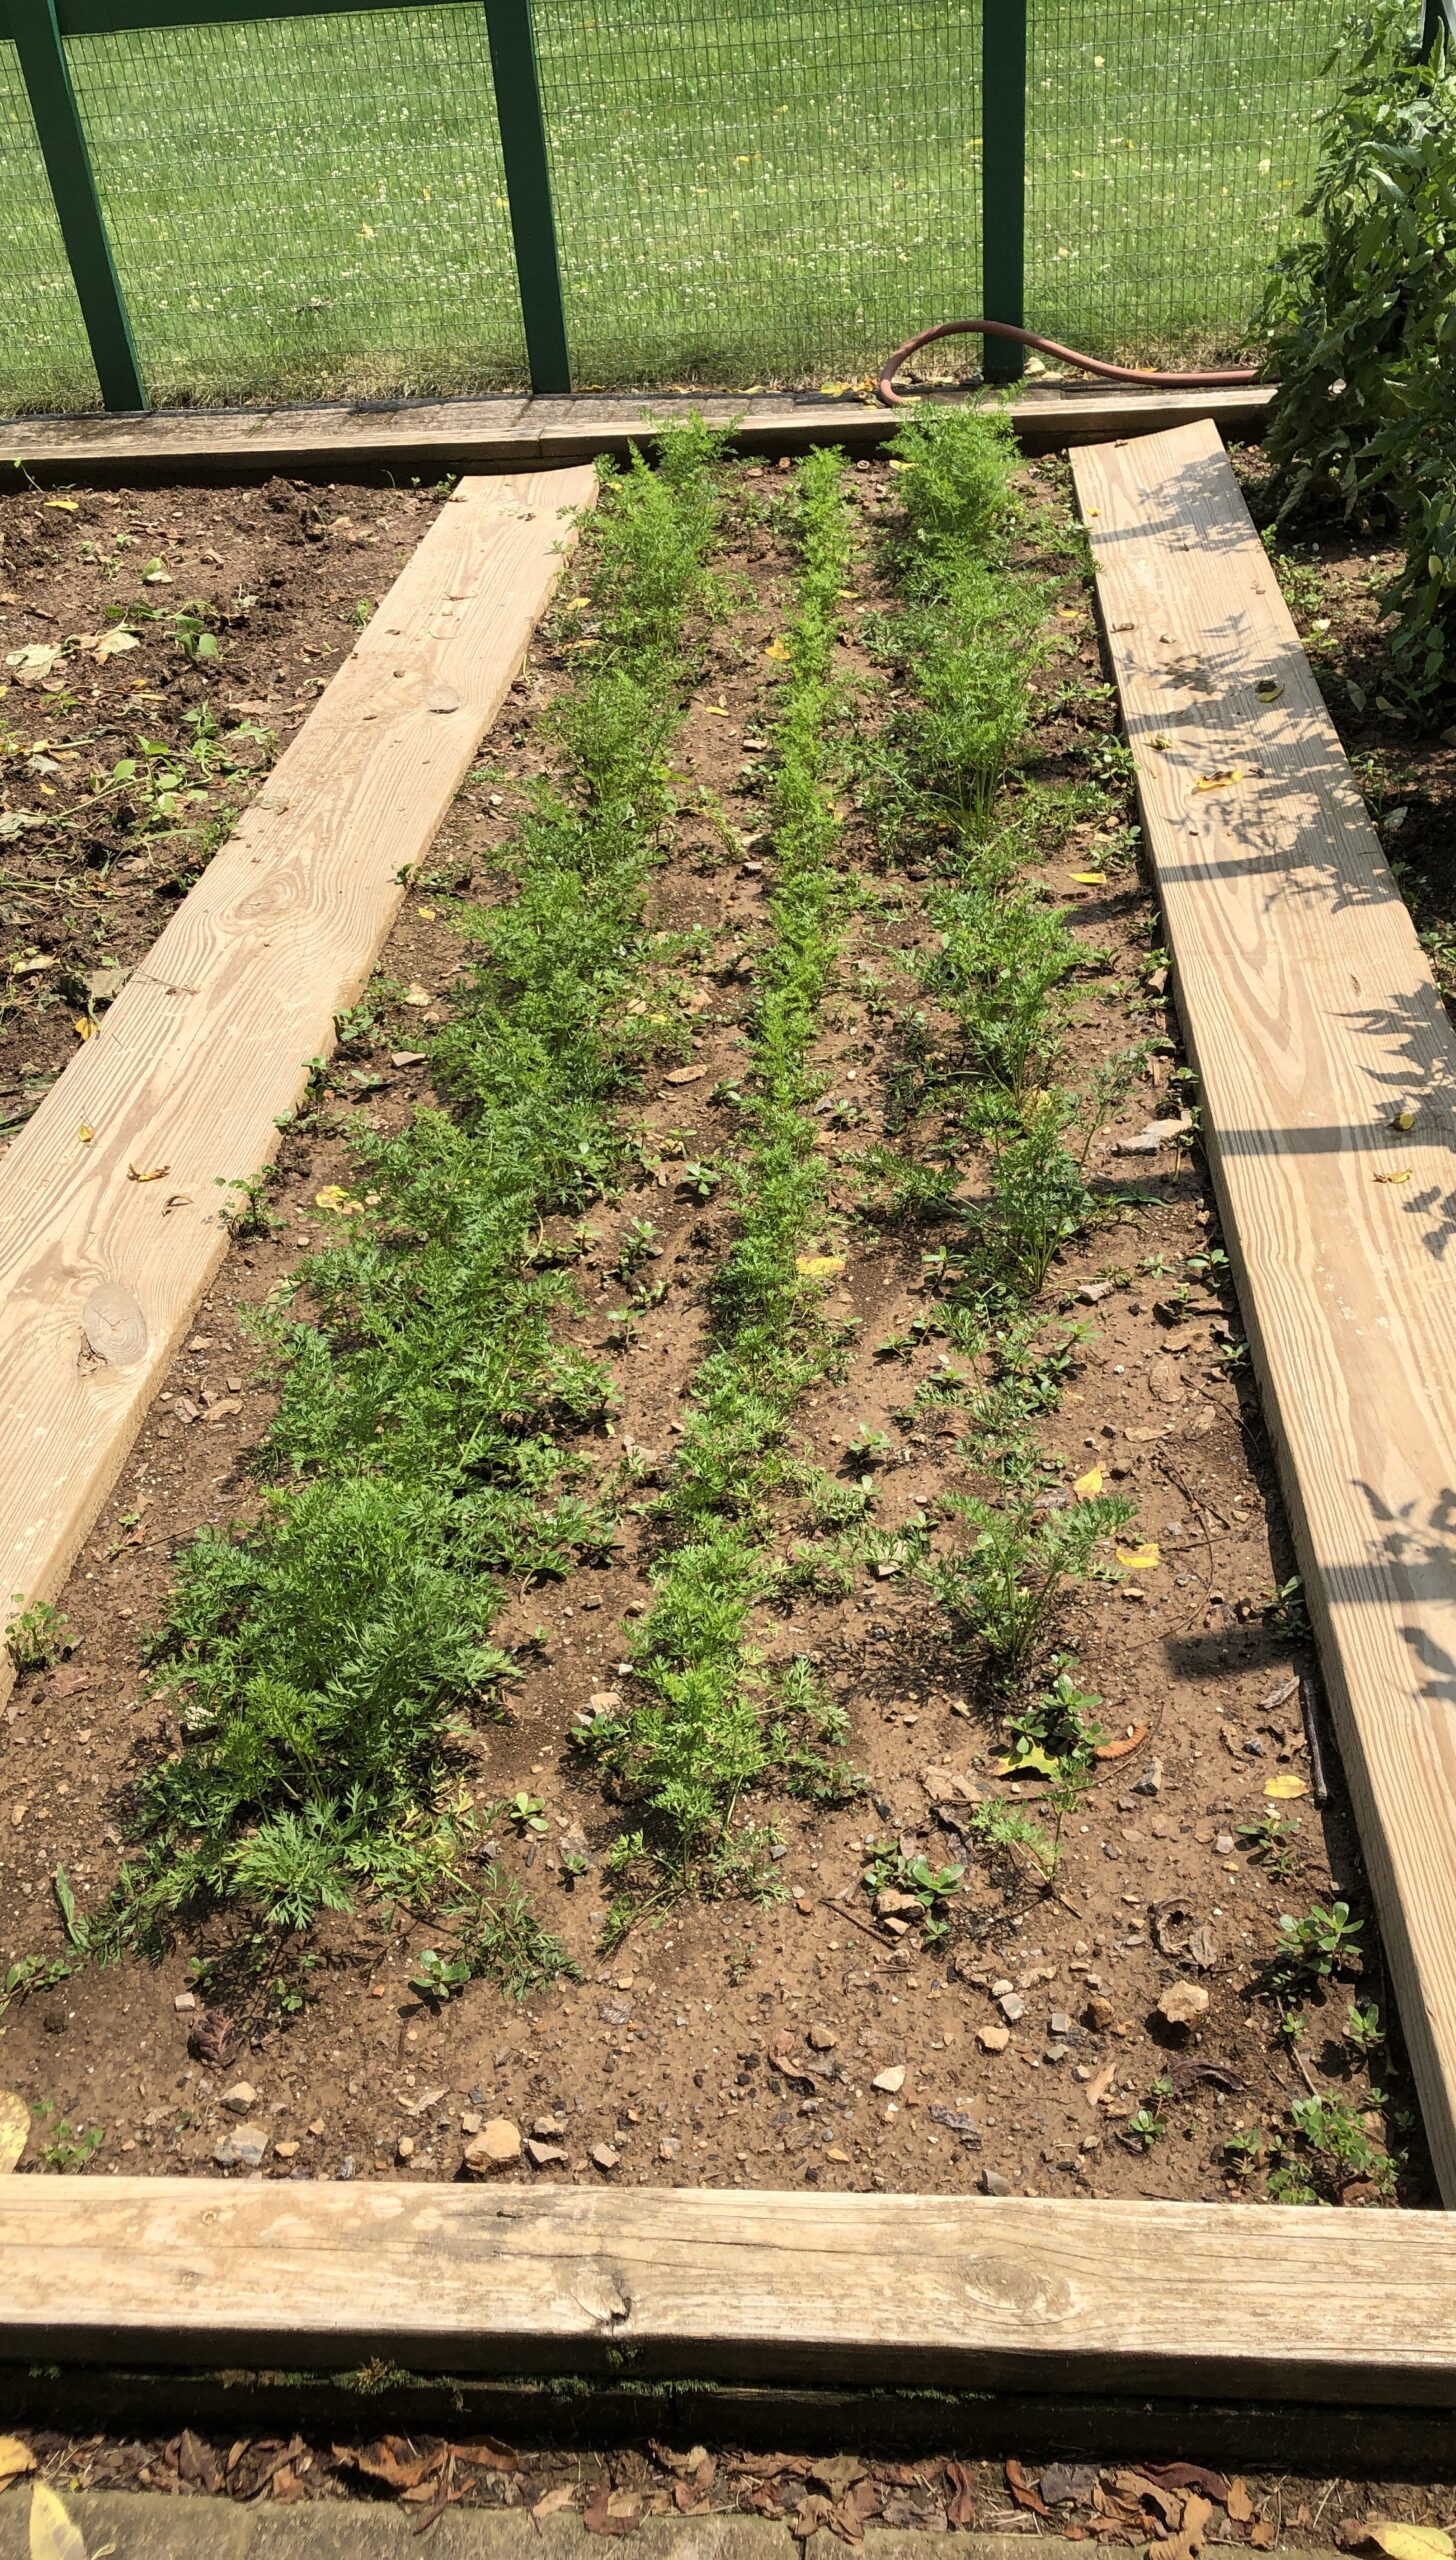
The carrots are finally looking good. We’ll leave them in the ground until November or December and dig up just what we need.
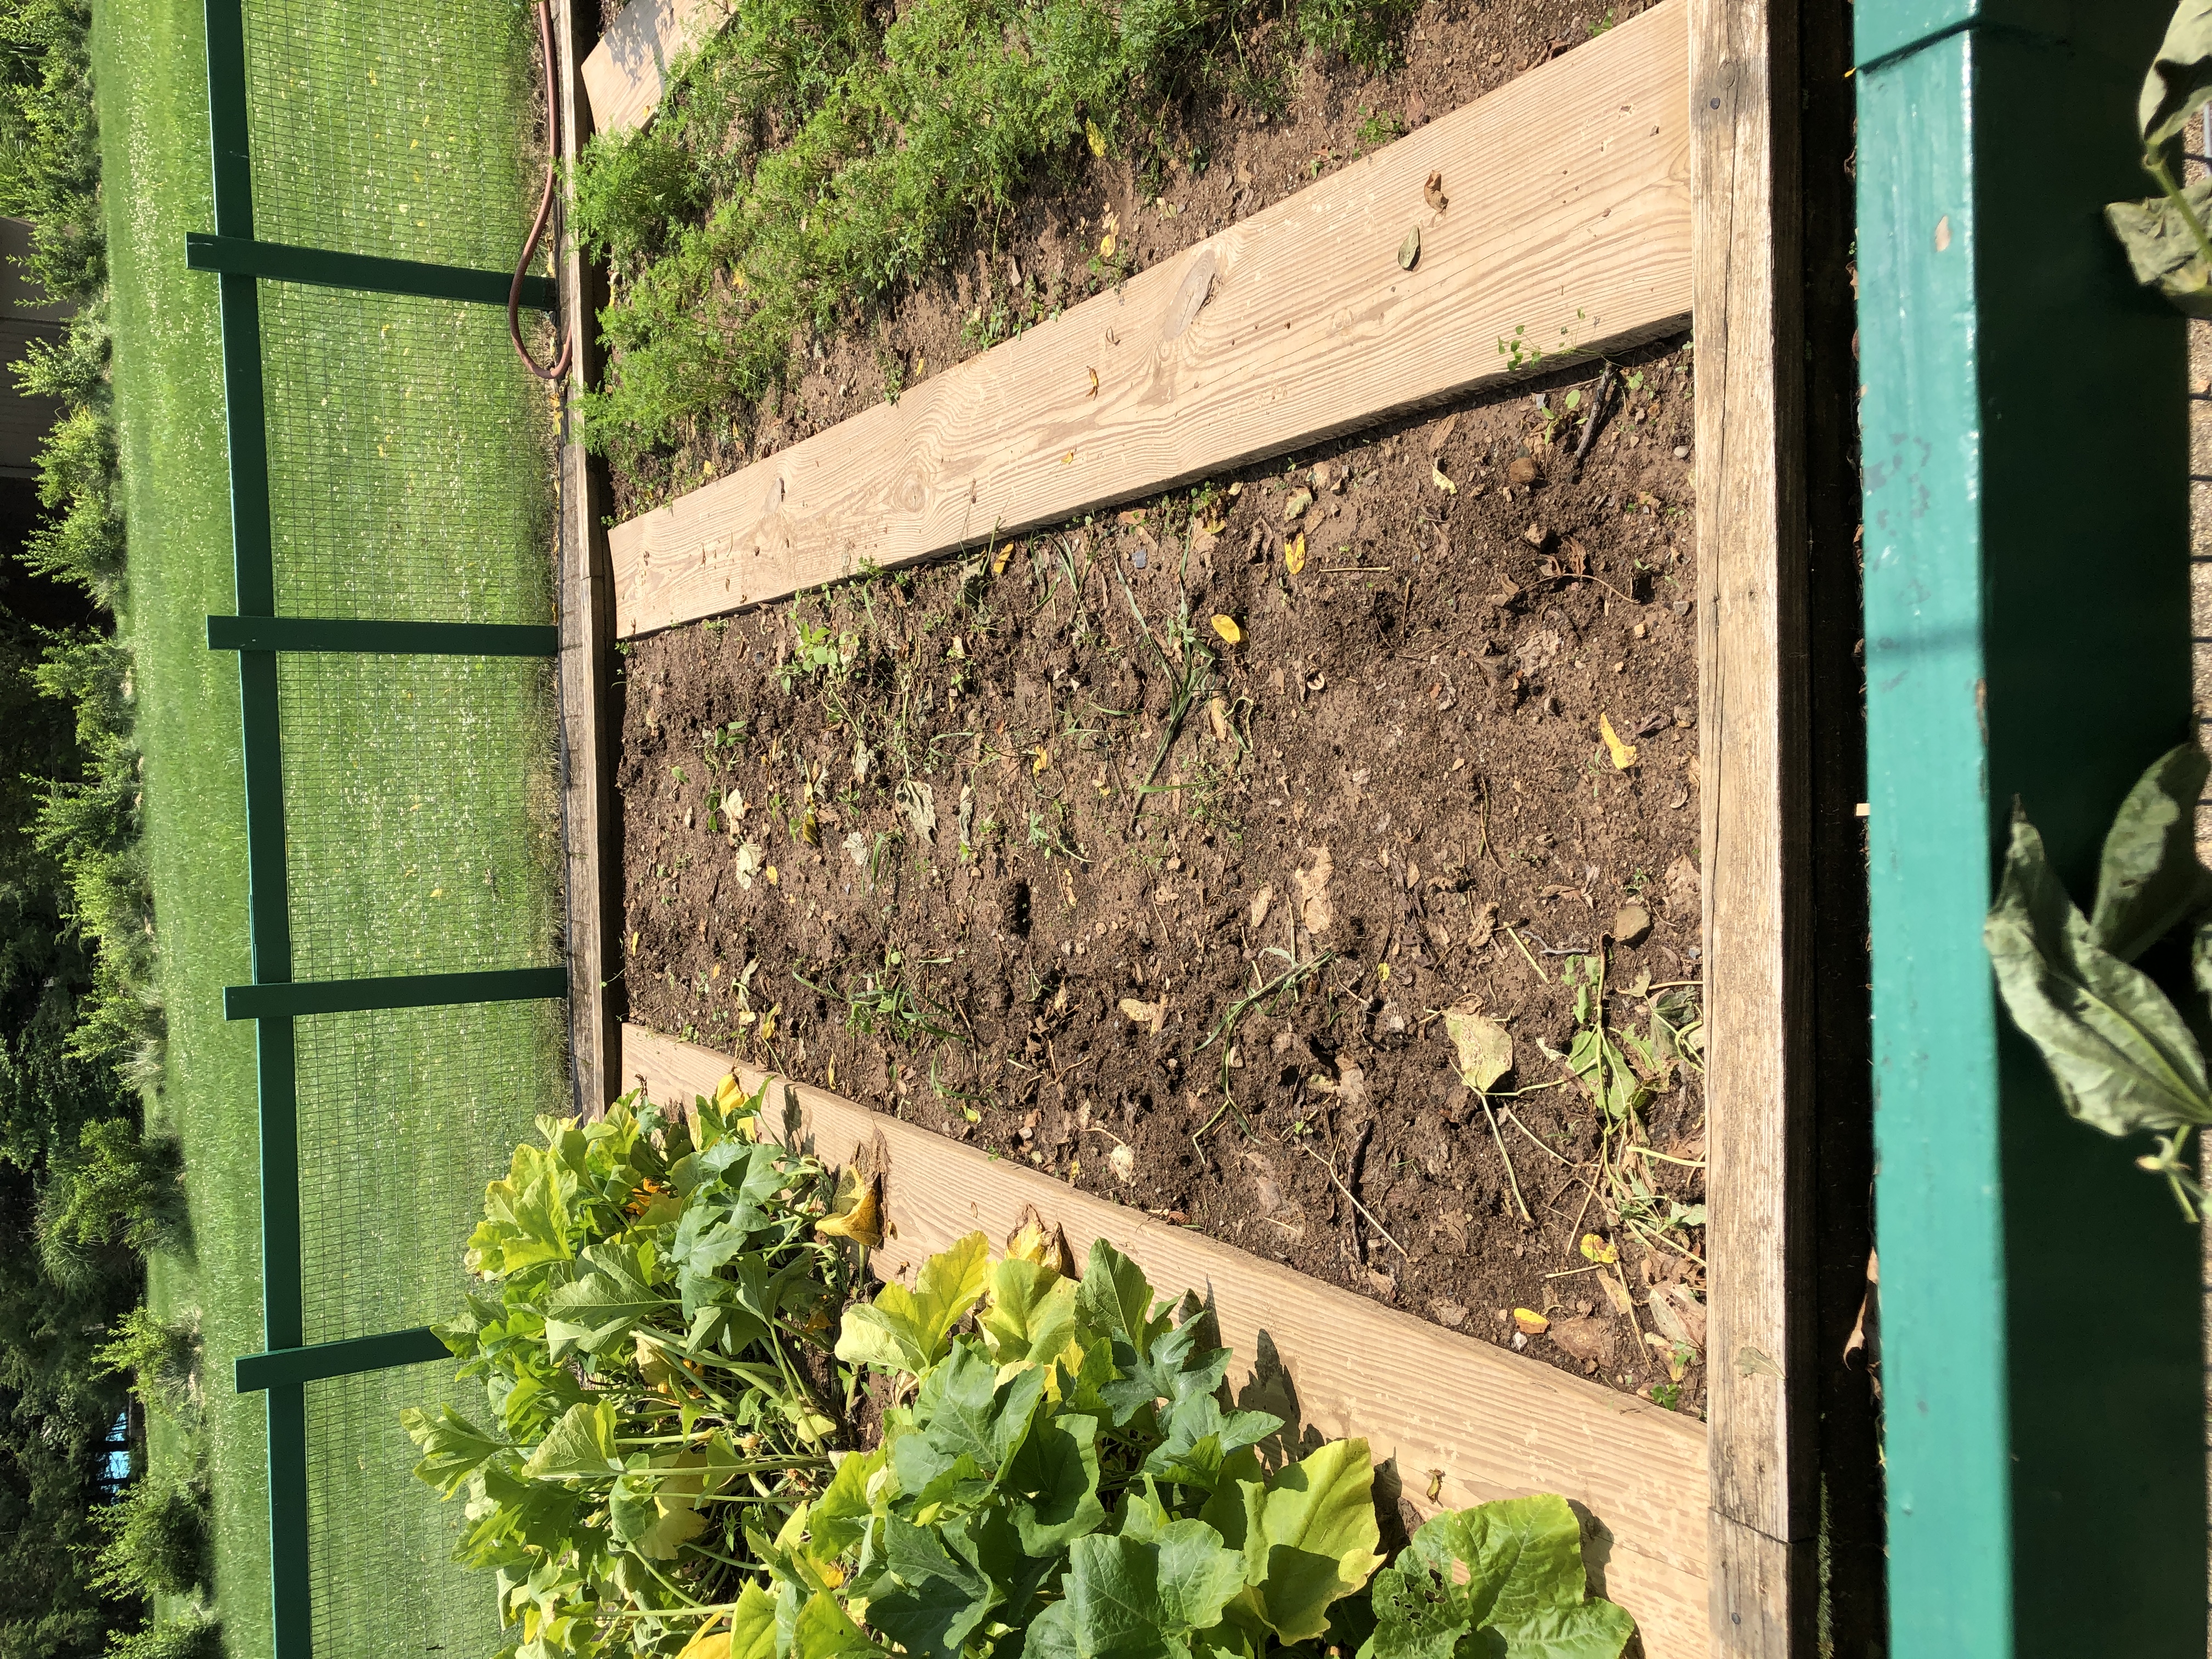
This empty section had green and yellow beans. After the last picking, I pulled the plants and replanted green beans. The dry/wet contrast was pretty hard on the plants.
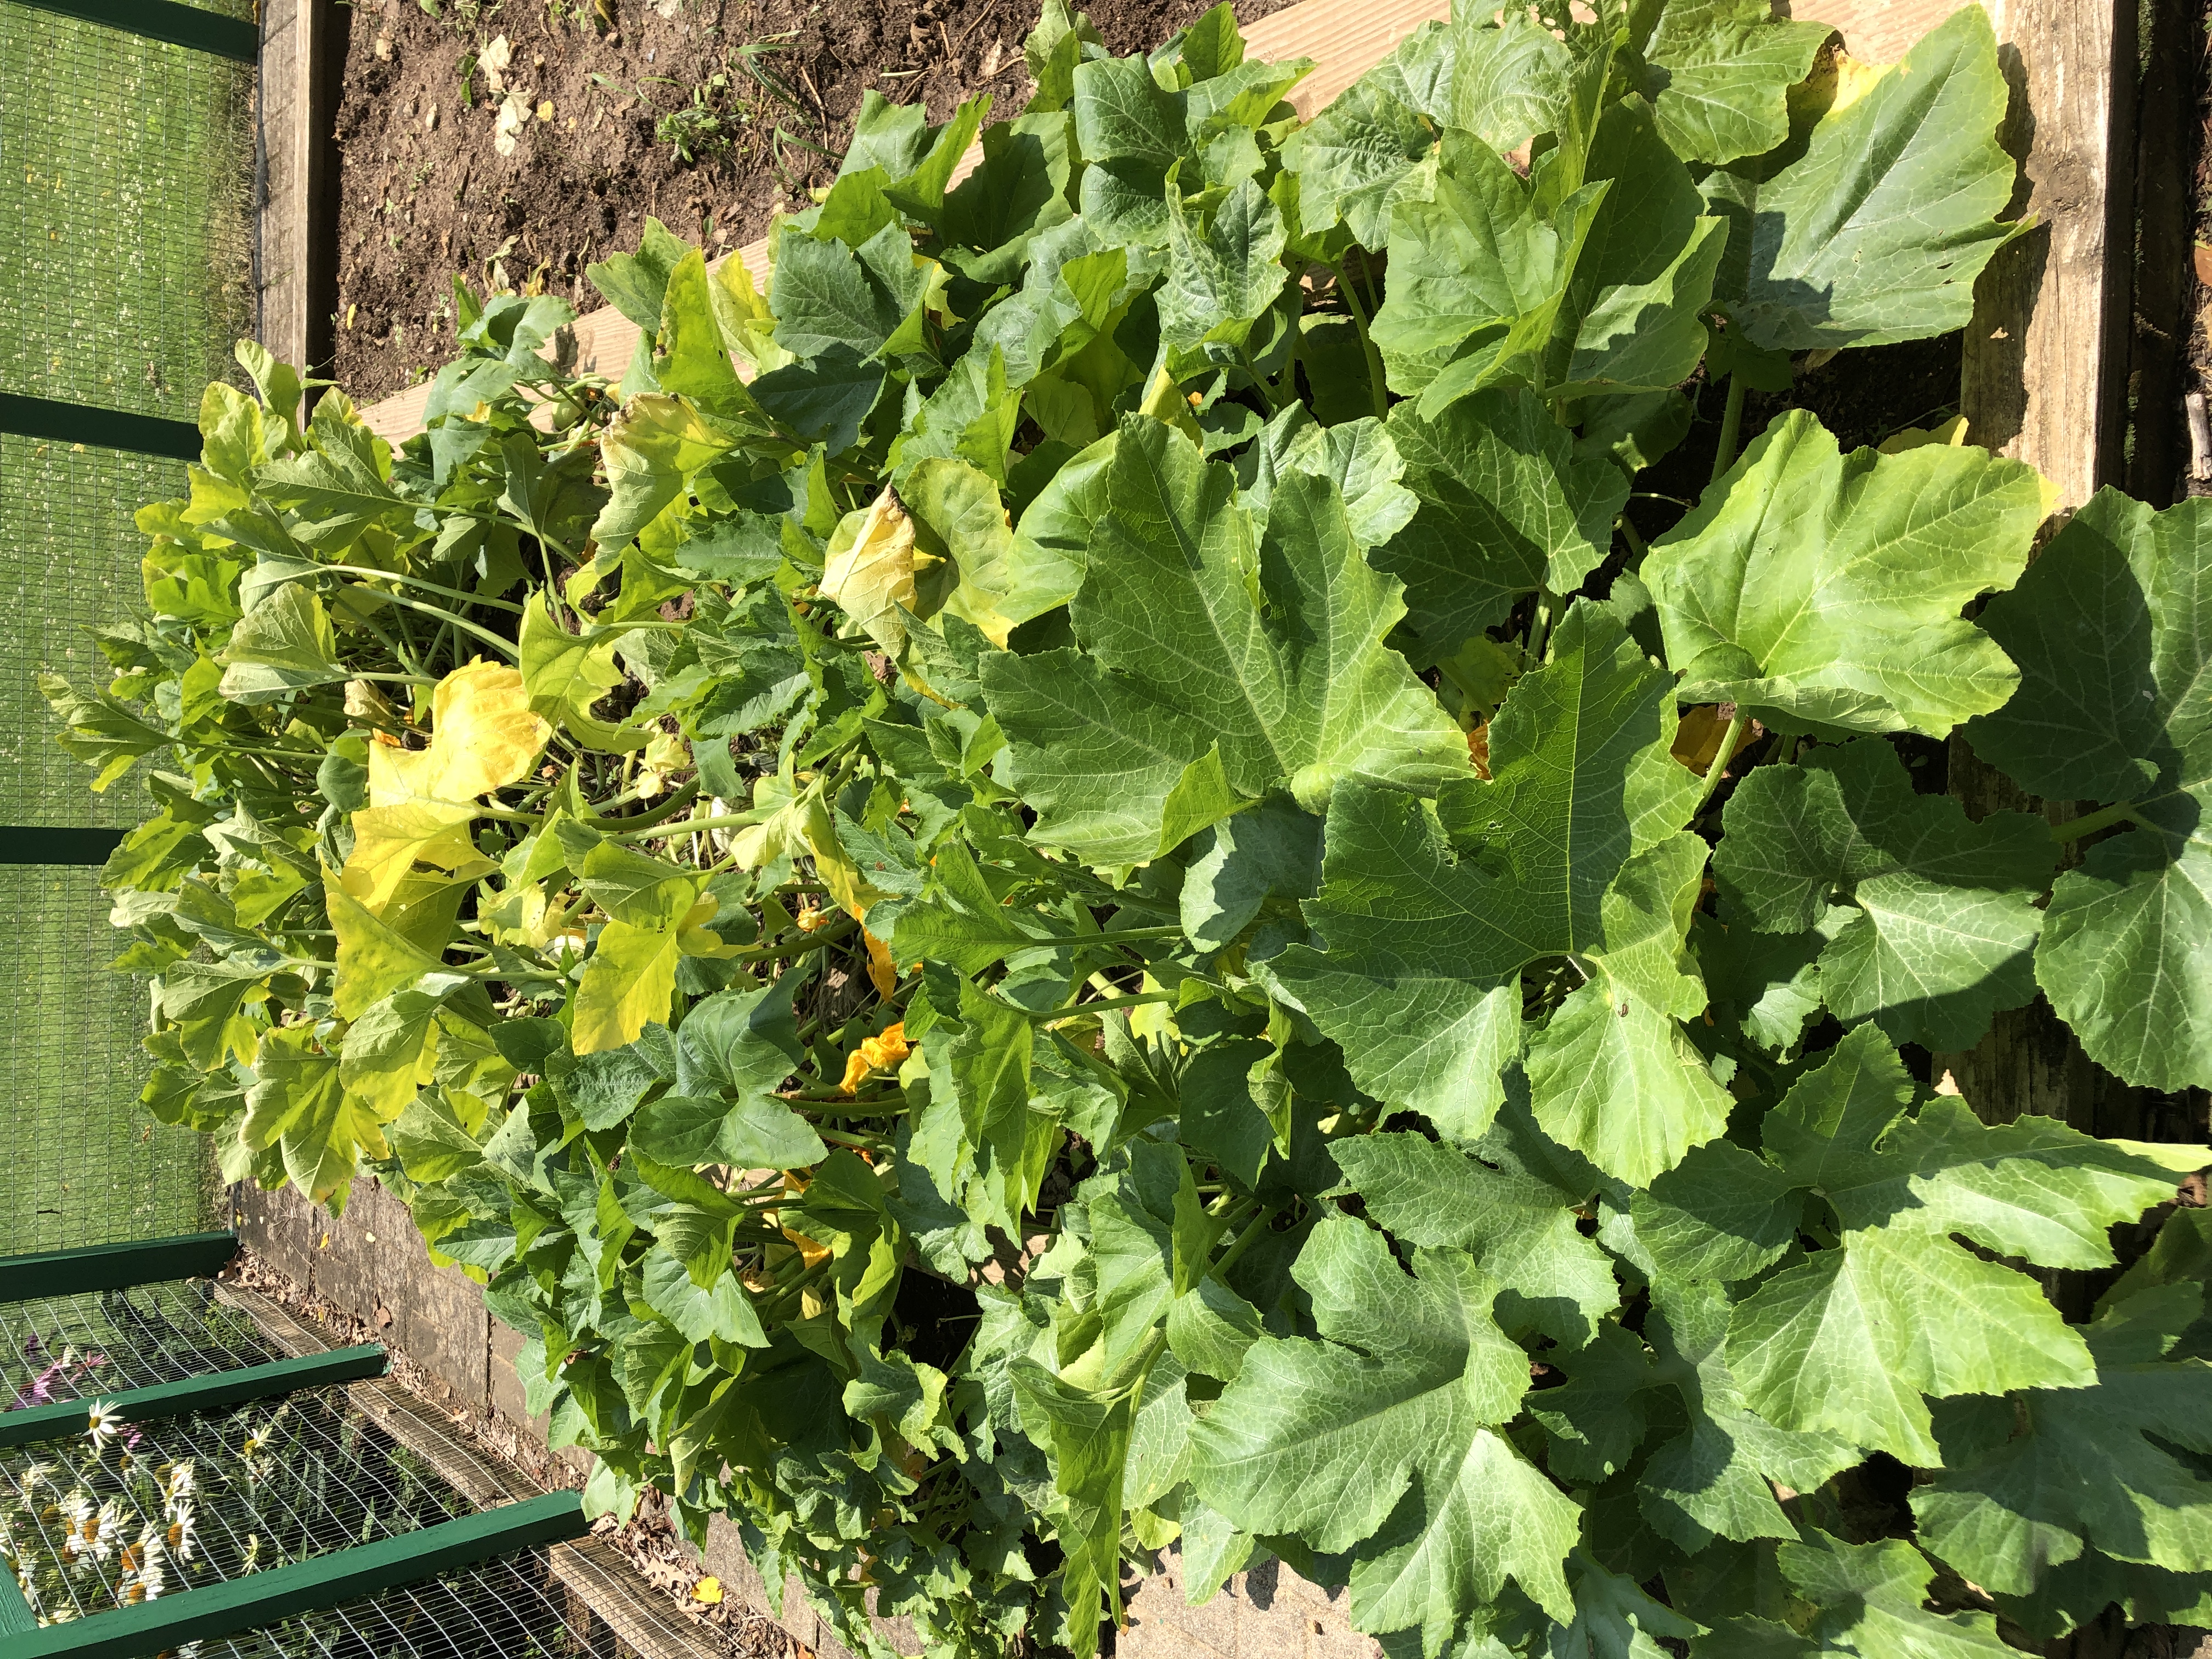
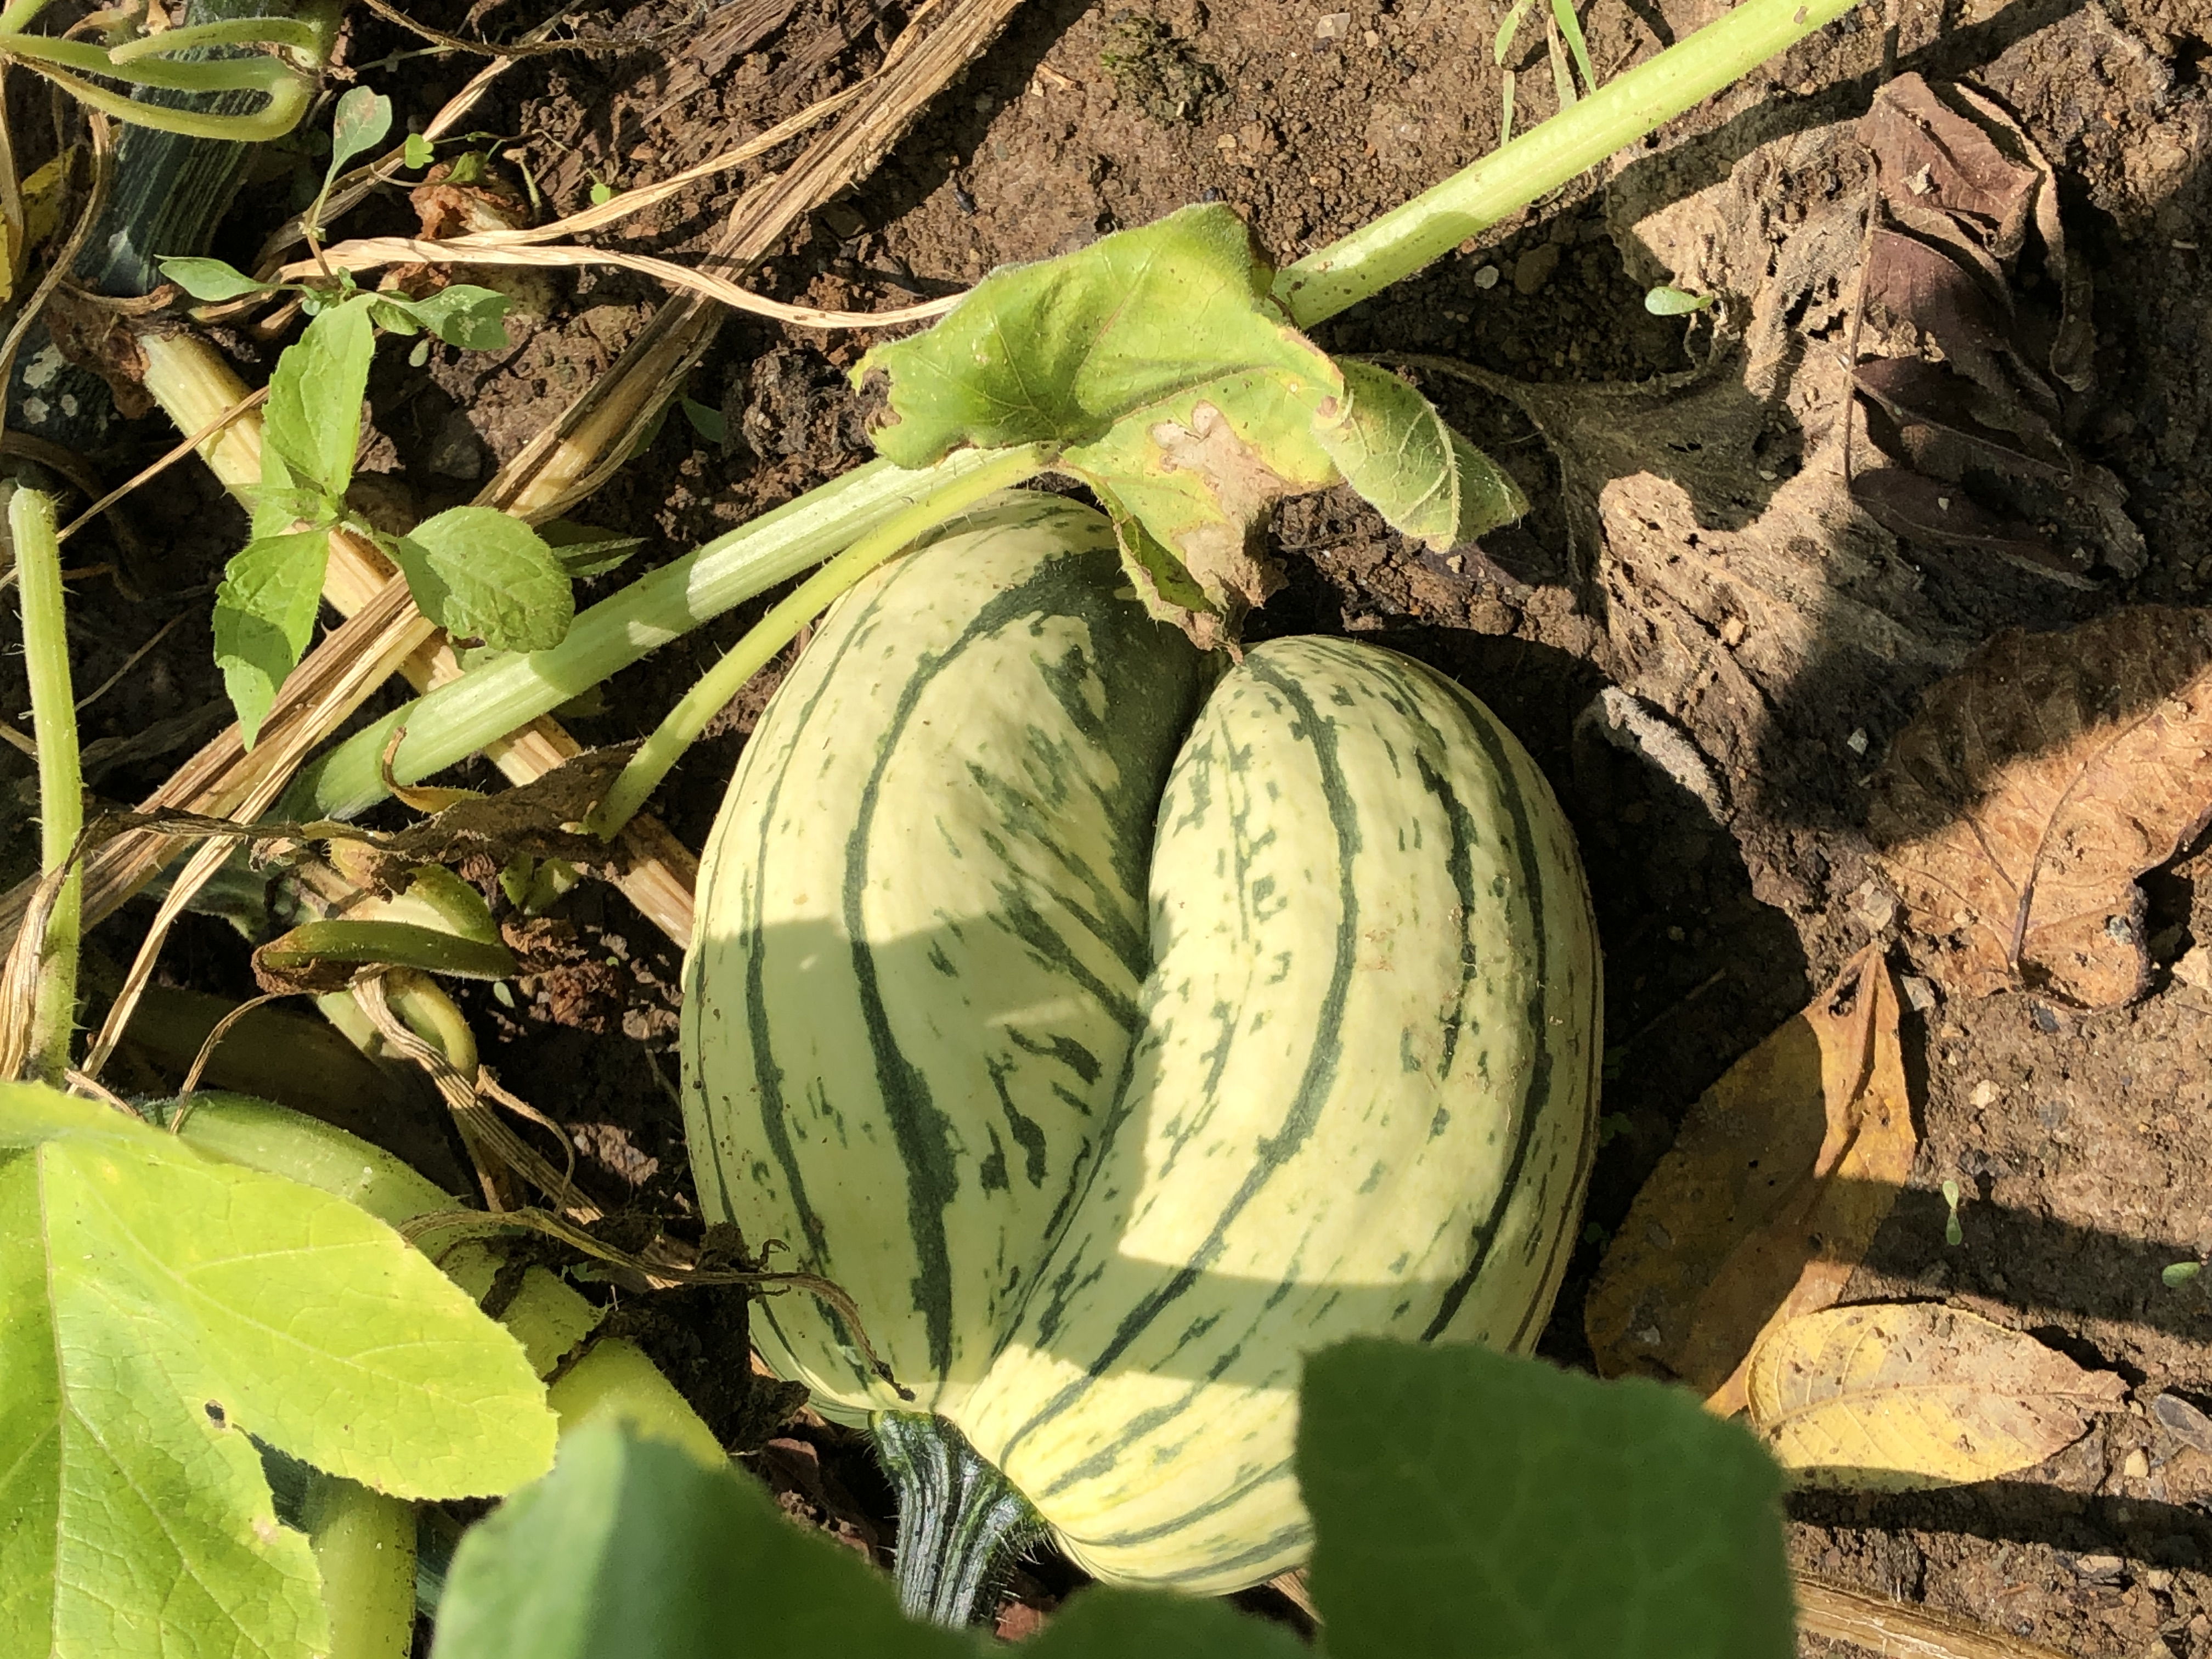
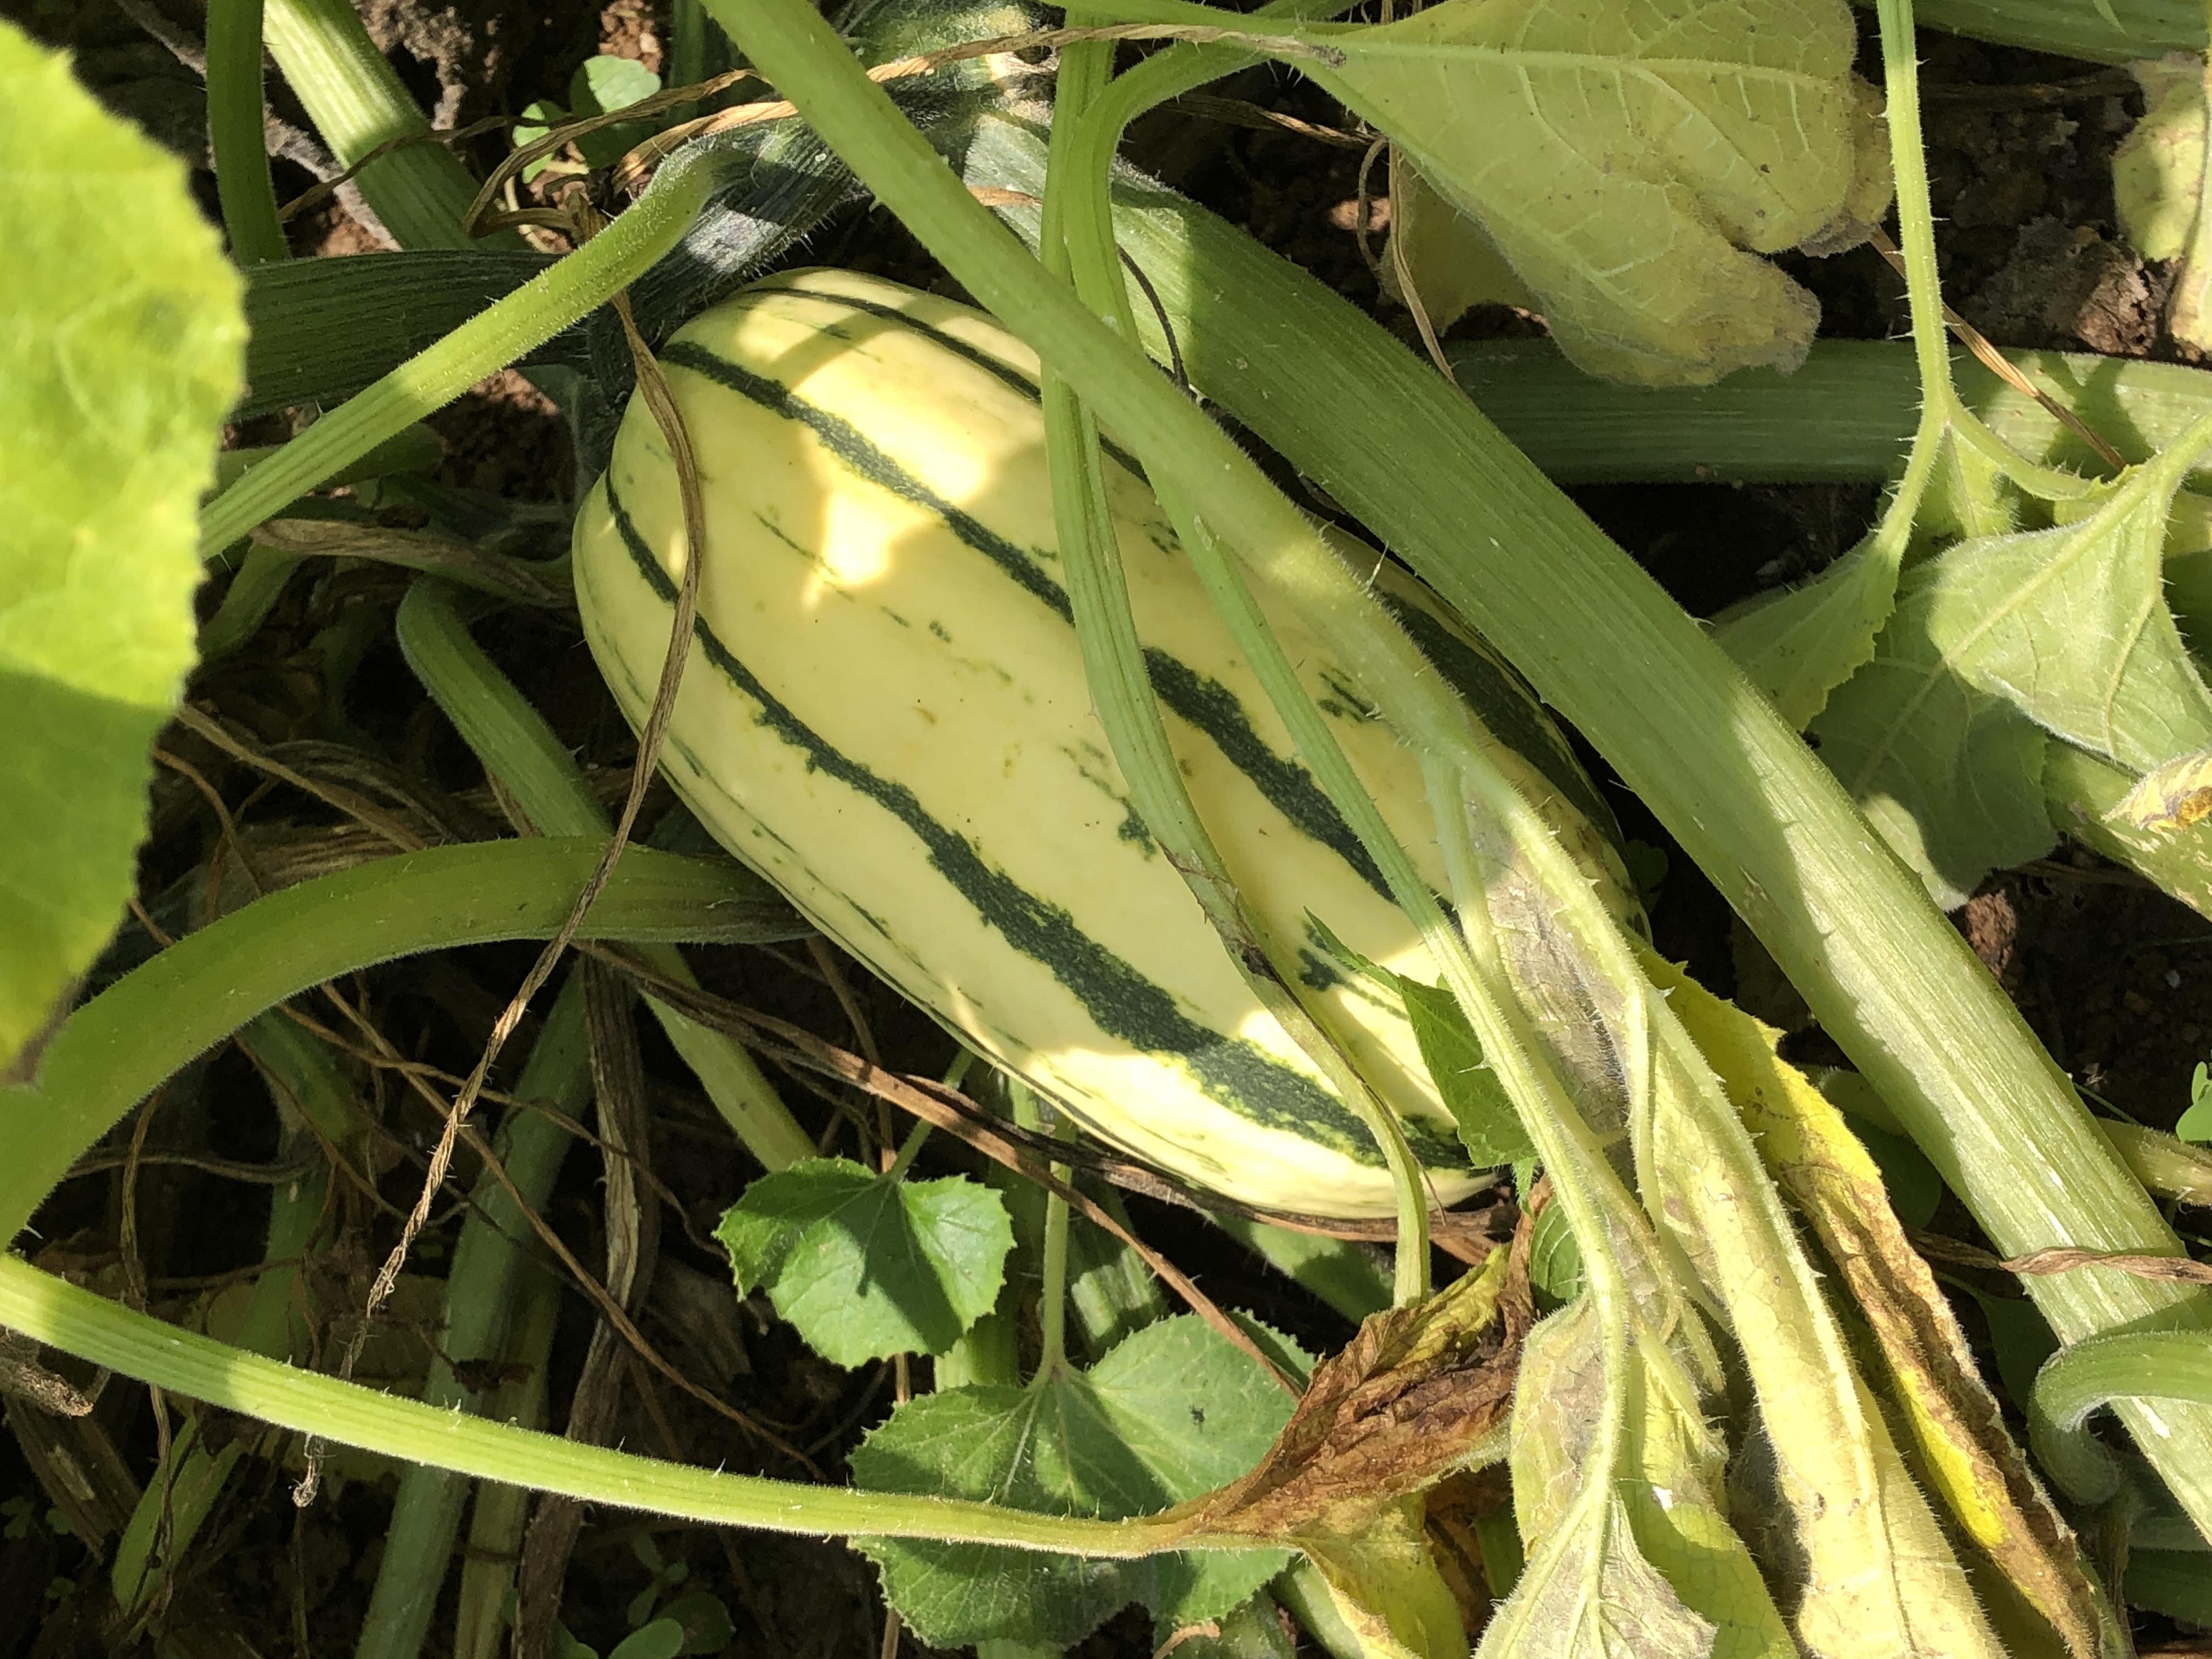
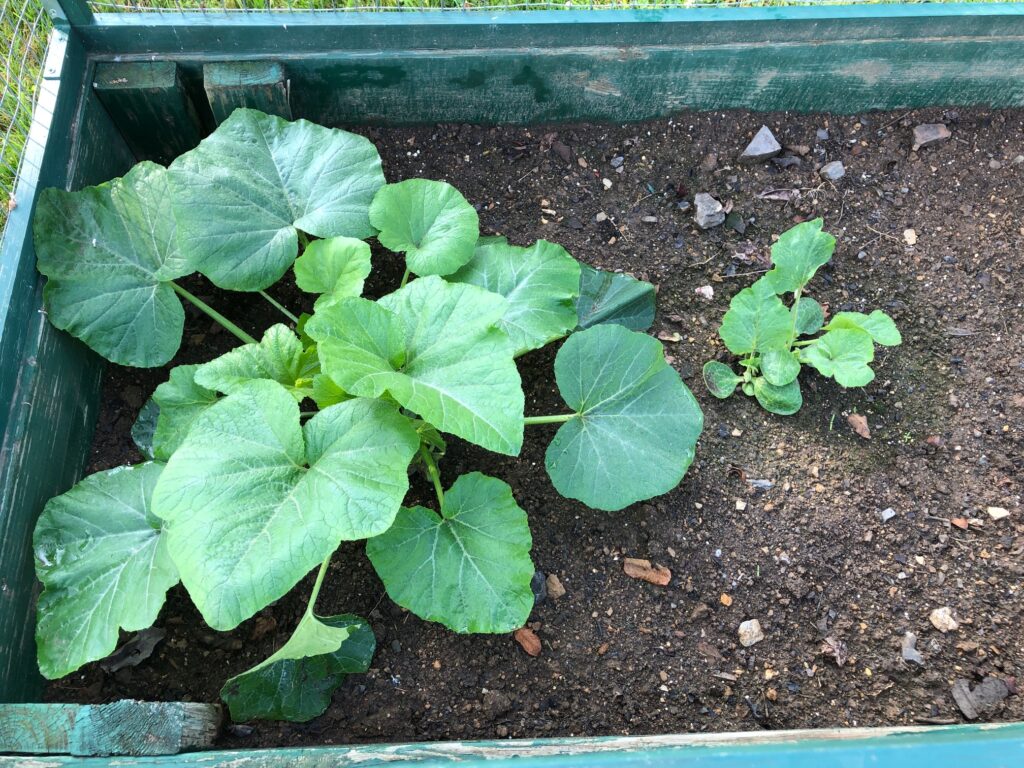
The Delicata squash seemed to spread out all over…but it looks like we might get a few squash.
Just a quick update in case you’ve been following the last two posts about my attempt to make a dress for my granddaughter (age 17). Her interest in trying to find a vintage dress from the 1950s led us to finding a retro pattern at JoAnn’s to make such a dress. The previous posts included understanding the difference between vintage and retro, and the steps I went through to actually make the dress. (See: https://marykisner.com/understanding-antique-vintage-and-retro-clothing/ and https://marykisner.com/making-a-retro-1952-dress/)
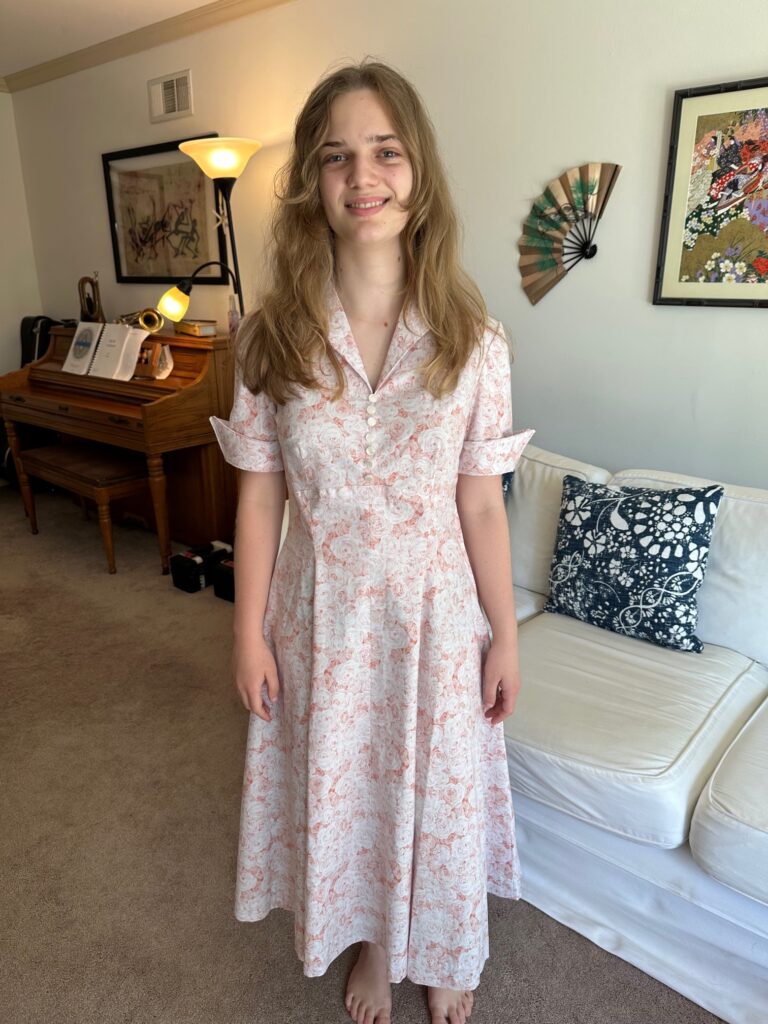
I mailed the dress to my granddaughter in California and held my breath. Would it fit? Would it require major adjustments? Would she like it?
Yesterday I received pictures and a heartfelt message that it was “wonderful” and “Thank you so much!” Very rewarding to connect with my granddaughter this way! Made my day!
This grandma is very pleased! I just might have to try some more Retro clothing.
On the request of my 17 yr. old granddaughter, who was visiting a few weeks ago, I volunteered to make her a dress, in the style of the 1950s. She had been trying to find “vintage” and “retro” clothing in thrift shops, but around here they were hard to find. (to see the difference between “vintage” and “retro” check out my last post, https://marykisner.com/understanding-antique-vintage-and-retro-clothing/.
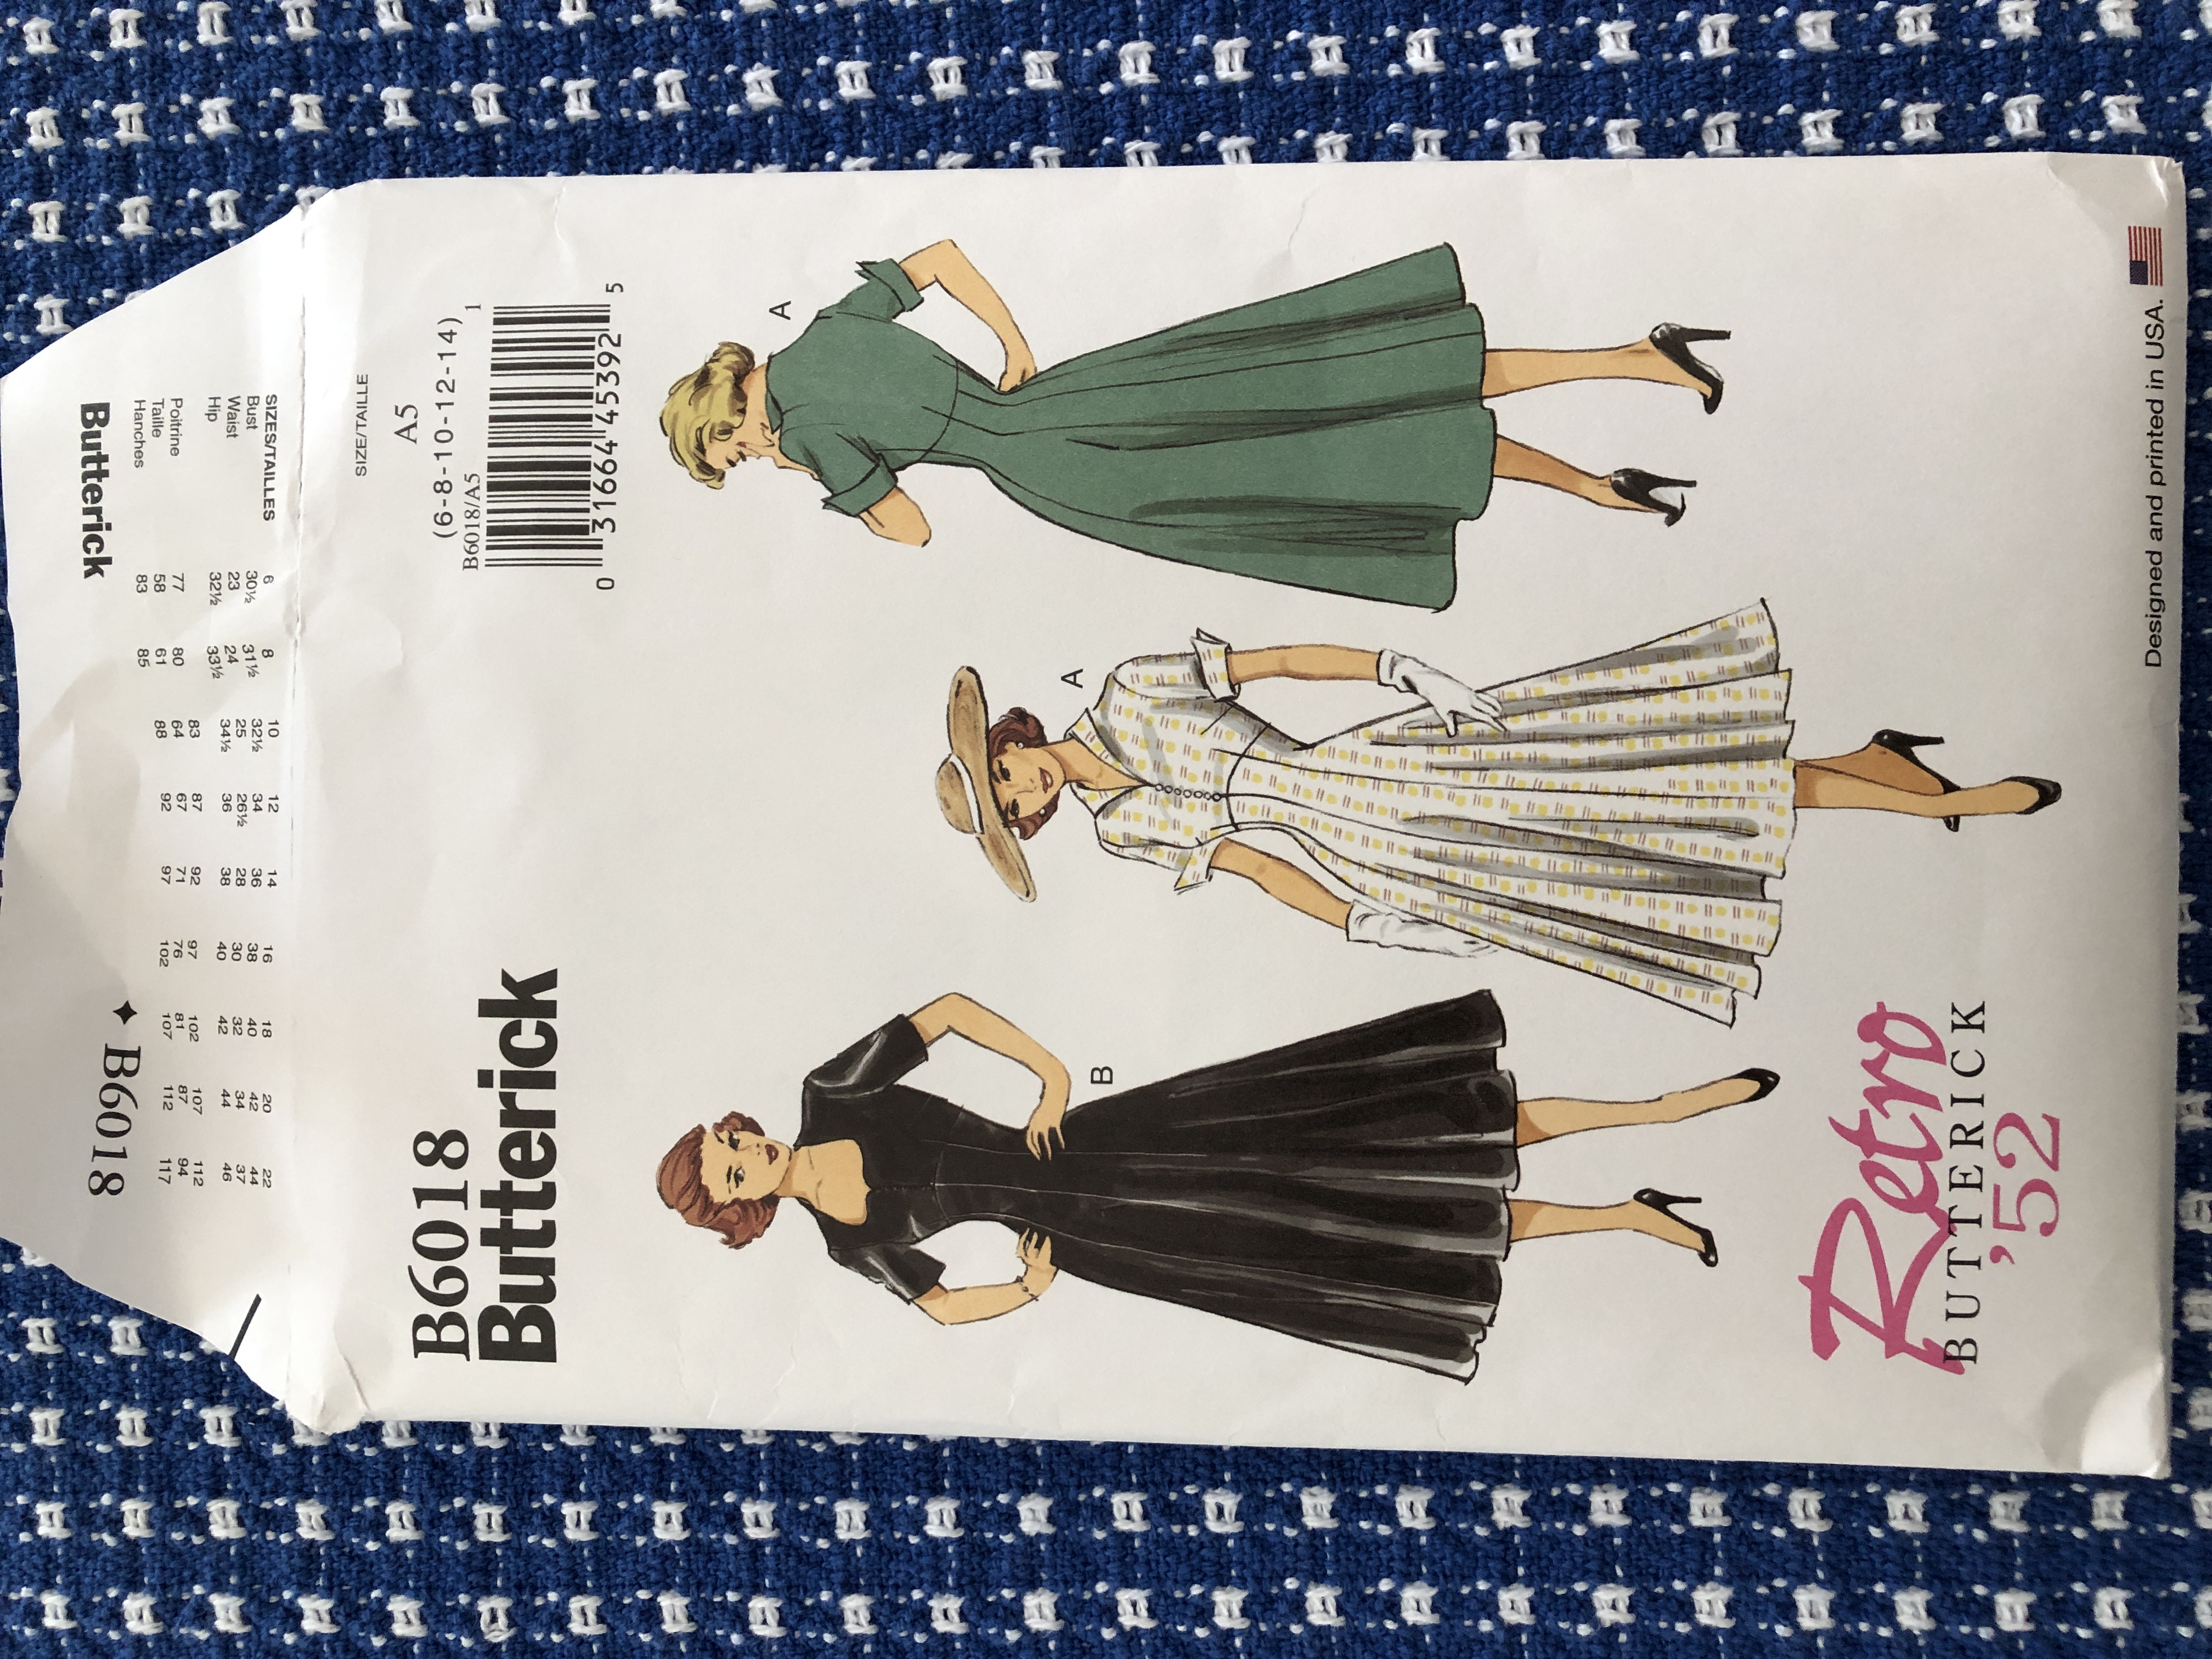
Luckily, we found a pattern at JoAnn’s labeled “Retro ’52”, so we picked out fabric, buttons, zipper and thread for the project.
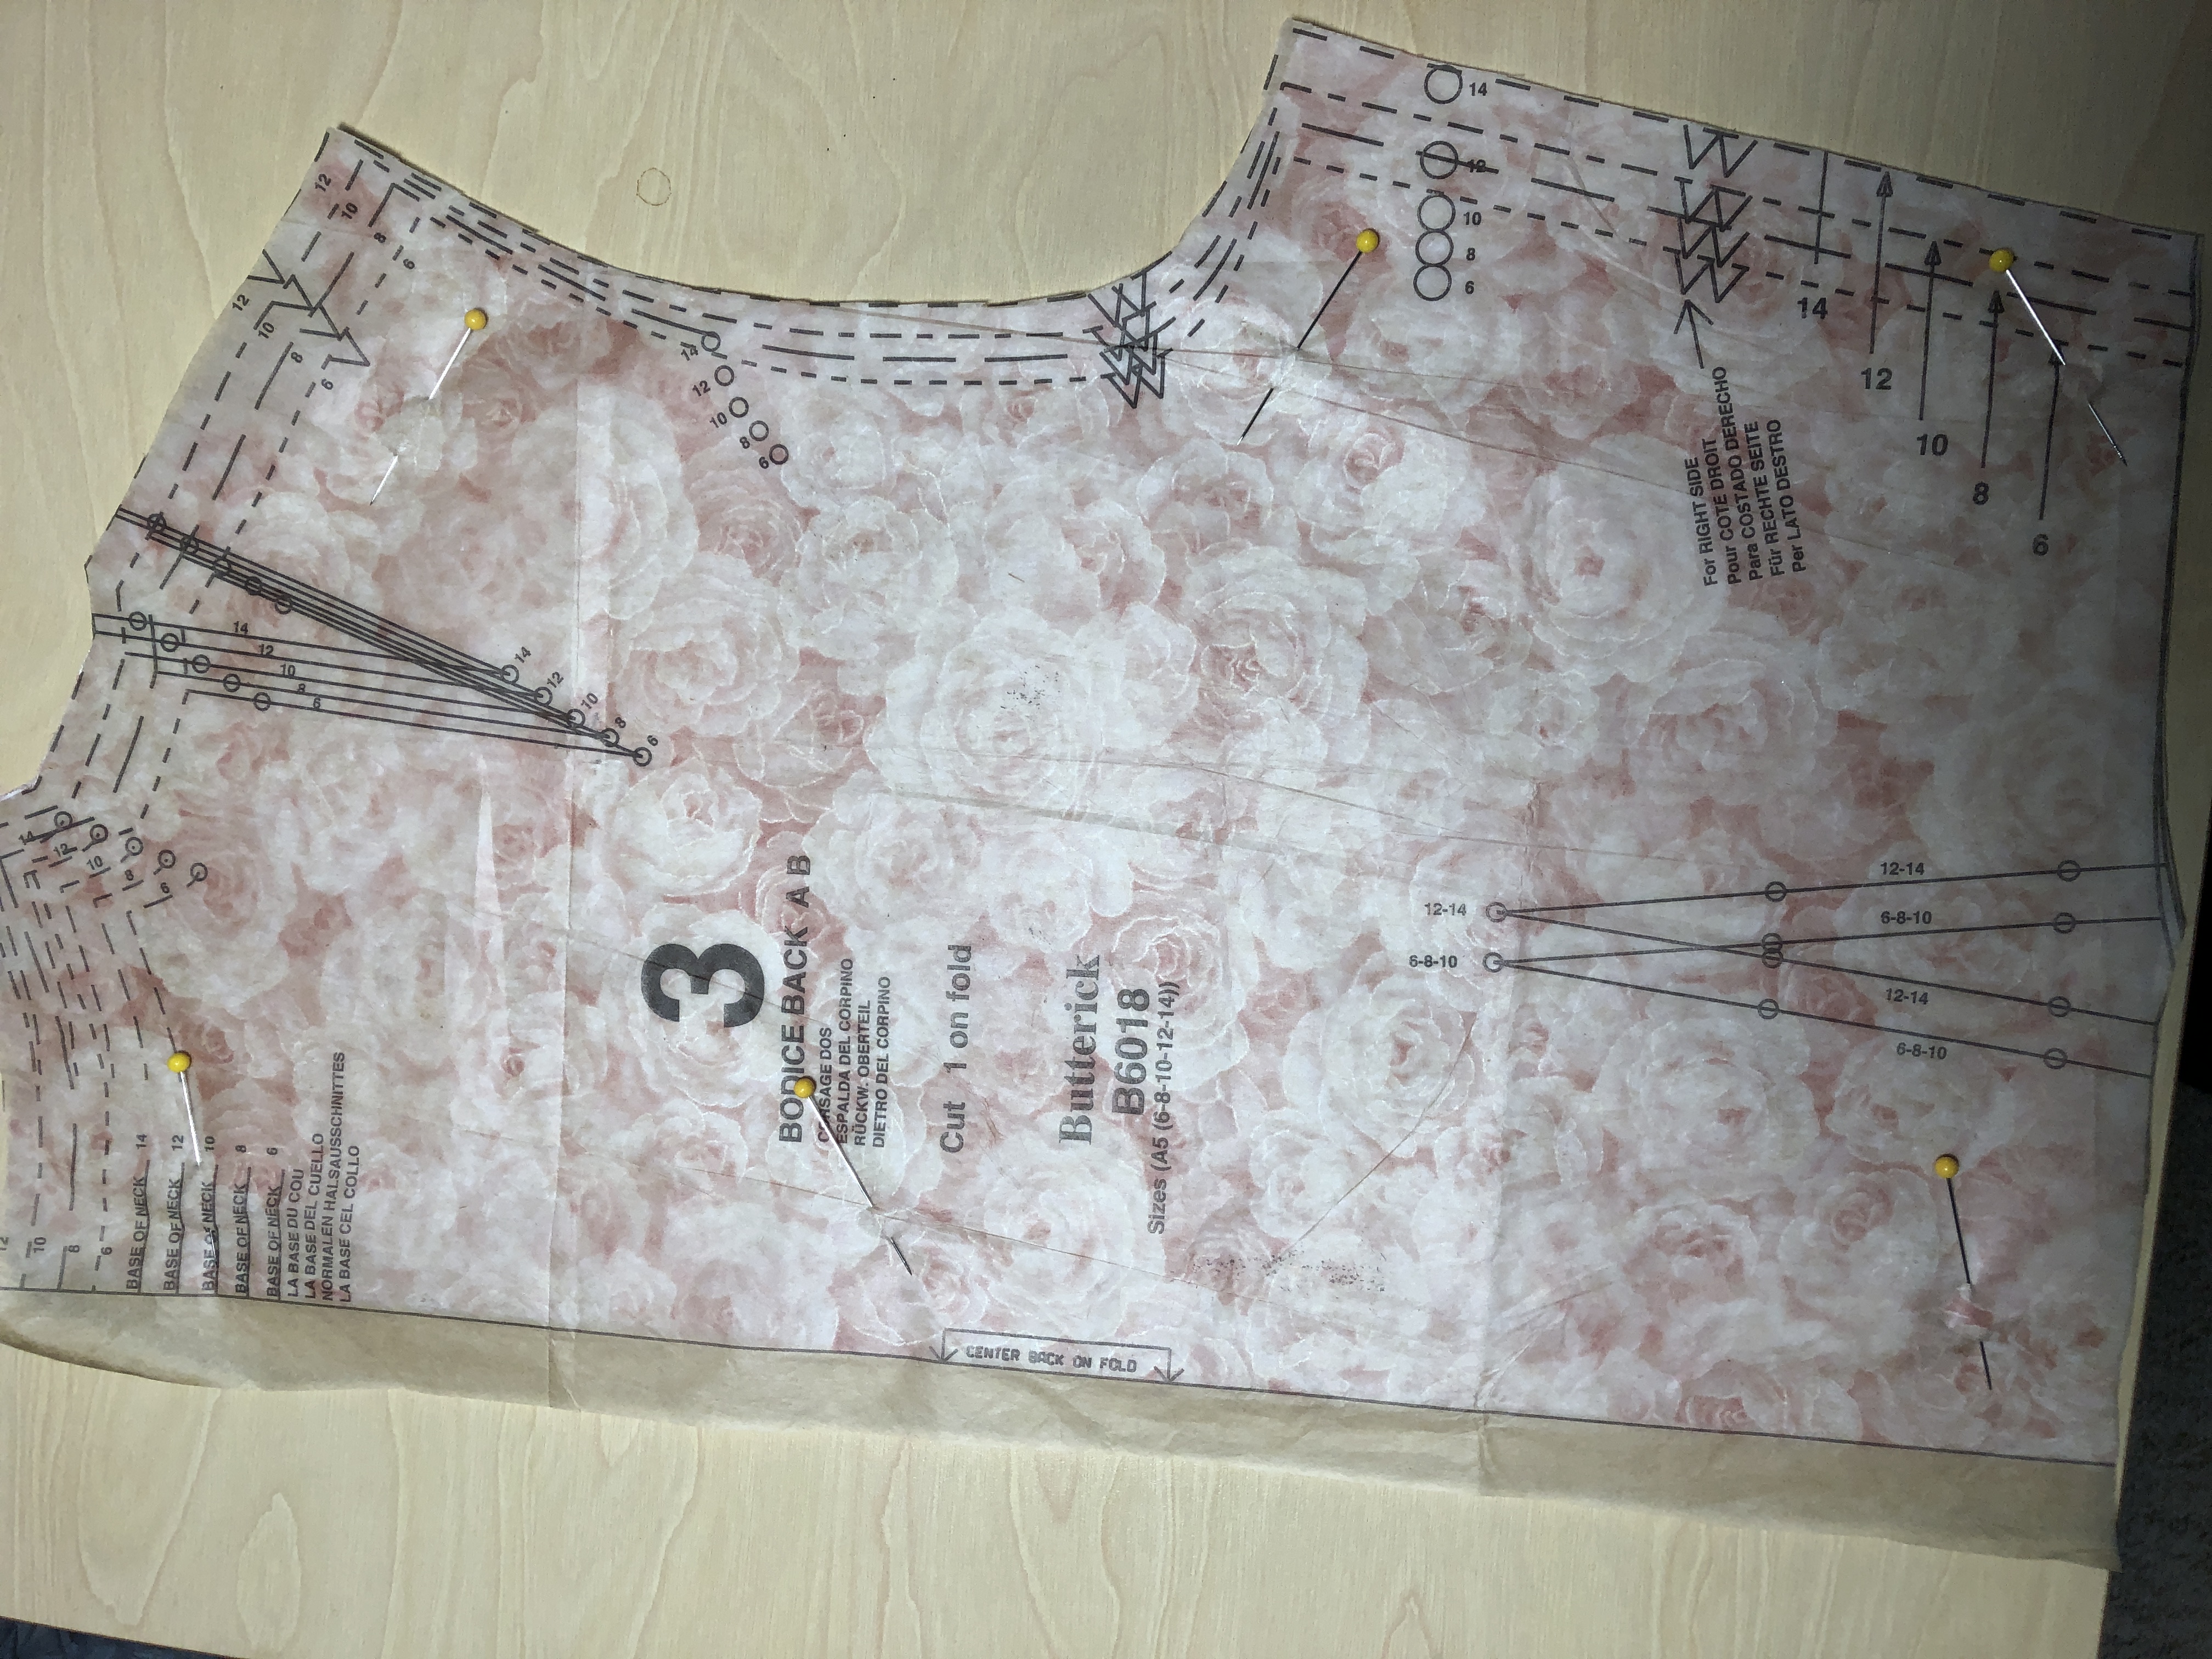
This is the pattern we chose:
I was convinced I could just read the pattern, follow the directions, and whip out a dress! HA! This project brought back so many memories of my high school Home Economics classes…my teachers would be so proud that I actually did it! (Thank you, Mrs. Shaffer and Mrs. Krause!)
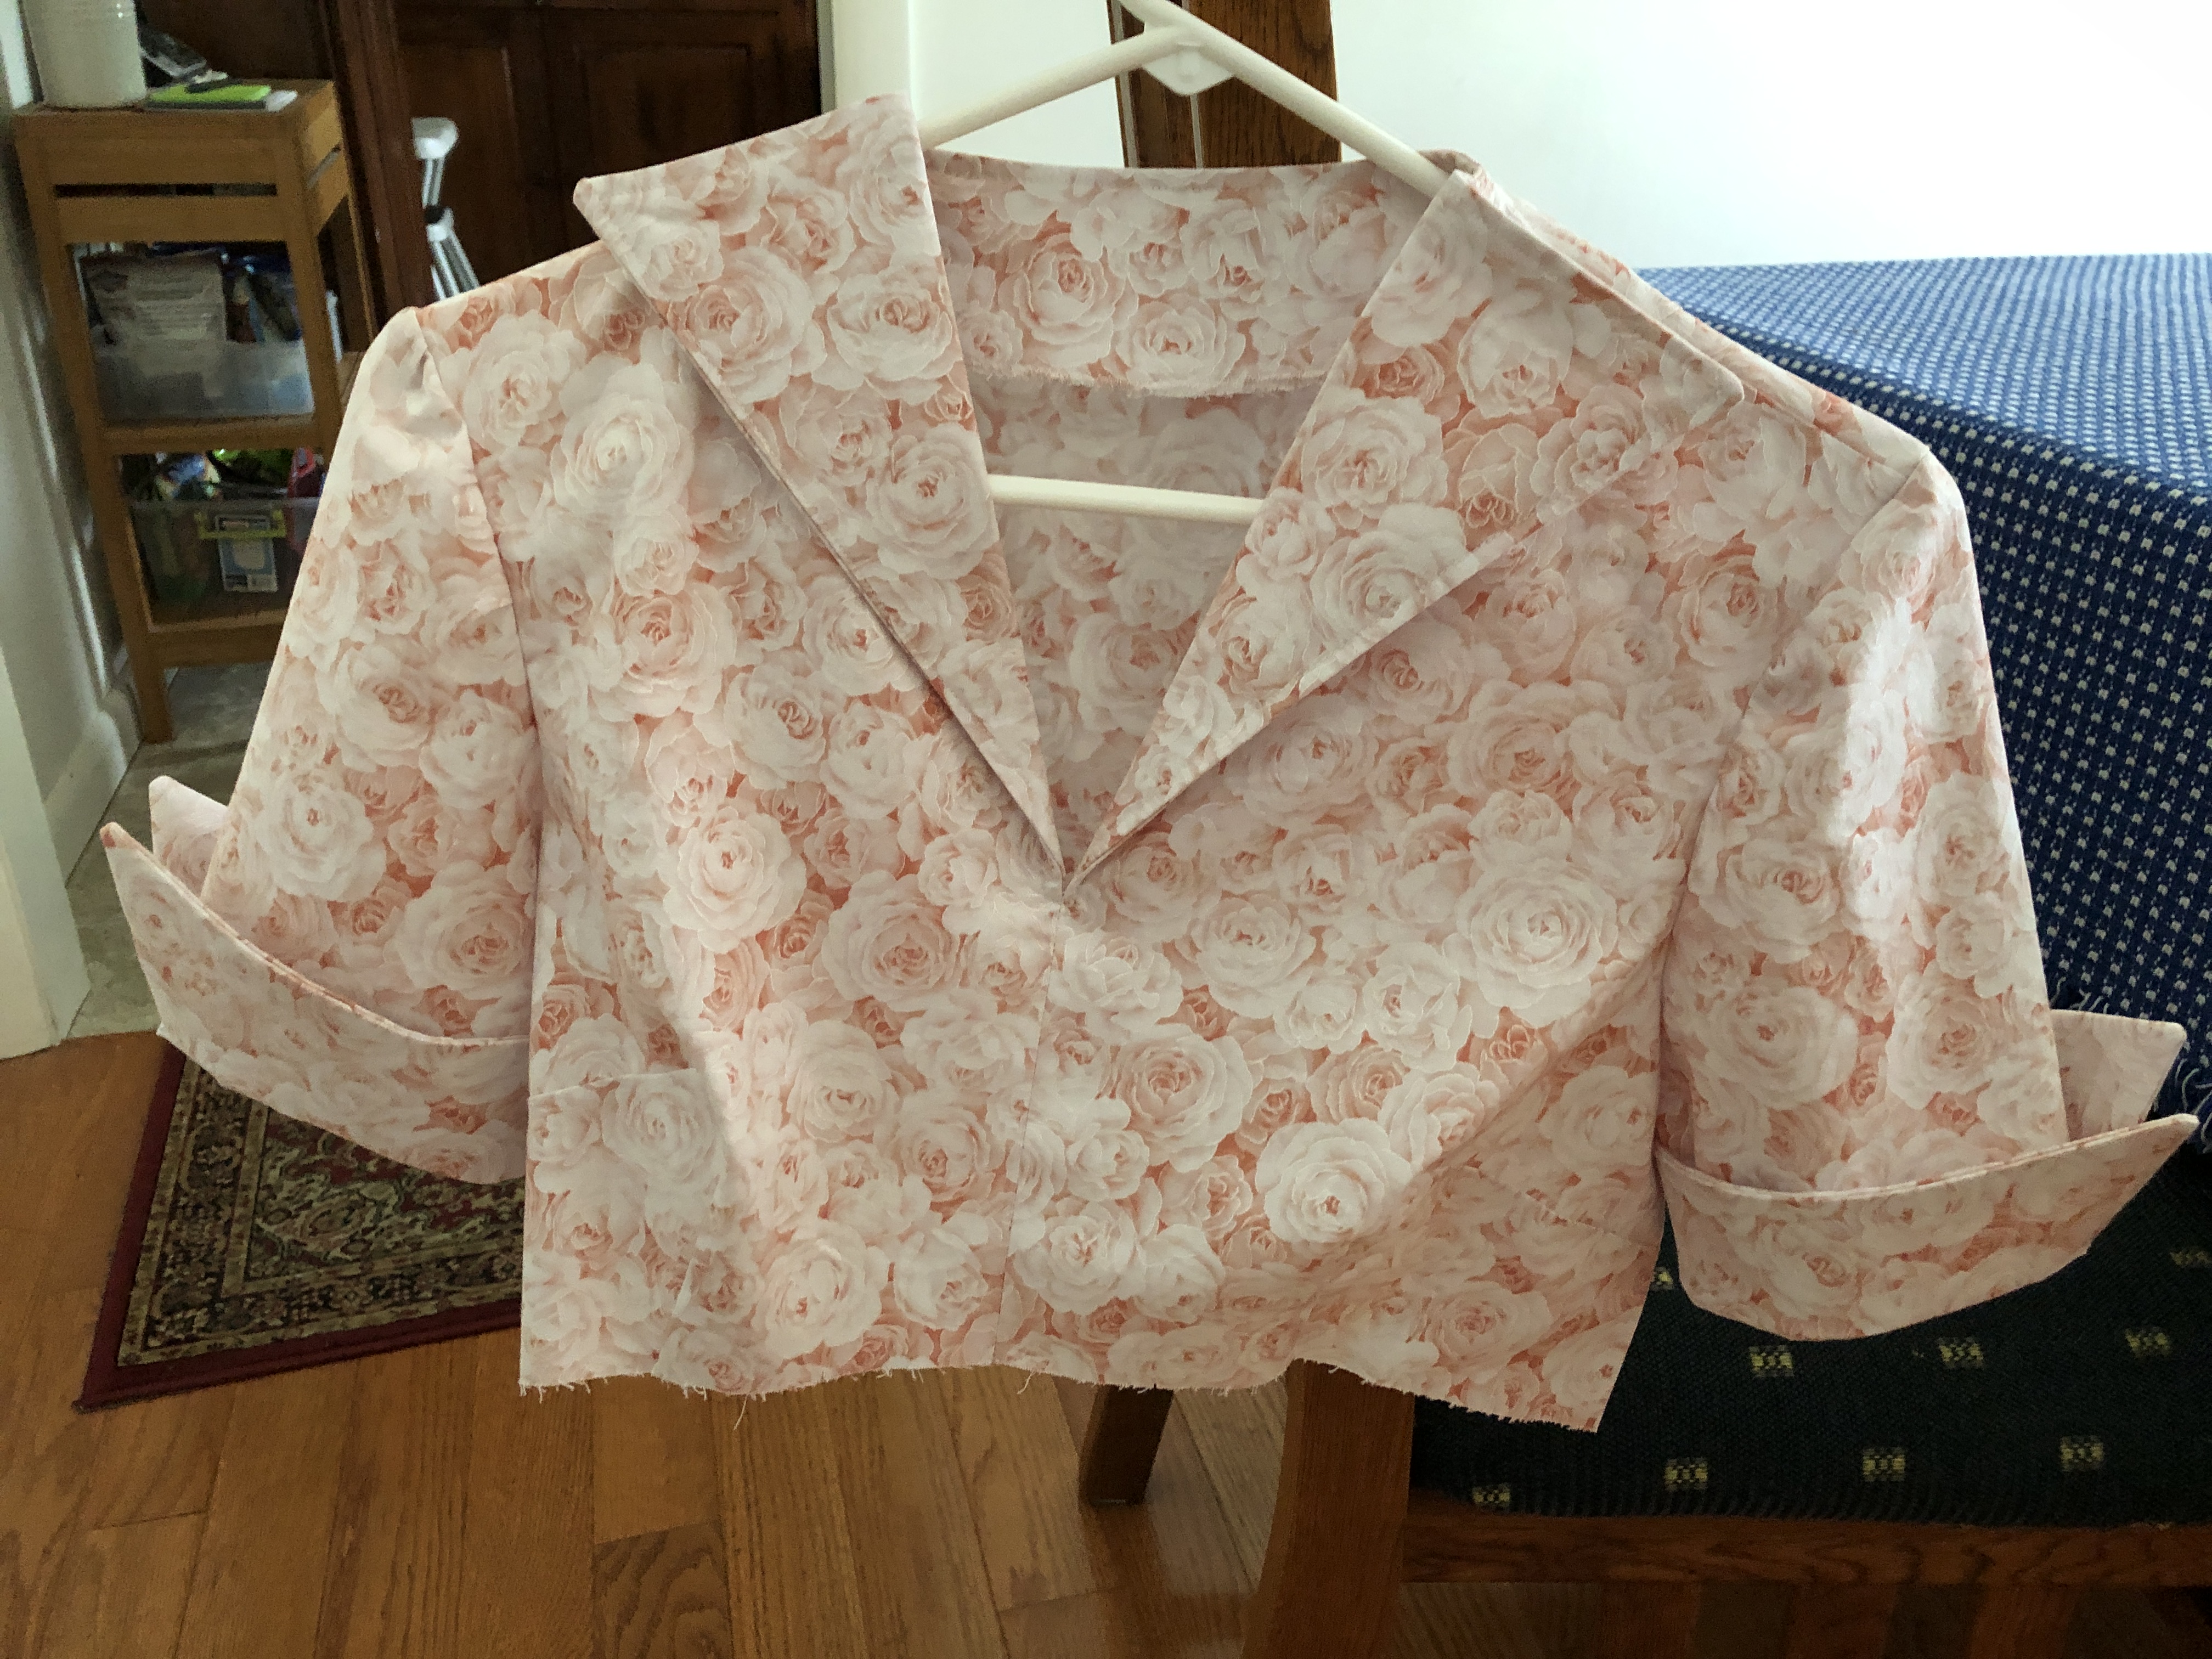
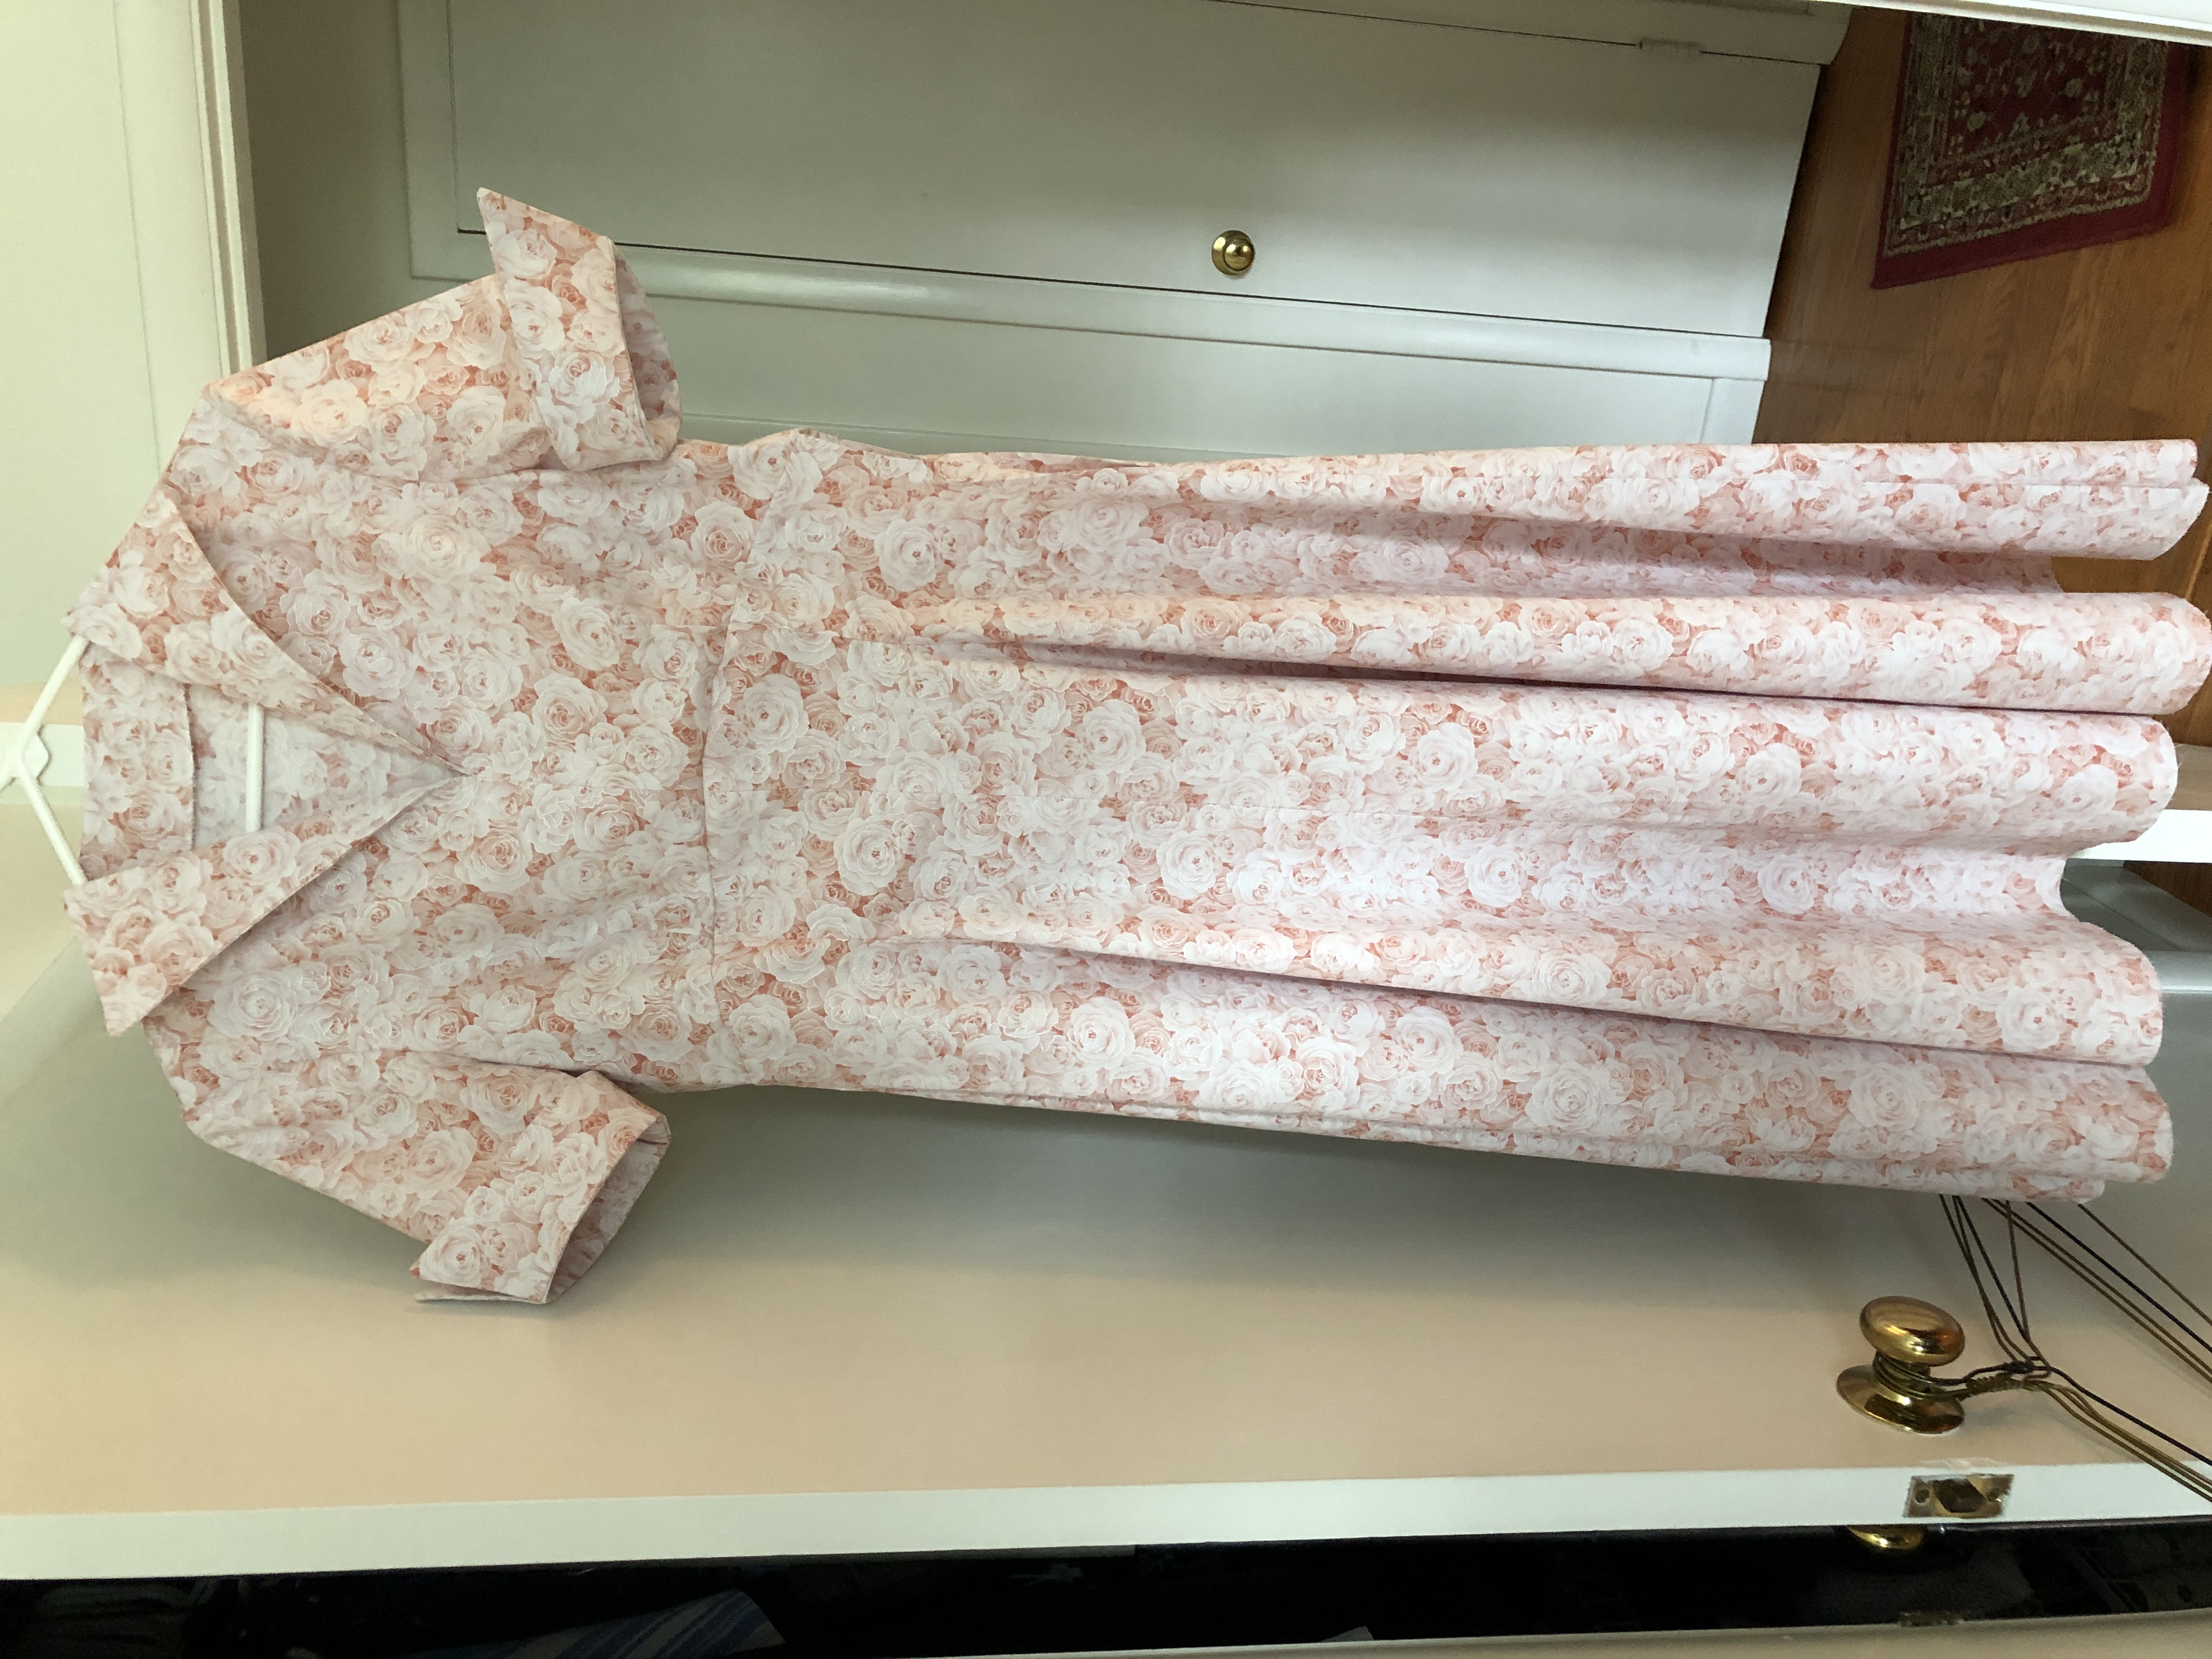
I think it turned out pretty well…hopefully it will fit when it gets to California! Here is the final dress (looks kind of flat without a body in it!).
Some very basic differences in sewing a dress in the style of the 1950s compared to today:
Fabric choices…suggested fabrics were light to medium weight woven fabrics like broadcloth, linen and taffeta. This means no extra stretch and the final dress will definitely need a hot iron! Does my granddaughter even know how to iron?
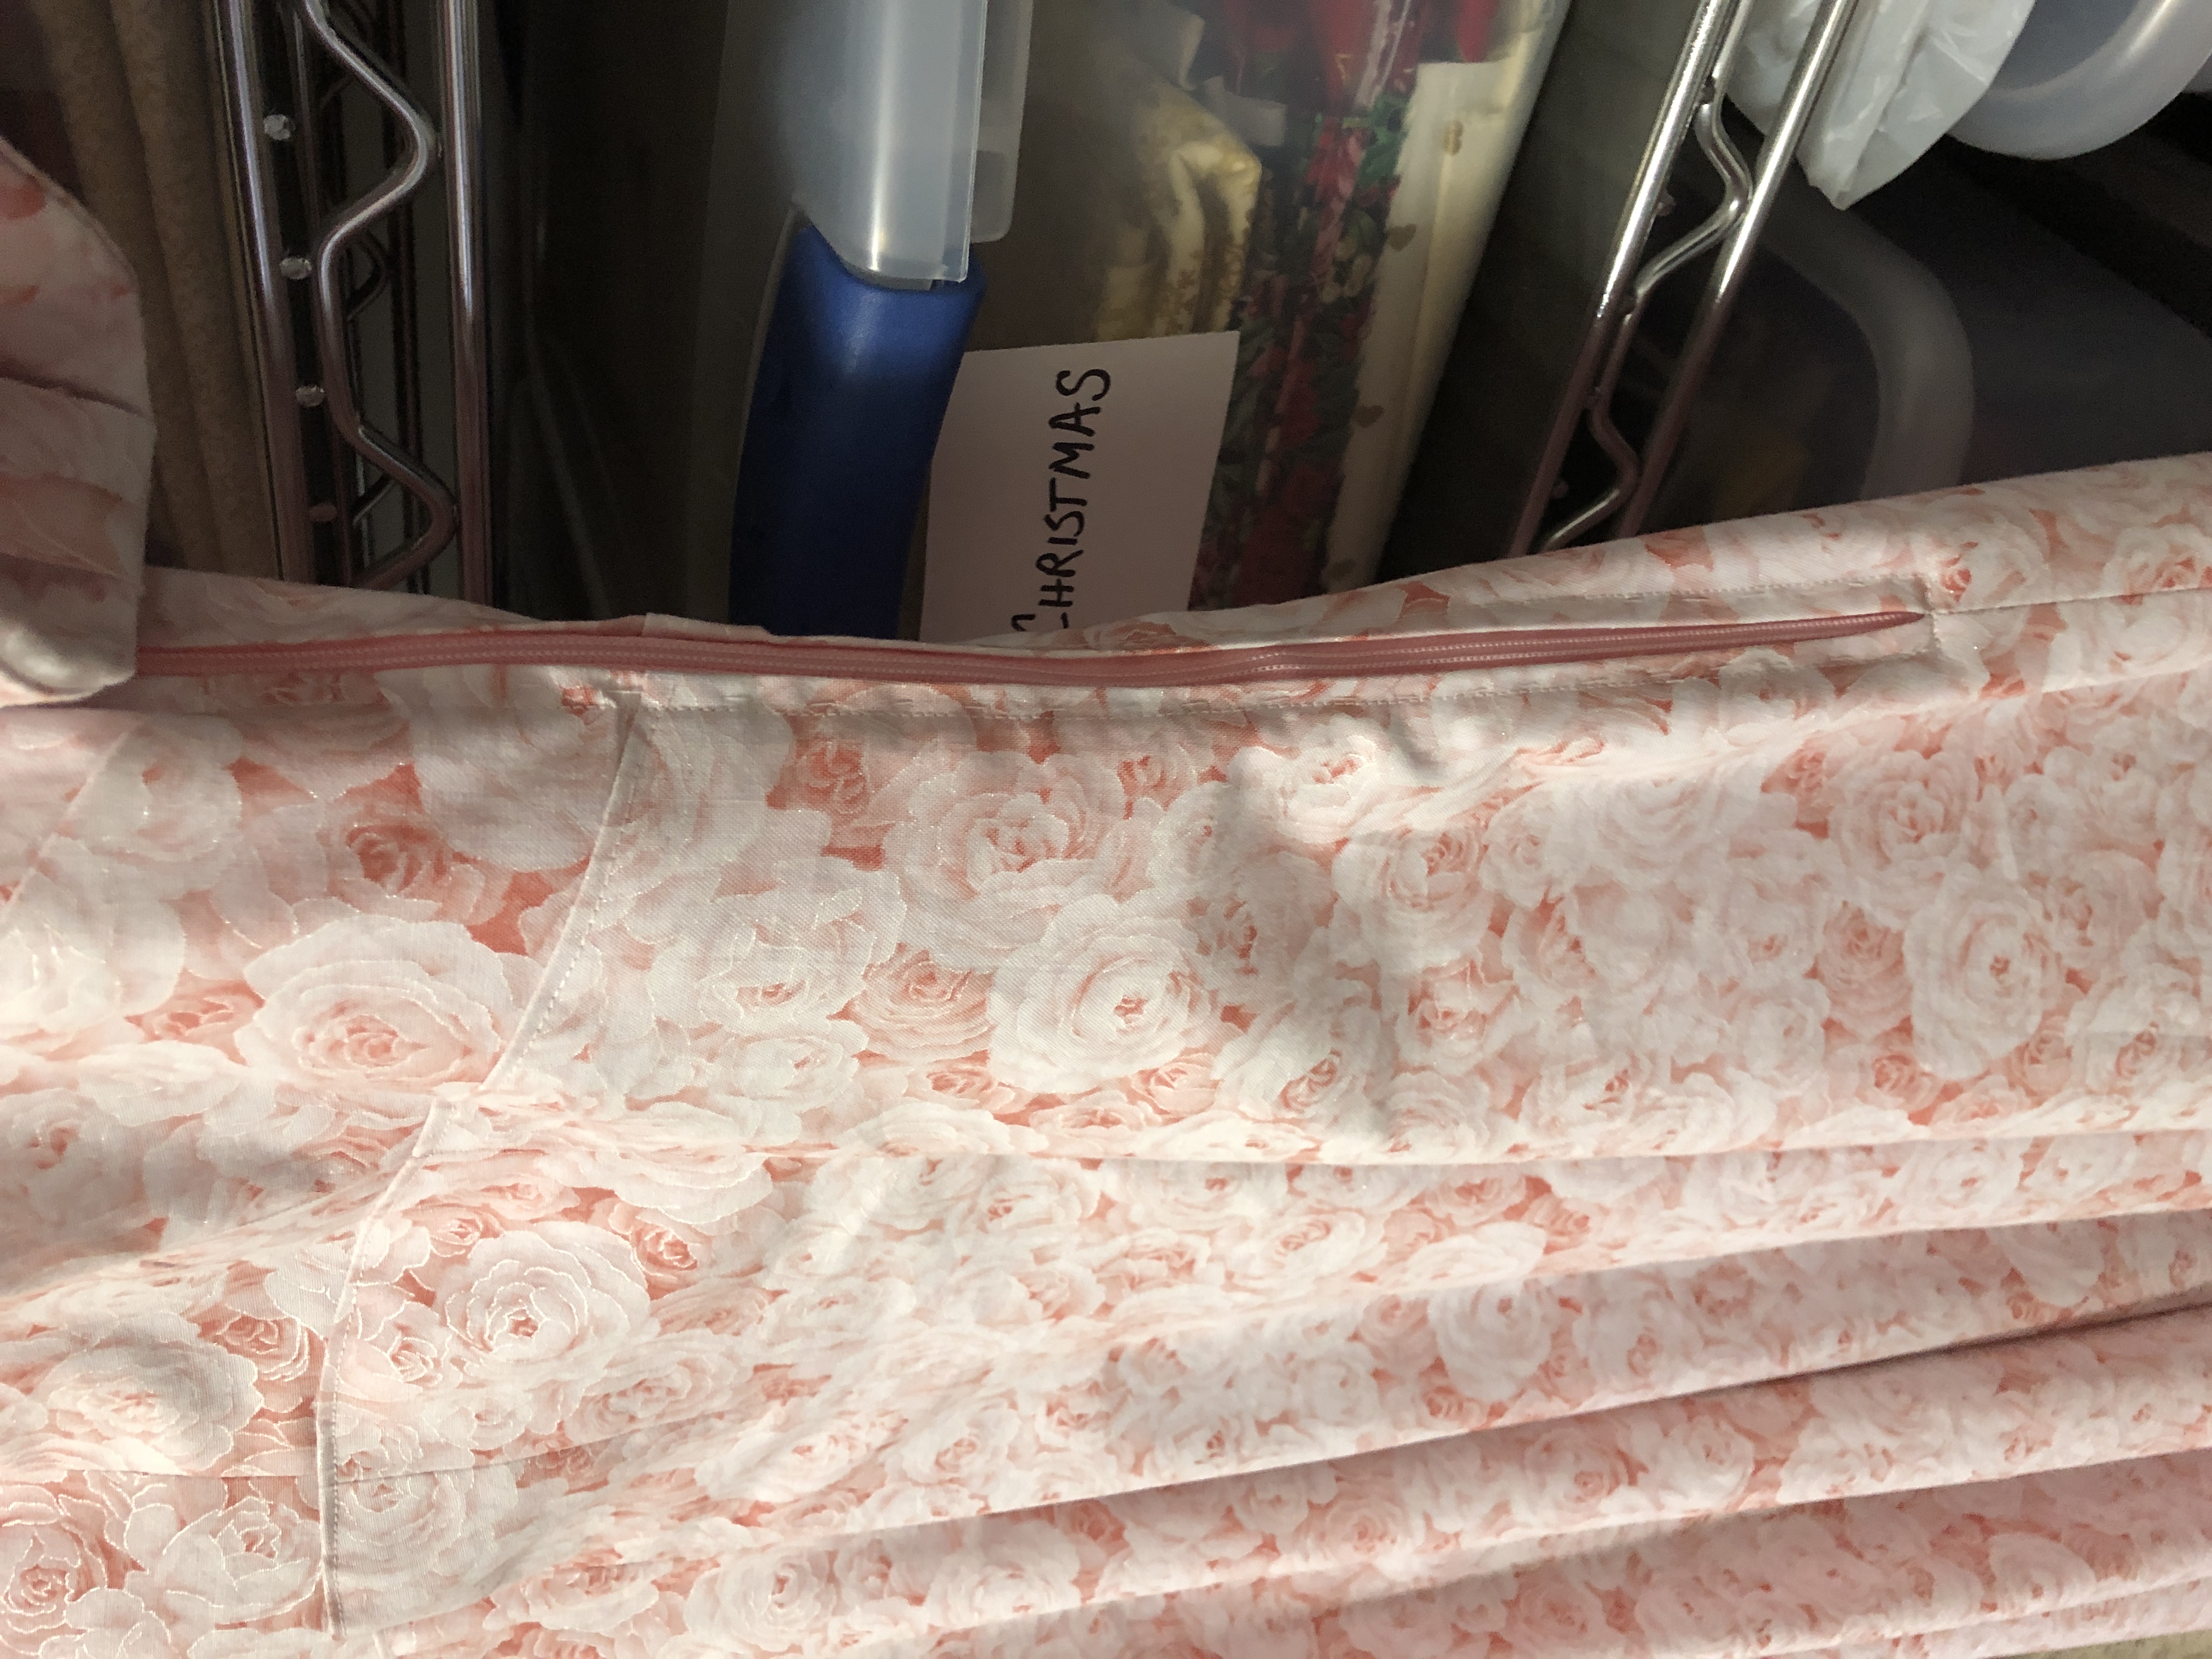
Side zipper…I had forgotten about the zipper tucked under the armpit! The pattern had pretty good instructions but it still took me two tries to get it right! (Gee, I hate to rip out stuff!)
Fitted sleeves…just looking at the shape of the sleeve pattern told me it would be a restrictive sleeve. We are so spoiled with soft stretchy t-shirts!
Full skirt…making the hem a tedious half-day task by hand.
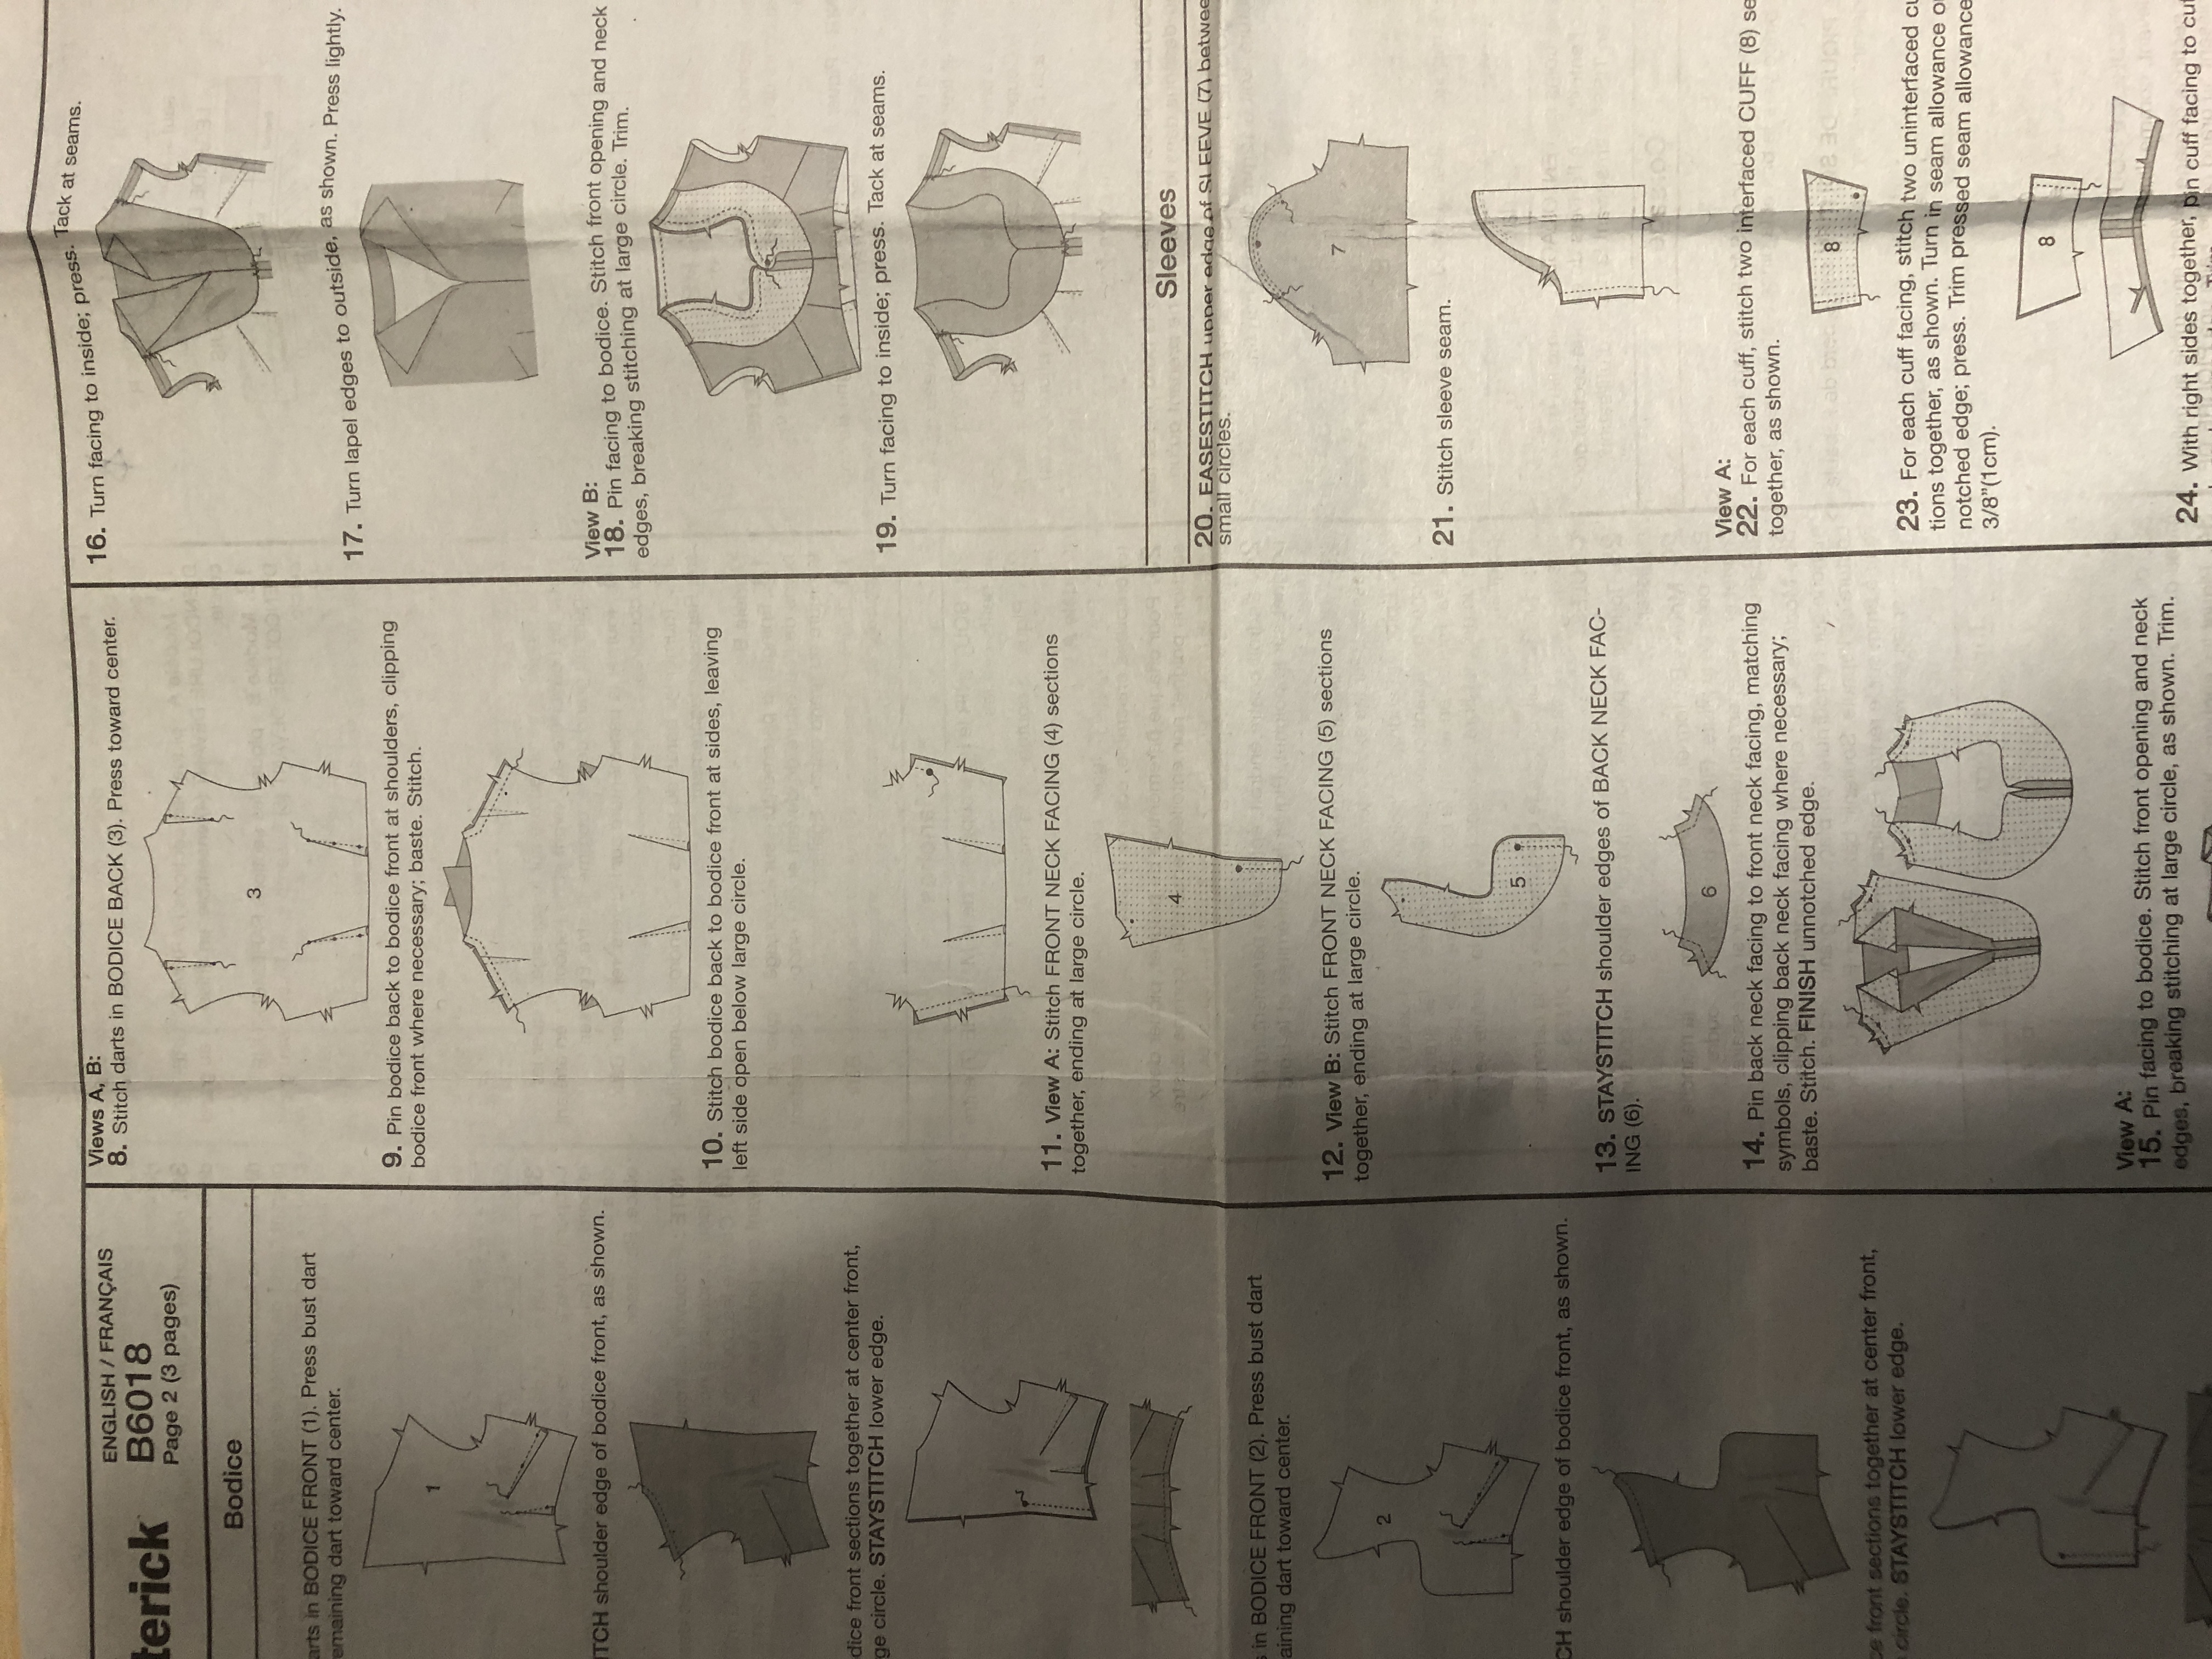
Complexity of the pattern itself…this pattern had 5 sizes in one, from size 6 to 14. To do that every pattern piece had 5 cutting lines, 5 sets of circles, etc.
Cutting Out the Dress
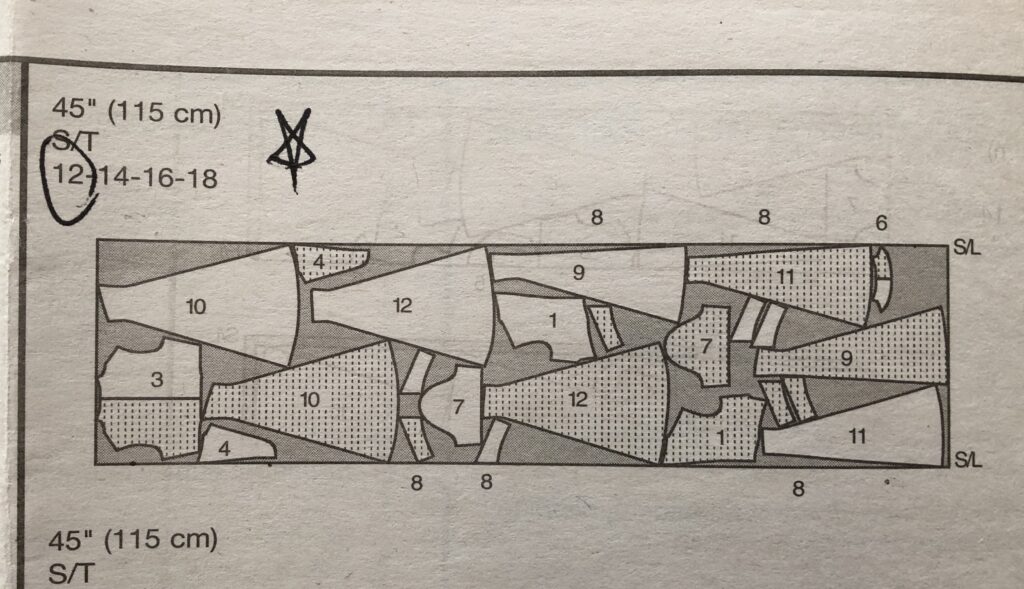
I cut out the dress on a day when I had no distractions. The suggested layout was intimidating:
This layout had me cutting out each piece in a single twice and after stewing about this, I went back to JoAnn’s and bought another yard of fabric so I could do it my way. I just knew I would forget to flip each piece.
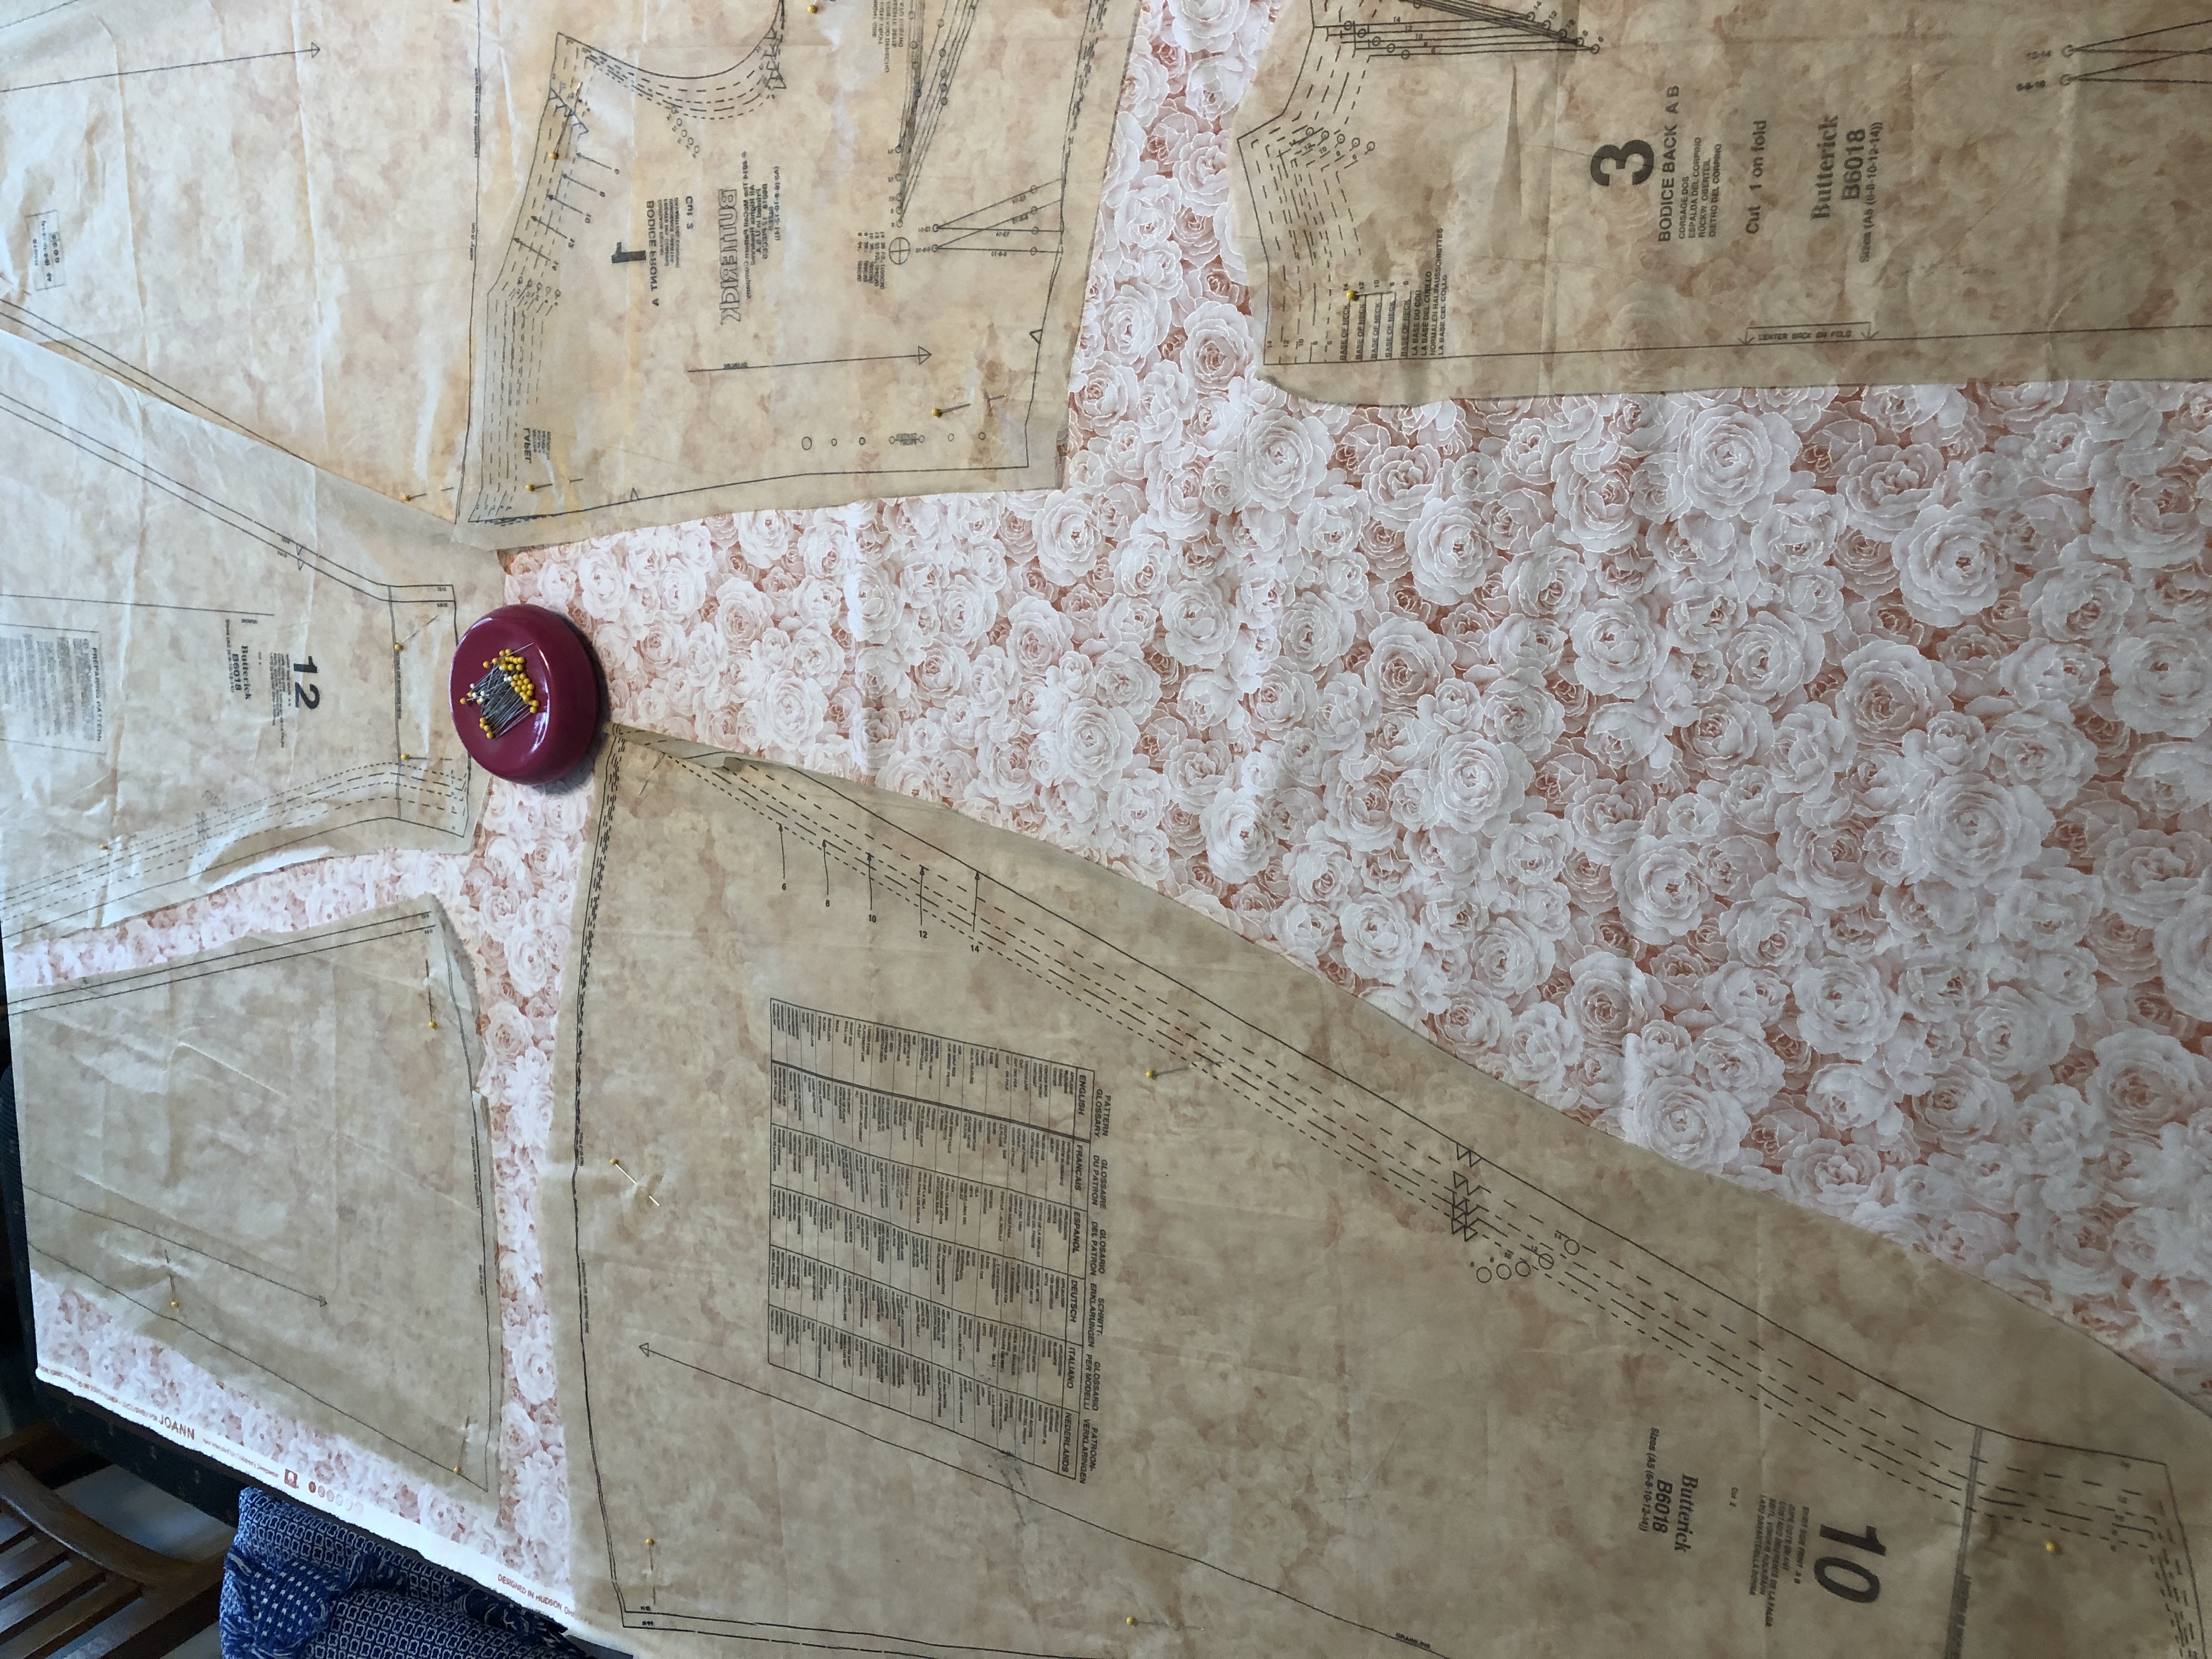
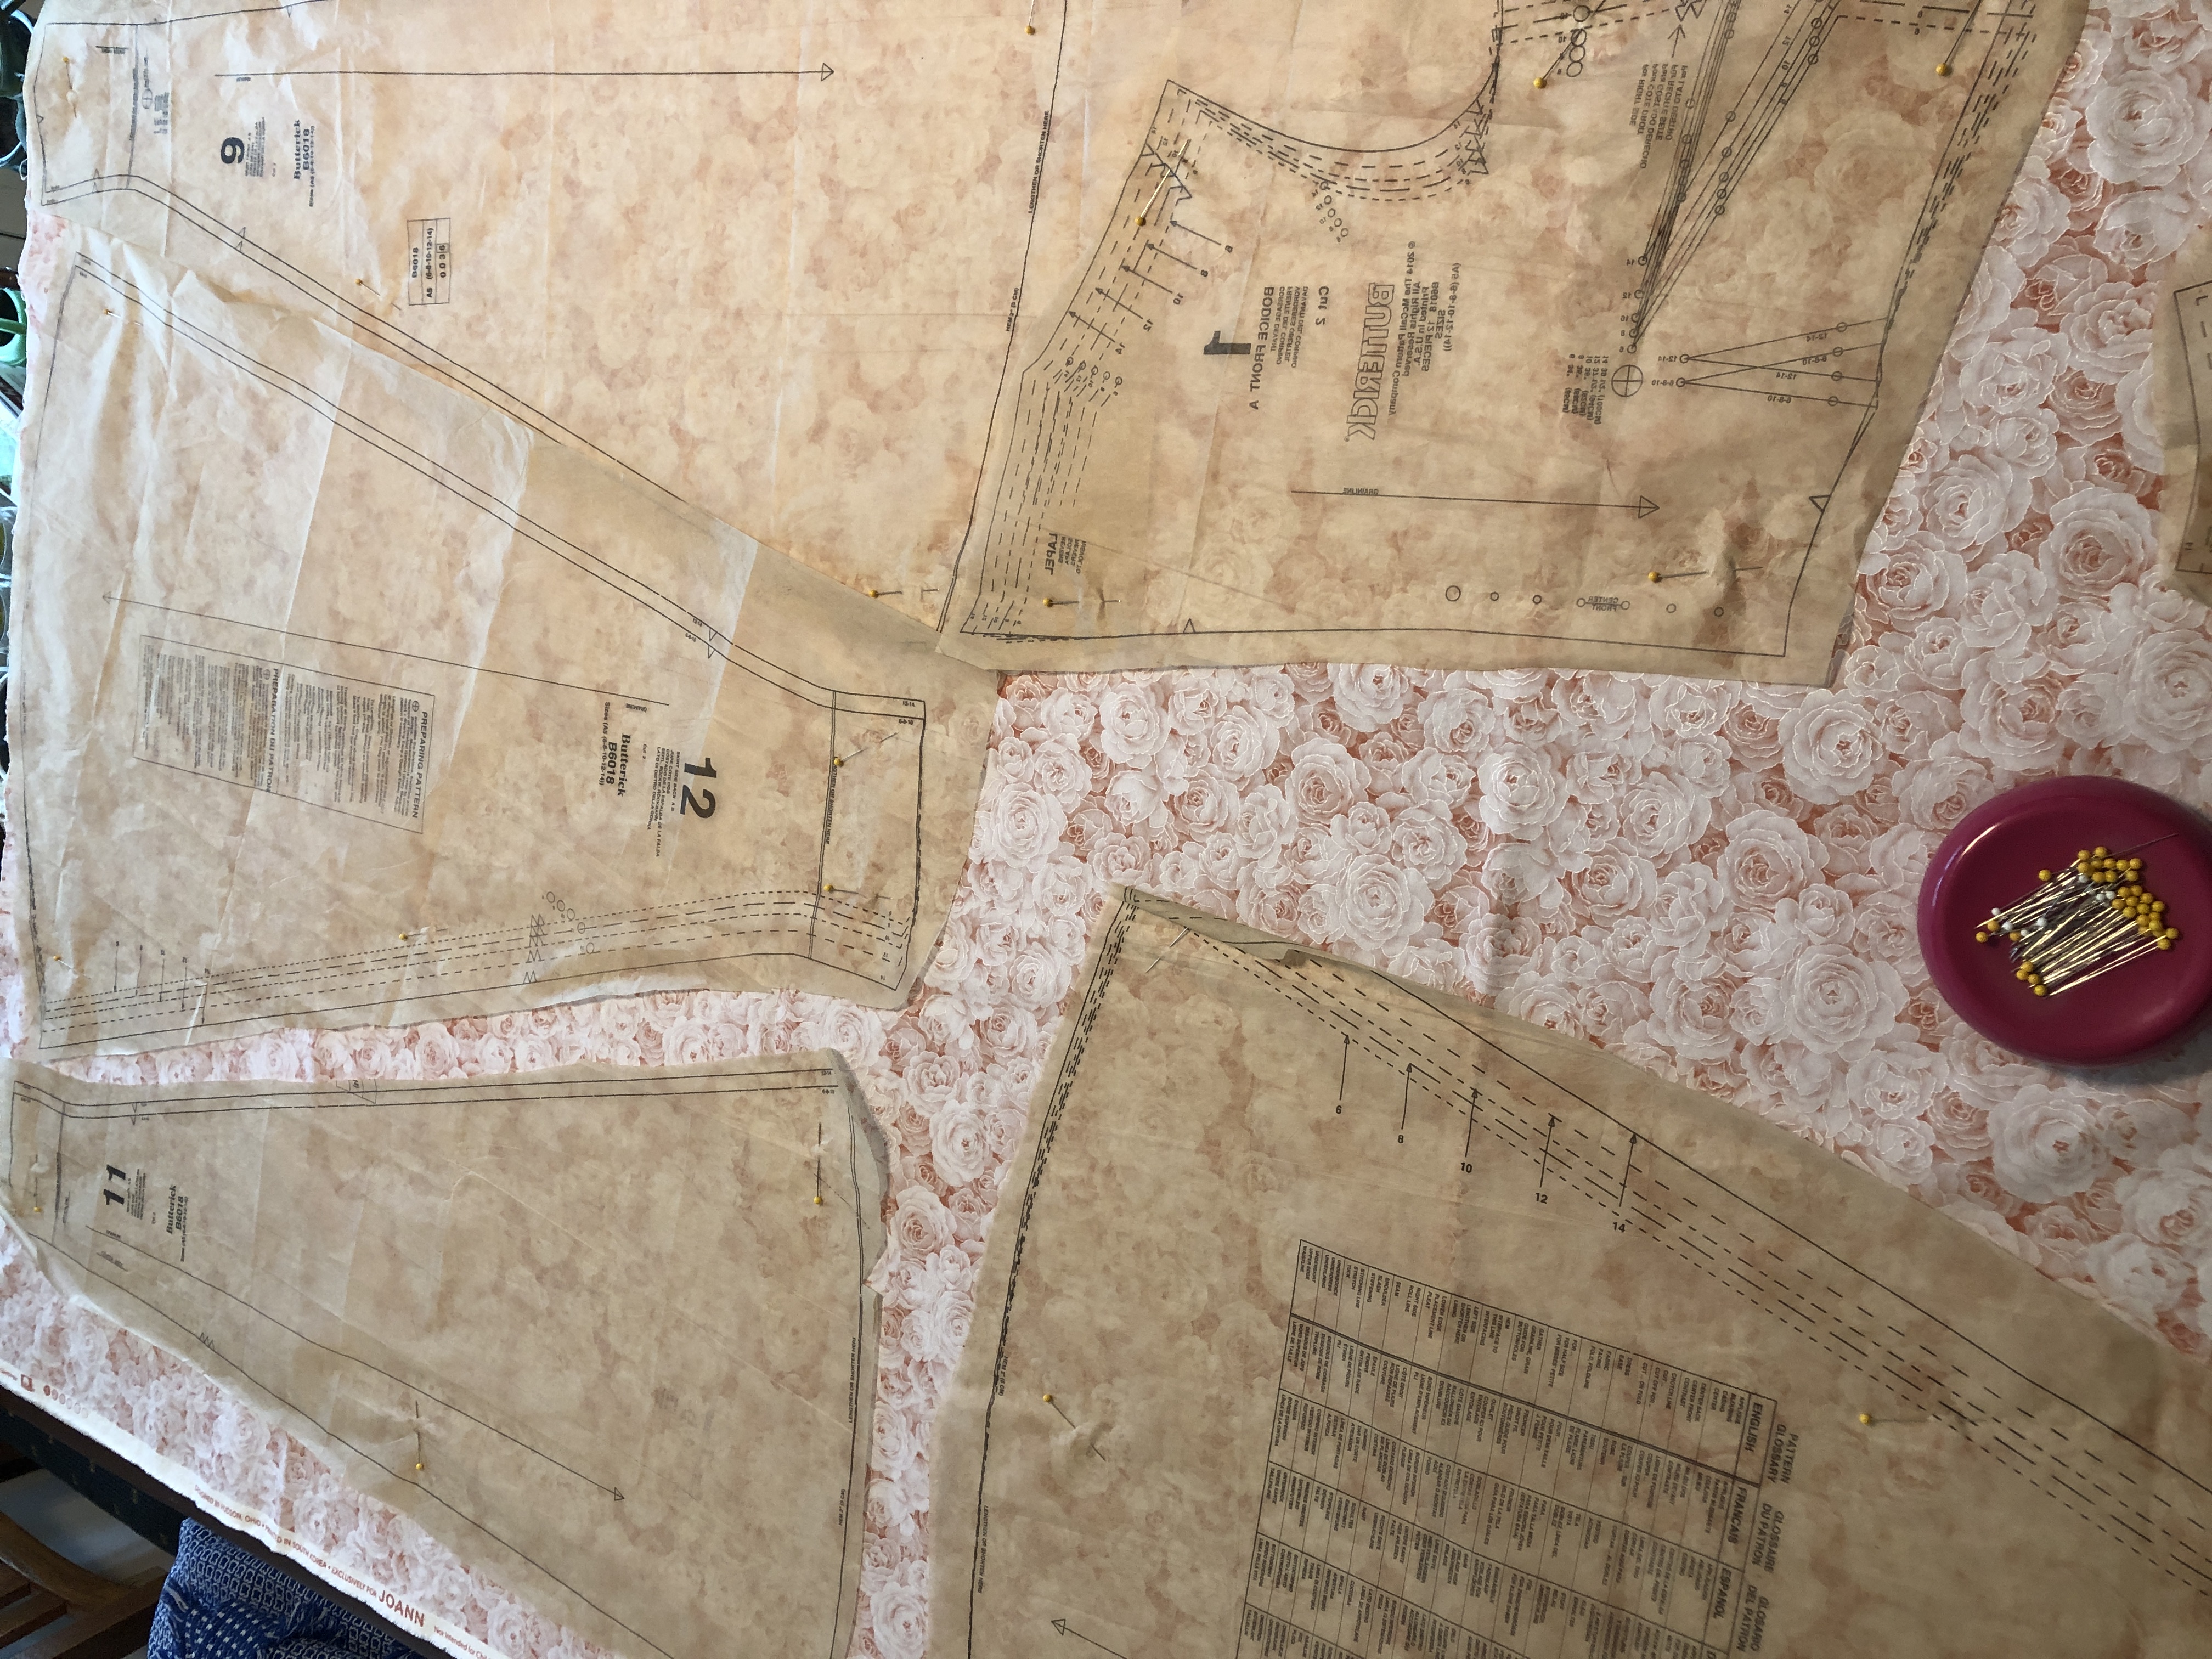
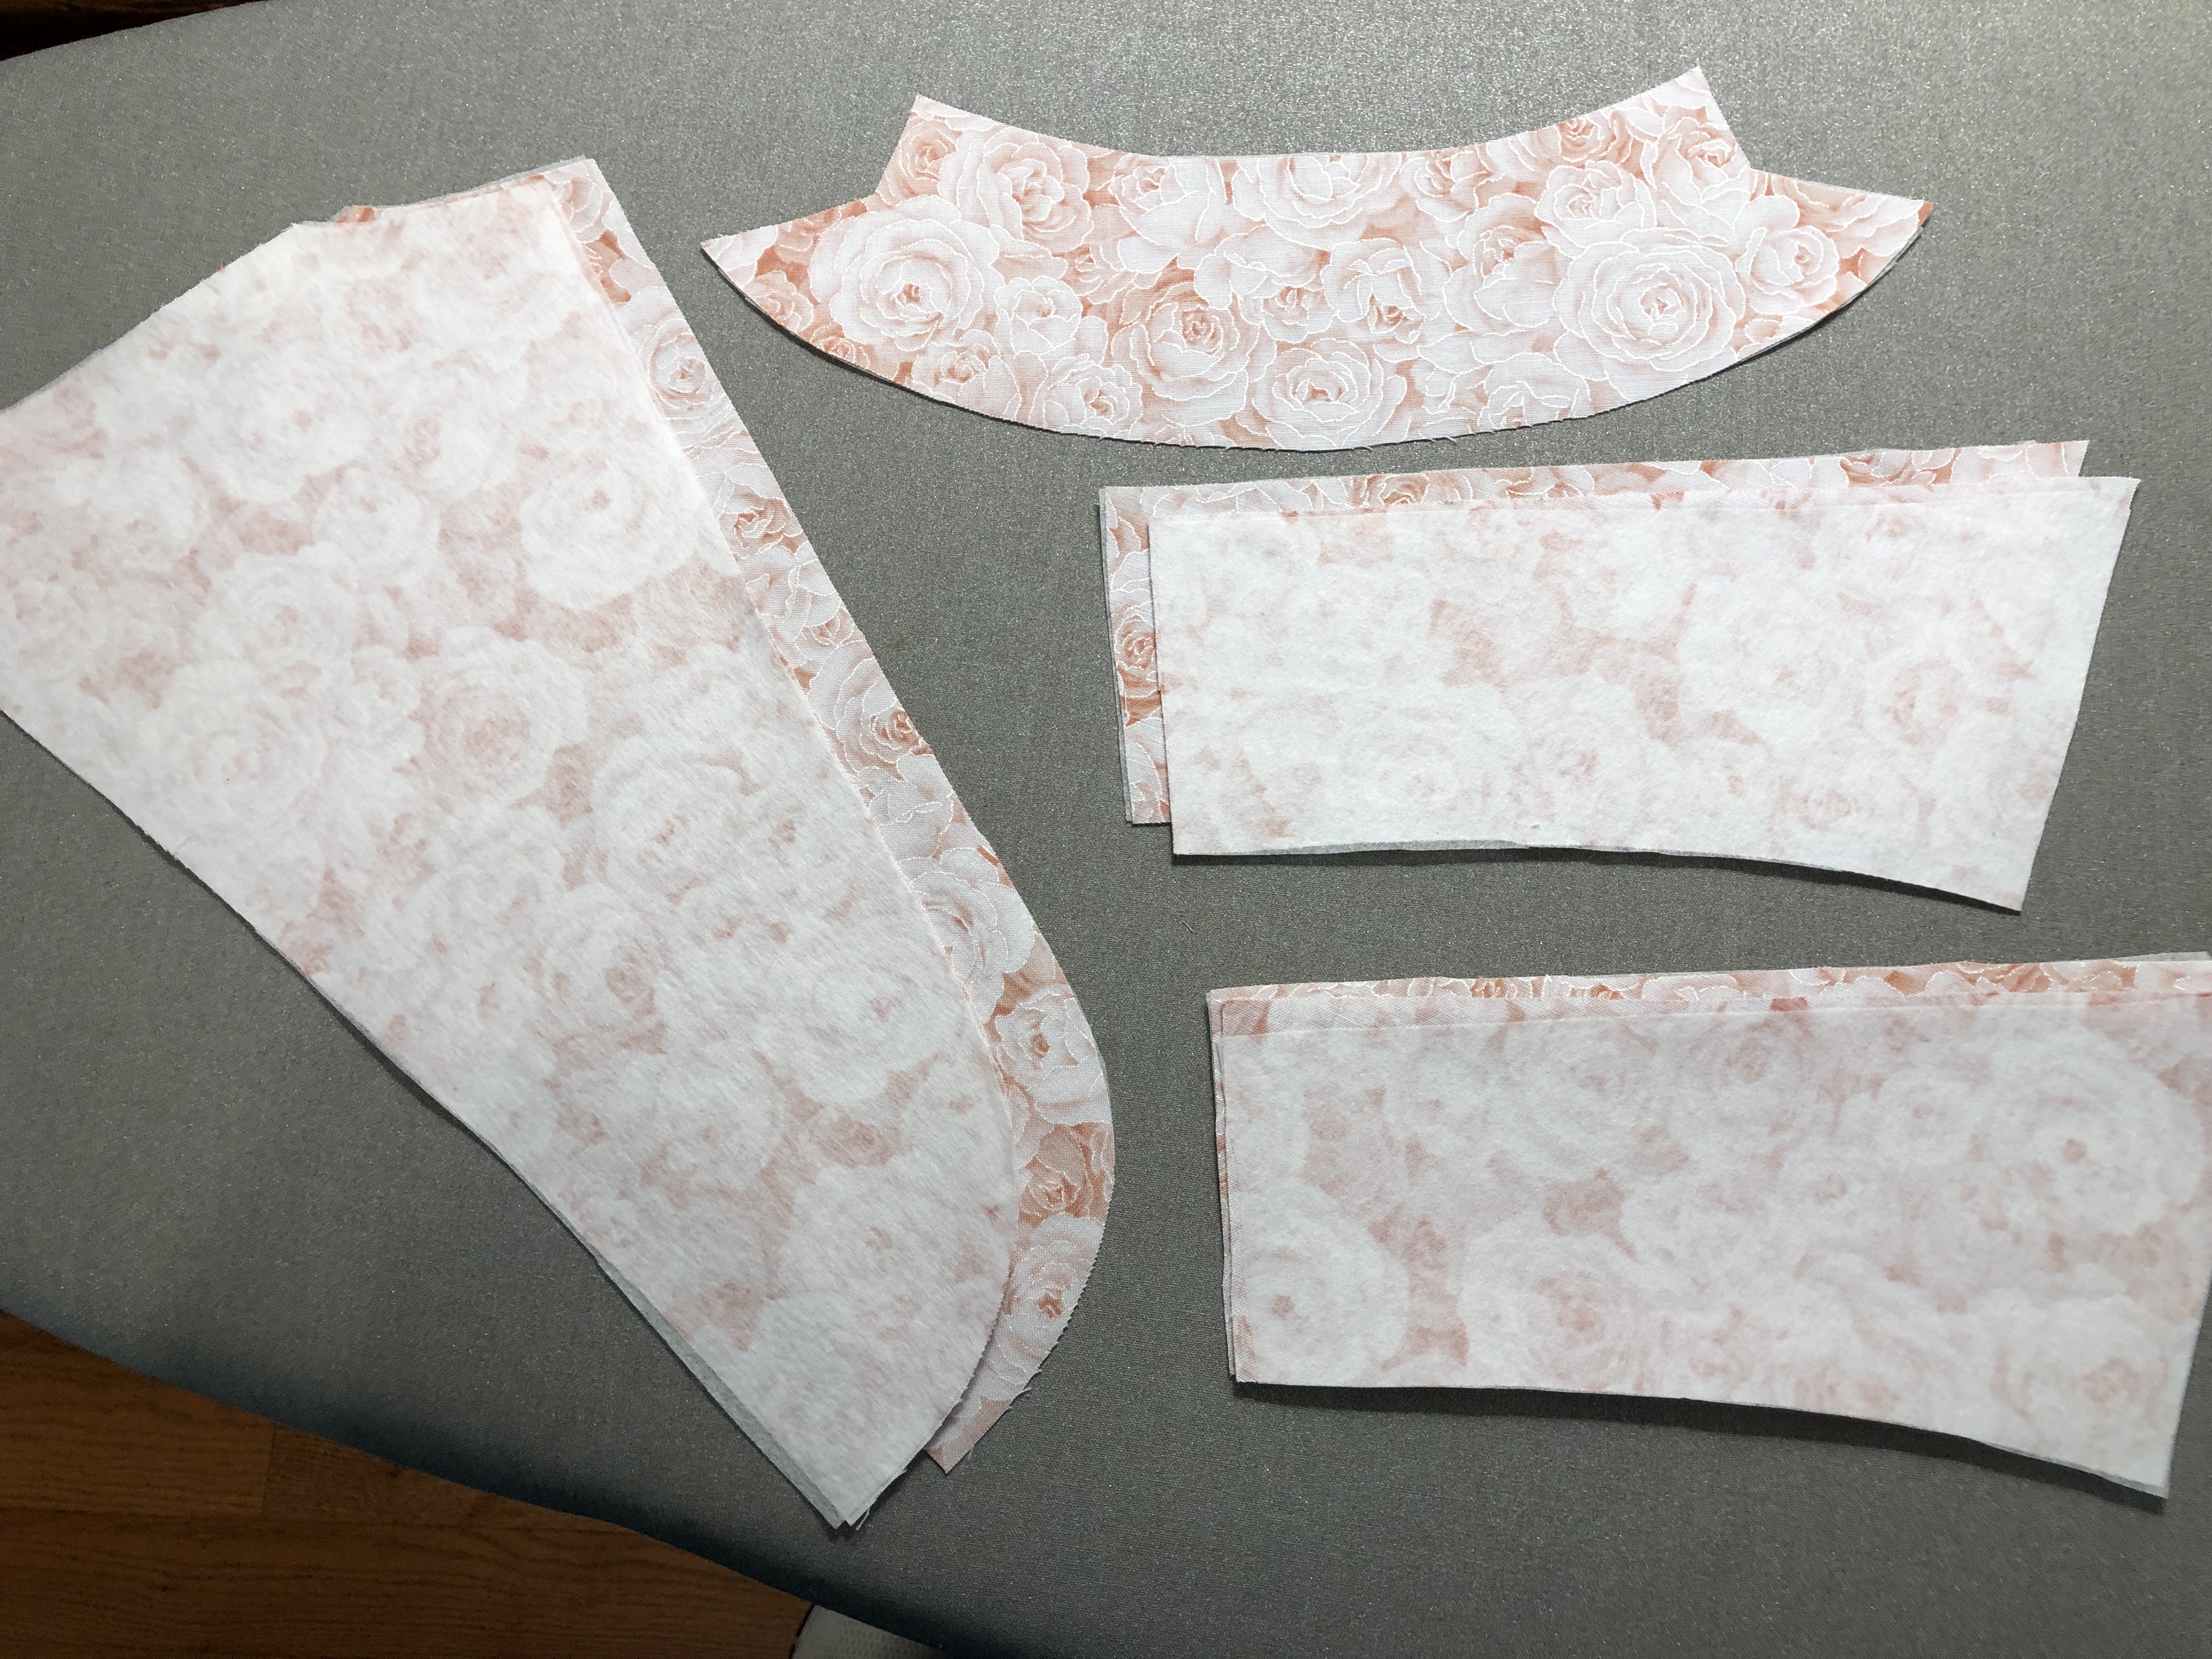
I folded the full width fabric in half and cut two of each piece at once so I was sure to have matching pieces. The extra yard I used to cut out all the little pieces, like the collar, cuffs, facings and sleeves. The length and shapes of the skirt pieces limited my choices of placement on the fabric.
Once I had all the pattern pieces cut correctly, I kept them pinned together until I was ready to use the piece. Then I transferred the various markings (like darts and circles) with pins or a pencil. All the skirt pieces looked alike without the patterns, so I think that was a wise move.
Making the Dress
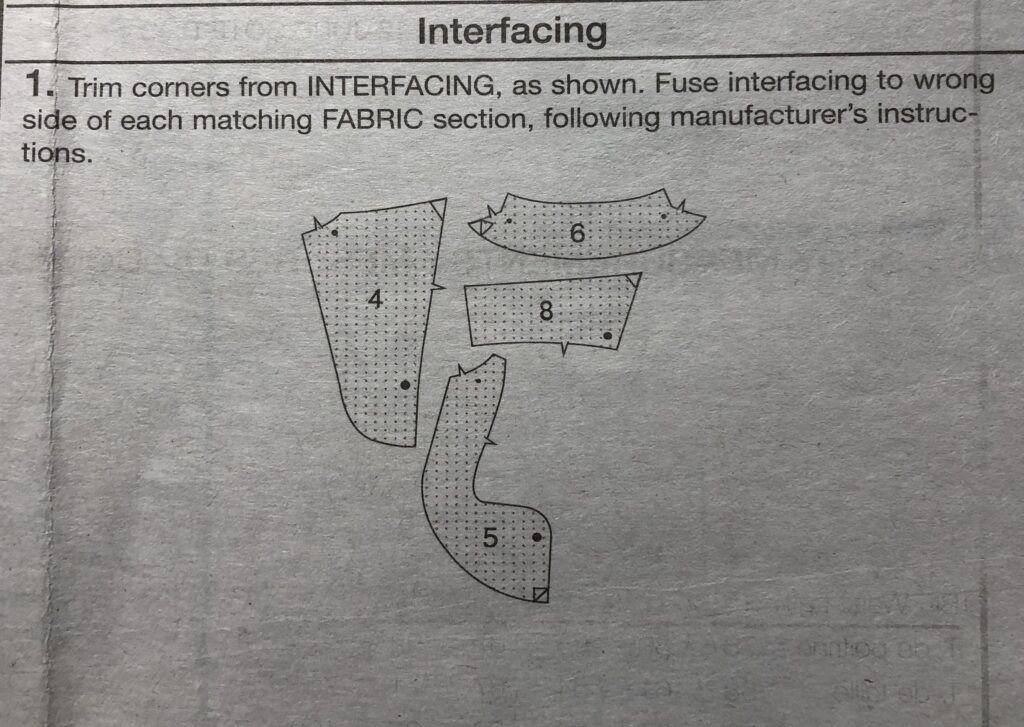
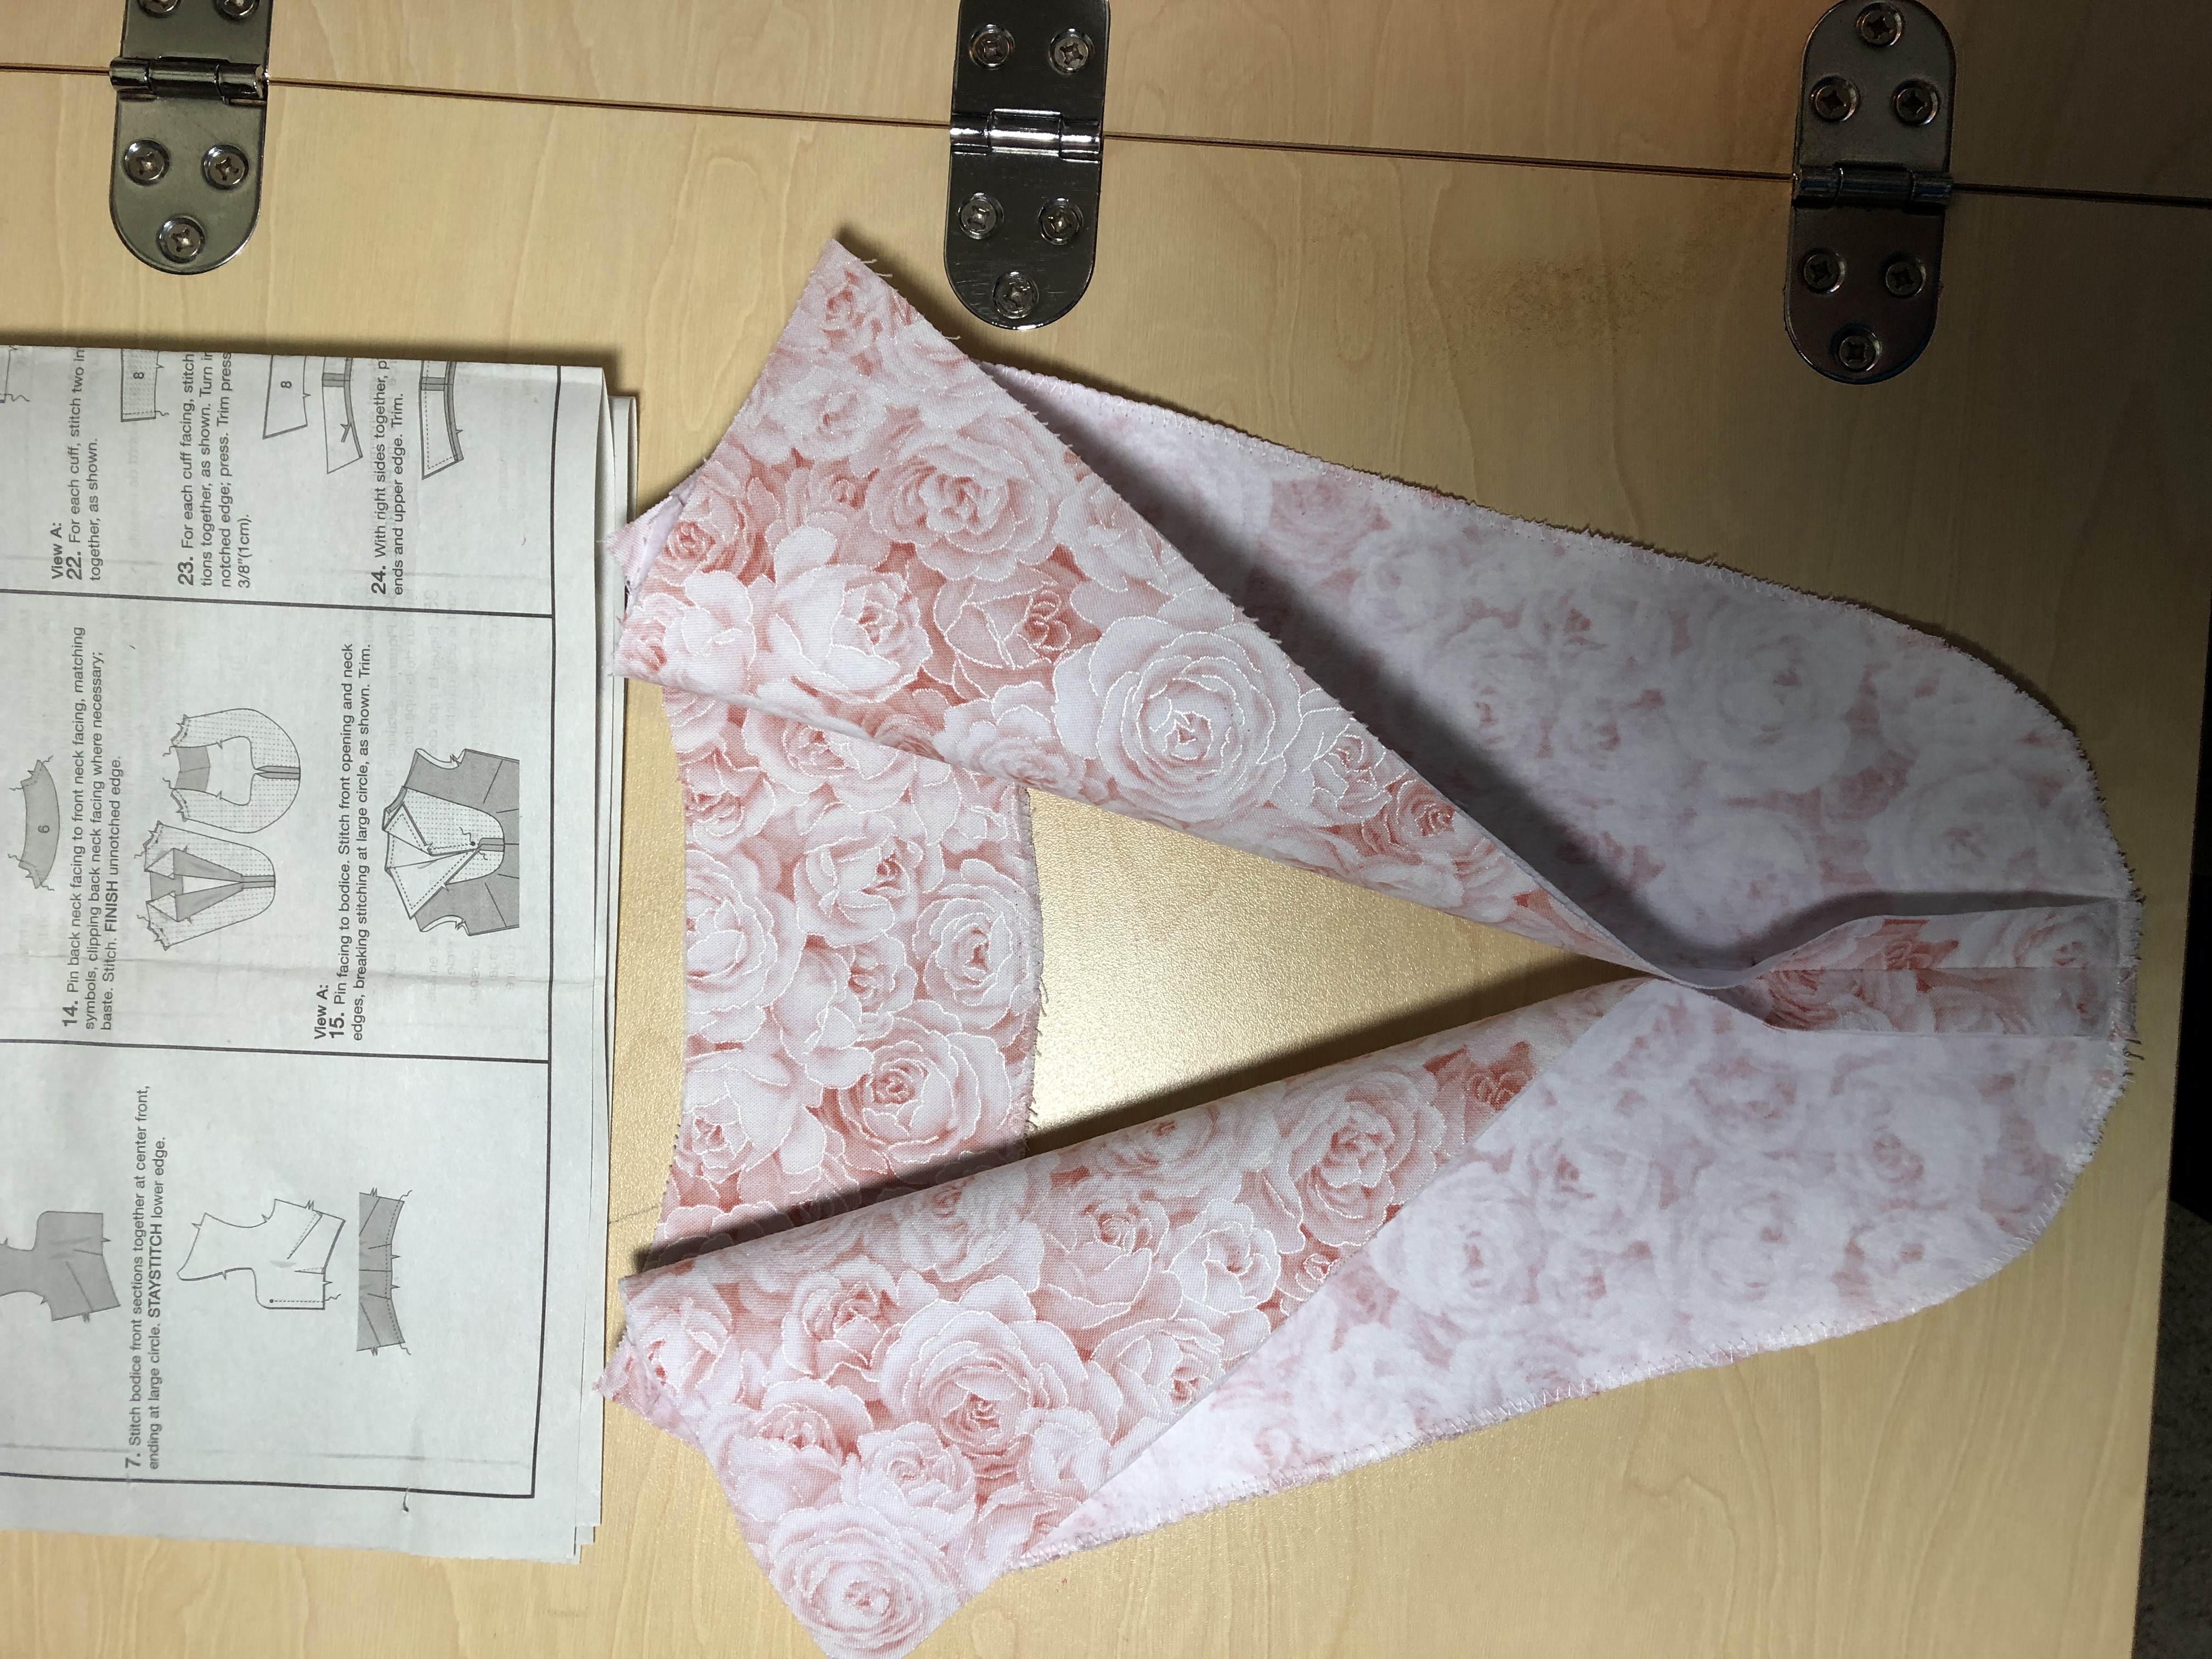
Step 1: Iron (fuse) the interfacing to neck facings and cuffs
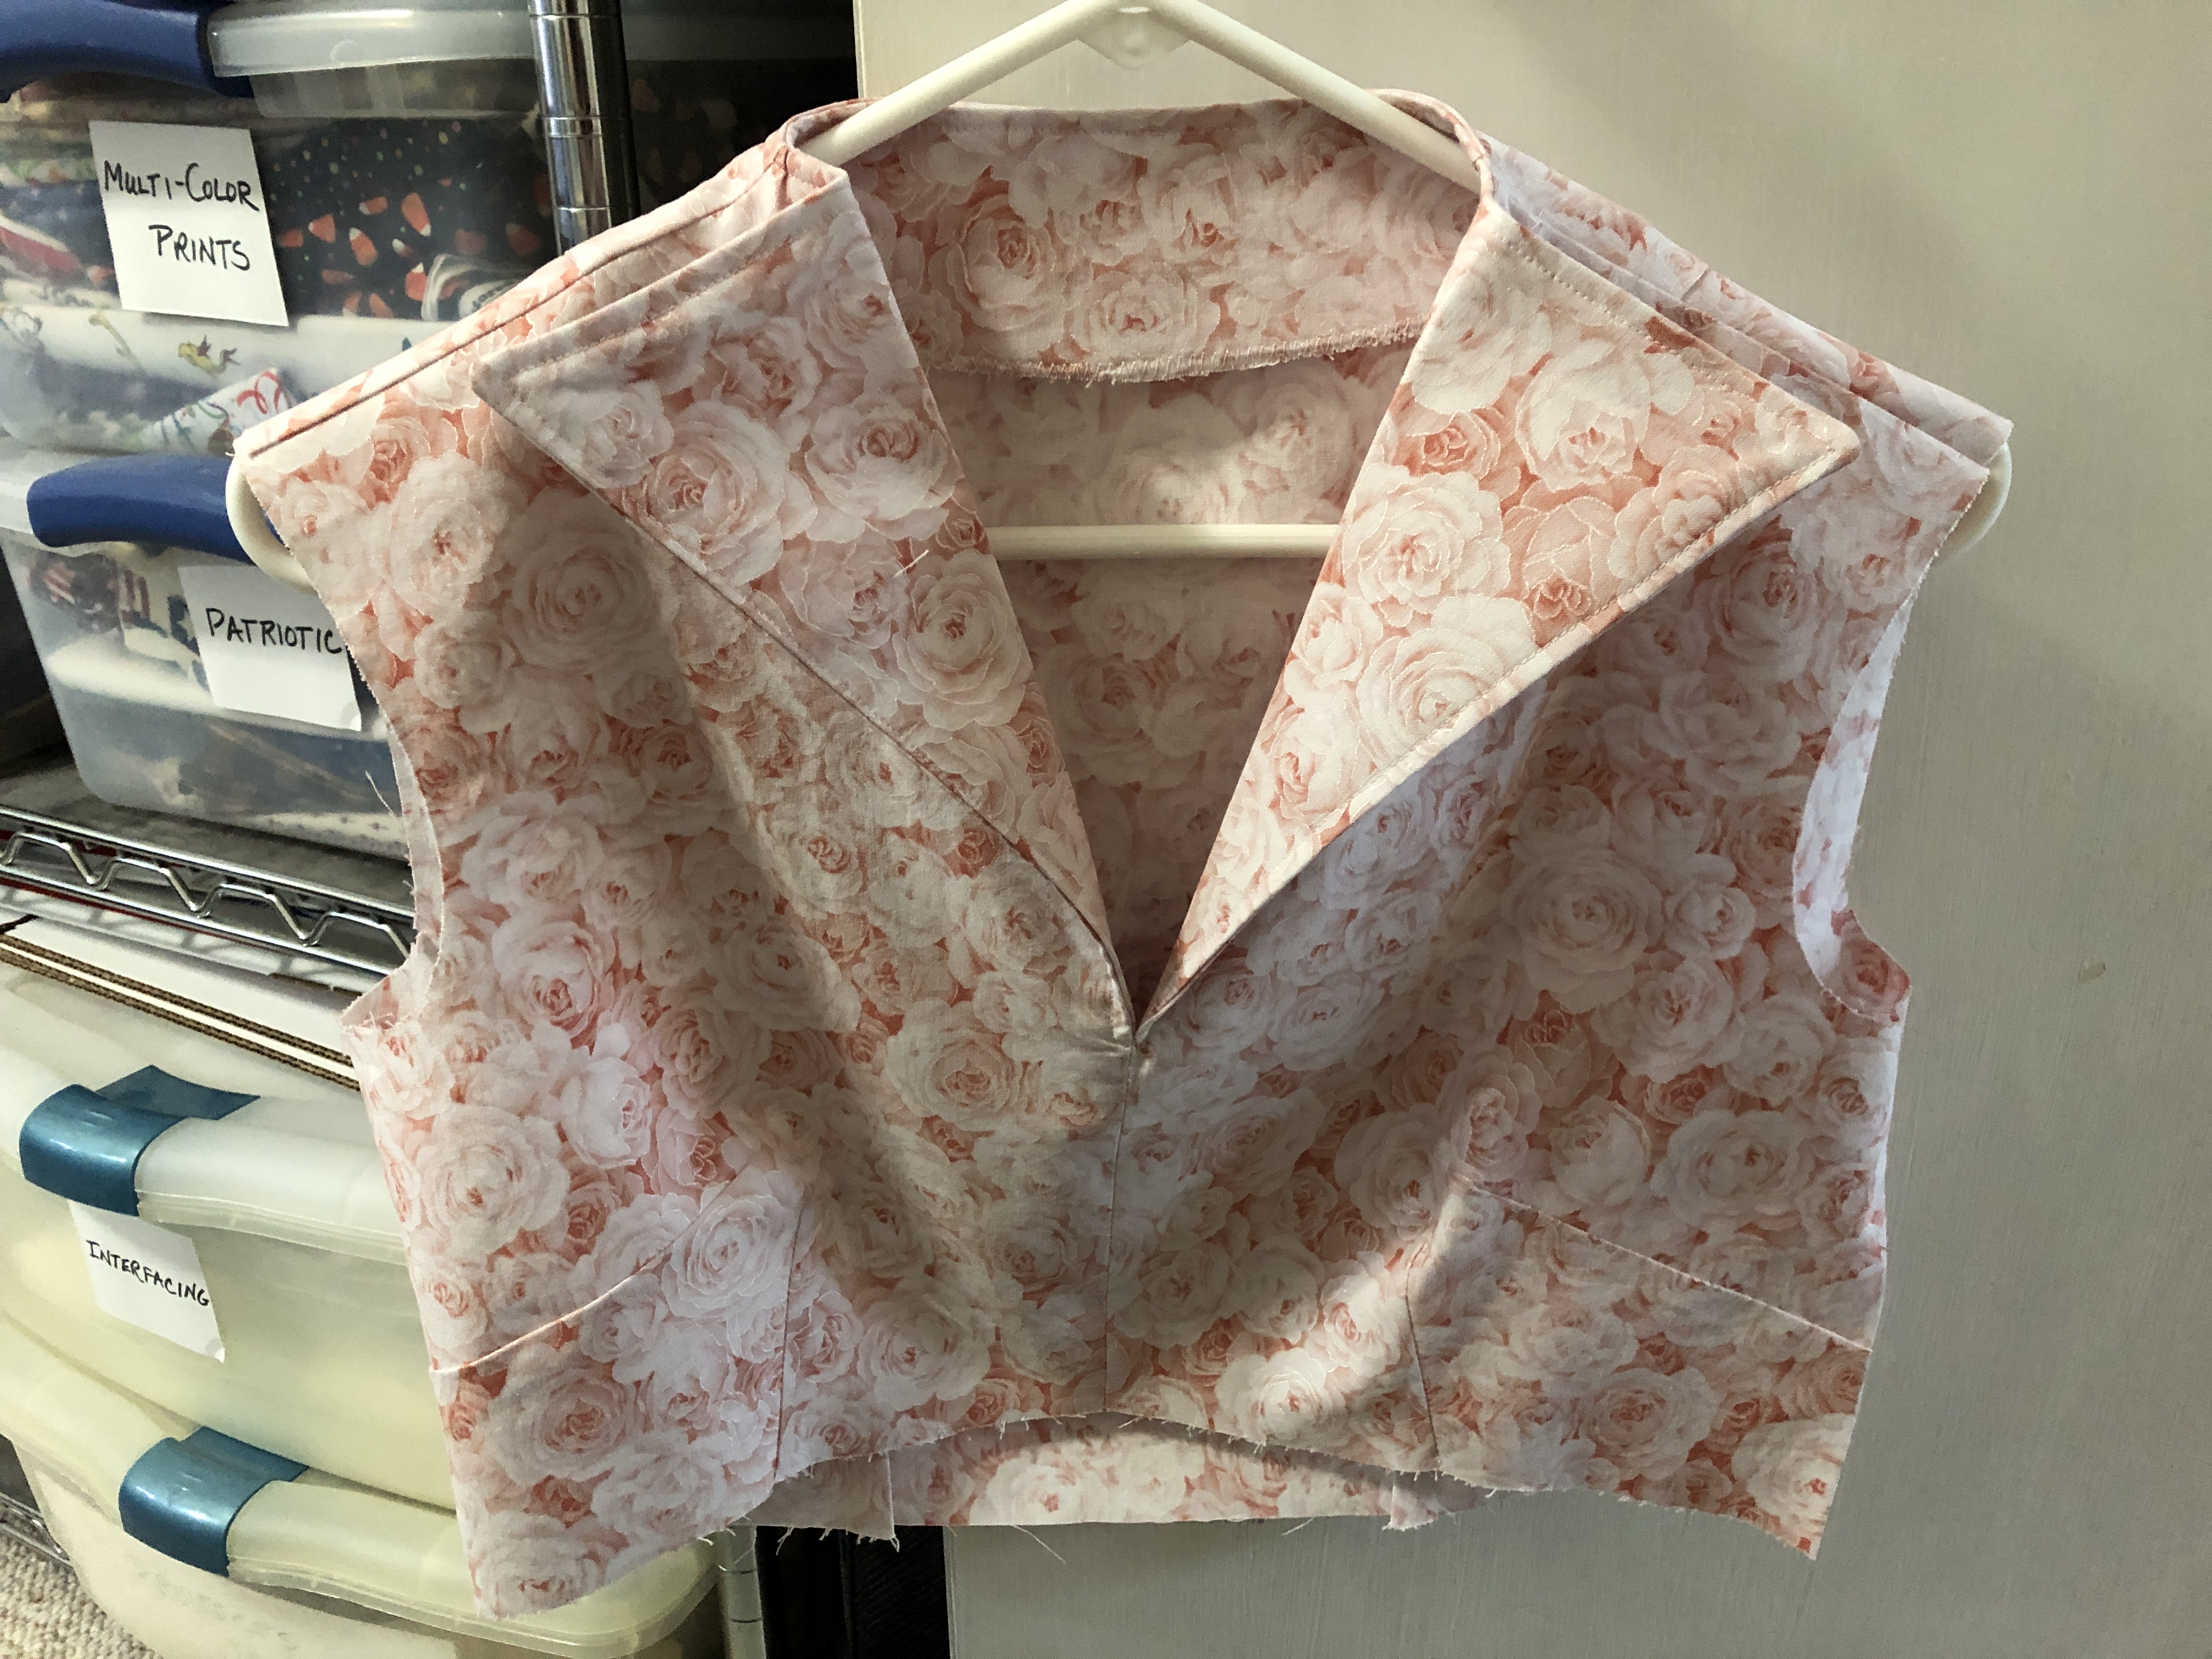
Step 2: Assemble the Bodice
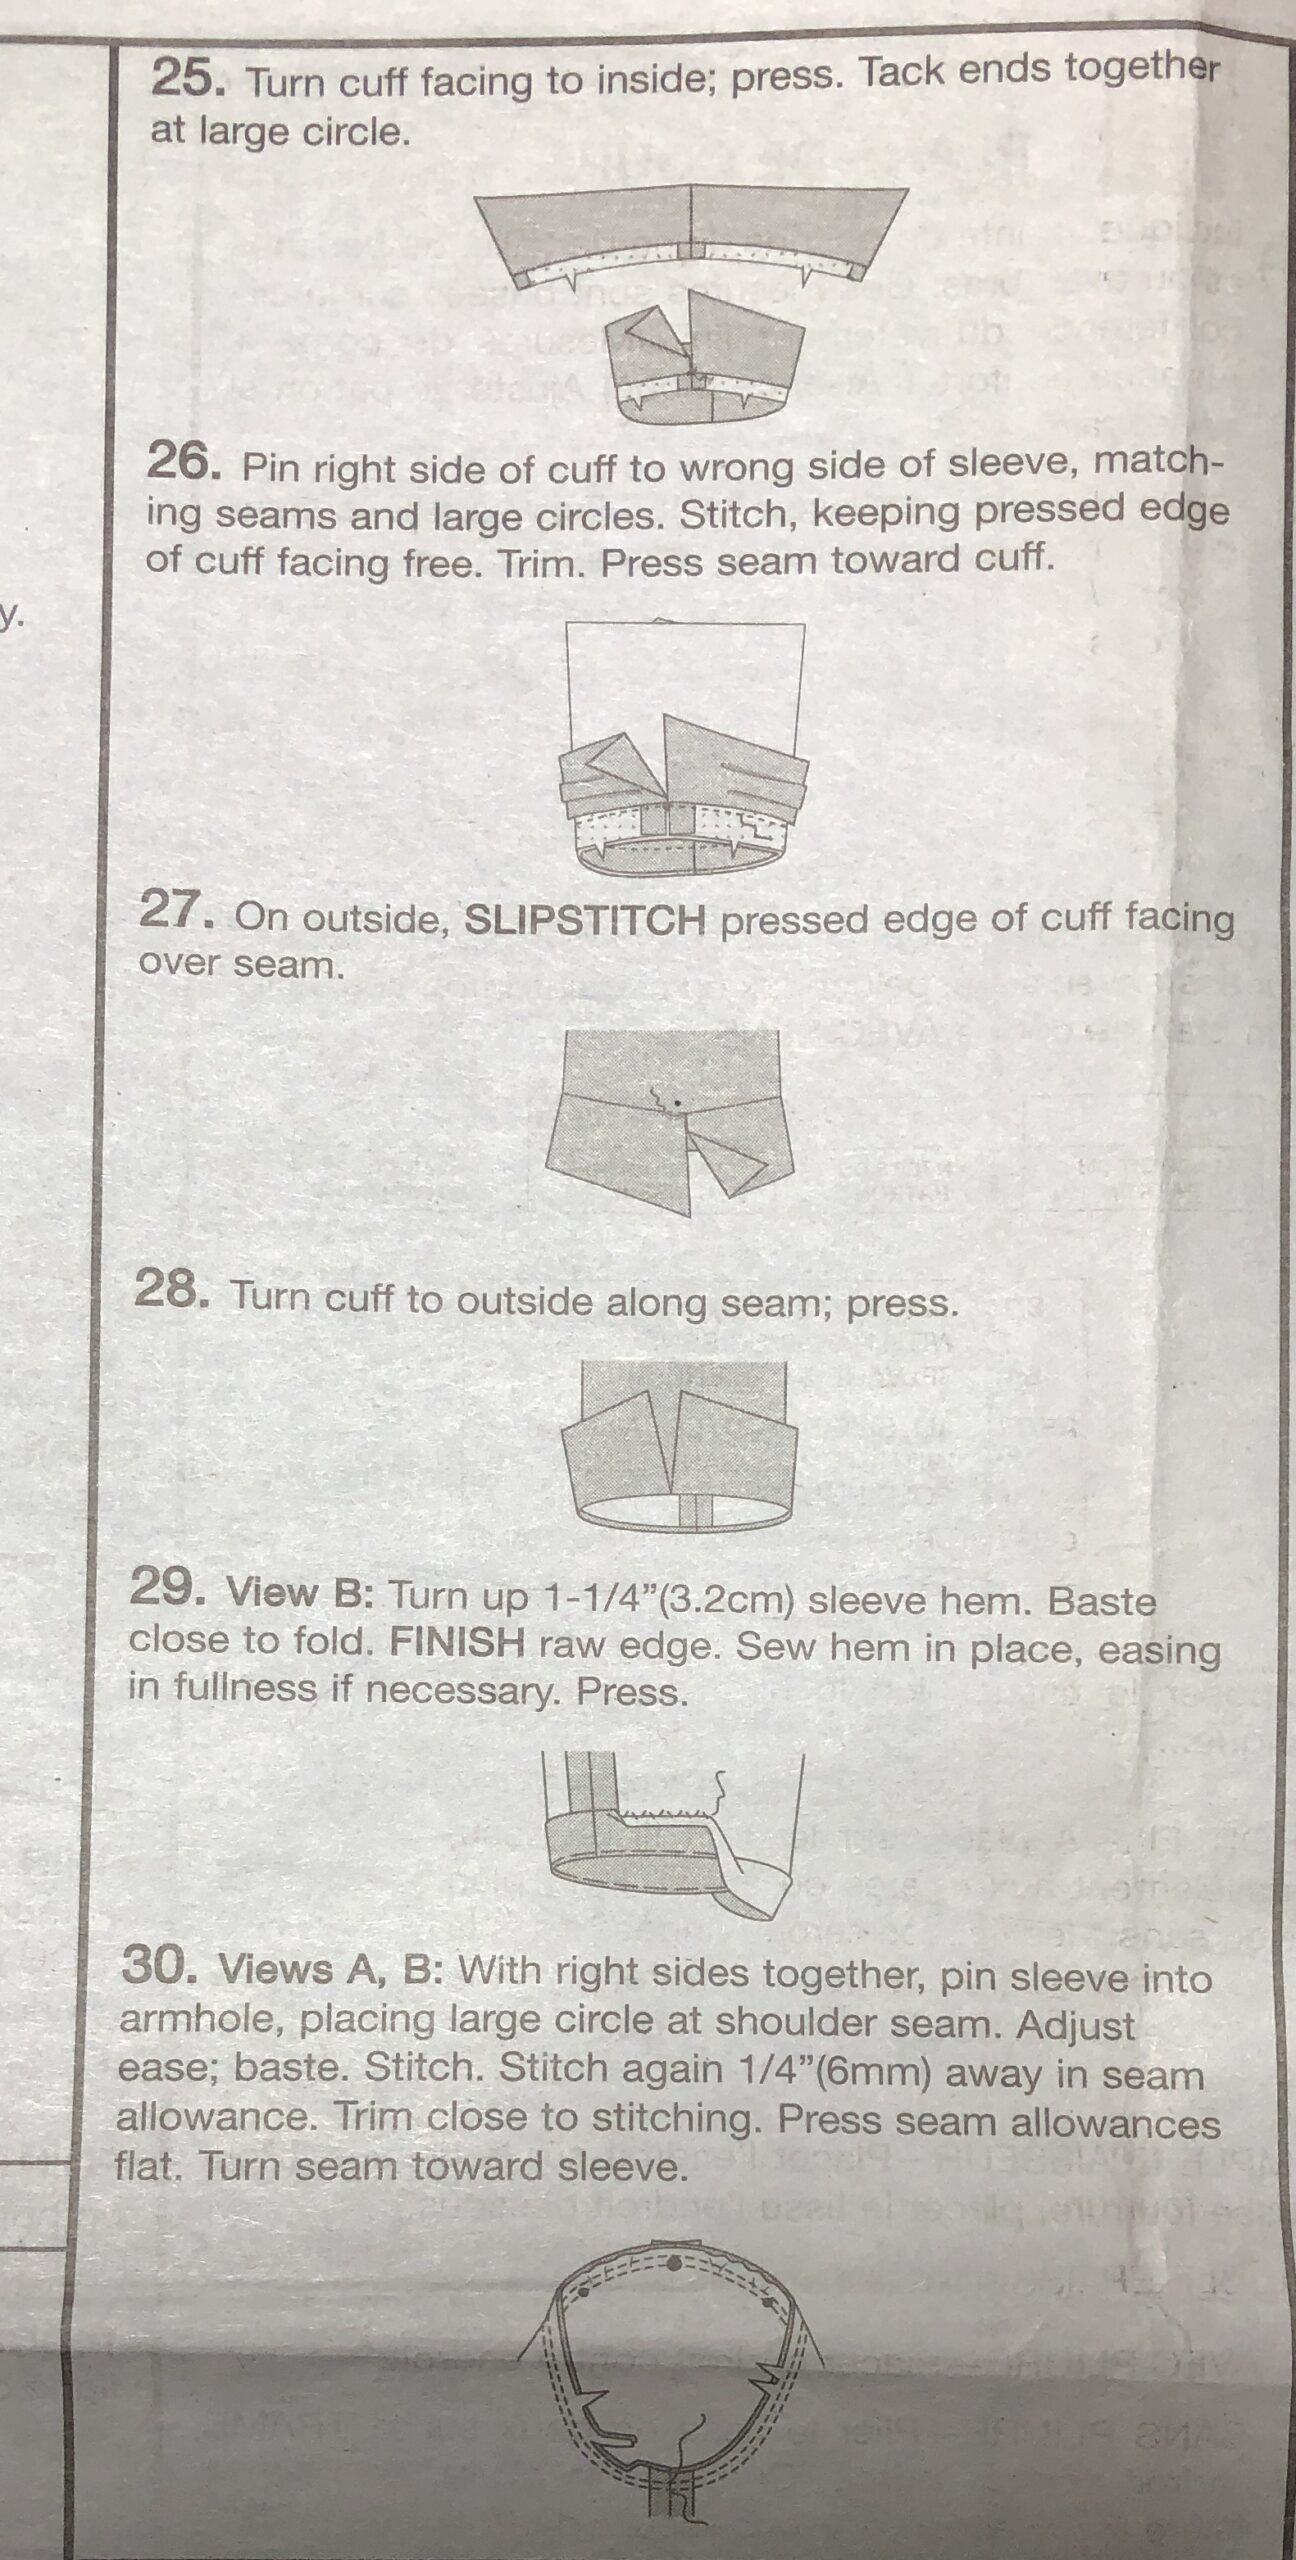
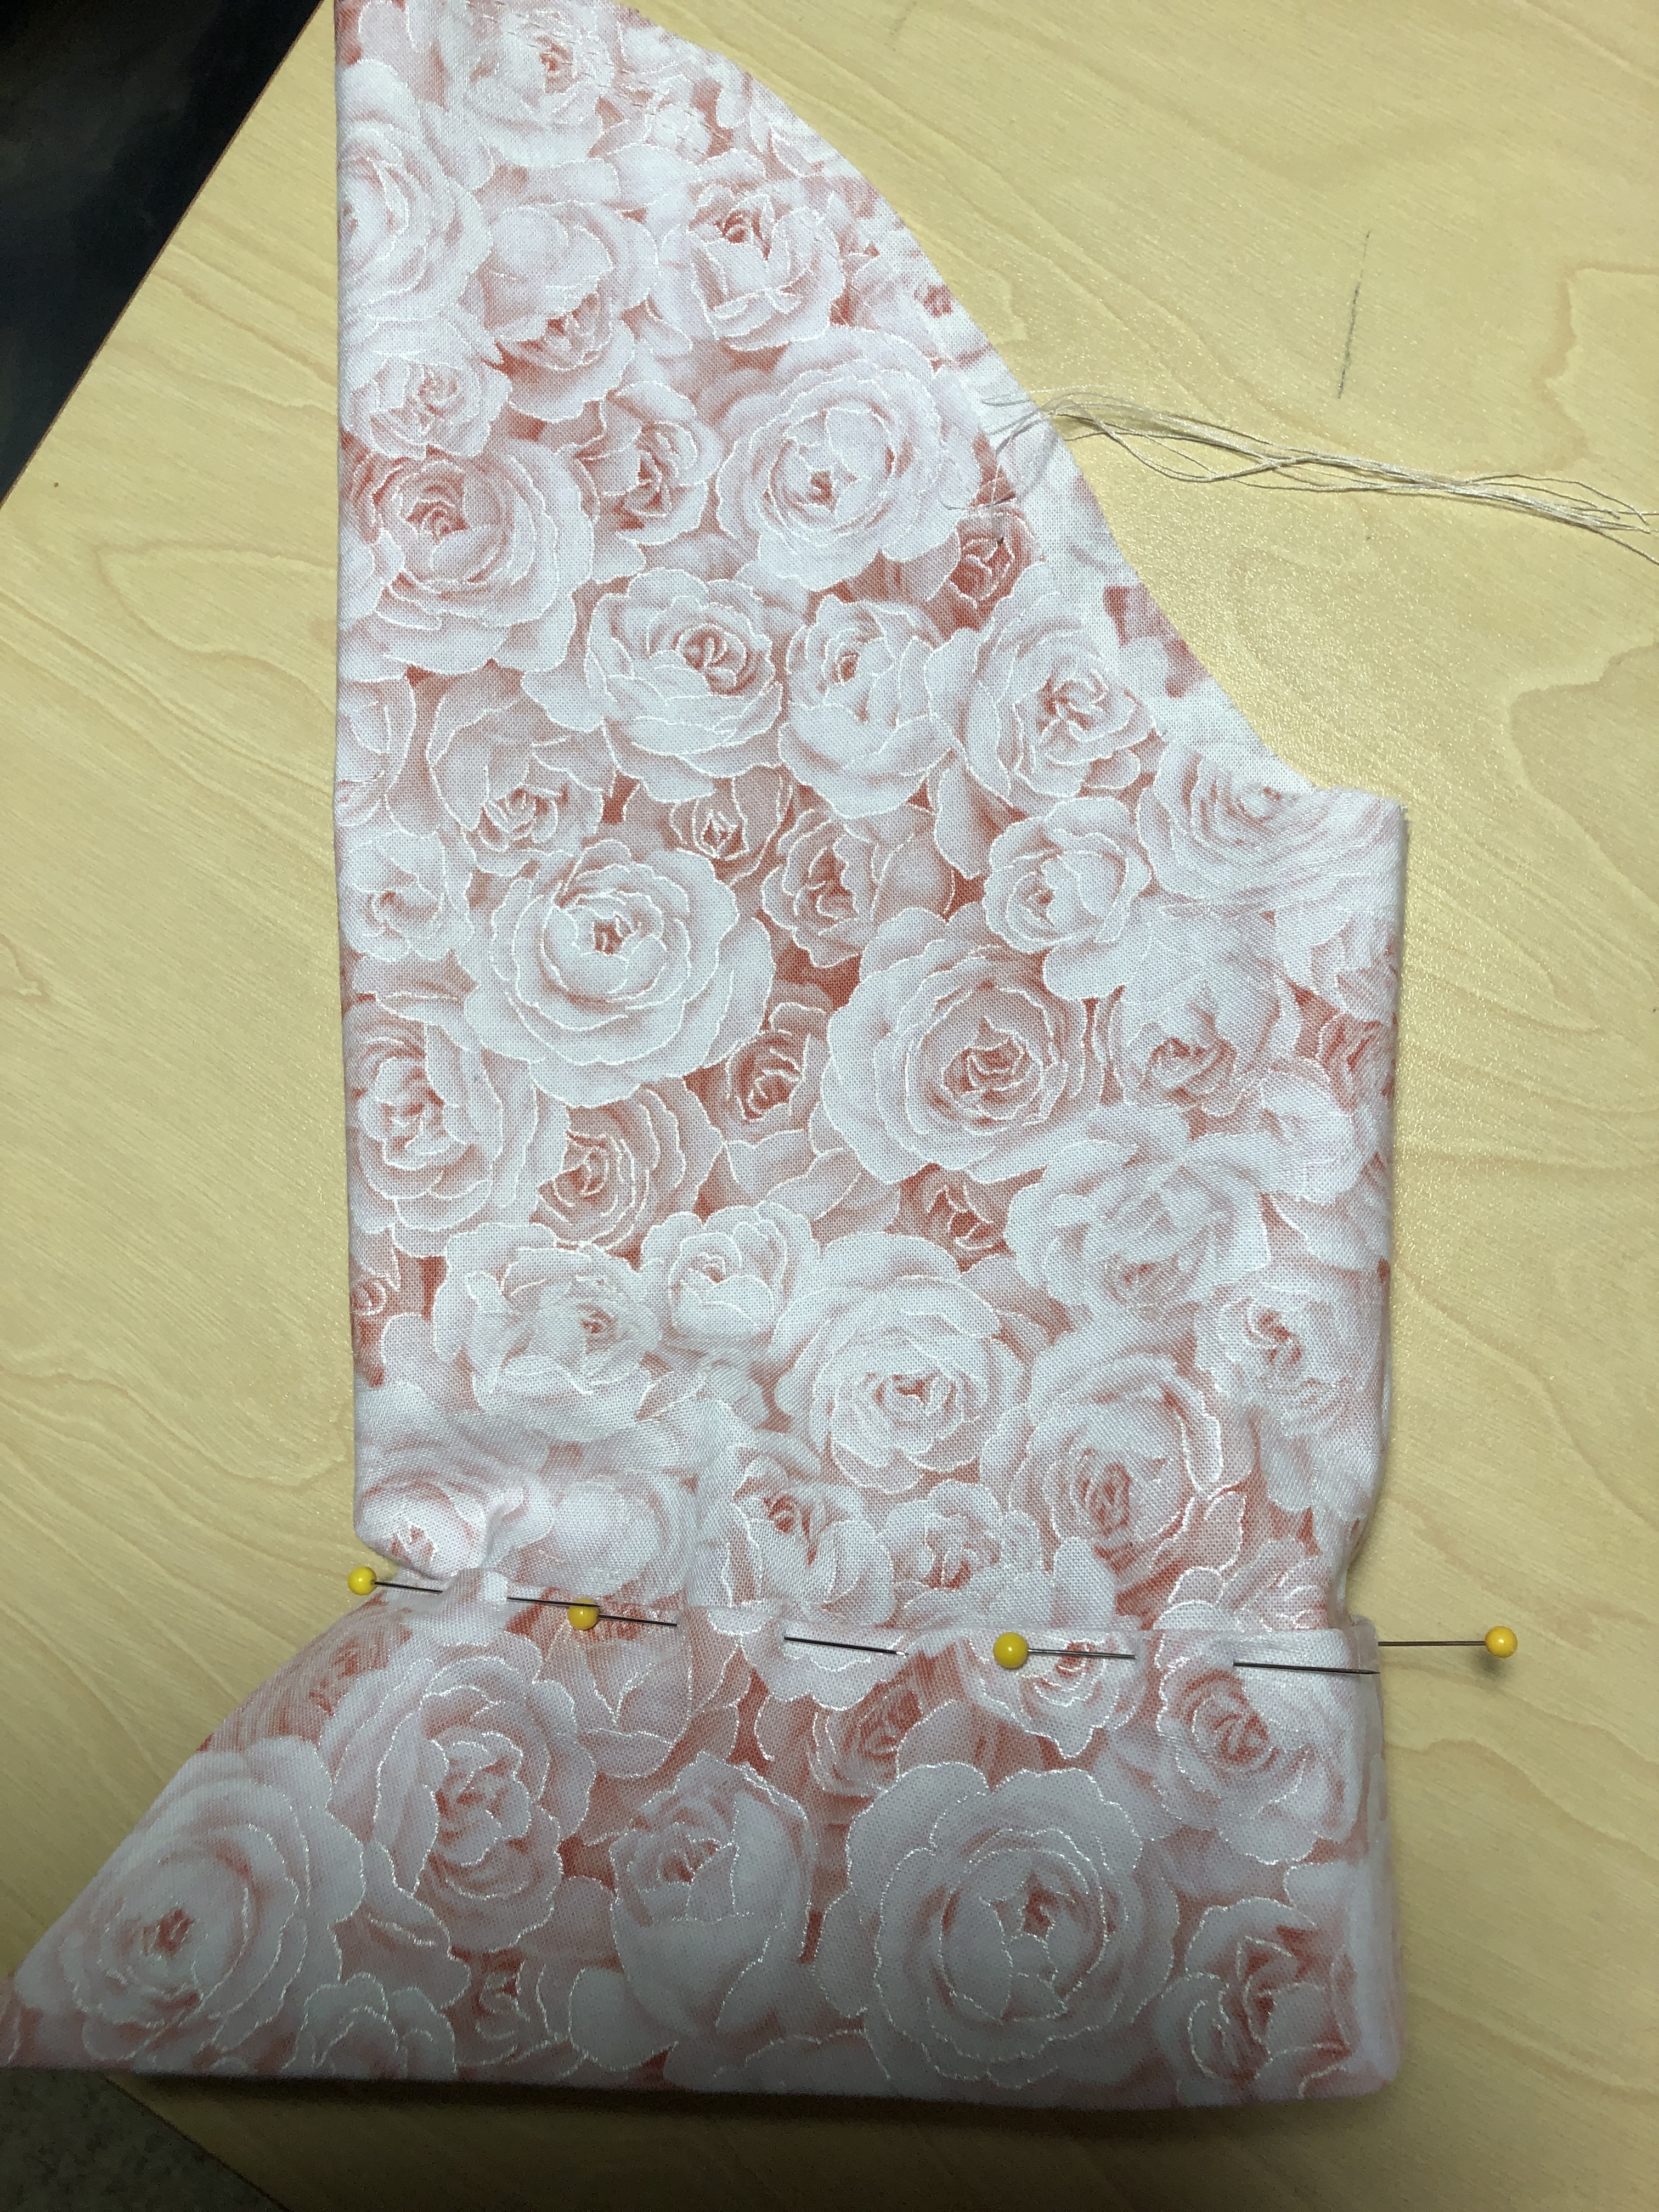
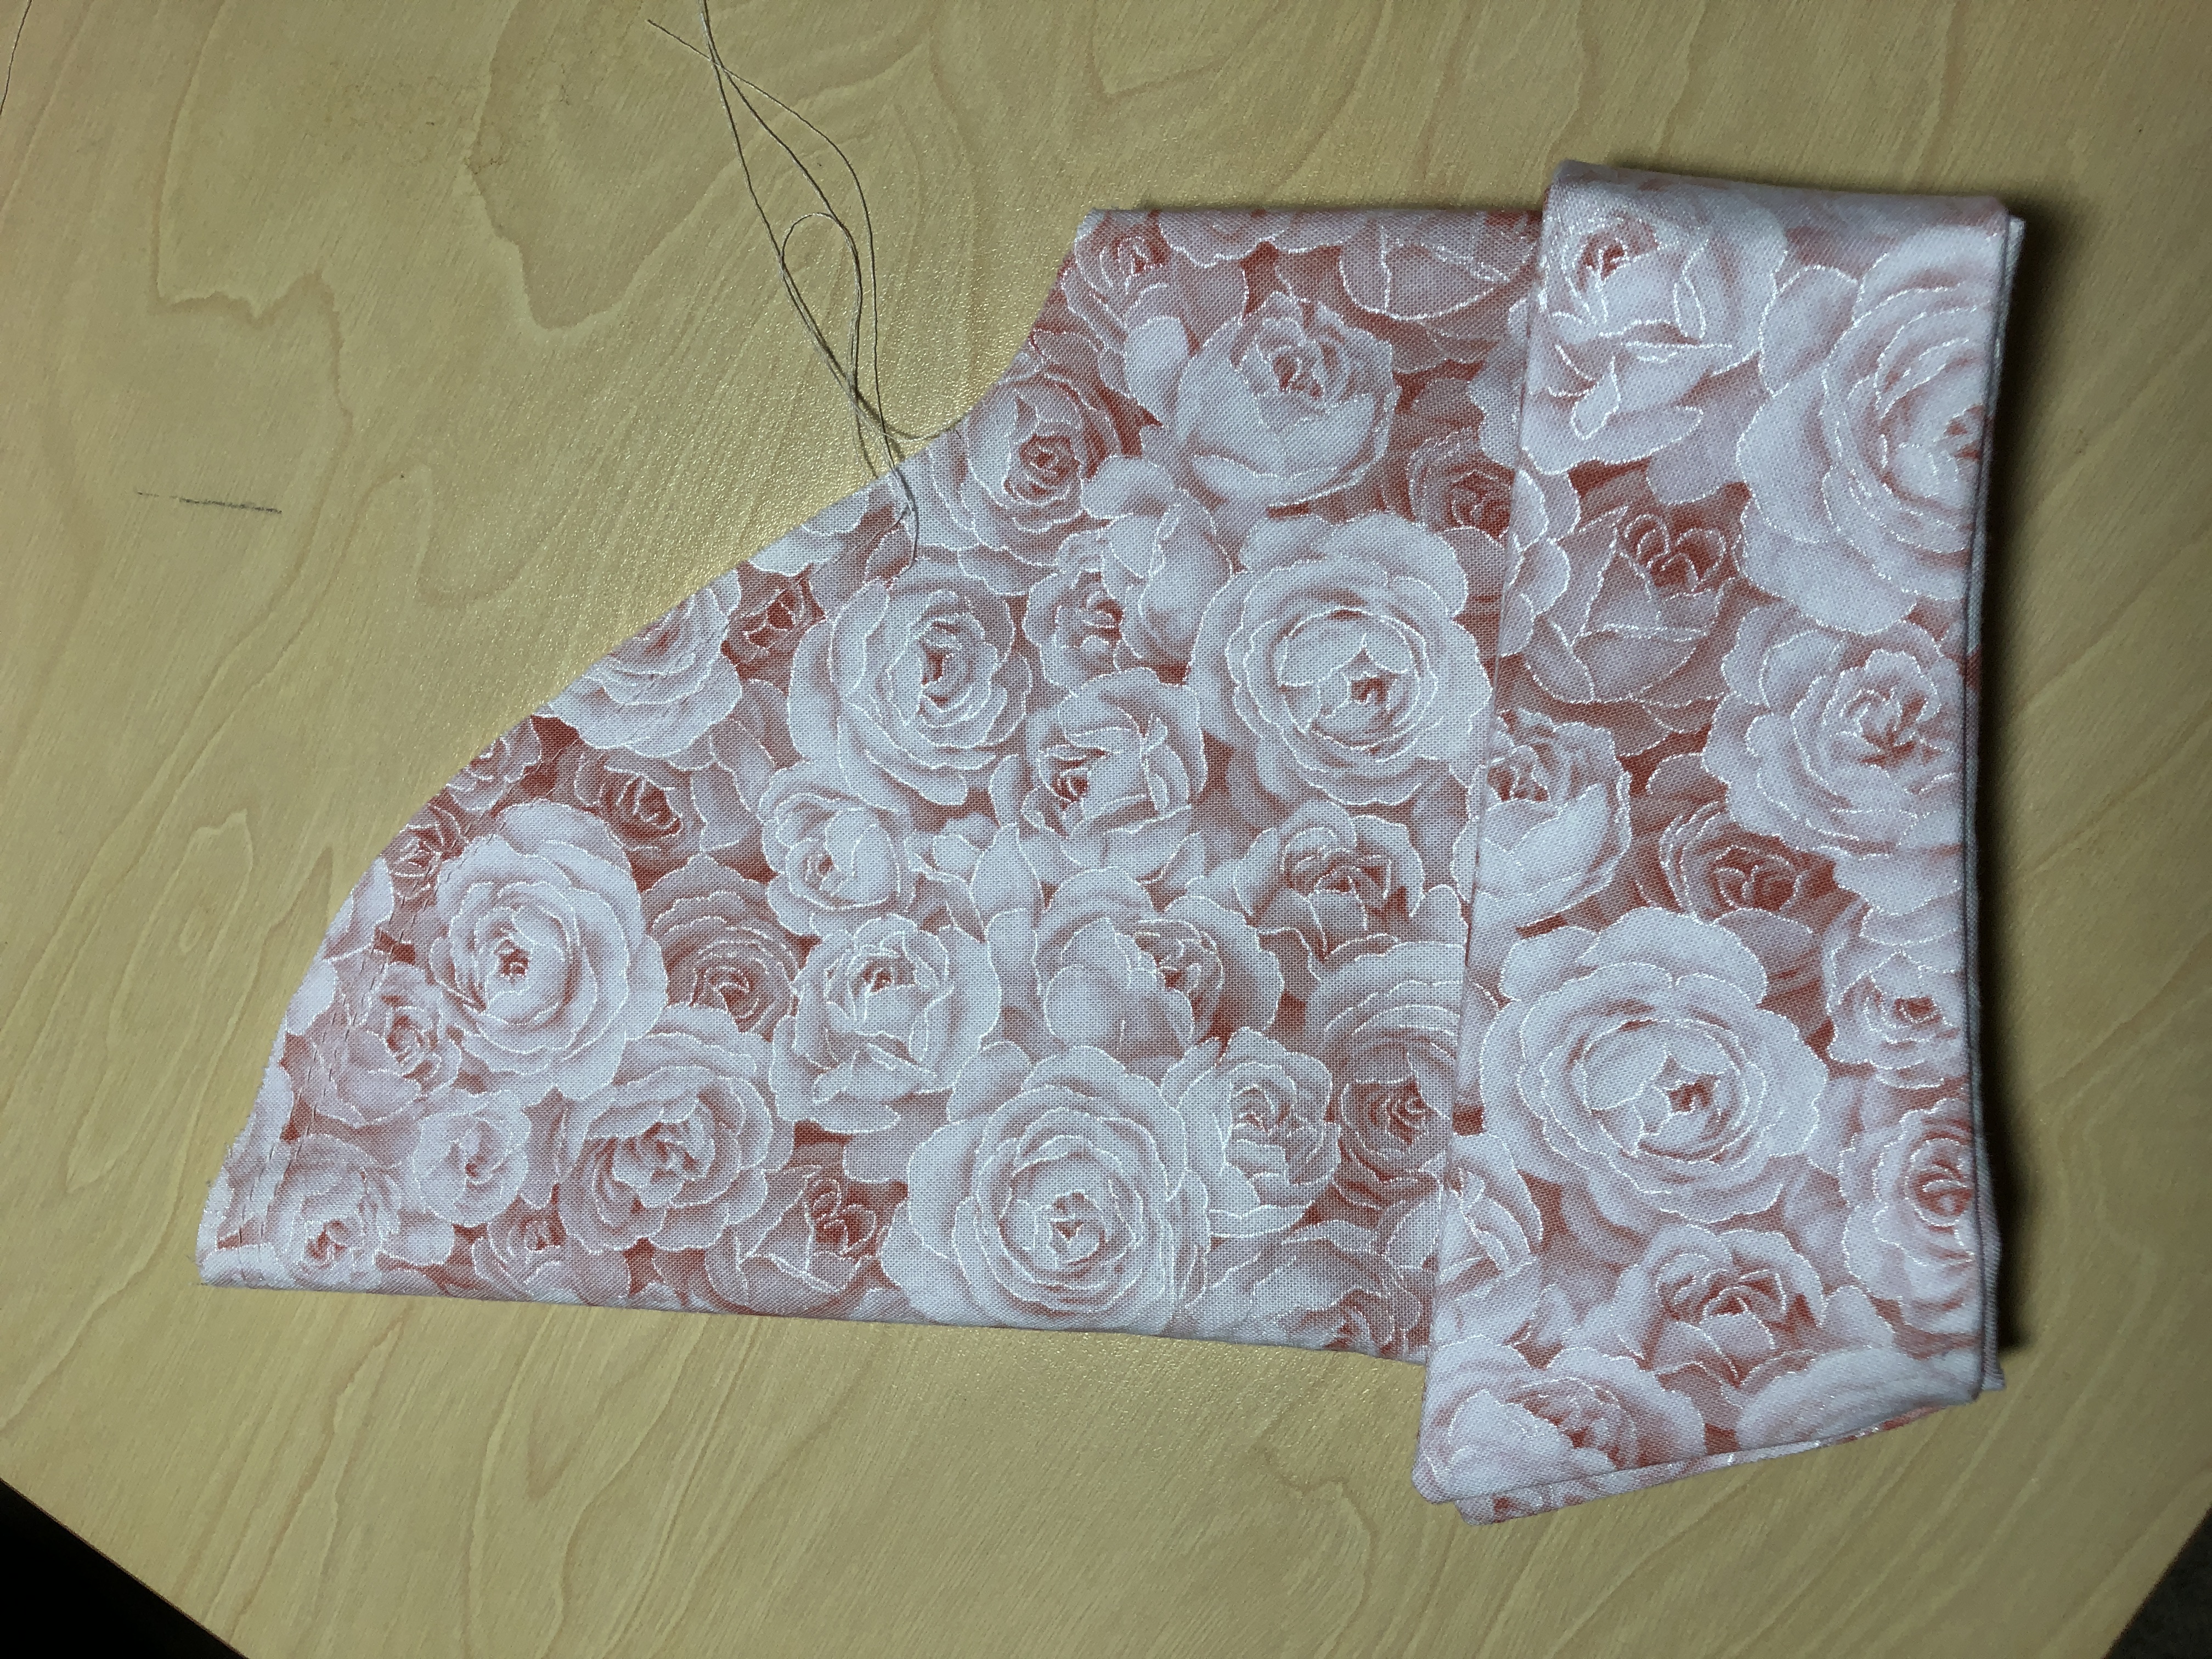
Step 3: Cuffs and Sleeves
Step 4: Sew skirt pieces together and add to bodice.
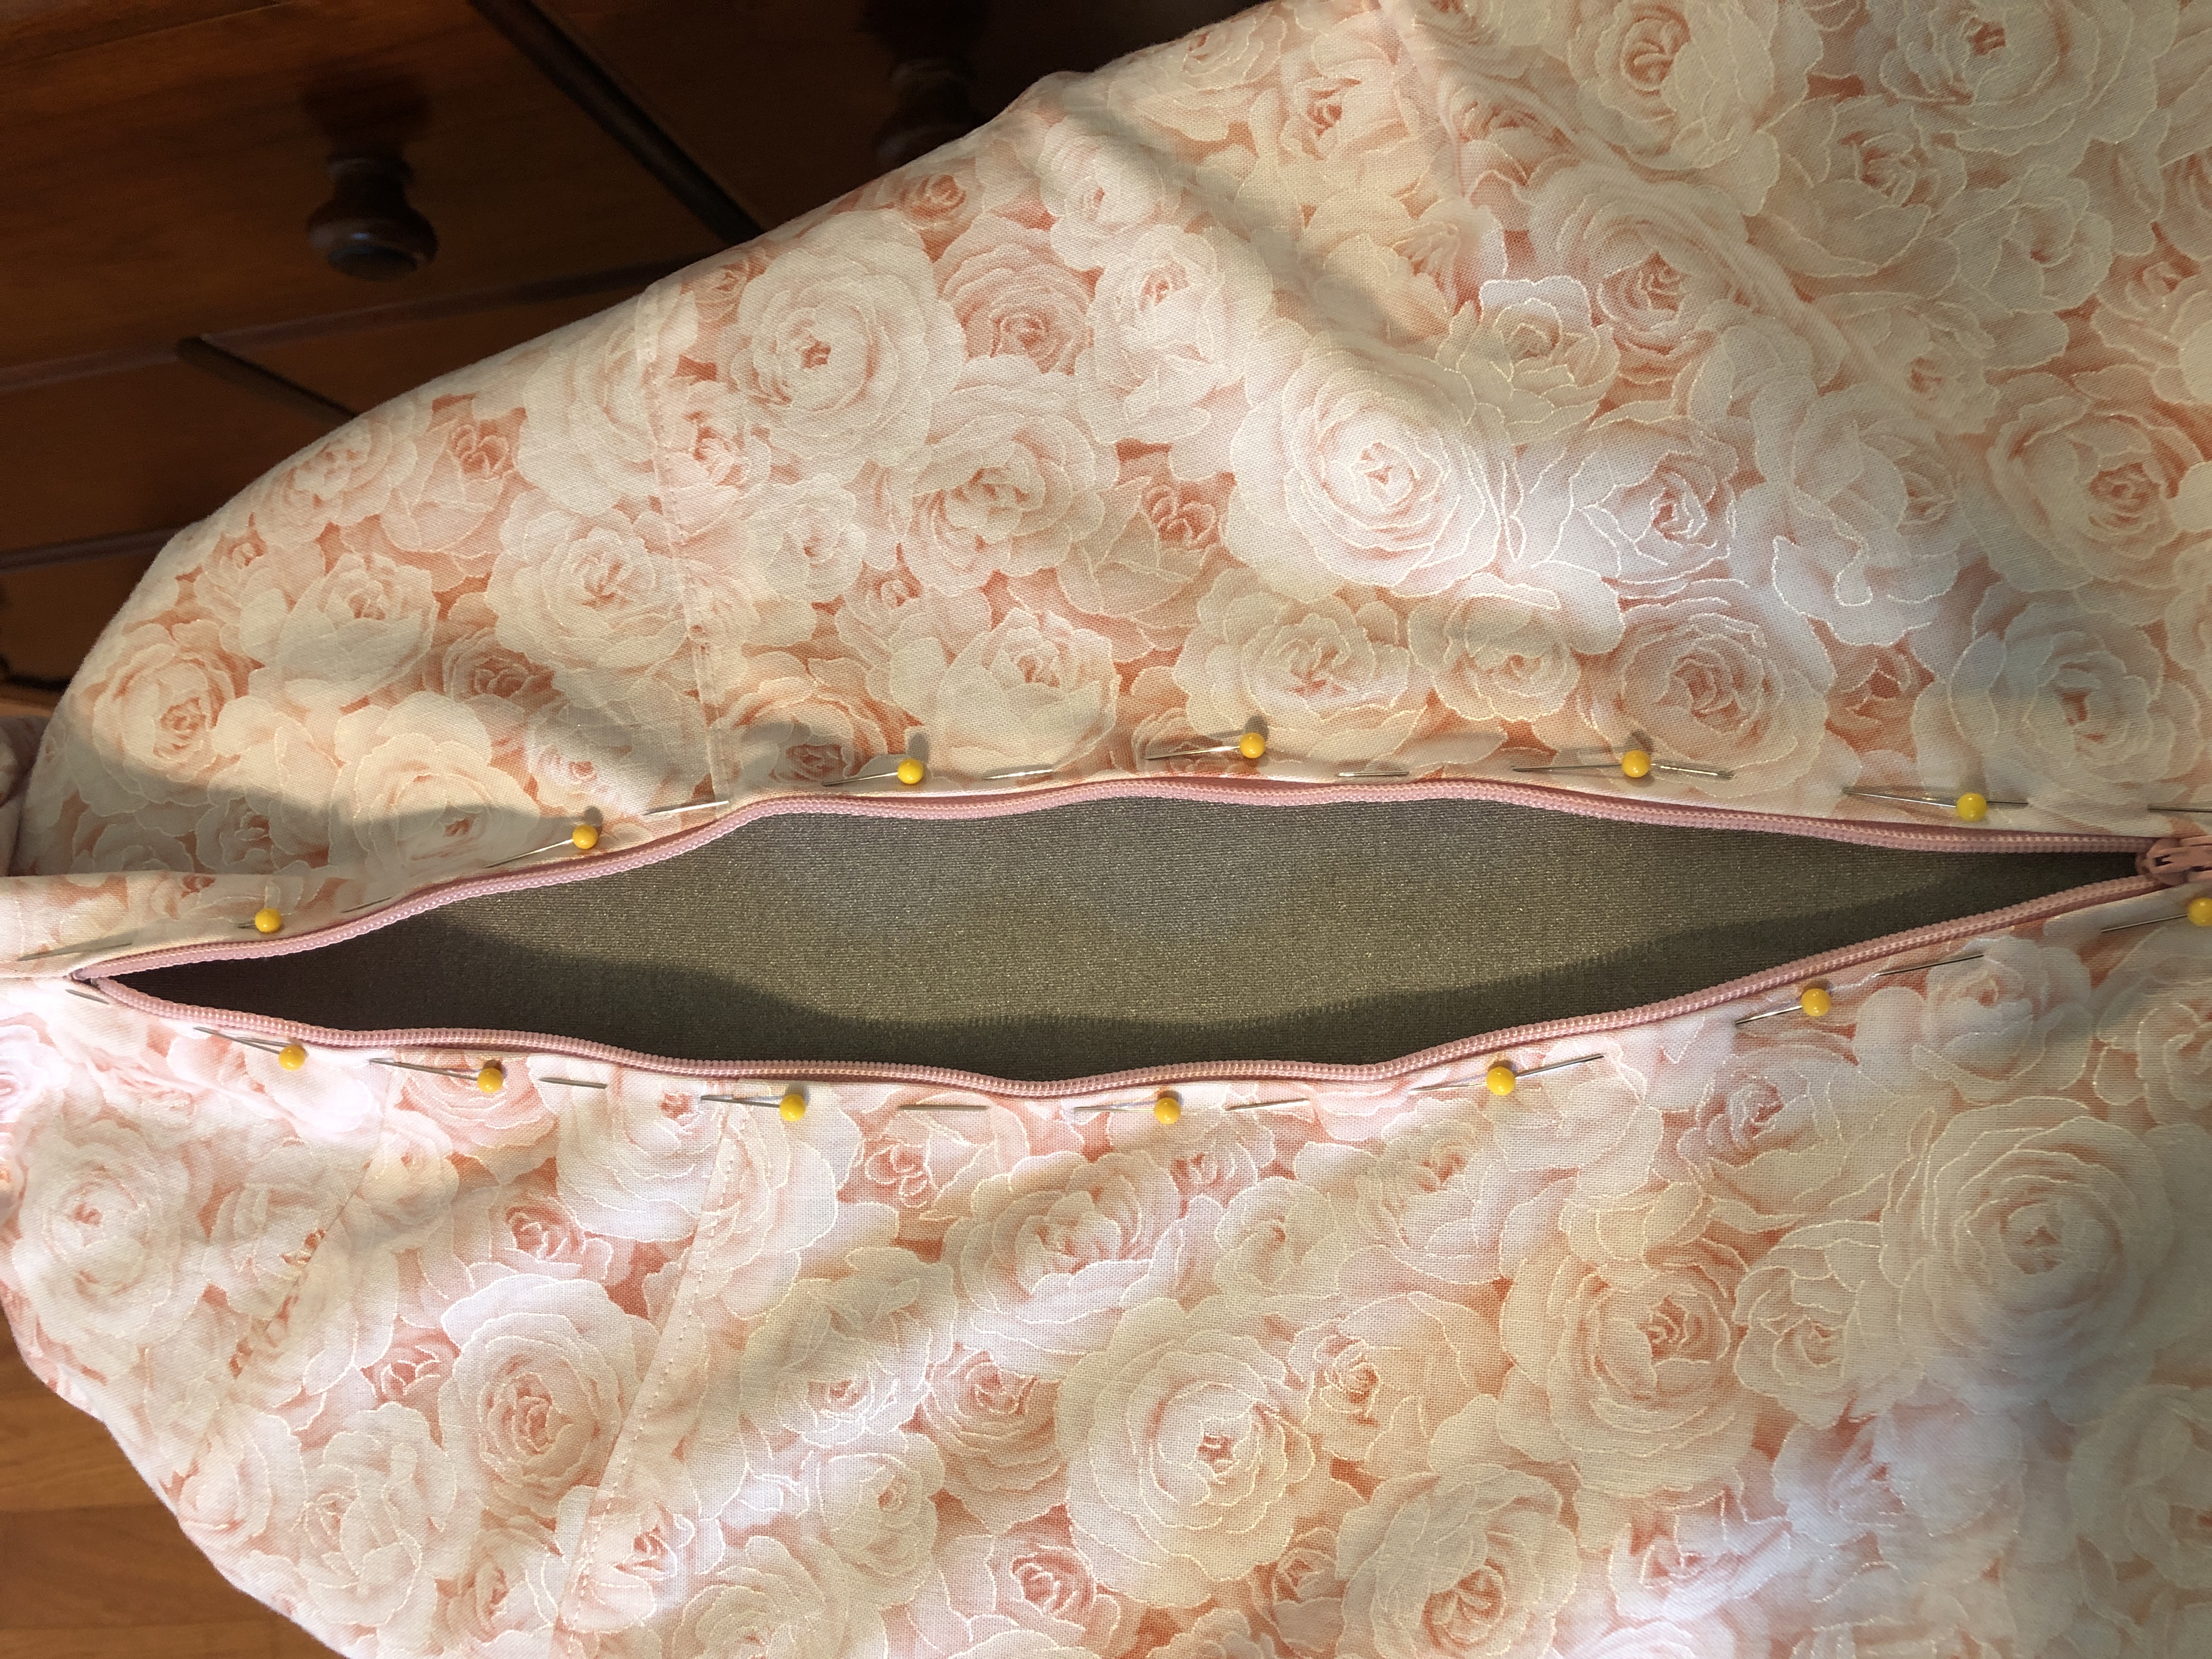
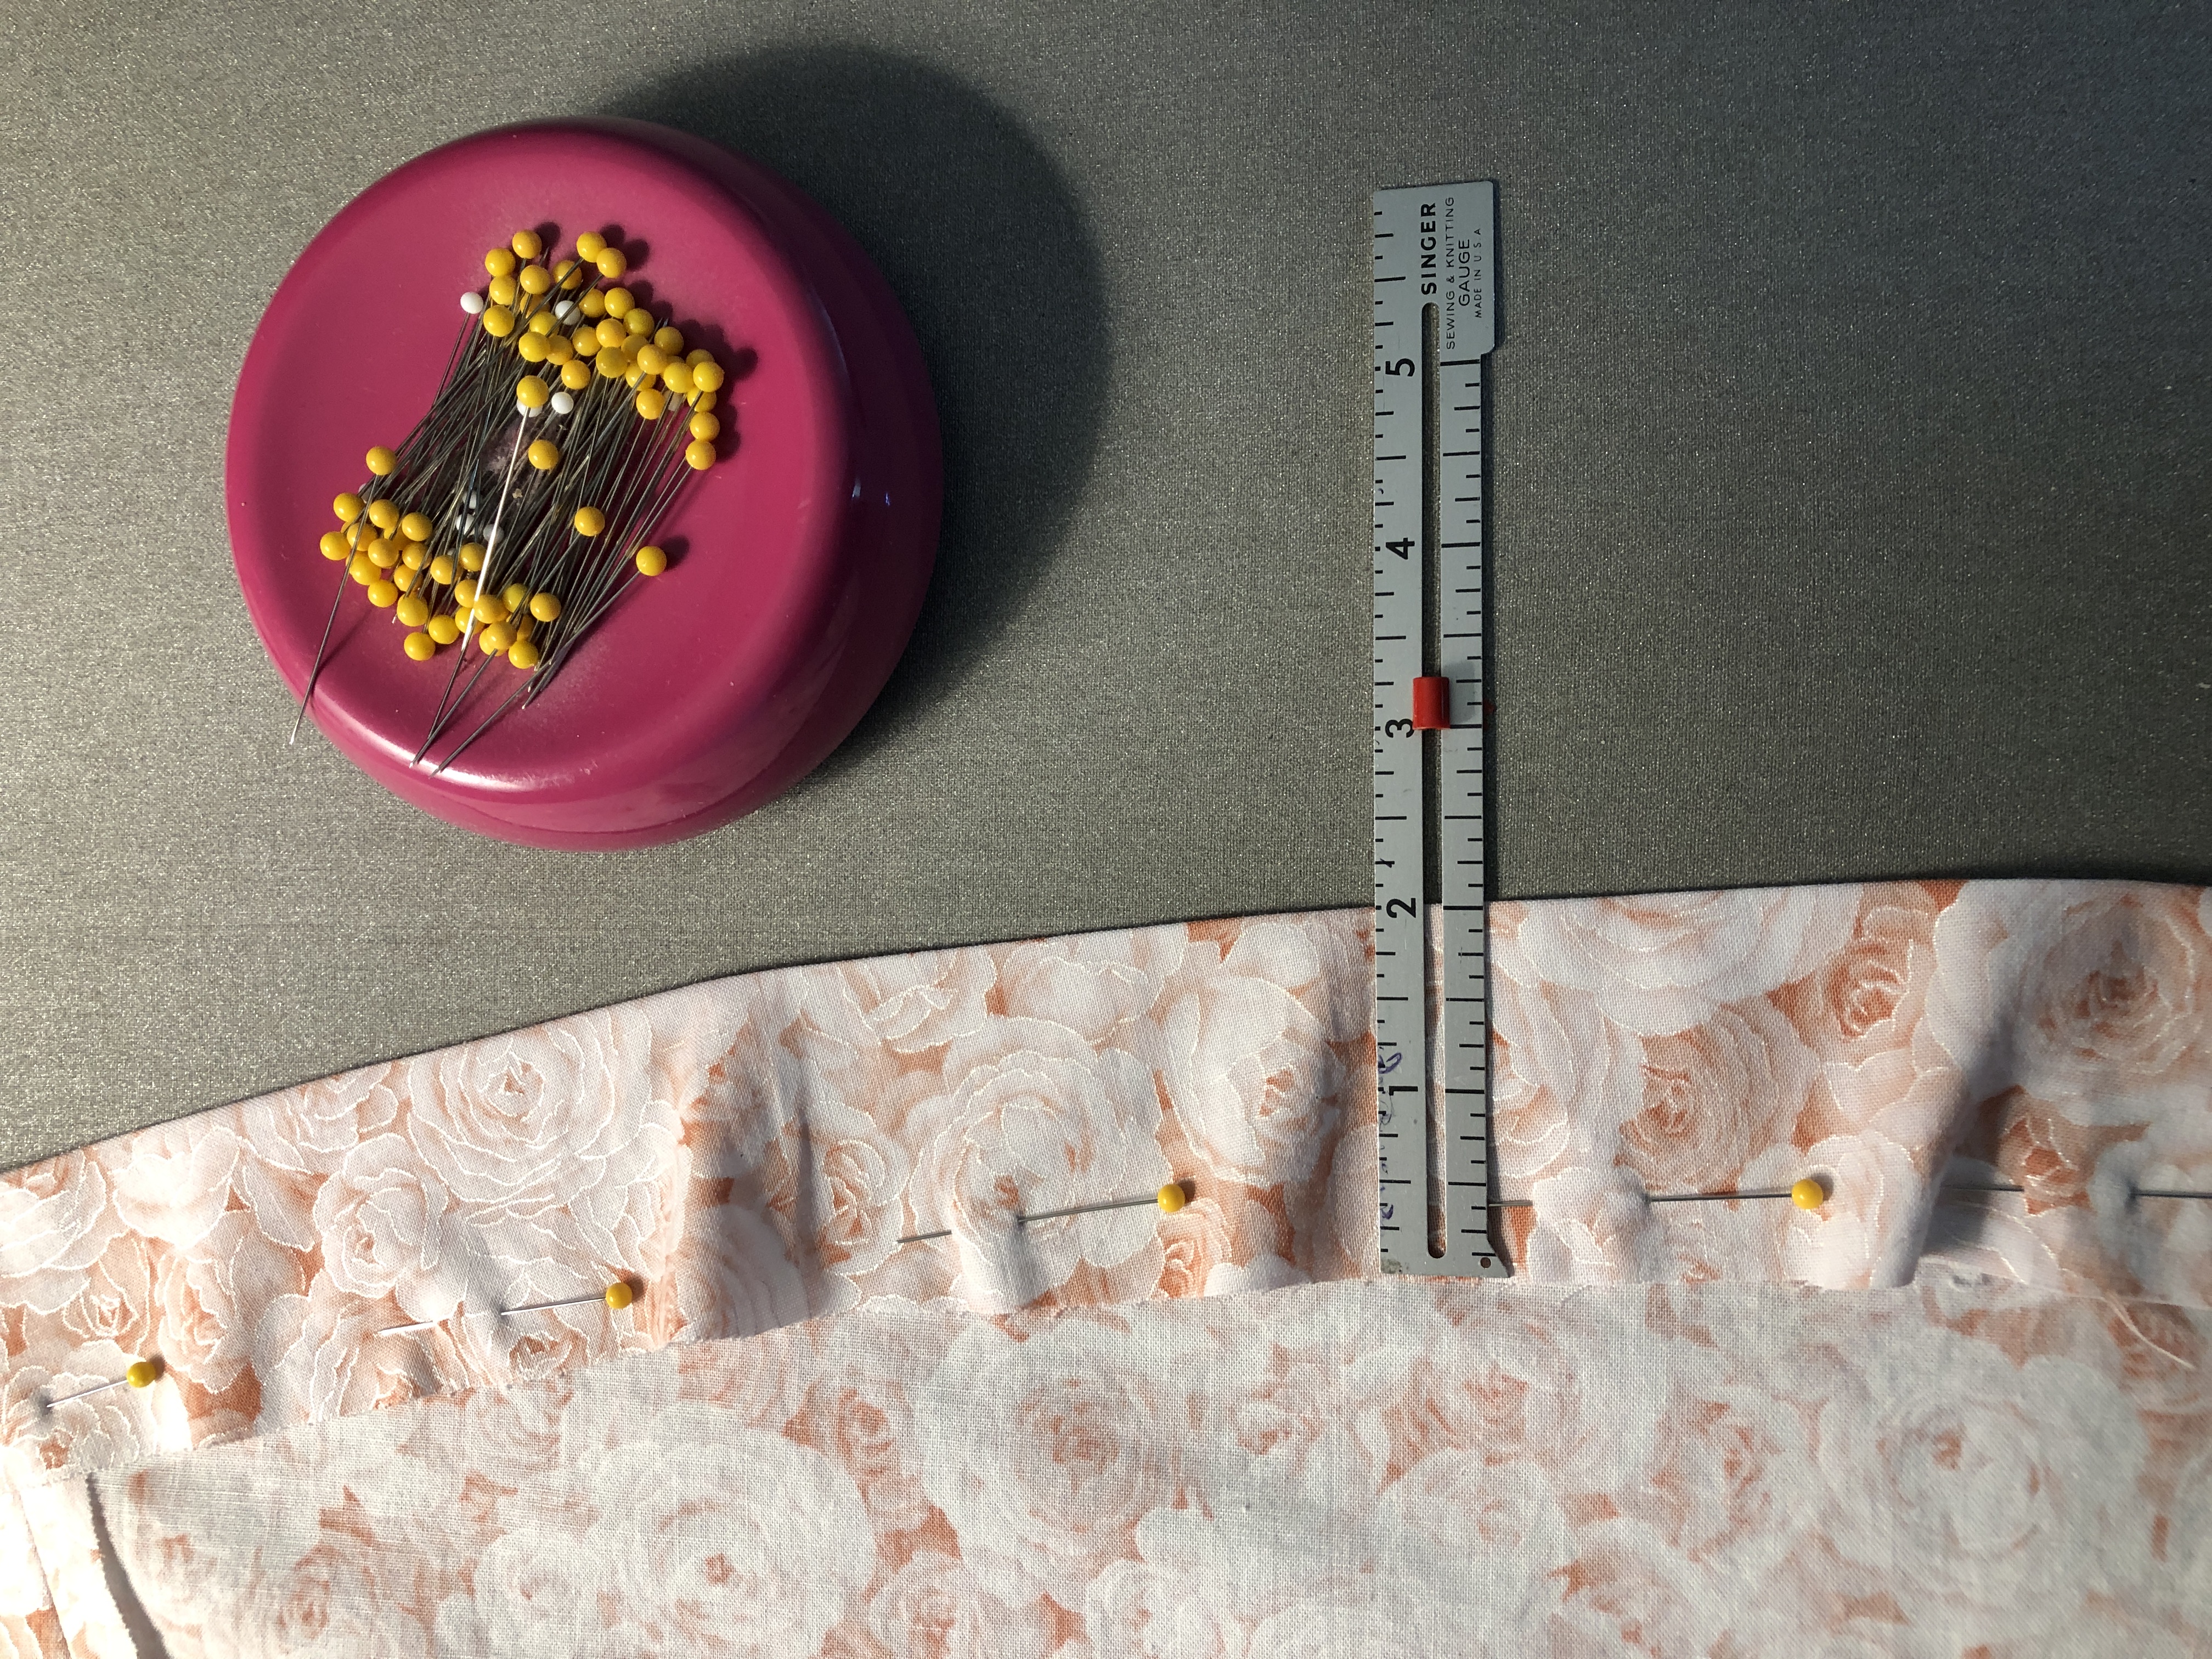
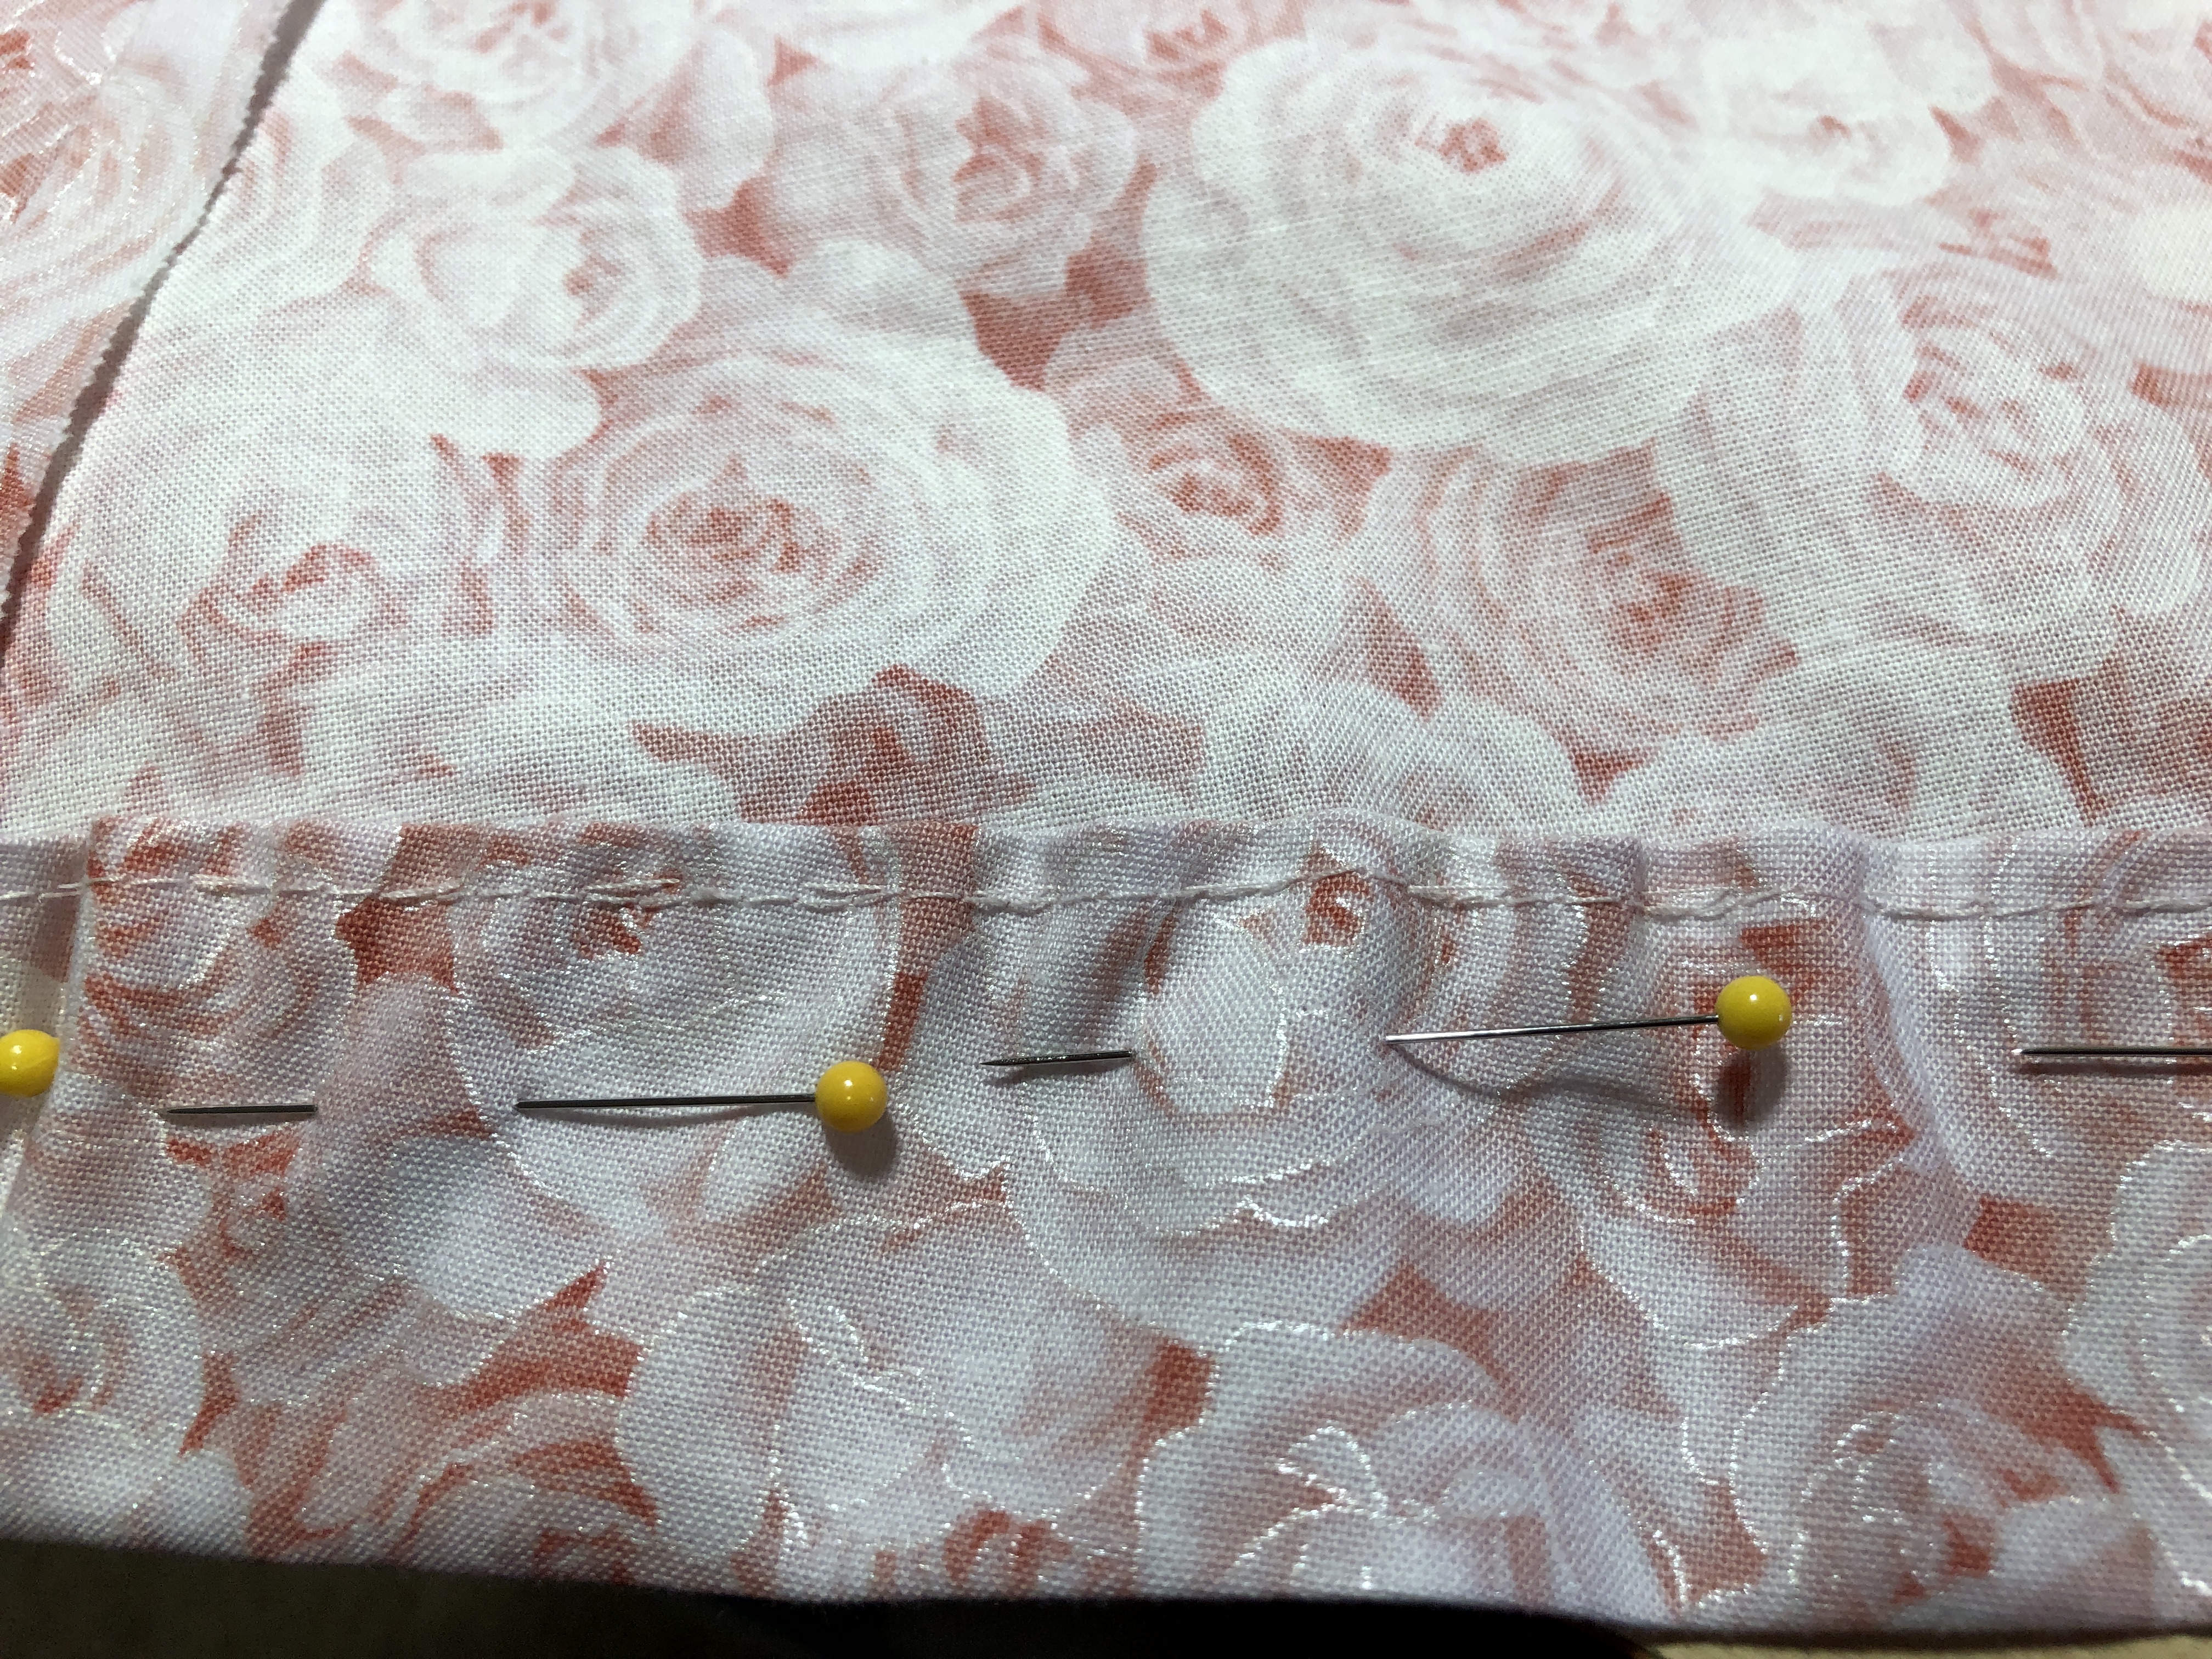
Step 5: Sew in side zipper.
NO NO NO!!!
Now I remember that’s not how to hide the zipper! Rip it out!
I only had to rip out one side of the zipper!
Much better!!
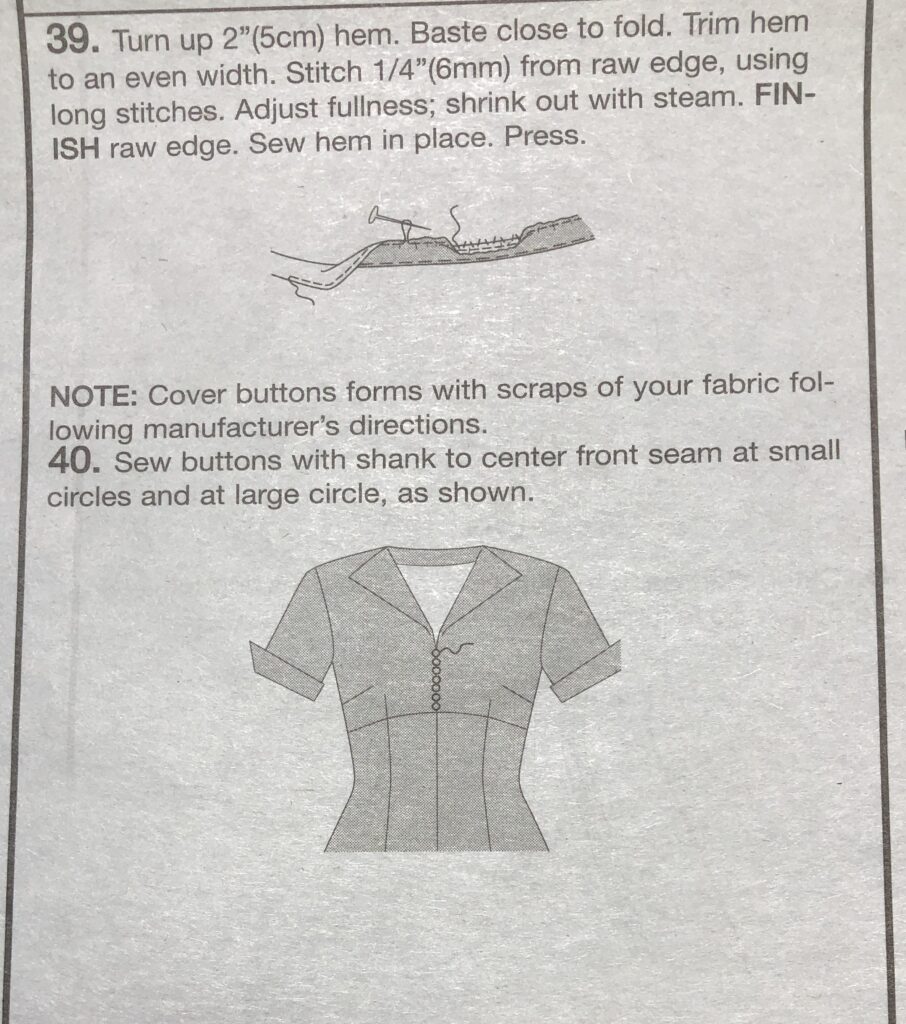
Step 6: Hem the skirt.
Instructions say to sew the edge 1/4″ with a long stitch. I didn’t make it long enough so I couldn’t pull the thread and ease the fullness. I had to make a basting stitch by hand along the 1/4″ stitching to lightly gather the edge to fit. Boo Hiss! Took hours to hem the skirt!
Step 7: Finally, add the decorative buttons down the front of the dress.
I carefully folded the dress up and put it in the mail to my granddaughter in California! I have no idea if it will fit! We agreed that this first dress was an experiment. Alterations may involve her sending the dress back to me. Or…it might make a good Halloween costume for someone!?!
I’ll have an update in the next week or two! Enjoy!
Spending time with my 17 yr. old granddaughter during her family’s visit this month was a wonderful way to get to know her. I was especially interested in talking with her about her hunt for vintage clothing. I took her to the local antique co-op to check out a few racks of clothing on display. I was curious about the styles that appealed to her and finally took her to JoAnn’s to look at patterns. She was able to point out various dresses and fabric designs that looked interesting to her.
So, of course, we picked up a pattern and fabric. I agreed to make her a dress! The next post will be the details about that!
Because the pattern was labeled Retro ’52, I knew I needed to understand the definitions of “antique”, “vintage” and “retro”. This is what I found.
Antique: At least 100 years old
The only “antique” clothing I have saved is the Lowry family baptism dress, worn by my mother in 1912. It has been used by various babies in the family over the last 100 years.
If you want to buy vintage clothing, look in shops that have vintage in the name or description or in second-hand shops.
The most important piece of information I found is a word of caution about sizing! Women’s dress sizes have changed significantly over time. I measured my granddaughter. She said she buys size 6. When I looked at the pattern where it lists measurements, I needed to make a size 12 for it to fit! I’ll make the size 12 dress…then we’ll see if it works for her. Too bad she lives in California…I think we may be mailing the dress back and forth until we get it right!
Clothing that has been made recently with the intention of imitating the fashion of the past is considered “retro”, thus the label on the pattern we chose…Retro ’52.
I recall making clothing during the 50s and 60s so just reading the pattern was enough to give me heart palpitations! Cotton fabric (no stretch), fitted sleeves, side zipper!! Yikes! I had forgotten even how to read a pattern this complex!
My granddaughter and I agreed that this first dress would be for “practice” in case it didn’t turn out, or fit right, or I messed up. I’m still working on the dress and hope to post the details in a few days.
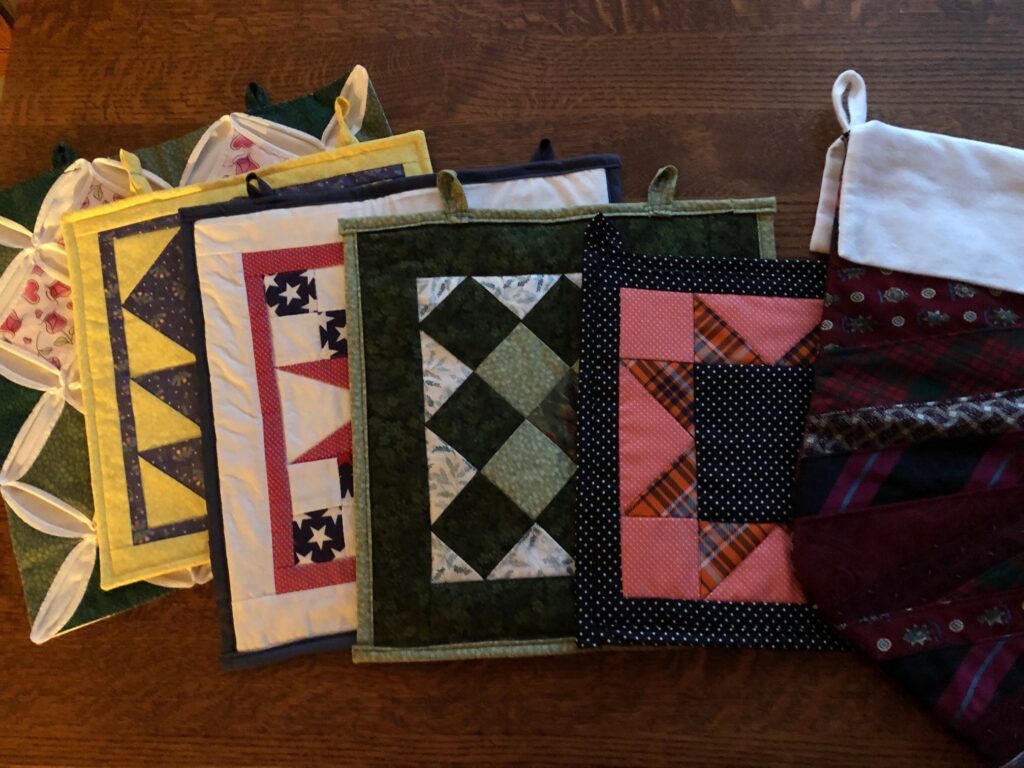
About every month or two I get in the mood to make a new door quilt for the front door. Several years ago, I managed to make 6 quilt blocks to hang on the front door, about one every other month:
Basically, I’ve never been happy trying to put a wreathe on the front door because it has a screen door that gives me only 2-3″ of clearance between the doors. Finding a flat wreathe was tough. So, I started sewing these quilt blocks to use as door decorations.
I thought I could just rotate the blocks each year, but after two years on the outside door…exposed to the sun and weather…the colors faded. I was ready to try something new.
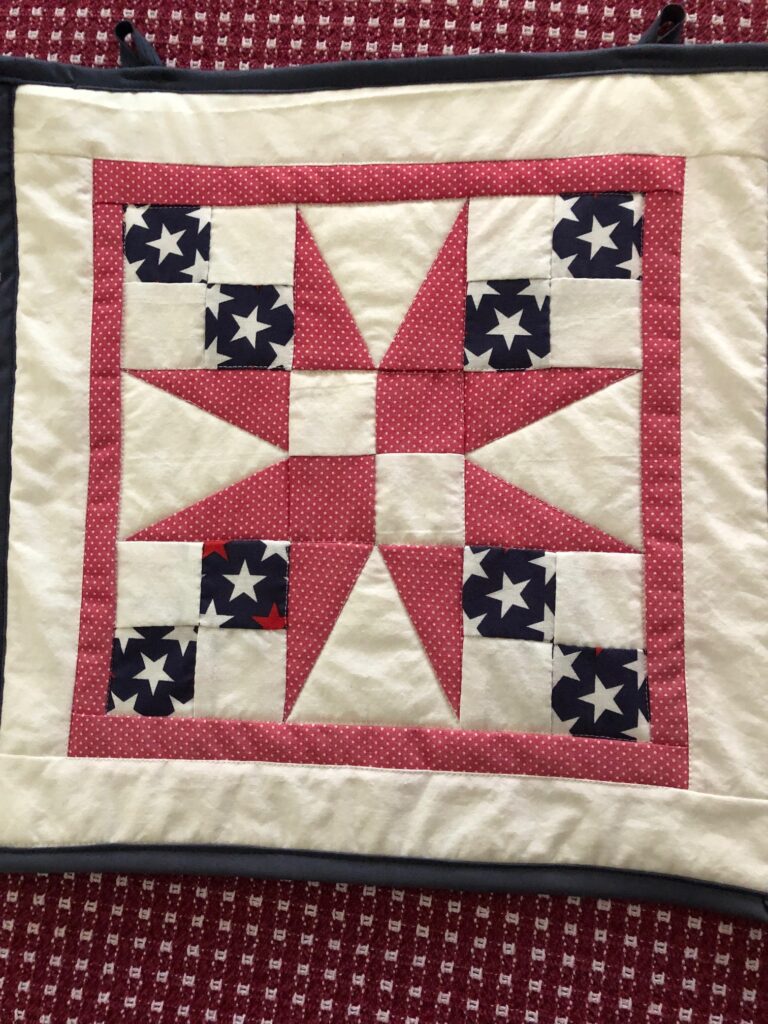
I pulled out my acrylic paints and had Bert make me some 12-inch square pieces of thin plywood. I started with my favorite fabric block…the patriotic red, white and blue one…that I had made in fabric.
Two years later, the block is faded.
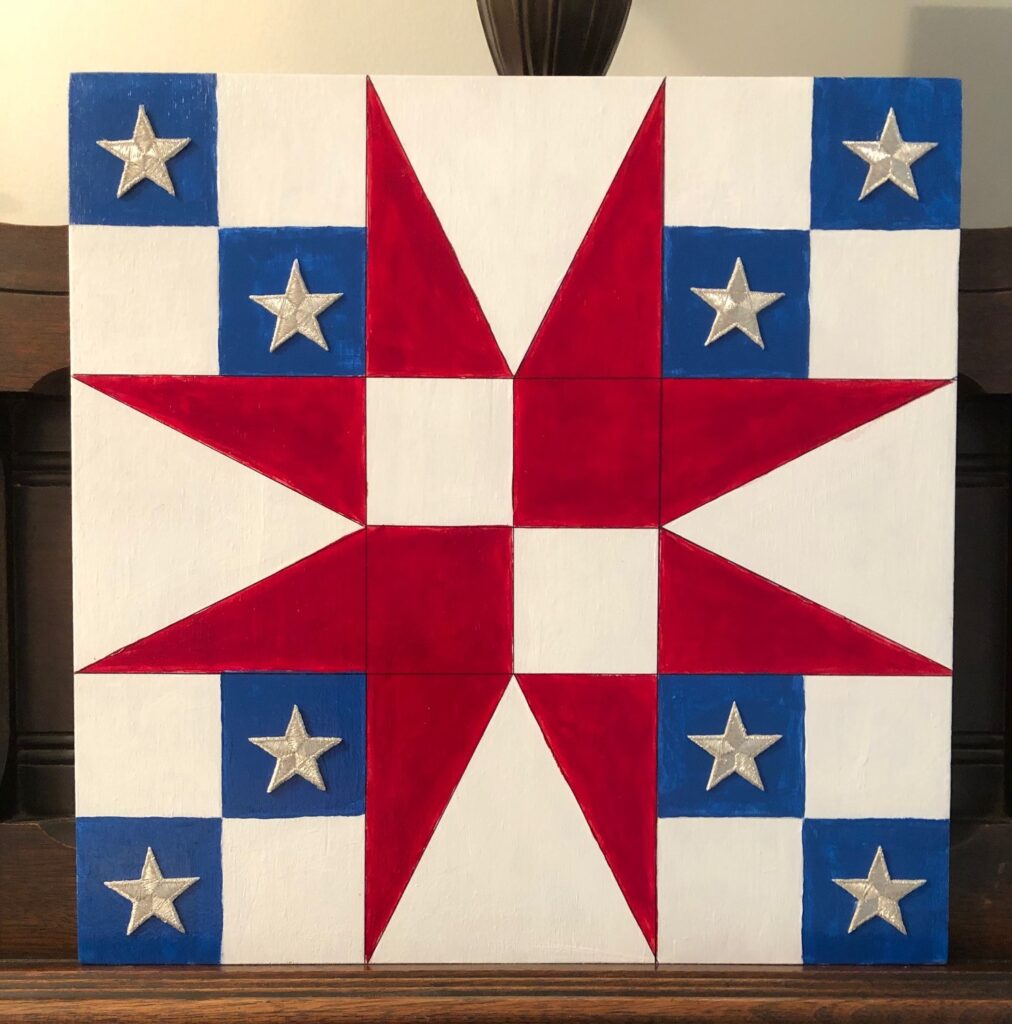
I had to improvise the paint to be solid colors, and added star appliques right to the painted wood. Here are links to the door-quilts on wood I’ve made so far:
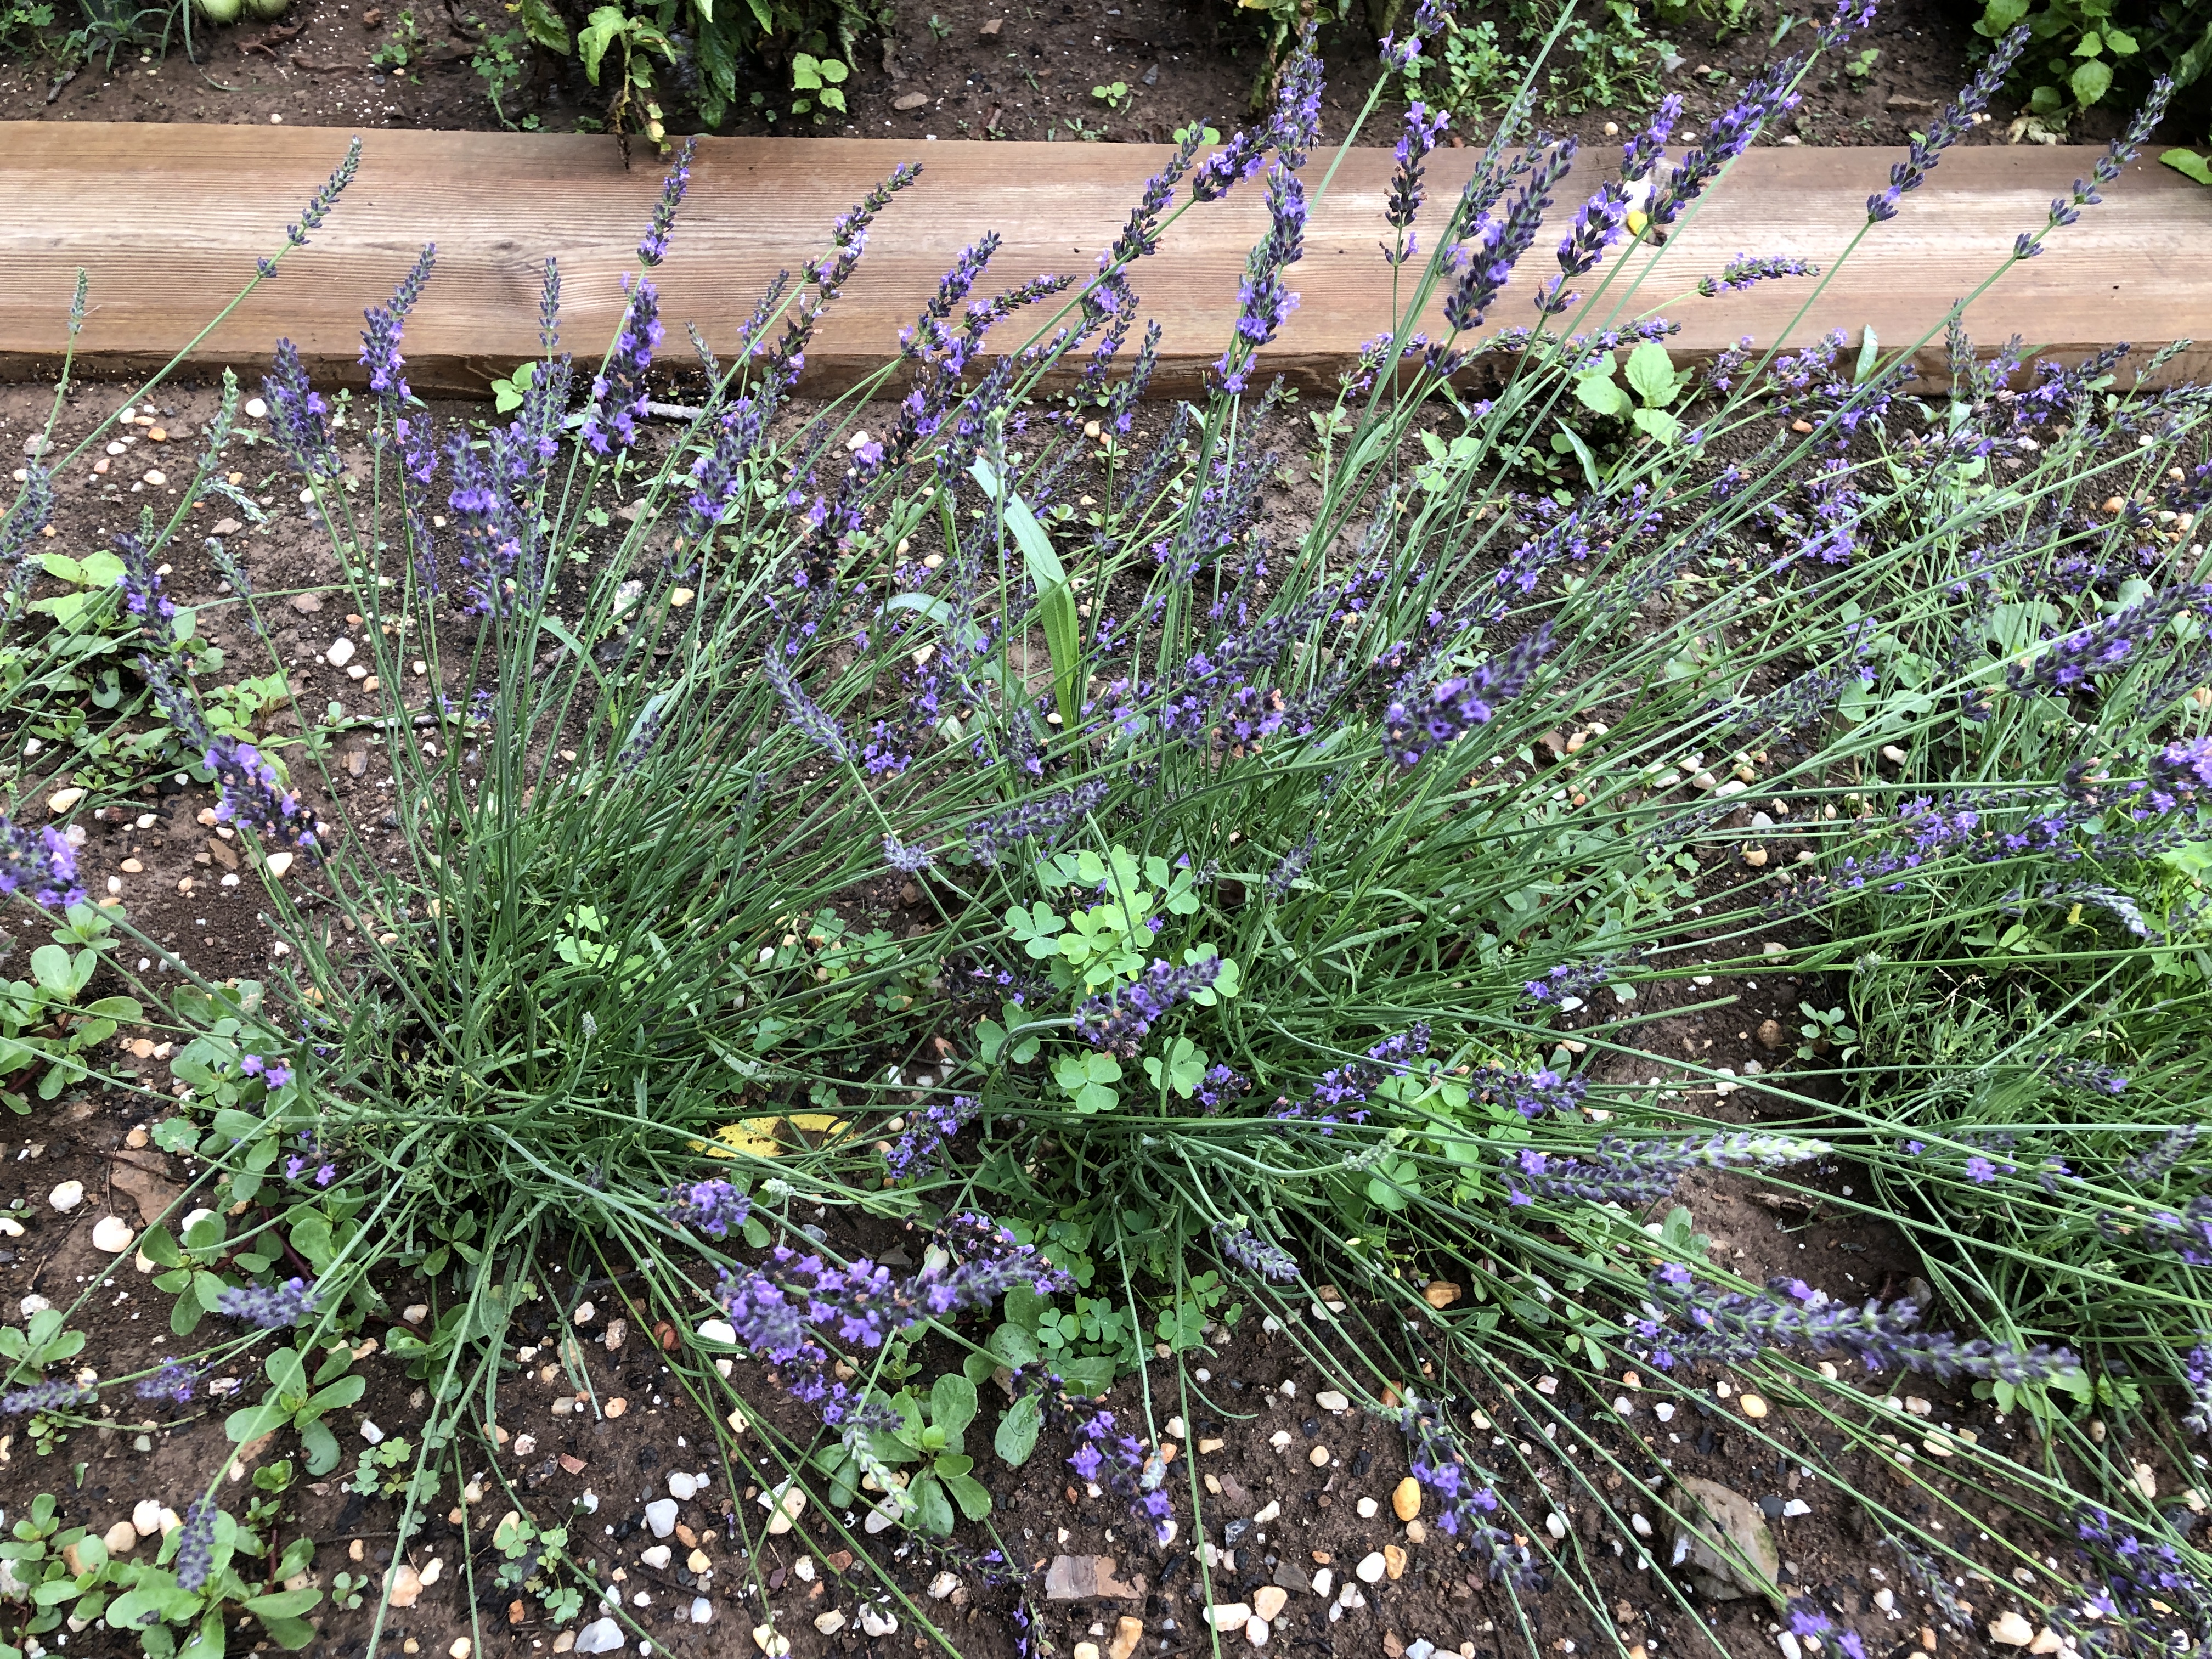
Lately, I’ve been inspired by the lavender fields you’ve seen in photos and my plants in the garden:
Choosing a pattern:
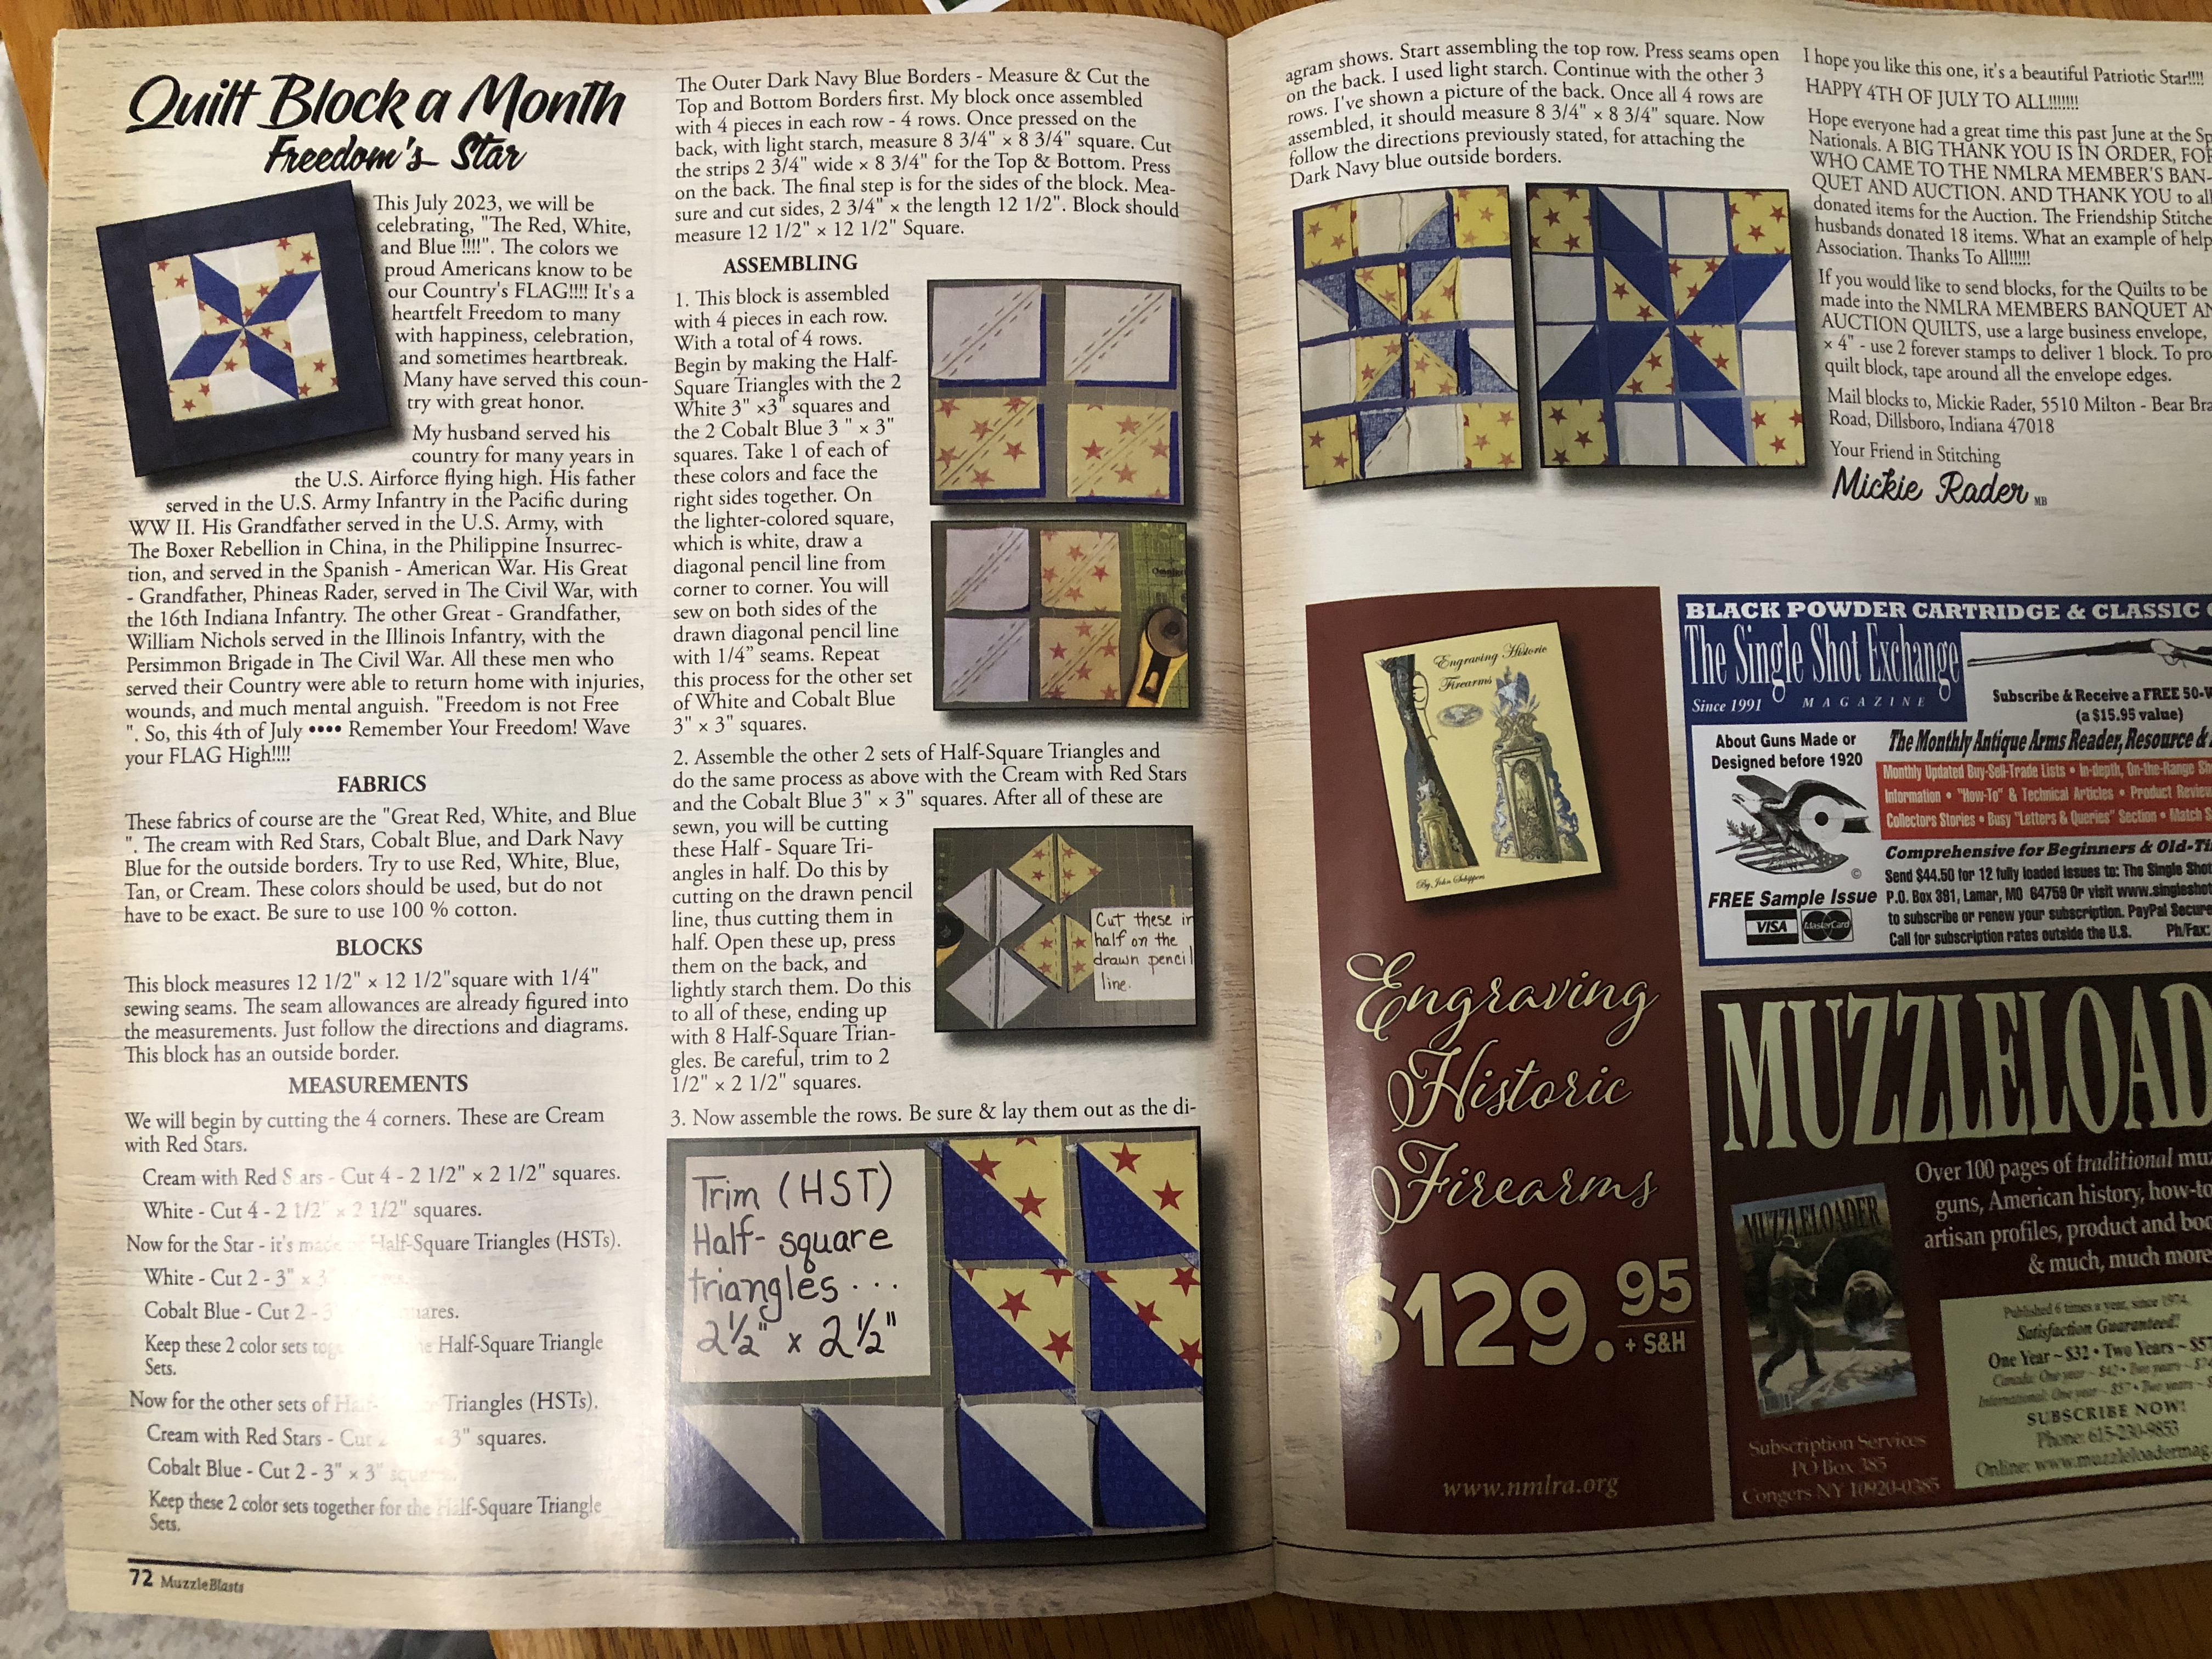
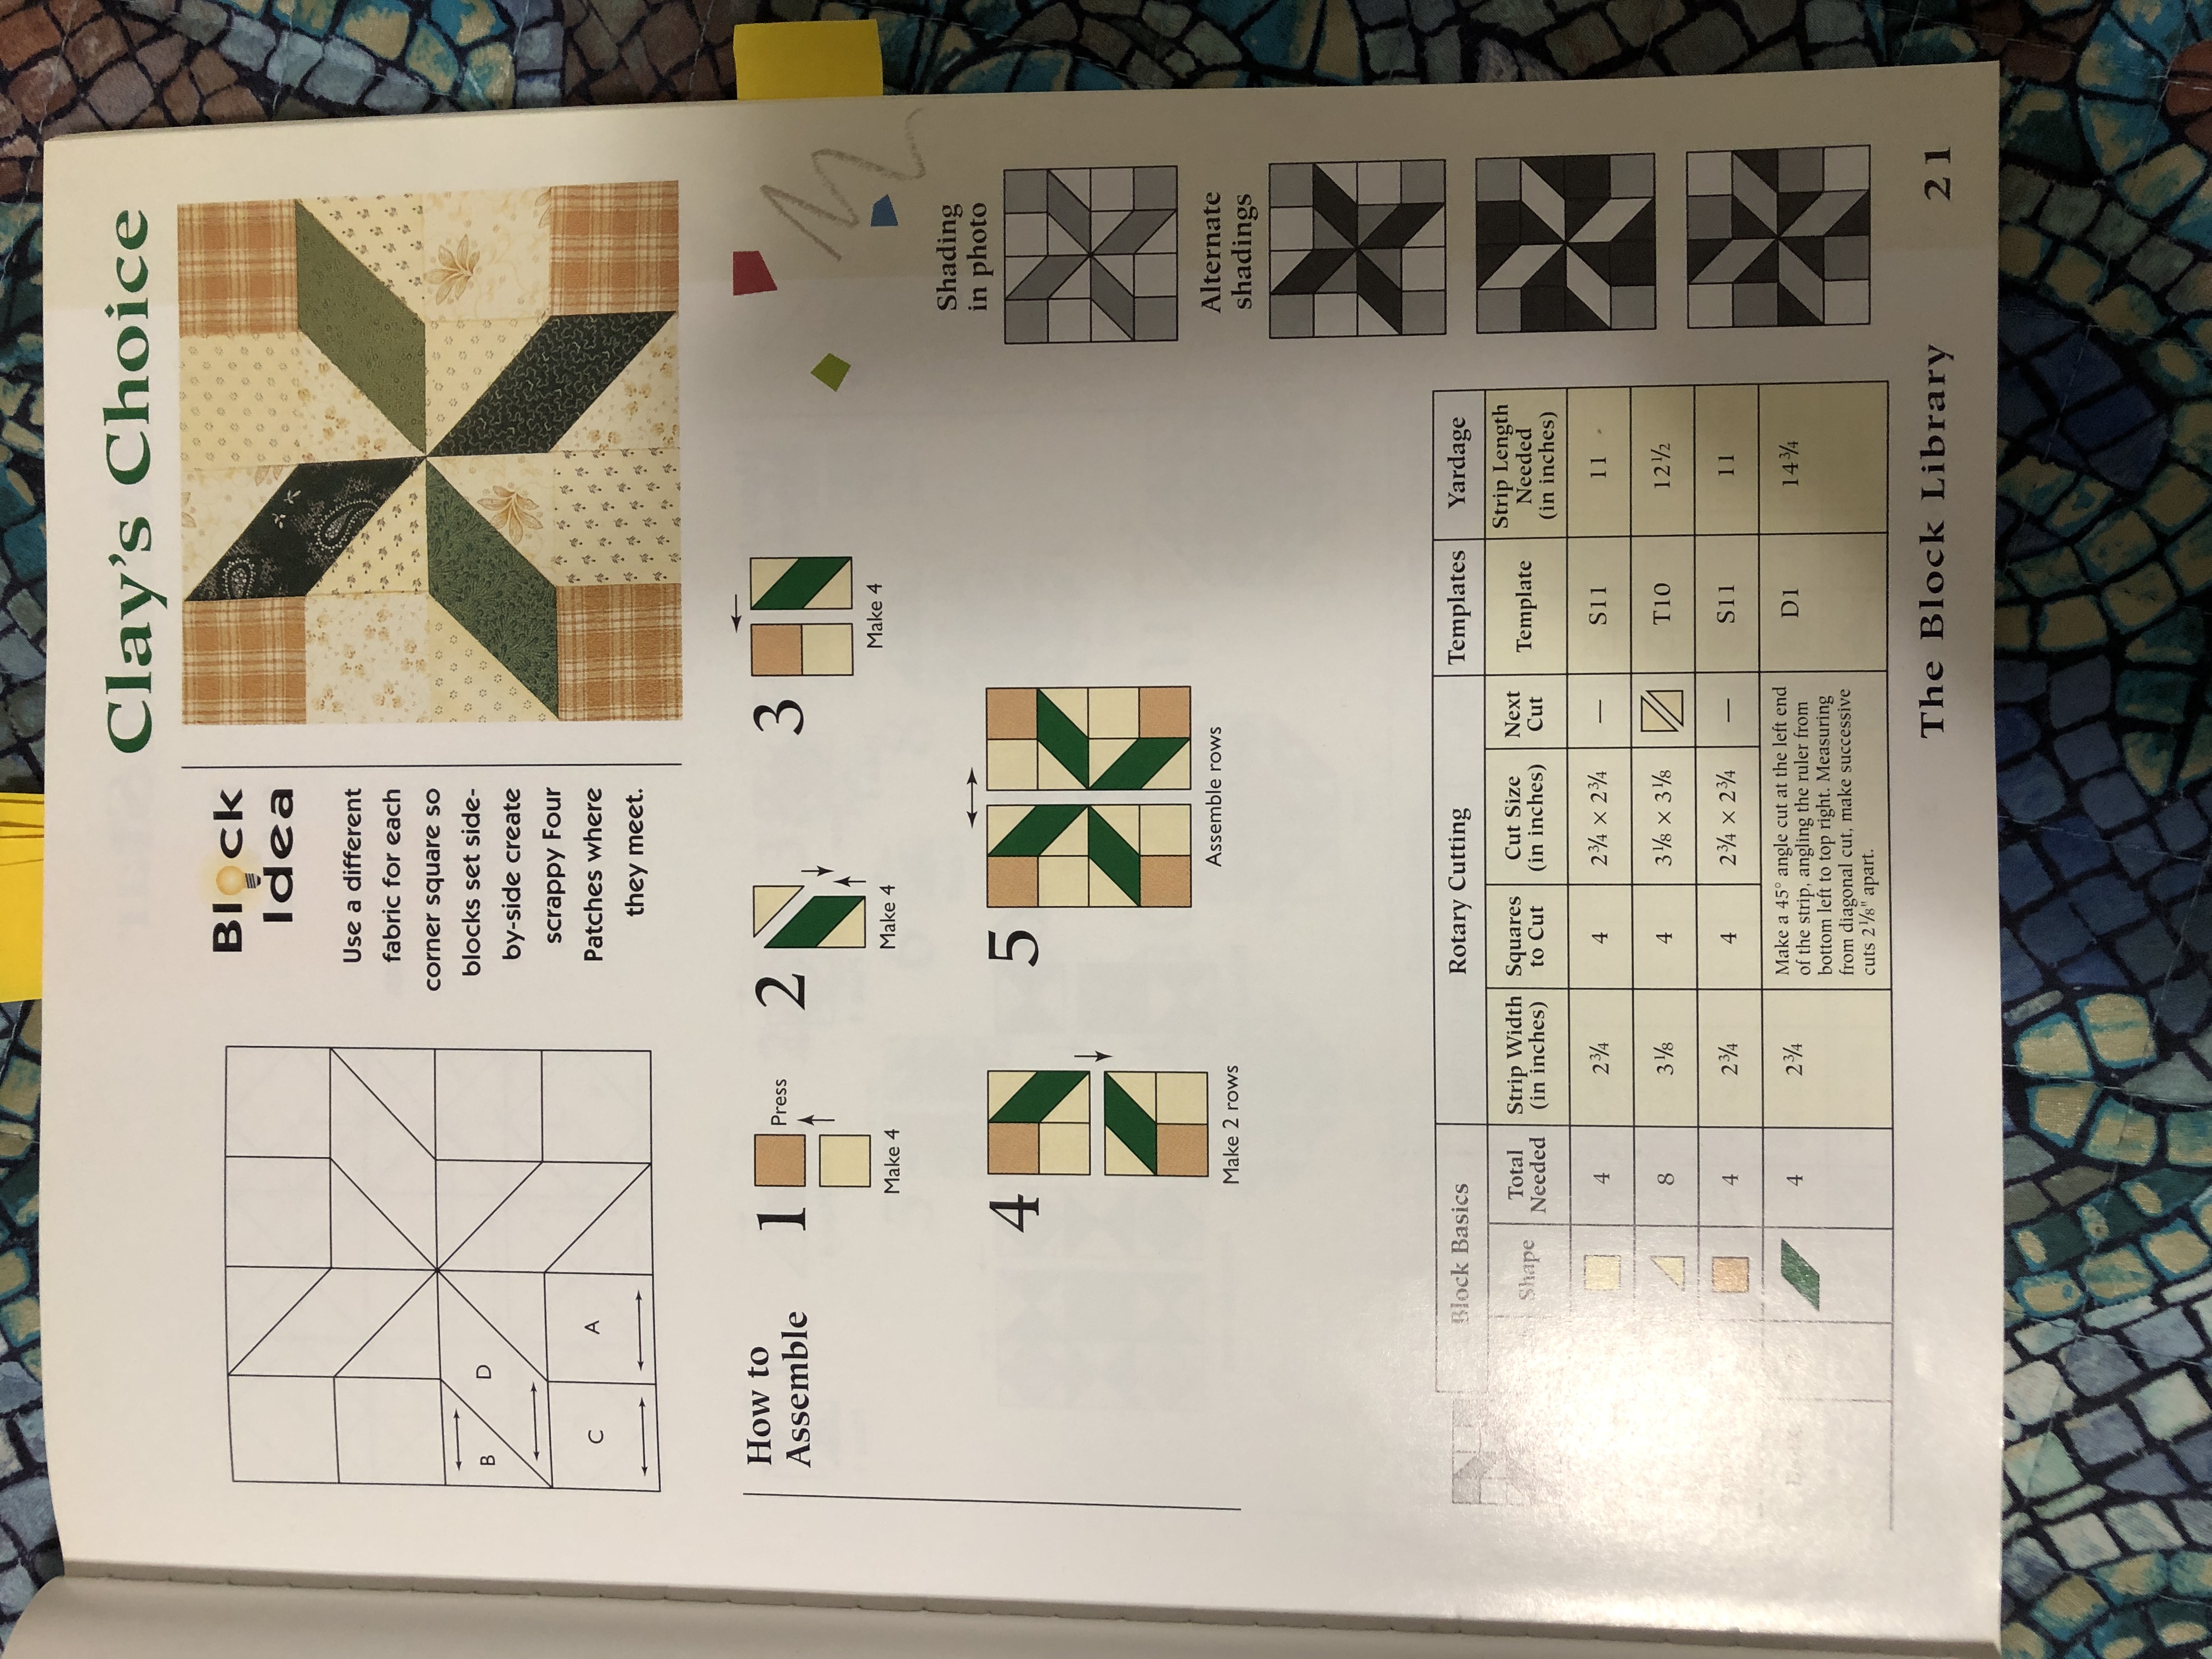
Bert had just received his latest copy of MuzzleBlasts, that always has a page or two with a quilt block suggestion:
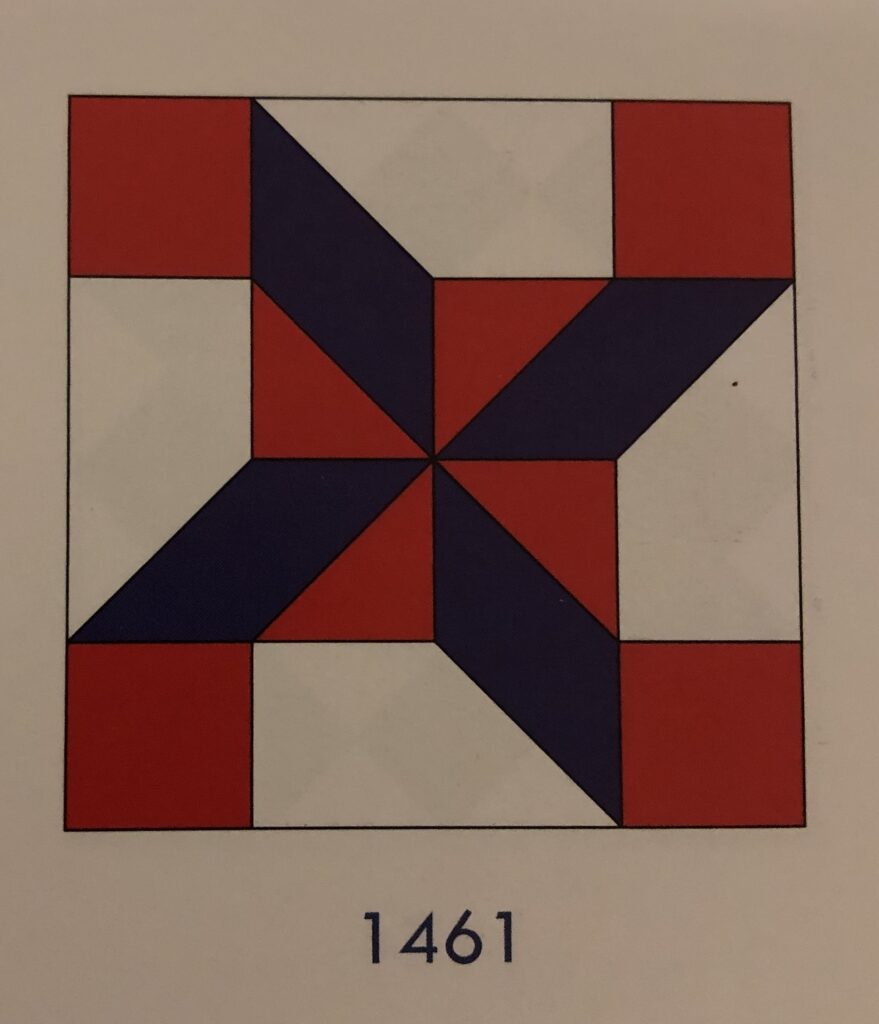
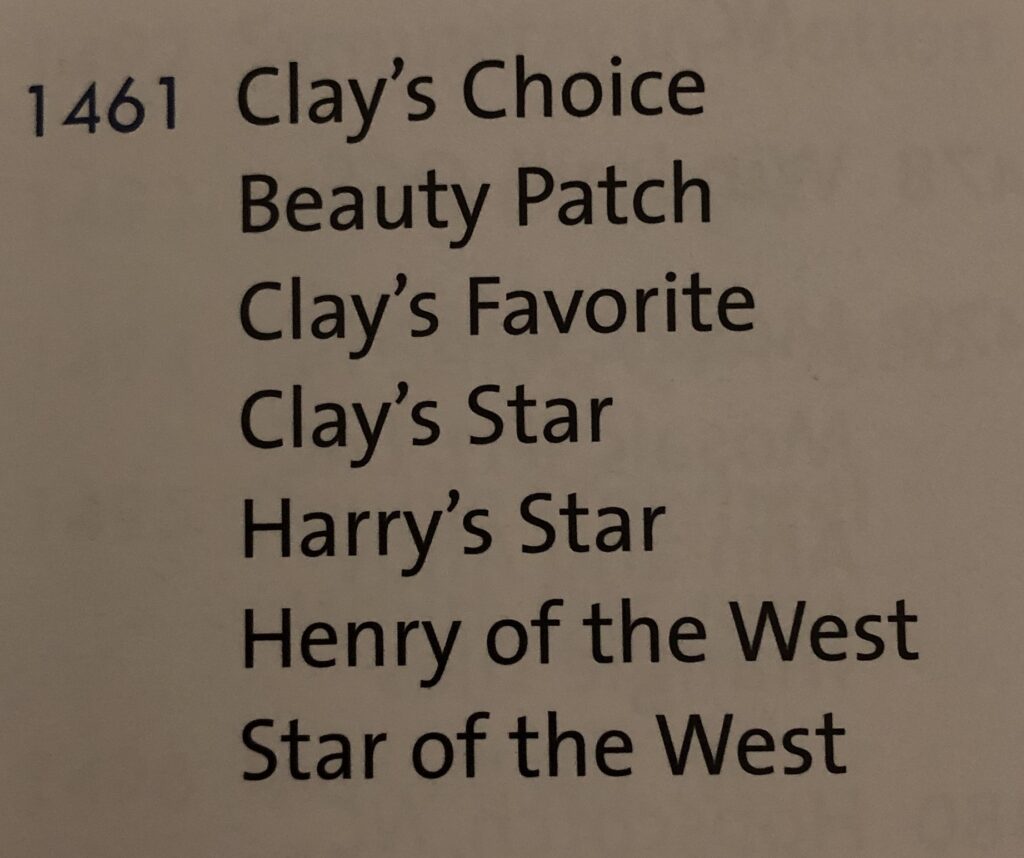
First, I needed to find this block (called Freedom’s Star here) in my favorite books that will tell me other names for the block. I found it in this book by Maggie Malone, with 7 other possible names:
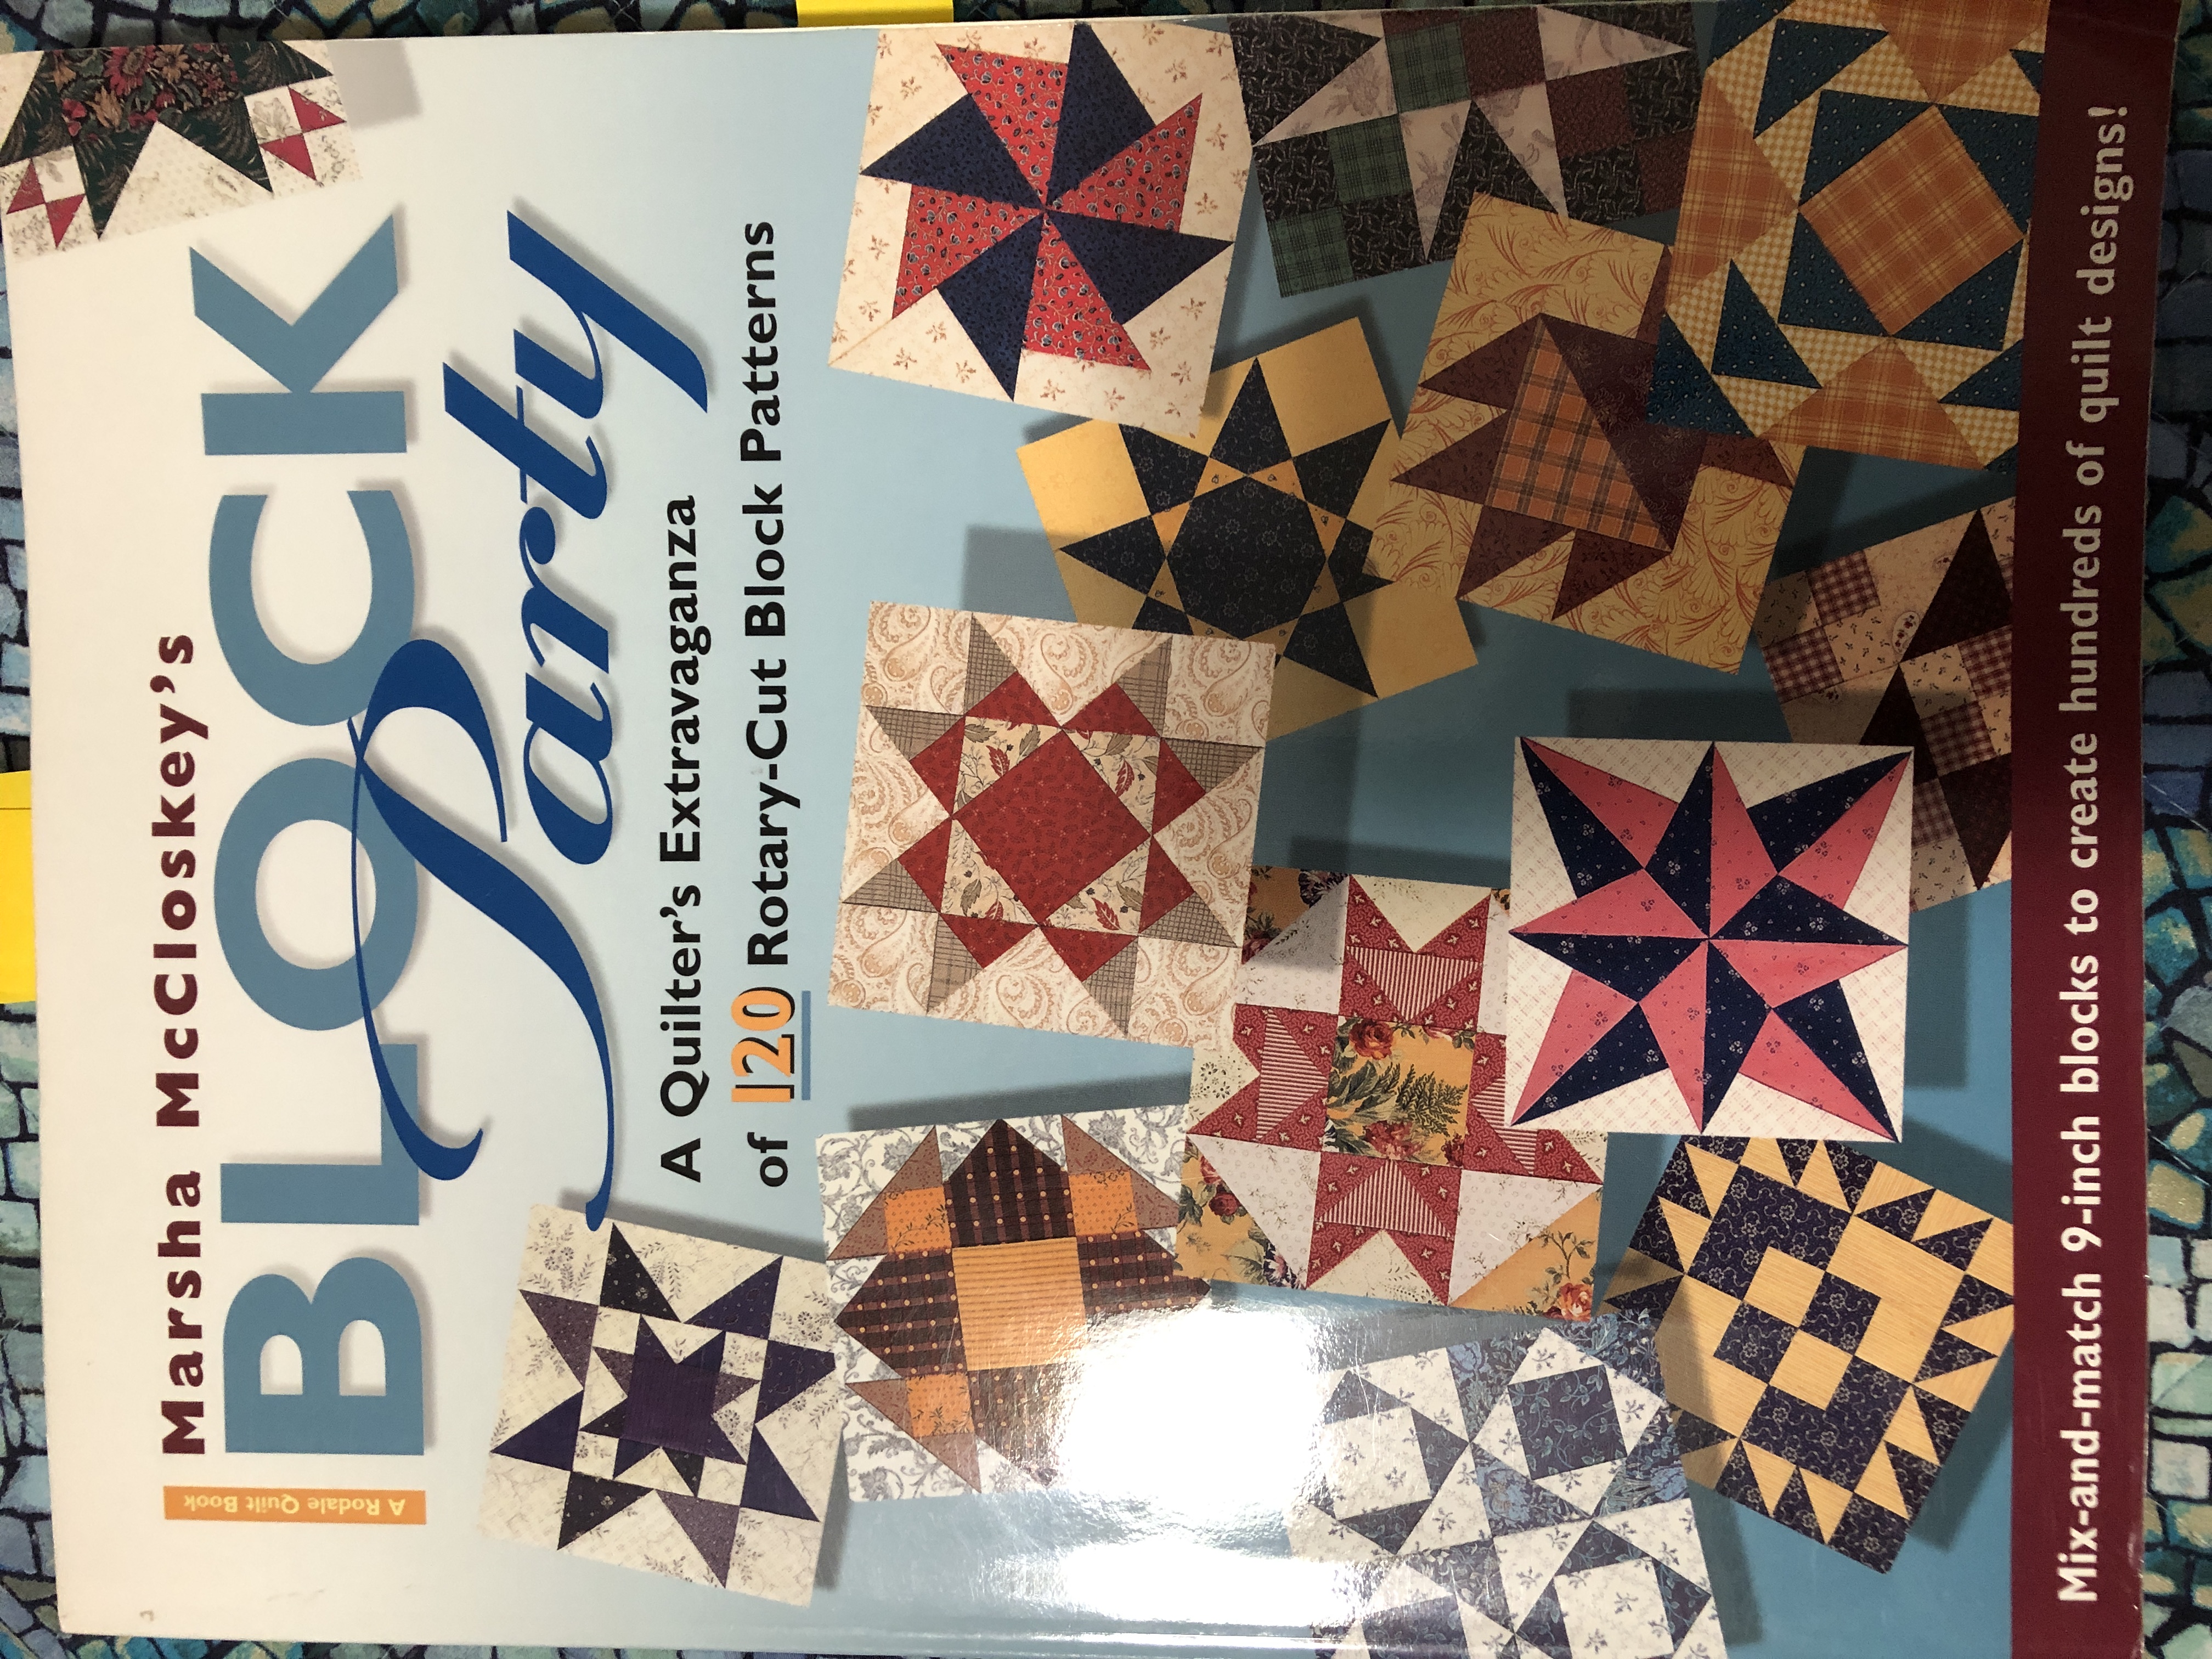
Then I found the block in another book, that gives me ideas for balancing the colors (light and dark):
Finally, I knew I wanted to use light and dark purple/lavender paint.
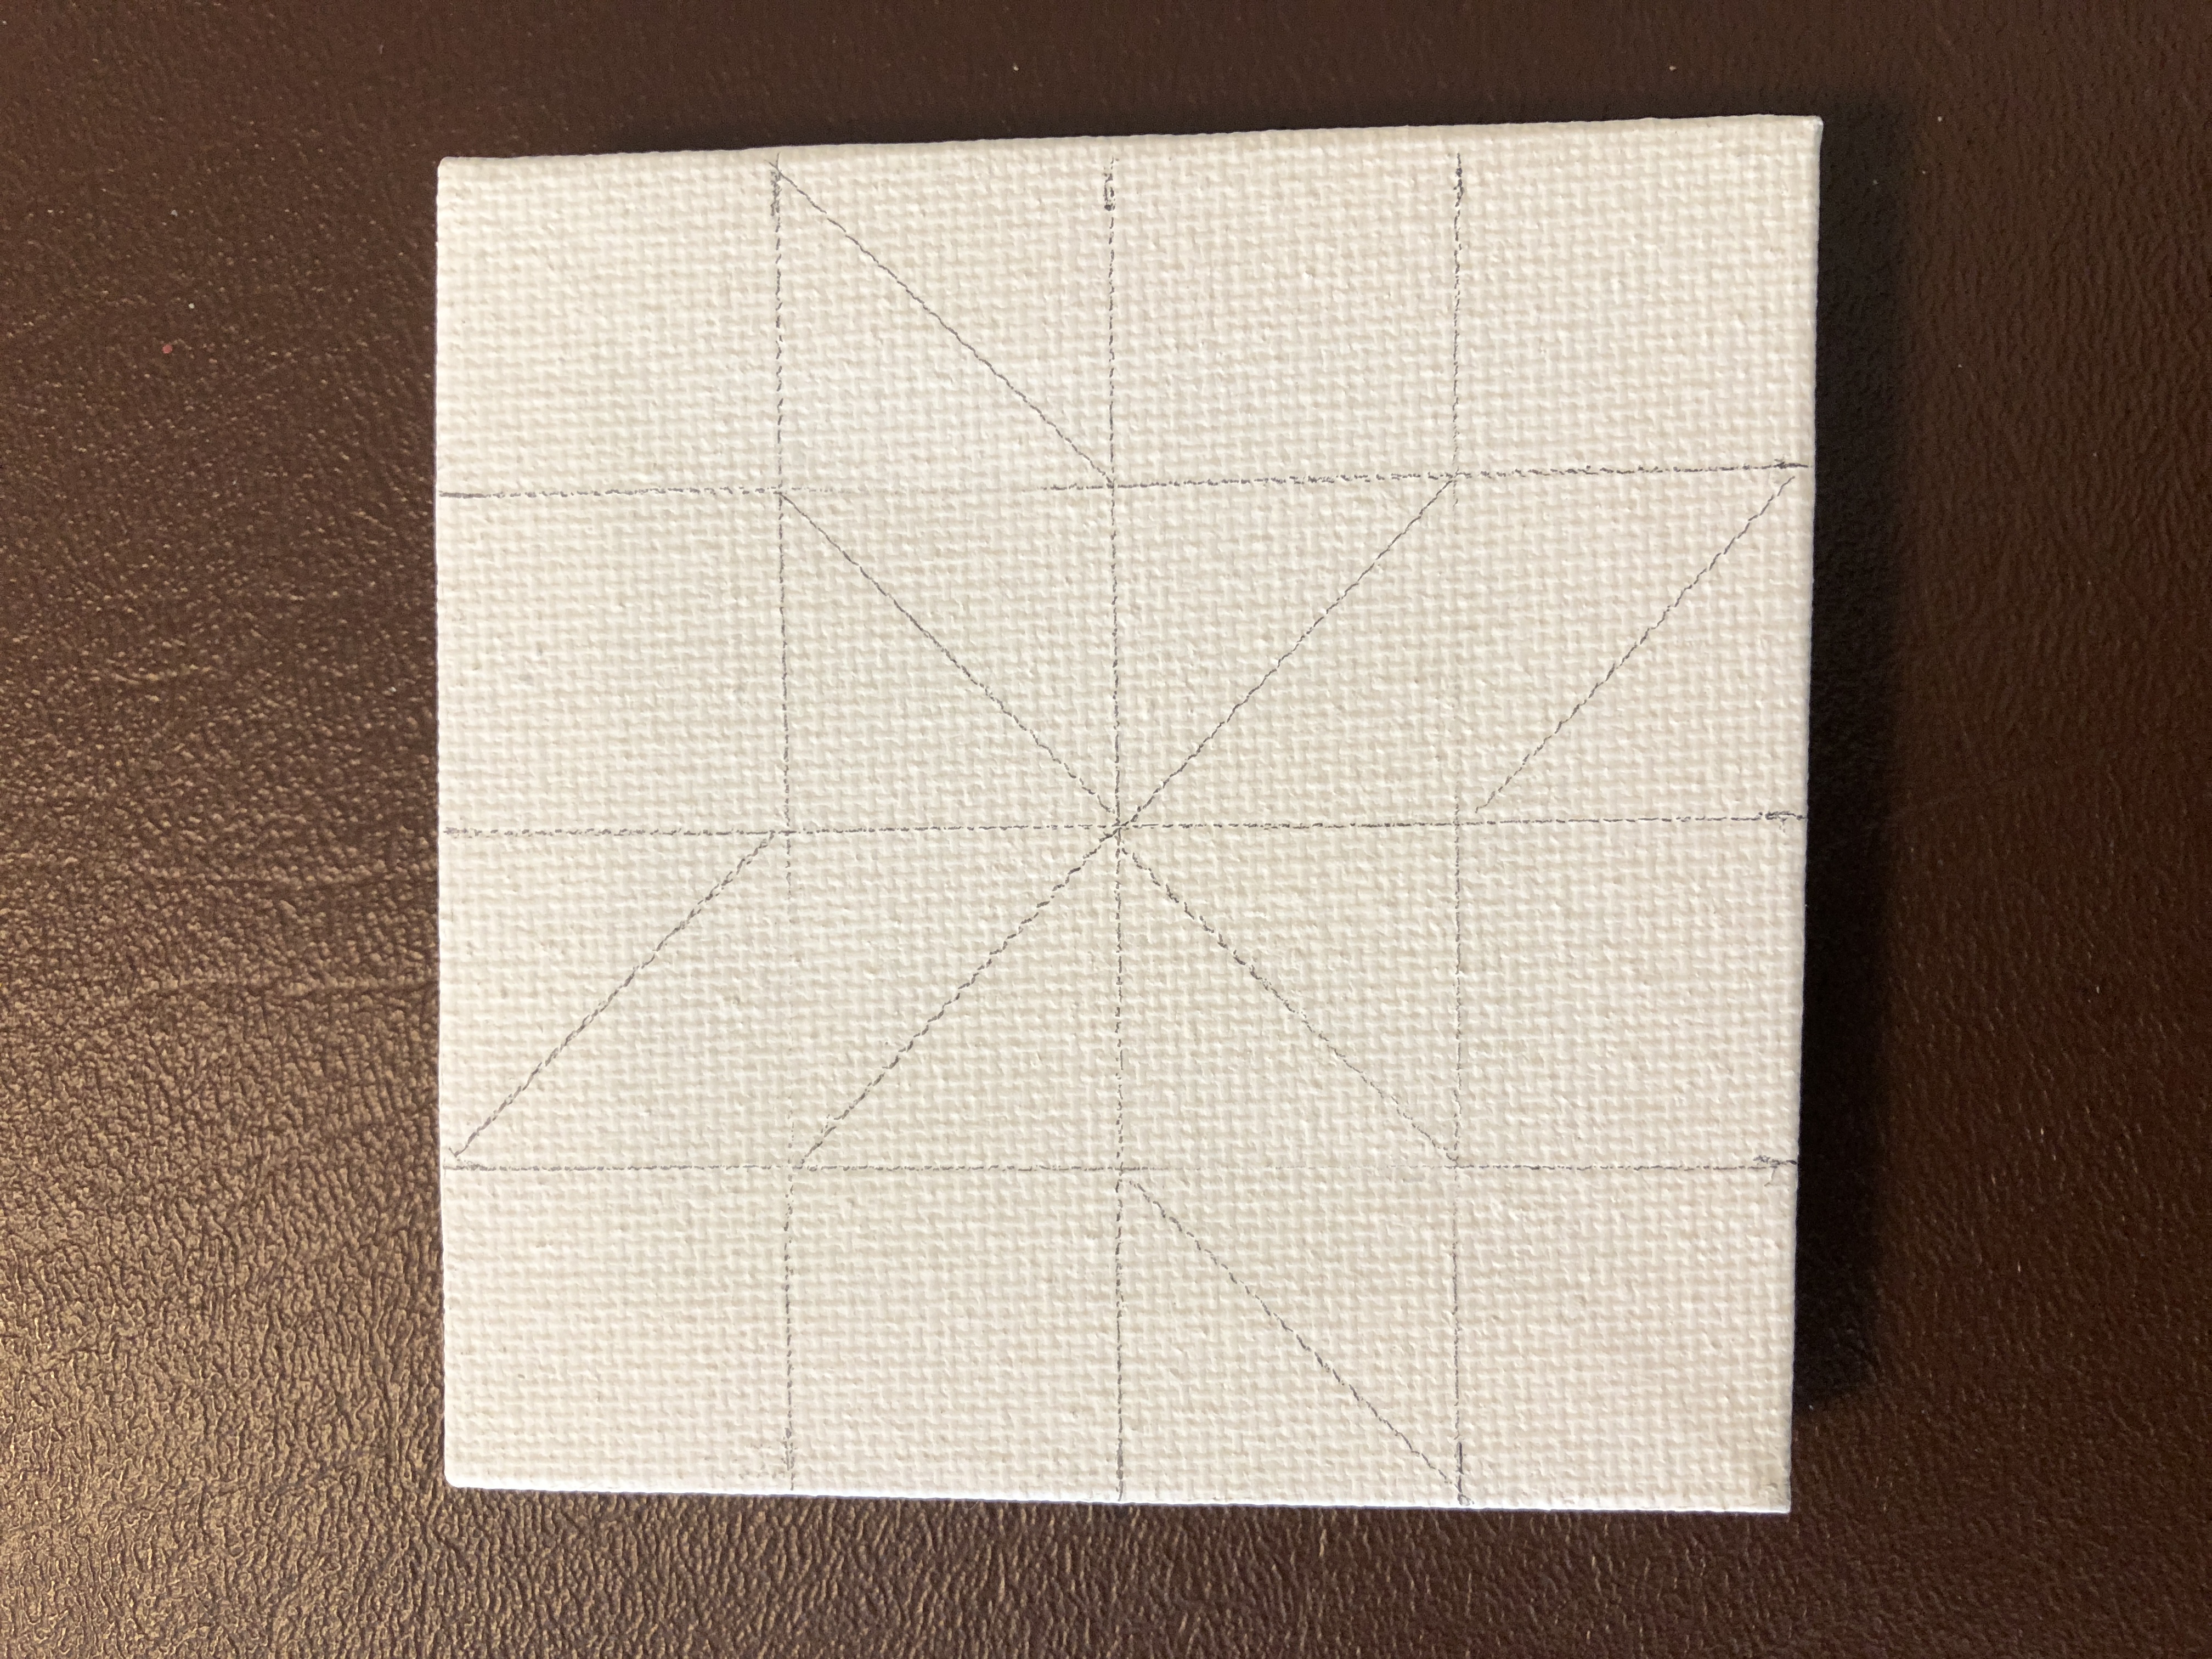
Making a Miniature Block First
For each 12″ x 12″ square block I paint, I first make a miniature block on a 3″ x 3″ canvas (available from Amazon). That lets me test the pattern and the colors.
So, I draw the guidelines to make a 4 x 4 block:
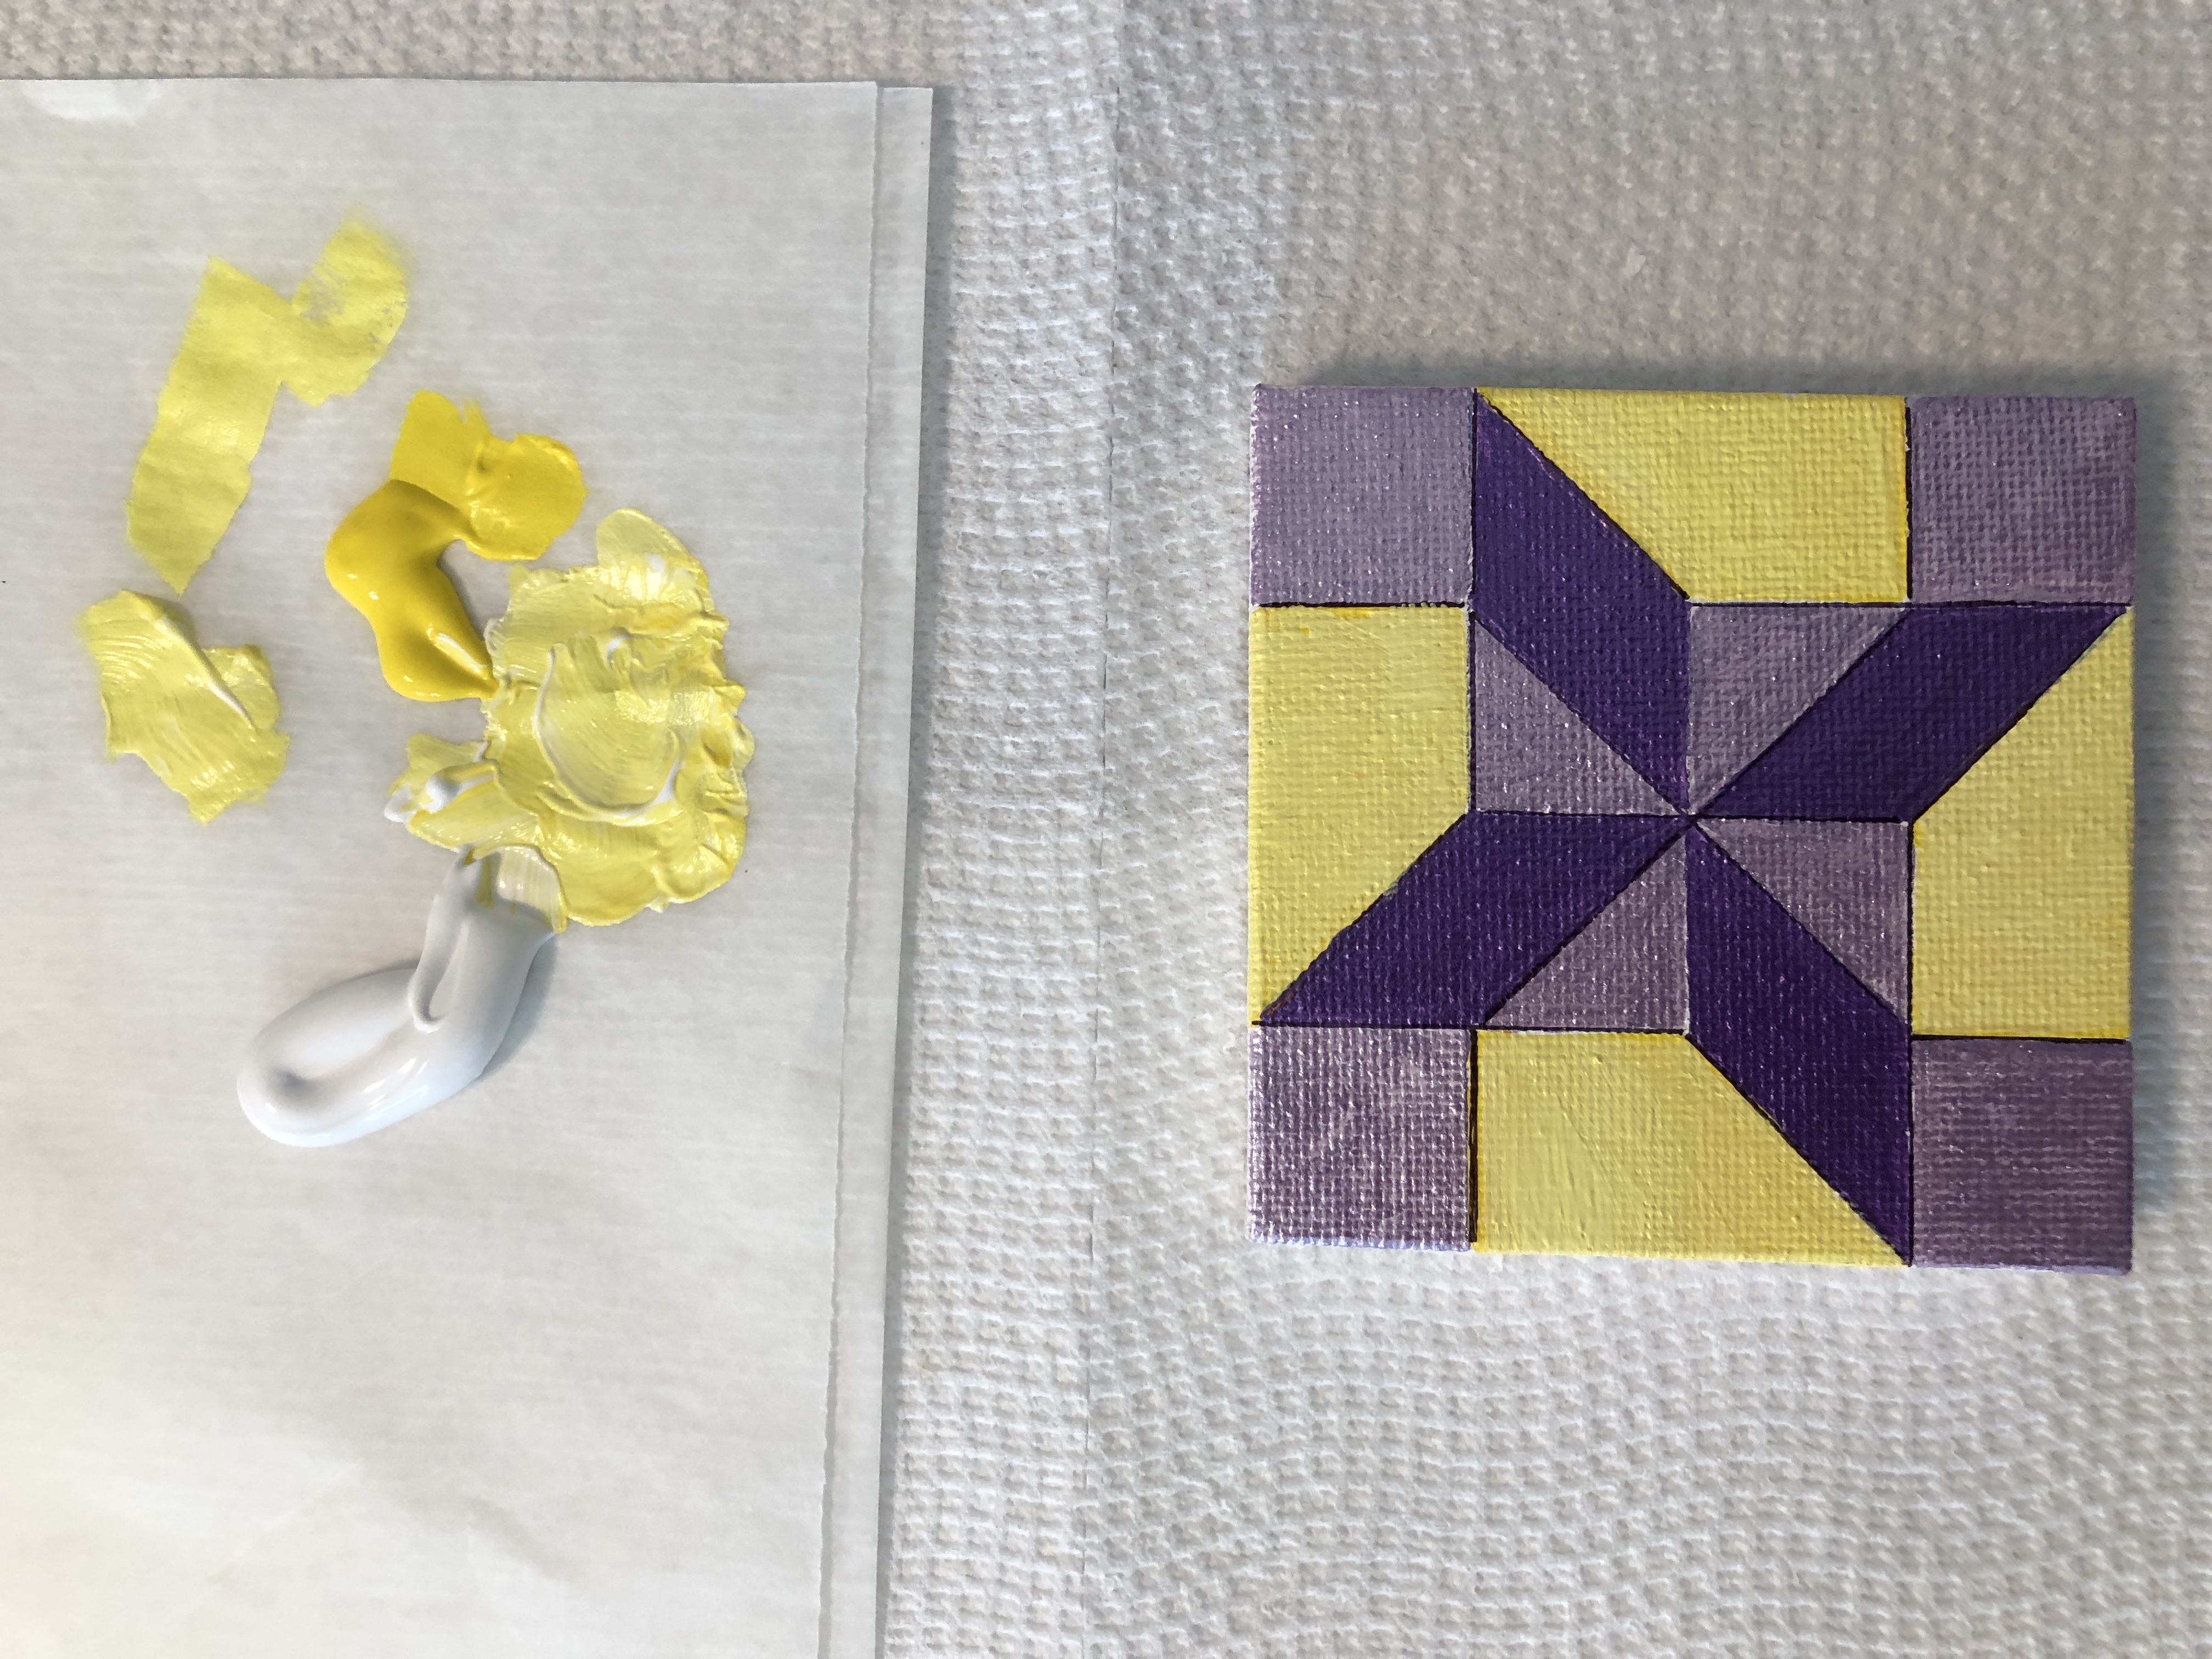
…and start filling in with color:
I wasn’t sure about the yellow paint…seemed too bright. I waited until the next day to see if it looked better. I decided the yellow overwhelmed the purple, so I mixed up some lighter yellow by adding white. That seemed to help.
The final colors felt better:
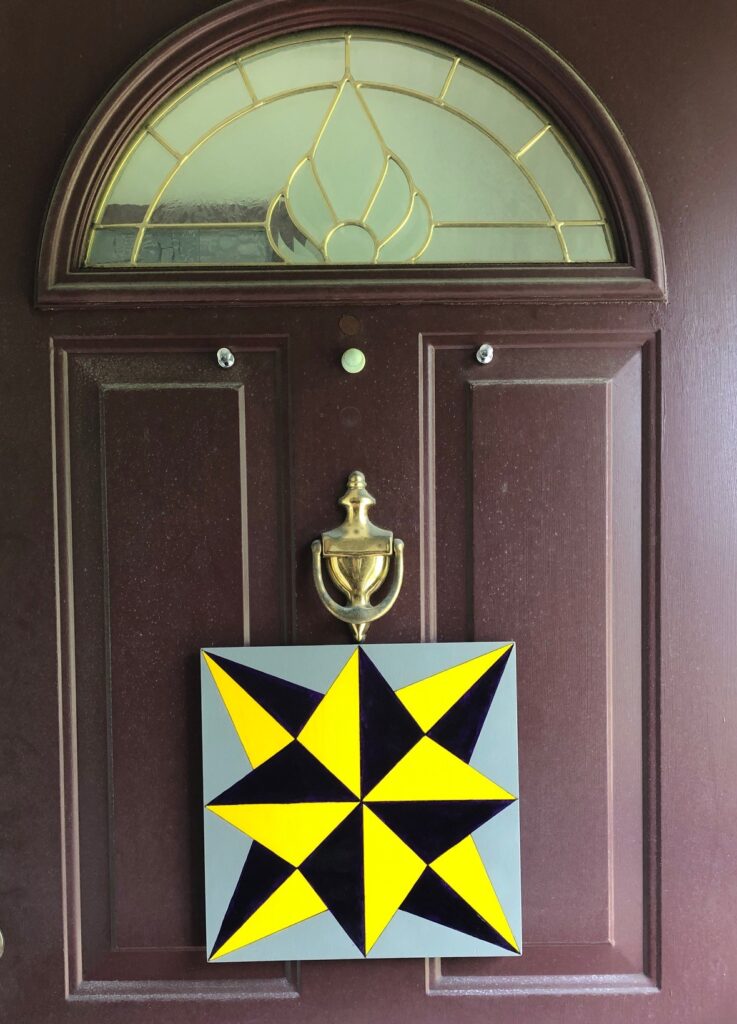
I continued with the 12″ x 12″ piece of wood and drew the pattern:
After painting, I use a fine point black marker to sharpen the design (mostly because my painting skills are not as steady as I’d like!).
Ready to get a spray of satin finish to protect it from the weather. Bert will glue three magnets to the back so it sticks to the front door (which is metal).
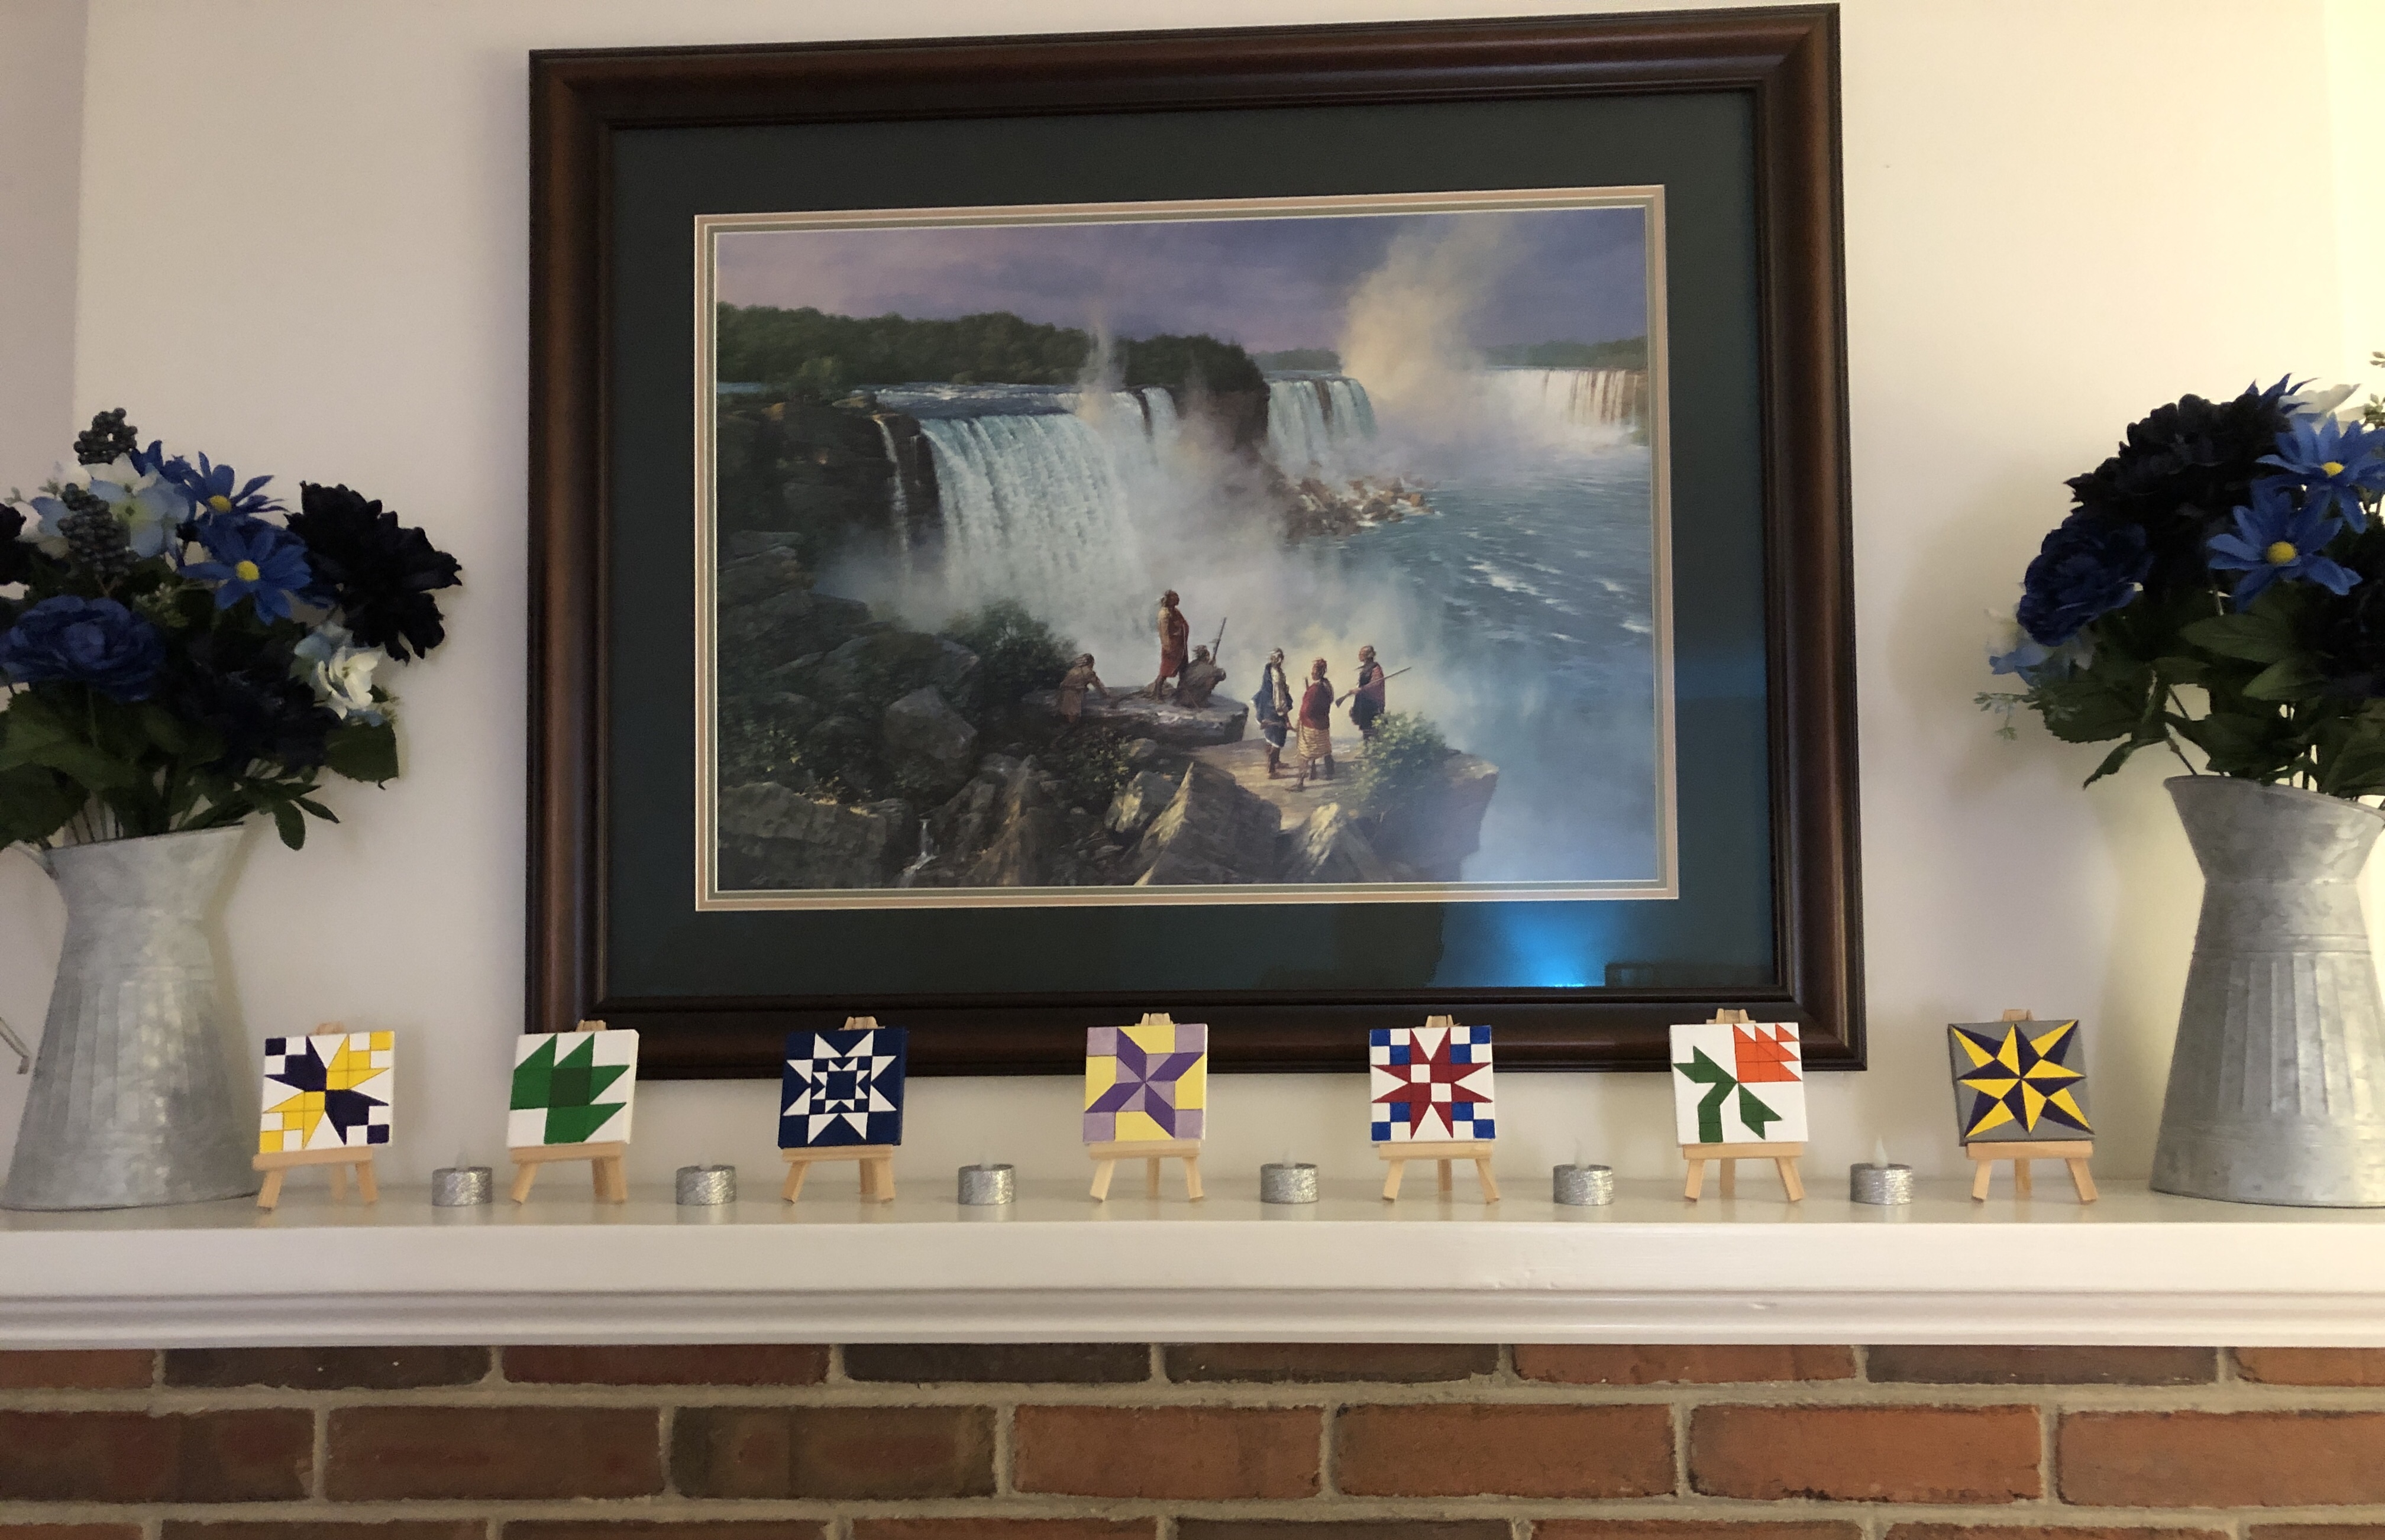
What to do with all my miniatures?
So far, I’ve been able to line them up on the mantle. One or two never made it to the final stage of painting on wood. That’s OK. They aren’t perfect, but it’s sort of a record of what I’ve done so far! Give it a try!
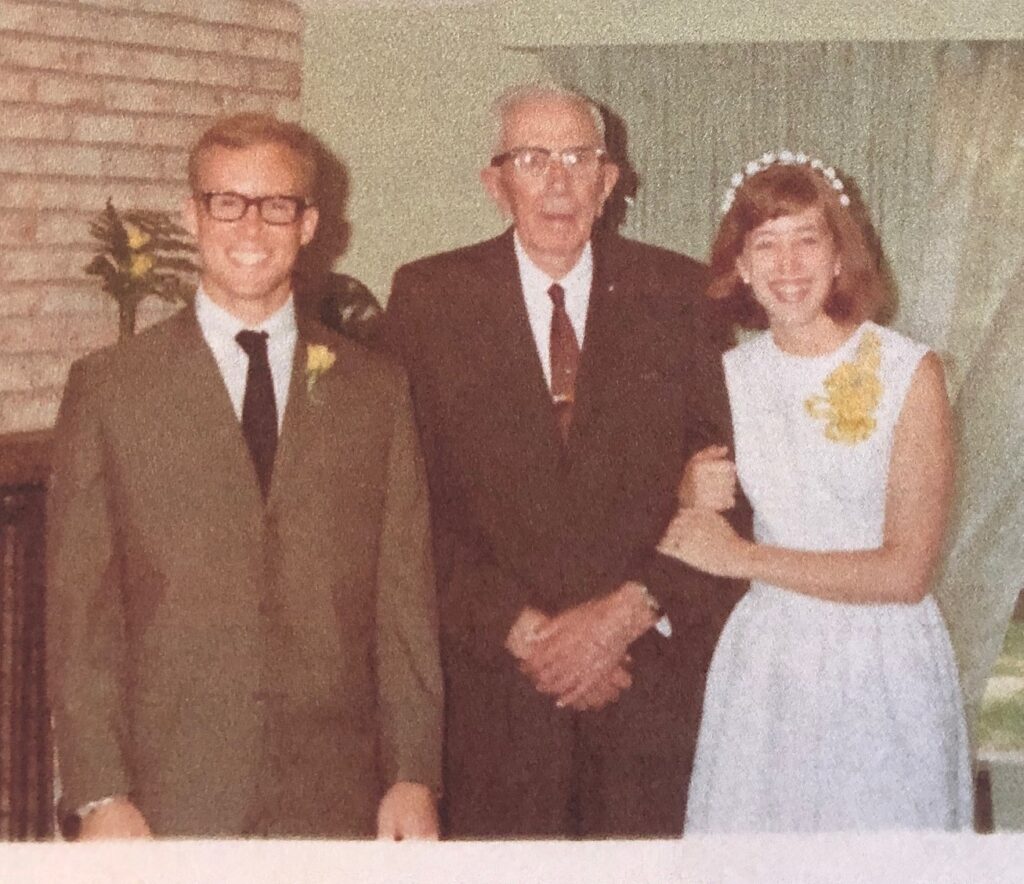
We had a family reunion two weeks ago so I thought I didn’t need to focus on the fact that today, Bert and I have been married for 56 years…longer than either of our parents and probably our grandparents. Over a nice dinner out, we talked about how unusual that was in our families. Individuals had longevity, but often one member of the couple passed away early. We’ve had quite an unusual gift of longevity and thanks to modern medicine and the technology of hip and knee replacements have managed to stay upright!
So, to review our story…we eloped in the summer of 1967 (a crazy tale in itself) and didn’t tell anyone until the following summer.
We planned to “get married” in the family living room and not mention anything at all…except the minister we asked to do the service would not do it unless everyone attending (immediate family) knew it was just a renewal. So, that blew our secret! We had to fess up. In August, 1968 we had an official “renewing of vows” and then had a reception at the Nittany Lion Inn for all of our extended family and friends.
Bert, Grandpa John Bixby, Mary
We recently remembered that the first Arts Festival in downtown State College was in 1967. We spent some time strolling College Avenue checking out the art displays. Such was our honeymoon!
So now, when I look at our grandchildren (ages 17, 16, 14 and 11) I’m not sure I want to share my saga with them yet…how crazy were we at age 21 and 20! Yikes! Who knew it would last 56 years!
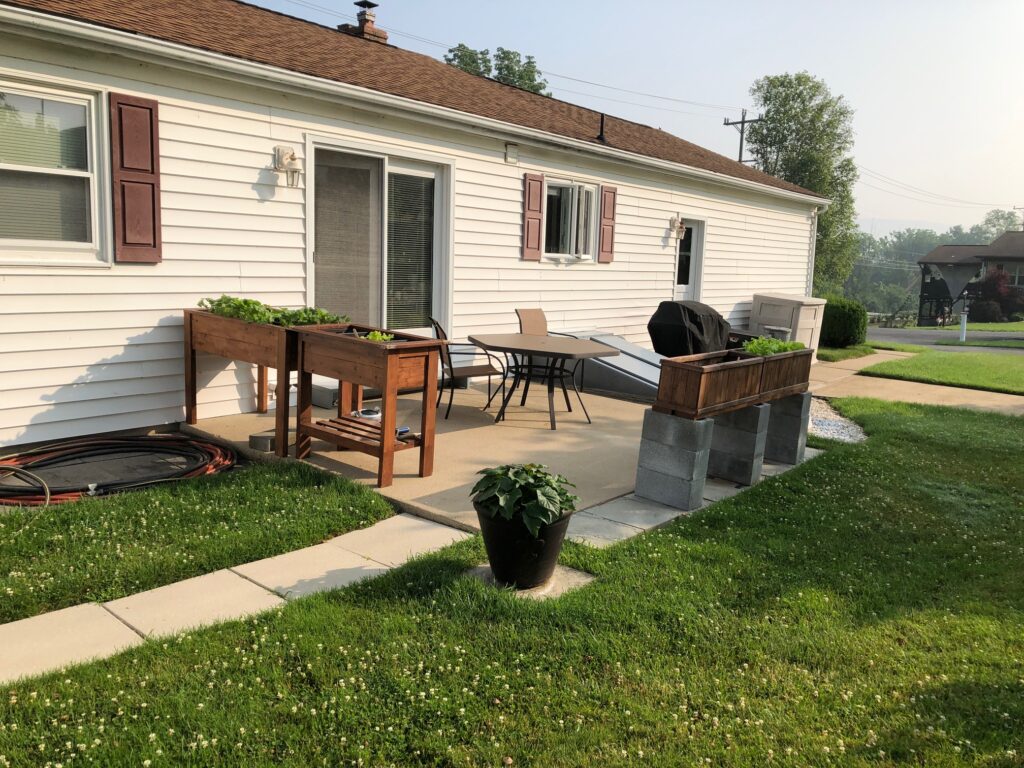
Time to share the mid-July adventures in the garden! Last week, the view of the patio planters looked like this:
Radishes, lettuce and my sweet potato plant were doing well. I was pretty sure they were safe from roving bunnies and deer because they were so close to the house. Unfortunately, the deer saw the sweet potato plant as part of their salad bar! Sunday morning, the sweet potato plant looked like this:
Two days later, the plant is trying to recover:
Oh well, I tried!
Then we noticed the beet tops. They looked like this last week:
Sunday morning they looked chomped all along one side!
Very frustrating. Several beets had been yanked out of the ground so I cooked them. Yum…really sweet!
The potatoes and Delicata squash were not touched.
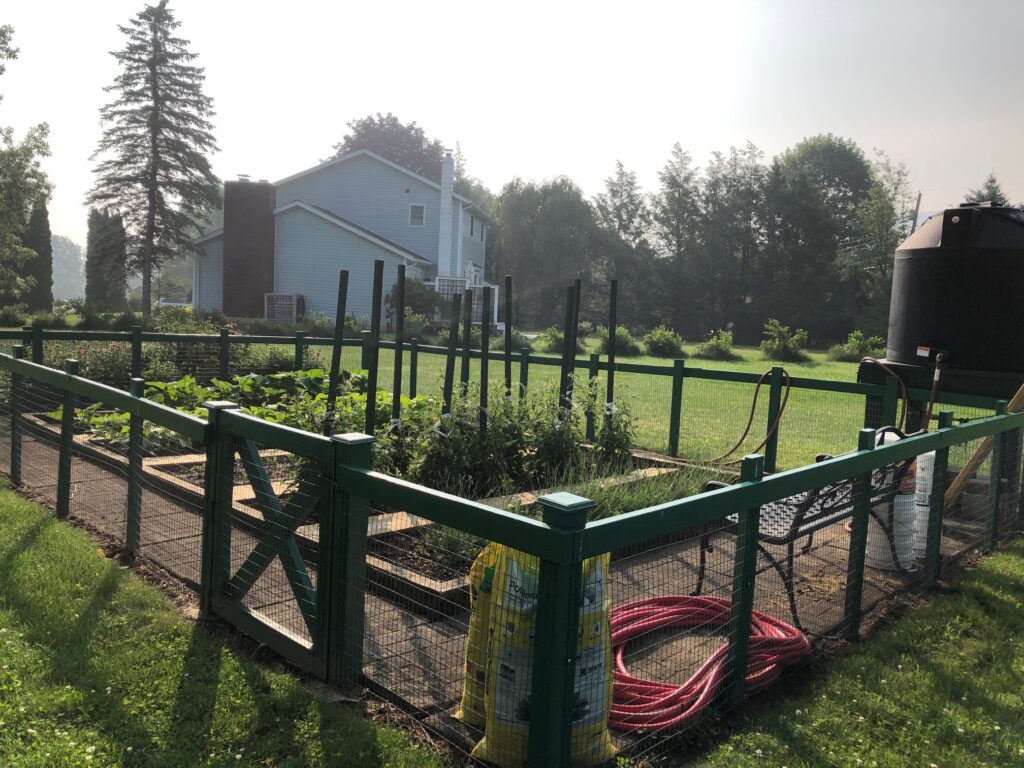
Up in the garden on the hill, amazingly, nothing was touched. When you look at the short but sturdy garden fence, we were surprised the deer didn’t just hop the fence for a snack! So far, that hasn’t happened. Maybe the hoses look like snakes.
The lavender continues to fill out:
The tomatoes are doing well:
The carrots have finally started to grow:
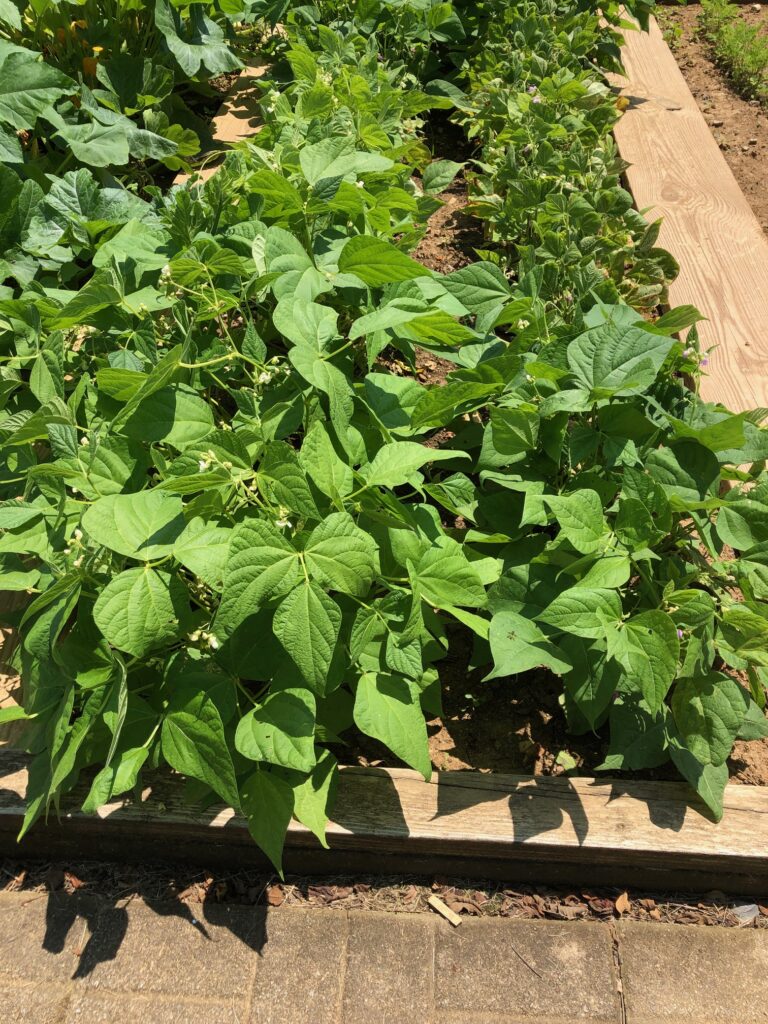
The beans are blossoming and making tiny beans!
The Delicata squash is getting huge, with little squashes starting:
And of course, my favorite…Echinacea!!
Bert has now sprayed the sweet potato plant and the beet tops with some deer repellent. We’ll hope it’s enough to deter the deer so the plants can continue to grow!