Making Egg Rolls in the Air Fryer

I love egg rolls! Since I was diagnosed with egg and dairy allergies several years ago, I have been very careful about eating anything that was mixture of ingredients. I have avoided casseroles of all kinds, especially if I didn’t make it myself…too often they have hidden eggs, cheese and other dairy products. Somehow, egg rolls fell into that “unknown mixture” label and I avoided them. I recently came across a recipe for egg rolls and discovered there were no eggs anywhere in the recipe! I went to the grocery store and read the ingredients on the wrappers…no eggs! To think I’ve avoided egg rolls all this time when I didn’t need to!

This picture shows egg rolls that had been deep fried. Look so good!

I also wondered why they were called egg rolls…when no eggs were involved! An early reference to egg rolls appeared in a 1917 Chinese recipe pamphlet published in the United States. The 1917 recipe described a meat and vegetable filling wrapped in an egg omelet, pan fried, and served in slices. (Wikipedia, Egg Rolls).

According to Wikipedia, while they are closely related to the spring rolls served in mainland China, the American egg roll was probably invented at a Chinese restaurant in New York City in the early 1930s. Originally, egg rolls included ingredients like bamboo shoots, roast pork, shrimp, scallions, water chestnuts, salt, MSG, sugar, palm oil and pepper. Notable, they did not include cabbage at the time, which is the main filling ingredient in modern egg rolls.

A 1979 article in The Washington Post speculated two possible theories for the word “egg” in the name: “1) that the Chinese word for ‘egg’ sounds very similar to the Chinese word for ‘spring’, and 2) that Chinese chefs in the South relied on using actual eggs when trying to make the thin noodle skin from flour and water.” (From Wikipedia, Egg Rolls).

The other issue I had with egg rolls was the necessity to deep fry them…sounded messy! But this recipe said I could use my air fryer or even bake them in the oven! That sounded possible!

So, here is the recipe for the egg rolls:

(From https://lilluna.com/fried-eggrolls-recipe/)

The ingredients were pretty simple: egg roll wrappers, cooked chicken, cole slaw mix and salt. I added little minced onion just for flavor.

The ingredients shown with my first batch of egg rolls ready for the air fryer.

Preparing the stuffing

Step 1: In a large frying pan (or wok) saute the cole slaw with a little olive oil until wilted (I added the minced onion here).

Step 2: Add shredded chicken for a few minutes until all mixed. Season with salt and pepper to taste. I just added the can of chicken, broken up with a fork.

Making the egg rolls

Step 3: Add 2 tablespoons of slaw/chicken mixture to the middle of the egg roll wrapper. Fold up the sides one at a time and for the last fold add a little water so it sticks. Makes 11-12 egg rolls.

Sorry…out of focus!
Ready for the Air Fryer!

Step 4: Fry your egg rolls until golden brown.

Air Fryer Instructions:

Lightly spray or brush the basket or tray with olive oil. Place egg rolls in the air fryer. Be sure they are not touching. Cook at 375 degrees for about 15 minutes, turning halfway.

Air Fryer at work!

Oven-Baked Instructions:

Lightly coat egg rolls with cooking spray and place, seam side down in a greased pan. Bake at 425 degrees for 18-20 minutes or until golden brown, turning halfway.

Store in an airtight container. Refrigerate for 3-4 days. Freeze for up to 2 months.

Reheat in 350 degree oven, 10 minutes if thawed; 18-20 minutes if frozen, turning halfway.

With our son visiting, these egg rolls did not last very long! Yummy!

Another idea:

One of the suggestions in this recipe was to try filling the wrapper with apple pie filling. That would be like a mountain pie cooked over a campfire! Sounds like a great dessert!

I can see lots of potential for stuffing! I’m sure I’ll get better at rolling the egg rolls up too! Give it a try! Enjoy!

Please comment or email me directly at marykisner@comcast.net.

Garden Update May 6, 2022

Seems like it’s time to share our beginnings of this year’s garden. It is still too early to put plants in the ground because we could still have a frost over the next few weeks, but Spring is definitely making obvious inroads.

Our Redbud trees are beautiful and the grass is so green.

Redbud flowers are so stunning in the spring!

The hummingbird feeders are ready and the birds have found them. The geraniums are beautiful this year.

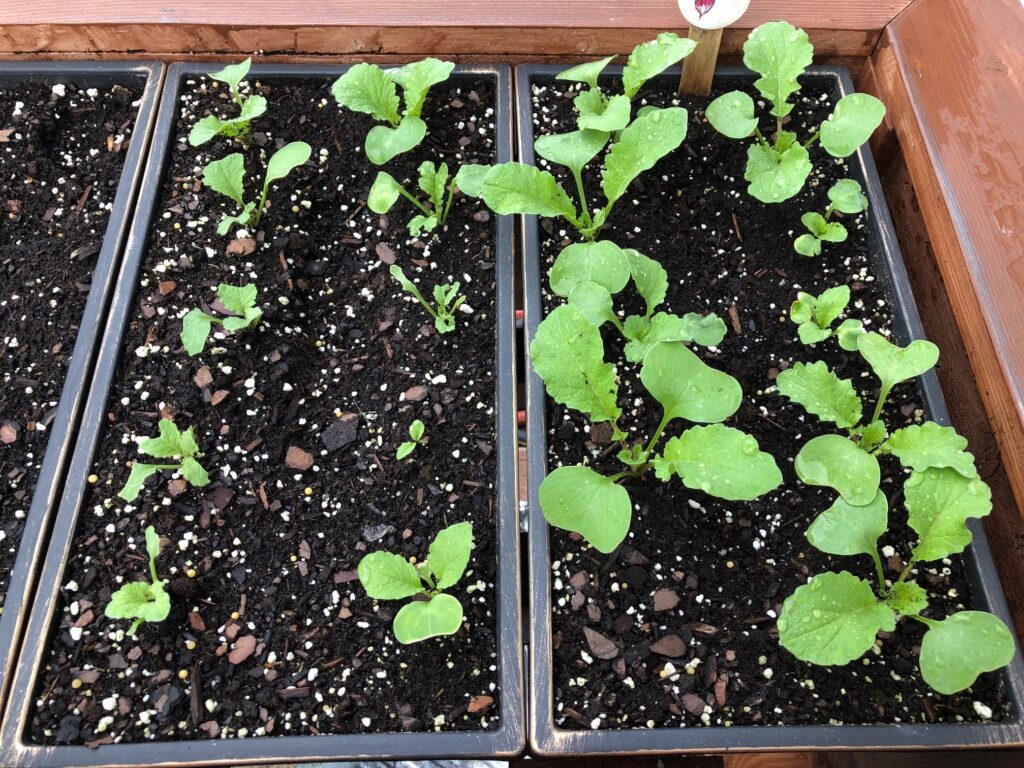
I planted lettuce and radish seeds in the raised planter on the patio.

The Super Sauce tomato plants have thrived under grow lights. Now a little sunshine and wind will toughen them up.

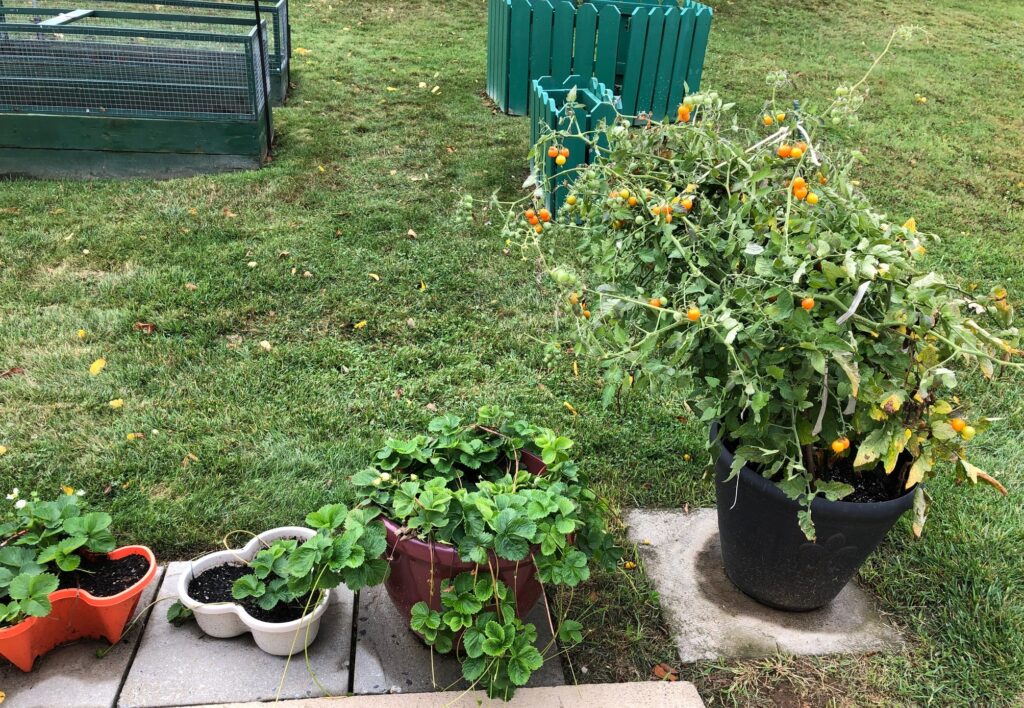
The strawberries are determined to get on with making berries, so off they go!

We’ve got to get the ones in the bucket into a different planter soon!

The cucumbers, Delicata squash and zinnias are still under the grow lights.

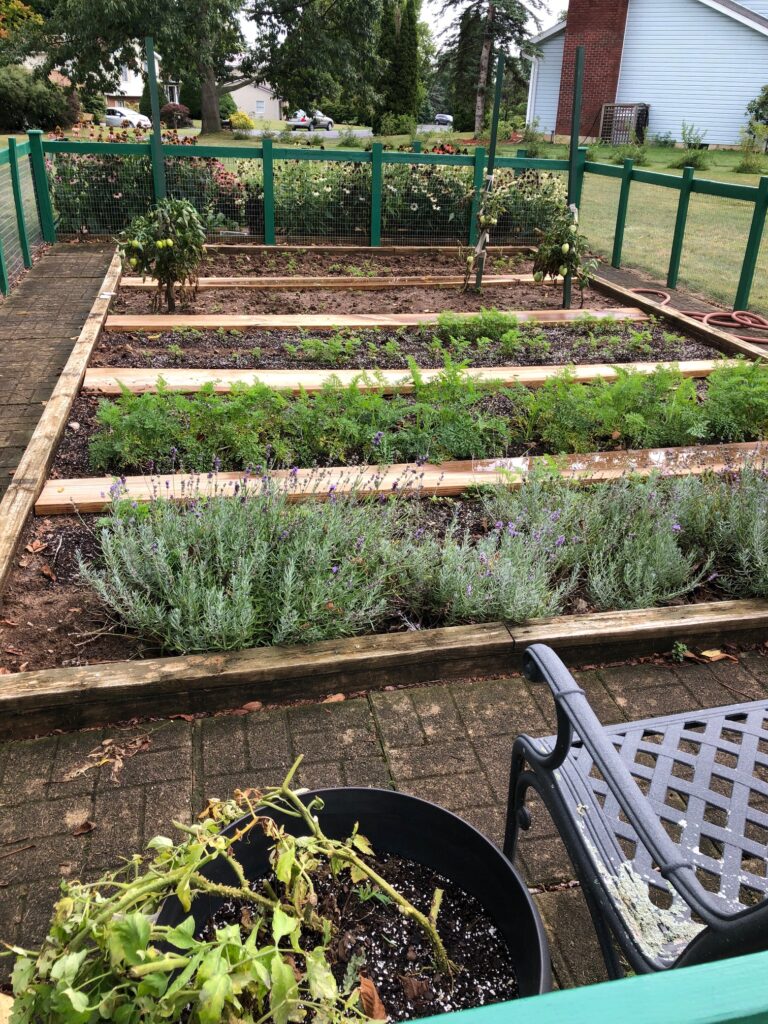
Up in the main garden the Lavender is showing signs of surviving the winter. I’m not sure what to trim away, so I guess I’ll just have to wait!

The Echinacea came back so that end of the garden should be pretty this year.

So that’s the tour of what’s happening right now. Soon it will be time to get the rain barrels set up, but we’ll wait another week or two. We set them up last year on April 27, 2021, so we must have been optimistic that the really cold nights were over. If you’d like to read about how we set them up, you can see it here: https://marykisner.com/setting-up-the-rain-barrels/.

Please comment or email me directly at marykisner@comcast.net.

Making Aromatherapy Soap Dough

I recently came across an article about making aromatherapy soap dough. This project sounded like such a neat idea! The article was written by Jan Berry who has written my favorite book about working with melt and pour soap:

The focus of this aromatherapy project had to do with the various scents and how working with dough that had a specific scent could, for example, calm the child (lavender), brighten their mood (lemon), or even soothe overexcitement (Himalayan cedarwood). Therefore, the amount of scent in each batch was quite strong. The recipe called for 1/8 plus 1/16 tsp. of essential oil. Since most essential oils are measured by the drop, 1/4 tsp. of essential oil represents 20-30+ drops in 5 oz. of soap.

For this project, you melt the soap of your choice, add soap tint and essential oils, and then stir in 3-4 tablespoons of cornstarch until it makes a soft dough. The pictures in the article showed a small ball of tinted play-dough-type clay that kids could roll out and cut out shapes, let them dry and then use them to wash their hands.

After giving this recipe a try my final recommendation is…this project was more trouble than it was worth. I can’t imagine trying to make enough of this dough for kids to play with. You might have a better result than I did, but I don’t plan to spend any more time trying to get it right!

Making the Soap Dough

Step 1: Melt the Soap

I started with 1 lb. of Goats Milk melt & pour soap base. I divided the pound into 3 glass measuring cups by chunking it up and weighing each cup. I needed 5 oz. in each cup.

I put two of the cups into saucepans with water on the stove and started them melting.

I decided to work with one cup at a time.

Optimistically, I had three sets of tint and essential oils ready for three colors/scents of soap dough.

Step 2: Add tint and scent

When the first cup of soap was melted, I added the purple tint (directions said to mix the tint with twice as much rubbing alcohol). I’m not sure why that was important, but I mixed a few drops of tint in a metal measuring cup with a teaspoon of Everclear alcohol and then added it to the soap.

I use Everclear in my perfumes so I had it on hand.

Then I added about 20 drops of Lavender essential oil. I would never use that much in such a small portion of soap but I did in this first batch.

Step 3: Add cornstarch.

Next, the recipe said to begin adding 3 to 4 tablespoons of cornstarch a little at a time.

The cornstarch stayed in lumps…kind of like lumpy gravy! Don’t you hate that!

I was to keep stirring as the soap cooled. By the time I had added 4 tablespoons of cornstarch the soap was making a sticky ball in the cup.

I dumped it out onto parchment paper and tried to make it into a ball of dough. It stayed lumpy with the cornstarch that didn’t mix in. I finally pressed it flat and tried to use a cookie cutter to make a heart. It sure didn’t look pretty!

The final chunk I just patted into a circle and called it quits! Now they are supposed to dry for a few days. Then they can be used to wash hands.

So much for a cool project! NOT!

At this point, I decided to just melt down the soap in the other two cups, add tint and essential oils, and pour them into my heart molds. These heart soaps, scented with Lemon and Rose essential oils can be used in a few hours. Much simpler!

In a few days I’ll see if the “aromatherapy soap dough” hearts work well for hand washing. However, I think the small molded hearts have enough scent to be useful as good smelling soap.

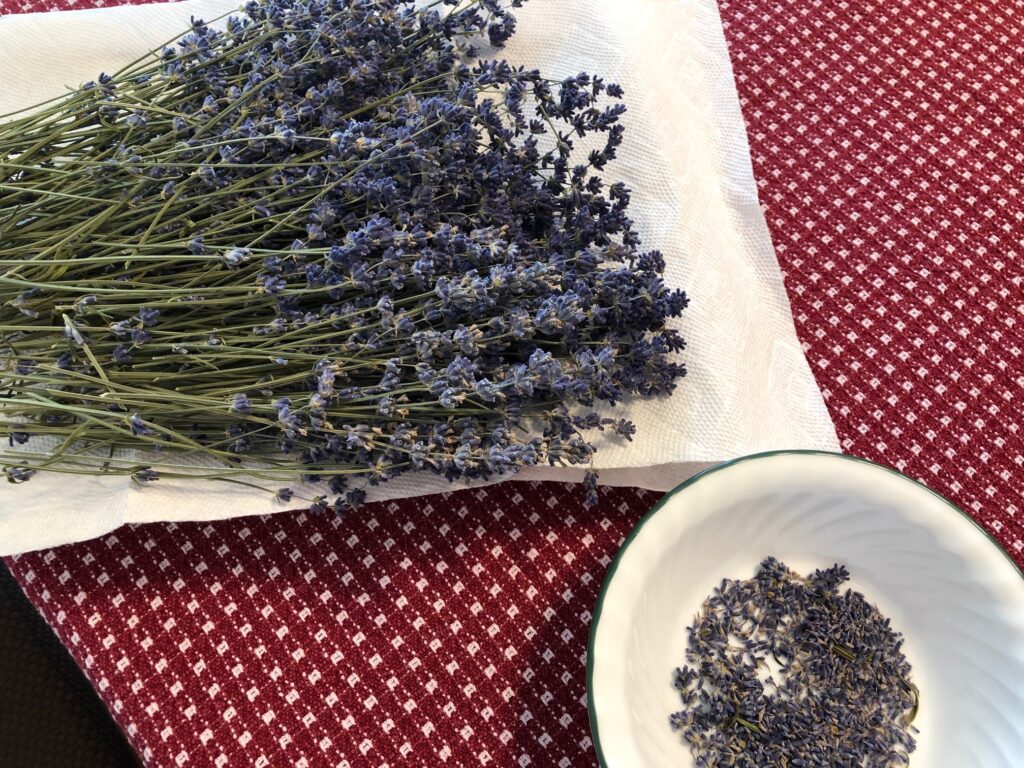
If I really want to calm down a child with lavender scent, I think an essential oil diffuser in the room where they are playing might be more effective and much less messy! Even a small pillow stuffed with dried lavender buds would work well. Give it a try! Enjoy!

Please comment or email me directly at marykisner@comcast.net.
Using Quinoa Flakes

Quinoa is a grain that has lots of potential, but personally, a pile of it on my plate doesn’t excite me. I have a powerful grain grinder that I can make it into flour, which expands ways I can use the grain. I also found a box of Quinoa Flakes that I thought could be used in my standard Oatmeal Bread recipe (see https://marykisner.com/marys-oatmeal-bread/).

The back of the box showed several ways the flakes could be used…as a hot cereal, in cookies and muffins.

Today was the day I needed to bake bread so I thought I’d try using it…mostly to see if it changed the flavor or texture of my favorite bread. I followed my standard recipe and added 1/2 cup of Quinoa flakes when I added the 1 1/2 cups of rolled oats. Here’s the difference in the size of the flakes:

Rolled oats on the left, quinoa flakes on the right.

I wasn’t sure if that little bit in four loaves of bread would even be noticeable but amazingly…it was!

The bread was very light and had a nice consistent texture. There was no noticeable difference in taste. It was a nice enhancement to my standard oatmeal bread and added a little more protein to the bread. I think I’ll make it part of my standard recipe!

I think I’ll try adding a tablespoon of the flakes to my morning bowl of oatmeal just to enhance the protein. Give it a try! Enjoy!

Please comment or email me directly at marykisner@comcast.net.
Maple Perfume Experiment

Why would I experiment making perfume that smells like maple syrup? Back in December I did another experiment with lip balm flavors…one of which was Maple Coffee. (see https://marykisner.com/two-lip-balm-flavors-and-a-cool-new-tool/). Quite a few folks liked it, including my niece in California. In fact, she let me know that it was the first scent she could actually smell since she had had Covid months before. Interesting! Recently, she asked if I would try making a Maple perfume…she didn’t care if she smelled like a pancake breakfast! Kind of yummy if you think about it!

I’ve been brainstorming with a local friend about how to make this perfume (thanks, Becky!). I knew that I needed several scents to make a balanced perfume…but what would complement the maple scent? After much deliberation, we decided that the maple would be the heaviest scent and could be enhanced with vanilla, wild orange and black pepper essential oils. (Sounds like a breakfast buffet!)

The maple flavoring was really meant to be used in cooking and baking, so one look at the ingredients let me know that I would have to use something as an emulsifier. I’ve used Polysorbate20 in the past and glycerin and alcohol can also serve that purpose. Here are the ingredients for the maple flavoring:

This product is definitely not an essential oil!

I tried two formulas, one with sweet almond oil as the base and the other with alcohol and glycerin as the base.

Maple Perfume #1

For the first formula I mixed the ingredients up directly in the roller ball…thinking they would blend and be easily applied with the roller ball. The ingredients included:

Unfortunately, the mixture separated, leaving a huge glob of the maple flavoring floating around. Shaking hard helped but it separated again. Not sure if I used enough Polysorbate20. It was certainly fragrant and lasted on my wrist all day!

Maple Perfume #2

The second recipe started with a 1-cup glass measuring cup and ended up filling 6 10ml spray bottles and two 10ml roller balls. However, it made it much easier to mix the ingredients.

A dropper and tiny funnel were essential to fill these tiny bottles.
I hope my niece likes this perfume…she’ll have enough for quite a while!

The Maple flavoring seemed to stay mixed in this recipe but I’ll still recommend a shake before spraying!

I’ll put these in the mail to California and wait for feedback before I make any more! I must say, my kitchen smells great today! Never be afraid to experiment! Enjoy!

Please comment or email me directly at marykisner@comcast.net.
A New Spring Door Quilt

With no computer available for three days, I reverted to my comfort zone…hand stitching while I watch Hallmark movies on TV. (See https://marykisner.com/computer-virus-tulips-and-snow/)

It took only a minute to decide what to make. My front door quilt needed to be replaced. It was nice and fresh last year and lasted two full months on the front door. When I put it up around the middle of March this year it was looking a little faded and by now it is definitely not inspiring!

The original spring door quilt.
After 3 1/2 months total on the front door…pretty faded! I was also ready for some bright colors!

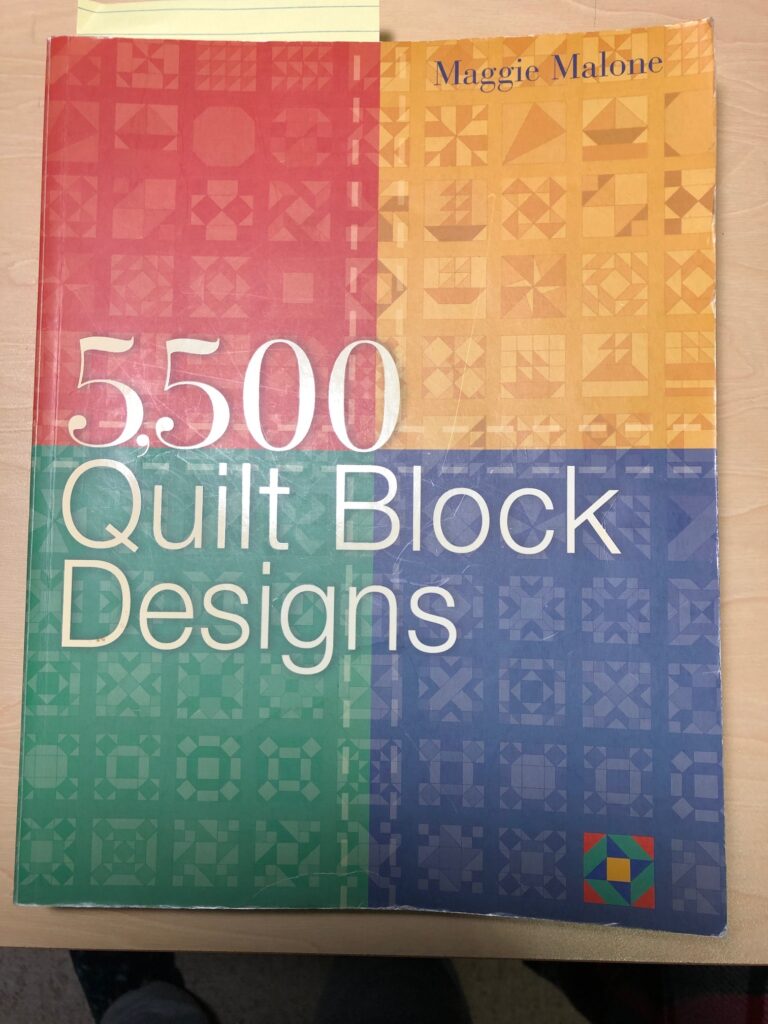
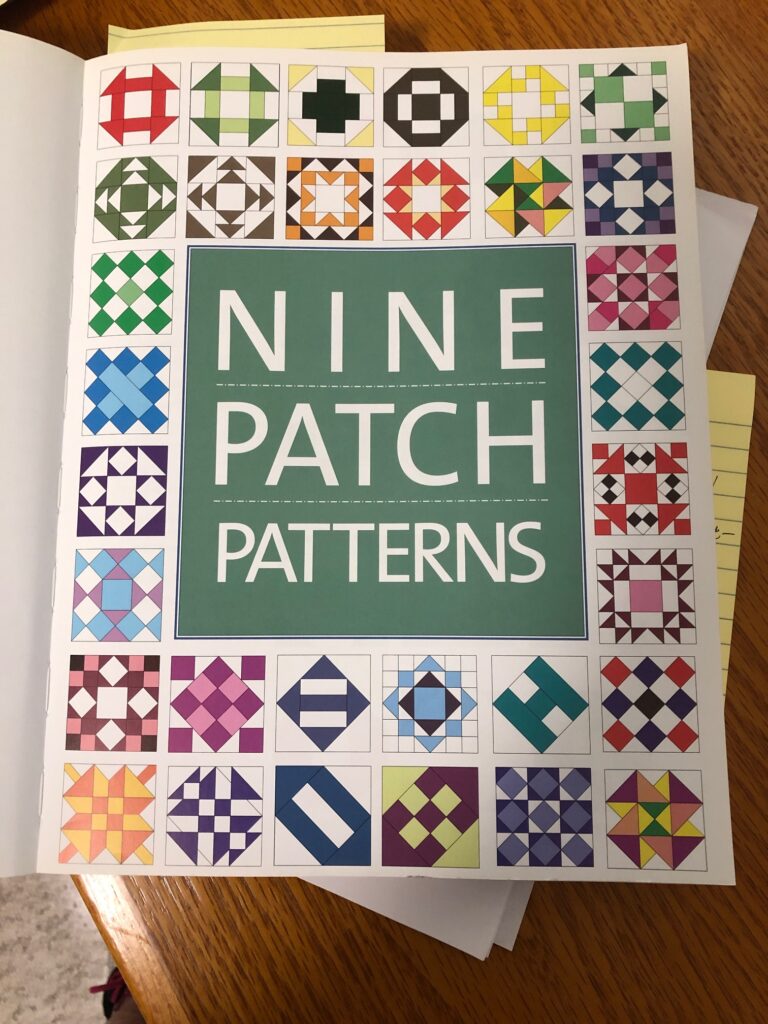
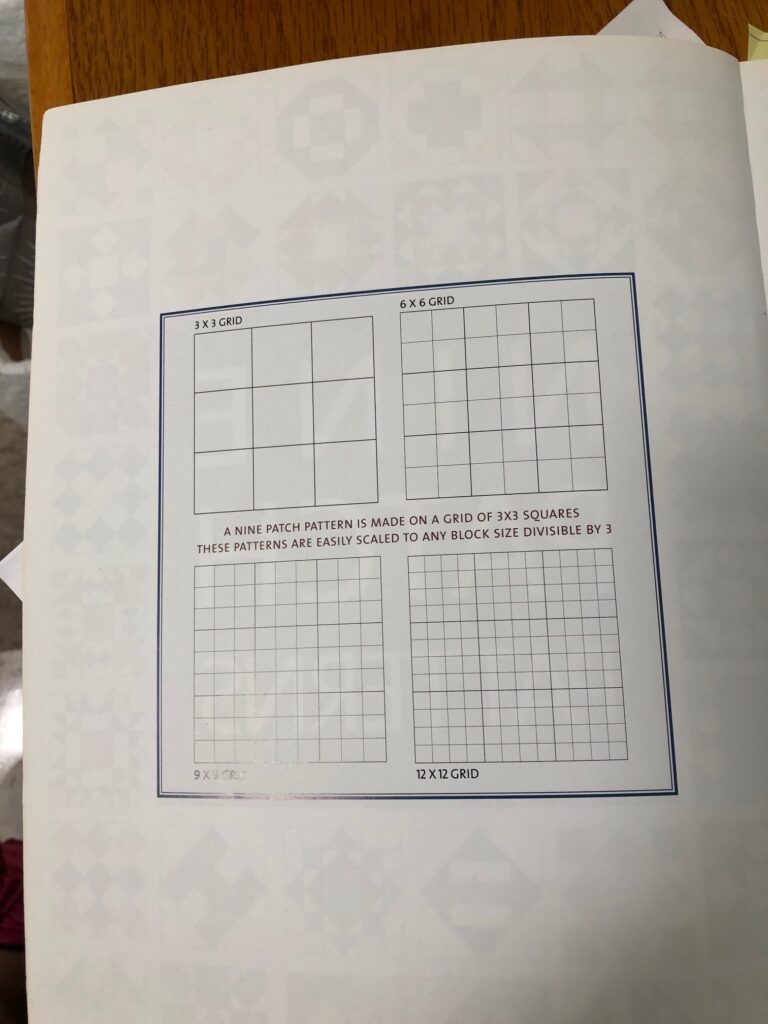
First, I looked for a simple quilt block in my favorite book:

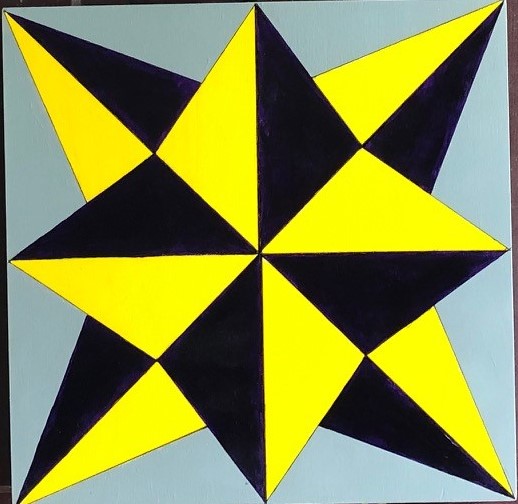
I found “Birds in the Air”, as shown above.

At the bottom of every page there is a list of exactly how many pieces of each template I will need to make the block. Most of the shapes I have used before, so all I had to do was sort through the bag of cut templates to find T10 and T15.

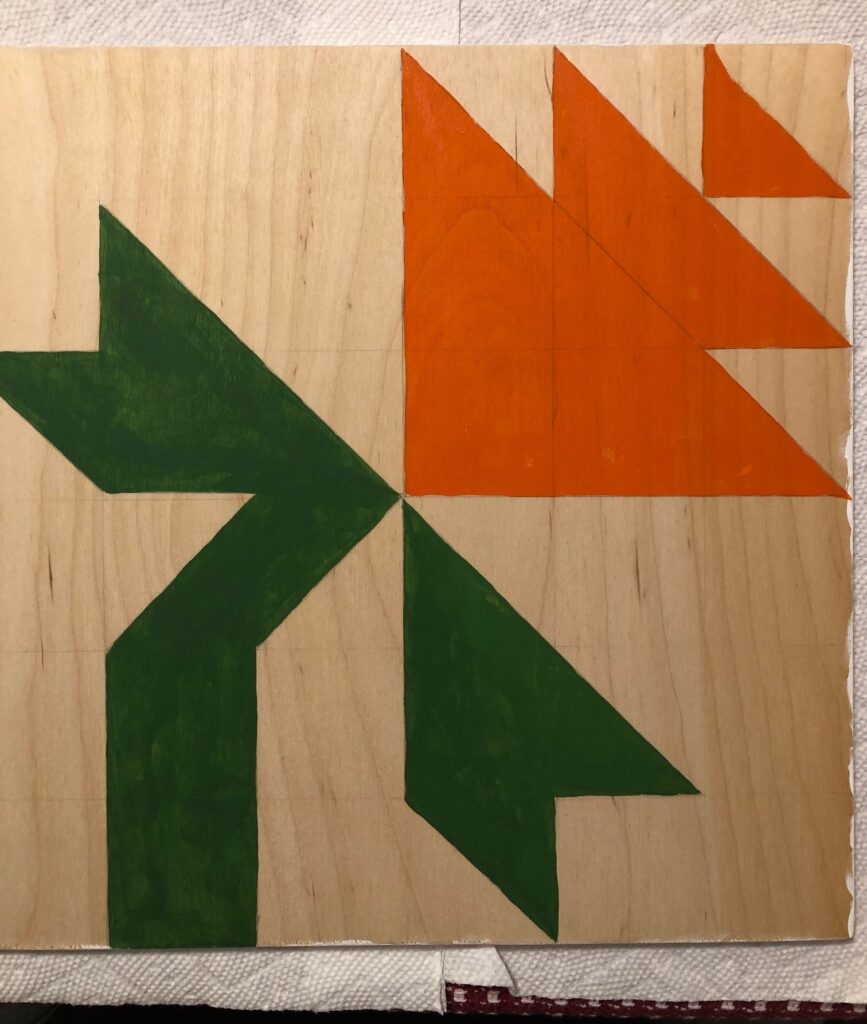
Next, I searched through my stash of cotton fabric, remembering that I needed to use a light color for the background so the block would show up on the dark front door. These colors looked bright and cheerful!

After cutting out all the pieces, I arranged them on the table to see if I liked the colors together.

In one day (and two Hallmark movies) I was able to hand stitch the block together.

Block ready to iron and add the borders.

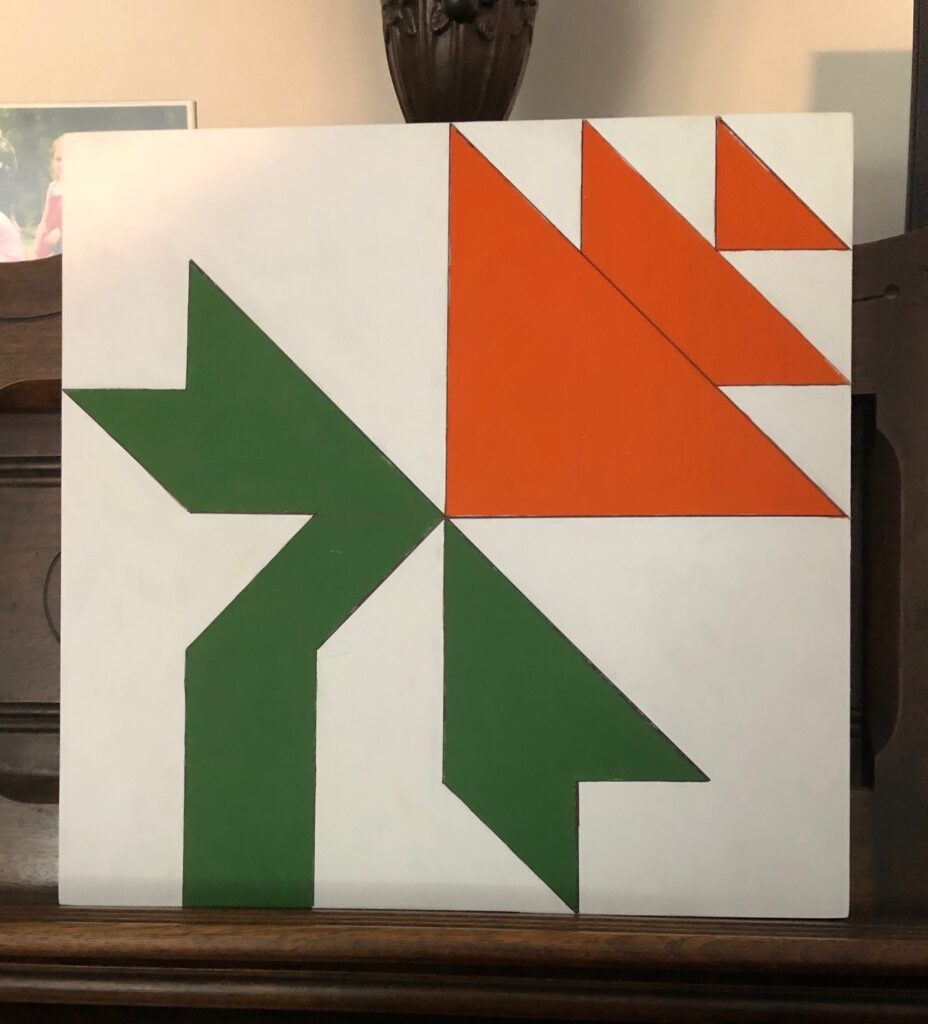
I added a piece of lightweight batting between the block and the back fabric. I top stitched in the ditch on the major horizontal, vertical and diagonal lines. Finally I added the border and binding.

Sure looks more colorful that the old quilt, don’t you think?

Now I have my computer back, so I can post these pictures! Yea! Enjoy!

Please comment or email me directly at marykisner@comcast.net.
Computer Virus, Tulips and Snow

Shortly after my last post on Saturday, my computer shut down with a warning screen that I had some kind of virus. This is what the screen said:

After Bert’s experience last fall, I did NOT click on anything. I did NOT call any numbers. I basically forced the computer to shut down and walked away. Not too disruptive since it was Easter weekend and I was busy getting ready for my grandkids to visit on Sunday. Luckily, I could still easily check email and texts and a few news sites on my phone. Today, Bert took the whole computer to the Best Buy Geek Squad and of course, everything worked just fine! How embarrassing! They did see a few odd things so they will keep it until Thursday to check it for other viruses. Yea. So, I’m typing this on Bert’s computer. Just doesn’t feel the same!

Anyway, Easter with our daughter’s family was lovely. In the midst of all the frustrations with the computer, they brought me some tulips just ready to open! What a treat! I hope you all had a blessed Easter!

Looks like the tulips will be red!

This morning as Bert was headed out to Best Buy, we were surprised with snow! Winter is not going to go away without a last gasp or two! It is pretty, but we are definitely ready to be done with snow. I hope this all melts away quickly.

Snow on April 18, 2022

Hopefully by Friday I’ll have my computer up and running. If I do any exciting projects, I’ll share them then. Let’s go spring!

Please comment or email me directly at marykisner@comcast.net.
Garden Update April 16, 2022

Looking at our gardens yesterday morning, you might lose all hope that garden season is right around the corner! However, we still have below freezing nights and the ground is either still frozen or at least pretty COLD! Not quite time to put seeds in the ground!

All weeds in the raised garden beds have been removed. Bert will run the small rototiller in here before I plant.
Bert will rototill this garden and then put the boards back down so we can walk between the rows.

Lavender and Echinacea

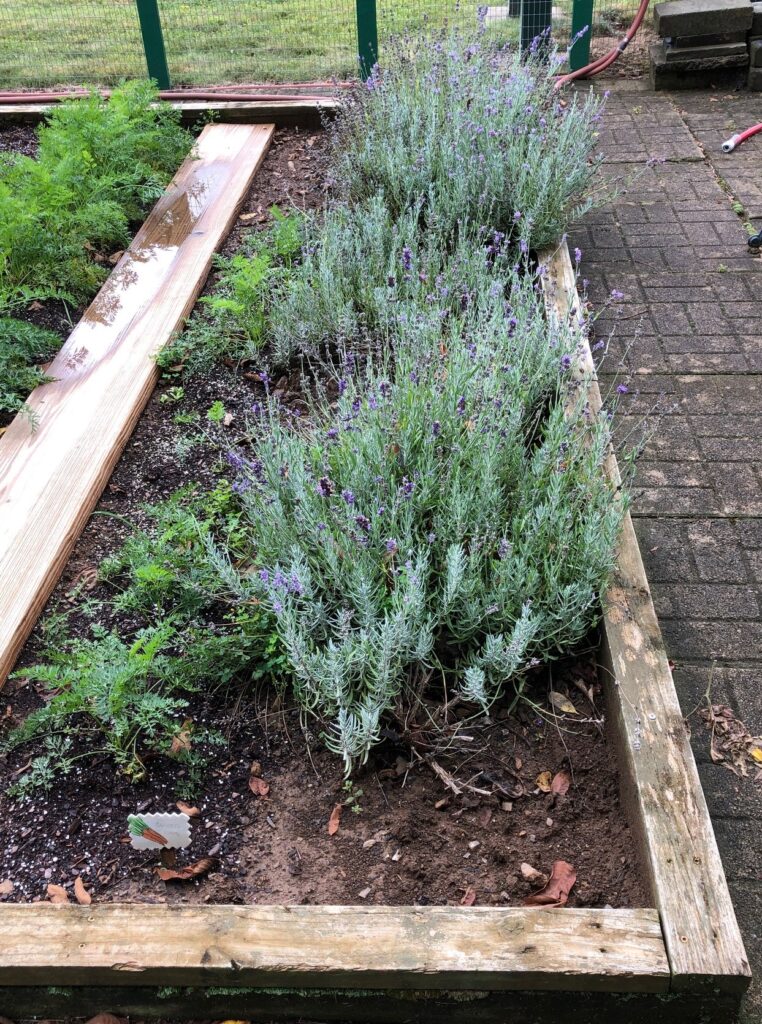
When you look really close, guess what! There are tiny sprouts of Lavender at the base of last year’s plants. There are new shoots of Echinacea coming up too!

Lavender
Echinacea

So, at least outside, things are happening!

Tomato Plants

Bert started the tomato seeds in the shop under grow lights the last week of March, so now 3 weeks later, we have plants!

“Super Sauce” tomatoes

Strawberry Plants

I ordered strawberry plants from Burpee in January hoping they wouldn’t arrive until I could plant them. Of course, the arrive in late March all smooshed together in a plastic bag. A week later Bert opened the bag and discovered they were trying desperately to grow so we had to get them into pots. Luckily, I wasn’t sure where I would plant them so I had ordered these stacking pots. He got the plants into the soil and can now move the whole stack outside when the days are warmer and can move the tower back into the shop at night. We will put these pots on the patio and try to keep wandering bunnies and chipmunks from munching on them as they cruise by!

I had just one of these pots. It could be up on a small table or block on the patio.
This many plants didn’t fit in the other pots, so I’ll have to transplant them when the weather warms up. I might move the whole bucket full into a large planter, or I may tuck the plants into our raised garden beds. We’ll see!

So even if the gardens look like they are still asleep, preparations are underway and Mother Nature is noticing the weather is warming! April is always filled with hope for a great garden season! Enjoy!

I’d love to hear about your garden plans! Please comment or email directly at marykisner@comcast.net.
Musical Entertainment for Memorial Day 2022

The Boalsburg Village Conservancy has finalized the musical entertainment for the Memorial Day celebration on May 30, 2022. Music has always provided the backdrop to the ongoing activities of the day. We hope you come and enjoy it while checking out the many vendors and their wares. If you’d like to learn more about the history of Boalsburg, see www.historicboalsburg.com.

The Boalsburg Heritage Museum (www.boalsburgheritagemuseum.org) at the East end of Main Street will be open for visitors. Background music will be available all day, including music on the Museum porch by Dan & Galla. They offer a mixed selection of upbeat folk music and popular standards of the ’50s and ’60s, country, ragtime, polkas, pop and patriotic music. You can learn more about their music at www.gallaanddan.com.

From a previous Memorial Day celebration.

The Boal Mansion Museum (www.boalmuseum.com) will host light musical entertainment on the grounds throughout the day. Their events include:

10:30 to 11:30 a.m.-The Bellefonte Community Band

12:30 to 1:30 p.m.-JT Thompson & The Denicats

2:30 to 4:30 p.m.-OverheaD

The Boal Mansion.

On the Diamond at Main Street and Church Street, the line-up of musical groups is varied and entertaining.

10:30 to 11:30 a.m.-You’ll be able to enjoy the State College High School Jazz Band. These young folks always have a rousing performance to get you in the mood to explore the many vendors on Main Street.

11:30 to 12:00-The A Cappella Choir from St. Joseph’s Catholic Academy in Boalsburg will showcase their lovely voices.

12:00 to 1:00 p.m.-The Little German Band will present lively entertainment in the German “oompah” style that features bass horn, trombone, clarinet and trumpet. This group has been performing around Centre County since the 1960’s. You can read more about them on Facebook.

12:30 p.m.-Dancing around the May Pole. (More about that as we get closer to the event!)

1:30 to 2:30 p.m.-Music by The Screaming Ducks. They have been a force for Classic Rock in Center County for over 30 years. They’re a regular addition to the Boalsburg Memorial Day festivities. You can learn more about them on Facebook.

2:30 to 3:00 p.m.-When you are ready to take a restful break, please pull up a chair (or curb) and enjoy a smooth and mellow half hour with Bob Timney. His offerings of acoustic, acoustic rock and pop music will give you that rest. He can be found on Facebook and you can listen to some of his music at www.reverbnation.com/bobtimney/songs.

3:00 to 4:00 p.m.-To end the afternoon of musical entertainment, the final group at the Diamond will be Pure Cane Sugar. This is a female-fronted Americana band based out of State College, PA. With descriptors such as “sultry voices, soulful harmonies and powerful lyrics,” this last group should leave you feeling like it’s been a good Memorial Day celebration!

Ceremony at the Church Cemetery

6:00 p.m.-As part of the solemn ceremony at the Cemetery, music will be offered by the Nittany Knights. They sing a cappella in the barbershop style of harmony. This international, non-profit organization, first chartered in 1962, performs at many community activities.

Please join us for Memorial Day in Boalsburg, 2022. To read about the whole five-day celebration, check out the overview at: https://marykisner.com/memorial-day-2022-is-happening/. Enjoy!

Please comment or email me directly at marykisner@comcast.net.

Refreshing the Scent in Melt & Pour Soap Bars

Last week I was asked by my son-in-law and grandson to make some glycerin soap bars with the scents of Lavender and Lemon. I made a double batch and added about 12 drops of Lavender essential oil to one batch and 12 drops of Citrus Bliss essential oil to the other. Citrus Bliss is a blend of oils, including: Bergamot, Lemon, Mandarin Sweet Orange, Tangerine and Vanilla. A nice blend, but definitely not very “lemony.” I also added just 1 drop of soap tint to each batch (purple for the lavender and yellow for the citrus) to better tell them apart.
When they were cool, I was concerned that they didn’t have a very strong smell, especially of lemon. After letting them sit for a week, I decided that I needed to add more essential oil before I could hand them off.

So, this week I unwrapped the bars, chopped them up and put them back on the stove to melt them down.

These are the lavender bars.
Chopping the soap into small pieces help them melt quickly.
Ready to go into the pan of water on the stove.
Who knew 1 drop of yellow tint would make them so YELLOW!

Bring the pan of water to a boil and turn down to simmer until the soap is melted. A little bit of white vinegar in the water will keep our hard water from leaving sediment on the pan and the outside of the glass measuring cup.
I added an additional 15 drops of essential oil to each batch. I thought Lemongrass would enhance the “lemon” scent.
Let the soap bars cool for about 2 hours before removing the from the molds.

I felt better about these bars. I’ll wrap them individually in plastic wrap so they won’t absorb moisture from the air. Hopefully they’ll be just what my boys were expecting! Enjoy!

Please comment or email me directly at marykisner@comcast.net.