If you have been following my various activities, you know that not all of my projects are successful. Some of the recipes for baking sound yummy on paper, but end up being boring, tasteless, etc. A few of my body care formulations seem easy to follow but I end up with a product that just isn’t something I’d ever use or share. That doesn’t stop me from trying to make something new!
Spray perfumes are one of those products that have been sort of successful; roller ball perfumes have been more successful, but solid perfumes have been a bust. You can see my previous attempts at https://marykisner.com/diy-perfume/ and https://marykisner.com/maple-perfume-experiment/.
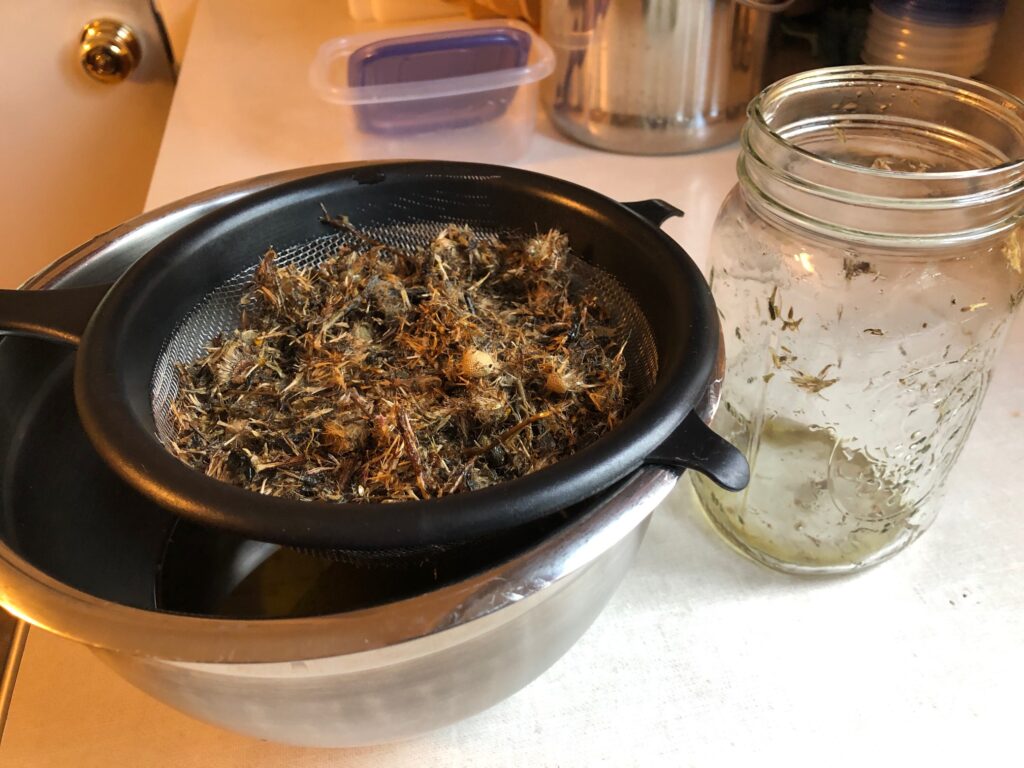
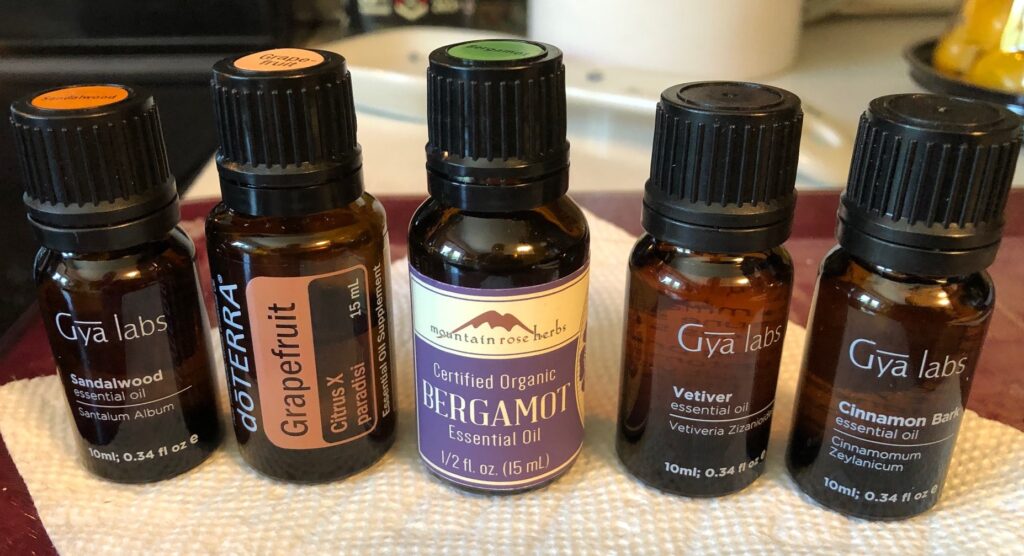
I came across a new recipe for a solid perfume that sounded like it might work. For one thing, it had way more essential oil incorporated into the mix. For another, the procedure was a little different so I thought I’d give it one more try!
Here is the recipe:
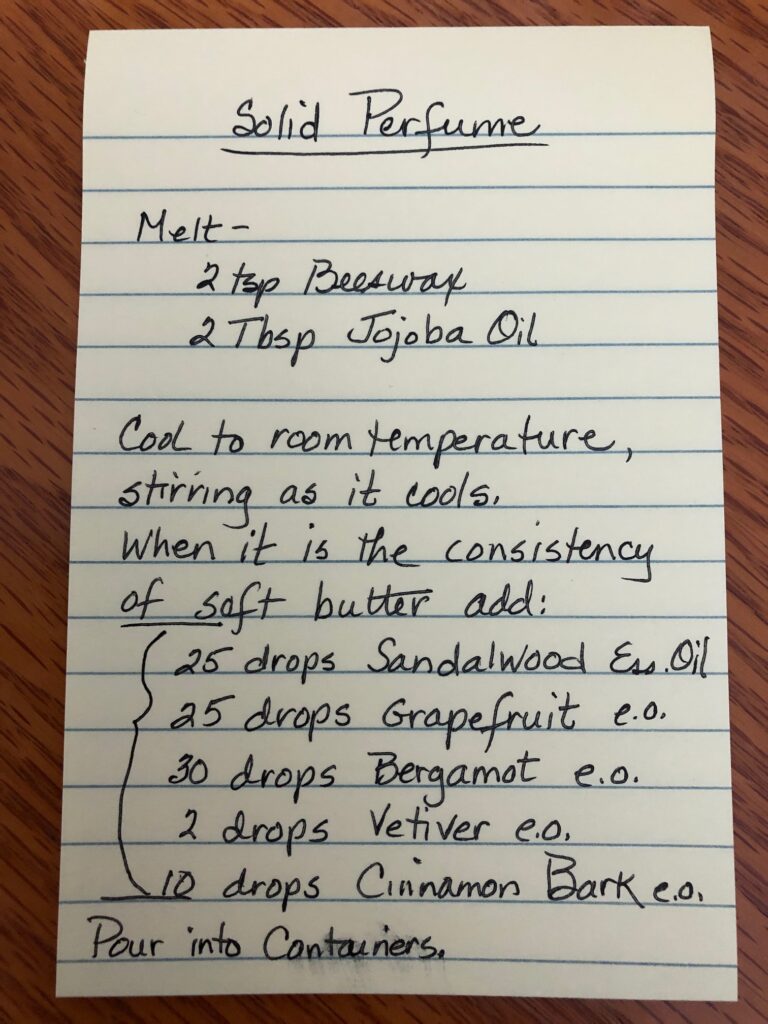
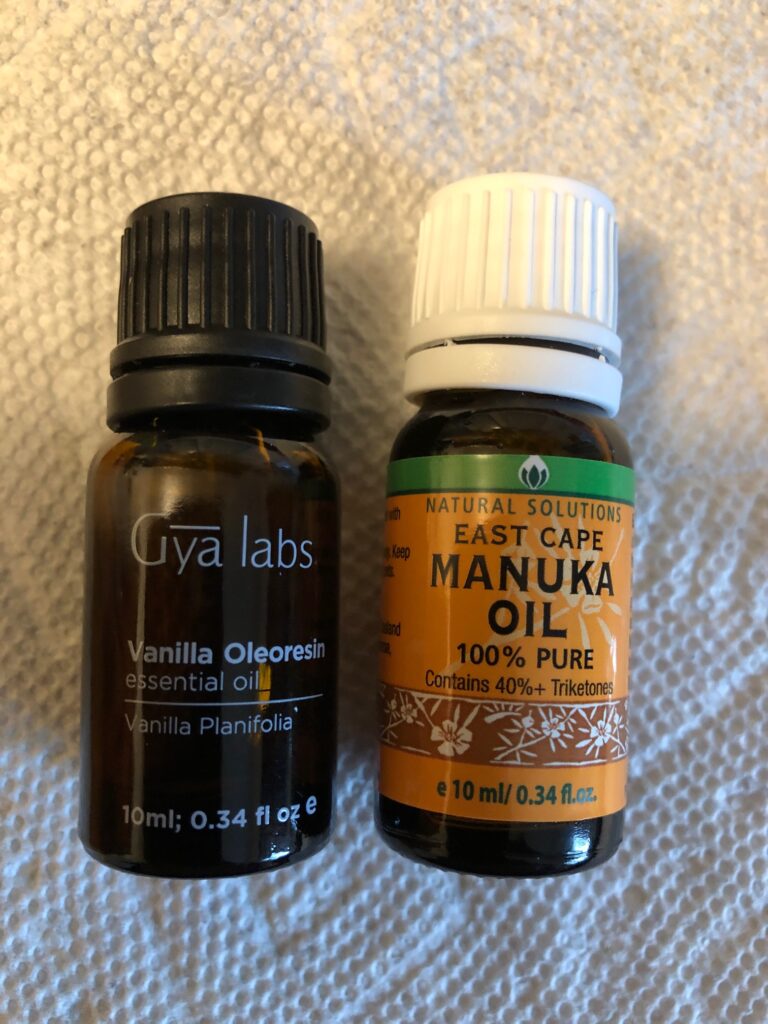
I first needed to order two of the essential oils that are listed but I did not have…Vetiver and Cinnamon Bark essential oils. Since I can’t rely on my nose to tell me what this combination would smell like, I just followed the recipe.
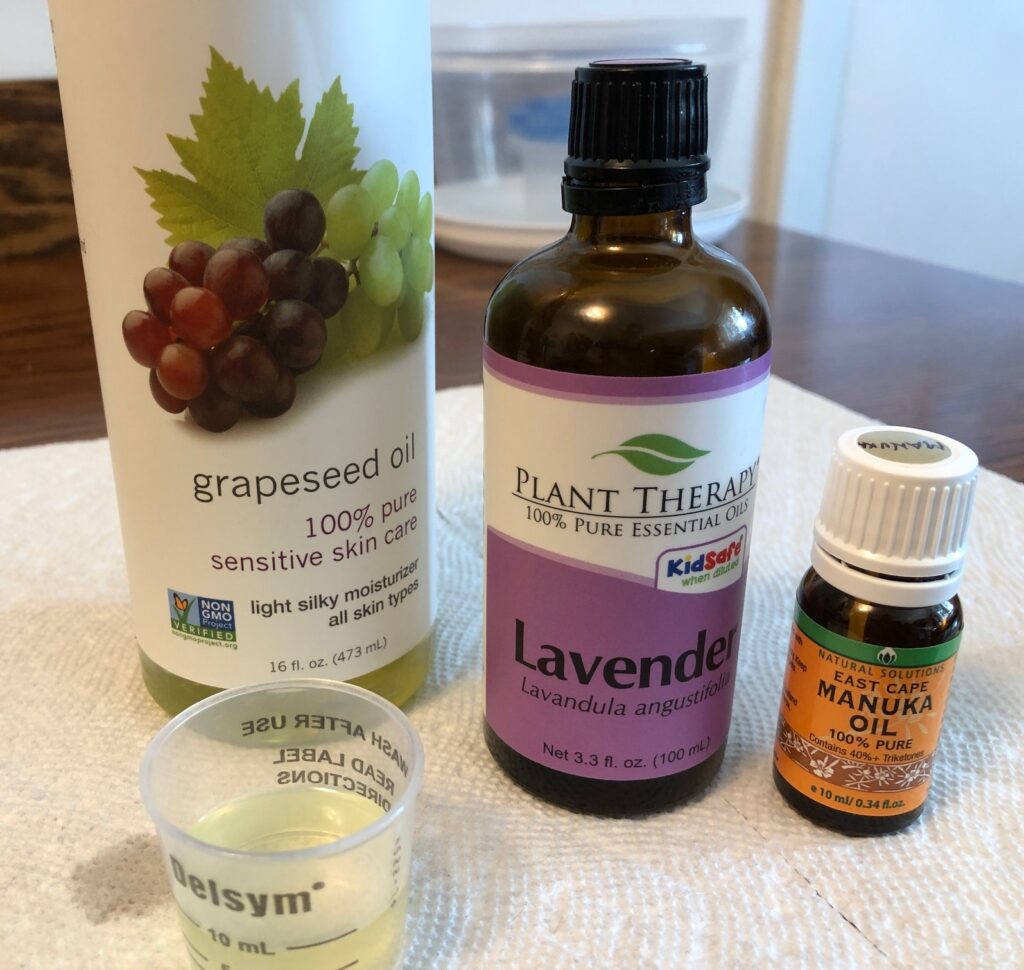
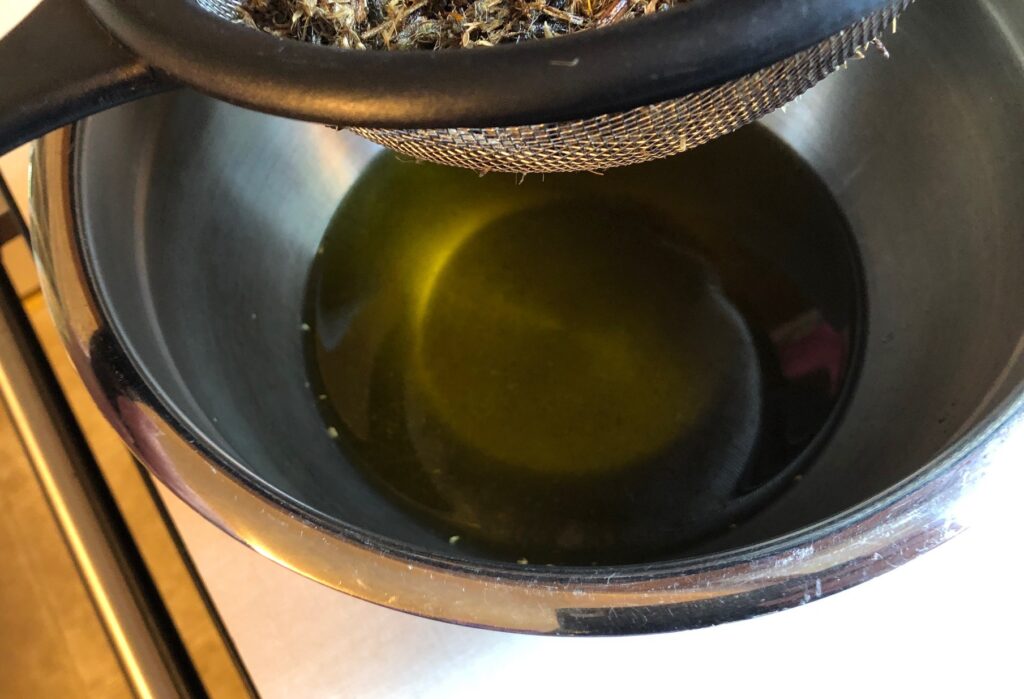
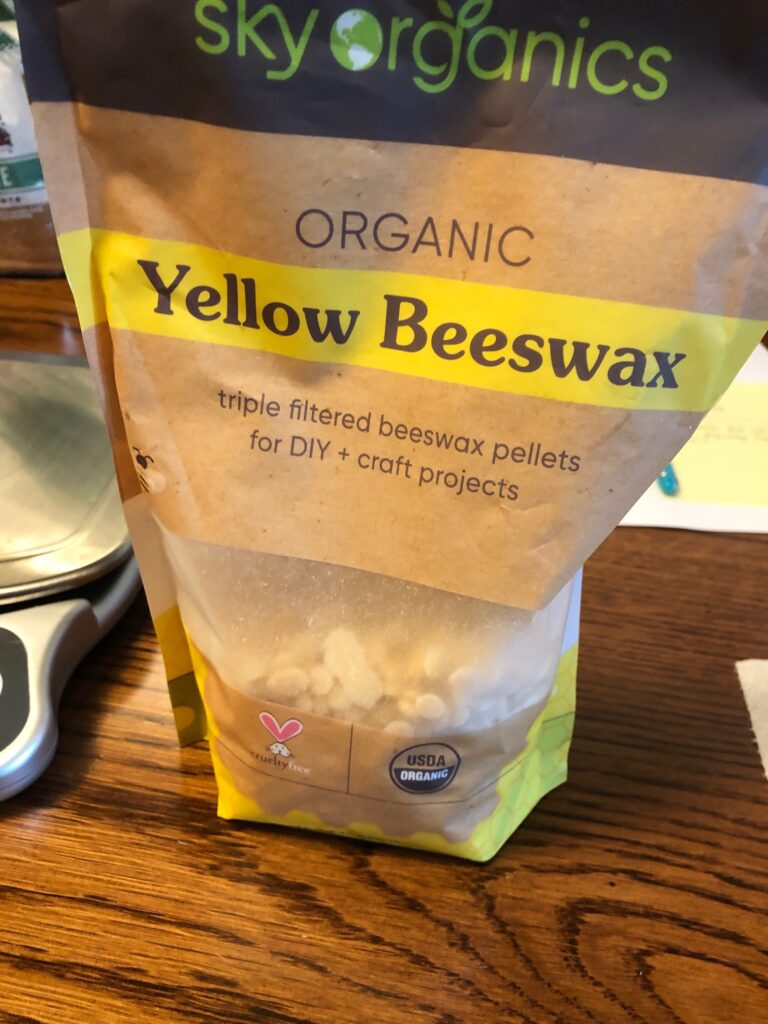
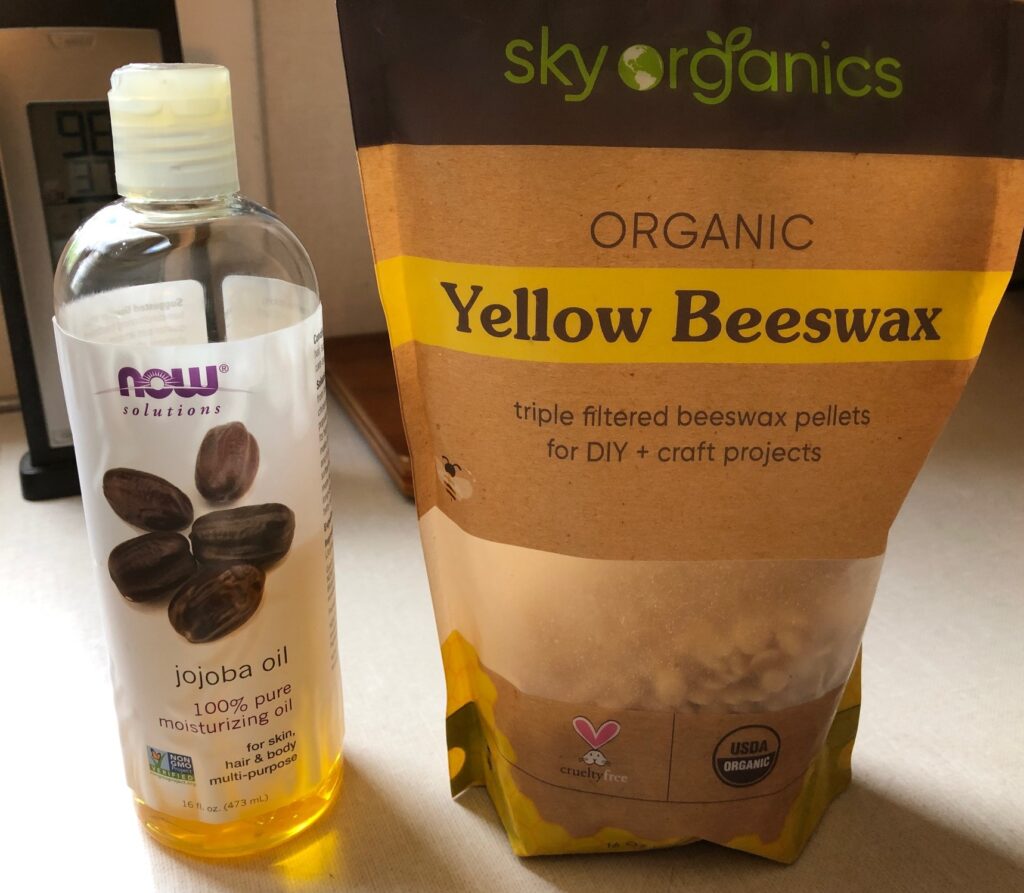
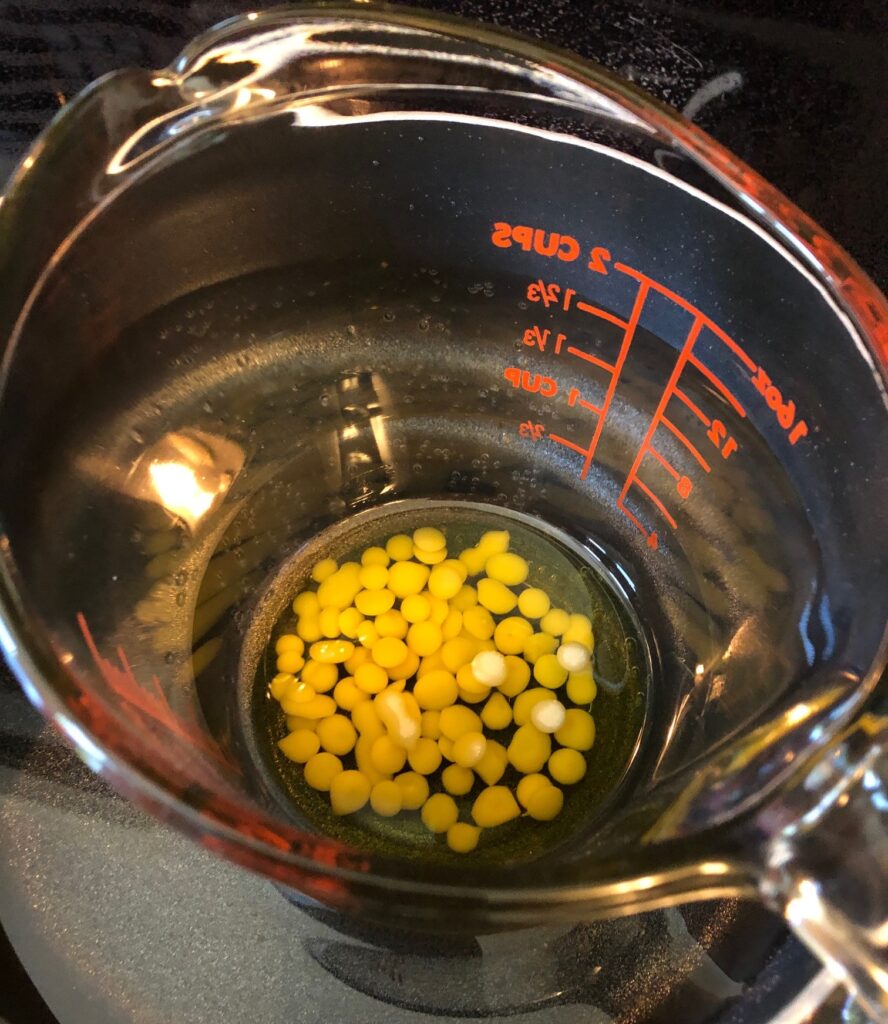
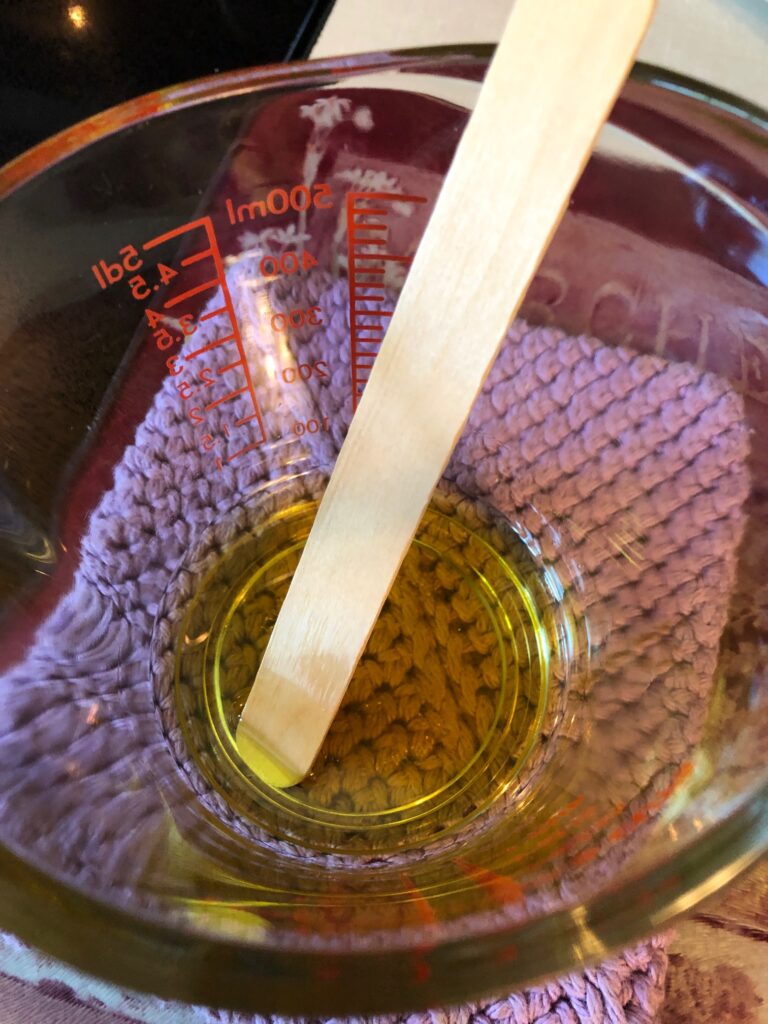
Once I had all the essential oils, I began with the beeswax and Jojoba oil. I measured them into a heat-safe glass cup and set the cup in a pan of water on the stove.
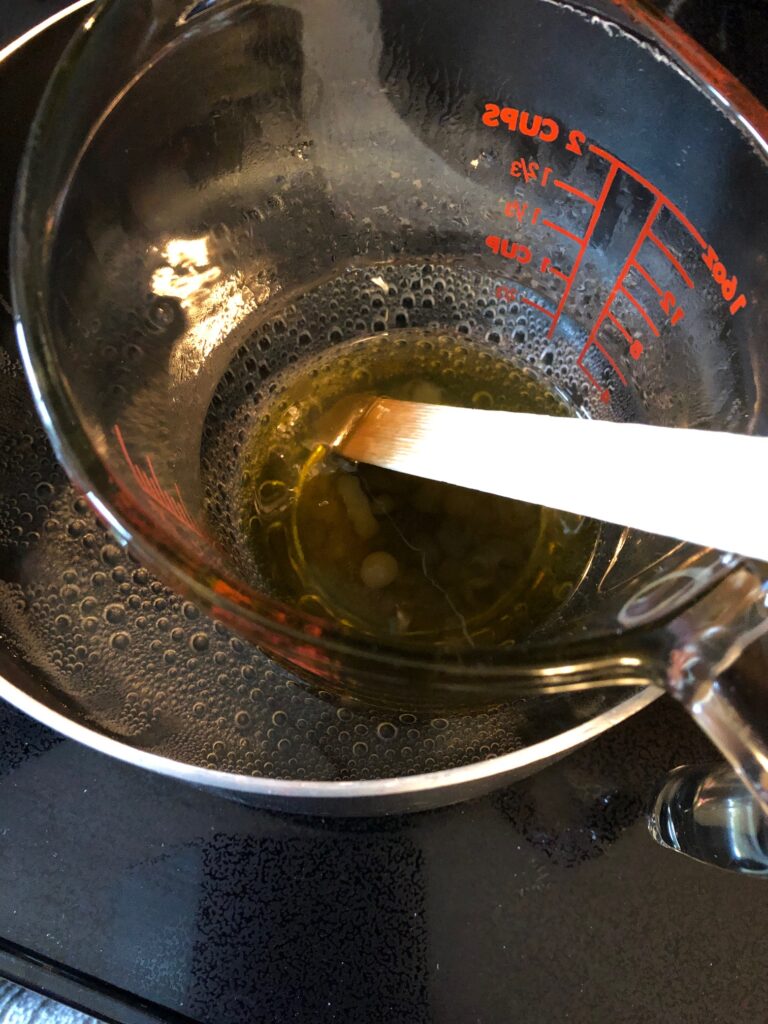
Heating the pan of water on the stove did not take long.
When melted, I removed the cup from the boiling water and started stirring. Let me tell you…I very quickly decided I would be there for a very long time waiting for it to get to room temperature!
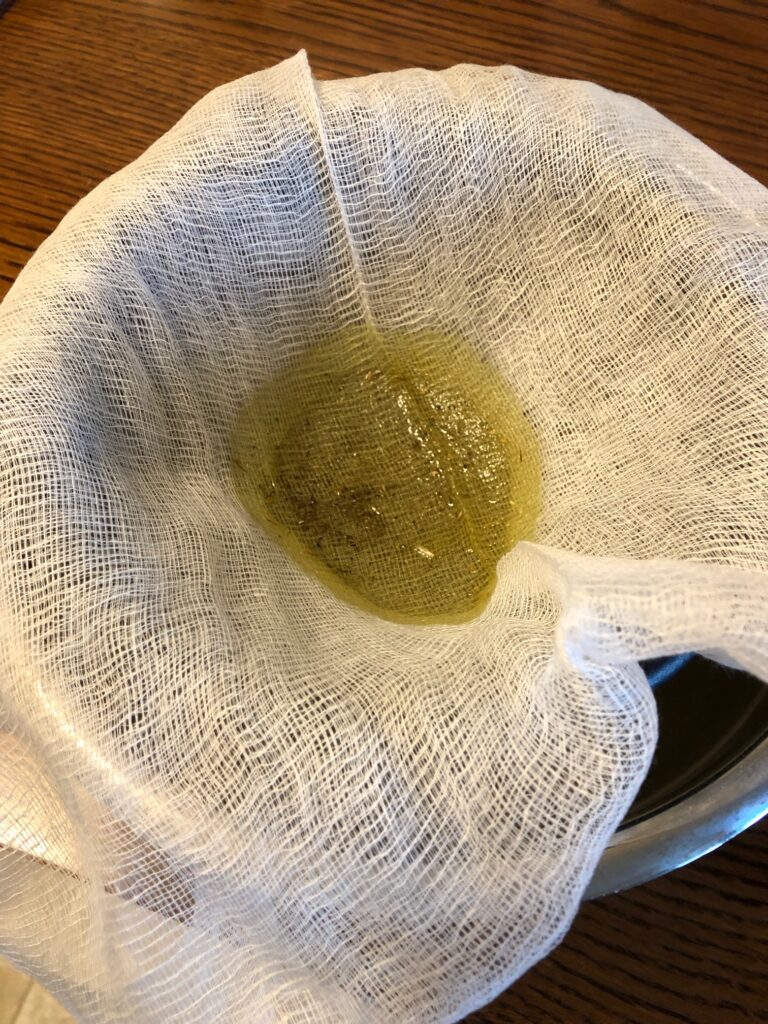
I stirred for a while but then decided to just start adding the various oils. I stirred well between each addition. I did not see it turn into a “soft butter” consistency. I was too impatient!
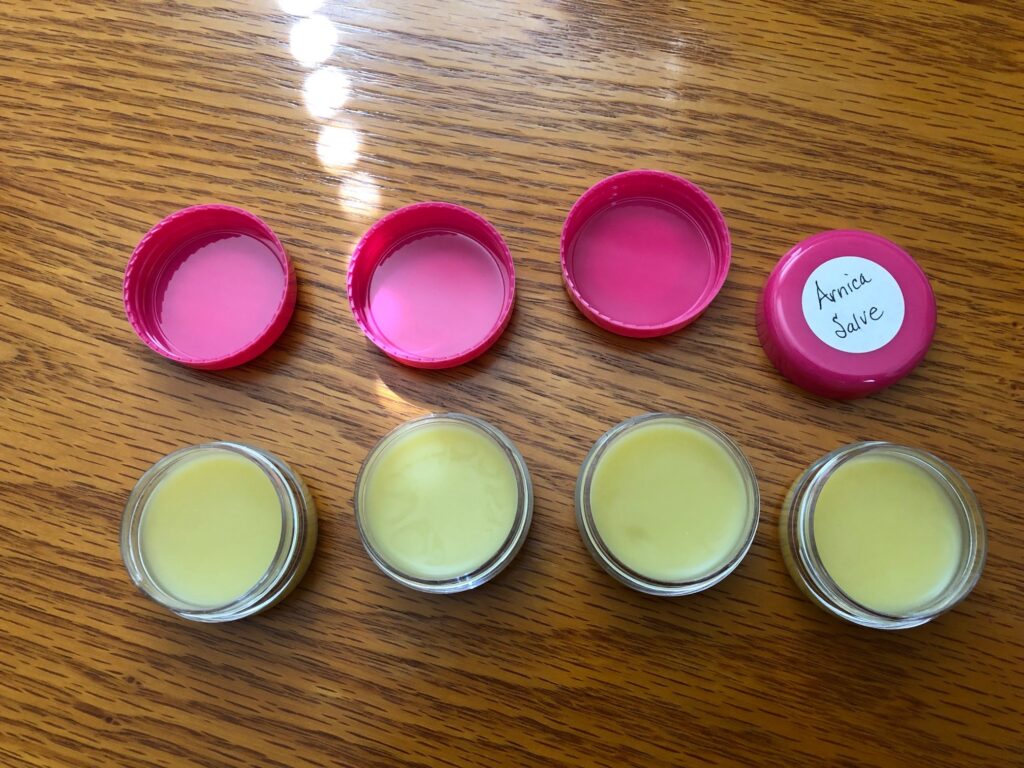
Then I poured the mixture into my tiny containers.
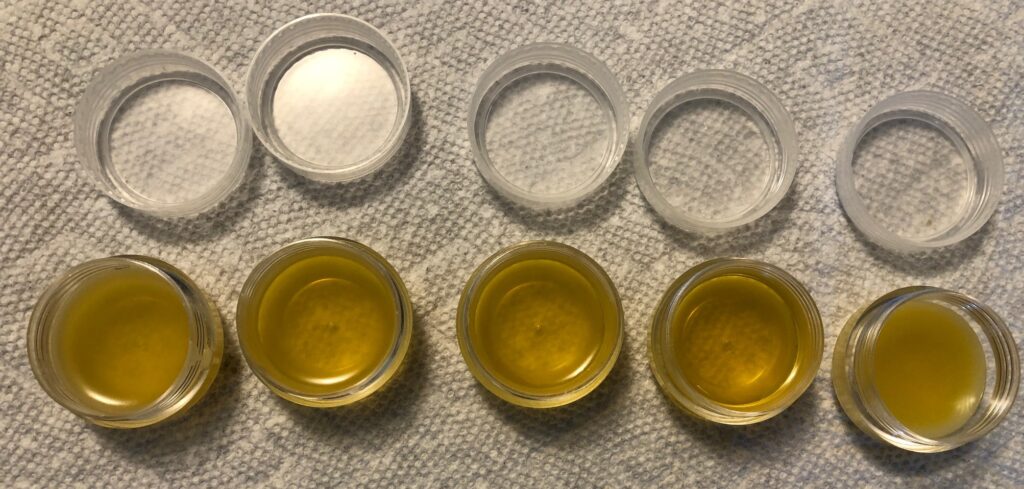
It took less than 30 minutes to cool and set up.
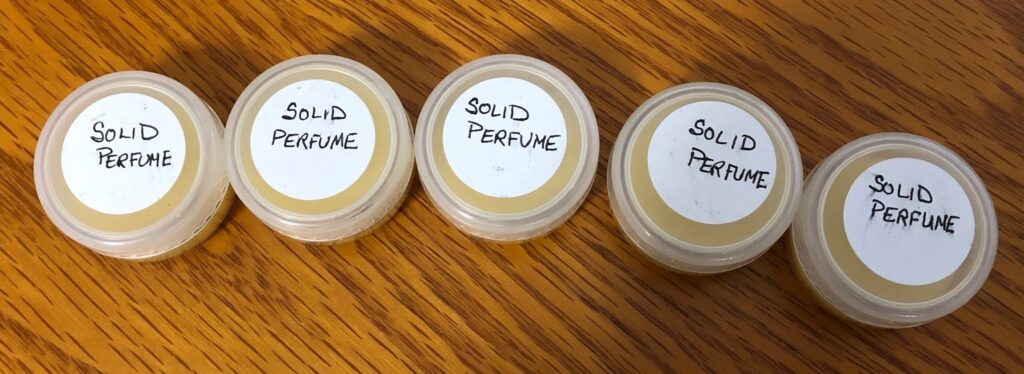
It looks like it was successful! It is not a flowery scent…more subtle and woodsy. I smell the sandalwood first but I suspect over time, the other scents will be noticeable. We’ll see how it is in a few days. This will need to be applied over a larger area, but I think I’ll enjoy it!
So, don’t be afraid to experiment…sometimes you discover something new! Enjoy!
Please comment or email me directly at marykisner@comcast.net.