Have you ever had an unusual experience that left you unsettled and questioning reality? This weekend we had such an experience. We just came back from a lovely overnight visit with Bert’s sister and her husband in Greencastle, Pennsylvania. Greencastle is in southern Pennsylvania and spring is about two weeks ahead of central Pennsylvania. Trees and flowers were bursting out all over! My nose was running from all the pollen! We went out to dinner…Bert always looks forward to oysters…and came back to their home to have a nice visit.
Before settling down to visit we took our suitcases into the guest room. I reached down to turn on the small lamp right inside the door. It was more like a night light, but provided just enough light to see the room.
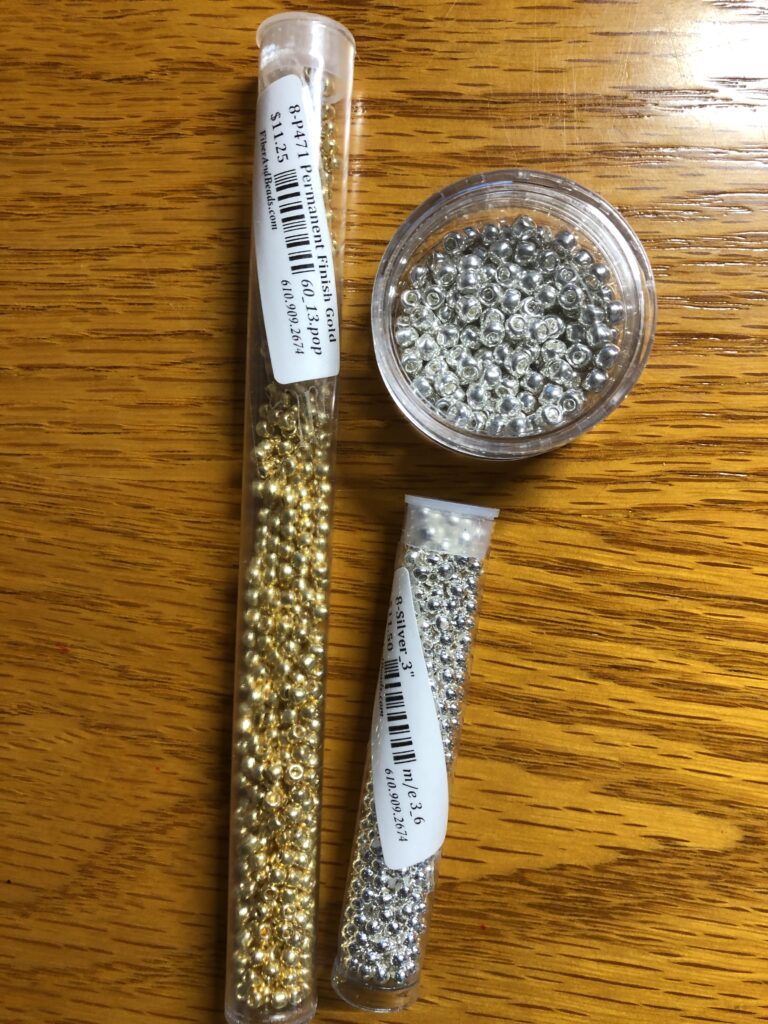
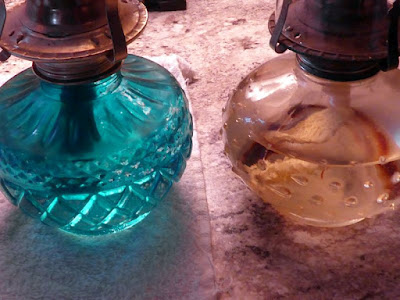
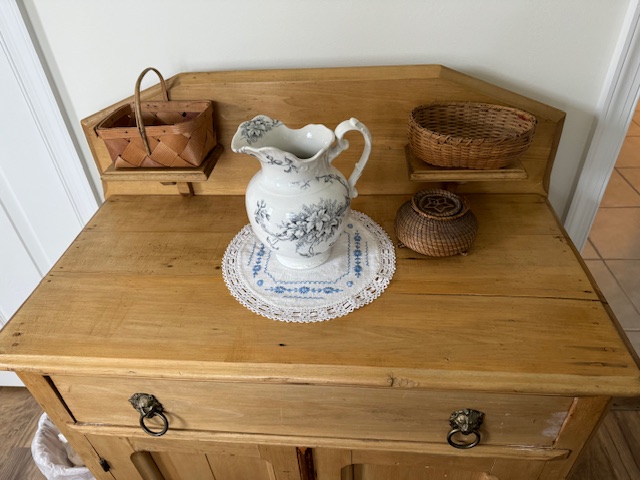
The lamp was about 12″ high with a base of brown glass with a small shade. The shade was not glass…more like parchment. The picture below shows what I think I remember about the lamp base…the one on the right. The glass had little bumps on it…sort of a squashed round globe. Of course, this picture is of old-fashioned Aladdin lamps that burned oil. The missing lamp was electric and the base glowed with a small lightbulb inside. Anyway, this is the only picture I could find that had the color base I remembered.
We then spent the evening exchanging stories of medical appointments, activities of extended family and future plans. We never seem to run out of things to talk about!
When we went to bed, I was checking email, while Bert took his turn in the bathroom. When he came back, he turned off the little light by the door. I finished and turned out the other light that was still on.
After hours of an unsettled stomach (probably from my big dinner) and a drippy nose (from pollen) I finally decided to take my antihistamine medicine…but of course it was buried in my suitcase. It was 4 a.m. I thought I’d just turn on that little lamp so I could see my suitcase. I reached the door in the dark and felt around for the tiny lamp. I wasn’t able to find the lamp…instead my hands felt a small woven basket…??? The lamp should be right there! So…I turned on the room ceiling light, thinking I’d locate the lamp and dowse the ceiling light.
Surprise!! That lamp was nowhere at all anywhere in the room!
Where did it go? I looked around the room at the two other lamps, but no evidence of that small lamp.
Did someone come in the night, unplug it and relocate it to another room? I’m sure I would have heard someone doing that!
I got my meds and turned out the ceiling light, wondering what had happened. I went to the bathroom and checked in the hall outside the room. Yes, there was a cute lamp on a small table, but not the one I was looking for.
So, I went back to bed trying to figure out what could have happened!
In the morning there was still no evidence of the mystery lamp. I asked Bert if he moved the lamp somewhere…he looked around the room and said, “No.” He remembered turning the lamp off. What could have happened?
We asked Joanne and Mark if they had moved the lamp…nope! They had never had a lamp with that description. If Bert had not touched the lamp himself, I’m sure this would all be chalked up to my imagination!
It’s really not important, but I could quickly see that the more we talked about it, the details were getting fuzzy. I found I wanted to expand my memory with more details when all I remember was the base and the location of the lamp. I figured I’d better write down what actually happened!
However, all the thinking and describing doesn’t solve the mystery…where did the lamp go? Or, where did it come from for those few hours? Lots of questions with no answers.
I think a good mystery writer could build a whole story around this experience, with parallel universes, or maybe the previous owner of the house had such and lamp and she had come for a visit…??
I will not dismiss the experience, but I really have no answers. Have you ever had an experience like this? Enjoy!